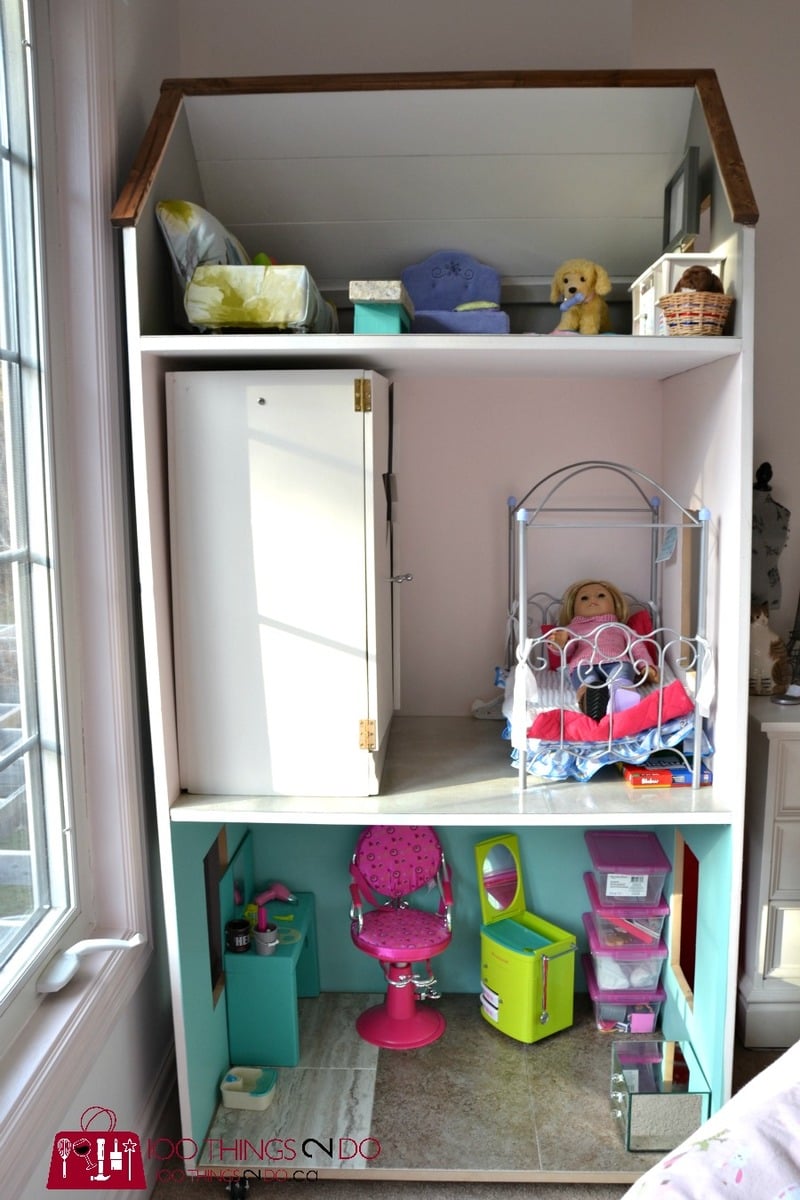
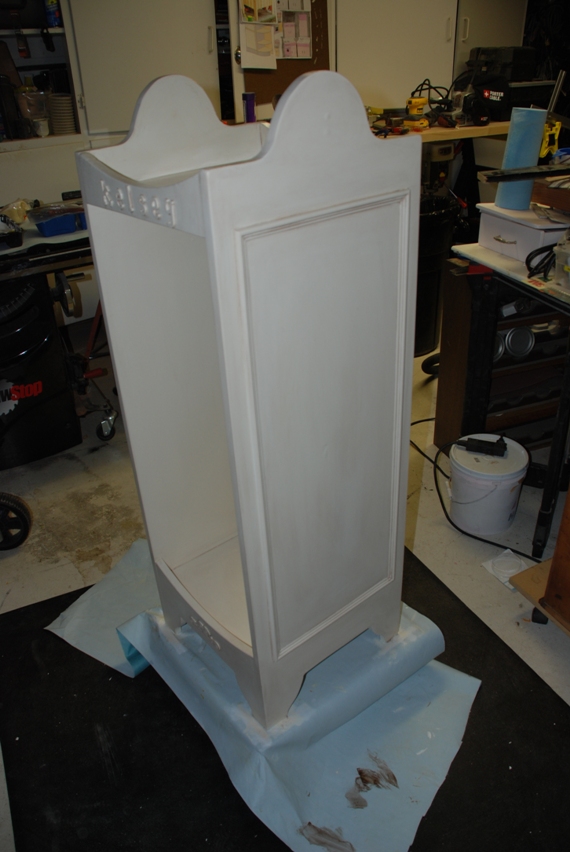
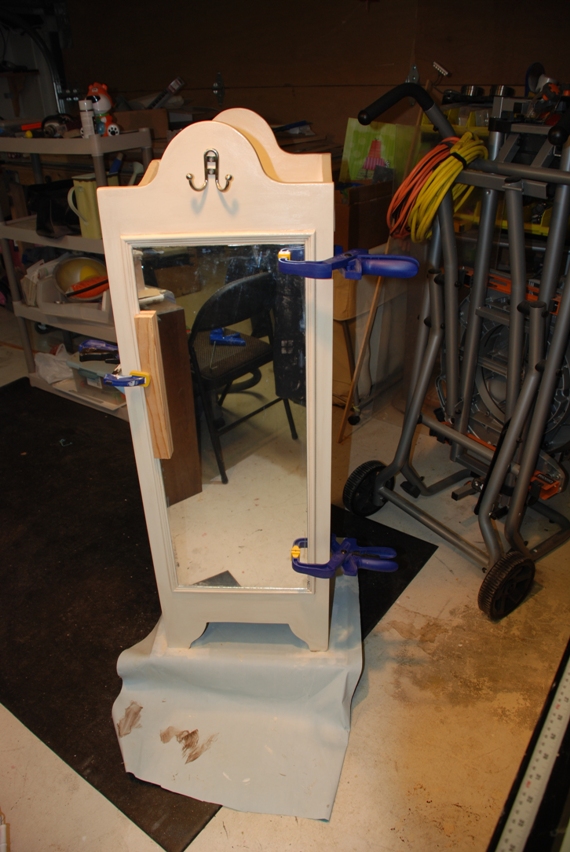
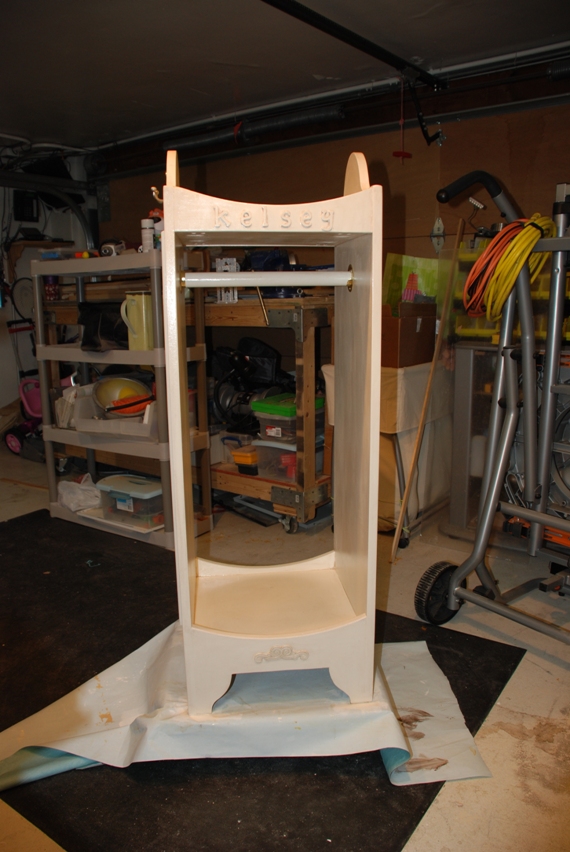
Dress Up Vanity Tower
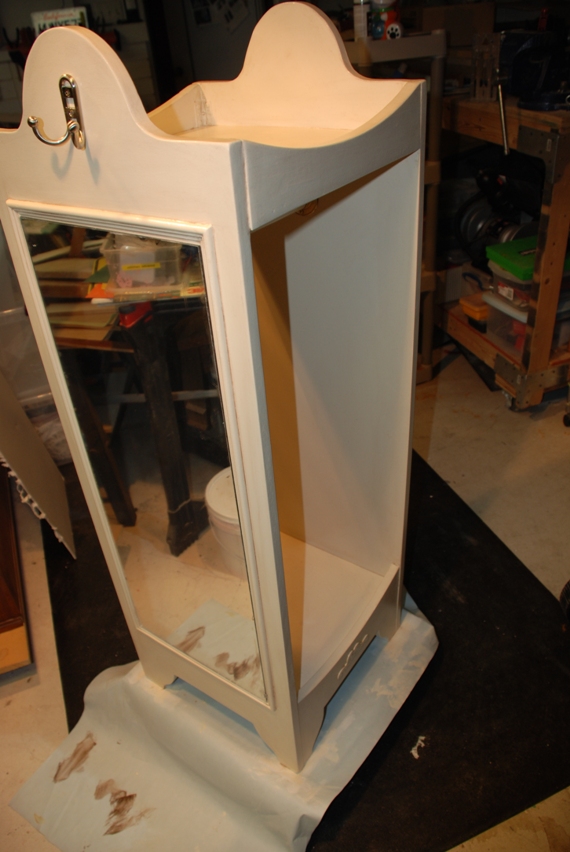
Dress up tower for my 4 yr old daughter to hang her pretty play costumes and princess outfits.

Built from Plan(s)
Estimated Cost
25
Estimated Time Investment
Day Project (6-9 Hours)
Finish Used
2 coats of white primer, 2 coats of antique white, antiquing stain/wipe-off, and two coats of clear top coat.
Recommended Skill Level
Intermediate