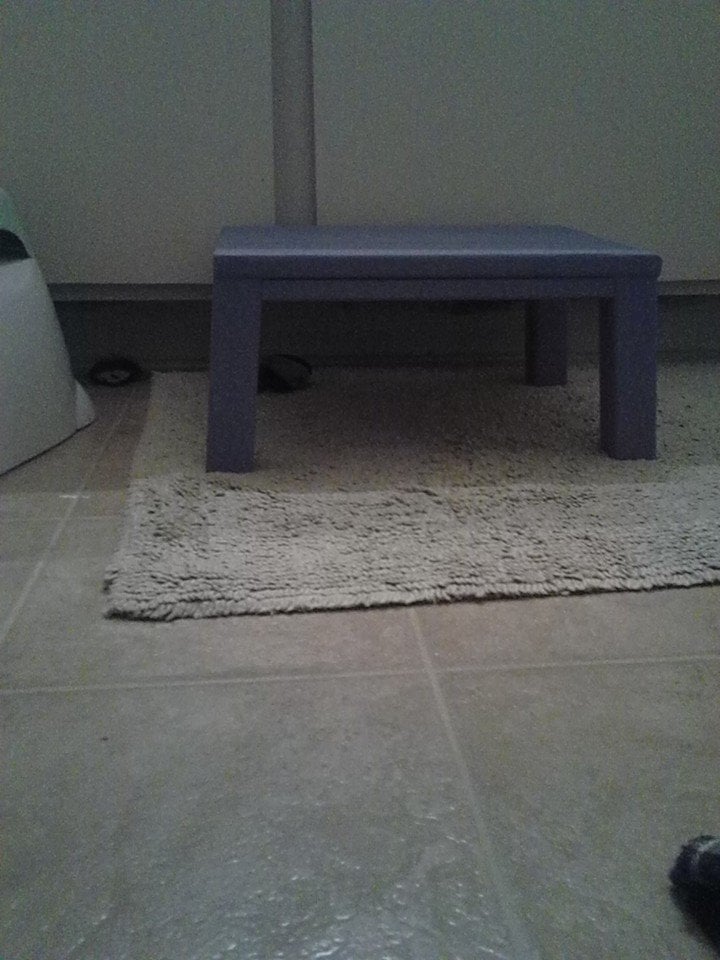
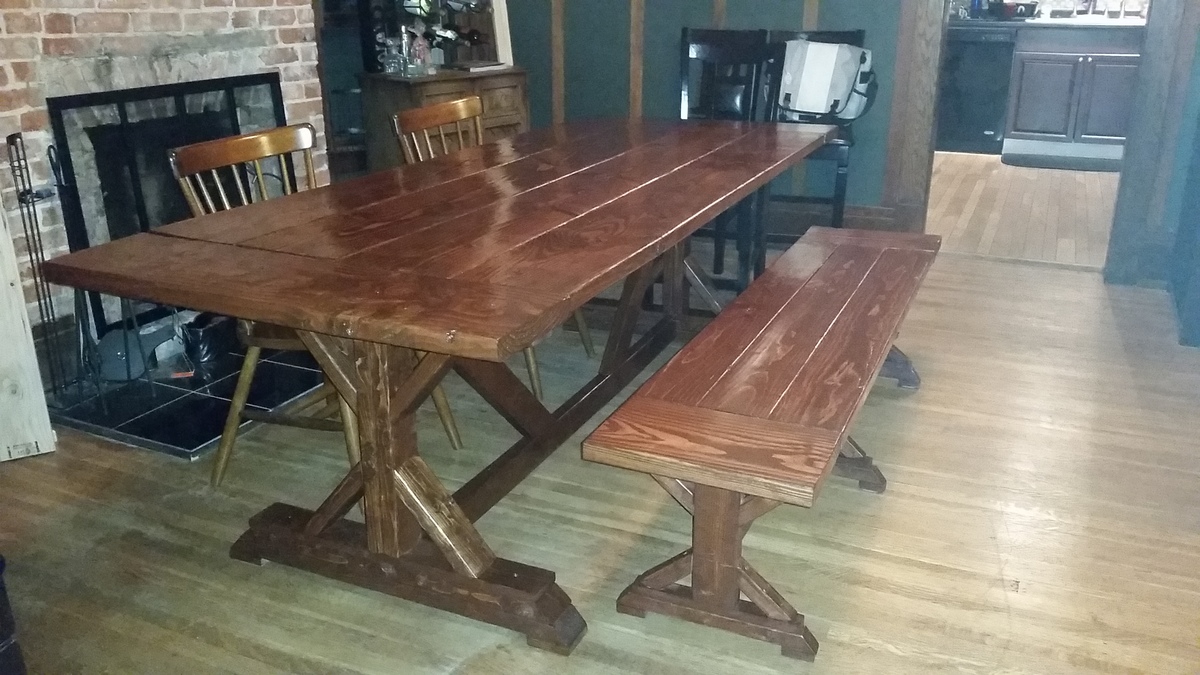
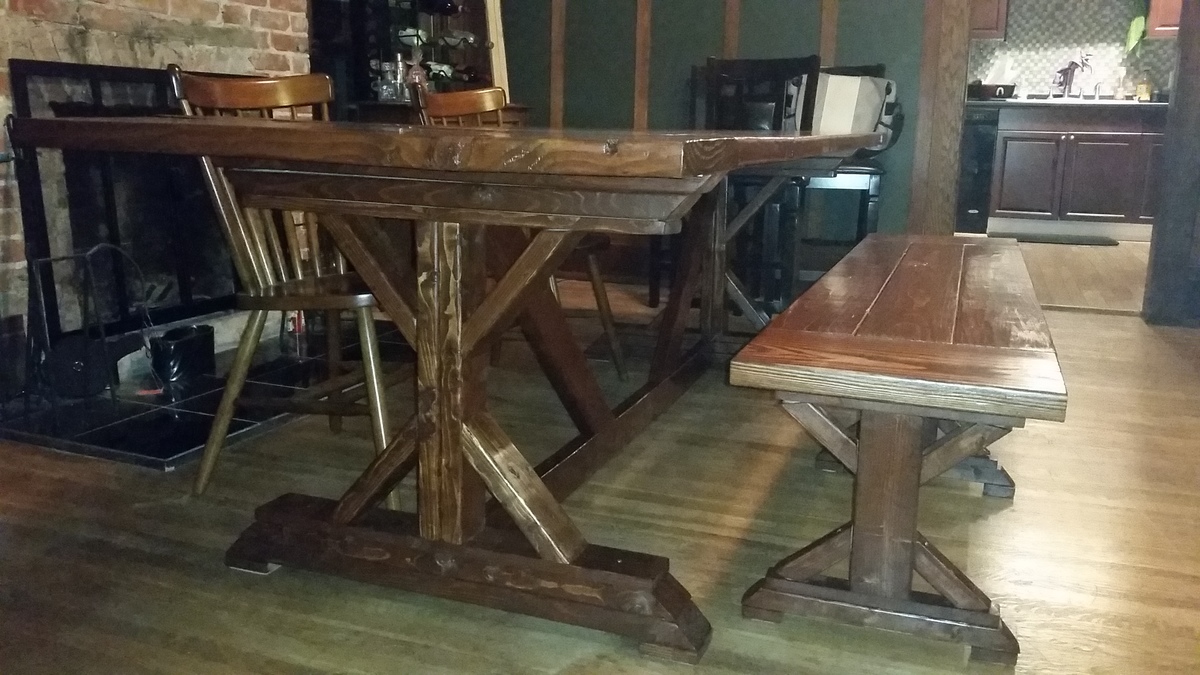
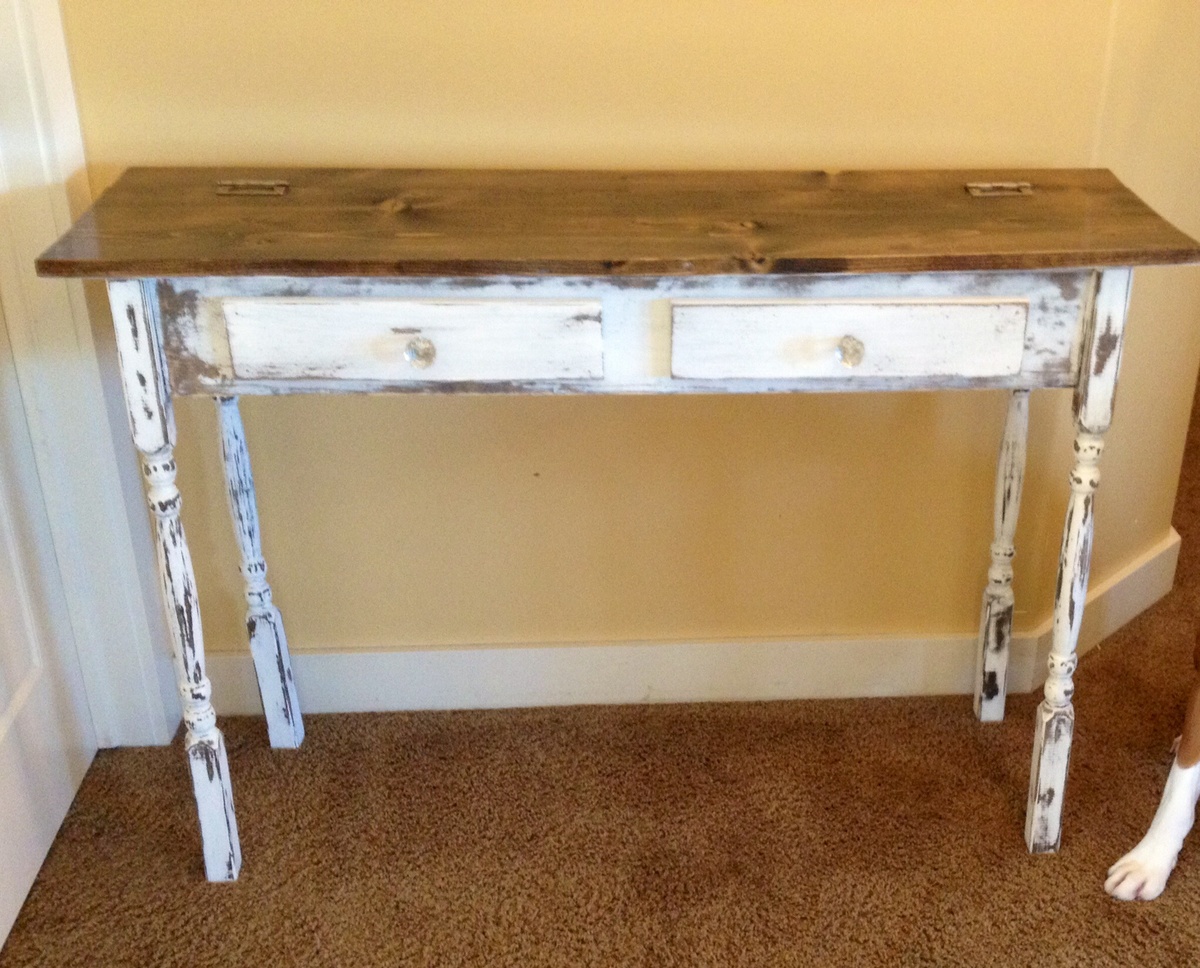
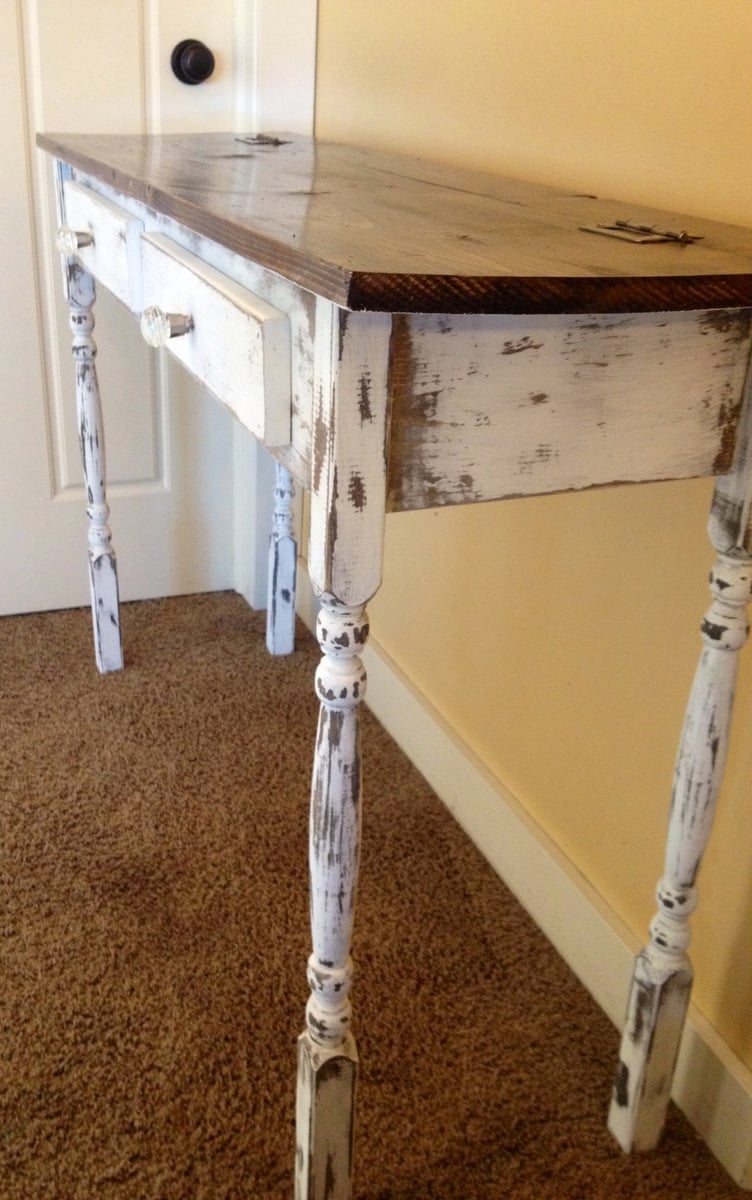
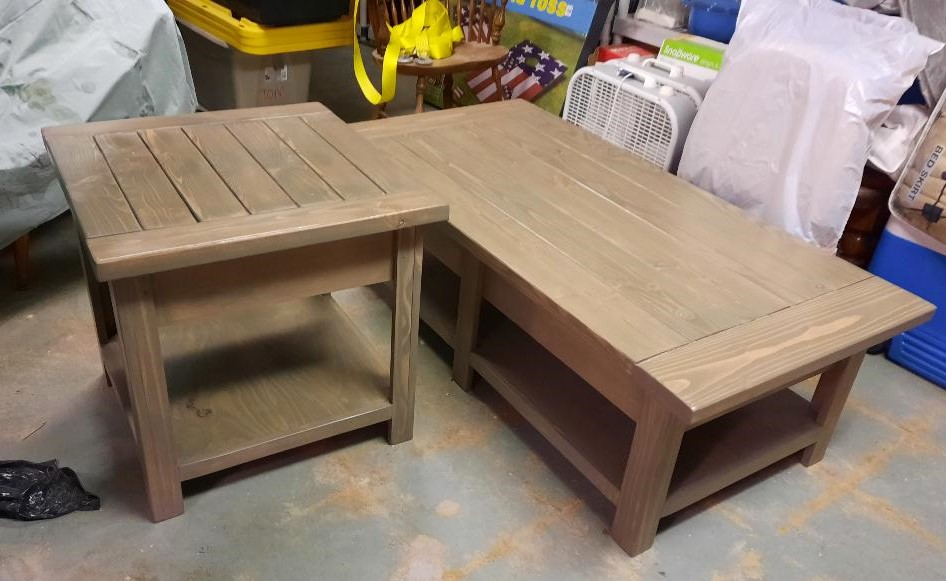
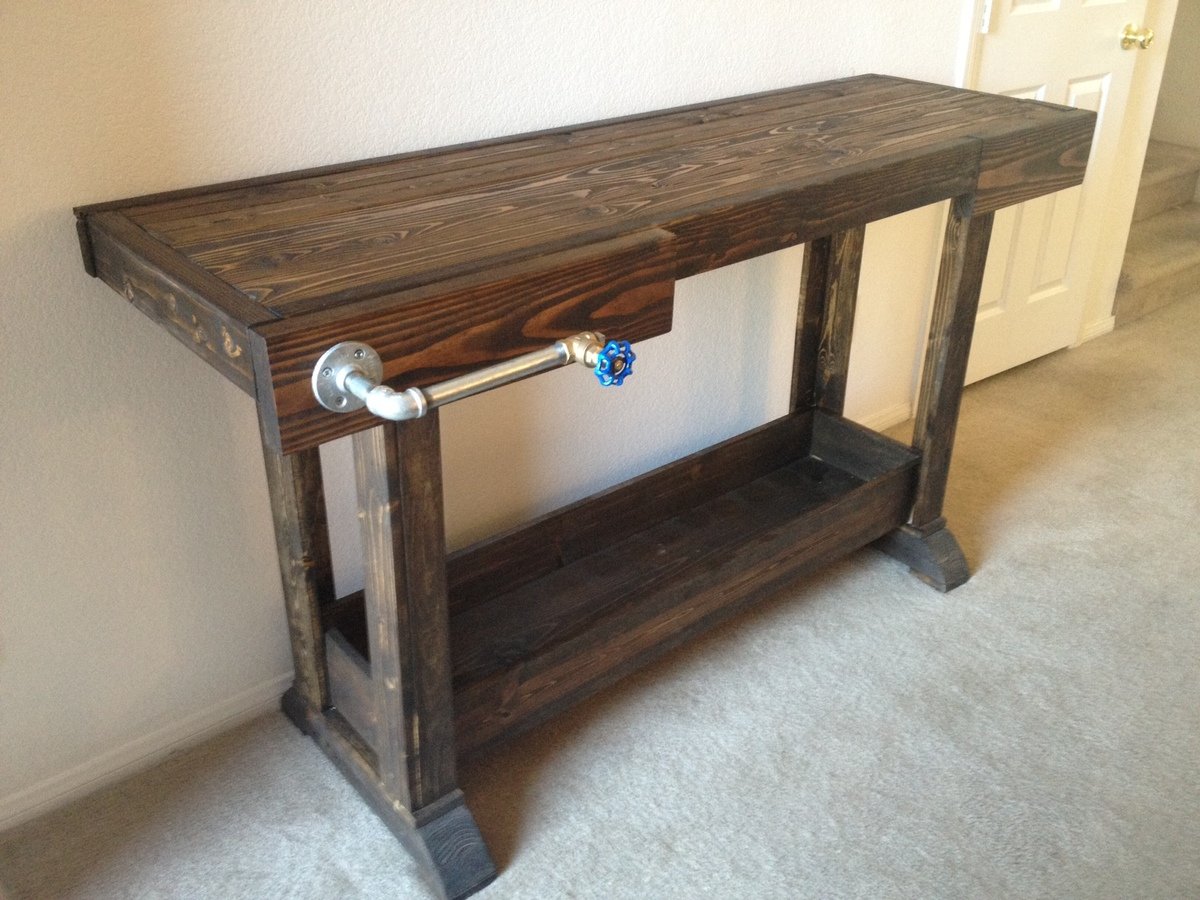
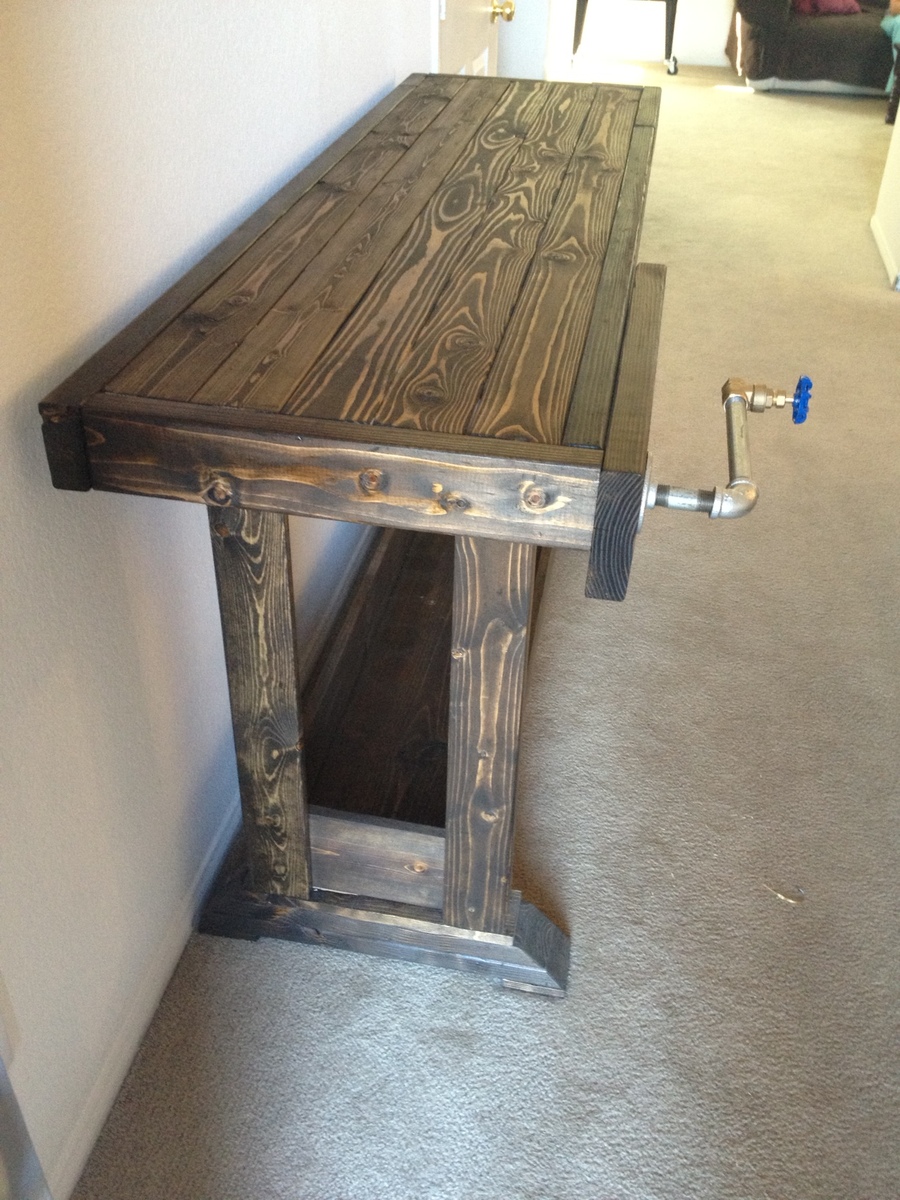
Spa Bench turned End Table
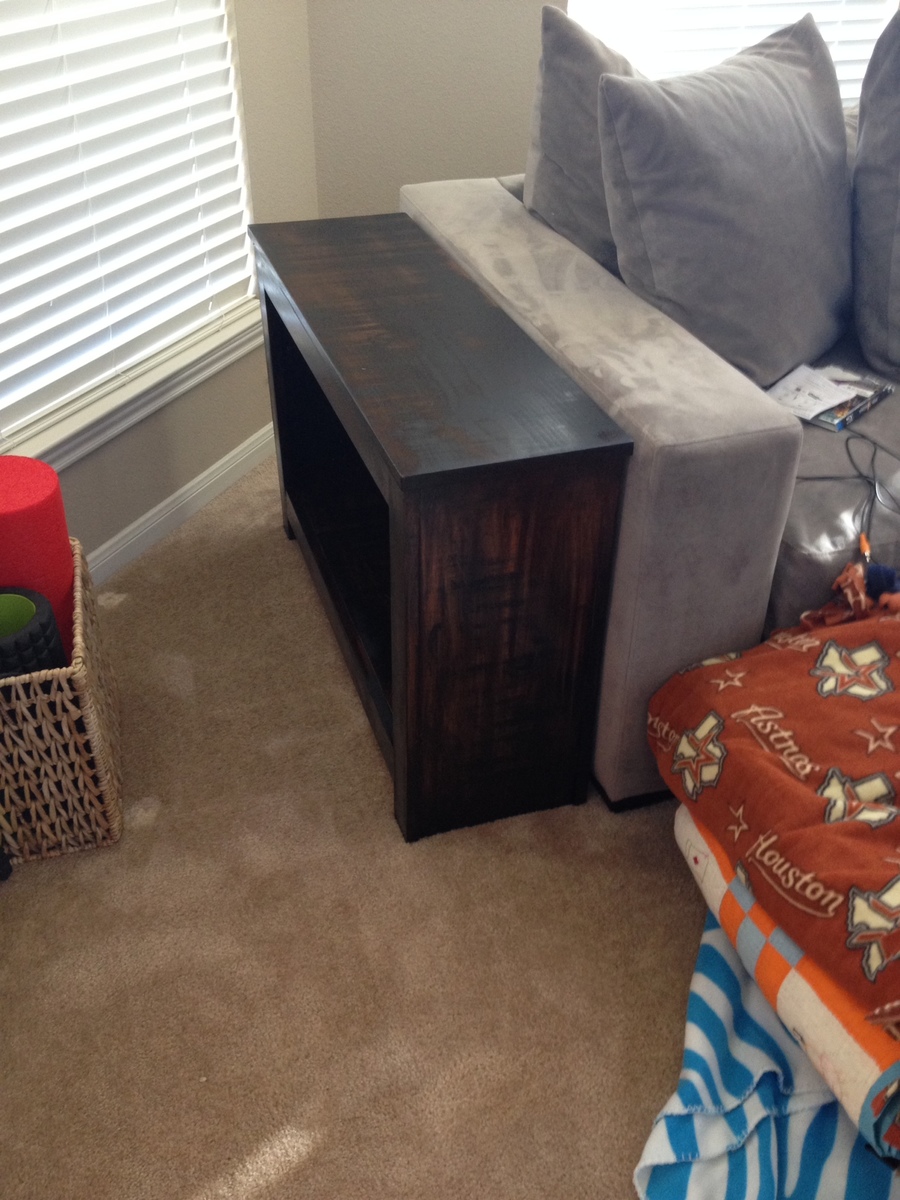
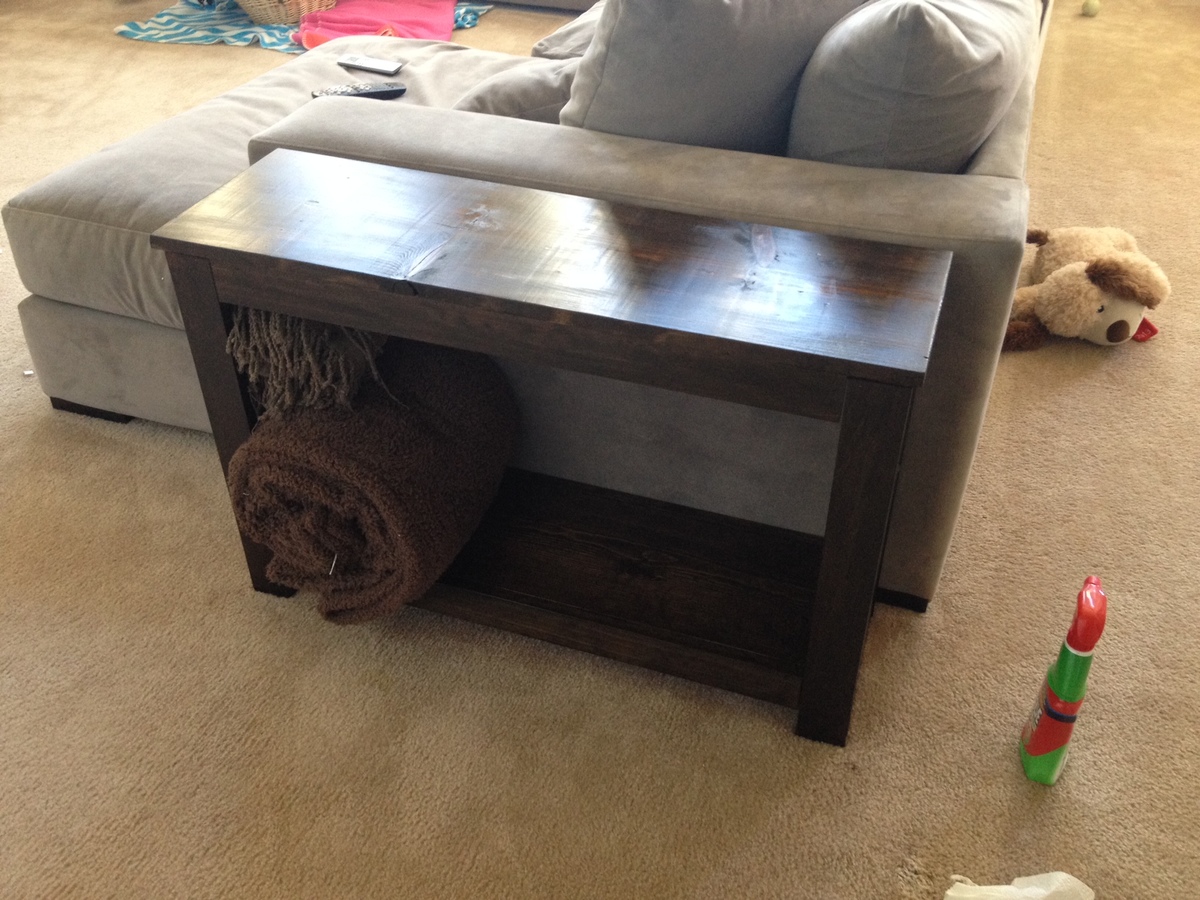
I was wanting long, skinny end tables for my couch and when I came upon the spa bench plan I knew it was perfect length and size for what I wanted. I only altered the plans by making it taller to fit my couch. This was my second build and I learned a lot through the process so these are not perfect but I love the imperfections. I also didn't like the first stain that I put on the tables and when I tried taking it off my sander made weird marks but it gave it a more rustic look which I ended up loving. (Which I could never recreate on purpose)
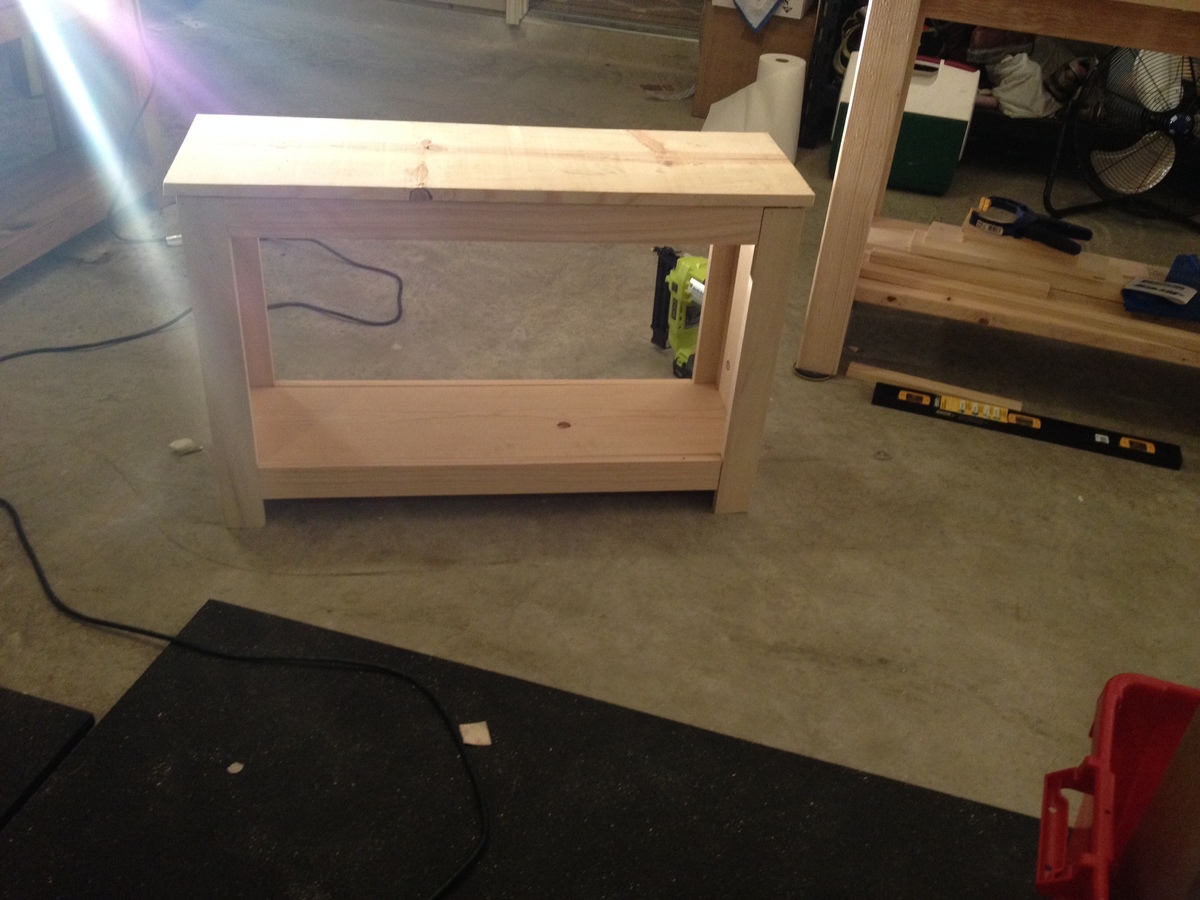


Built from Plan(s)
Estimated Time Investment
Afternoon Project (3-6 Hours)
Finish Used
Minwax Polyshade Antique Walnut sanded down and then 3 coats of Minwax Ebony which 2 coats of Minwax Fast-Drying Polyurethane Satin
Recommended Skill Level
Beginner