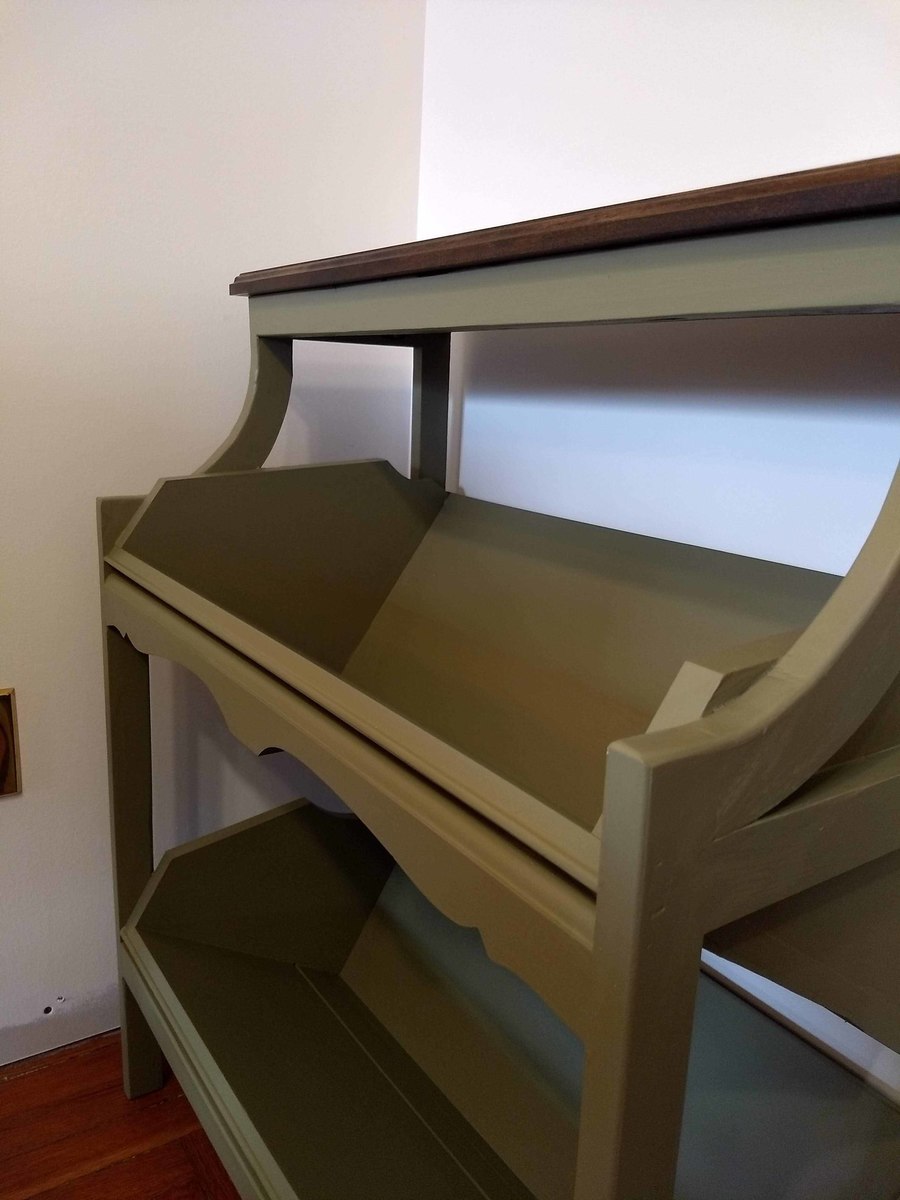
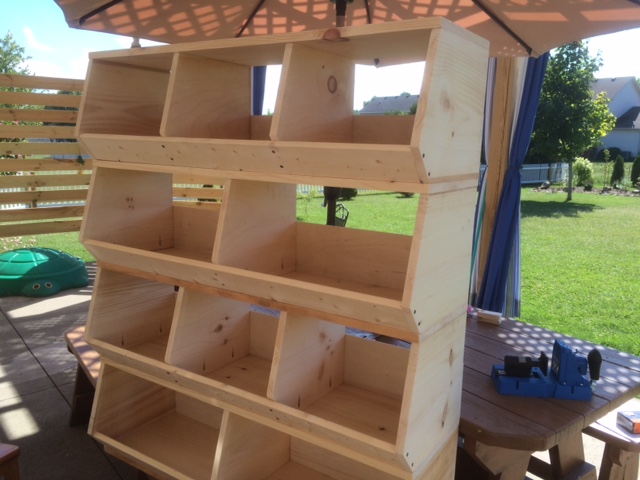
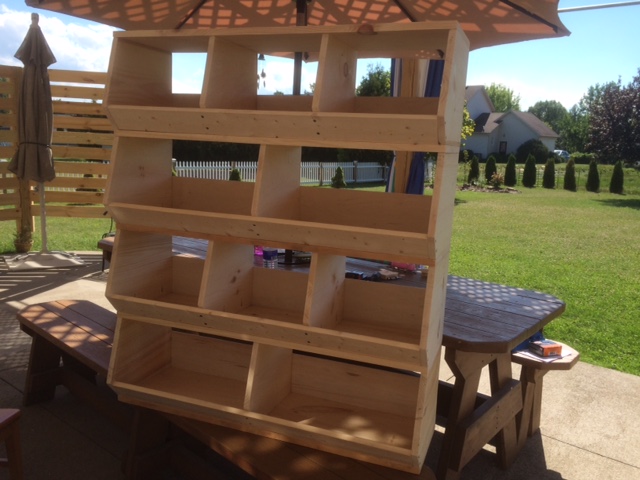
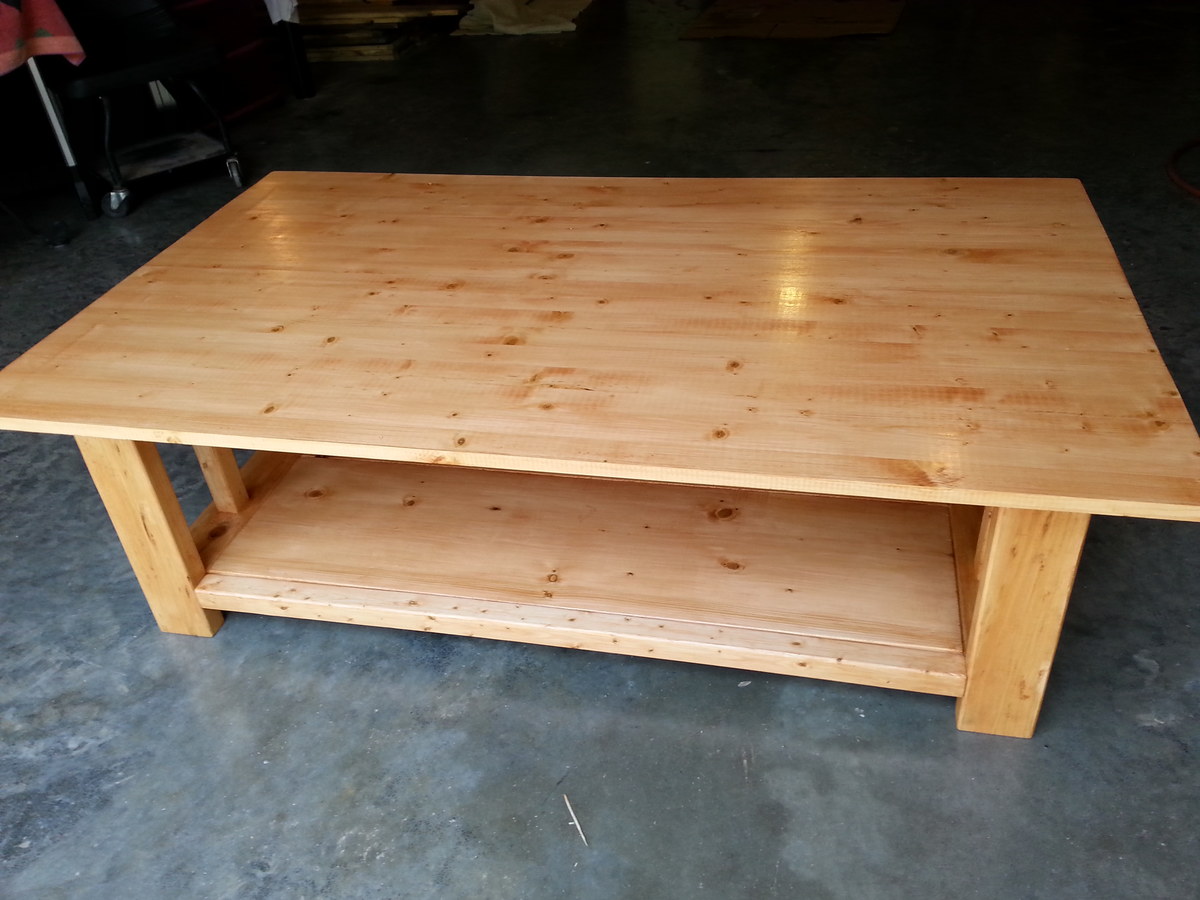
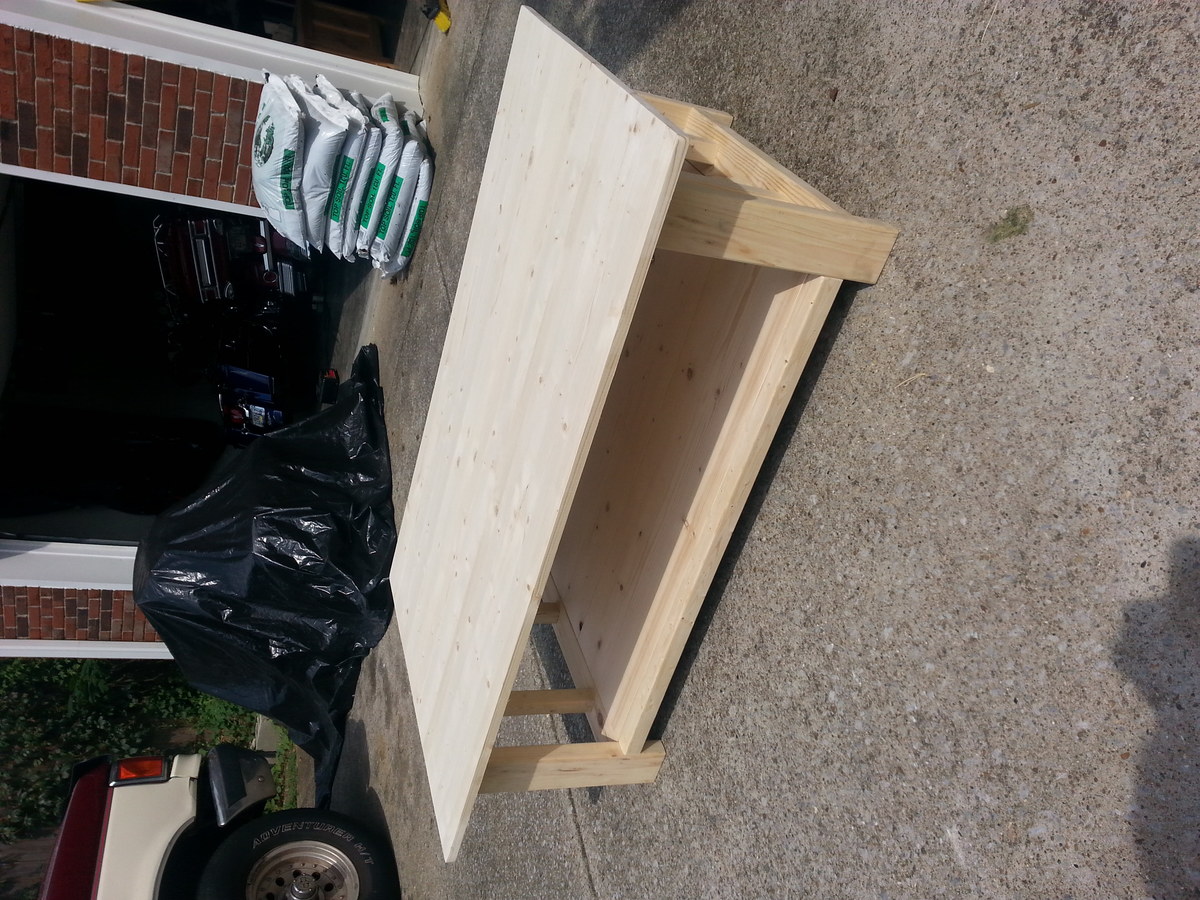
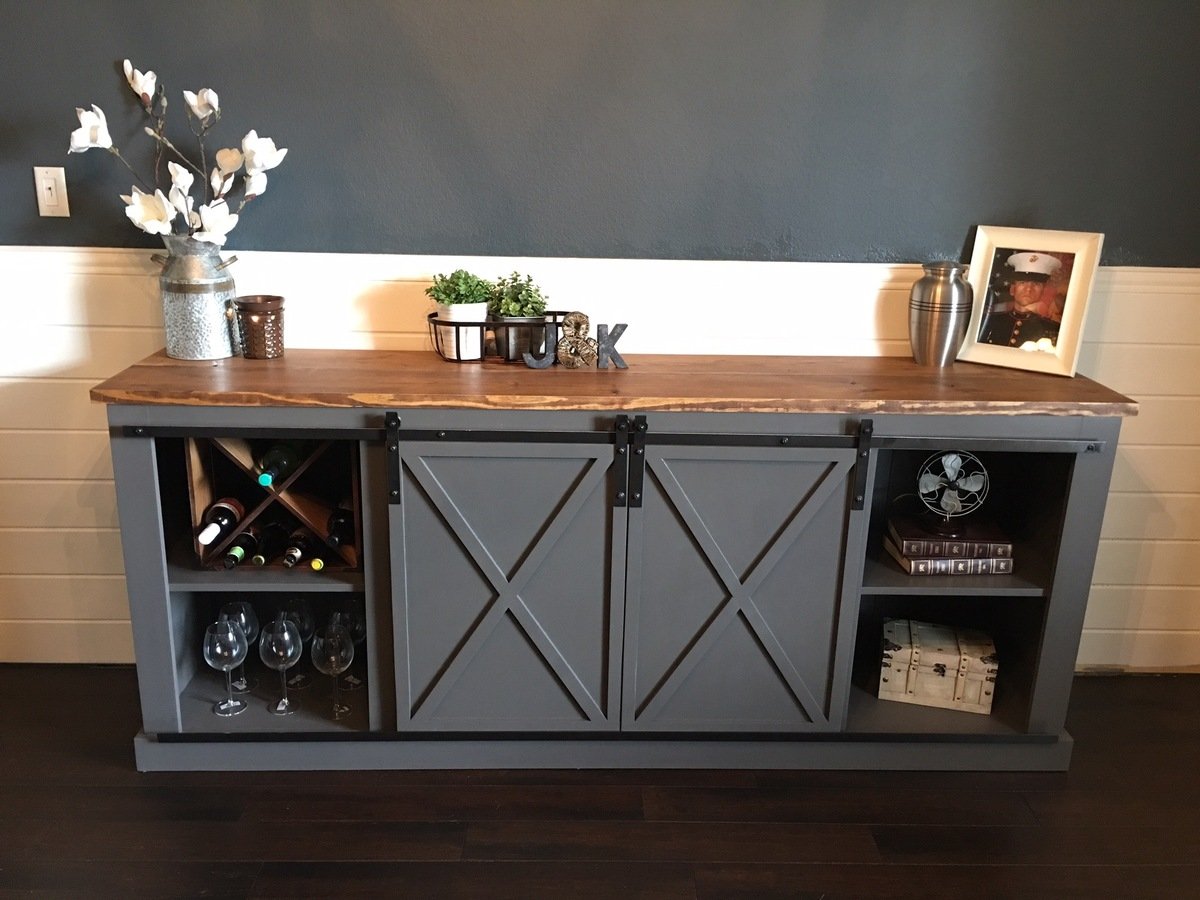
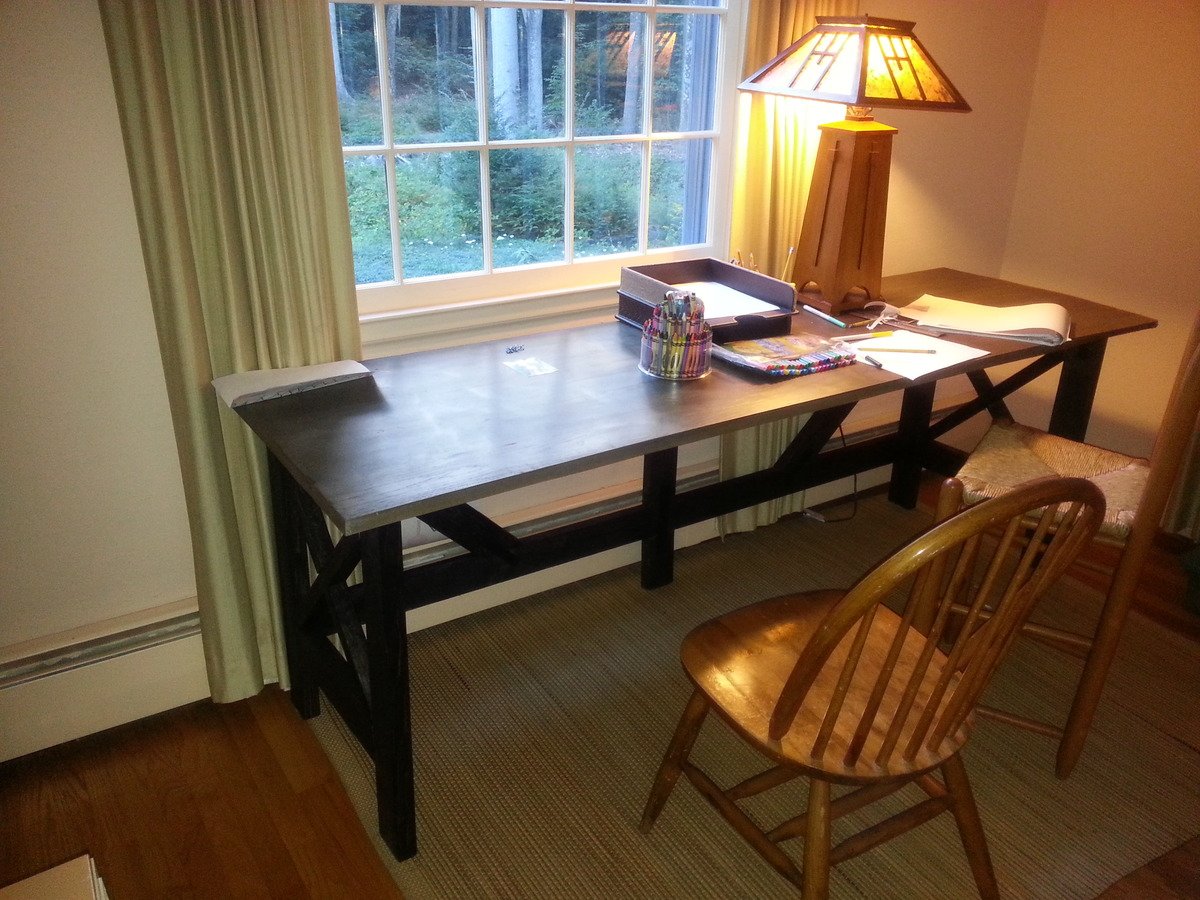
Kid-friendly Green Library Console
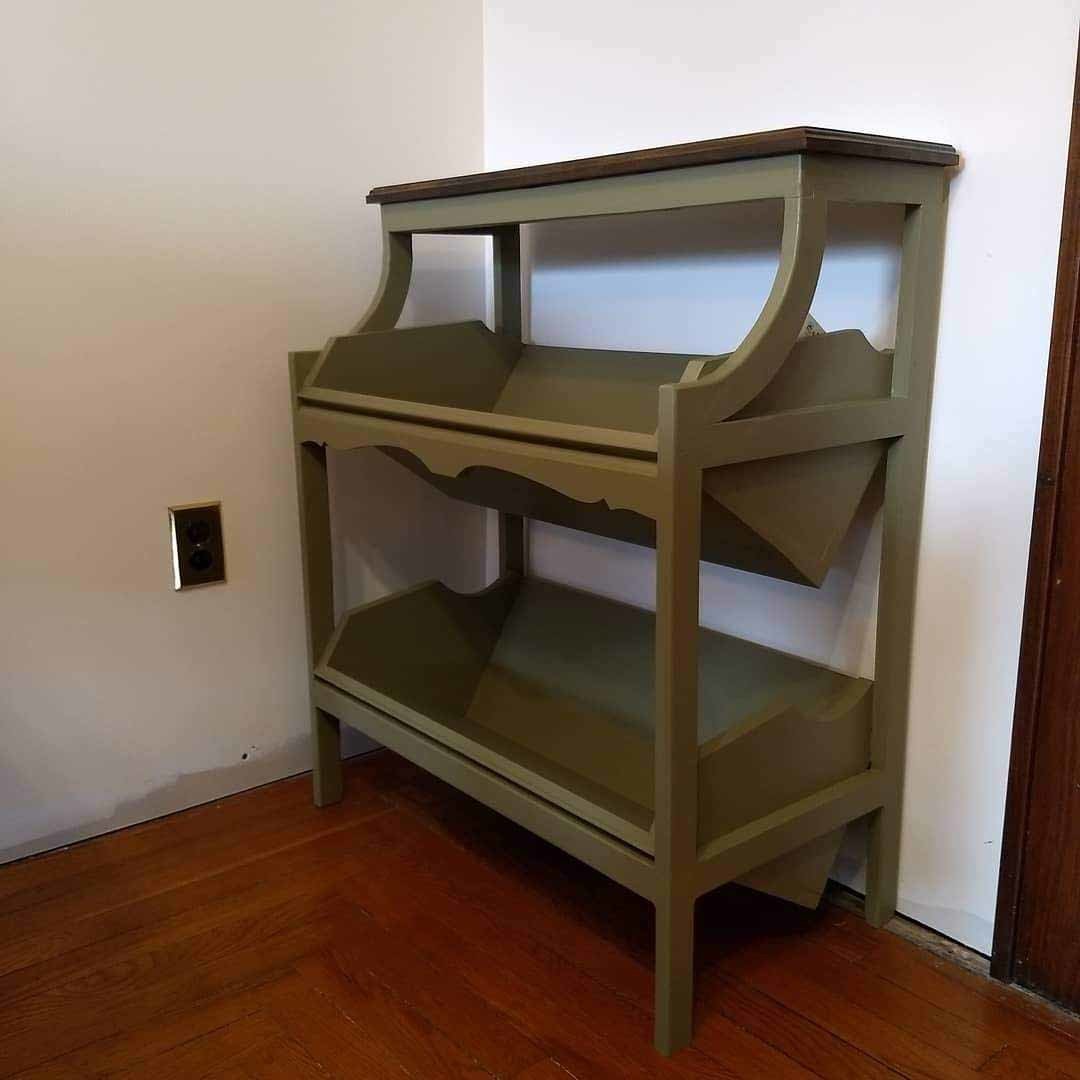
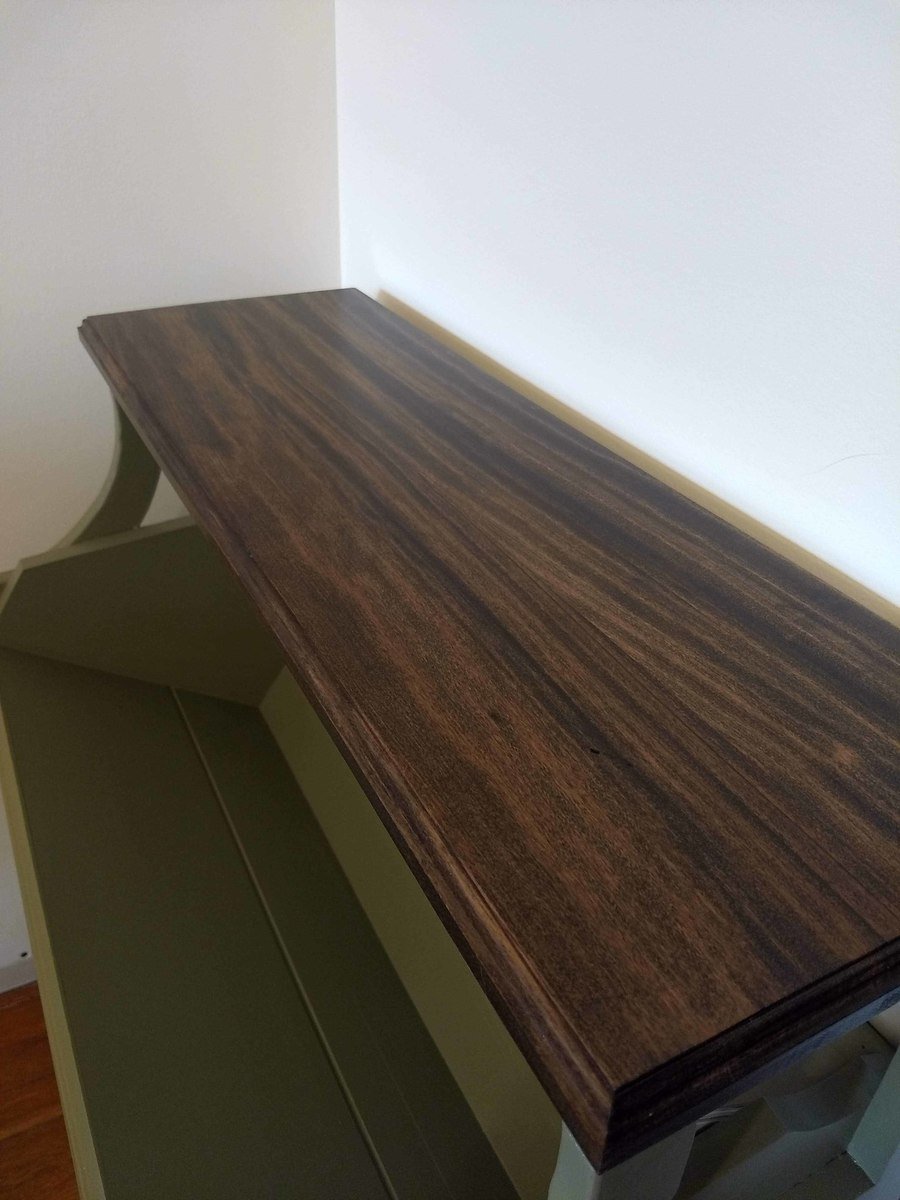
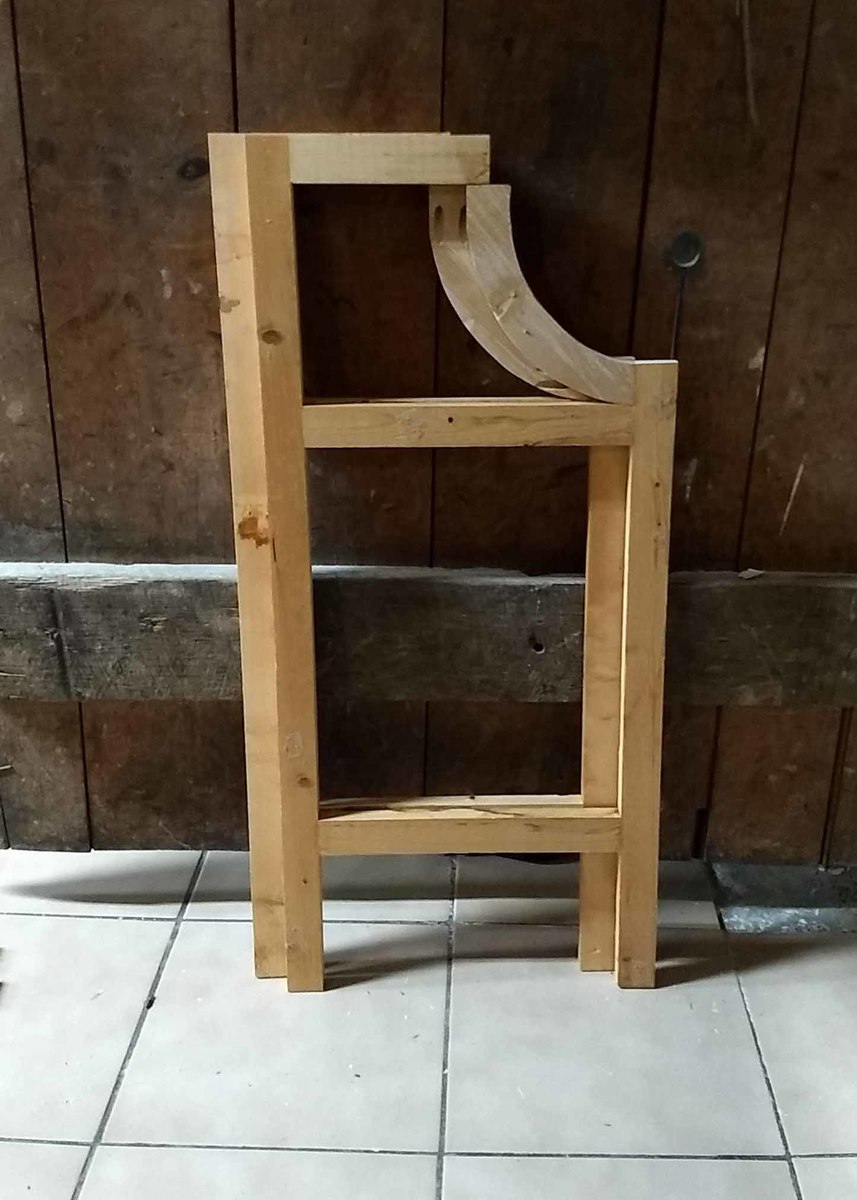
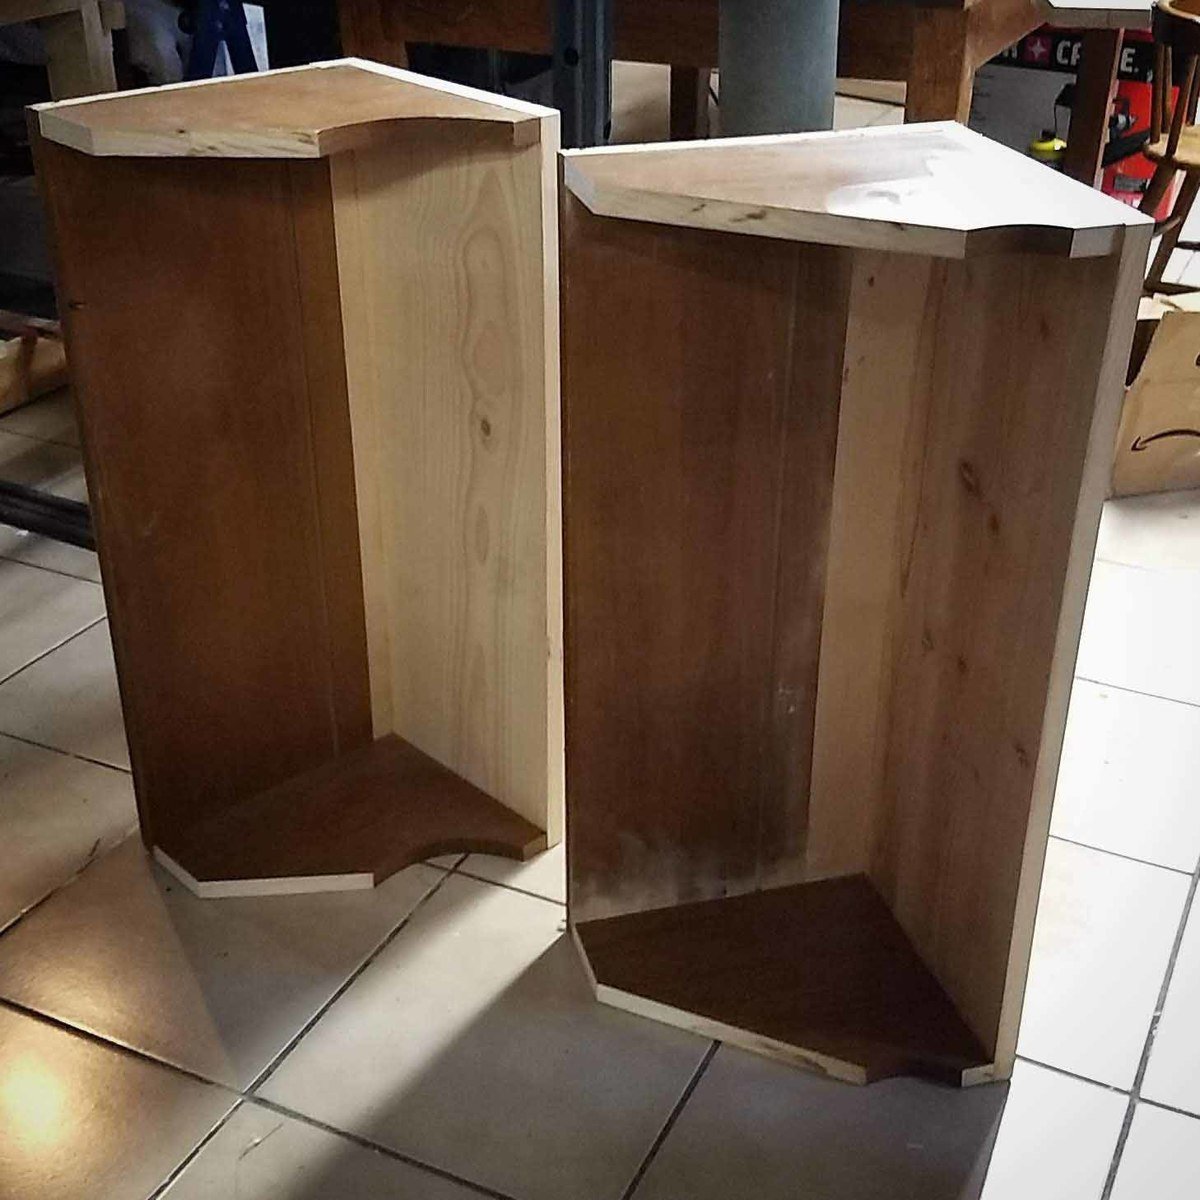
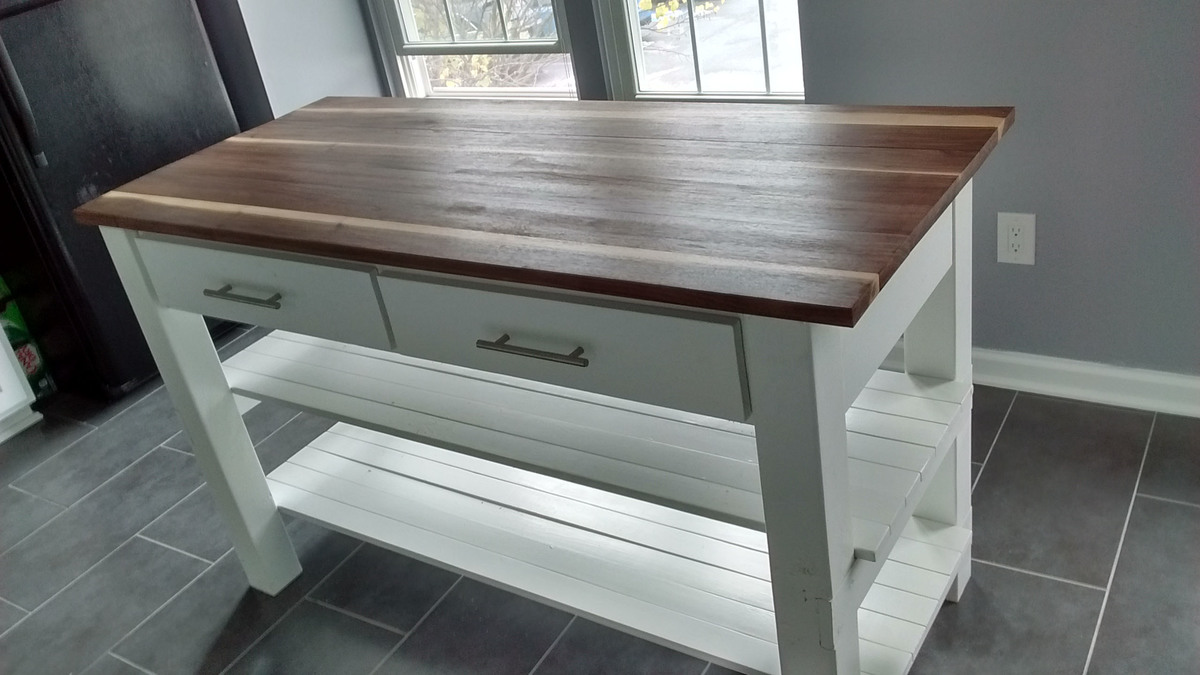
I did very little modification to the original plan on this one besides reducing the overall length to 28". I had an old plate/cup display hutch that wasn't very practical or pretty, so I took it apart and used the pieces to make the shelves (and the curvy bit under the first shelf). <!--break-->They weren't quite the right size, so I added other wood scraps (including a bit of plywood) to get the dimensions needed. The 1x2s are crappy used furring strips I ripped out of the attic when we redid the roof, so they were all water stained and covered in nail holes. The top was a vintage table leaf I acquired at some point and appears to be 3" pieces of poplar glued together (it took the stain beautifully). Oh! I did do one other thing that wasn't in the plans...I connected the shelves to the base using 5/8" dowels through the horizontal pieces on the sides. It took a little extra time, but I do feel more secure with the weight of the books+shelves (+possibly a climbing child) resting on those dowels instead of just screws.
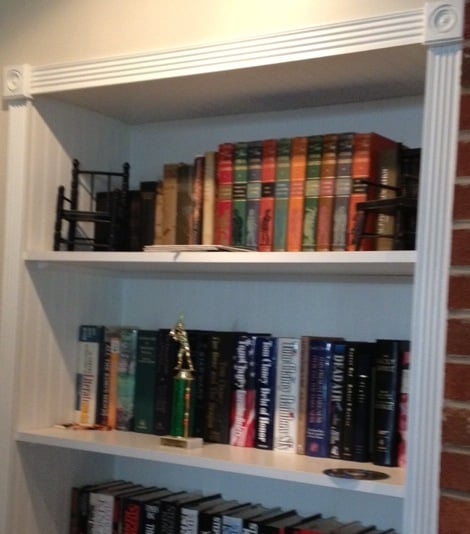
The main thing is that this case holds my toddler's whole library. She can even put the books away by herself without them falling off when she doesn't place them just right. I love that it looks like it belongs in a grown-up's living room, but it's 100% classy kid-friendly furniture design!