Library Coffee Table with Reclaimed Barn Wood Top
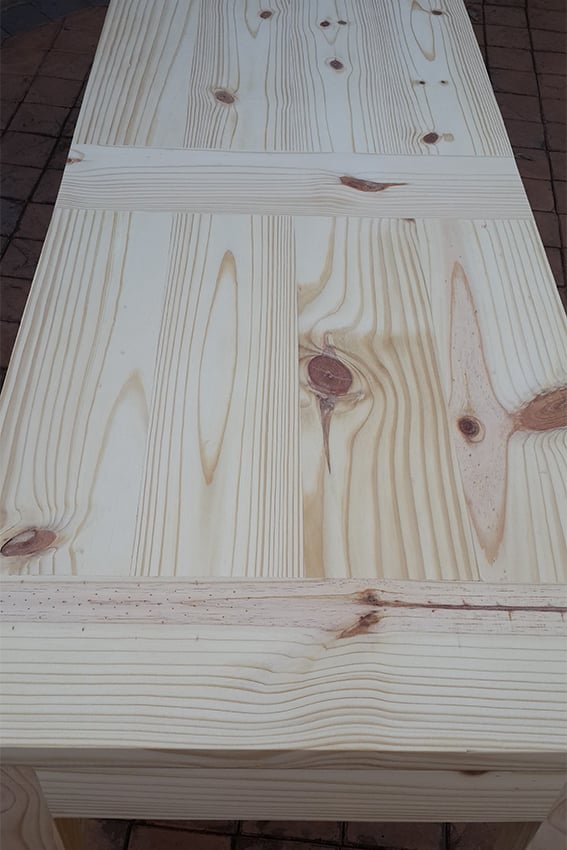
Modified the plans to be only 3 drawers which saved on weight and hardware. Used reclaimed 100+ year old barn wood for the top, adding lots of character.
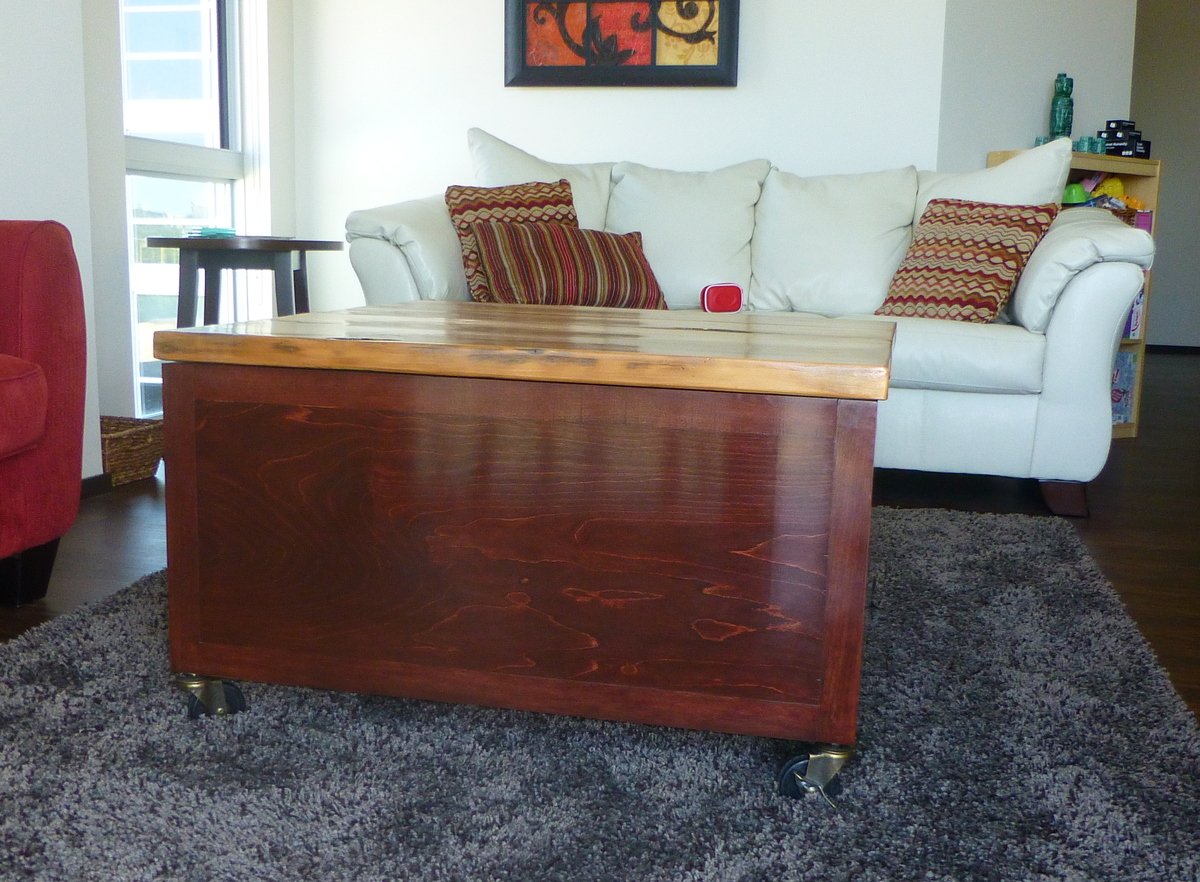
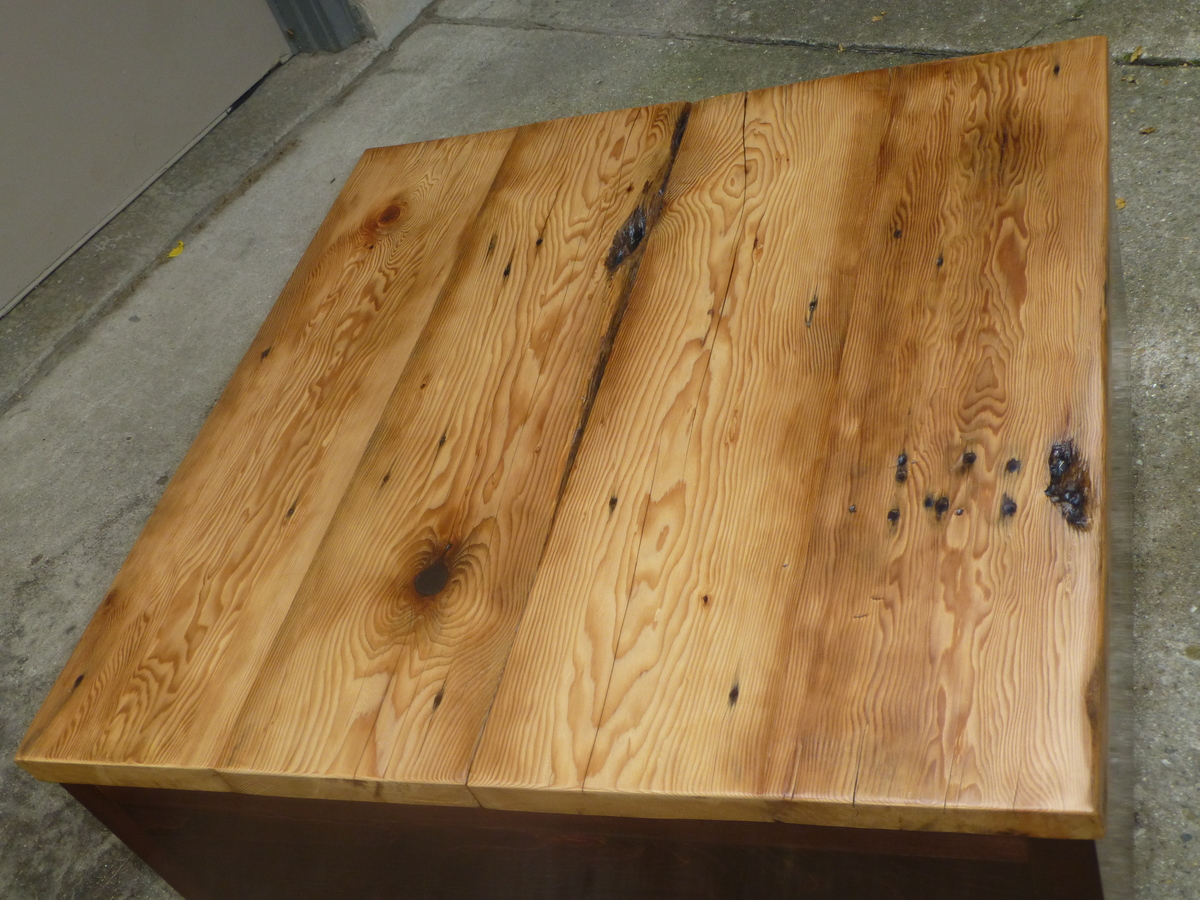
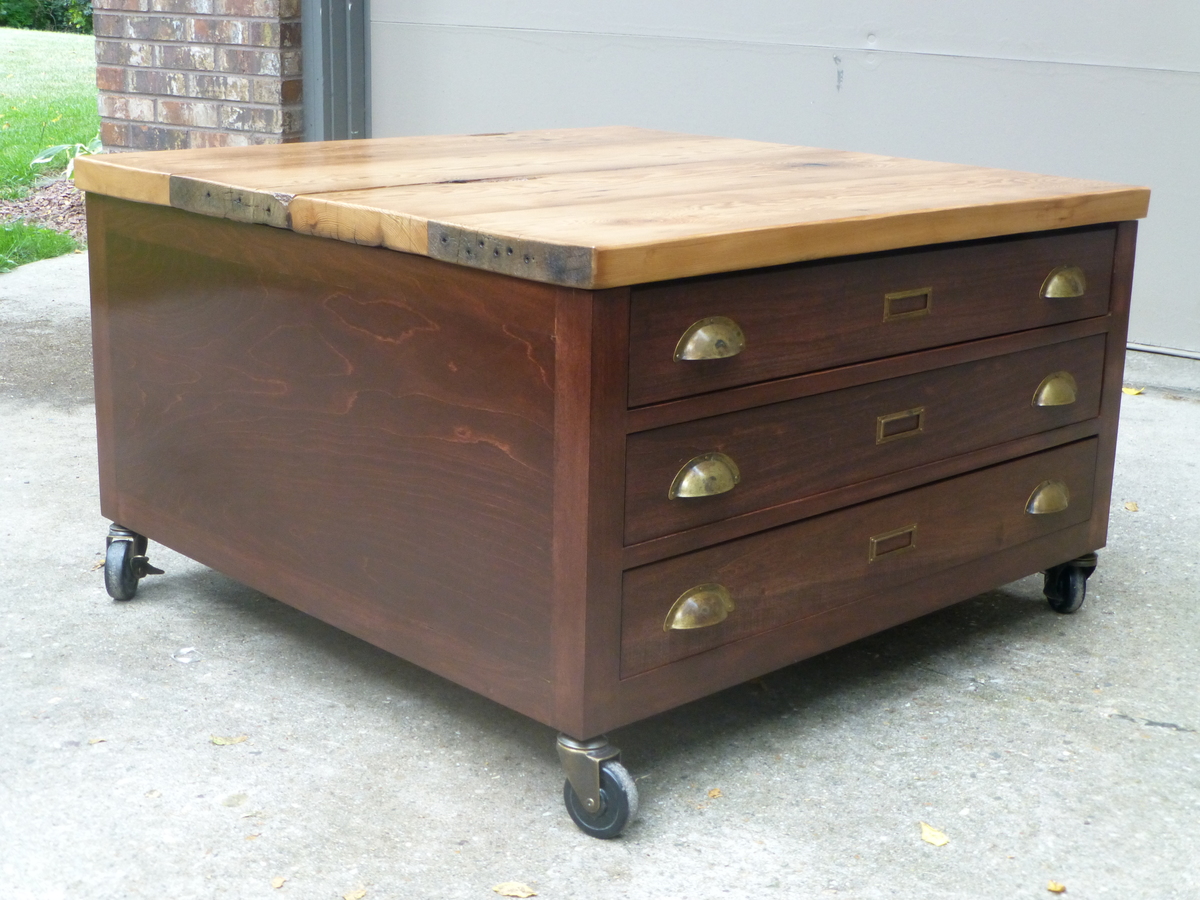
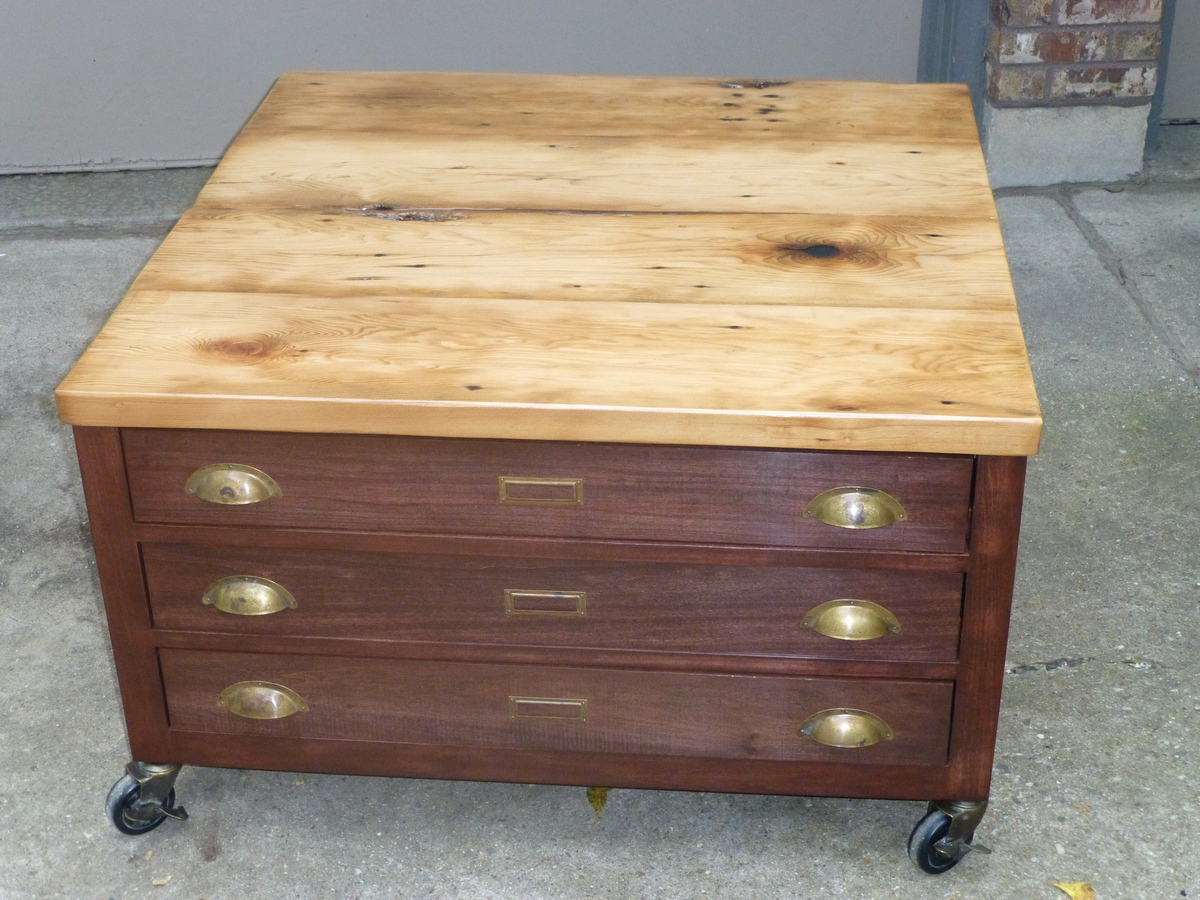
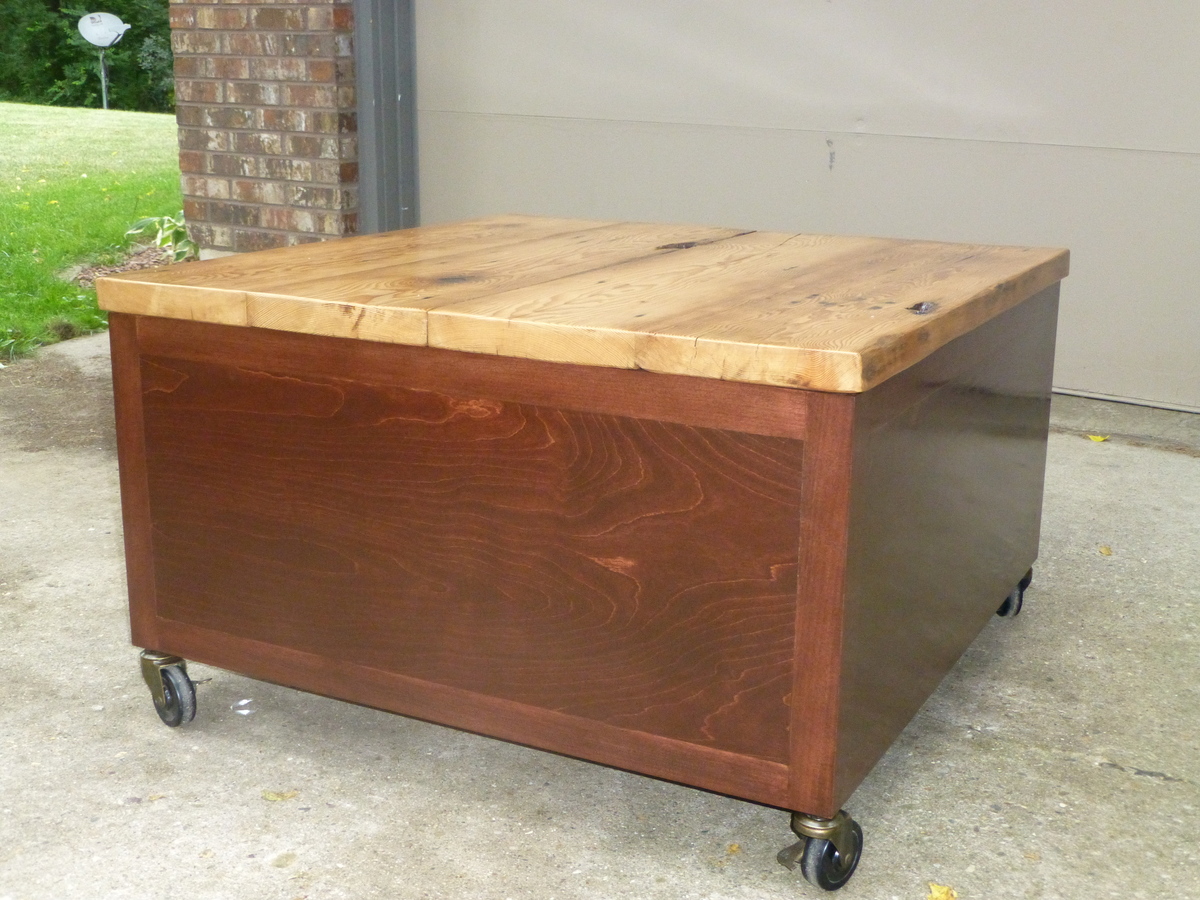
Modified the plans to be only 3 drawers which saved on weight and hardware. Used reclaimed 100+ year old barn wood for the top, adding lots of character.


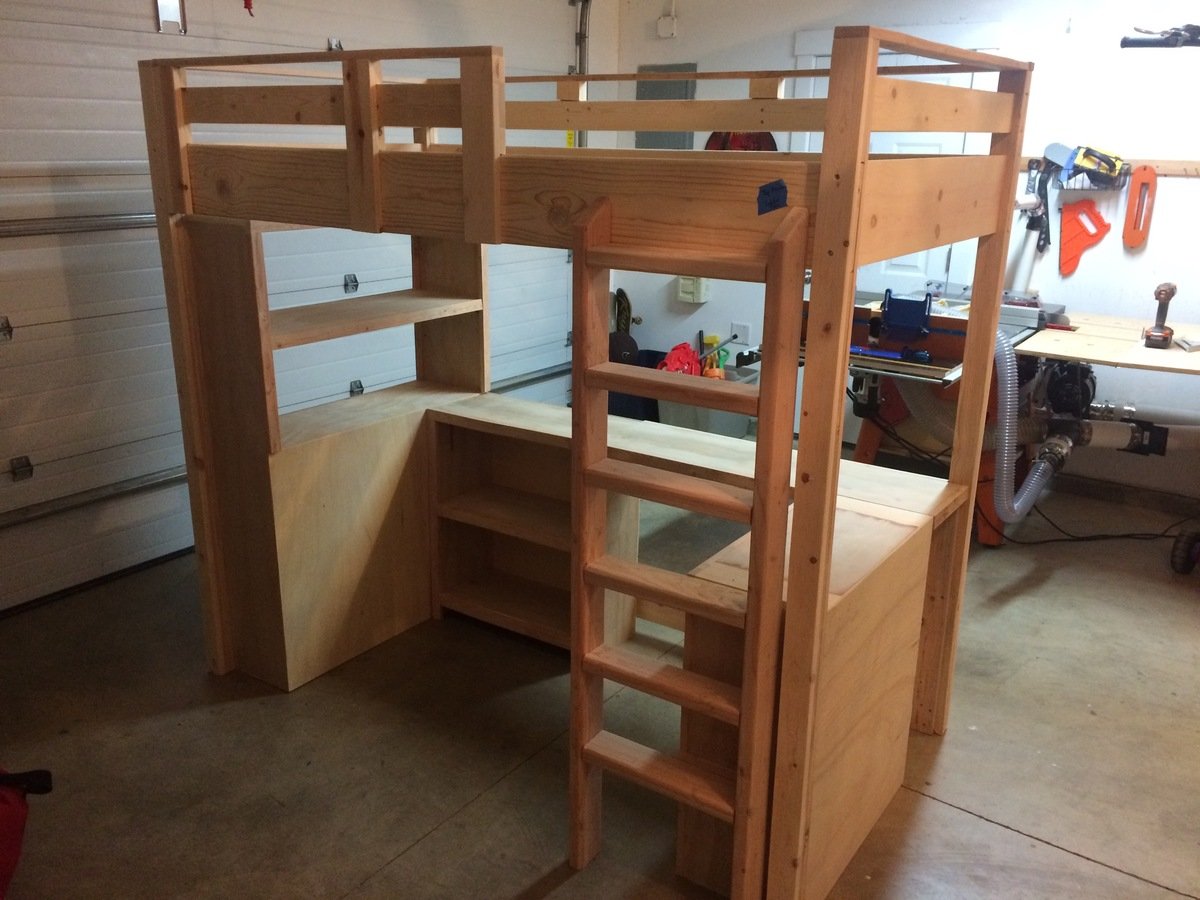
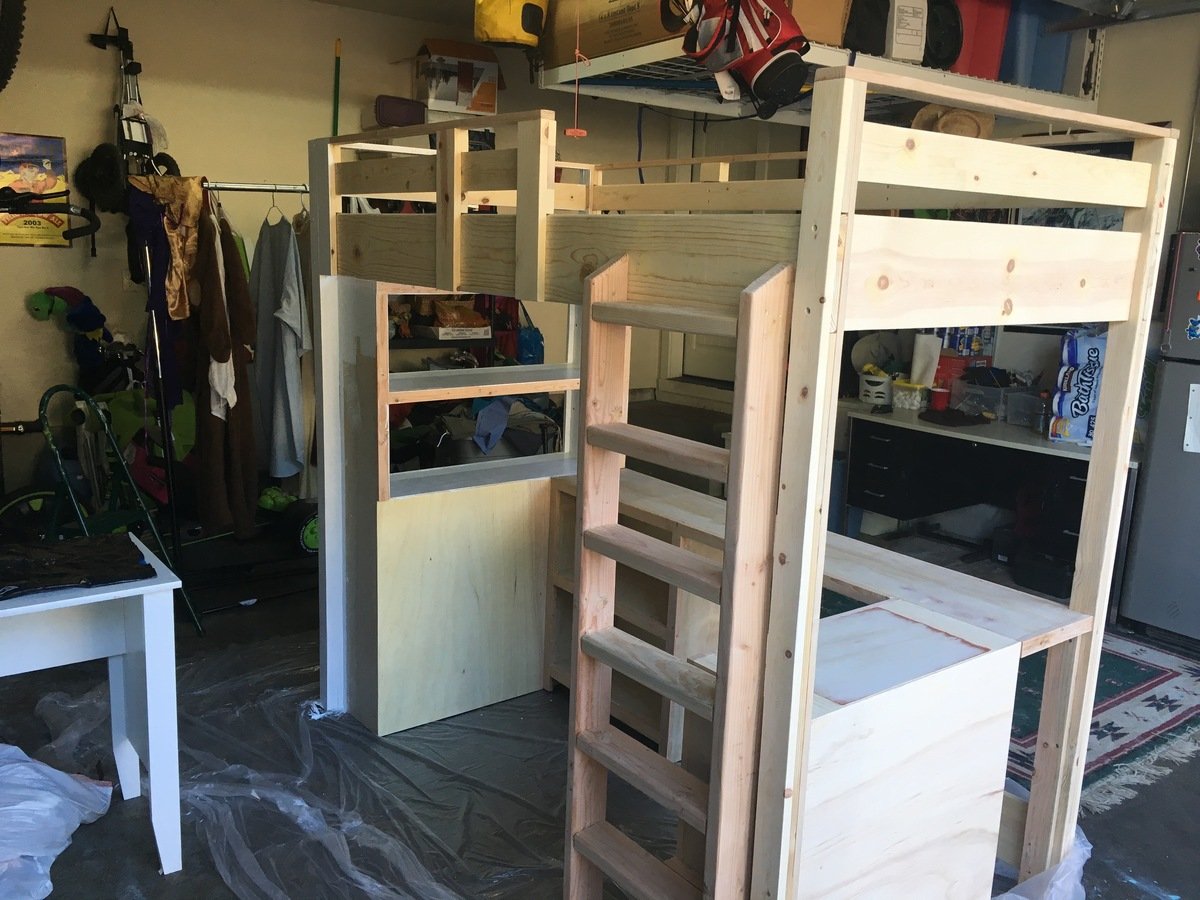
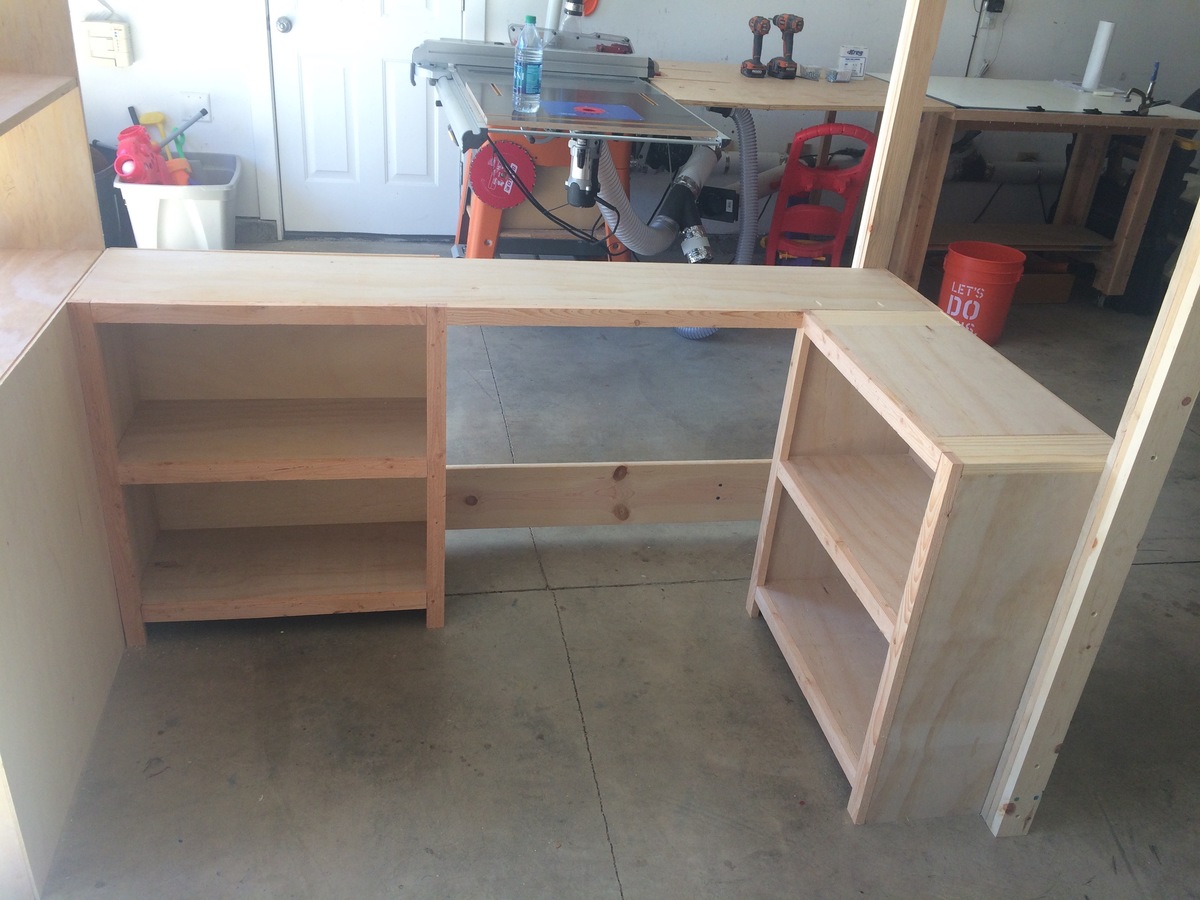
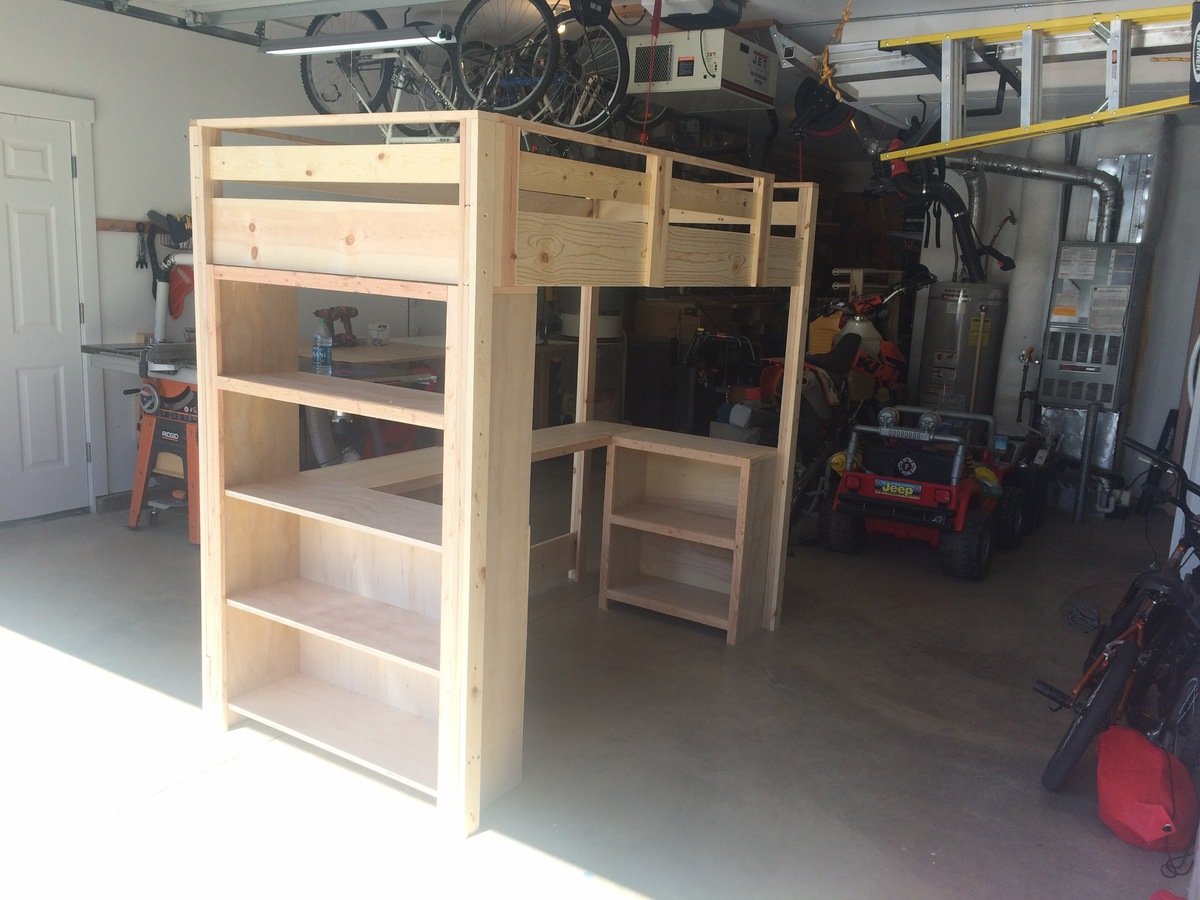
I built this loft bed for my neighbor's daughter. It has a lot of space for storage and the book shelves with desk really add a lot of stabilty. I added some supports to the back rail as it moved to much for me and made the ladder out of 2x material as it kept costs down and seemed stronger. Neighbor wanted the ladded straight up and down so I connected it to the lower bookshel too! Would not recommend cutting pieces in advance on this one! I also used plywood for the shelves and trimmed them out as it was cheaper!
Mon, 10/05/2015 - 14:39
Good job! I am toying around with building something similar from scratch. A few questions if you don't mind:
1. Given the sturdiness, I am guessing it is fairly heavy. Could two people move it?
2. By chance, is it modular for easy breakdown and transport (upstairs)?
3. Are there any plans available (materials listing, cuts, etc.)?
Thanks for posting and keep up the great work. I am sure your neighbor will be pleased!
Tue, 10/13/2015 - 15:03
Hopefully you have not been waiting long! I do not get notified for some reason to remarks any longer!
Yes, it's very sturdy, especially with the addition of the book shelves and desk. Itt is designed to come apart with a few screws, so going up stairs is not an issue. I got it from the following plans.
http://ana-white.com/2010/05/furniture-plans-loft-bed.html
http://ana-white.com/2010/06/plans/what-goes-under-loft-bed-how-about-big-bookcase
http://ana-white.com/2010/06/loft-bed-small-bookcase-and-desk
I do not recommend cutting everything in advance. Build as you go if you want everything to fit perfectly!!

I built this for my daughter after building a ladder shelf for my kids bathroom. It took more time to install and adjust the drawer slides and paint the project.

Sat, 09/07/2019 - 03:32
Hi mltdblack
Really nice finish on the cabinet.
It looks like there’s molding on top of your mirror.
Did you buy a mirror with a frame or buy molding and put it on over the mirror?
What molding did you use an how did you secure it?
What size mirror did you use? Thanks
Fri, 01/07/2022 - 14:14
I am so sorry. This is the first I am seeing your question. The mirror came with a frame and I carefully nailed thru the frame to attach with my 18 gauge nailer. I bought the mirror at Lowe’s and I believe it was 15.5” x 50”. Also, I used full extension soft close drawer slides.
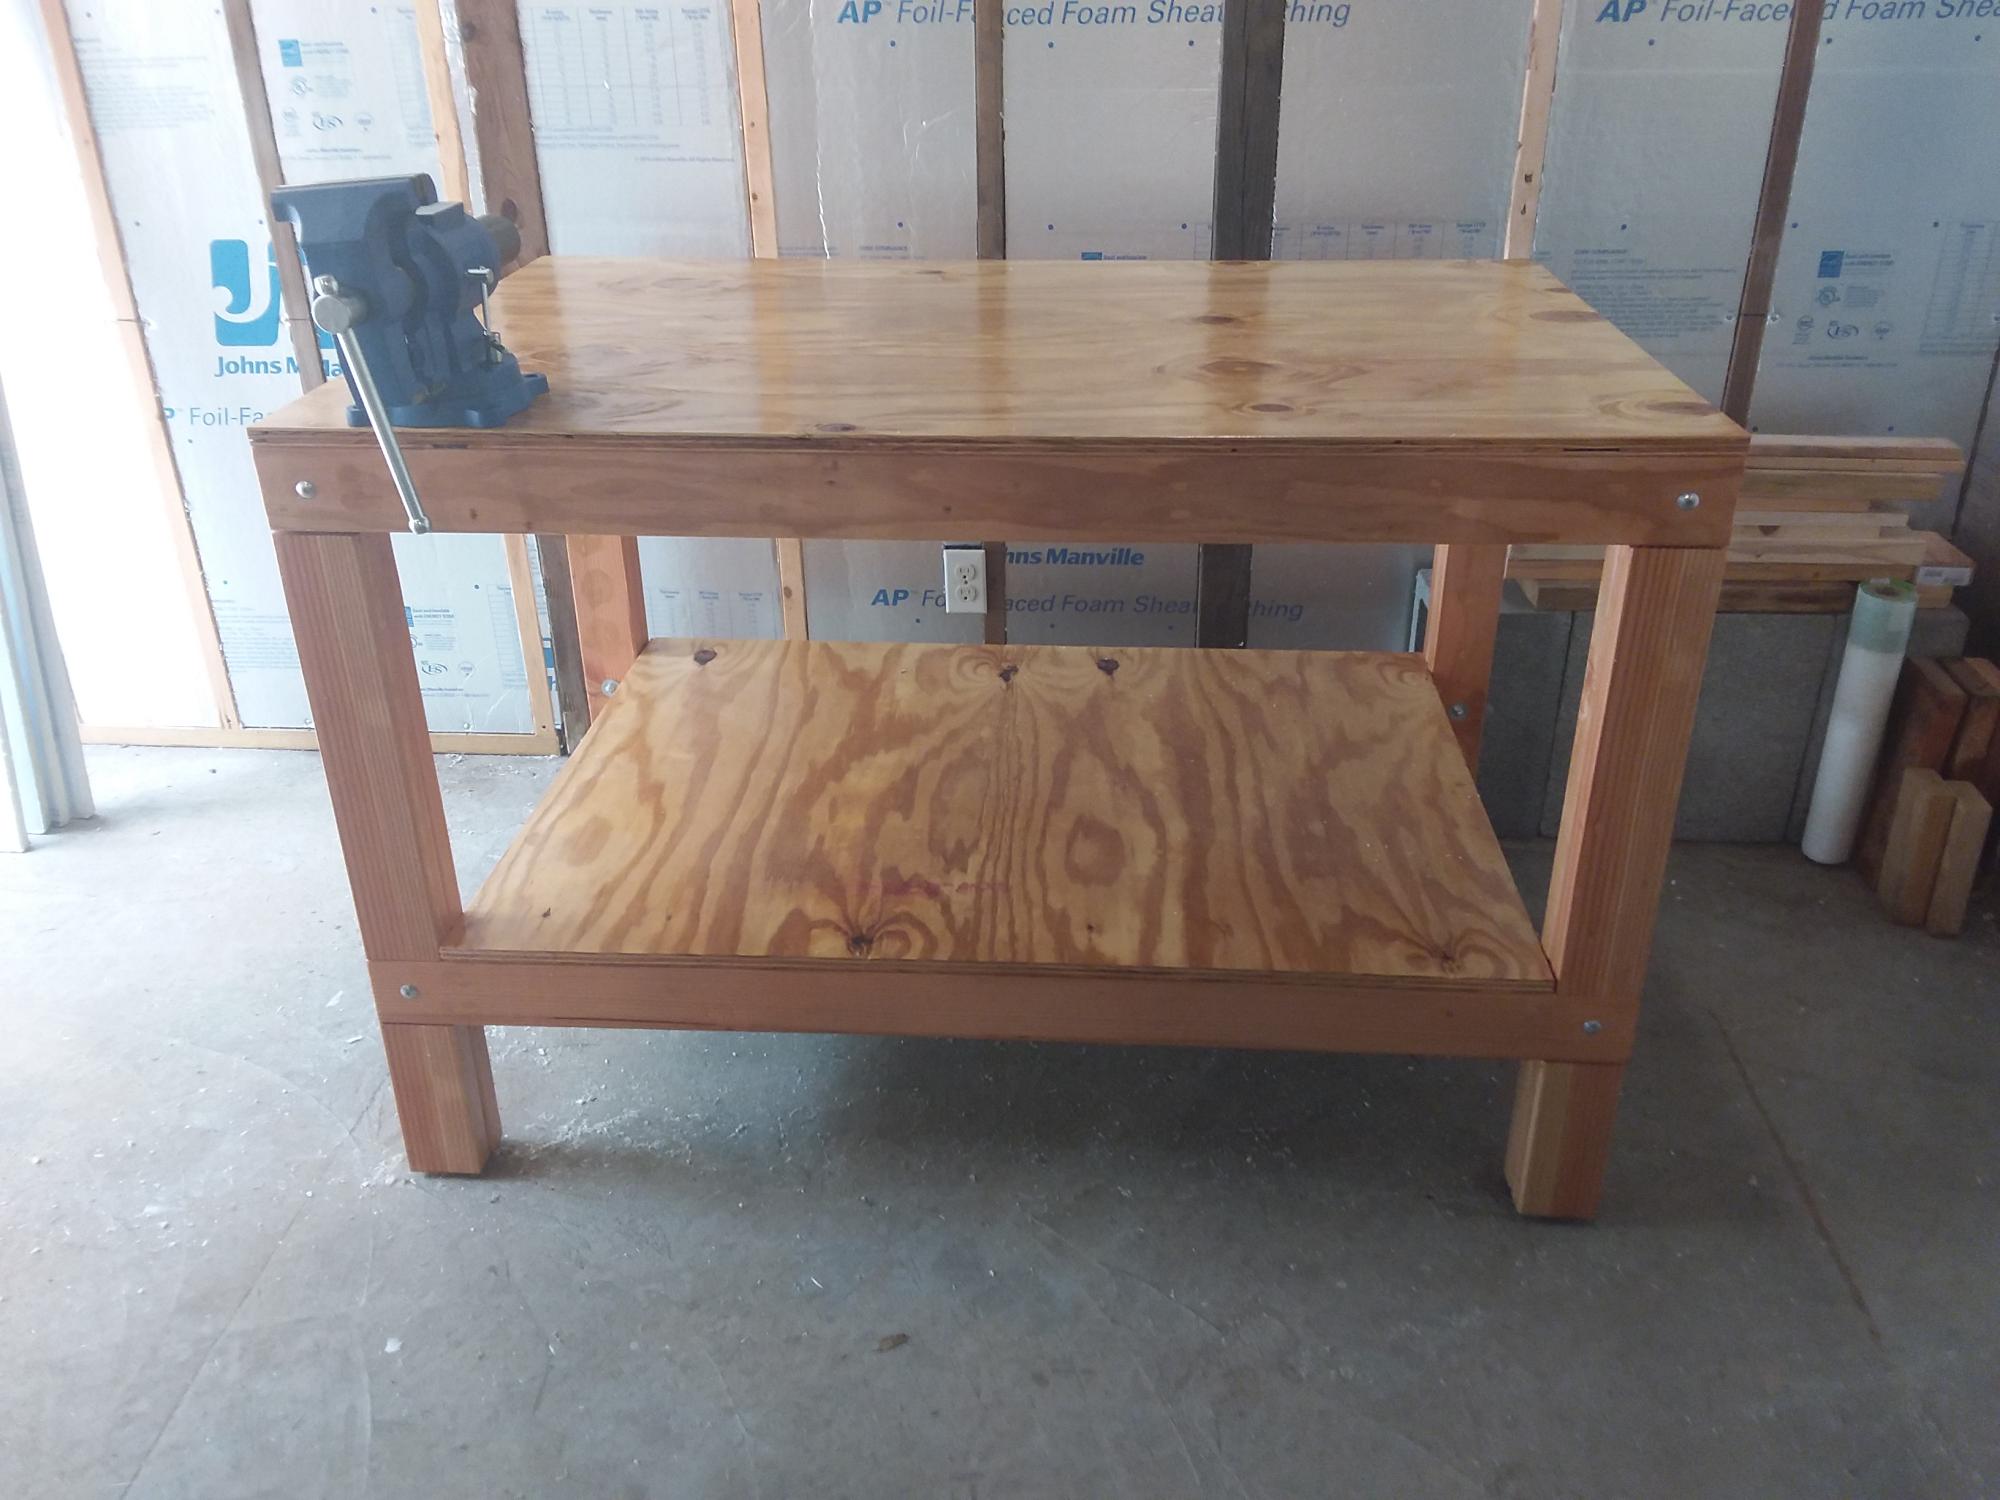
Great plan and great instructions (especially the cuts). My only two deviations from the original design were to use carriage bolts to secure the long apron pieces to the legs (I like to have the bench frame be more flexible while I add the components and then tighten everything up once all the pieces are in place) and to add adjustable feet (You might have stellar tradesmen up there, but down in the Pennsylvania woods, we tend to get the C & D graduates from Trade School; hence, level, evenness, & square are rare qualities to be celebrated when encountered and not taken for granted). My only other comment regarding the instructions would be to mention in the tools required that either a big honking set of clamps (36" span) or maybe ratcheting straps would be a good thing to hold the shell together while you are trying to screw the cross pieces into the shell. Maybe you are good enough to do it without clamps / straps , but I sure couldn't get the (slippery) glued cross pieces to stay put without some kind of support. Other than that, great design and instructions. Thanks!
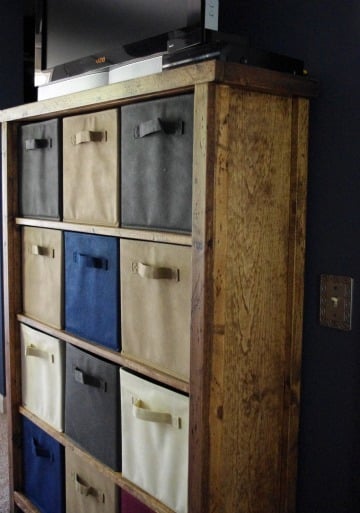
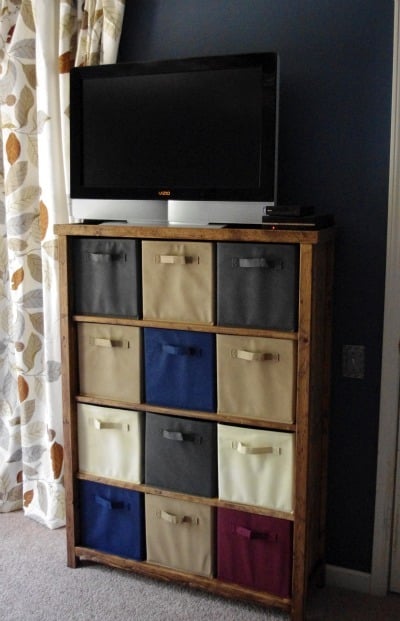
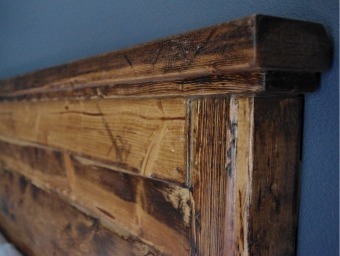
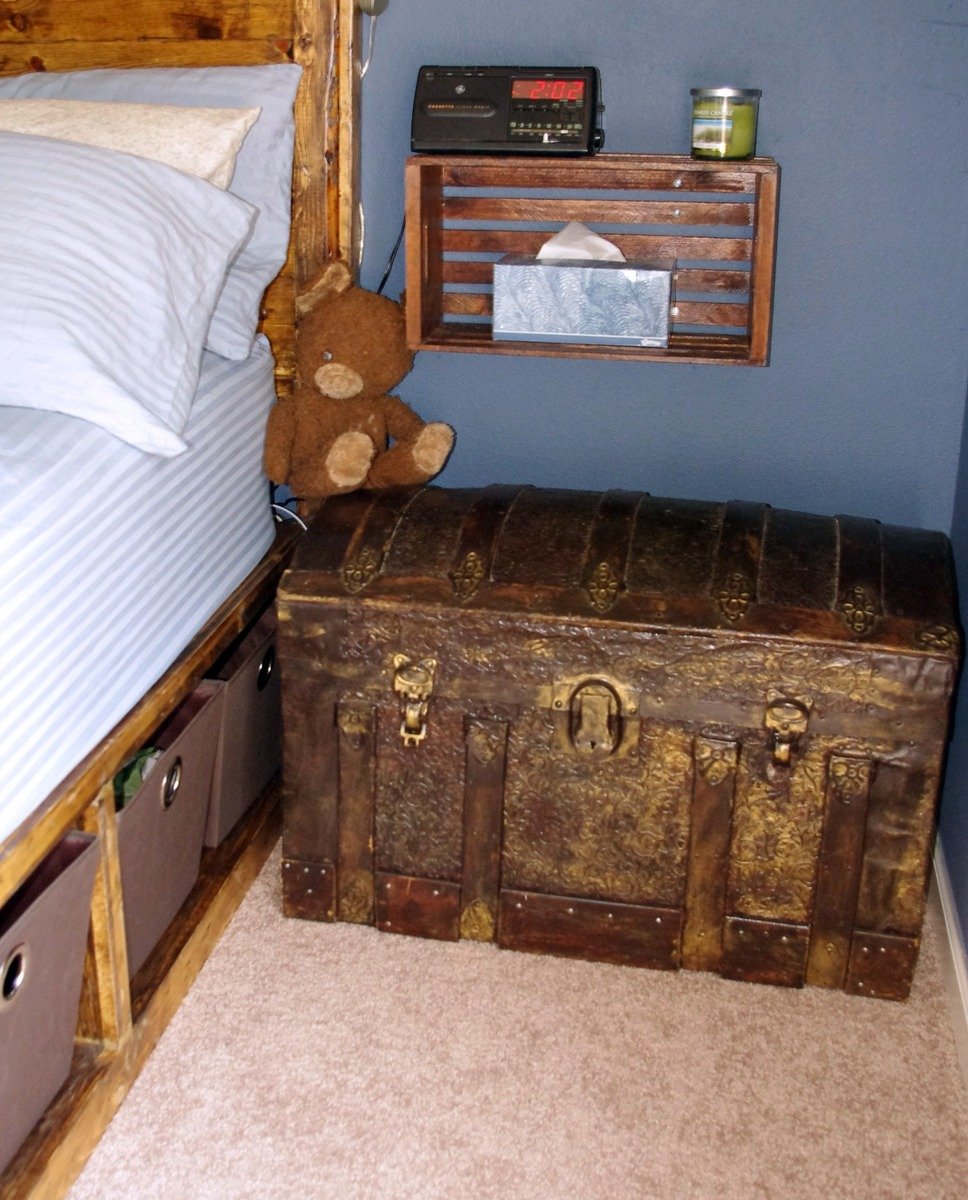
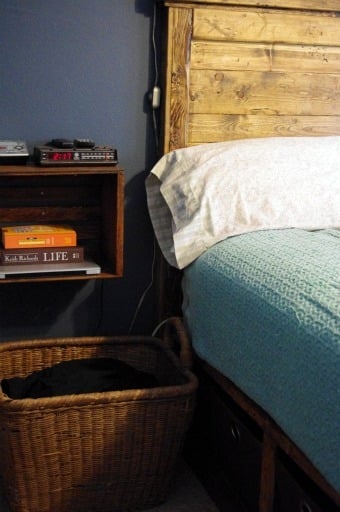
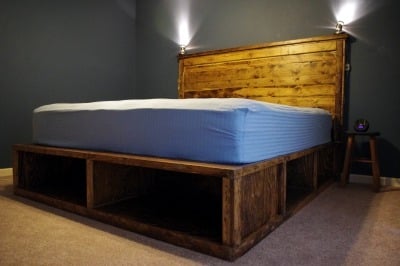
This is inspired by pieces I've seen here, though I sketched it out on paper myself to make sure it would suit the limited space in our room. I built the simple piece to match our bed (made from Ana and her reader's plans, see my photos below).
Originally, I planned to include cabinet doors, but with the limited space we have, this is better for us.
For nightstands, I stained plain wooden crates I had in the basement. Still working on how to hide the cords.
The baskets under my bed are from Bed Bath Beyond. The baskets in the "dresser" are from Target.
Sorry about the poor photo quality.
Wed, 07/27/2011 - 14:23
I see that they all go together, and they look great! I'm especially loving that dresser, it is beautiful.
Sat, 12/10/2011 - 07:41
Sorry I haven't logged in in so long--the bed follows plans for the king Stratton, combined with the reclaimed wood headboard. The headboard is attached to the wall. We can slide the foot bench part out to hide presents behind, which is really handy (though heavy) to do.
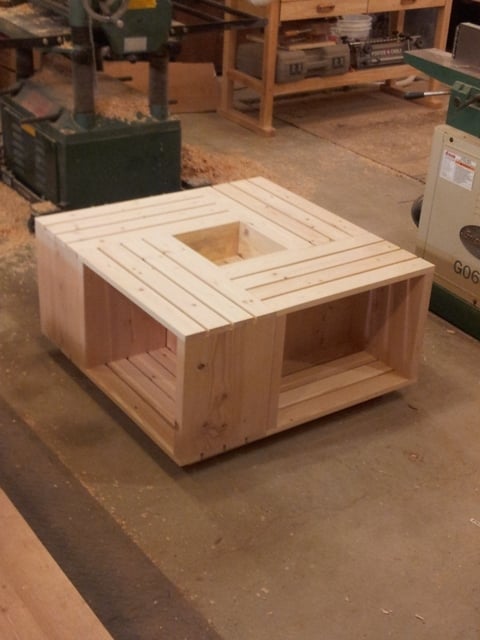
A buddy of mine showed me a picture of a coffee table his wife wanted that he found online. It appeared to be several crates attached together. I came up with this design. I added a base to raise it off the floor a few inches to make cleaning around it easier. Was made using all scrap. It was a very easy project and took about 2hrs. This picture was taken before any finish was applied.
Wed, 11/11/2015 - 07:24
thanks for the compliments. Actually, I made the crates from scrap lumber No need to have crates on hand.
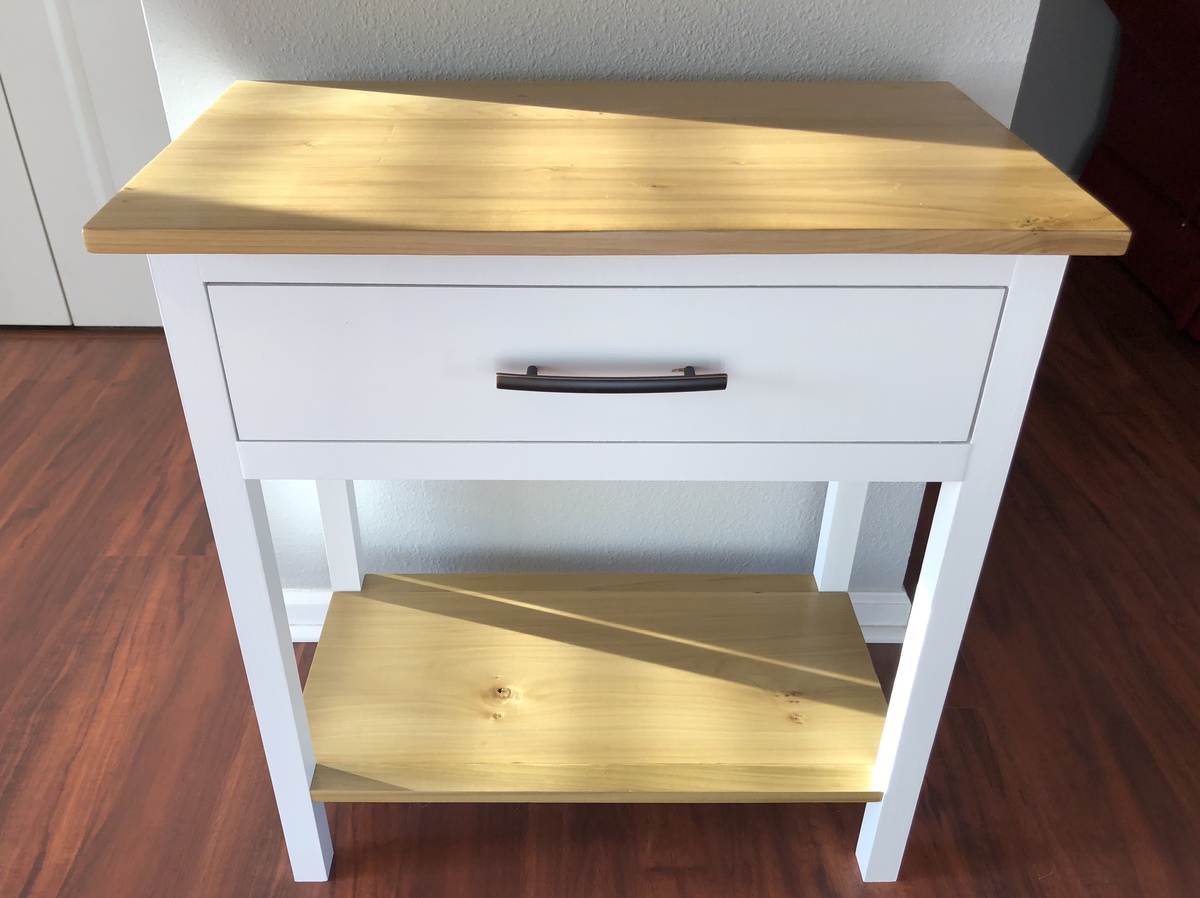
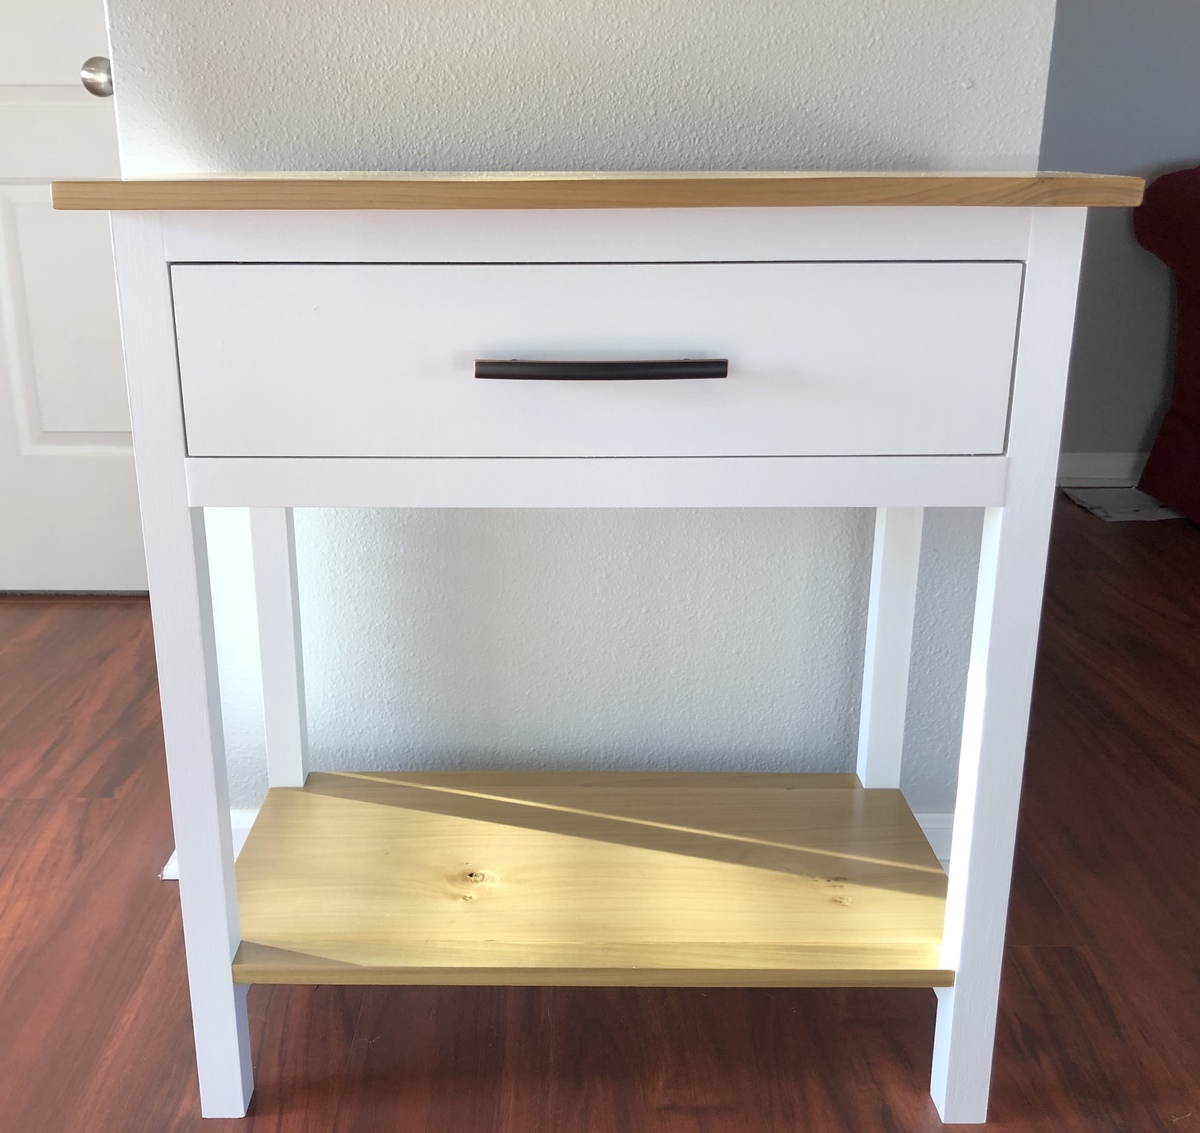
I needed an entry table and when I saw this plan for a bedside table I knew with just a couple of size modifications it would be perfect for me. It is a little taller and wider that Ana's plans, but other than that is true to her design. Couldn't be happier with the new table!
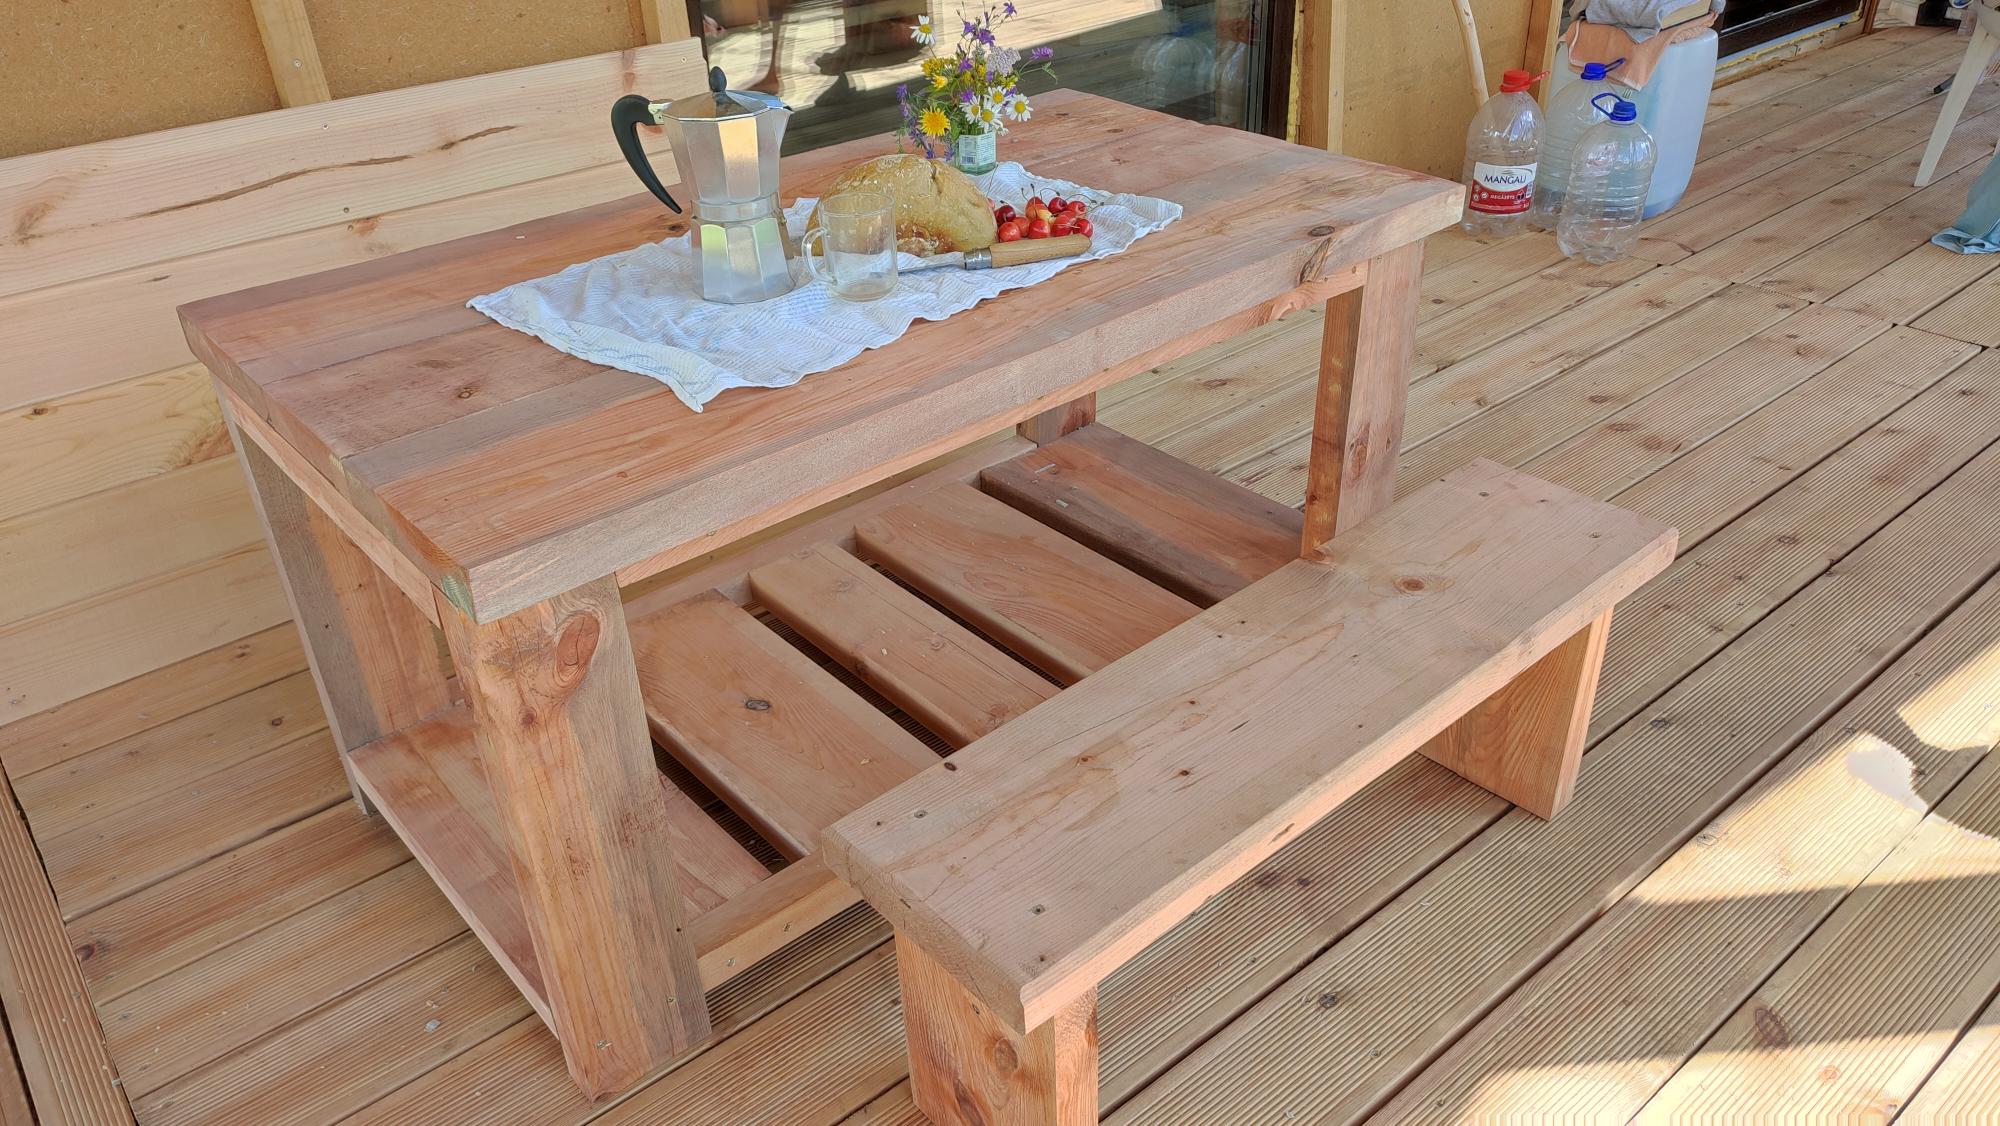
Table, based on Farmhouse coffee table project. Resized to roughly picnic table dimensions (1200*700 mm, 650 mm high), mostly as a means to recycle board cuttings, left over from building farmhouse itself. Didn't install X shaped sides, because there were no more suitable timbers remaining, which, it appears, my toddler greatly appreciated - bottom shelf makes a lovely crawl space. Shape of the shelf planks was a happy accident: what remained was sized 250 - 200 - 150 - 200 - 250 mm. Looks kinda nice doesn't it?
Mon, 07/11/2022 - 10:51
That turned out really nice indeed, thank you for sharing!
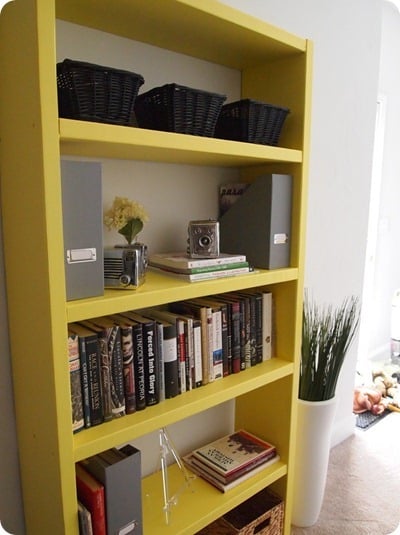
This was my third project, but it is my favorite to date!
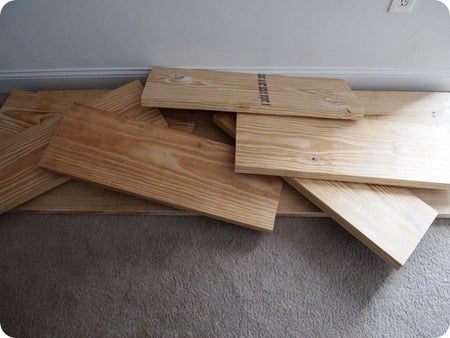
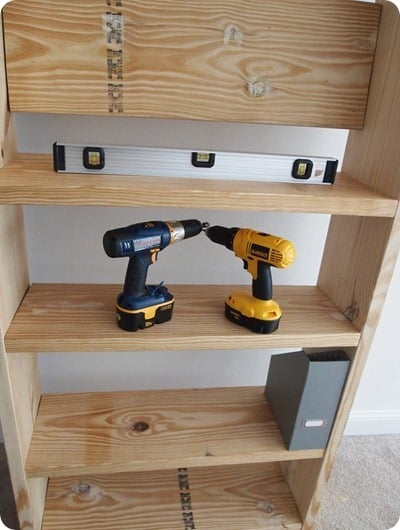
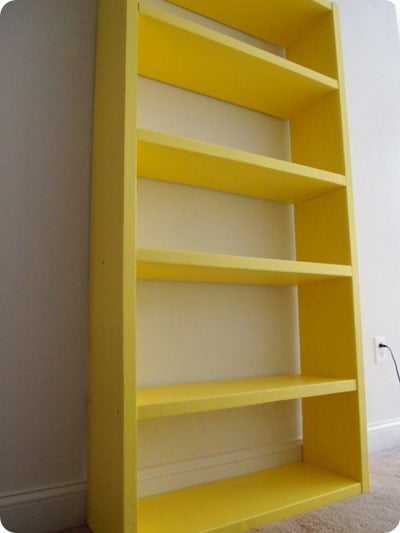
In reply to omg this is gorgeous!! you by Guest (not verified)
Fri, 09/30/2011 - 21:21
thank you!
Wed, 04/04/2012 - 10:39
Love this - a little scared to try this project but going to give it a whirl. I also like the color you chose to finish it with.
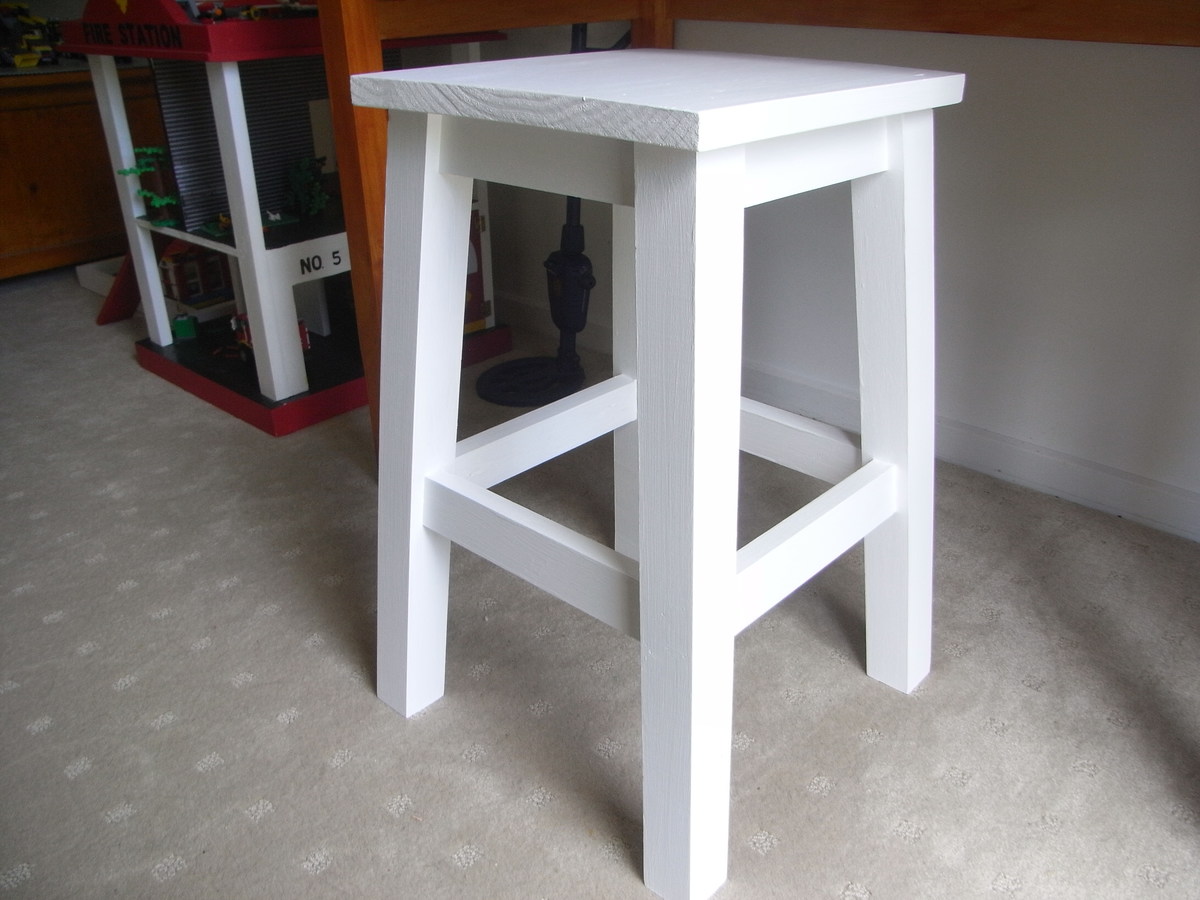
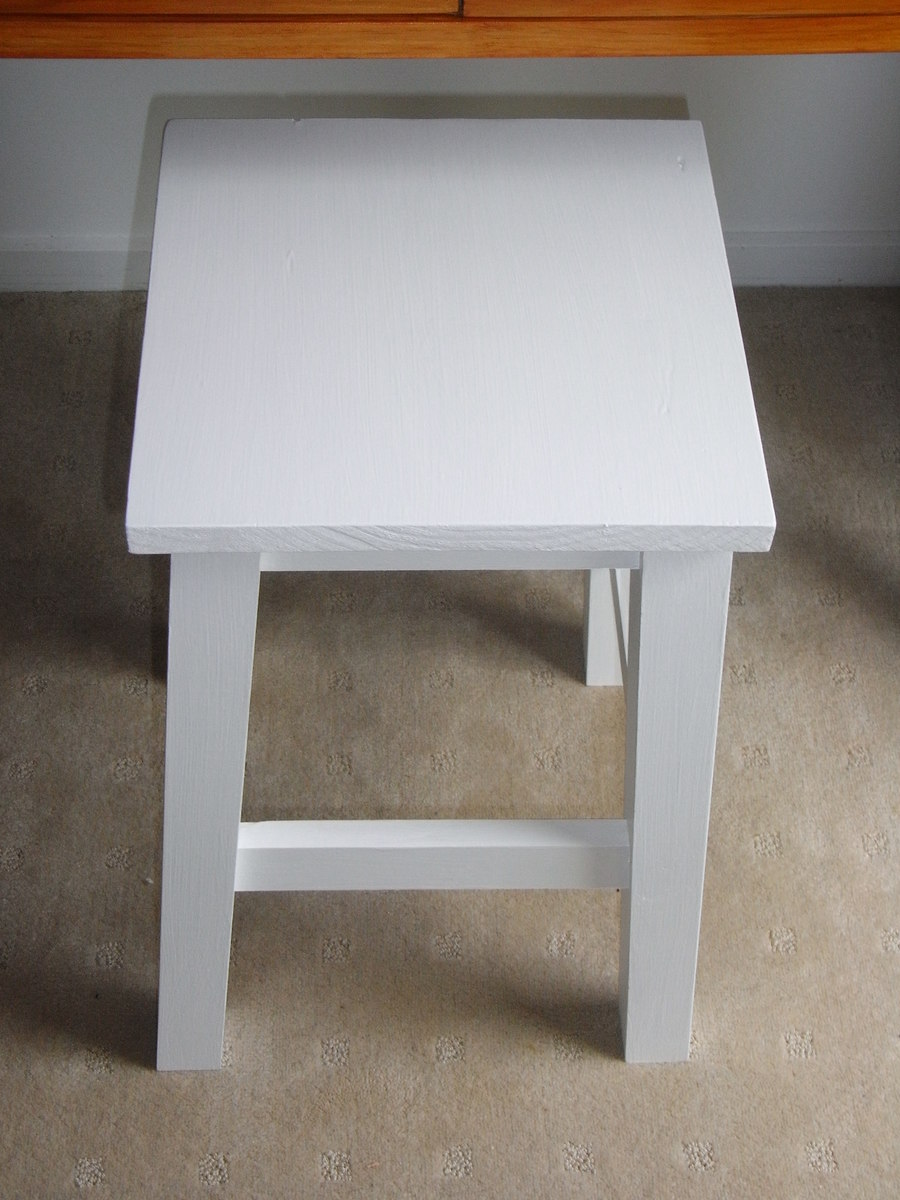
I shortened the legs to 20 inches and left the lower rung off.
It lives in the playroom and is just the right height for our sons desk.
We've searched for a corner TV stand but couldnt find anything we liked. I finally decided to build one.
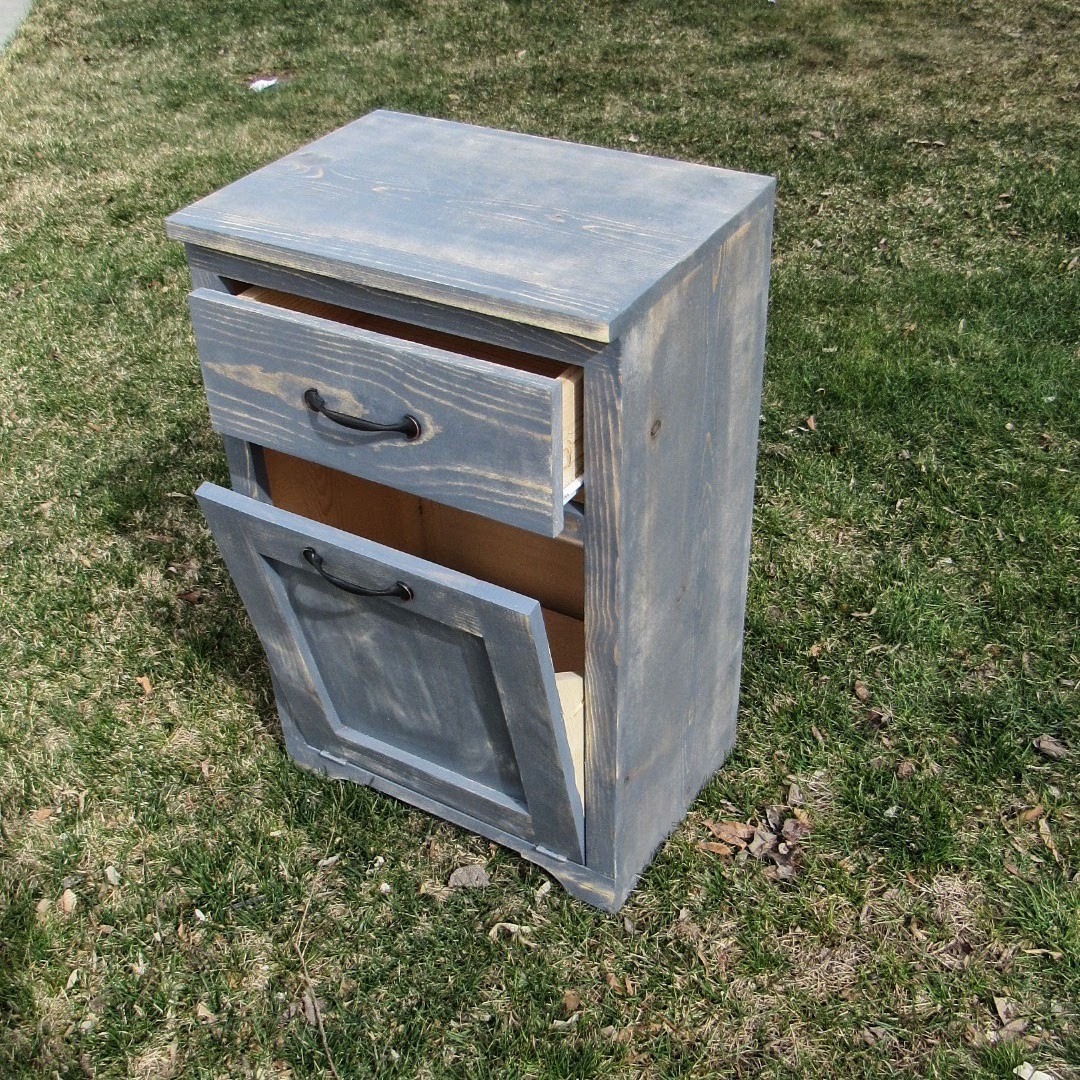
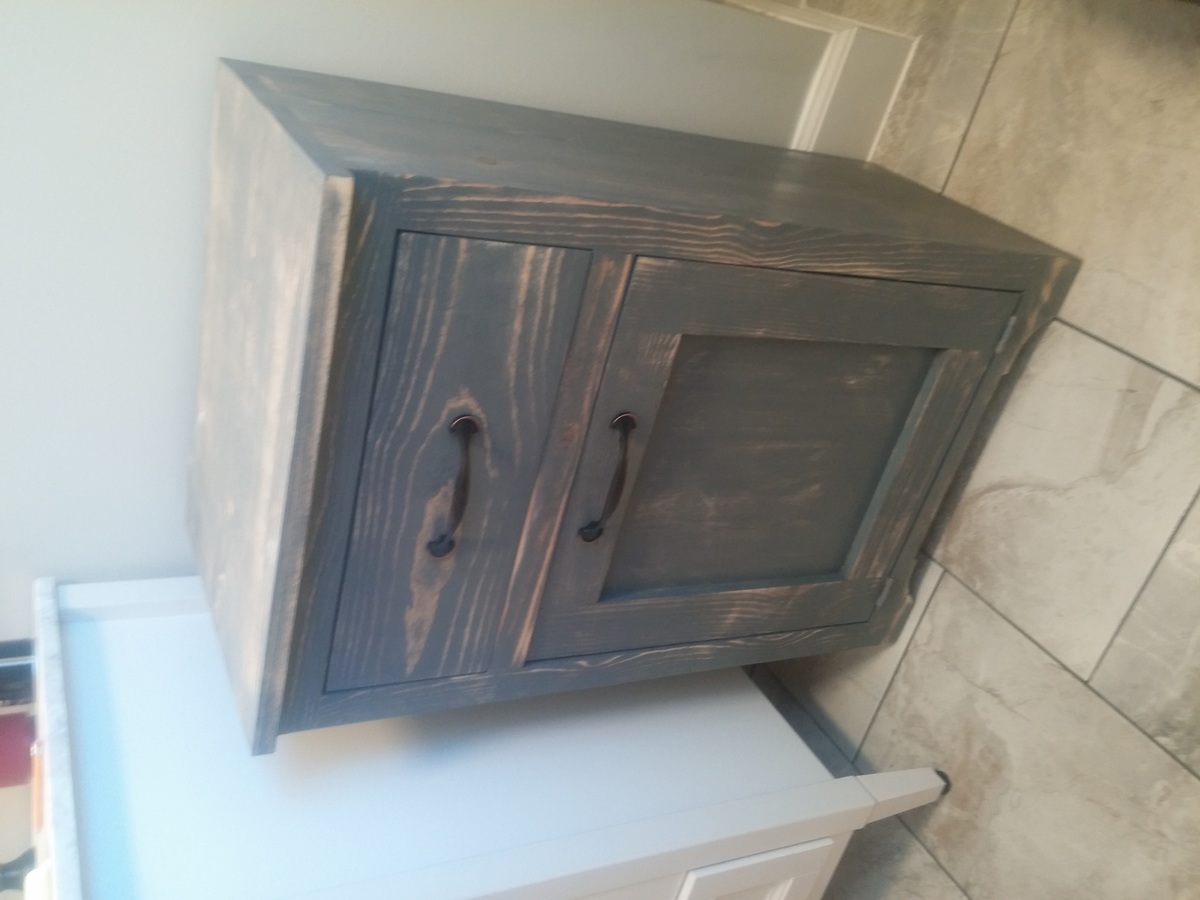
Modified the plans, my can was shorter for the bathroom, so I added a drawer.
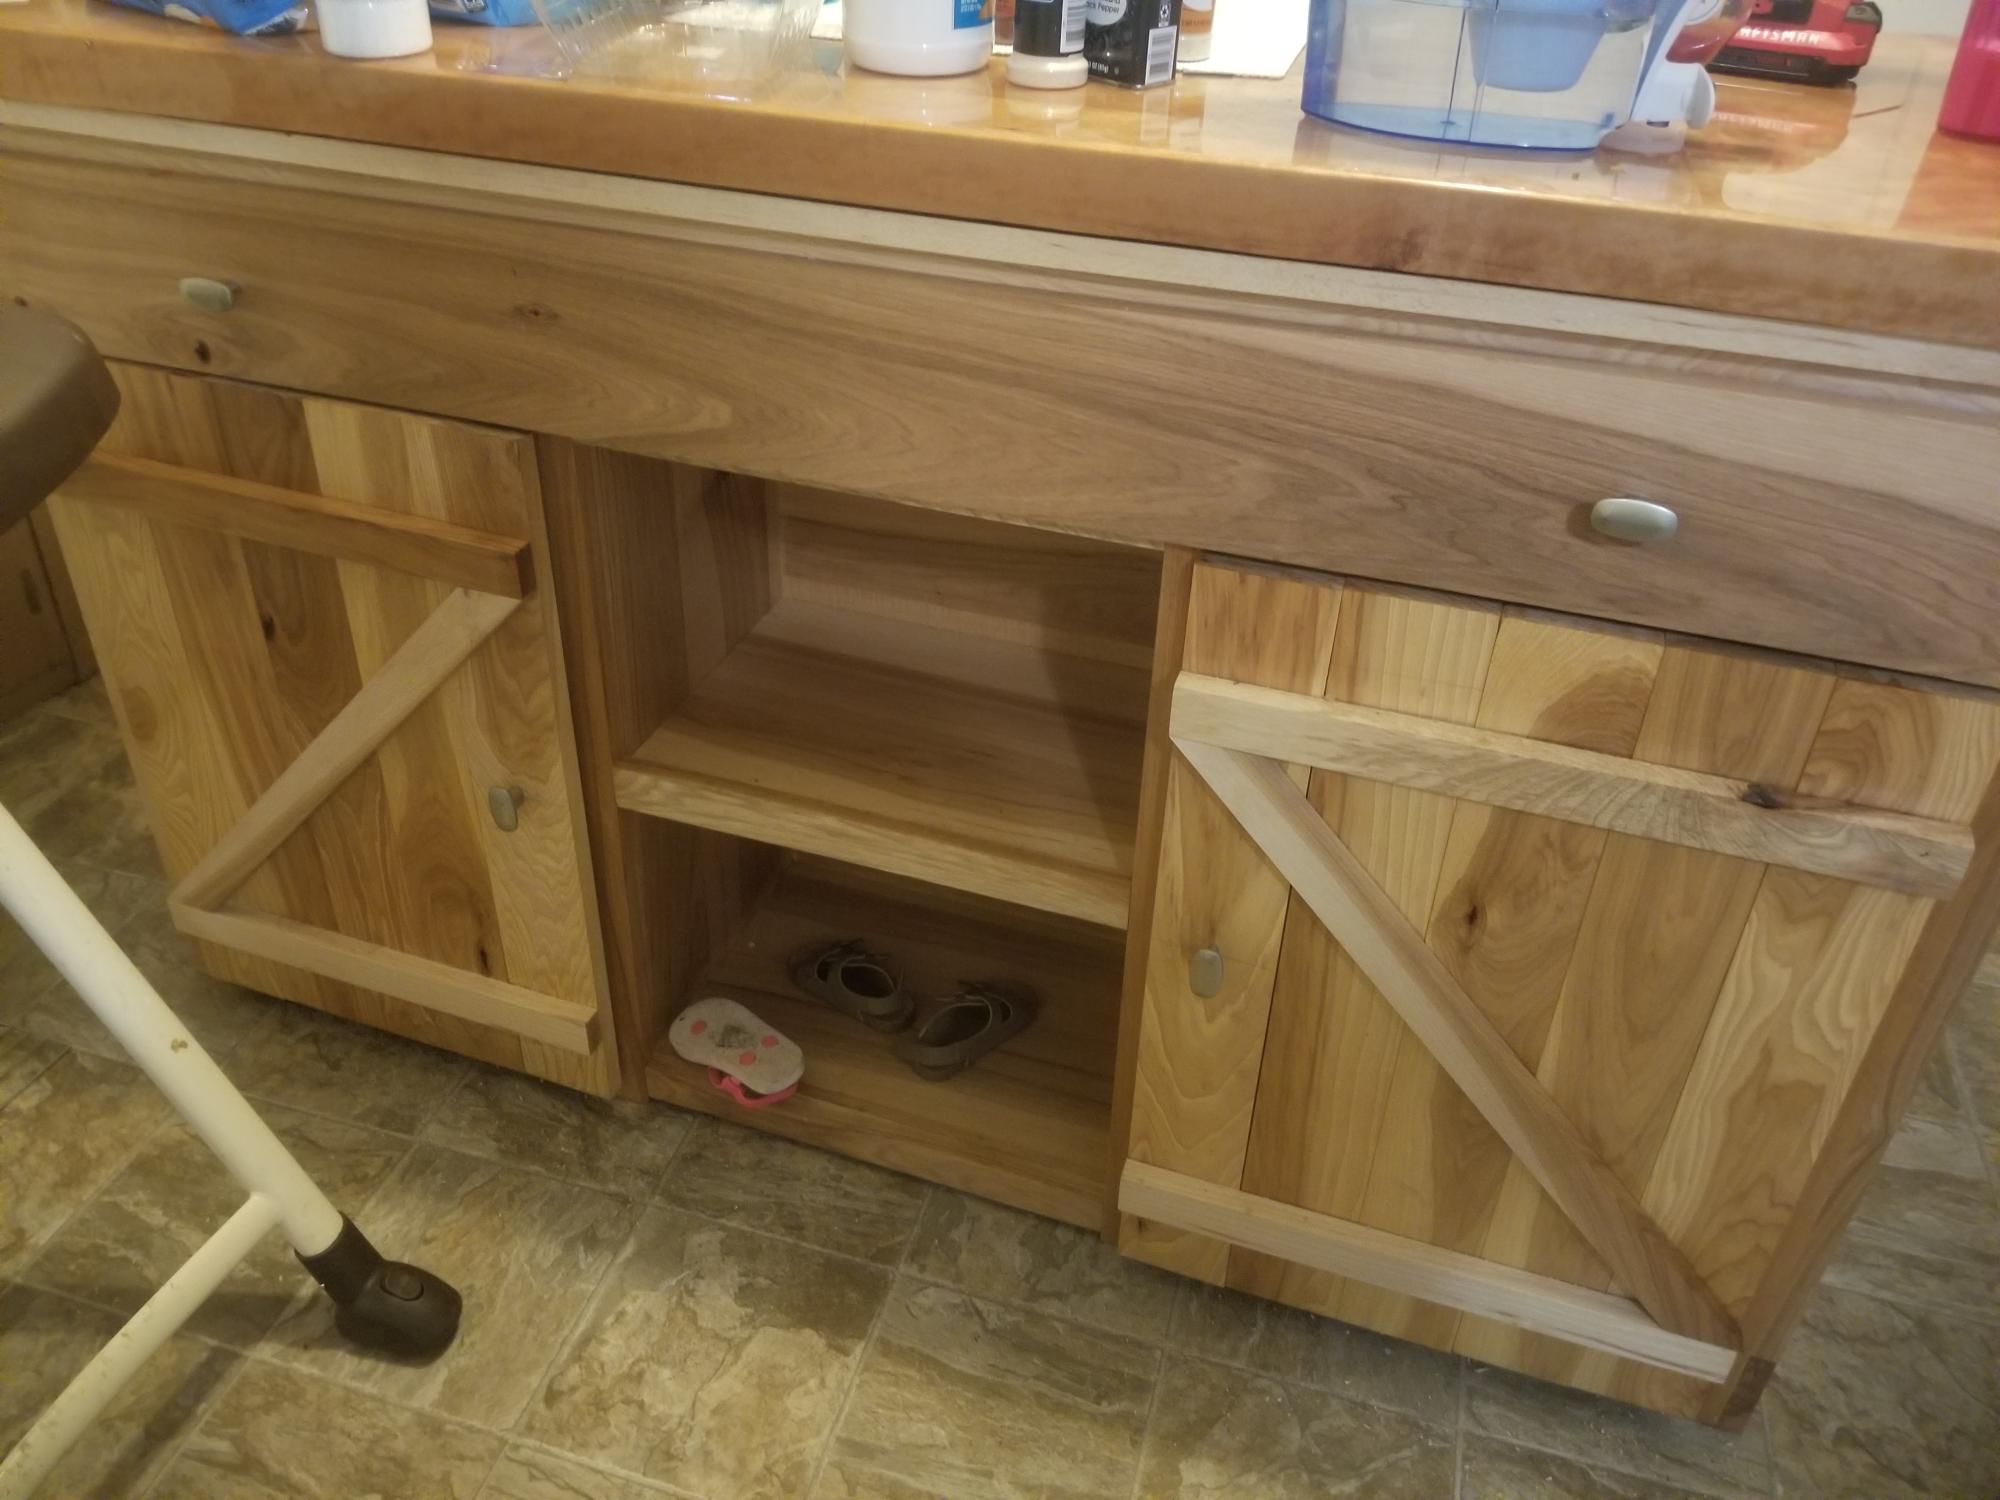
I found plans on here for a farmhouse kitchen island. I built it for my wife. She loves it.
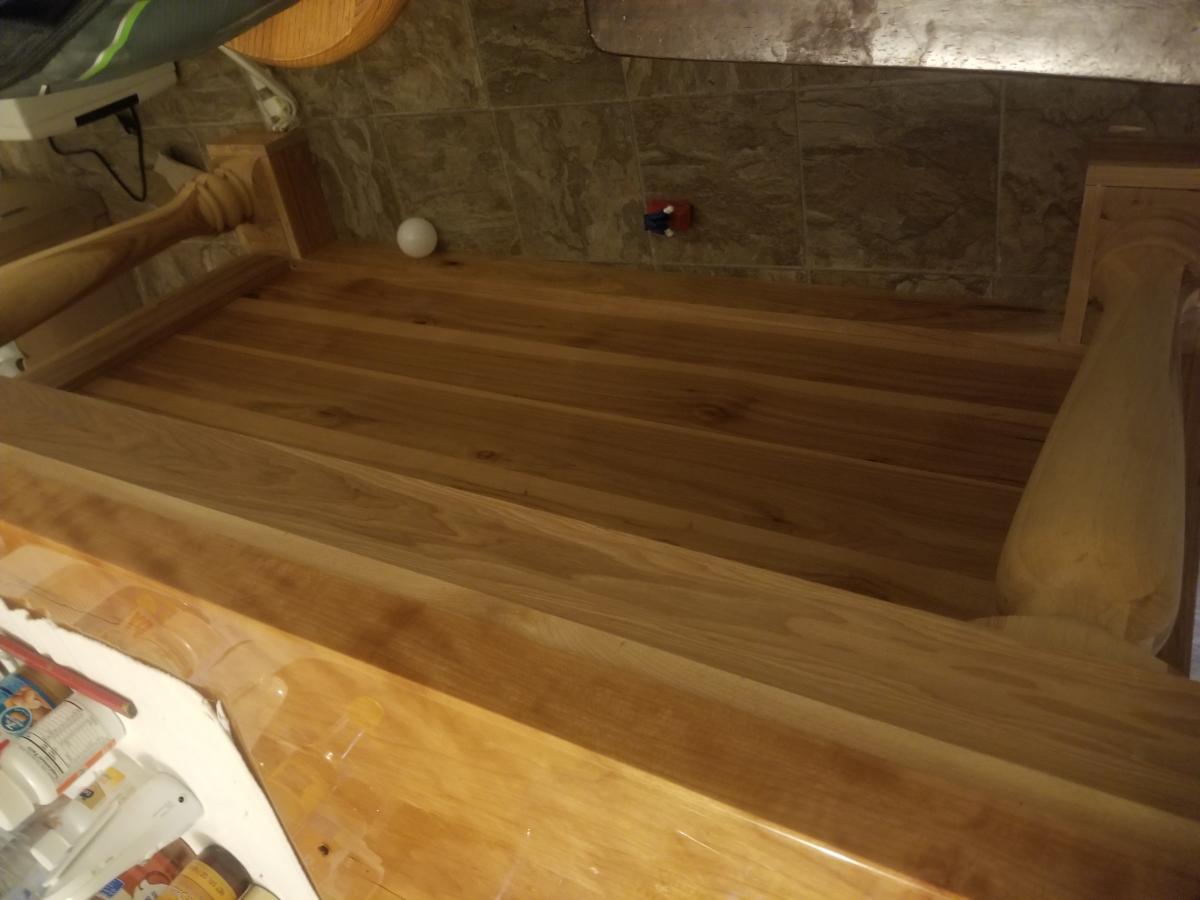
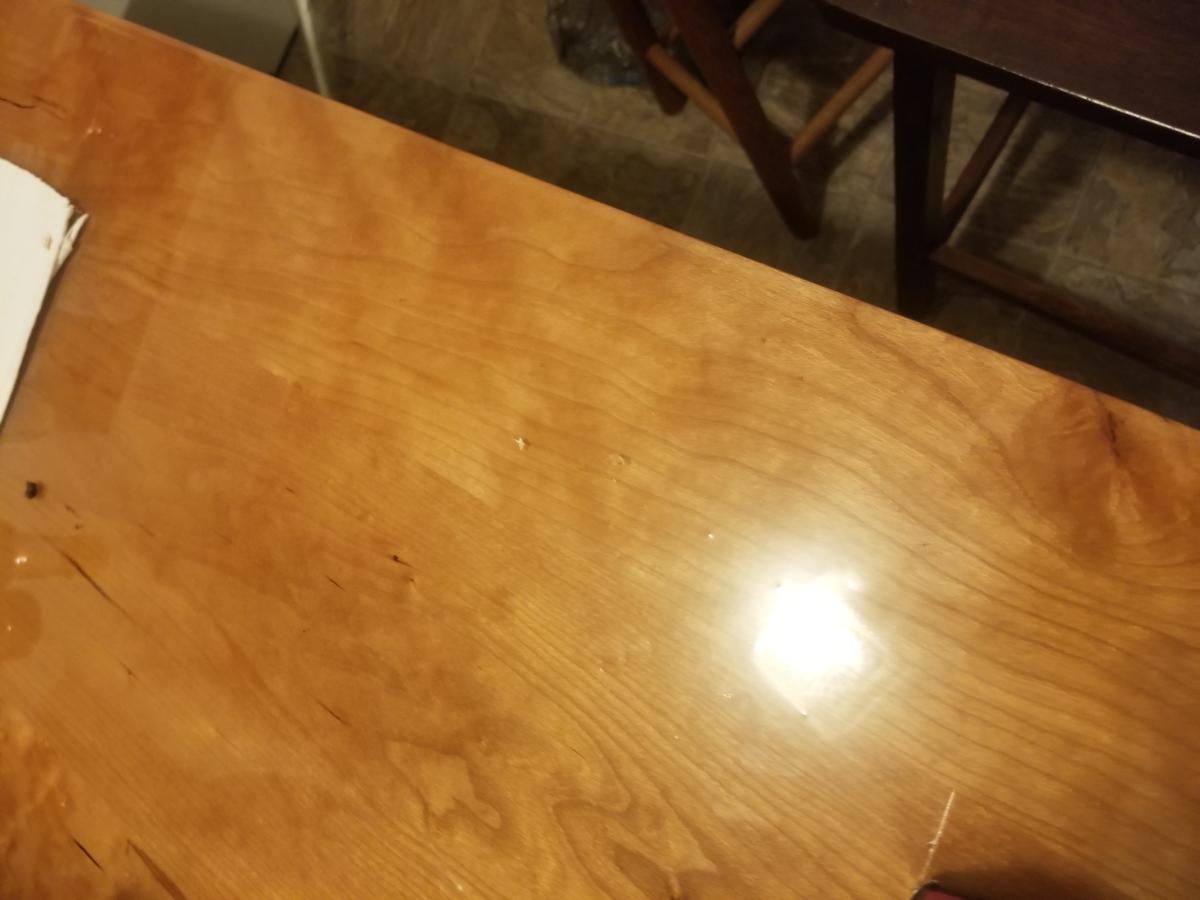
I know, I know...Where are the legs? Unfortunately, I have to store this until December while our multi-family mountain house is being constructed. This way I can store it up against a wall and save a lot room in storage for more Ana White projects. FYI - The legs will be white 2x4's about 29.5 inches tall. For the top I used 1x4 cedar slats spaced 1/4 inch apart. As for the painted white frame, I used treated pine. Why spend money on nice cedar if I am just going to paint over it, right? The contrast of the white and natural cedar was appealing to me for some reason. I used Thompson's clear wood protector/water sealer on the slats to prolong the natural cedar. BTW, if you can build the simple outdoor bench you can definitely take on this project. The two are not very different. I'll have to take pictures of the finished table with legs when I haul these up to the Blue Ridge Parkway and upload them again. Thanks again Ana!
Thu, 08/04/2011 - 08:31
This is lovely!! I love the the two-tone finish, and your chairs look great!
Fri, 08/12/2011 - 04:43
I love this piece. You totally showcase the gorgeous cedar! Great job!
Fri, 08/12/2011 - 13:30
Thanks debandtom and lori e. I am almost finished with a matching outdoor sink with cedar countertops. I'll try to post it in the next couple of days.
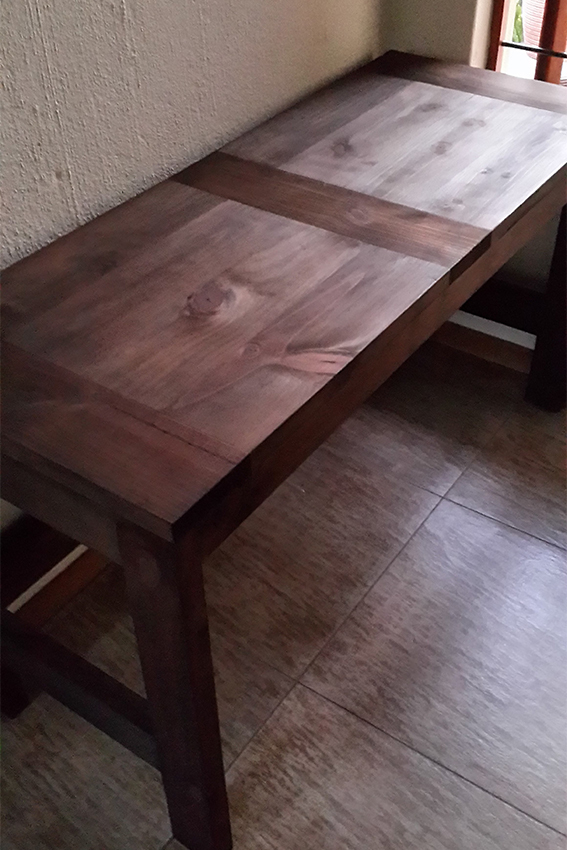
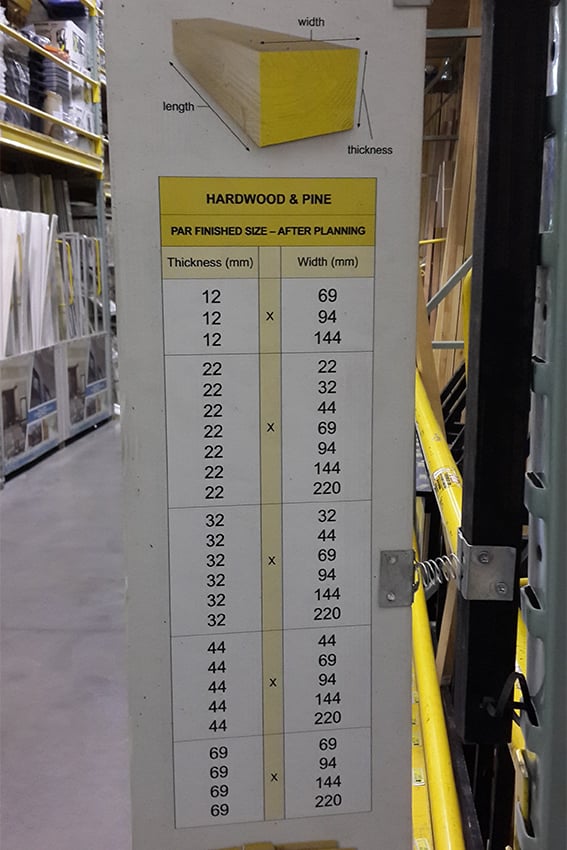
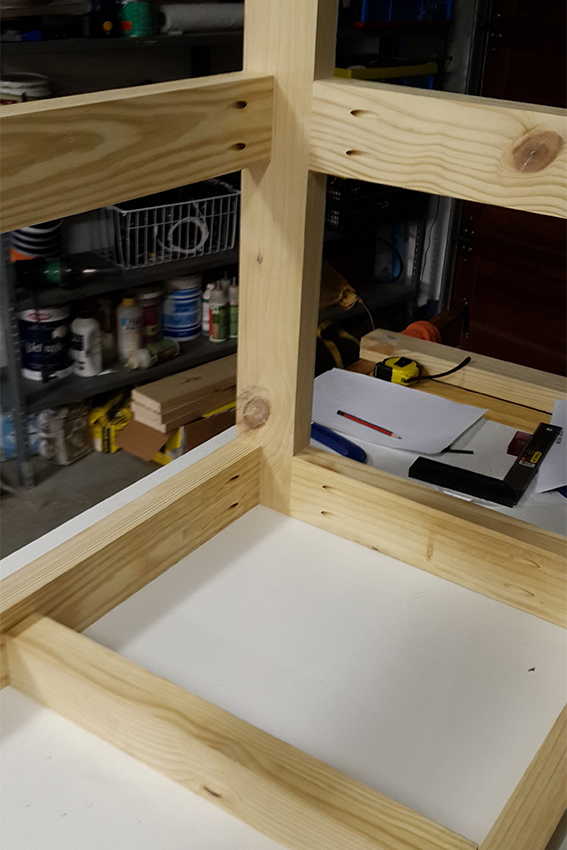
I had to a quick conversion from the original plans as we get metric wood sizes so decided to use the following:-
Desk frame: 44 x 94
Desk frame front: 44 x 69
Desk Top: 32 x 144
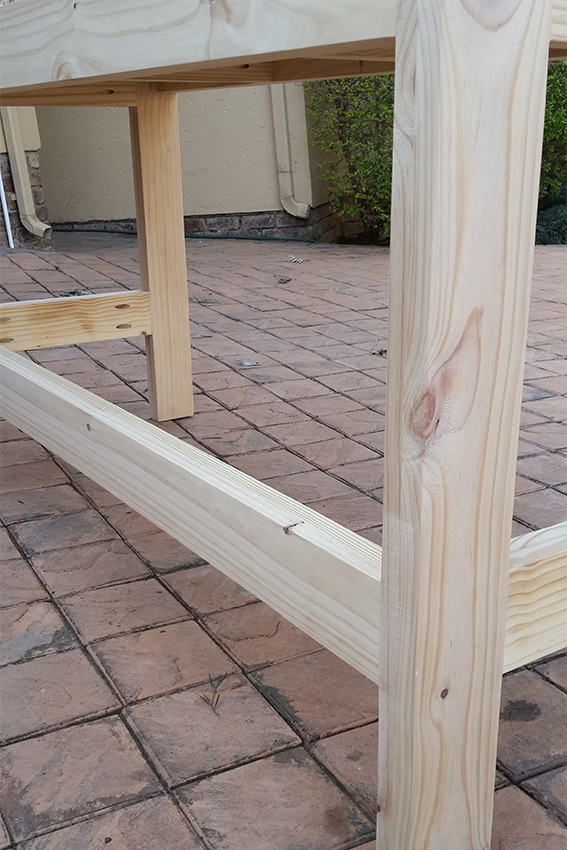
I drew up new plans to fit my 1500mm space I needed the desk to fill, with the new wood sizes.
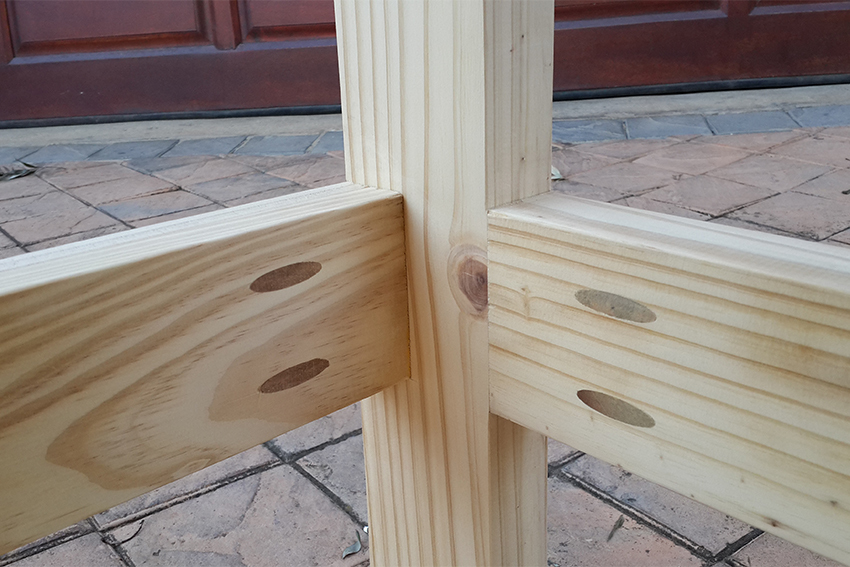
The purchase of the Kreg Jig was my best investment as it made construction so easy.
I finished the desk off in Antique Oak after wanting to add a little Antique White to it, but got scared that I would mess it up!
Total cost for wood and finishing materials was R1,500.
Thu, 09/05/2013 - 08:39
Many thanks for the compliment. The design is based on the casual 2x4 desk on this site, however I made adjustments and redrew them due to the standard timber size I could get hold of and also a bit of personal preference. I have the plans in electronic format should you wish to have a copy.
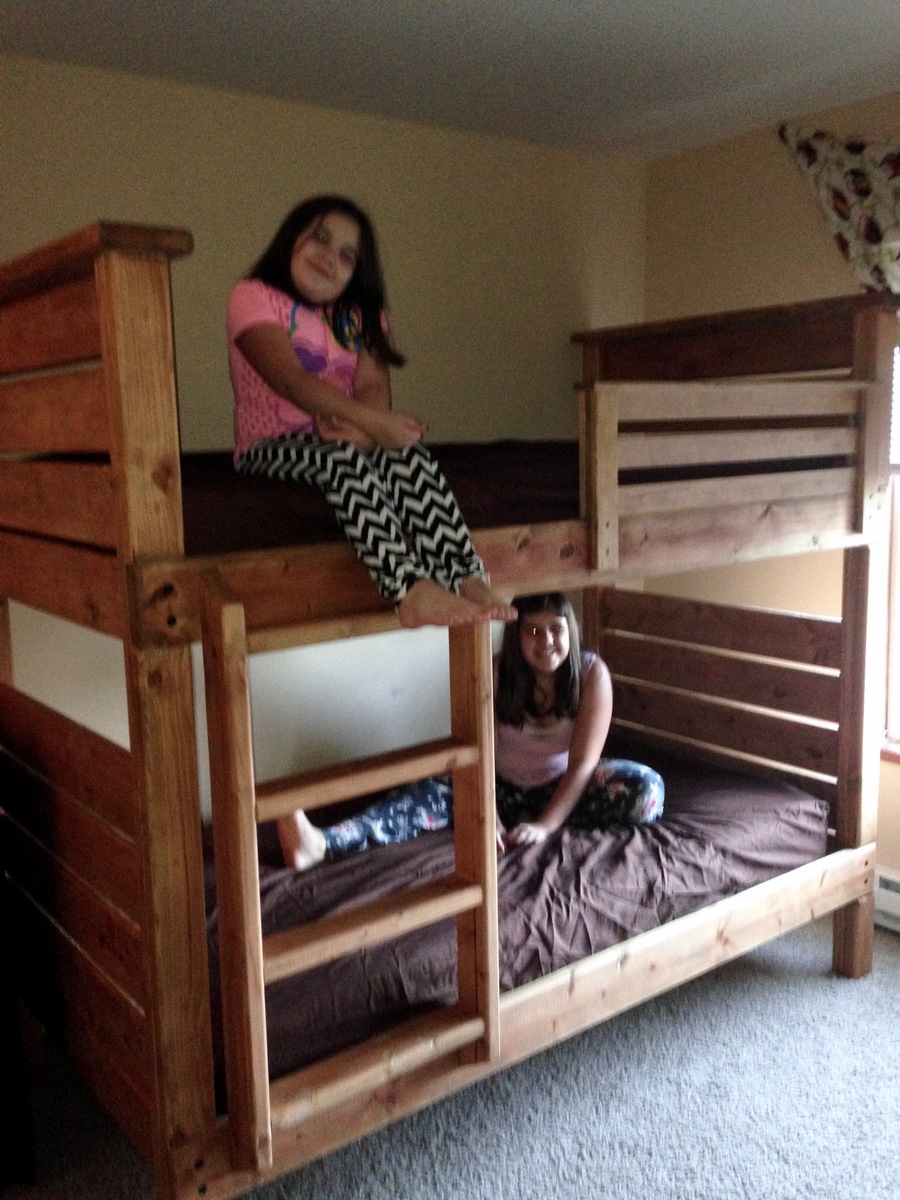
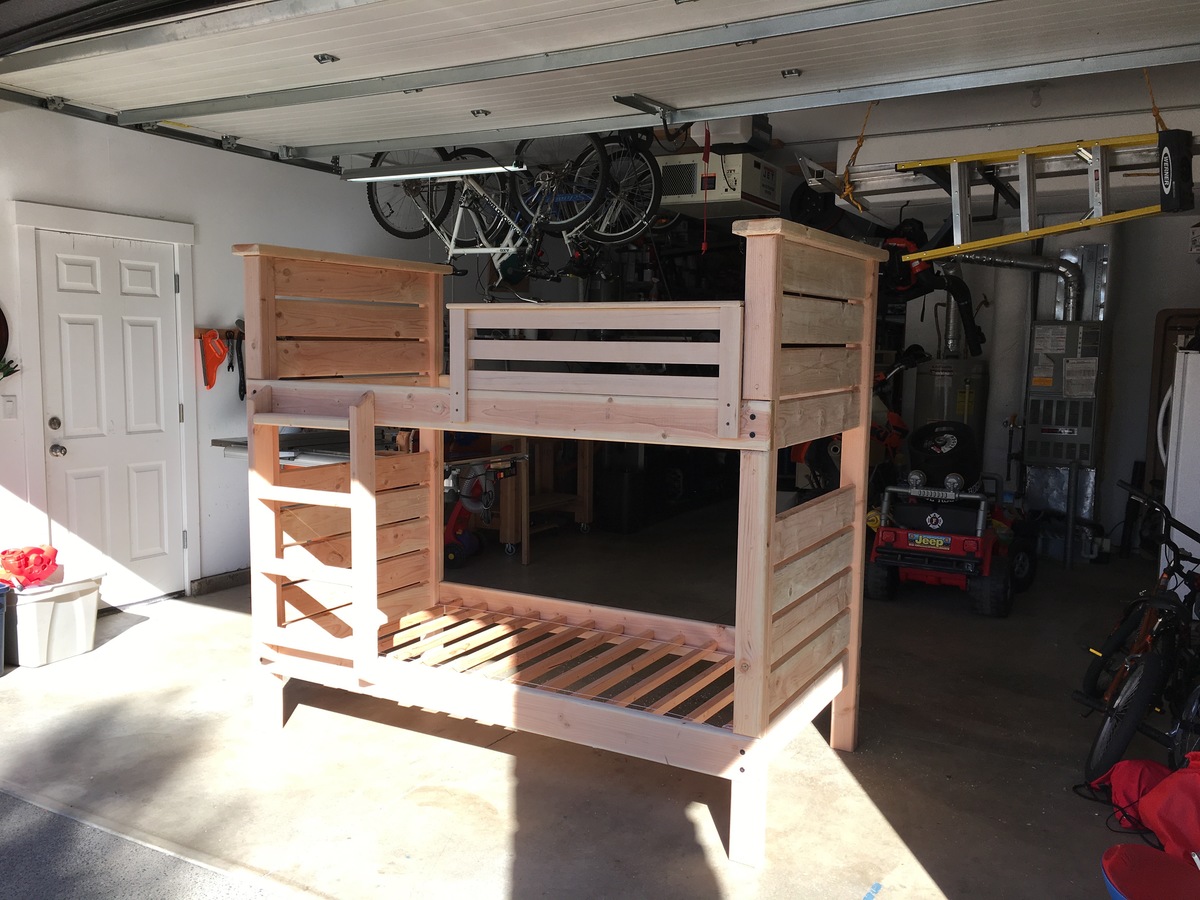
I made another one of these bunk beds for a family near my community. This time I made all cuts from longer boards 16' + The boards had less nknots, which required less sanding and came out better!
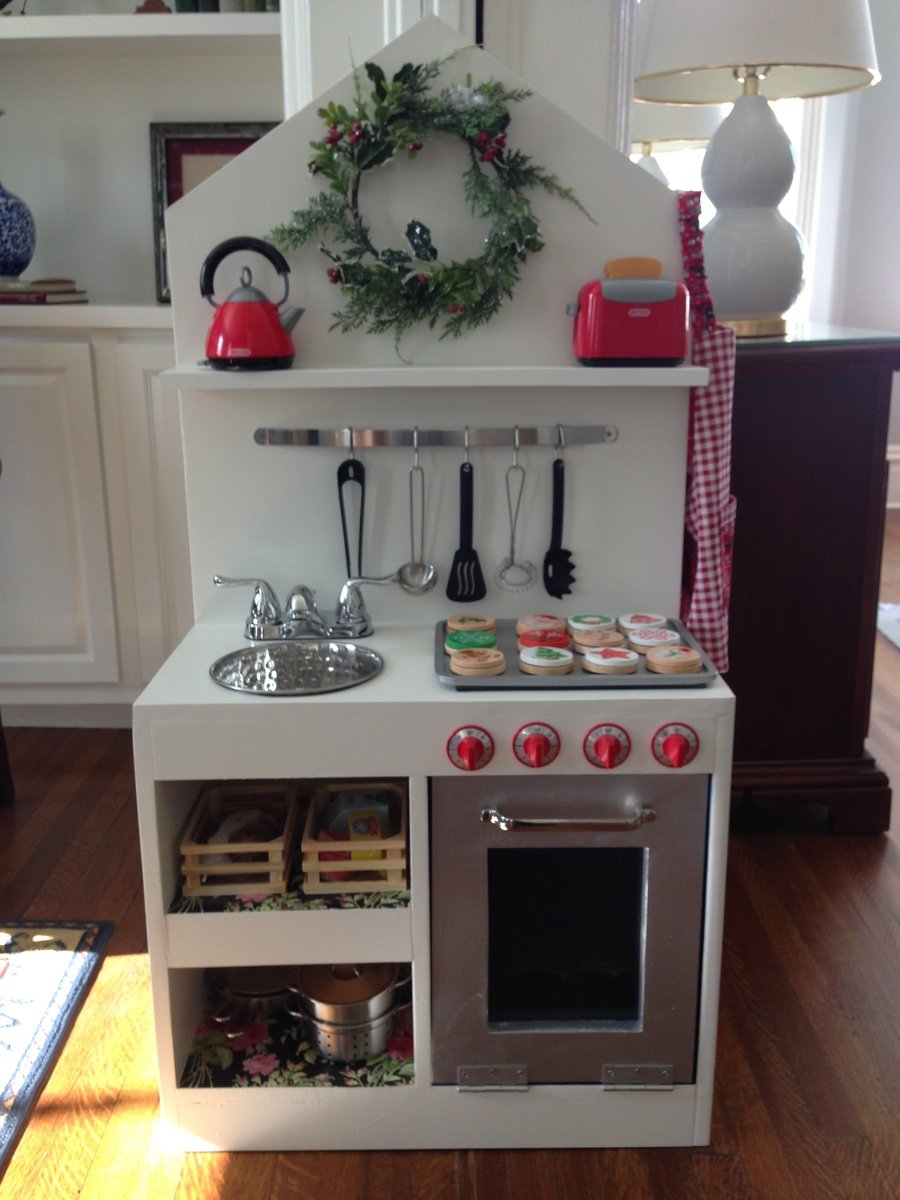
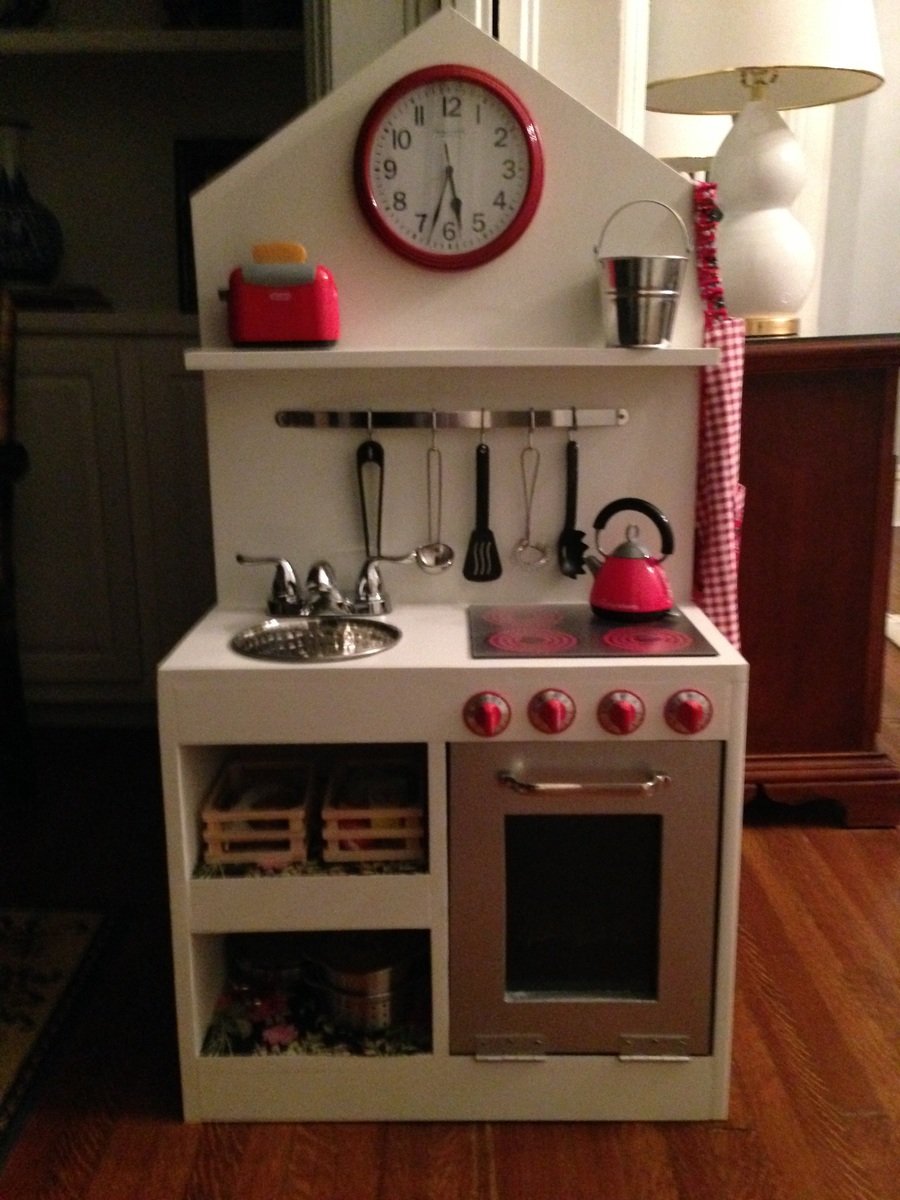
This was a fun build. I used a dog food bowl from Walmart for the sink, the oven handle is a Restoration Hardware pull from Habitat Restore, stove knobs (spray painted red) and faucet are from Home Depot (I couldn't find either at Habitat, but it's worth trying). The utensil bar is from Amazon. I cut out an oven window and glued a small sheet of plexiglass acrylic from HD to the door. I put a stick-on, battery operated light inside the oven that turns on and off by pushing it. I wanted the oven to open like a real oven, but I should have saved myself the trouble and just put the hinges on the side. The door bangs to the floor unless you can figure out how to install slide hinges to prevent it. (I couldn't make it work, but I'm sure more experienced DIYers would have no trouble.) I printed out the stovetop coils free from "printablecuttablecreatables.com" and glued them on a thin sheet of black foam.
This is my version of the Balin Console, presented by Ana White.
I used knotty pine for the wood and finished the piece first in two layers of walnut stain.
Over the stain, I painted two layers of Vast Sky blue by Sherwin Williams.
To finish it off, I used a polyurethane satin finish varnish--two coats.
Sun, 08/07/2011 - 14:16
I really like the color of paint with the walnut stain!
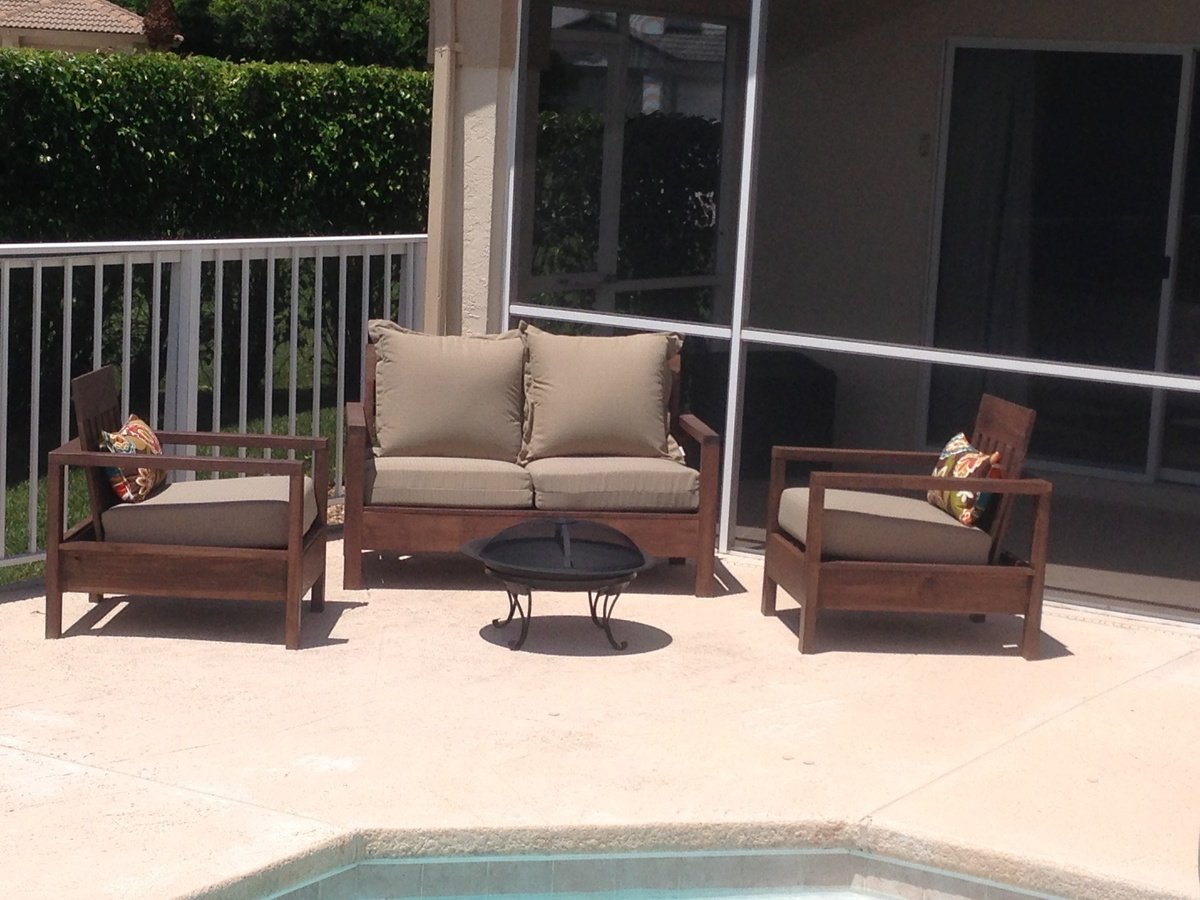
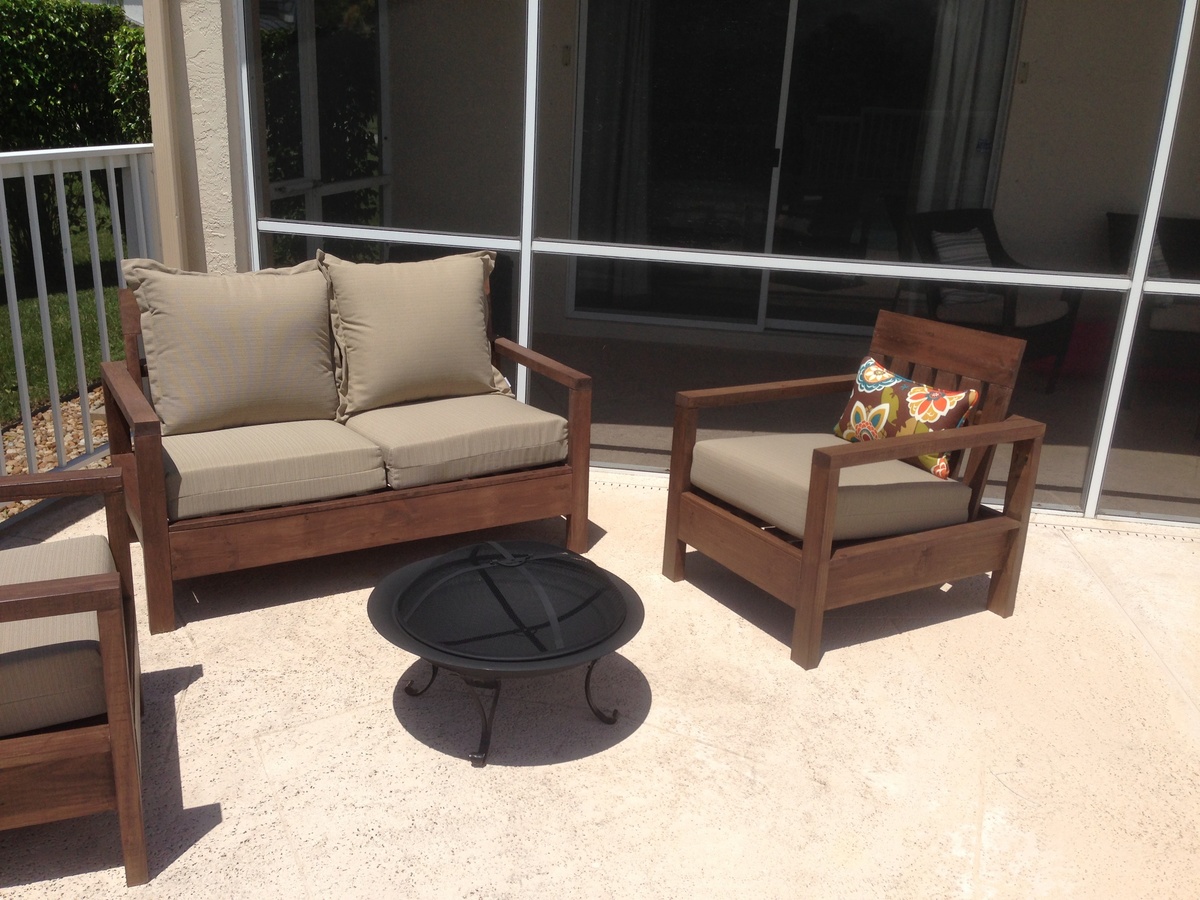
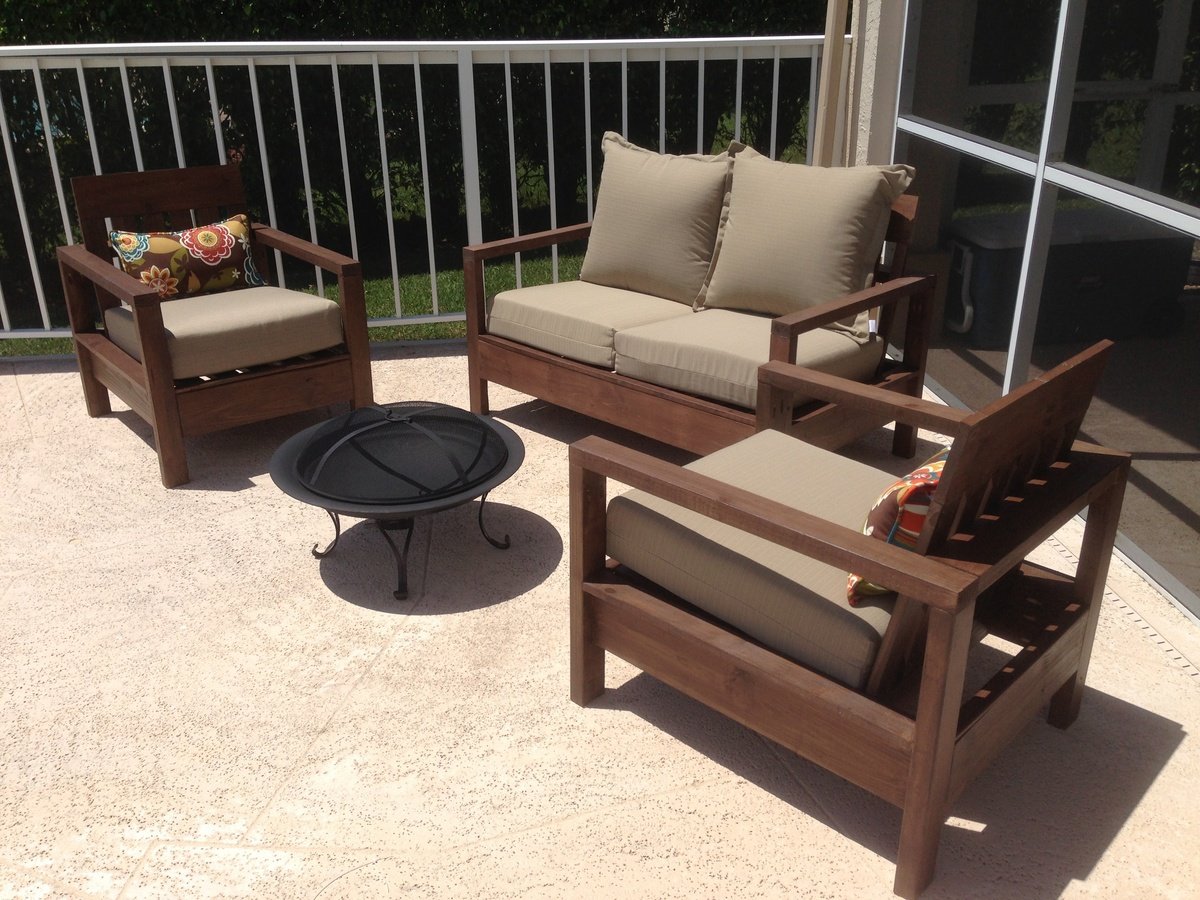
This project seemed to take forever, but it was so worth it! We finally have a great cozy outdoor space to gather around the fire pit comfortably. Thanks so much for the plans Ana!
I should mention I used 2x3's instead of 2x2's for all legs because pressure treated 2x2's here are only 1 1/4"??
Comments
spiceylg
Thu, 08/22/2013 - 04:44
Gorgeous
Totally looks professionally built!