Community Brag Posts

A Big Patio Planter

Submitted by Jake on Tue, 06/04/2013 - 17:50

I have a really boring backyard patio so I thought I would spice it up with flowers but I could not find a plan for a large right angle planter. So I made up my own.
The planter is made from cedar fencing but pine for the top trim and the corner legs. The legs have grooves that the sides slide into and are not screwed or glued in place. That is so you can remove the top trim and then just pull the sides out to replace them as needed or to even change the size of the planter.

This planter is 18" high so it is comfortable to sit on but that also means you will need a lot of soil to fill it up. Mine took 26 40lb bags which is over 1/2 ton of soil. Add water and that planter is here to stay. But it also means that there is a large tendency for the sides to bulge along the bottom so I placed stop blocks along the bottom base and screwed into the base.

I planted Angelonia for color and sage, oregano, and thyme for spice. It was fun to build and came out well but it was expensive as the soil along was nearly $60. Add another $50 for lumber and screws and you have exceeded the magic $100 mark. Still a good deal, however.

Estimated Cost
$110
Estimated Time Investment
Weekend Project (10-20 Hours)
Finish Used
Painted the top trim and legs with Behr water-based enamel and left the cedar to mellow on its own.
Recommended Skill Level
Intermediate

Farmhouse Table

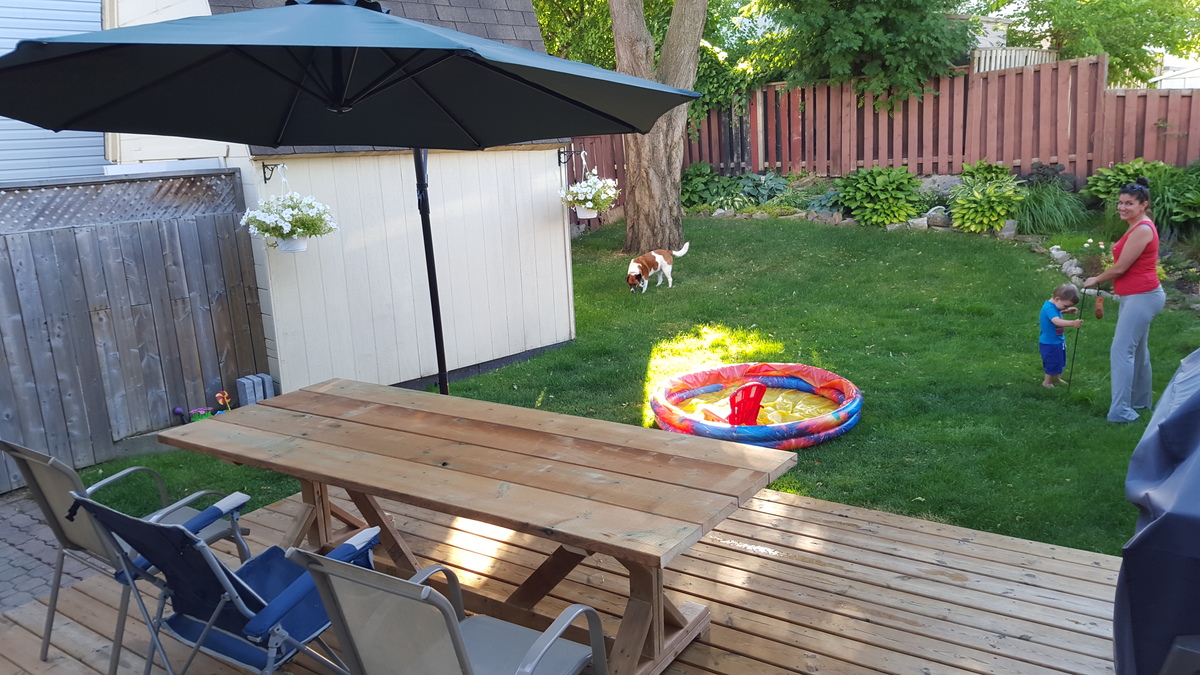
I managed to build this with a circular saw and some sand paper with absolutely no experience!! I am so happy with the results. I followed the plans precisely as I am not brave enough to experiment yet. I used Minwax Polyshade Mission Oak flavor. I've never stained anything before and I was pleased with the results. A couple coats and the shade is beautiful. I am going to fashion a couple benches and find me some brightly colored chairs and call it done. 

Thank you for making this possible. I certainly never thought I could do something like this. 

Recommended Skill Level
Beginner

Comments

Platform bed

Submitted by Medickep on Tue, 09/19/2017 - 13:28

Mad this Farmhouse platform bed with storage.  It was a fun build and pretty straight forward!  If I was to do it again, I think I'd make the drawers a little deeper for more storage.  There's space in the middle of the bed that could be utilized to pull this off!

Built from Plan(s)
Estimated Cost
150$?
Estimated Time Investment
Weekend Project (10-20 Hours)
Finish Used
Primed the bed and used an Alkyd paint.
Recommended Skill Level
Beginner

Rustic X Small Rolling Kitchen Island

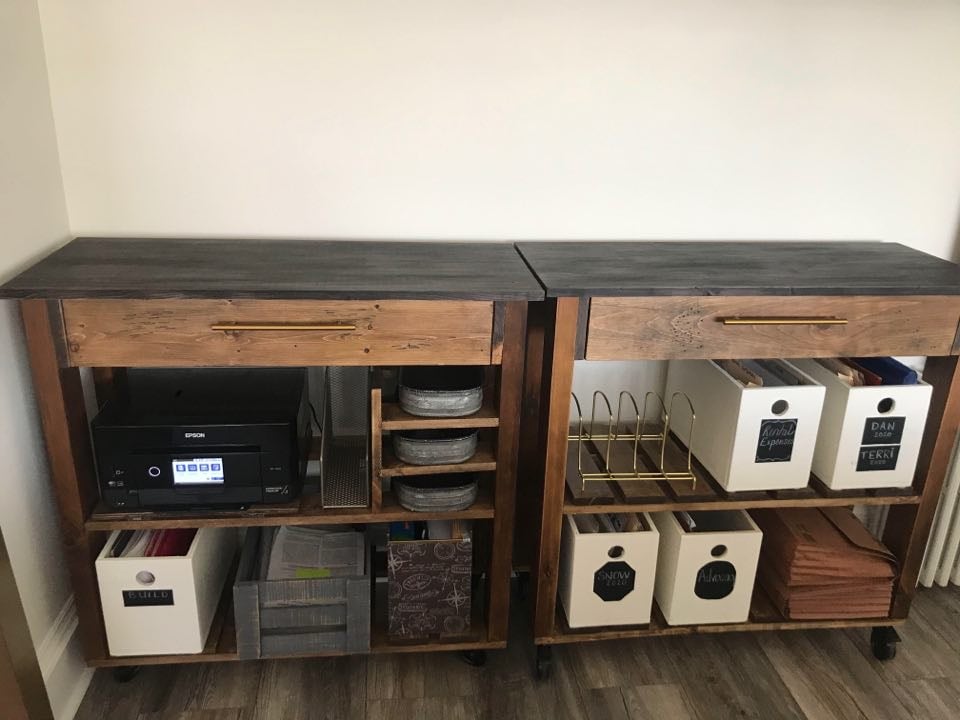
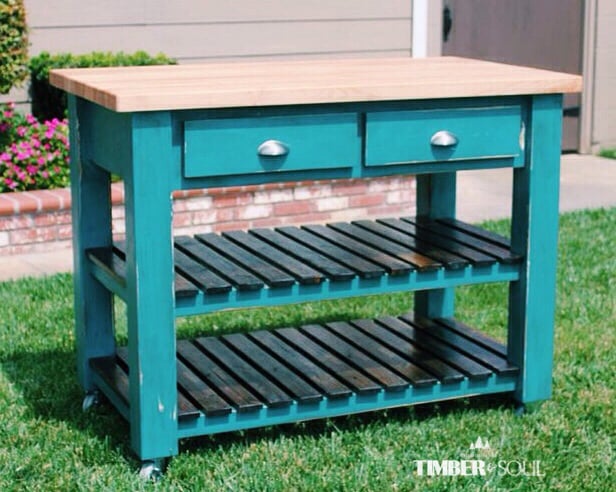
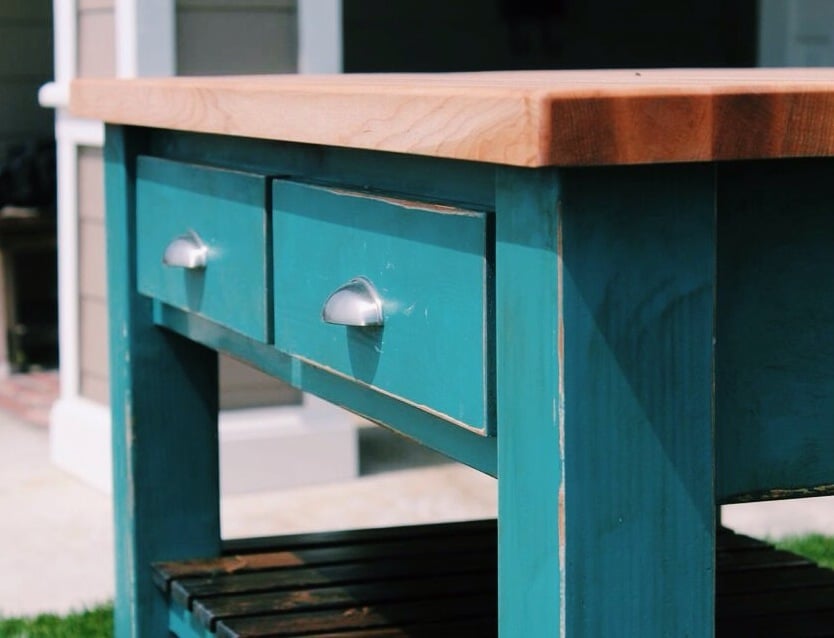
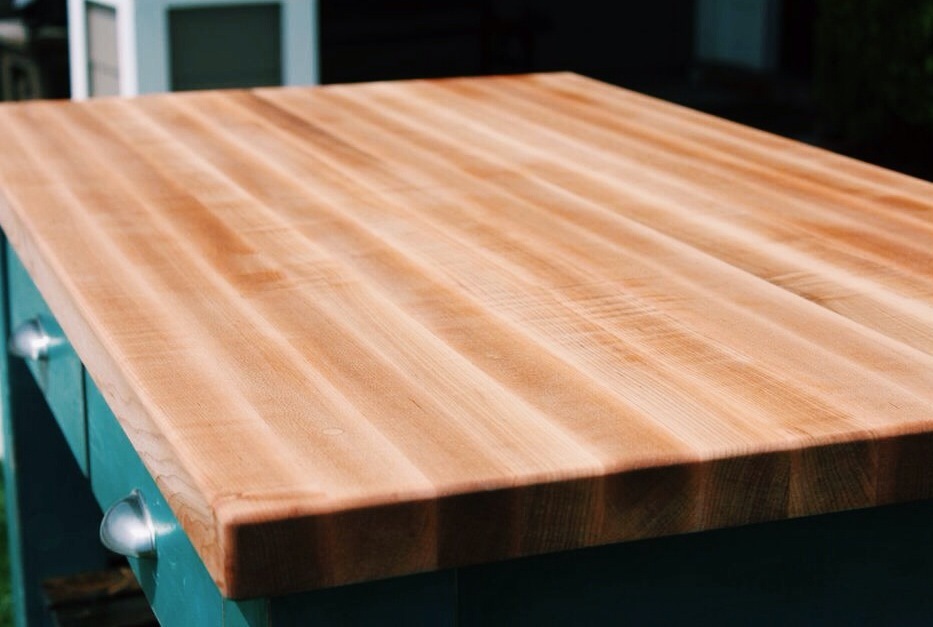
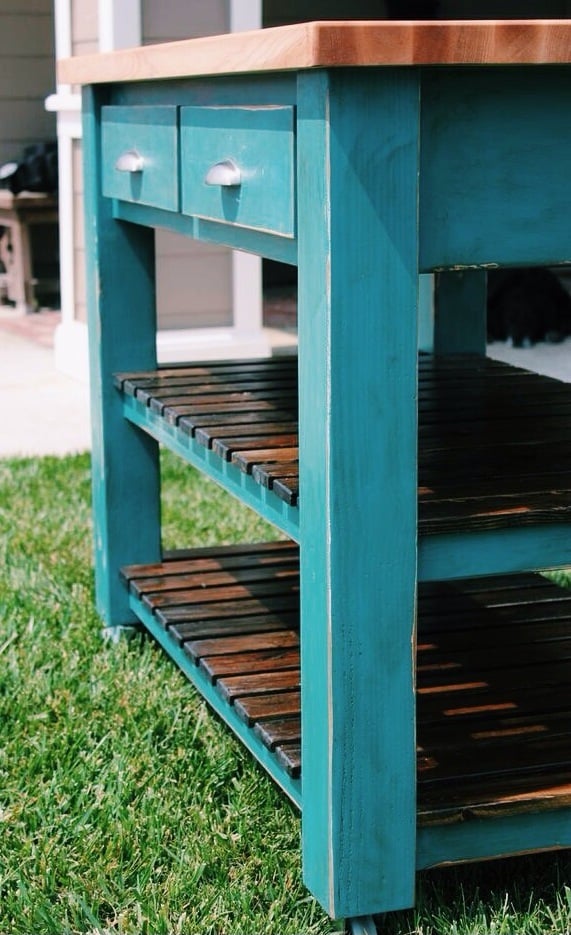
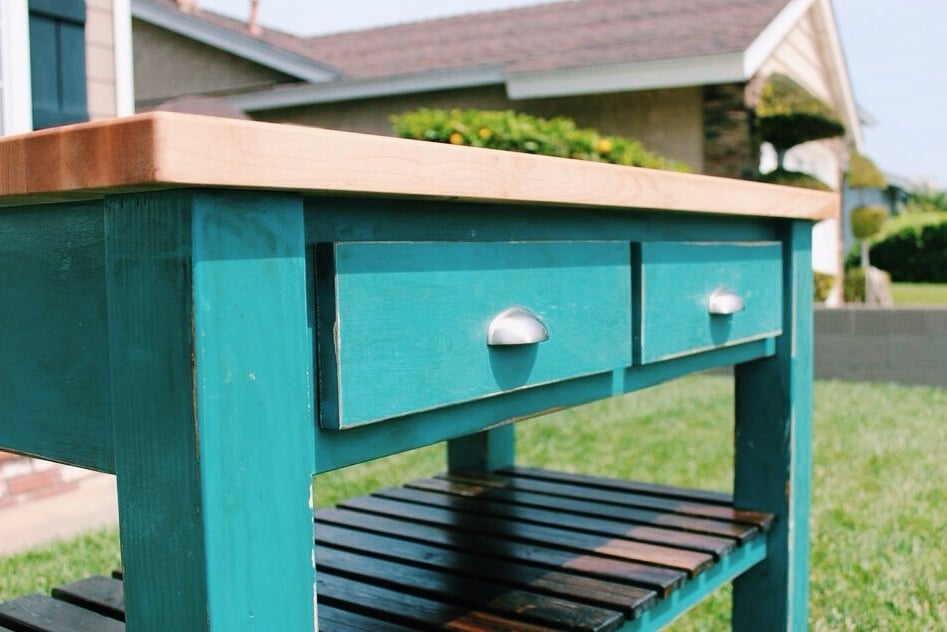
A beautiful housewarming gift for our son and his wife. We added doors with magnetic closures, slats to the back, and a safety feature to the drawer (toddler in the house). They loved this piece, and have many admirers of it. Time: 2 day build, 2 day finish.

Comments

Texas wood clock

Submitted by FireWolf13 on Sat, 05/09/2015 - 16:53

I had a few scraps of wood left over from a fence I took down. I wanted to make a clock for the state I live in. I also used shotgun shells for the numbers. It only took half a day to make and it was fun to see what the finished product looked like.

Estimated Cost
I had all of the materials
Estimated Time Investment
Afternoon Project (3-6 Hours)
Finish Used
paint I already had
Recommended Skill Level
Beginner

Recyle/Waste Cabinet

Submitted by RITWood on Sat, 10/07/2017 - 11:03

Keeping with the cottage farmhouse this is my take on the Wood Tilt Out Trash/Recyle cabinet.  I used construction grade 1x12's.  I would consider this project an intermediate level because I used two 2x12x8 and machined the smaller dimensional material.  I rounded over the faces using a 3/8 inch round over bit in my router.  Multiple coats of sprayed on latex followed by several light coats of water based poly.  

Estimated Cost
$28
Estimated Time Investment
Day Project (6-9 Hours)
Finish Used
Fireweed red latex with a clear coat of polycrylic. I used a HVLP sprayer to apply the finish. It takes several light coats of the red to cover adequately. Smooth moderate sweeping motions work the best.
Recommended Skill Level
Intermediate

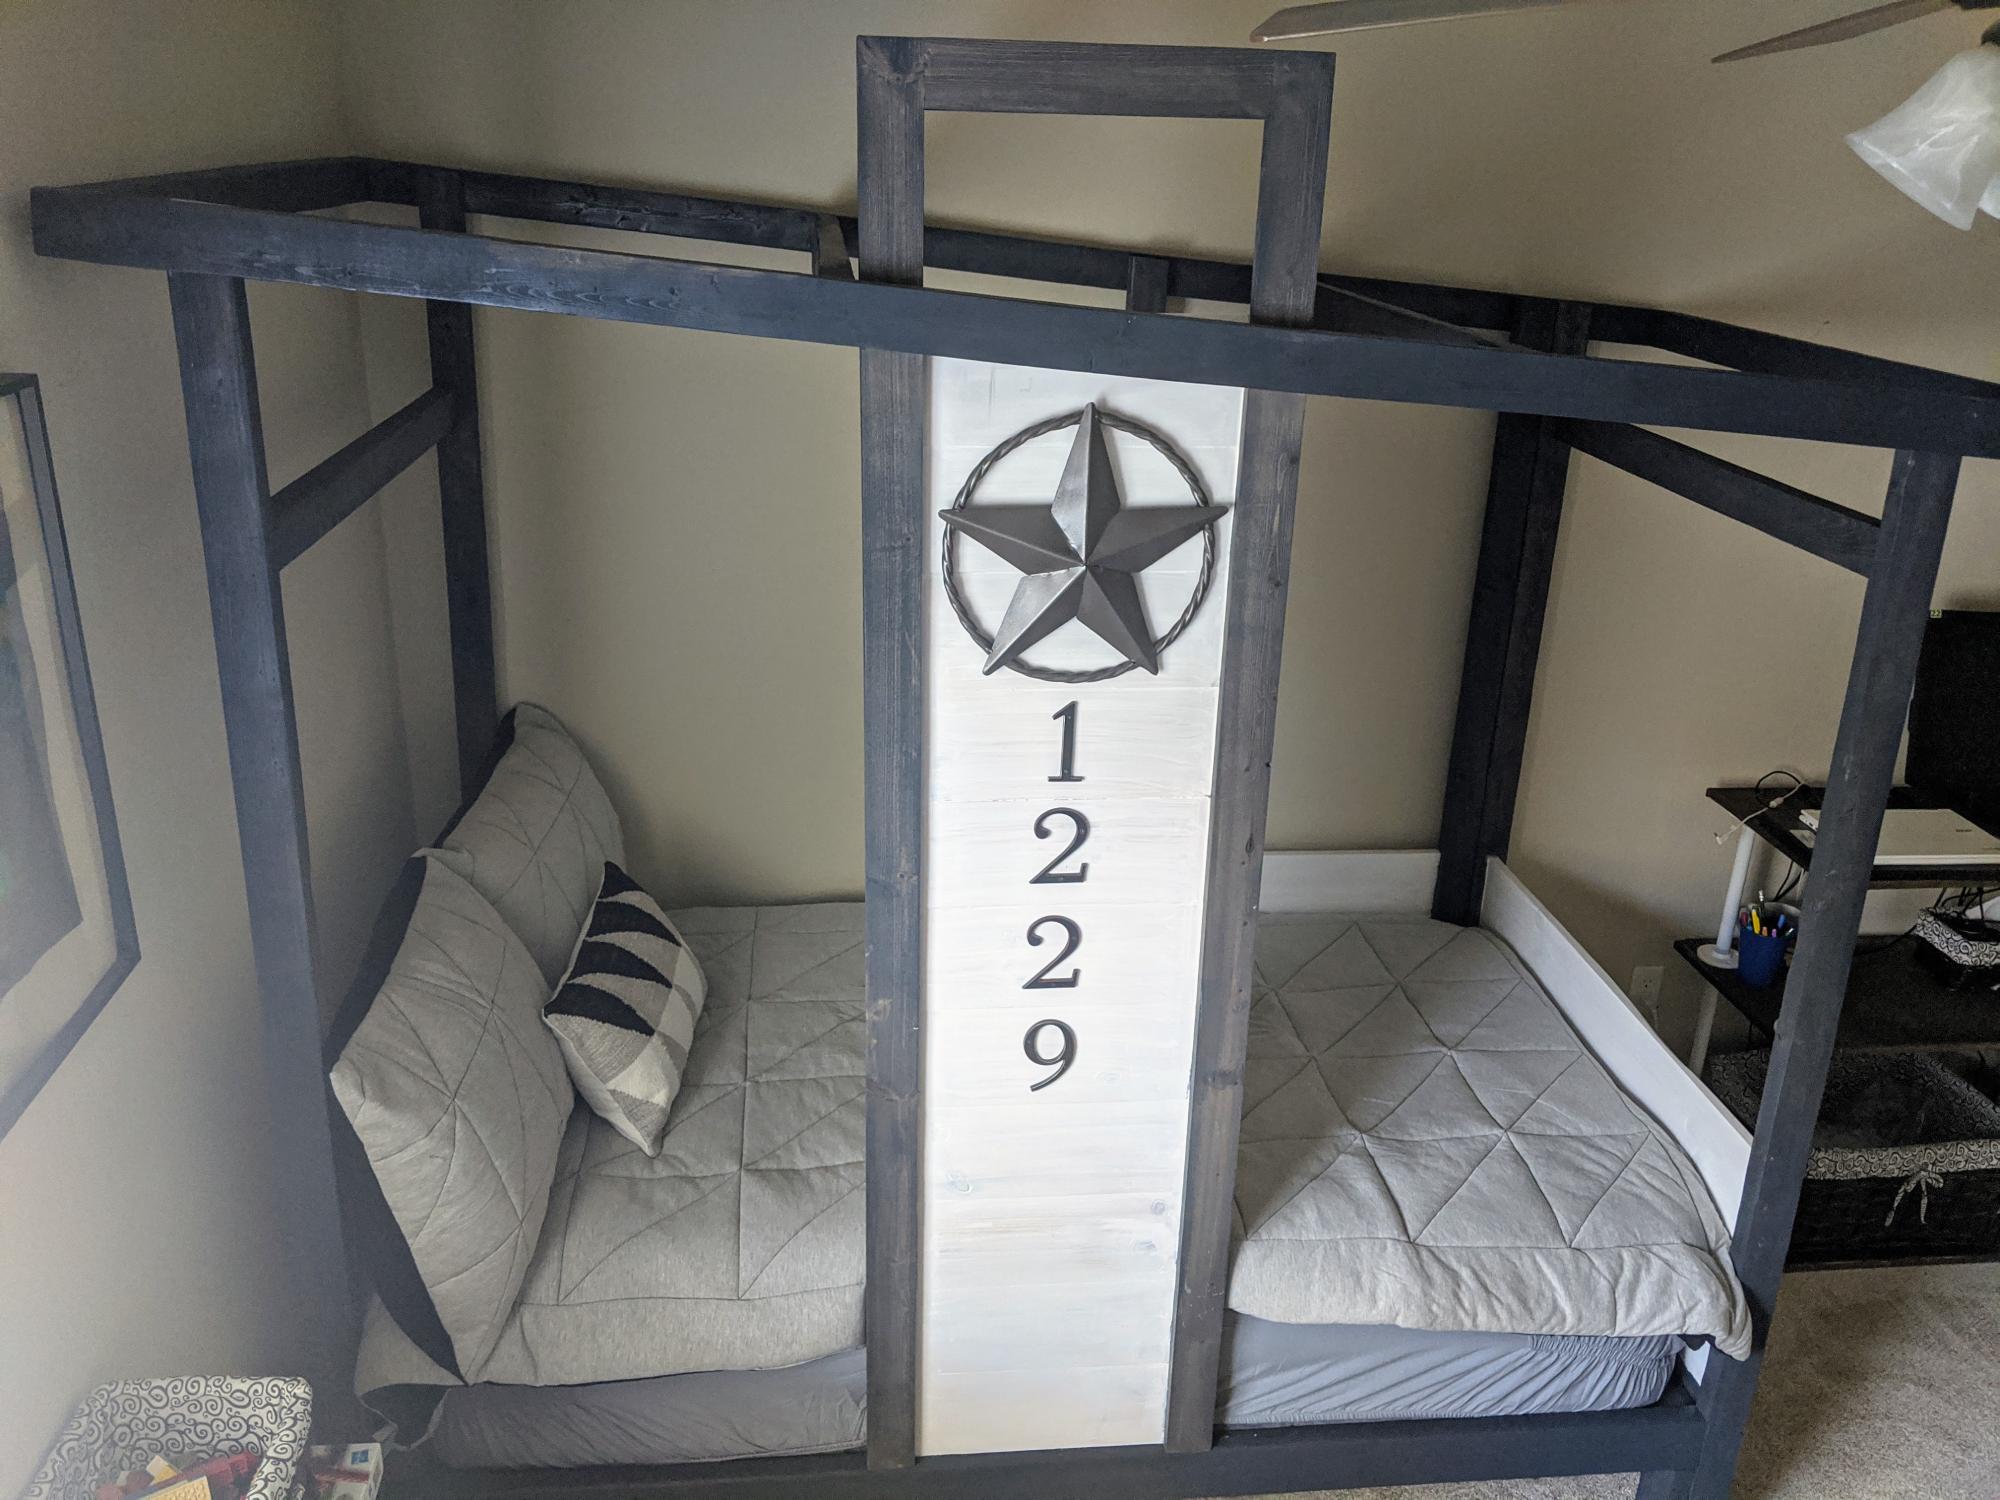
Two-tone kingsize bed- extra tall

My First Project

My husband and I had a problem.  We were tired of sleeping on a mattress on the floor, and most beds were out of the question because my husband is tall. 6'7" tall.  Ana White's plan looked perfect, but I had never built anything before, unless you count an improvised 'clean the gutters from the ground" stick.

I knew I had to make something that could be taken apart because we are renters right now, so it will take a little bit of work, but after some modifications to the plans, it will come apart when it needs to.  We are also not small big humans, so the bed is appropriately beefed up where it needed to be- to accommodate 2 big humans, 2 fairly large dogs, 150 lb latex foam mattress, and any future kids.

I also had to make changes to the King size plans because Ana's original plans have the mattress oriented sideways, which would be too short for us.

For extra storage space, a hangout for dust bunnies and dogs, and a just a plain tall bed for tall people, I made the foot-board posts taller, and attached the rails higher than the plans indicate.  I also made a platform for our mattress to sit on out of 2x4's, 2x6's, and 3/4" plywood.  This bed is STURDY.

To support the slats and mattress well, I hung a 2x6 with joist hangers in the middle of the bed frame (see picture below), and it stops the 2x4 slats and plywood from bending in the middle.

Built from Plan(s)
Estimated Time Investment
Week Long Project (20 Hours or More)
Finish Used
The panel boards were stained with two coats of Minwax Dark Walnut for 15 minutes each time before attaching the trim. Wood conditioner was applied before the first coat of stain.

Poly coat to be applied... later. When we will be away for a couple days after applying it.
Recommended Skill Level
Starter Project

rustic x table set

I built the whole rustic x table set. I mixed apple cider vinegar with steel wool, let it set overnight, and stained the tables with that. Then I put minwax polyurethane clear gloss coat on it. I then cut the corner angle pieces out of scrap 1 16th inch flat metal bars, bent them at a 90 degree angle and painted them black

Estimated Time Investment
Afternoon Project (3-6 Hours)
Finish Used
used apple cider vinegar and steel wool let it set overnight then finished with minwax polyurethane in clear gloss
Recommended Skill Level
Intermediate

DIY Workbench on wheels

Thanks to www.shanty-2-chic.com for this plan! I needed a workbench for all these projects that I was starting and I was tired of getting out a piece of plywood and the sawhorses every time. So this was just perfect for what I needed!

Estimated Time Investment
Afternoon Project (3-6 Hours)
Recommended Skill Level
Beginner

Bathroom Vanity 2 Ways, Hammered Copper or Wave Sink

Custom Bathroom Vanity in traditional furniture styling. Designed two ways, one with a hand hammered copper sink and matching hardware, the other with a Kohler Wave sink with black aged hardware. 

Estimated Time Investment
Weekend Project (10-20 Hours)
Finish Used
Ultra White Paint, Special Walnut Stain
Recommended Skill Level
Intermediate

RH dupe Concrete Dining table

Submitted by Don710 on Tue, 11/02/2021 - 21:42

60” round 1.5” concrete top.
No modifications to the base.
Used Behr water based stain (Early American)and wood conditioner.
Beyond pleased with the results:)

Comments

Adirondack Chair (Home Depot Version)

Followed the new home depot plans, only change I made was using 2x4 instead of 2x2. Getting ready to build another one, but this time will also change the arms to be wider on the ends to accommodate wine holder on one arm and cup holder on other arm. :0)

Estimated Cost
$60
Estimated Time Investment
Afternoon Project (3-6 Hours)
Finish Used
Going to use English chesnut stain and then marine spar varnish for protection
Recommended Skill Level
Beginner

Comments

acer211

Fri, 11/13/2015 - 20:36

Hi Ana,


Thanks for all your free sharing and advice.  I'd like to return the favor (hopefully)...  

Just wanted to say (as I am a painter) that it is best to avoid using any sort of "clear" varnish (such as poly, or spar, etc...) on anything that sits outdoor (such as furniture, doors, decks), because UV rays from the sun will break-down the varnish and cause them to fail.  

Instead, it is best to use a stain that is suited for decks, like Cabots Semi-Transparent, or semi-solid, etc,,

best regards,

Aaron

c3663b

Wed, 03/02/2016 - 12:21

The plans for this adirondack chair are no longer available on the Home Depot website. Where can I get them? Does anyone have them to share?

American Girl Doll House

Submitted by Anonymous (not verified) on Sat, 11/06/2021 - 08:04

This was what I built for my daughter during quarantine! I had never used a Kreg Jig before and now I love using it!

Comments

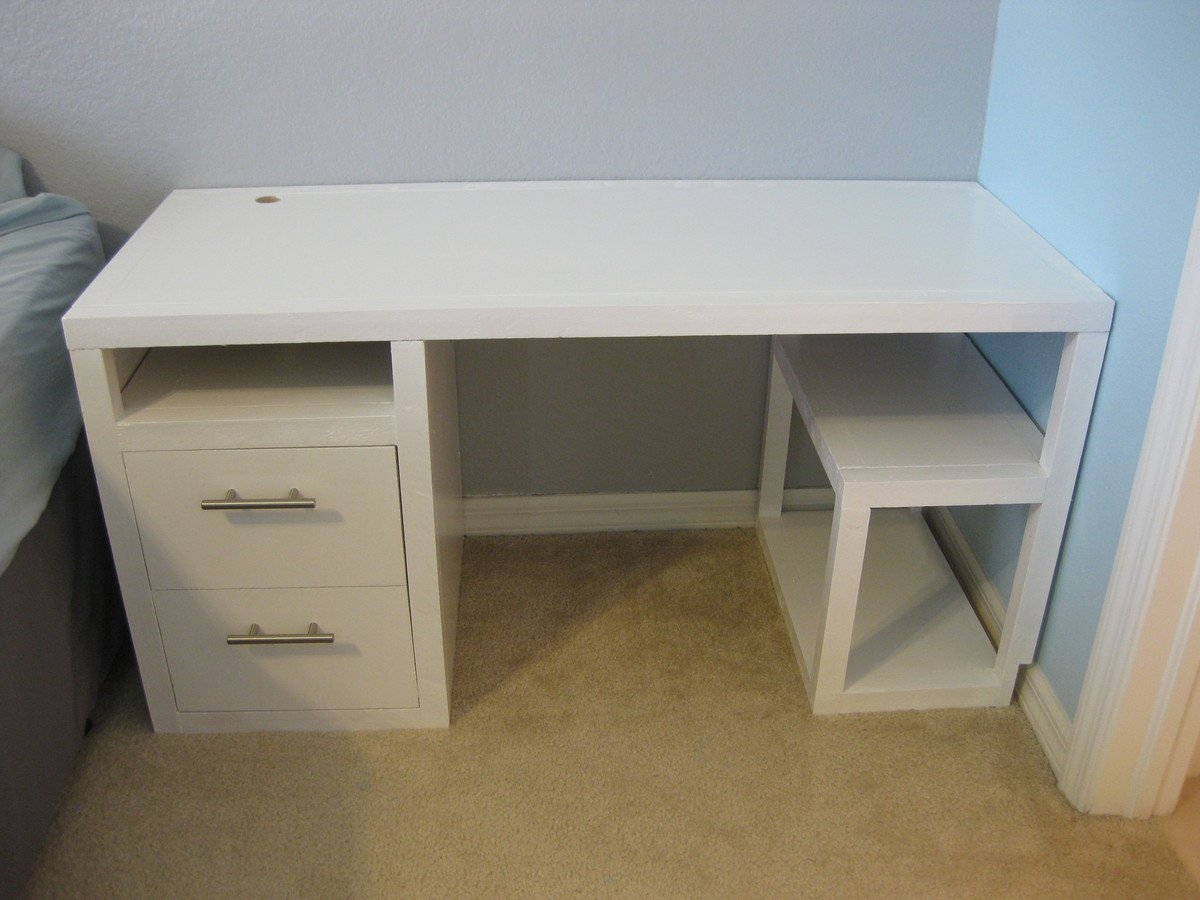
Desk with additions

Submitted by klatz on Fri, 05/15/2015 - 09:25

This was the first plans we used from Ana White and it turned out great. Modified the desk to be a little shorter and have dual drawers in the front.

Built from Plan(s)
Estimated Cost
$125
Estimated Time Investment
Weekend Project (10-20 Hours)
Recommended Skill Level
Beginner

Comments

Farm Table

Submitted by Anonymous (not verified) on Mon, 11/15/2021 - 14:06

Anna made it easy to build. I did change a few things to fit my dining room but I think it turned out great.

Thanks Anna

Shawn Roleson

Comments

Tryde Coffee Table

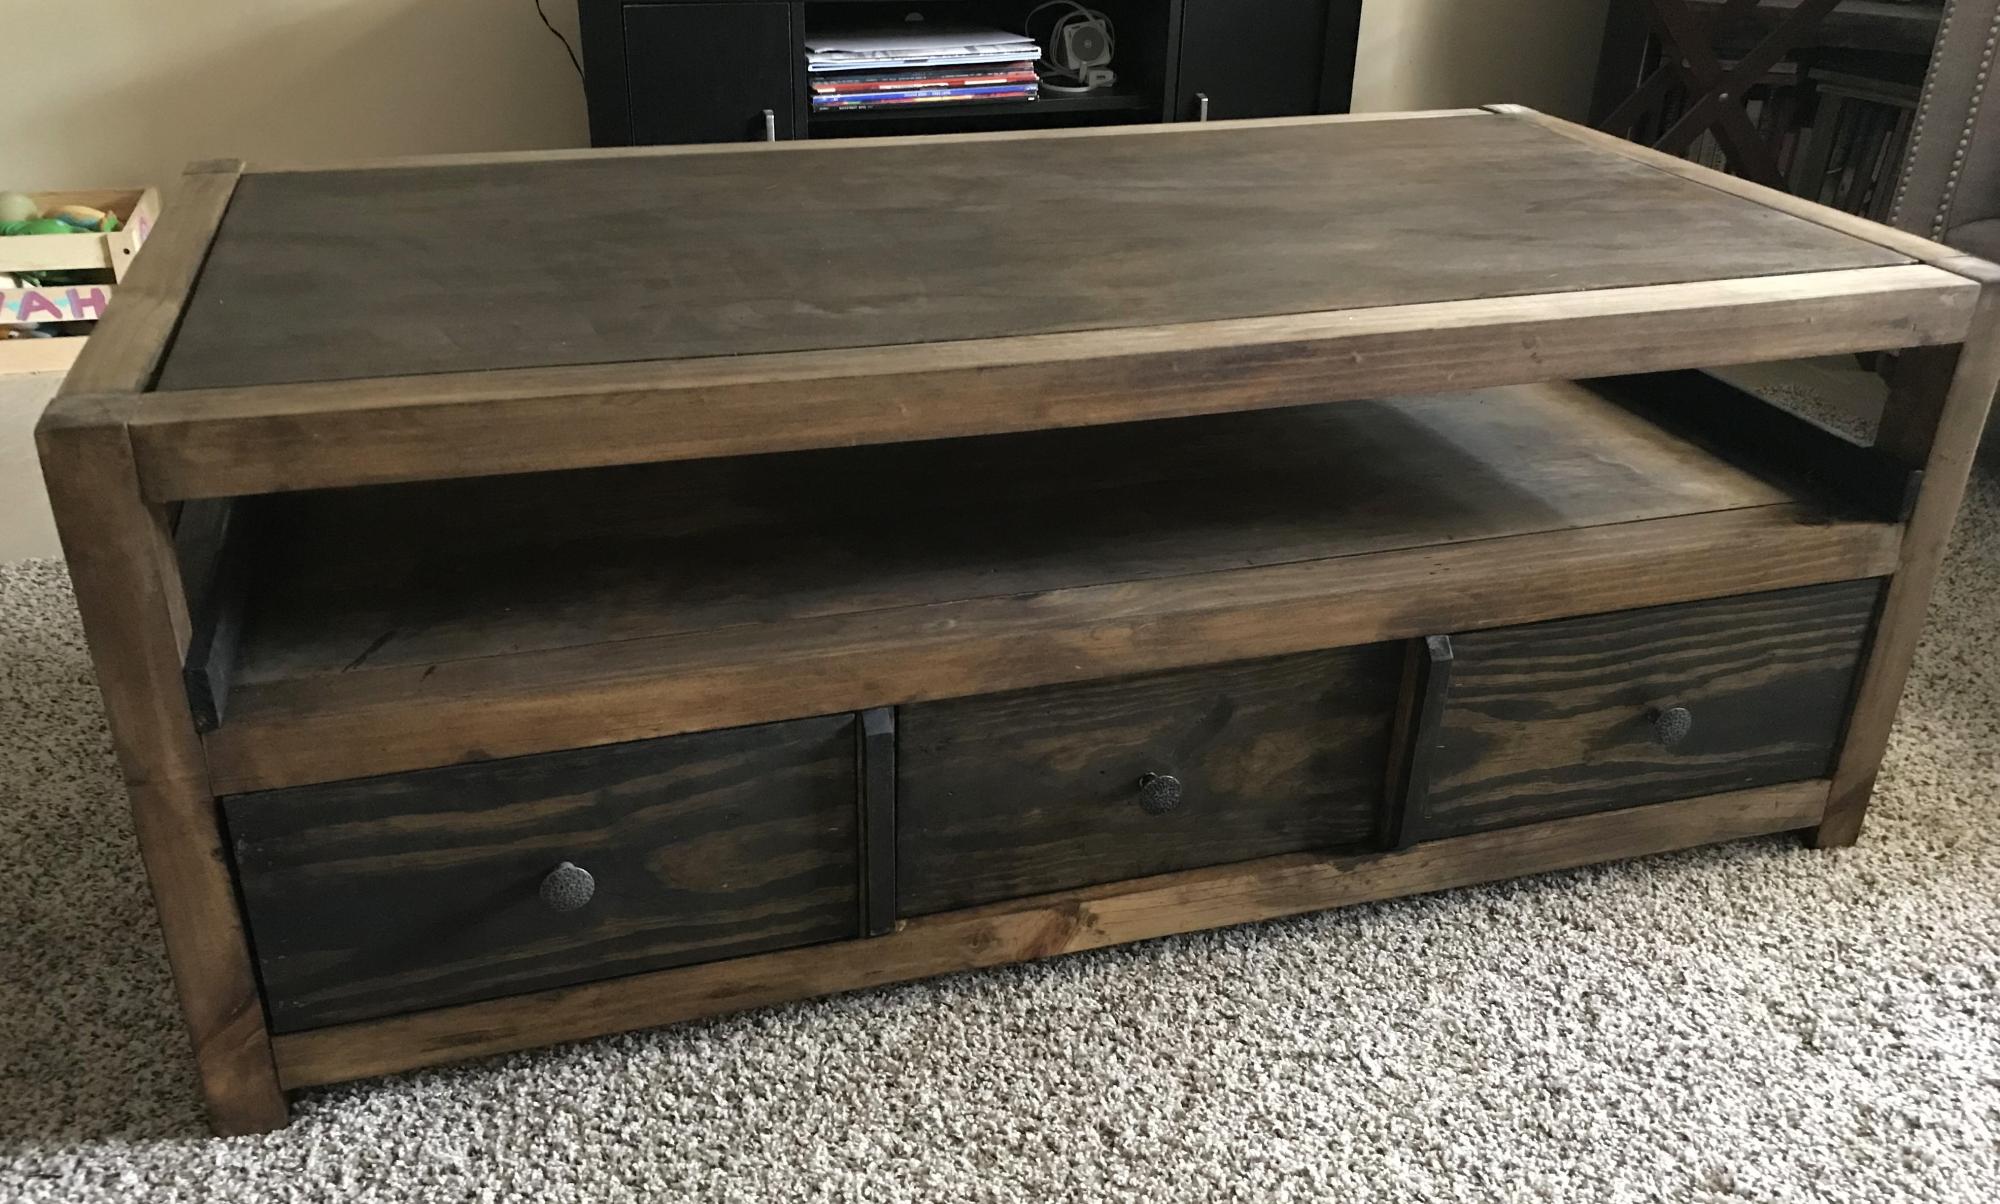
This was my first project. We are using it in the Man Cave.

Estimated Time Investment
Afternoon Project (3-6 Hours)
Recommended Skill Level
Beginner

Comments

Poolside sectional

Submitted by Littlek8 on Tue, 05/19/2015 - 09:55

This was our first diy furniture project but definitely not our last. We were looking for furniture to put by our pool but everything that we liked and was comfortable was way out of our budget. I came across the post on pintrest and recruited my husband to do the woodworking for me. I the meantime I made the cushions and back pillows using outdoor fabric from fabric.com. The sectional is stained using Olympic Elite semi transparent exterior stain in kona brown.

Estimated Cost
$500.00
Estimated Time Investment
Week Long Project (20 Hours or More)
Finish Used
Olympic Elite semi transparent stain in kona brown. Topcoat of Helmsman polyurethane
Recommended Skill Level
Beginner

Comments

Tree Shelf

Submitted by Alaskagirl on Tue, 12/12/2017 - 22:59

We moved about 18 months ago to a house without a fireplace after having one for almost 7 years. When The Christmas dilemma of where to hang the stockings came up last year, we used an Ana White plan and built a super amazing faux fireplace. After the holidays we decided we'd install it in our bedroom instead of storing it away all year....AND we ended up liking it there so much, that's where it stayed and a bookshelf took its spot in the living room. This Christmas when the stocking question was raised I looked online for ideas and, wouldn't you know it, Ana White to the rescue again!! We are completely in love with our new Christmas shelf. Also as a bonus, we now know how to use a miter saw, which I'm sure will open up all kinds of new project possibilities!

Happy Holidays!

Built from Plan(s)
Estimated Cost
$30
Estimated Time Investment
Afternoon Project (3-6 Hours)
Finish Used
Weathered gray stain with a bit of teal paint mixed in followed by a clear varnish.
Recommended Skill Level
Intermediate

Kids Adirondack chairs

Submitted by redhead_61 on Fri, 04/08/2011 - 13:39

This was admittedly a little harder than I thought.  The first one turned out short of perfection trying to get things looking great.  The second one was better using a level and being more careful.  However, the fact that my nail gun totally went out halfway through made the project a long one.  But my kids LOVE them and they look so cute and luxurious out in my grass.  I love it. 

Built from Plan(s)
Estimated Cost
$10
Estimated Time Investment
Afternoon Project (3-6 Hours)
Finish Used
off white paint and poly
Recommended Skill Level
Beginner