Community Brag Posts

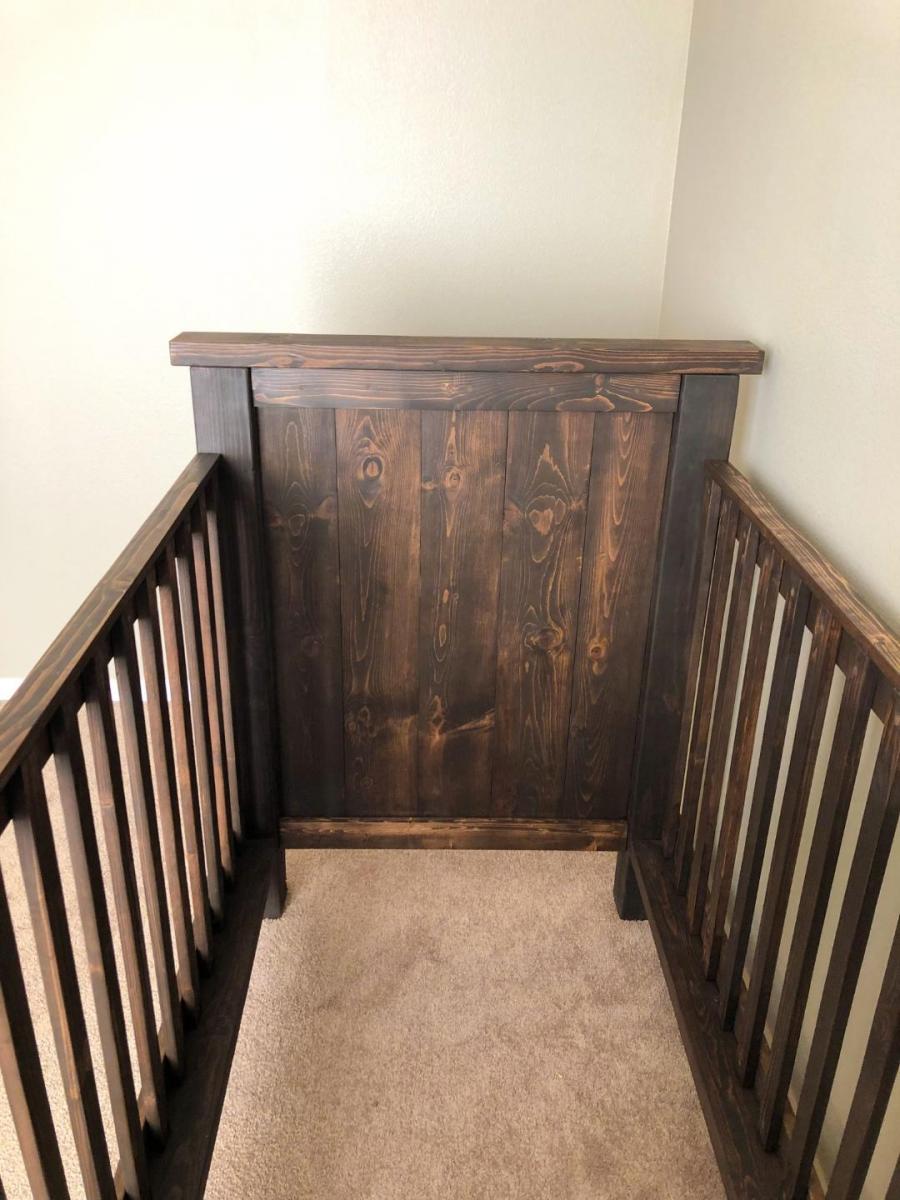
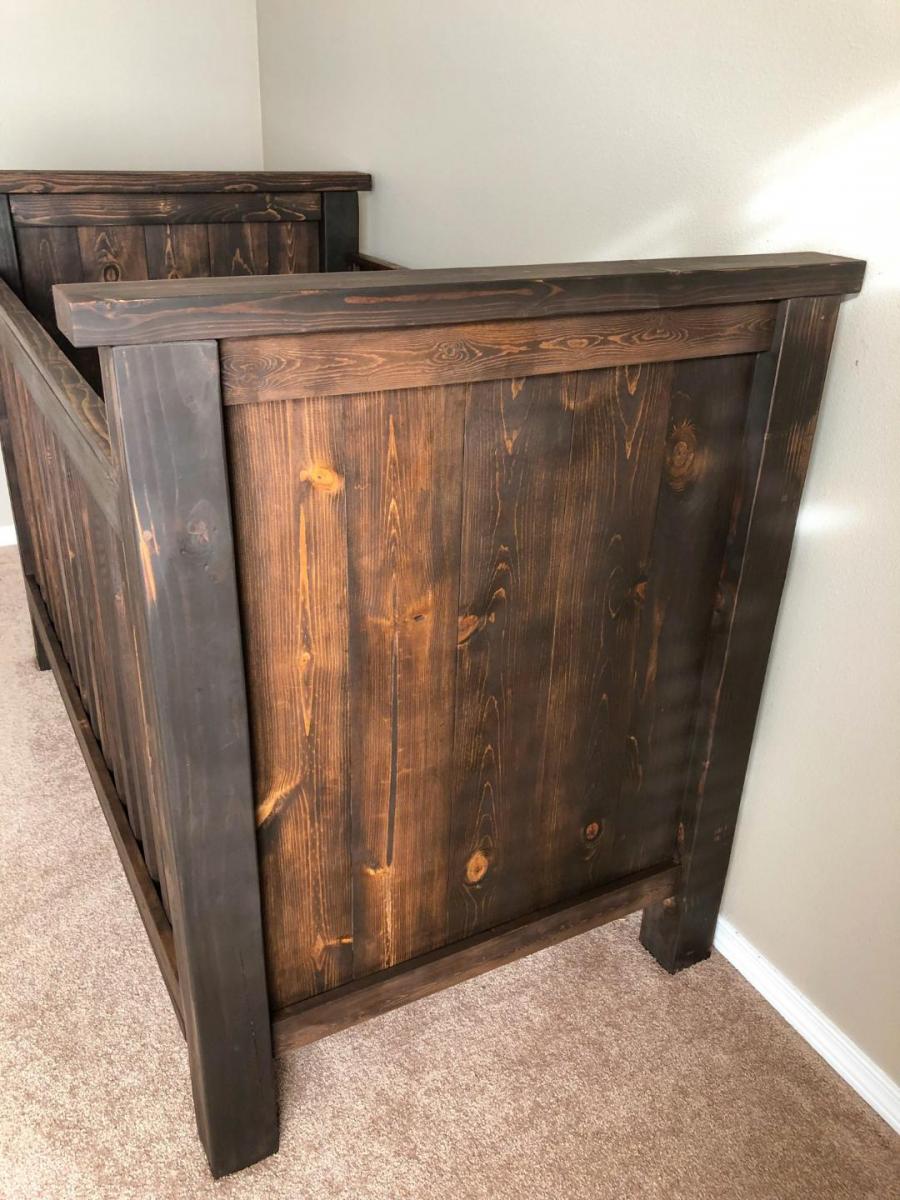
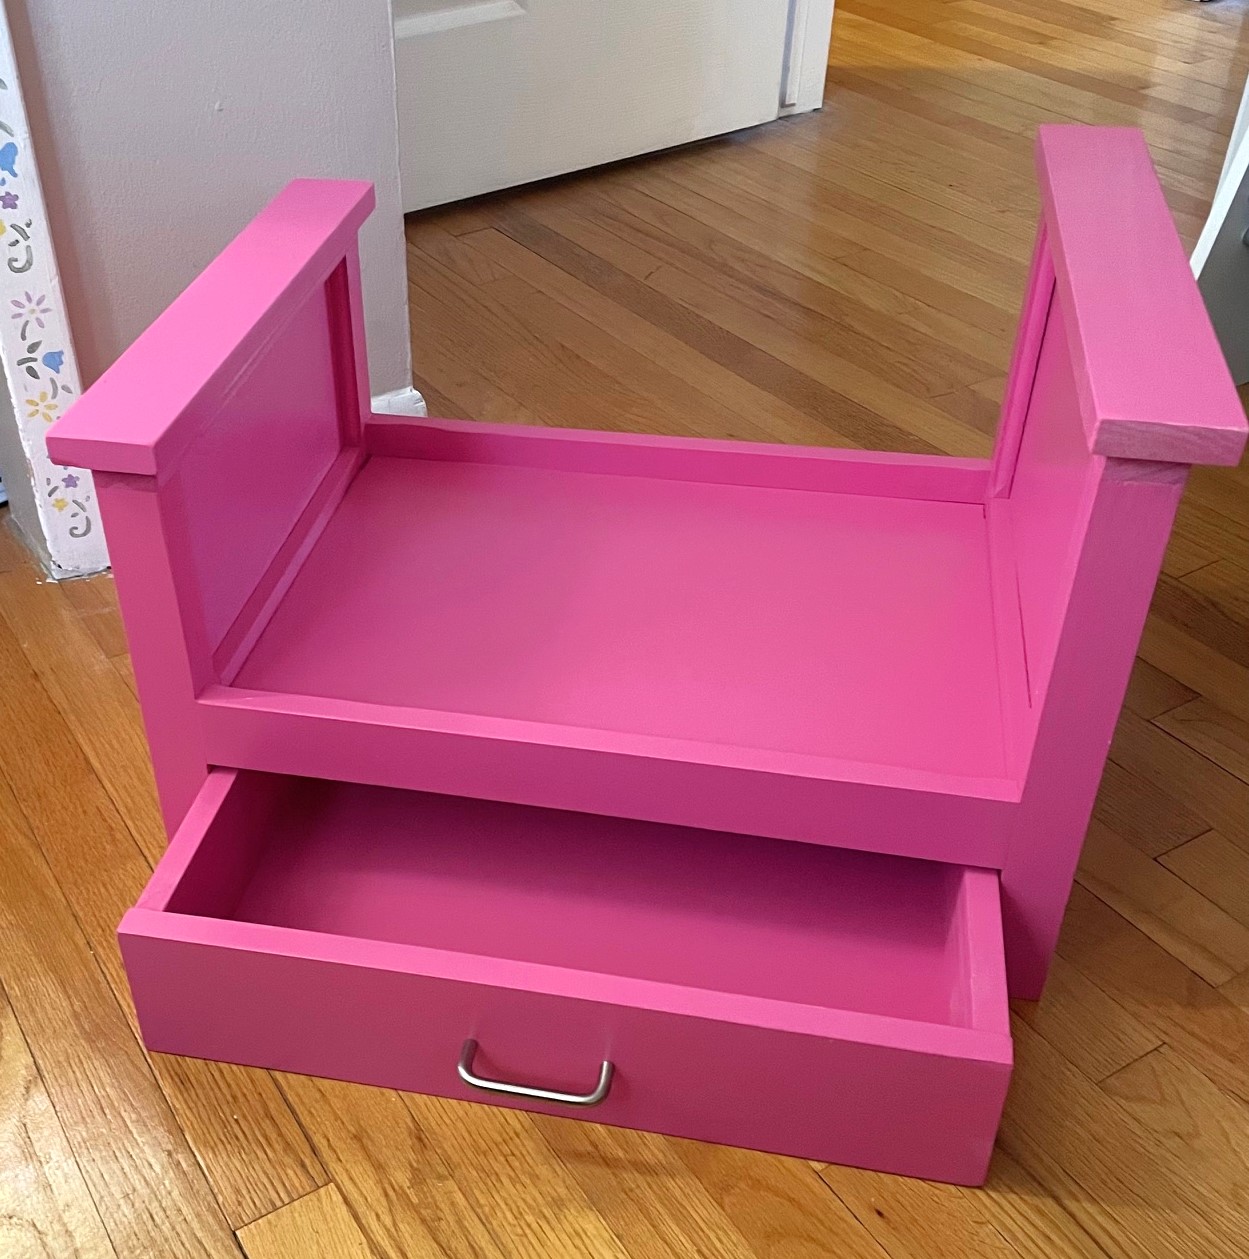
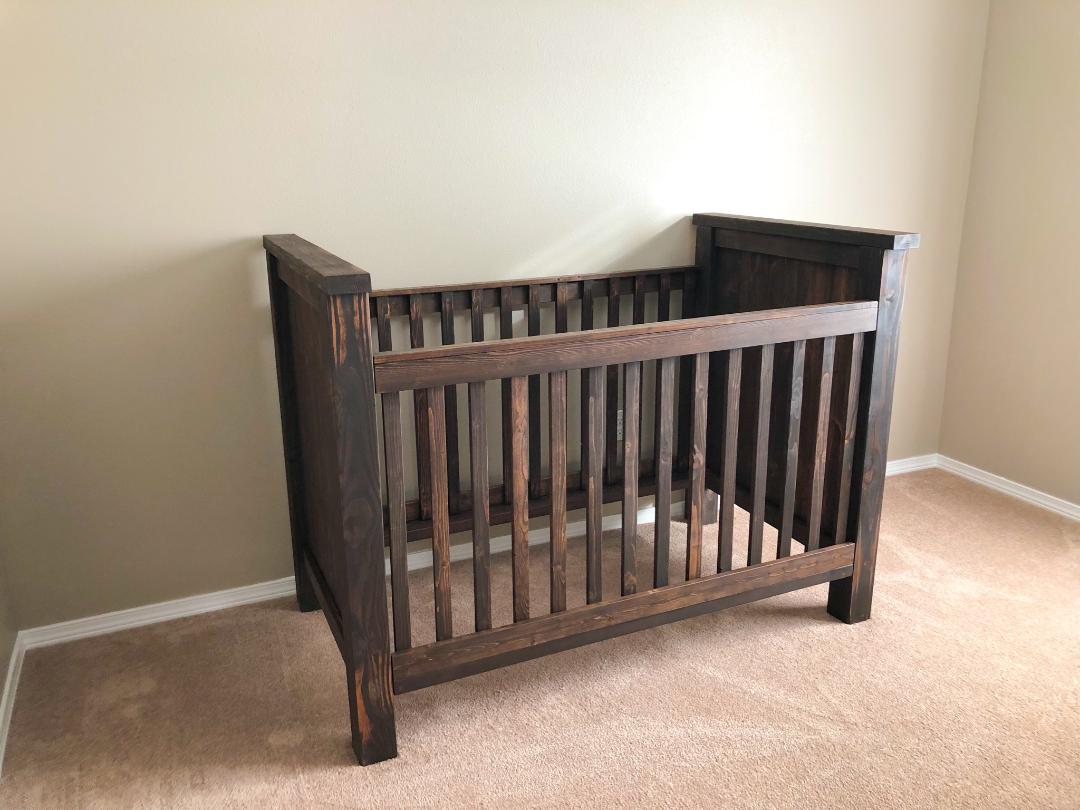
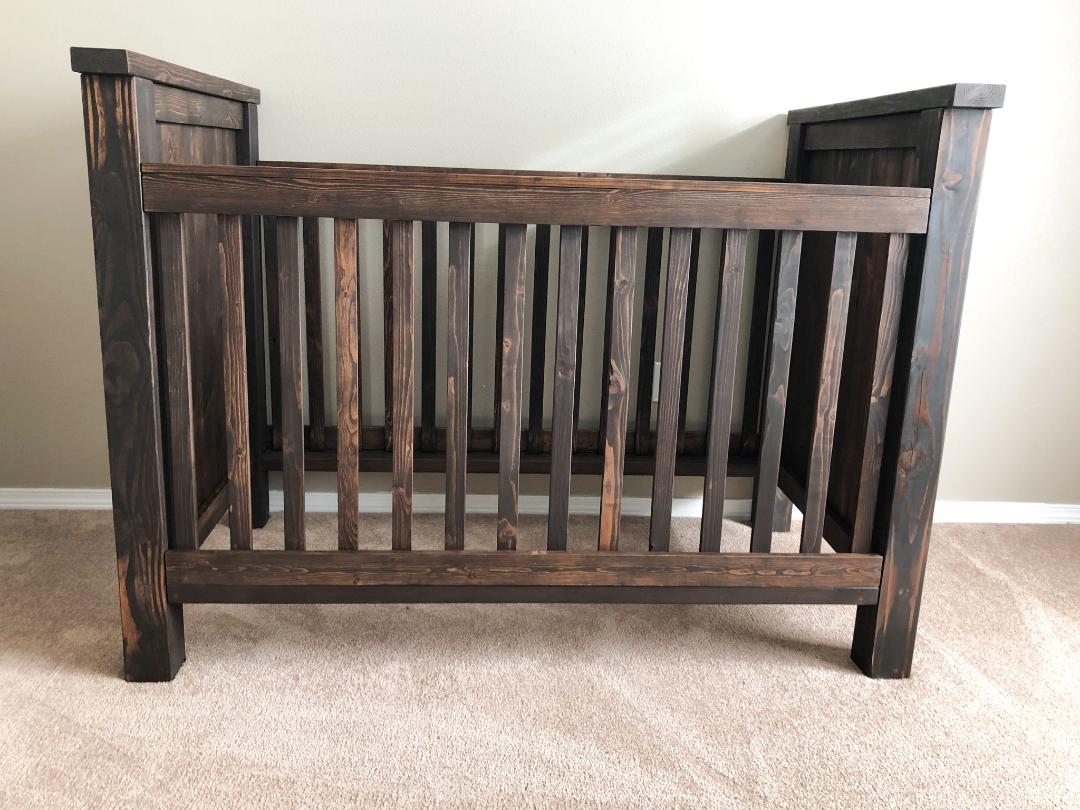
DIY Stinctly Made Crib

Submitted by Anonymous (not verified) on Thu, 03/26/2020 - 10:15

While I found the plans a little difficult to follow as there were steps left out, missing measurements, and misinformation, it was an easy project and I'm so glad I made it. Even at 21 weeks pregnant it was totally doable alone. The only thing I needed my husband for was to hold the side rails at the correct height.

Estimated Time Investment
Week Long Project (20 Hours or More)
Finish Used
Kona by Varathane
Recommended Skill Level
Beginner

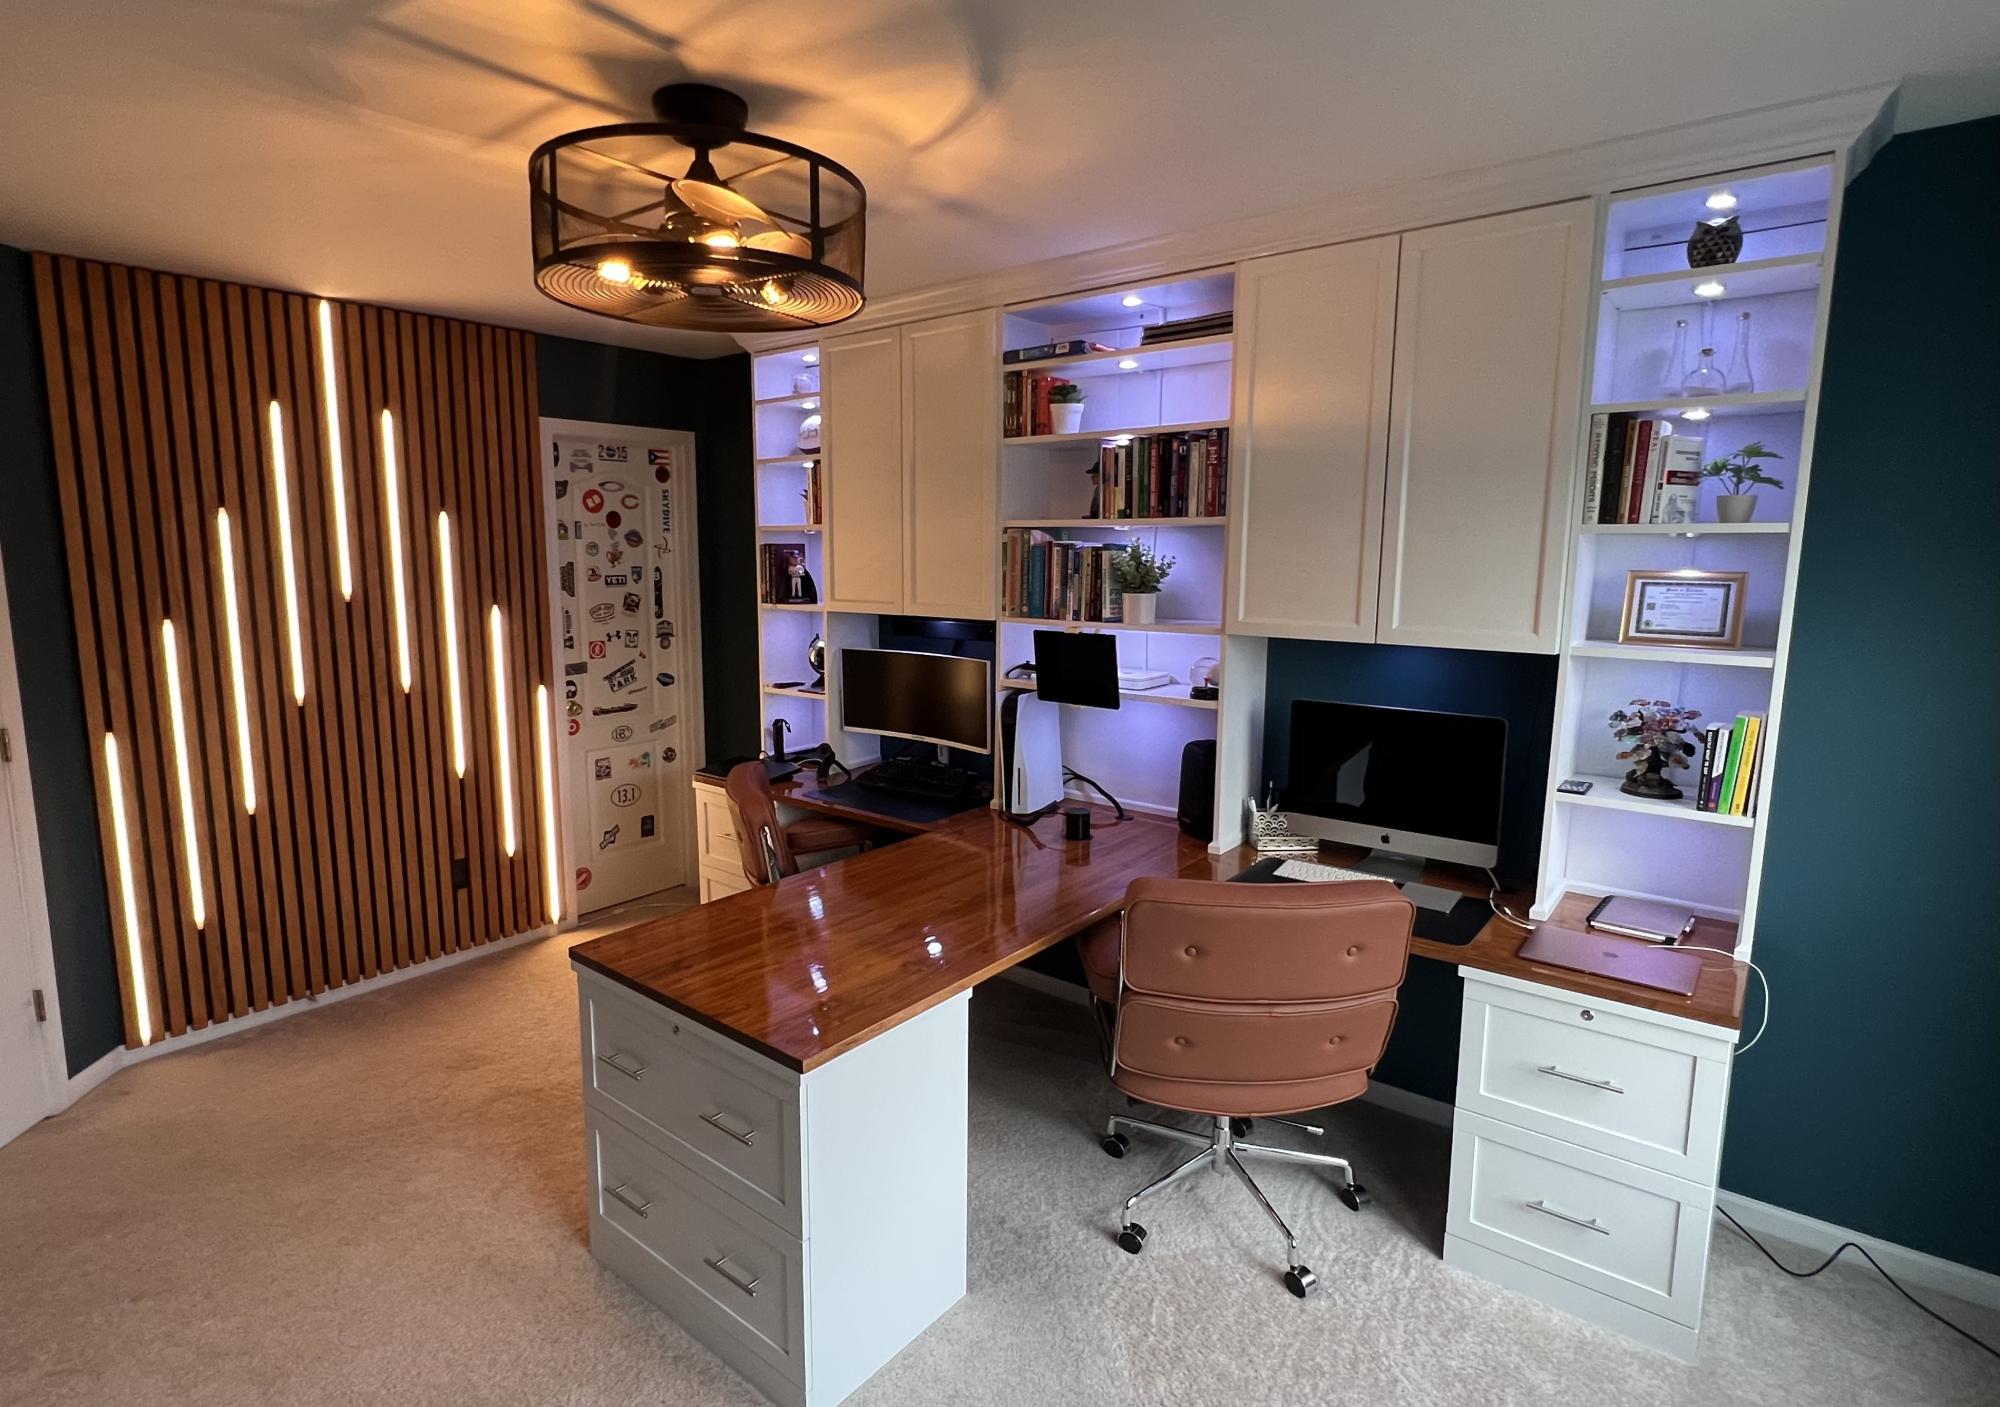
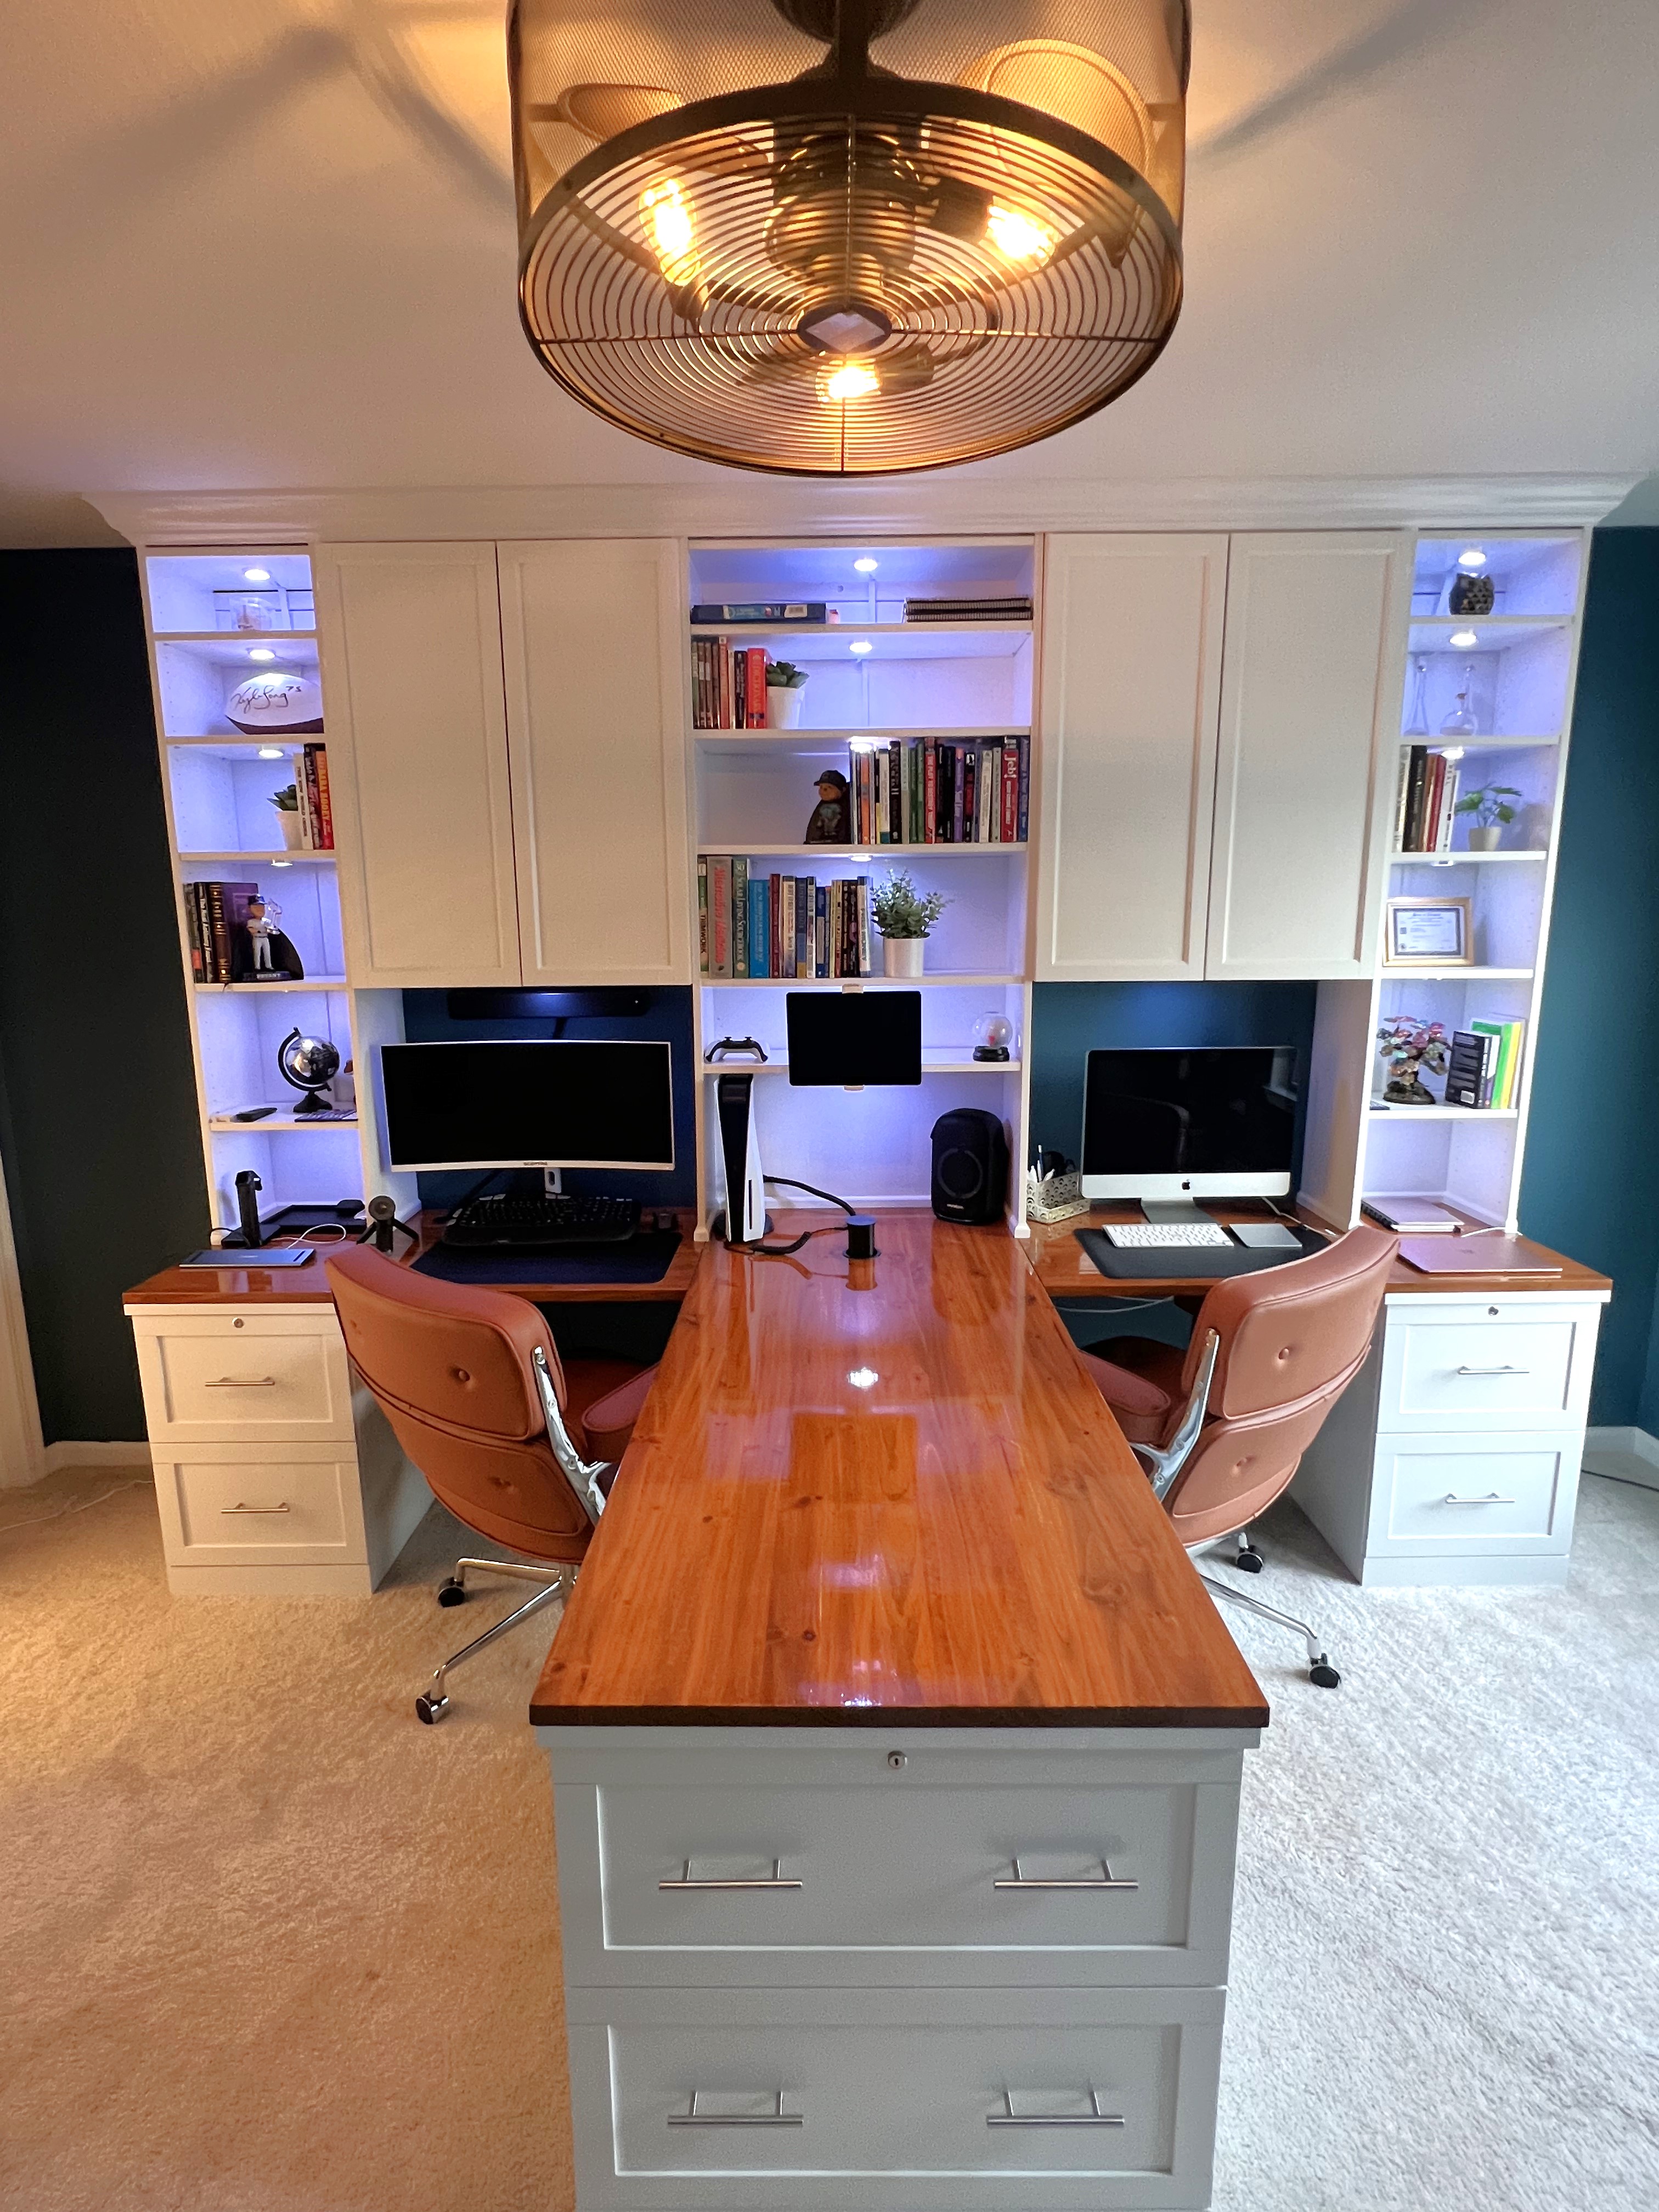
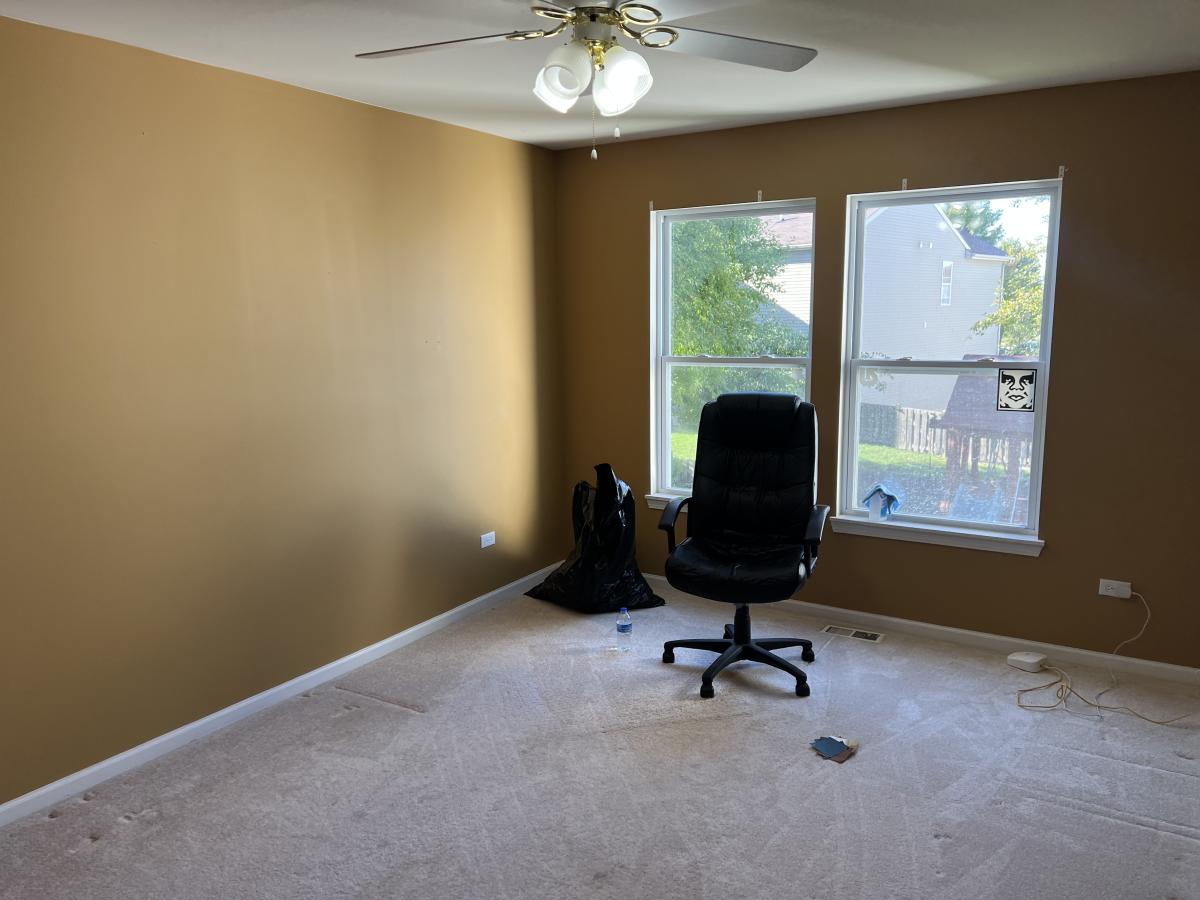
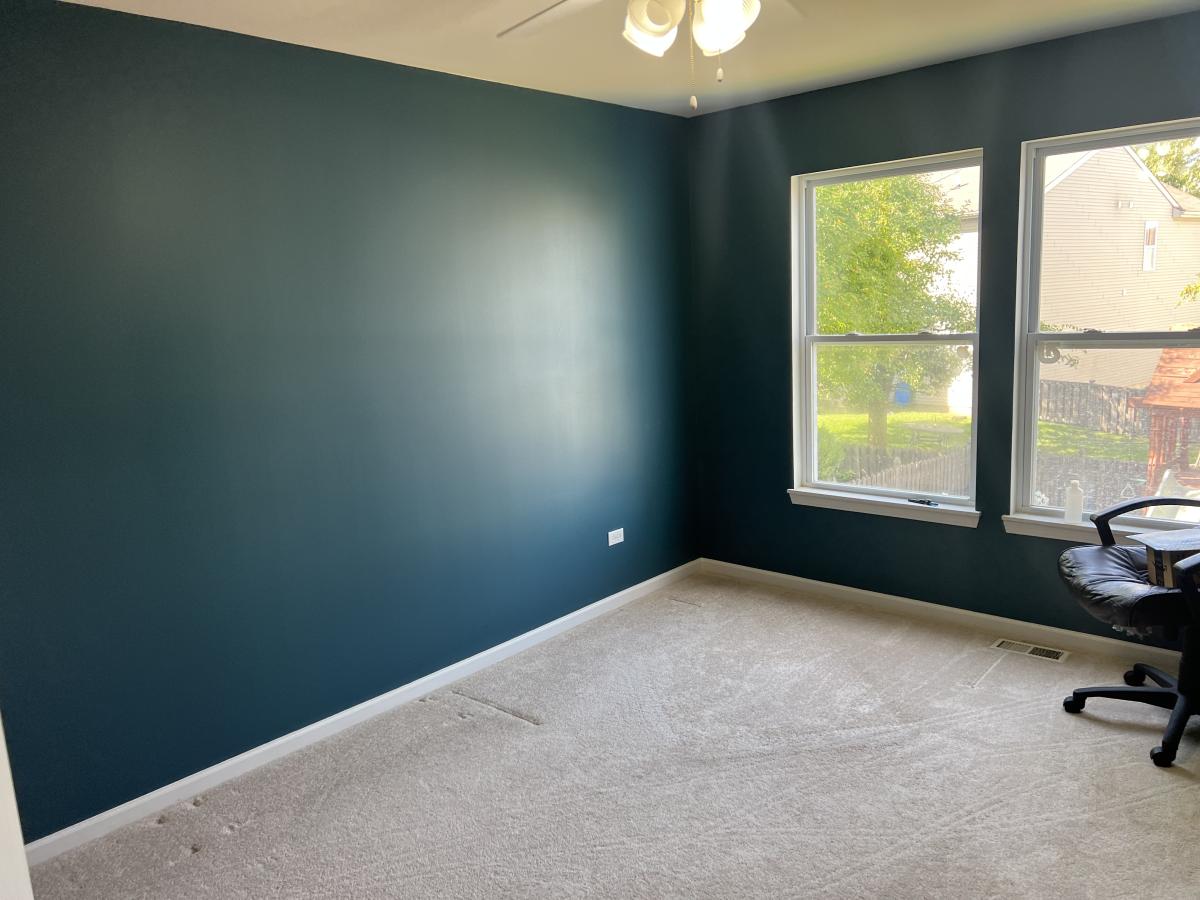
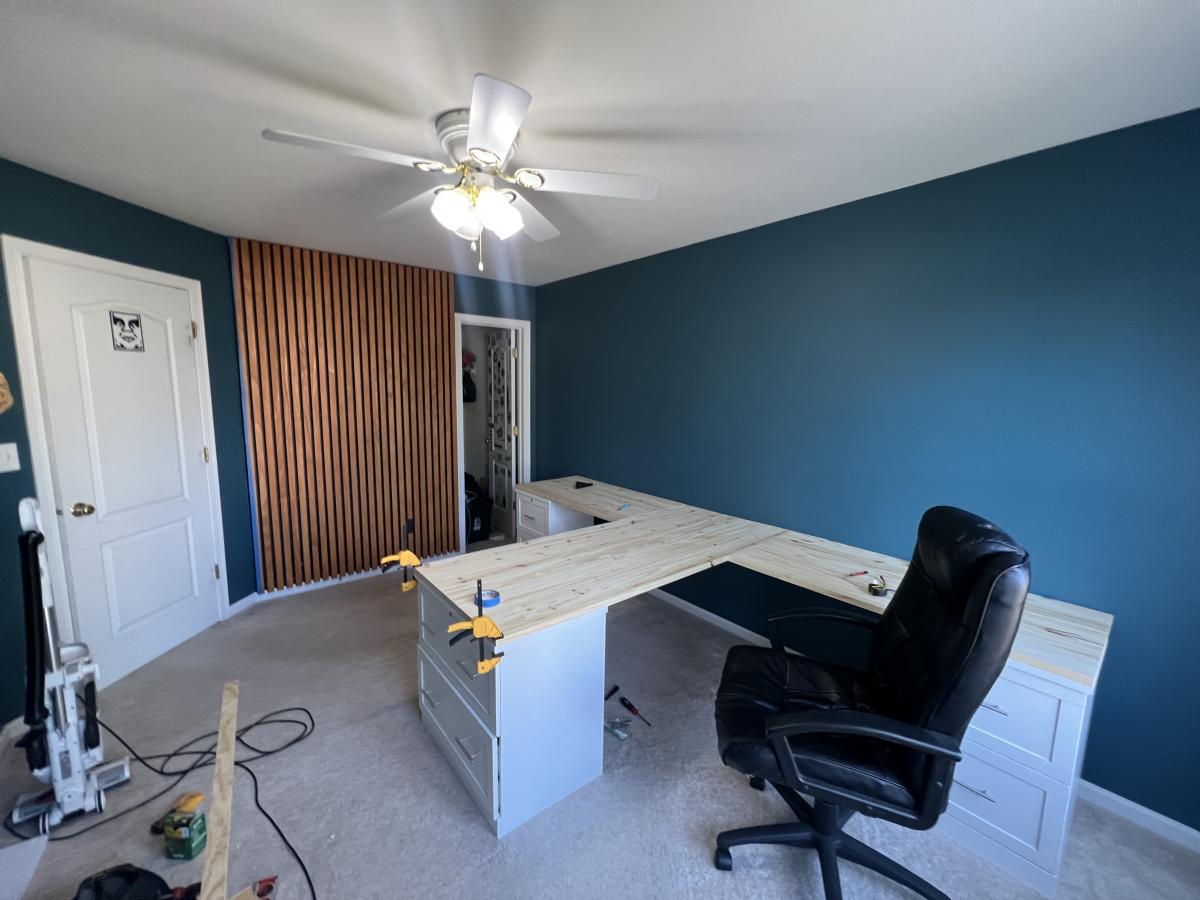
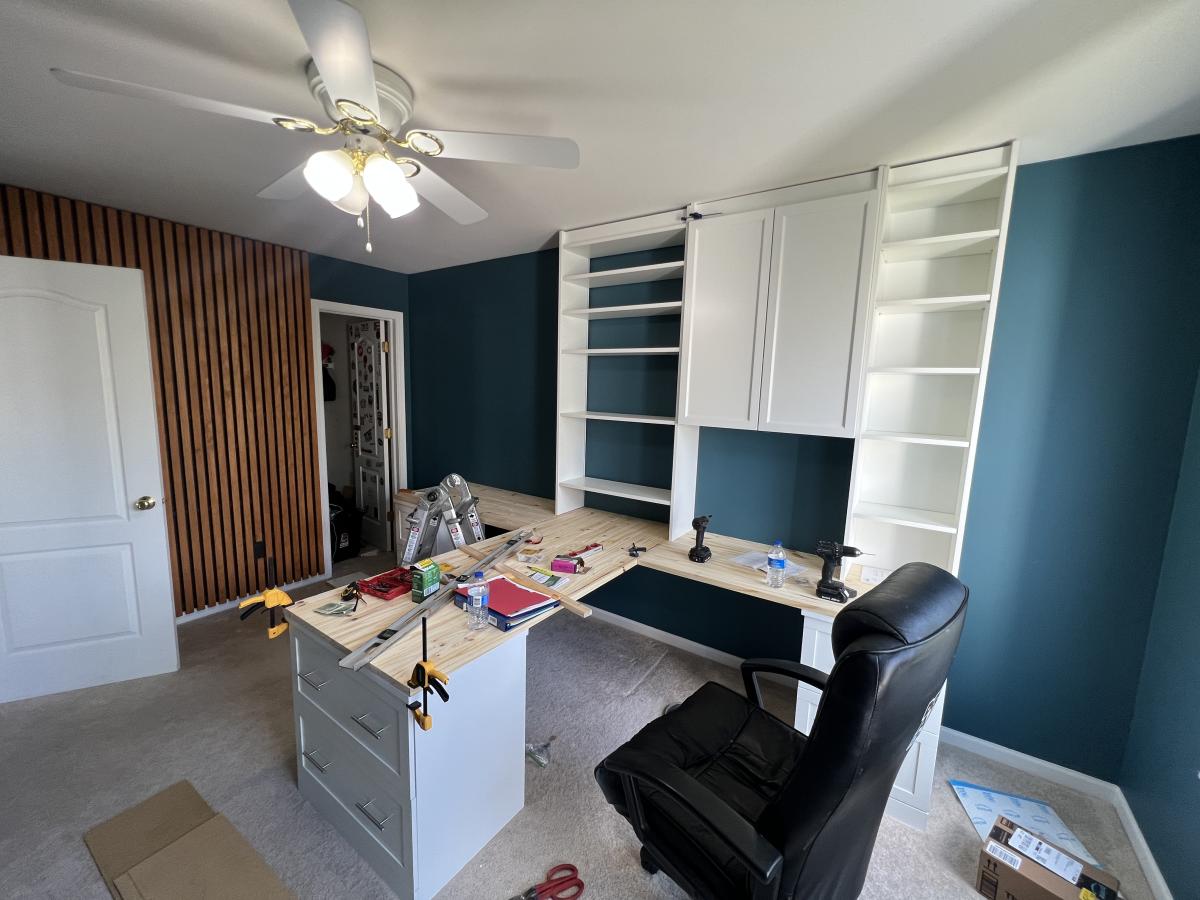
Modular Desk System

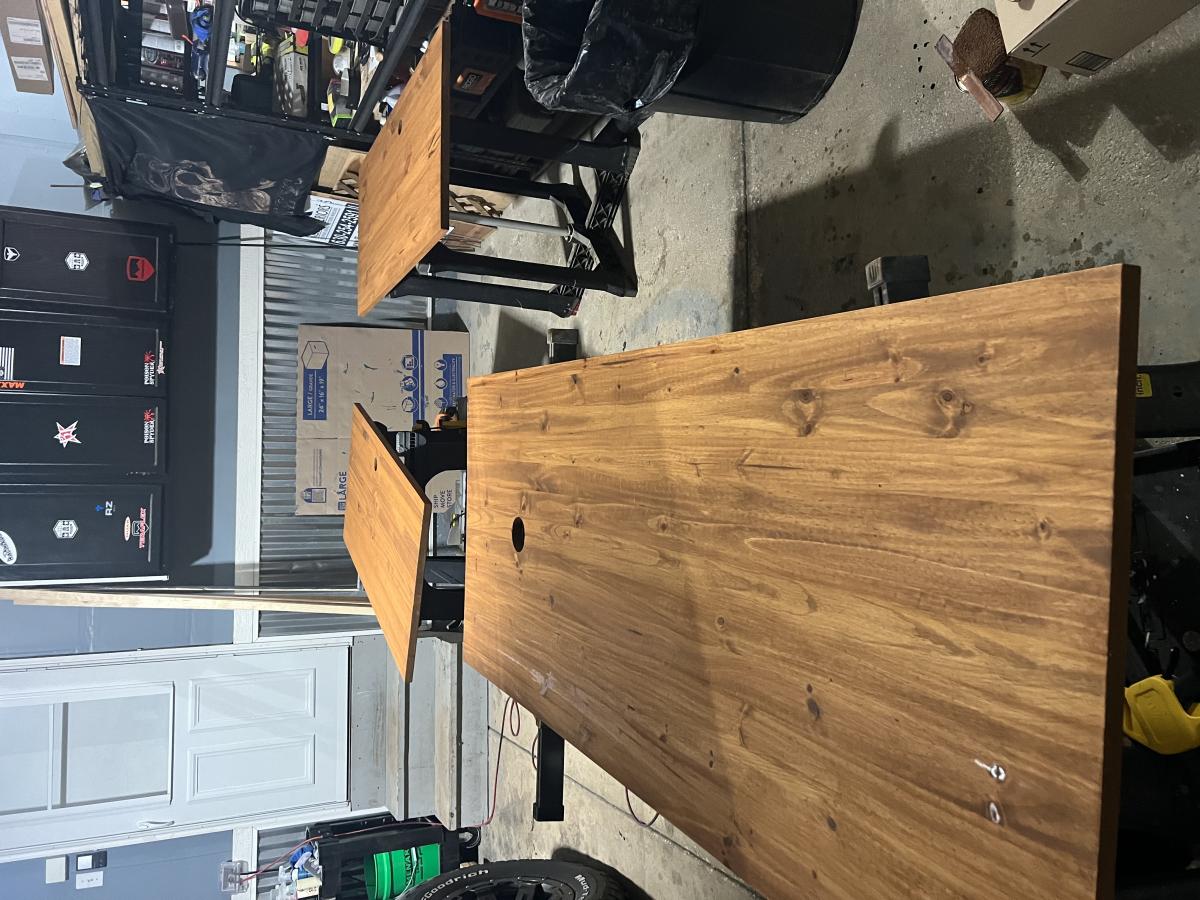
deskMy home office remodel was inspired by a post from Ana White a few years ago. For this project I ended up using IKEA bookshelves and cutting the tops off and flipping them upside down. I used some crown mounding to cover the base of the cabinets on the tops. The desk top bases are file cabinets I found at the office supply store and the desk tops are edge glue pine. Overall I think I only had to make 8 cuts for the entire project. Saving me a ton of time and money. Thank you Ana for all of the wonderful post!

Mark Danreiter on Facebook

Stacking cube

Submitted by Joleene24 on Thu, 05/24/2012 - 13:41

Hi all,
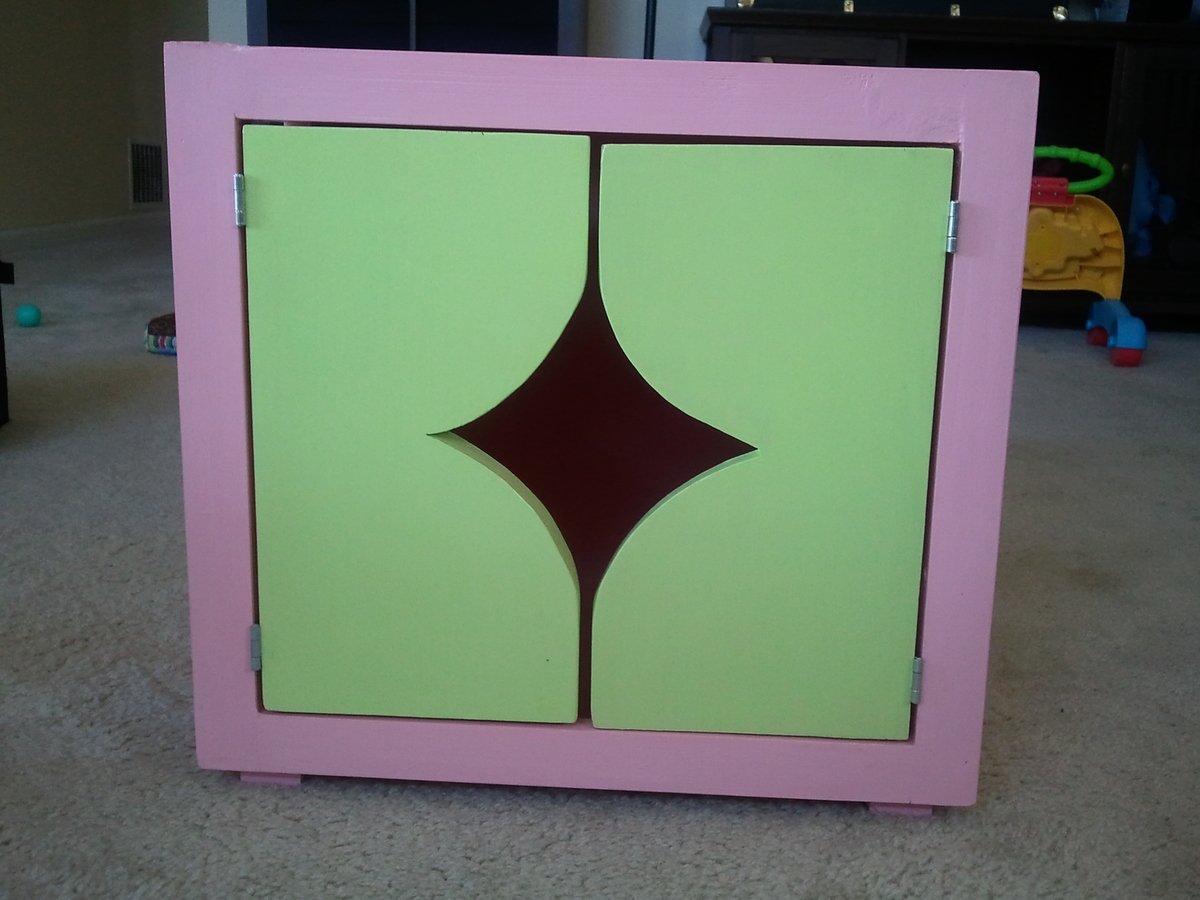
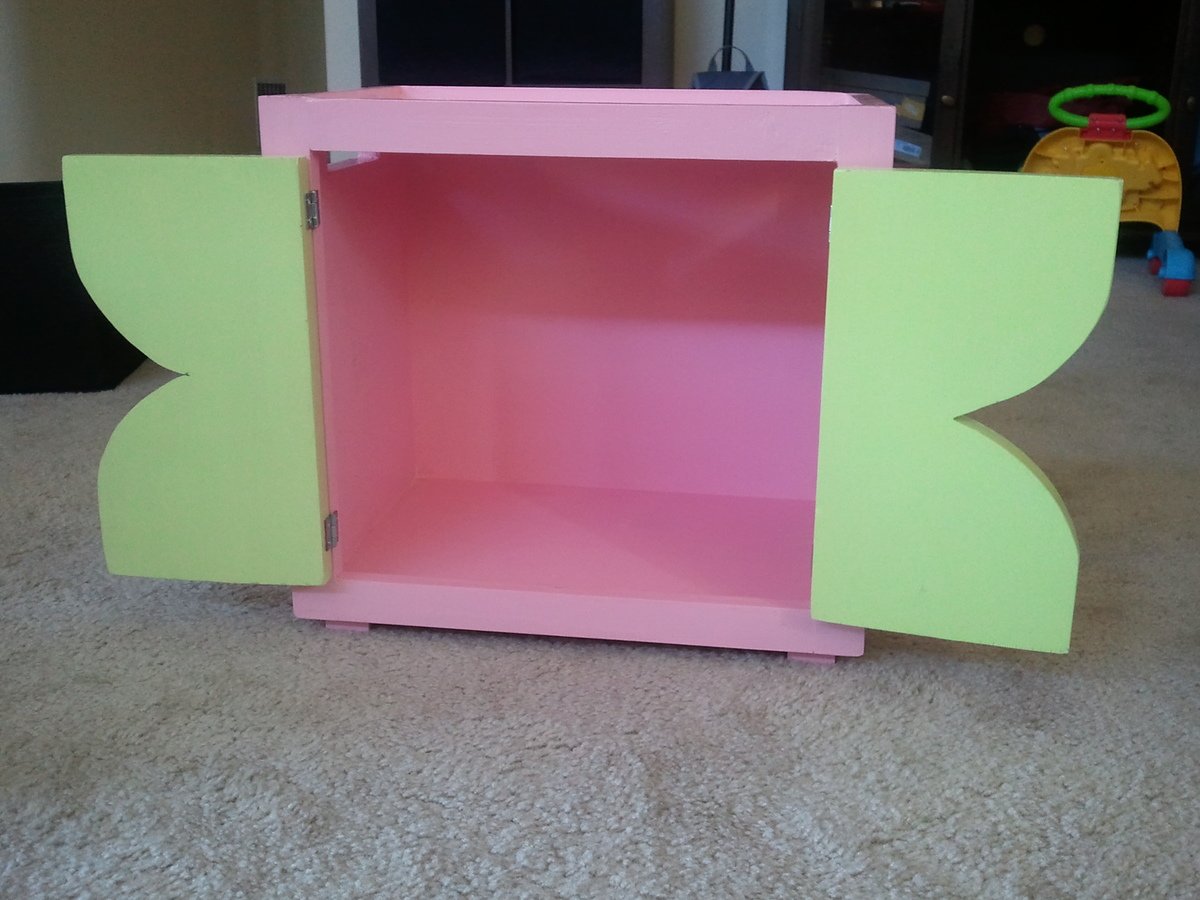
This is my second project I have build from plans I have found here. I'm a novice at woodworking and only get a couple hours on the weekend to work on projects. So it takes a while to finish one. My daughter loves her new toy shelf. The hardest part for me was to attach the doors straight. I'm sure there is a secret I just haven't figured it out yet.
I primed the whole piece, applied three thin coats of latex paint and sanded with 320 grit sandpaper in between coats. I applied two coats of finish after 48 hours and sanded with 400 grit sandpaper in between.

Built from Plan(s)
Estimated Cost
$40
Estimated Time Investment
Weekend Project (10-20 Hours)
Finish Used
2 coats of polycrylic
Recommended Skill Level
Beginner

Loft bed Black with monster high colours.

Submitted by moka58 on Sat, 03/08/2014 - 20:18

My wonderful hubby built this bed in a short amount of time and I did the sanding and staining. We made it for my 6 year old daughter for her 6th birthday surprise. Her reaction… a high pitched scream of excitement.

Estimated Time Investment
Weekend Project (10-20 Hours)
Finish Used
Minwax Polyshades. I don't recommend this since it's oil based and it took a long time for the smell to dissipate. Go with a water based product.
Recommended Skill Level
Intermediate

Queen size farmhouse bed with storage

Submitted by fdfp84 on Wed, 06/08/2016 - 17:11

I made the bed  from the plans on this site, I made the drawers using a dovetail joint.Took a little longer because of that. 

Estimated Cost
cost was around 350.00
Estimated Time Investment
Weekend Project (10-20 Hours)
Recommended Skill Level
Beginner

Comments

Wood Hall Tree

Submitted by advanlente on Sat, 03/28/2020 - 11:41

My family was all coming over for Christmas and we were going to have about 30 people at my house. I only had my mudroom hooks but no other place to store people's keys, coats, etc. When I saw these plans they looked quick enough to build in one night (the night before the party lol). So I did! And man did it get use. I wish I would've taken a picture with all the coats and purses and keys on it. 

Built from Plan(s)

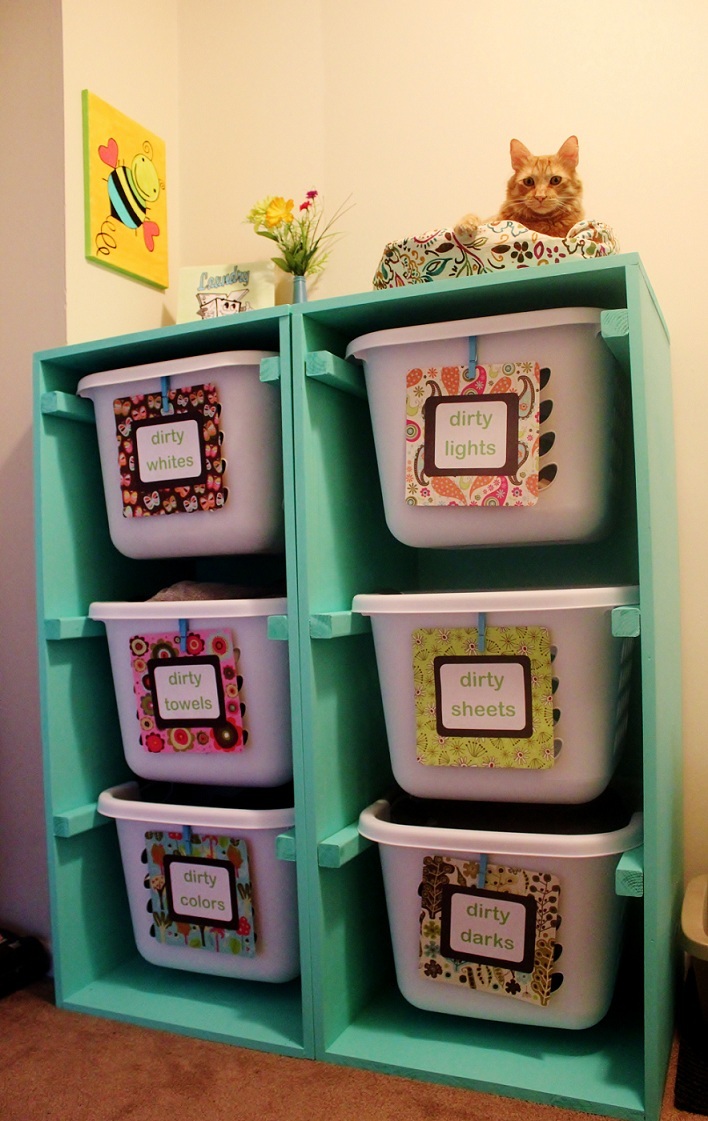
Modified Laundry Basket Dresser

Both dressers were completed in one (long) day by my boyfriend and his father. Modifications were made to make it fit square Sterilite 1.5 Bu./ 53 L laundry baskets (serial/bar code # 073149121789).

I'm not sure what size pieces they purchased, however this is the cut list (for one dresser, 3 laundry baskets):
2 - 48" x 20" (sides) - could possibly be shorter, we had a little bit of extra space
1 - 20" x 20" (bottom)
1 - 21.5" x 20" (top)
1 - 48.5" x 21.5" (back)
6 - (2" x 2")'s cut into 20" pieces (or the metal angle option in the original design)

They did not distance the spaces perfectly for the (2" x 2")'s, but every 14-16 inches should be about right.

I'm sorry these instructions are void of a lot of information, but I hope they can help.
I think this project can take a shorter amount of time if no mistakes are made. They had to run to Lowe's 2 times in the middle of the project because they forgot to purchase a second size of screws and then they cut the back too thin.

Good luck, and have fun! It is a fabulous project and oh so very useful.

Built from Plan(s)
Estimated Cost
$50 - $100
Estimated Time Investment
Day Project (6-9 Hours)
Finish Used
Lowe's Creative Ideas for Color, "Dive In" CI 249
Recommended Skill Level
Beginner

Comments

Katie B. of Ho… (not verified)

Mon, 05/28/2012 - 09:53

This is a brilliant solution, particularly since most sorters don't have enough compartments to separate the whites, sheets and towels from each other. But we really don't want to wash them together, do we?

Love how cozy your kitty looks up there, too.

Little Helper Tower

Submitted by aoliaak on Wed, 03/12/2014 - 16:48

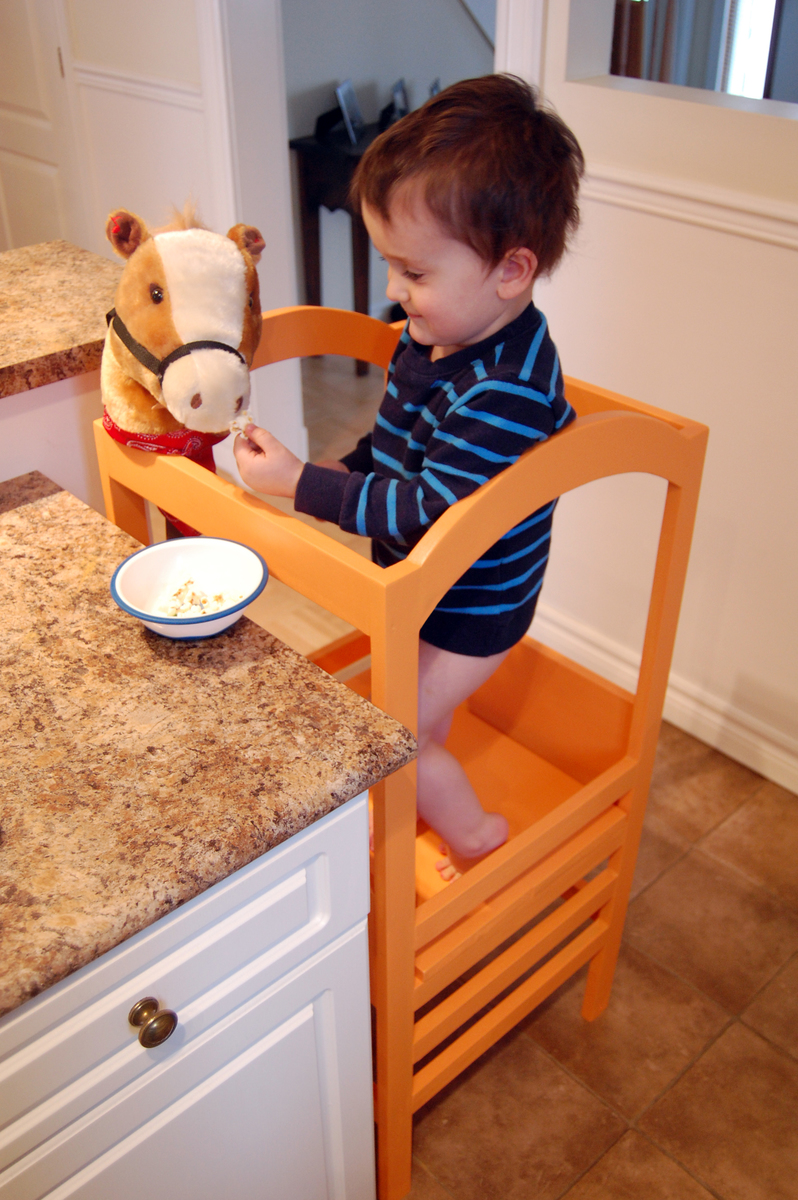
Loved building this for my son, much easier than I expected it to be.

Total build time was about 3 hours, and another 3 hours for finishing. We've had it only a few days and it's already a staple in the kitchen, used for everything from peeling potatoes to feeding his horse!

Thank you so much for making these plans freely available.

Built from Plan(s)
Estimated Time Investment
Day Project (6-9 Hours)
Finish Used
2 coats of Sico's Luster Gloss in Desert Sun + 1 coat of polyurethane spray.
Recommended Skill Level
Beginner

Full Size Storage Bed

Submitted by duchamp6 on Sun, 06/12/2016 - 20:57

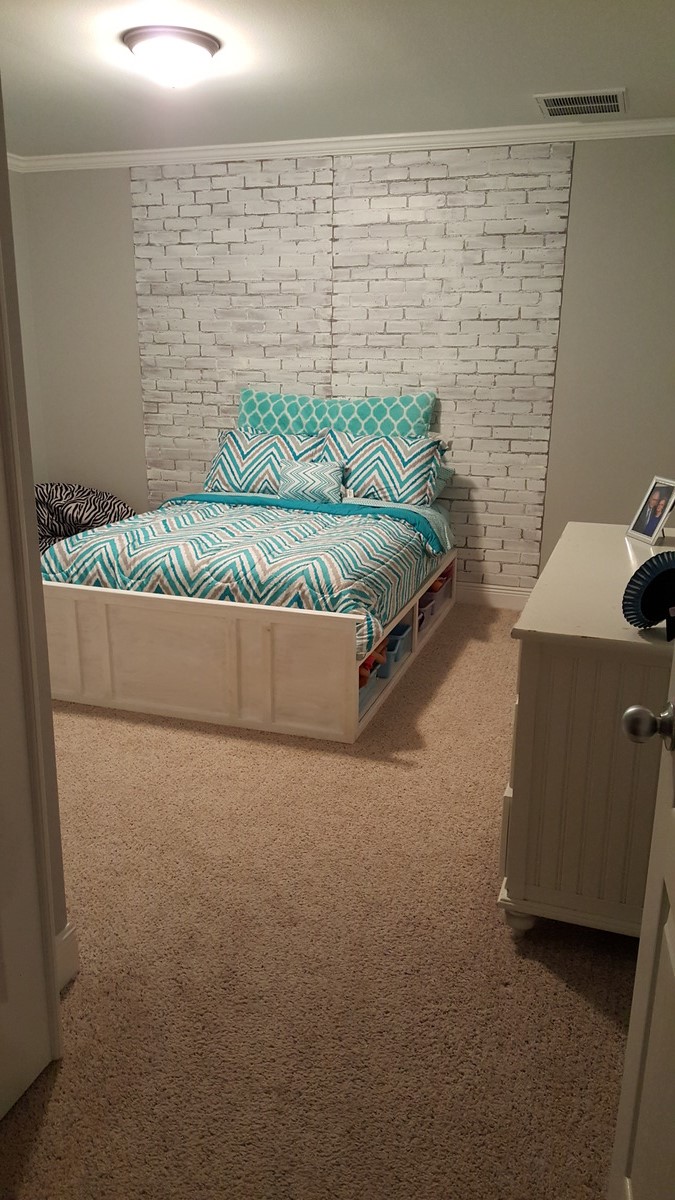
My daughter turned 10 this week and we did a room makeover for her birthday. She is in LOVE with her new space. She has been sharing a bunk with her 6 yr old brother. We told her when her 2 yr old brother climbed out of the crib that she would get the baby's room and the boys would then bunk together. Well, he climbed out as they ALL do. 

Built from Plan(s)
Estimated Cost
$75
Estimated Time Investment
Afternoon Project (3-6 Hours)
Finish Used
I used Behr satin finish white with primer and applied it with a sponge.
Recommended Skill Level
Beginner

Comments

Sofa Table

Submitted by B.W.Martin on Thu, 04/16/2020 - 21:10

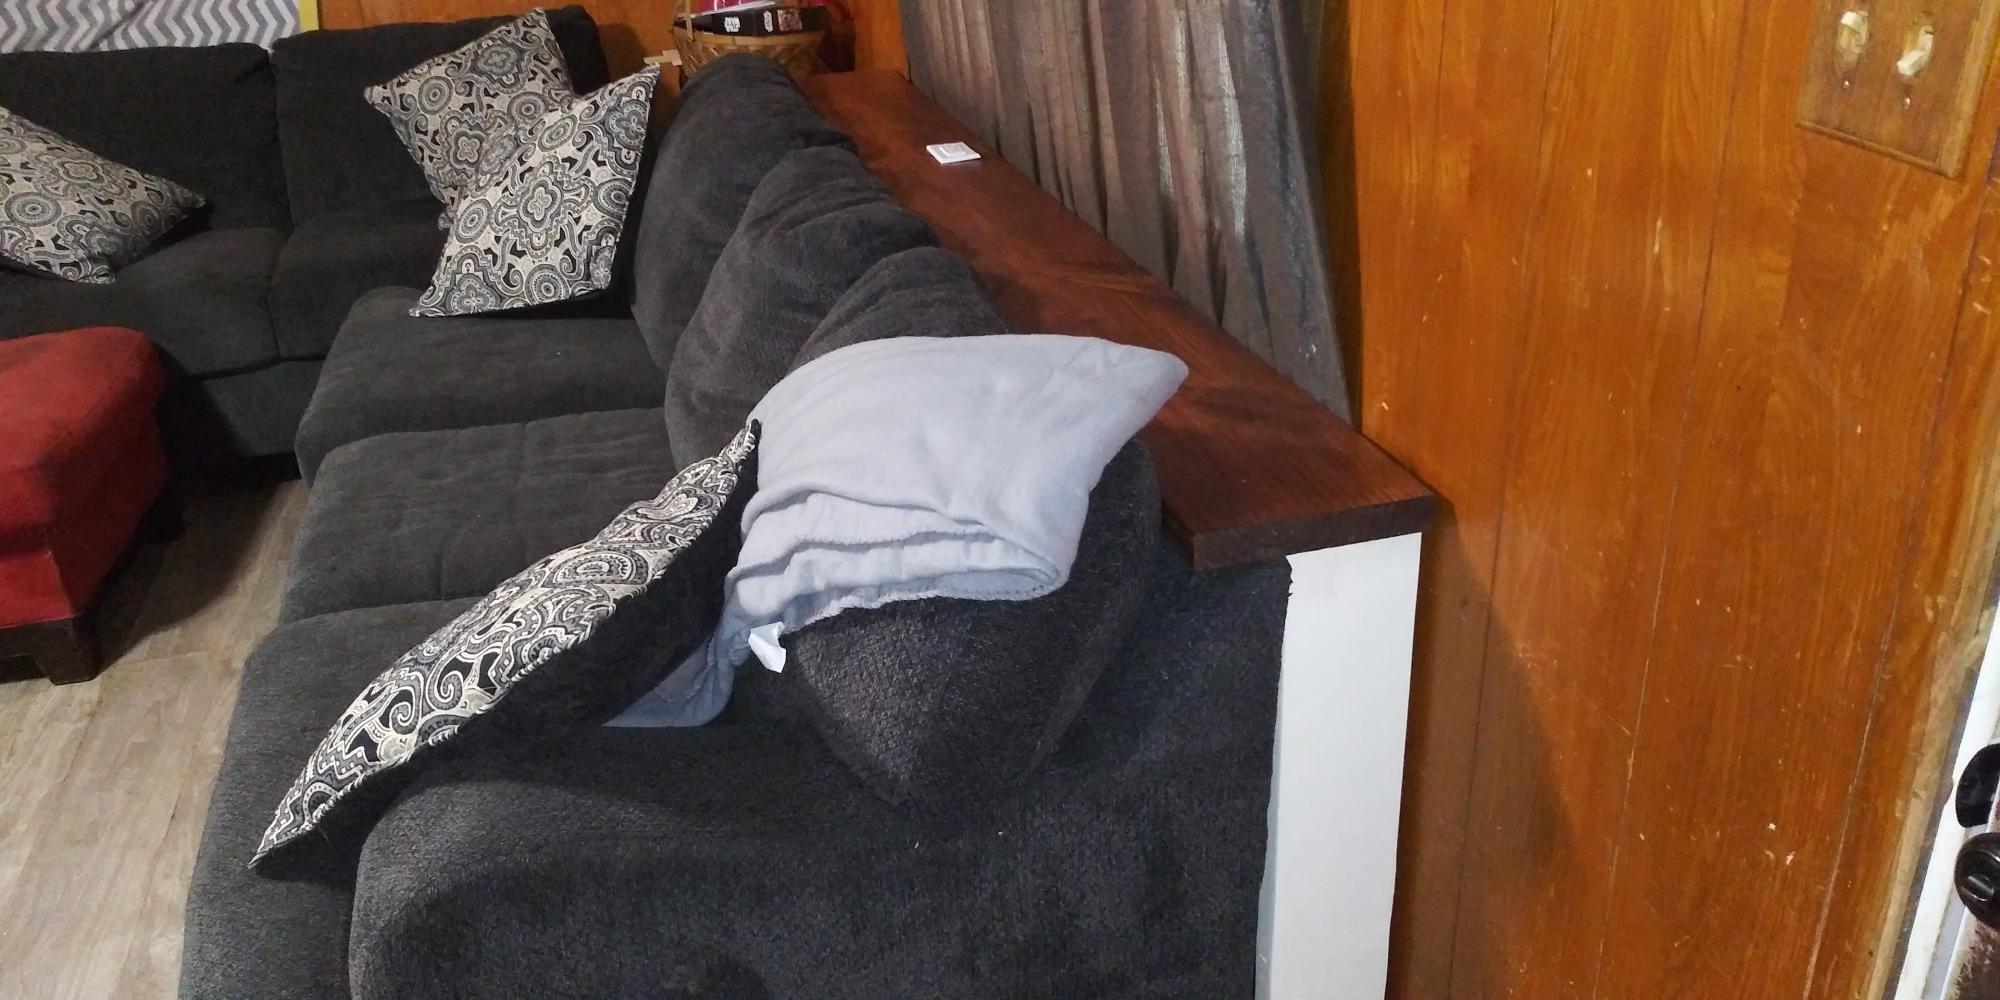
I created a sofa table and also one for the loveseat but I don't have it pictured. I used a 2" x 10" for the top and 2" x 6" boards for the legs as well as braces. Added a two outlet and two USB port socket to the table top which was wired to plug into the outlet that would be covered up. Made it so that the legs we're up against the wall allowing for the top to extend just over the back of the couch, and it allowed the two legs to keep the pets from going behind the couch.

Estimated Cost
Roughly $25 it was one 2 by 10 8ft long, one 2 by 6 8 ft long for the legs and 45 degree braces. One wall socket box, a plug, an extension cord, and then necessary items to properly wire it together.
Estimated Time Investment
Afternoon Project (3-6 Hours)
Finish Used
Eggshell antique white was used for the paint. Minwax pre stain, minwax honey stain, and minwax polyurethane.
Recommended Skill Level
Beginner

Modern Farmhouse Entryway Console

Submitted by Anonymous (not verified) on Sat, 11/18/2023 - 12:28

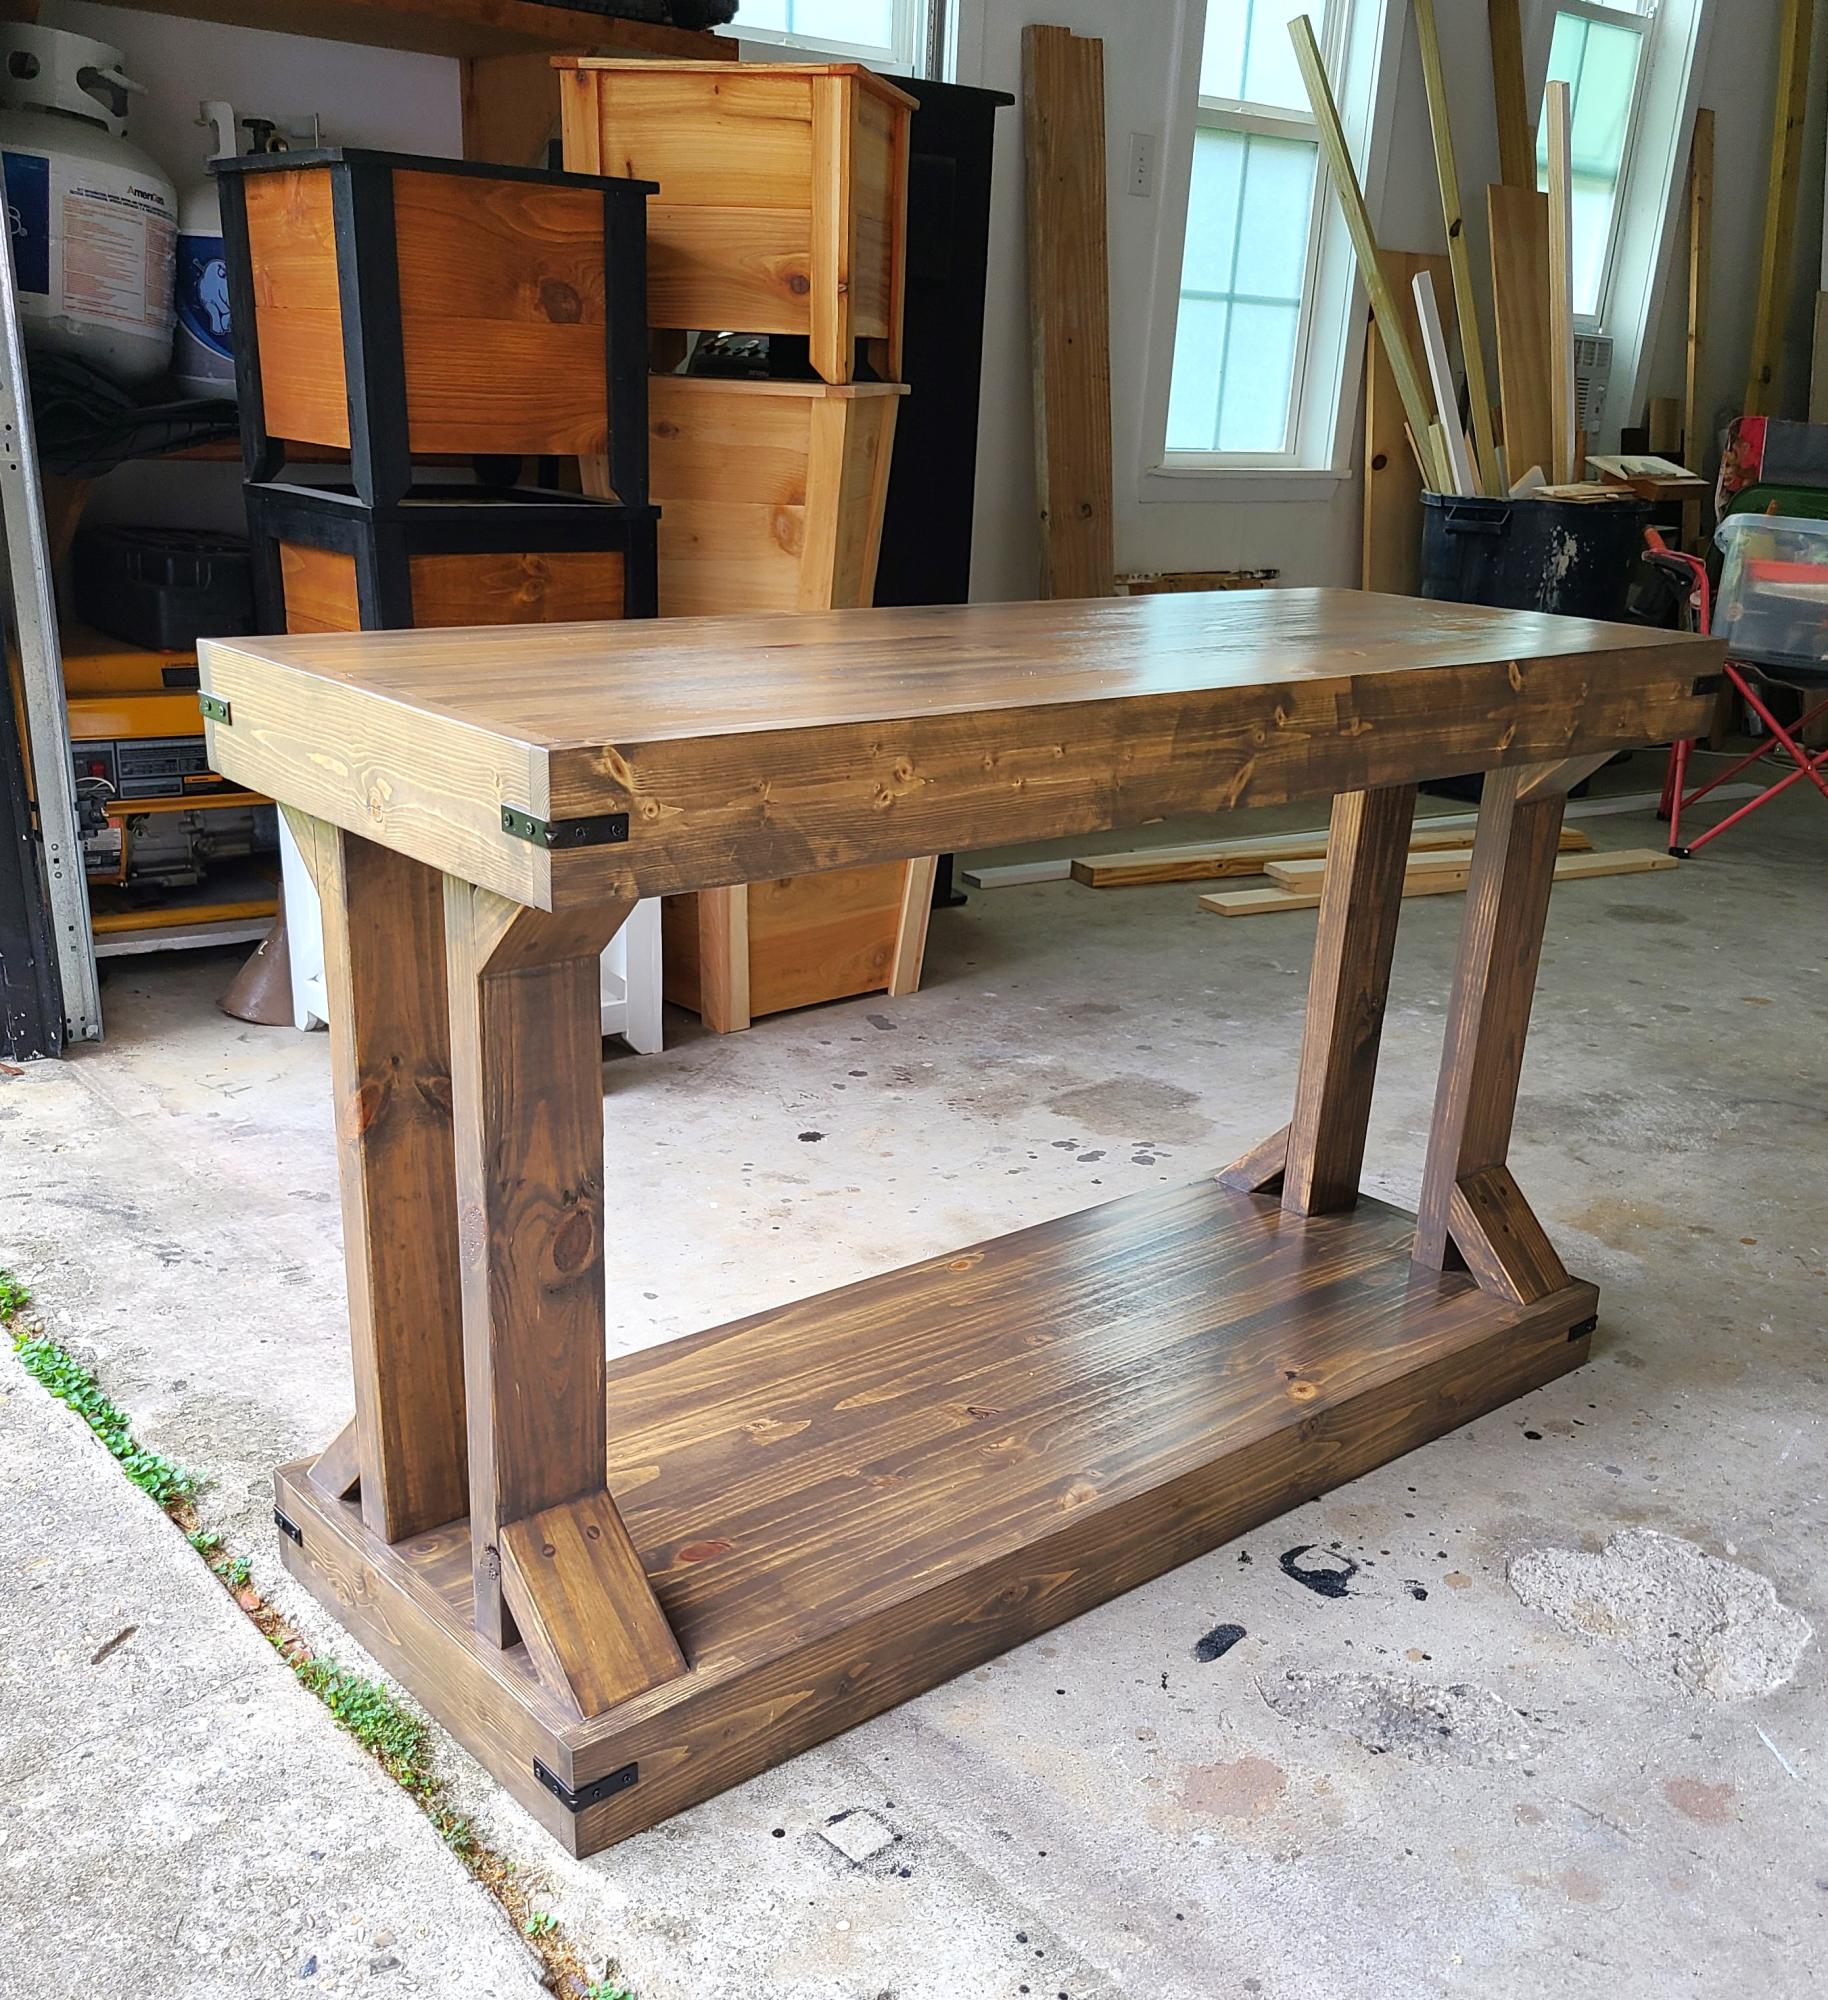
Built 2. Stained one Briarsmoke the other to be determined. Thank you Ana for the inspiration and plans!

Tim Basoco

Comments

Modified Hailey Platform Bed

Submitted by Jake on Wed, 05/30/2012 - 16:15

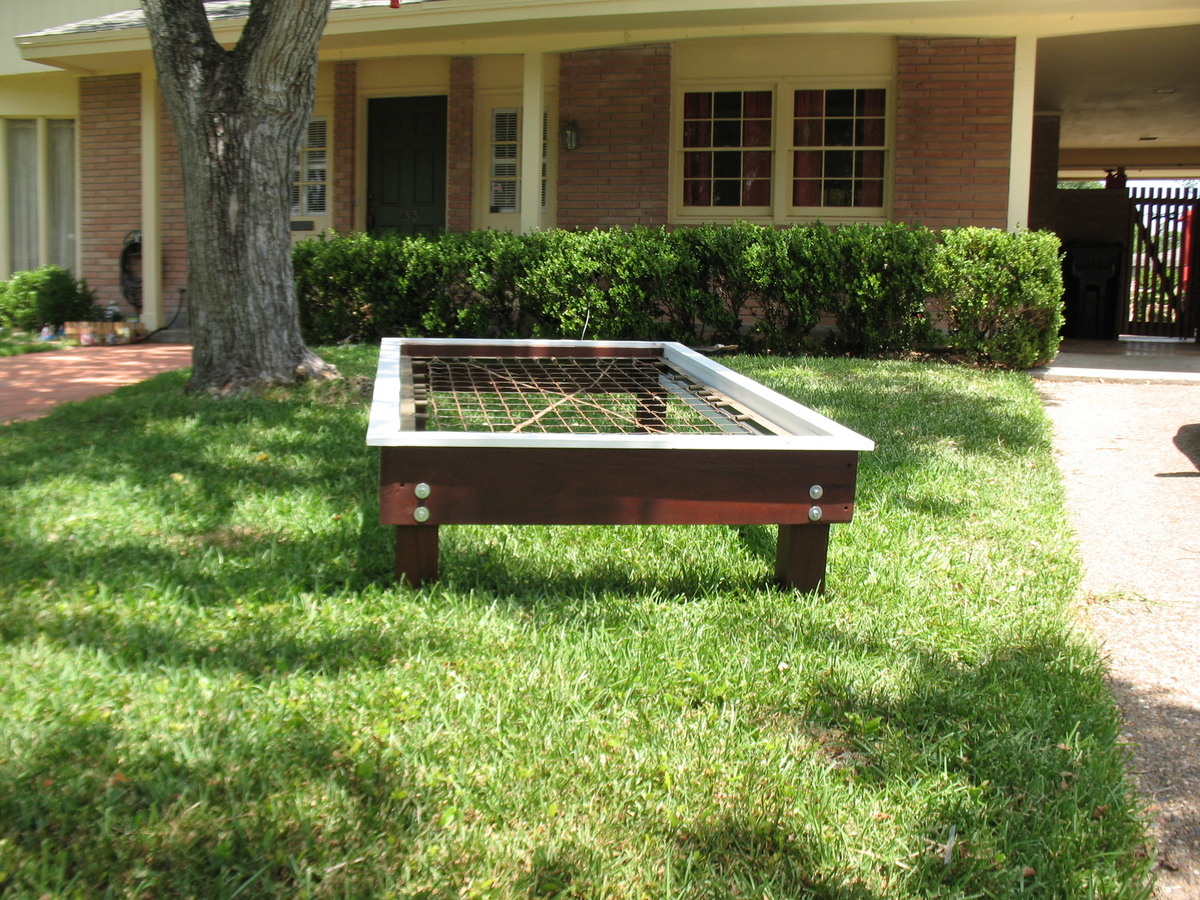
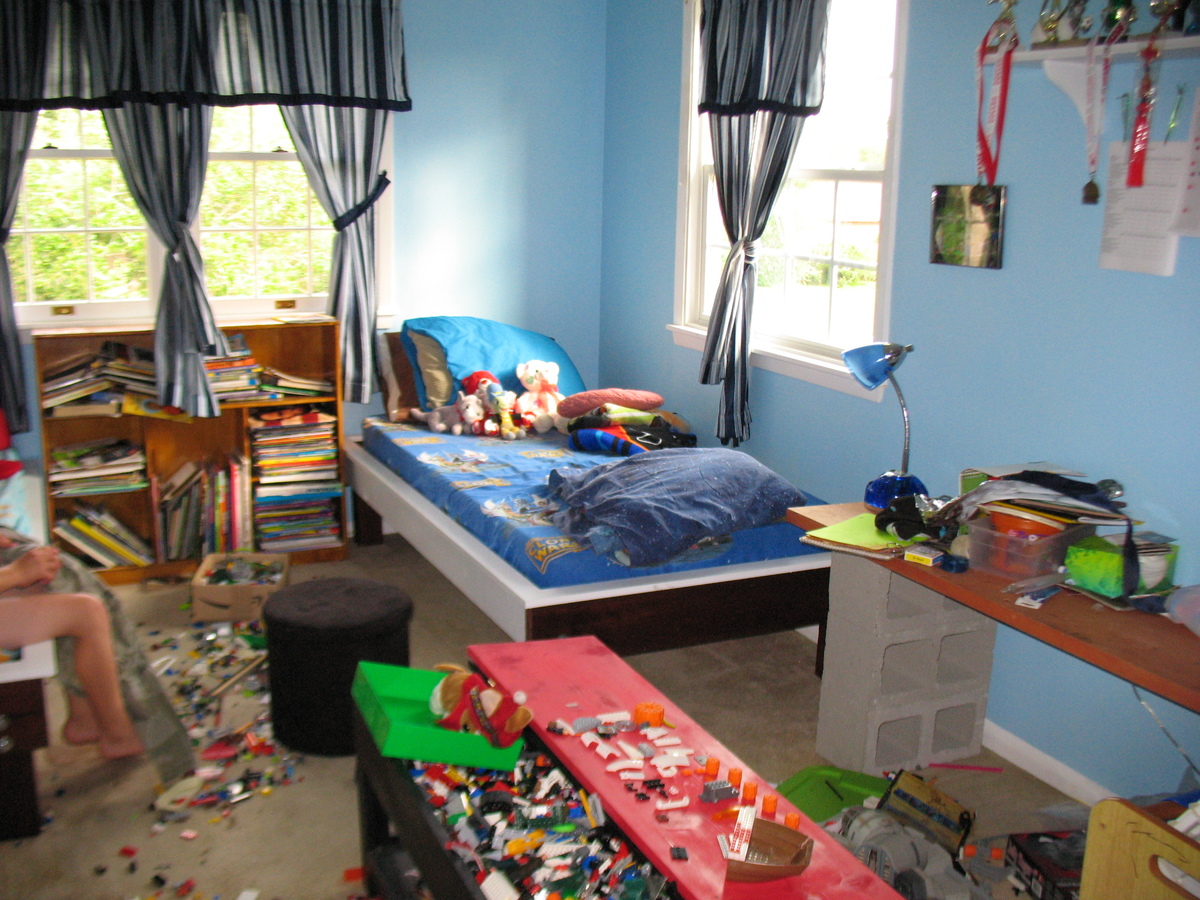
I took the Hailey Platform Bed plan and cut to a twin bed size. I used some old wood I found in the garage for the head and foot boards and the legs. Notice the legs are 4x4s. The grandkids had some old bed springs under their mattresses so I incorporated the spring into the build. That required that I lower the cleat a couple of inches and it meant I had a very complicated leg geometry in order to get it deep enough to support the bed. I built the frame with Kreg Jig pocket joints and they made the work very easy with such large and heavy timbers. Notice I attached the legs to the frame with 5/16" lag screws which allows easy removal of the legs if you need to make it easier to move. Came out very good but I think I will build the second bed without the springs and go for the slat method as shown in the plans.The result is beautiful. My neighbor commented that it looked very Pottery Barnish!

The second bed I finished yesterday is made with slats. A very smart move. The legs are so much easier to attach to the frame. Both beds are beautiful and sturdy. One grandkid told me that when the hurricane comes he is going to get under his bed because it is so strong. He may be right but I will be in Laredo or San Antonio.

Built from Plan(s)
Estimated Cost
$70 for two beds and I also got free wood from the garage.
Estimated Time Investment
Weekend Project (10-20 Hours)
Finish Used
Red Oak stain on the legs and head and foot boards. The rest was primed then given two coats of a good satin paint called Benjamin Moore Impervo. It is expensive but I used it on repainting the kitchen cabinets and it was worth the cost. Best advice is good primer, sand with 150 grit, then two coats of final paint but light sanding with 320 grit between coats.
Recommended Skill Level
Beginner

Sissy's Toddler Farmhouse Bed

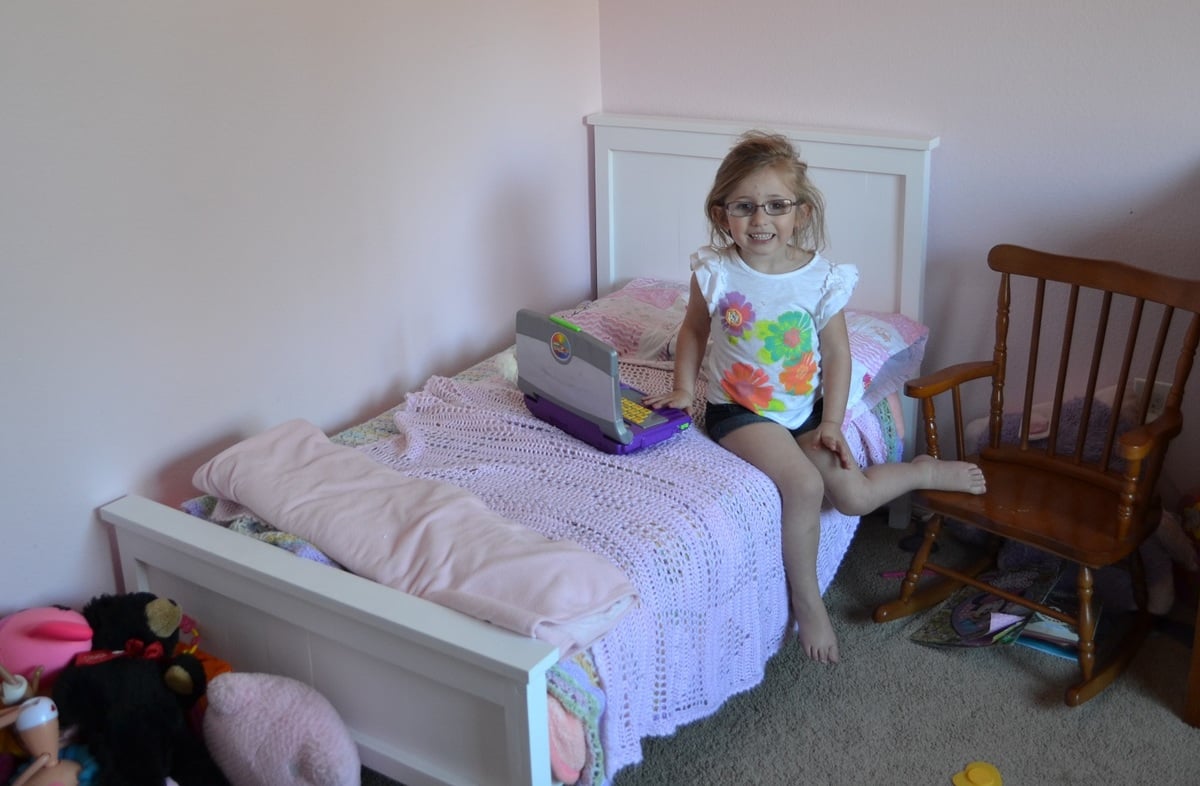
Submitted by Wifey on Sun, 03/16/2014 - 15:16

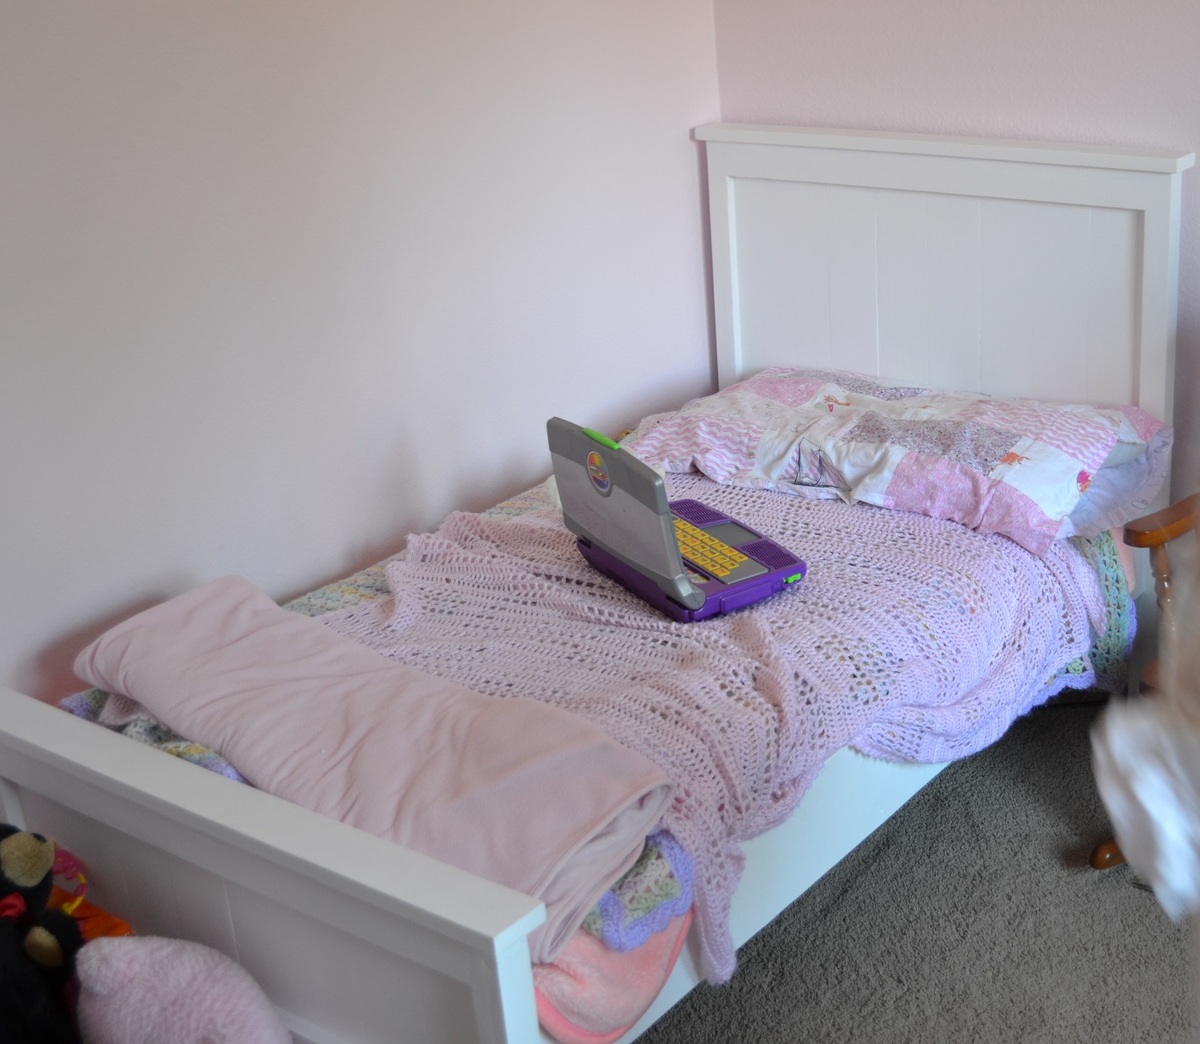
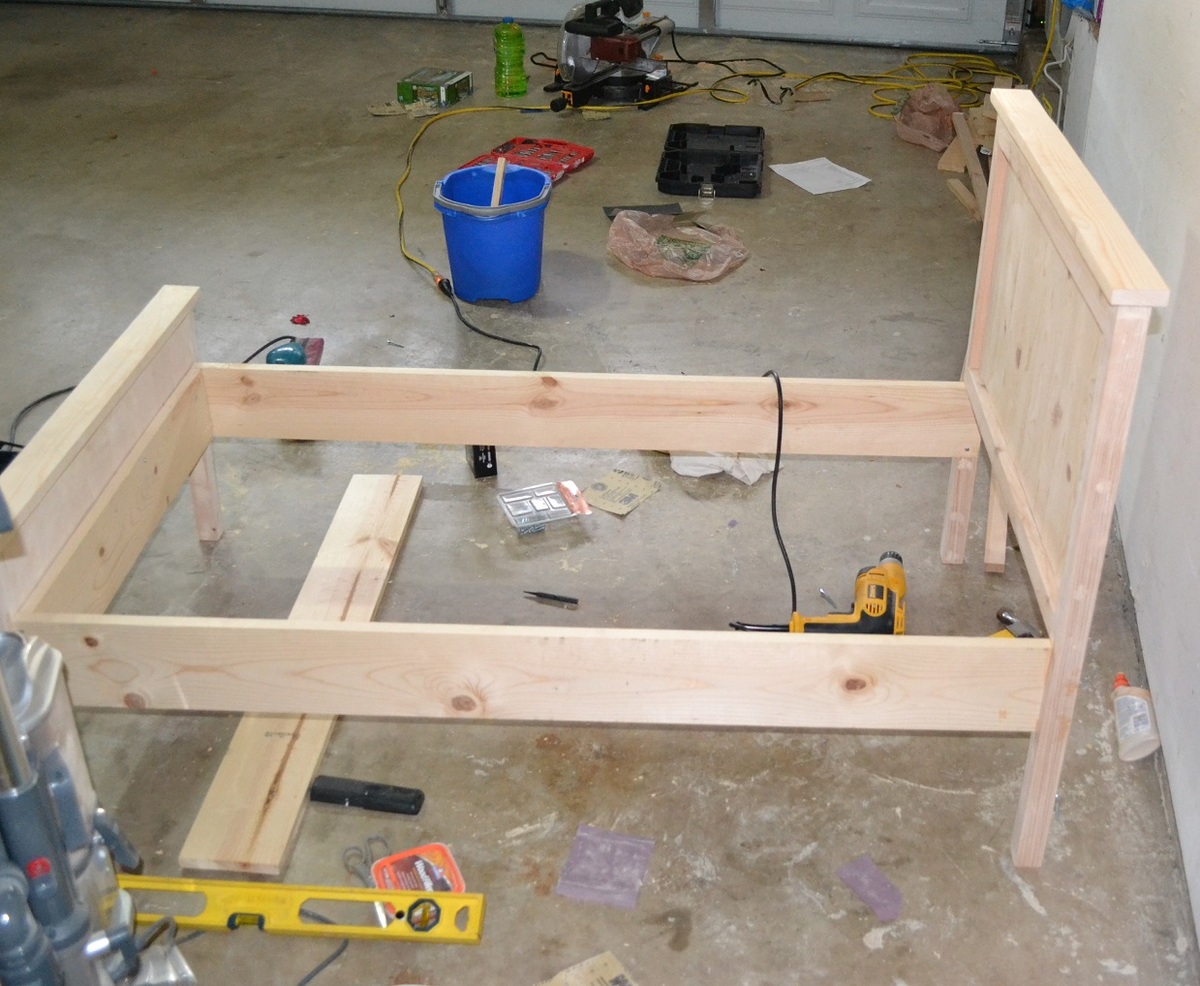
I'm so excited, this is my first furniture project. My husband was a little hesitant initially but is happy with the completed bed. This bed is so sturdy, I can easily sit on the edge and even lay down with my daughter. She loves her new bed and her brothers are a bit jealous. I told them to go through Ana's site and find something they like! Thank you so much for the projects you offer on here.

I altered the plans for a 28" wide crib mattress. Instead of a 1 x 3 on the ends of the head and footboard, I used 1 x 4s all the way across.

I also altered it to be 3" taller because I need a little extra storage space under my daughter's bed.

I did not use a nailer, just a hammer and nails. I found that it helped to use legs and shims on the bed rails frame and get to perfect level and then nail the footboard to the frame. Next, I screwed the frame into the footboard. This might be unnecessary info, but as a beginner, this part gave me a bit of trouble.

I used Behr Premium in Ultra Pure White with an Eggshell finish.

Built from Plan(s)
Estimated Cost
$60
Estimated Time Investment
Afternoon Project (3-6 Hours)
Finish Used
Behr Interior Premium Eggshell finish in Ultra Pure White.

Used a small roller on larger areas and a brush in all others.
Recommended Skill Level
Beginner

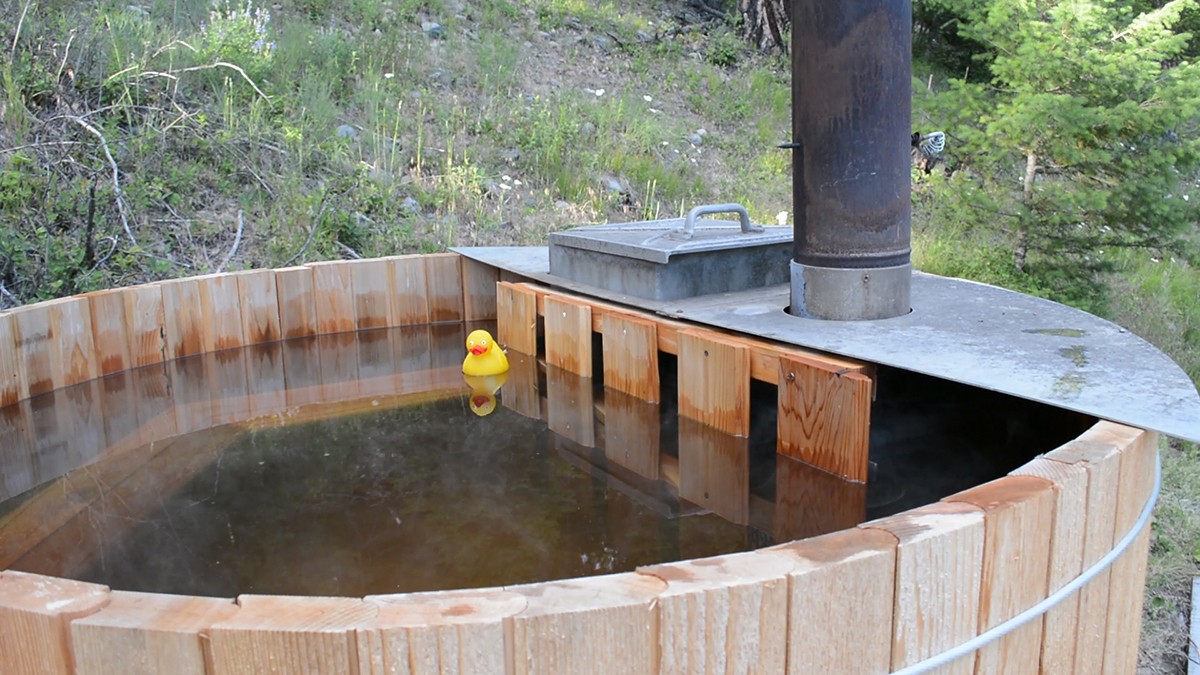
Cedar Wood Fired Hot Tub

Submitted by Anonymous (not verified) on Fri, 06/17/2016 - 16:31

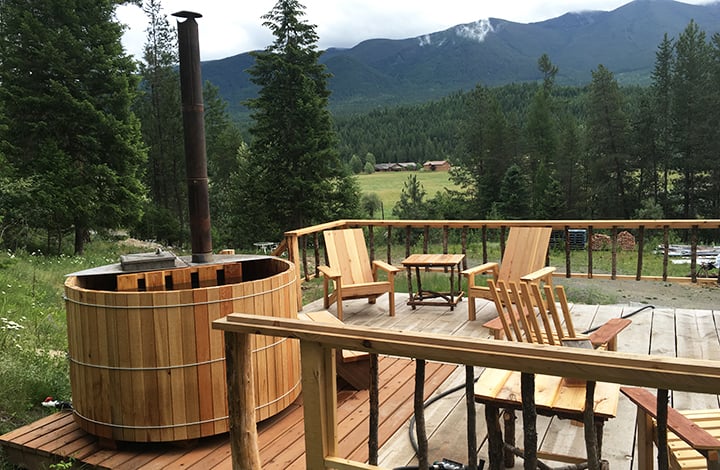
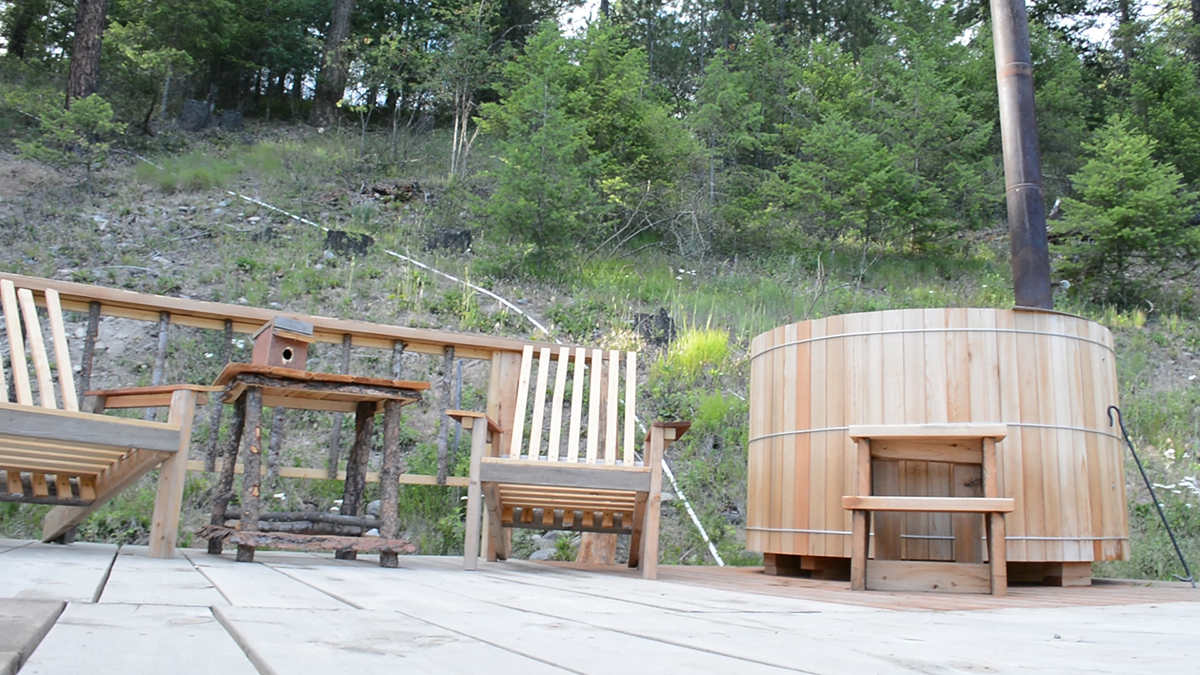
We are developing a completely off-grid property and before starting on construction of the house, we decided to start with a smaller project to get our feet wet (no pun intended!). We also wanted a place to soak our sore muscles while we build a house since we are restricted to taking 60-second hot showers, and so we came up with the idea of a wood-fired cedar hot tub.

Buying a cedar hot tub retail can cost anywhere from $3,000 to $7,000, but we were curious to see what we could build our own for and it turns out, we spent $850. Since there were no existing plans on the internet that we cound find for such a project, we decided to document the entire process and make our own! We struggled a bit with the build, but on our blog we documented what worked to save other people time who want to build something similar. In our post here, you will find a 9-part video series on how we put the hot tub together. Enjoy!

Estimated Cost
$850
Estimated Time Investment
Week Long Project (20 Hours or More)
Finish Used
No finish needed on a cedar hot tub.
Recommended Skill Level
Advanced

Comments

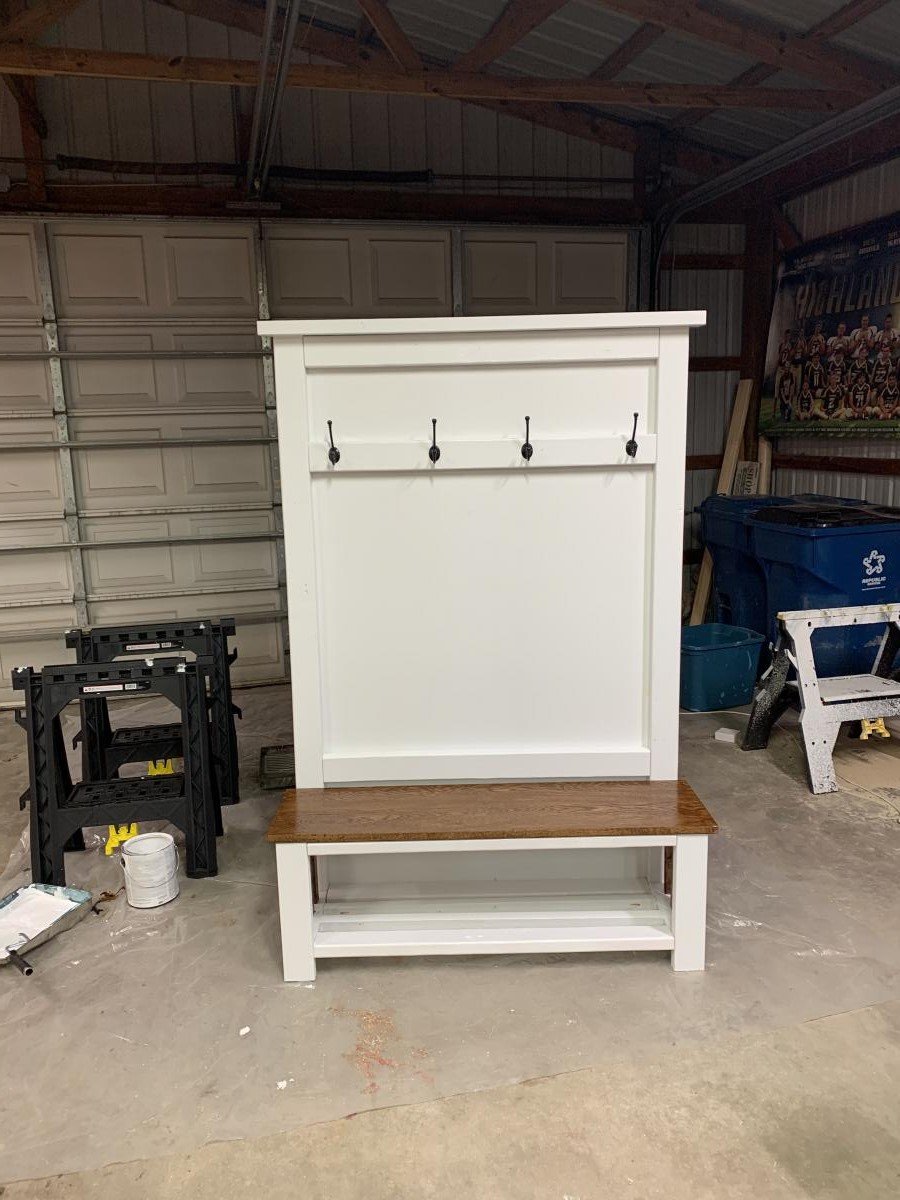
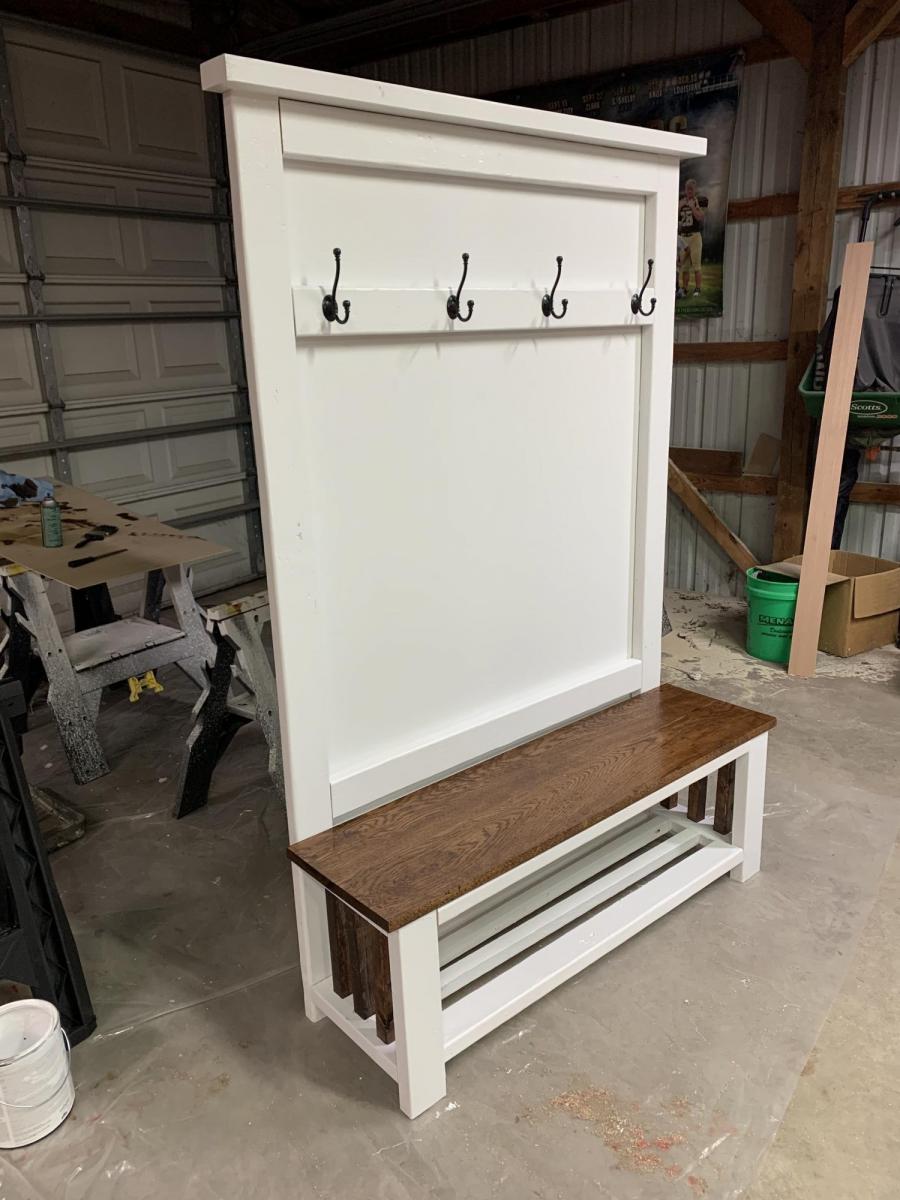
Hall Tree minus rustic X

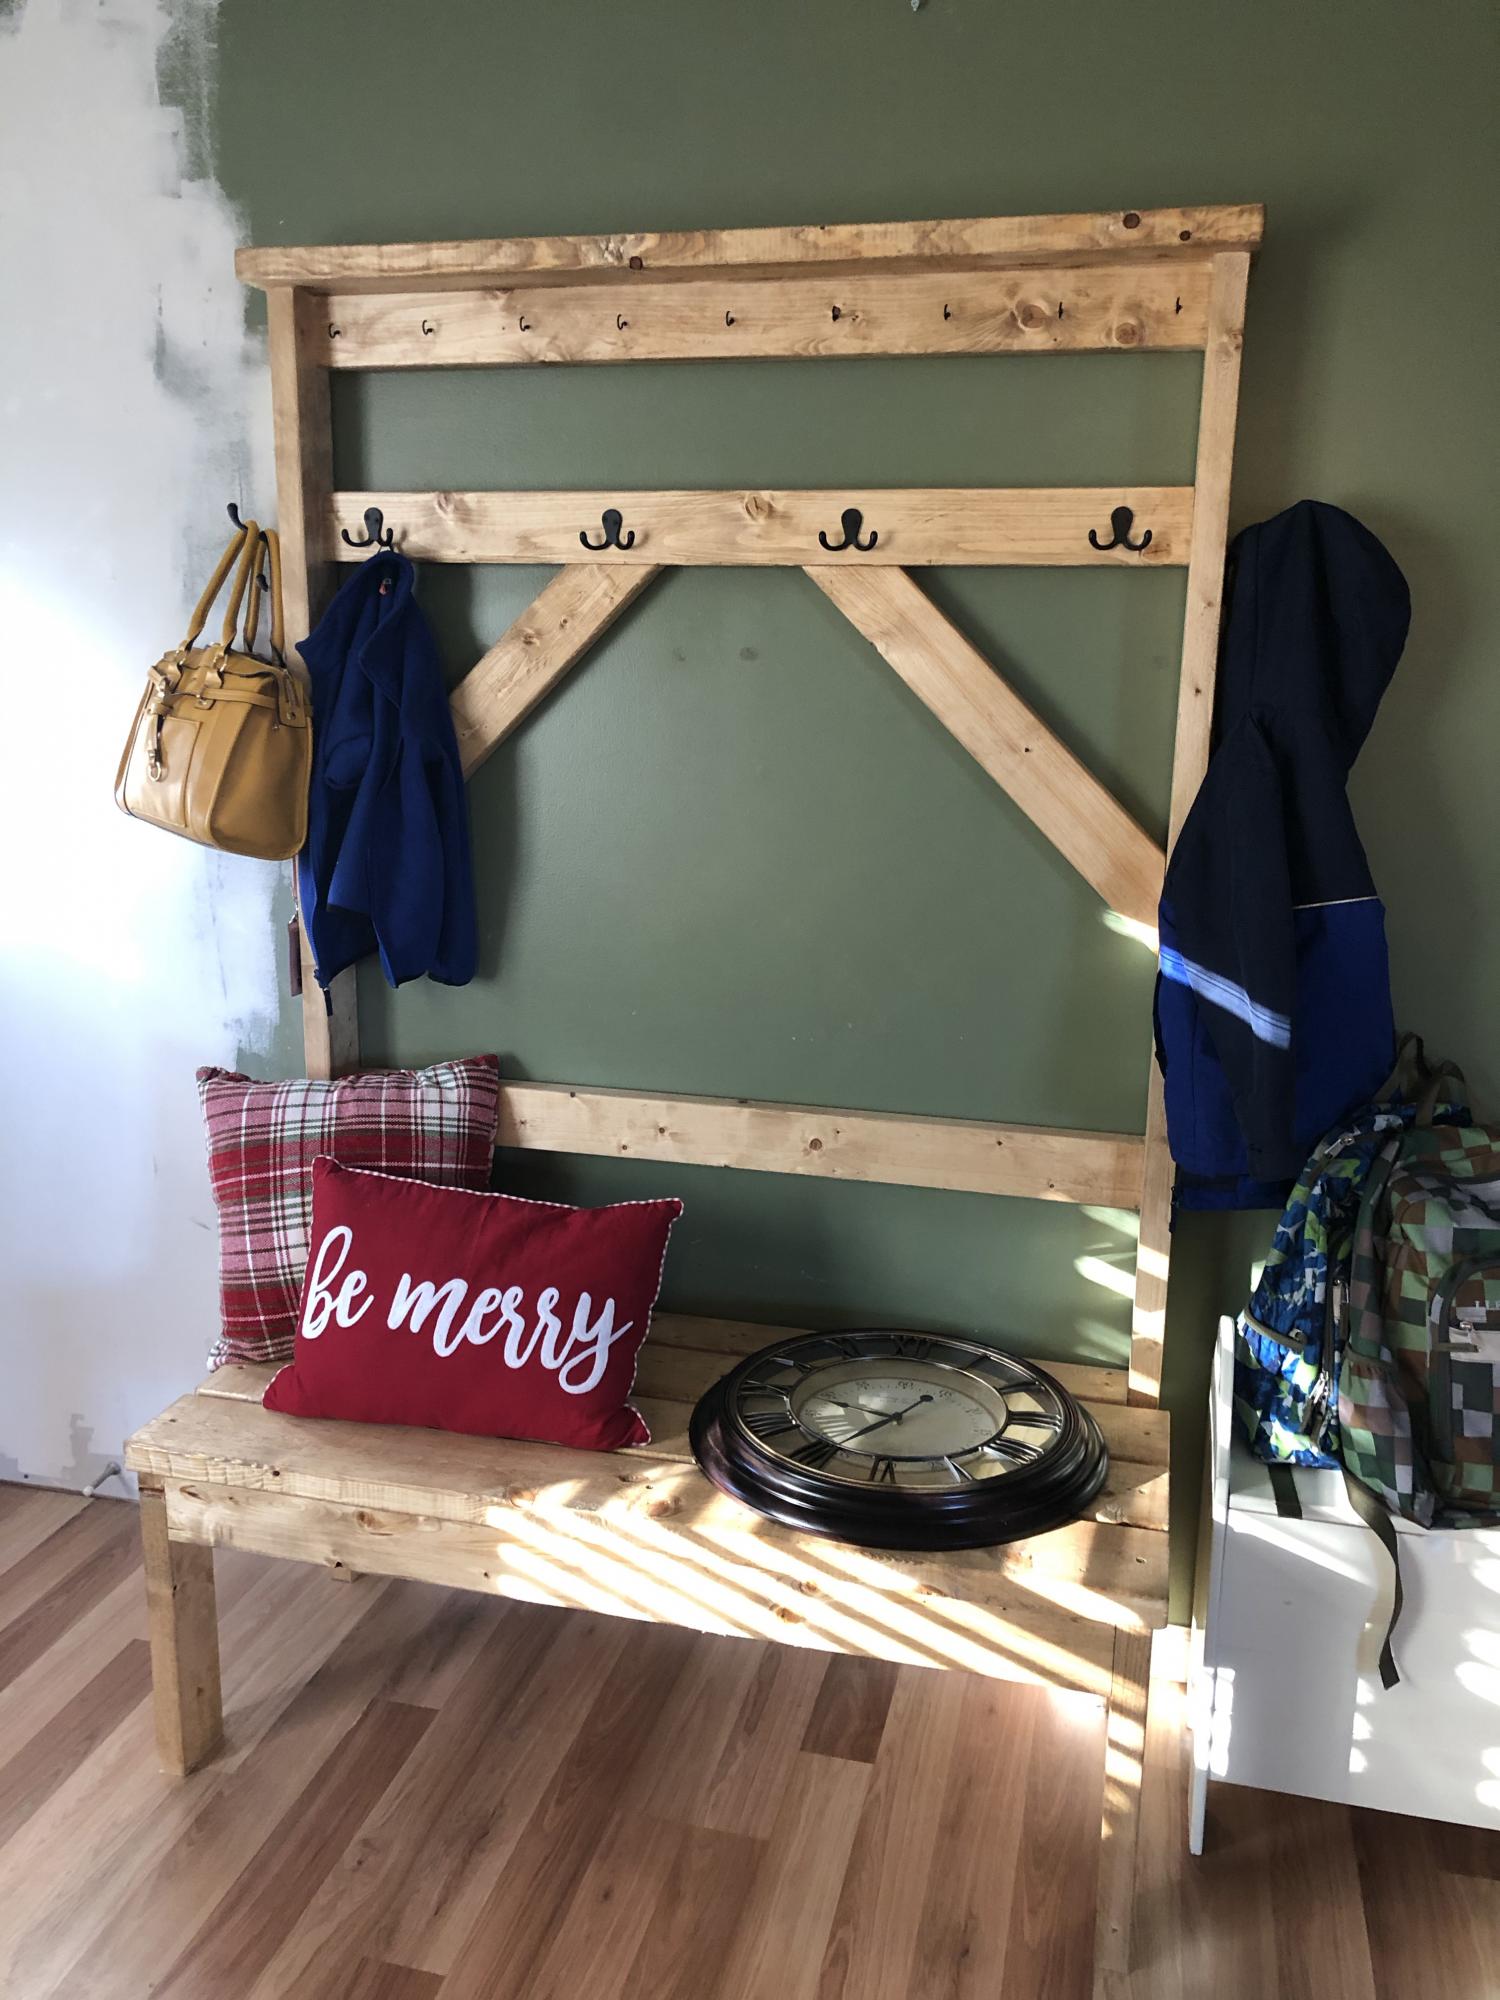
I followed the Rustic X Hall Tree plans almost entirely. I chose to replace the “X” with vertical posts, though I may use the X in a future project. The bench top is two 1” thick oak boards milled at my farm. Love the contrast of the white and stained oak. The plans were perfect!

Built from Plan(s)
Estimated Time Investment
Weekend Project (10-20 Hours)
Recommended Skill Level
Intermediate

Comments

Workbench

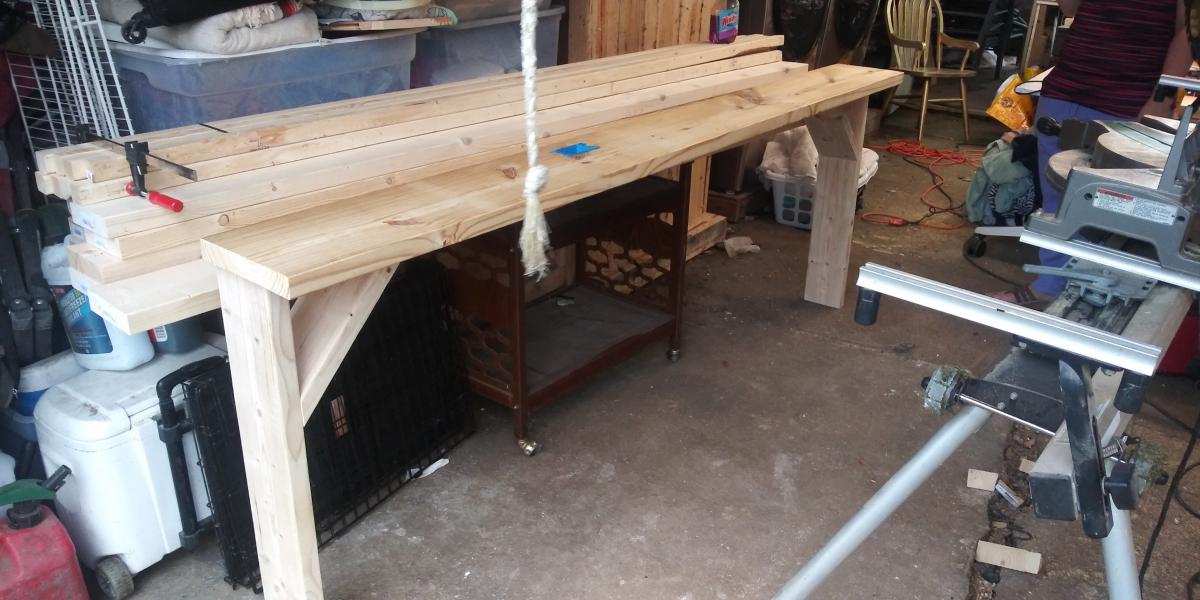
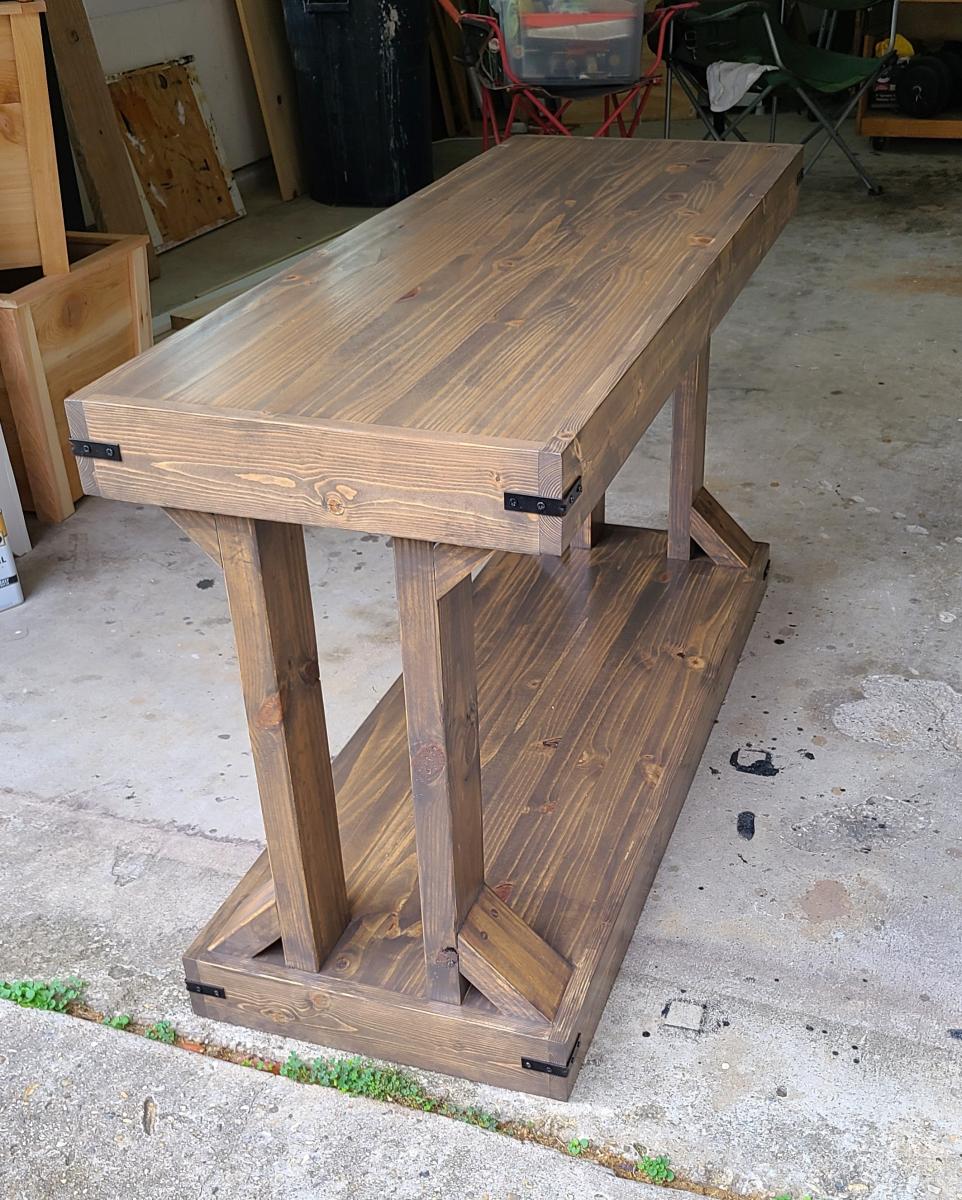
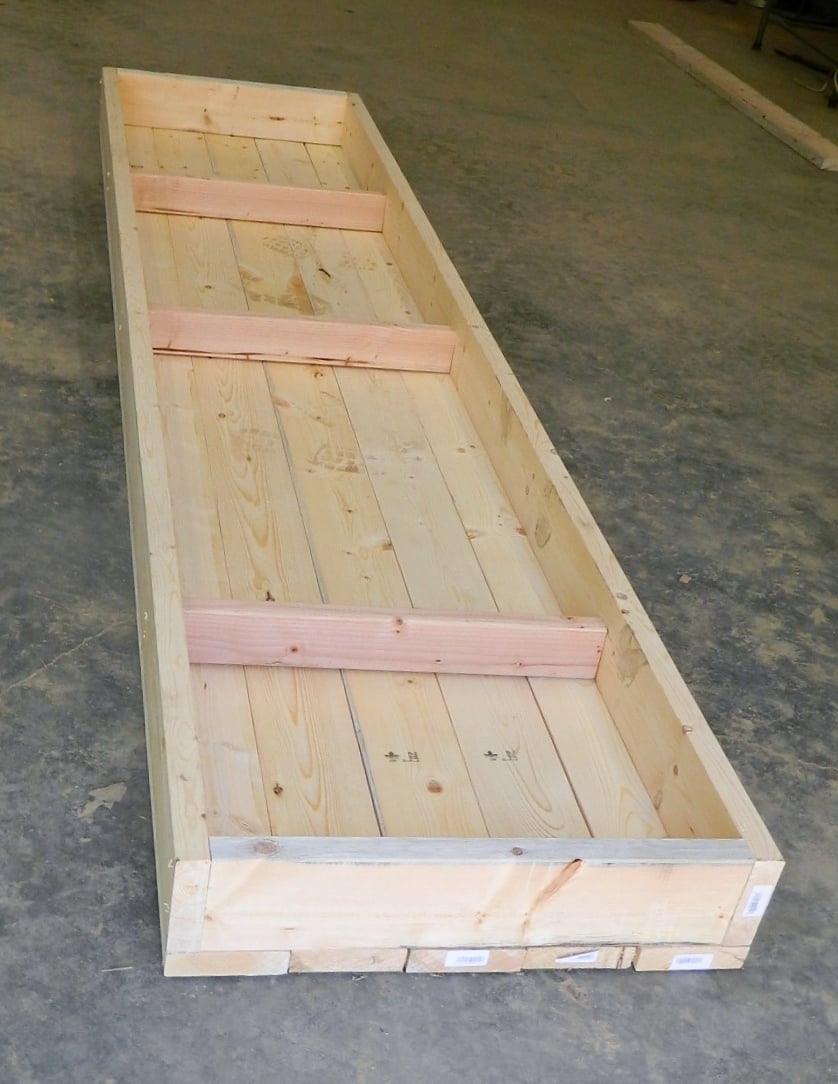
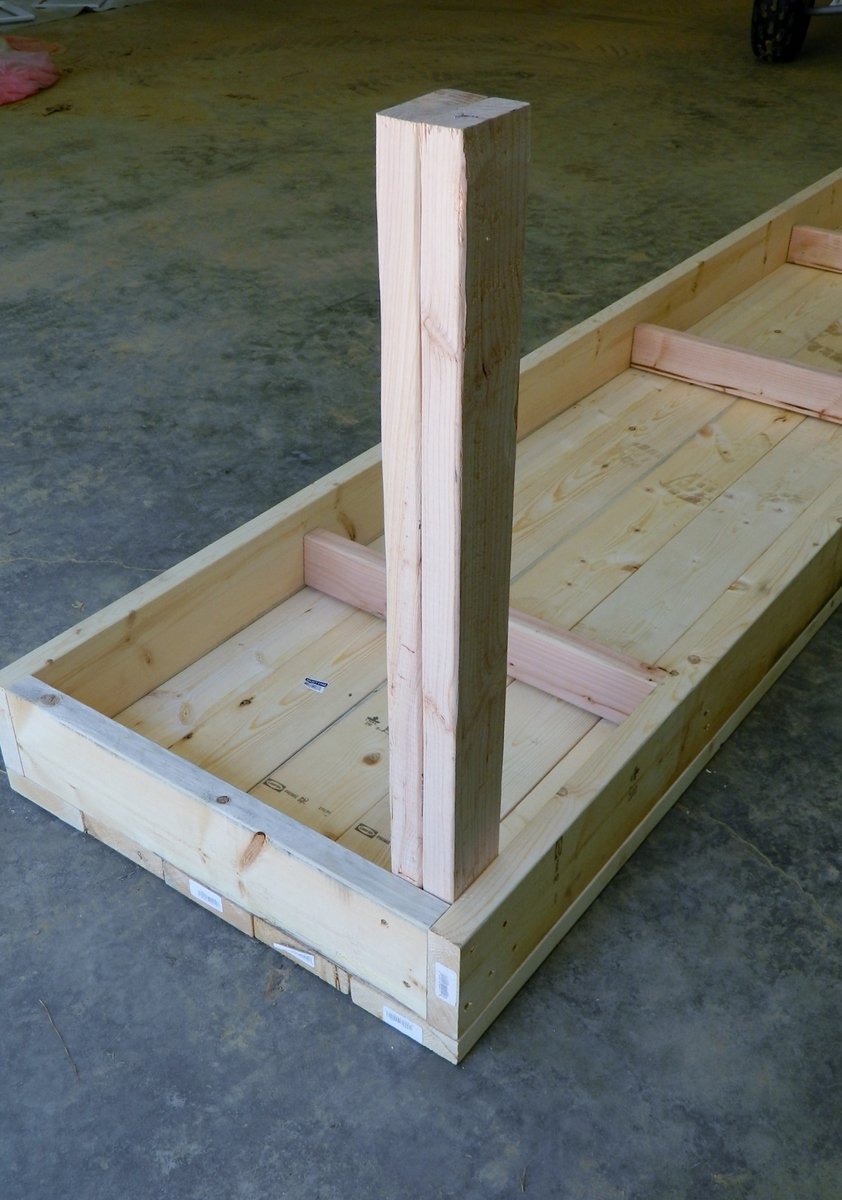
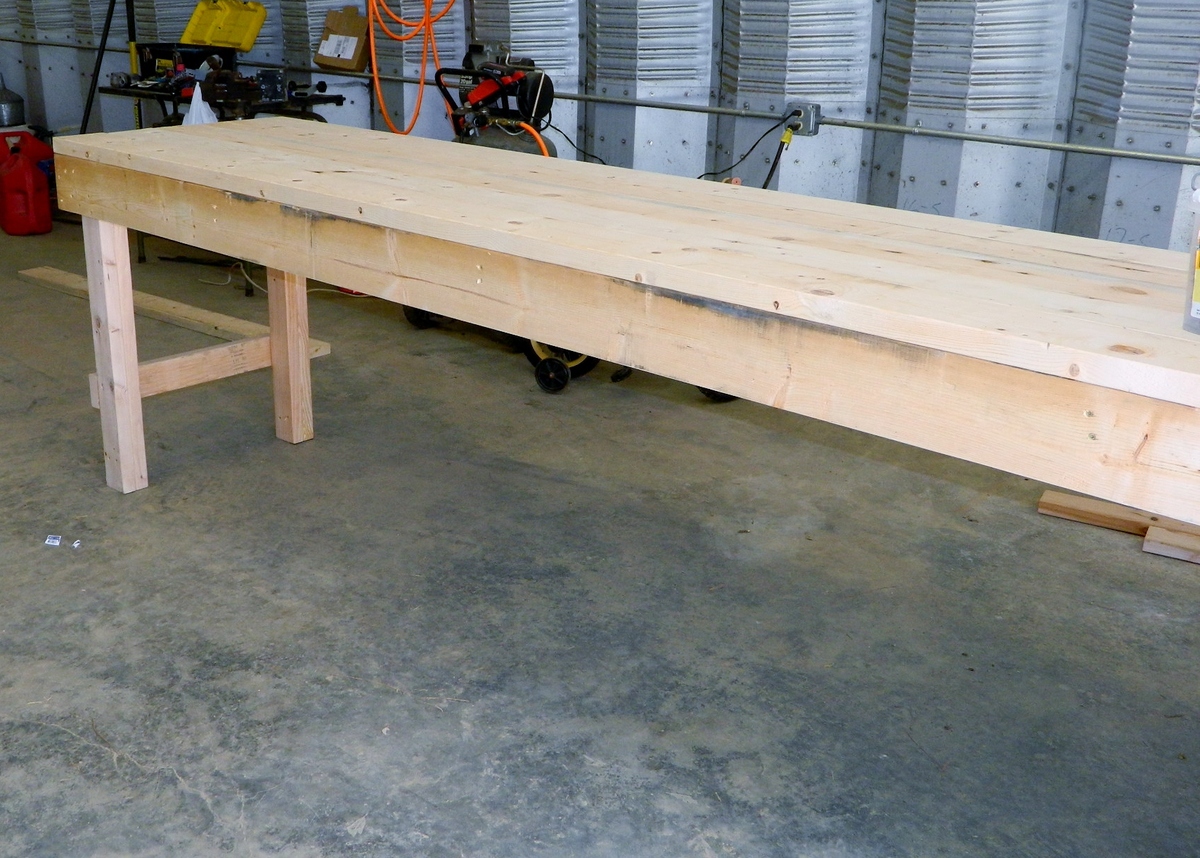
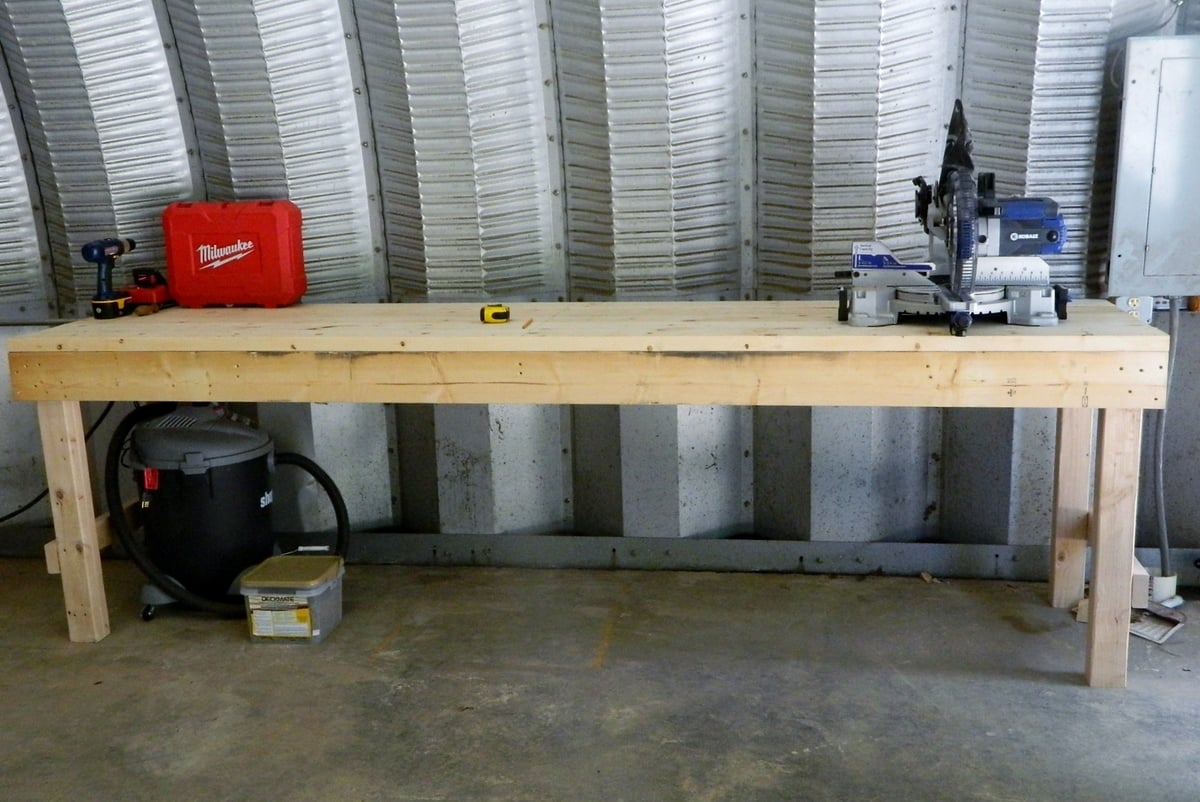
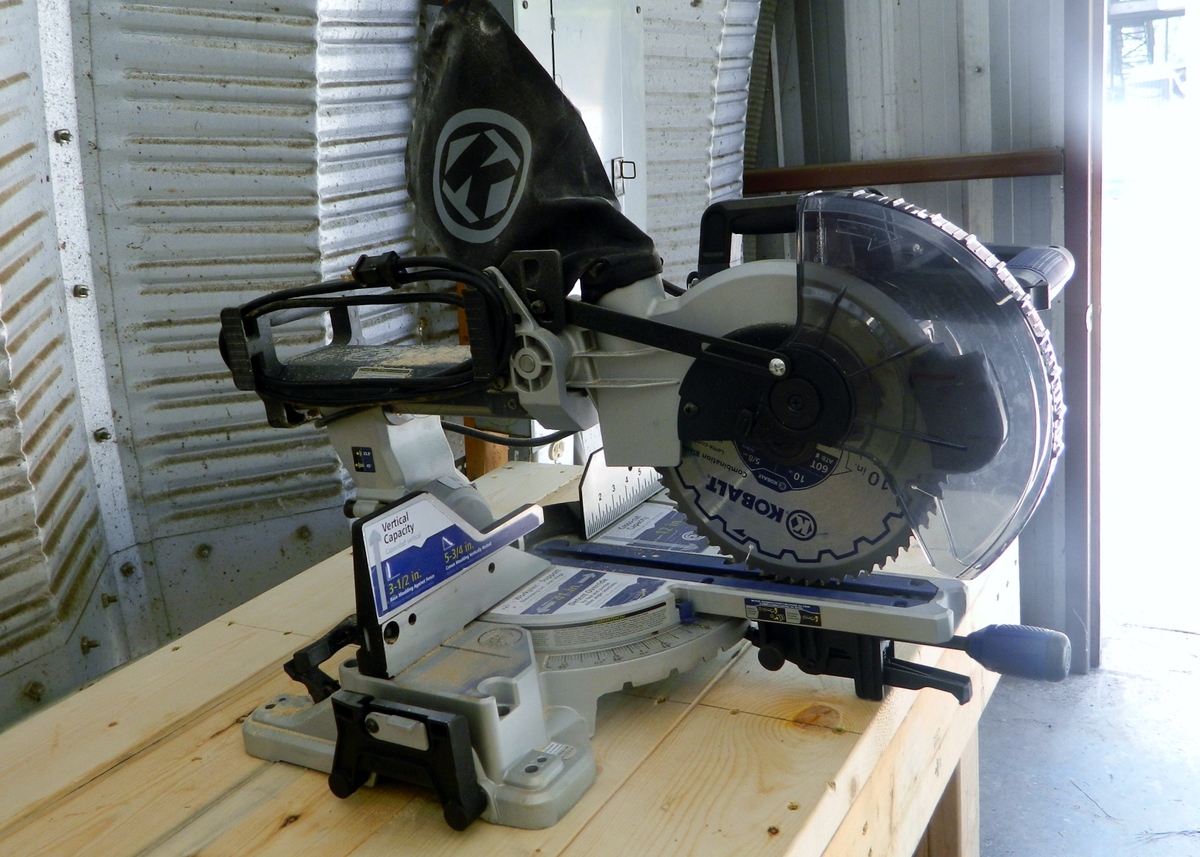
This morning my dad decided to help my build the workbench I've been wanting since we moved to our new house. I would usually do it myself but being 37 weeks pregnant I wasn't wanting to get out there on my own and lift a bunch of 10 ft boards. So we got a bunch of 2x4s and some 2x6s and threw one together... it ended up being 10 ft long and around 28 inches wide and a good 36 inches tall. Now I have a nice place to put my new saw I got for Mother's Day

Estimated Time Investment
An Hour or Two (0-2 Hours)
Recommended Skill Level
Beginner

Carolina Craft Table Modified

http://ana-white.com/2010/09/pb-kids-caroline-craft-table

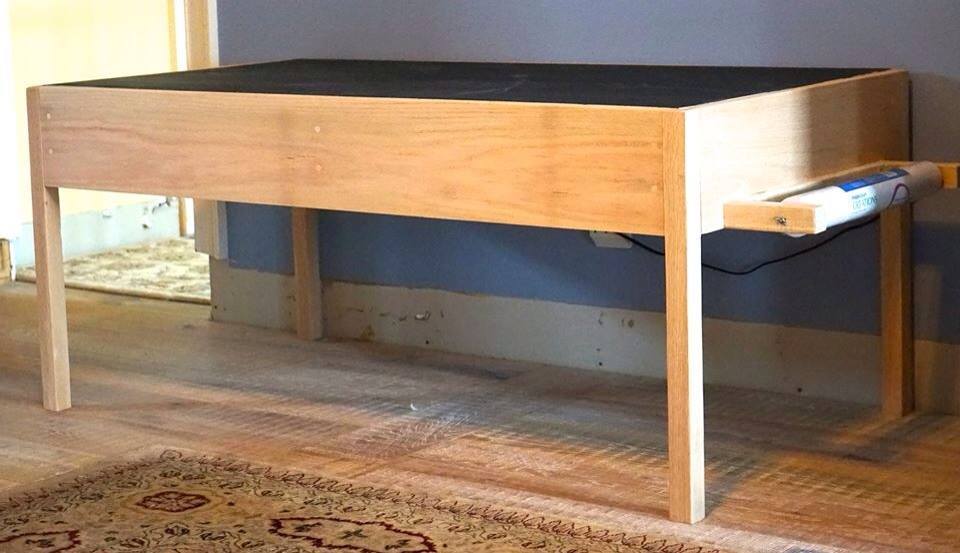
 *** apologies for the missing baseboard in the photo- we are in the midst of a remodel ***

We wanted a high quality table so we researched the Parker Play Table ($1200) and the Carolina Craft Table- ($600). 

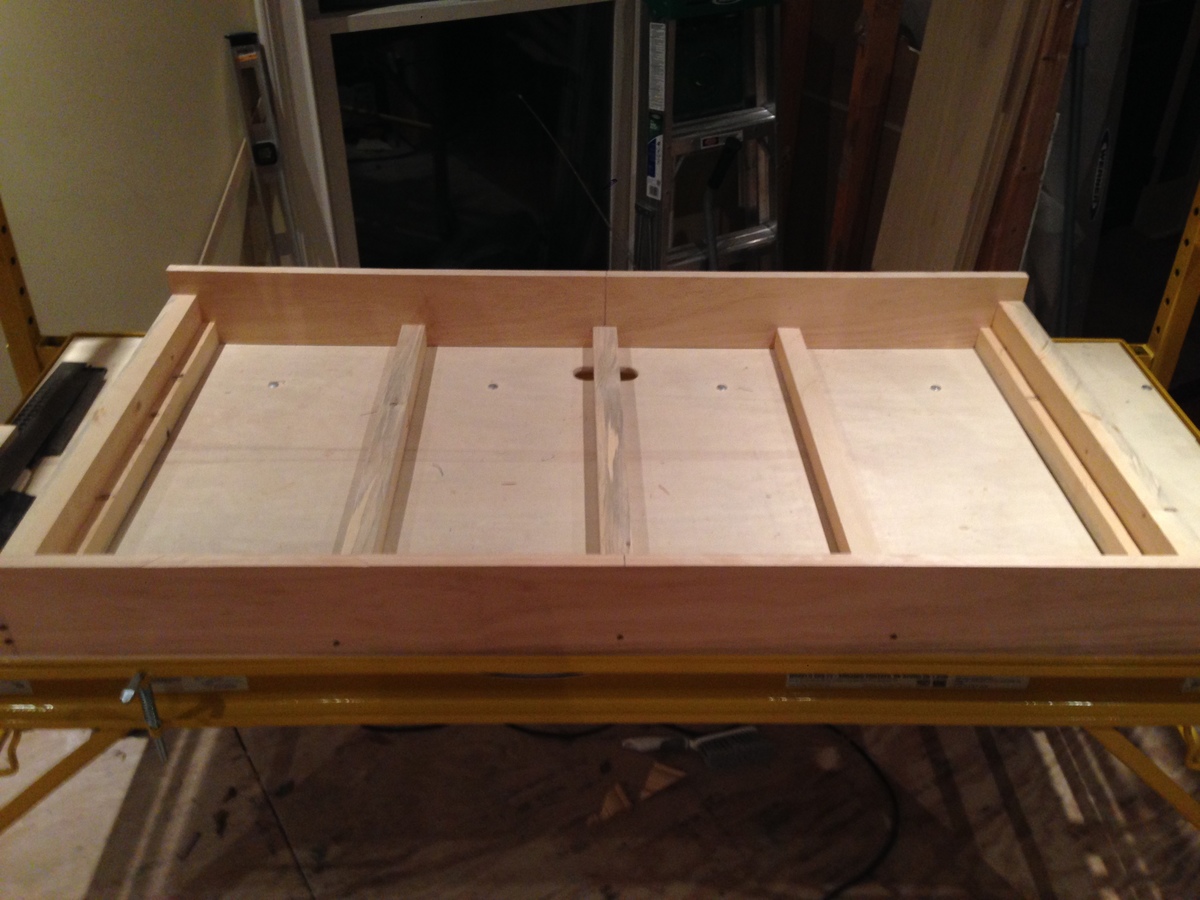
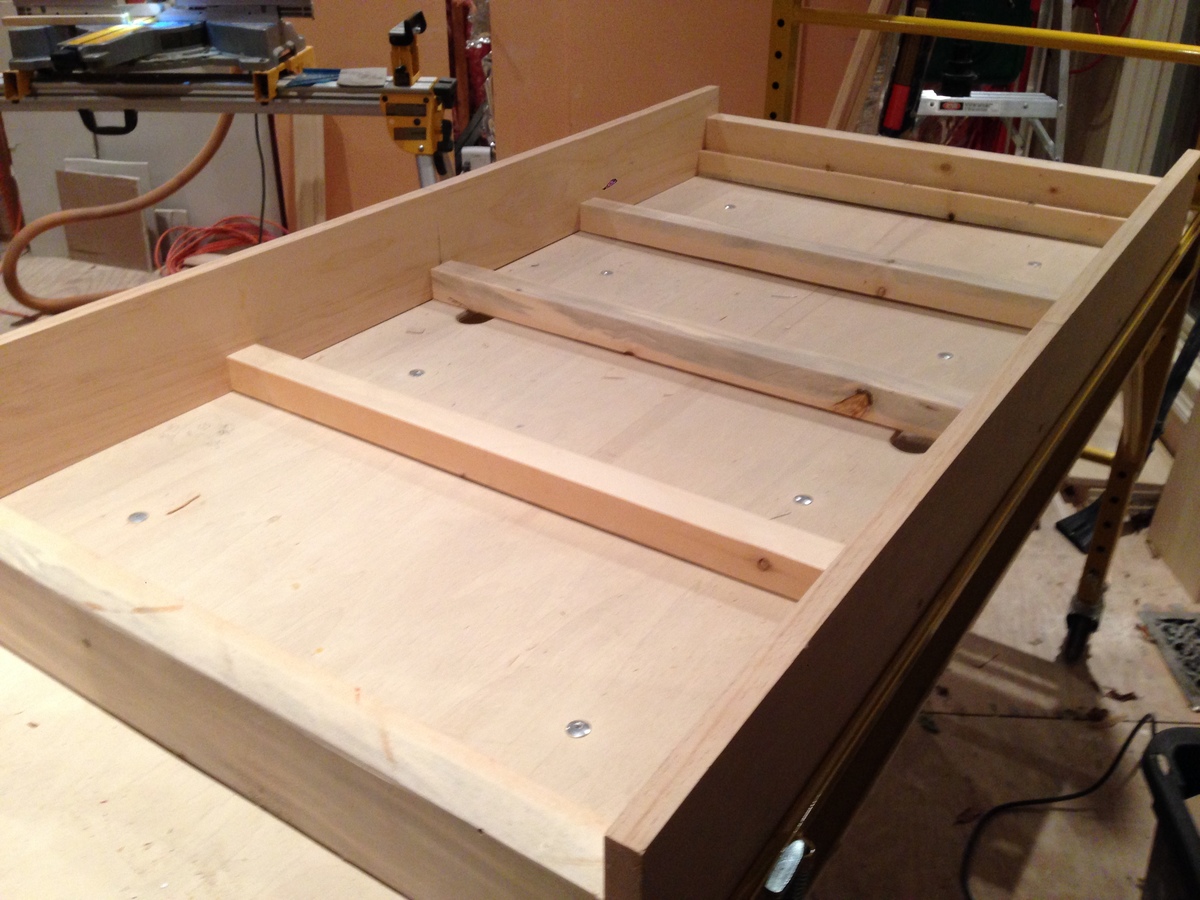
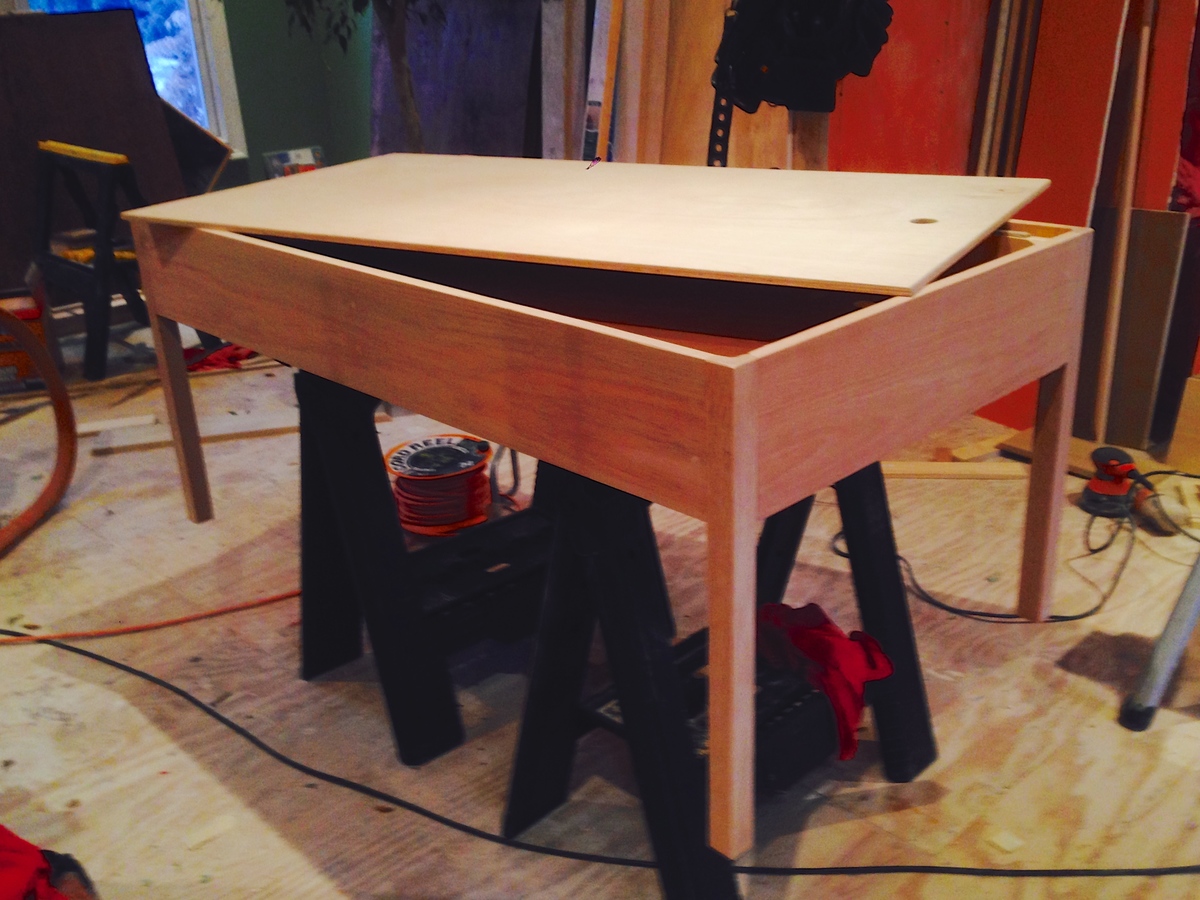
In the research i found the plans for the Carolina table on this site- and modified them a bit (we wanted the removable storage top). 

We painted the top with White board on one side and Chalkboard on the other. 

The table has 22" legs and they can be changed out with a second set of legs when our daughter gets taller.

There is plenty of storage for all the art supplies in the unit and a art paper dispenser on the end. 

The unit is made of poplar on the inside and the legs and facia are all red oak- a very dense and beautiful wood. 

All exterior screws are counter sunk and hidden under face grain wood plugs that are surface sanded.  i chose to do no finish as the wood grain is beautiful- although i may do a timber oil or tung oil at some point - 

the project took about 2 days total time- $150 in supplies (including paint) and the piece feels substantial..... like it will be used for my daughters children. 

you will want to have access to a table saw and some clamps, wood plugs and a countersink bit for your drill
Estimated Cost
150
Estimated Time Investment
Weekend Project (10-20 Hours)
Finish Used
none- light hand sand with 180 grit sandpaper
Recommended Skill Level
Intermediate

Long Modern Media Console or Entertainment Center

Submitted by Anonymous (not verified) on Tue, 06/21/2016 - 19:55

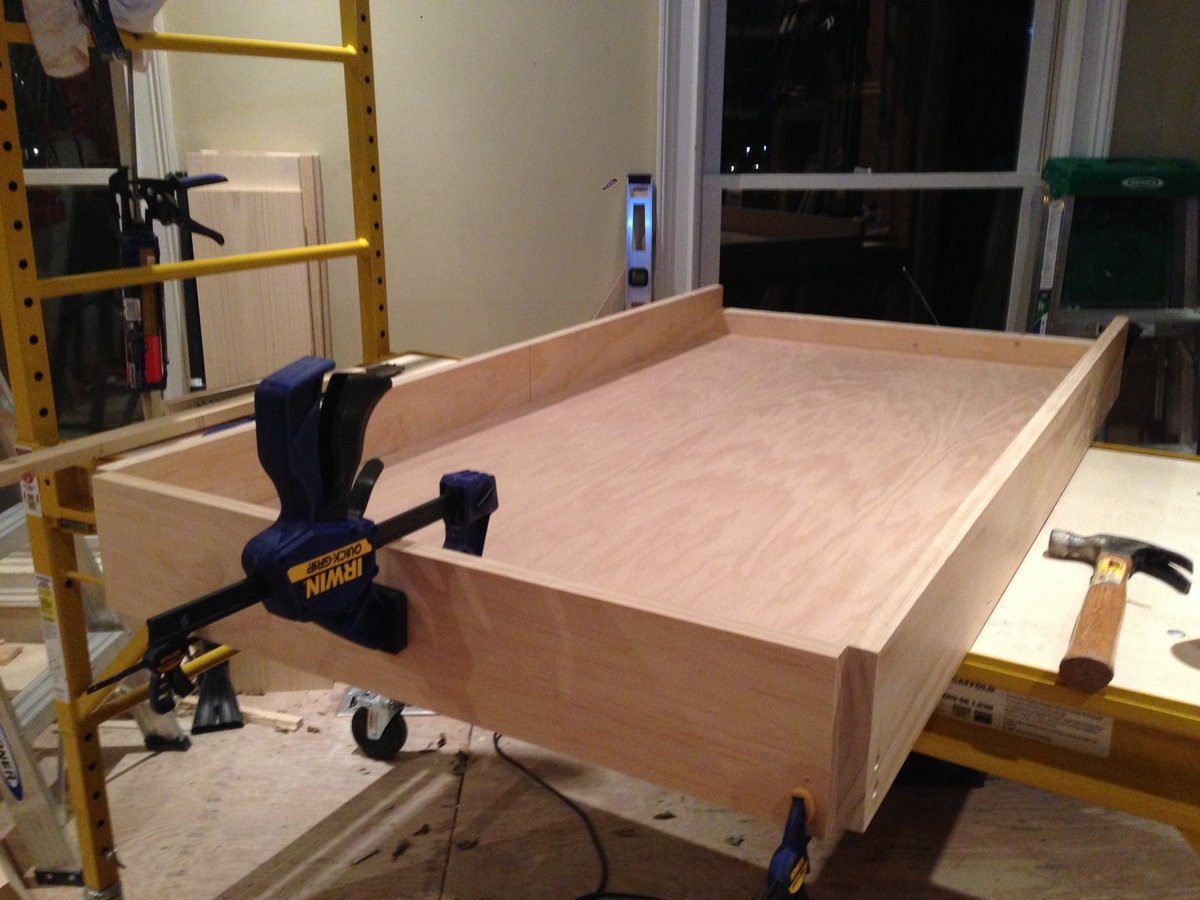
I essentially used the same materials as posted on Ana's website, with the addition of modifiying the plans to fit to my needs. I used the same hinges, however got mine from home depot Canada for 3 bucks each! woot woot. The paint was a high gloss enamal with 4 coats on the top or so. The legs were bought from a local hair pin leg guy and the cabanit doors were something a lil more special. The doors were made from 3 really really really old fence boards, that were sanded down and stained with golden oak minwax then 2 layers of oil polyurathane. Since the boards were a little more fragine than i thought, i attached them together with an extremely thing pieace of birch plywood and screws on the back. I really loved this project and pleased that ana replicated it on her website. Thanks Ana!
Estimated Cost
$200, with $80 hairpin legs.
Estimated Time Investment
Weekend Project (10-20 Hours)
Finish Used
behr high gloss enamel paint, minwax golden oak, oil based poly
Recommended Skill Level
Advanced

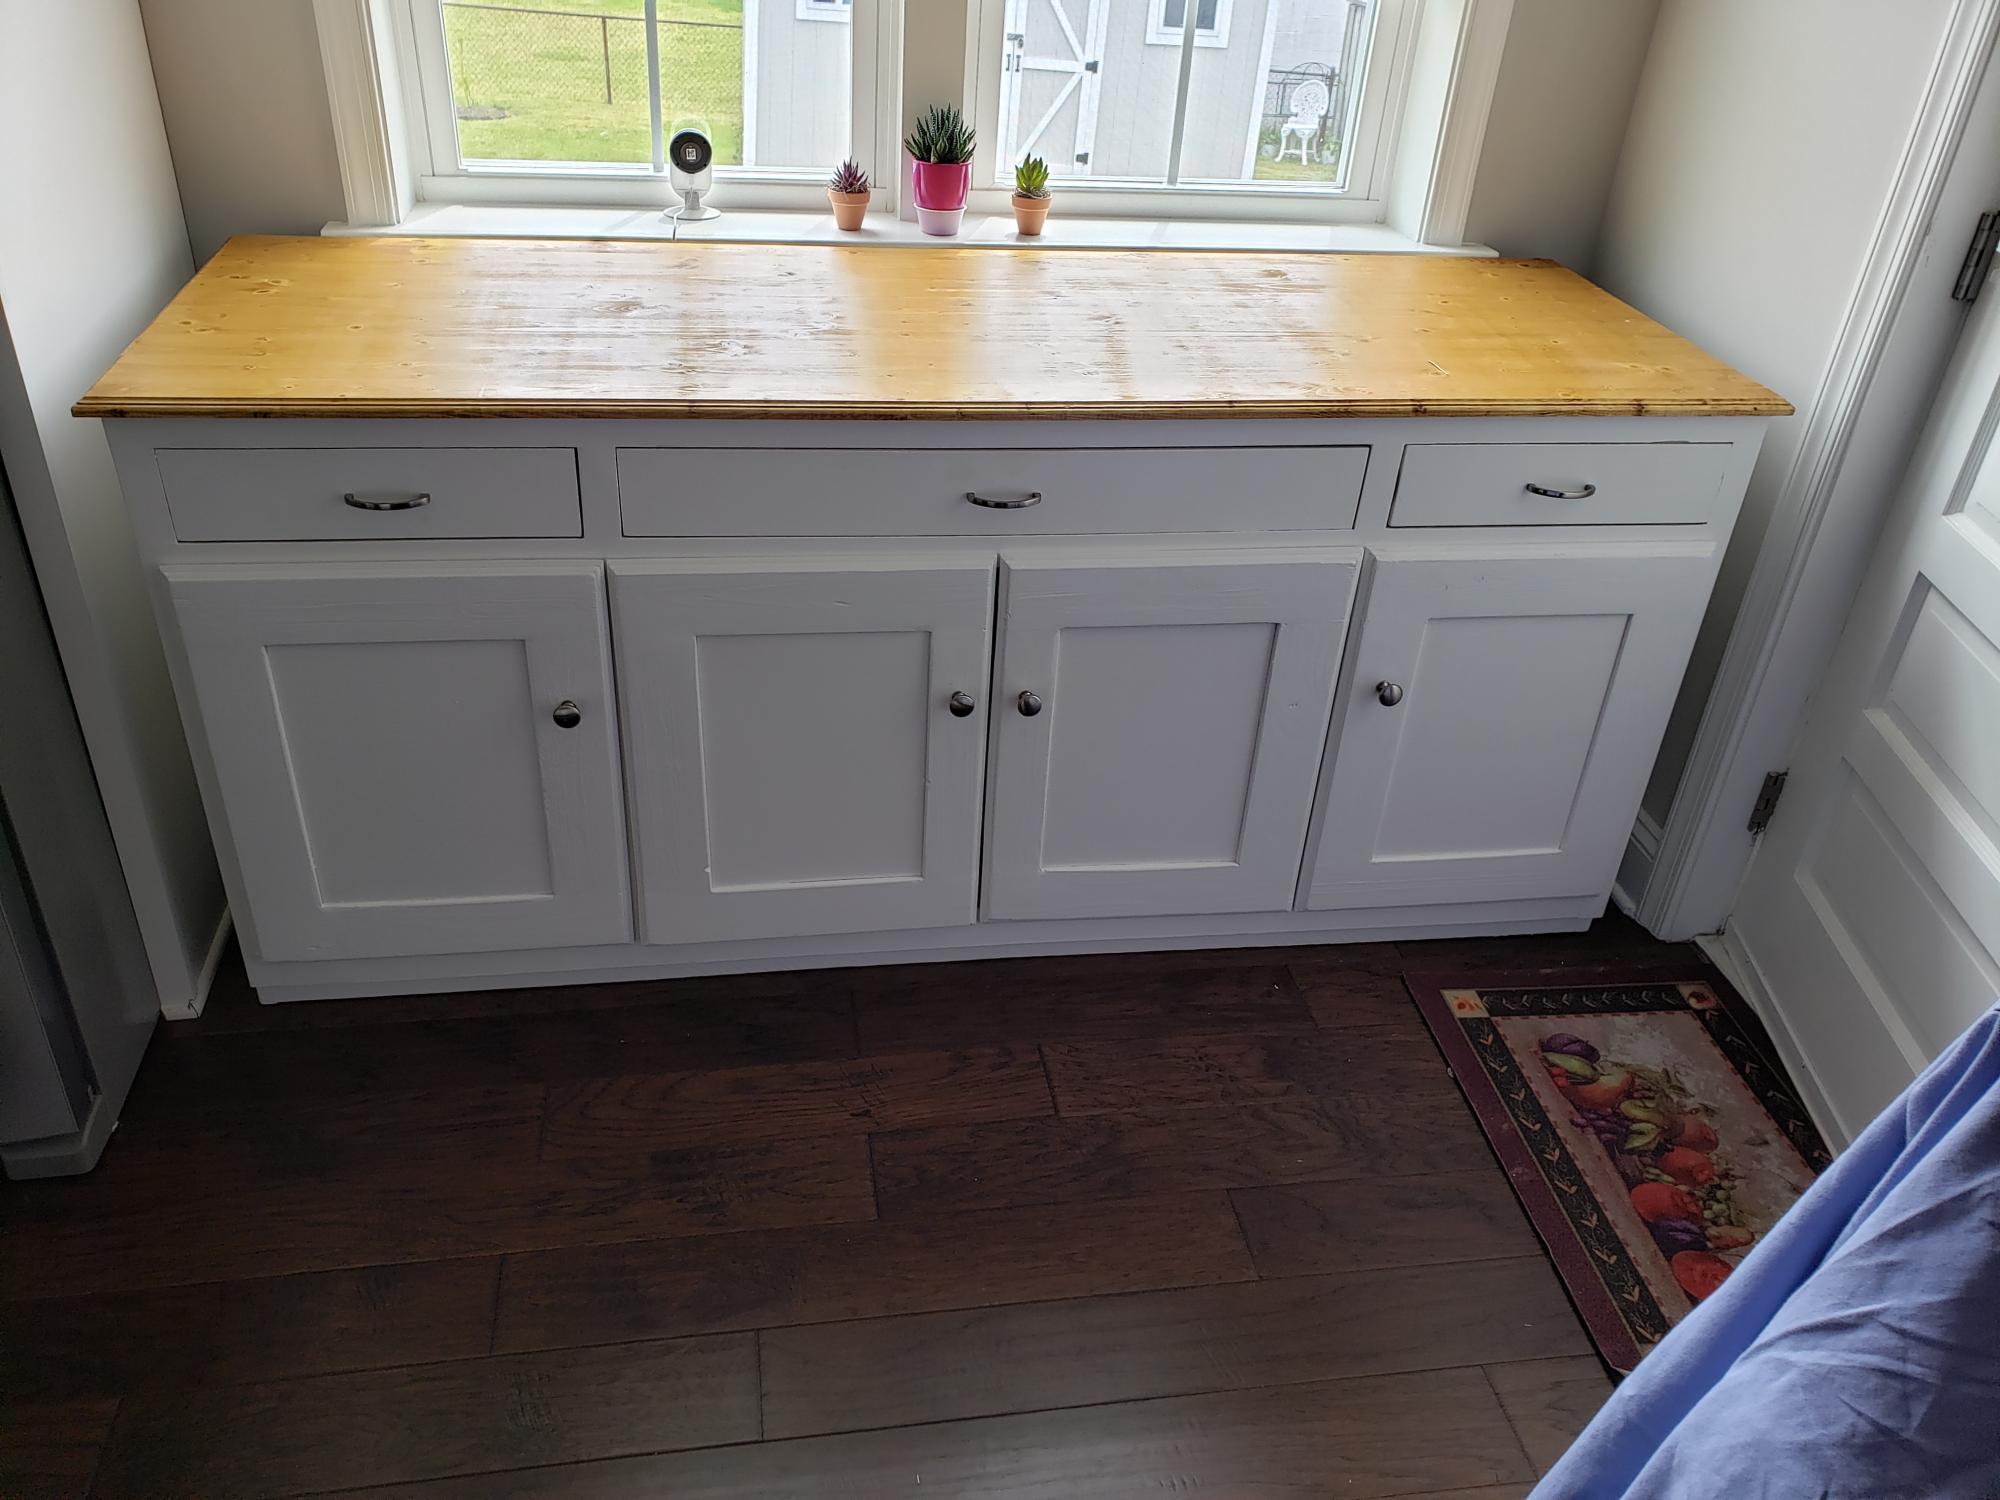
planked wood sideboard

Based my cabinet on the planked wood sideboard but moved away from using the tens of pocket screws the project called for. I also used hidden hinges so my doors do not enter into the cabinet. I cut and glued multiple boards to make my top after using my planer. But soft close drawers and hinges on the unit. Also installed baskets with soft close for the bottom of the 2 side cabinets. Turned out pretty good. Super heavy though which well built items will be. Routed my door and table top edges for style. Wife loves it.

Estimated Cost
500.00 counting hardware and sanded plywood
Finish Used
table used golden oak stain

Comments

Back