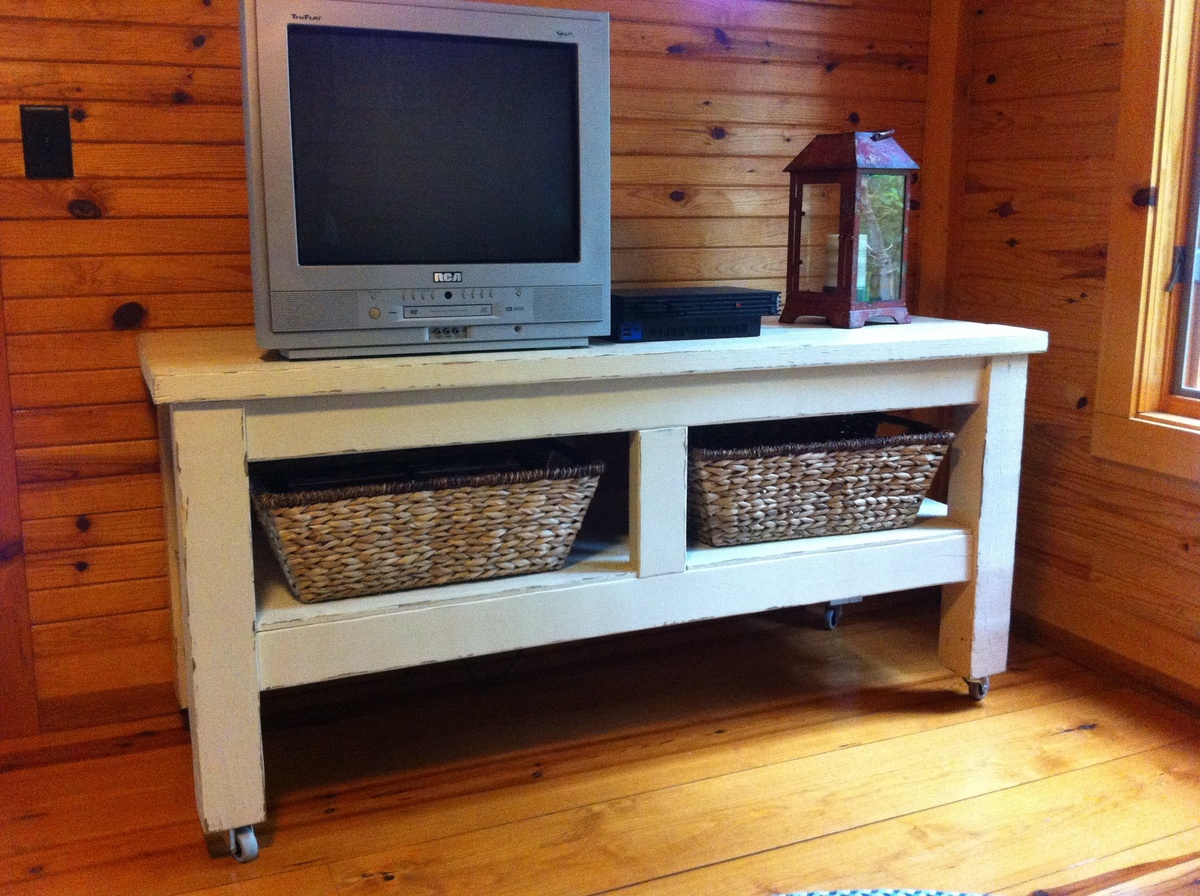
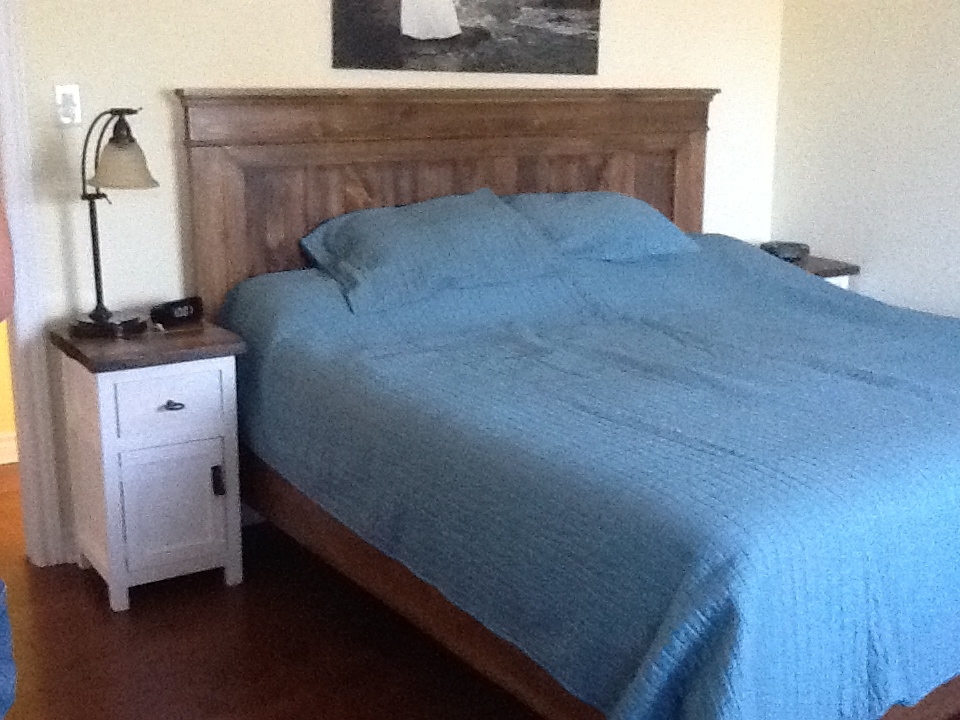
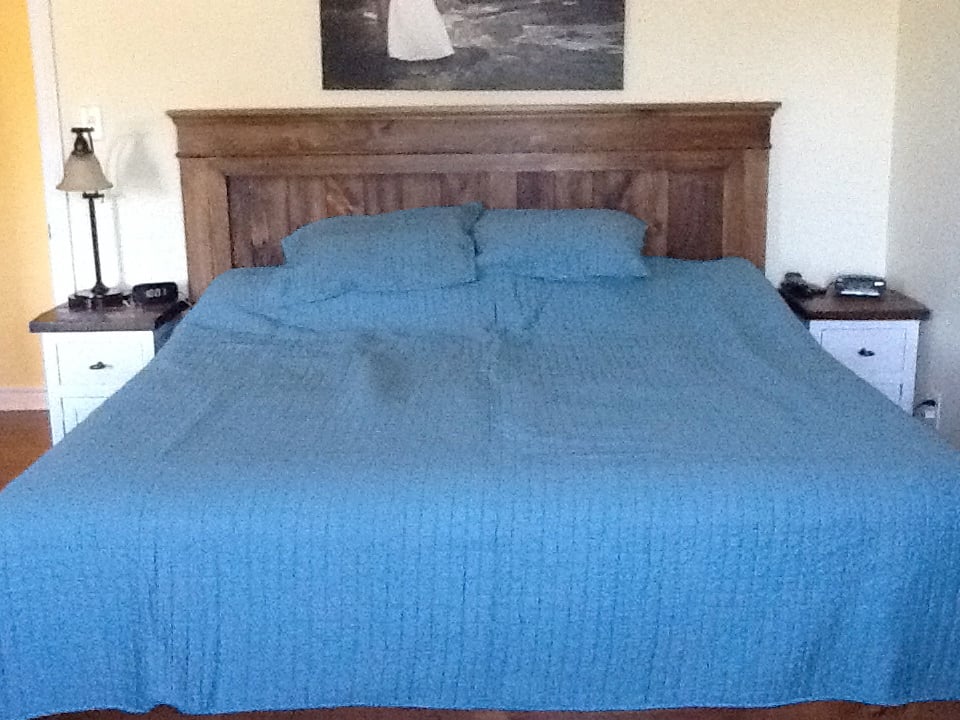
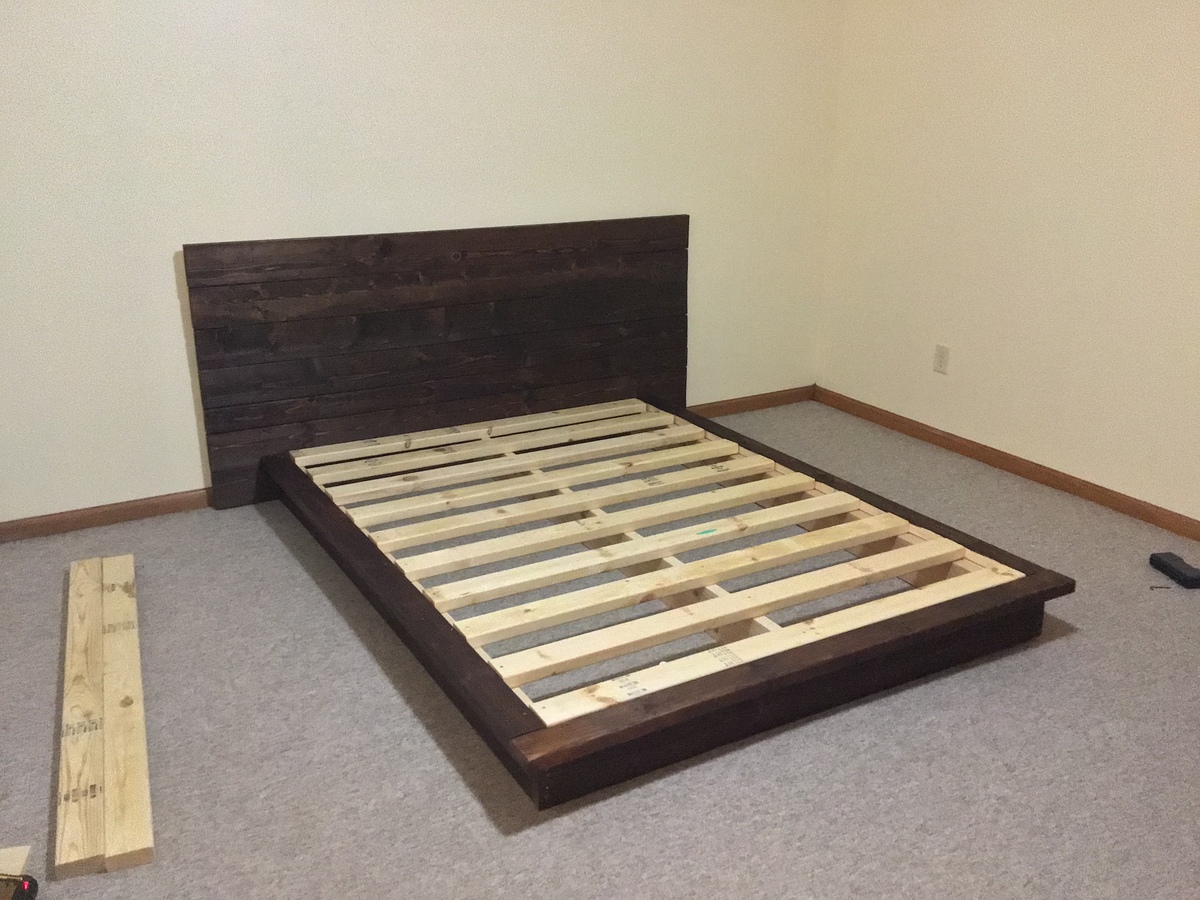
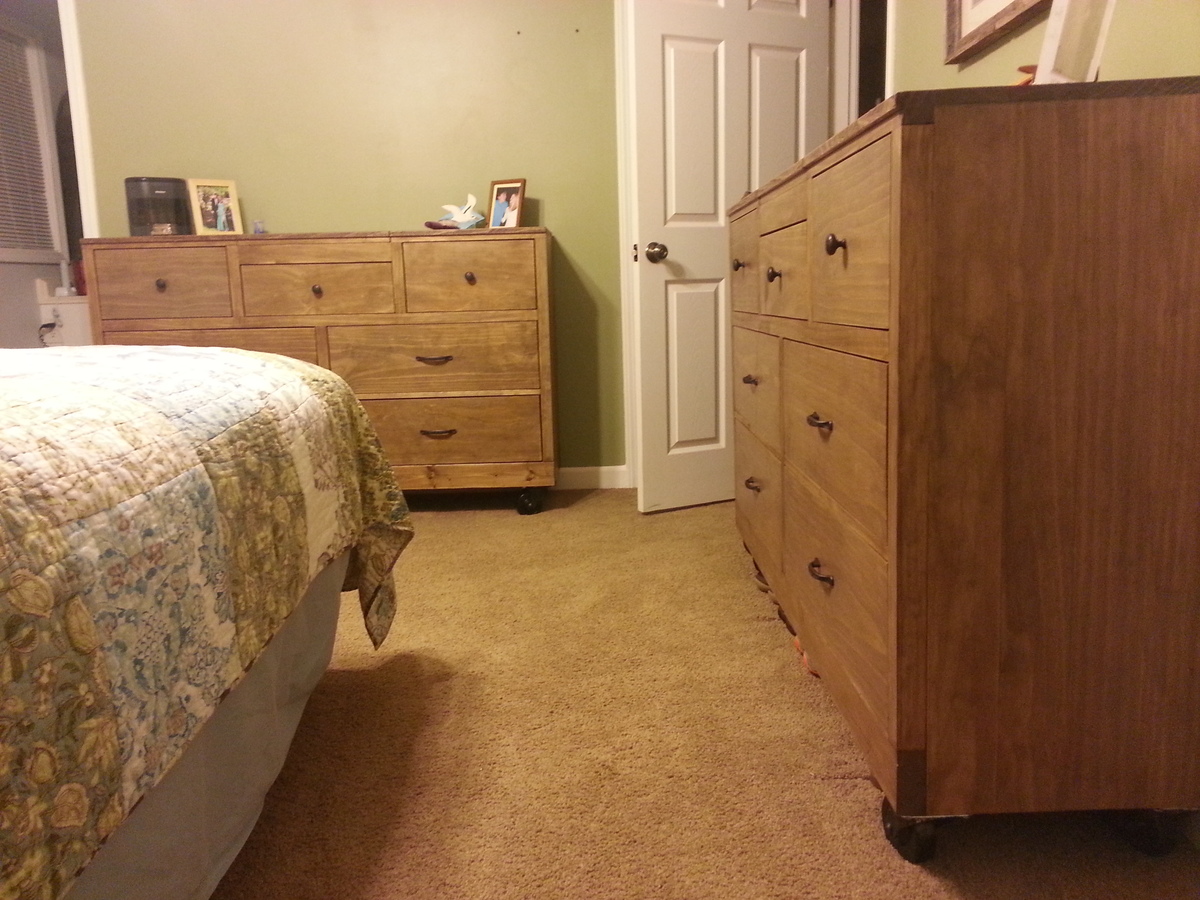
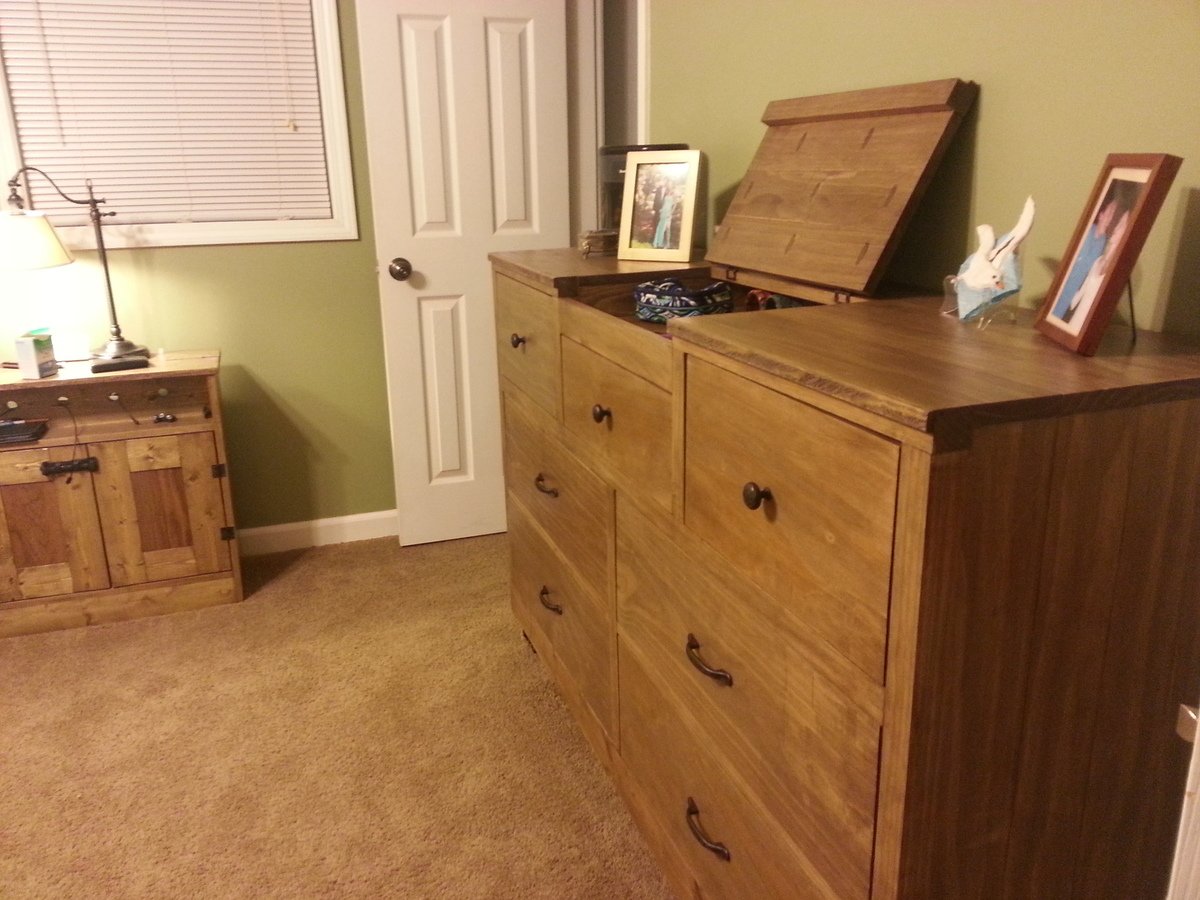
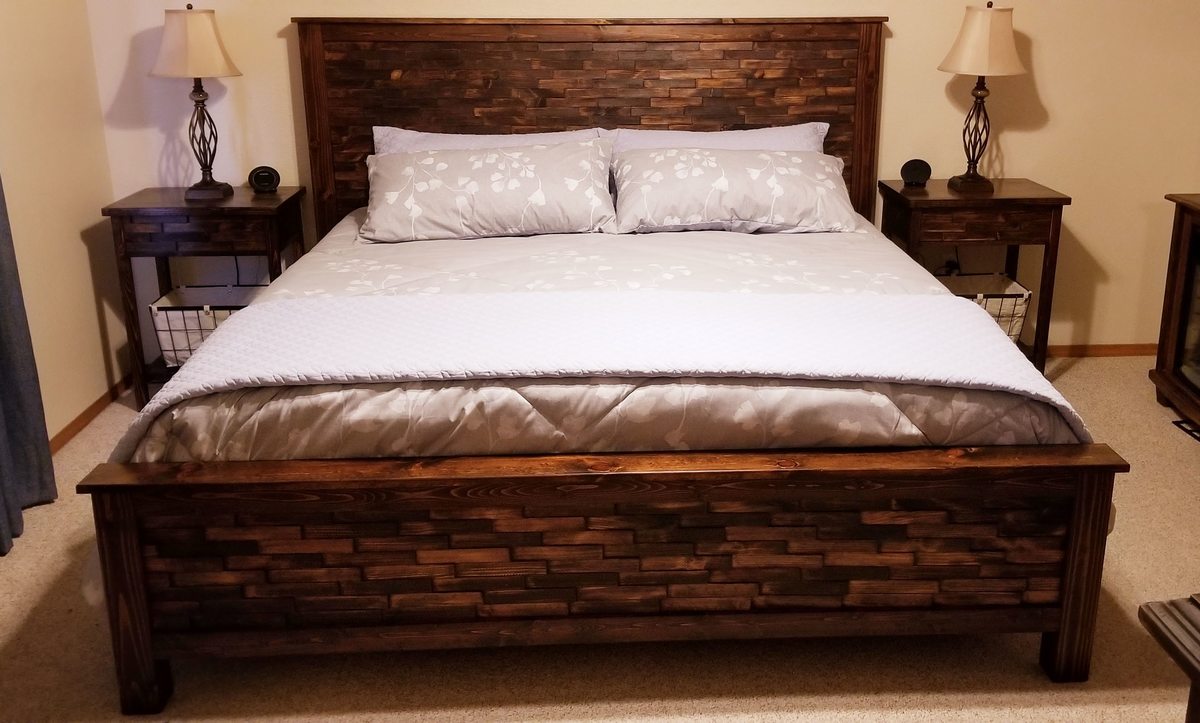
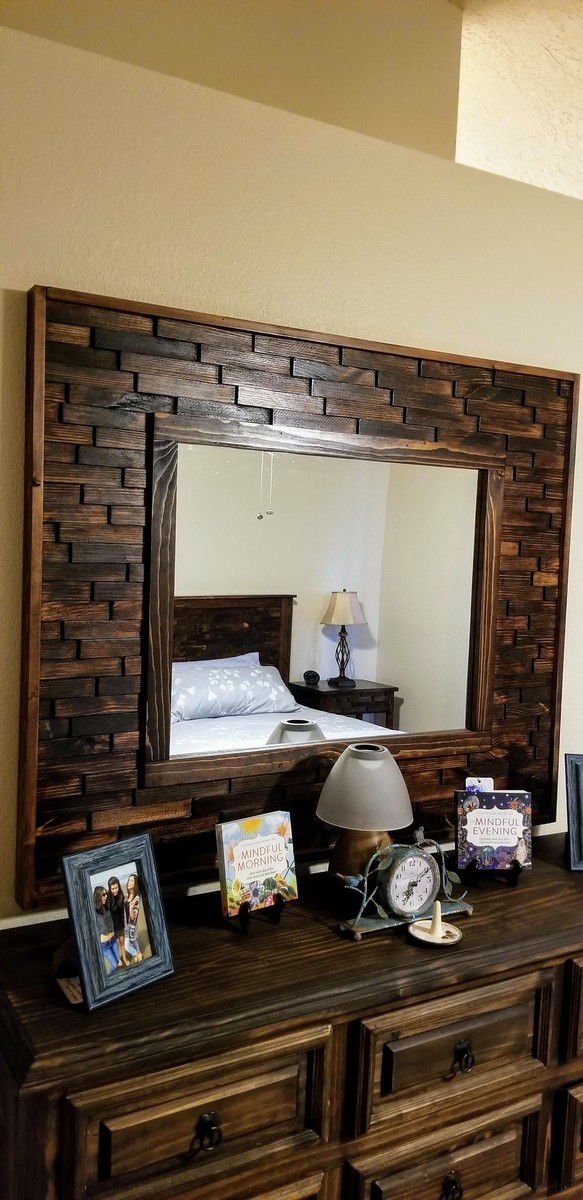
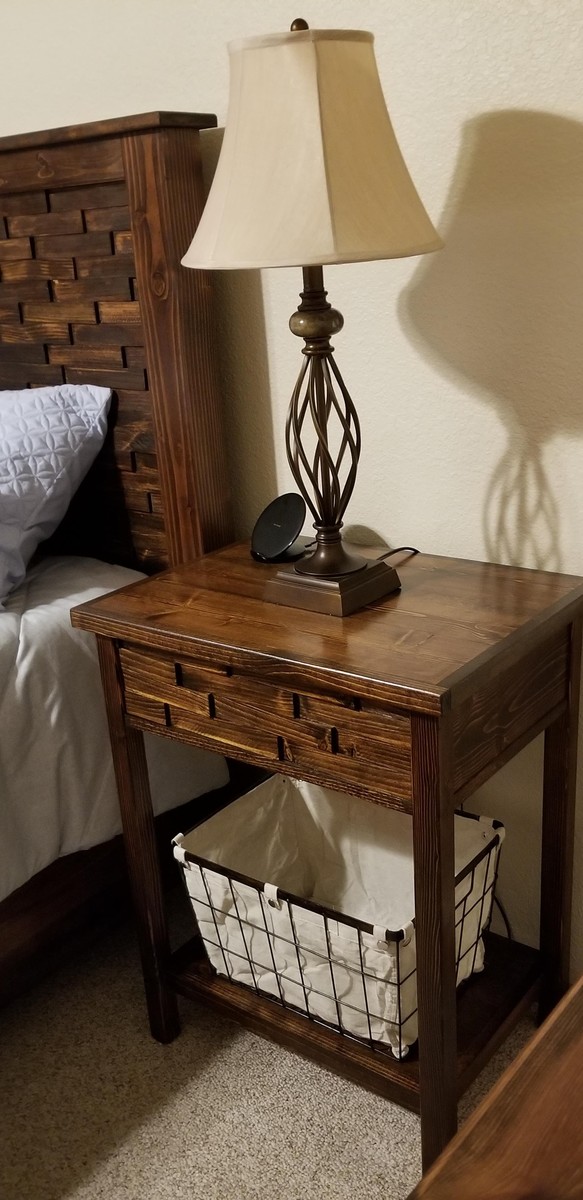
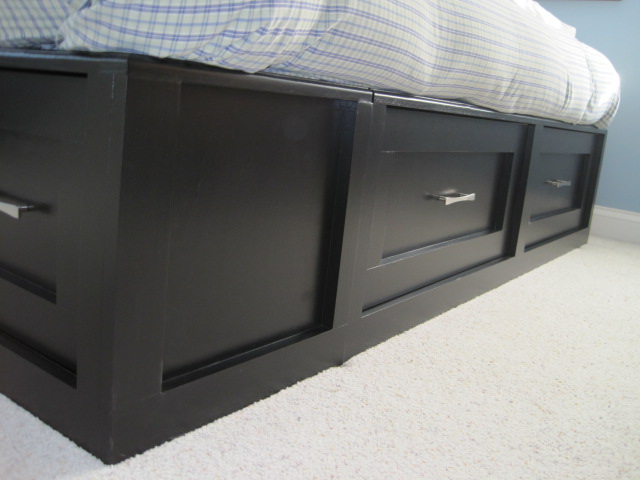
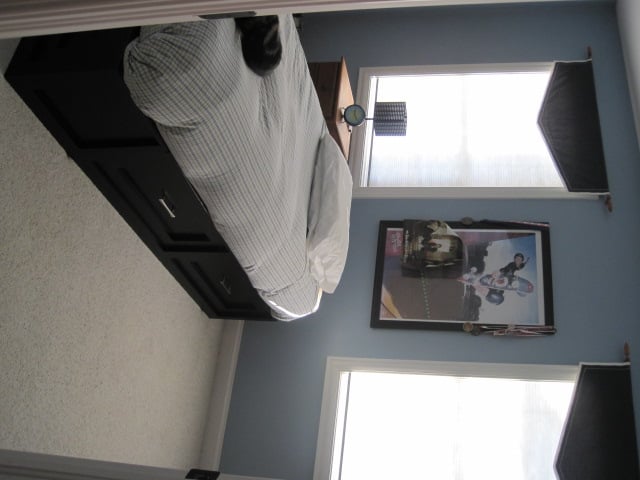
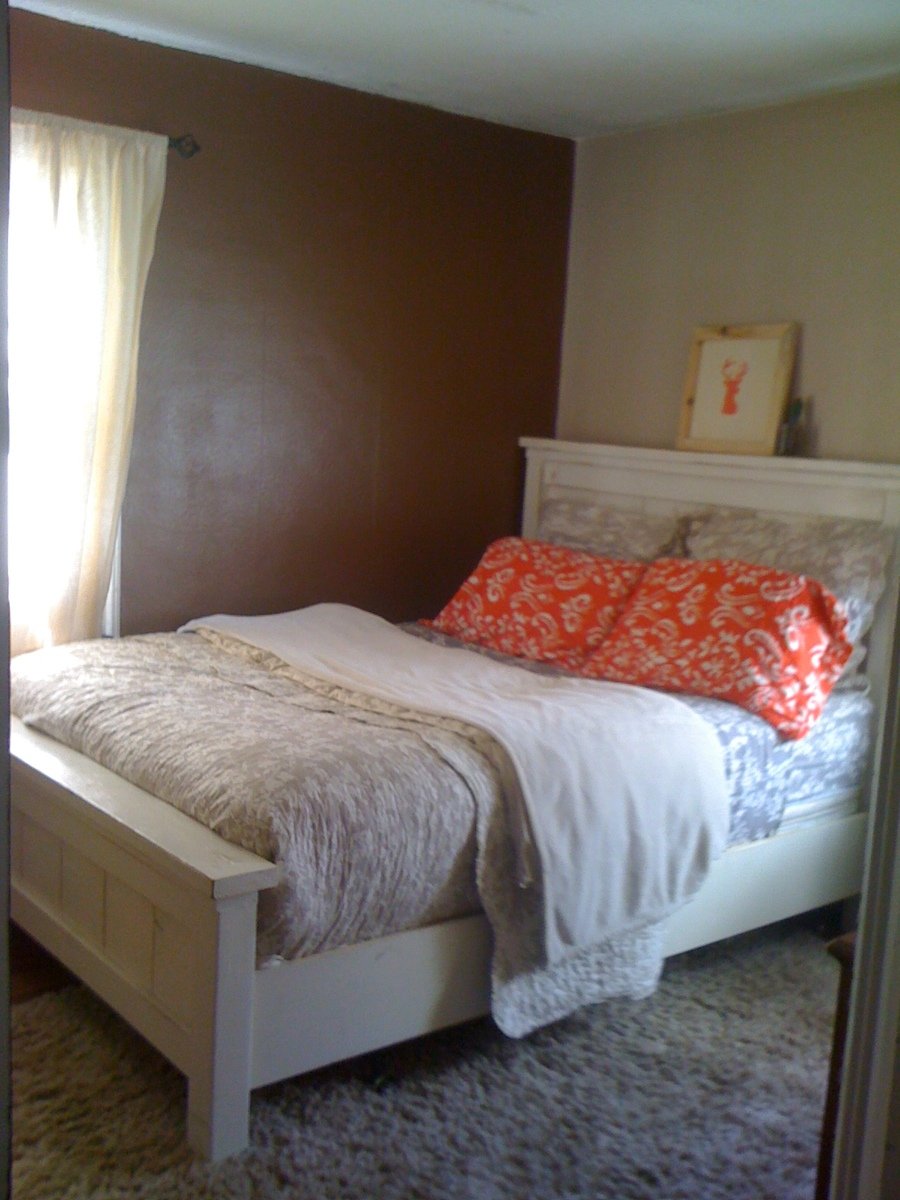
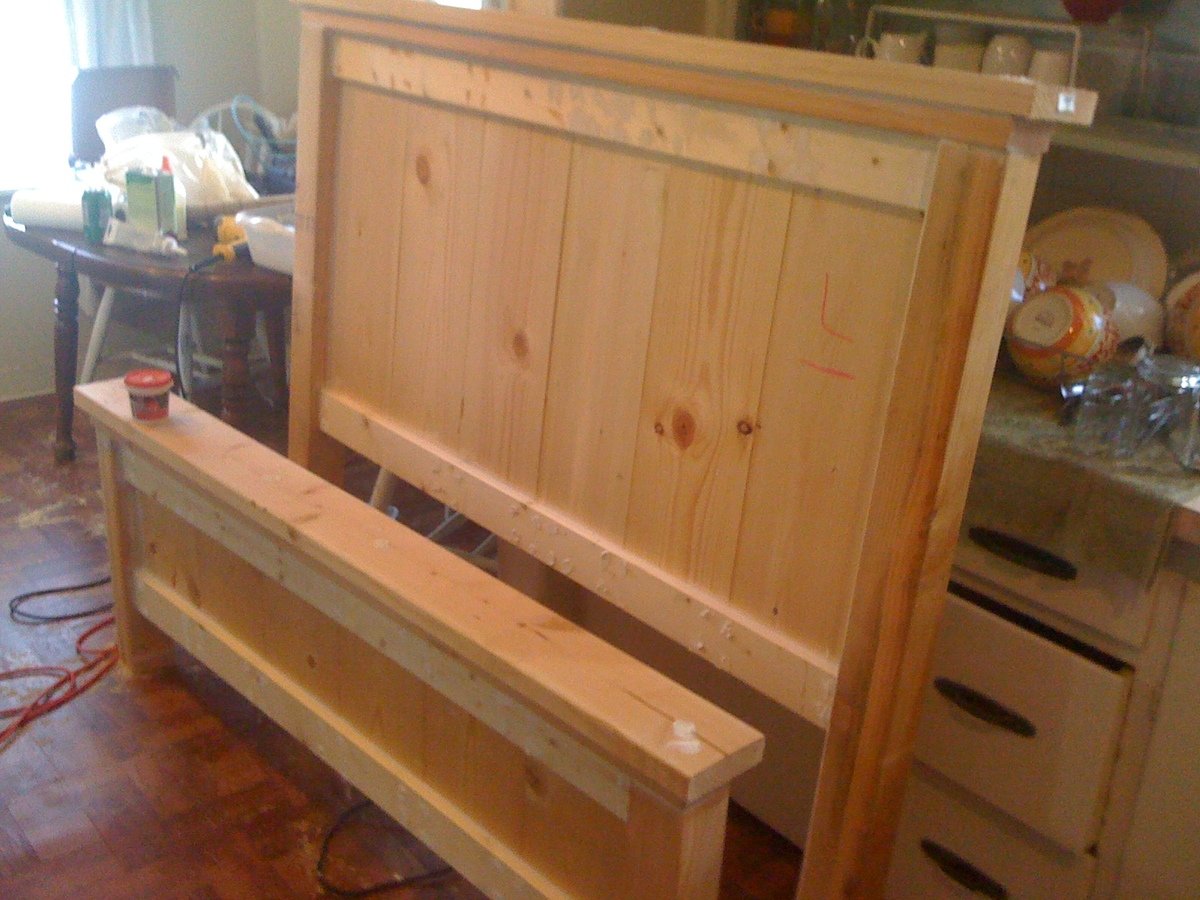
Birthday Farmhouse Queen sized Bed
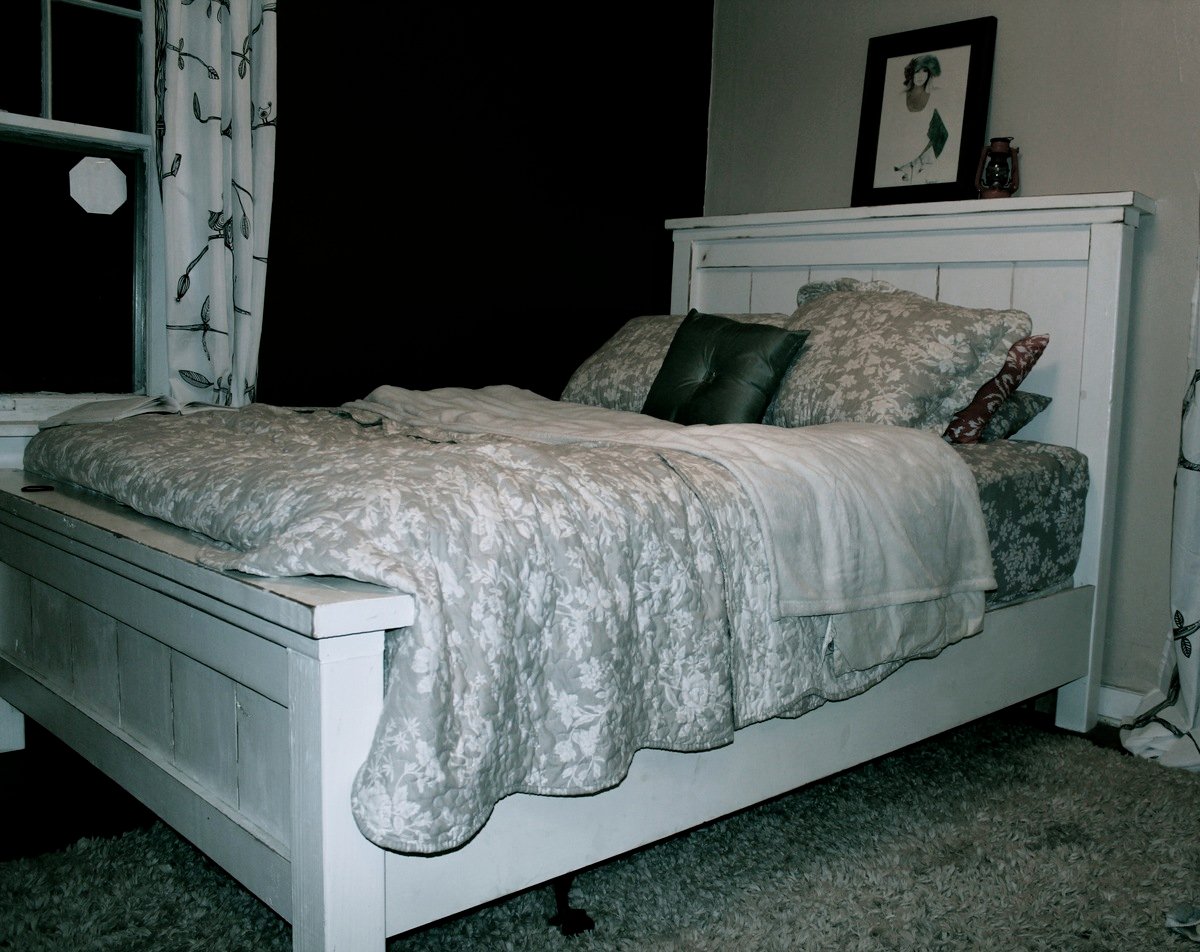
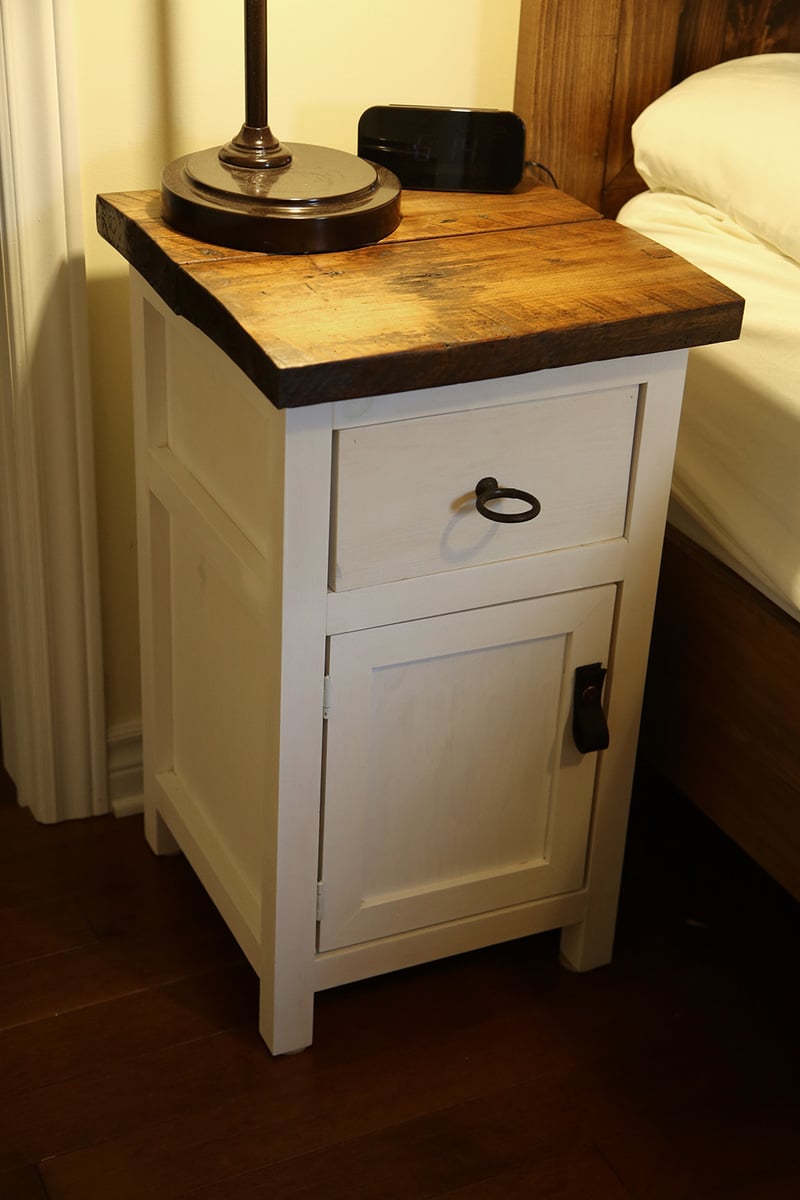
We built this bed way back in April for my birthday, but hadn't gotten the bedding quite right until now. We love this thing and it is sooo sturdy. I wish I would have taken more time on finish work to get the paint just right. I will probably repaint it in the future but for now it is a beautiful and necessary addition to our bedroom.
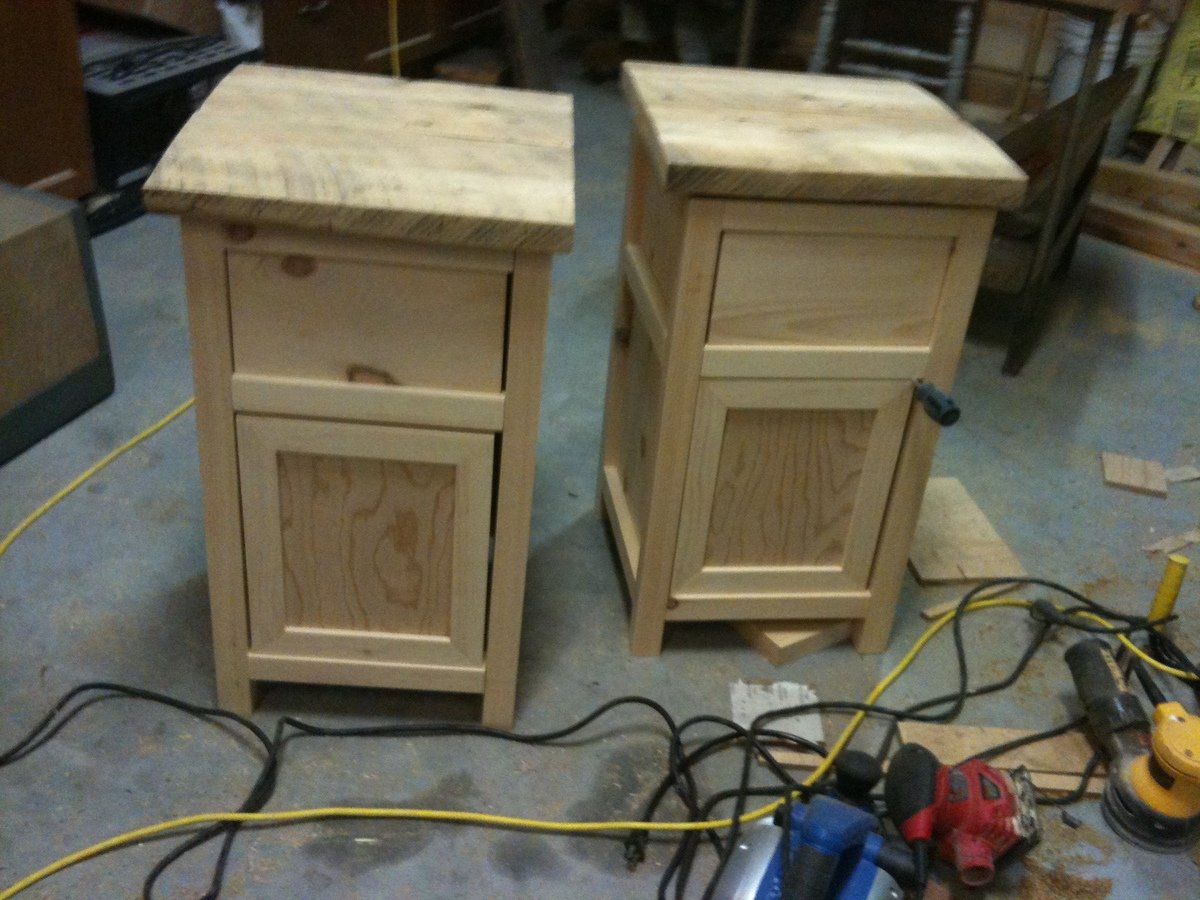
Thanks so much for the plans Ana, this was our first furniture project besides shelves and boxes. It definitely gave us the confidence to continue building and even to start creating our own plans and furniture designs.
** updated photos on 11/21
Built from Plan(s)
Estimated Time Investment
Weekend Project (10-20 Hours)
Finish Used
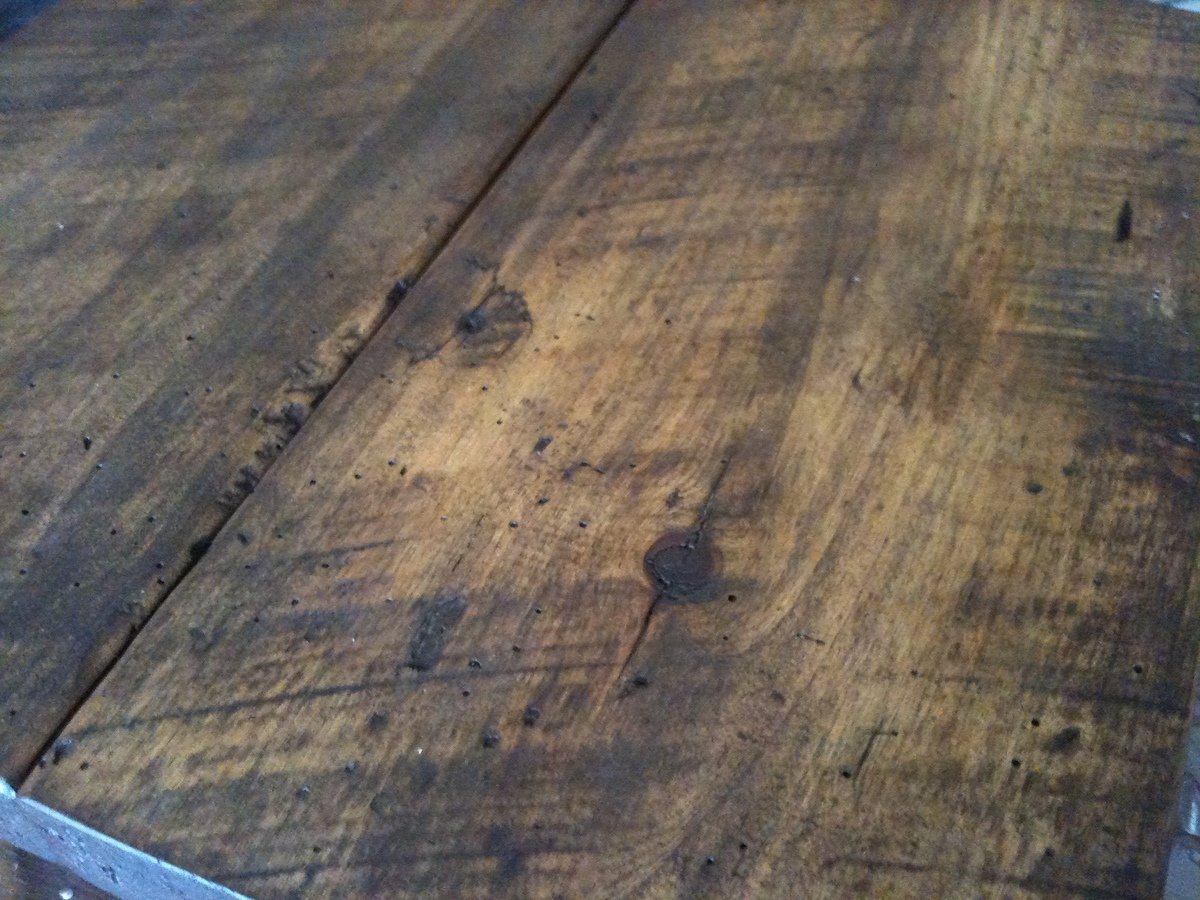
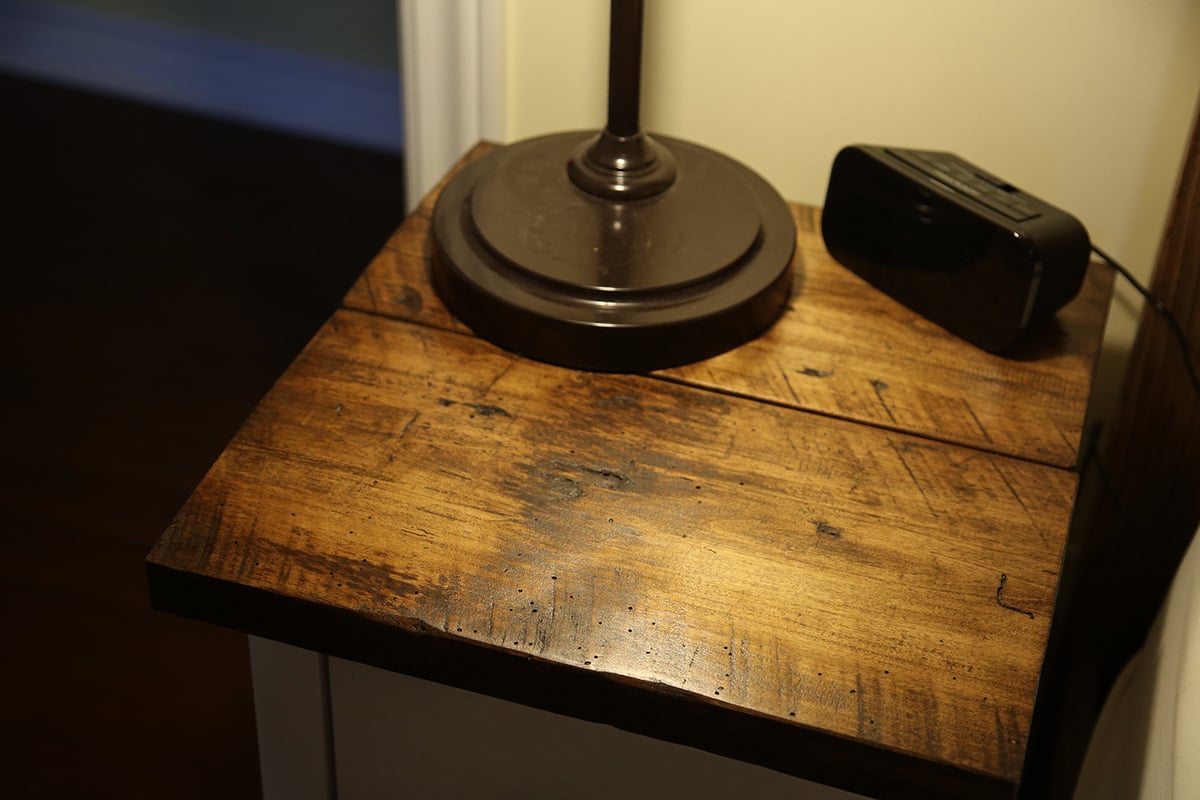
Antique white paint in semi-gloss and distressed with Early American Stain.
Recommended Skill Level
Starter Project