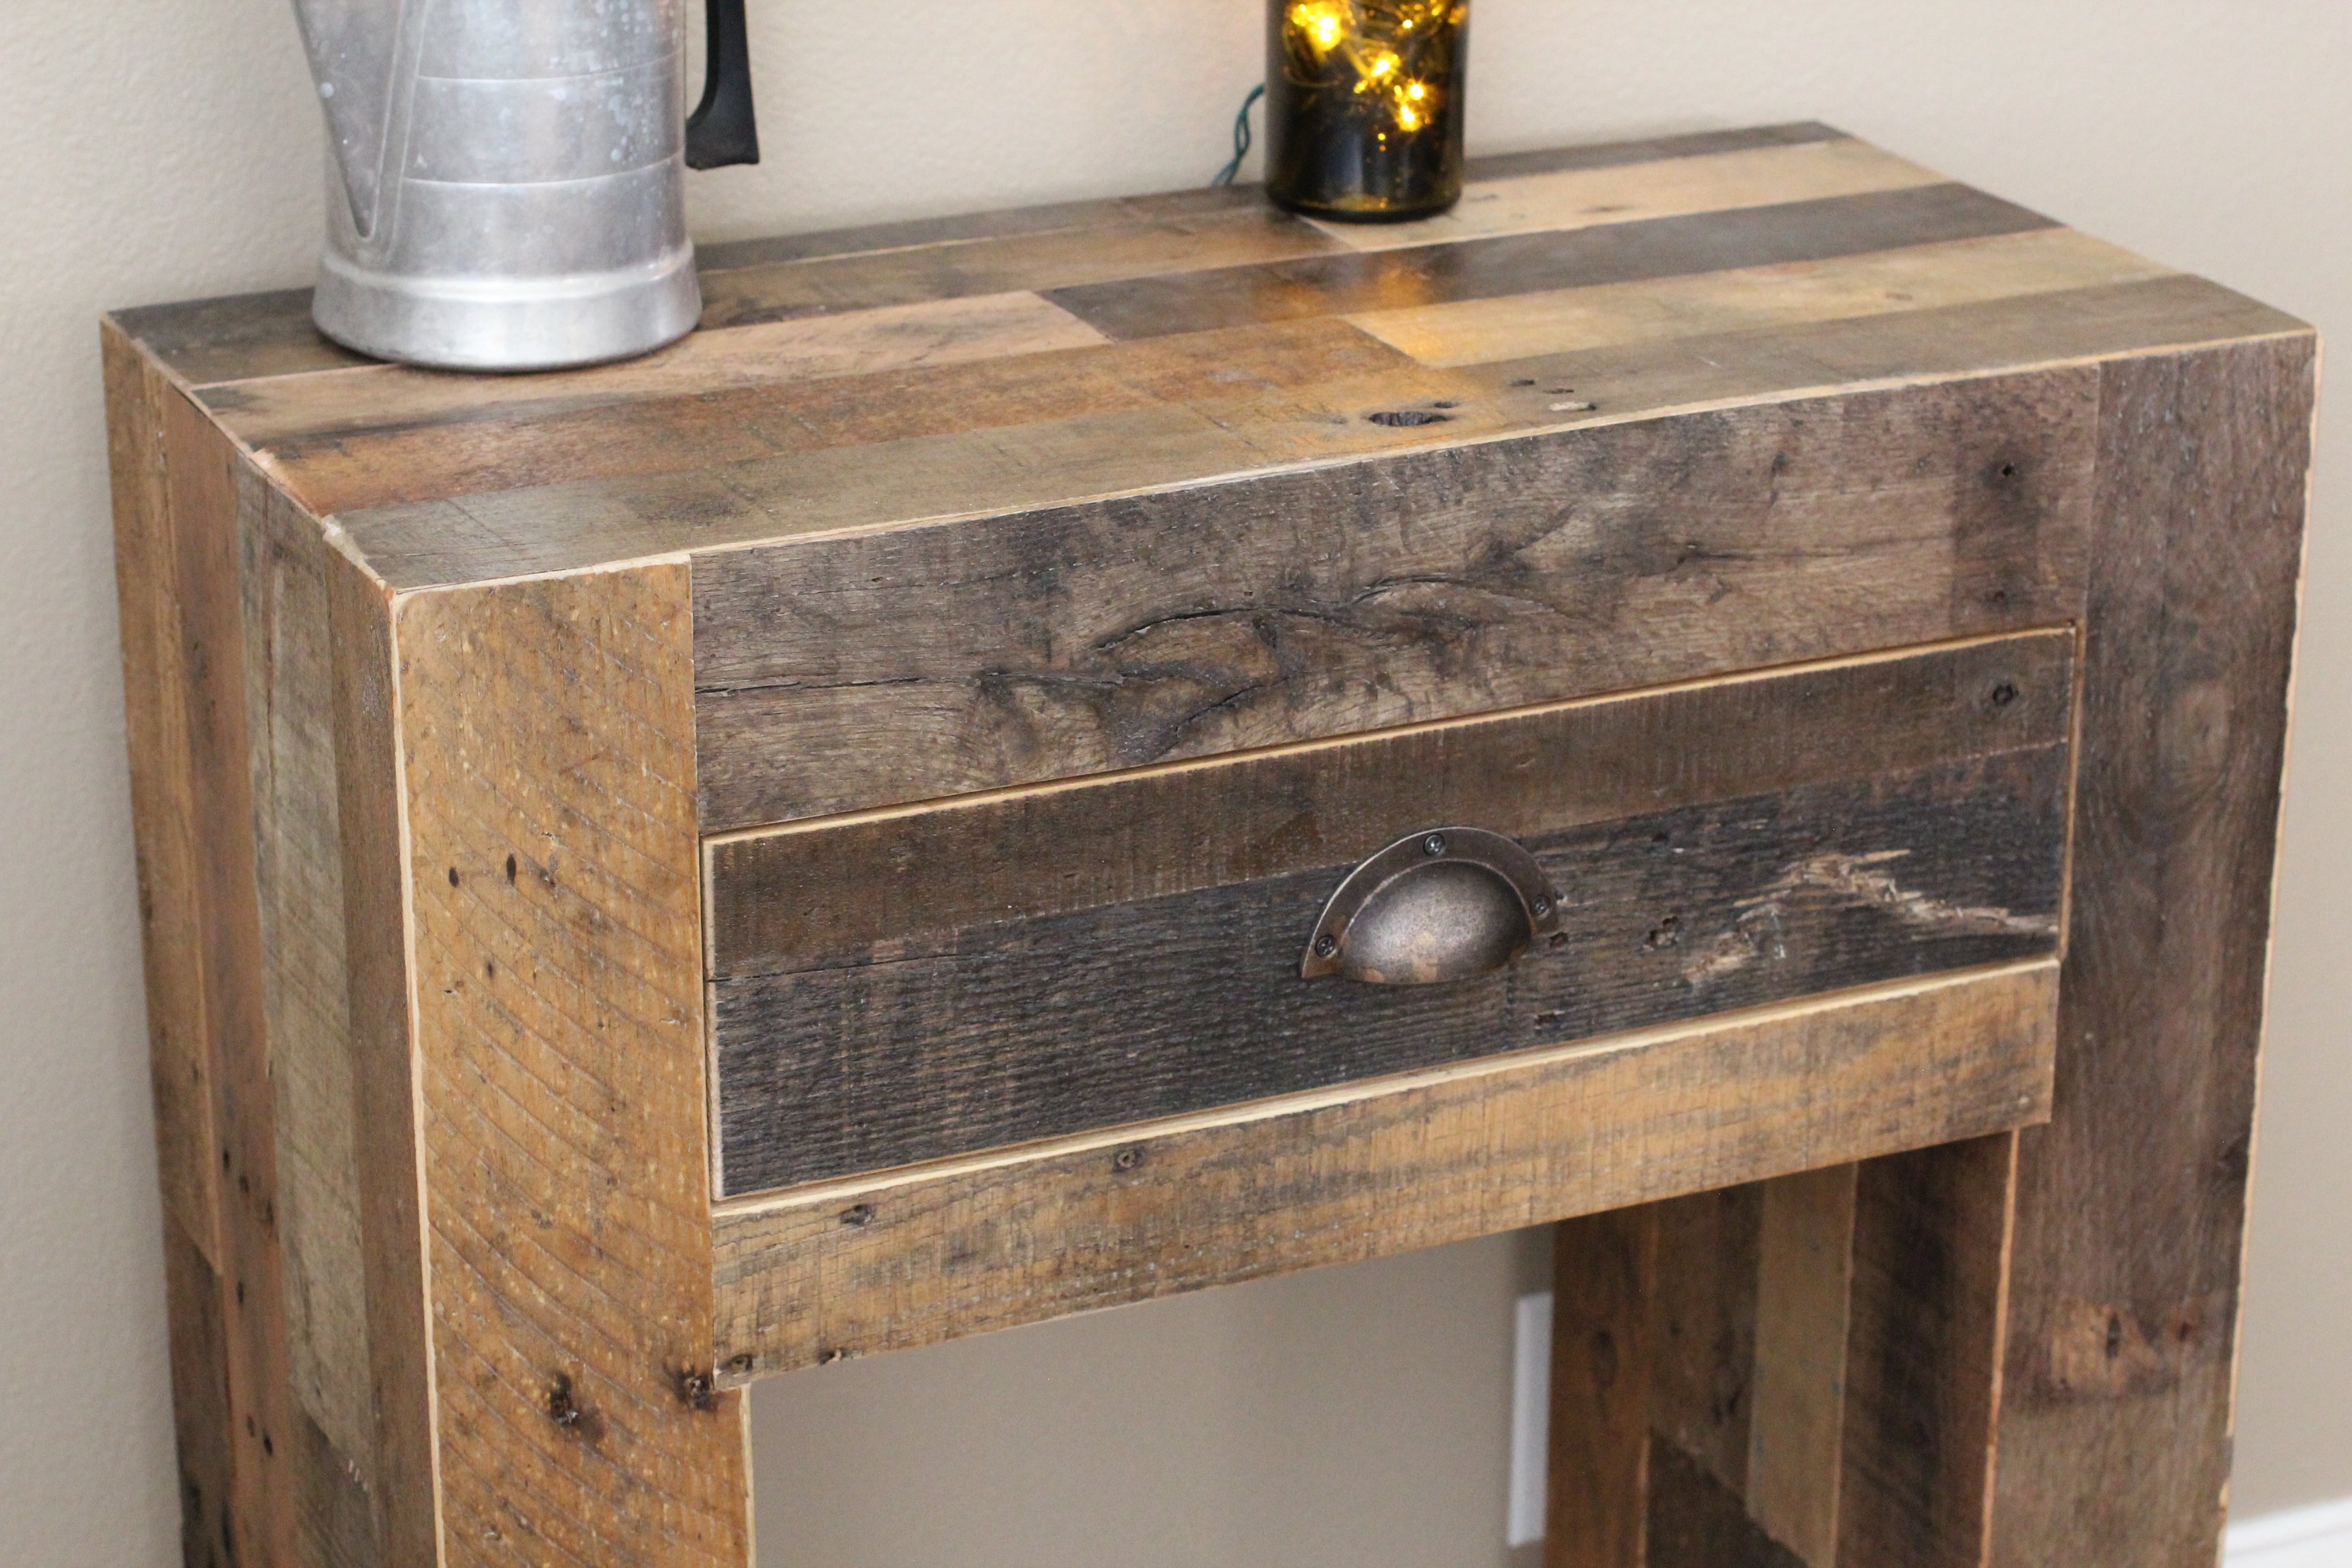
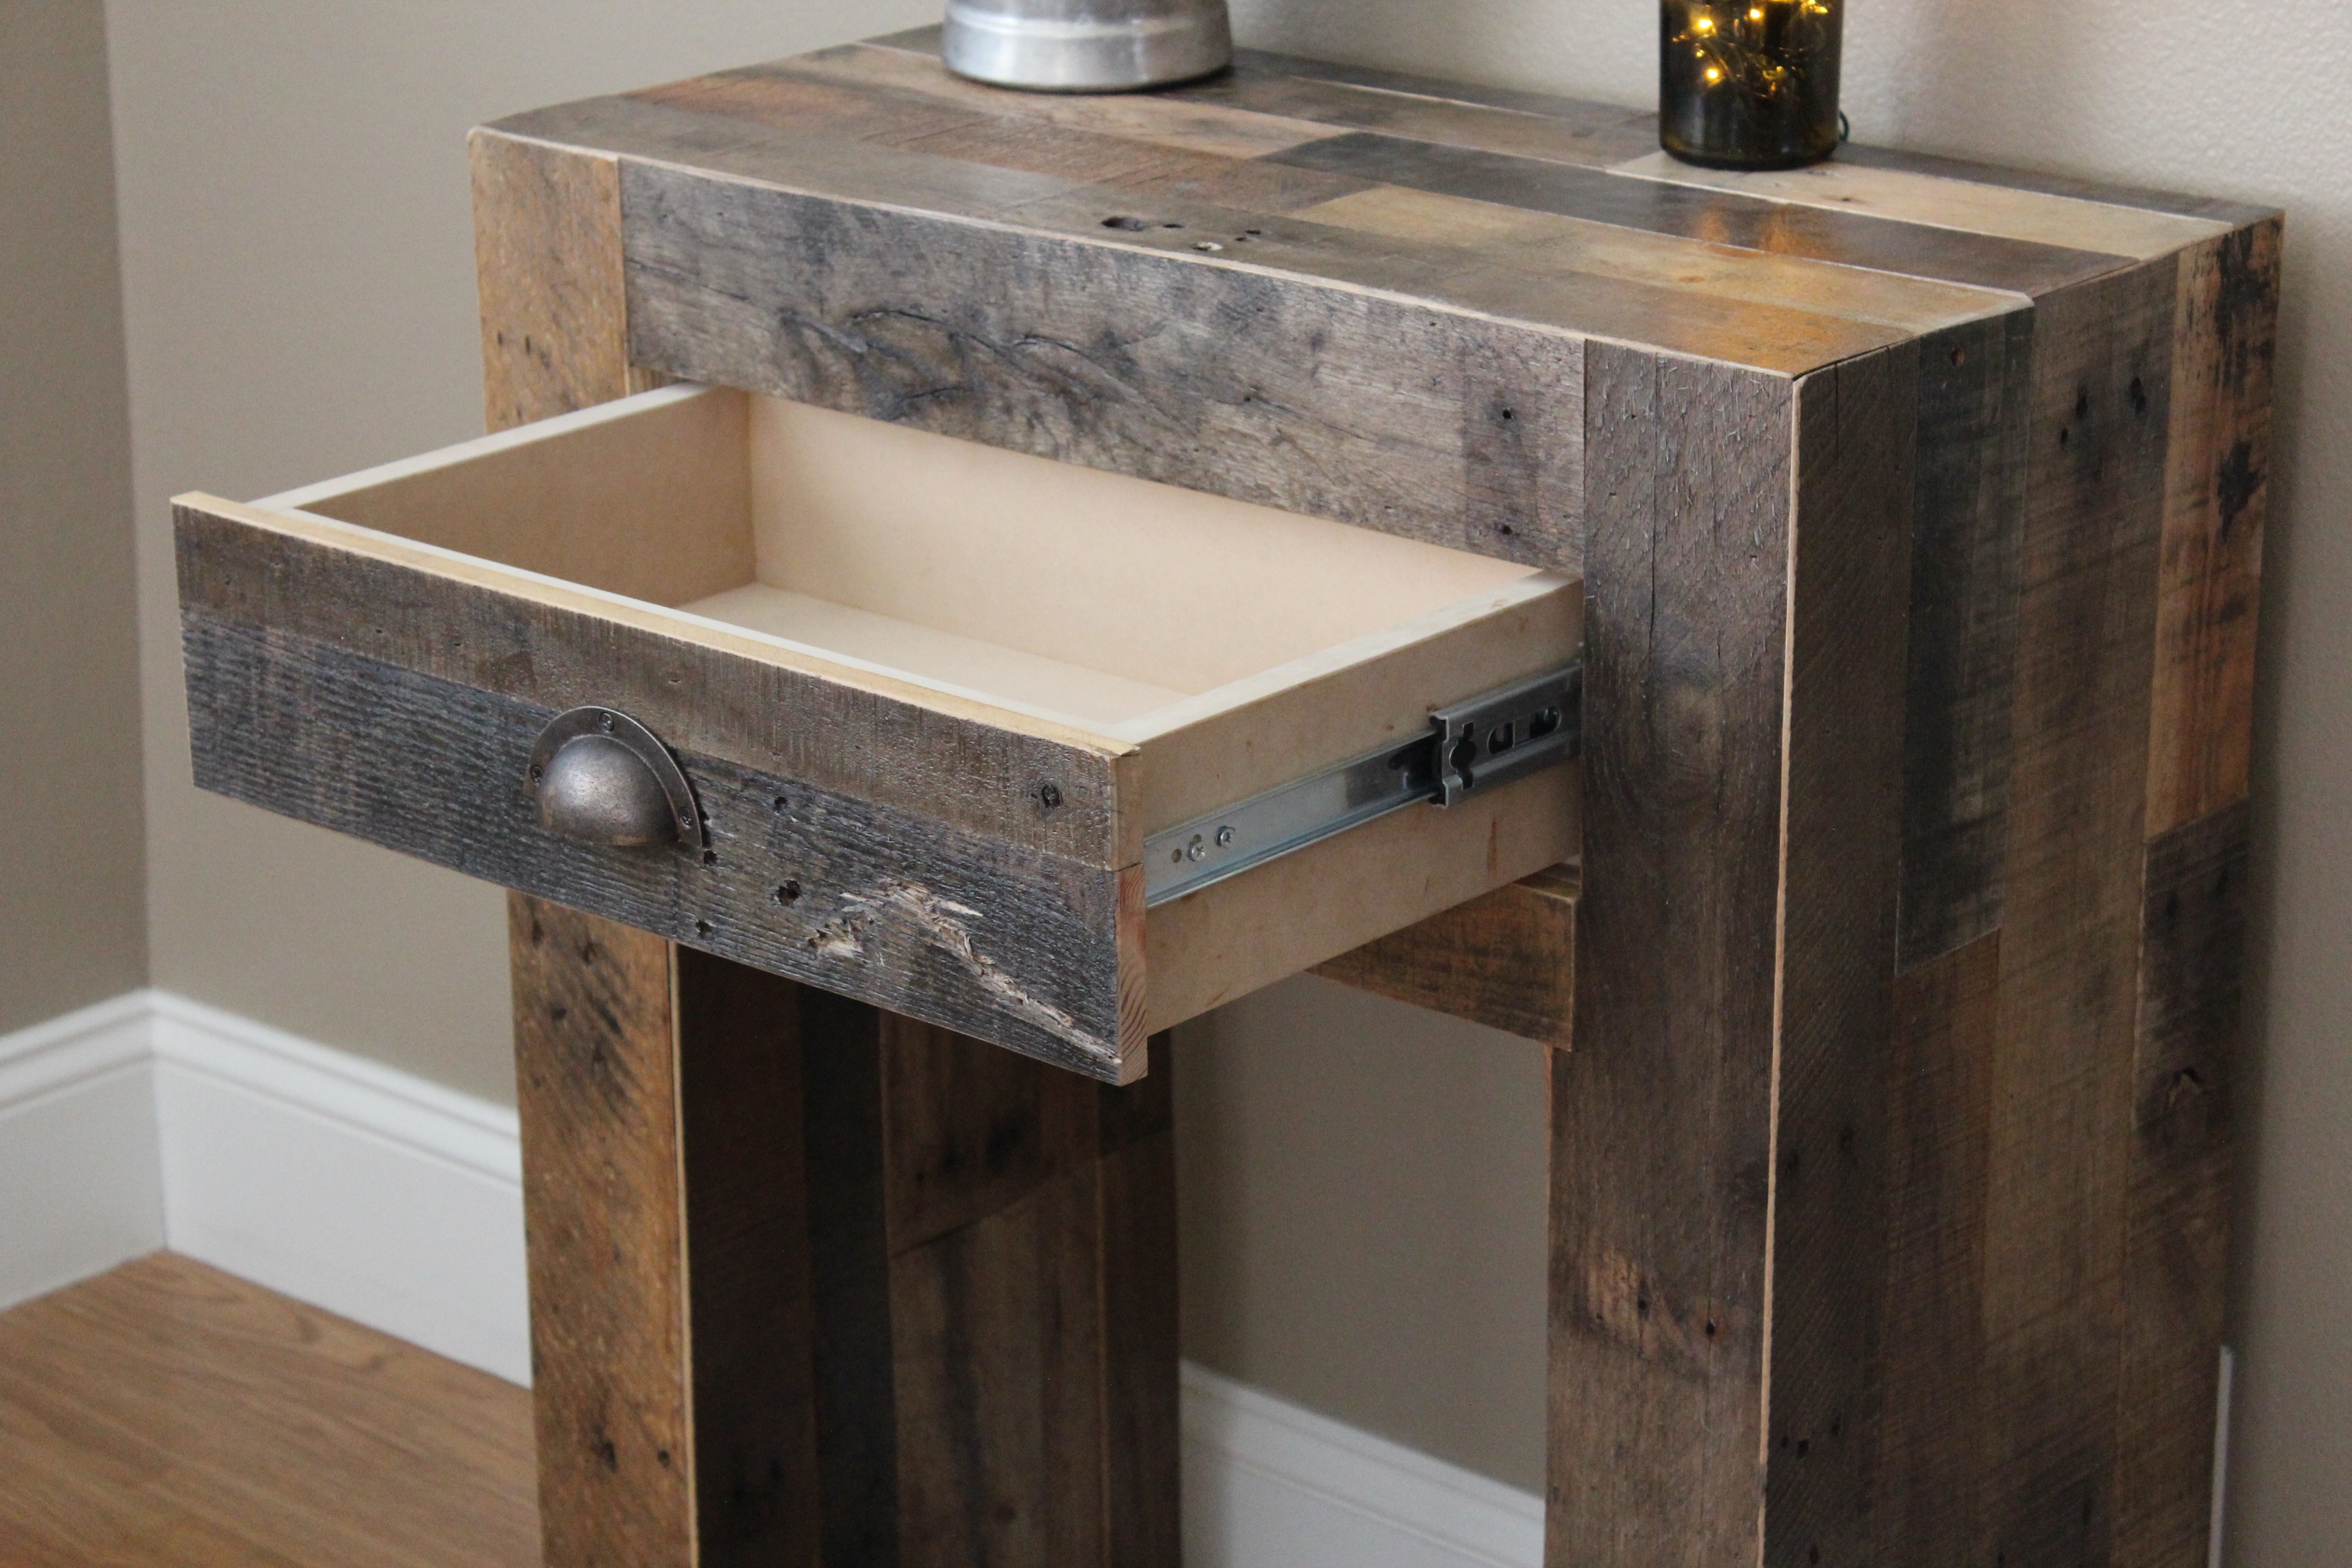
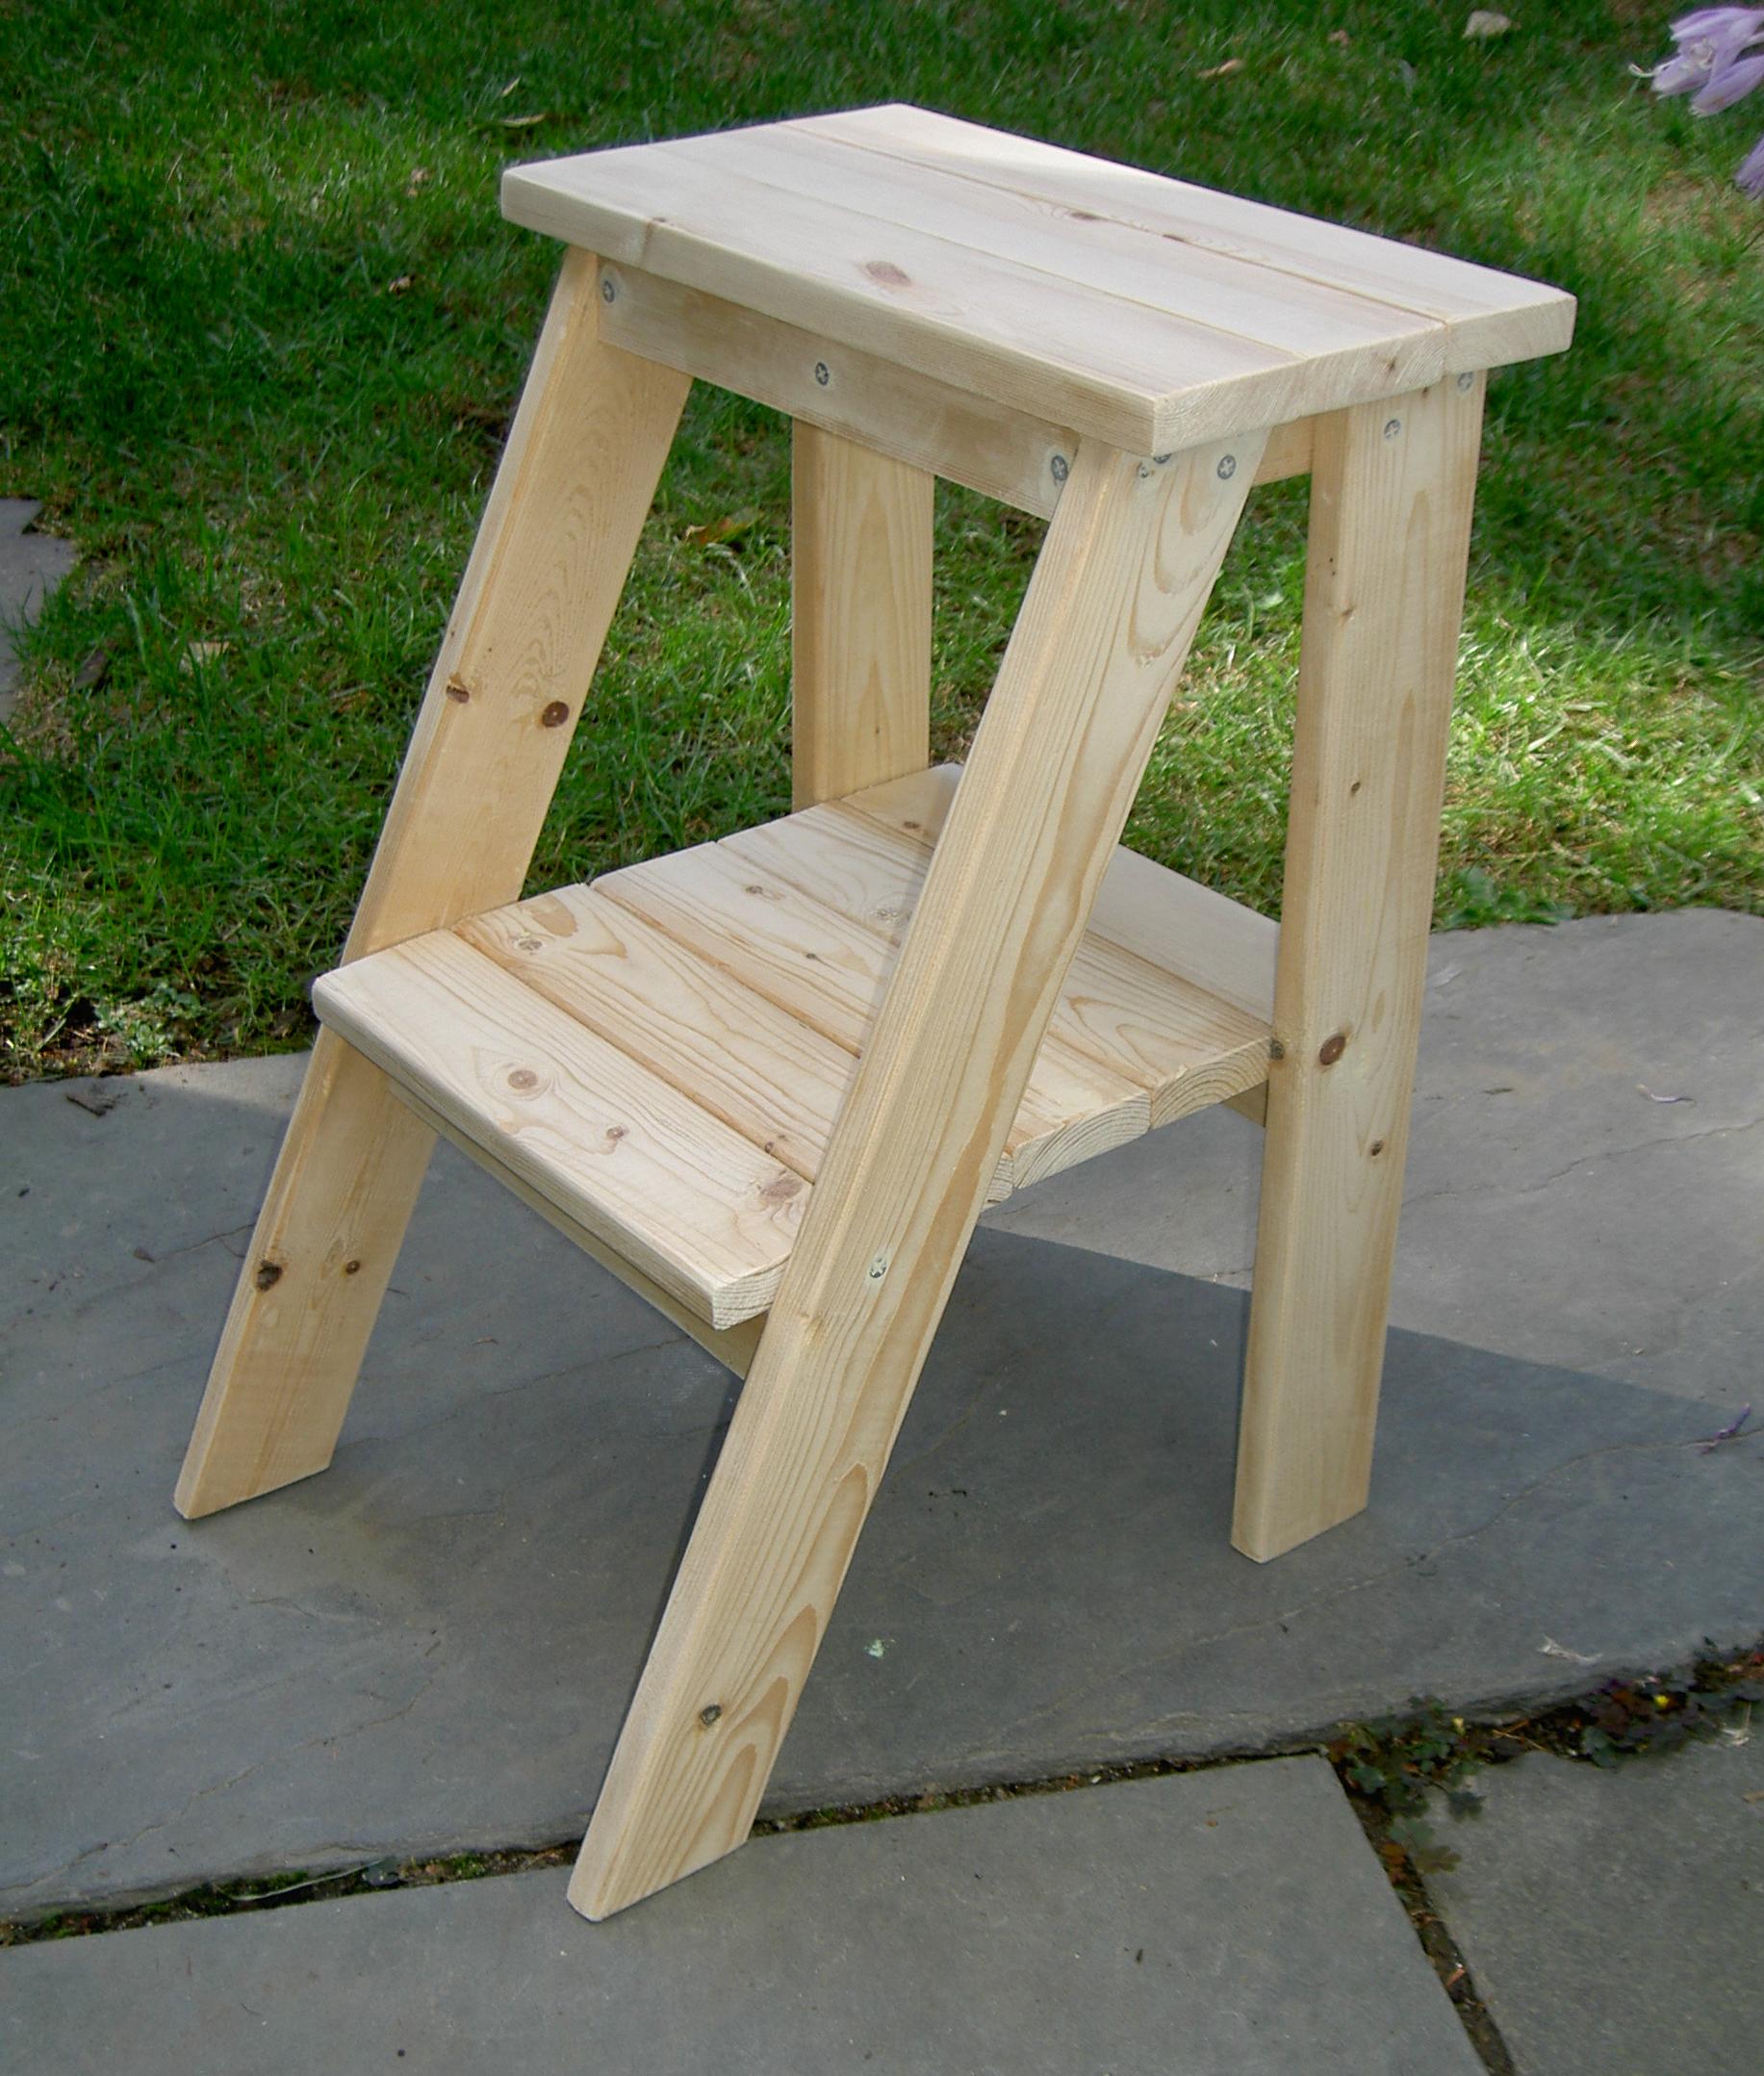
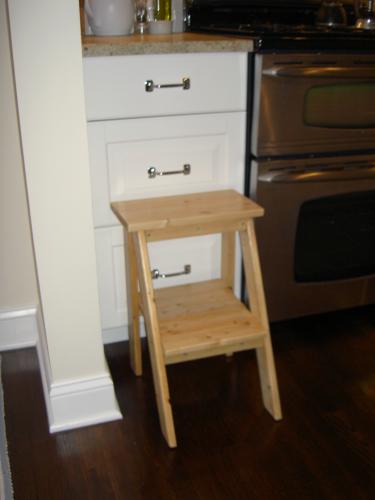
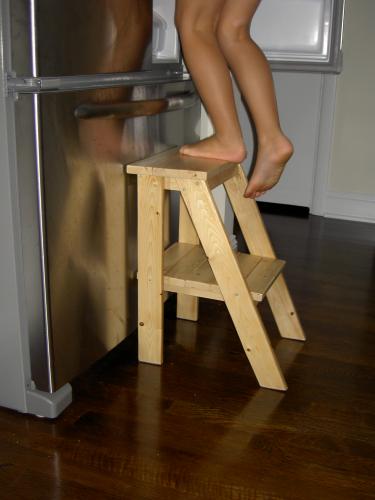
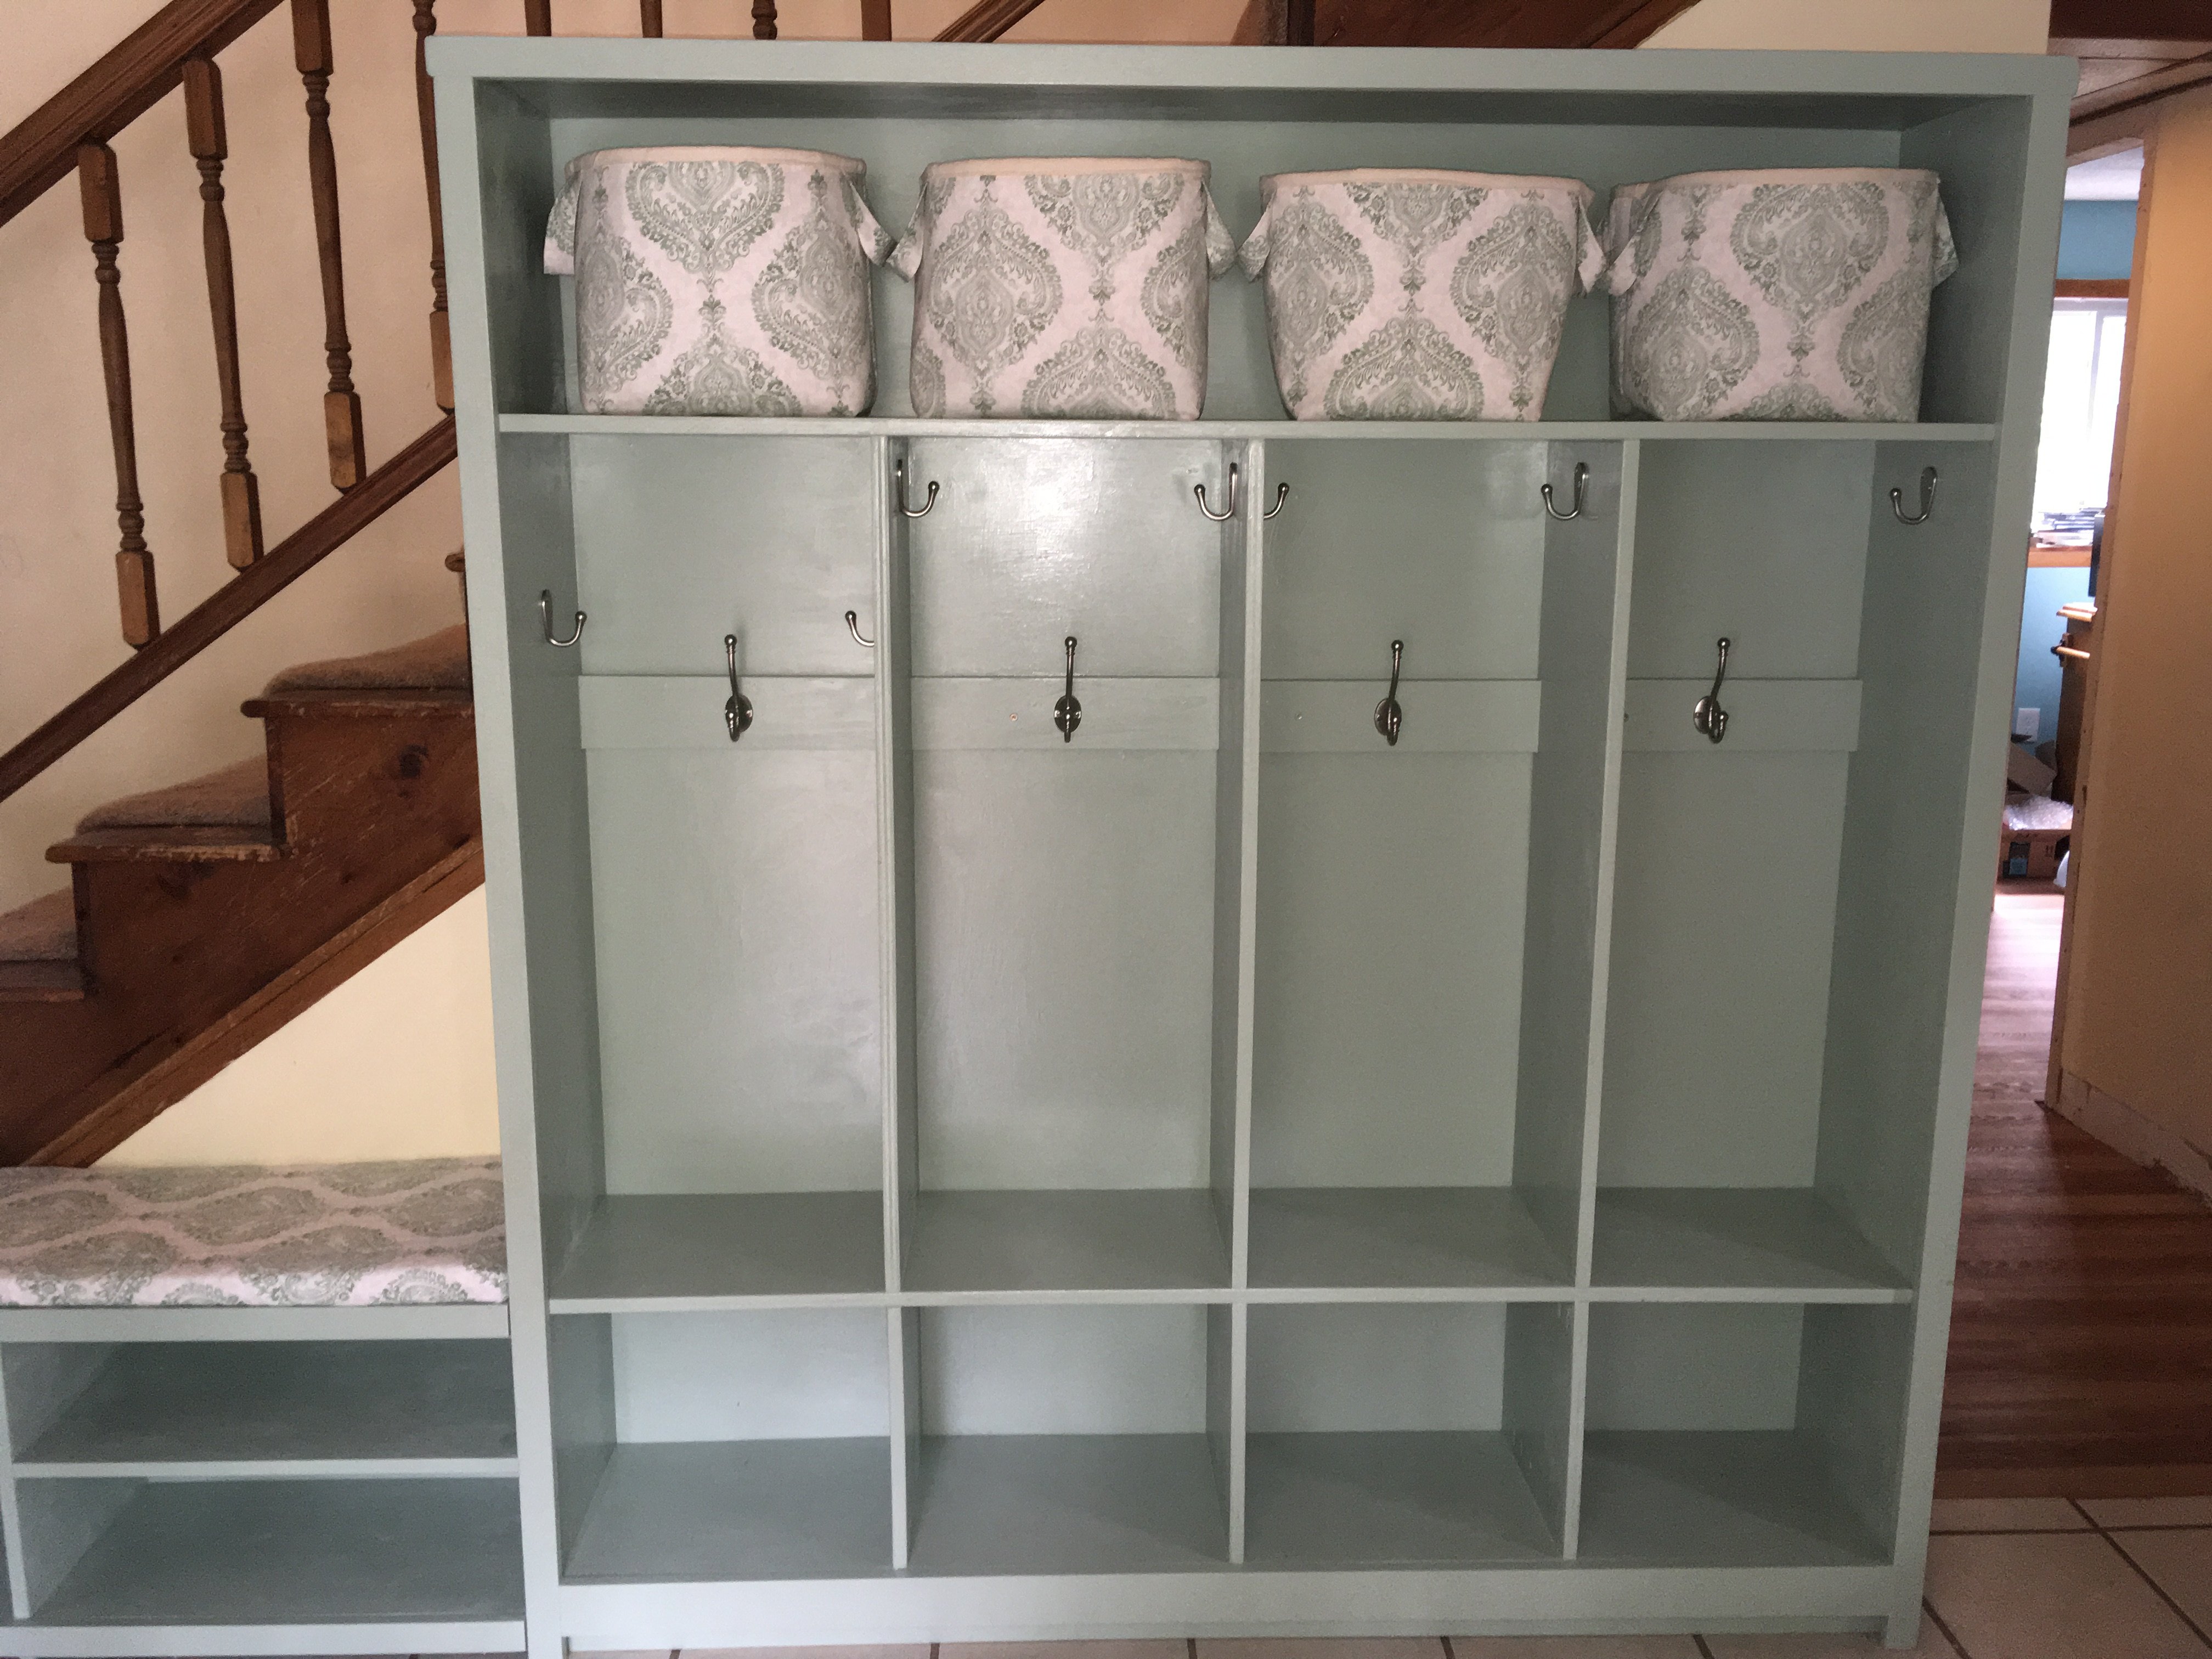
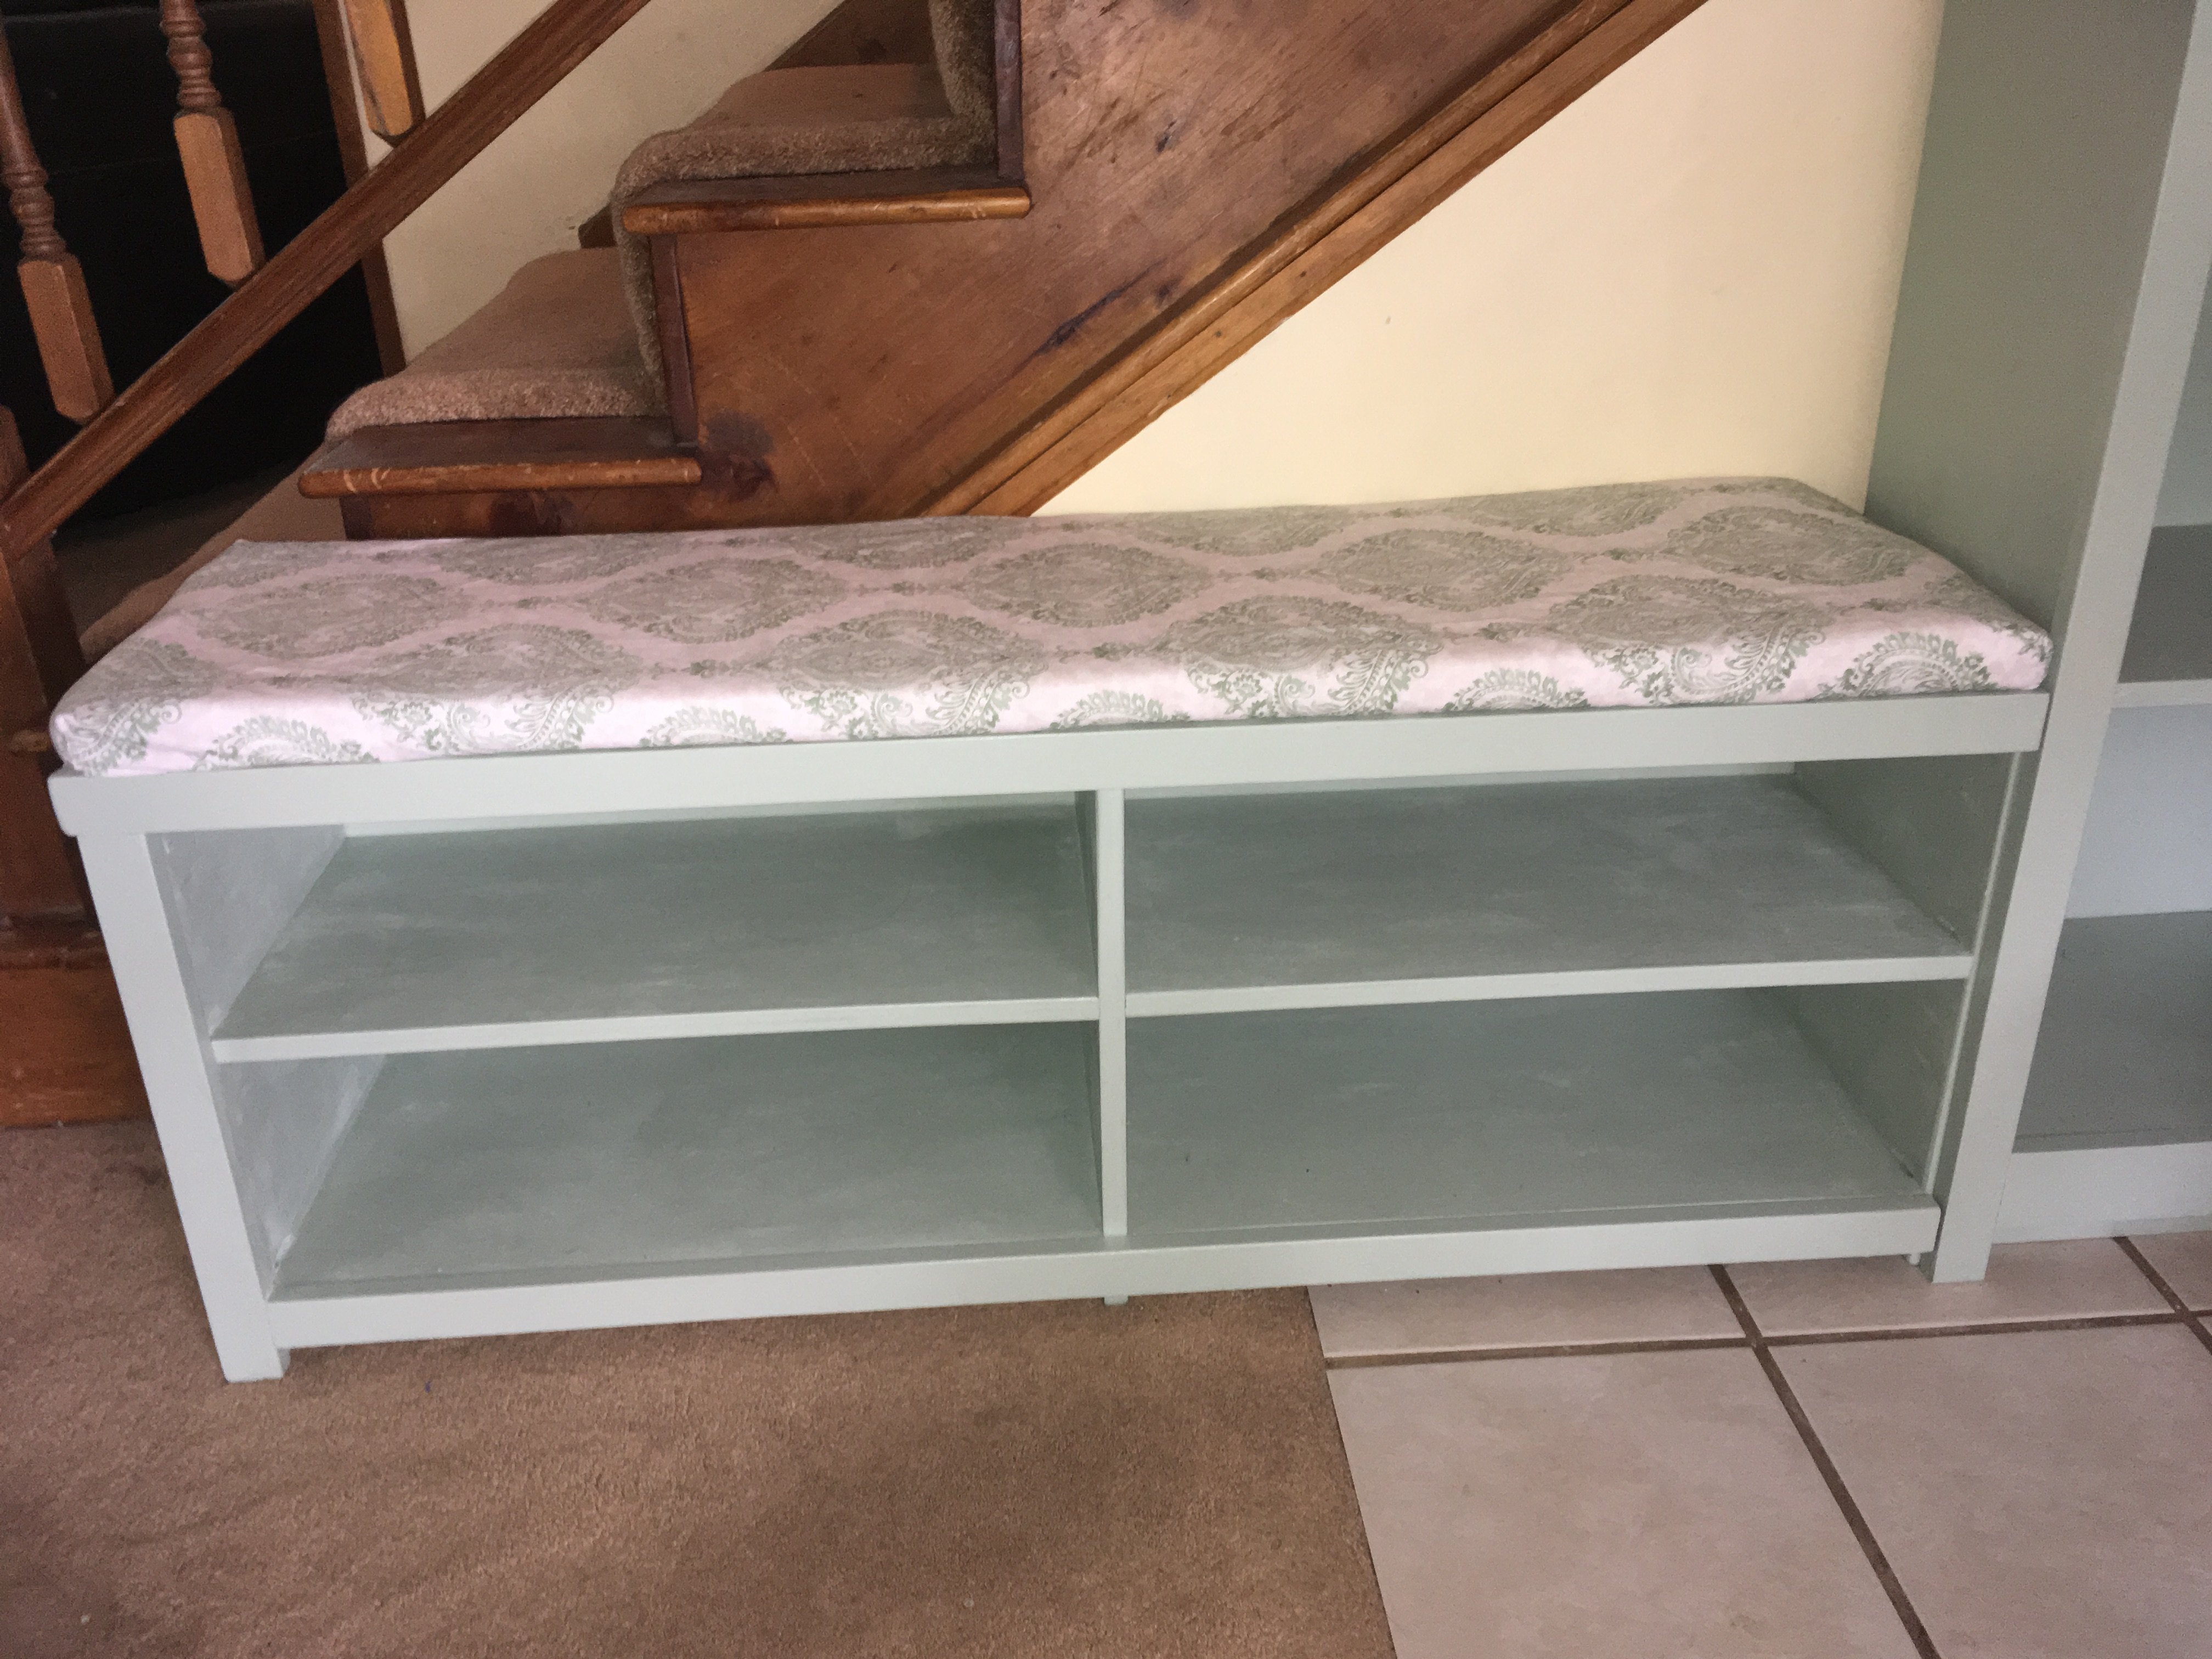
Danielle's Painter's Ladder Shelf
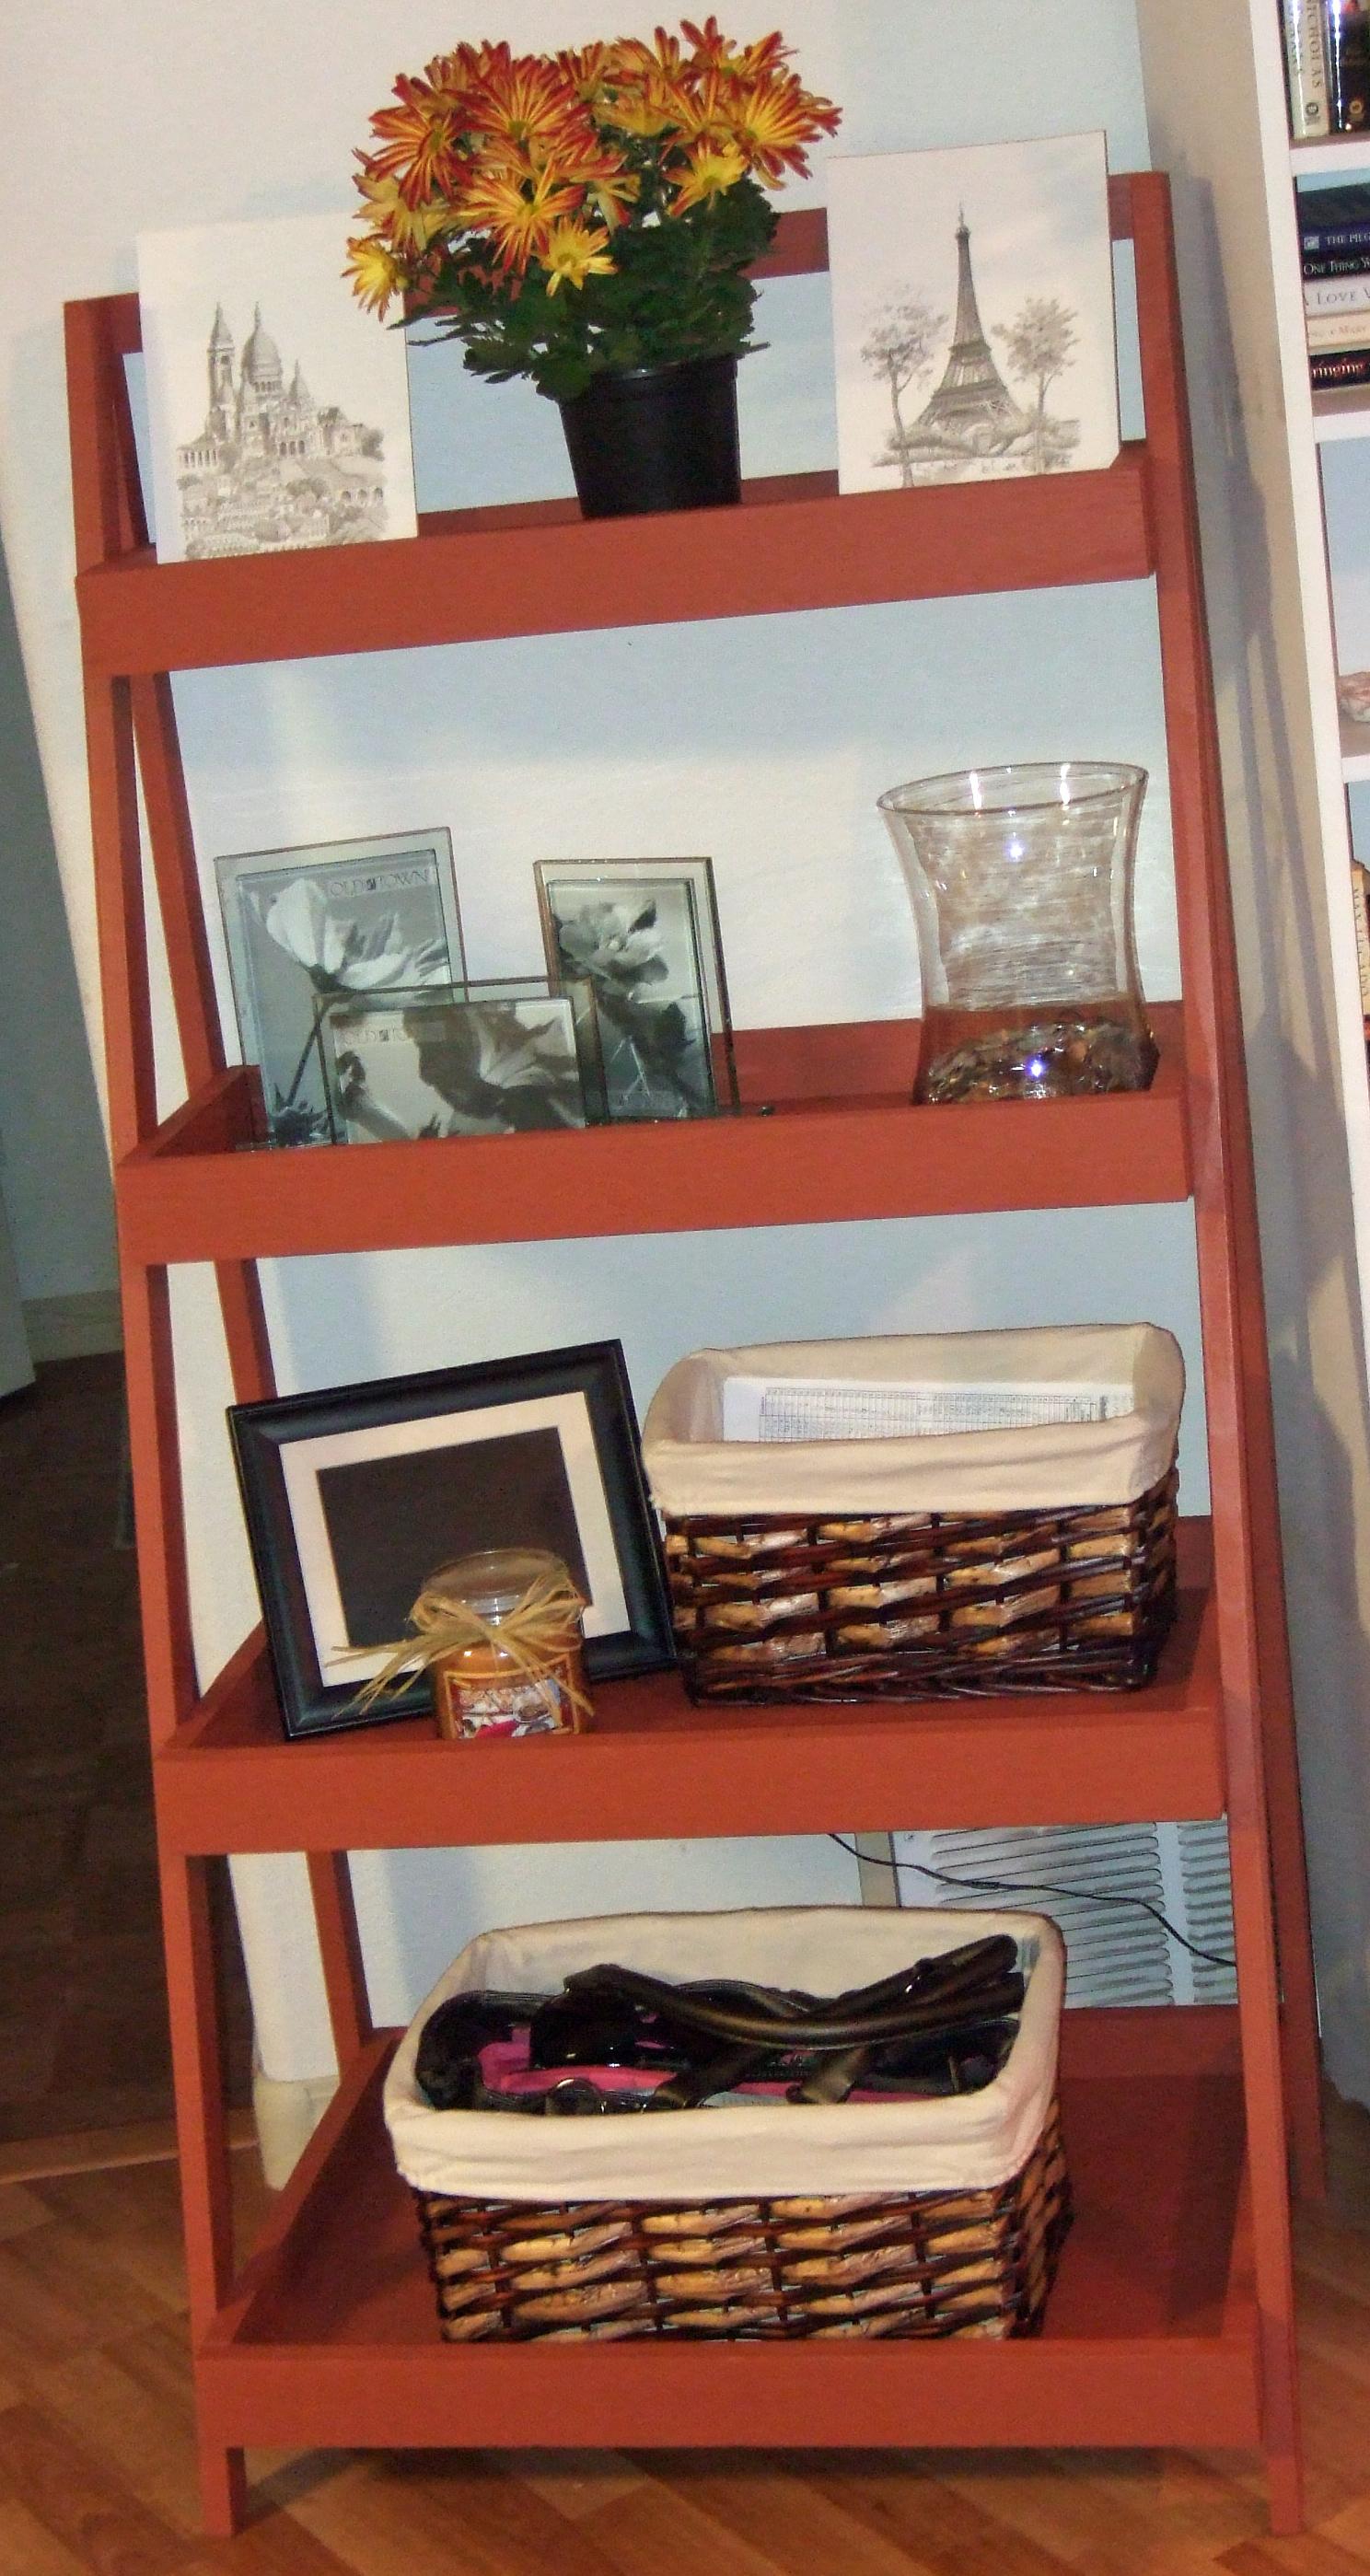
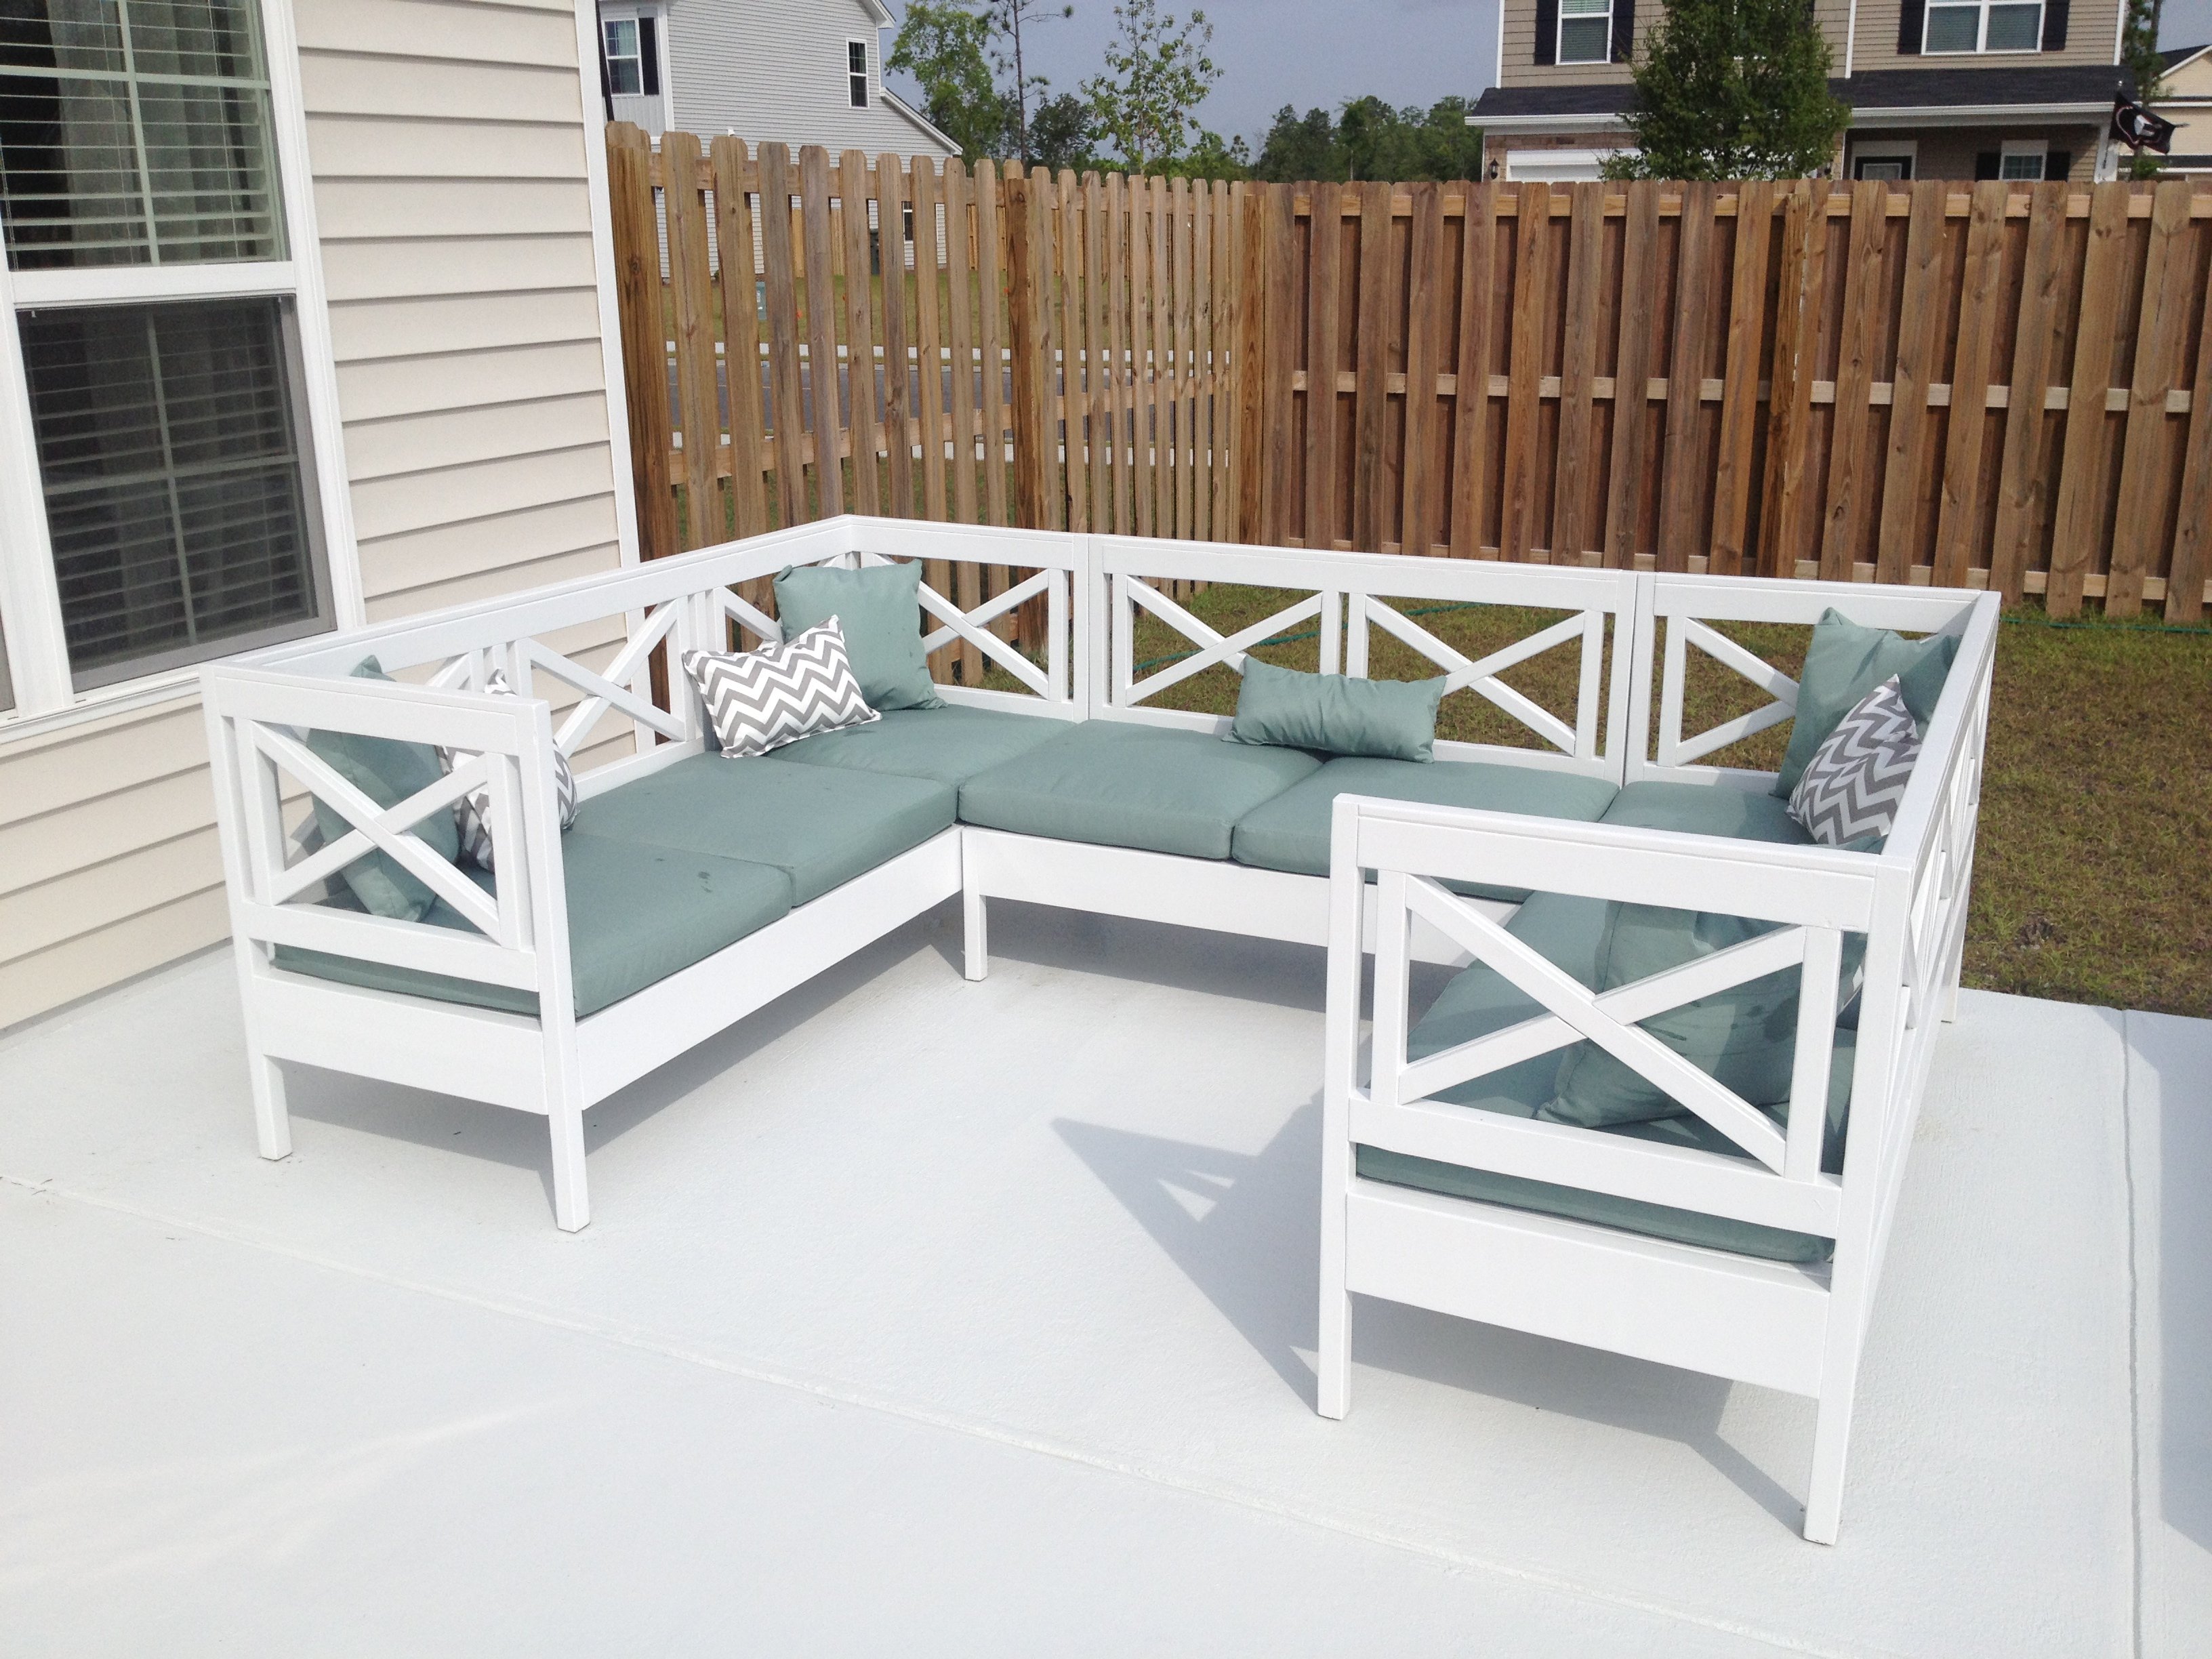
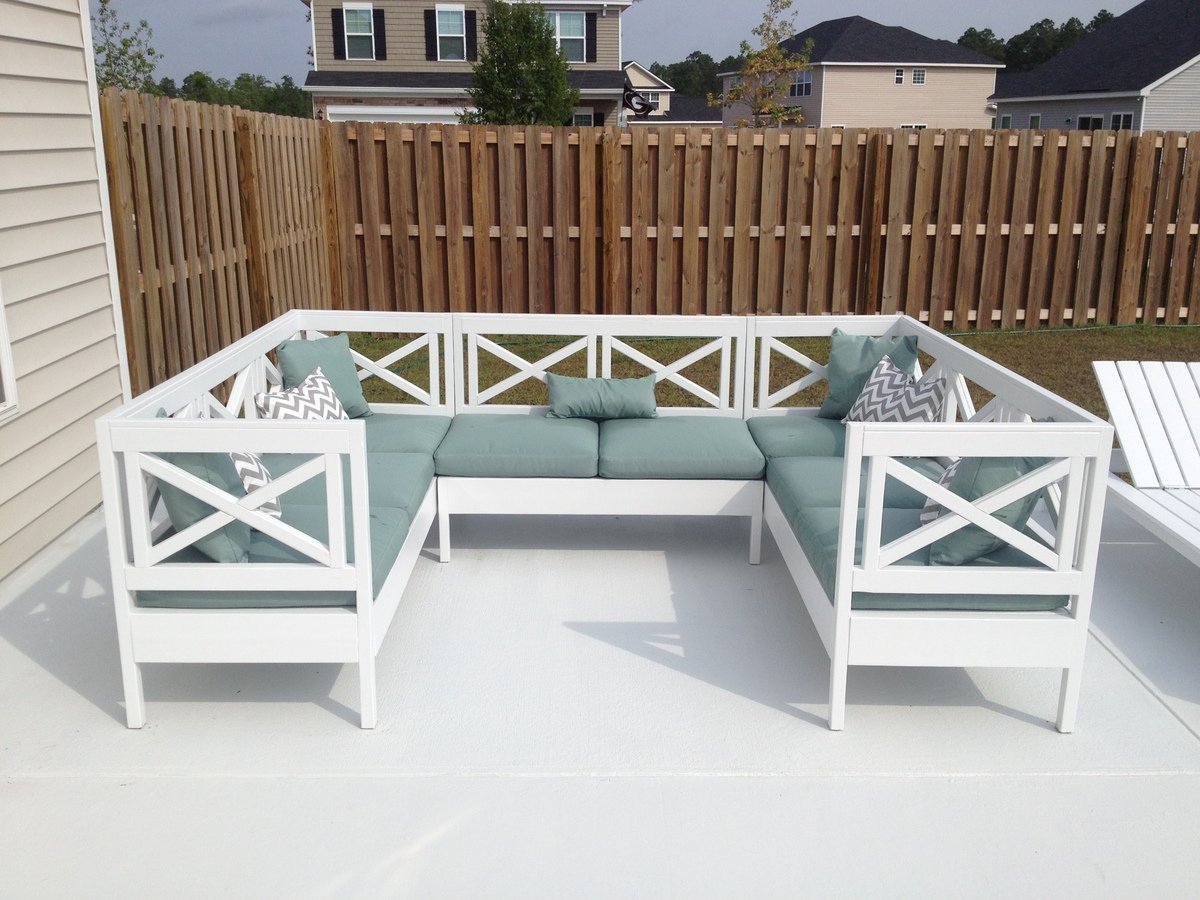
This was the first good-sized project I built by myself. I finished it more than 4 months ago and it still makes me smile every time I look at it. :-) A simple, functional and BEAUTIFUL shelf that will work anywhere and for anyone! I was so impatient for it to be finished I didn't put poly or any clear coat on it and I'm still in love!
Built from Plan(s)
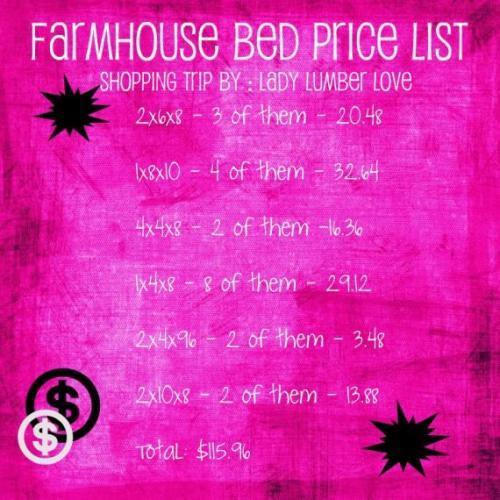
Estimated Cost
About $30
Estimated Time Investment
Afternoon Project (3-6 Hours)
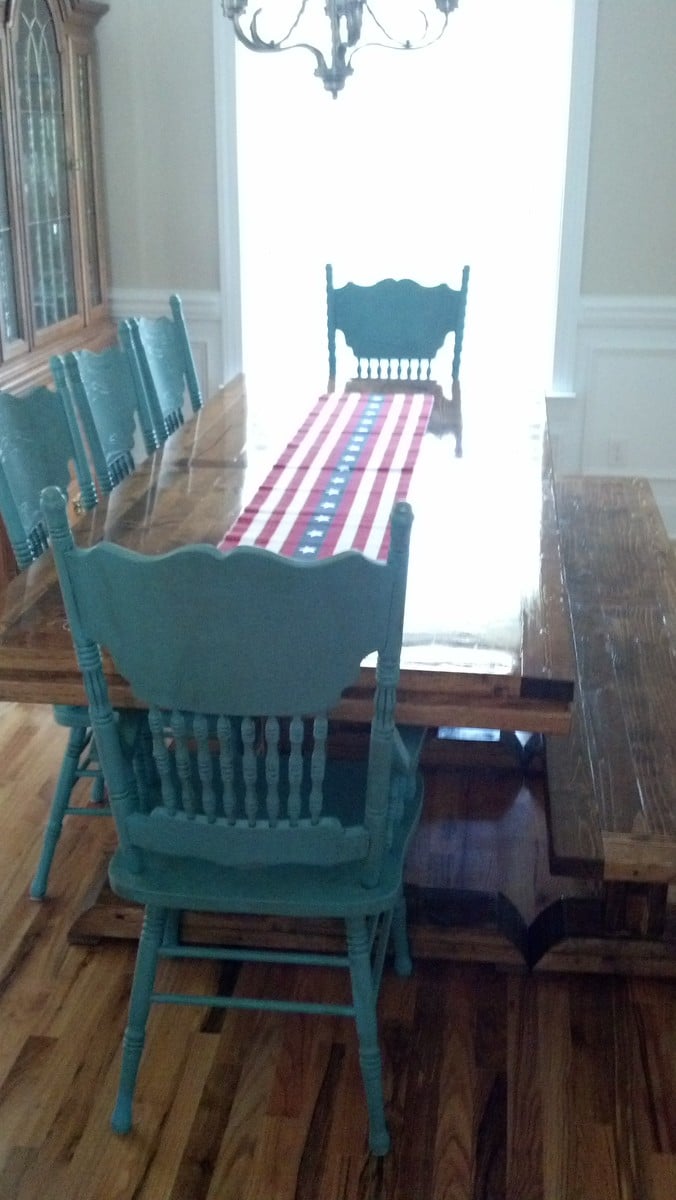
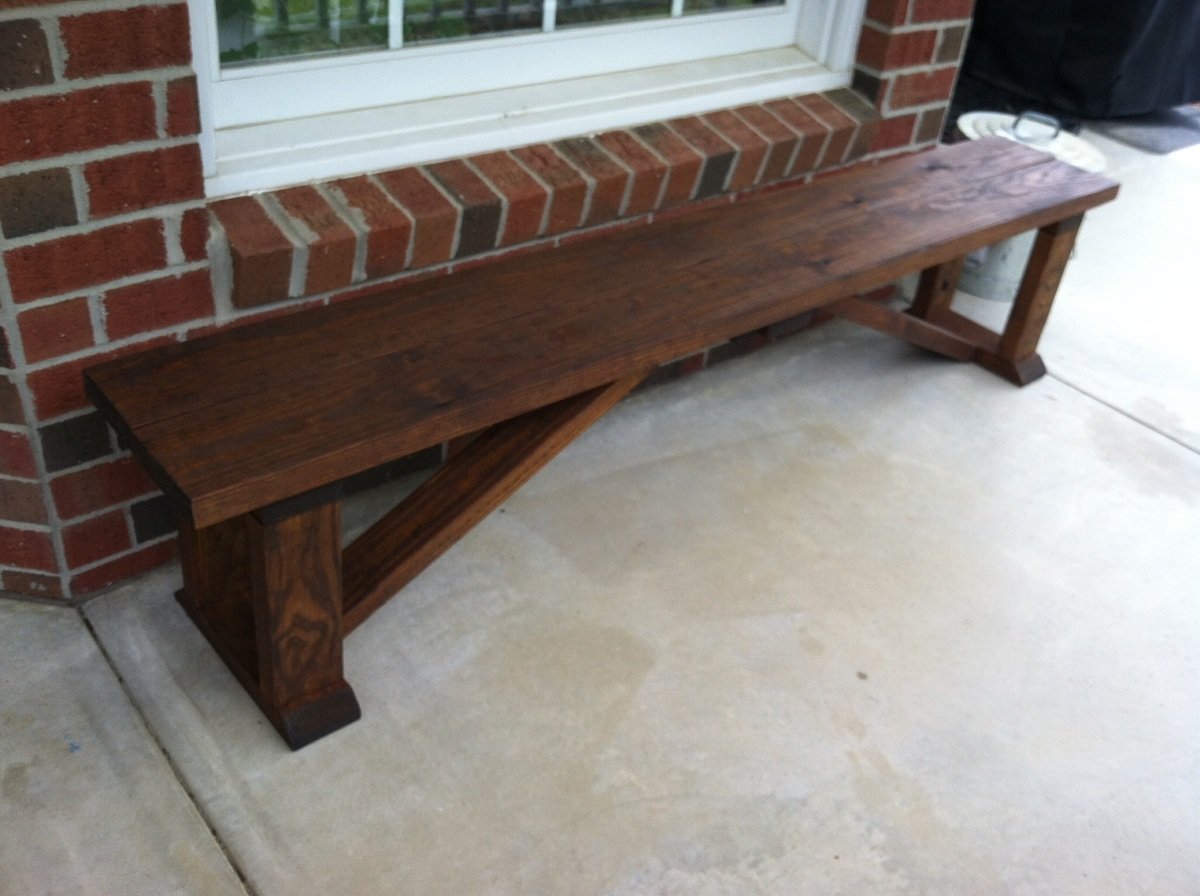
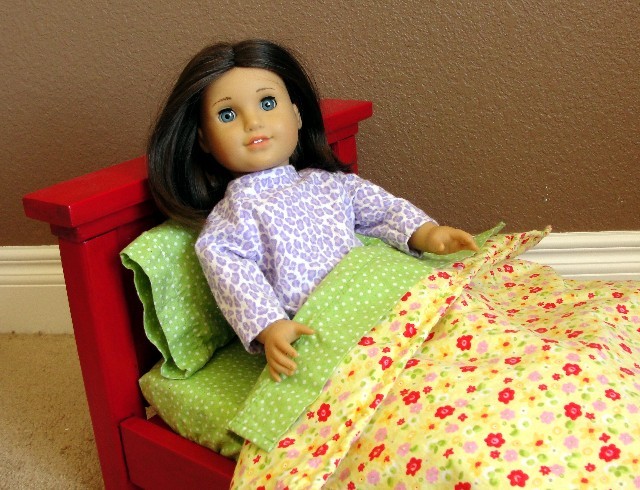
Finish Used
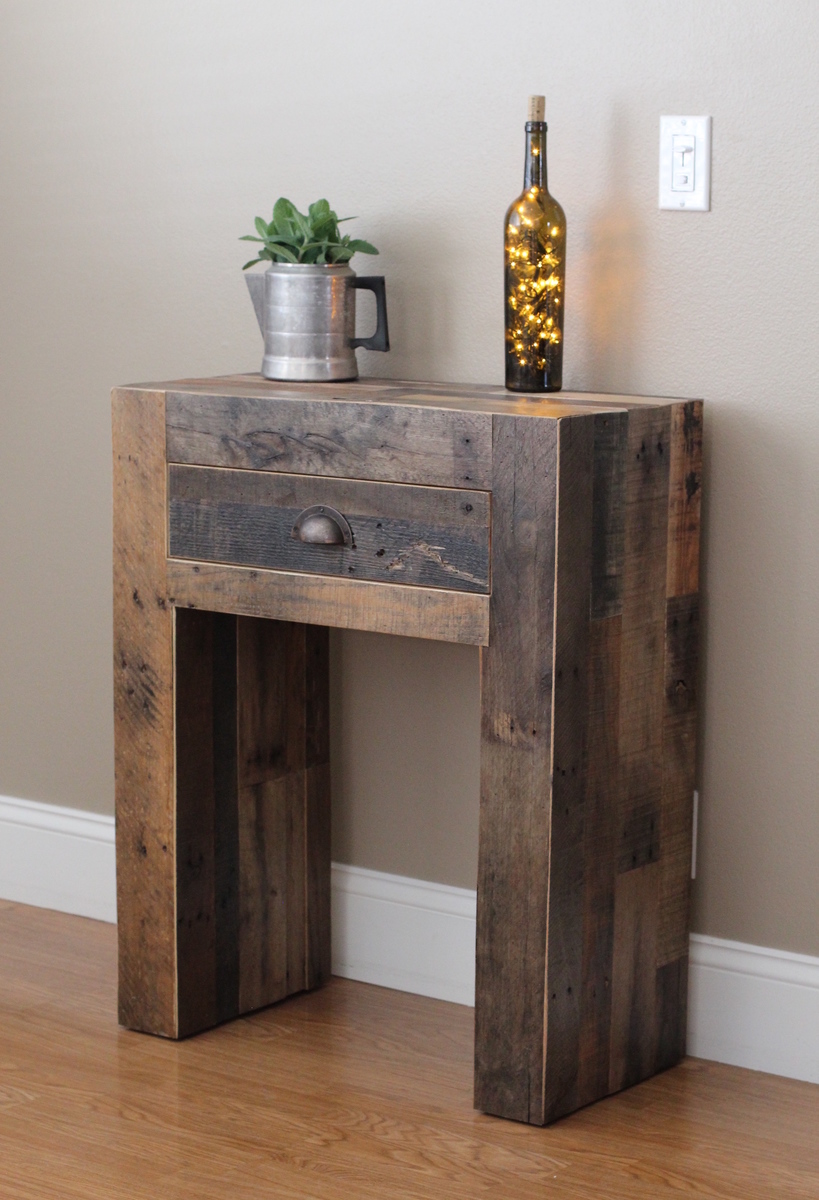
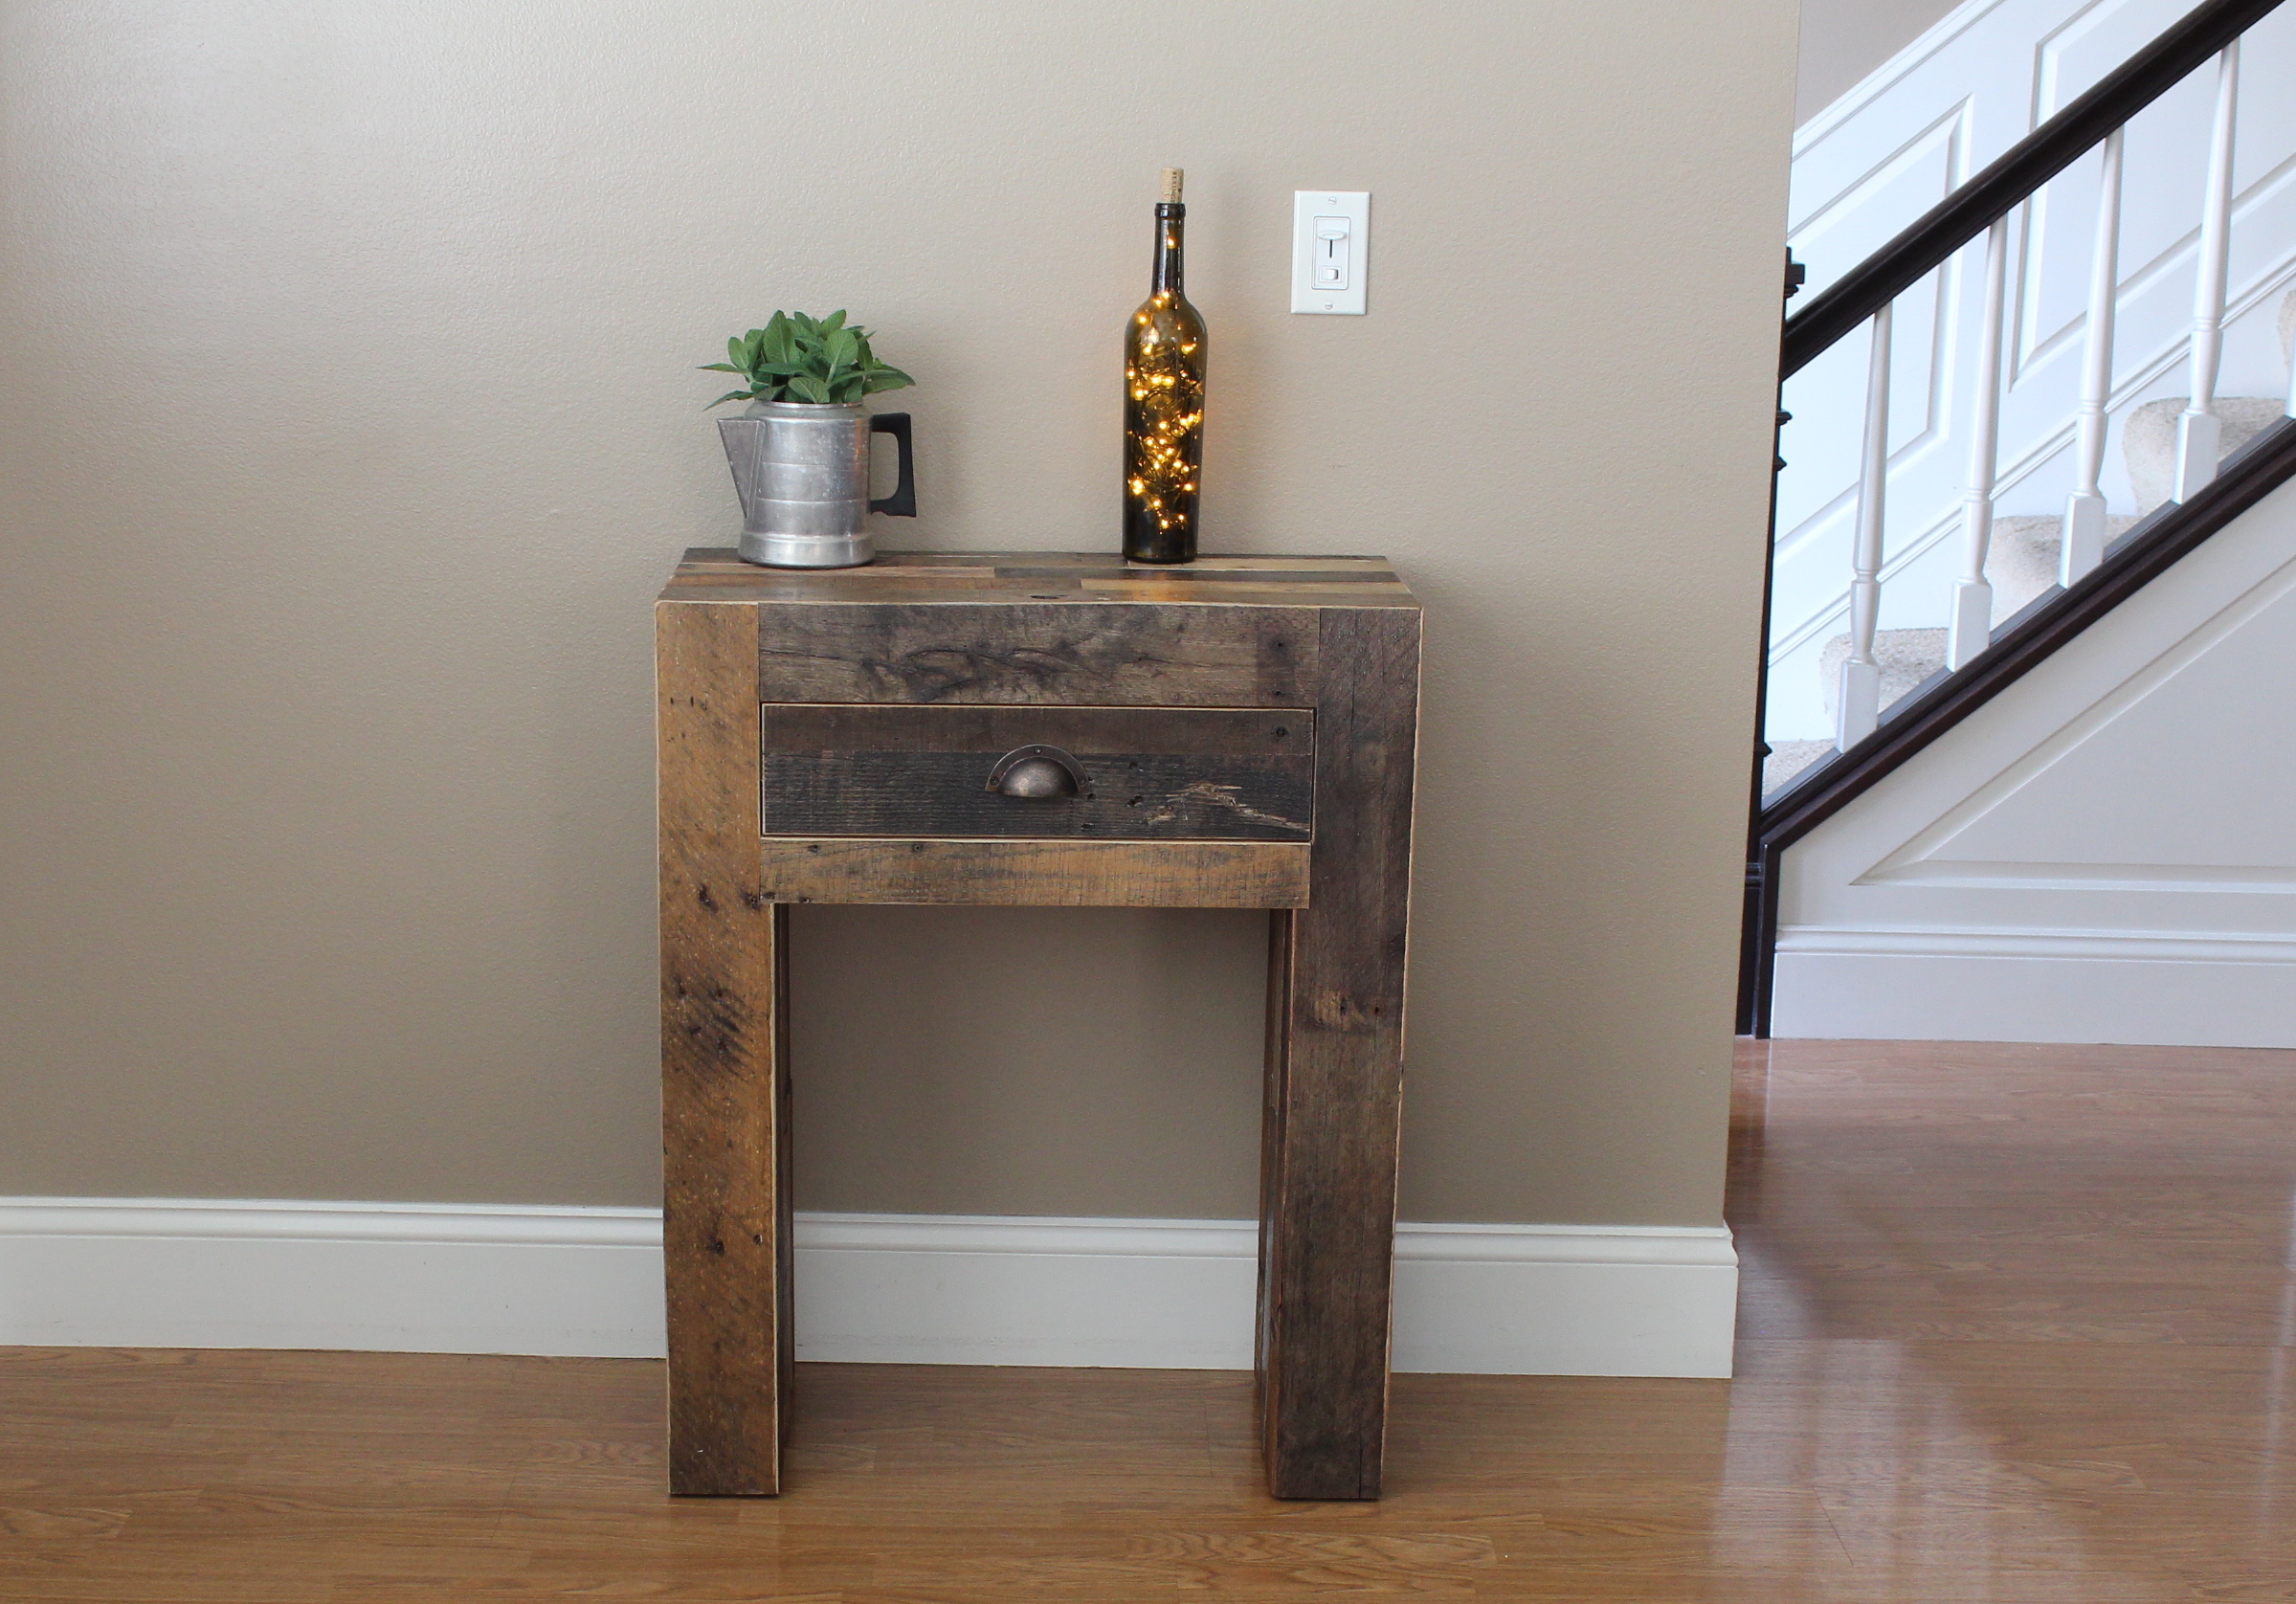
Sherwin Williams 'Sierra Redwood'
(The grain in the wood shows through just BEAUTIFULLY!)
(The grain in the wood shows through just BEAUTIFULLY!)
Recommended Skill Level
Beginner