My Outdoor Sectional Couch
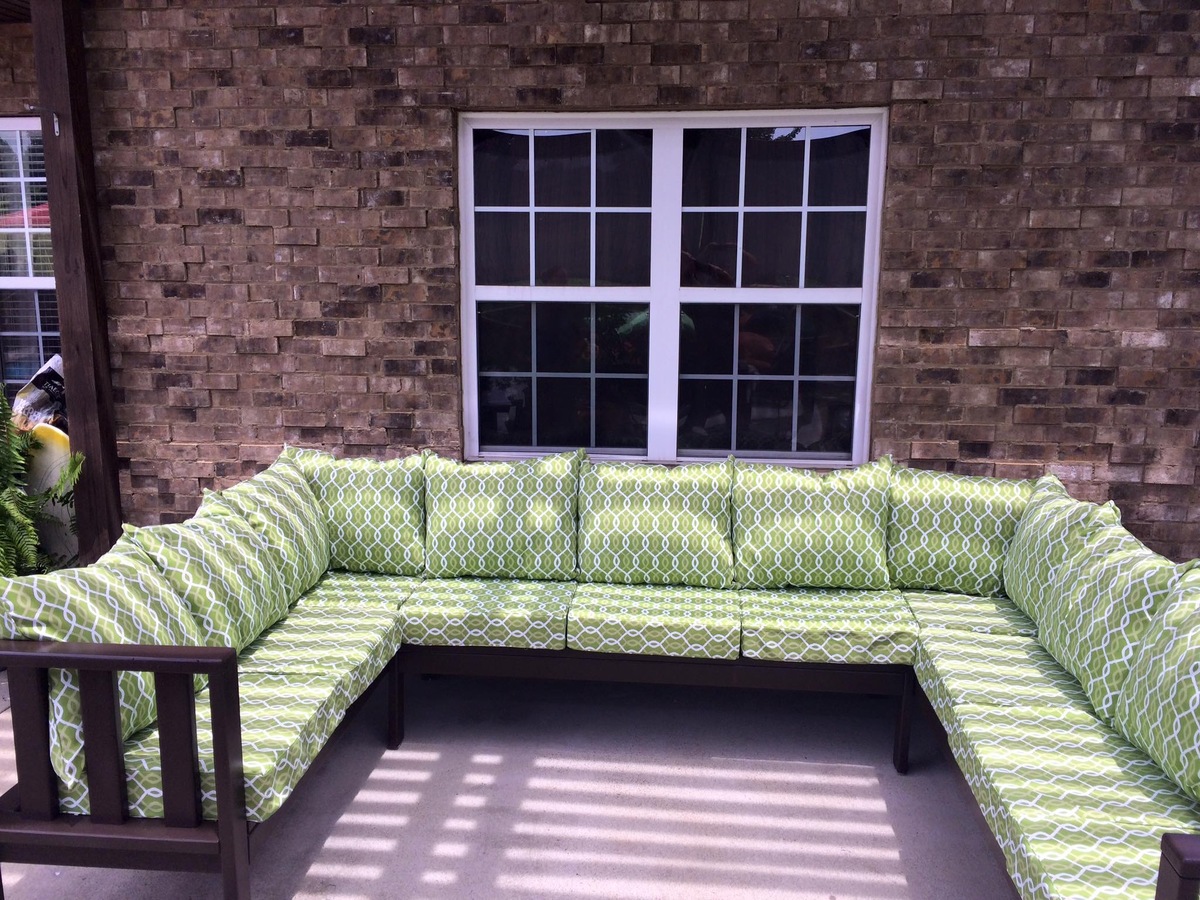
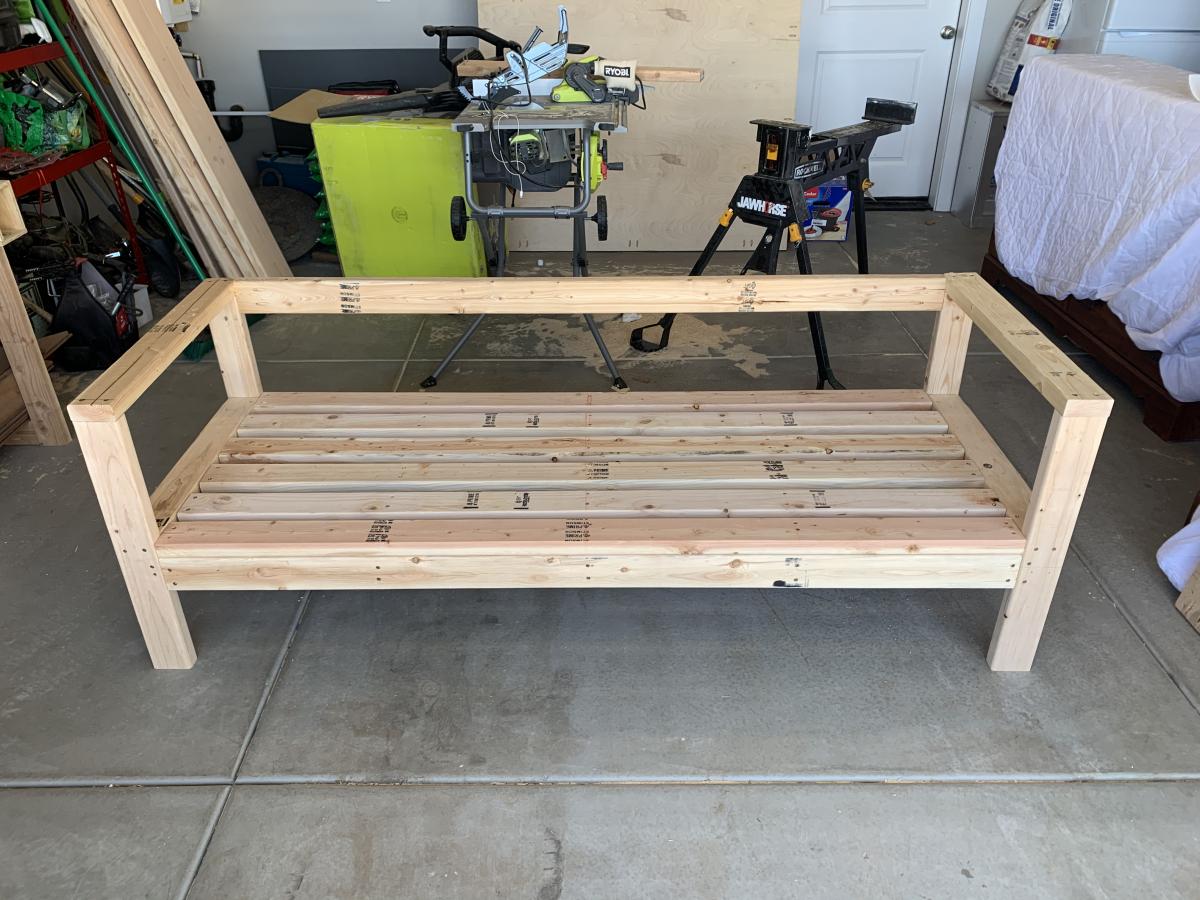
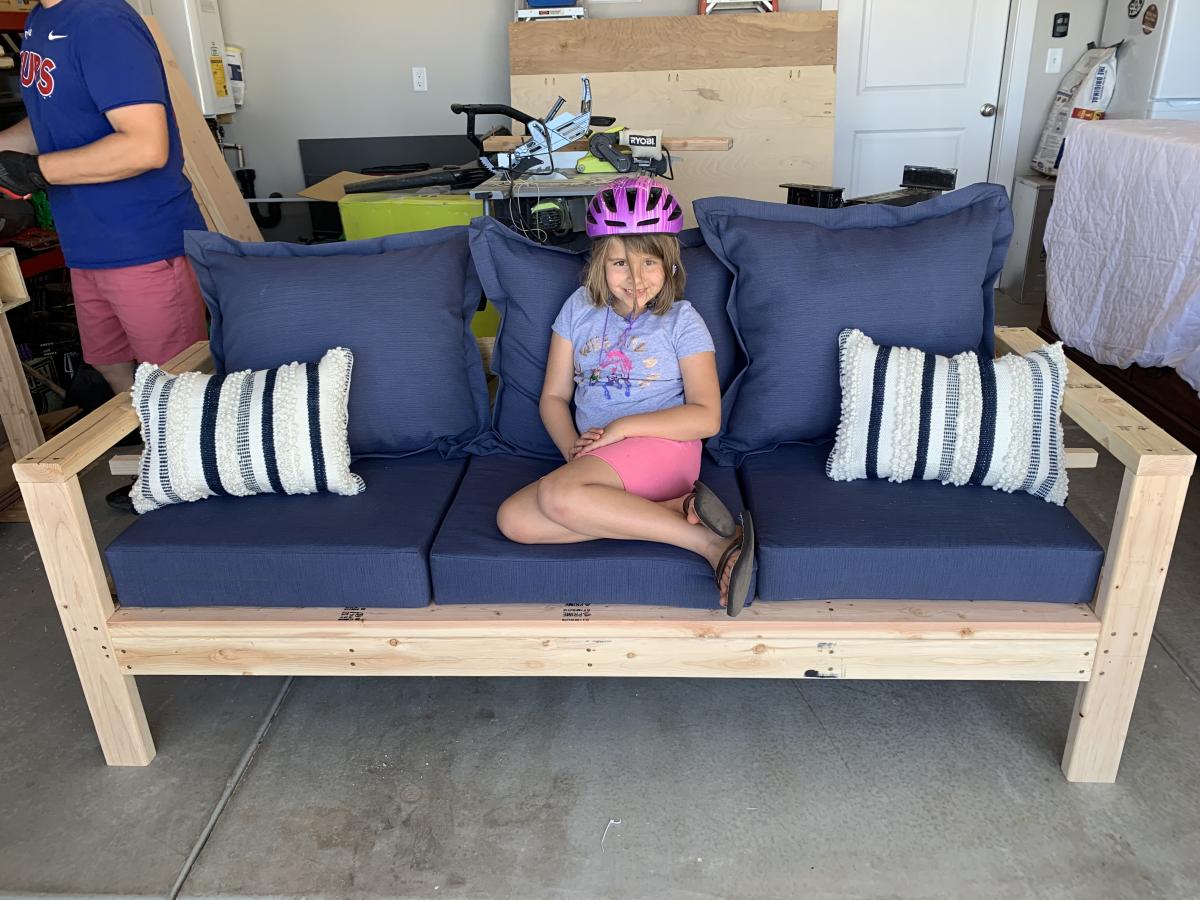
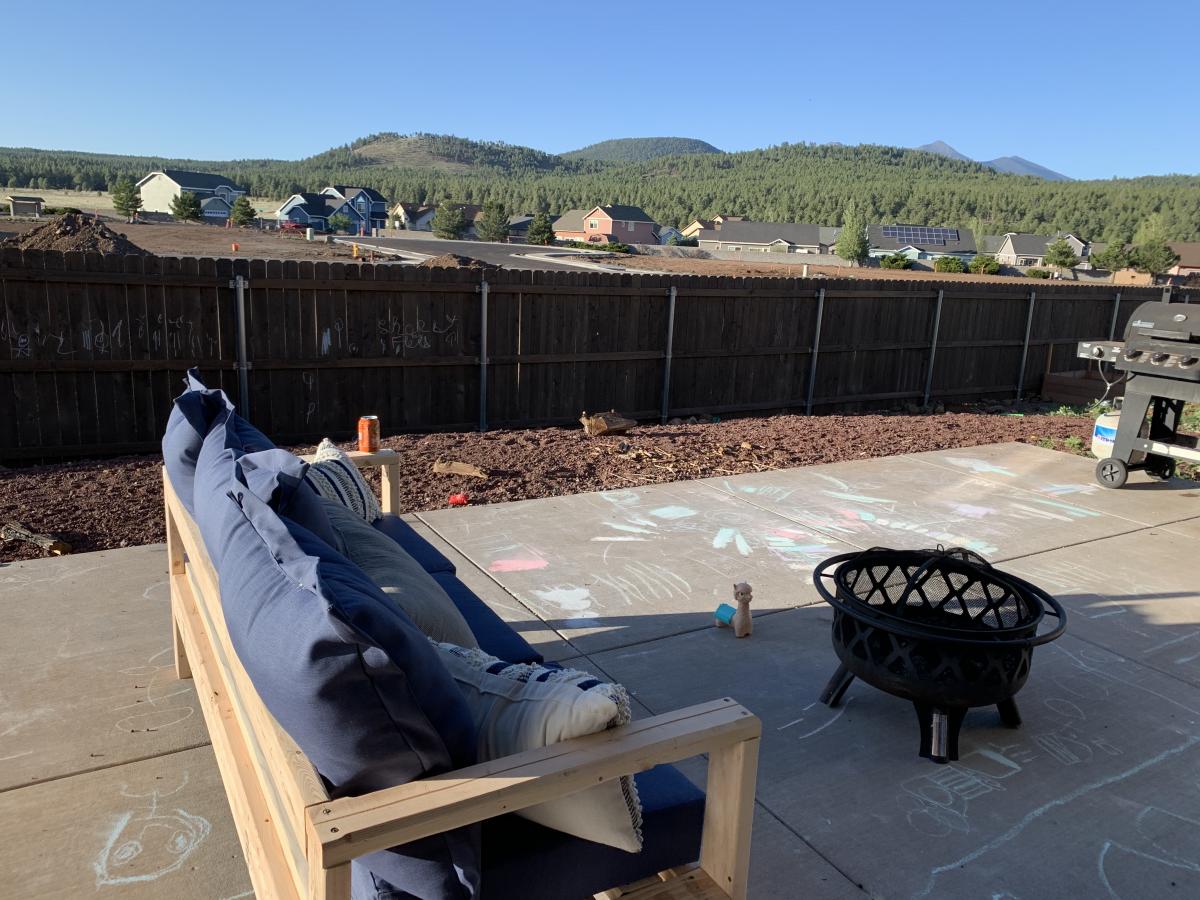
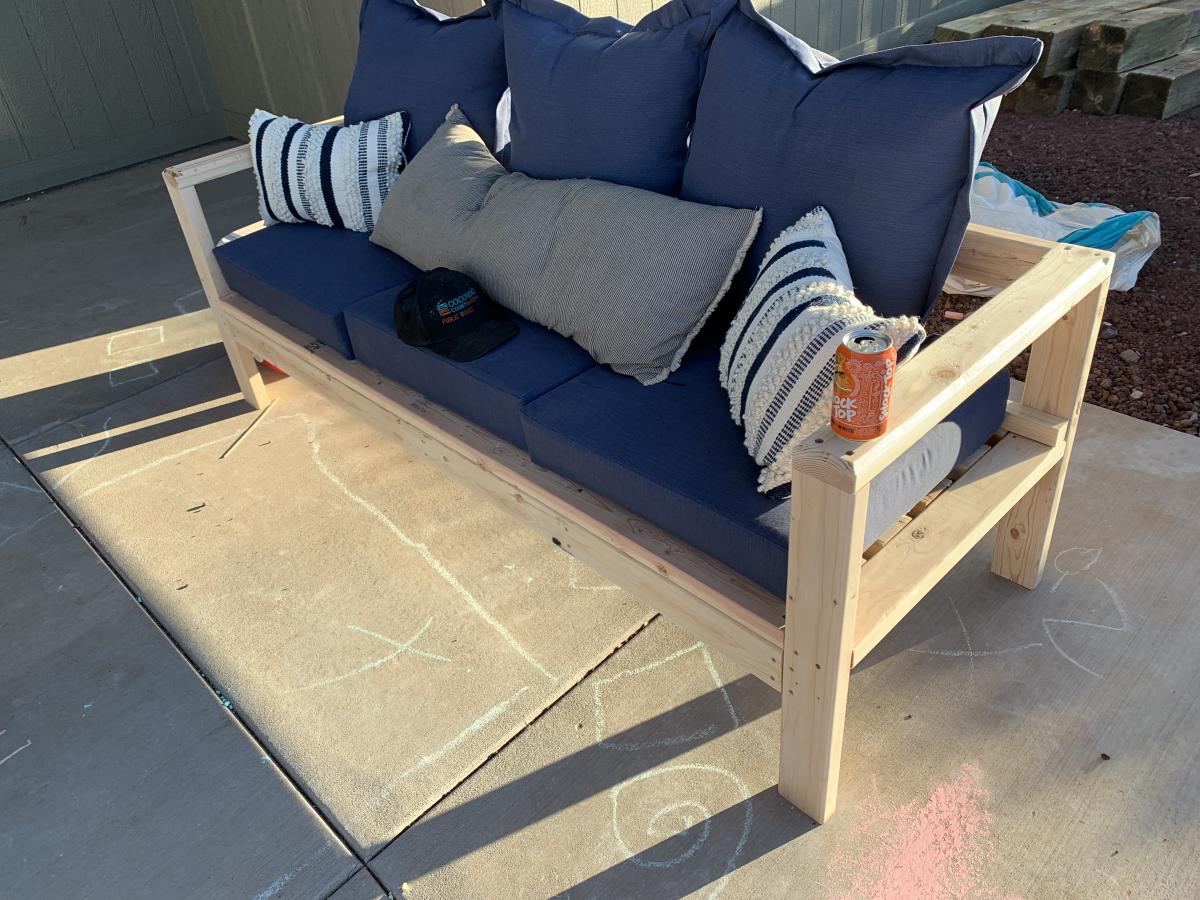
This was built off Ana's Outdoor Couch plans. I just made some additional things to it and made it larger.
I added the vertical back supports so the cushions don't slip out the back. I raised the seat height to 17".
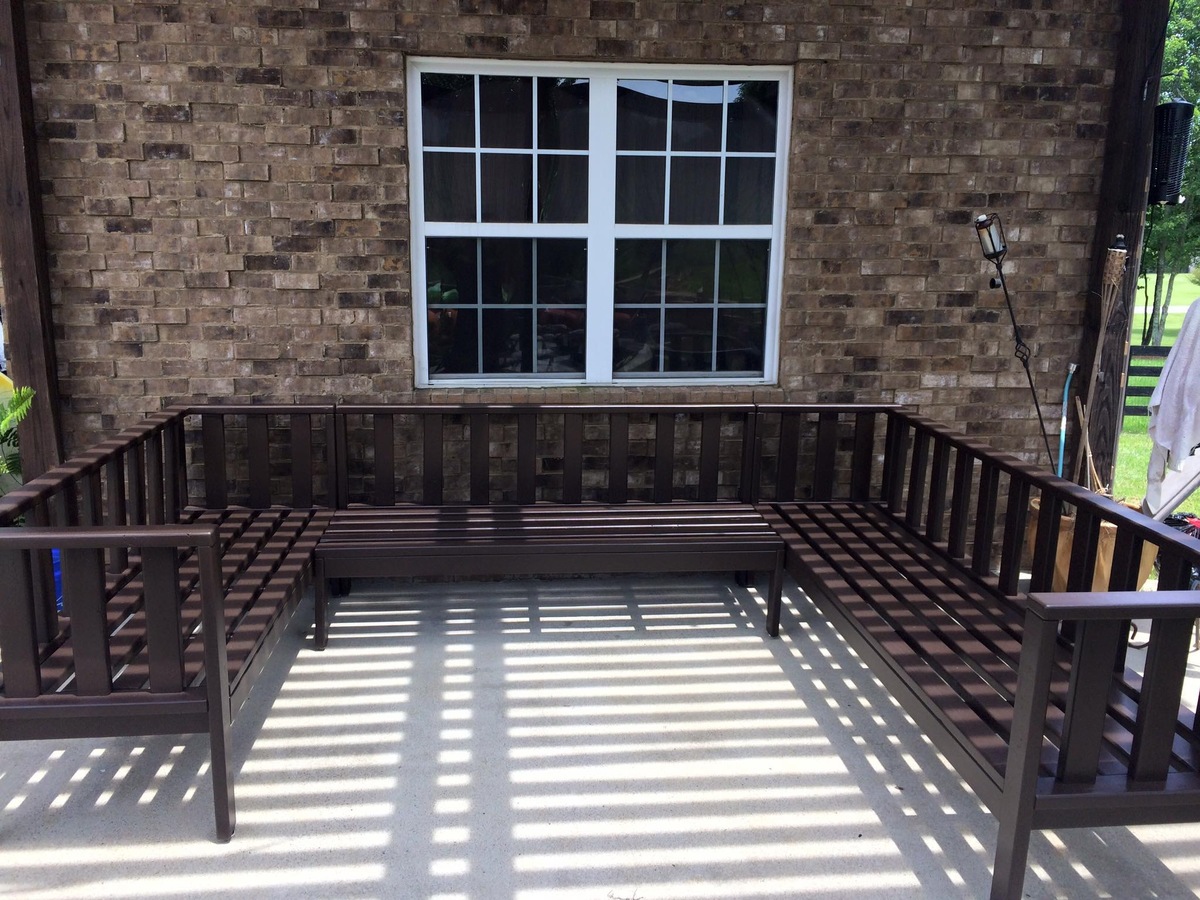

This was built off Ana's Outdoor Couch plans. I just made some additional things to it and made it larger.
I added the vertical back supports so the cushions don't slip out the back. I raised the seat height to 17".

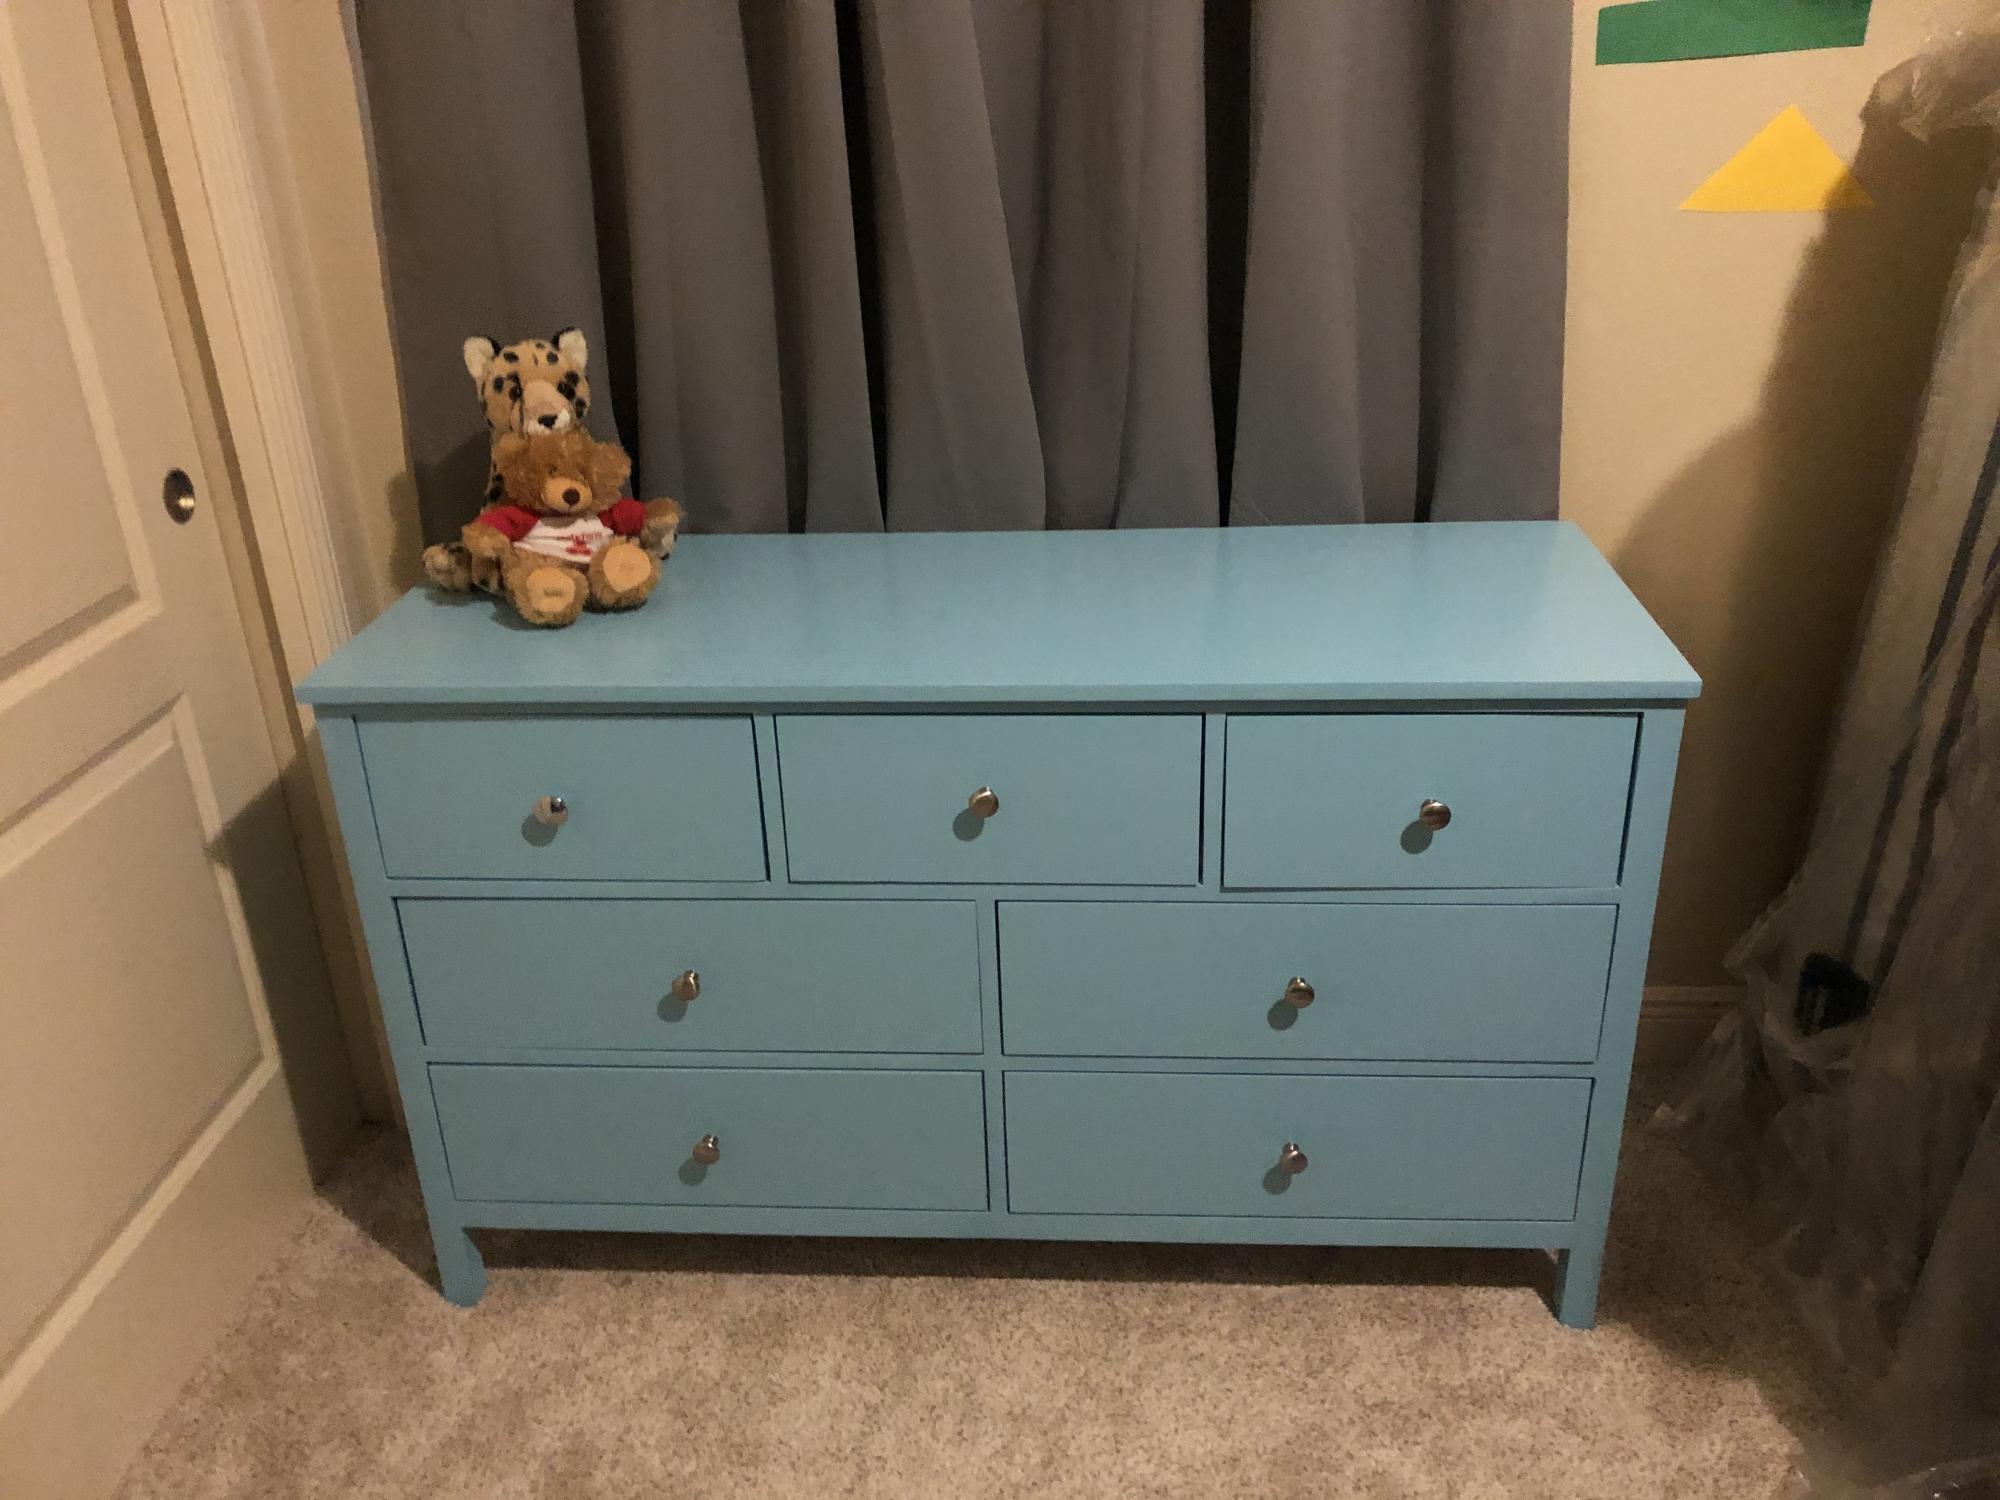
Struggled with this one, but it’s done and I’m pretty proud of her
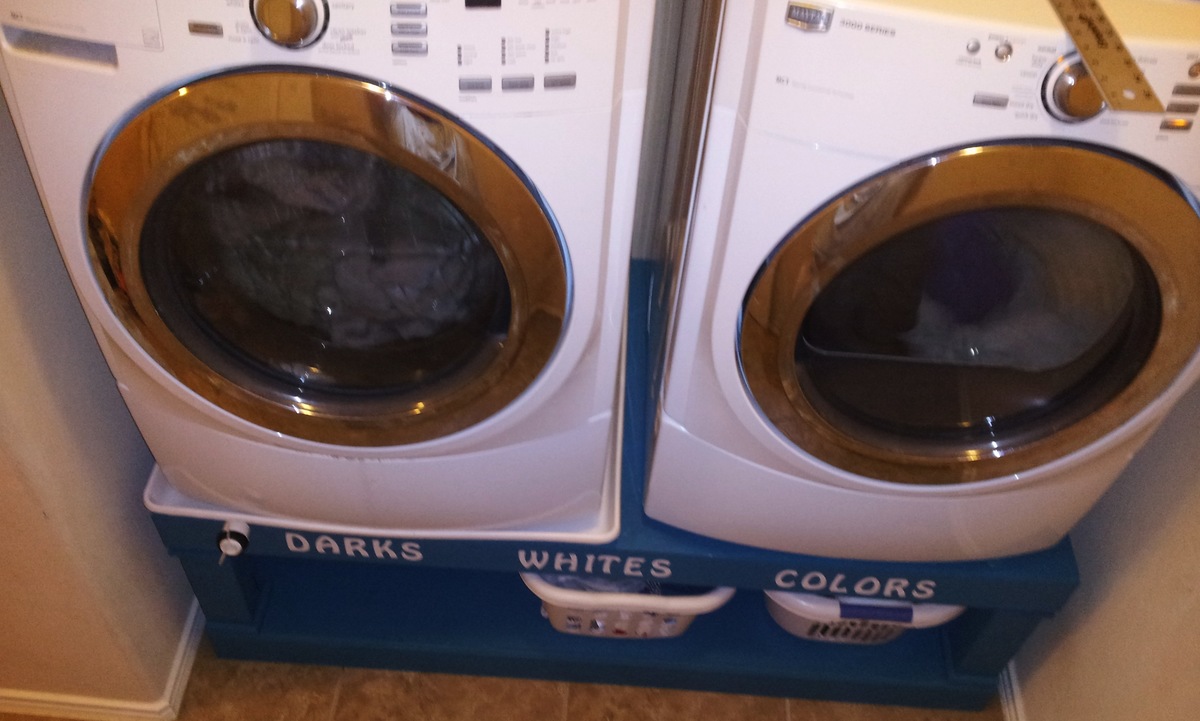
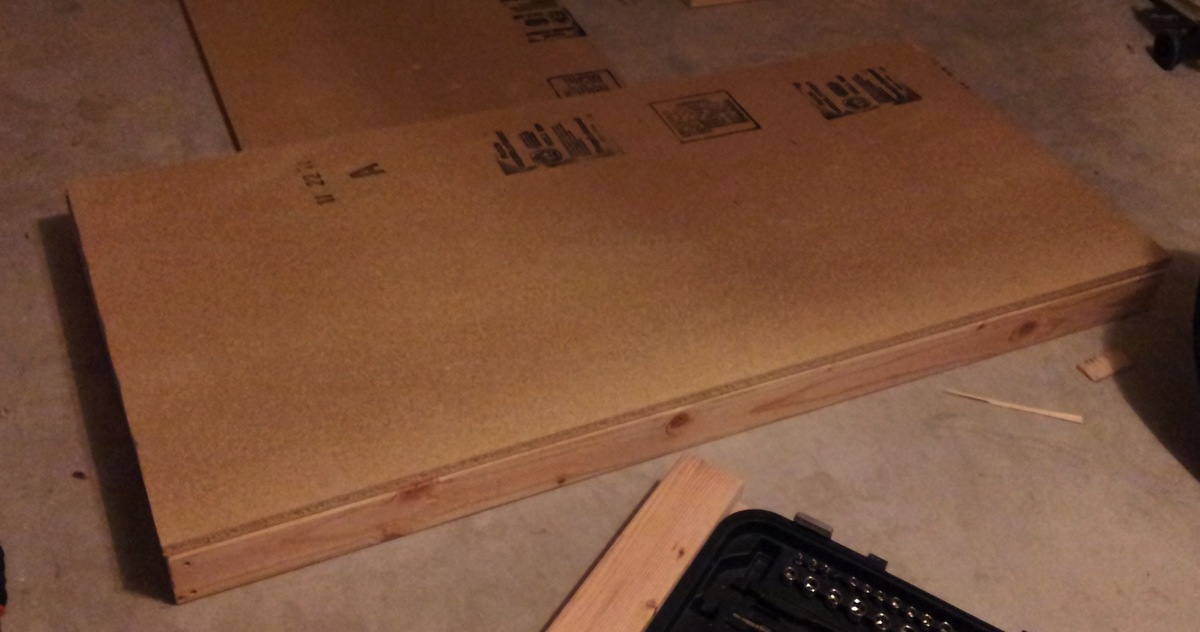
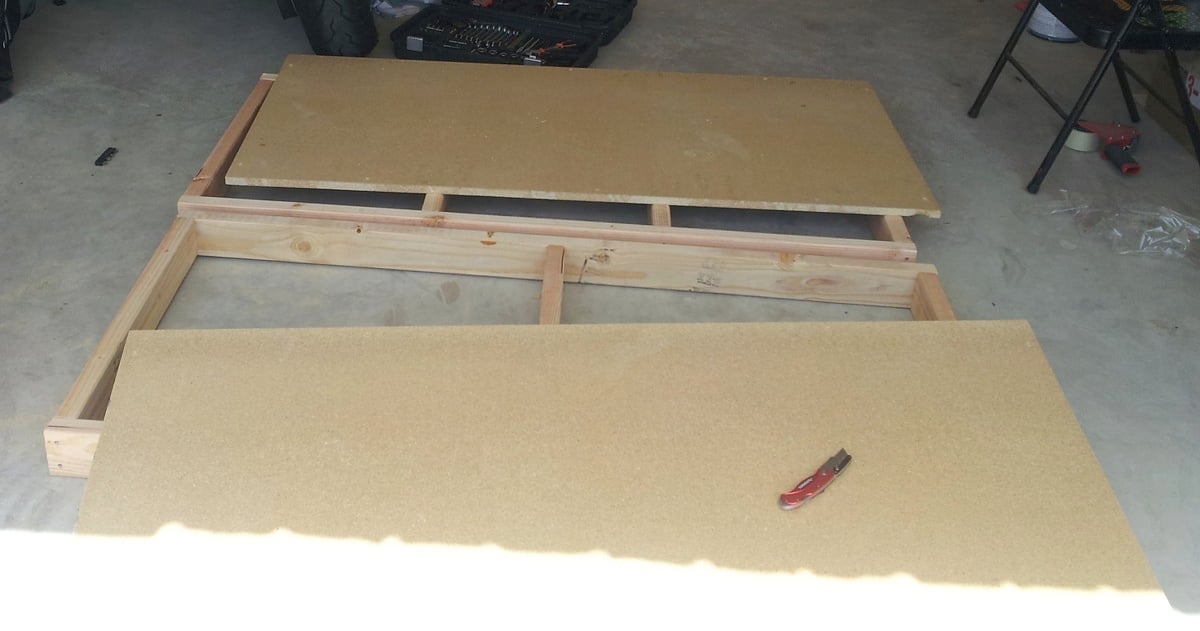
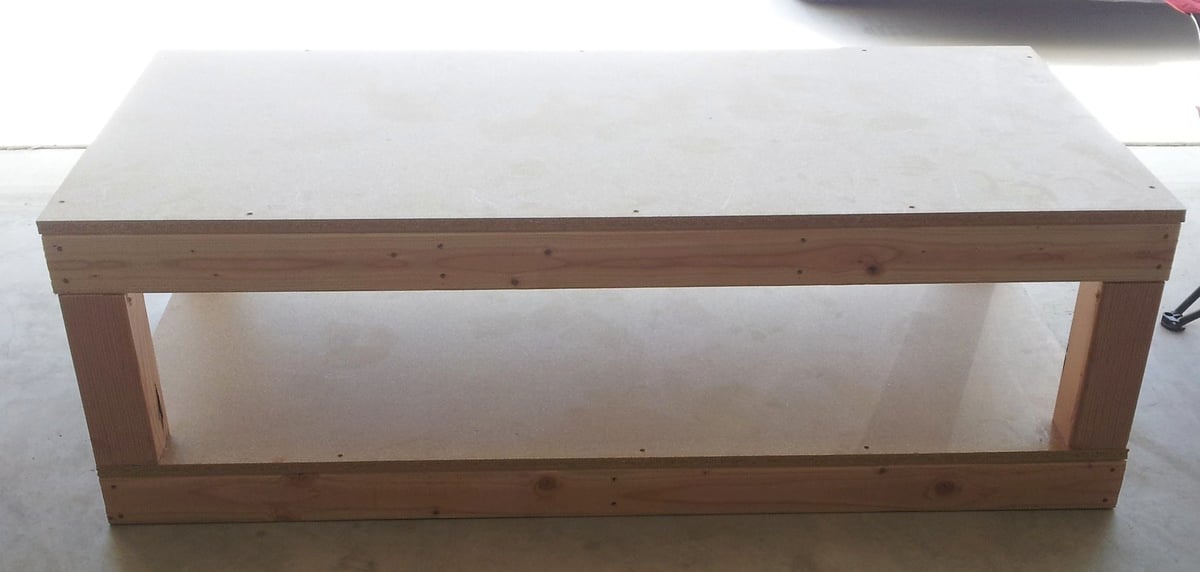
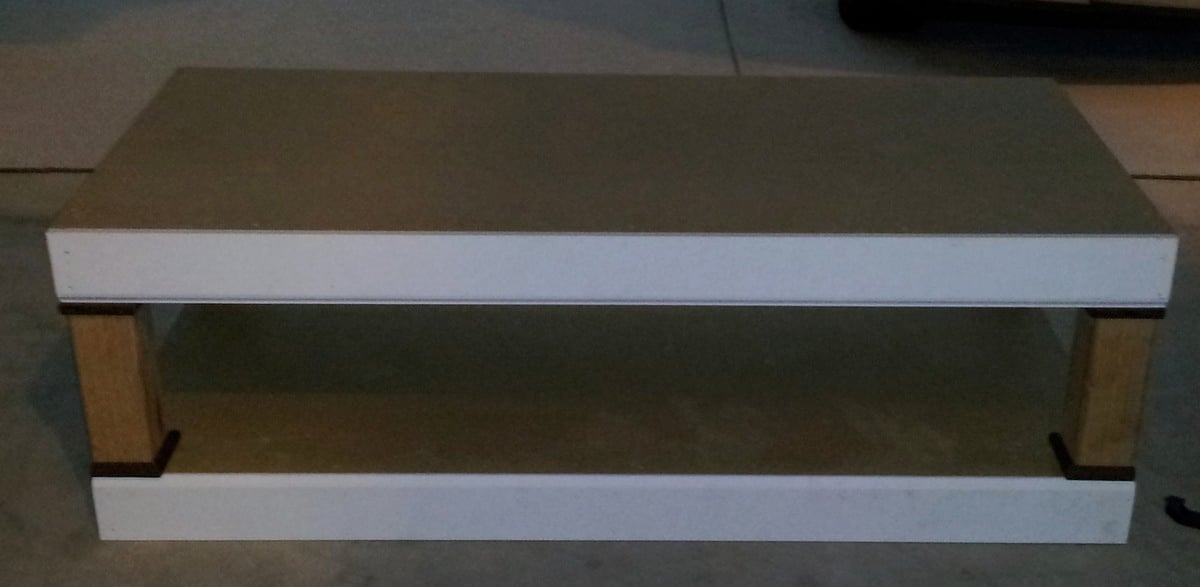
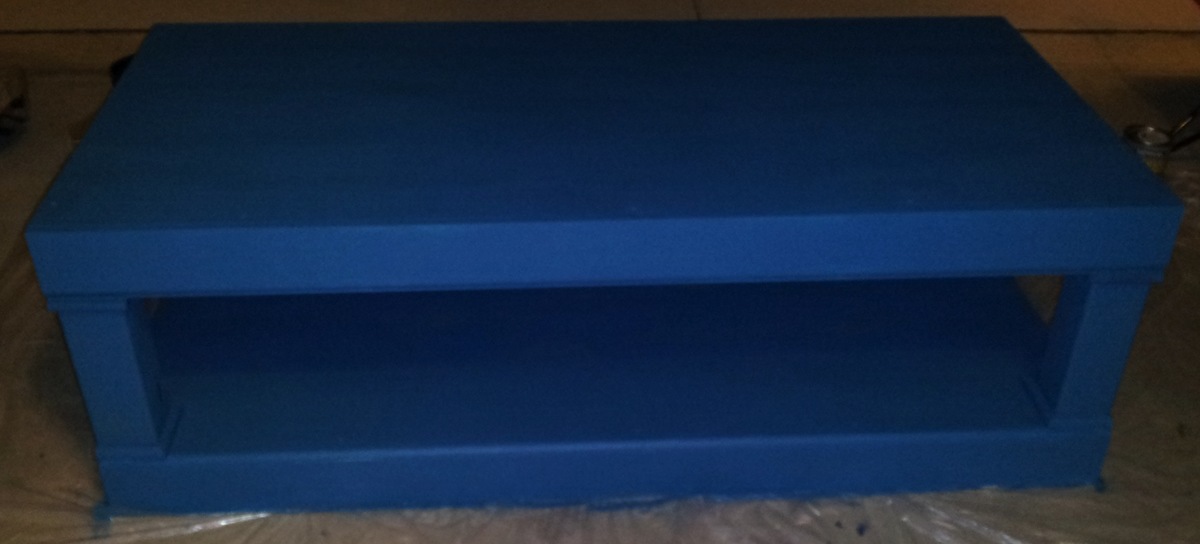
After I built my work bench I was ready to get started with my first real projets from the site. My wife requested that I make this pedestal first so that she could get a little more organized. I would say total there was about 8 hours of cutting and building and then another hour of painting. I did make one modification to this project and that was to add extra trim to the bottom and top of this pedestal. With everything included (wood, trim, paint, screws) this probably costs me right around $115. Much less than two of the standard medal pedestals that don't add much as far as aesthetics to the laundry room.
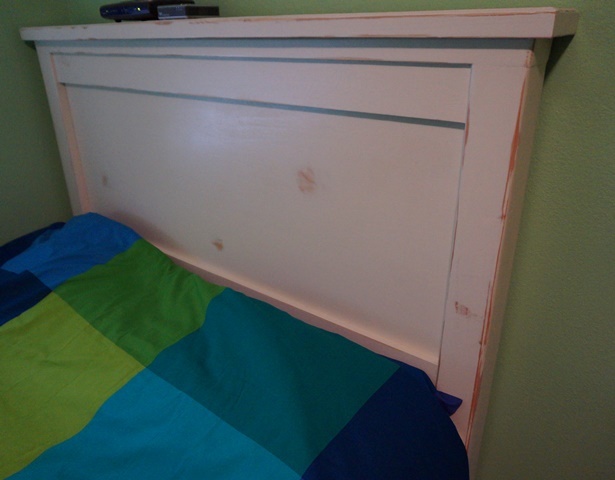
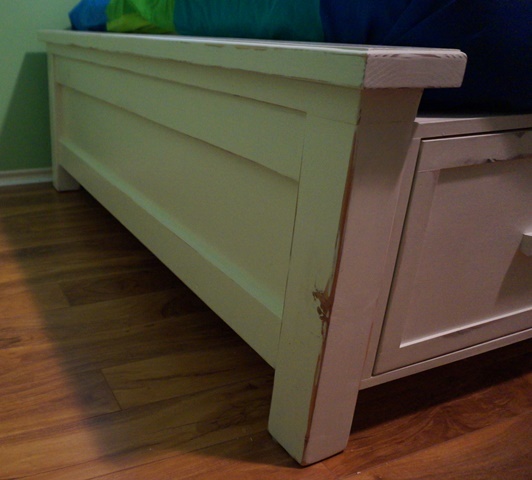
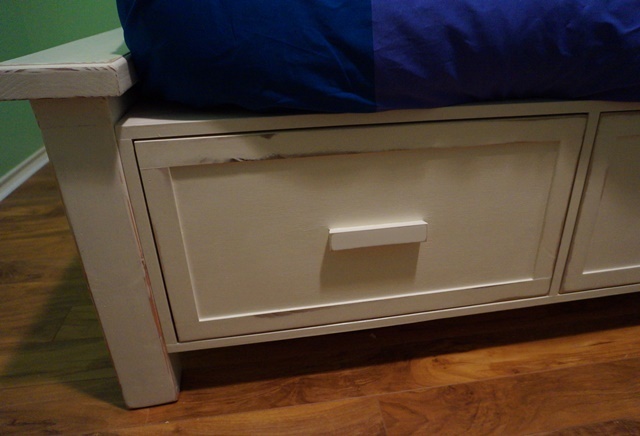
I built this Farmhouse Storage Bed with Storage Drawers for my youngest son. I wanted this bed to be for our current use (for my son and when my parents come a visit) but also I wanted deeply for this to be an heirloom that he would carry with him in his life.
I worked on it a bit at a time for about three weeks. I probably put 50 or so hours into it and I learned a lot. I used redwood 4x4 posts for the head and foot board, cabinet grade plywood, and reclaimed poplar for the trim and handles on the drawers.
I sealed the drawers and drawer boxes with my own version of "Wipe on Poly" that I mixed myself. I painted the bed with eggshell white paint that I bought a while back to repaint our ceilings with when Hurricane Ike came through. I sanded back portions of the bed to make it look distressed and then sealed the whole thing (bar the portions I already sealed) with clear semi gloss polycrylic.
My thinking was that I would have the color I wanted and yet seal the whole bed including the portions I distressed making the look rather permanent and tough for a child under 10.
I plugged all of the pocket holes that I used and sanded them flush as well as using edge banding on the drawers and the bases so that they looked like solid wood. These two alterations to Ana's plans added some time to be sure - but I was really happy with the result.
Ana, I wanted to thank you personally for putting these plans together and encouraging others to try their hand and building furniture. I had build a lot of other woodworking projects before but nothing of this scale. It went VERY smoothly with few hiccups and came together, essentially, like I wished it would.
I plan on making more things in the plans soon, including a loft bed for my other son, and will post them here when I do.
I am a really beginning builder (read: this is about my fifth project ever), but it works perfectly for our really tiny, narrow bathroom. I finished it with some stain we already had on hand. Thank you so much for the building plans!
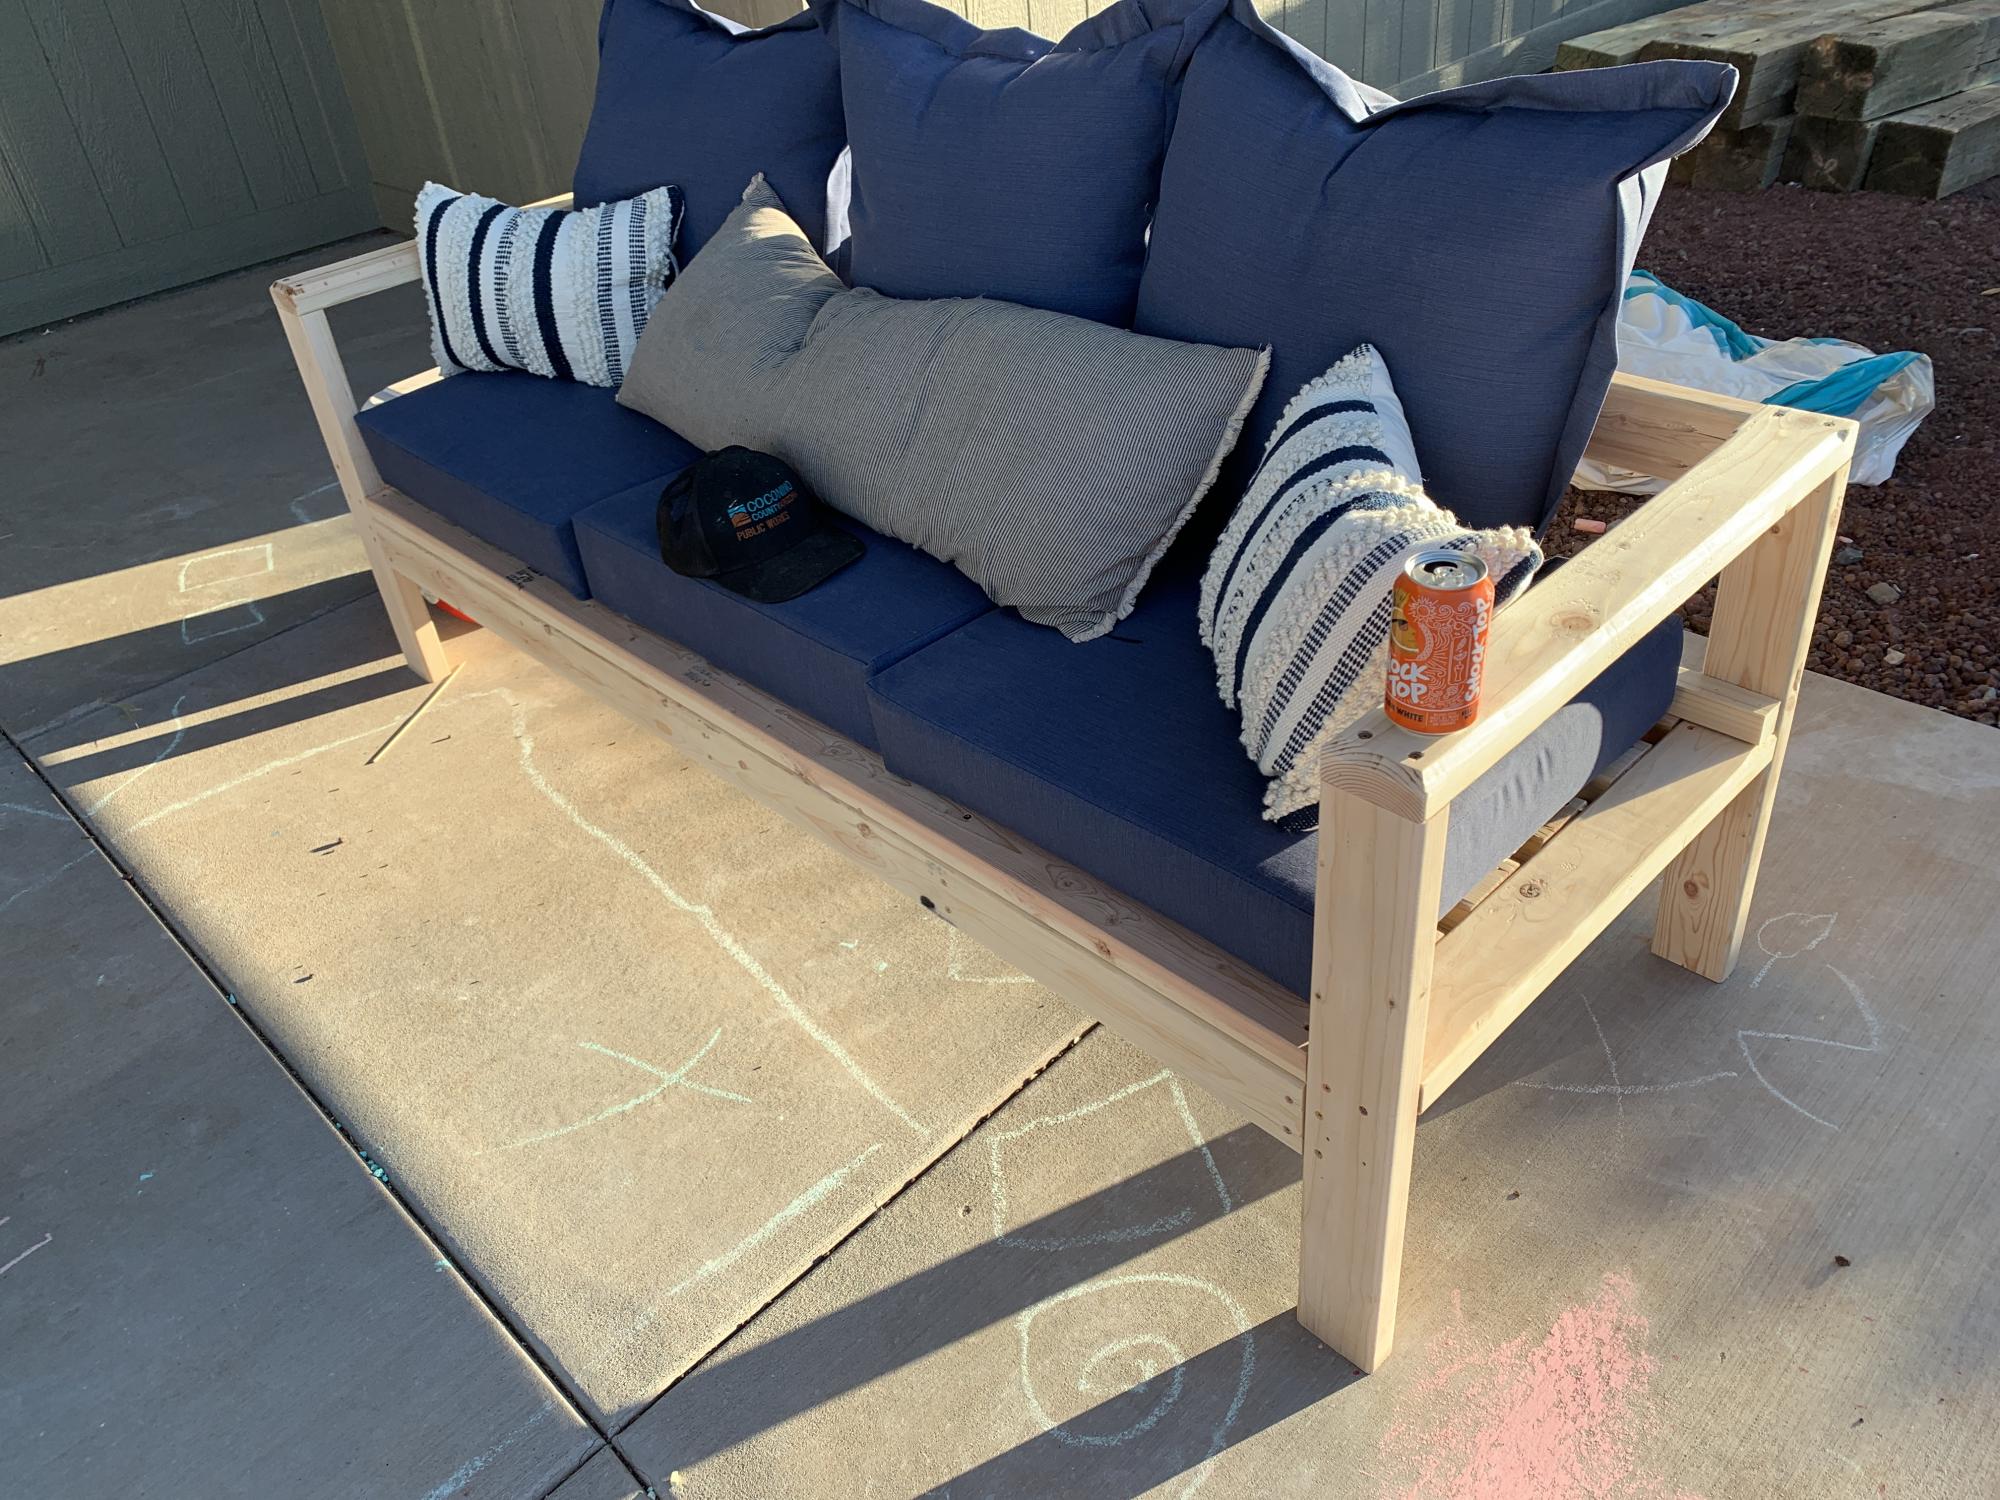
Fairly simple, especially if you have a miter station. So many repeating cuts. I think I cut the entire couch in 20 minutes. I believe we’re in this for about $250; including screws, and cushions, and paint. Very inexpensive compared to purchasing. So, I routed the arms with a 45 and added a 2x2 rail to keep the cushions from moving out the back. I will be turning it into a sectional soon. Also painting it red... Stay tuned.
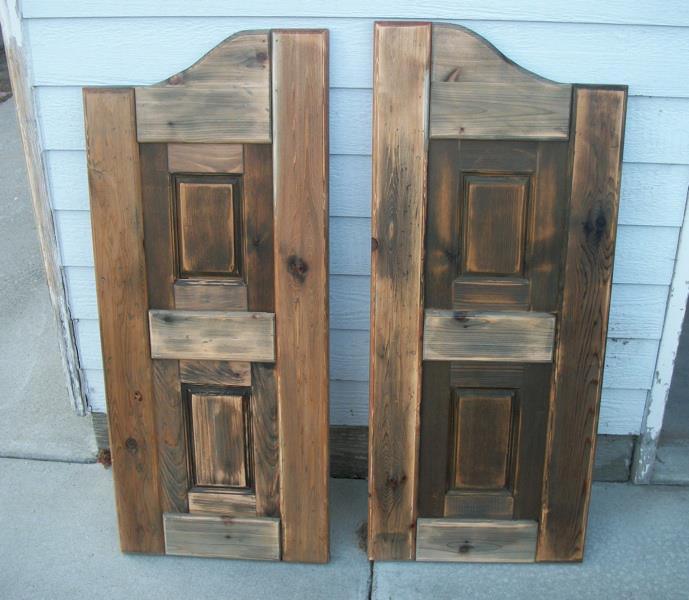
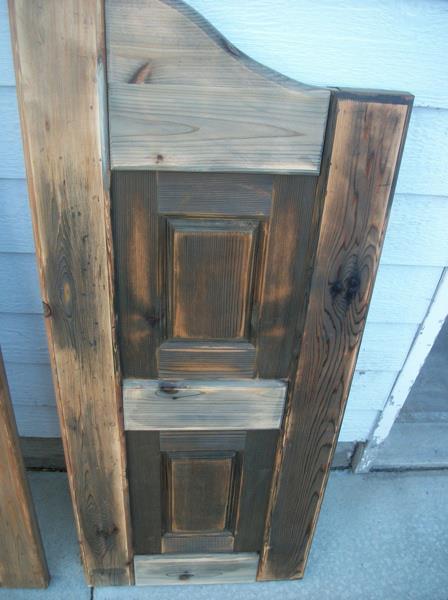
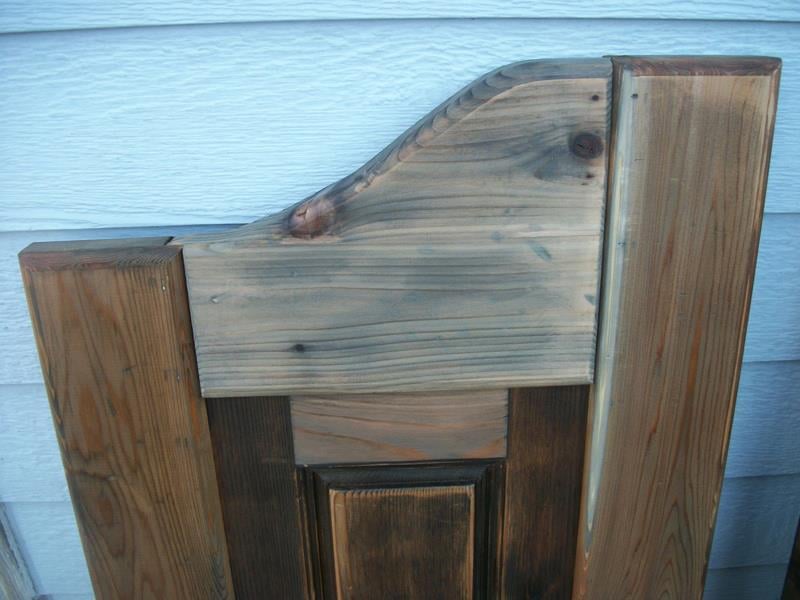
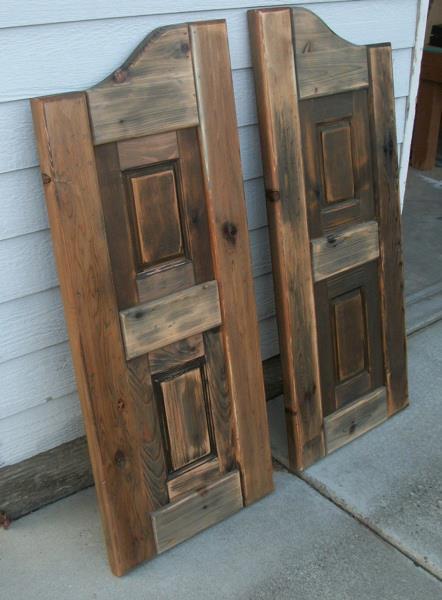
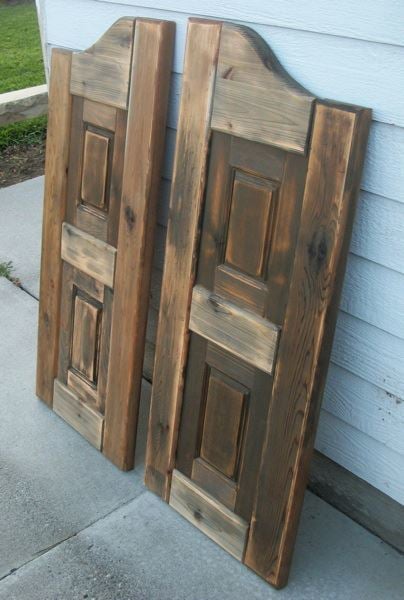
I built these doors for a very good friend of mine who actually helped me get started turning my new love for building (after finding Ana's site) into a way for our family to make some extra money.
It took me a little while to wrap my brain around building something without using my Kreg Jig. I used a router table set up with some raised panels bits and put the whole thing together with glue and nails! Wonderful experience!
For the finish, I used a vinegar solution to give the cedar wood an old barn look. I think the final result turned out great and the final step was a clear coat sprayed on out of a rattle can.
Thu, 08/02/2012 - 10:51
These turned out great! I haven't seen this style of door in forever! They used to be really popular, I remember my Aunt and Uncle having these in the entry to their kitchen. They were the coolest thing ever when I was a kid! Maybe they are a making a comeback?
I'm really impressed with your routing skills, that's a task I have yet to tackle, but I've got the bits laying around waiting.
Nice job!
Thu, 08/02/2012 - 21:10
Thanks a bunch! My friend is replacing an old set of louvered doors that went into her laundry room. Her family are farmers and rodeo people so the western decor really fits in their house. Great western stuff there. They made a chandelier out of a wagon wheel! Really cool!
This was my first attempt at routing so I really appreciate your compliment! It's really simple if you can get the basics of it. I'm sure you'll do just fine when you get to that point. If I can do it, anyone can do it! Thanks again!!
Mon, 01/23/2017 - 09:32
I really want to try and build this for a closet. Are there any instructions for this? This is the first door of this style that I have come across that I absolutely love.
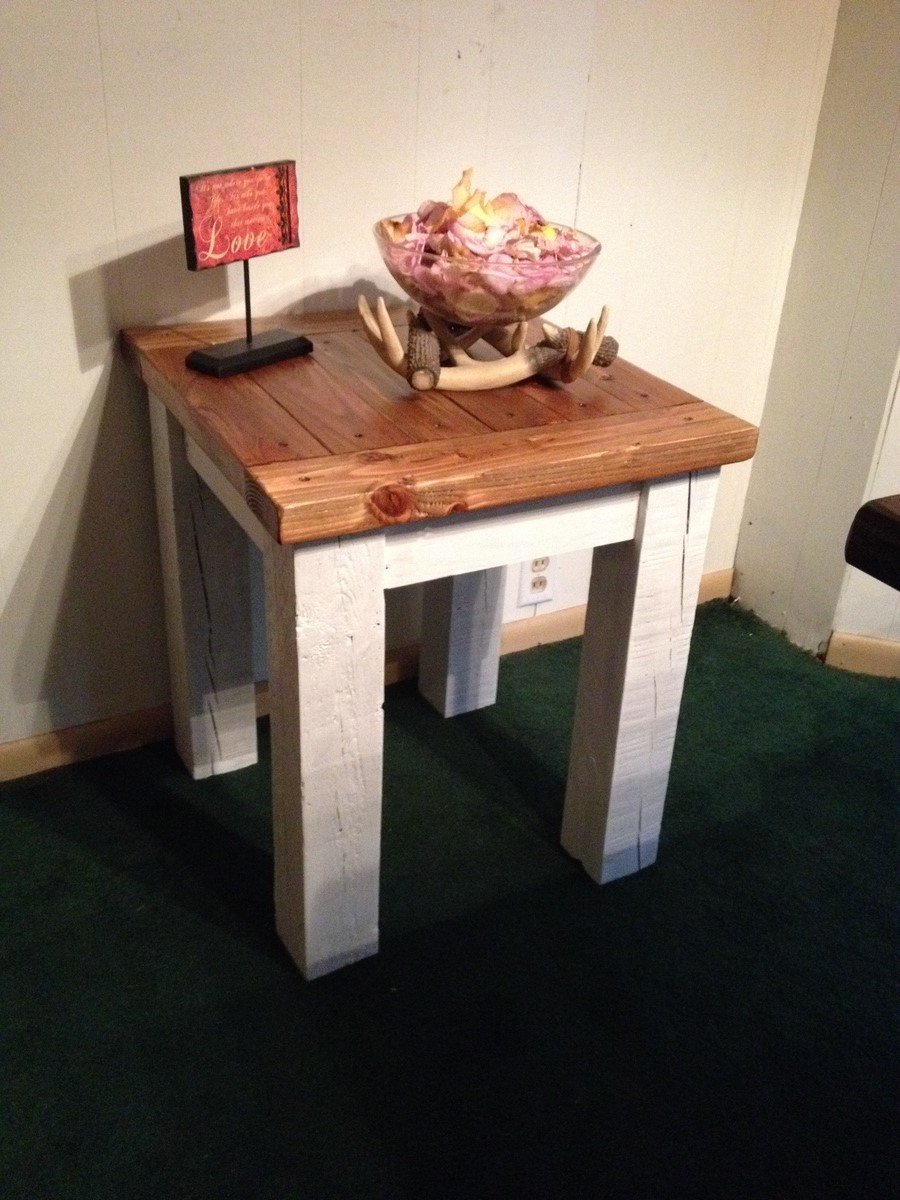
I had some really old (30+ years) 4X4's laying around the backyard that I found in a brick pile at my grandmothers house sometime back. I saw the plans for the really easy Tryed Side Tables, so I made a few of them, and people jumped on these really fast. This may be the simplest tables I have ever made, time and skill-wise. Just need a few 4x4 legs, 2x4 top, and 1x4 trim and support. THAT'S IT. Then about an hour of your time plus paint and stain time. Very cool and very easy.
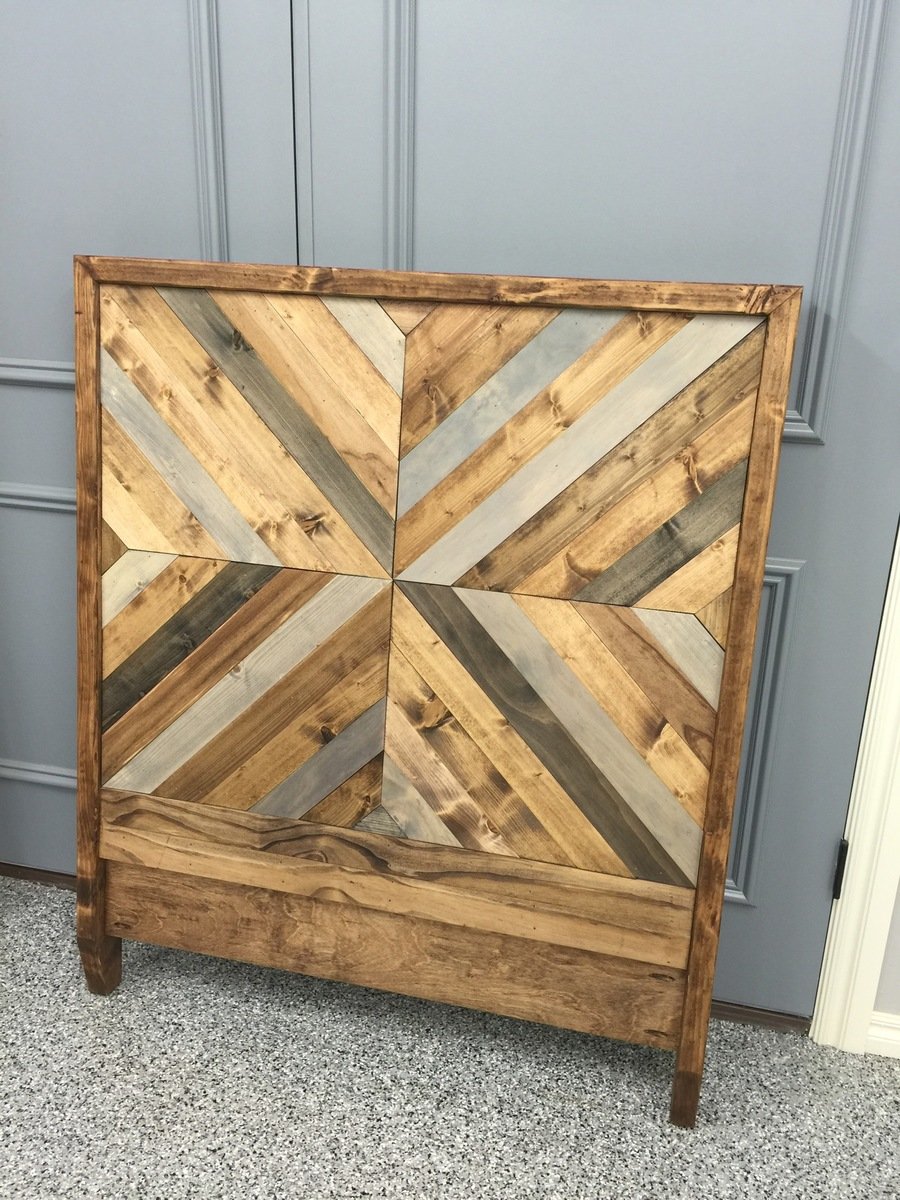
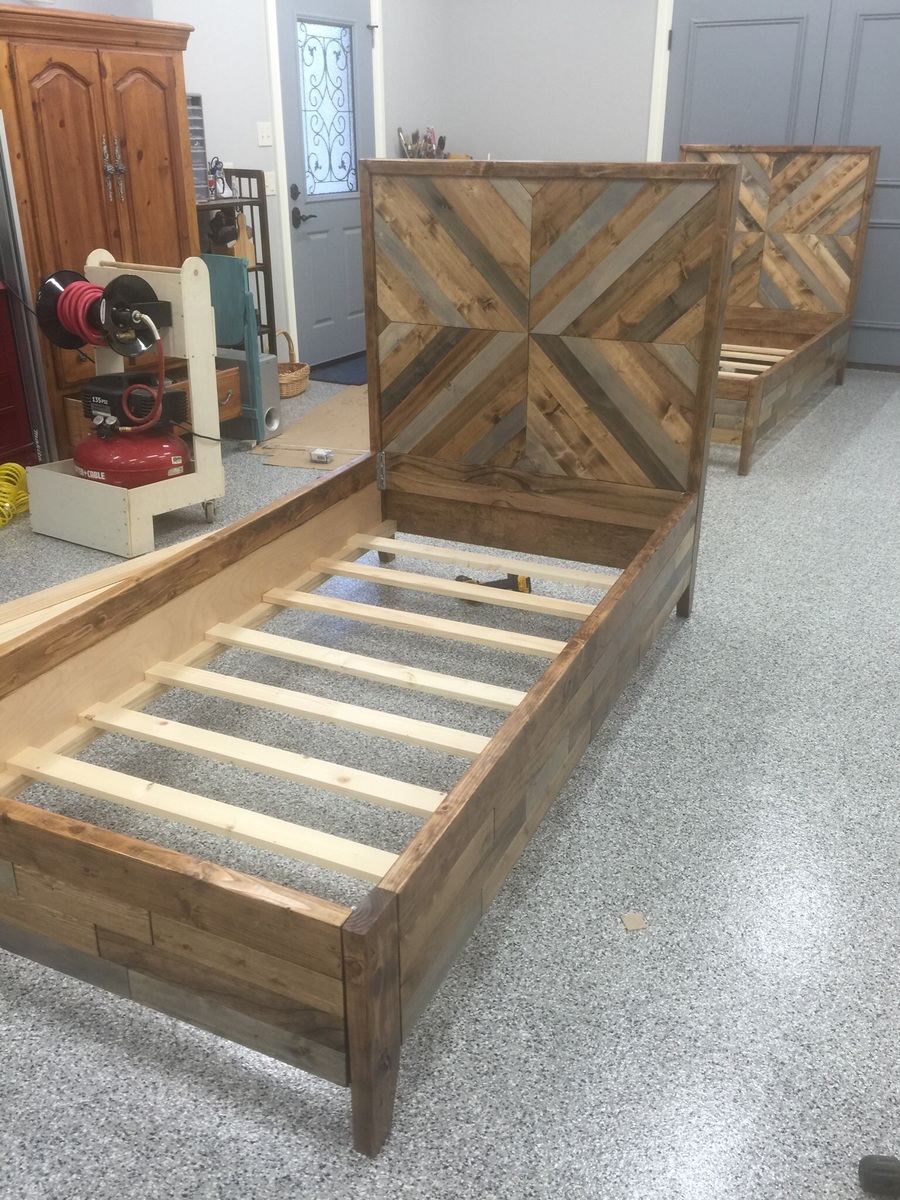
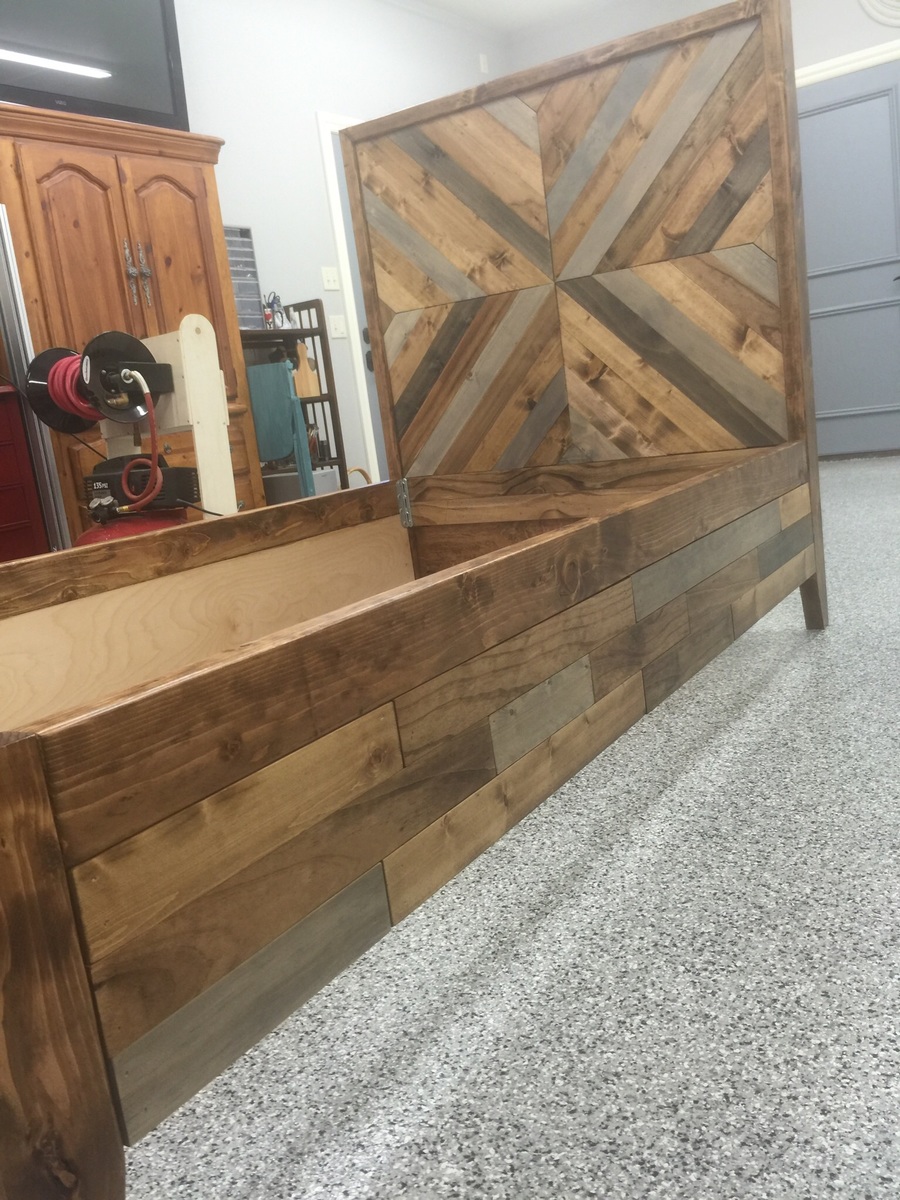
Built 2 twin beds for my granddaughters. They turned out great and they love them!
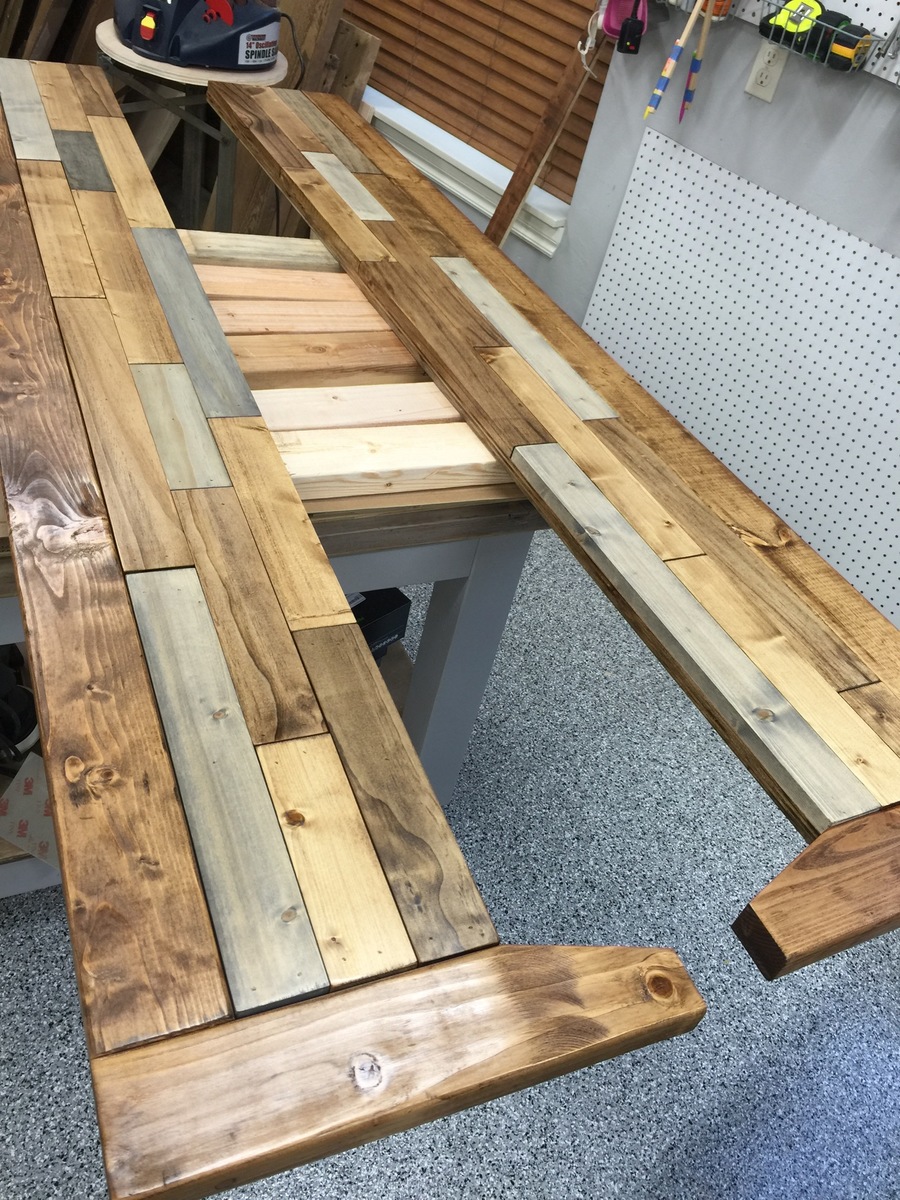
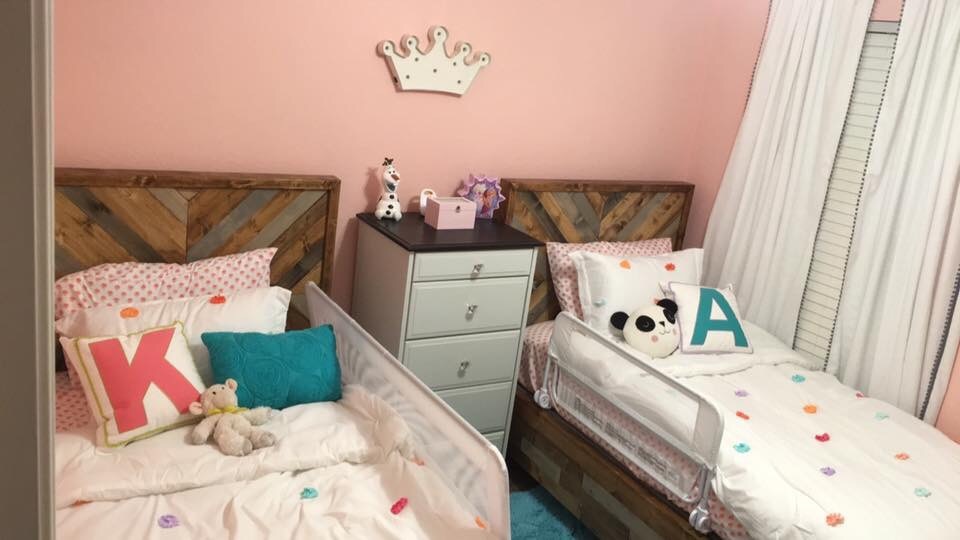
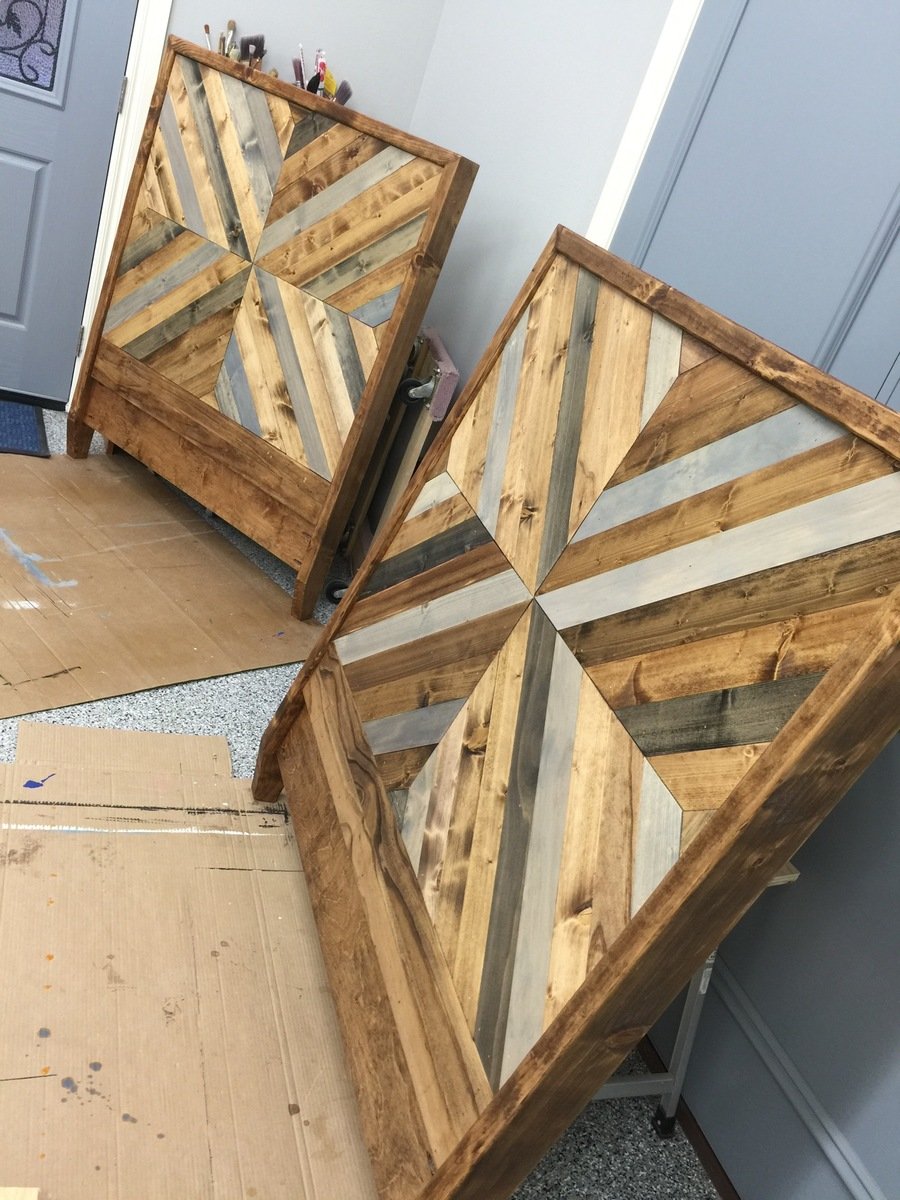
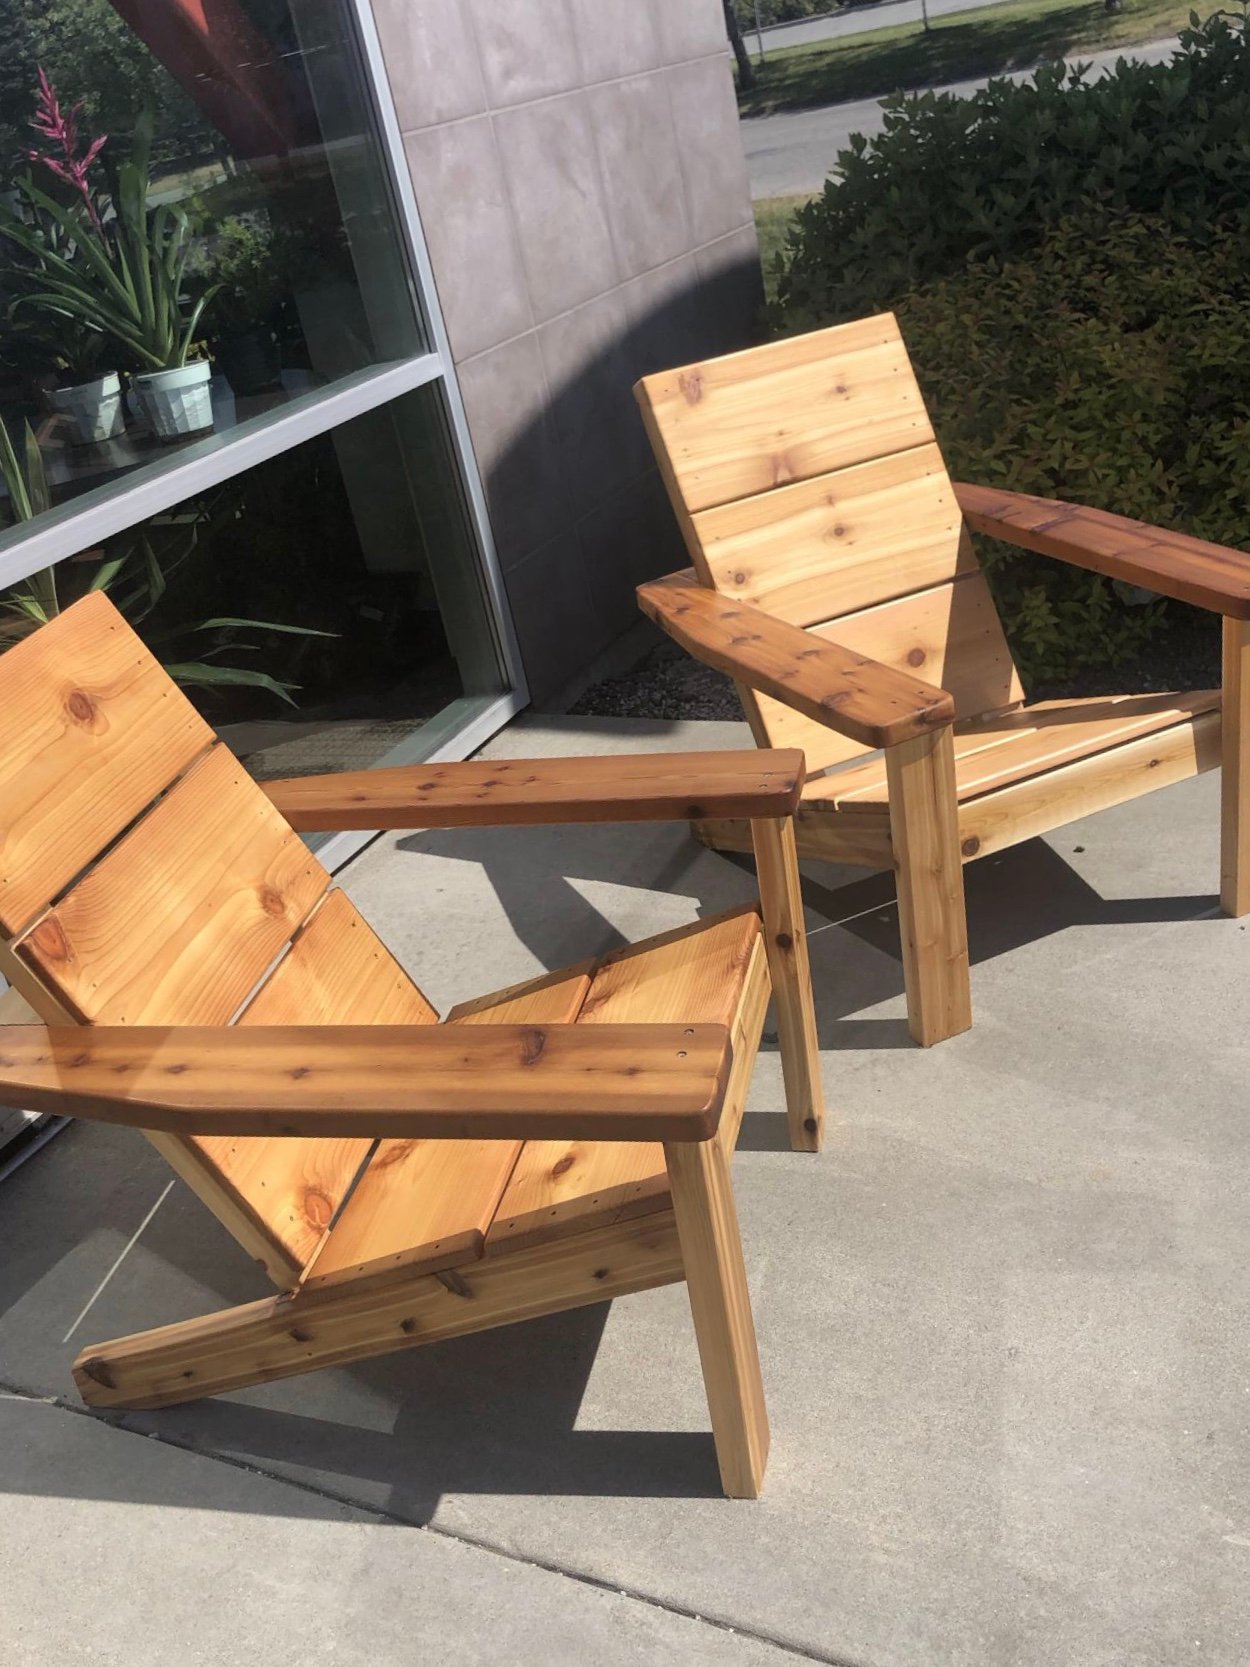
I made these modern Adirondack chairs for our business in Anchorage. GREAT and easy to build design by Ana - we upgraded the arms to tapered 2x6 and they're awesome!


Based on the 2x4 Simple potting bench but added shelves and a roof!
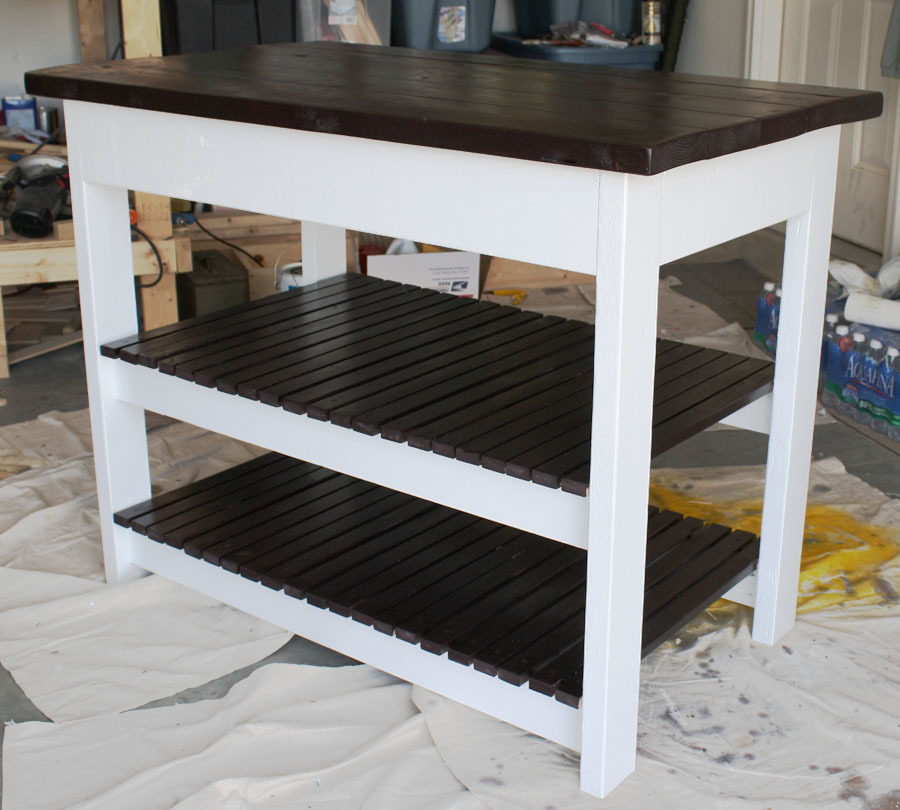
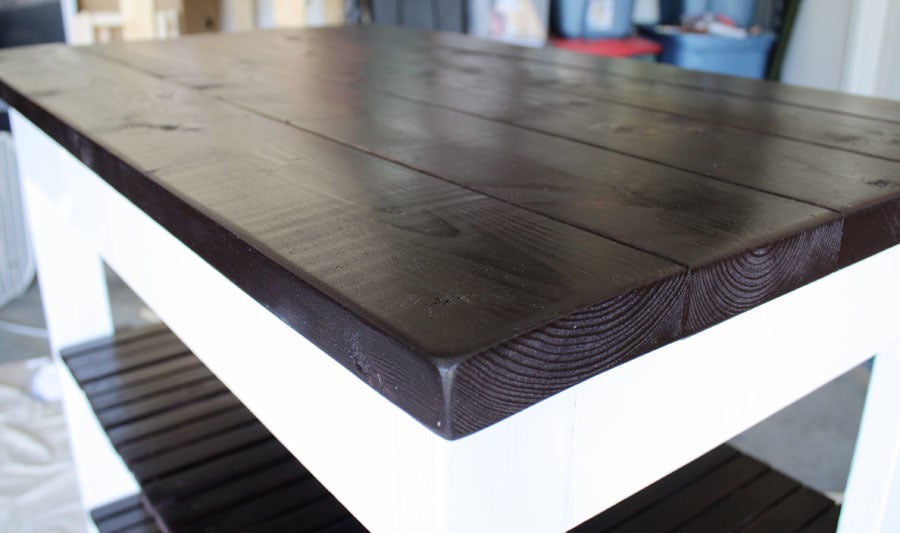
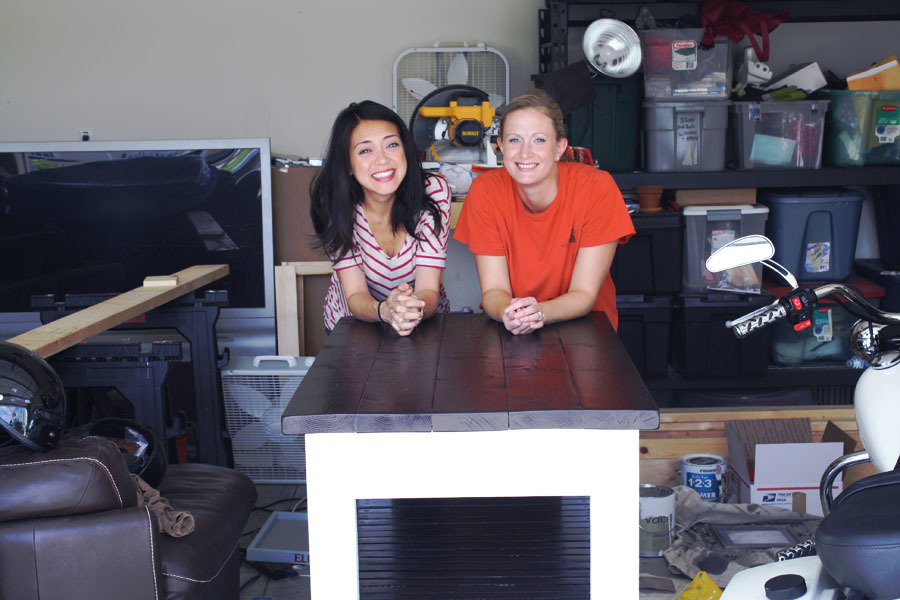
I built this table for my friend who is moving away in a couple days :( She's going to use it as a coffee bar in her new home. Visit my blog link for the complete play-by-play!
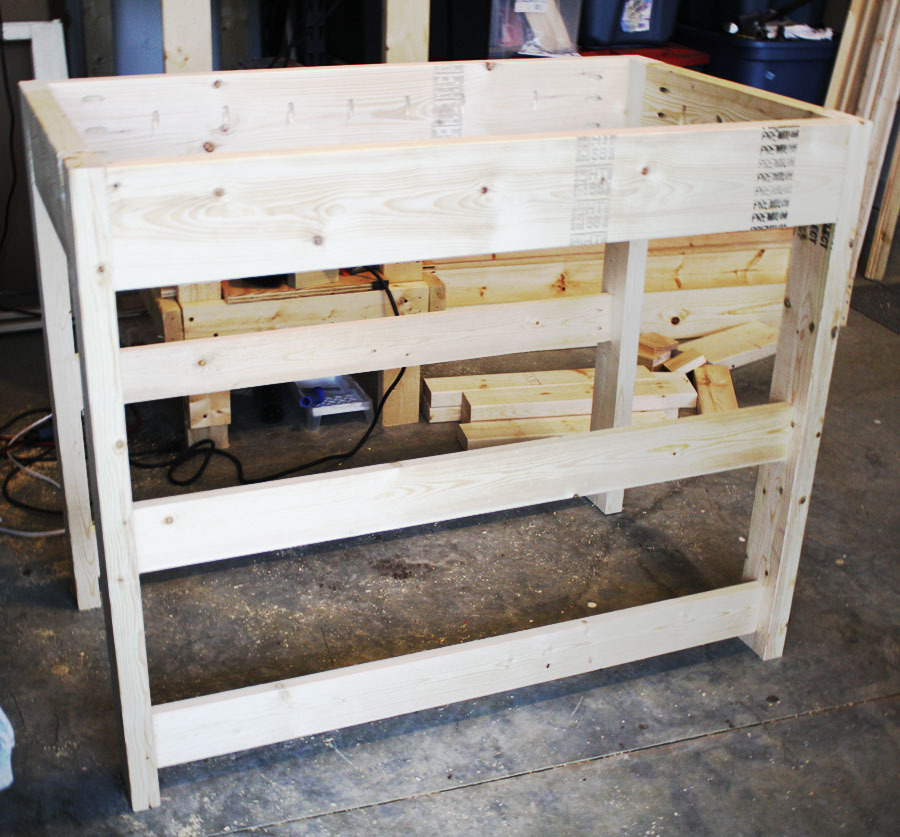
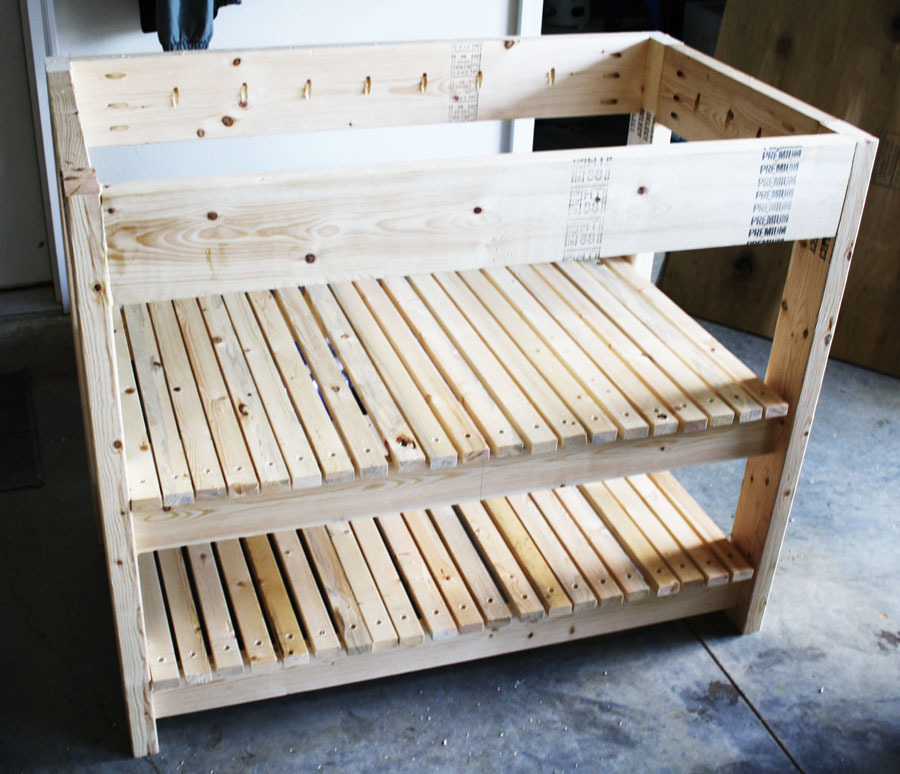
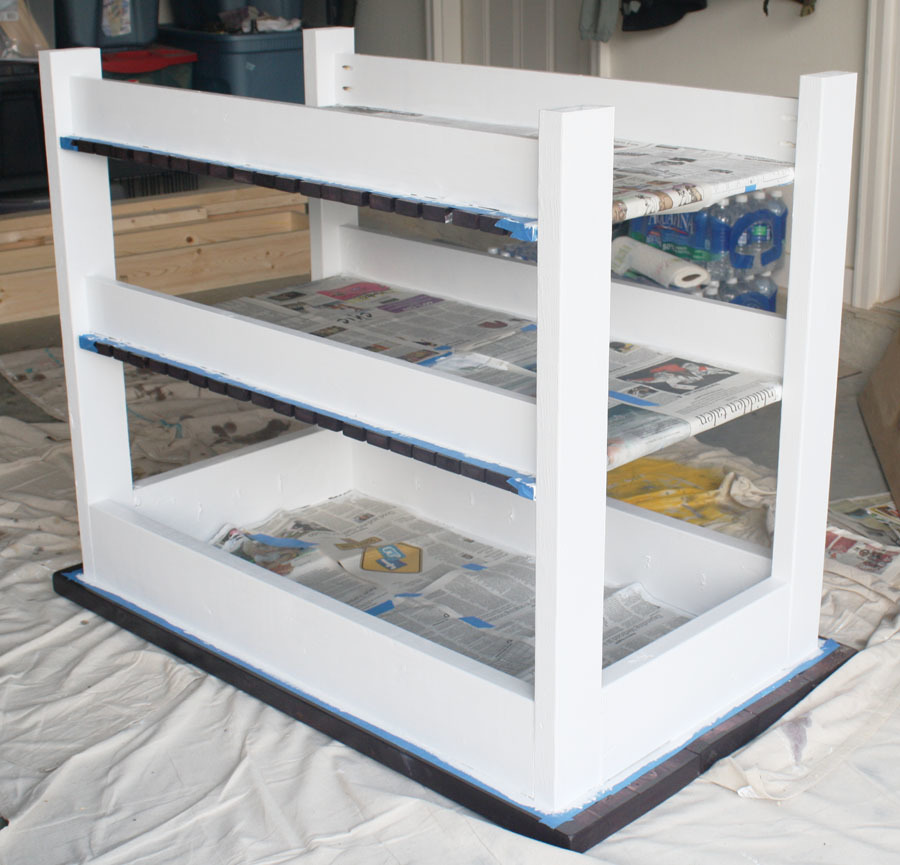
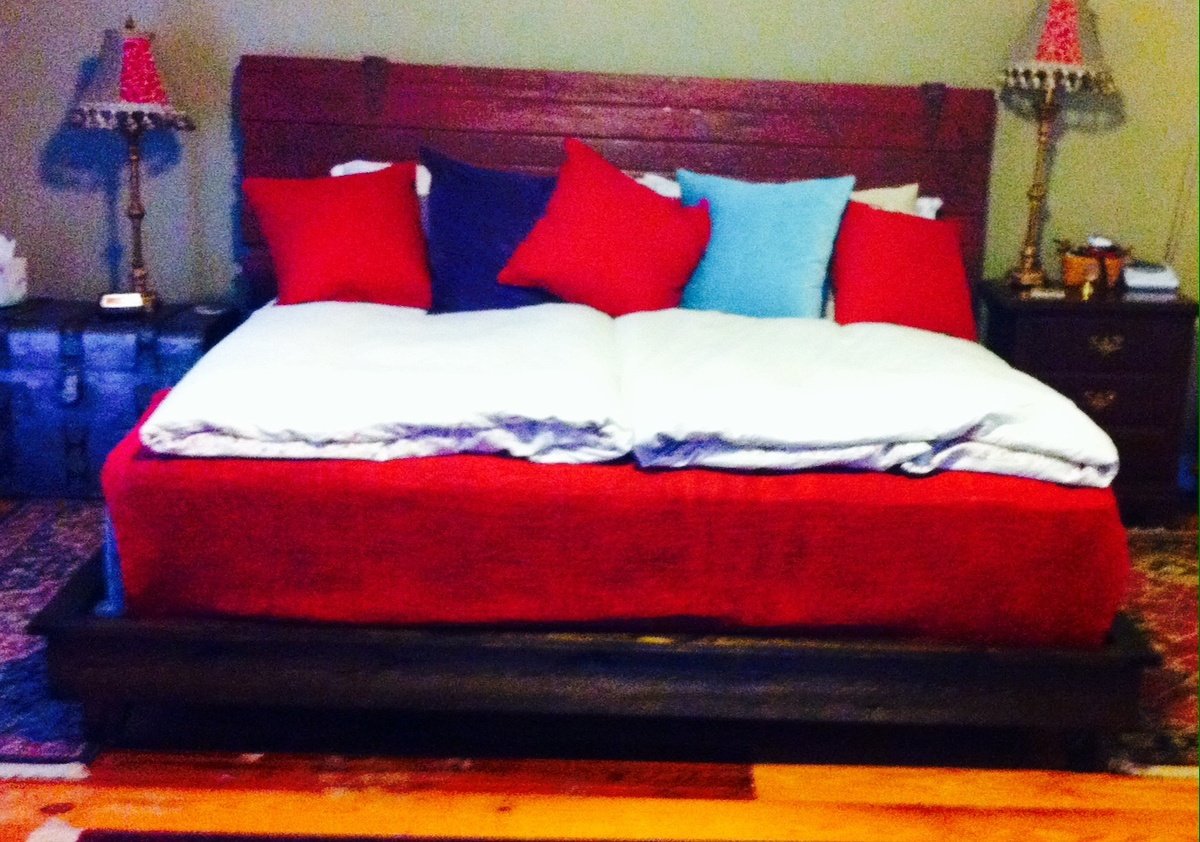
Our first build! Adapted plans to make a king size. Headboard is an old barn door I found. (Pic is crooked not bed ;) ) We had to use 2 Twin XL mattresses due to narrow staircase. Added extra slats. I'm saying it took a weekend to build only because it was below 30° in garage and we took warm up breaks.
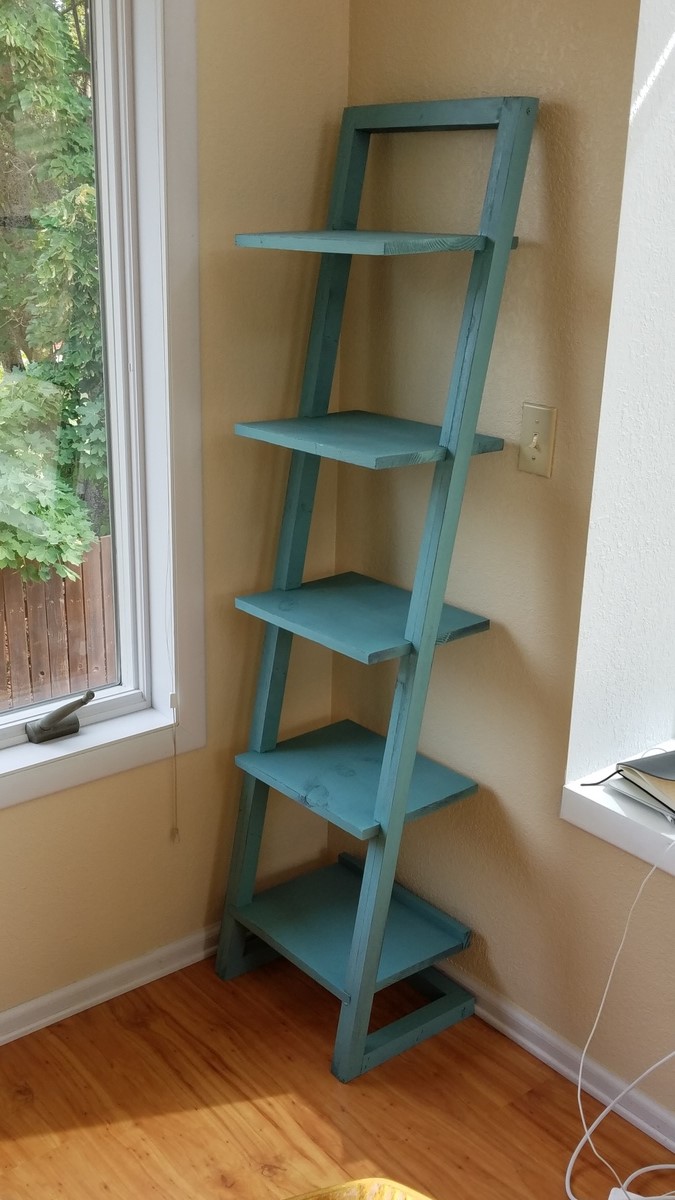
Easy plans to follow and my wife loves the results! Will be used as a book shelf for home schooling our 3 kids.
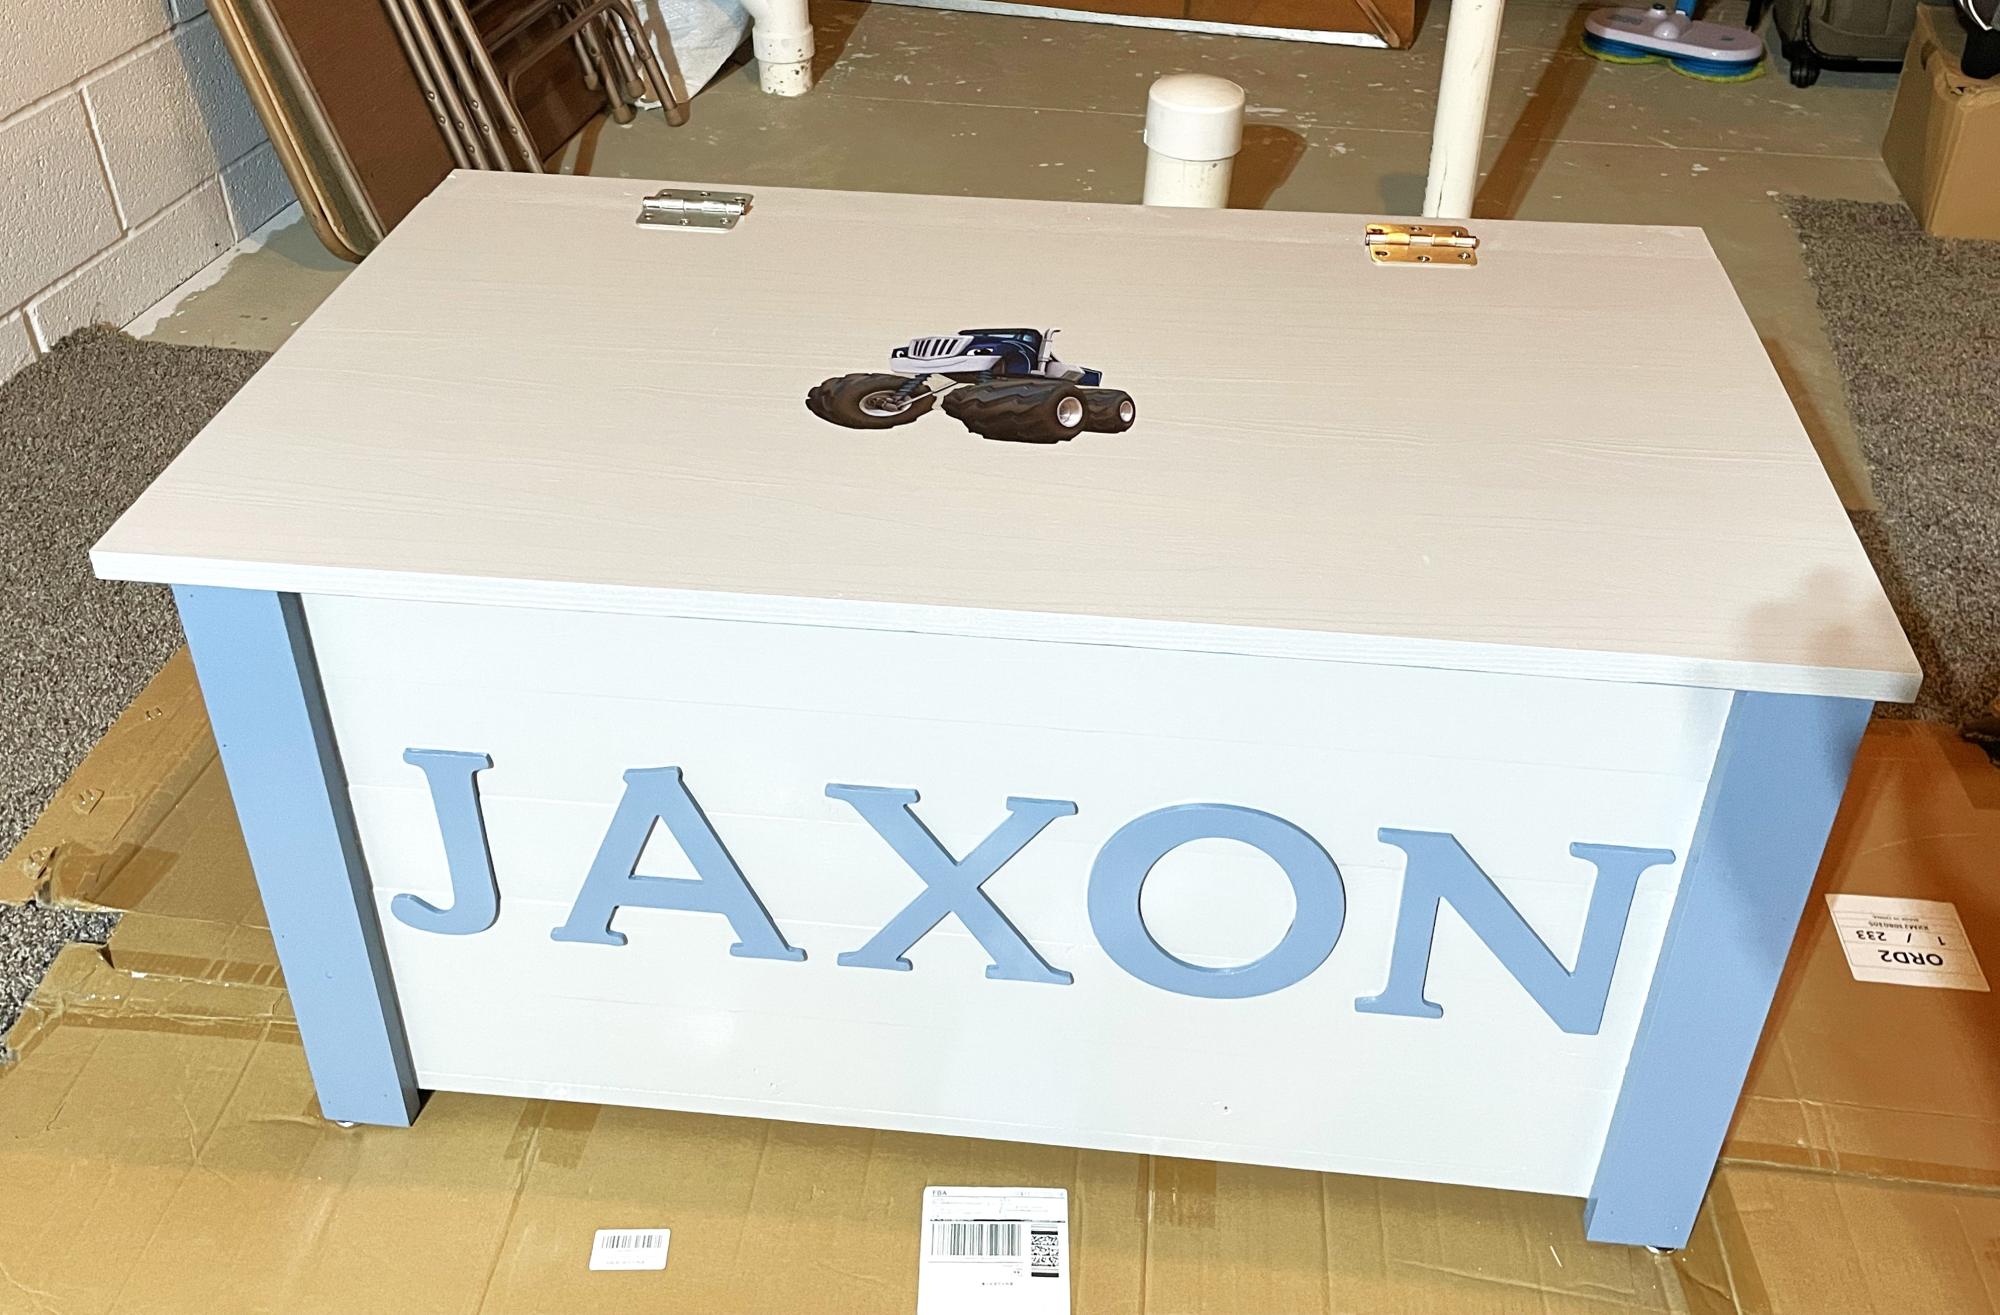
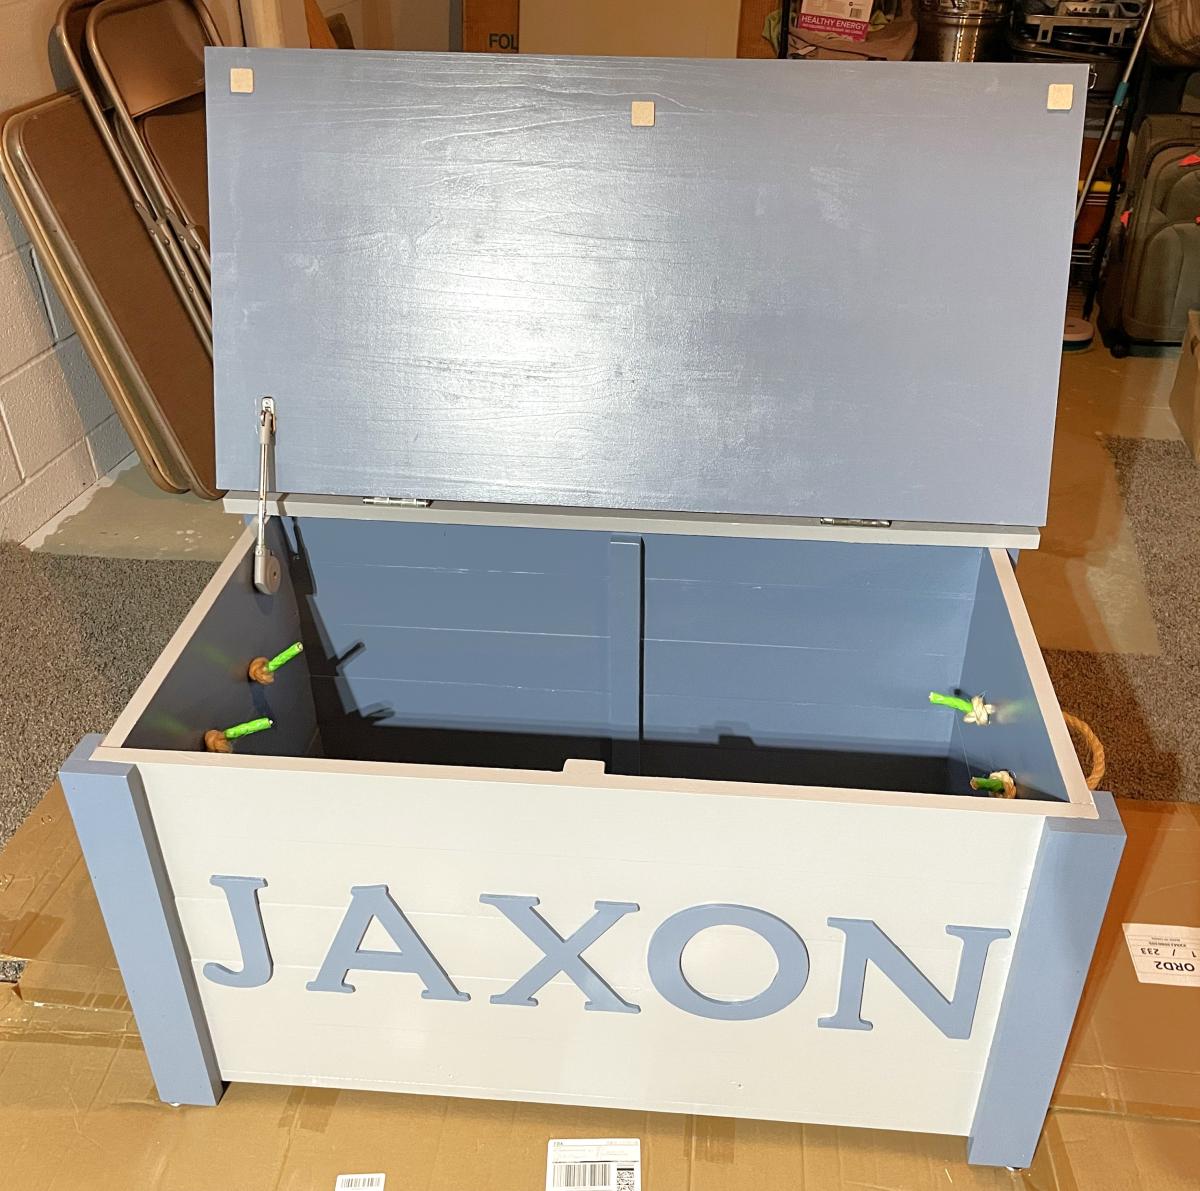
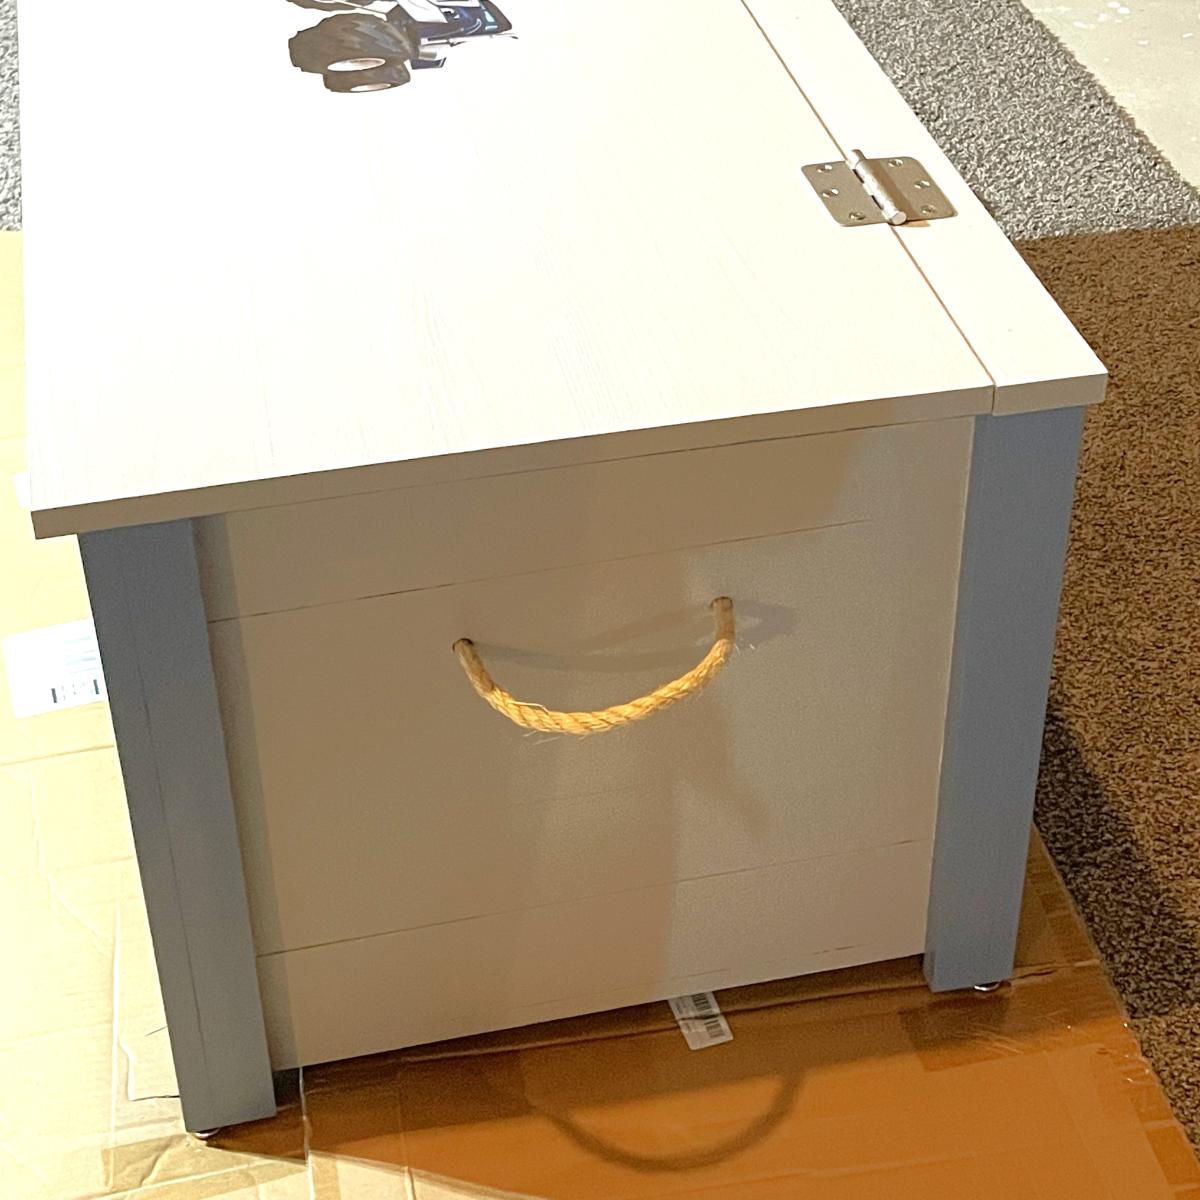
My husband and I built this toy box for our grandson from the farmhouse toy box pond you had on your site. We adjusted the size from what was in the plans, but it turned out really nice!
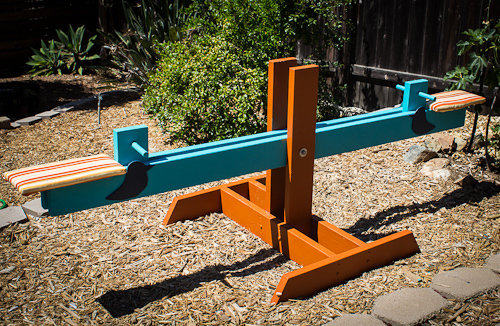
The seesaw is like a dinosaur: the extinct relic of the playground, still held in awe by kids the world over. No longer available to the public in its original form, the original seesaw is the perfect DIY project. My older daughter had been asking for one for a couple of years, and after finding the plans on Ana White’s website I was able to build one cheaply for about $50 in wood and screws. This was the perfect weekend project, and I was able to use up some leftover paint and fabric to create this nice addition to our yard.
Check out my blog post about this seesaw here:
http://sandiegocountypropertymanagement.com/diy-kids-seesaw/
I made this headboard a year ago and it was my first Ana White project. I finally got around to making the nightstands last weekend and I just adore them. My guest room is finally complete!
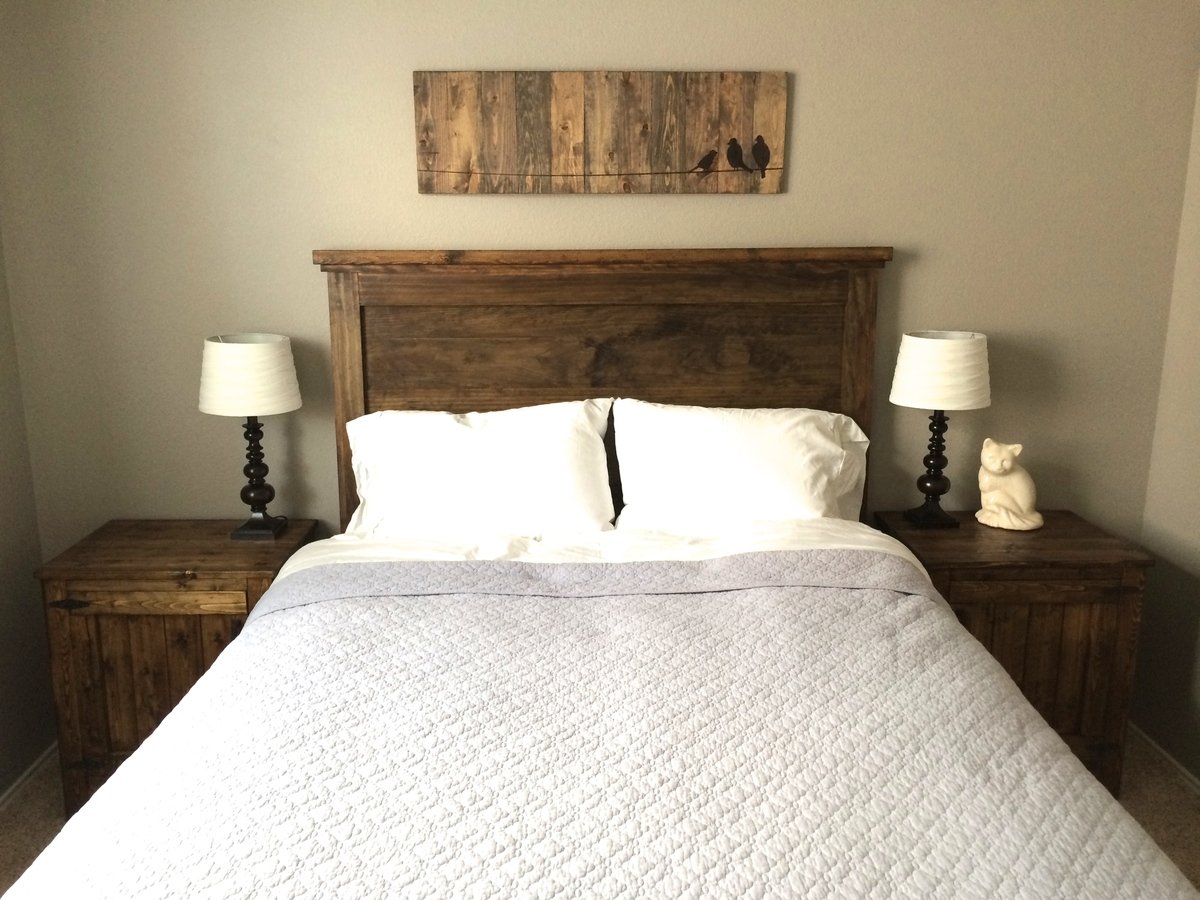
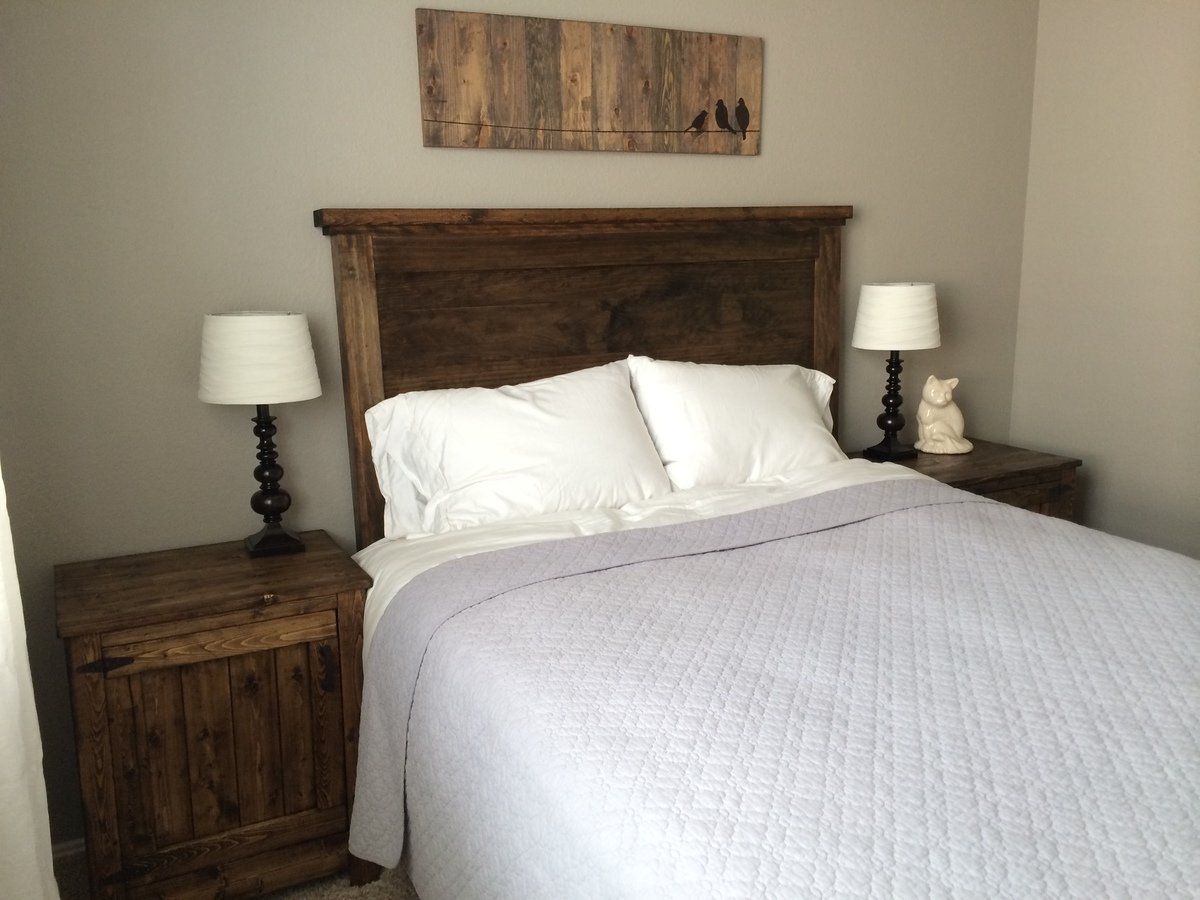
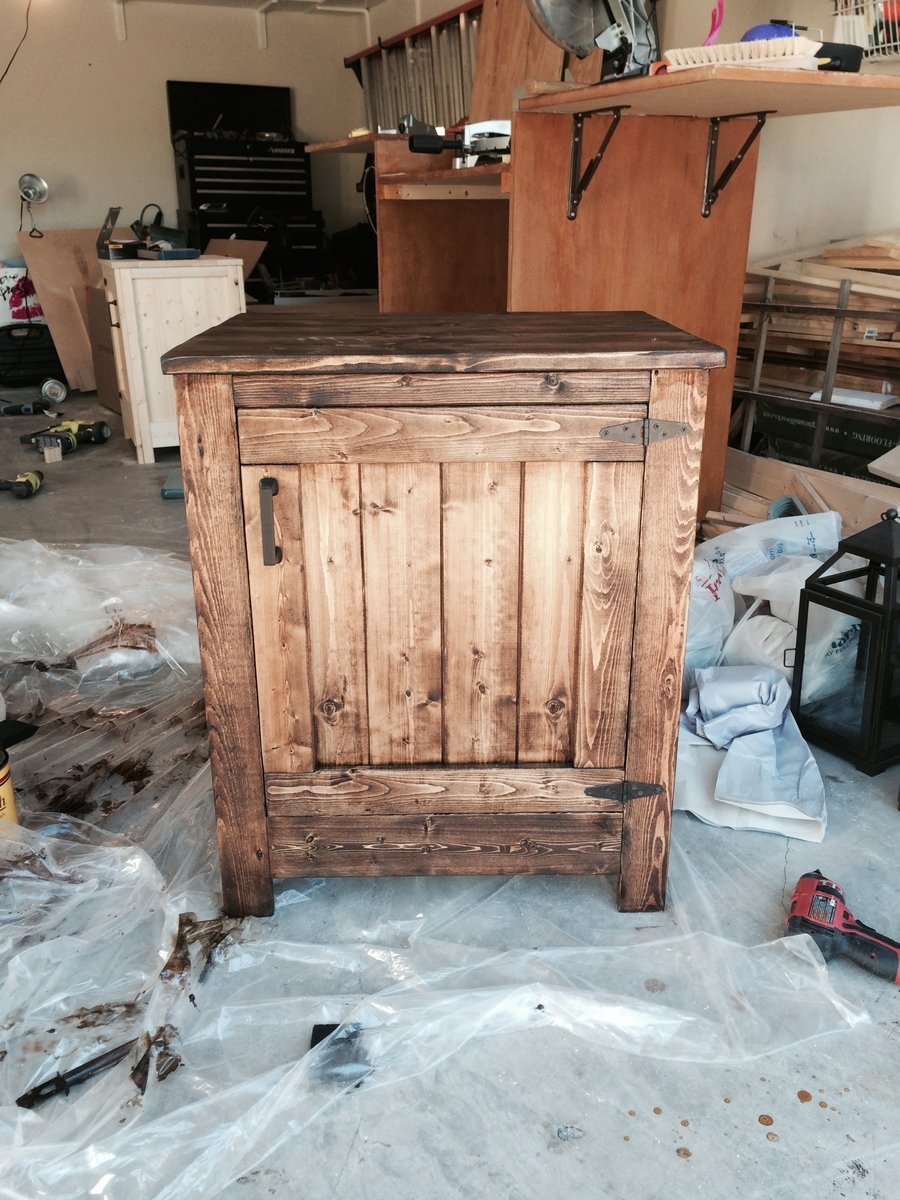
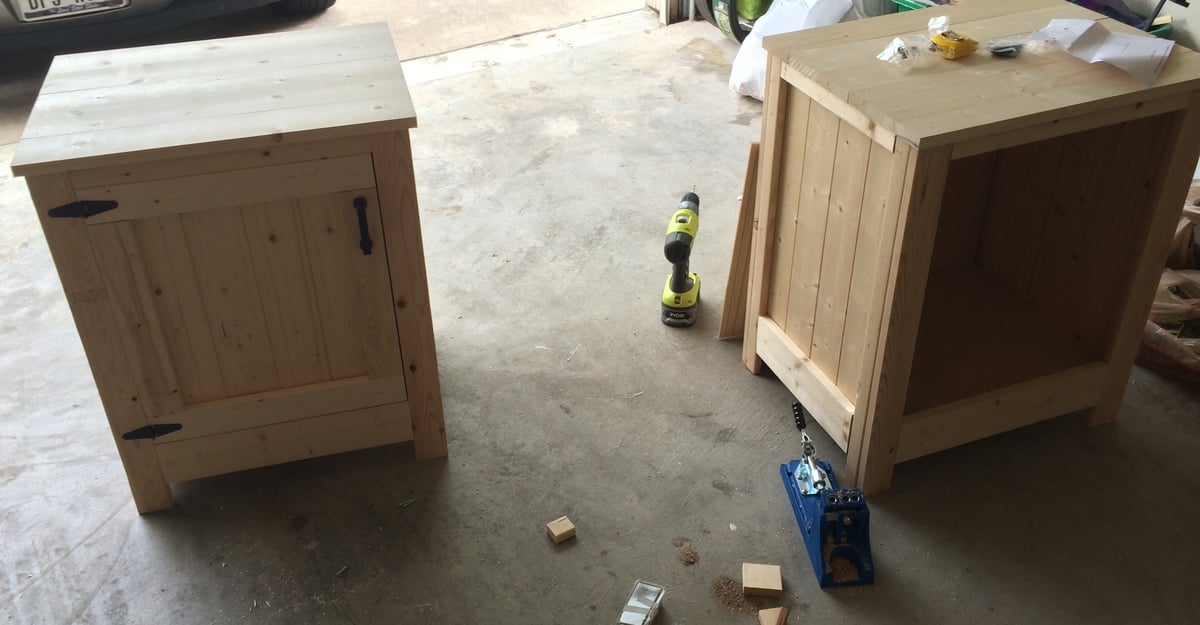
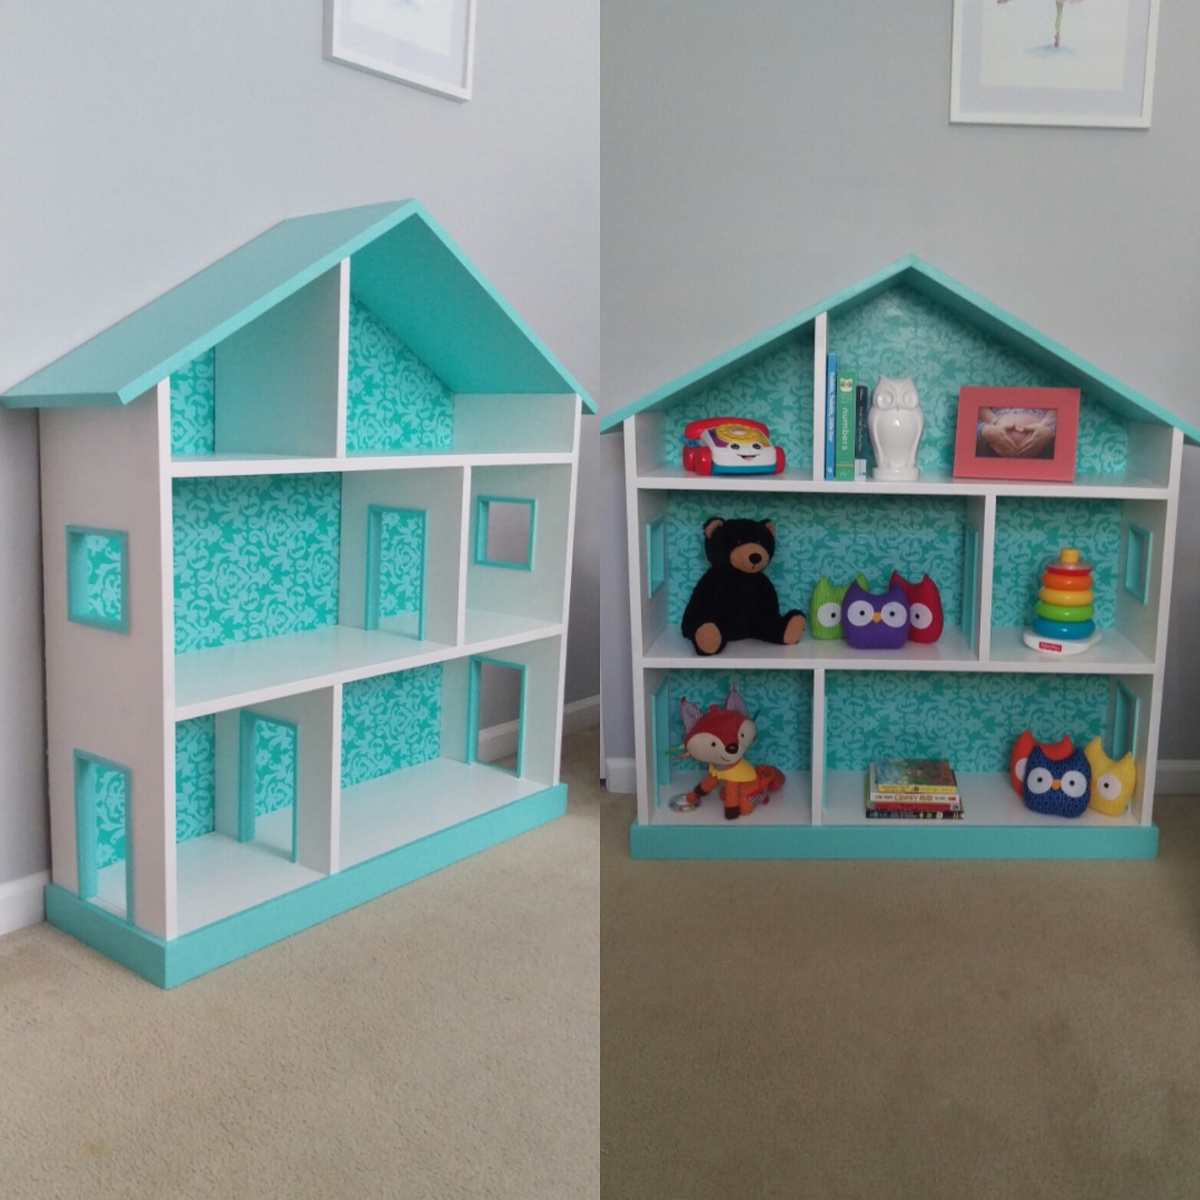
We did make some revisions to the plans, including making it shorter and not as wide.
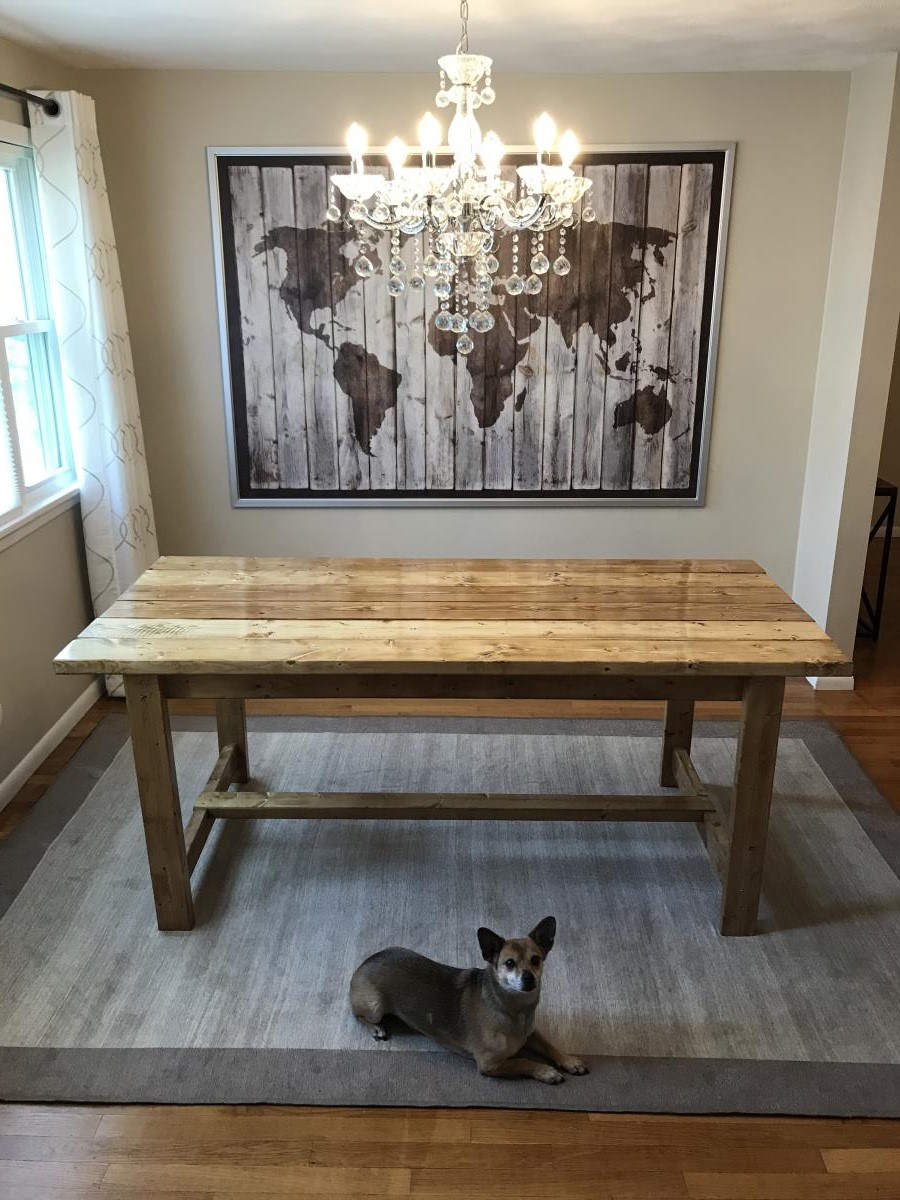
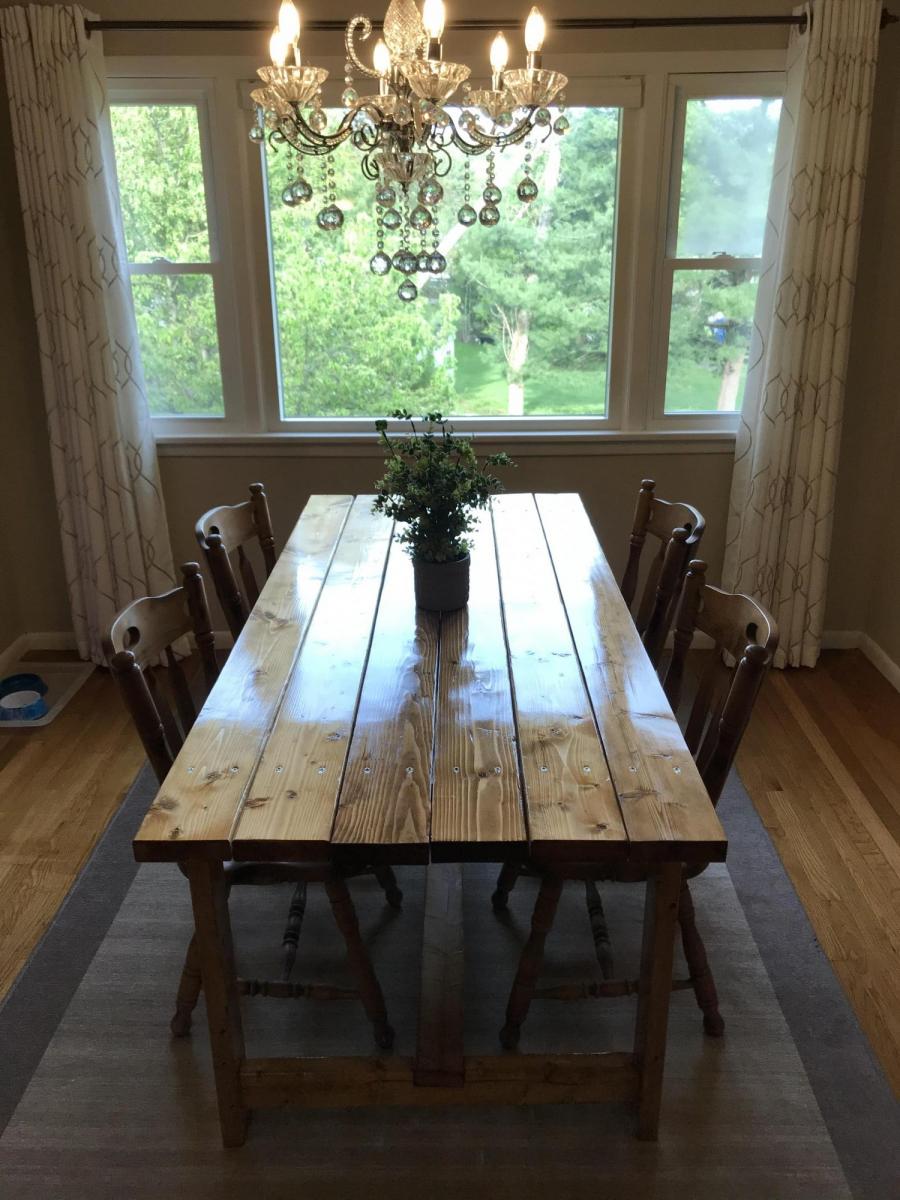
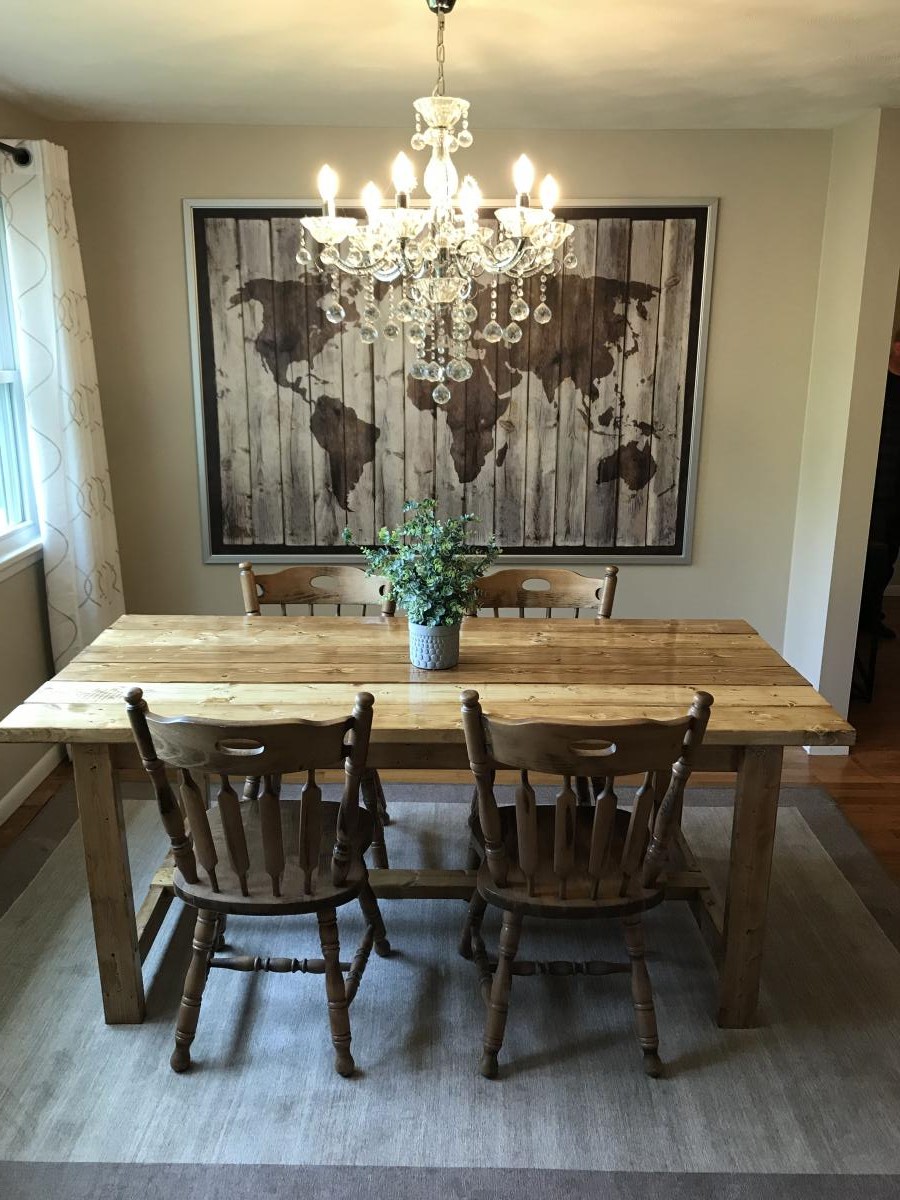
We made a 6'ft version of the beginner plans. We initially made the table 1" higher than the plans originally called for so that there'd be more room under the apron but that turned out to be just too high to comfortably dine at, so at the end of the project I shaved off an inch on each of the legs.
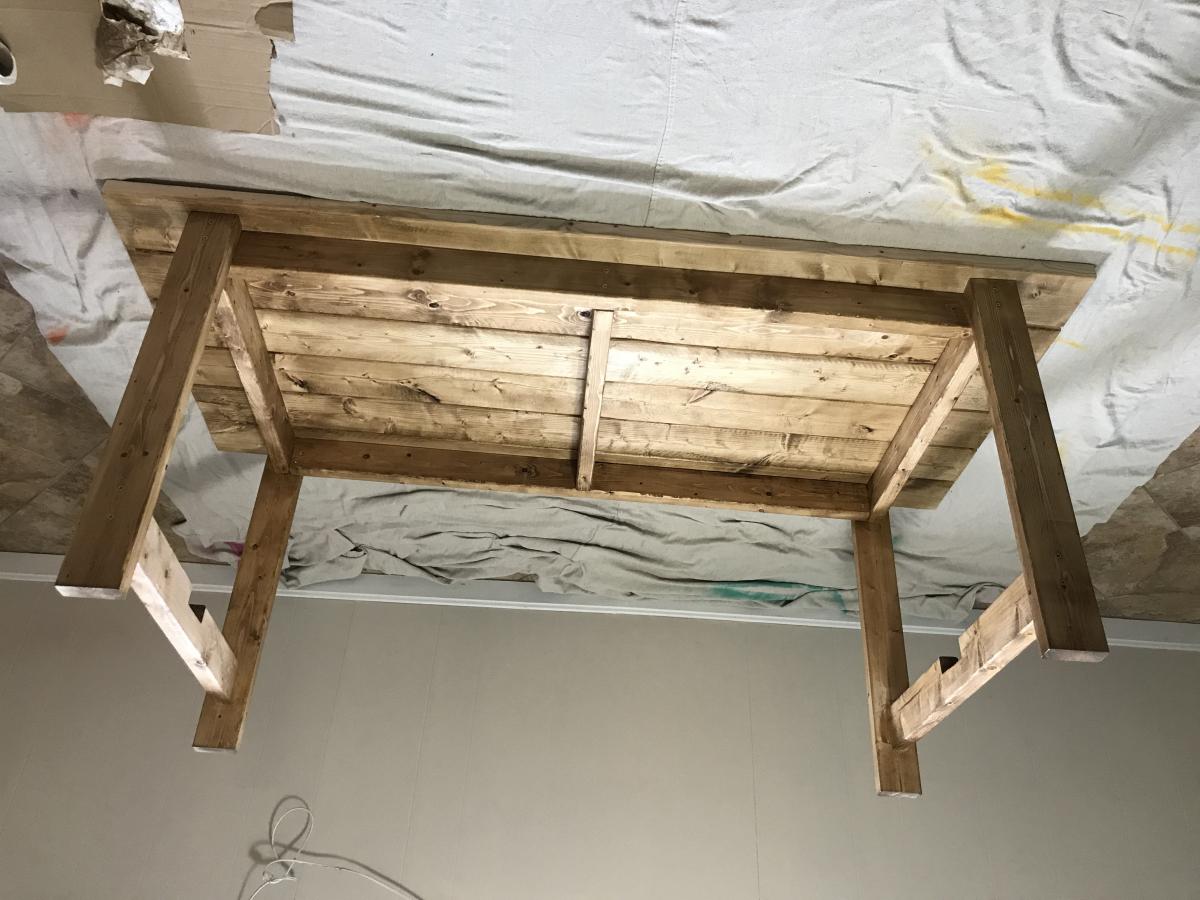
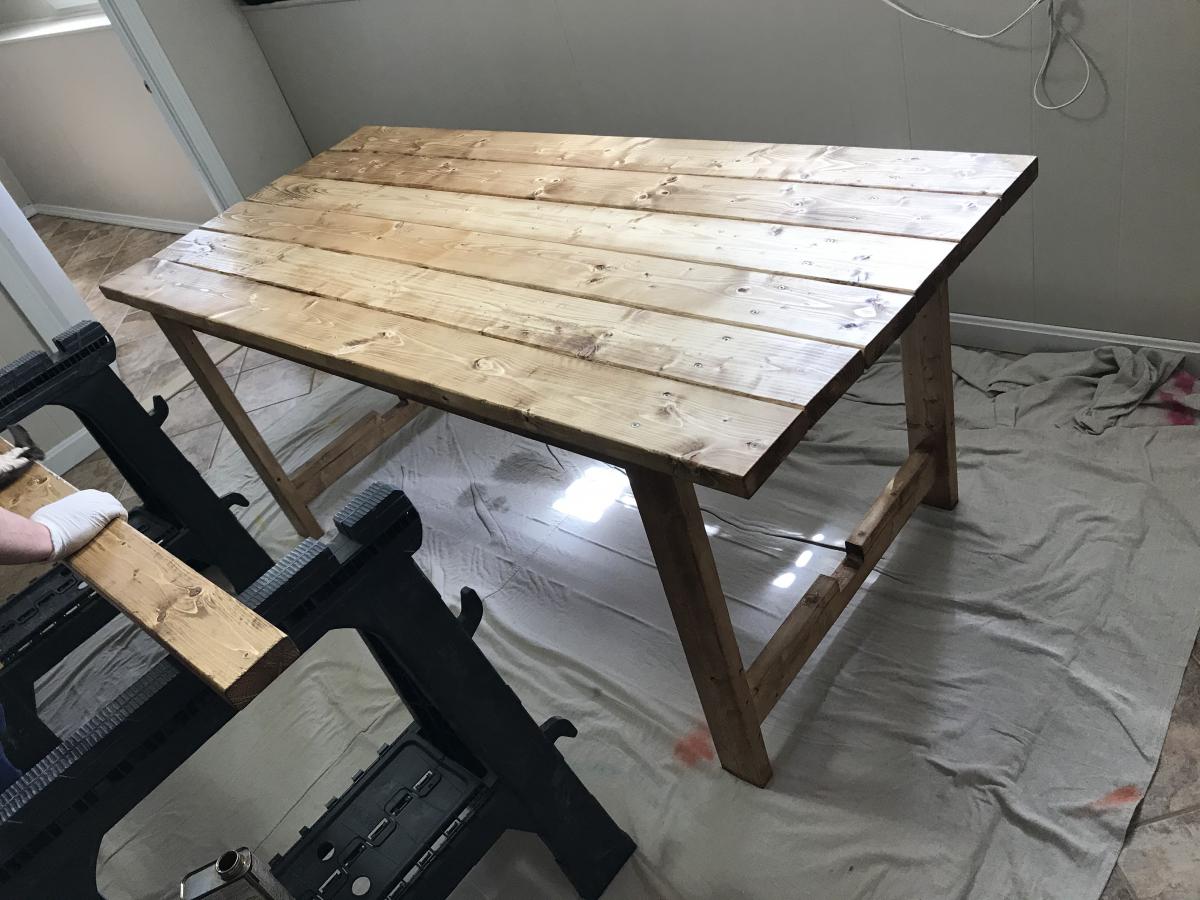
Some issues we had with this table is Pine is rather easy to warp and during the staining and poly process 3 of the top boards warped too heavily for the table maintain a fat surface. I ended up buy 3 new 2x6's and doing the sanding staining process all over again. We also modded the plans so have a notch to fit the bottom cross beam in. This was our first wood working project ever it turned out really nice. We used the Dutch oil, Dark Walnut on the pine for anyone interested.
I'm giving a high estimate on both time and money due to mess ups and just being completely and utterly new at this stuff.
Comments
Codding58
Mon, 08/22/2016 - 13:57
Awesome!!
Great job! I really like the way that your set came out! This had been on my list to do, but a broken foot put a damper on it this summer! Great Job!