Community Brag Posts

Cabana turned Galmper
Submitted by JeannaF on Wed, 06/17/2020 - 19:16

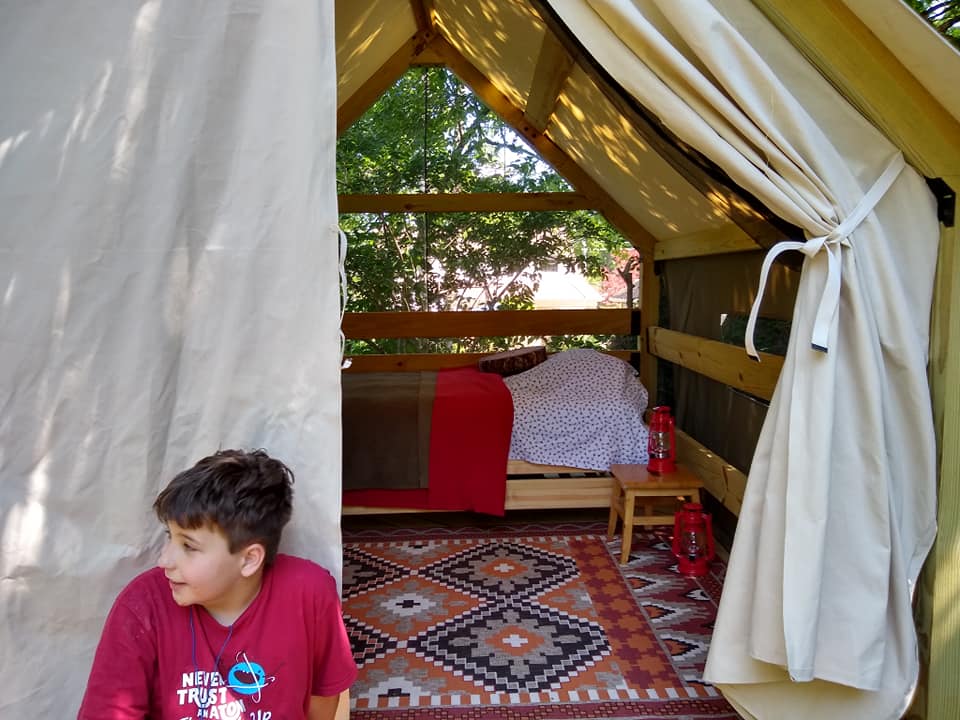
I stumbled across the Cabana design and just fell in love.
Once I decided I was making in tough, I needed to customize it a bit to meet our needs.
1. Needed to be able to sleep in it (so Mosquito proof)
2. If I am sleeping in it I want
a. Privacy
b. Possible rain protection ( I like a dry bed)
3.Need to be able to have a guest

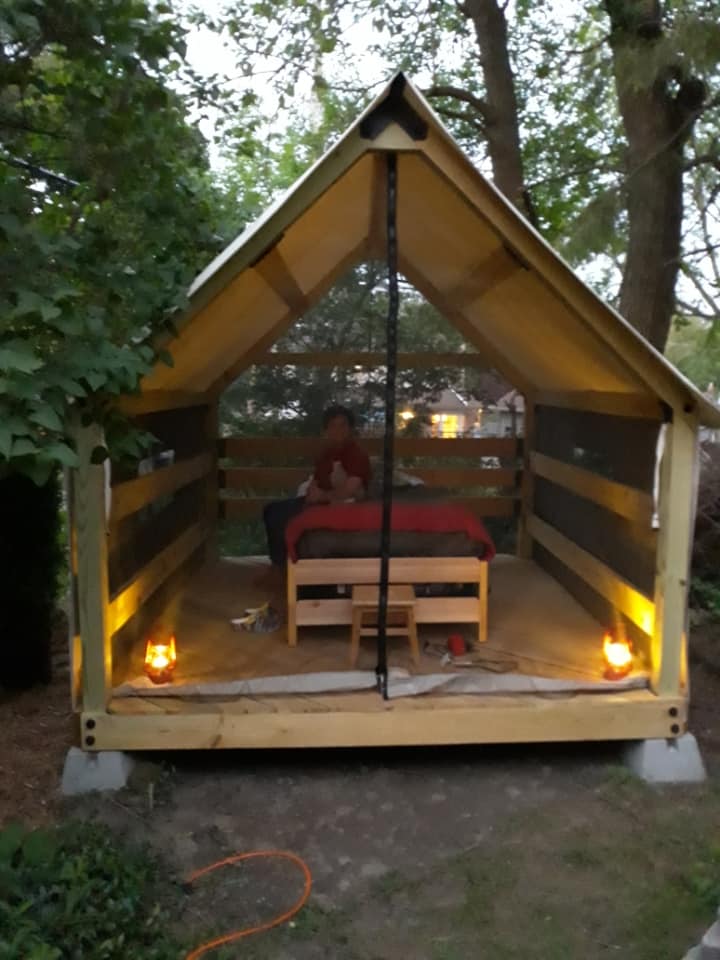
So, We made it a bit larger 9x10
Added screens all around and under floor boards, Zipper entrance in front.
Made Canvas side panels (attach with velcro)
Made front and back canvas panels/doorways.
Chose two stacking twin beds that can be snapped together for a couple or left apart for two guests.

Just for fun, we used timber framing ties (Simpson Strong) instead of the joist hangers and end caps...this gives is big beefy bolt heads and black metal straps across the beams. They do the same thing but give it a more rugged look.

My 12 year old has slept in it for two weeks already and plans to not come in until the snows come this winter!

Thanks so much for the great inspiration and general plan to get us started.
Built from Plan(s)
Estimated Cost
$300 for all the Tent Canvas and about $500 in other materials.
Estimated Time Investment
Week Long Project (20 Hours or More)
Finish Used
Canvas
Recommended Skill Level
Advanced

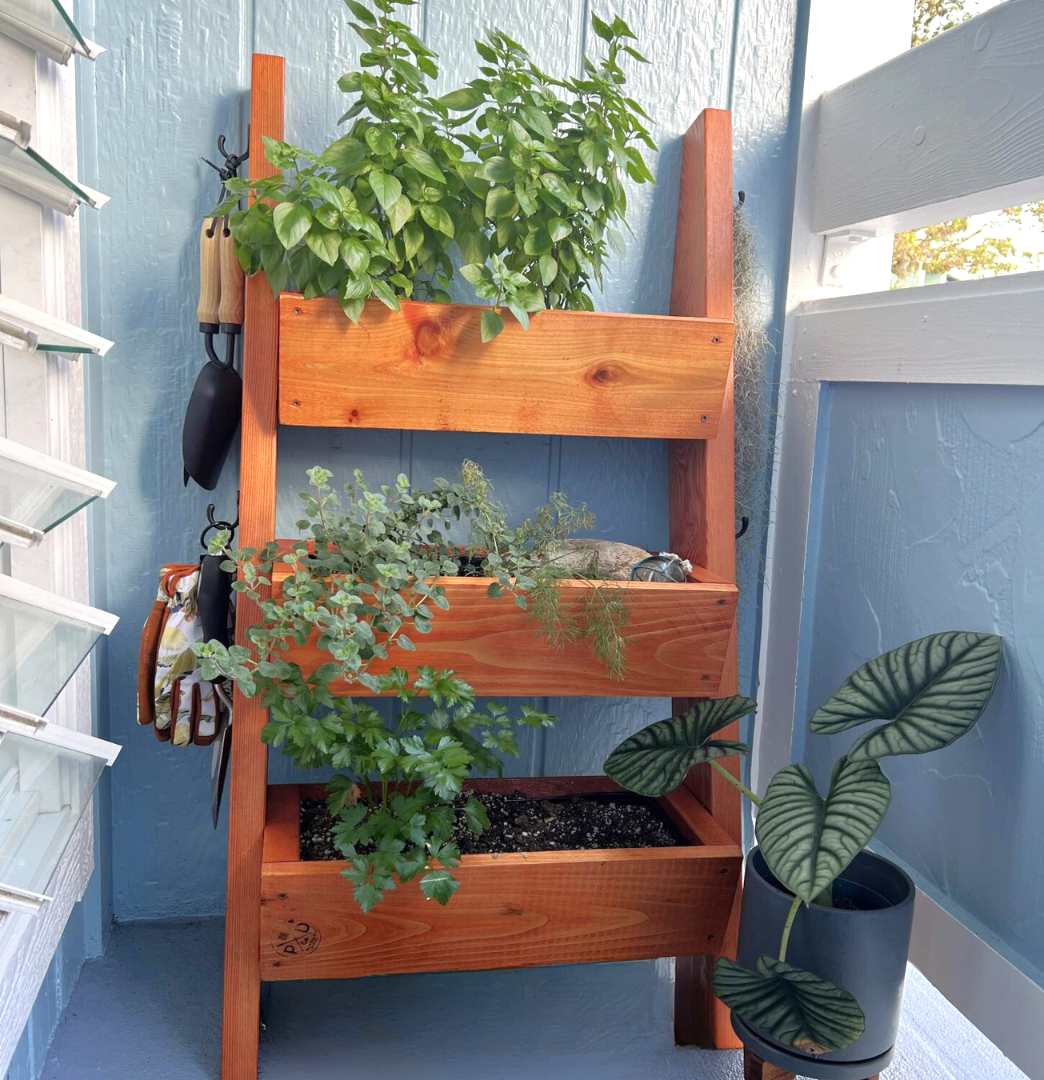
Small Balcony Planter

Submitted by Anonymous (not verified) on Mon, 03/25/2024 - 08:51

Adjusted the original plans to meet AOAO requirements. Shortened the boxes to 20” and the length to stay below balcony railing. Love this herb garden on my very tiny balcony in Hawai’i ❤️

Made by Melissa Puanani Nobriga-Petrichko.

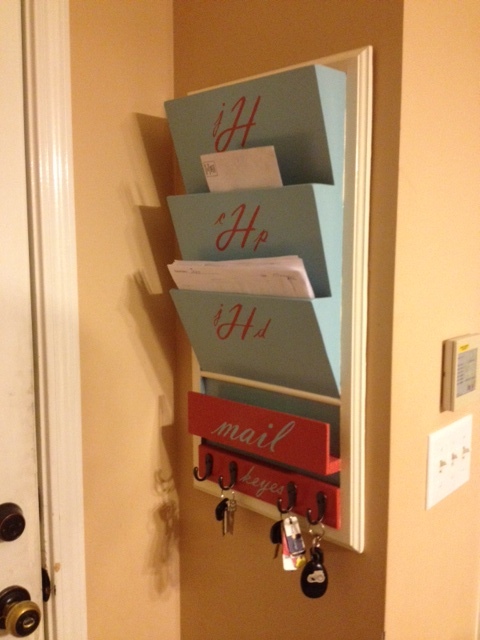
Family Organization

Submitted by red98dawg on Mon, 08/13/2012 - 09:39

I loved the post from Lady Goats on the PB inspired daily system and the modifications from debandtom25!
I knew this was an answer to clean up our counter, before items even make it to the counter this is right at the door when you walk in our house!

I didn't use a picture frame but used plywood with molding of my choice for the "frame." I selected paint at Home Depot and just purchased the sample paint in three different colors. The wording was done on a computer and used as a stencil (cut the letters into contact paper, stuck contact paper on and painted).

Estimated Cost
$35
Estimated Time Investment
Day Project (6-9 Hours)
Finish Used
Purchased the sample paint in three different colors, will post colors later.
Final coat in Rust-Oleum clear gloss.
Recommended Skill Level
Beginner

Comments

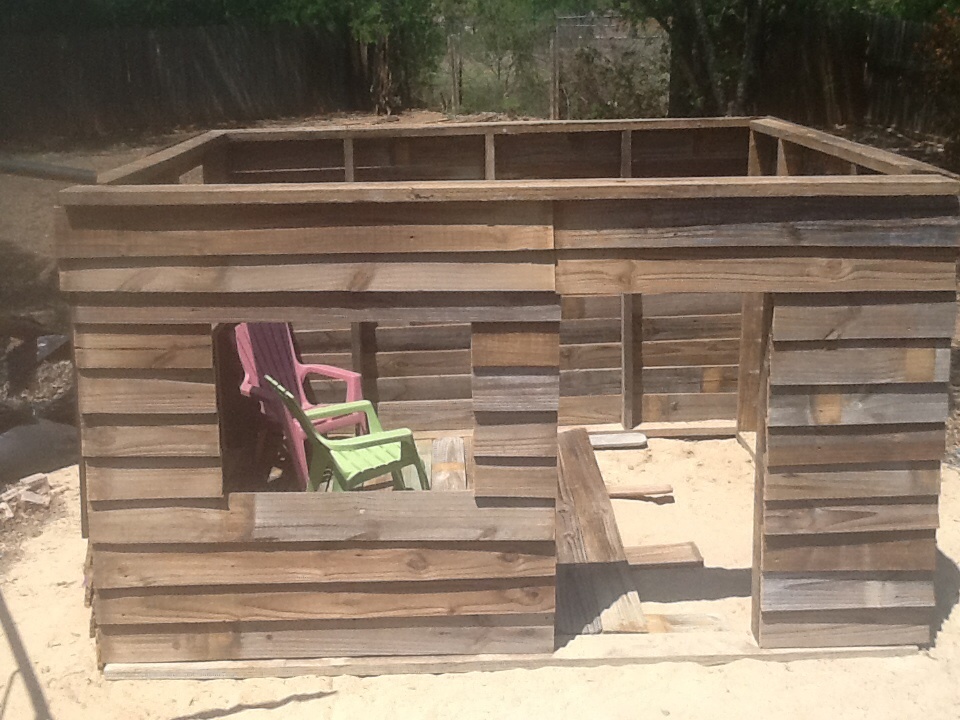
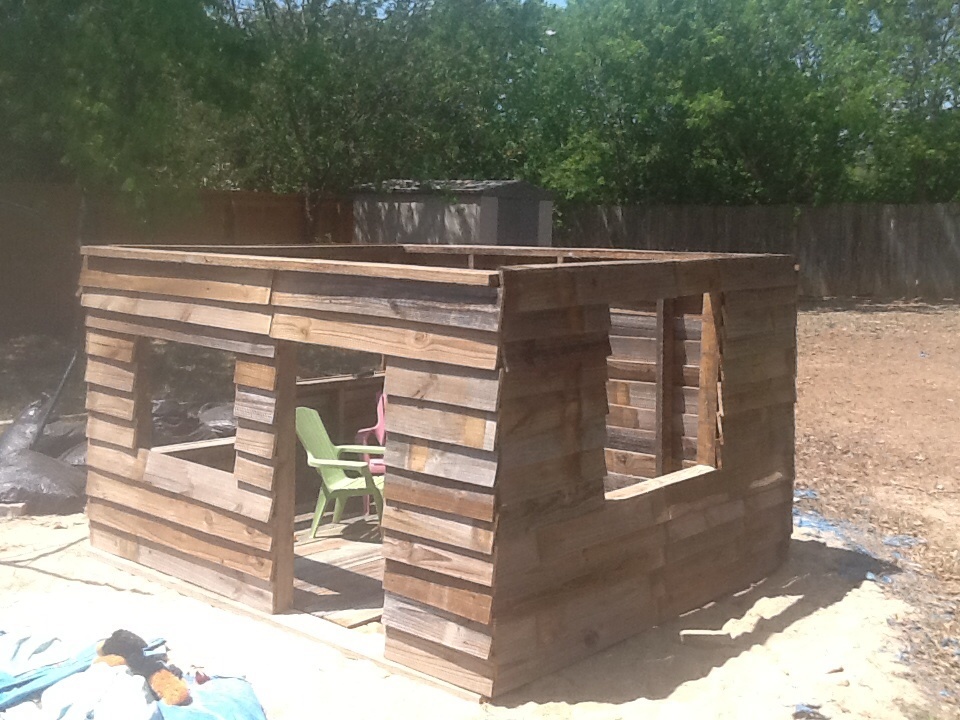
Reclaimed clubhouse

Submitted by Mrsmilburn on Wed, 06/04/2014 - 15:52

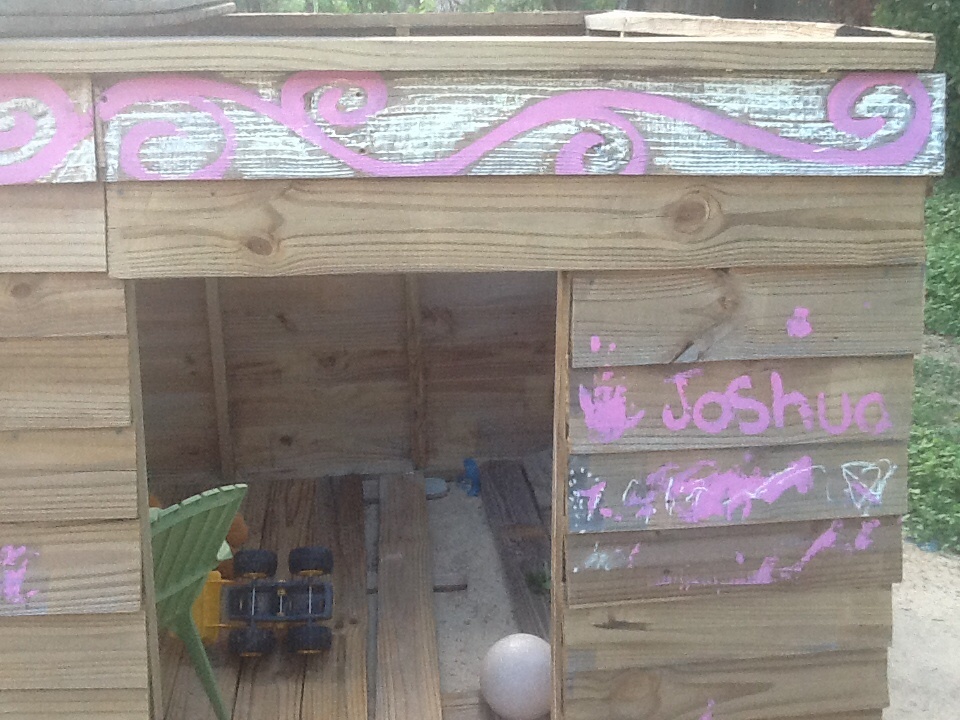
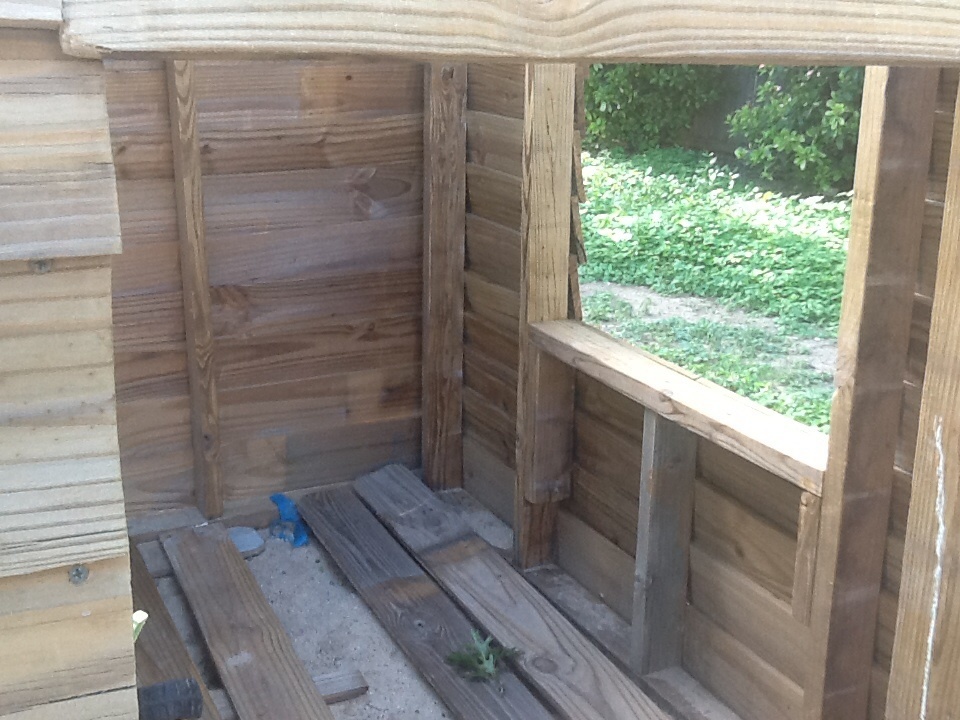
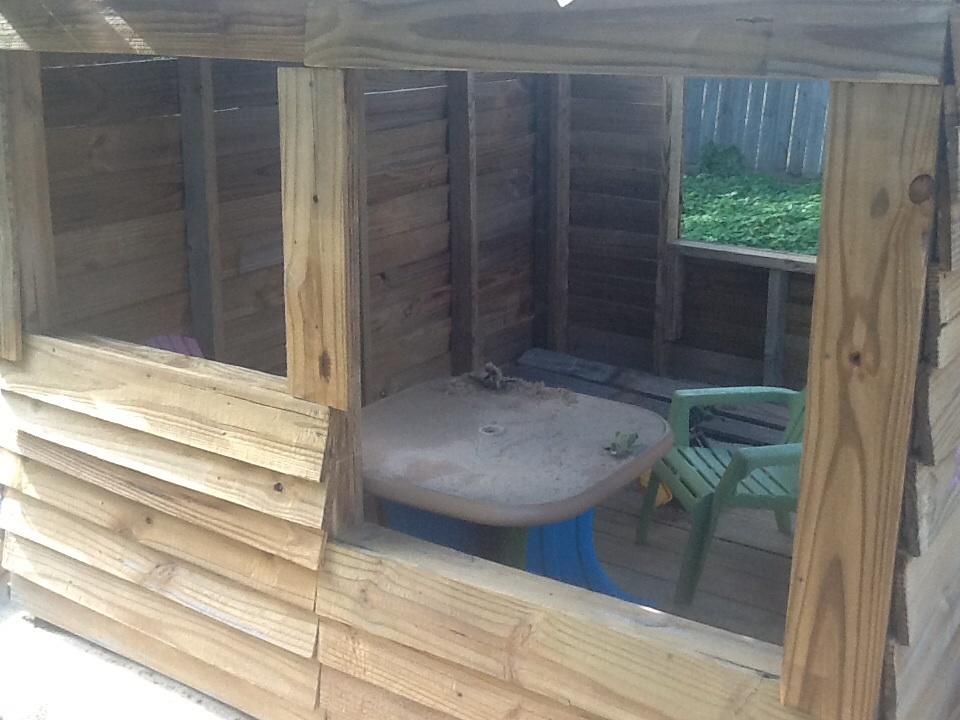
I did this all with fence panels. The dimensions were determined by my 2x4's. I trimmed the pickets to size and overlapped them to give it a real siding look. Then I power washed it and let the kids have fun, we have not finished decorating but we will and I am sure it will change over time since their decoration of choice is chalk. I say a weekend because you need to inventory what lengths of wood you have to plan it out and the smaller cuts for the siding can be time consuming. This didn't cost me a thing I had screws left over from building a deck. I built each wall then screwed them together and attached siding making sure to only screw into the facing wall so I could disassemble if needed.

Estimated Time Investment
Weekend Project (10-20 Hours)
Recommended Skill Level
Beginner

Maple Edge Grain Cutting Board

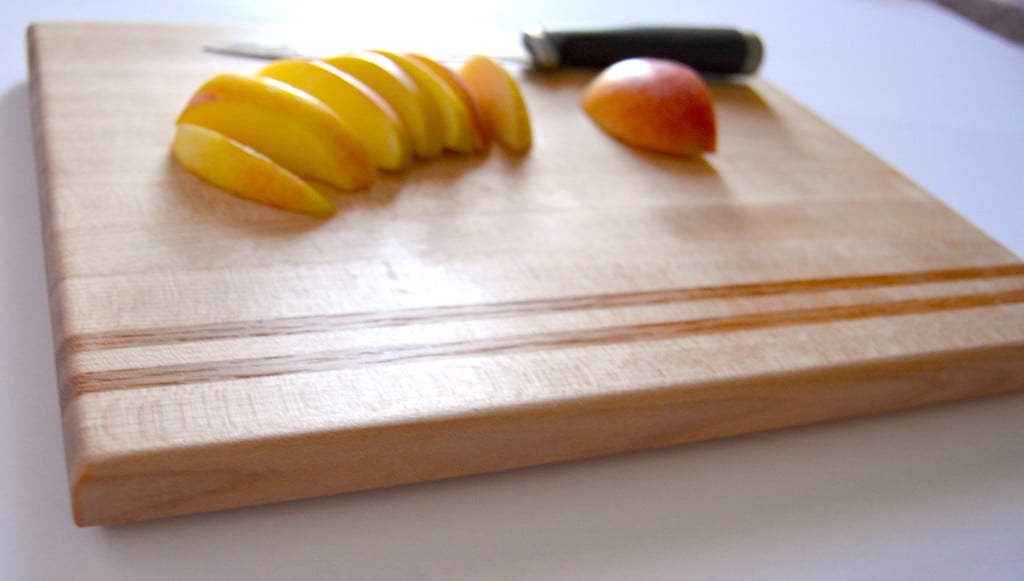
A cutting board seems to be a right of passage for any new wood worker, that and making a mallet! I’ve already made a mallet and have been putting off making a cutting board so I figured now was as good a time as any. I’ve always liked the look of edge grain maple and I had some scraps of maple that were too narrow for most projects so I figured that I would go for that look. To spice it up a bit I decided to add a couple of accent strips of Oak.

Estimated Time Investment
Day Project (6-9 Hours)
Recommended Skill Level
Beginner

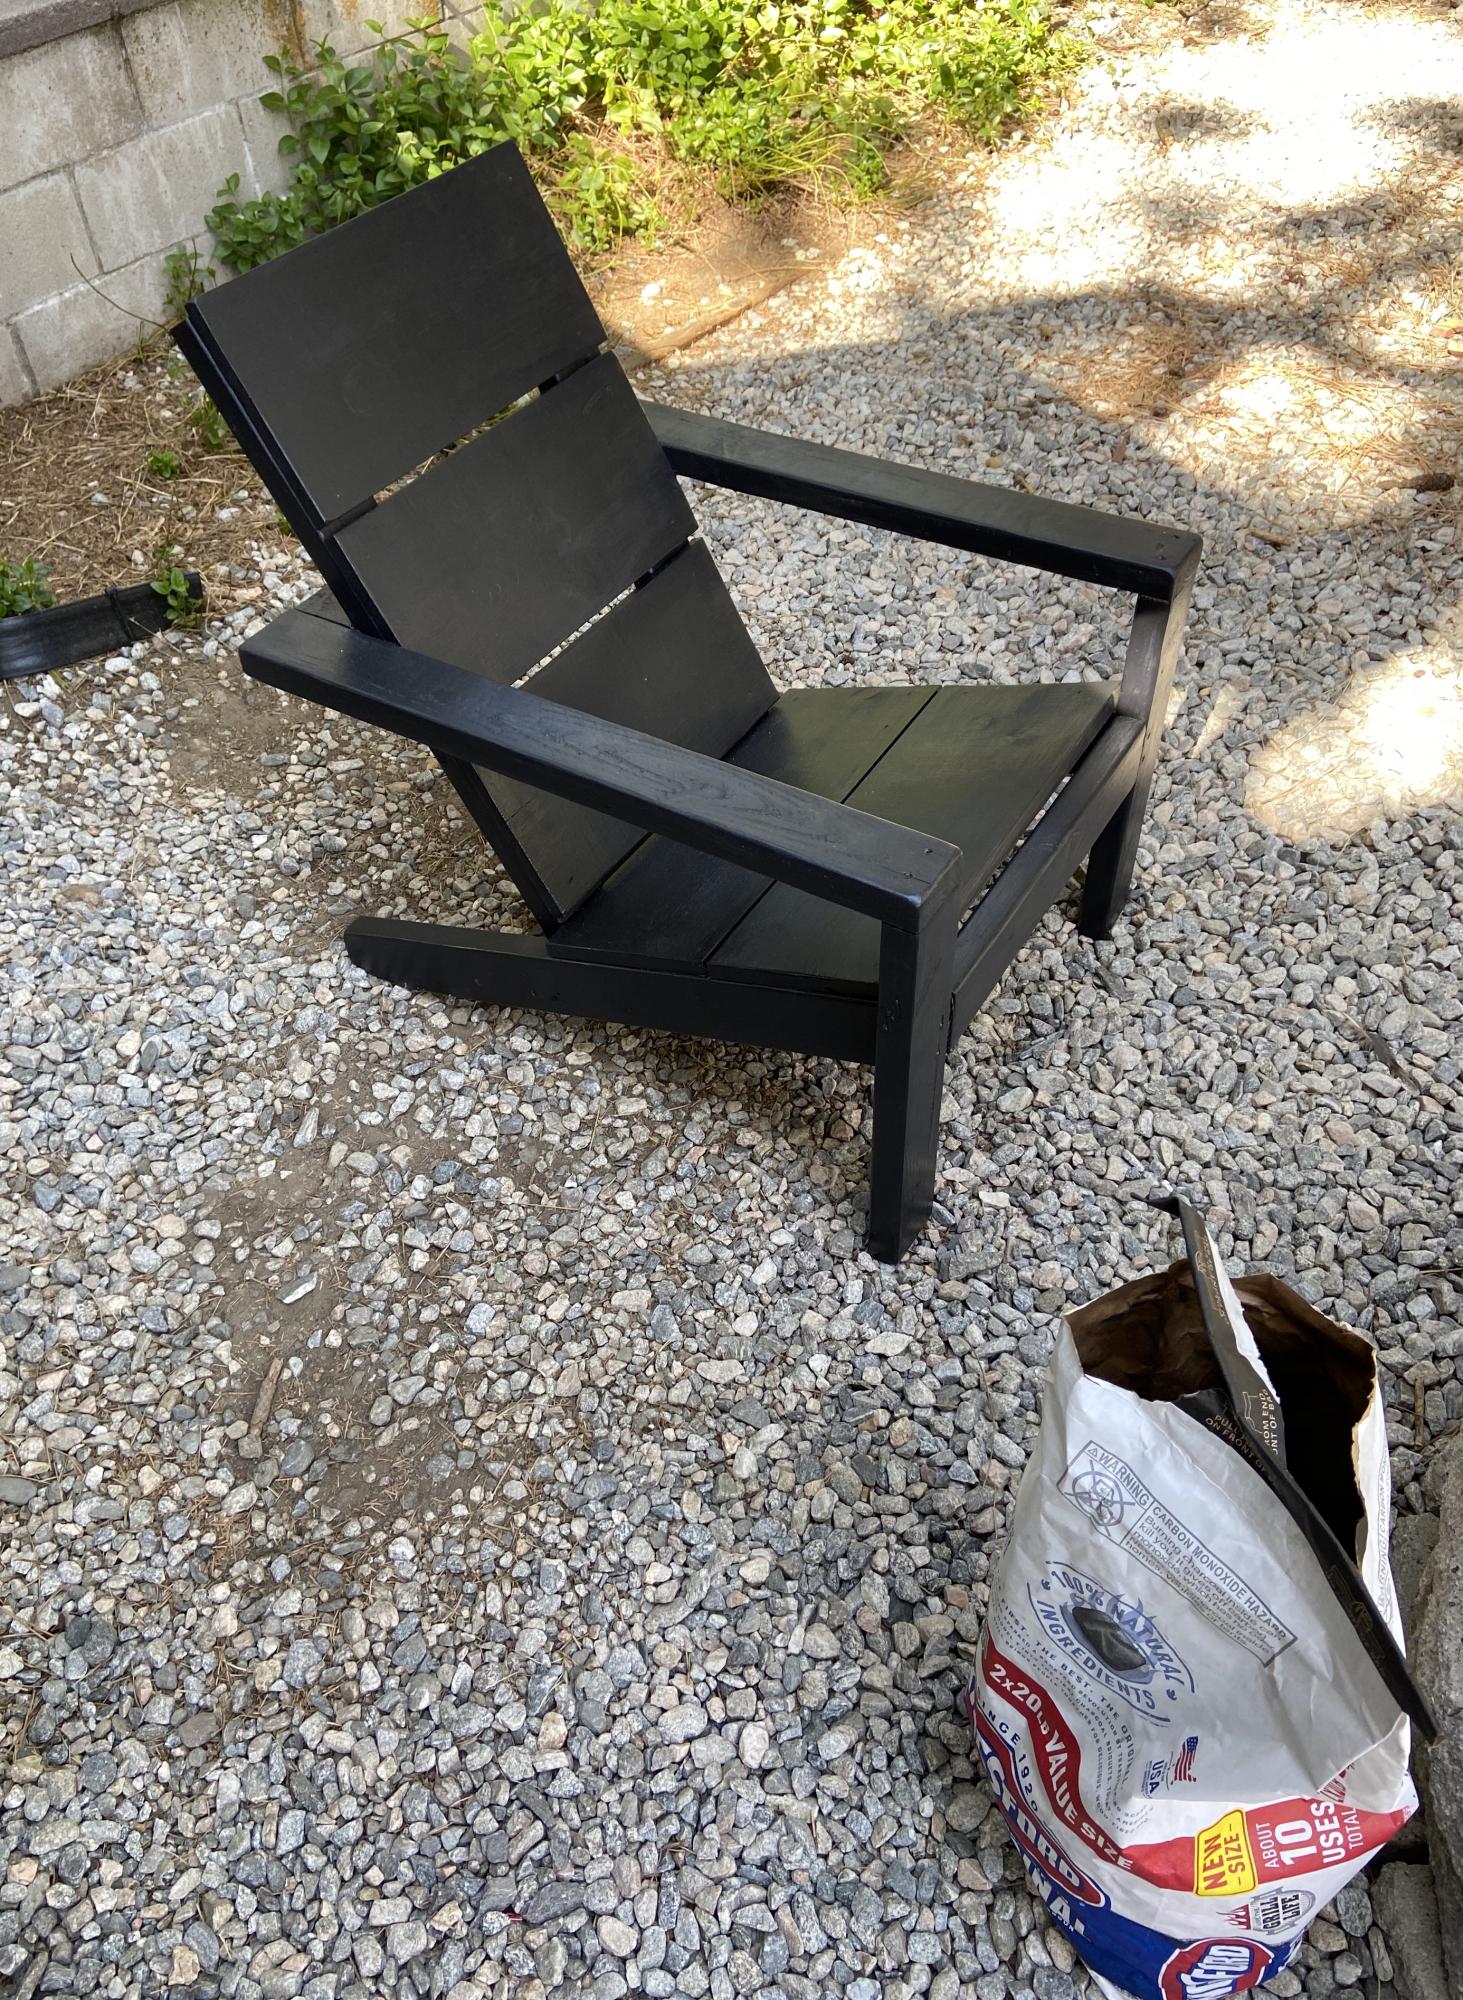
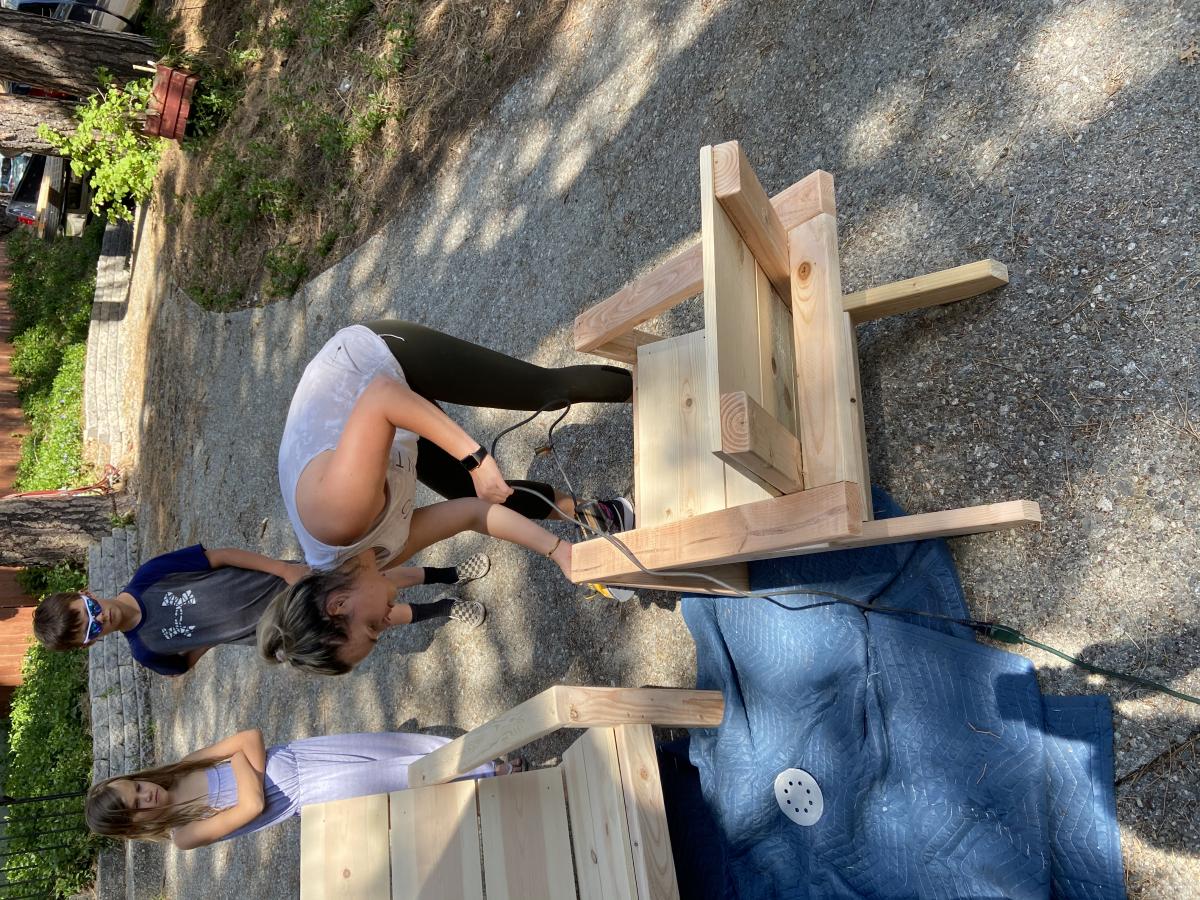
Modern Loveseat with Slight Modification

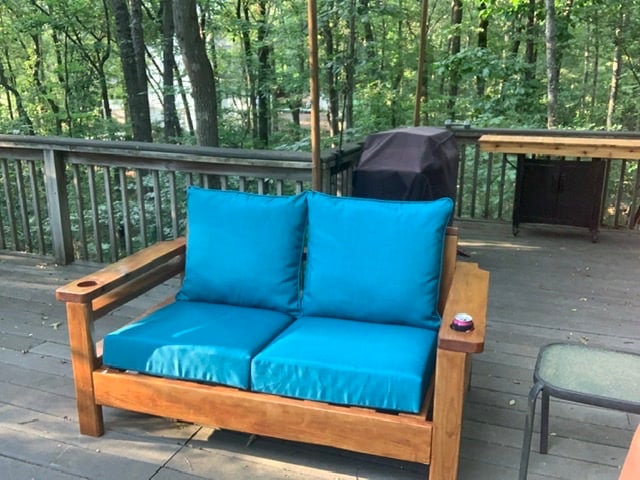
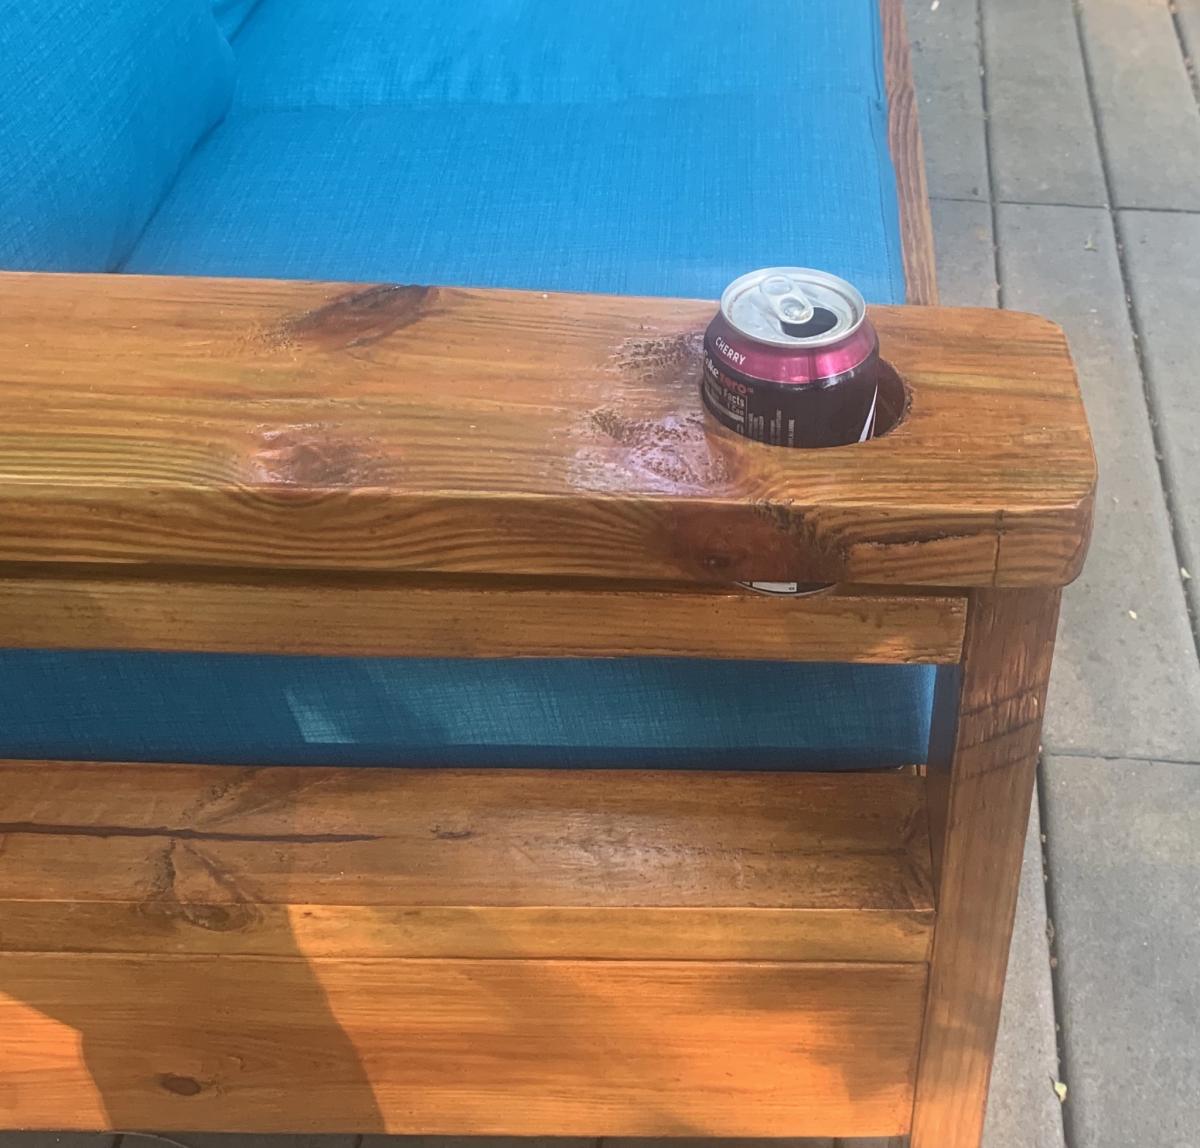
Thanks so much for this plan. I modified it slightly by using 2x6 For the arms so I could cut out a hole for a glass or bottle. I also added an additional 2x4 underneath to keep the glass from falling through.

I spent a lot of time sanding and putting the first finishing coat on each piece prior to assembly to make final finishing easier. Extended elapsed time but I think it made actual time shorter.

Estimated Cost
$150
Estimated Time Investment
Week Long Project (20 Hours or More)
Finish Used
Coat 1: 70% Teak Oil 30% Cabot Gold Sunlit Walnut
Coat 2: Cabot Gold Sunlit Walnut
Recommended Skill Level
Intermediate

Painters shelf

Submitted by Krissymia on Fri, 08/17/2012 - 06:47

Whew! I am a total novice. I have never used a saw in my life, but with a little bit of instruction from my husband i was able to do it almost completely on my own. Even as a beginner i could have finished it in a full day, but i was trying to work on it during my daughters naps so it took almost a week!

Recommended Skill Level
Intermediate

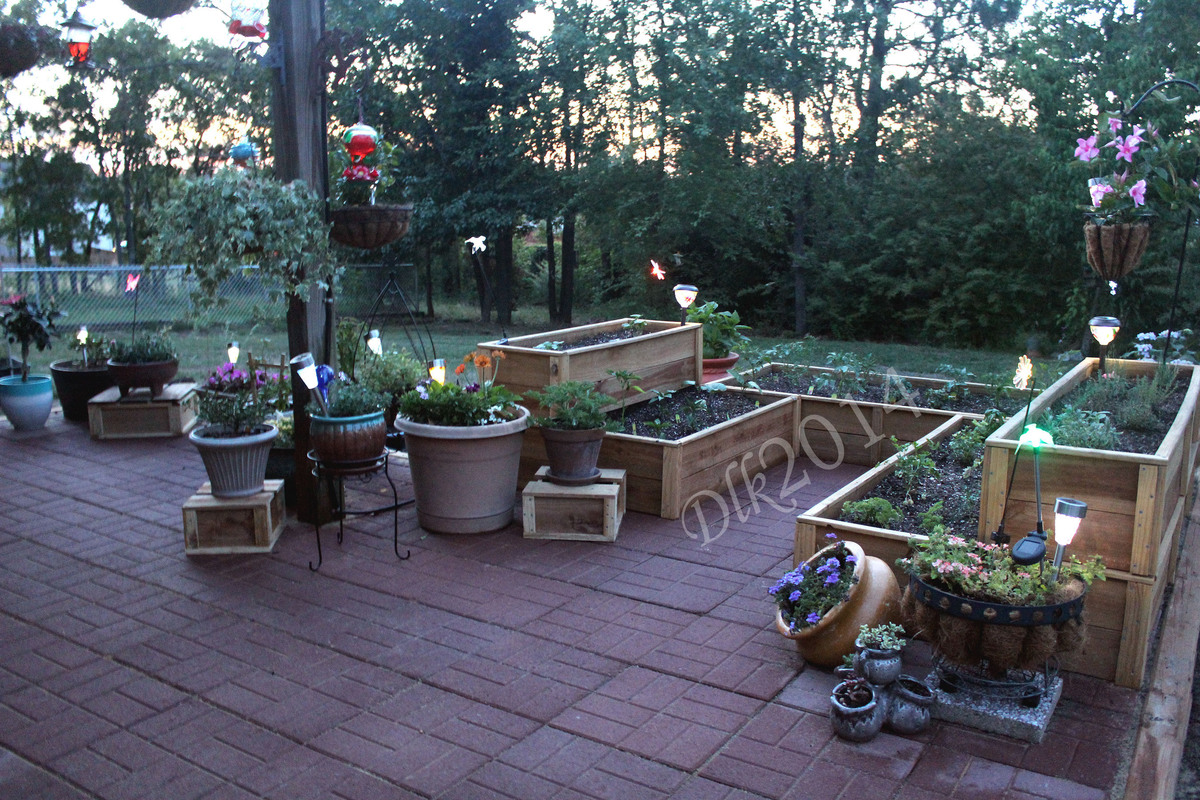
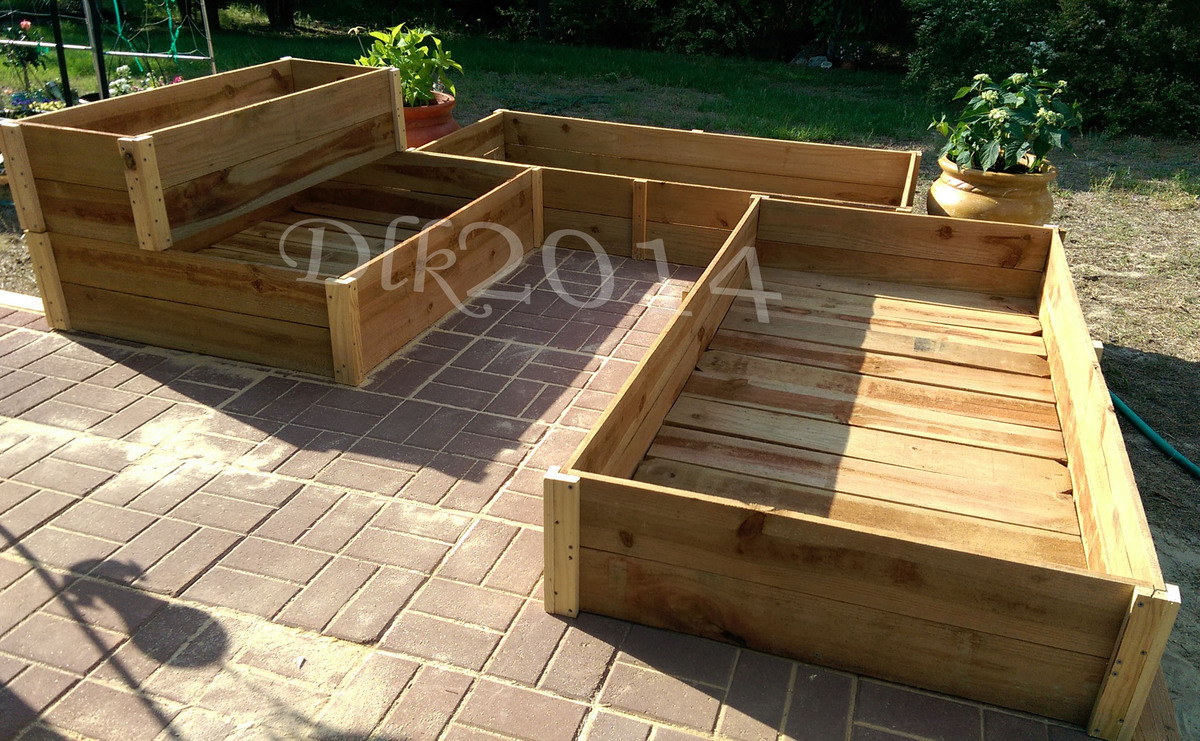
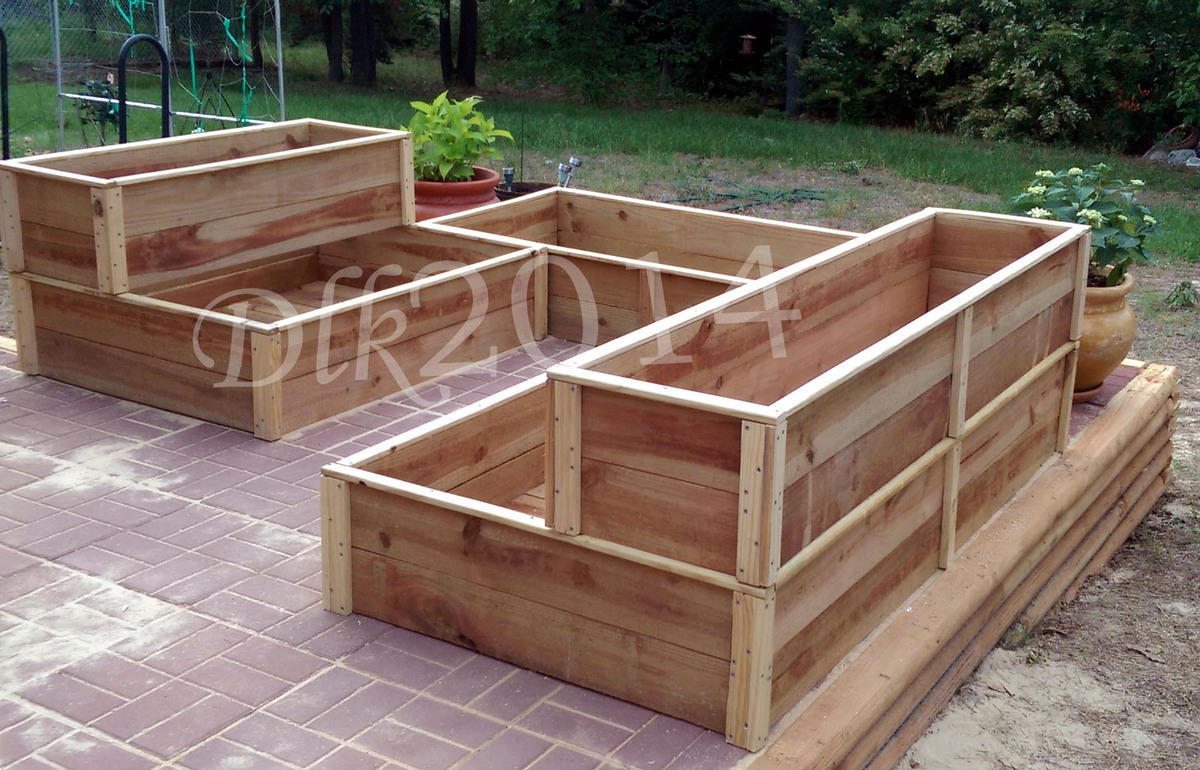
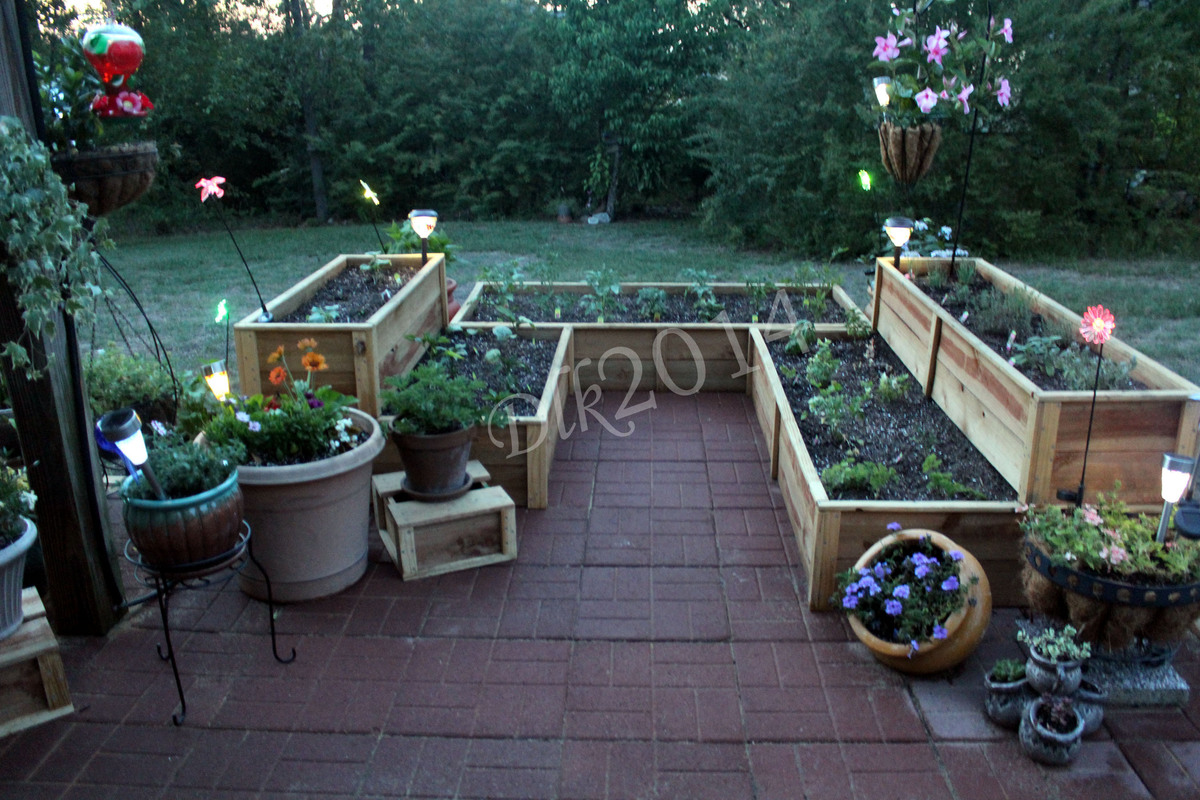
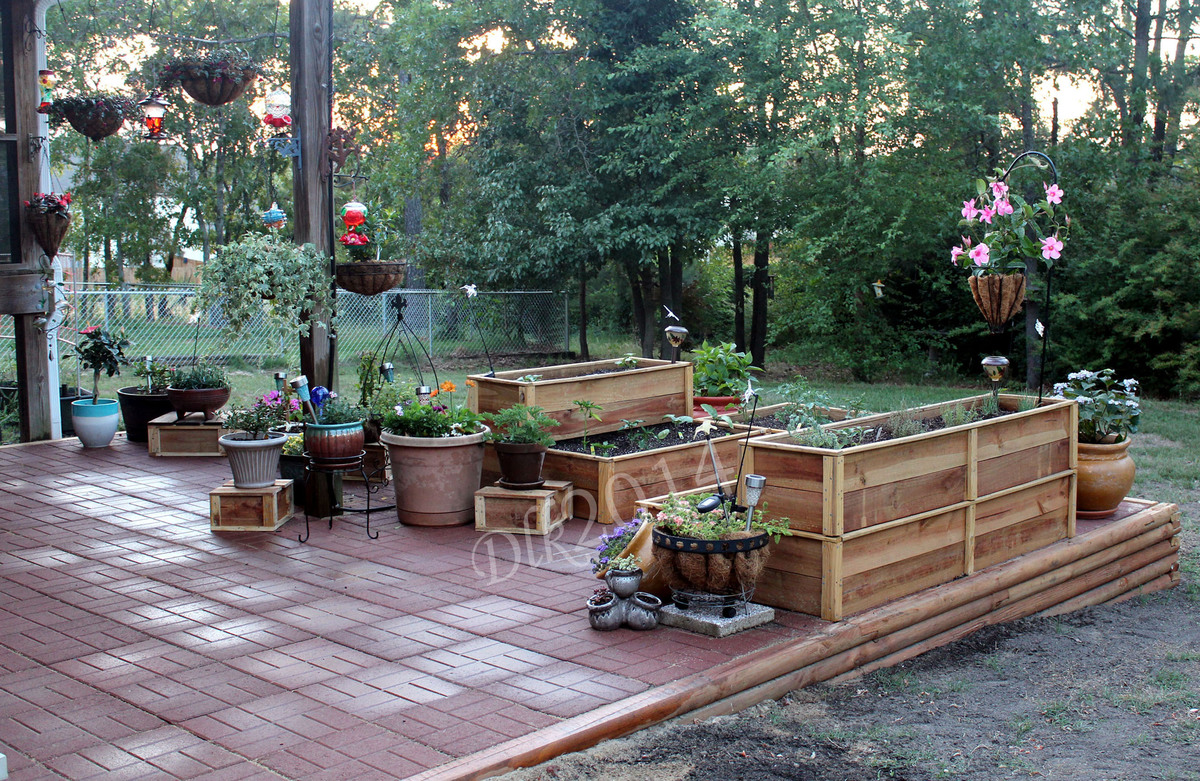
Raised Garden Beds

Submitted by Deekra on Sat, 06/07/2014 - 16:31

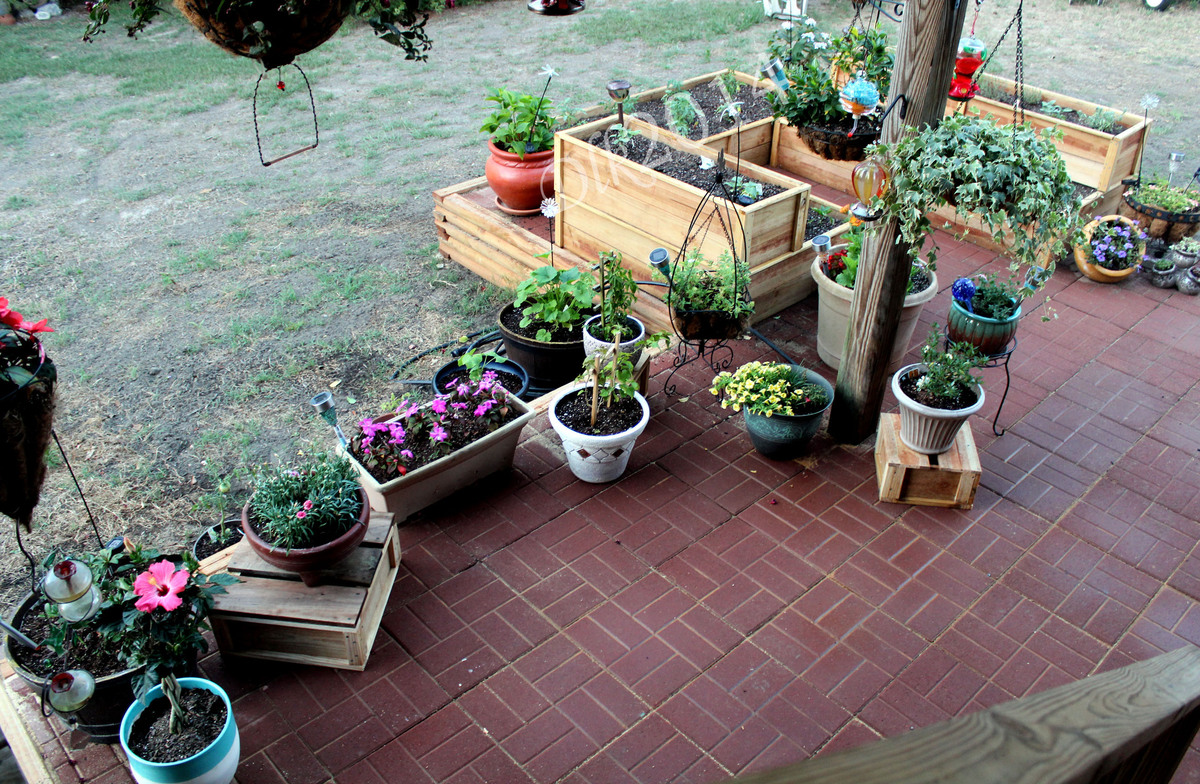
I used the basic Raised cedar garden bed plans with a few alterations. I made them different sizes, stacked one on top of the other for some dimension in my garden and secured them together from in inside.

Estimated Time Investment
Week Long Project (20 Hours or More)
Recommended Skill Level
Intermediate

Comments

Dog kennel

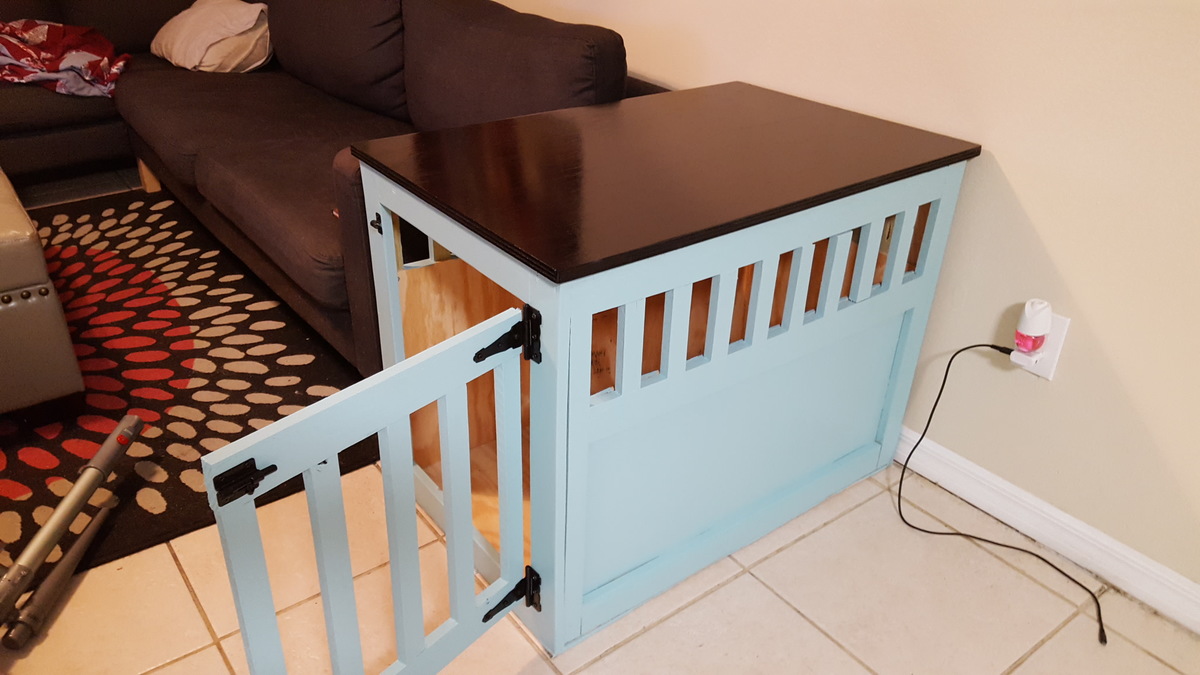
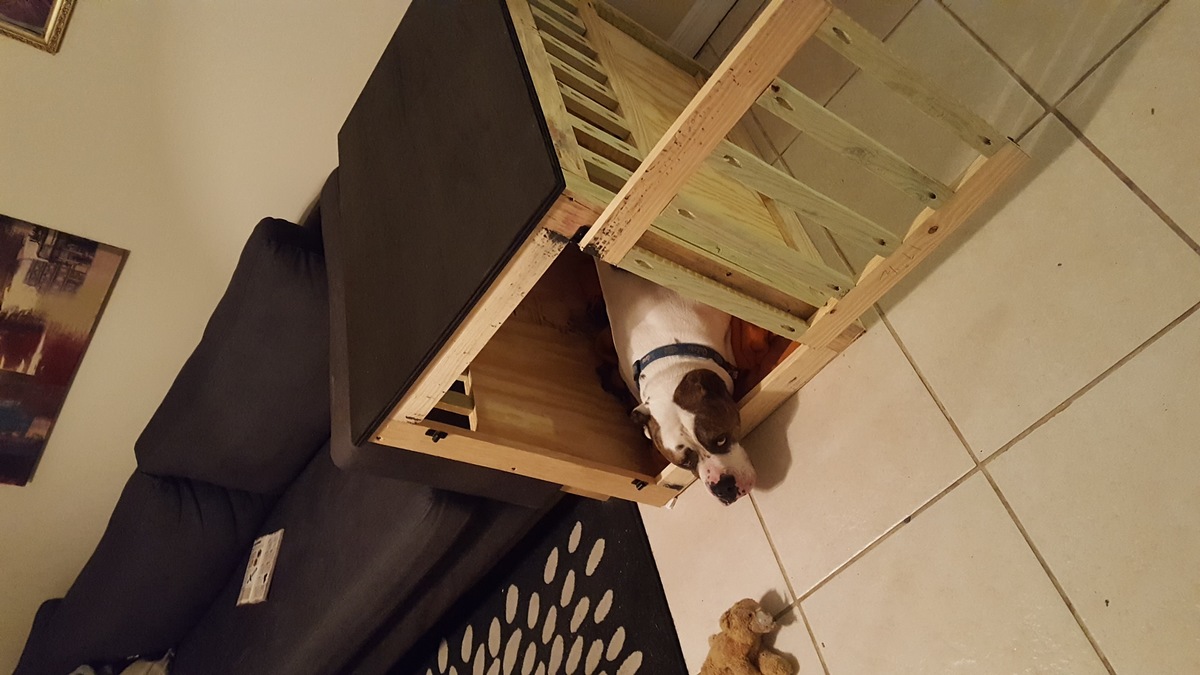
My husband and I took this on as our first project.. very happy with the results!! Our american bulldog gets kennel anxiety so we thought we would try this and he loved it right off the back! It is nice and lg he is 90lbs and our little one has made his way in with him to and he is 25lbs they both fit comfortably!!!

Built from Plan(s)
Estimated Cost
$100
Estimated Time Investment
Day Project (6-9 Hours)
Finish Used
Ebony stain and polyeurathane with a baby blue latex based paint
Recommended Skill Level
Beginner

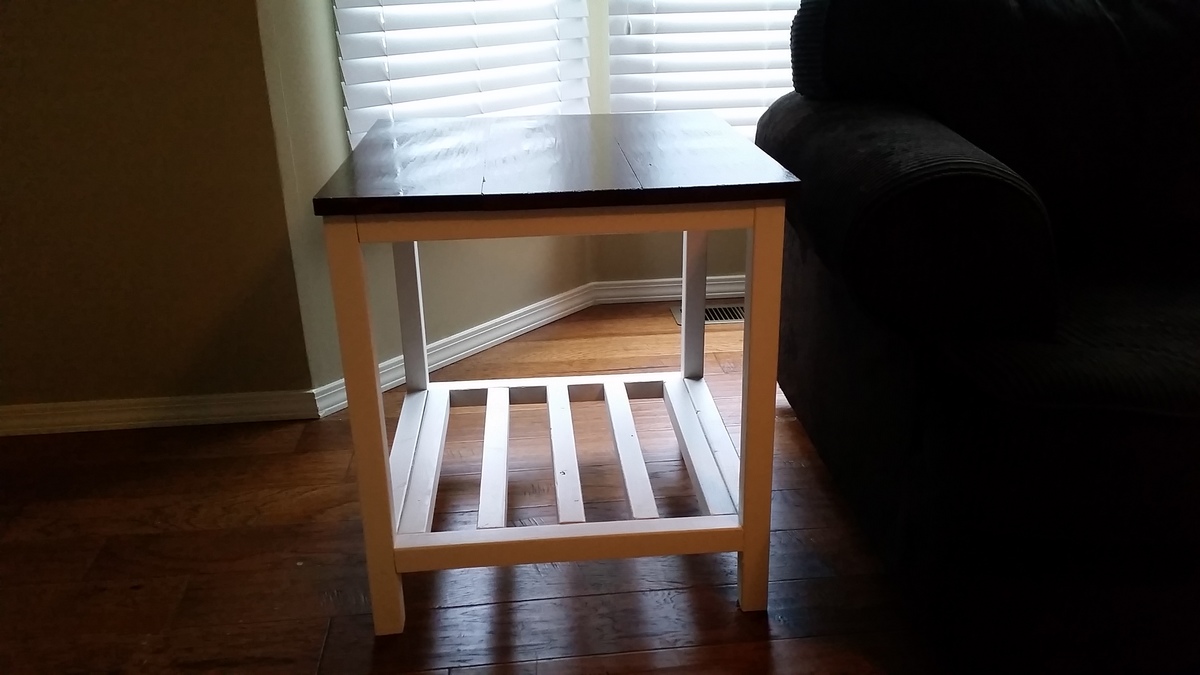
Conner side table - first build

My first build. Built two of these for less than $50 and four hours. Finished the top with dark brown Polyshades and the bottom with off white satin paint. Borrowed my dad's mitre saw and and drill. Can't wait to do more.

Estimated Time Investment
Afternoon Project (3-6 Hours)
Recommended Skill Level
Starter Project

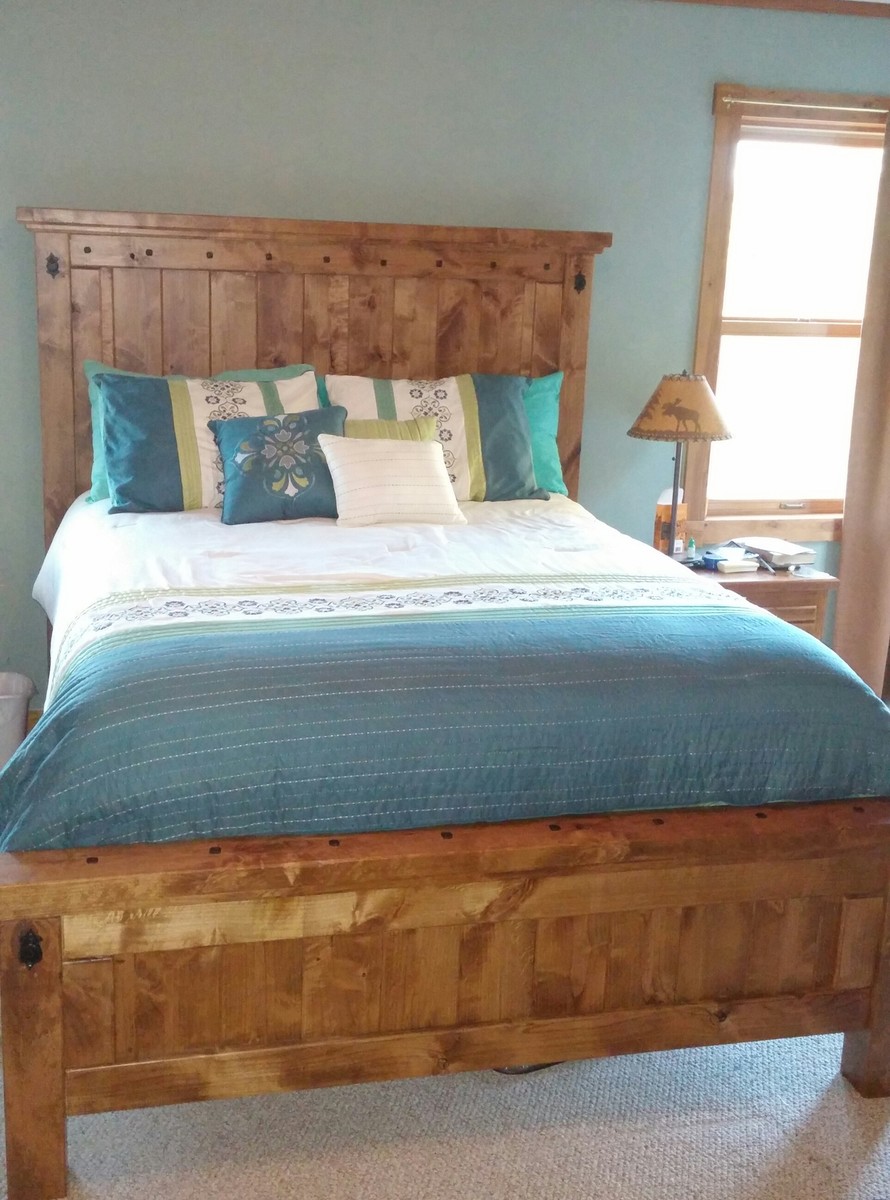
My rustic Farmhouse queen bed

Submitted by Anonymous (not verified) on Sat, 09/10/2016 - 18:40

I found a bed on line that I loved but I didn't want to pay the sticker price. I found the plans here that were very similar and we built it from your plans with a few modifications. One being the side boards are 12' wide so that it will completely hide the box spring. I love the finished look. Thanks Ana!

Estimated Cost
$280
Estimated Time Investment
Week Long Project (20 Hours or More)
Finish Used
Aged oak Gel stain and 4 coats of varnish
Recommended Skill Level
Intermediate

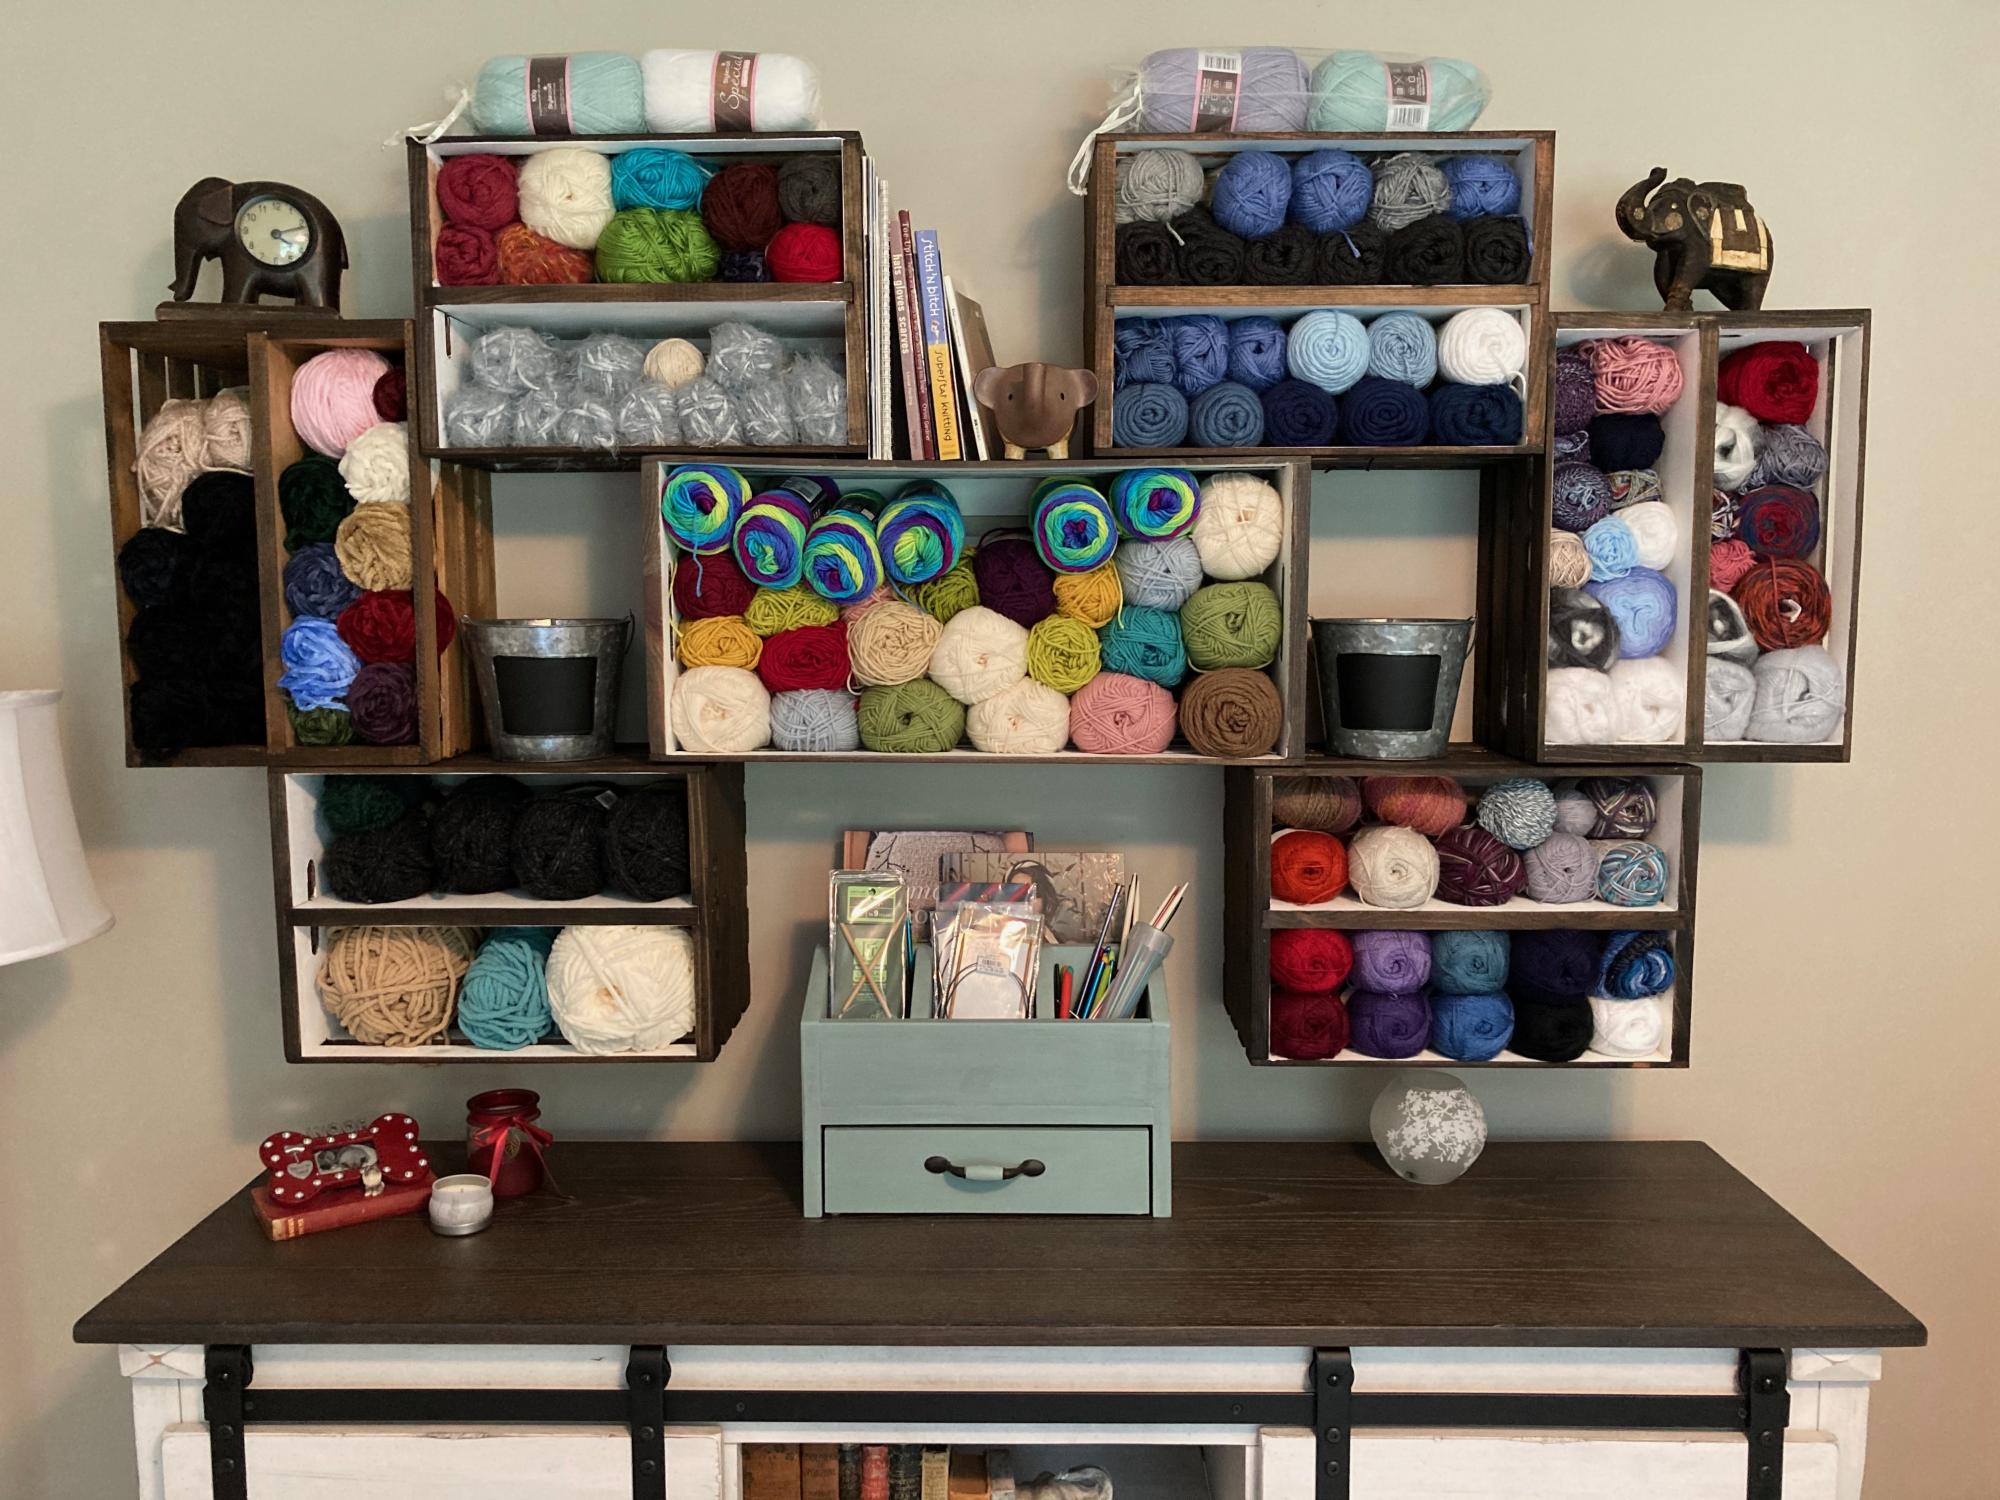
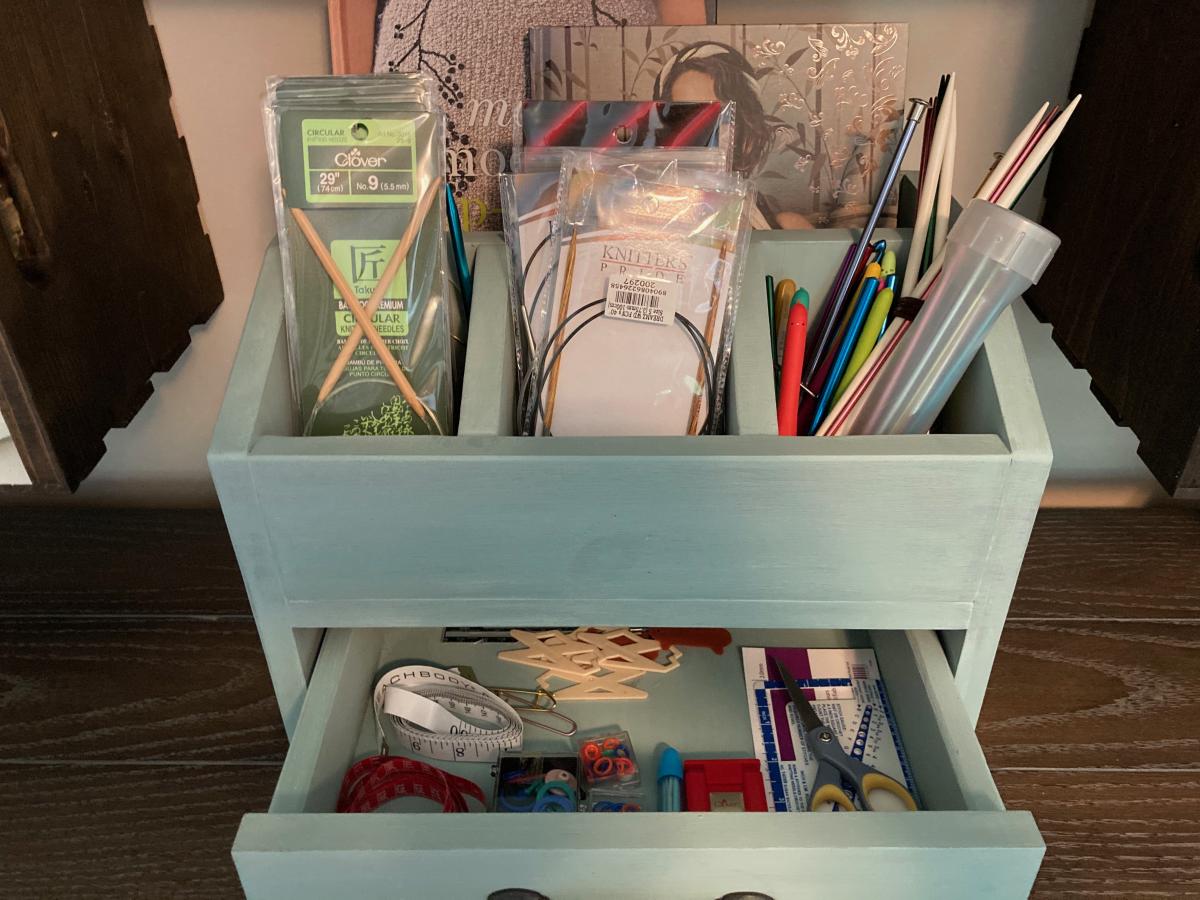
Organizer for knitting needles & crochet hooks

Submitted by Wendy KT on Wed, 06/24/2020 - 13:47

I used Ana and Jaime's desk organizer plans to build this, but I'm using it in my craft room instead for my needles/hooks/small accessories. This plan was part of Ana's Handbuilt Holiday plans found here: https://ana-white.com/woodworking-projects/desktop-office-or-vanity-bea…

Estimated Cost
10.00
Estimated Time Investment
Afternoon Project (3-6 Hours)
Finish Used
Duck egg blue chalk paint and clear wax.
Recommended Skill Level
Beginner

Kitchen Island

Submitted by kharris on Sat, 06/14/2014 - 00:16

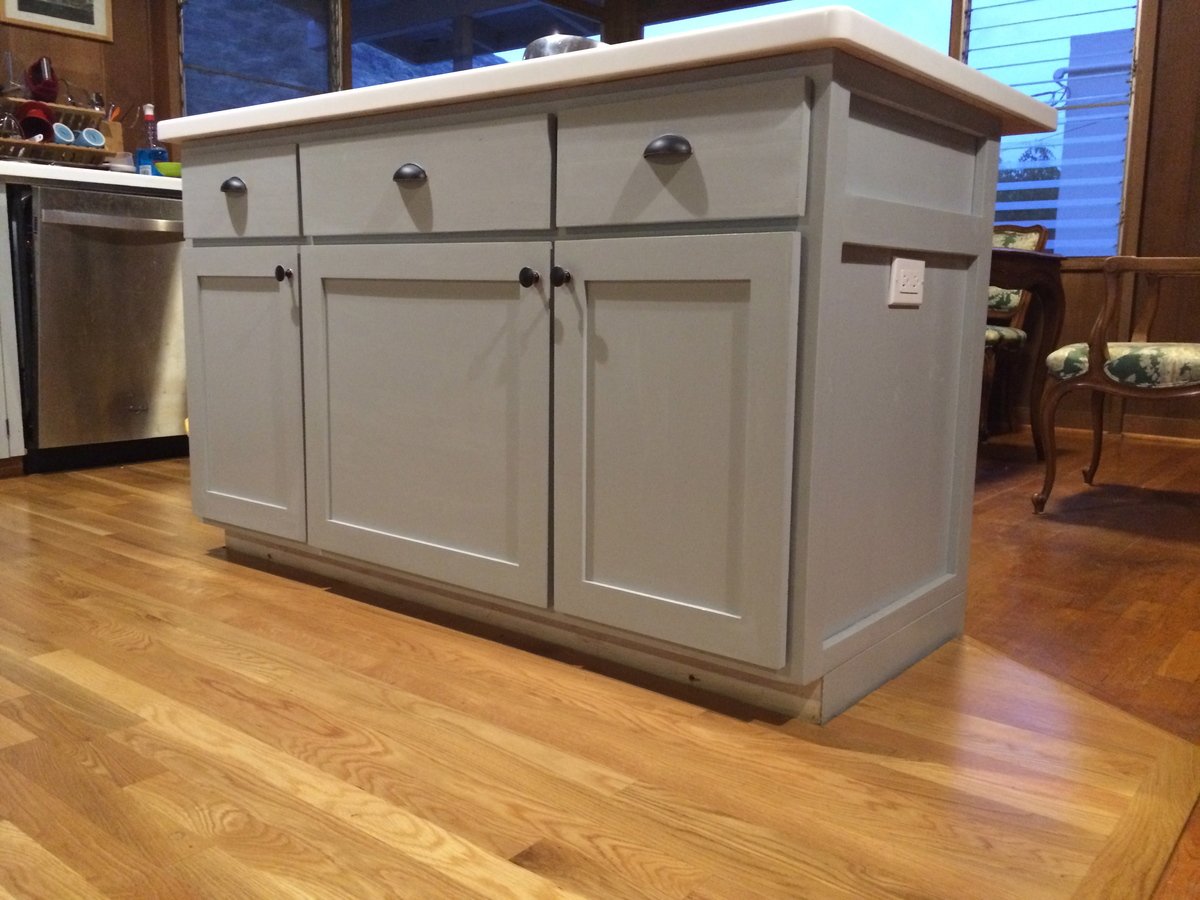
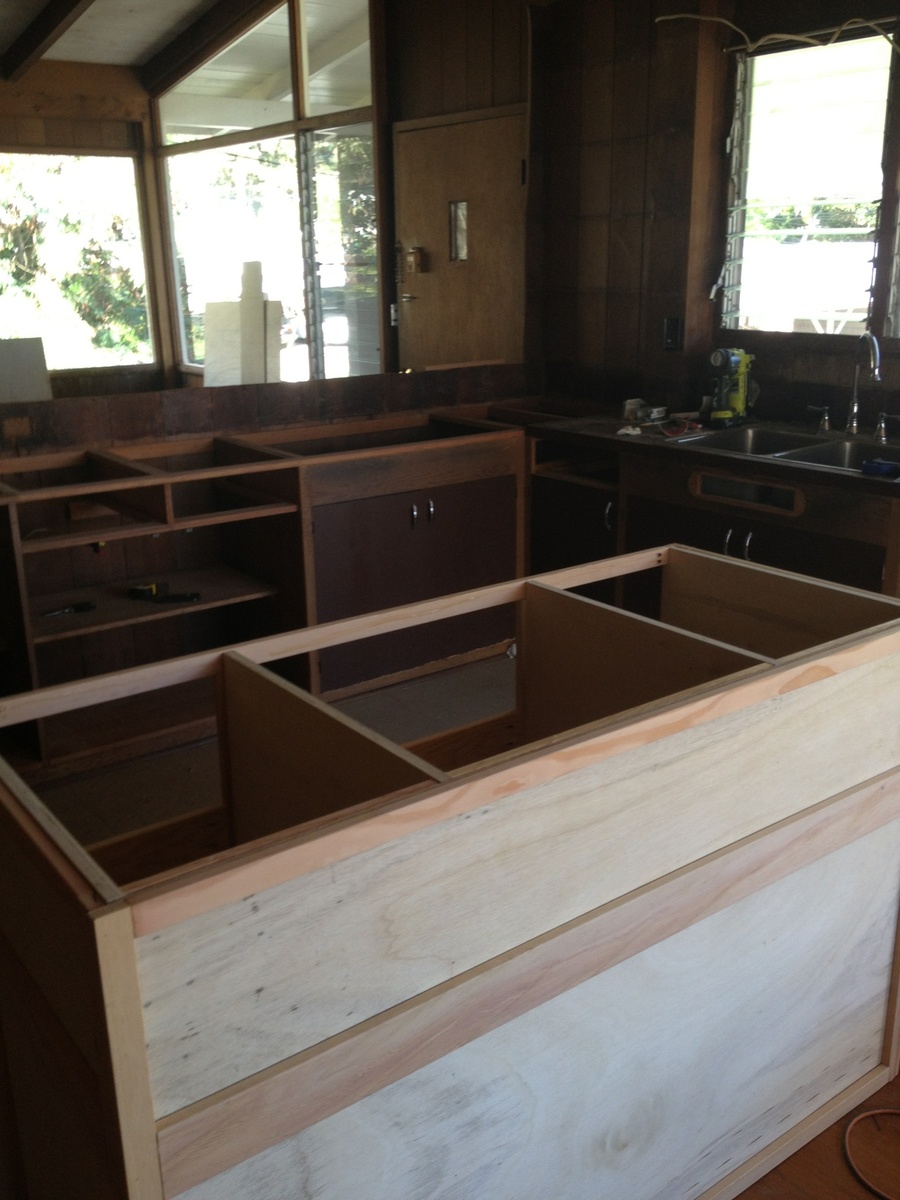
Our new 1970s Hawaiian house had never been renovated. It has beautiful redwood walls, but felt dark with a lot of walls dividing the kitchen from the living and dining rooms. They were partial walls, so we removed them and decided to add an island to divide the kitchen from the dining room.
I actually built this twice, the first time at bar height and the second one I altered to be counter height to match the existing cabinets. Since the kitchen is open to the living room and dining room, we thought it would look cleanest if the counters were all at the same height. (We saved my first build and I now use it as a workbench).

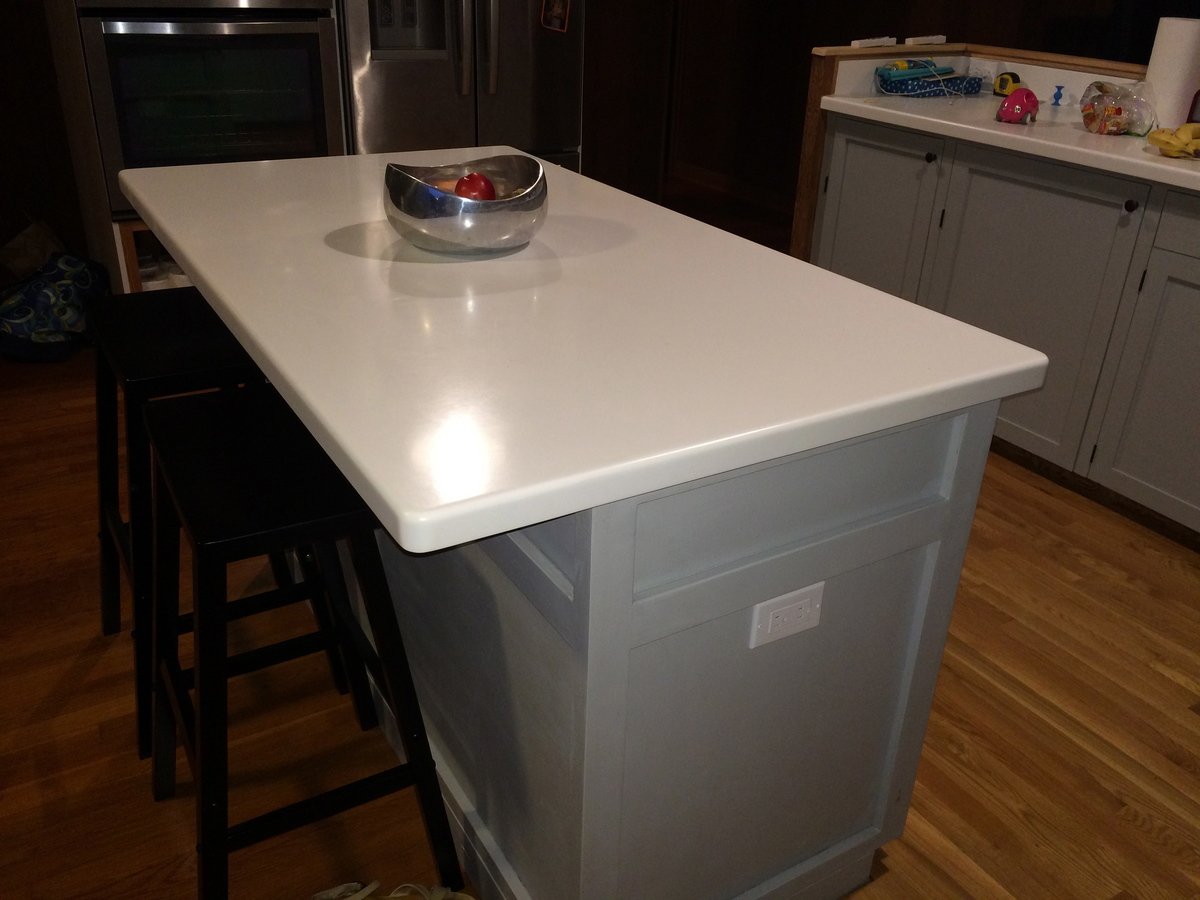
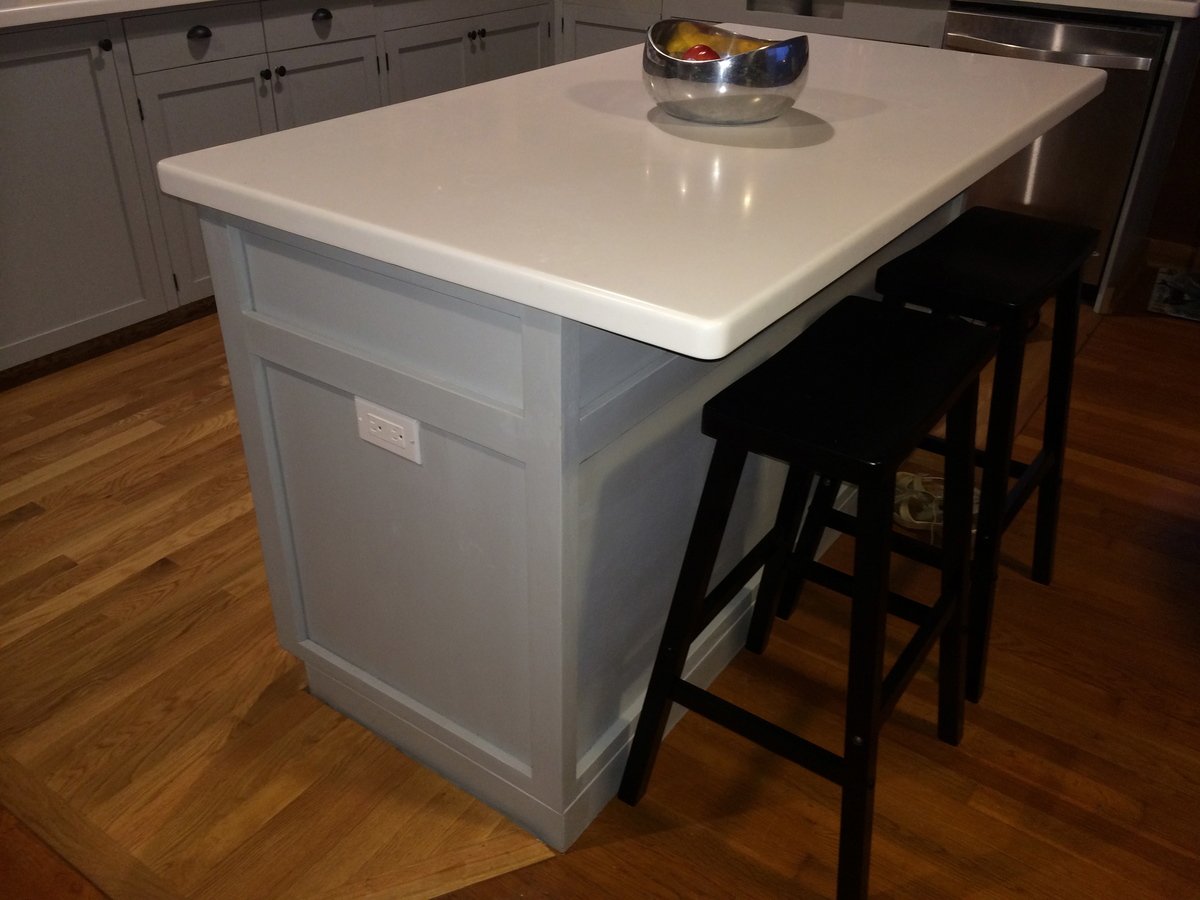
I also removed the corbels from the plan and closed in the center wine rack. Lastly, instead of feet, I added 2X4 to the bottom to create a toe kick on one side. The top of the island is Corian and the paint color is Benjamin Moore Marina Bay.

Built from Plan(s)
Estimated Cost
$400
Estimated Time Investment
Week Long Project (20 Hours or More)
Finish Used
Benjamin Moore Marina Gray, Eggshell
Recommended Skill Level
Intermediate

Comments

Wood Custom Windows balance (Templary Style)

Submitted by Luis Mqz on Mon, 09/12/2016 - 21:07

I just Get up and saturday morning and I felt inspired and start to build  that window balance for my bedroom and I call it Templary Style

Estimated Cost
$75 Dlls
Estimated Time Investment
Afternoon Project (3-6 Hours)
Finish Used
Red Mahogany Minwax Stain and Lacquer sealer and two coats of lacquer finish satin
Recommended Skill Level
Beginner

Inspiring First Woodworking Project

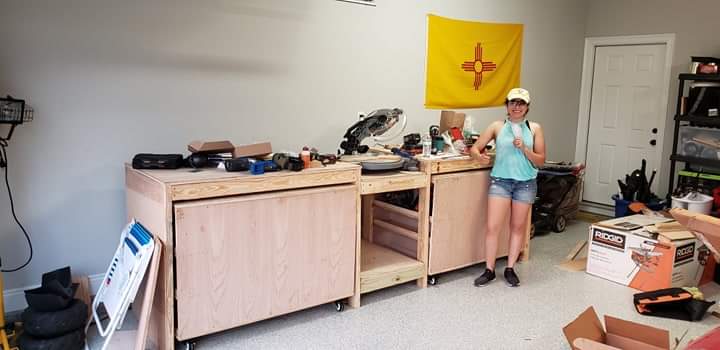
Submitted by WomanPower on Sat, 06/27/2020 - 21:52

**From a Woodworker First Project Perspective**

Power Tools: I used a circular saw (Ridgid, lifetime warranty) for all of my cutting because it was the easiest tool to use once I got into a rythem for cutting plywood and other materials.

Other helpful tools: I had 2 height adjusting saw horses that made it easy on my back made by Kobalt. There were some mistakes in the beggining with keeping the lines straigt but a circular saw track (kreg) easily fixed that problem for most of the cutting. After awhile it got easier to steadily cut following a drawn line with no track (hubby was impressed). Overall, this project was a process of trial and error but I learned from every hiccup along the way. Next up, chicken coop... :D

**How It All Started**
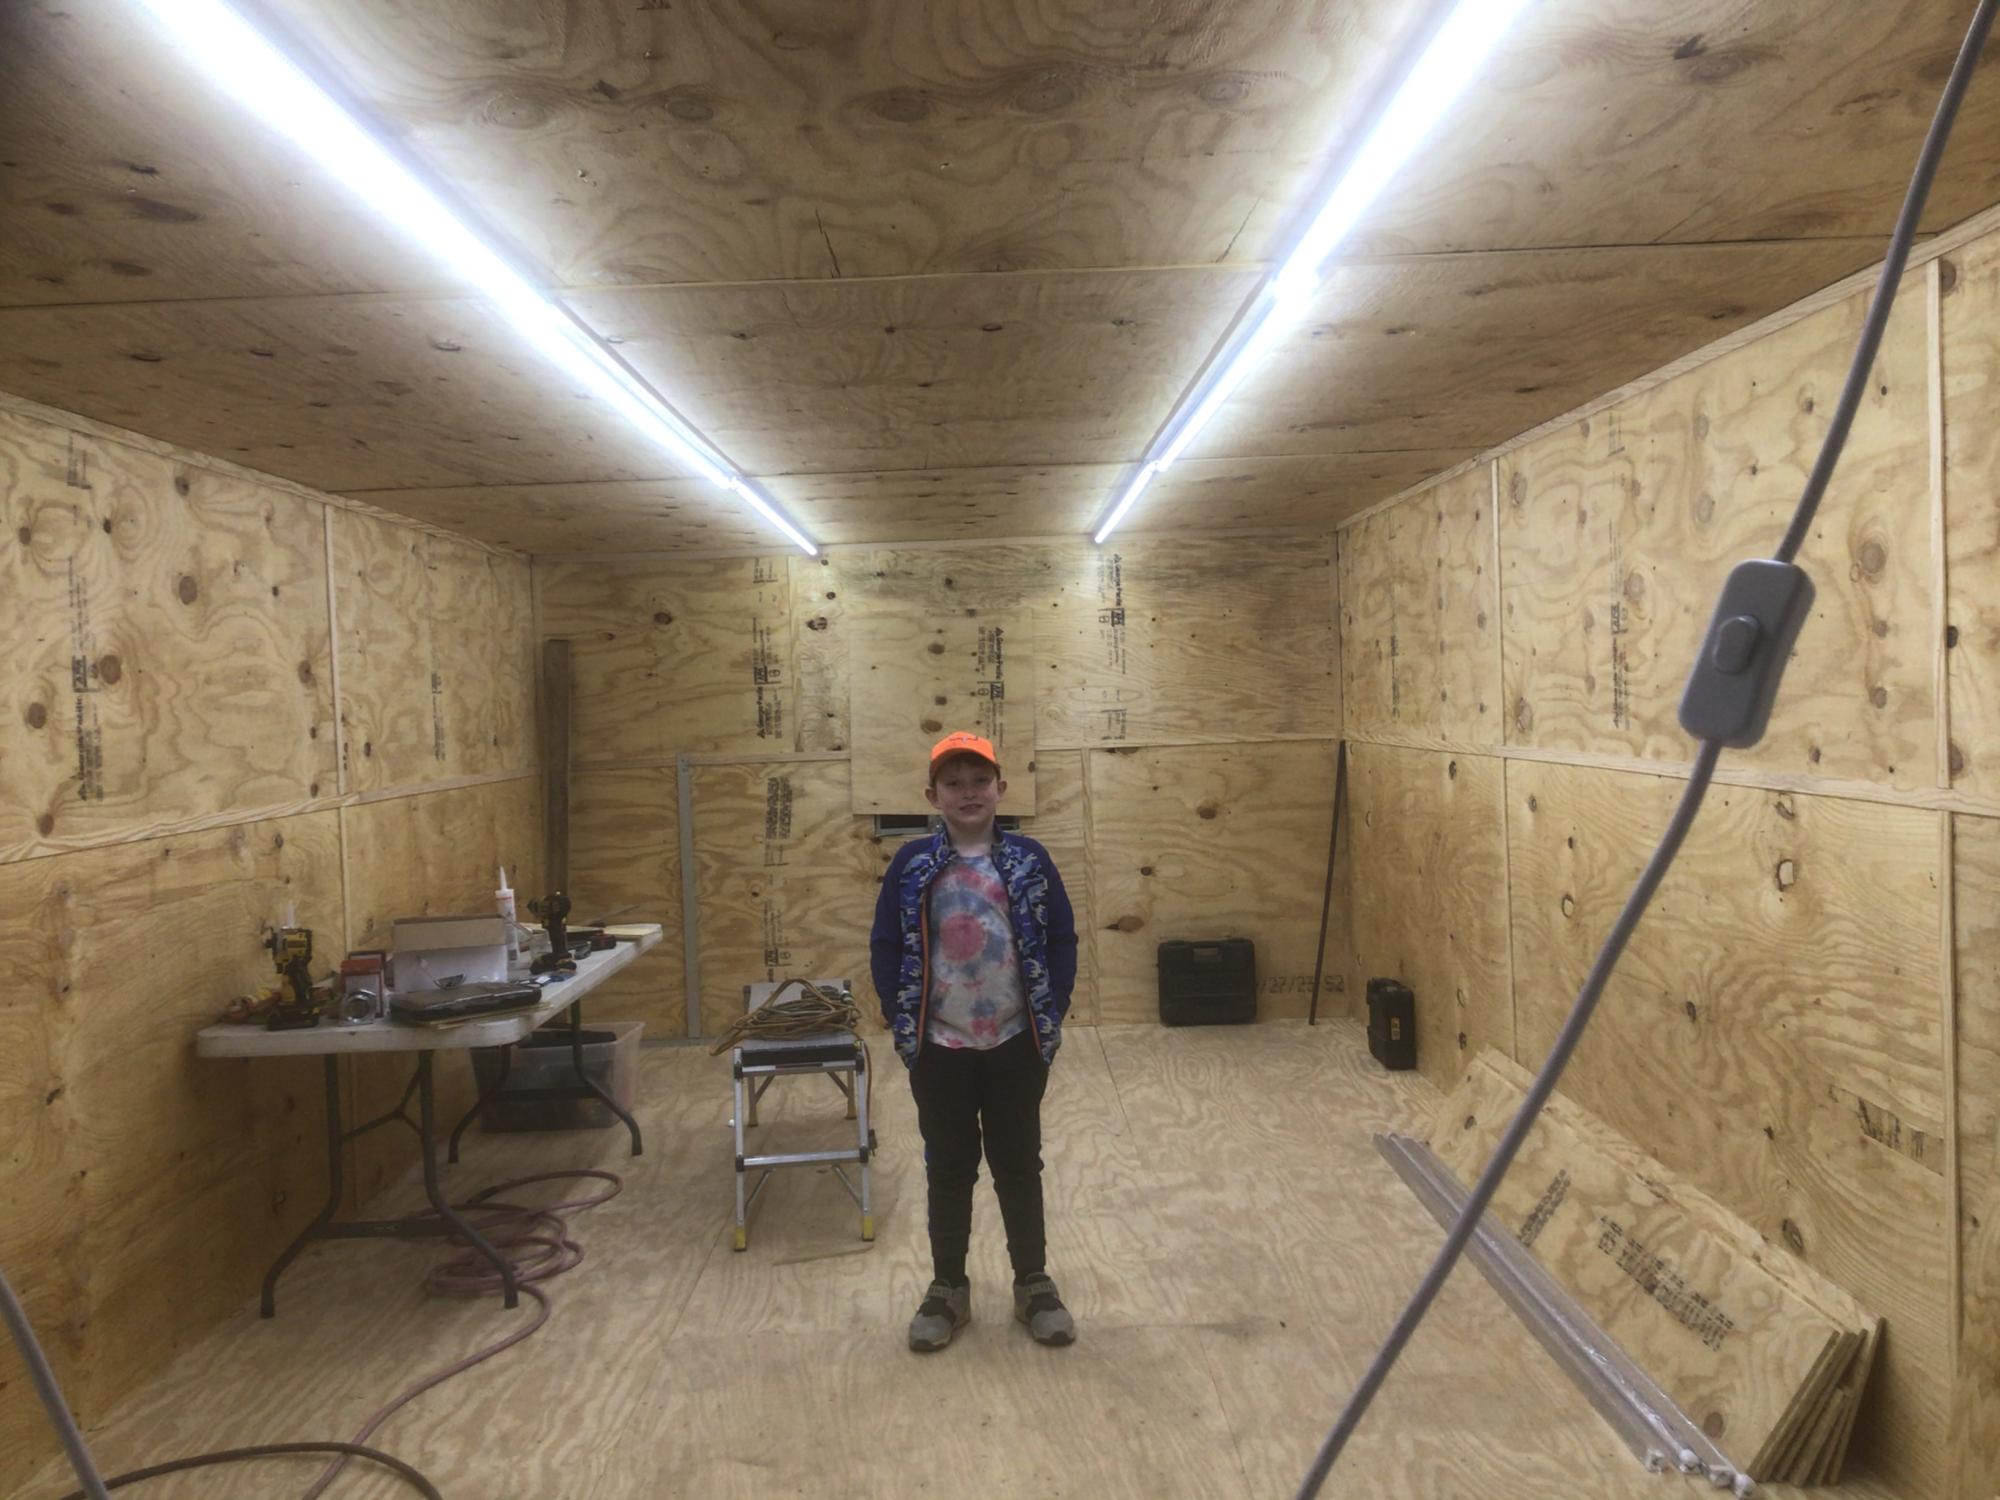
While deployed I had a lot of time to imagine my very own personal workspace to complete DIY projects and when I saw this design I could not wait to get home and begin my new hobby. This project inspired me to really get serious about woodworking. Never in my life had I ever built anything from plywood and 2x4s, much less had I ever used a circular saw. I'm proud of myself for completing this from start to finish as a first project. Thank you Ana!

Peace and Blessings,
WP

Estimated Cost
420
Estimated Time Investment
Week Long Project (20 Hours or More)
Recommended Skill Level
Beginner

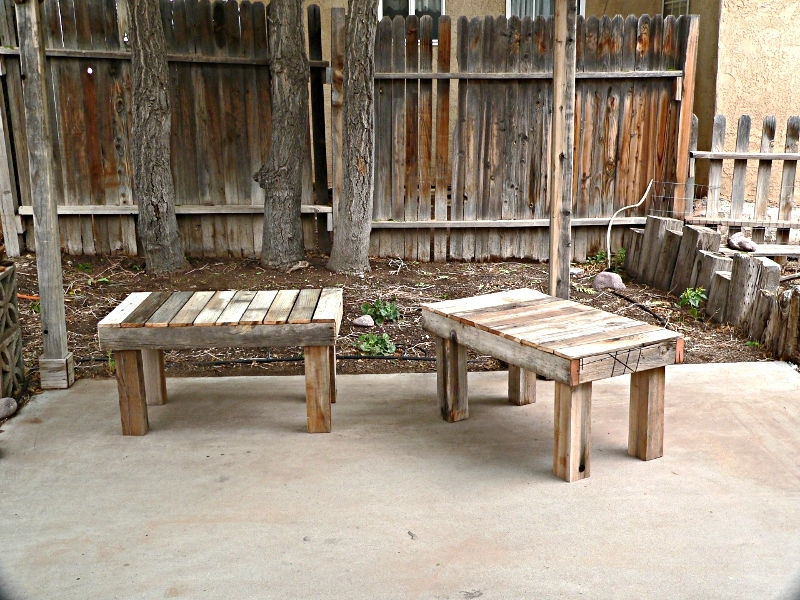
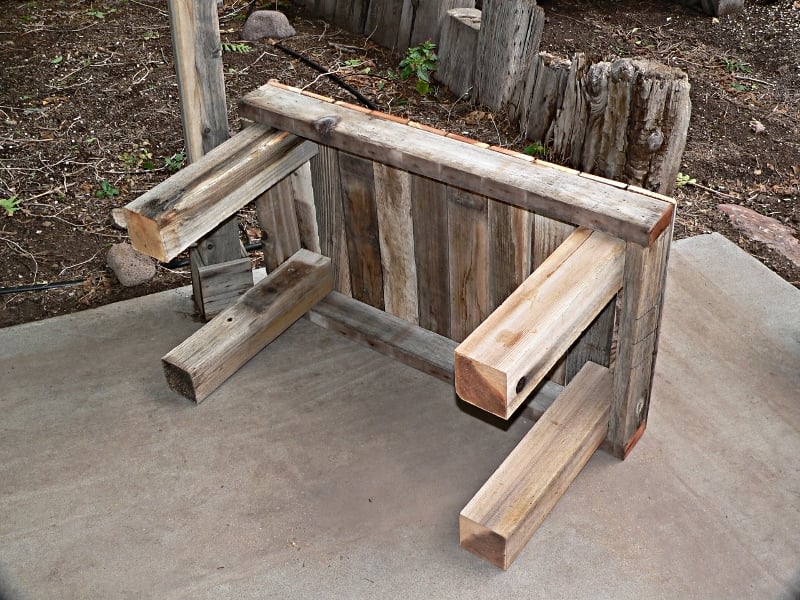
Reclaimed Fence = Free Benches

These are made from the 4x4 posts, 2x4 rails, and slats from an old wooden fence that weren't good enough to re-use when we repaired the fence.

It's close to the Simple outdoor bench, but I simplified the plan even more to take advantage of the pile of free lumber. Or maybe it's the Simple Outdoor Dining Table ... but a lot shorter.

CAUTION: Be careful to remove ALL nails, screws and bolts from the lumber you are reusing. If you can't get the metal out, mark that area and figure out a cut that won't hit it.

TIPS FOR RECLAIMED LUMBER:
* Trim the ends of the lumber square before you measure.
* Don't try to salvage split or rotted wood. Trim it off and see what you can do with the good bits.
* Plan your cuts so you have the least waste.

TOOLS:
10" Miter saw
Wood glue
Nail gun, with 2 1/2 and 1 1/4 inch 16gauge nails for gun (You could use deck screws if you have them)
Surform Pocket plane (wood rasp from Stanley tools)

CUT LIST:
For one bench, 21x36

NOTE: To cut a 4x4 cleanly with the 10" miter saw, put a thin shim behind each side of the 4x4

4 4x4 post scraps, 18 inches long (legs)
2 2x4 18 inches long (sides)
2 2x4 36 inches long (front and back rail)
10 fence slat pieces, 21 inches long (cut to fit the top after it is assembled)

ASSEMBLY:
See the picture of the underside of the bench:
1 - Square up the legs with the end pieces, glue and nail.
2 - Square the sides with the legs, so the legs are inside the 2x4 apron, glue and nail.
3 - Align the 2 end slats with the edges of the bench and nail through them into the 2x4 apron
4 - Space the rest of the slats on the top, leaving 1/8 inch or so etween the boards for drainage. Nail them to the 2x4 apron.

FINISH: Use the wood rasp to round the cut ends of the slats and 2x4s. Rasp with the grain to avoid raising splinters. Lightly rasp the tops of the slats to smooth any really rough spots.

A table or maybe a buffet is planned, with the same construction method, but a bit taller. Tables are 26-29 inches, most buffets are 36". It depends on what will make best use of the remaining bits.

Estimated Cost
$0
Estimated Time Investment
Afternoon Project (3-6 Hours)
Finish Used
none
Recommended Skill Level
Beginner
Back