My version of Adirondack chair!
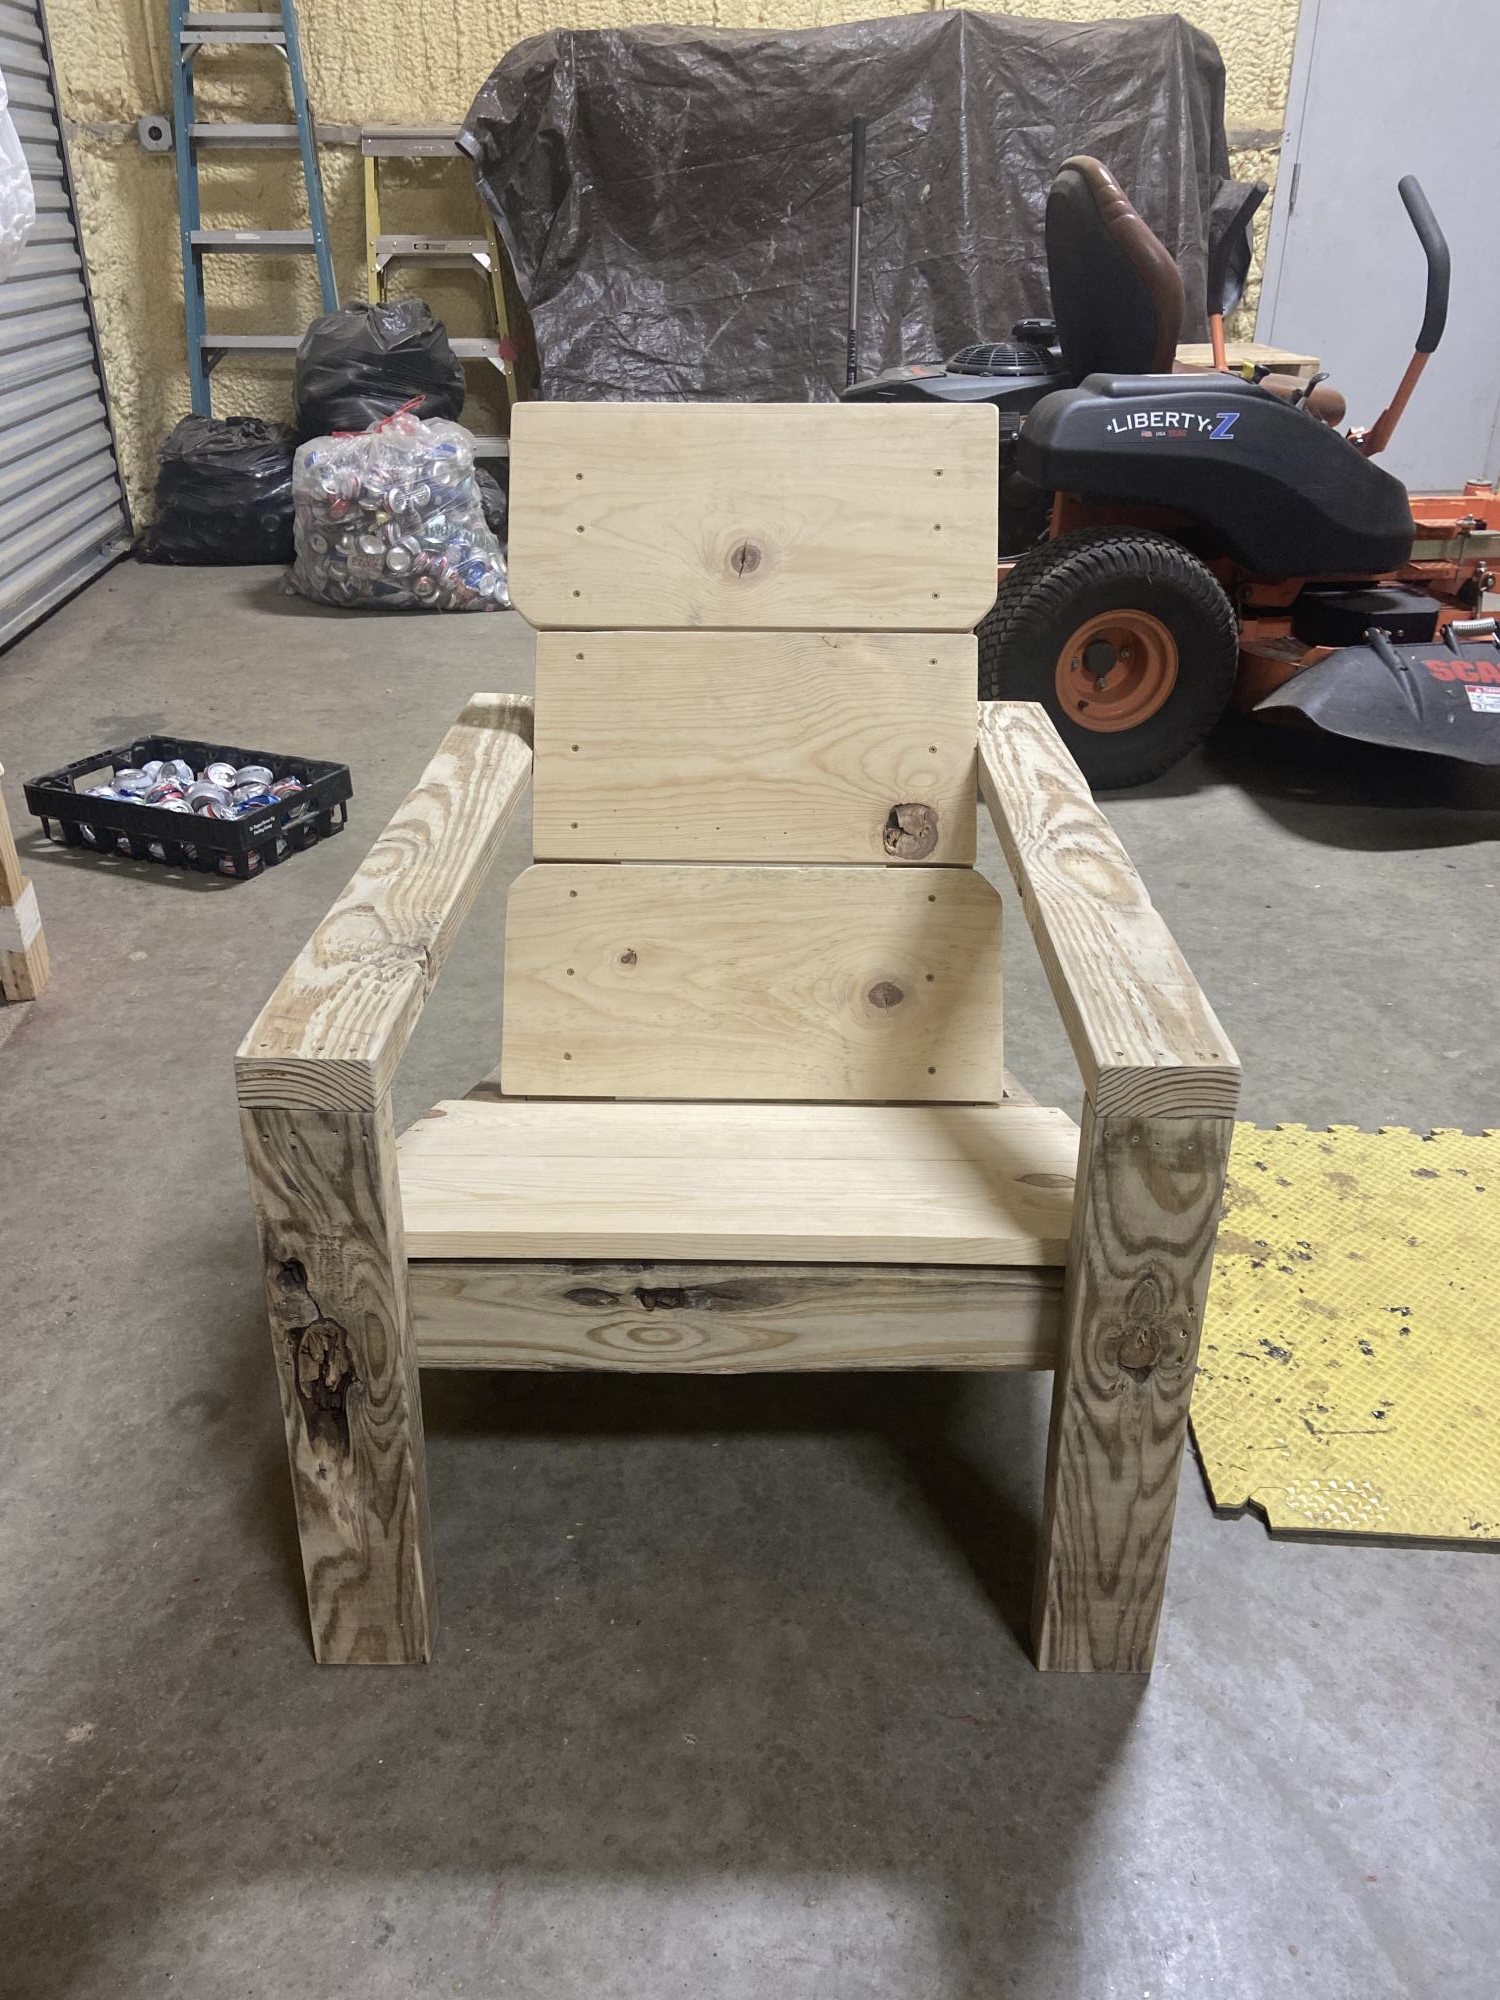
I tweeked this project because I was making it for a larger person. On the whole, I think it came out pretty good! Thanks Ana! I love your website and plans.
Built from Plan(s)
I tweeked this project because I was making it for a larger person. On the whole, I think it came out pretty good! Thanks Ana! I love your website and plans.
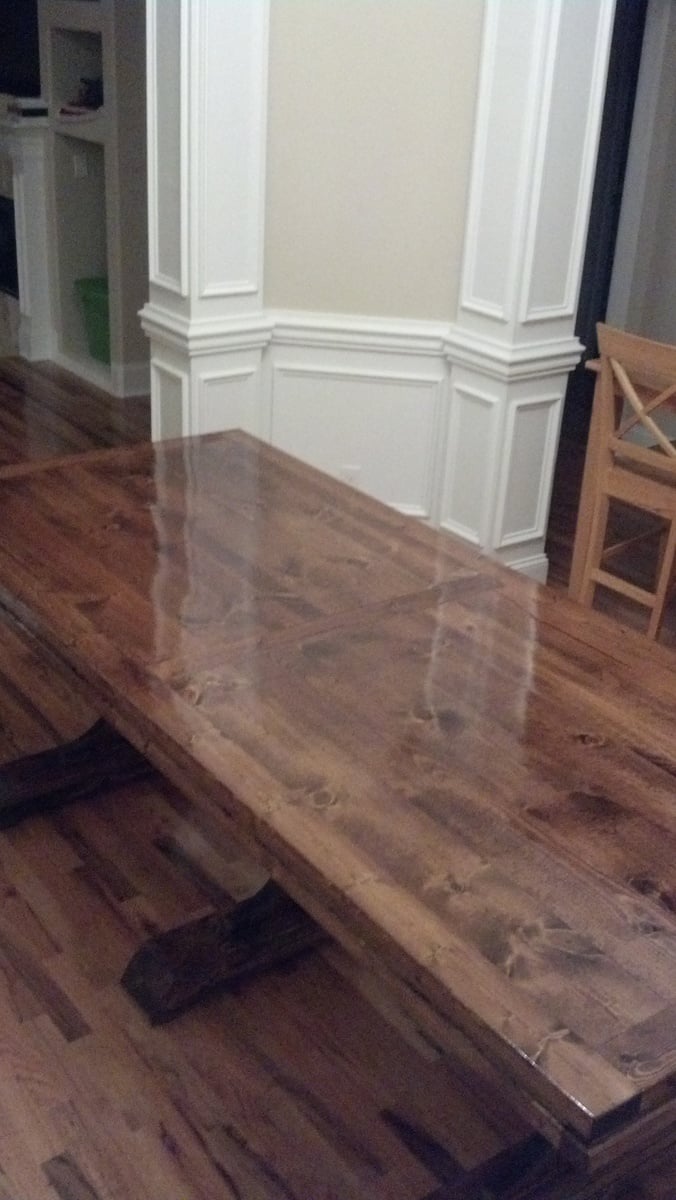
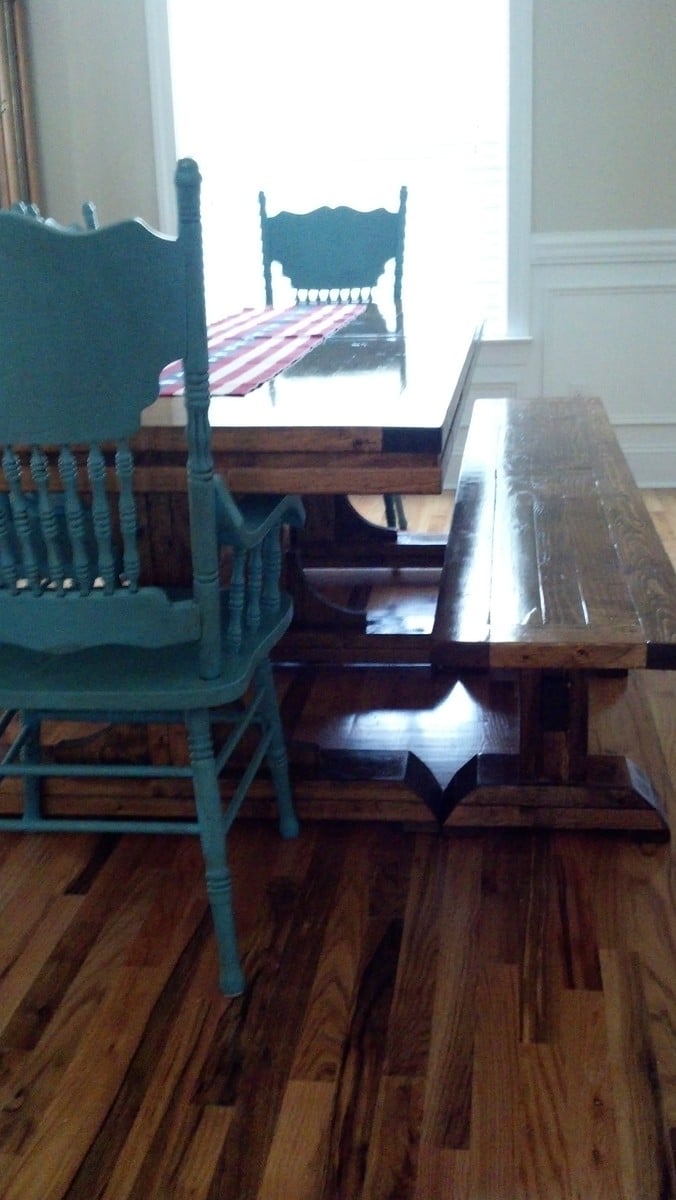
When my wife and I bought our new house, our little apartment-size table looked dumb in our new dining room. With the help of Ana White's plans, my first ever building project was a great success. The project took some extra time because I was doing it by myself in the afternoons and whenever I found the chance. The plans were for a 9ft table and matching bench, but our dining room wasn't quite that big. I shaved about 14 inches off the length and planed the boards for a flat surface (making the table and bench slightly narrower.) As an absolute amateur, I cannot stress how important the use of the Kreg Jig was for this project! With a little bit of patience, love, and faith in yourself, you can do anything you put your mind to. I am so honored to have built the table at which my children will grow up sitting. Thank you, Ana White!
Wed, 08/21/2013 - 12:26
I love how smooth your tabletop looks! I grew-up with a kitchen table with a grove all the way around it and can't imagine dealing with that again. Can you go into more detail about how you planed the boards and how difficult the process was? I have built a couple pieces from Ana's site but am still new to all of this...any advice would be greatly appreciated.
Thanks,
Sarah
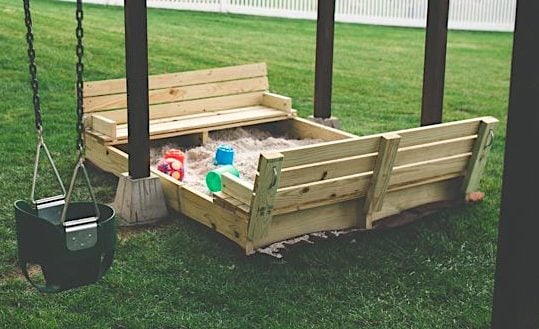
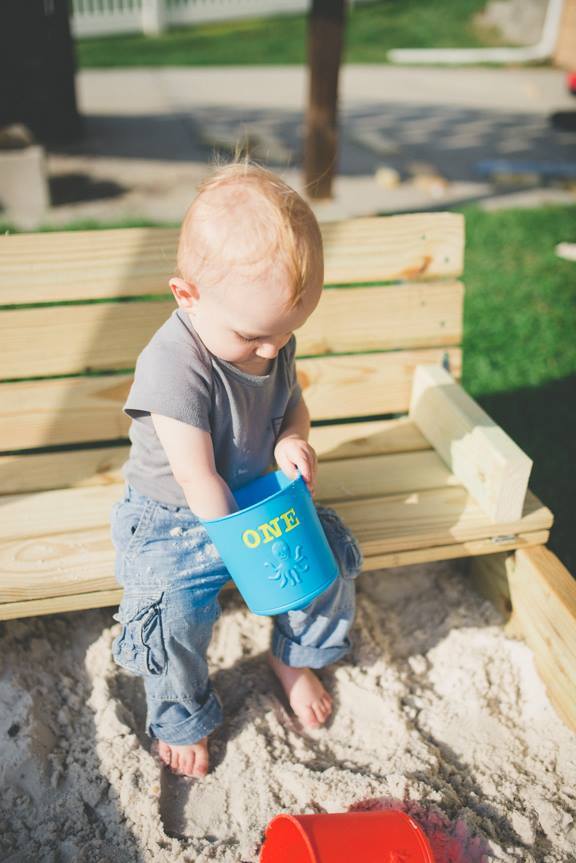
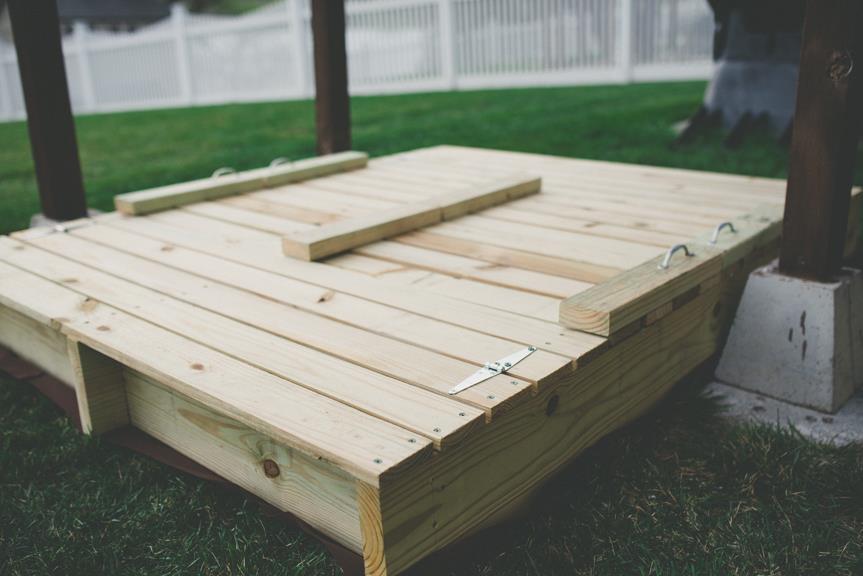
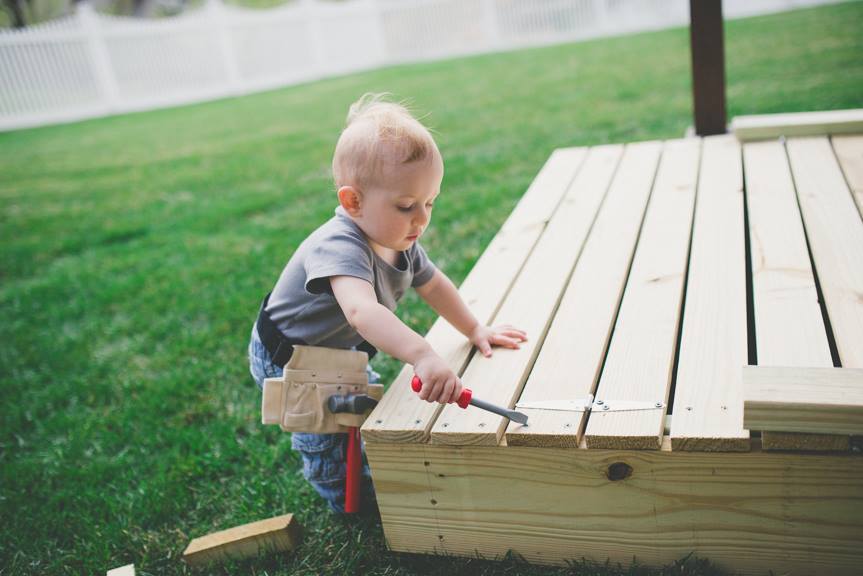
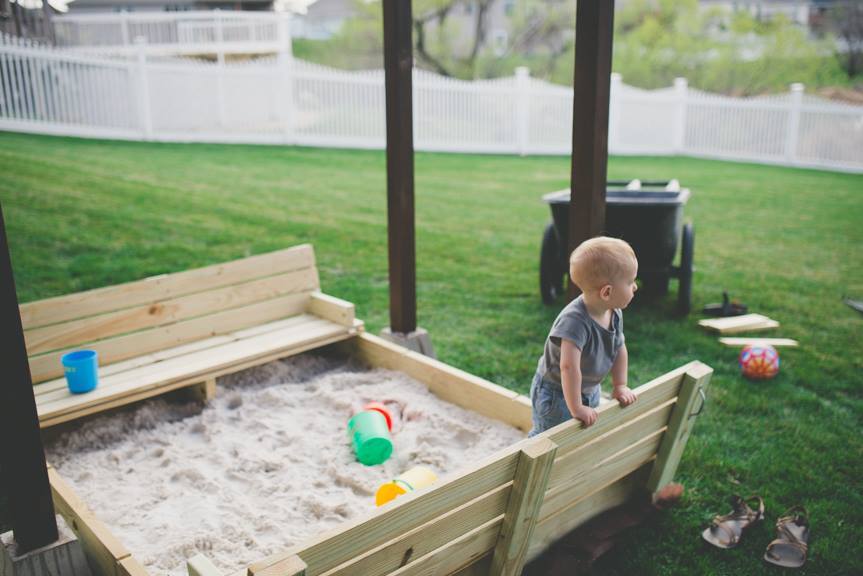
We altered the original plan by enlarging the sandbox (approx 5' x 6') which made for wider benches that can comfortably seat an adult. The benches and back rests are three boards deep instead of two. We added 2x12 supports under the benches for additional support, as well as another 2x4 support in the middle of the backrest.


Tue, 04/14/2015 - 20:00
I just love seeing pictures of these built! Makes my heart swell :-)
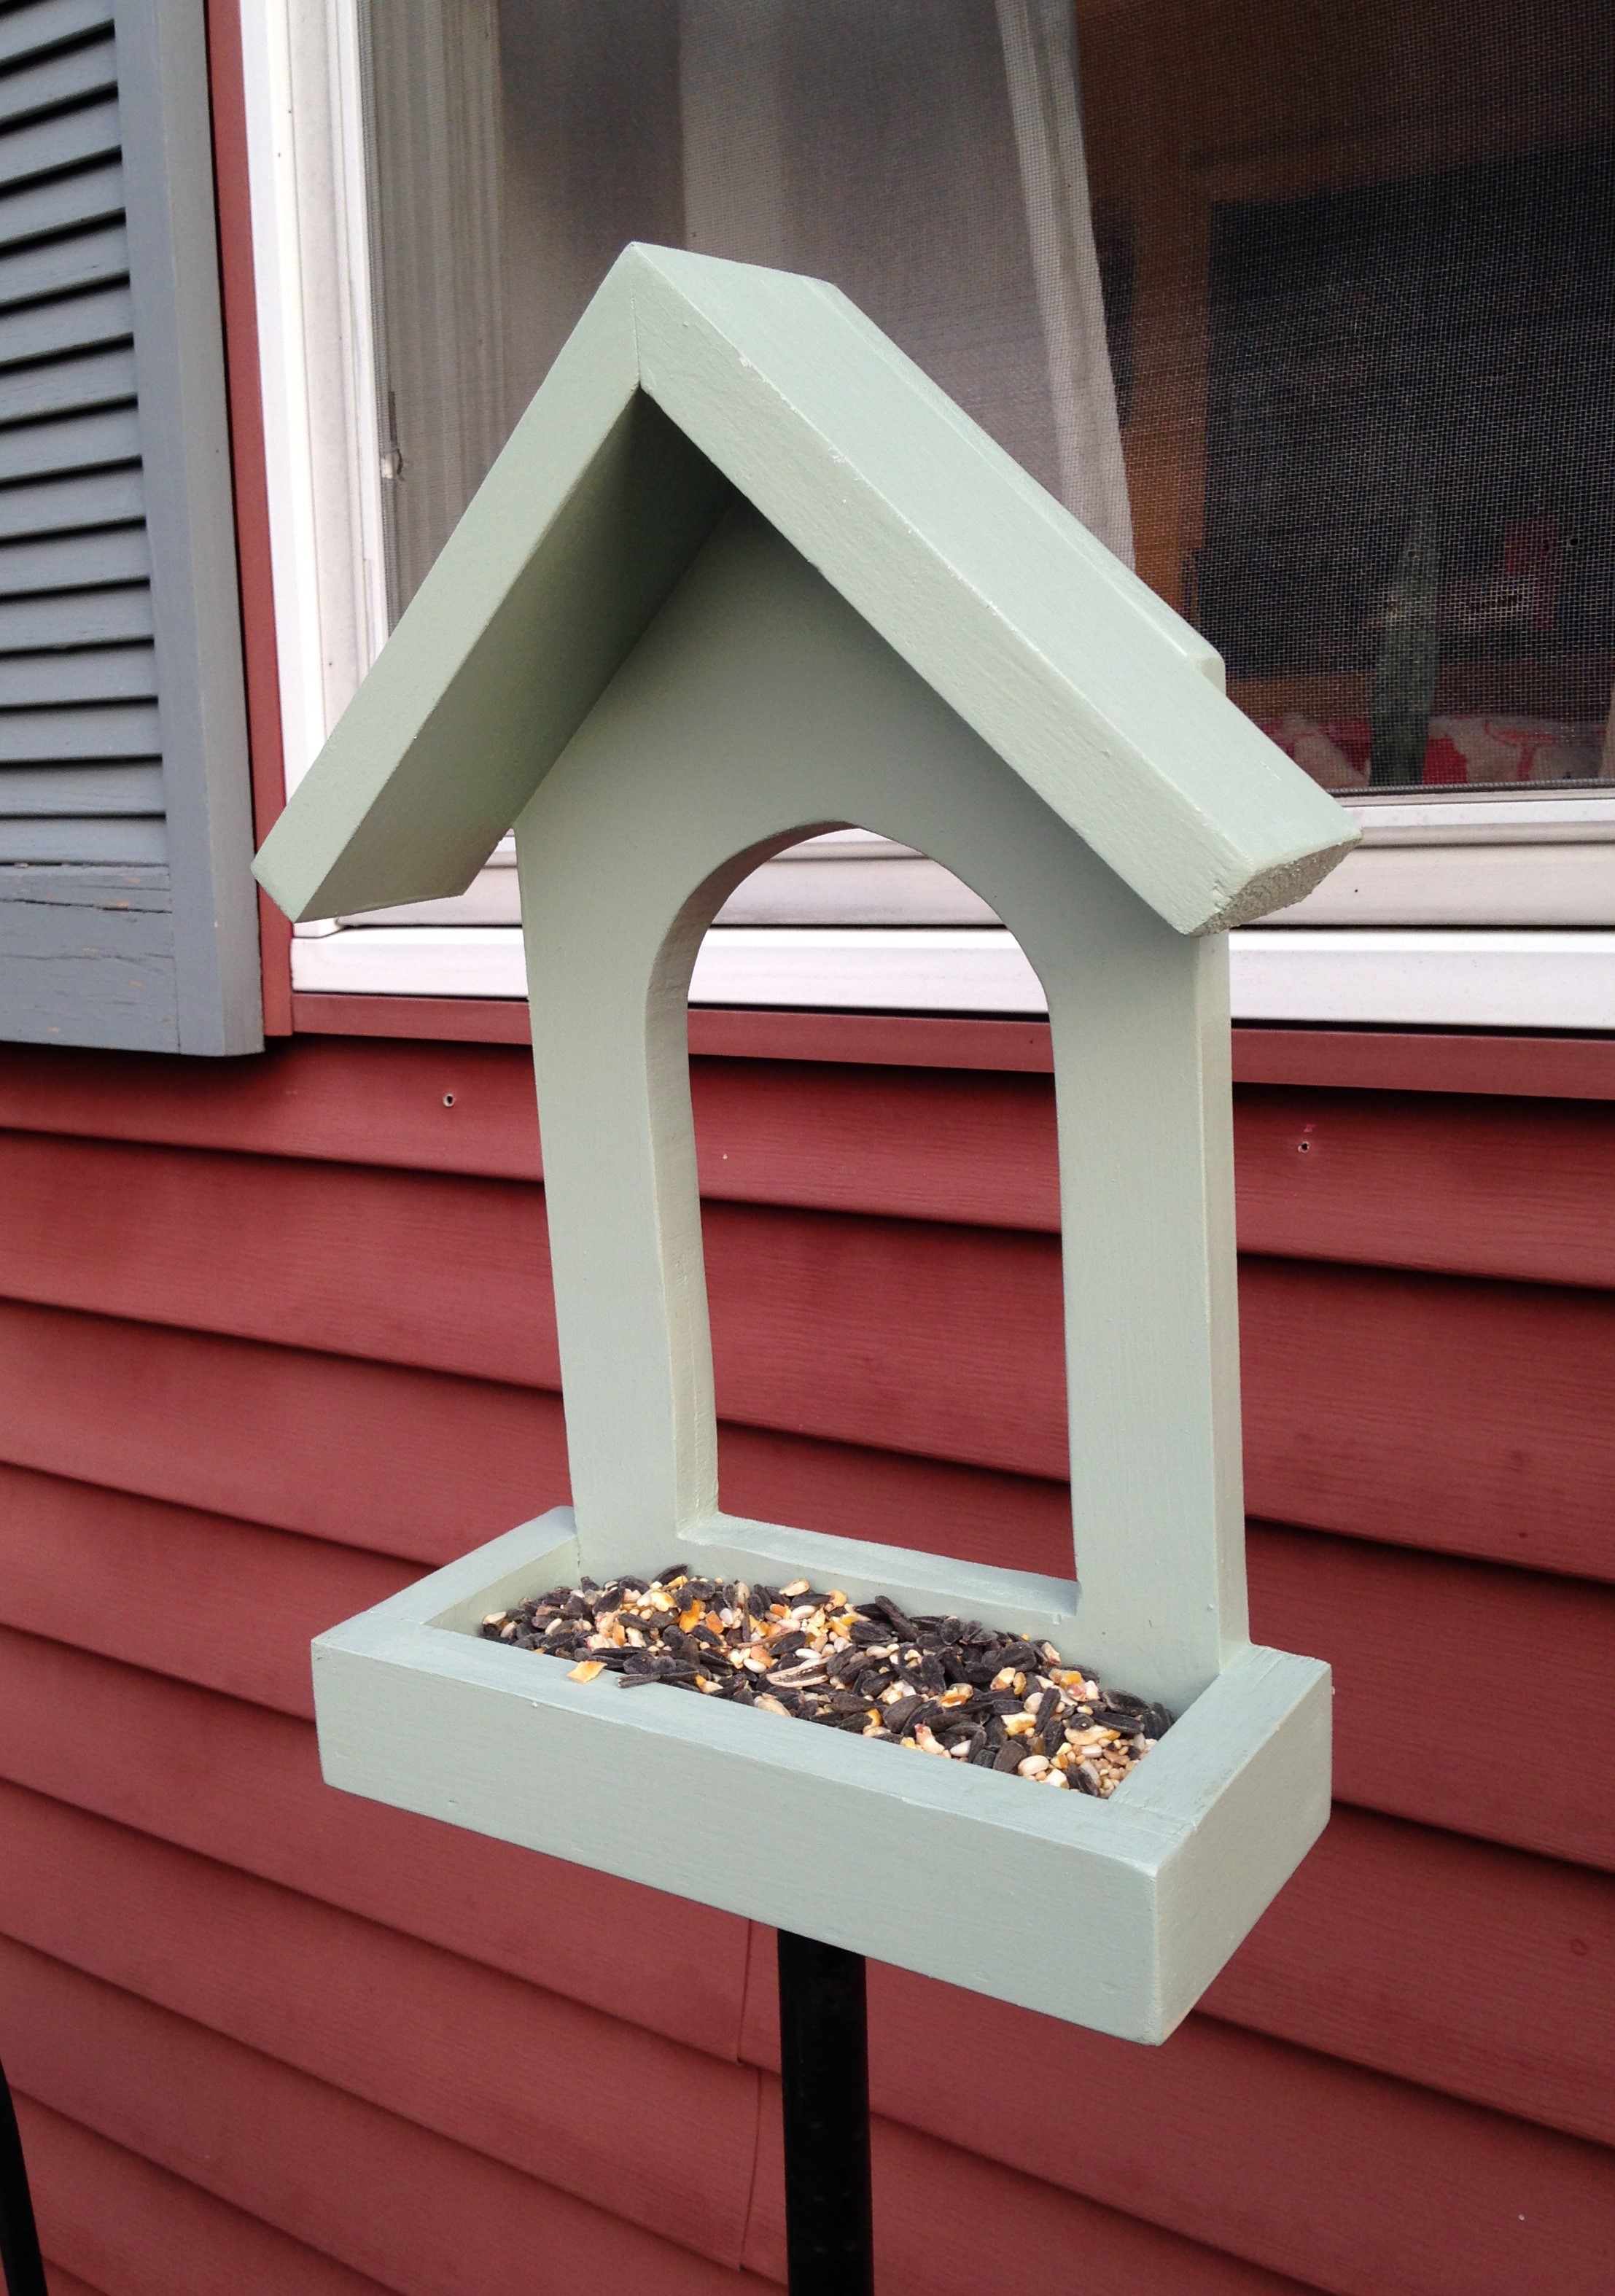
What a great little feeder! I didn't put mine in the window yet, because the screens are on for the summer. I screwed a metal flange into the bottom of the bird feed then screwed a metal pipe into the flange. Then put it in the ground under the window. I'll add the suction cups and put it in the window in the fall. I love watching the birds!
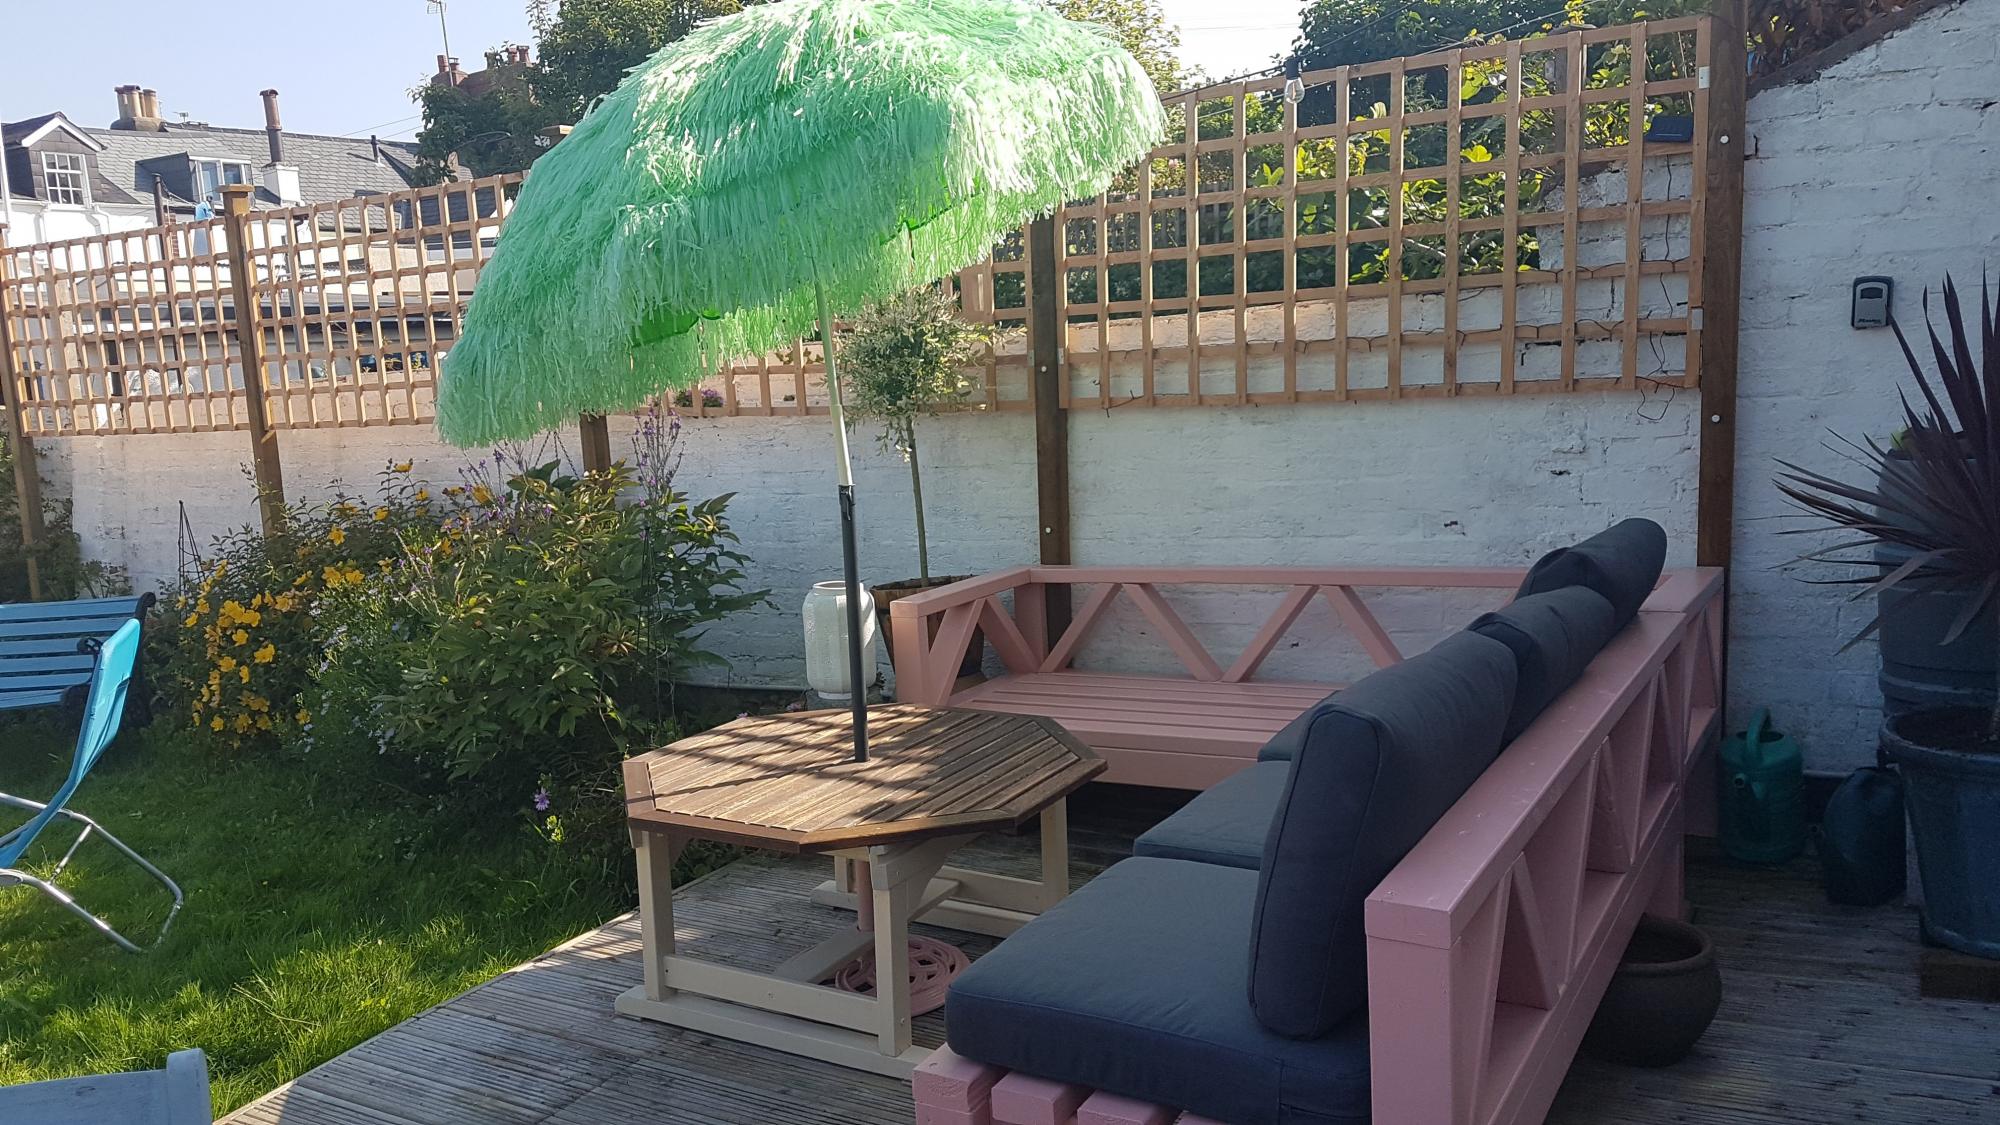
Easy to make 4x2 Patio Seating with Ikea style cushions.
Added the diagonal designs on the back.

Wed, 10/06/2021 - 10:40
Looks great, love the added back design element! Thanks for sharing!
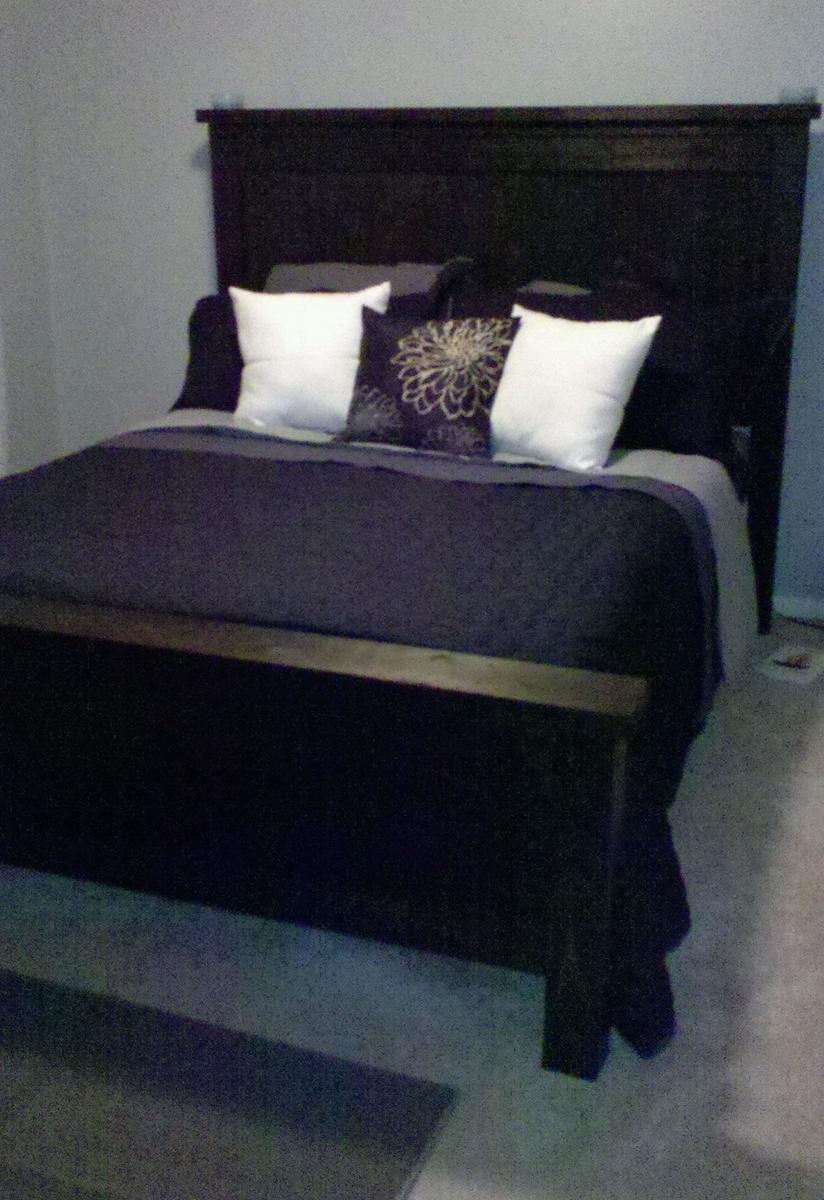
Our fifth build.
Built from rough pine.
Modified for 1x2s in both panels.
Footboard is stacked a little different because silly me got carried away and cut a board, before it was time to cut, and cut it too short. Oooops. Still works though. And looks superb I think.
We did not screw the joists vertical, and through the sideboards. I cut 1 inch pieces off the scraps from the joists, and mounted them from the inside, then laid the joists thick side up, and screwed them down into the mounted pieces.
For step by step instructions, and details on where to buy everything, see my blog. I blogged each step of the way. It took us a month to build this due to life obstacles and bad timing on baby naps, but you should be able to do it in one good afternoon.
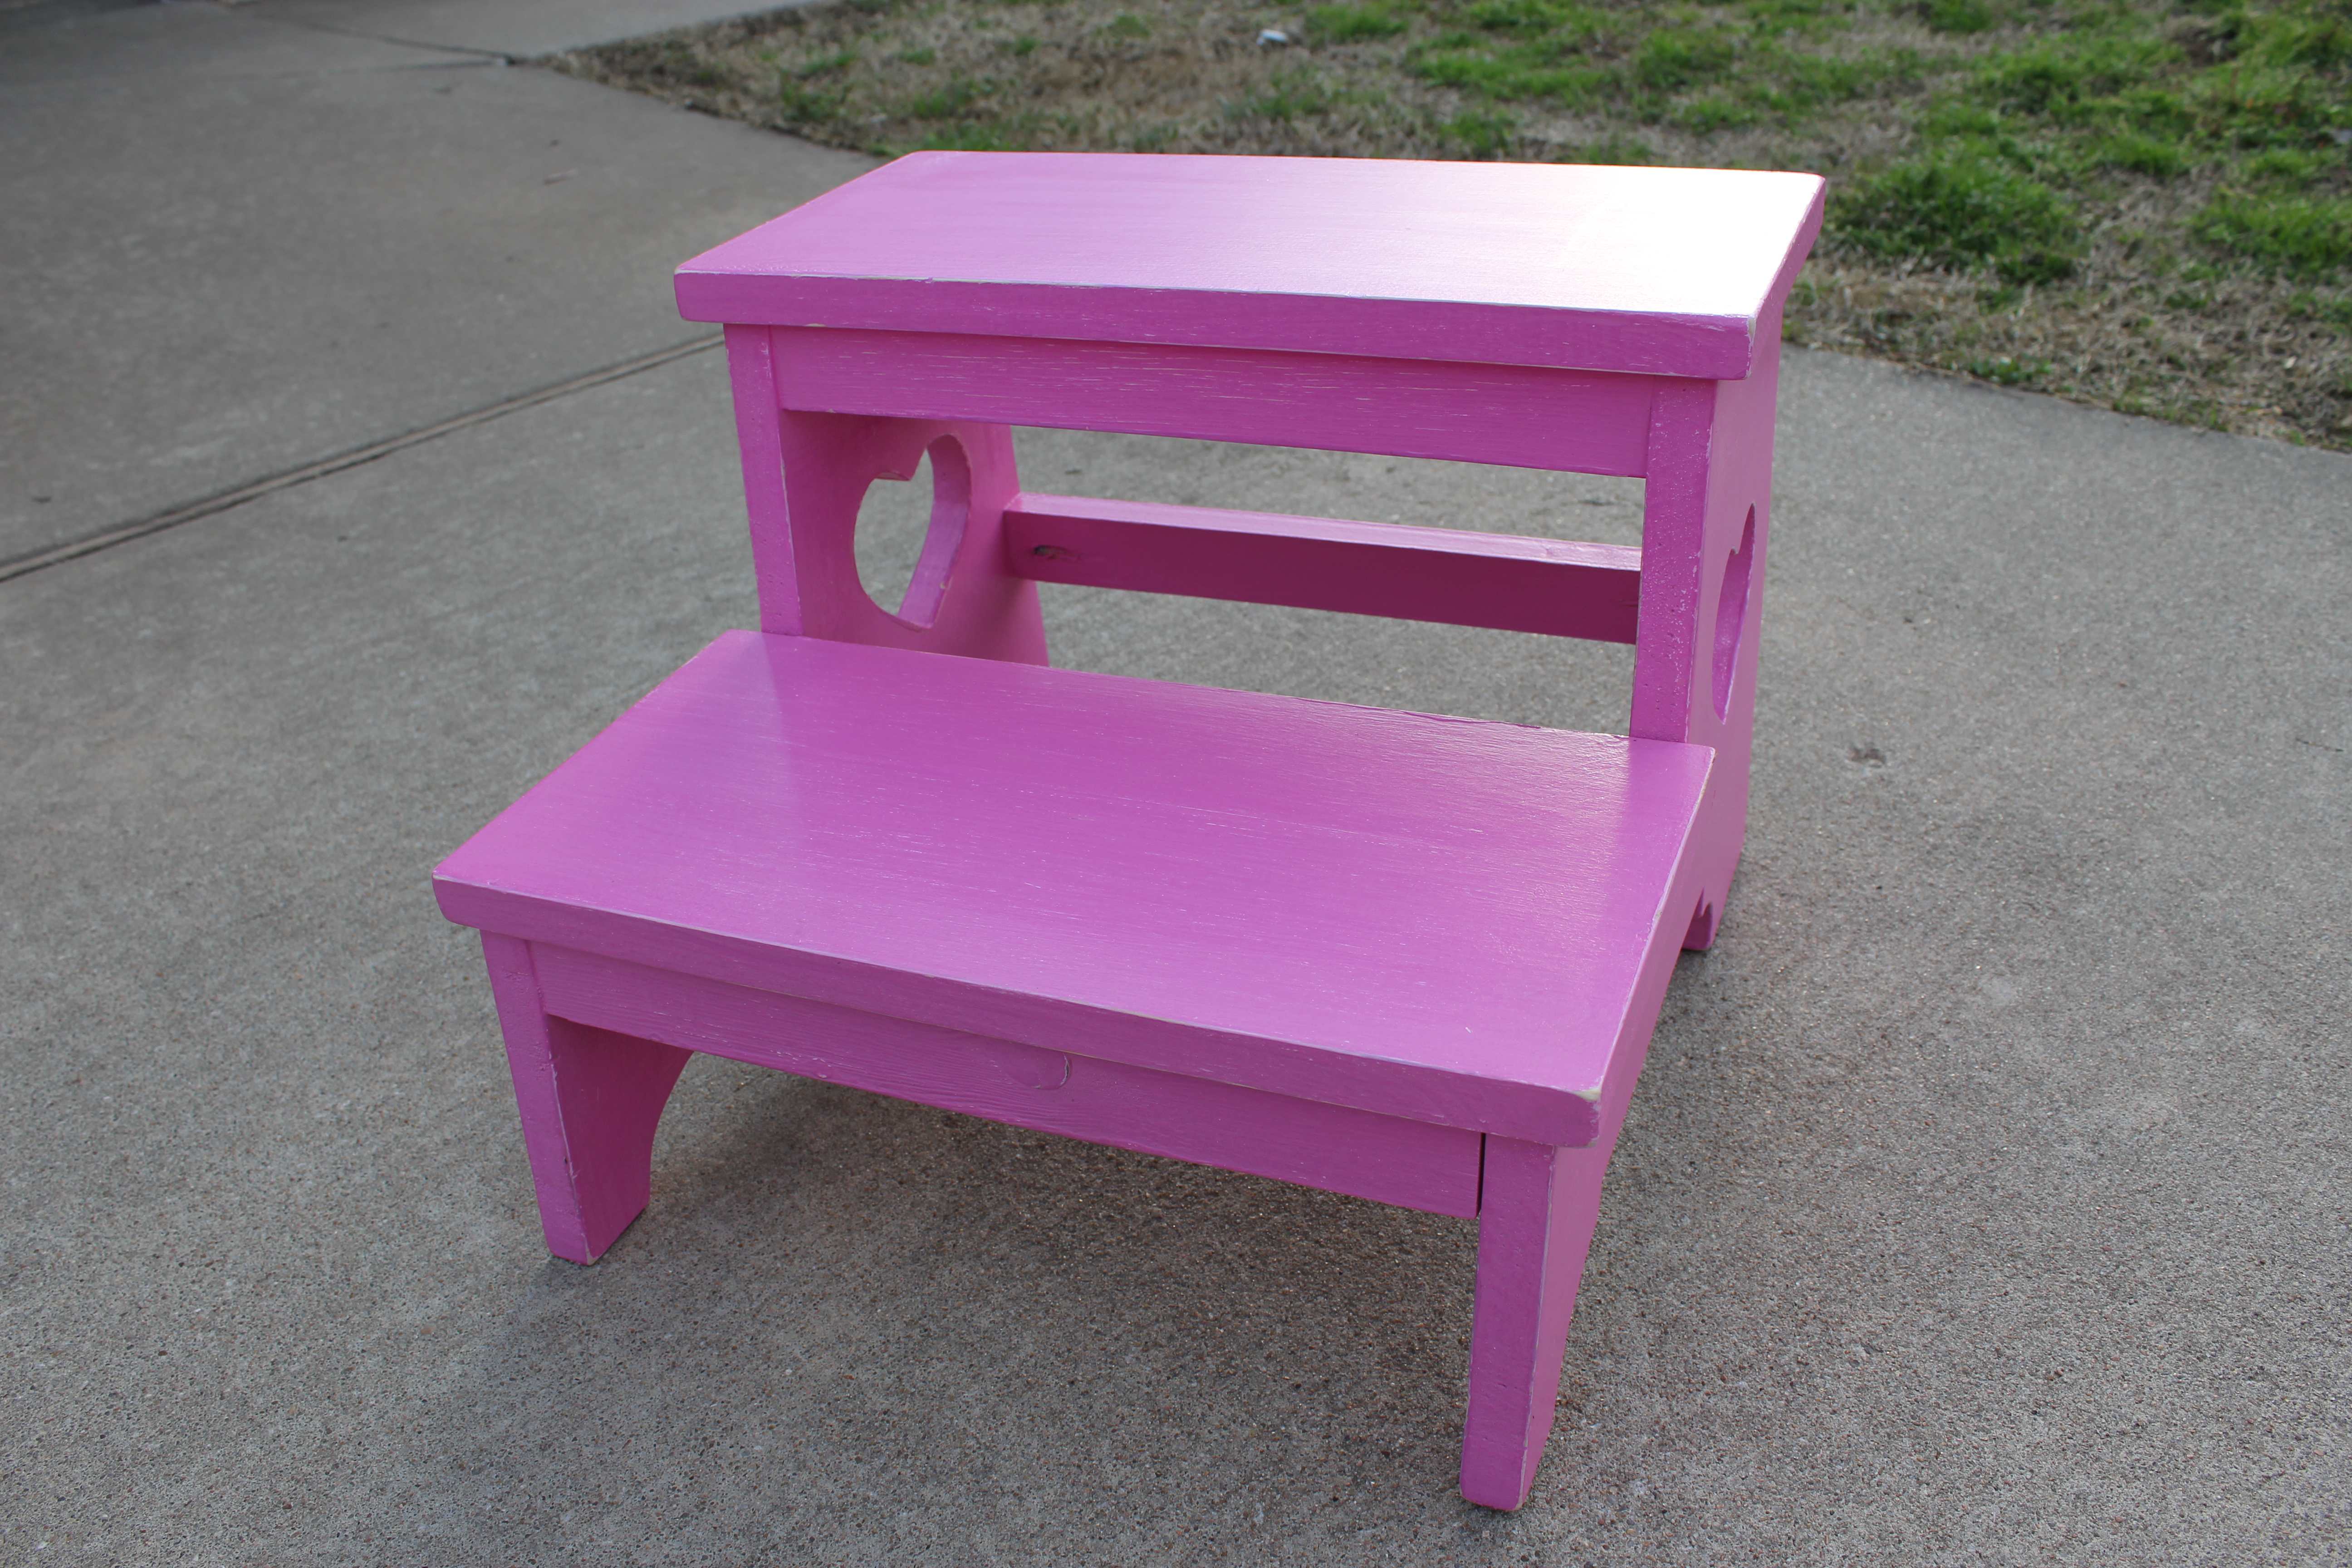
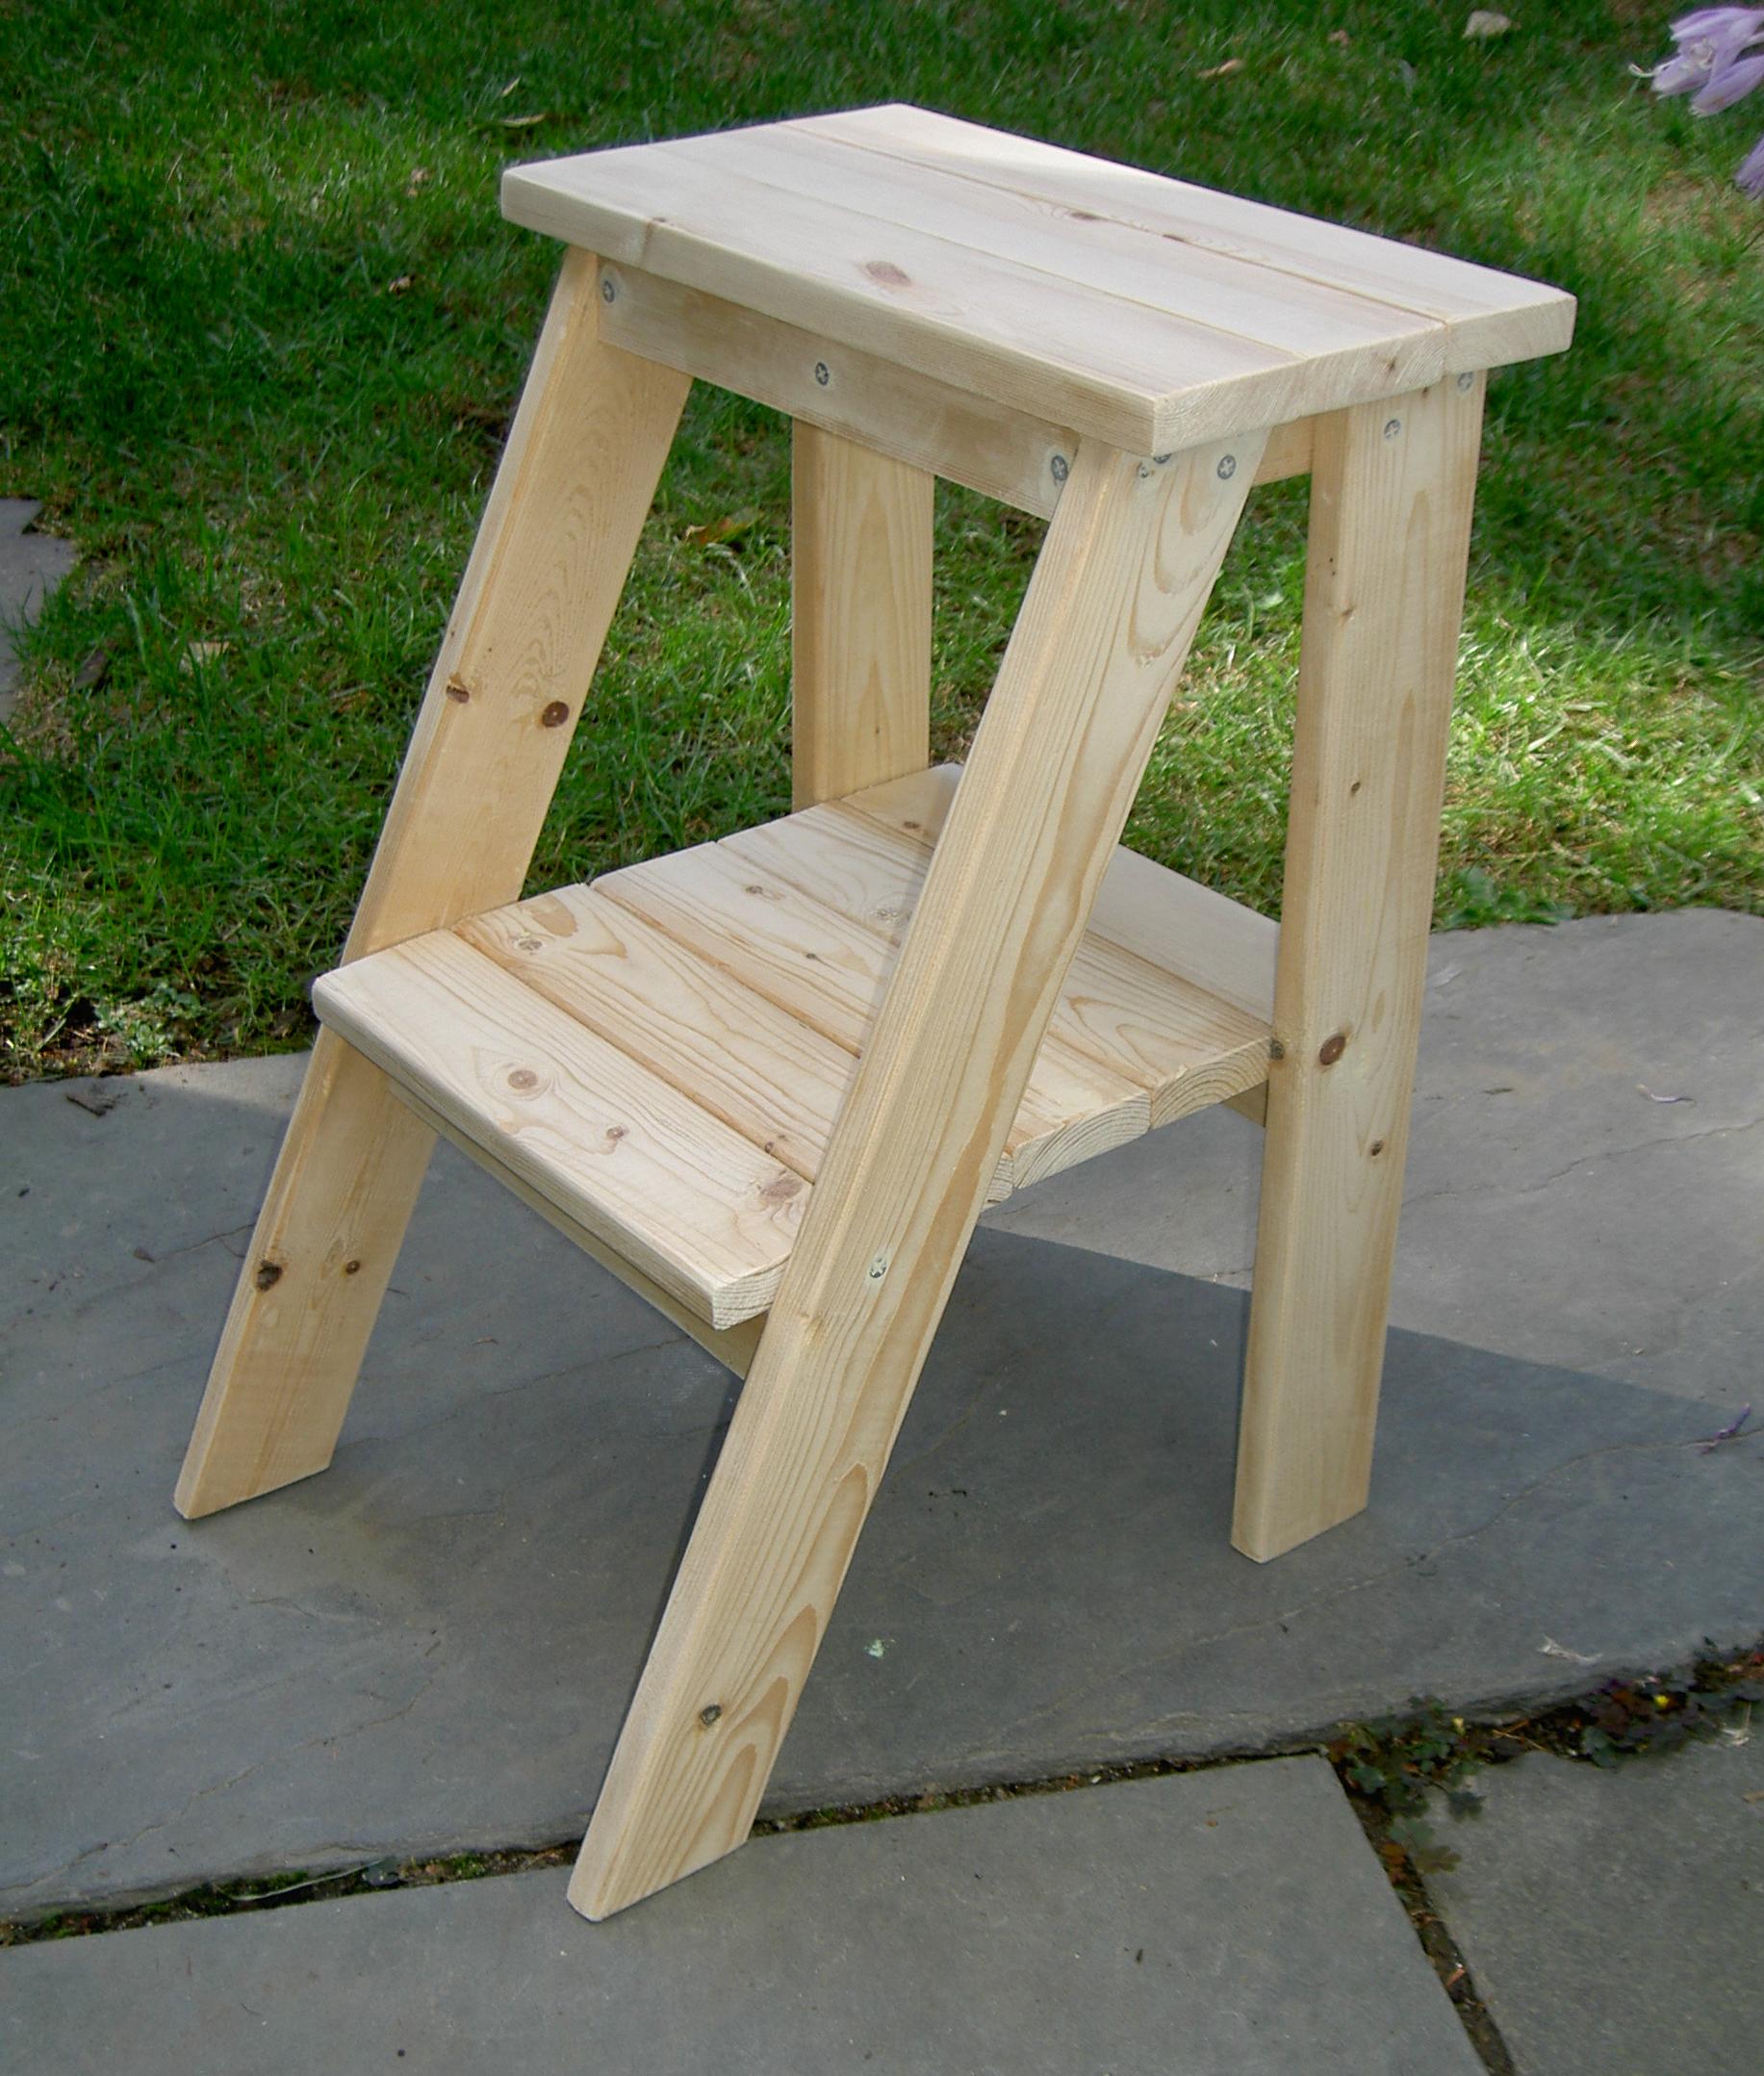
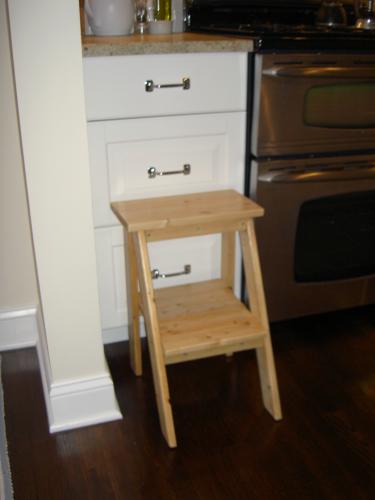
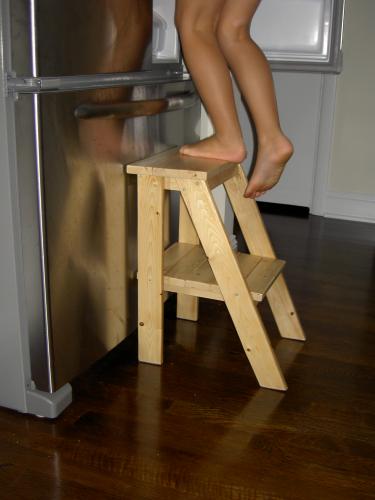
I made this awesome step stool for my daughter to be able to reach things a little bit better. It works perfectly. And the heart adds the perfect touch, don't you think?


fun to make!
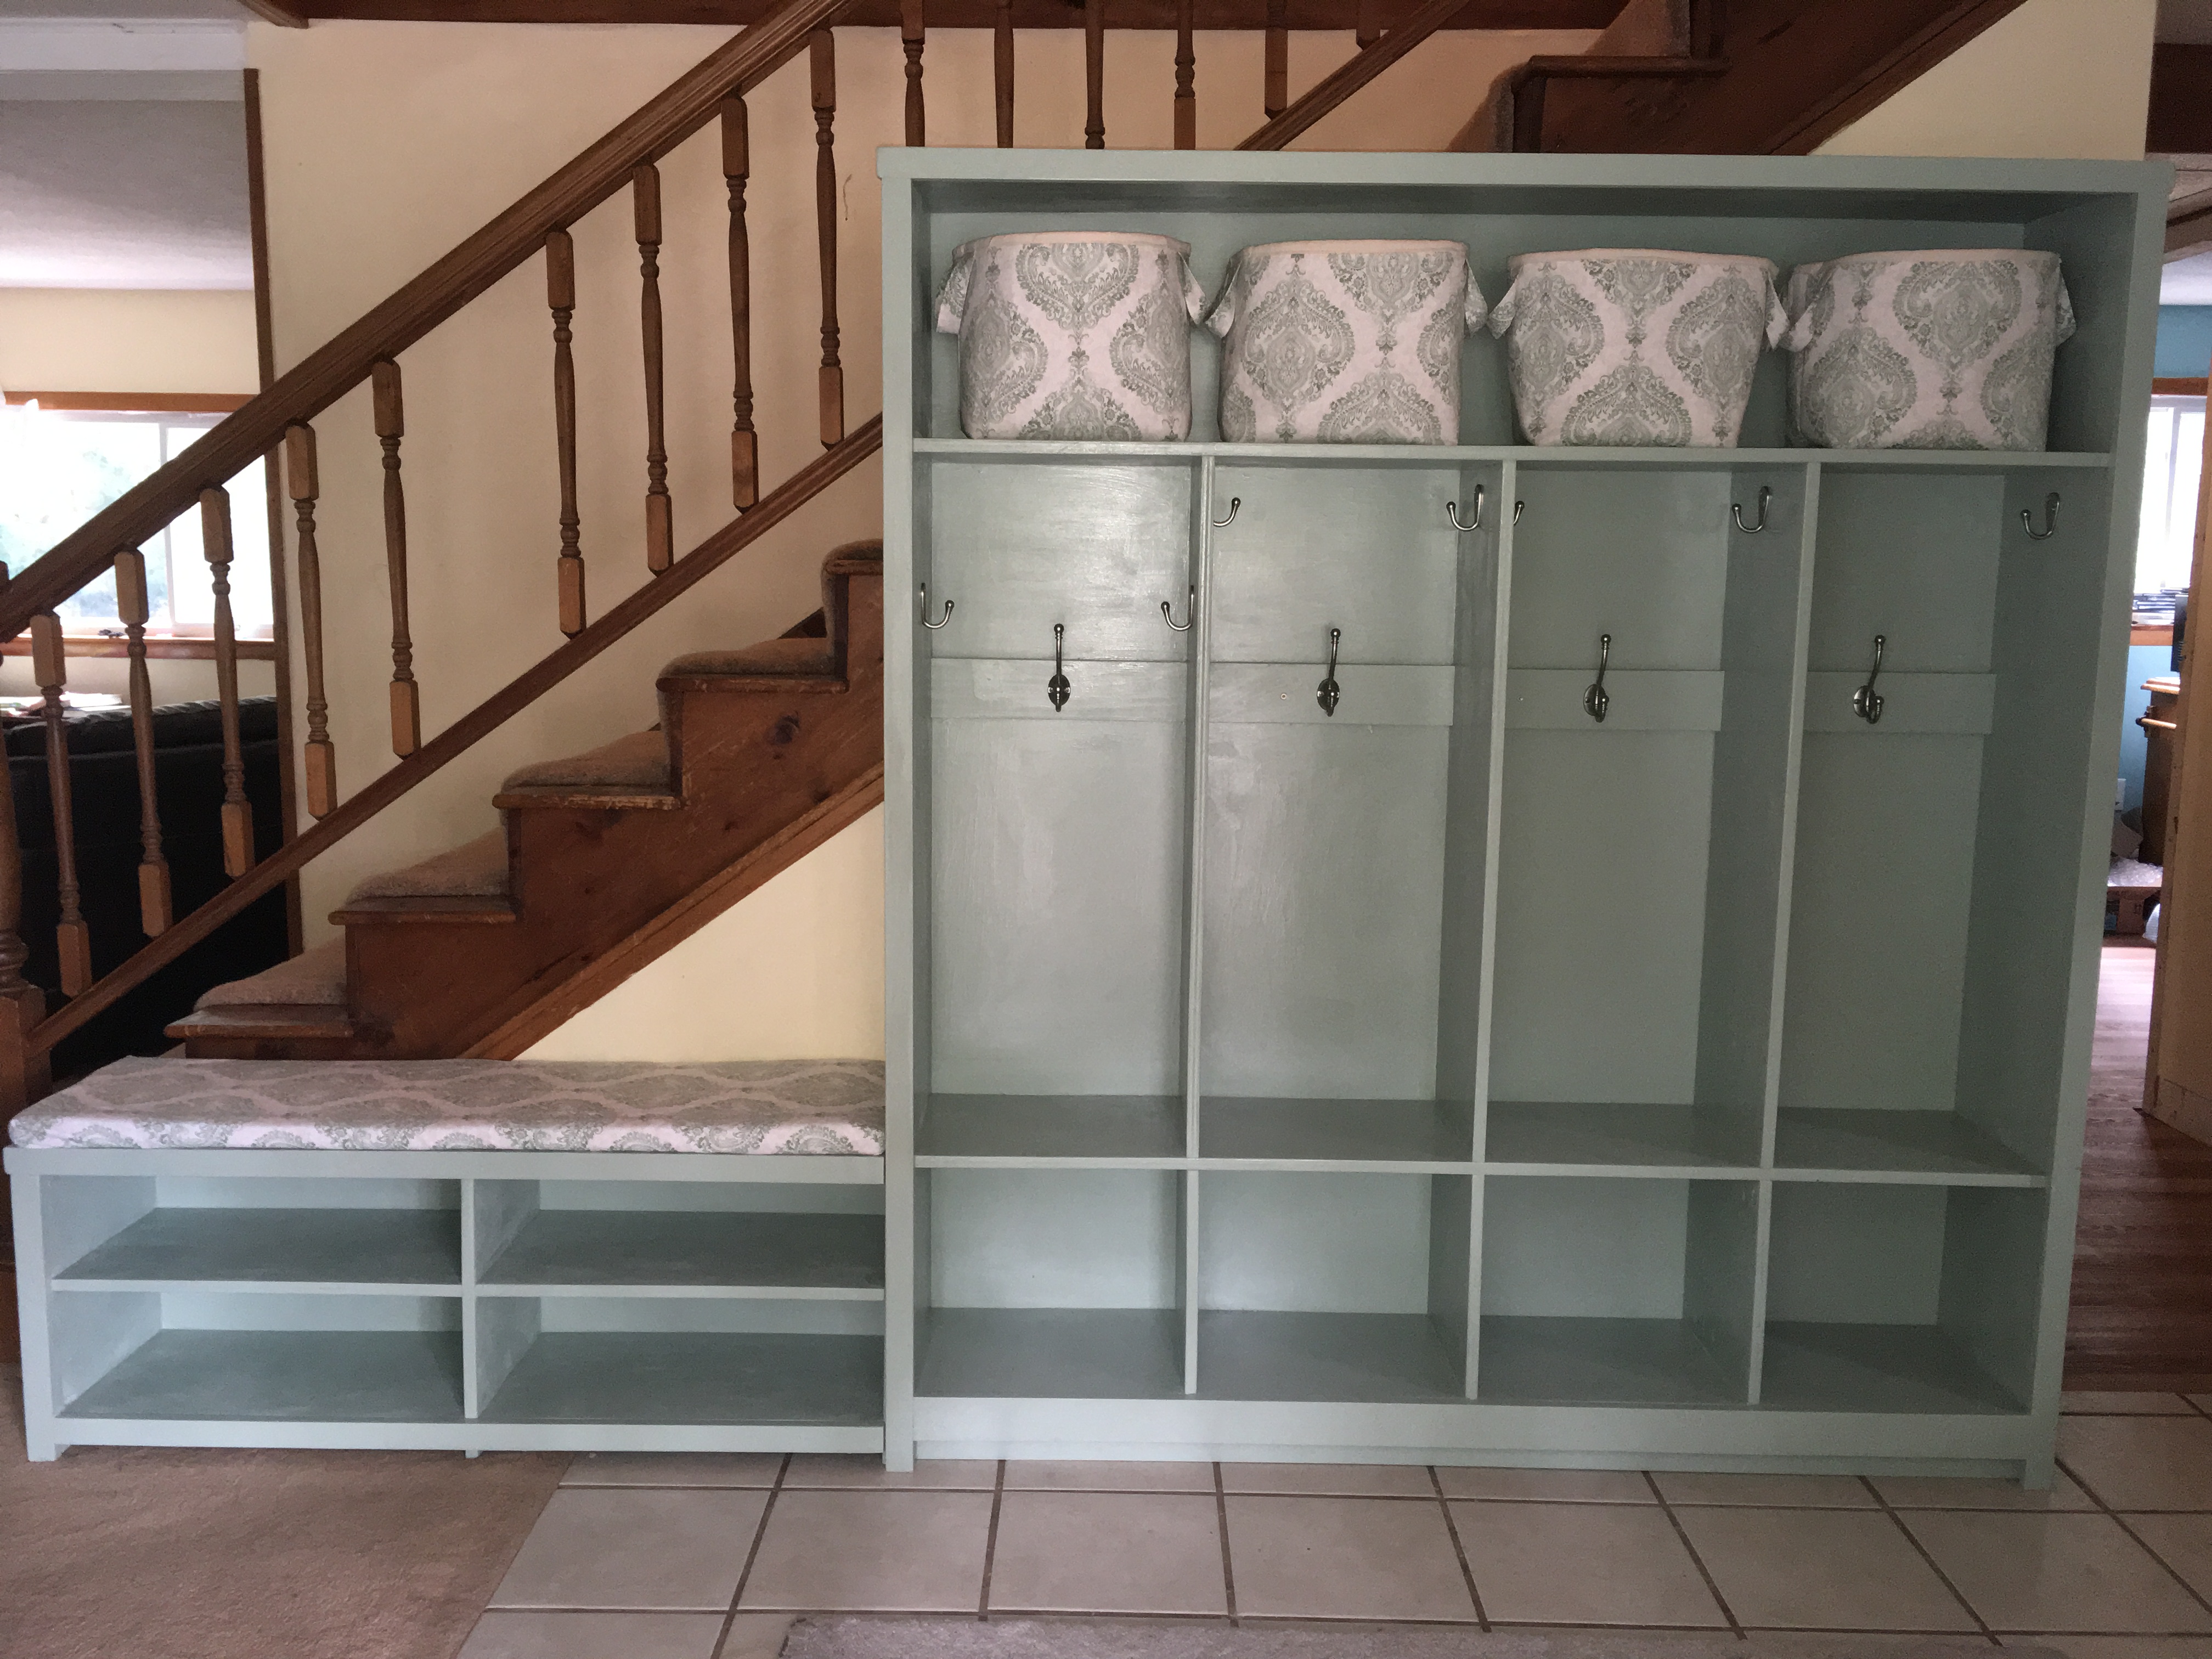
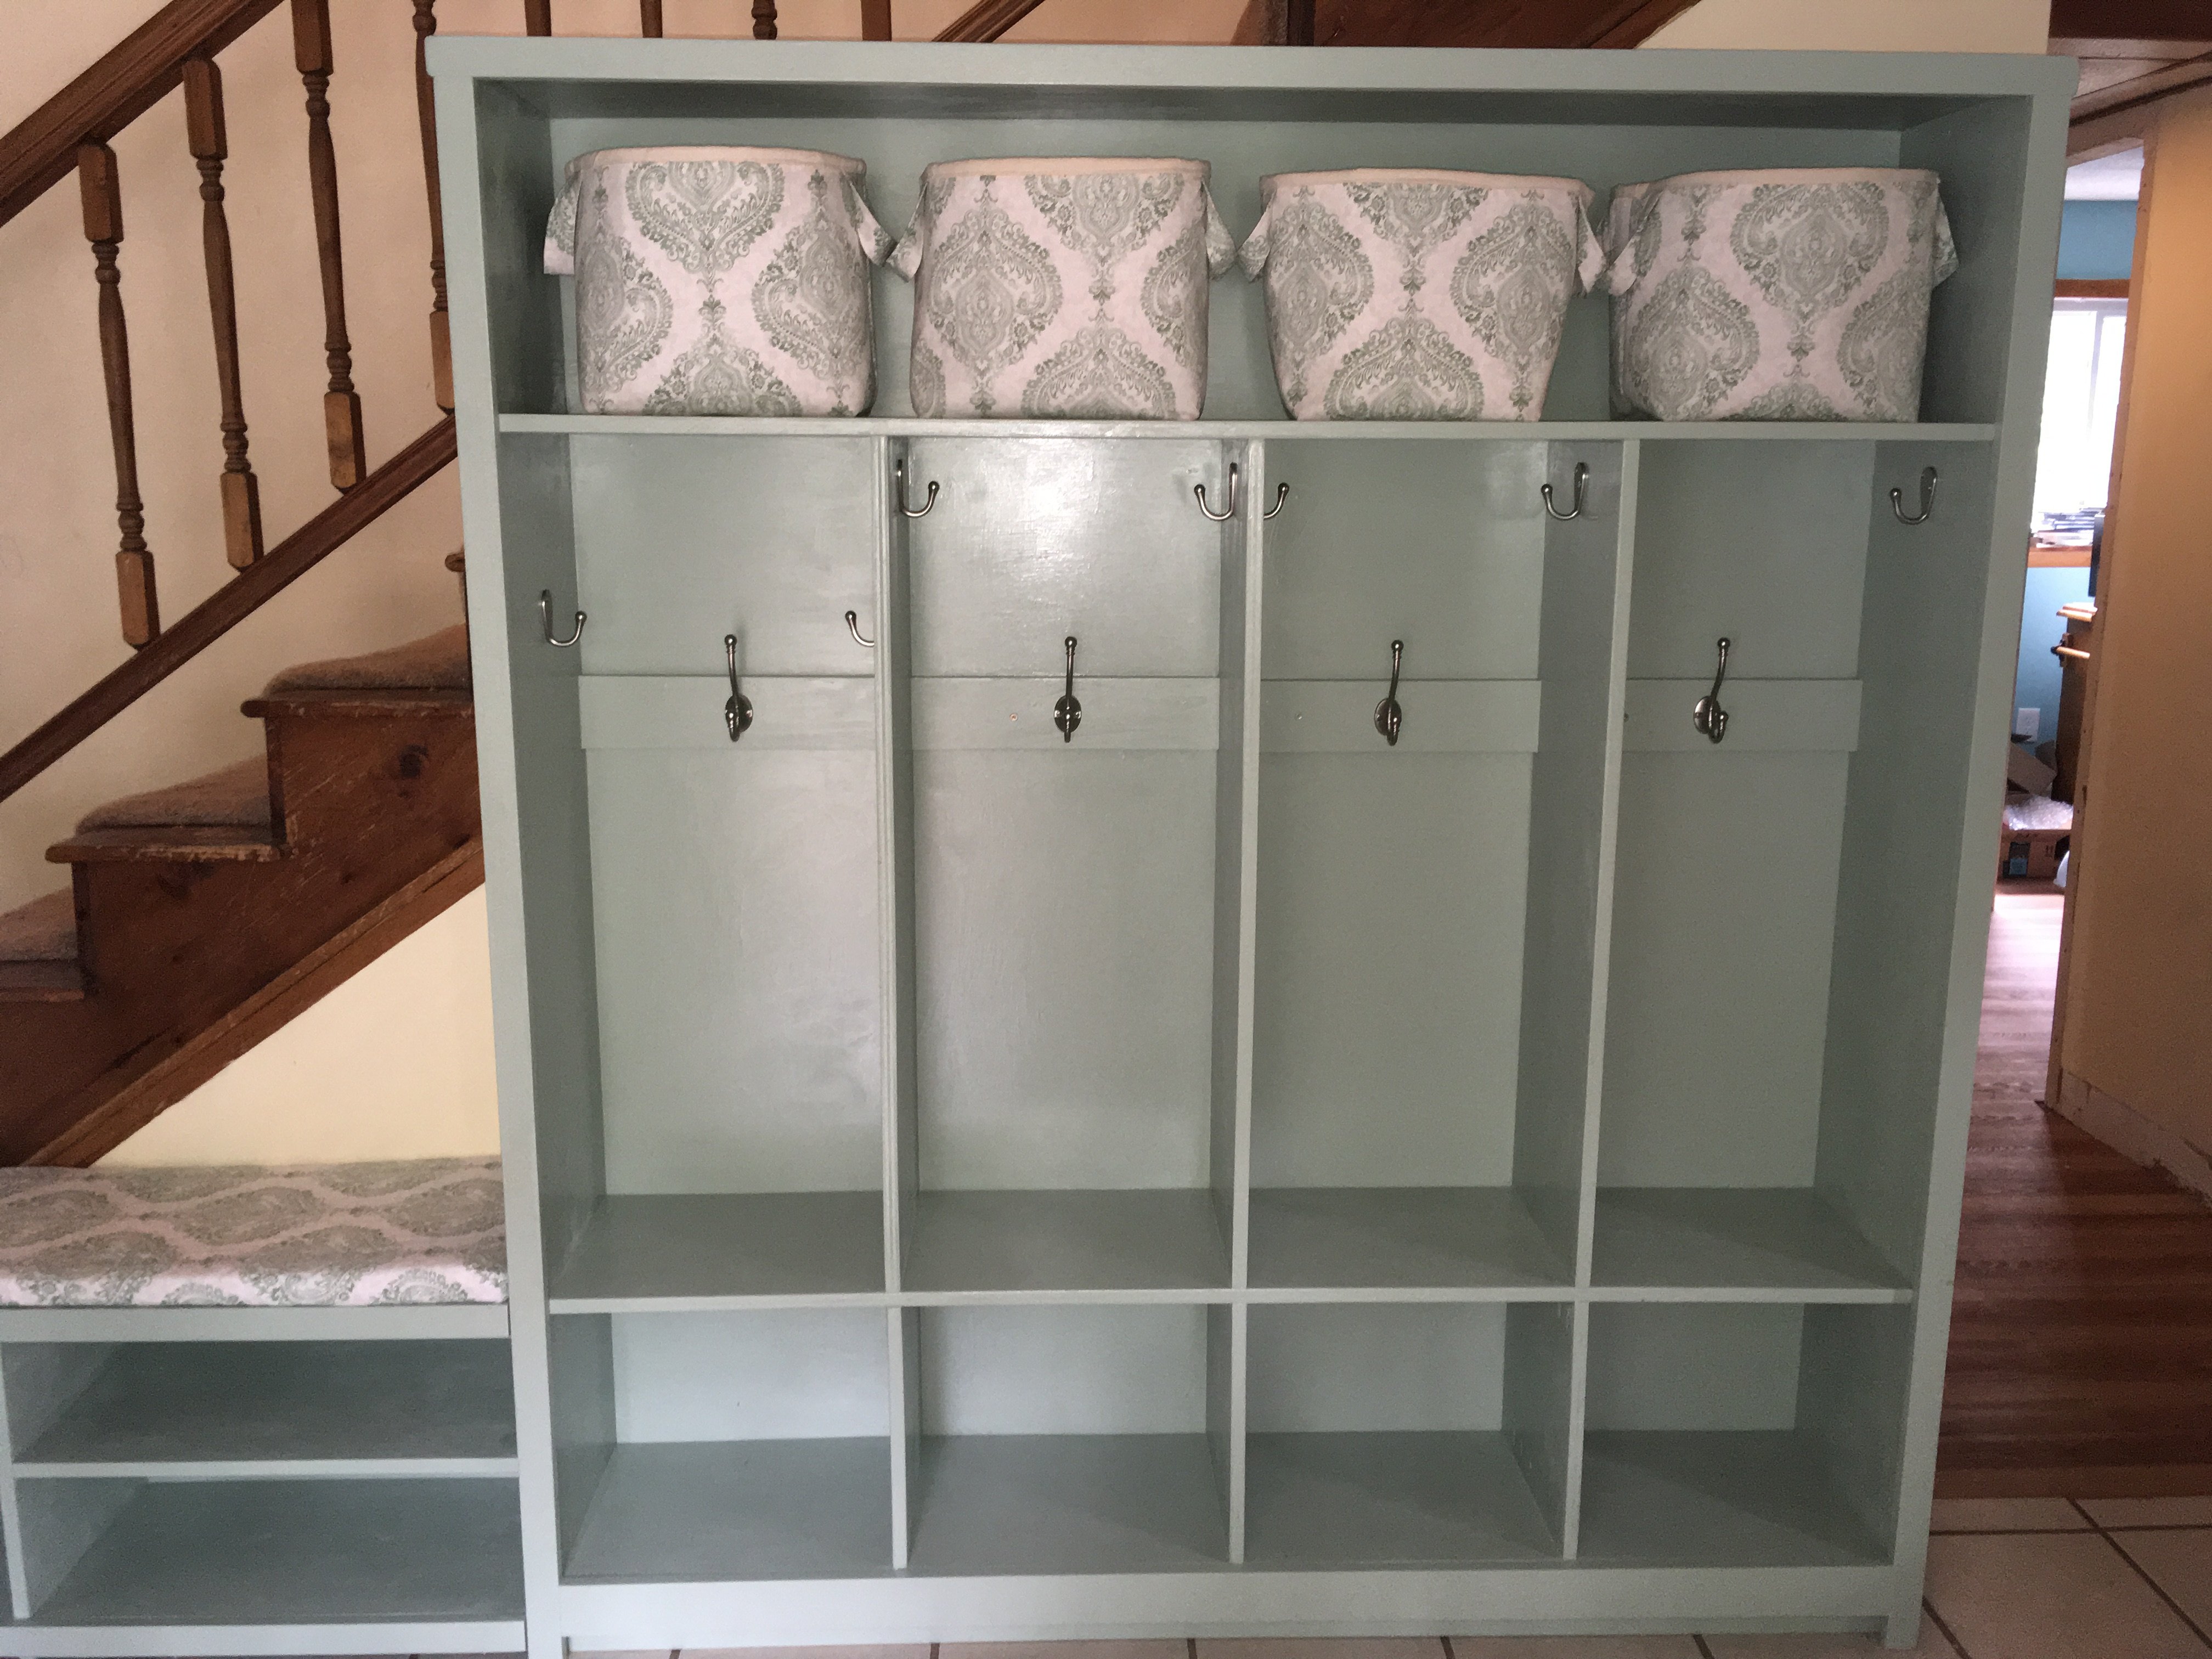
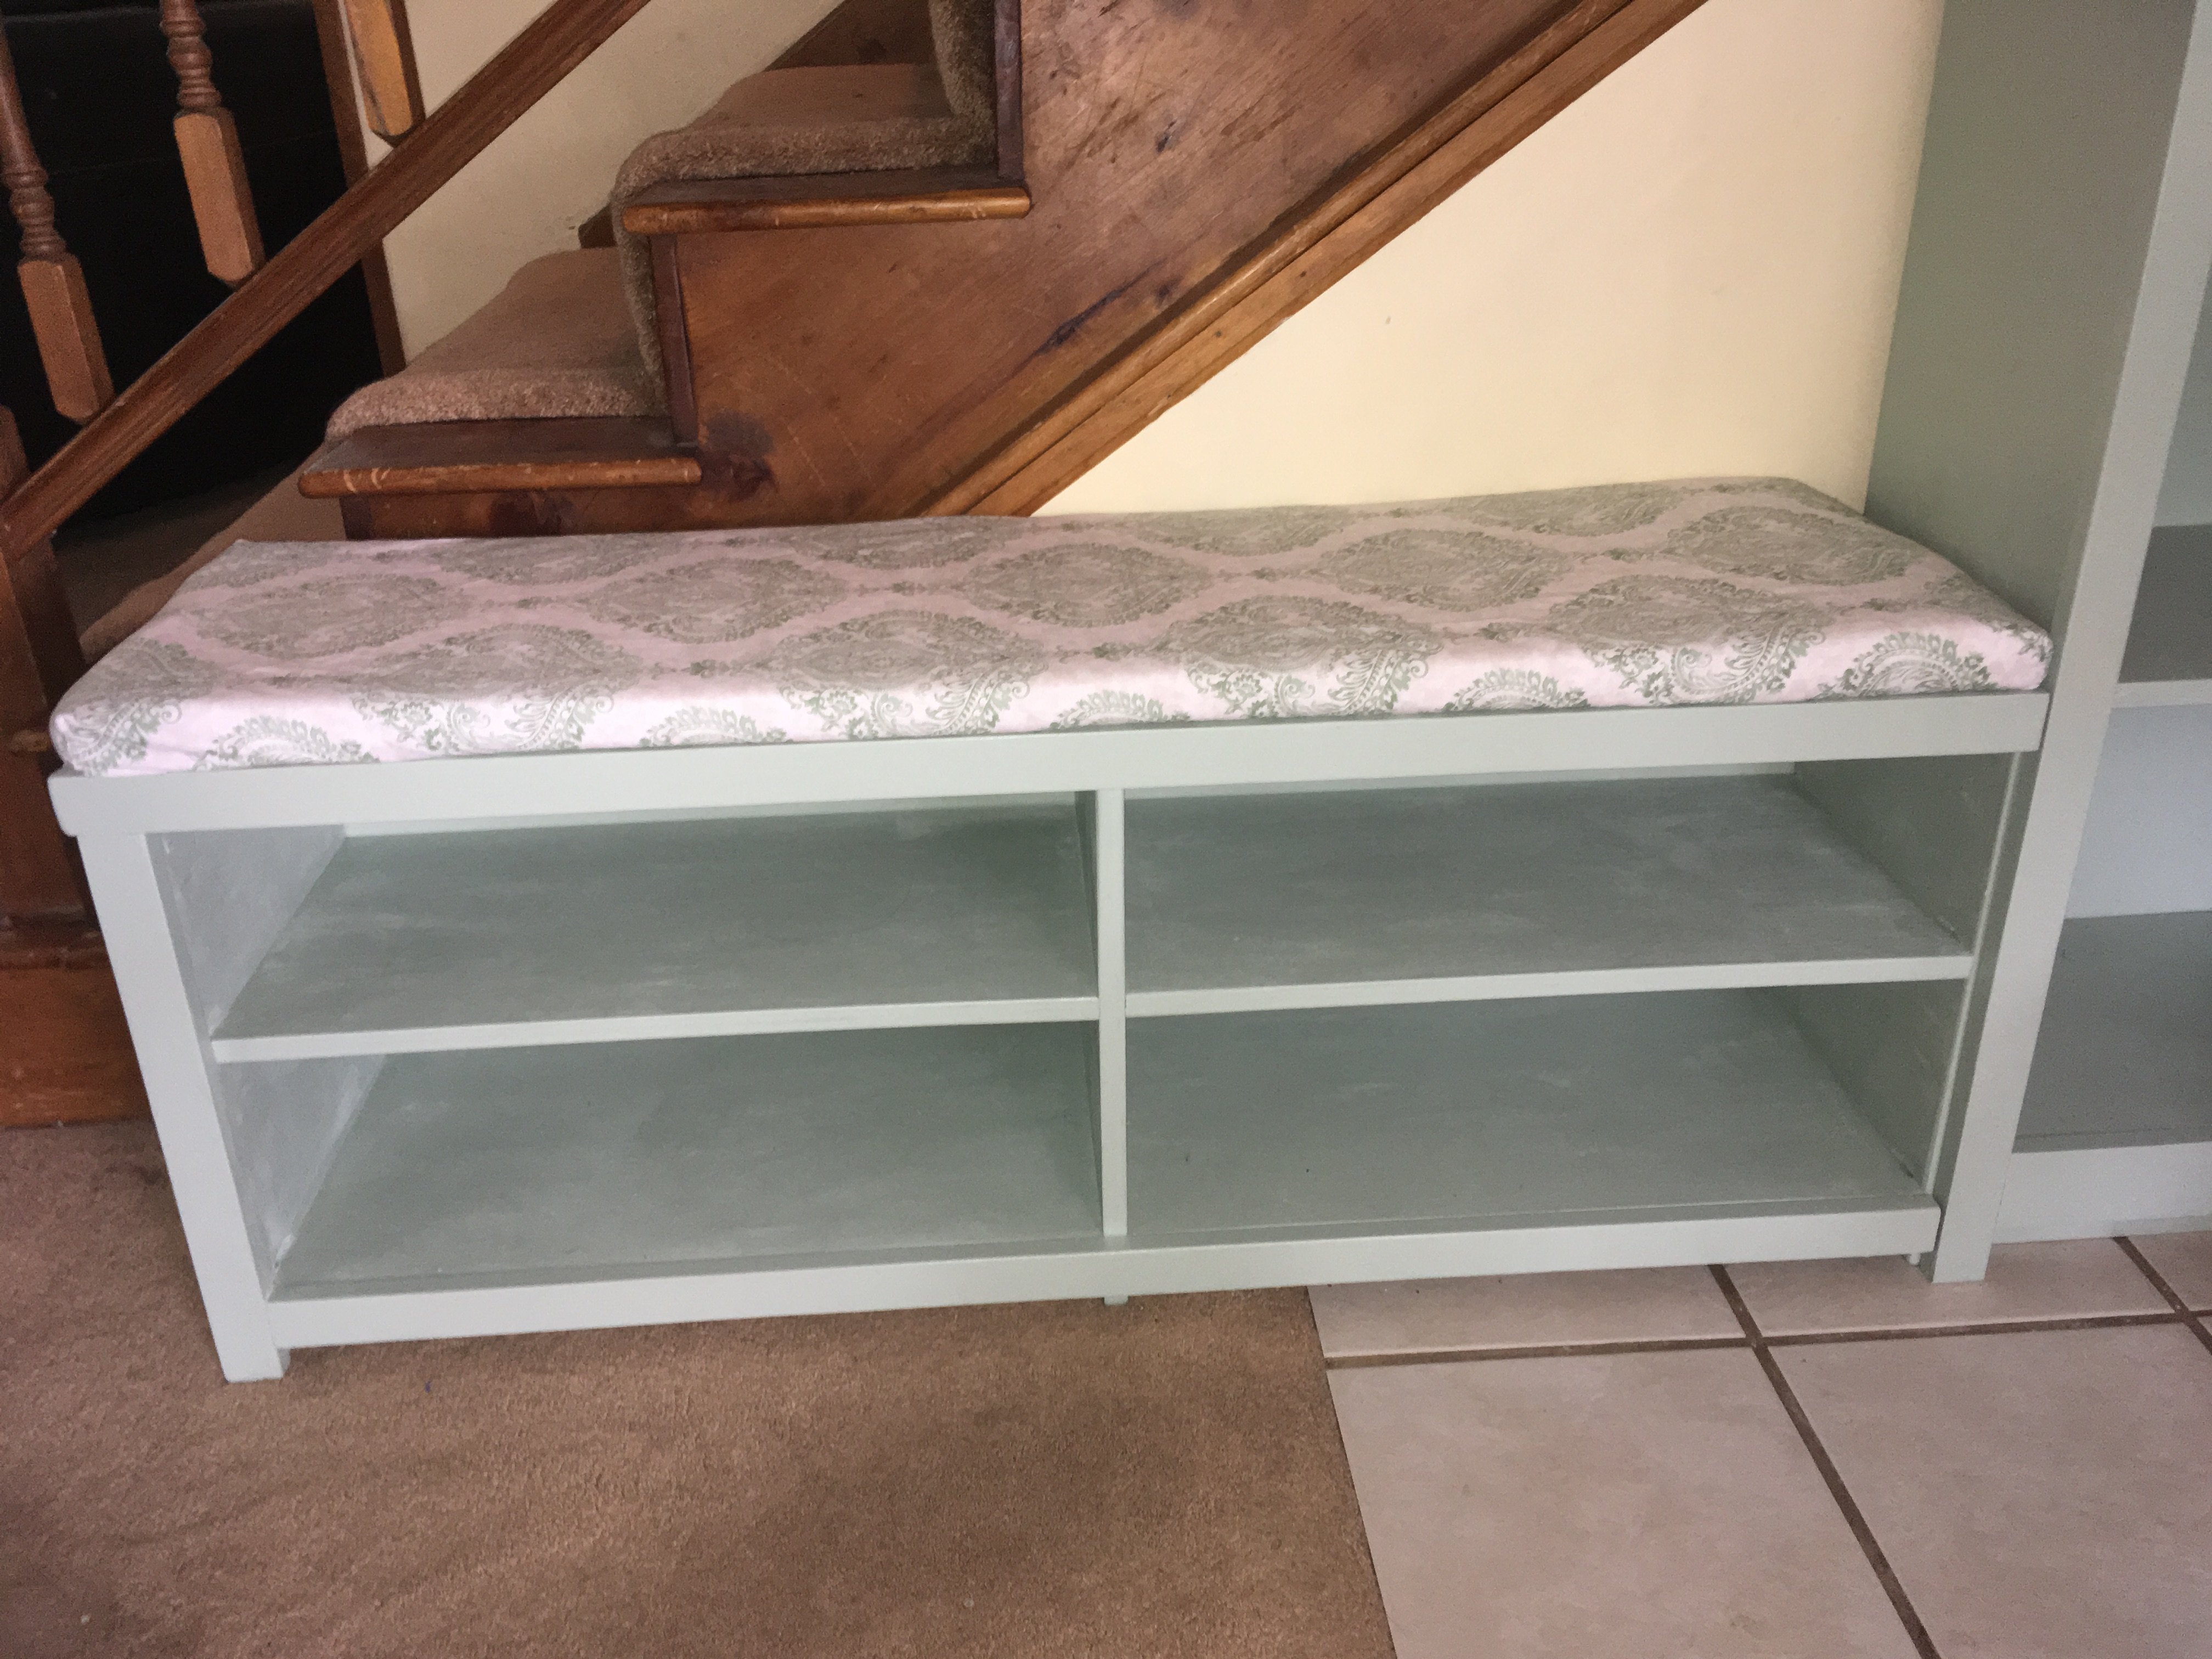
I love Ana's plan for lockers! This project is so rewarding and was very straight forward to build. I added a fourth locker and a shoe bench to accomodate my children. I also added a toekick behind the face frame so things won't get lost underneath. Instead of using 1 x 12's, I ripped plywood into 4 equal strips. They came out to be slightly less than 12 inches each as you have to account for the saw blade. Each locker has three hooks, a place for shoes, and a bin for winter gear. I made the fabric bins and bench cushion following online tutorials. I set the hooks according to the height of my children, so even my youngest can hang up her things. This project took me about a week and a half to complete, including the sewing portion. It is very sturdy and the 1x4's along the back allowed me to attach the unit to several wall studs. I placed the 1x4's(with hooks) low enough that the heavy backpacks will also have the shelf for support. The shoe bench measures 48" in length at the longest point. It is the same depth as the locker unit and fits perfectly behind the locker face frame. Thank you so much for your wonderful plan!
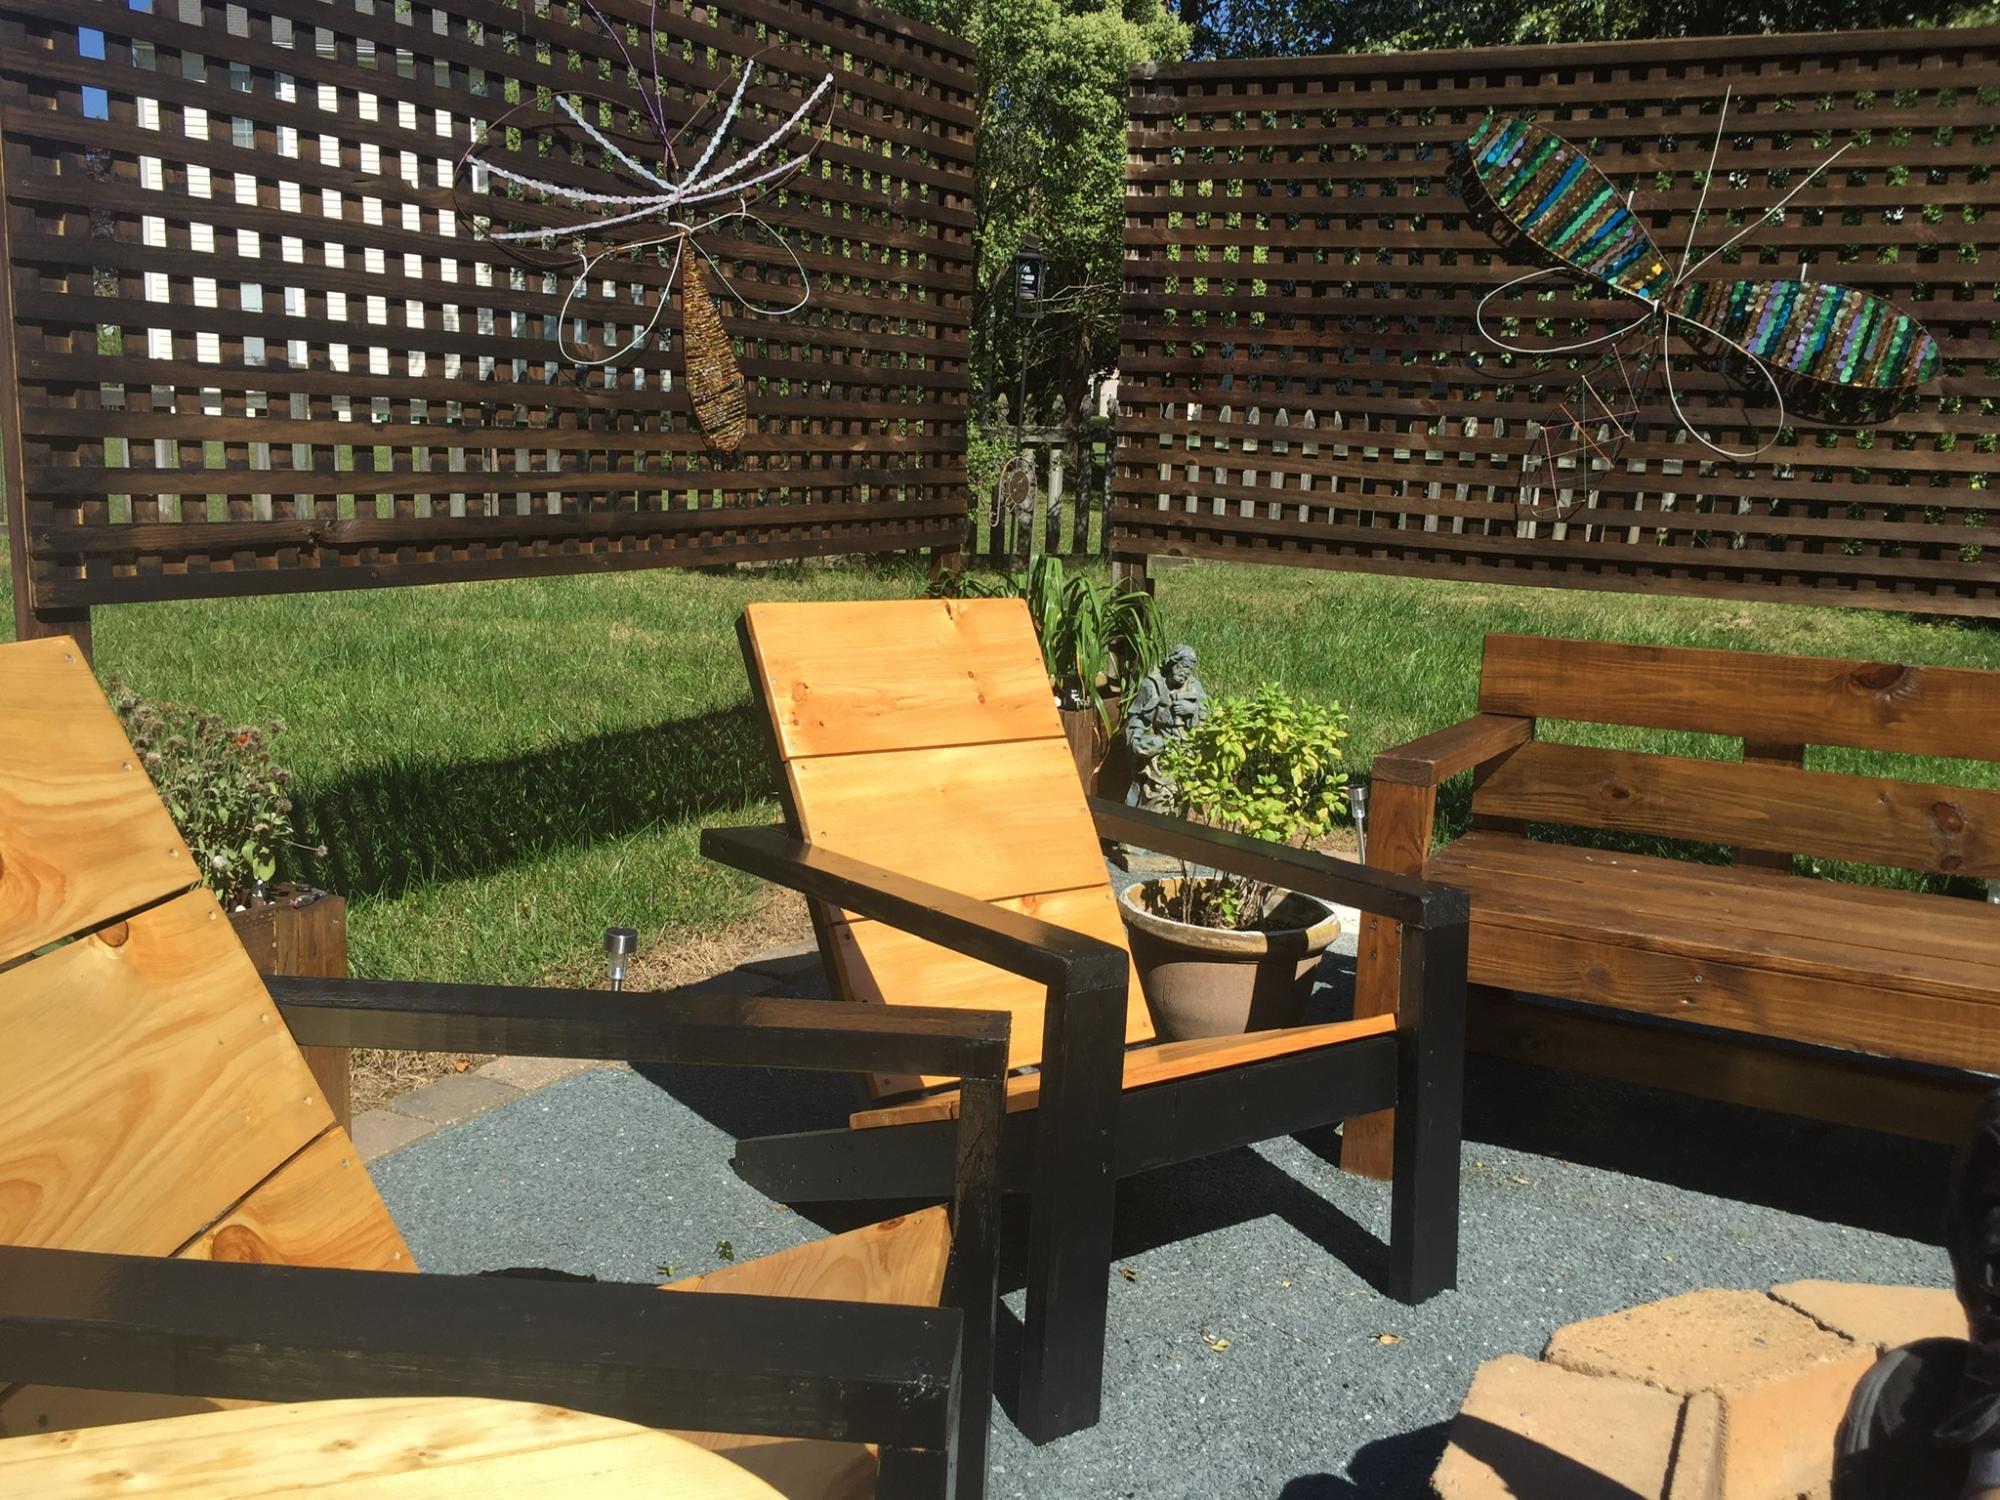
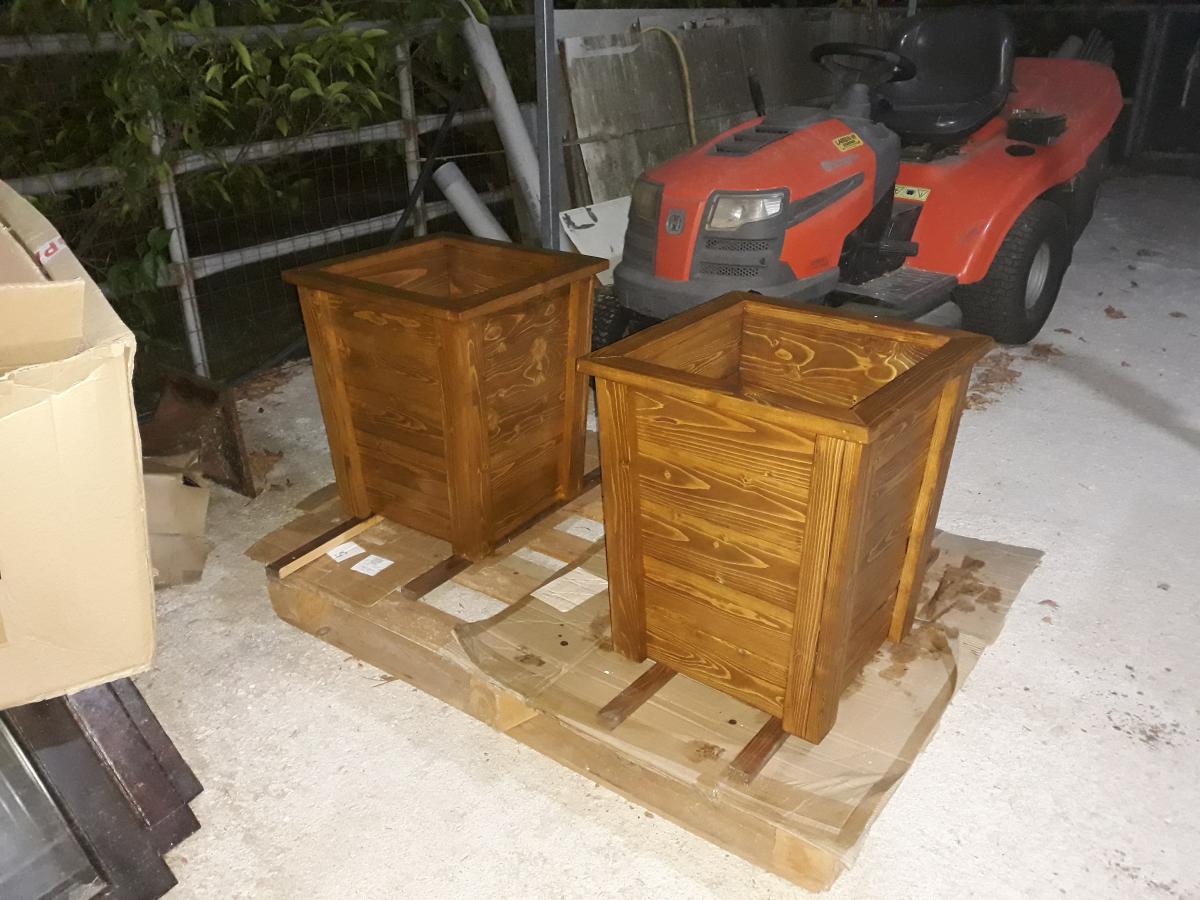
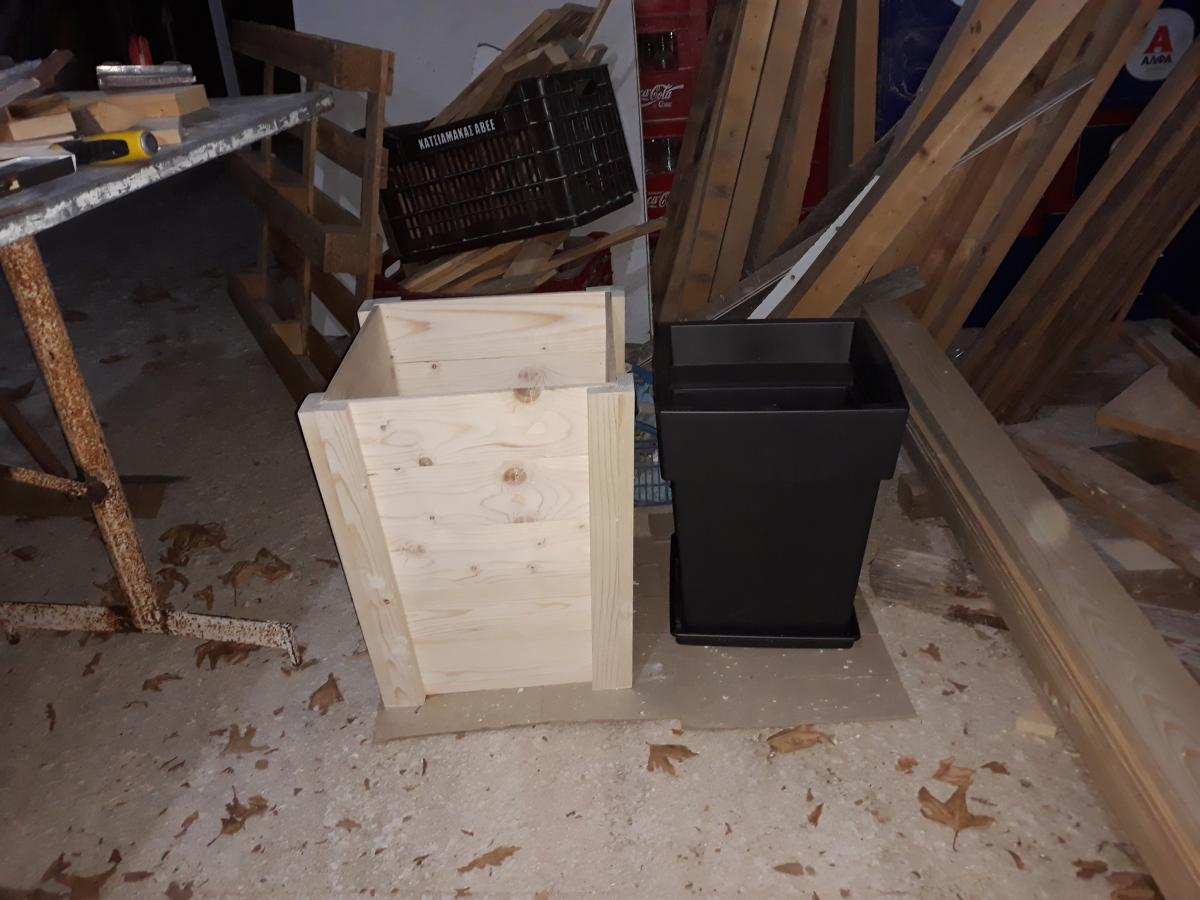
These a few of your designs I’ve created. The bench and Adirondacks were the fist of my Covid projects, then I added the outdoor living space landscaping… sorta. Thanks for Great plans. I love making the stuff.


Wed, 10/06/2021 - 10:30
Thank you for sharing, it all looks very pretty and inviting!
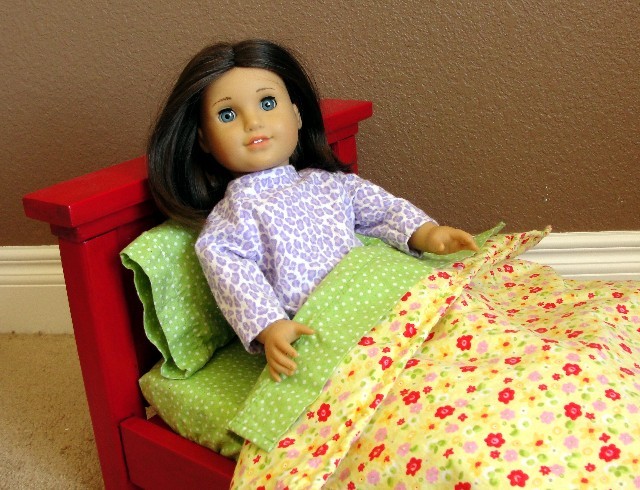
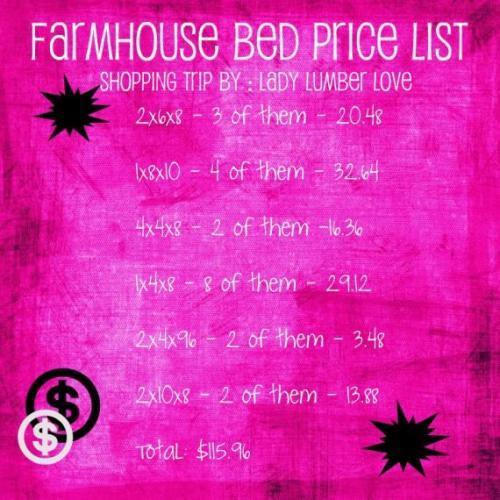
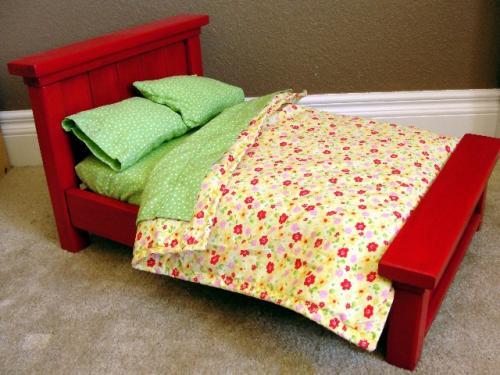
I love this little farmhouse bed. I made it for my daughter for Christmas. It is spacious for one doll and cozy for two.

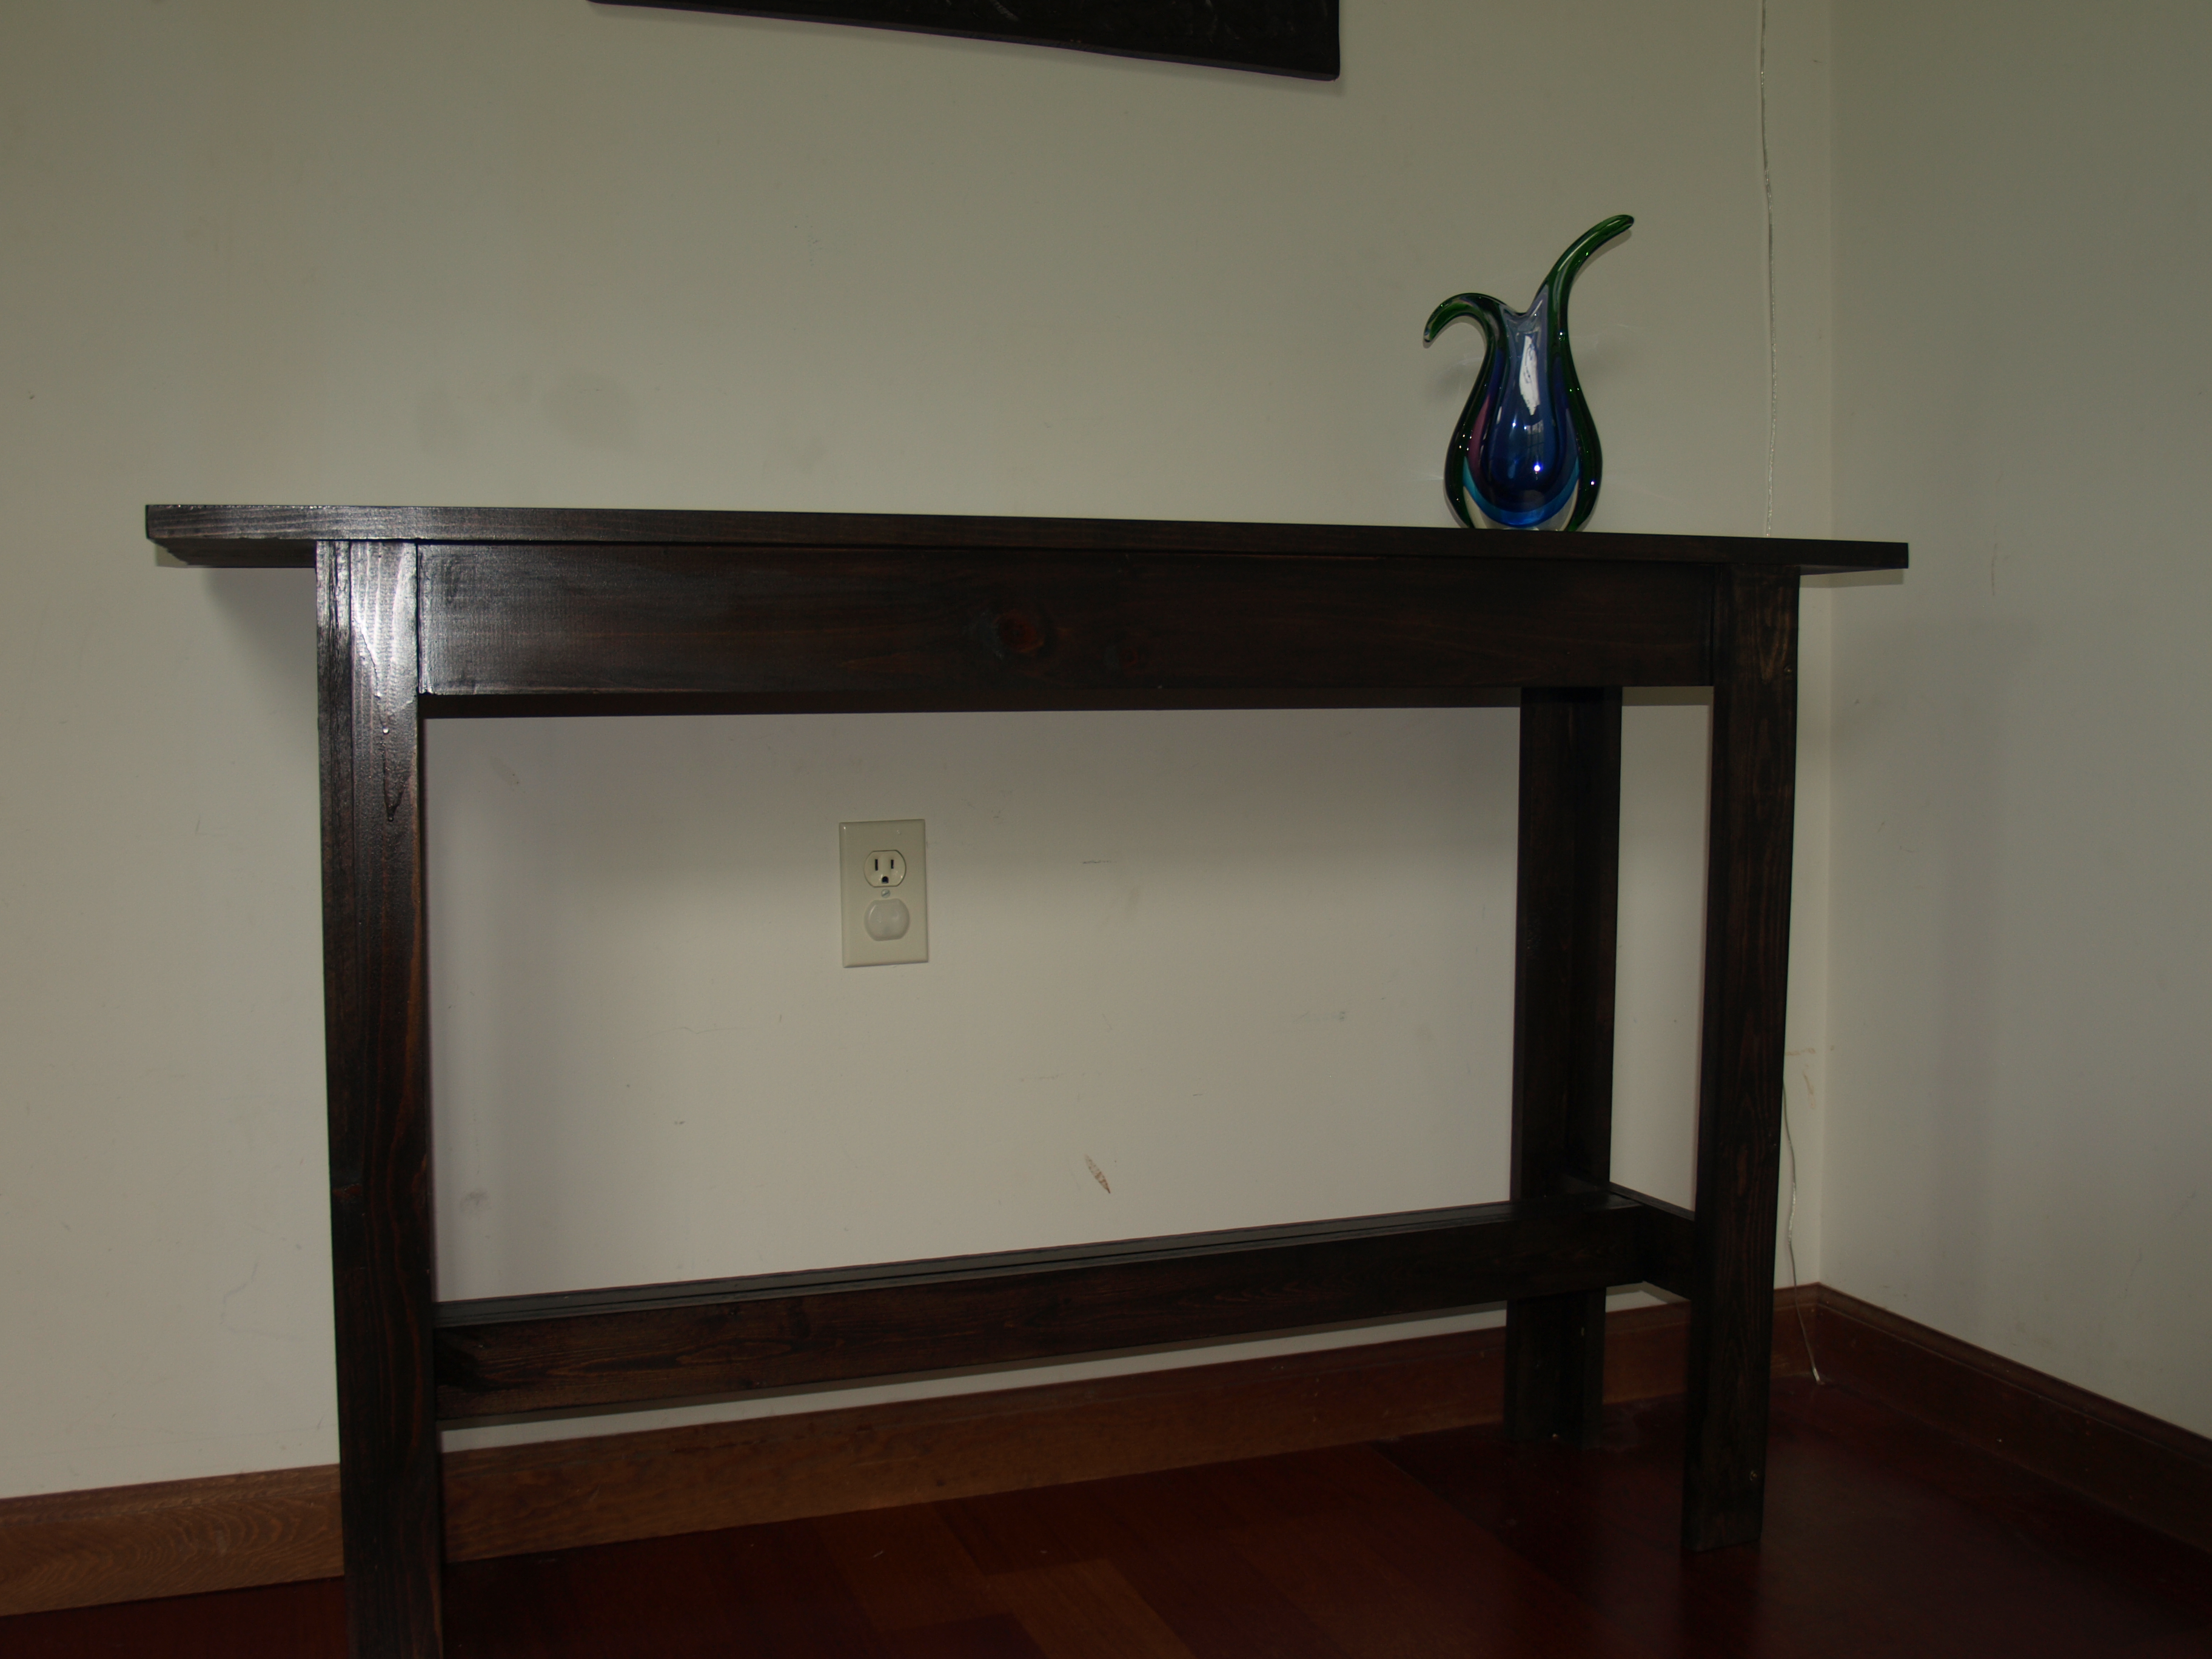
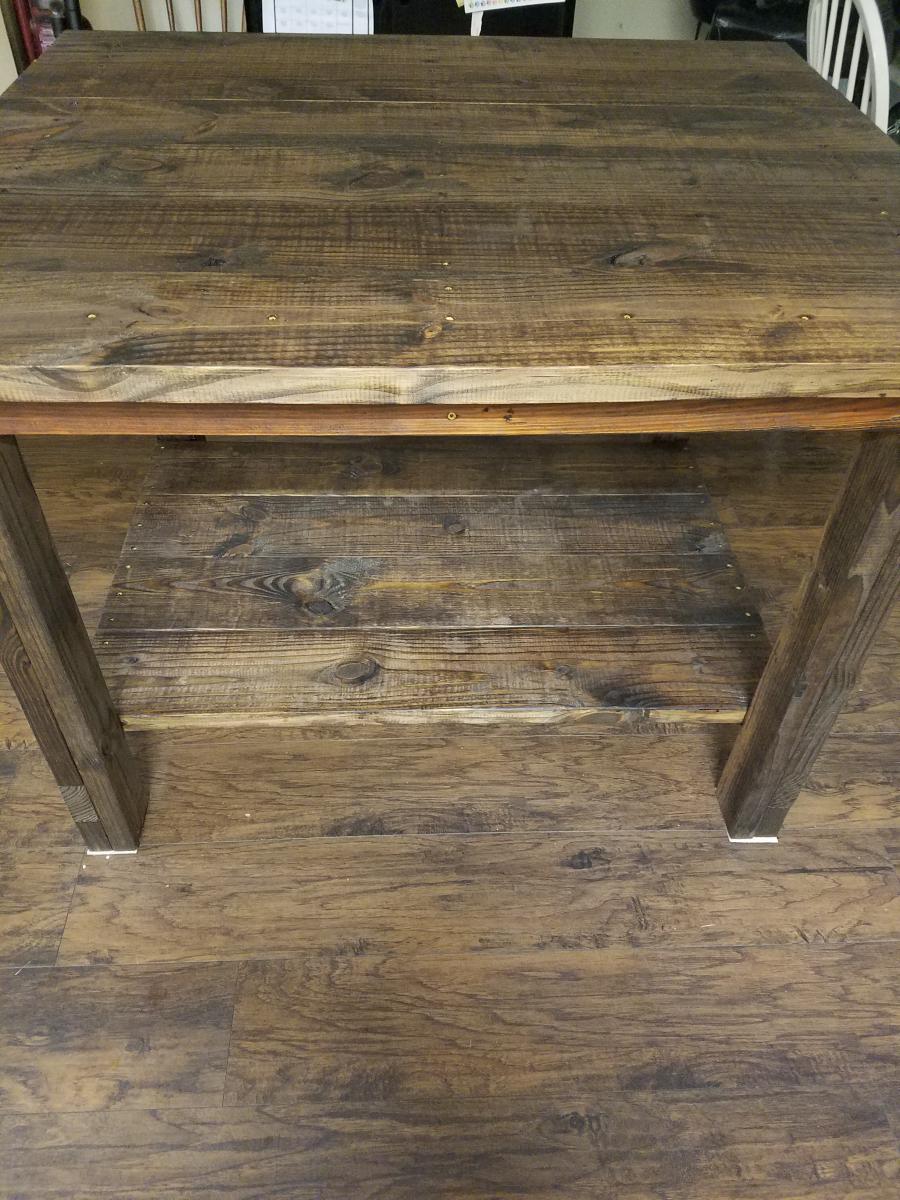
This was our first project. The directions were easy to follow. We used wood screws to put this project together as I do not have a nail gun. My five year old was in charge of the electric screwdriver. I just used 1 peice of wood for the table top and diagonally screwed into it from the bottom. It took us a few days to complete as when you are working with a little one, everything takes quite a bit longer. This was the perfect project for us to work on together! My husband requested a table to put next to the hottub so he could put his drink on it, but I don't want this to move outside! Maybe I'll have to make another one. :)

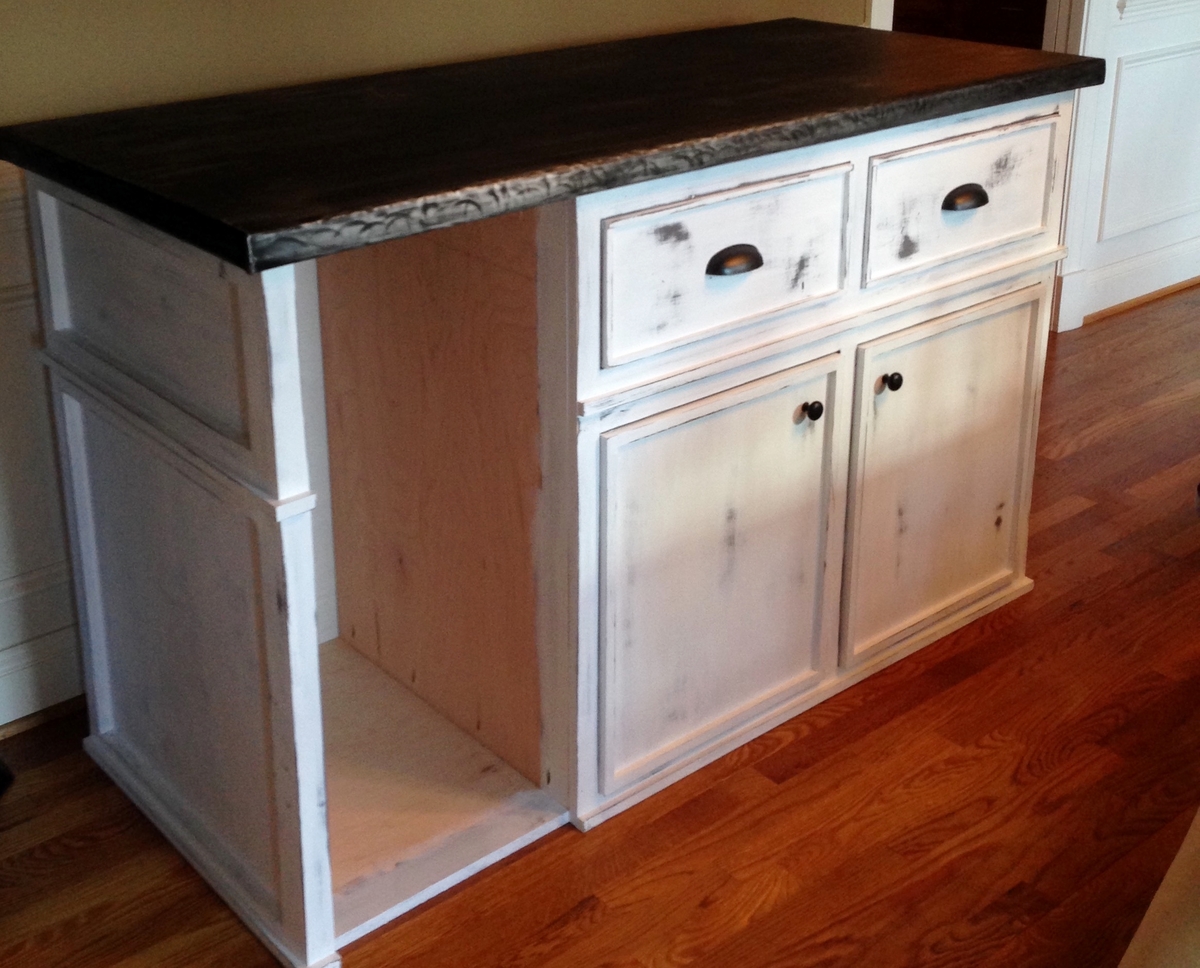
I used the "how to build" from the Shepherd Kitchen Island plan to help me create my own dimensions for this bar... 60" long, 24" deep, 35" high. It has a space on the left for an under counter ice maker and the wine rack is built in inside the right hand cabinet.
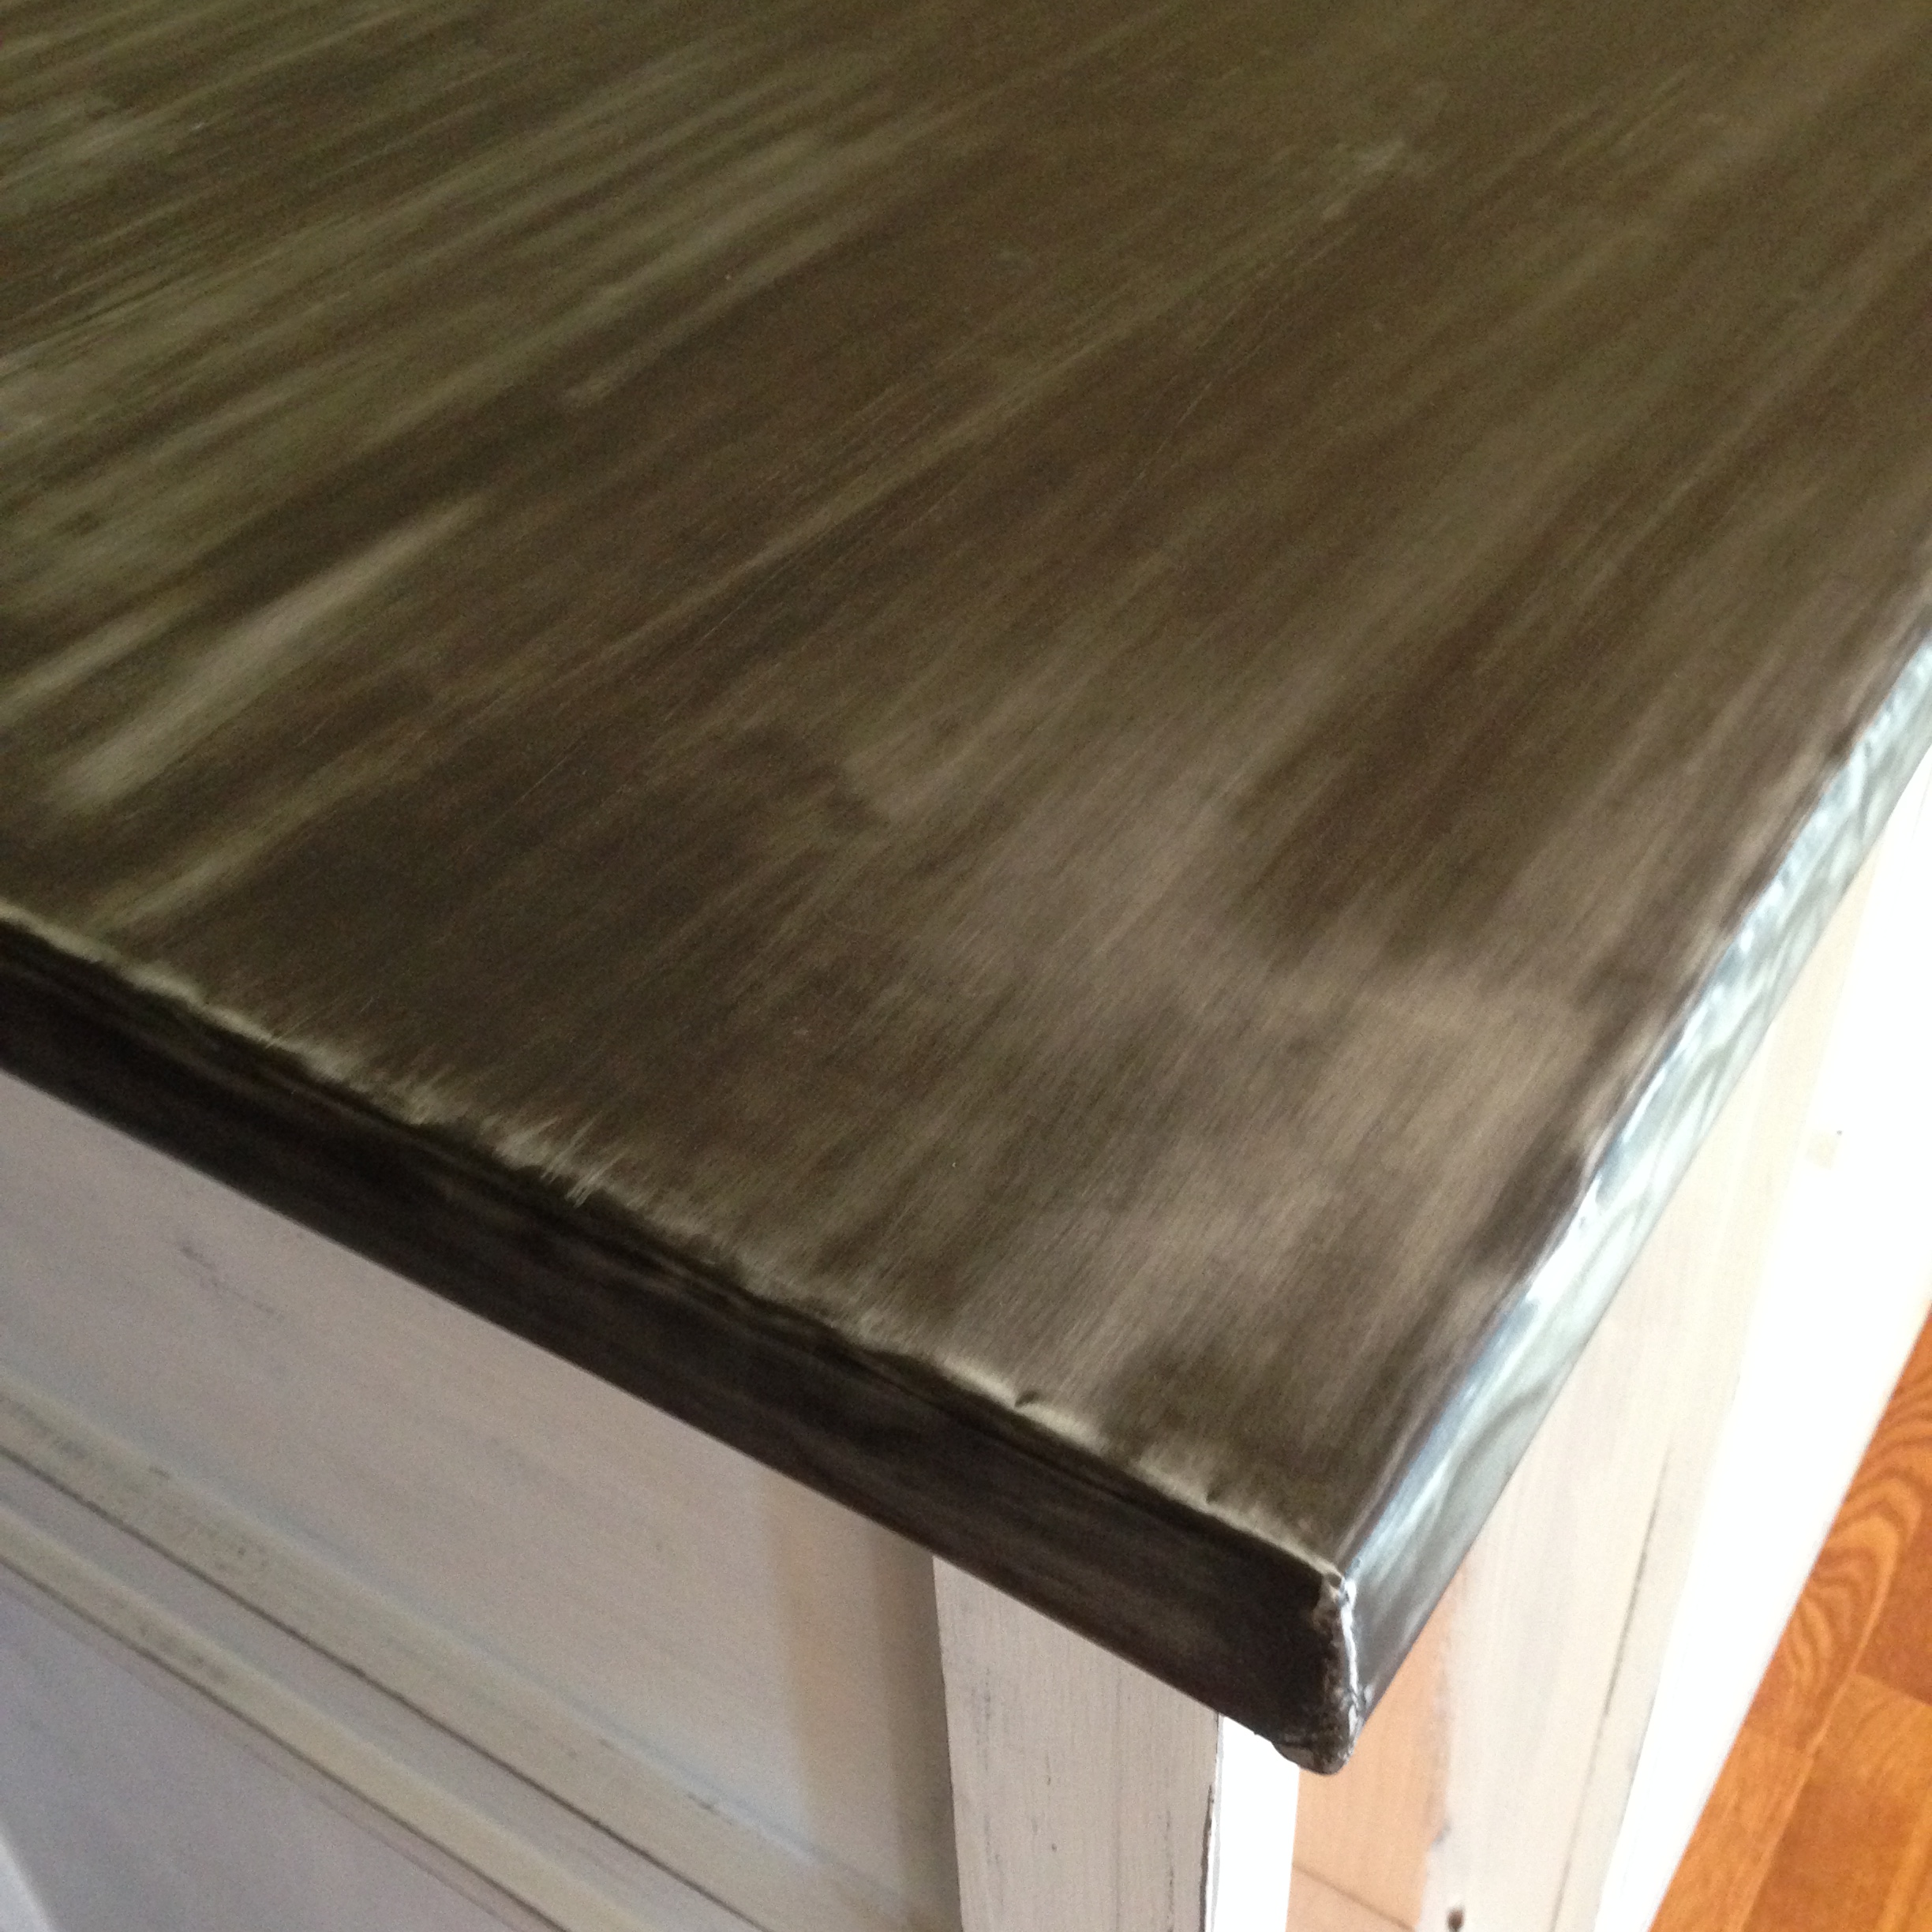
The counter top is plywood covered with a sheet of zinc I bought from rotometals. Fairly easy to do after watching their videos on how to apply and how to patina.

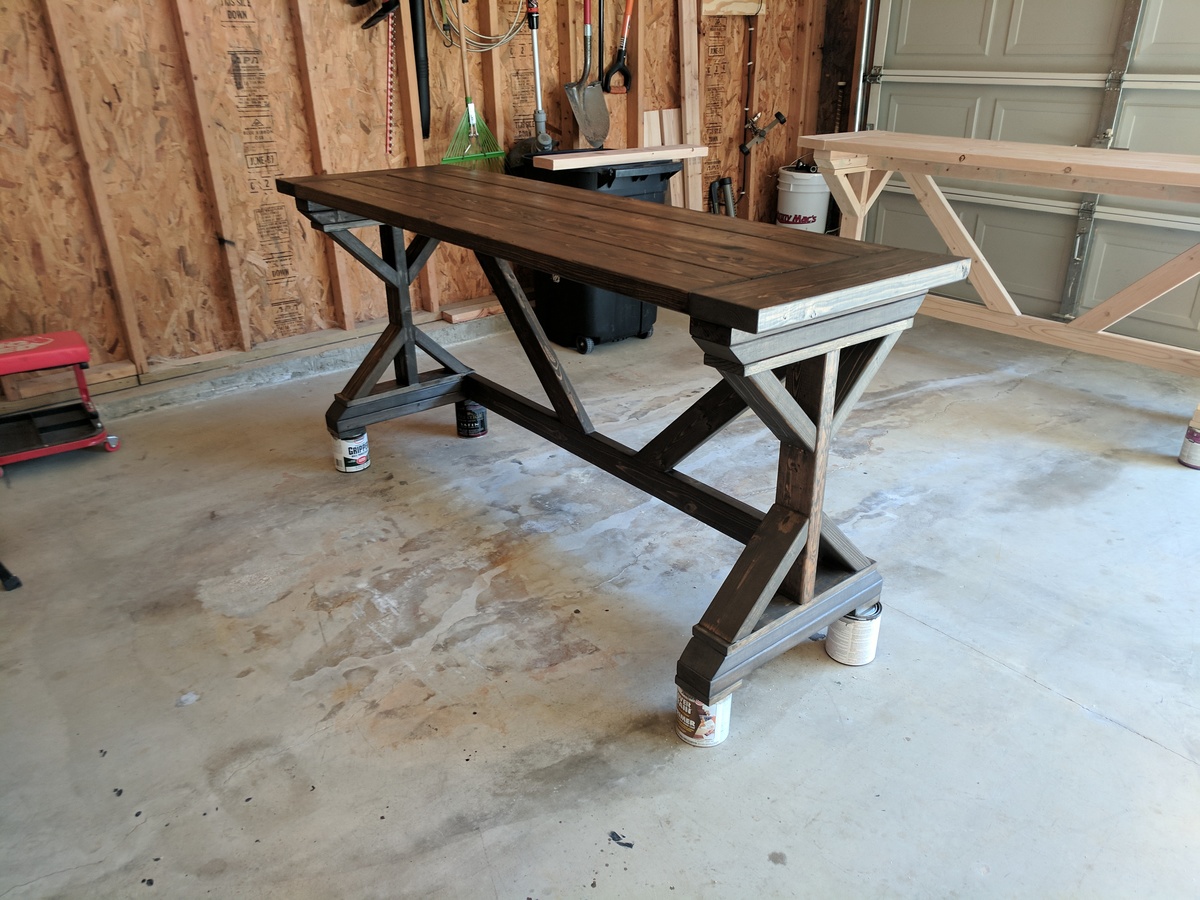
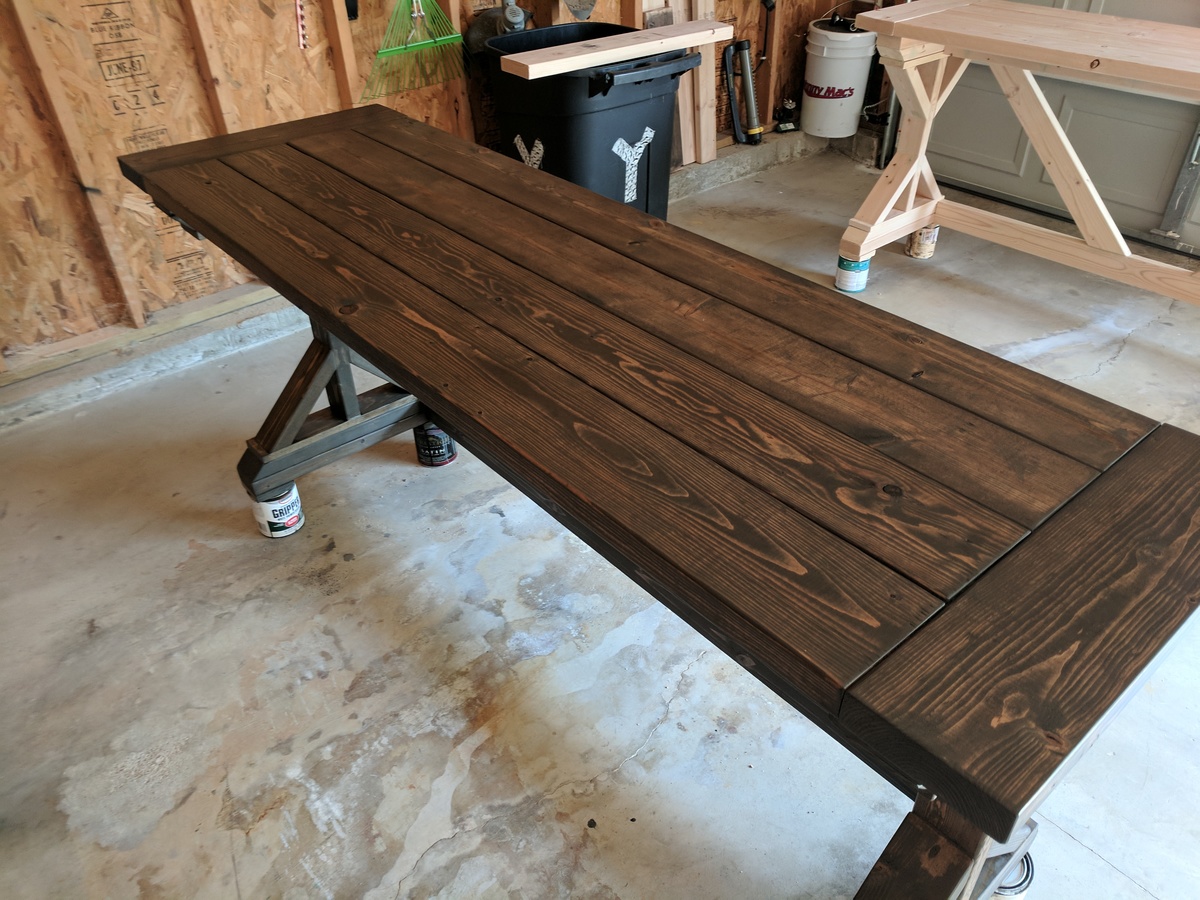
I felt a little bold deviating from the plans when this was my first project. But I saw another version of this desk with the breadboard ends, and I really appreciated the added craftsmanship this gave off. Other than the top, I followed the plans to a T. For the top, I made this from 2x6's with the 4 lengthwise pieces cut to 61" and the ends to 22" (I think I ended up trimming the ends down to match better, but 22 was a good starting point). As for the finish, I layered stains starting with Minwax's Classic Grey followed by Minwax's Jacobean. I made two of these desks to put in our home office. If I think of it once the office is complete and decorated, I'll add another pic!
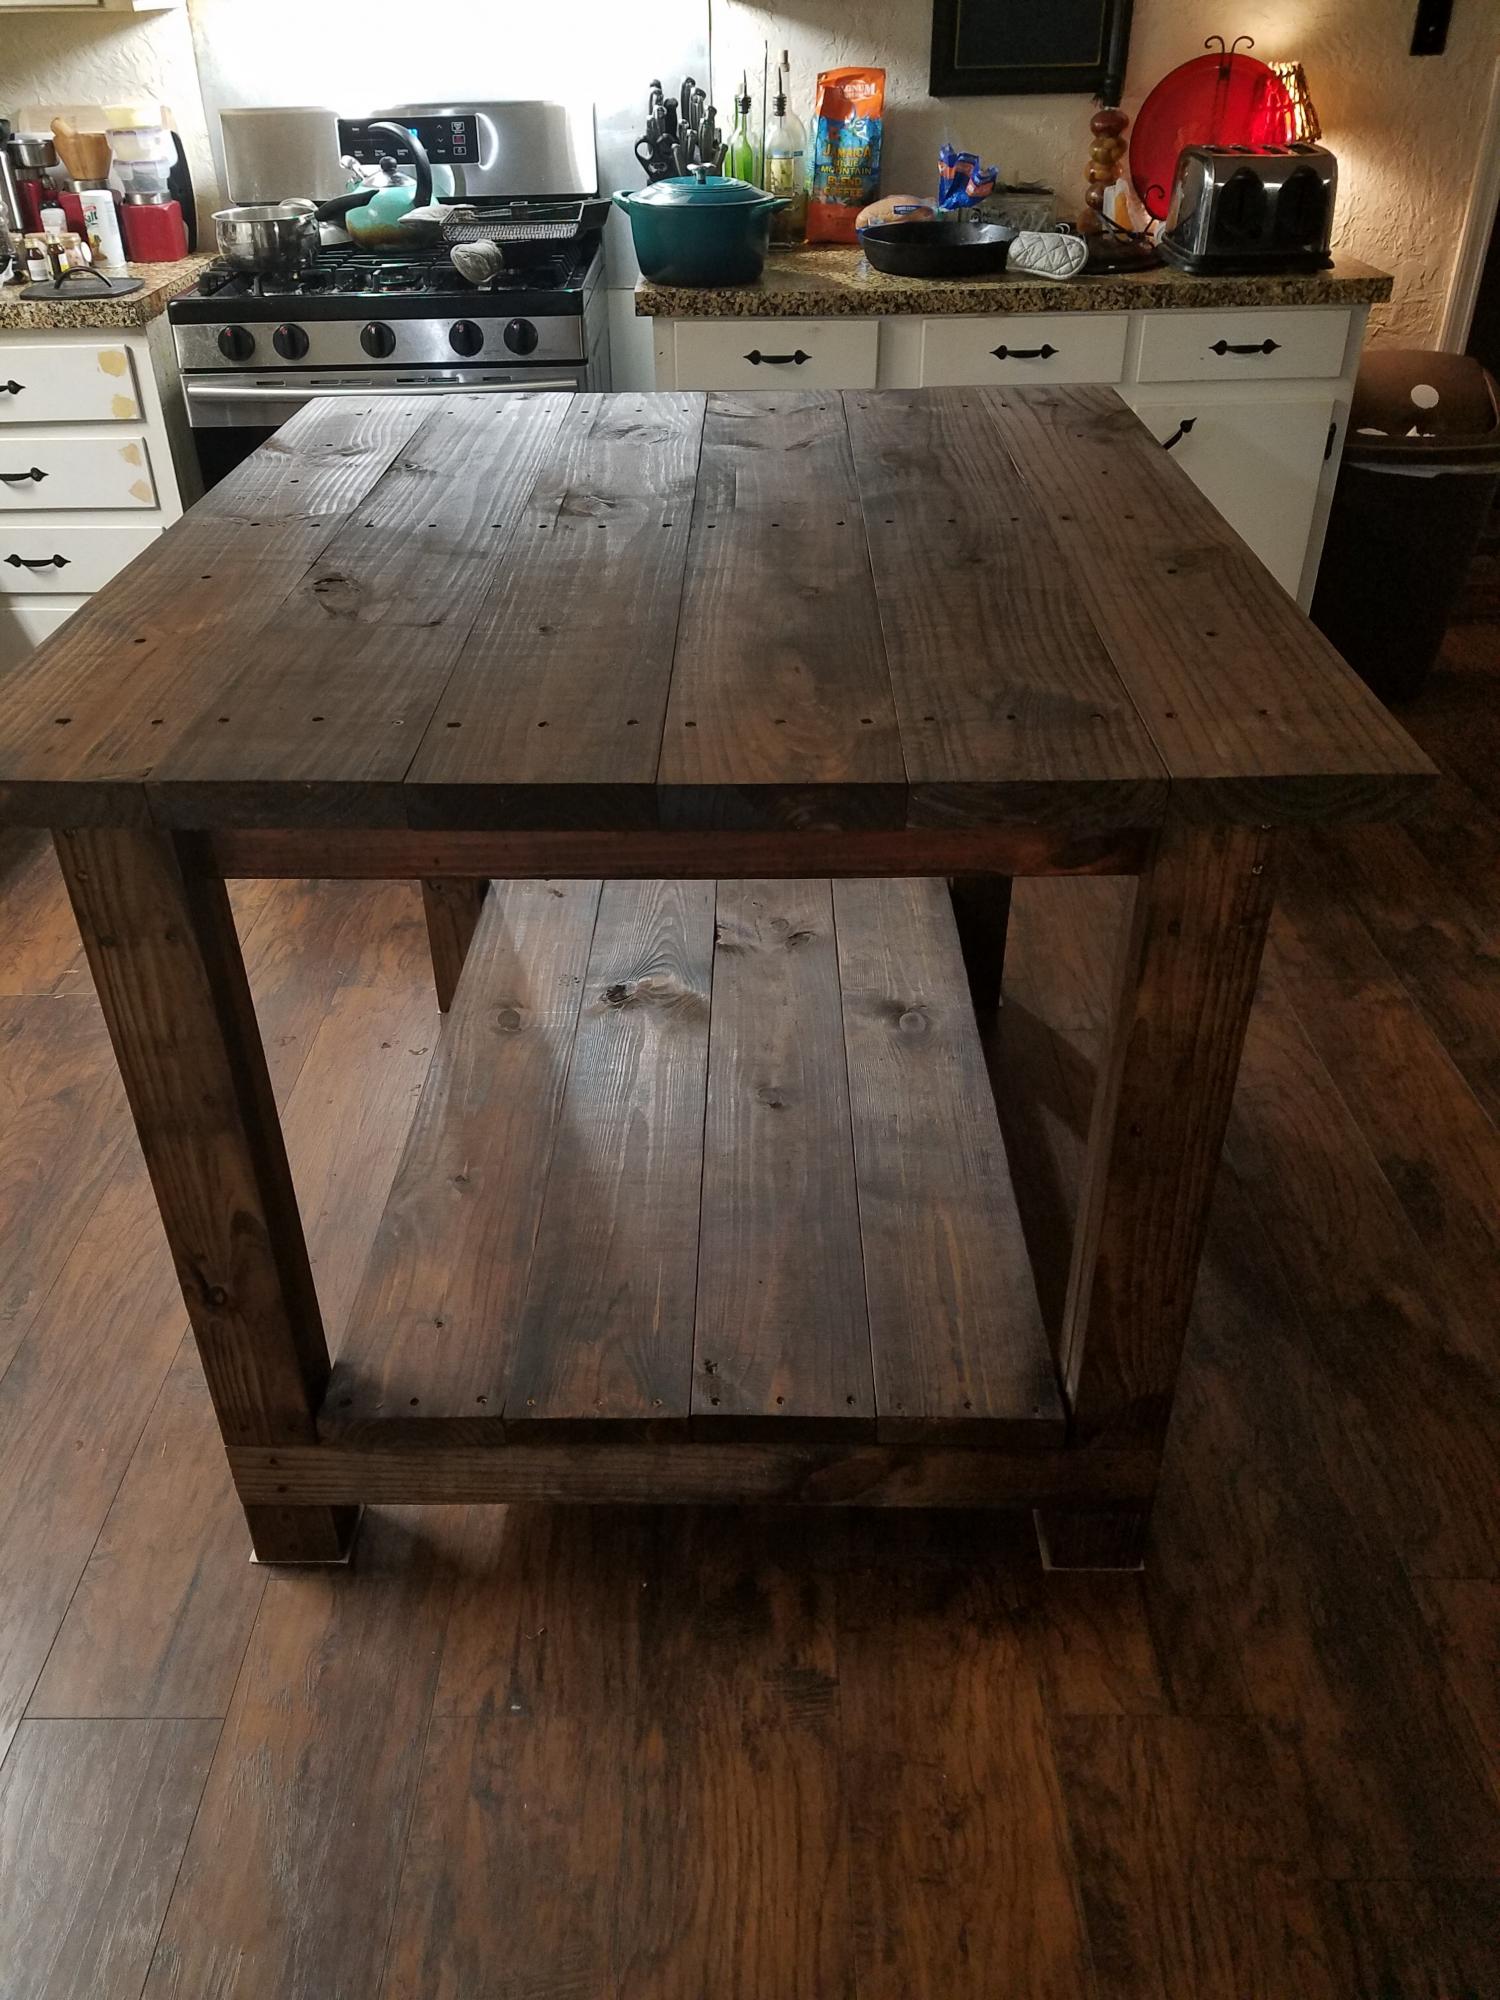
I wanted a kitchen island that would match my farmhouse table and would fit in my small kitchen.
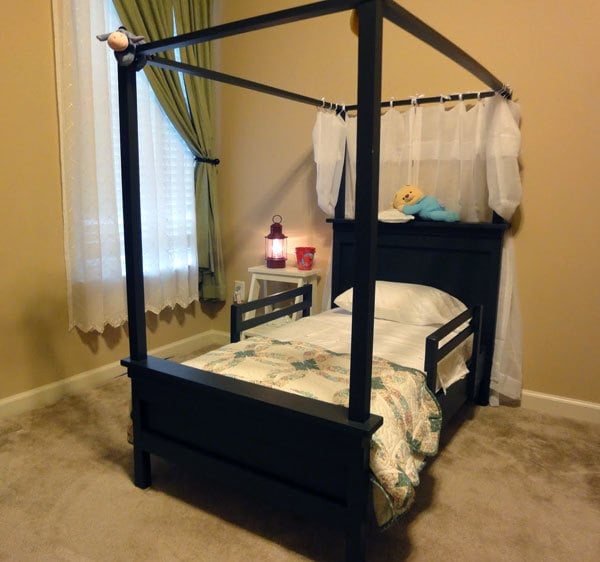
When I saw the farmhouse toddler bed plans on Ana’s site, I knew I had to build it for my daughter. I added siderails (modified from the bunk bed rail plans) and a canopy (modified from the adult size farmhouse bed canopy plans).
I can’t really give an estimate of how long this project took…I had to work on it while keeping my five year old and one year old entertained. If I’d had no distractions, it probably would have taken only 3 or 4 hours to build it (more for the painting).
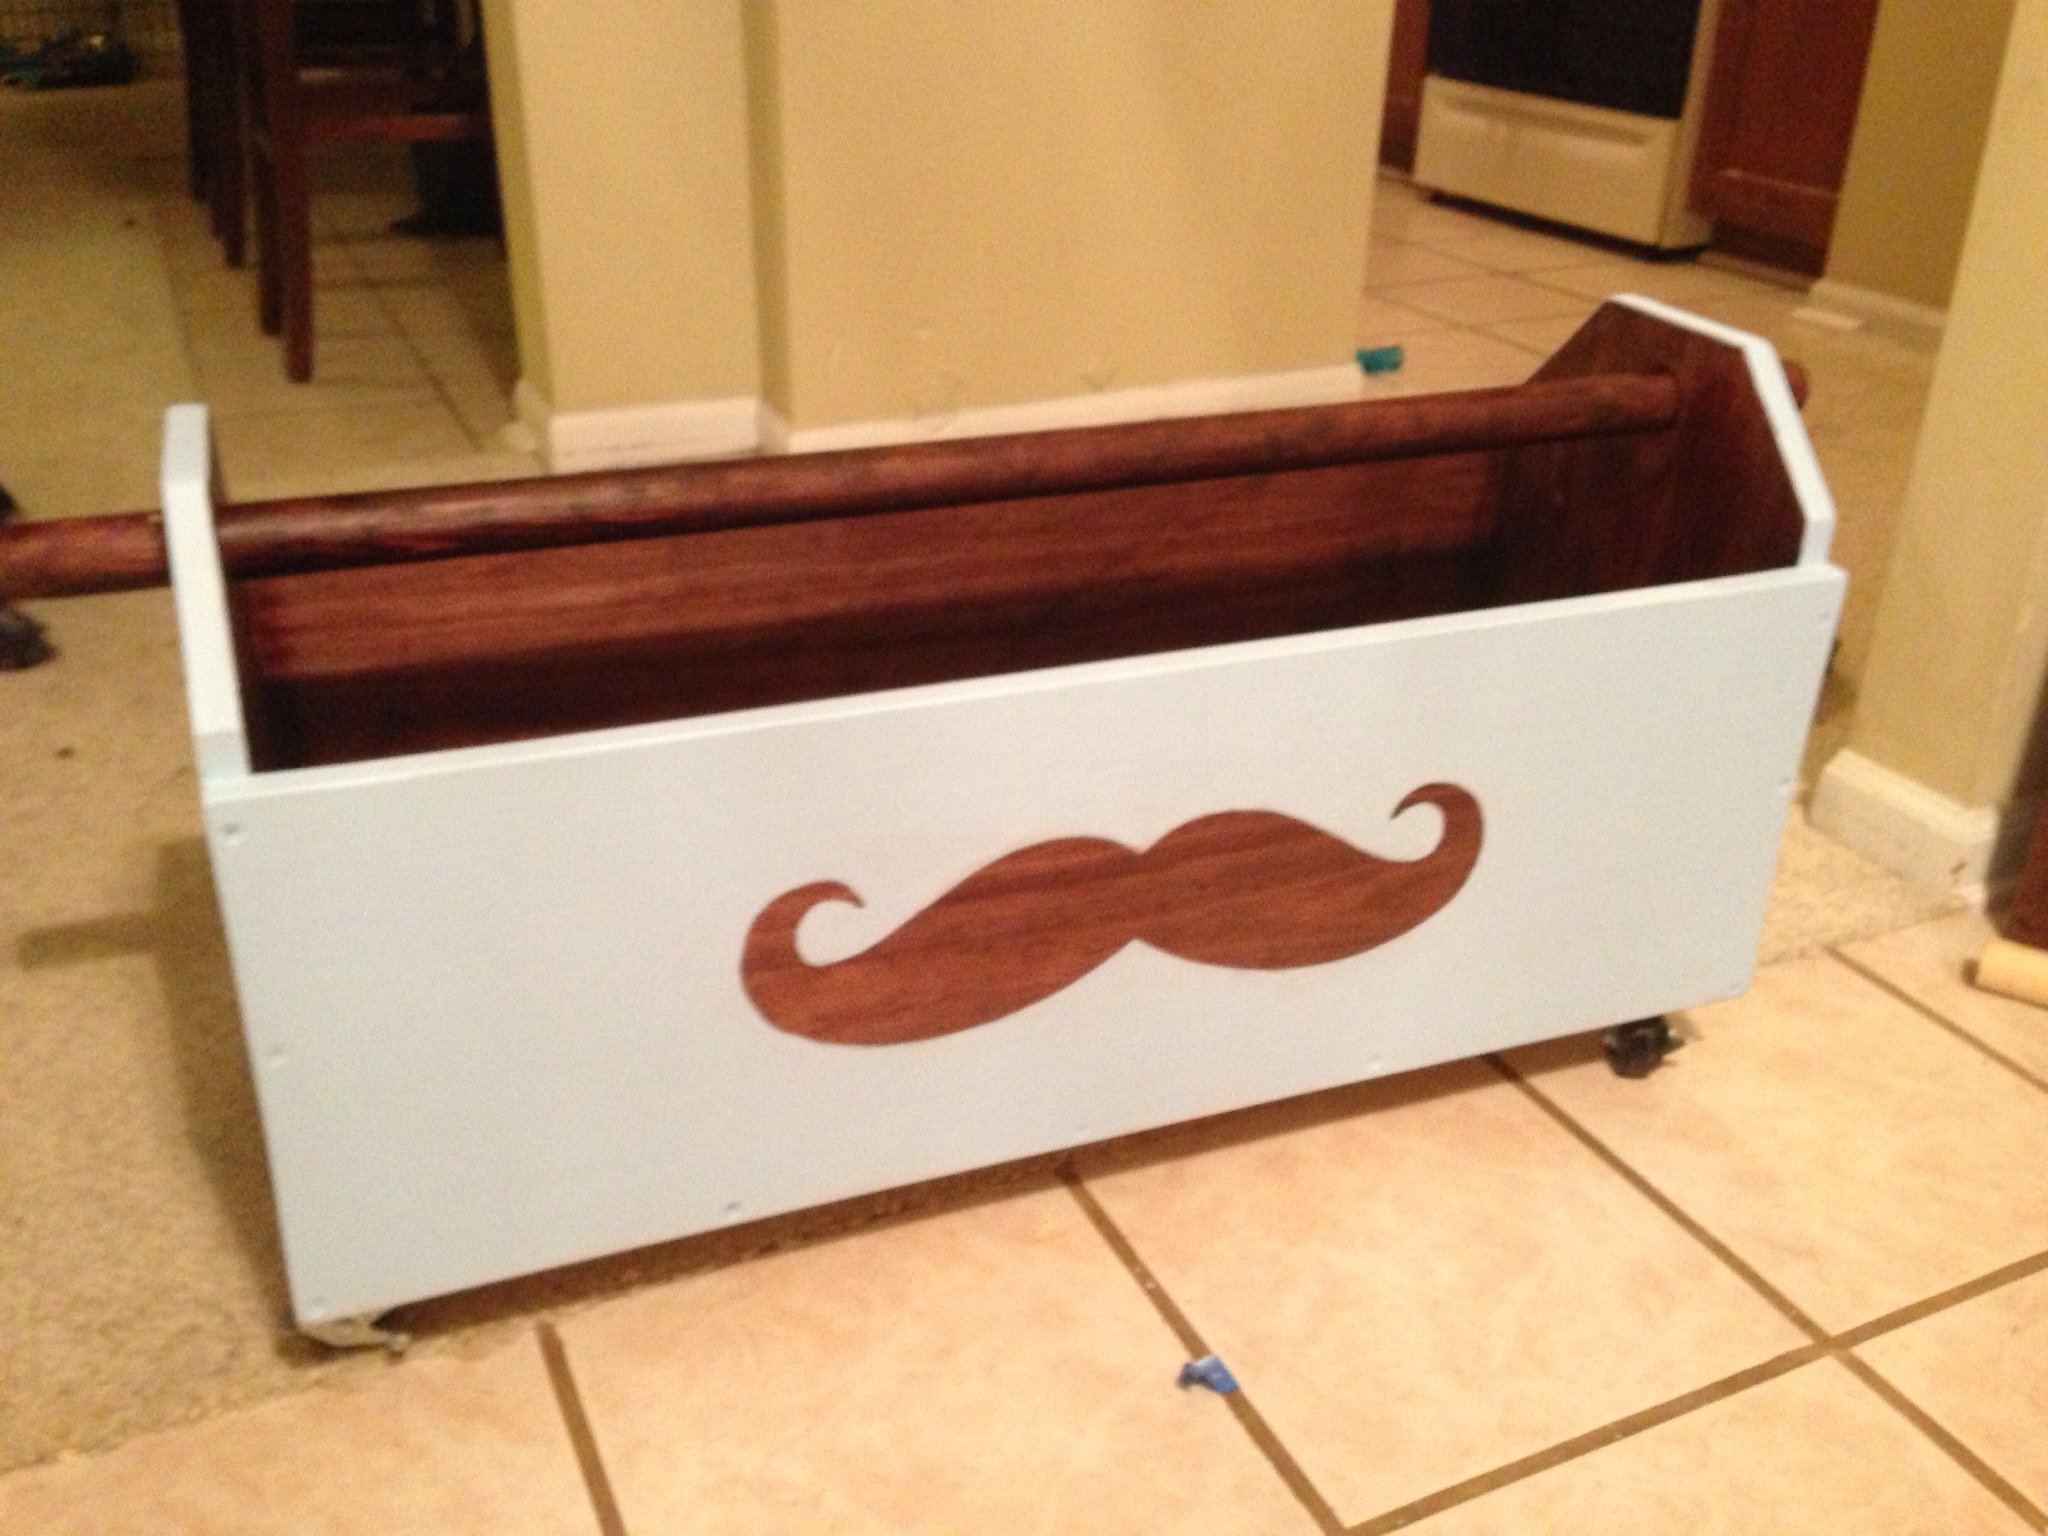
We went exactly as planned in the Build a Toybox outline, but bought 12x1 instead of 16x1. This caused a problem when we started putting it together. The two short sides were taller than the long sides. We decided to make lemons from lemonade and turn it into a toolbox/toybox, and in the end really liked the result. We added an additional cut with 1.5" holes on either side and a 1.5" diameter 36" long dowel rod for the handle. We added casters to the bottom and poof! done. Fun project! We made it for our soon to be nephew and filled with gifts for the baby shower.

Thu, 05/30/2013 - 10:29
Good things come from mistakes at times! Love the mustache touch!
Thu, 05/30/2013 - 10:30
Good things come from mistakes at times! Love the mustache touch!
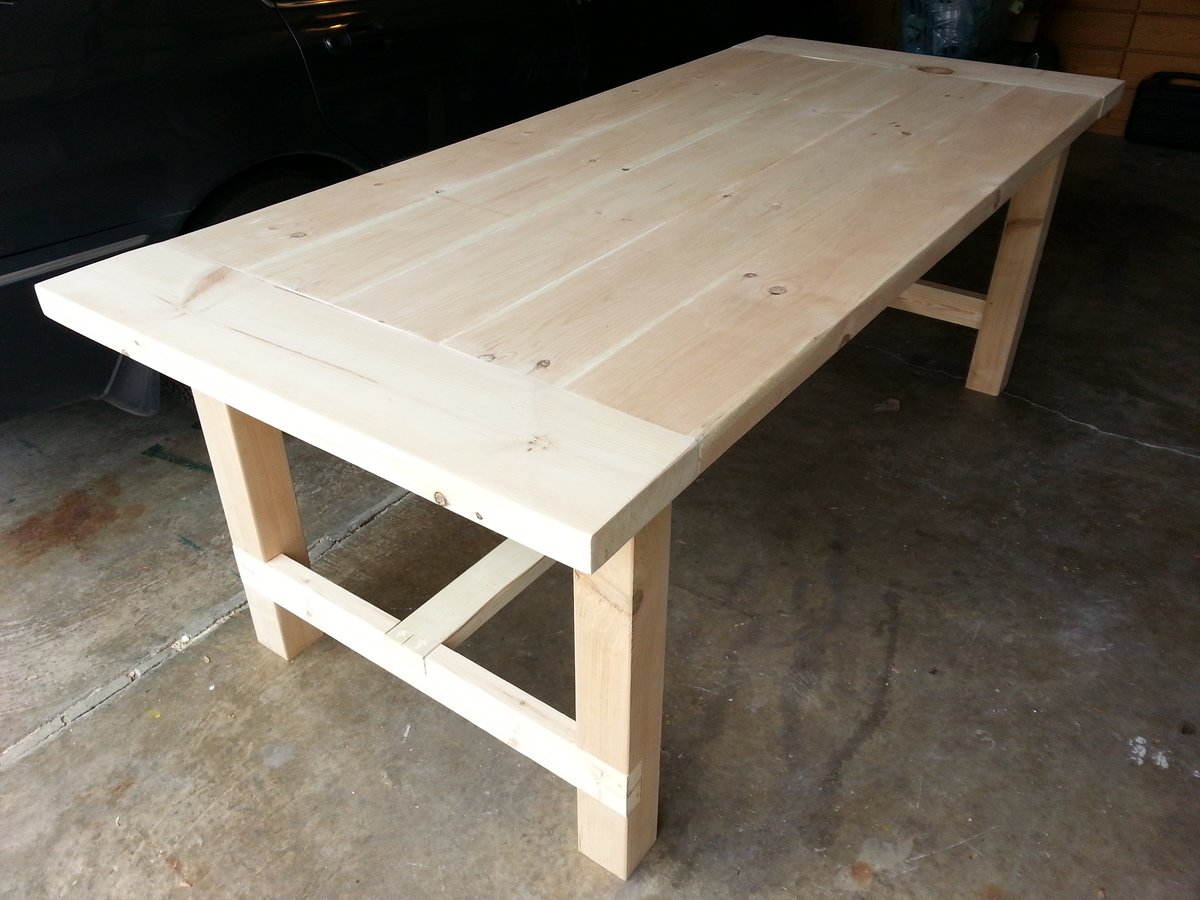
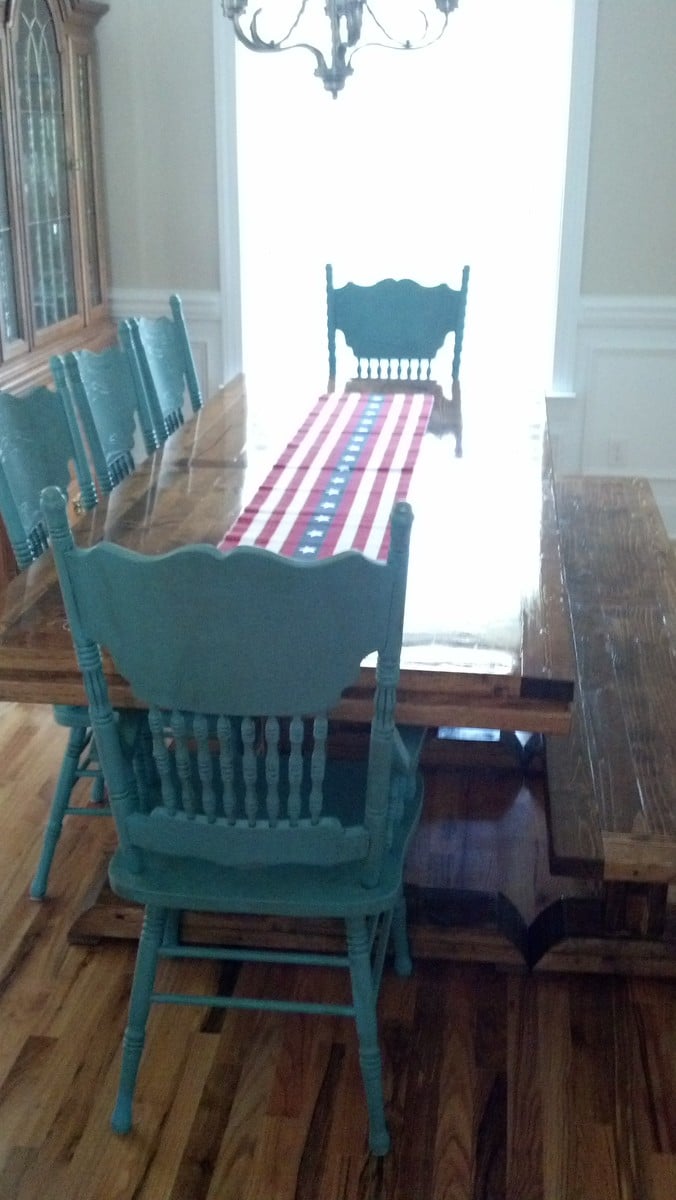
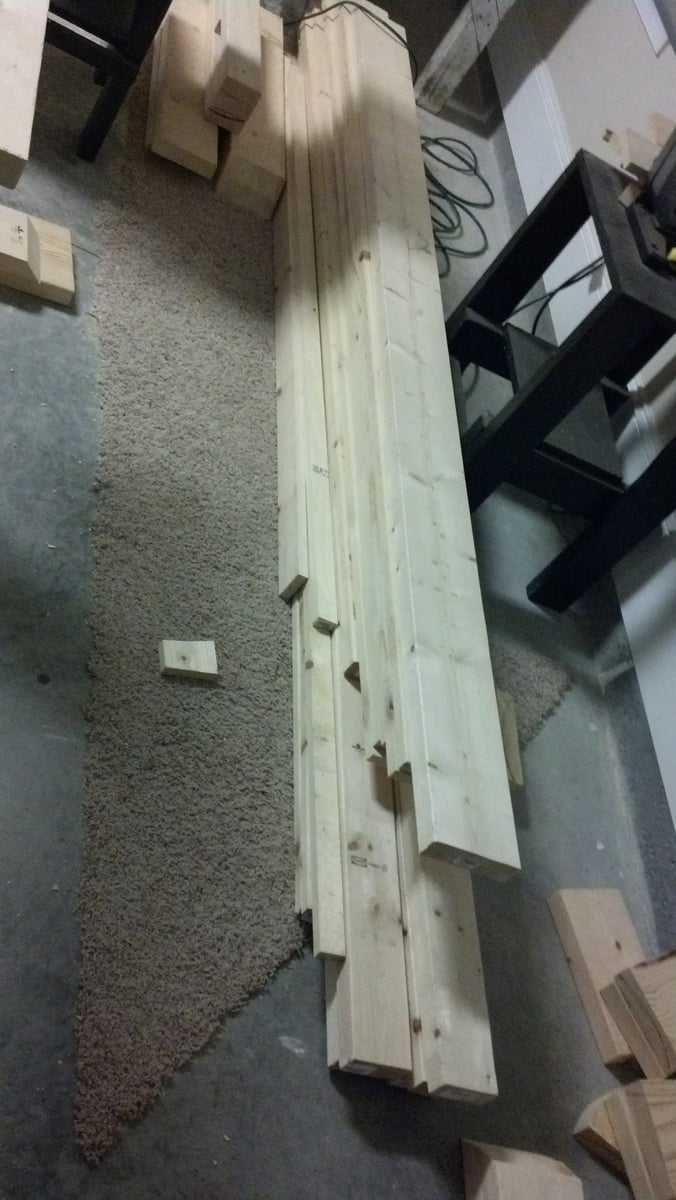
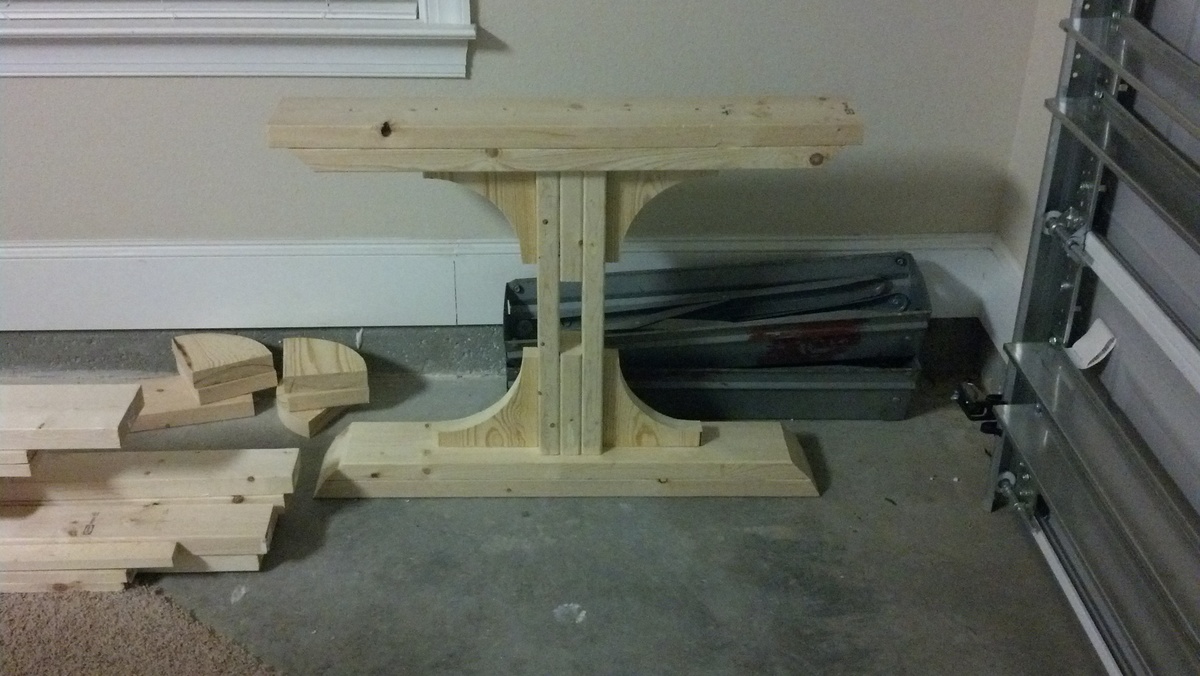
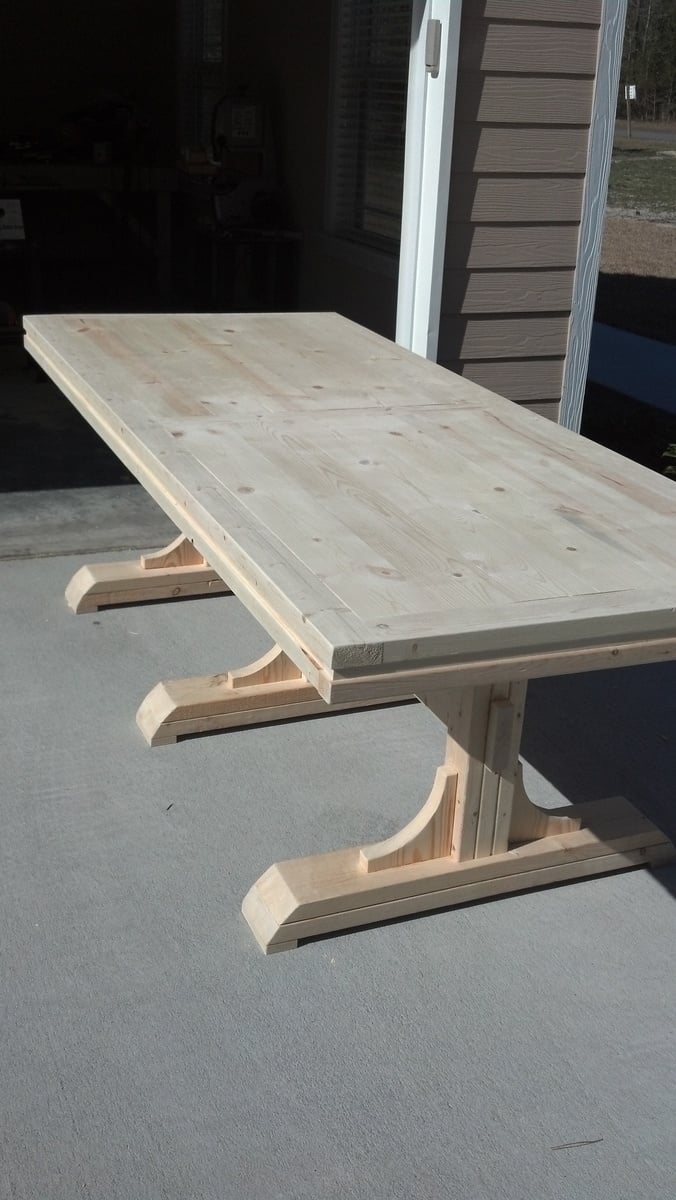
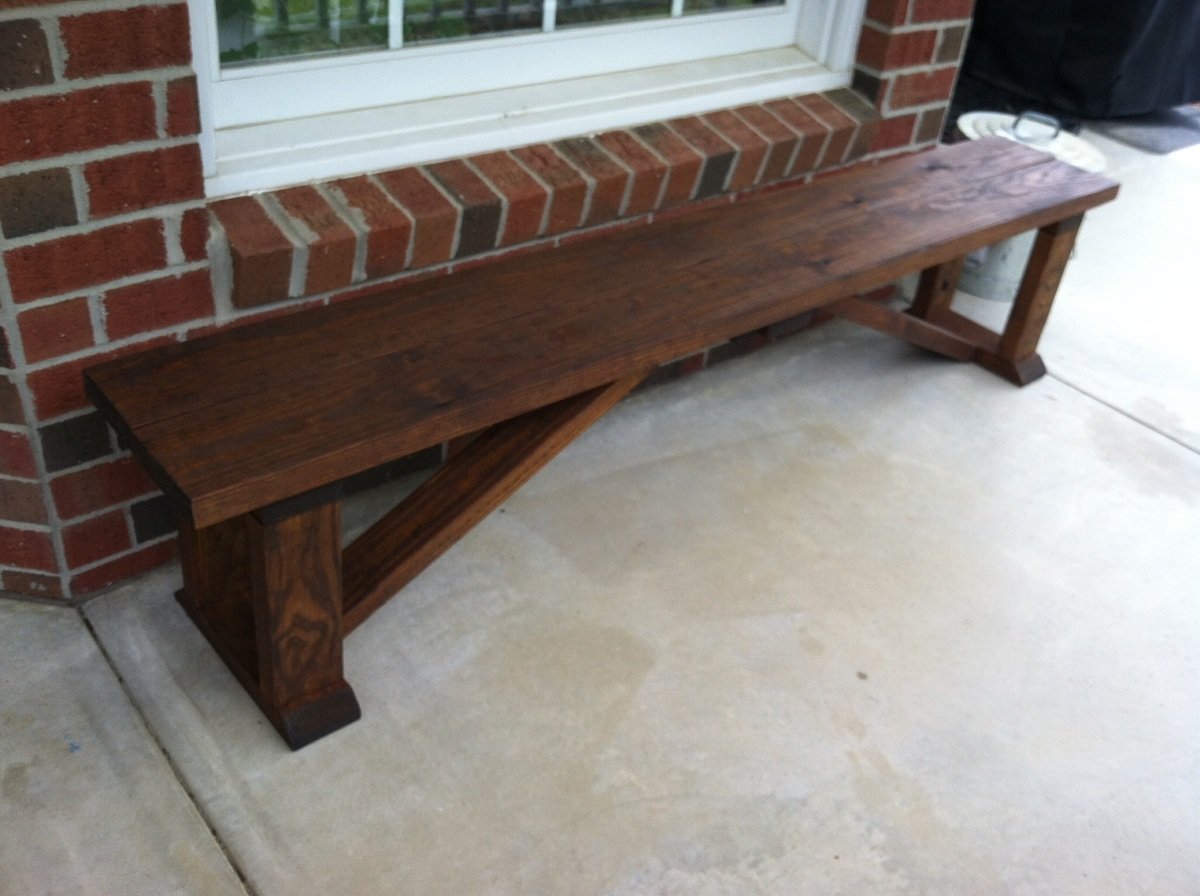
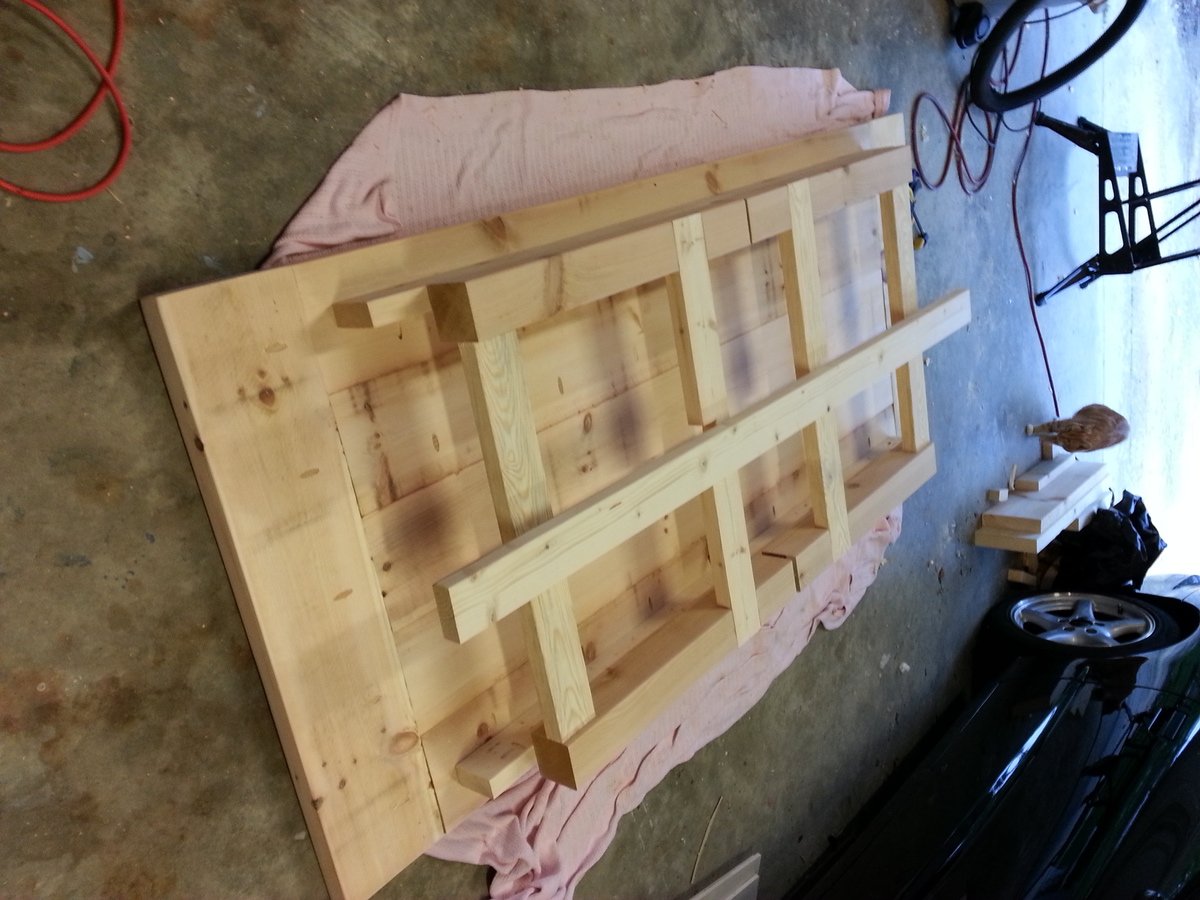
Farmhouse dining room table built for my mom. Unstained.
Table top is 2" White Pine Boards, legs are cedar, and everything else is whitewood studs. Left the leg assemblies and stretcher board unattached for the two hour transport to Charlotte. Attached them with screws and some glue upon arrival. Loved the plan and finished in two days!
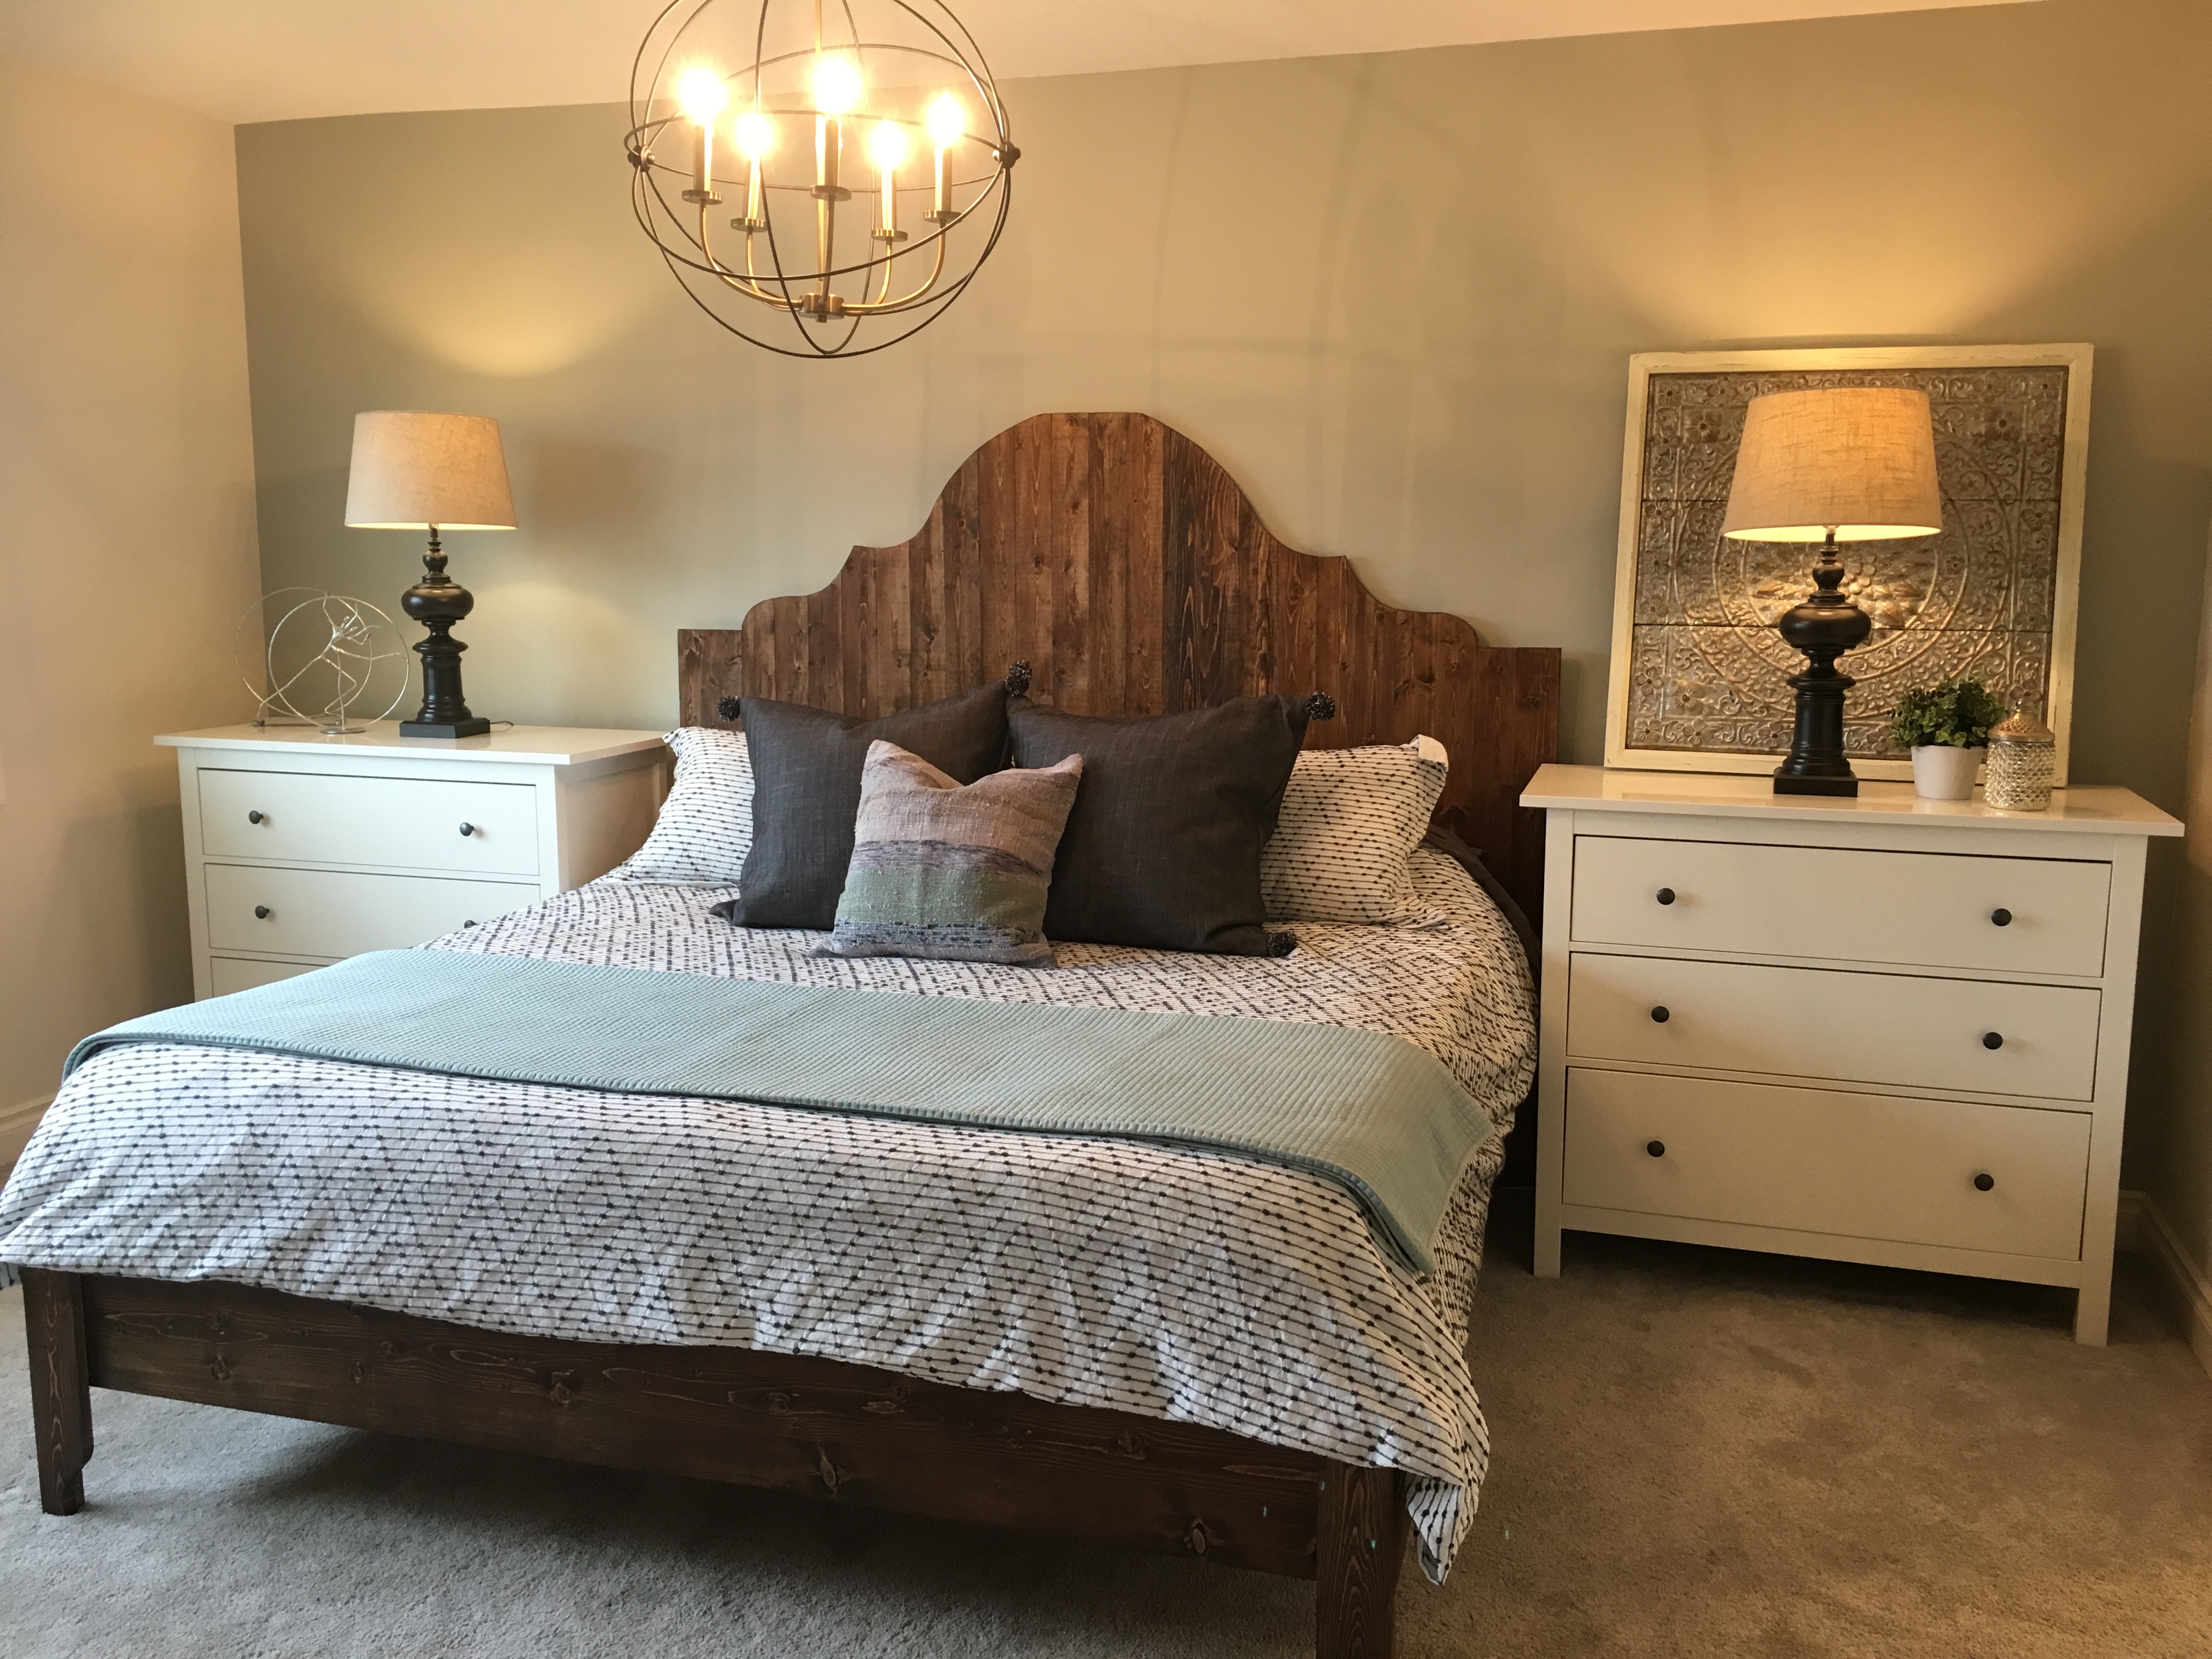
My husband calculated the dimensions to extend the plans from a queen to a king size bed. It was our first project together and we're both really excited about how it turned out!
Those are the first projects that I try to make. Thank you Anna White .


Comments
Ana White Admin
Tue, 10/05/2021 - 09:11
Looks great!
The mods look awesome, thanks for sharing!