Awesome project!
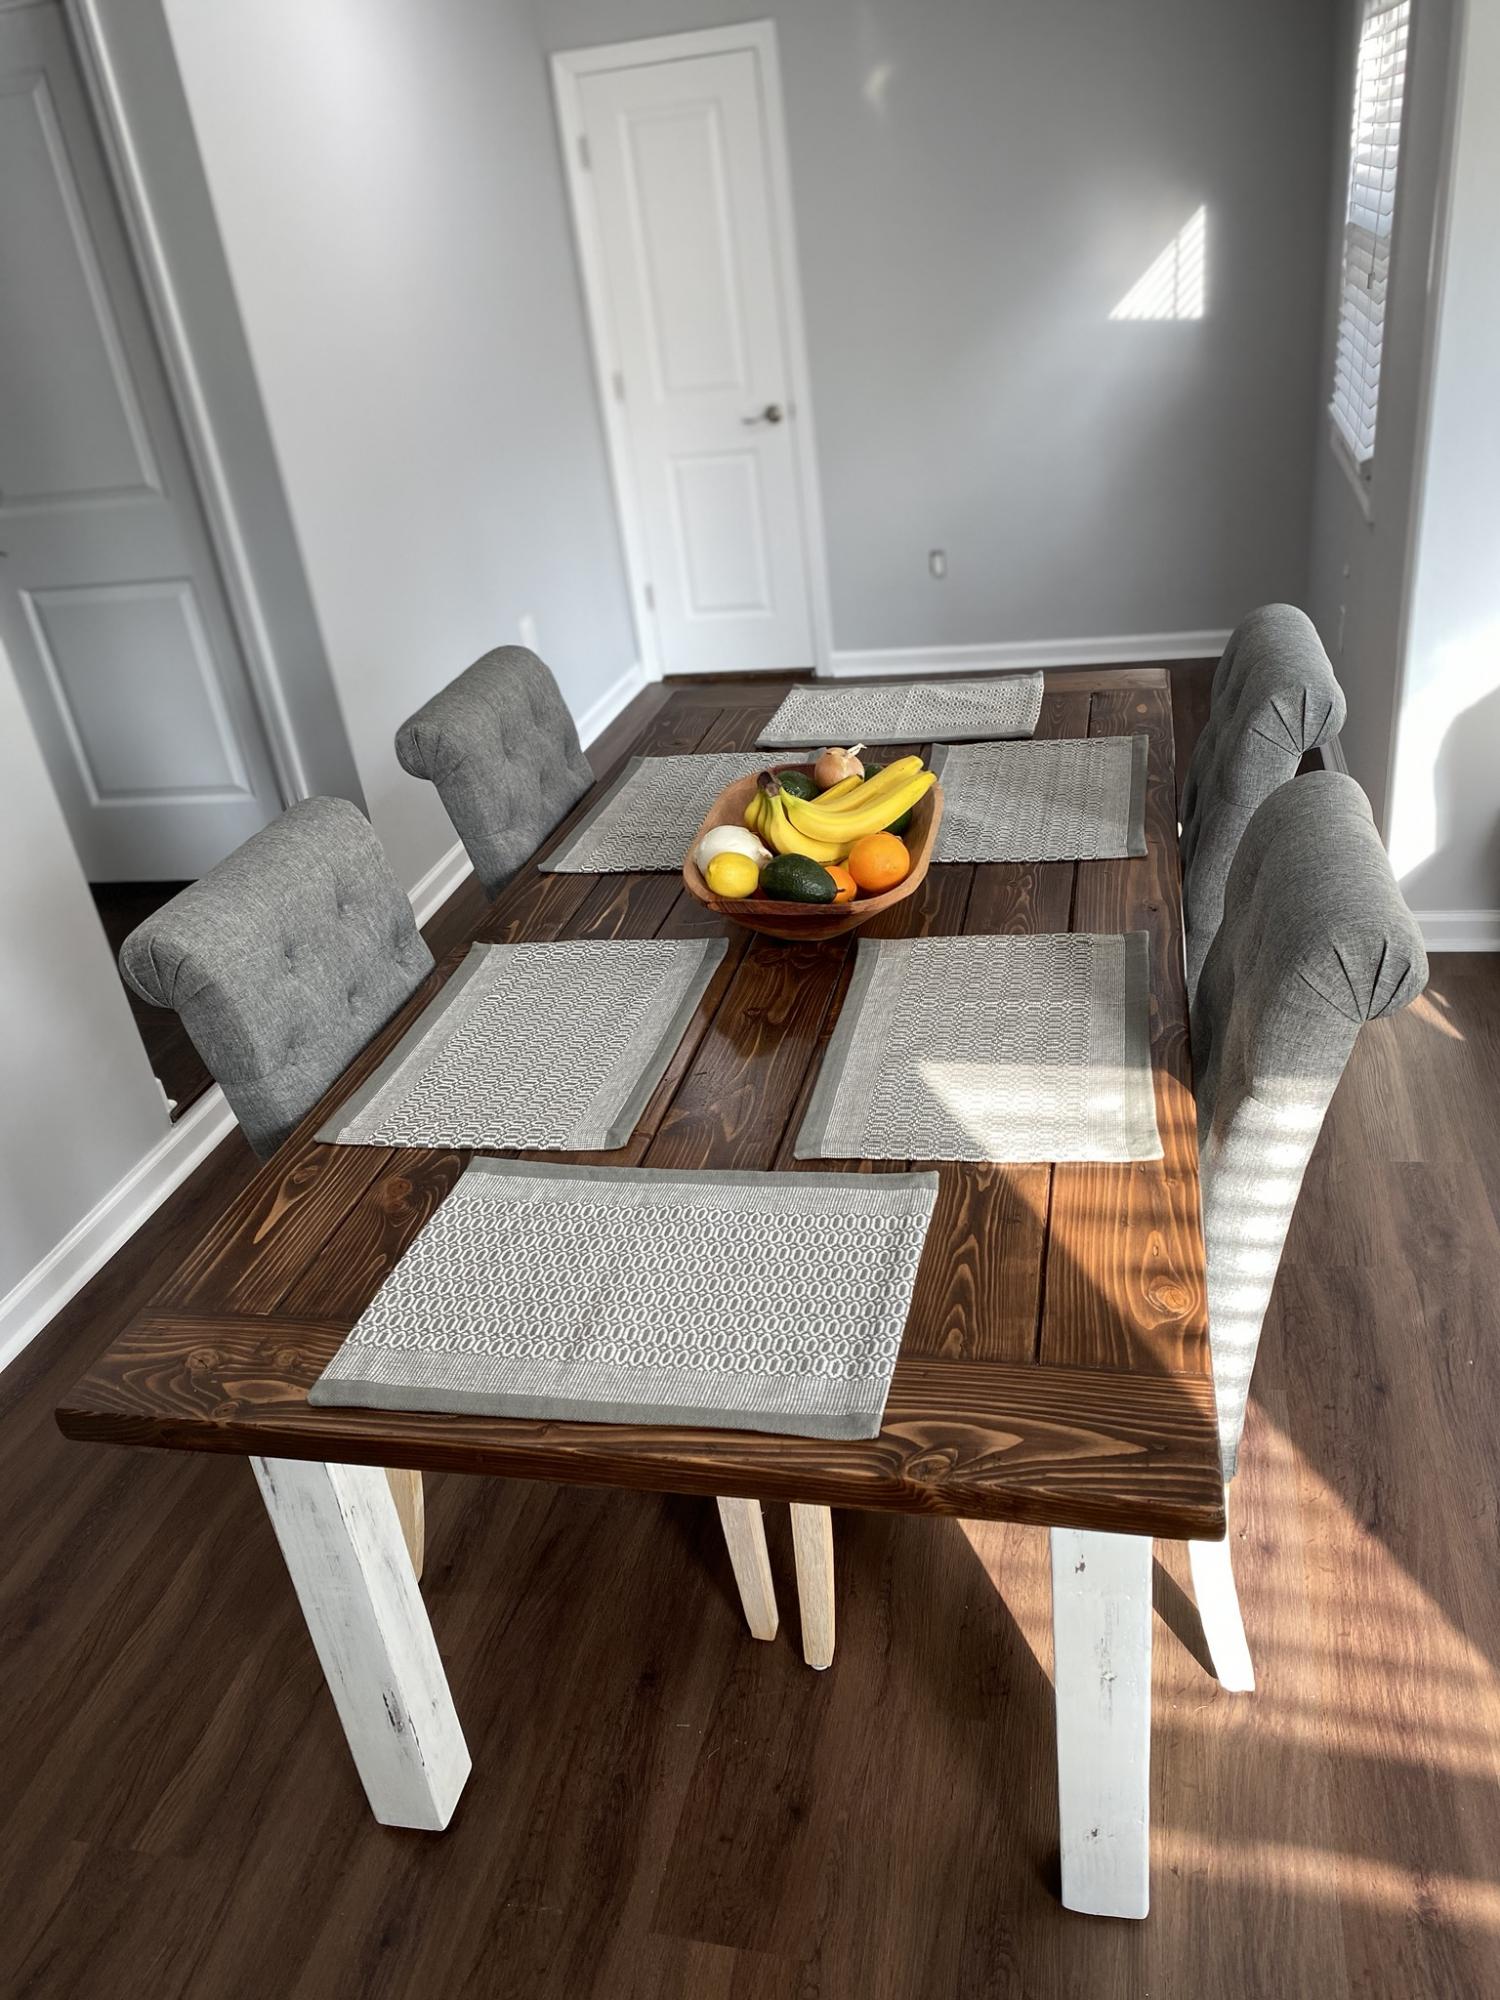
Thanks for the awesome table plans. I ended up mixing a few different plans to fit what I was looking for. Everyone loves it!
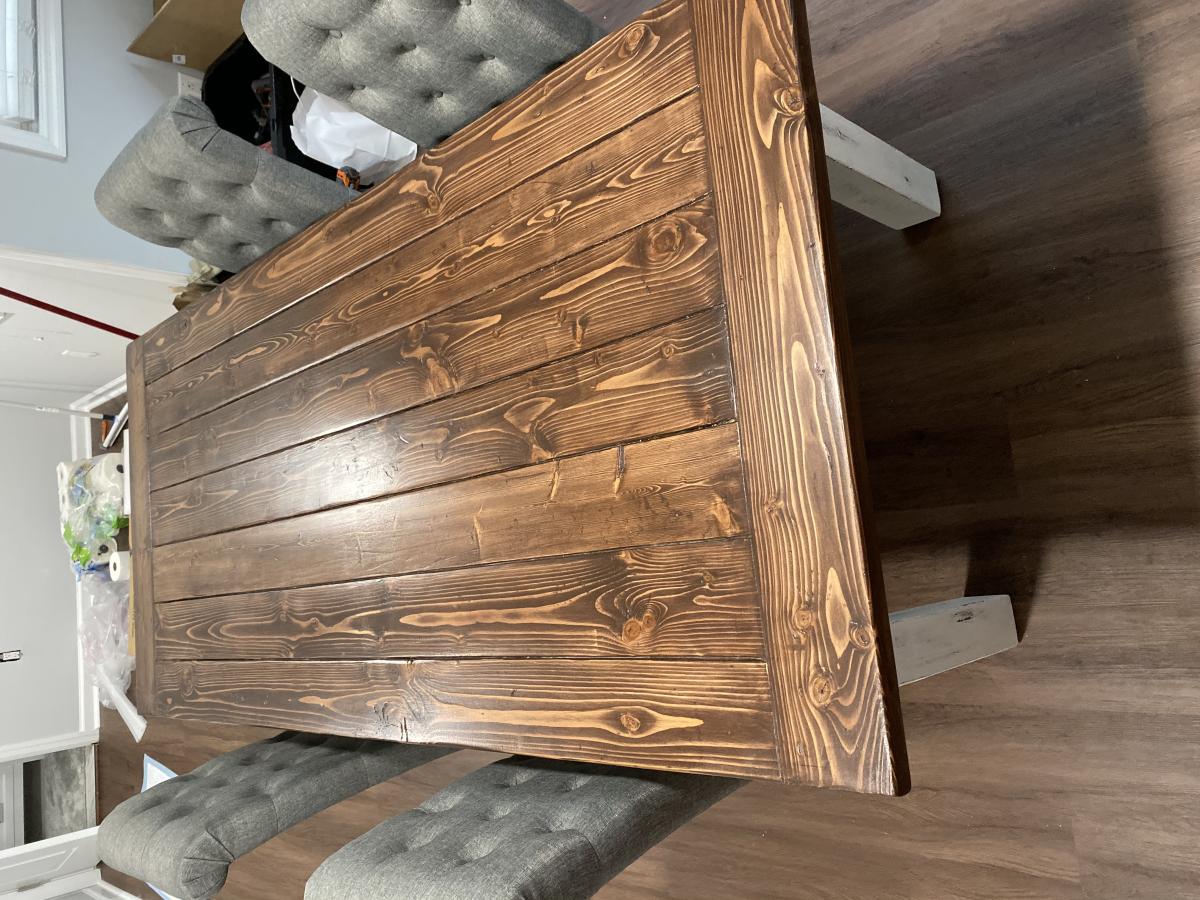
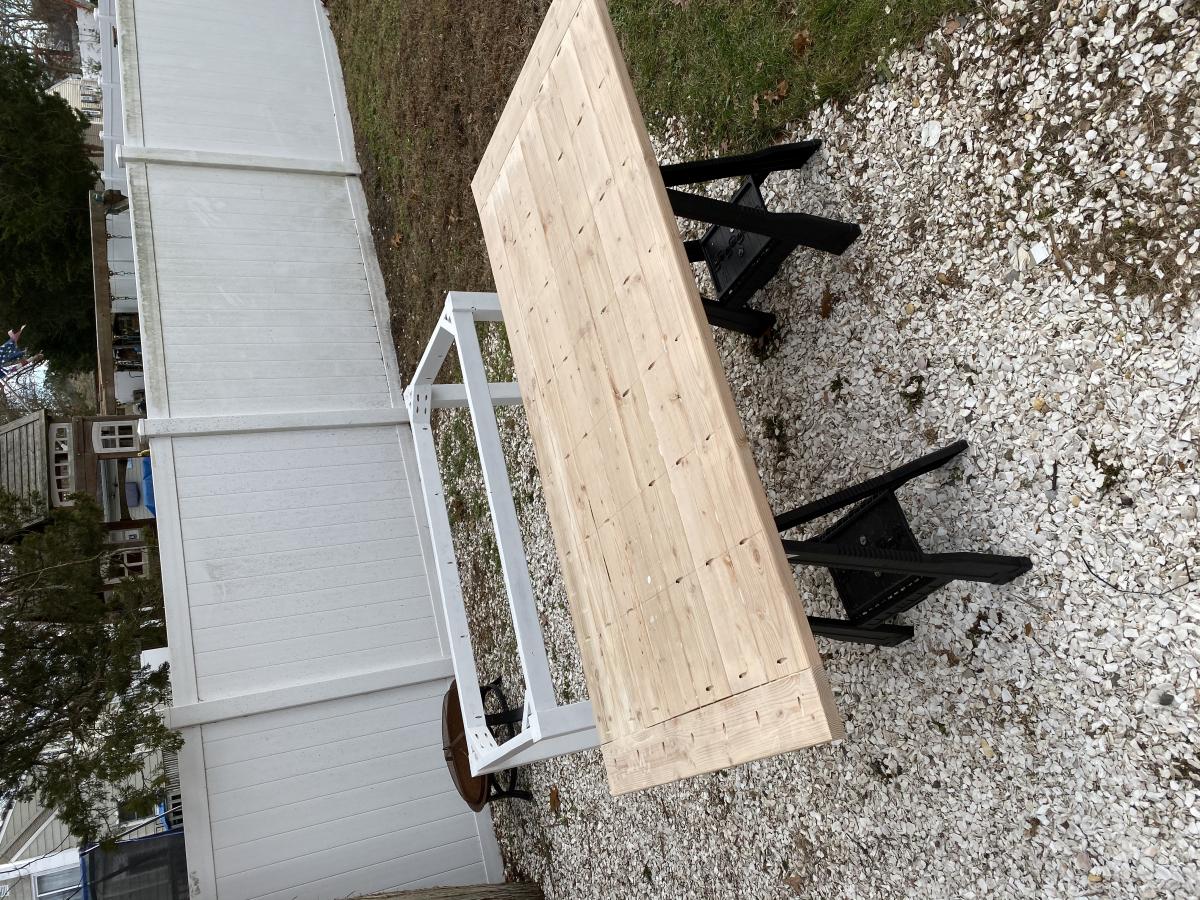
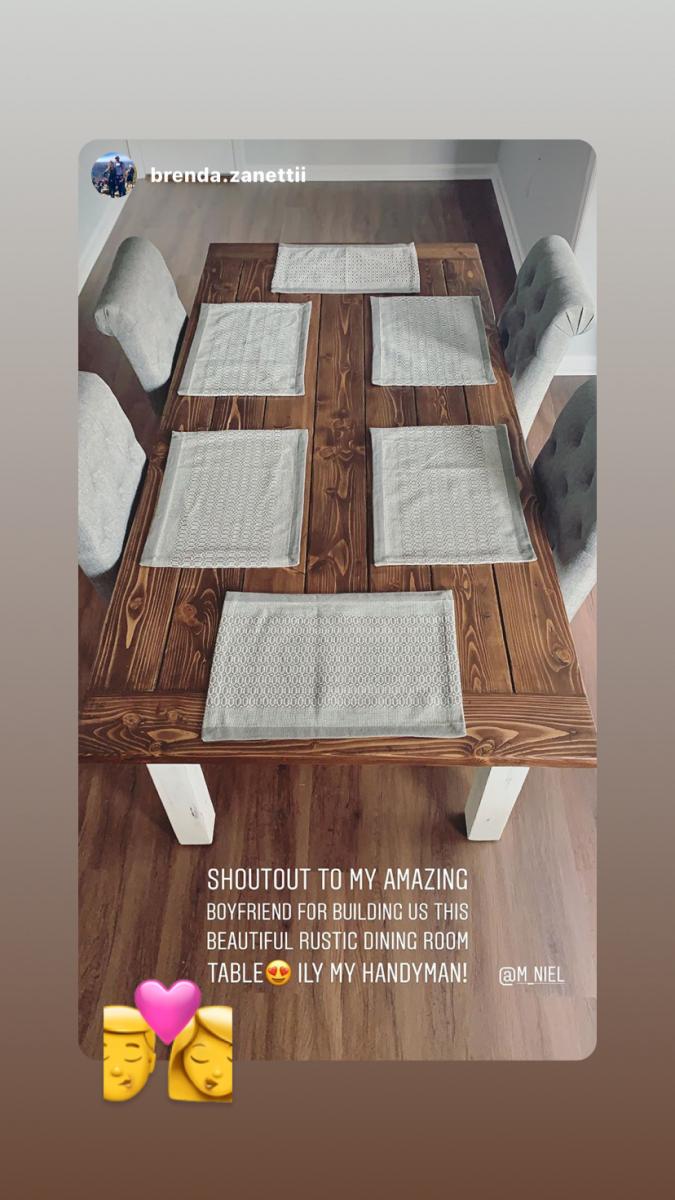

Thanks for the awesome table plans. I ended up mixing a few different plans to fit what I was looking for. Everyone loves it!


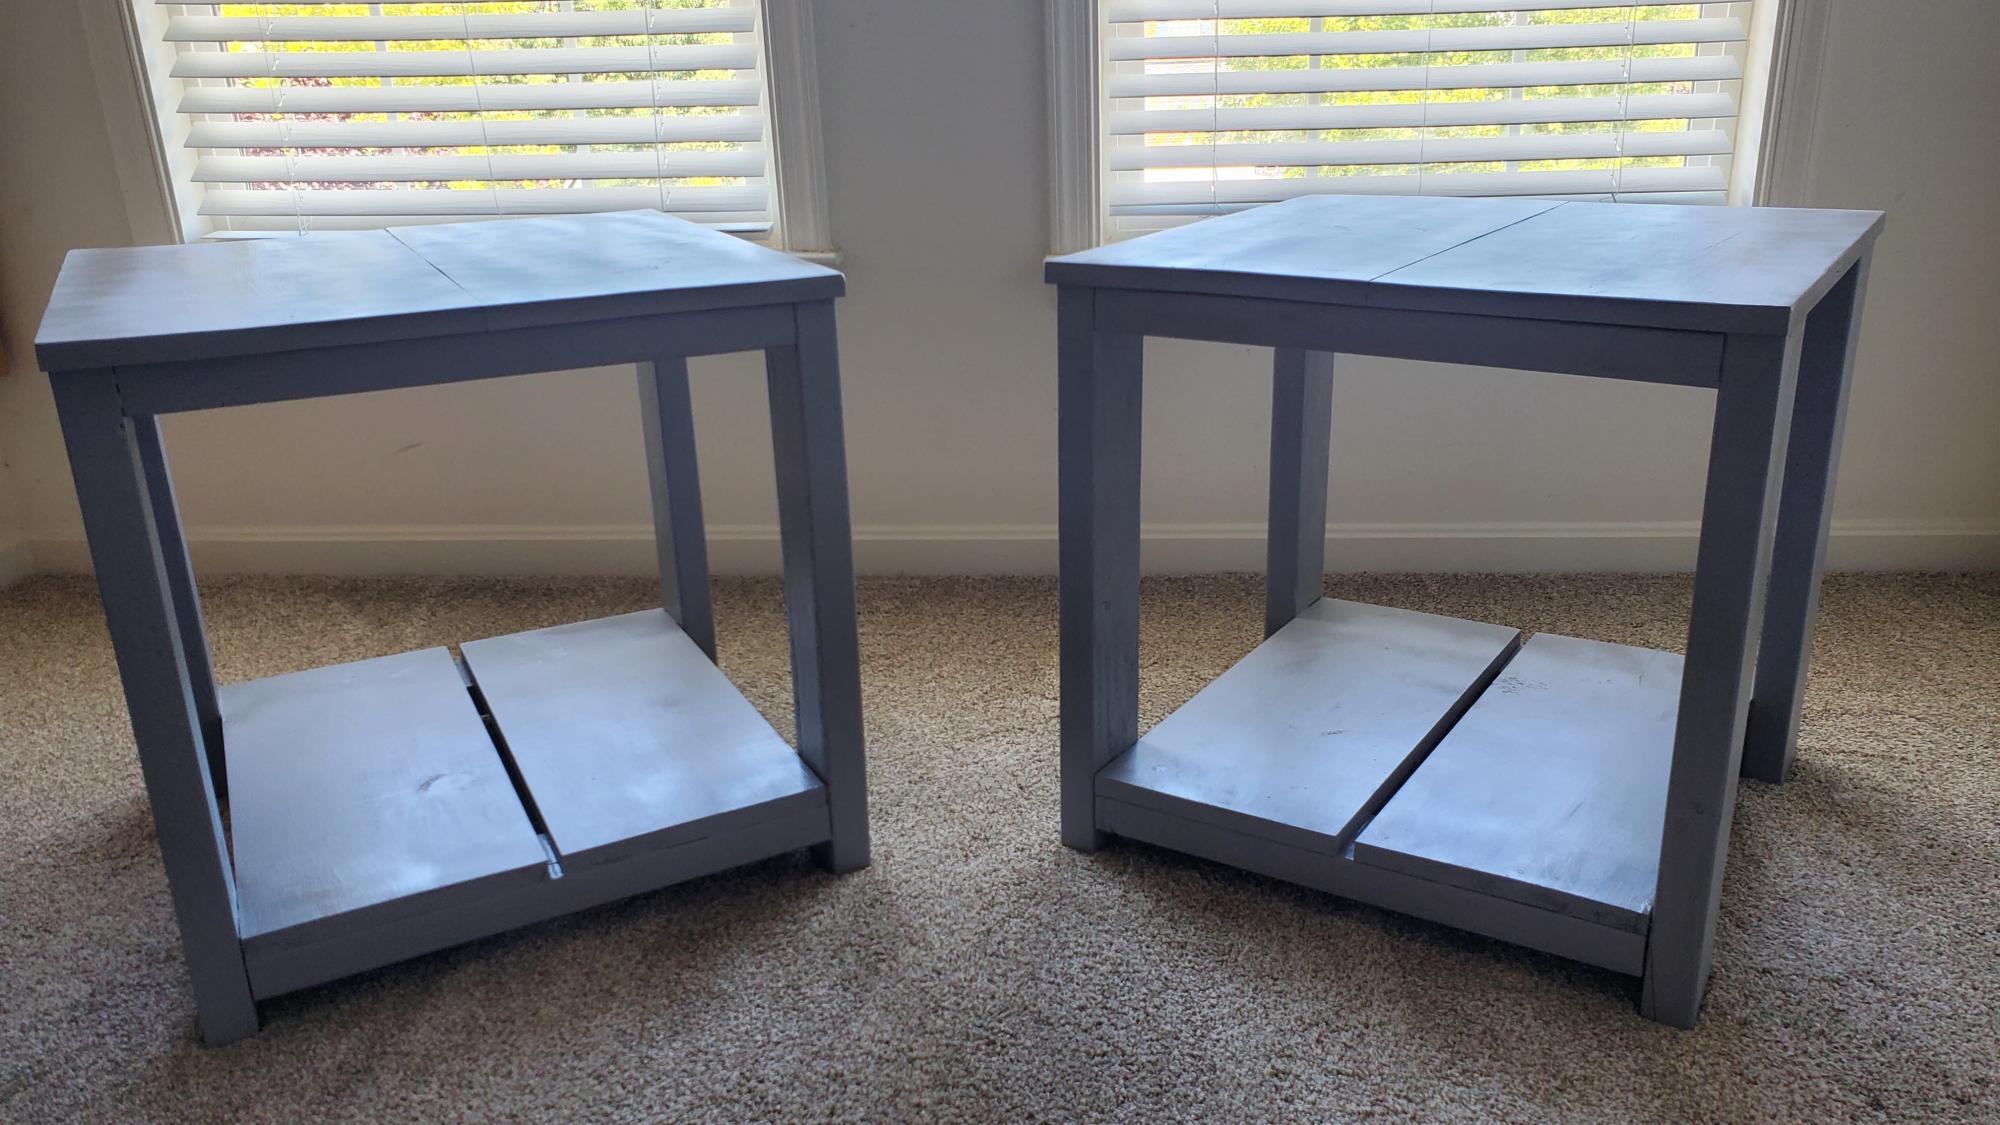
Plans are 2x4 Nightstand https://youtu.be/gLYuisY7i-M and color is from DIY Nightstand https://youtu.be/FR8x_PFPGXM
I loved the simplicity and my wife loved the color.
Thank you
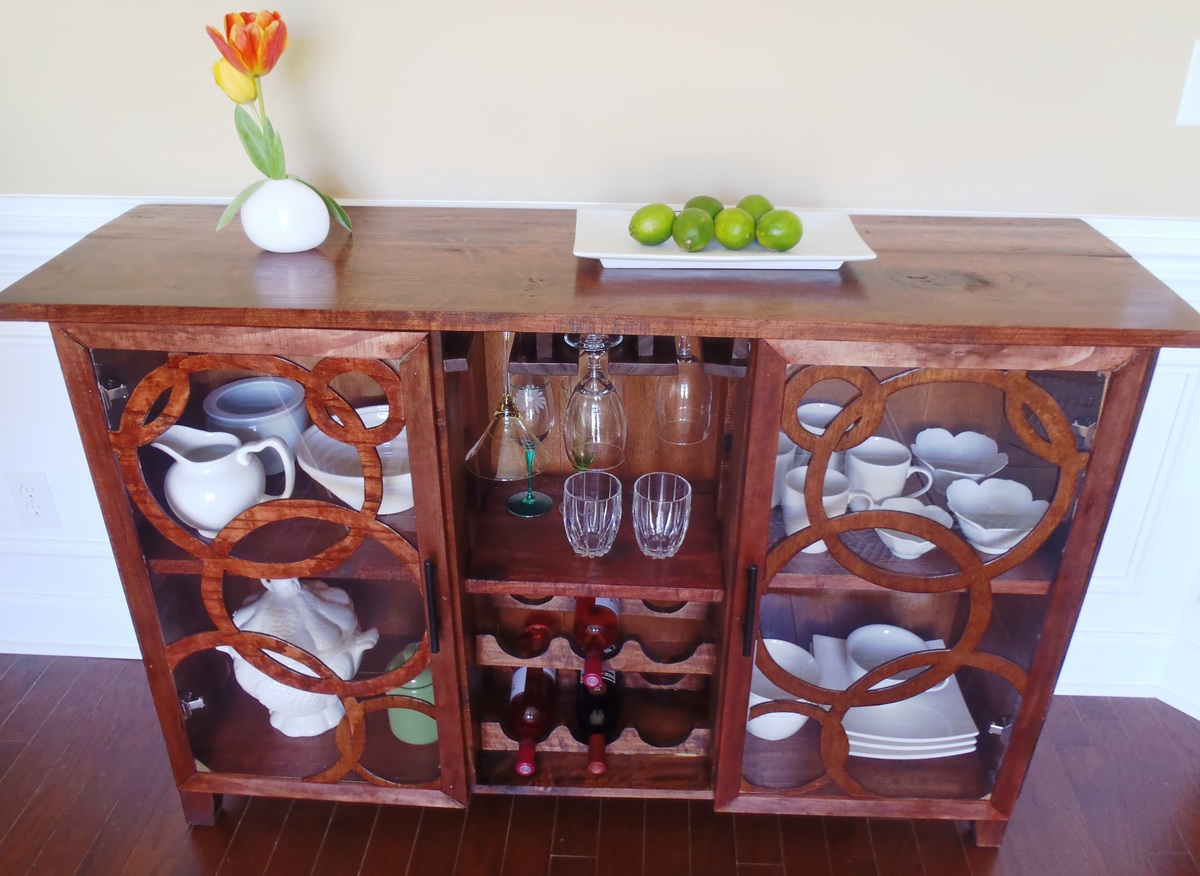
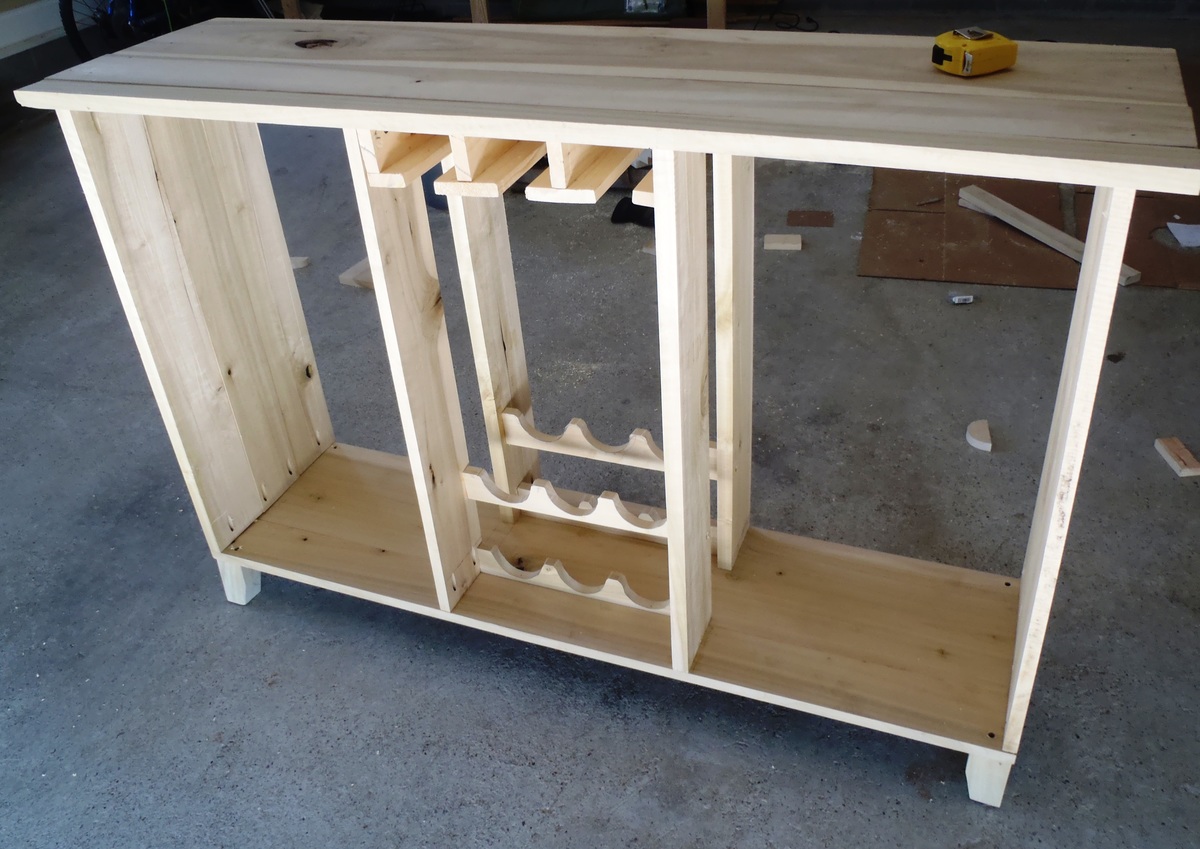
Modified the salsa console by taking the drawer off and stealing some from Patrickhosey's (bragpost). I built it for my dining room. Measures 57-1/2" long X 17" depth X 39" tall.
Sun, 04/01/2012 - 16:52
great job! do you have a template for your circle pattern?
In reply to great job! do you have a by margjack
Mon, 04/02/2012 - 04:47
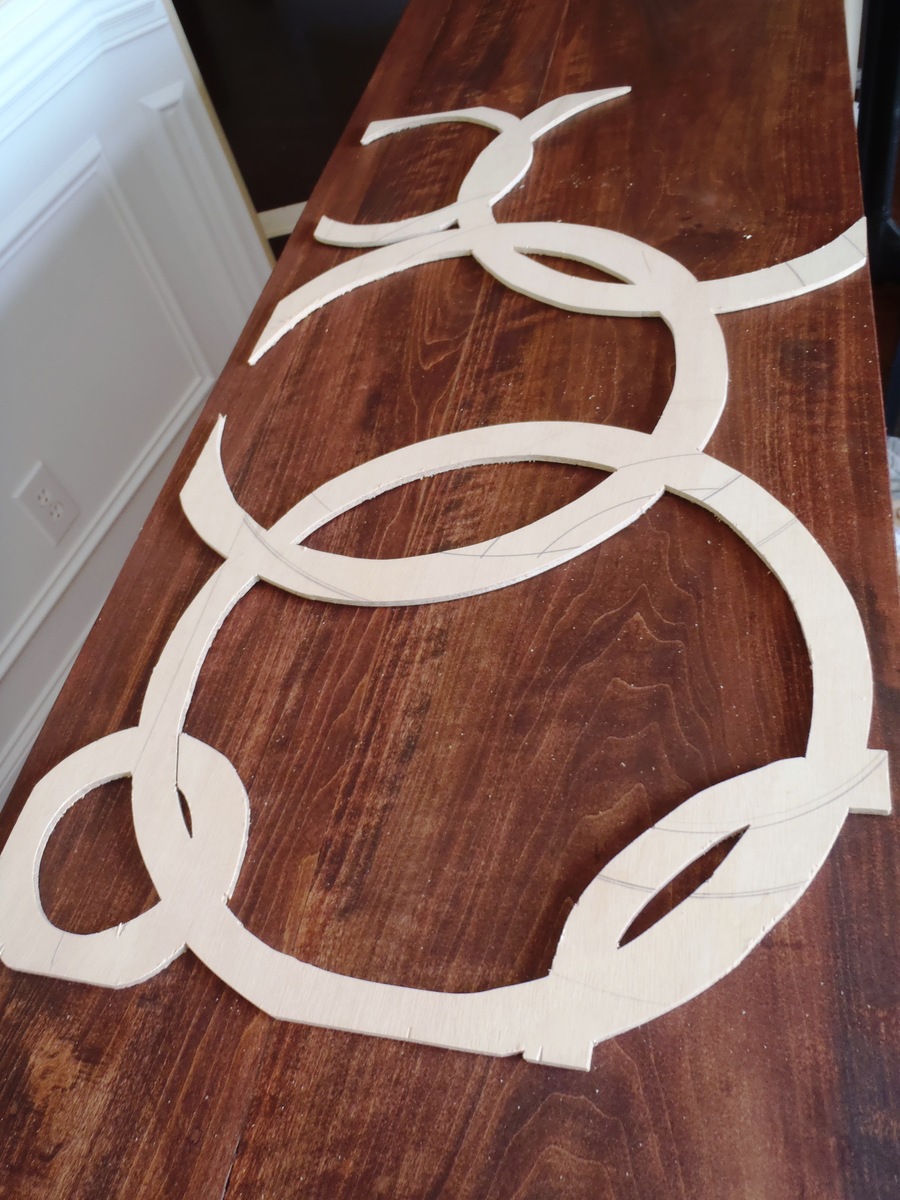
I don't but it's easy to make, make your door frame first, trace the inside of frame on a plywood sheet and use compass to make all sizes of circles on that sheet. If you don't have compass that's big enough, just use string or thread( like I did on this project), pivot one end, attach the pencil on one end and swing to make circles :)
In reply to That is sooooo cool! by Pam the Goatherd
Mon, 04/30/2012 - 05:24
Love your avatar! so cute, I hope that's not mountain dew in there (just kidding:)
Table and benches were made to plan, except I shortened the overall length and added another 2x10 to the top to give it some additional width. The benches were also shortened slightly so the legs of the benches slide between the legs of the table; which allows the benches to be pushed further under the table when not in use. Avoid my rookie furniture making mistake and go to a specialty lumber store that sells wood that is already aged (dry). Most everything you find at the big box stores will still be wet and shrink/warp on you if not completely dry first.
Mon, 04/28/2014 - 15:51
Your table turned out gorgeous!! Love it! what was the length you ended up using?
Tue, 05/20/2014 - 16:23
Appreciate the compliments. Sorry for the delayed response, but the final dimensions turned out 72" x 46". Let me know if you have any other questions.
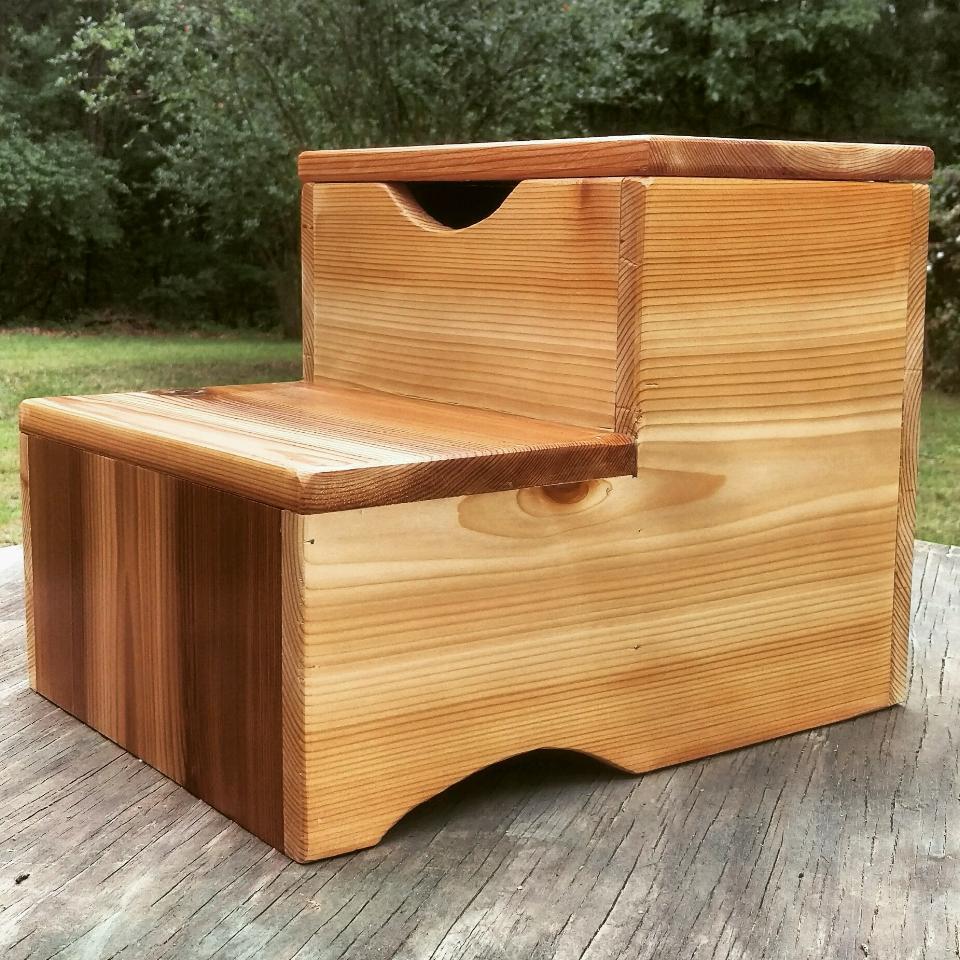
Fun project that my son and our next soon to be baby will enjoy for a long time. Plans were very easy to fallow and easy to build.
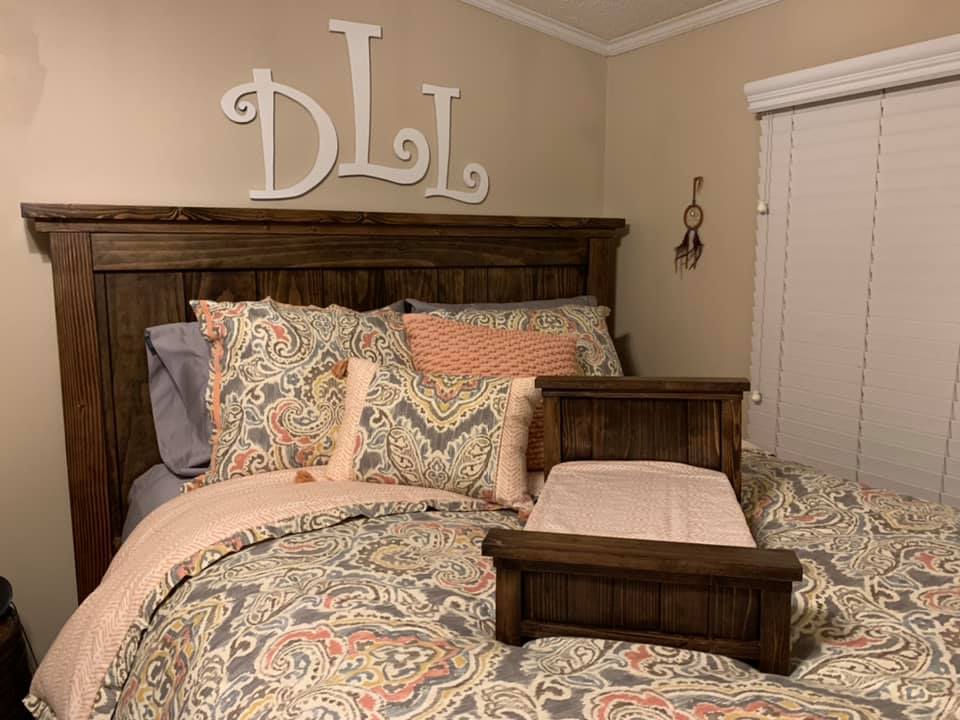
I built this queen size farmhouse bed using Ana's Plan. I wanted hidden under bed storage so I did alter that part of the plans. The box is pretty heavy so i added foot supports to carry the weight. I have access to the storage on both sides of the bed. I have built another version of this bed where i added gas springs to help lift the bed for access but i chose not to do it on this one. As an added feature, i also built a matching doll house bed. I love this bed, and it turned out beautiful.
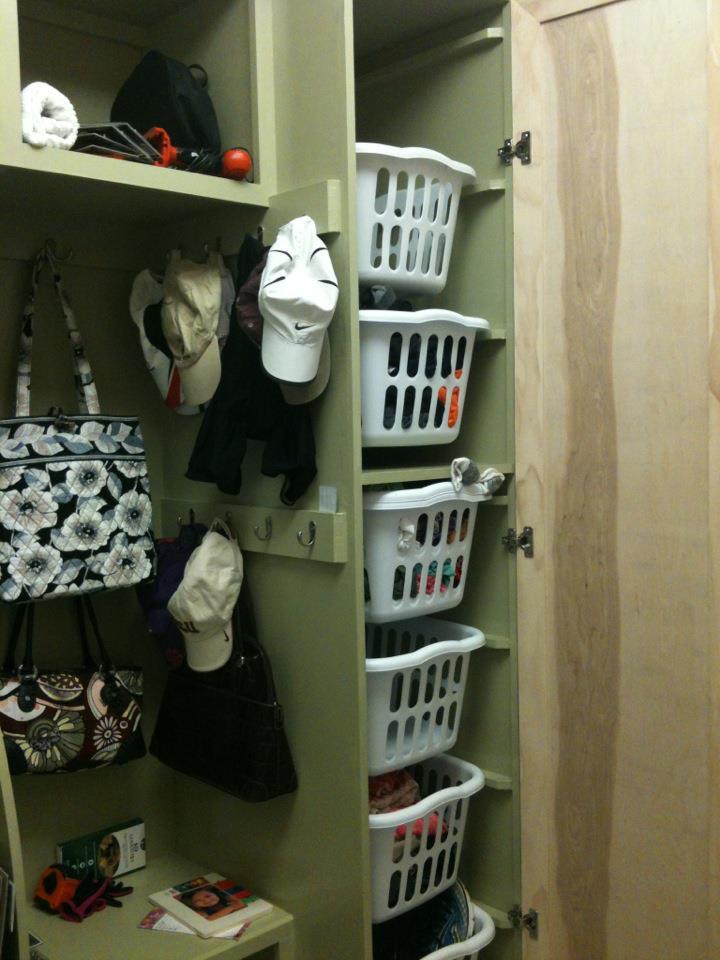
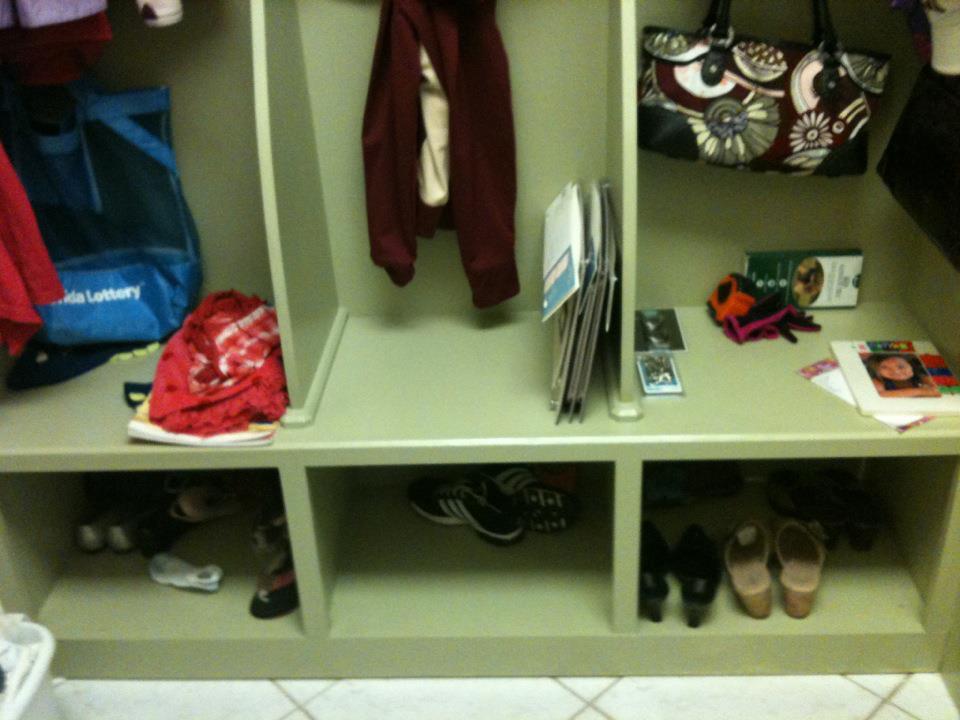
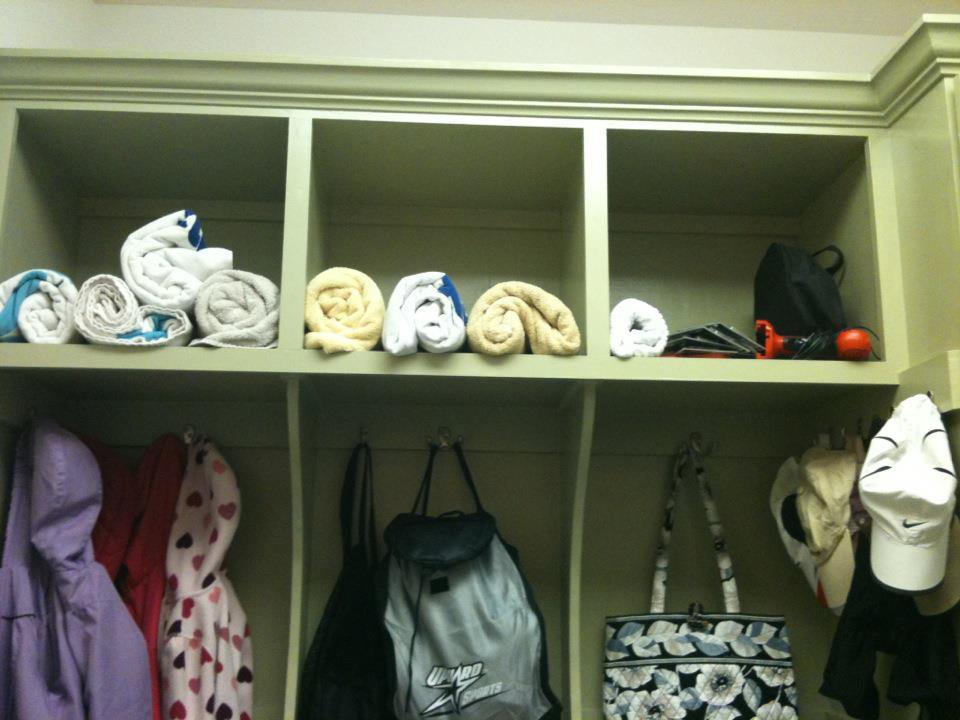
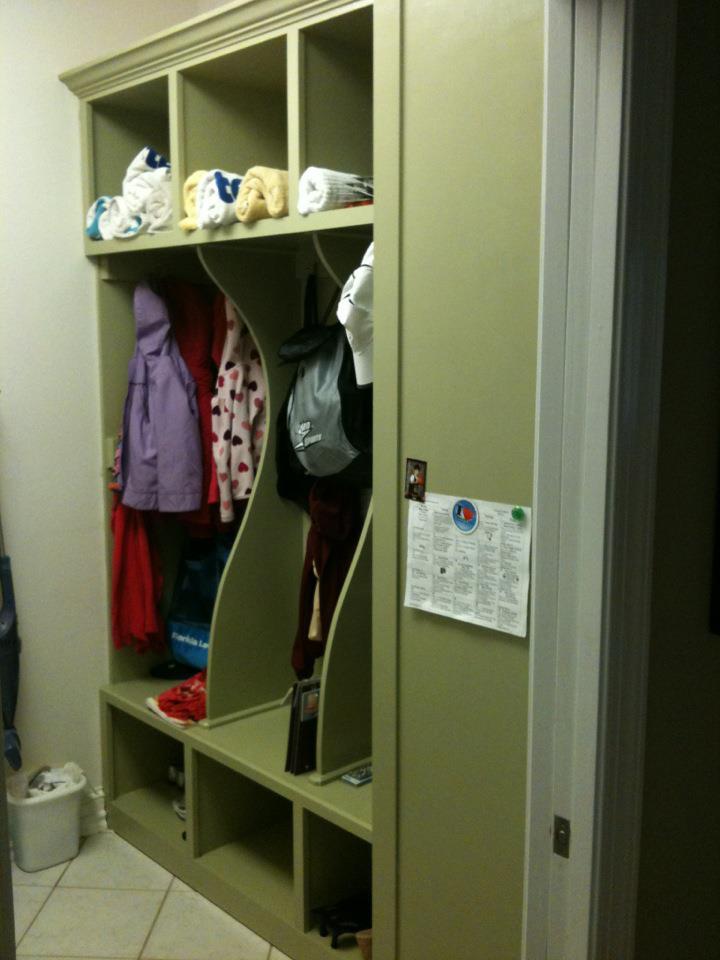
This replaced a huge formica countertop in our laundry room. The counter collected unfolded clothes on the top, and piles of shoes underneath. Also, we had a 4 hook shelf from Target holding all 3 of our kids bags and backpacks. My husband was against this, because "where would we put all the laundry?" Well, this is the solution and we both love it!
I measured this out and drew diagrams and then finally decided this was too big of a project to do for the first time. I did hire someone, but he said the measurements were right on.....he had never built something like this before. The outside of the door is painted with magnetic primer and holds magnets. So much more functional that the counter.
I know I didn't build this myself. I think I could have done it, if I could have a week to do this without interruption, but that was impossible and I needed this YESTERDAY (the 4 hook wall shelf fell out of the wall). But I wanted to share in case anyone else is having a space dilemma! We LOVE it!!!!
Thu, 04/05/2012 - 12:10
What a great idea! Very well planned out! I would love to build something like this in our mudroom.
Tue, 04/10/2012 - 16:33
Just what we need! Thank you! And I love the door covering the baskets and the magnetic paint - I hadn't thought of those! Thanks so much for sharing! It gives met the confidence to try it myself!
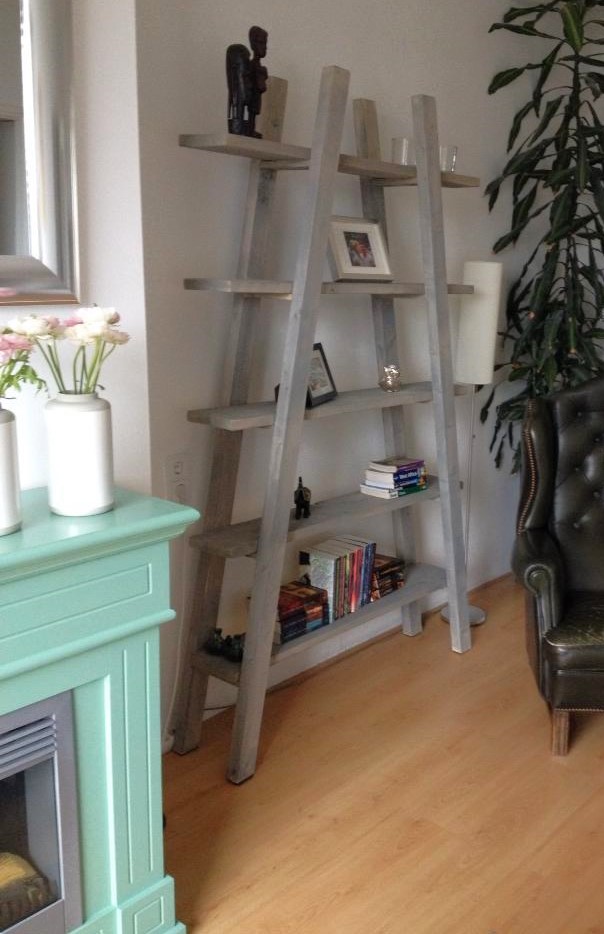
Thanks Ana for your wonderfull website! even in The Netherlands your designs are shown.
Fun project. It ended up being more time consuming than I had originally planned.
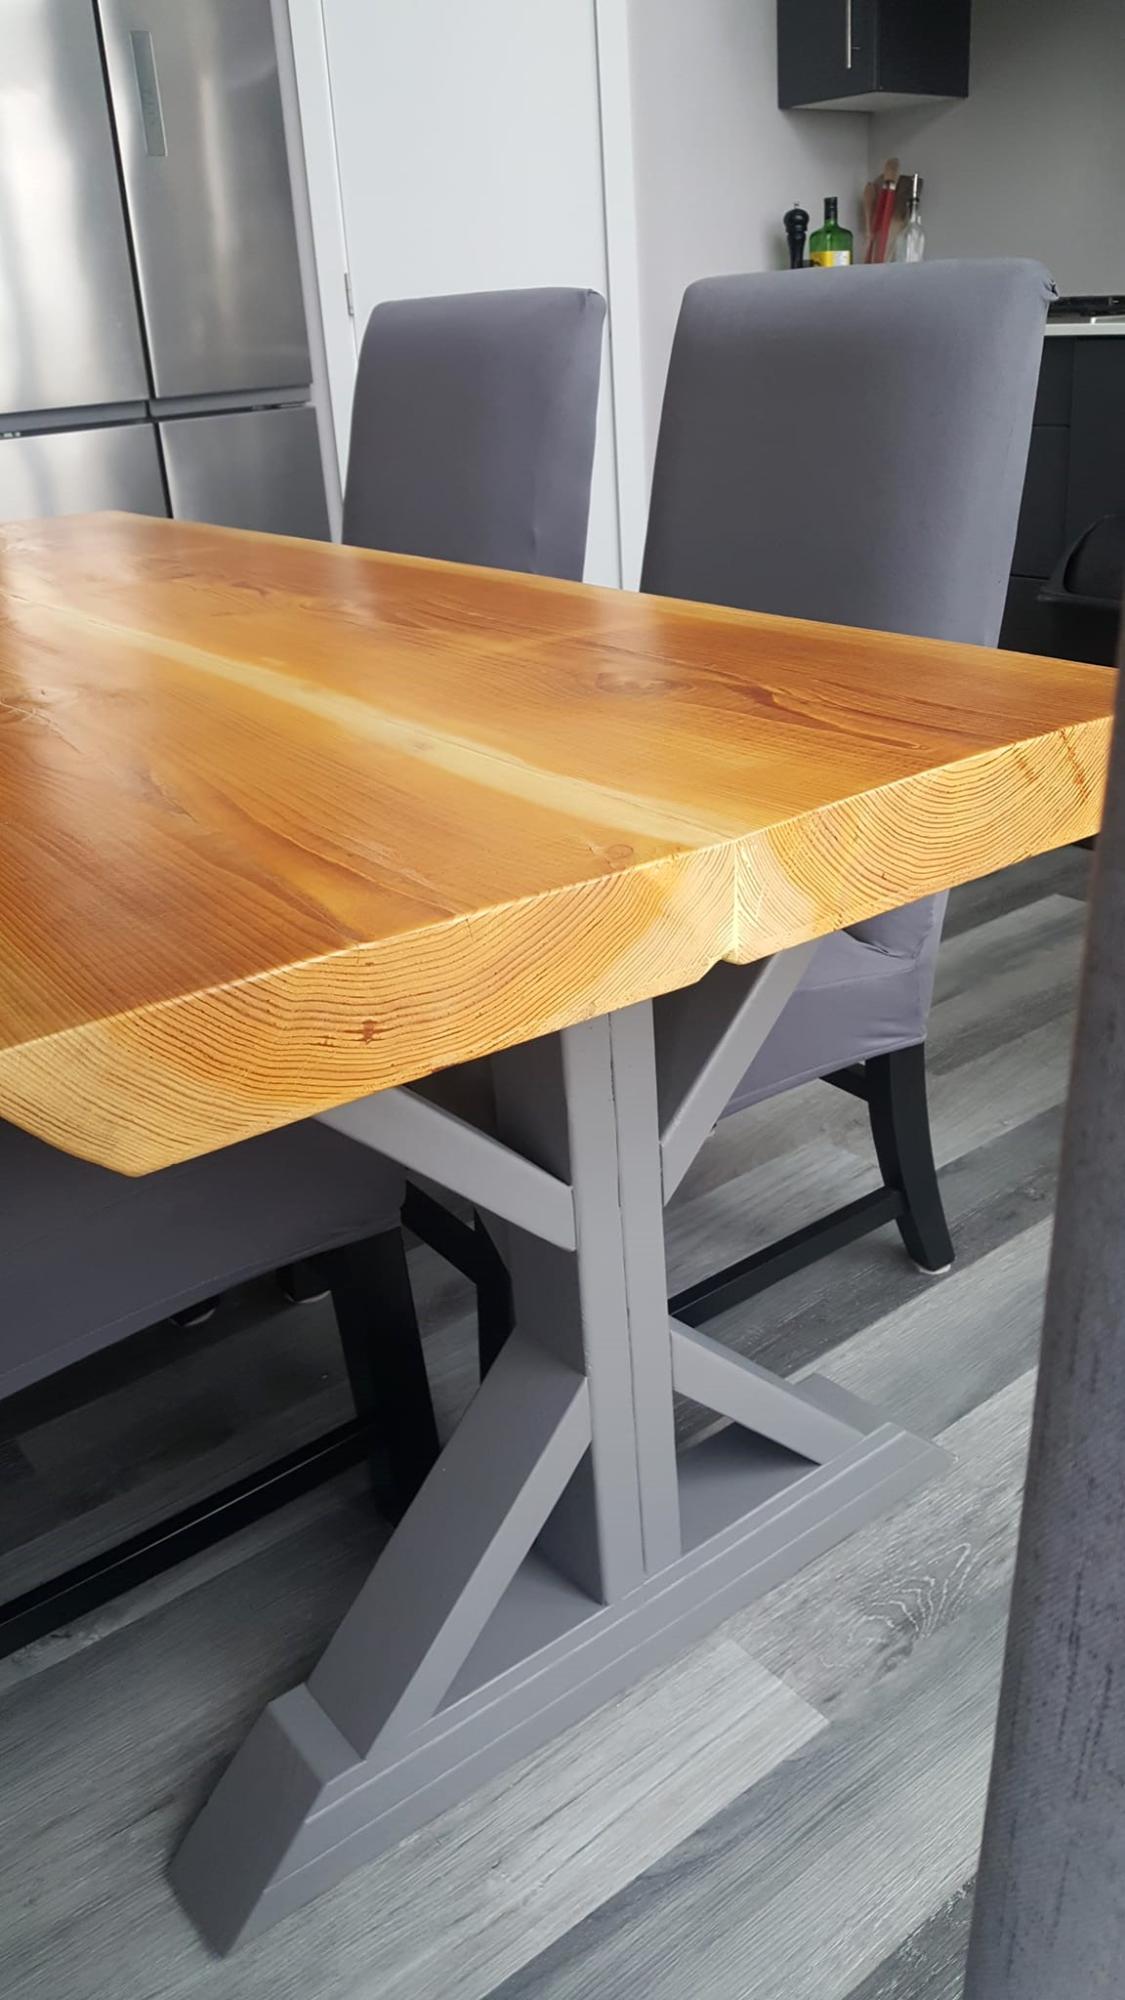
I was scared to try this project because it is listed as "intermediate" and I don't have that much furniture building experience. I originally wanted to do this with live edge, but when I saw how much it was gonna cost, I thought I would just do planks. Lucky me, I found 5 8ft live edge pieces (1 ft wide, 3 inches thick) for CAN $100. Some 2x4 and 1x4 and I was ready to rock and roll. I decided to make the table 6 ft long, so the legs are 5 ft apart. I made the connection a bit different than in the plans, just because I want to be able to stretch our legs underneath. It is as stable as can be. I love Ana White's plans. Great instructions, great cut list and almost no left overs.
Nicky Peeters https://www.facebook.com/nicky.peeters.70
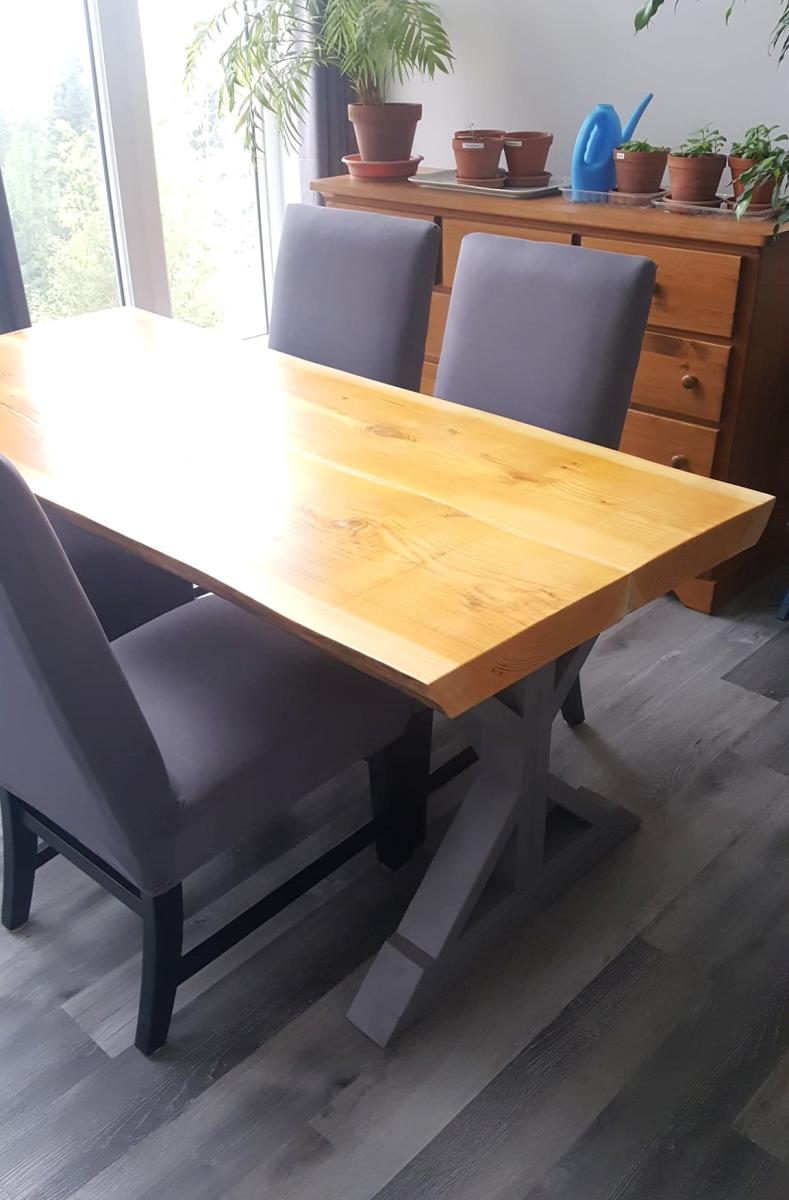
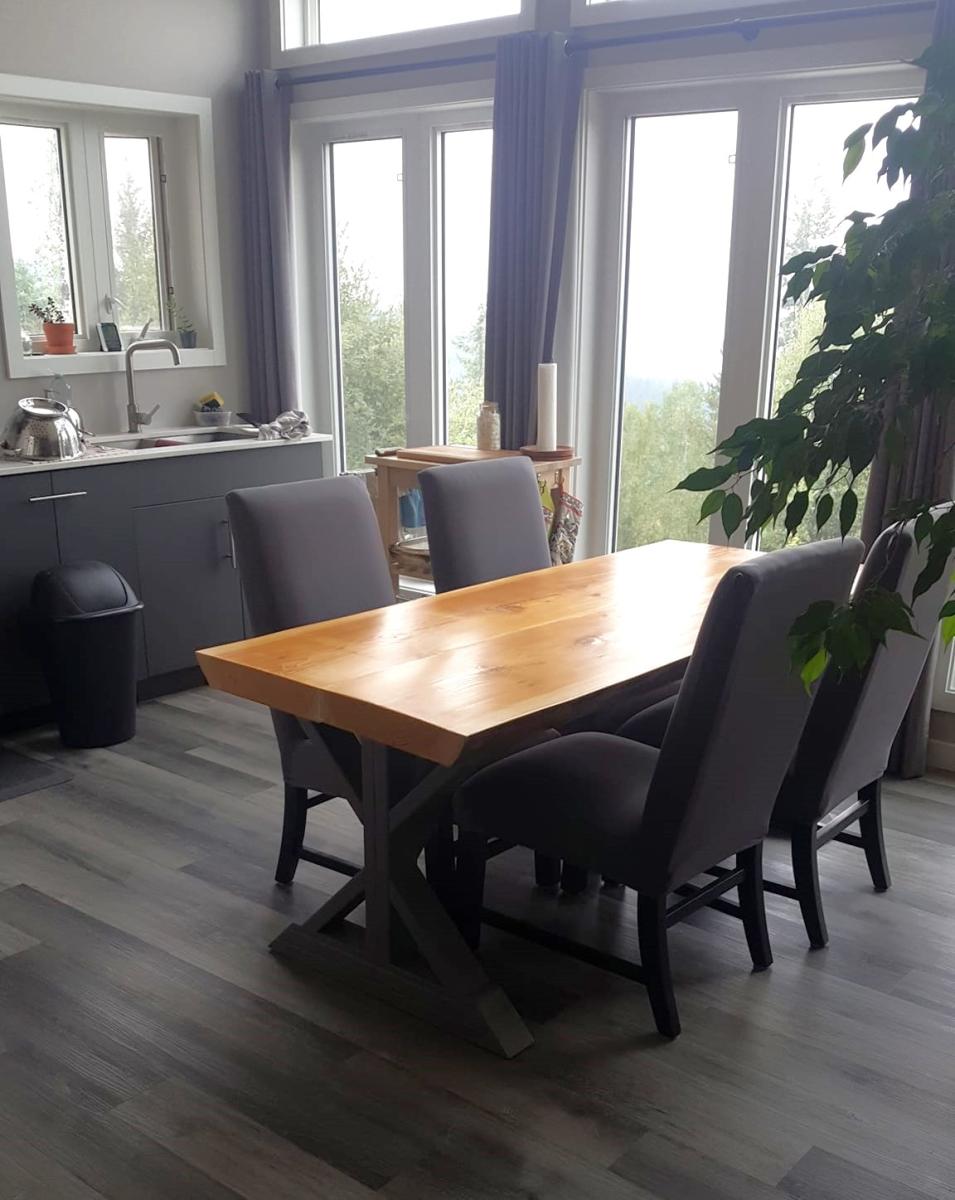
I love my cat, and felt she needed a pretty feeding dish. I stole some old spindles from my sister's garage, cut them down and threw this plan together. It was actually harder than I expected because getting into tight little spaces with my drill to drill in the pocket holes was almost imposible. The wood split, nothing is square and the holes for the dishes are messy...but it doesn't really matter, it looks good from a distance and my cat doesn't judge. Not that I know of, anyway.
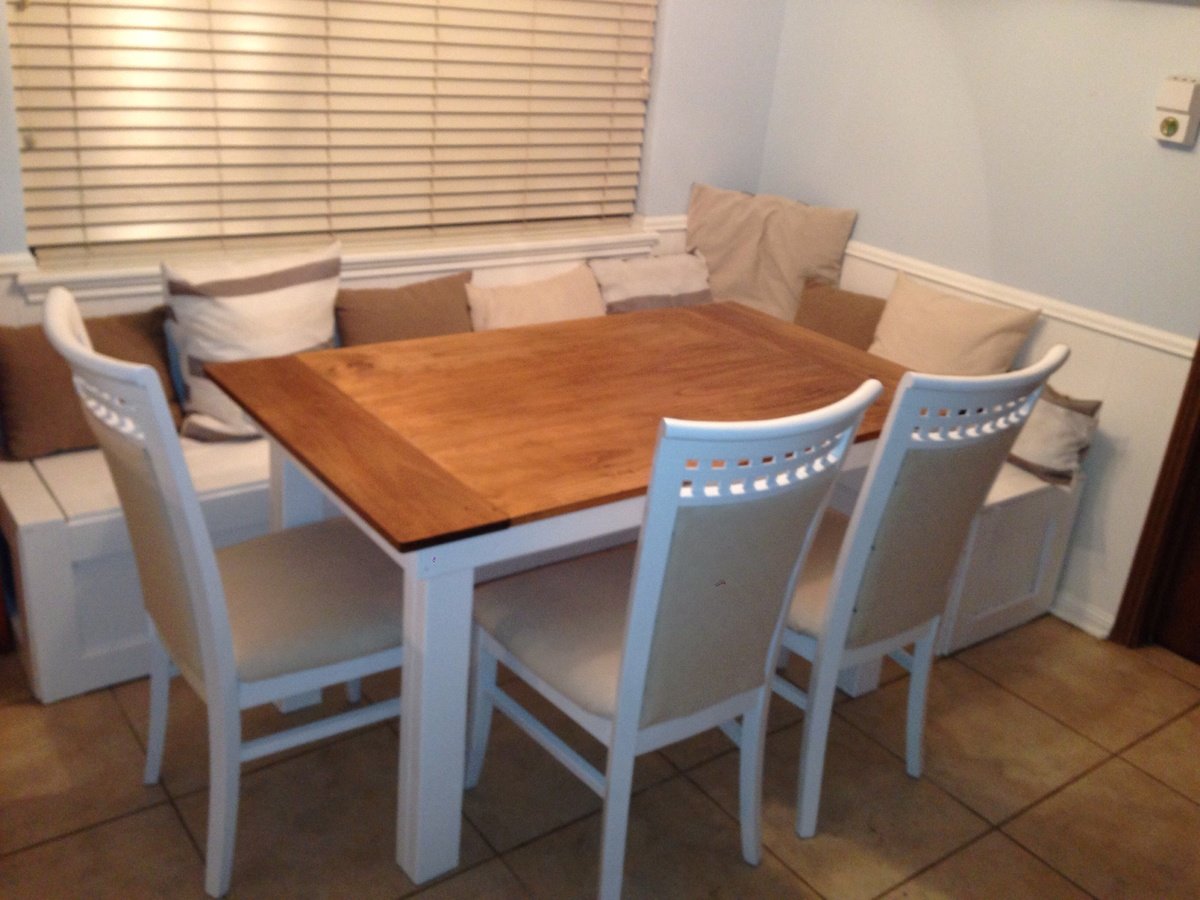
We wanted to create more seating space and a cosier breakfast experience with this nook. We made the benches with hinges for storage. The table was customized to fit our space and we chose to change the legs rather than buying the $20 each legs. We love how it turned out!
Thu, 03/05/2015 - 07:25
Where are the plans for the bench?
This would look great in our Kitchen nook!
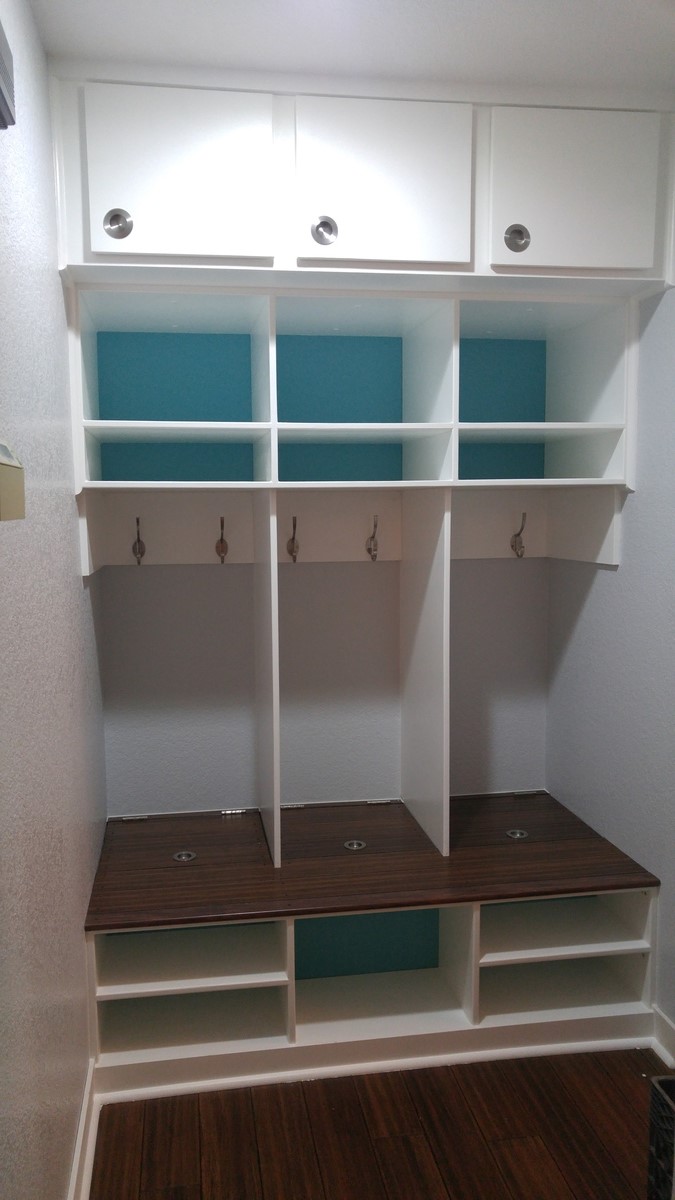
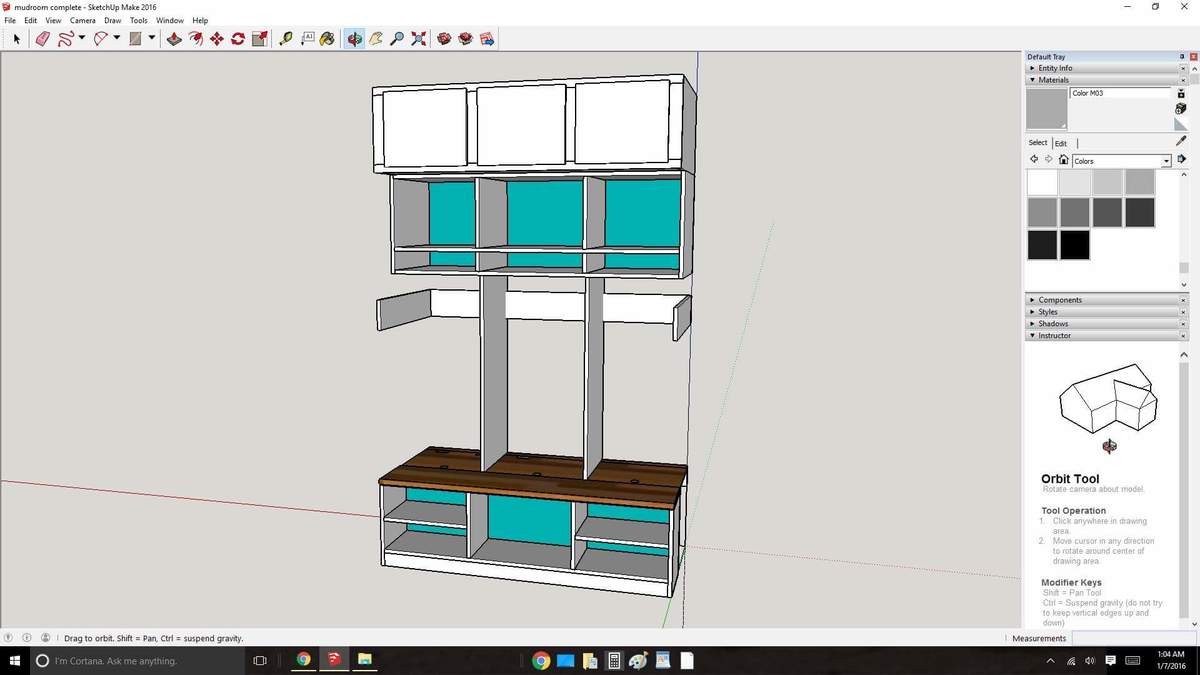
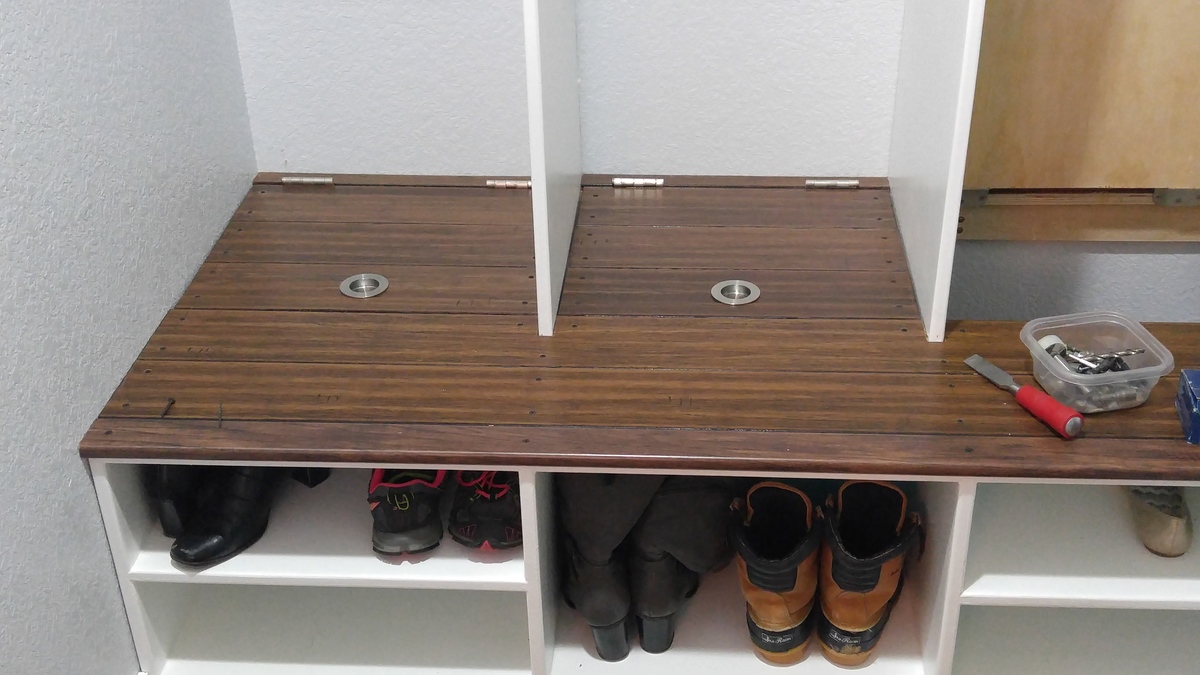
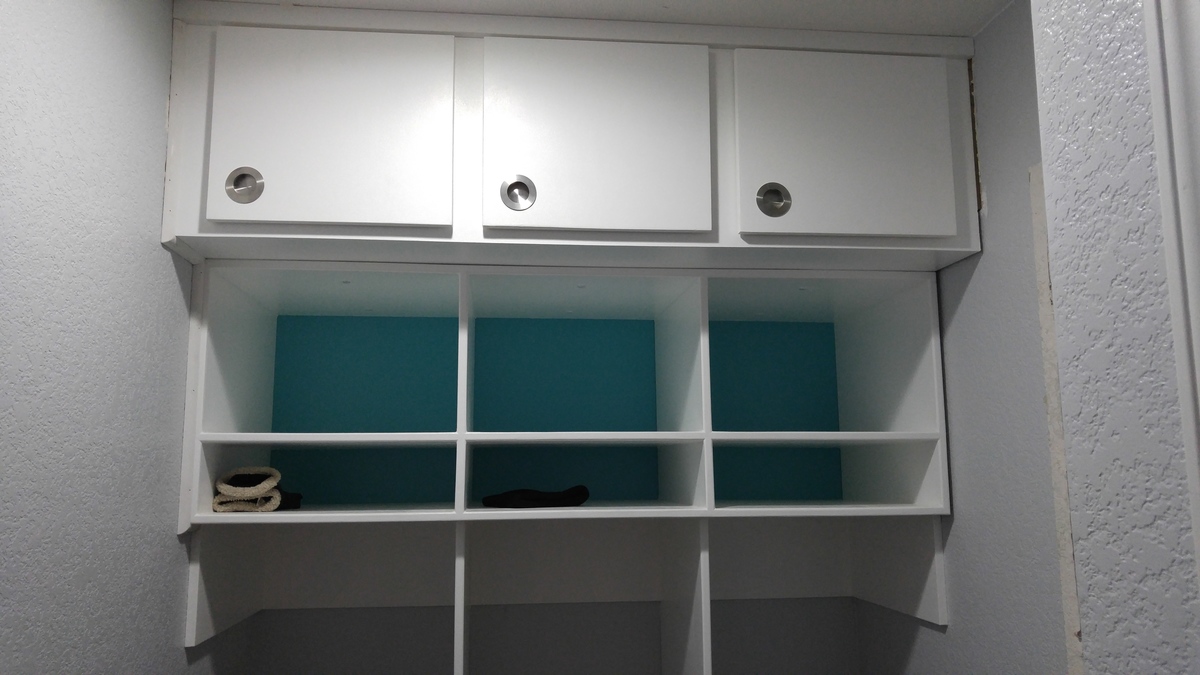
Starting from the Extra Wide Shoe Bench plans, I expanded the upper section considerably. The cabinetry is all cut from hardwood plywood and joined with pocket screws and glue. I don't have a table saw, so a circular saw and straightedge were extensively used.

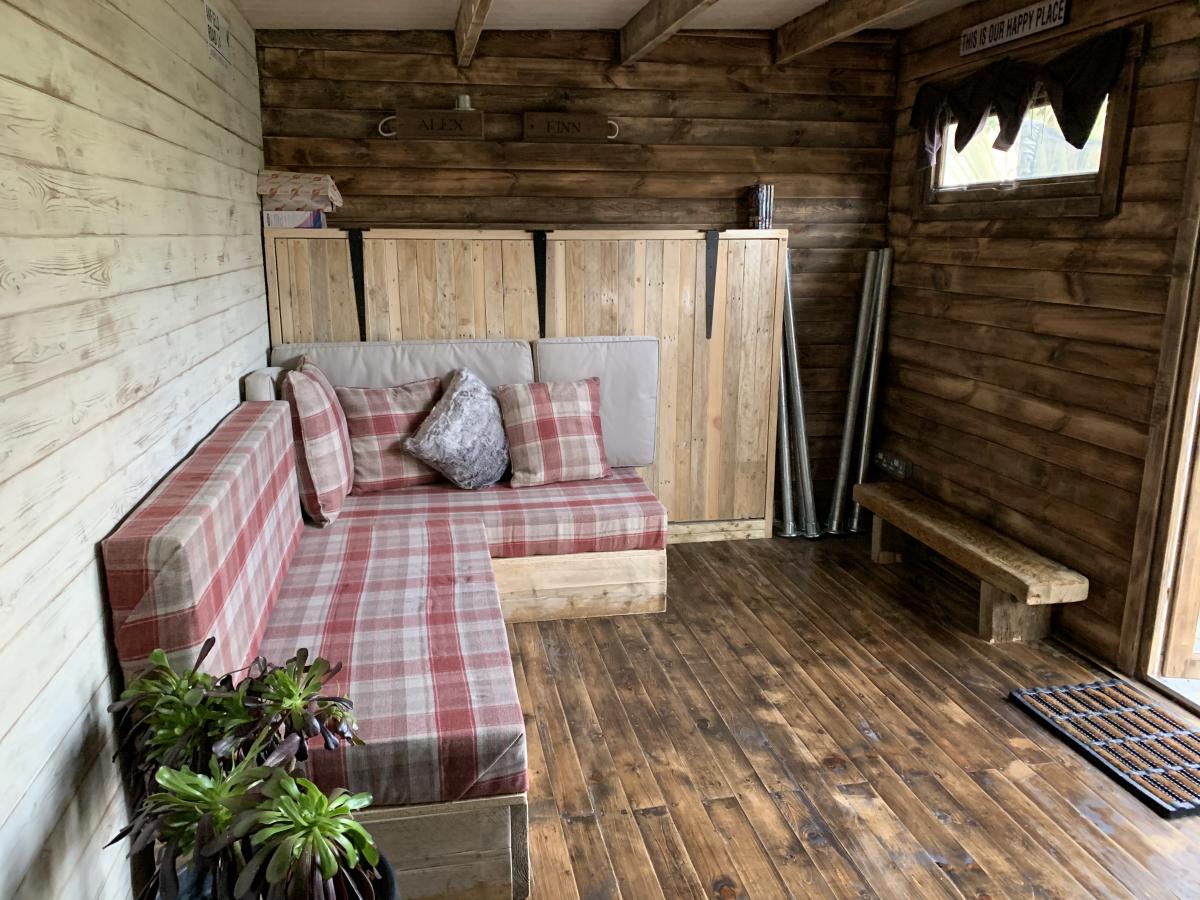
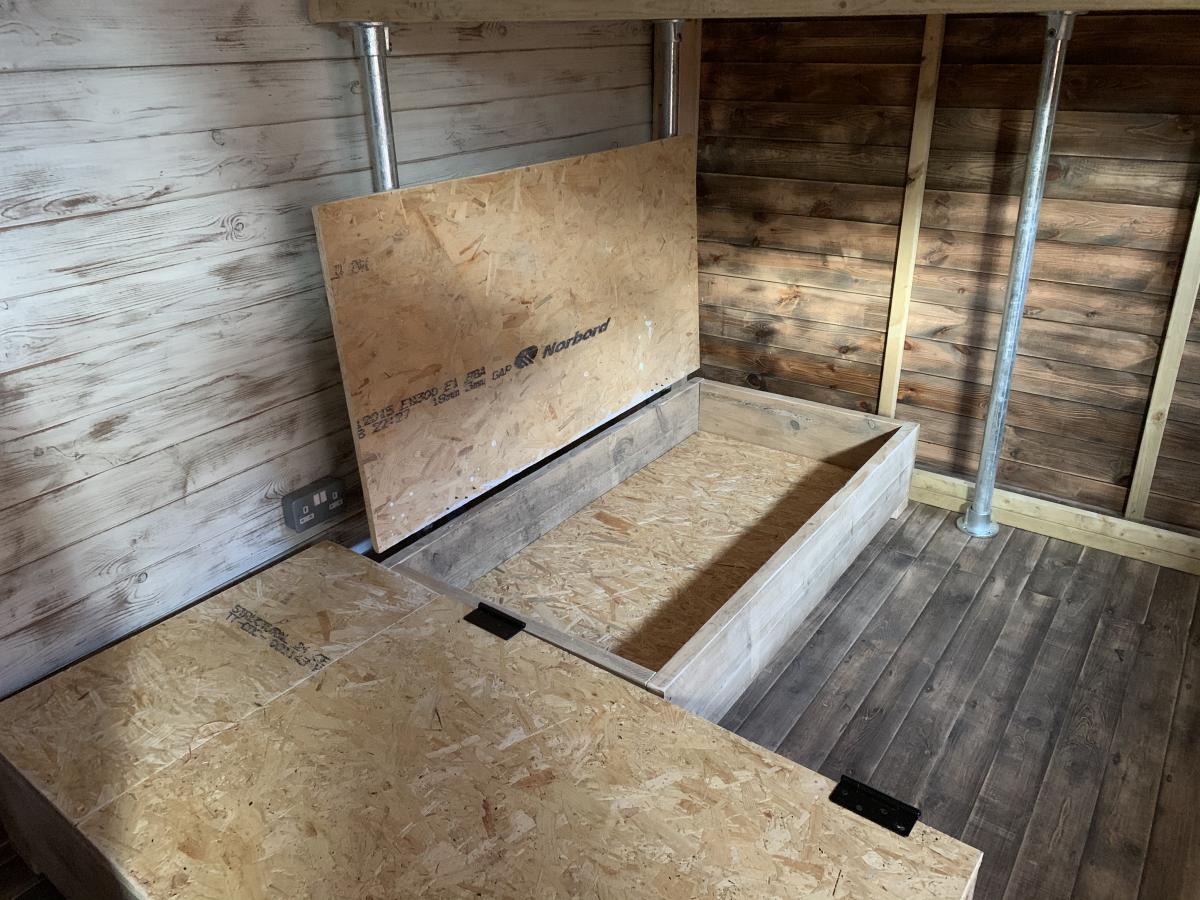
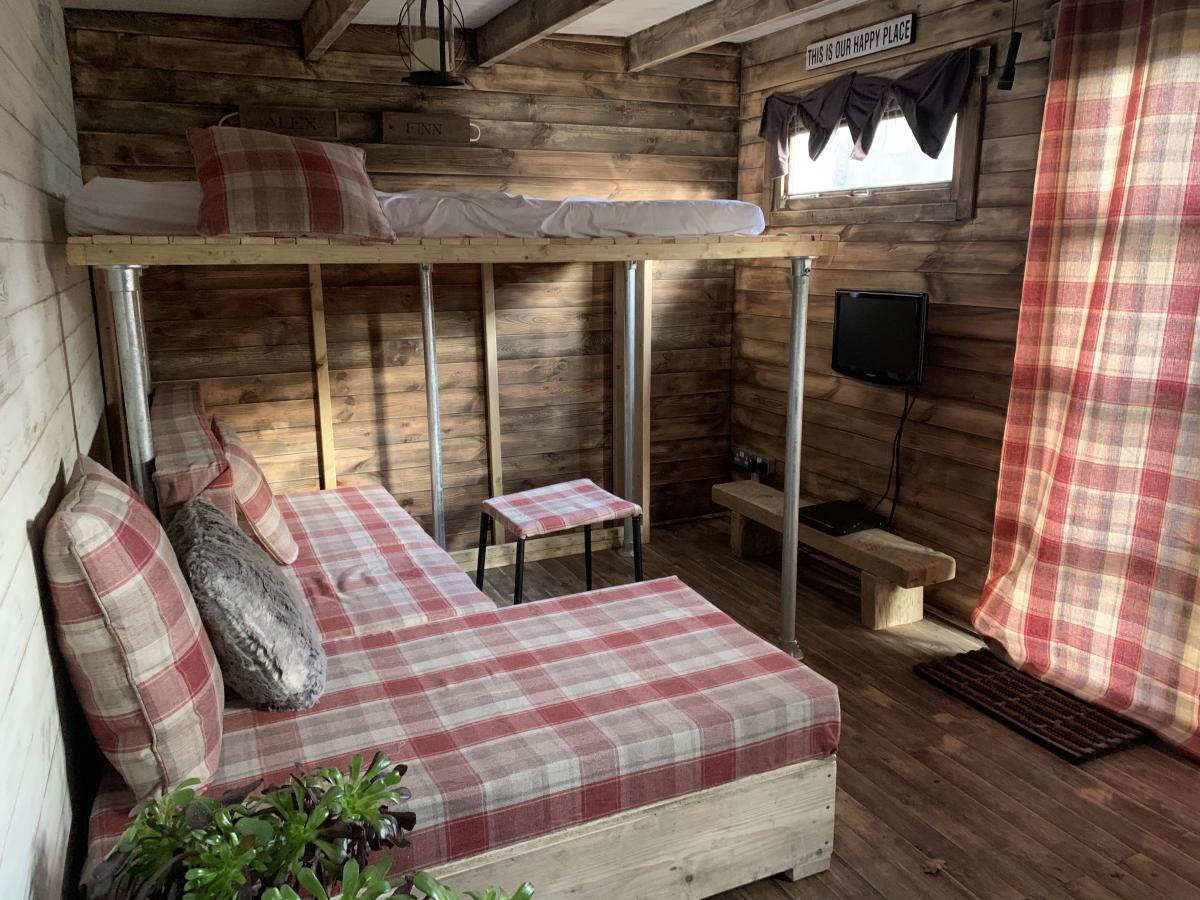
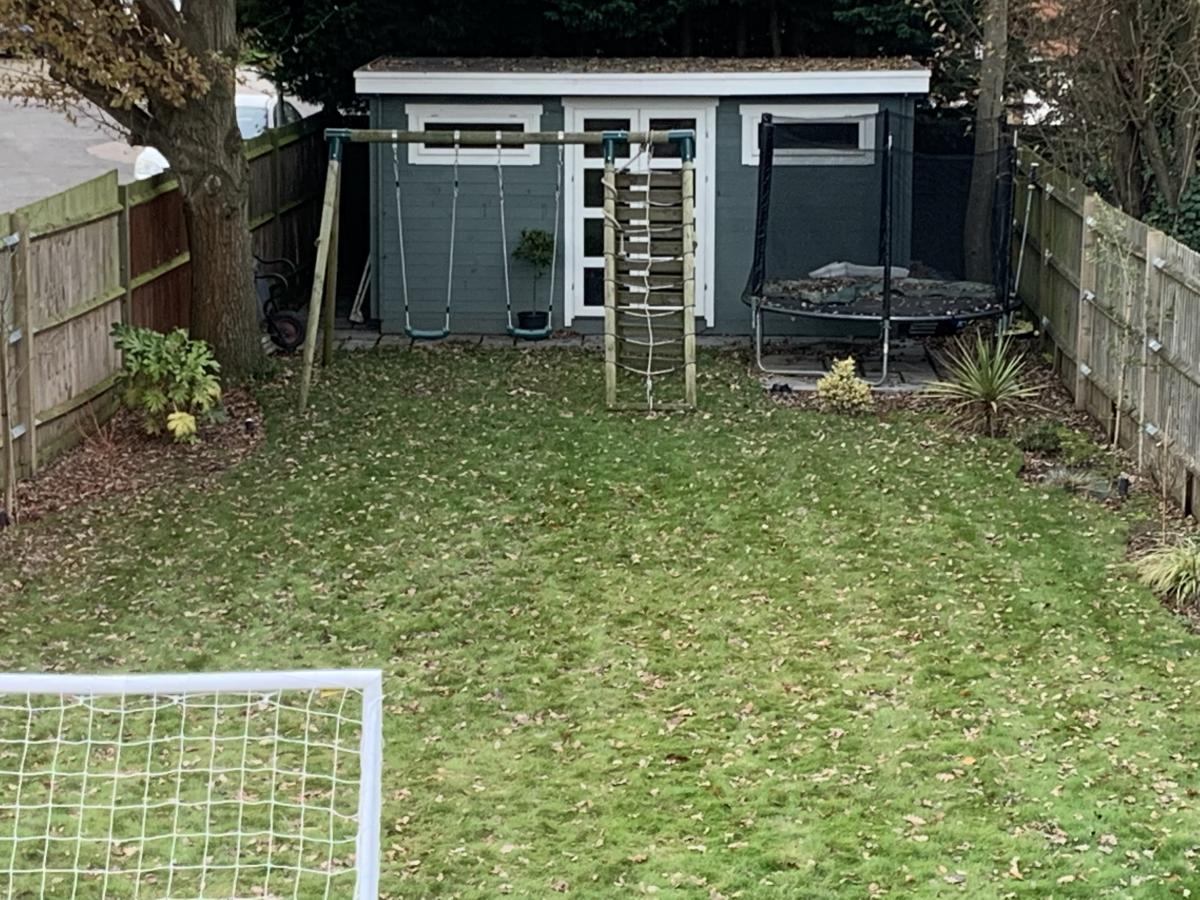
Always wanted an Alpine lodge, we live in London so a Garden cabin for the kids (and Dad) will have to do!
flip up bed and storage cabinet (for mattress)
sofa bed, foam cushions with leftover curtains
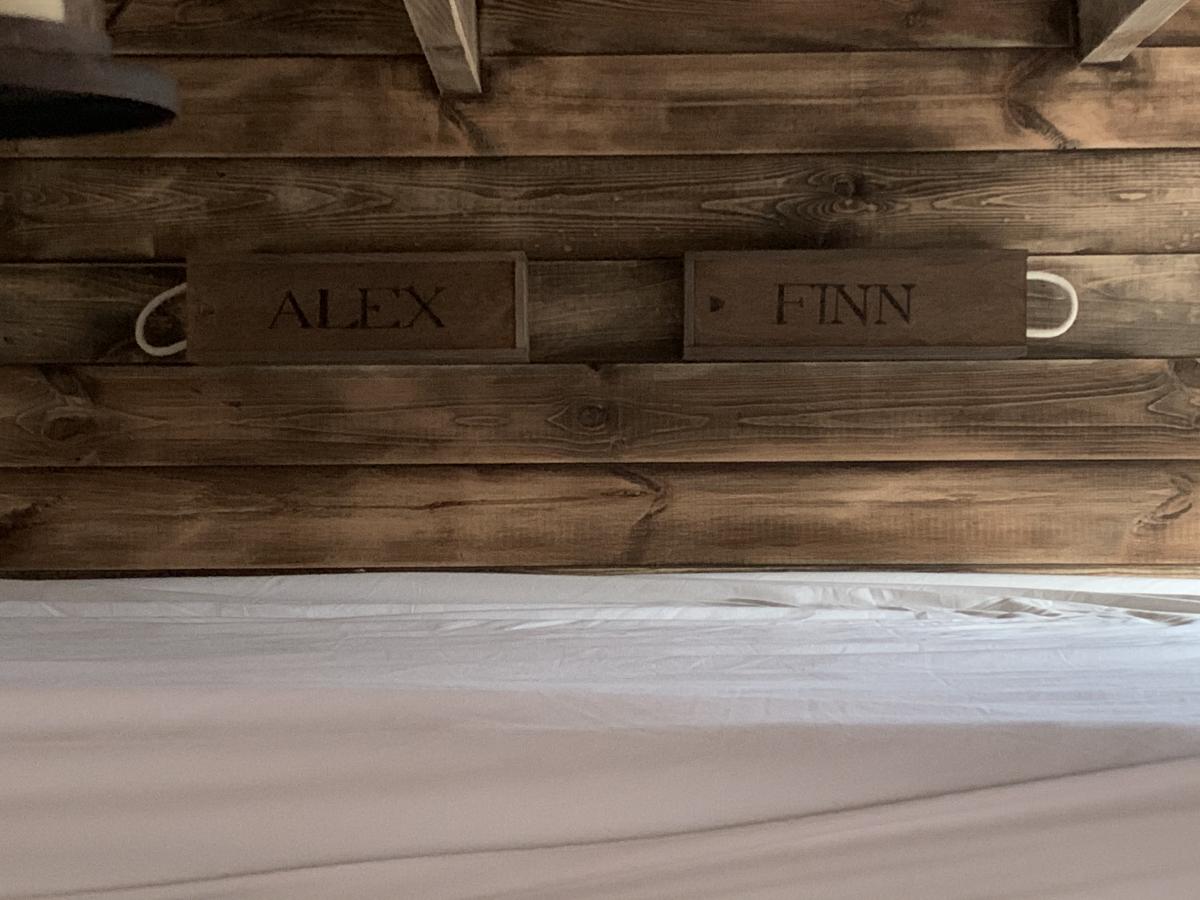
mini storage boxes from wine boxes
inspired by tiny house (especially the sofa!)
Still more to do. Desk on its way and bulk head lights fitted soon.
no real plans just rough sketches and trial and error
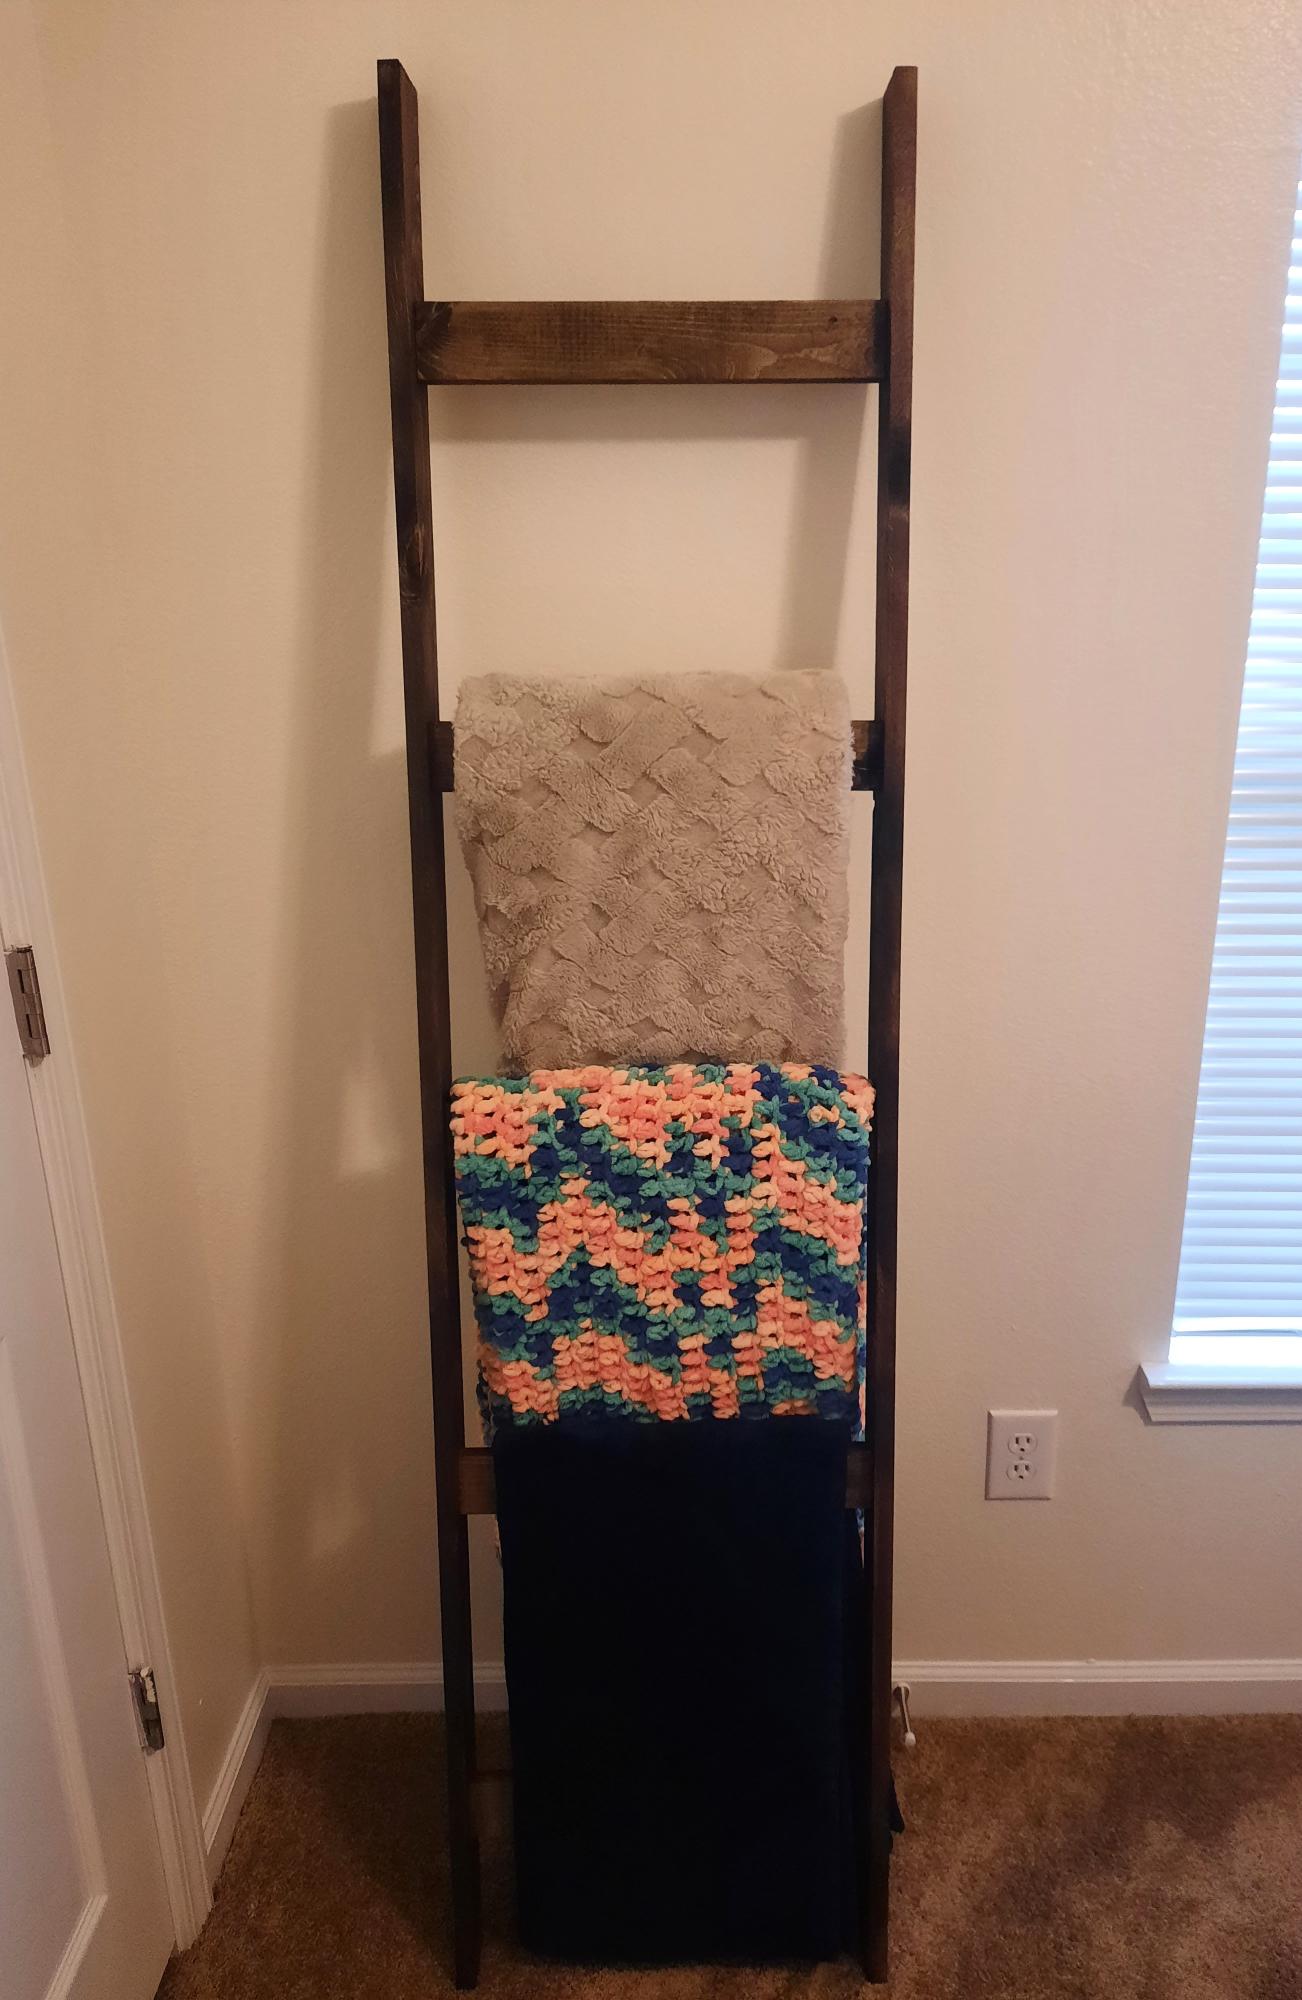
This was my first project and I am so pleased! The stain is beautiful and once I got the hang of it, so easy to complete. I am excited to try a new plan and keep going!!
Laura
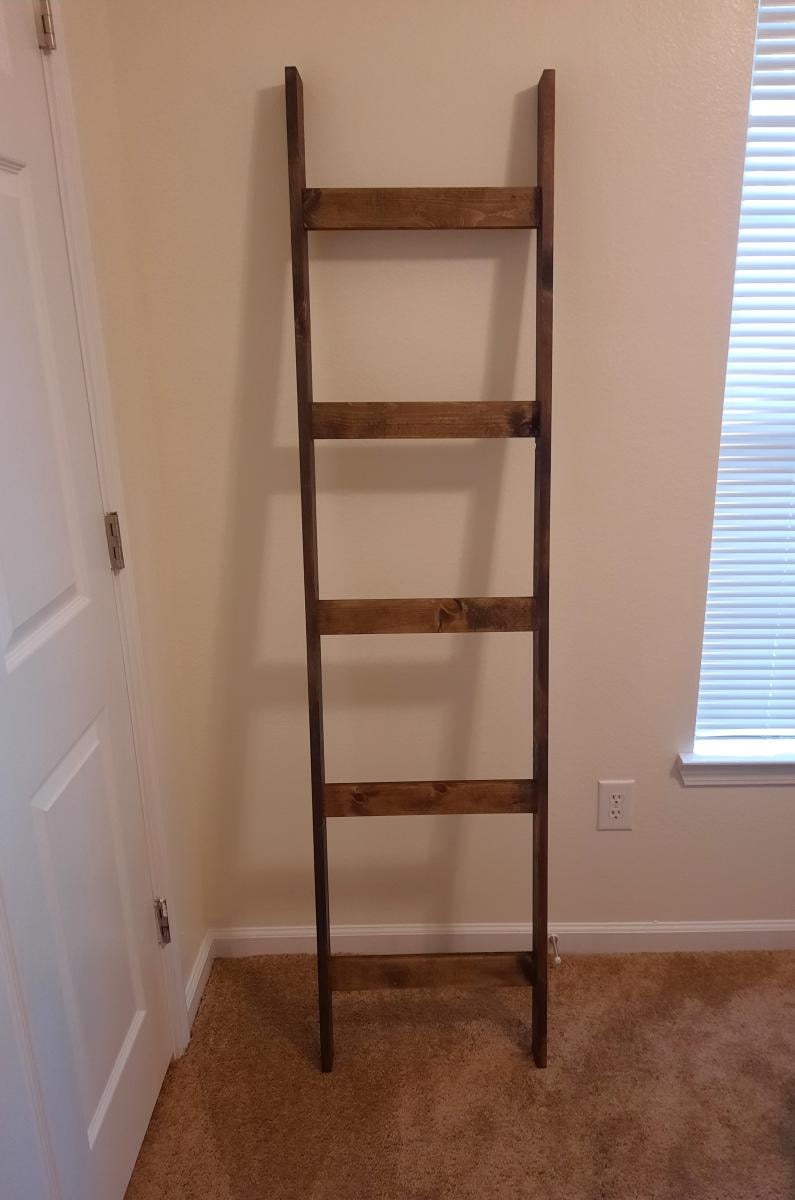
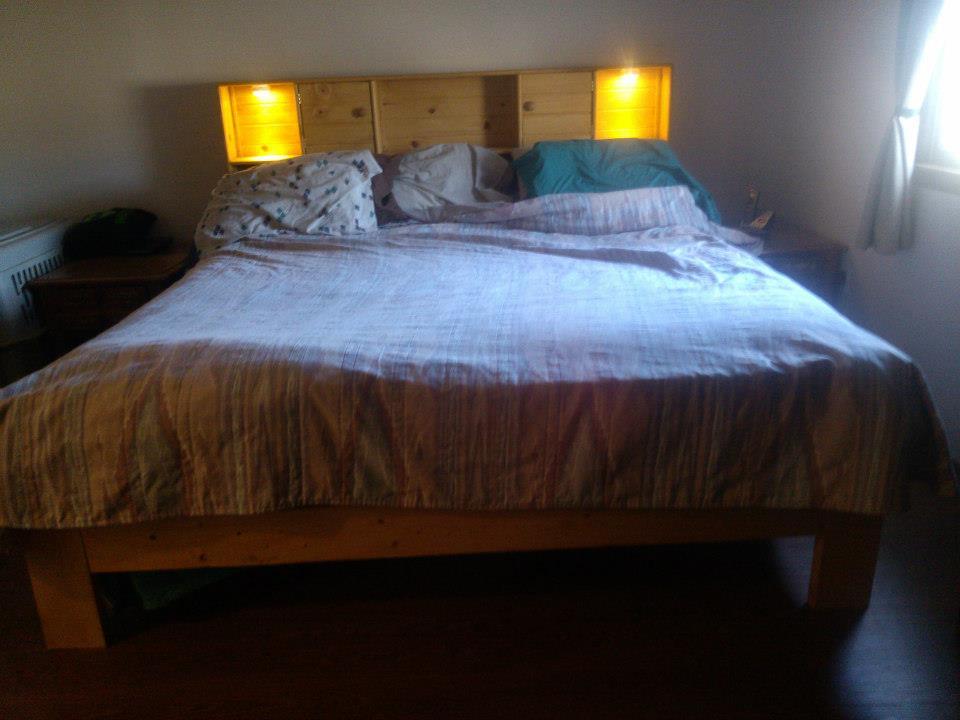
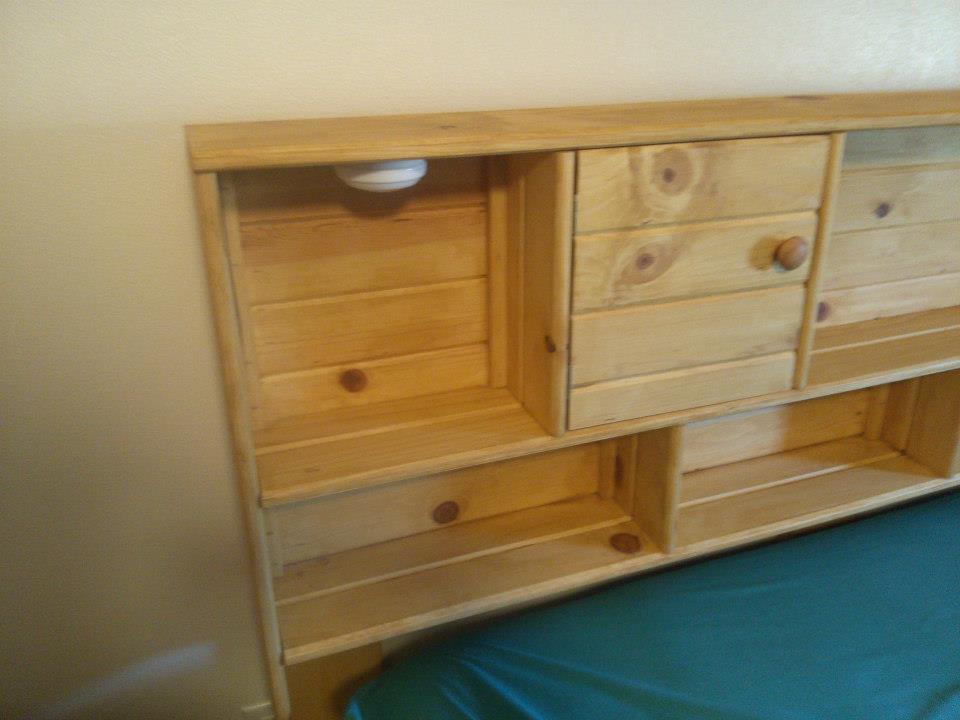
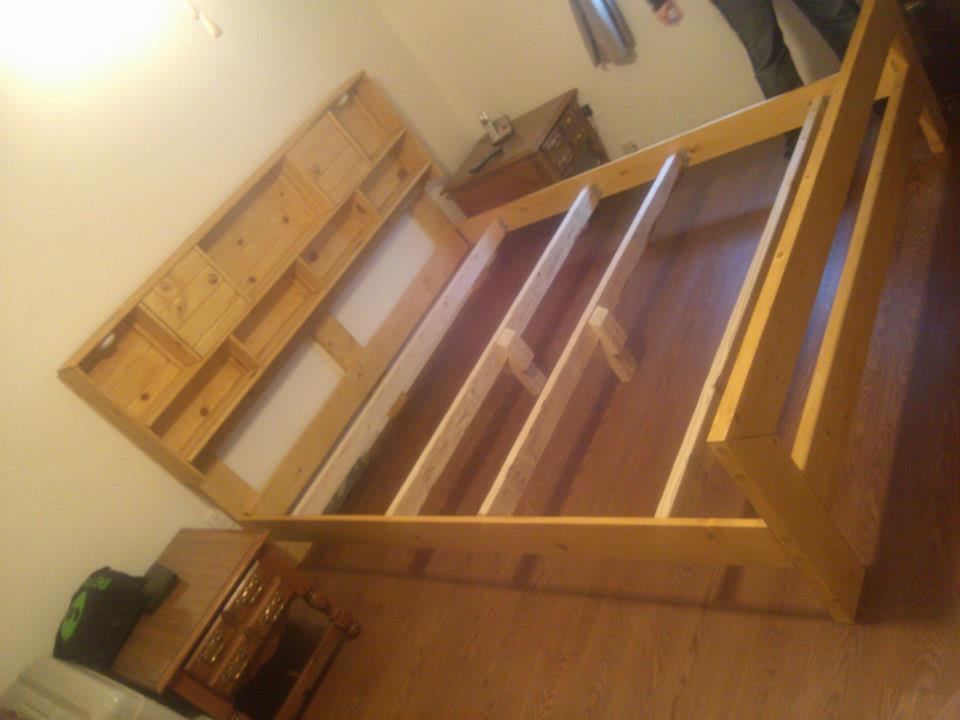
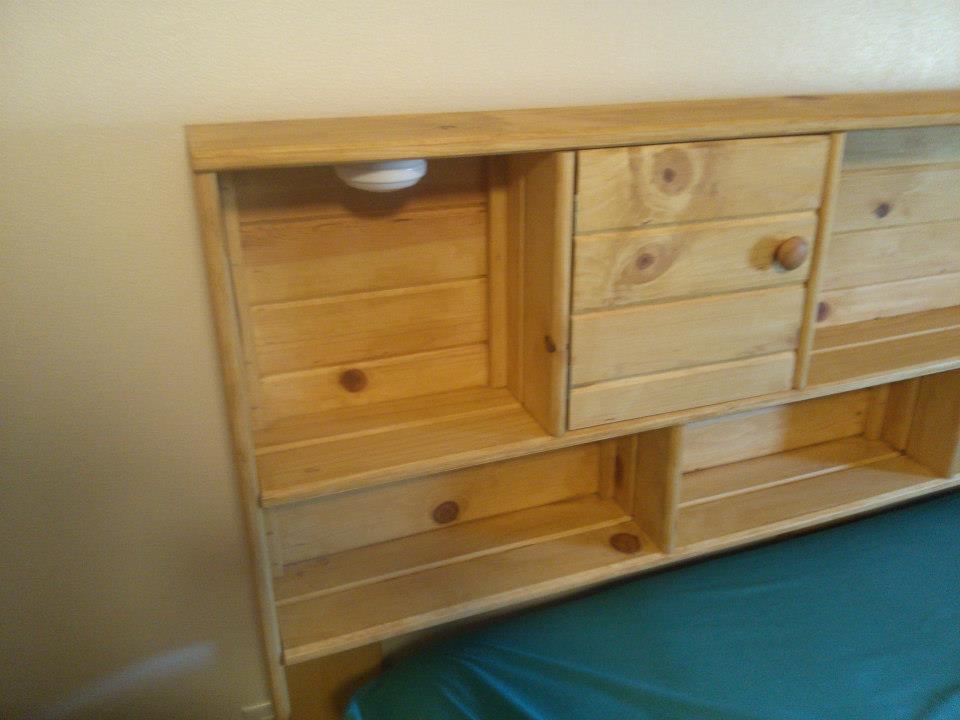
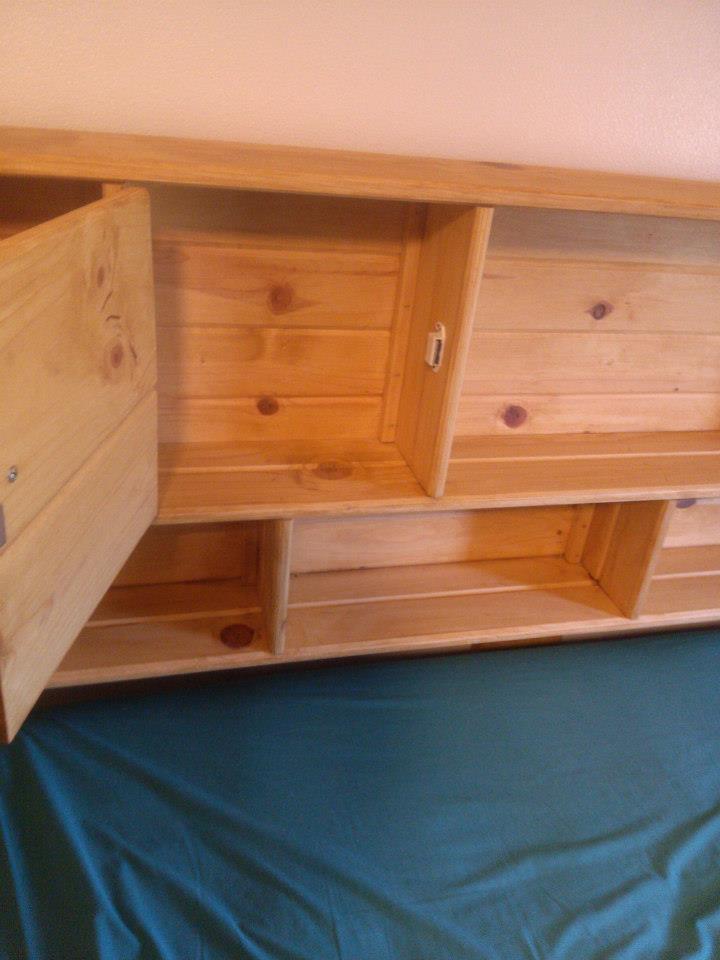
Our Friends wanted a new bed frame in the worst way. They gave my husband free will to design a bed for them and this is what he came up with. headboard is made out of car siding. has 2 hinged doors, 2 battery operated led lights, lots of shelves. basic rails and foot board!
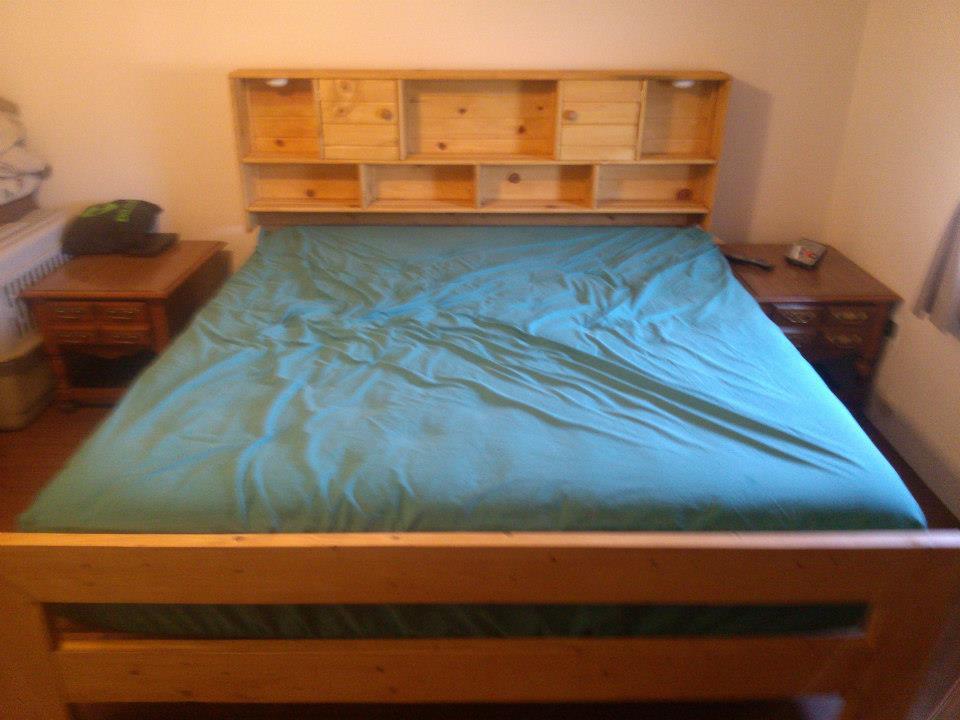
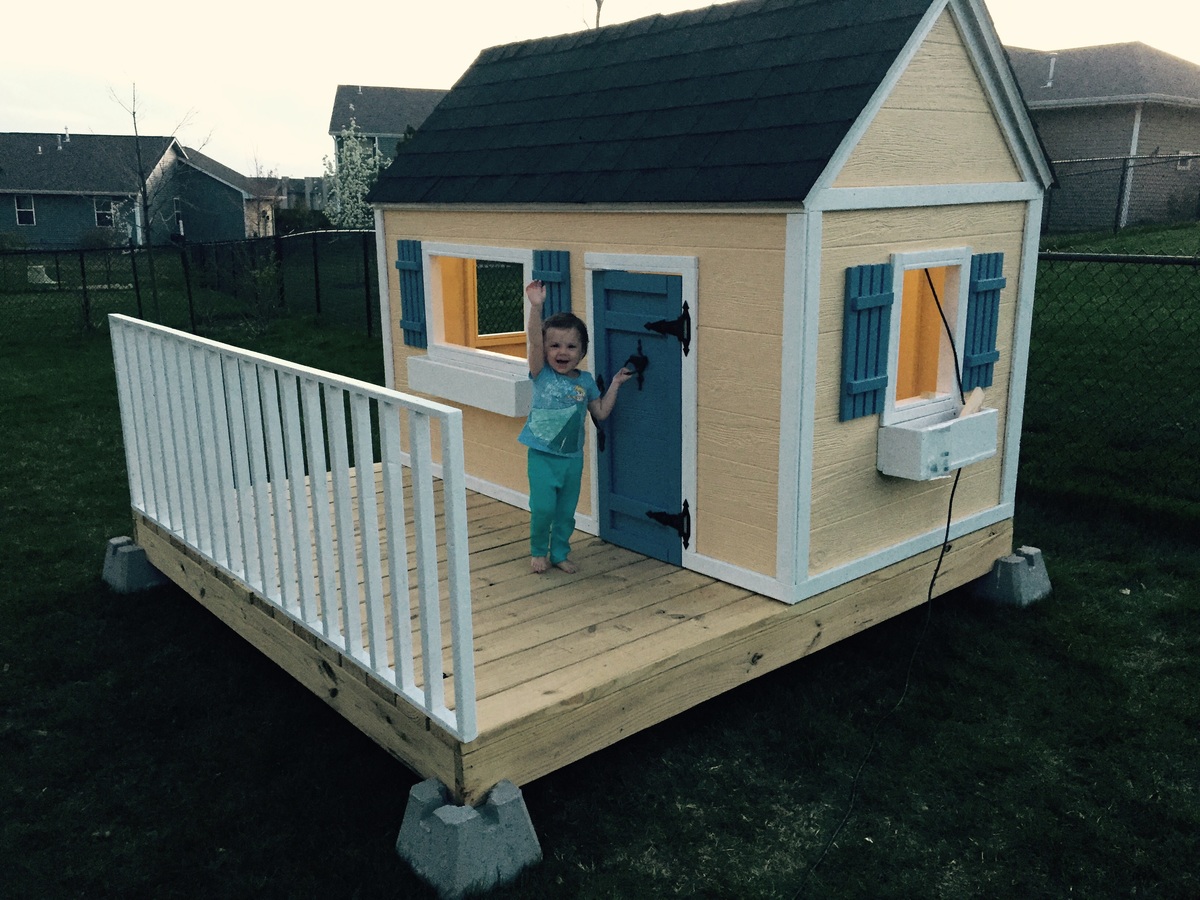
I started this in my garage this winter so that it was ready for spring. Nothing in this is too complicated but it requires some patience. It was all worth it to see how excited my daughter was to finally play with her friends.
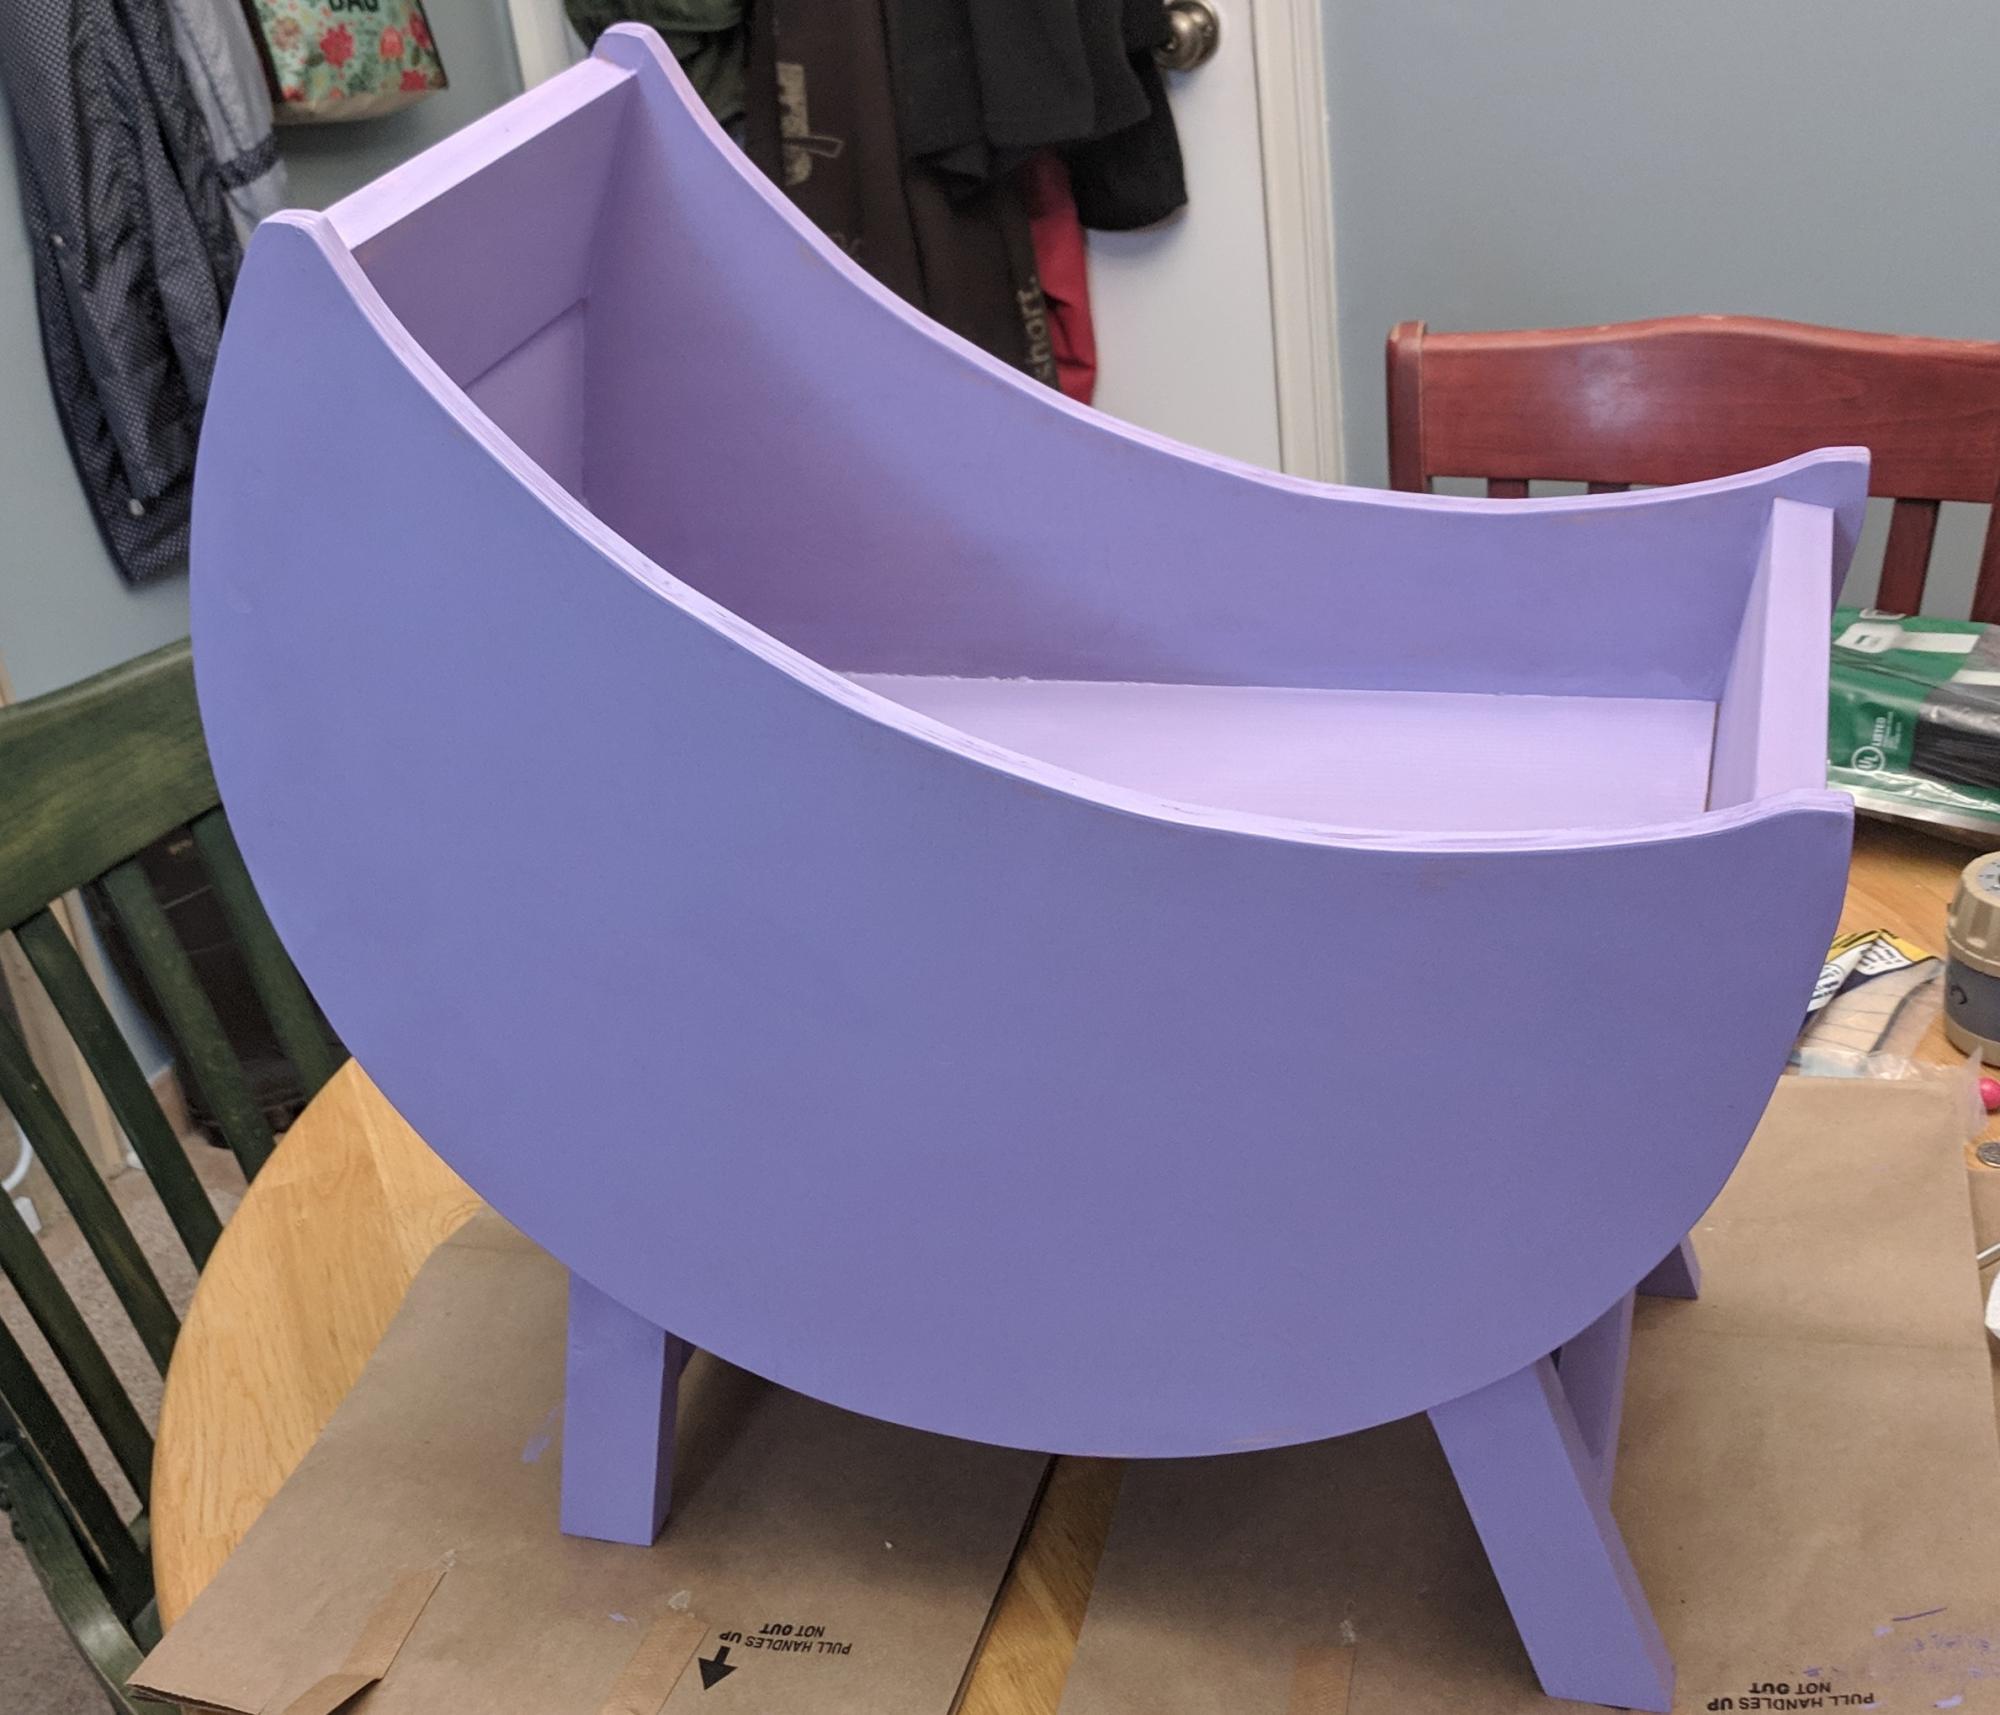
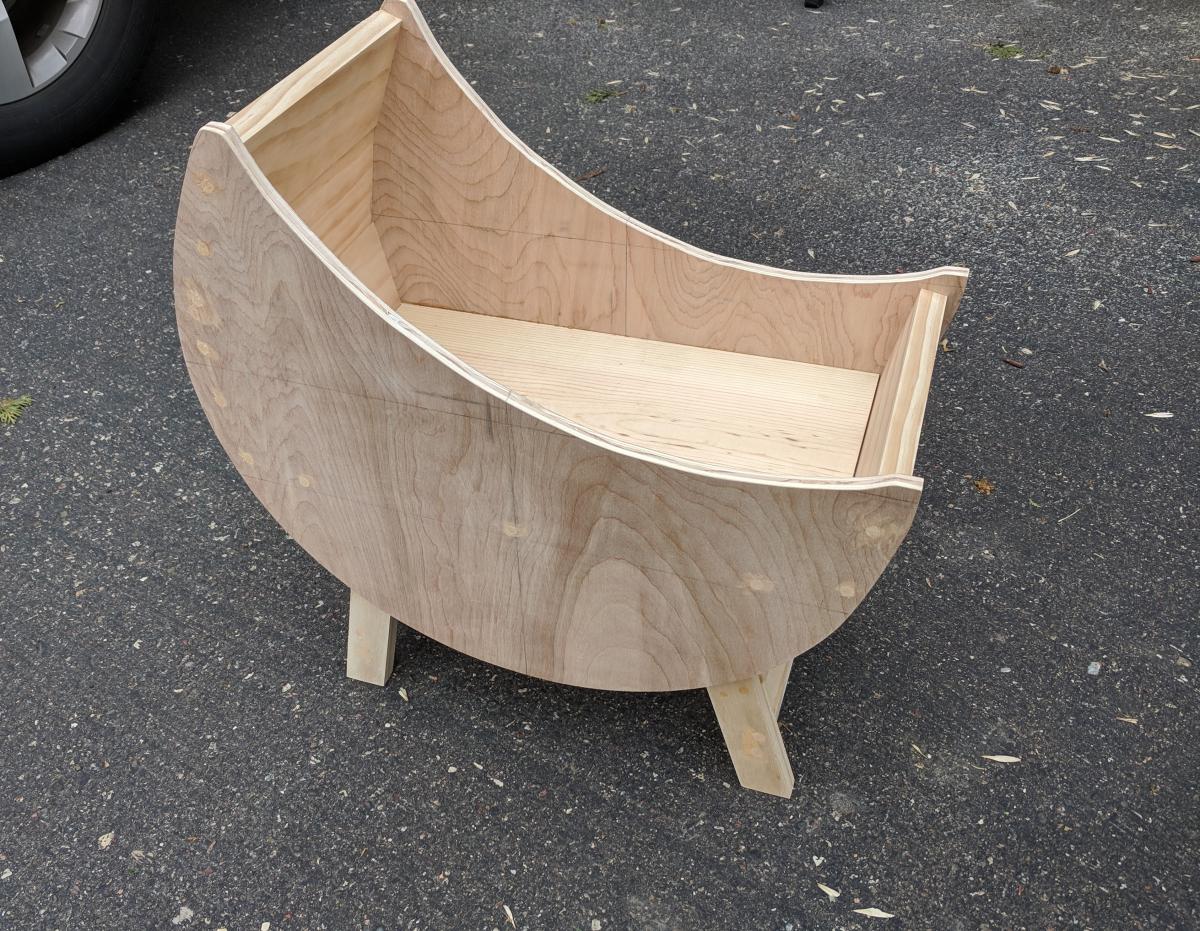
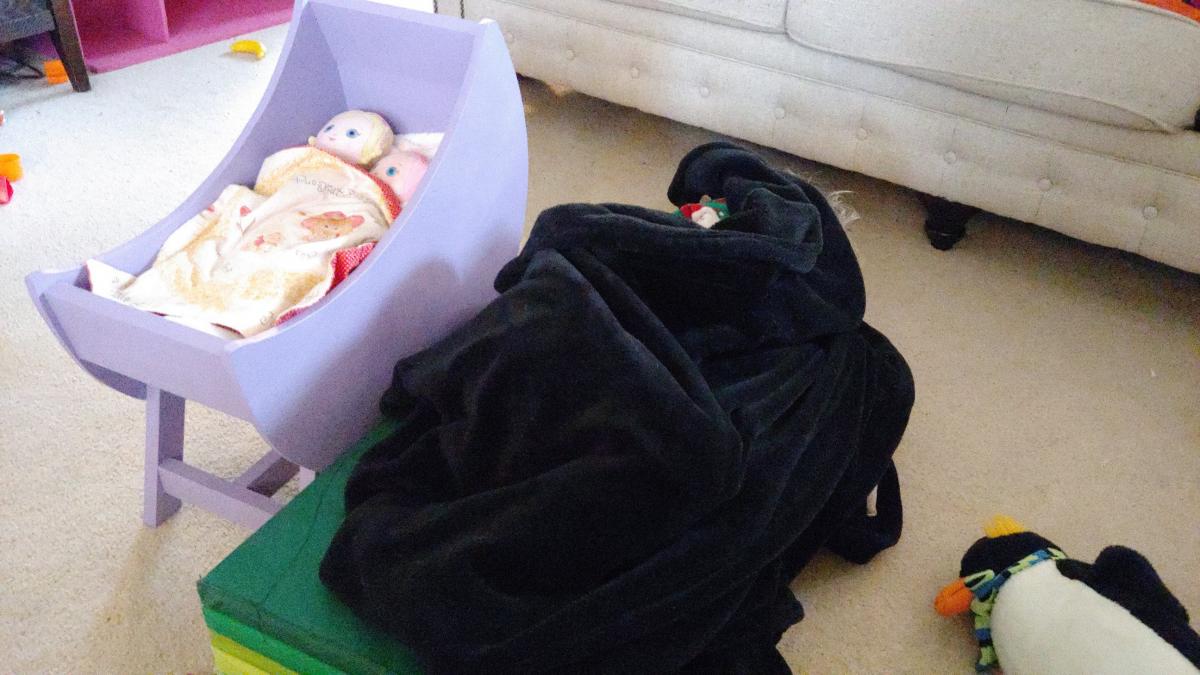
My daughter-in-law asked me if I could build a doll crib for my granddaughter. I had no idea how to do that, so of course I said "Absolutely!" Then I immediately came to the Ana White site!!
I found a few options and checked with my daughter-in-law to see what style she wanted. She chose the "Baby Doll Furniture Moon Bassinet" and said that it needed to be "lavander".
As usual, Ana's plans made me look like a hero! My granddaughter liked it so much she insisted on sleeping on the floor next to it during her nap!
