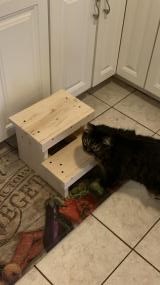
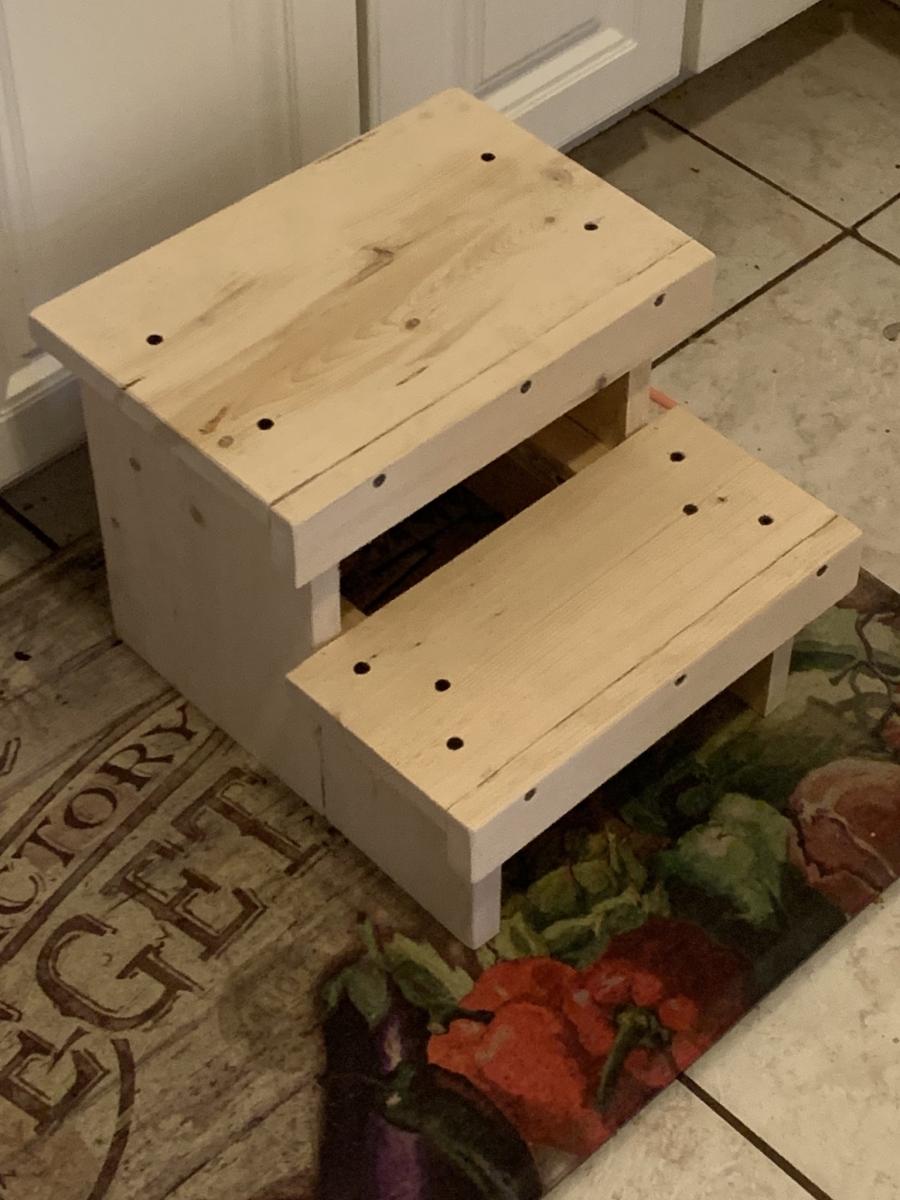
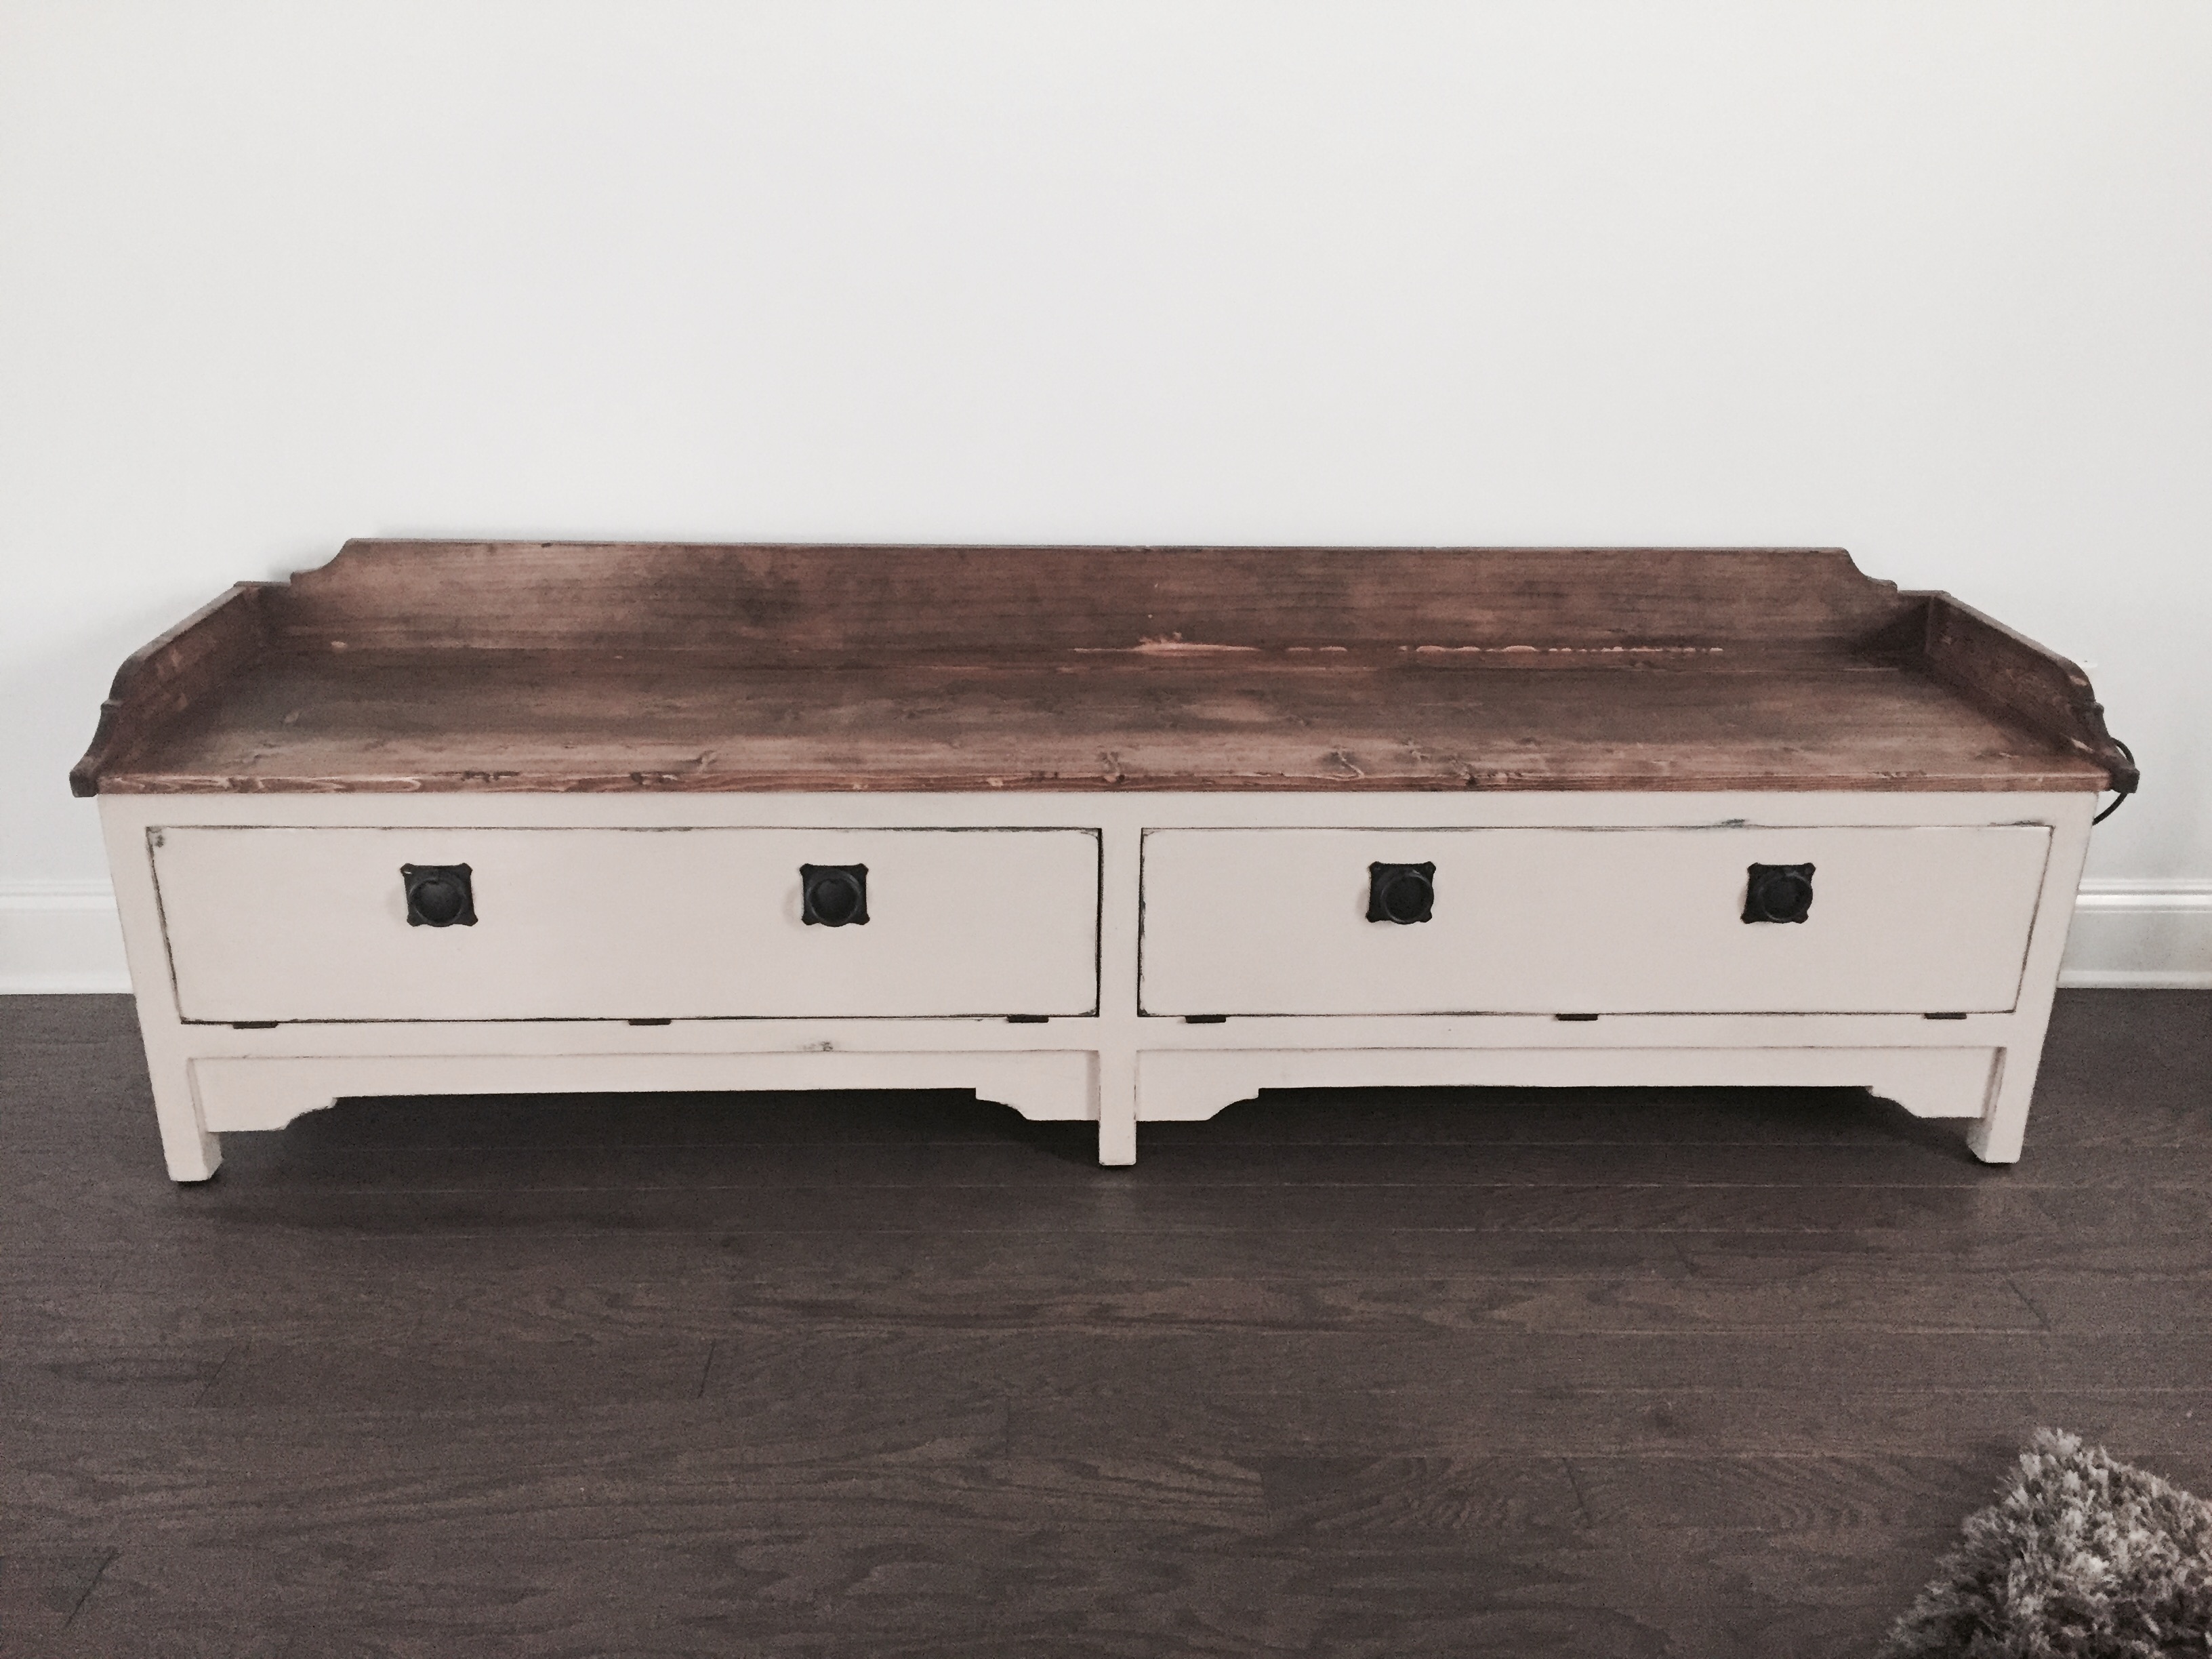
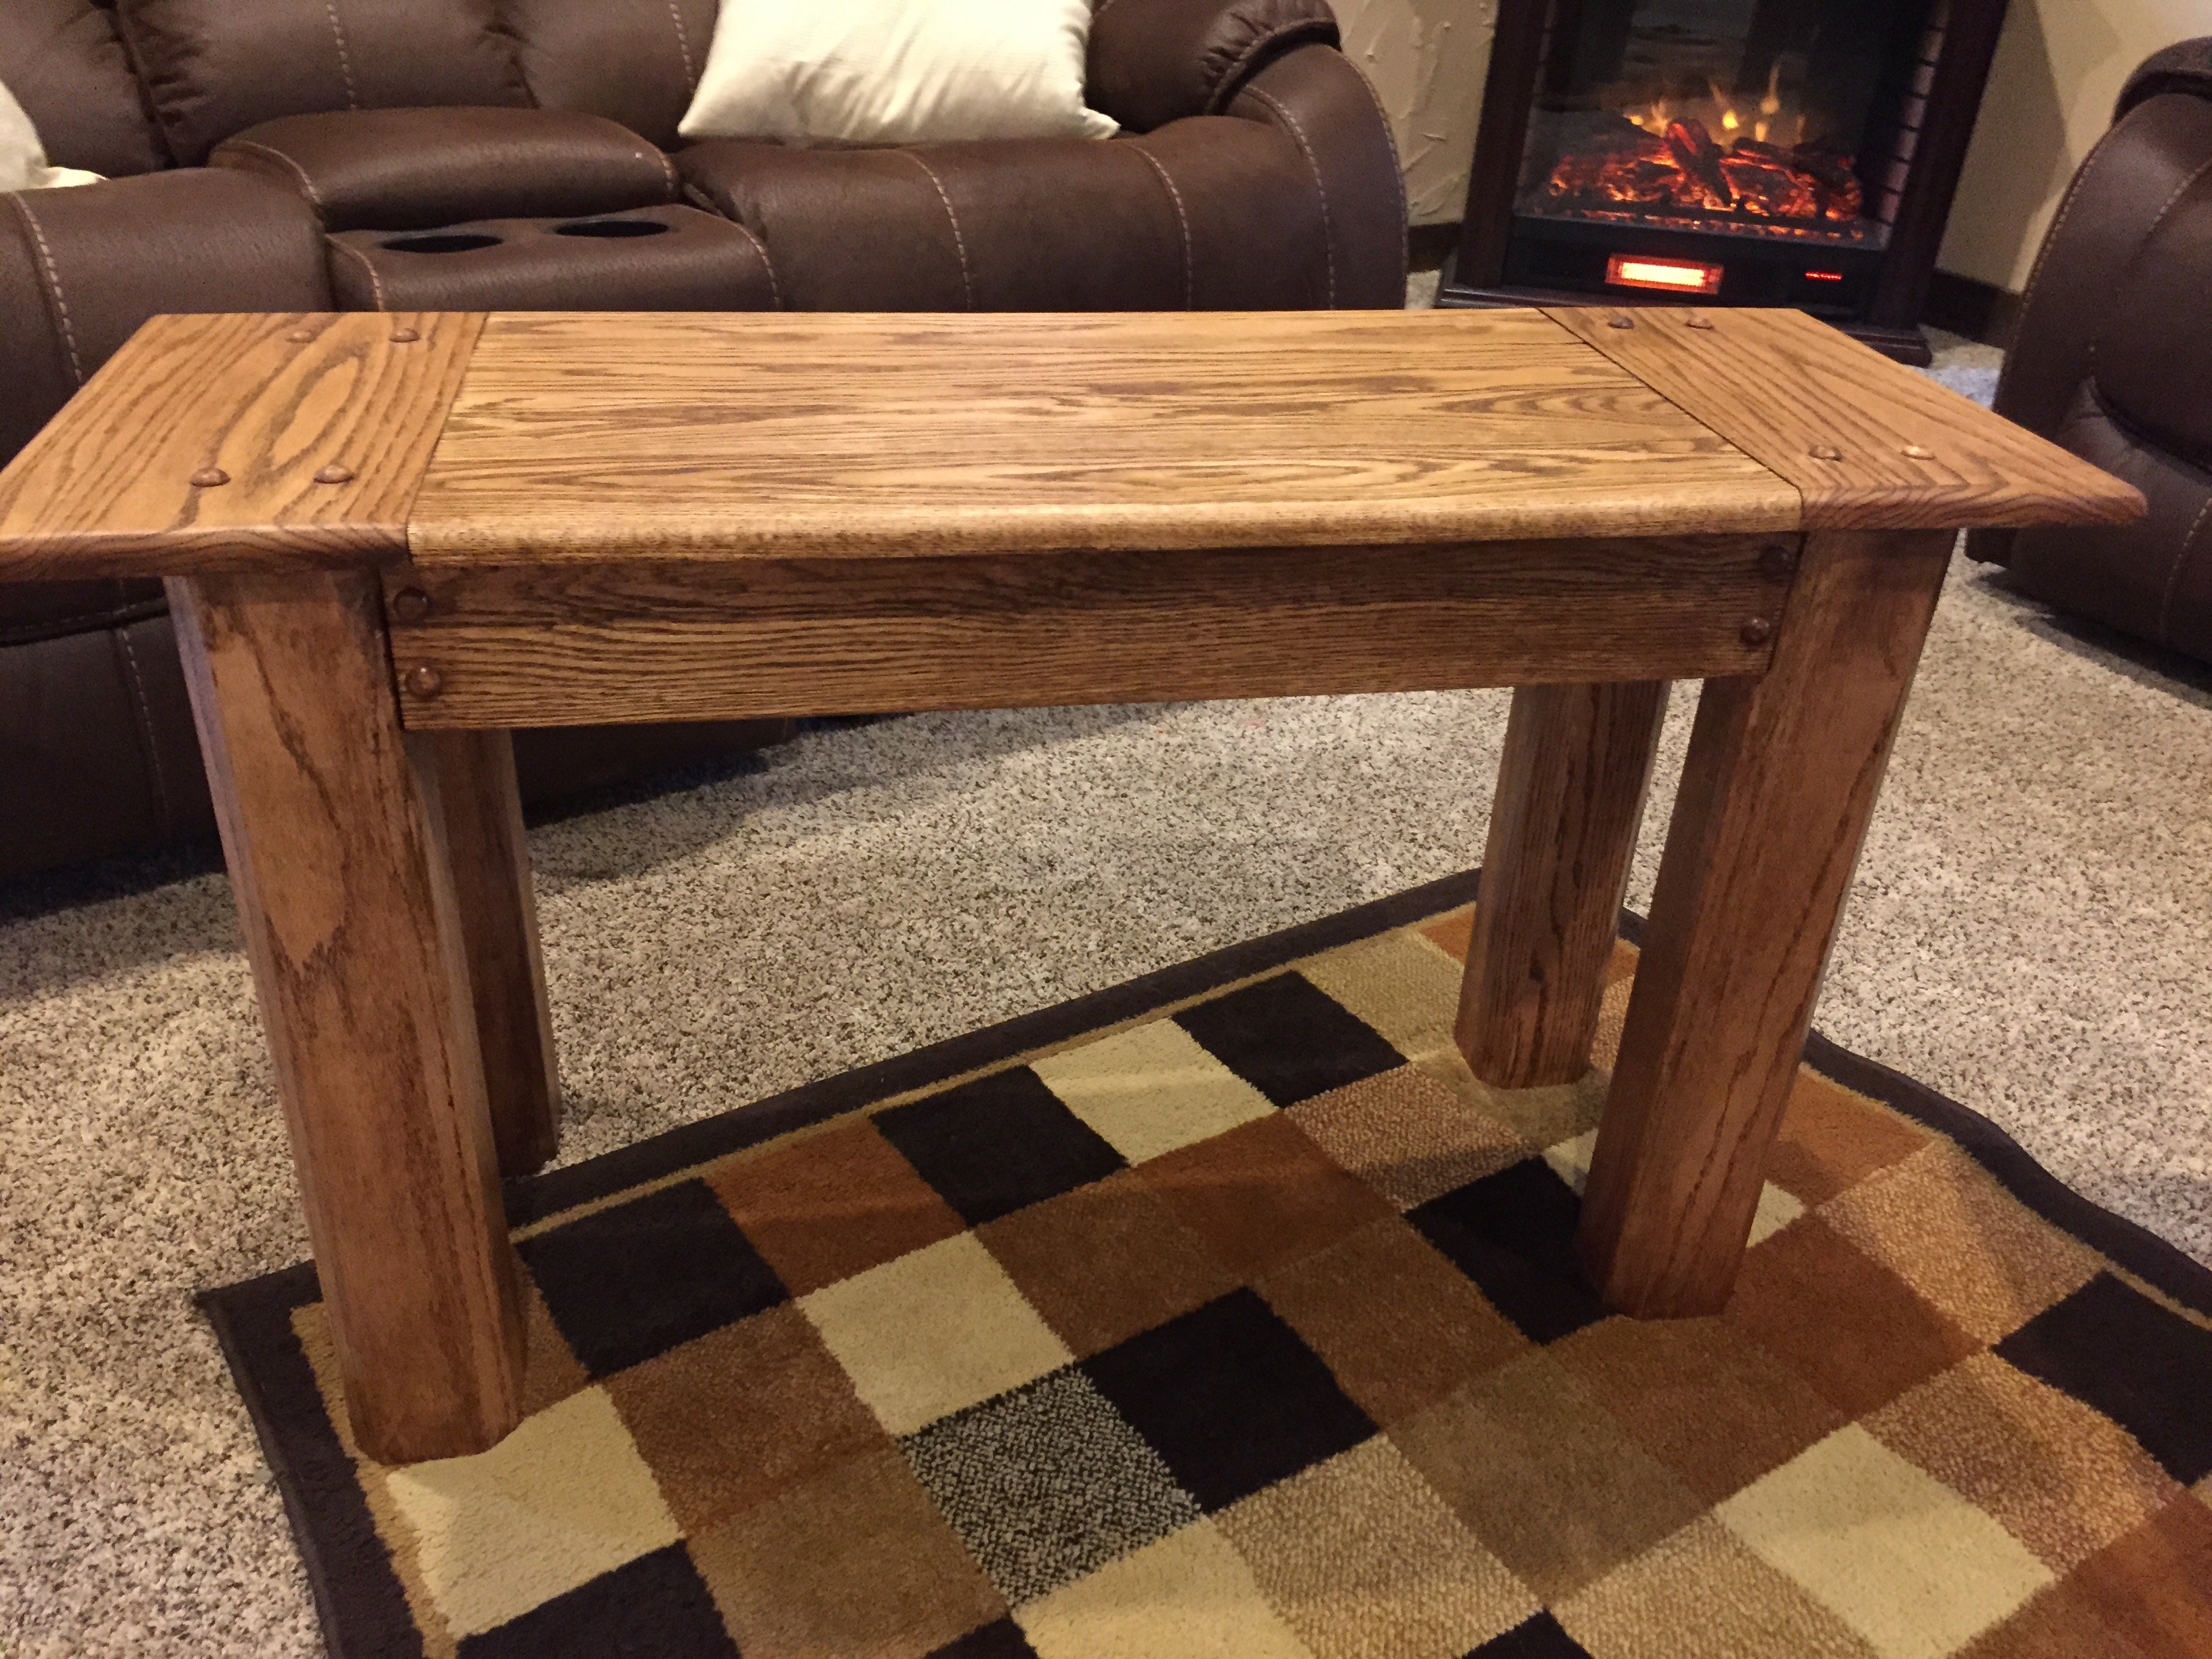
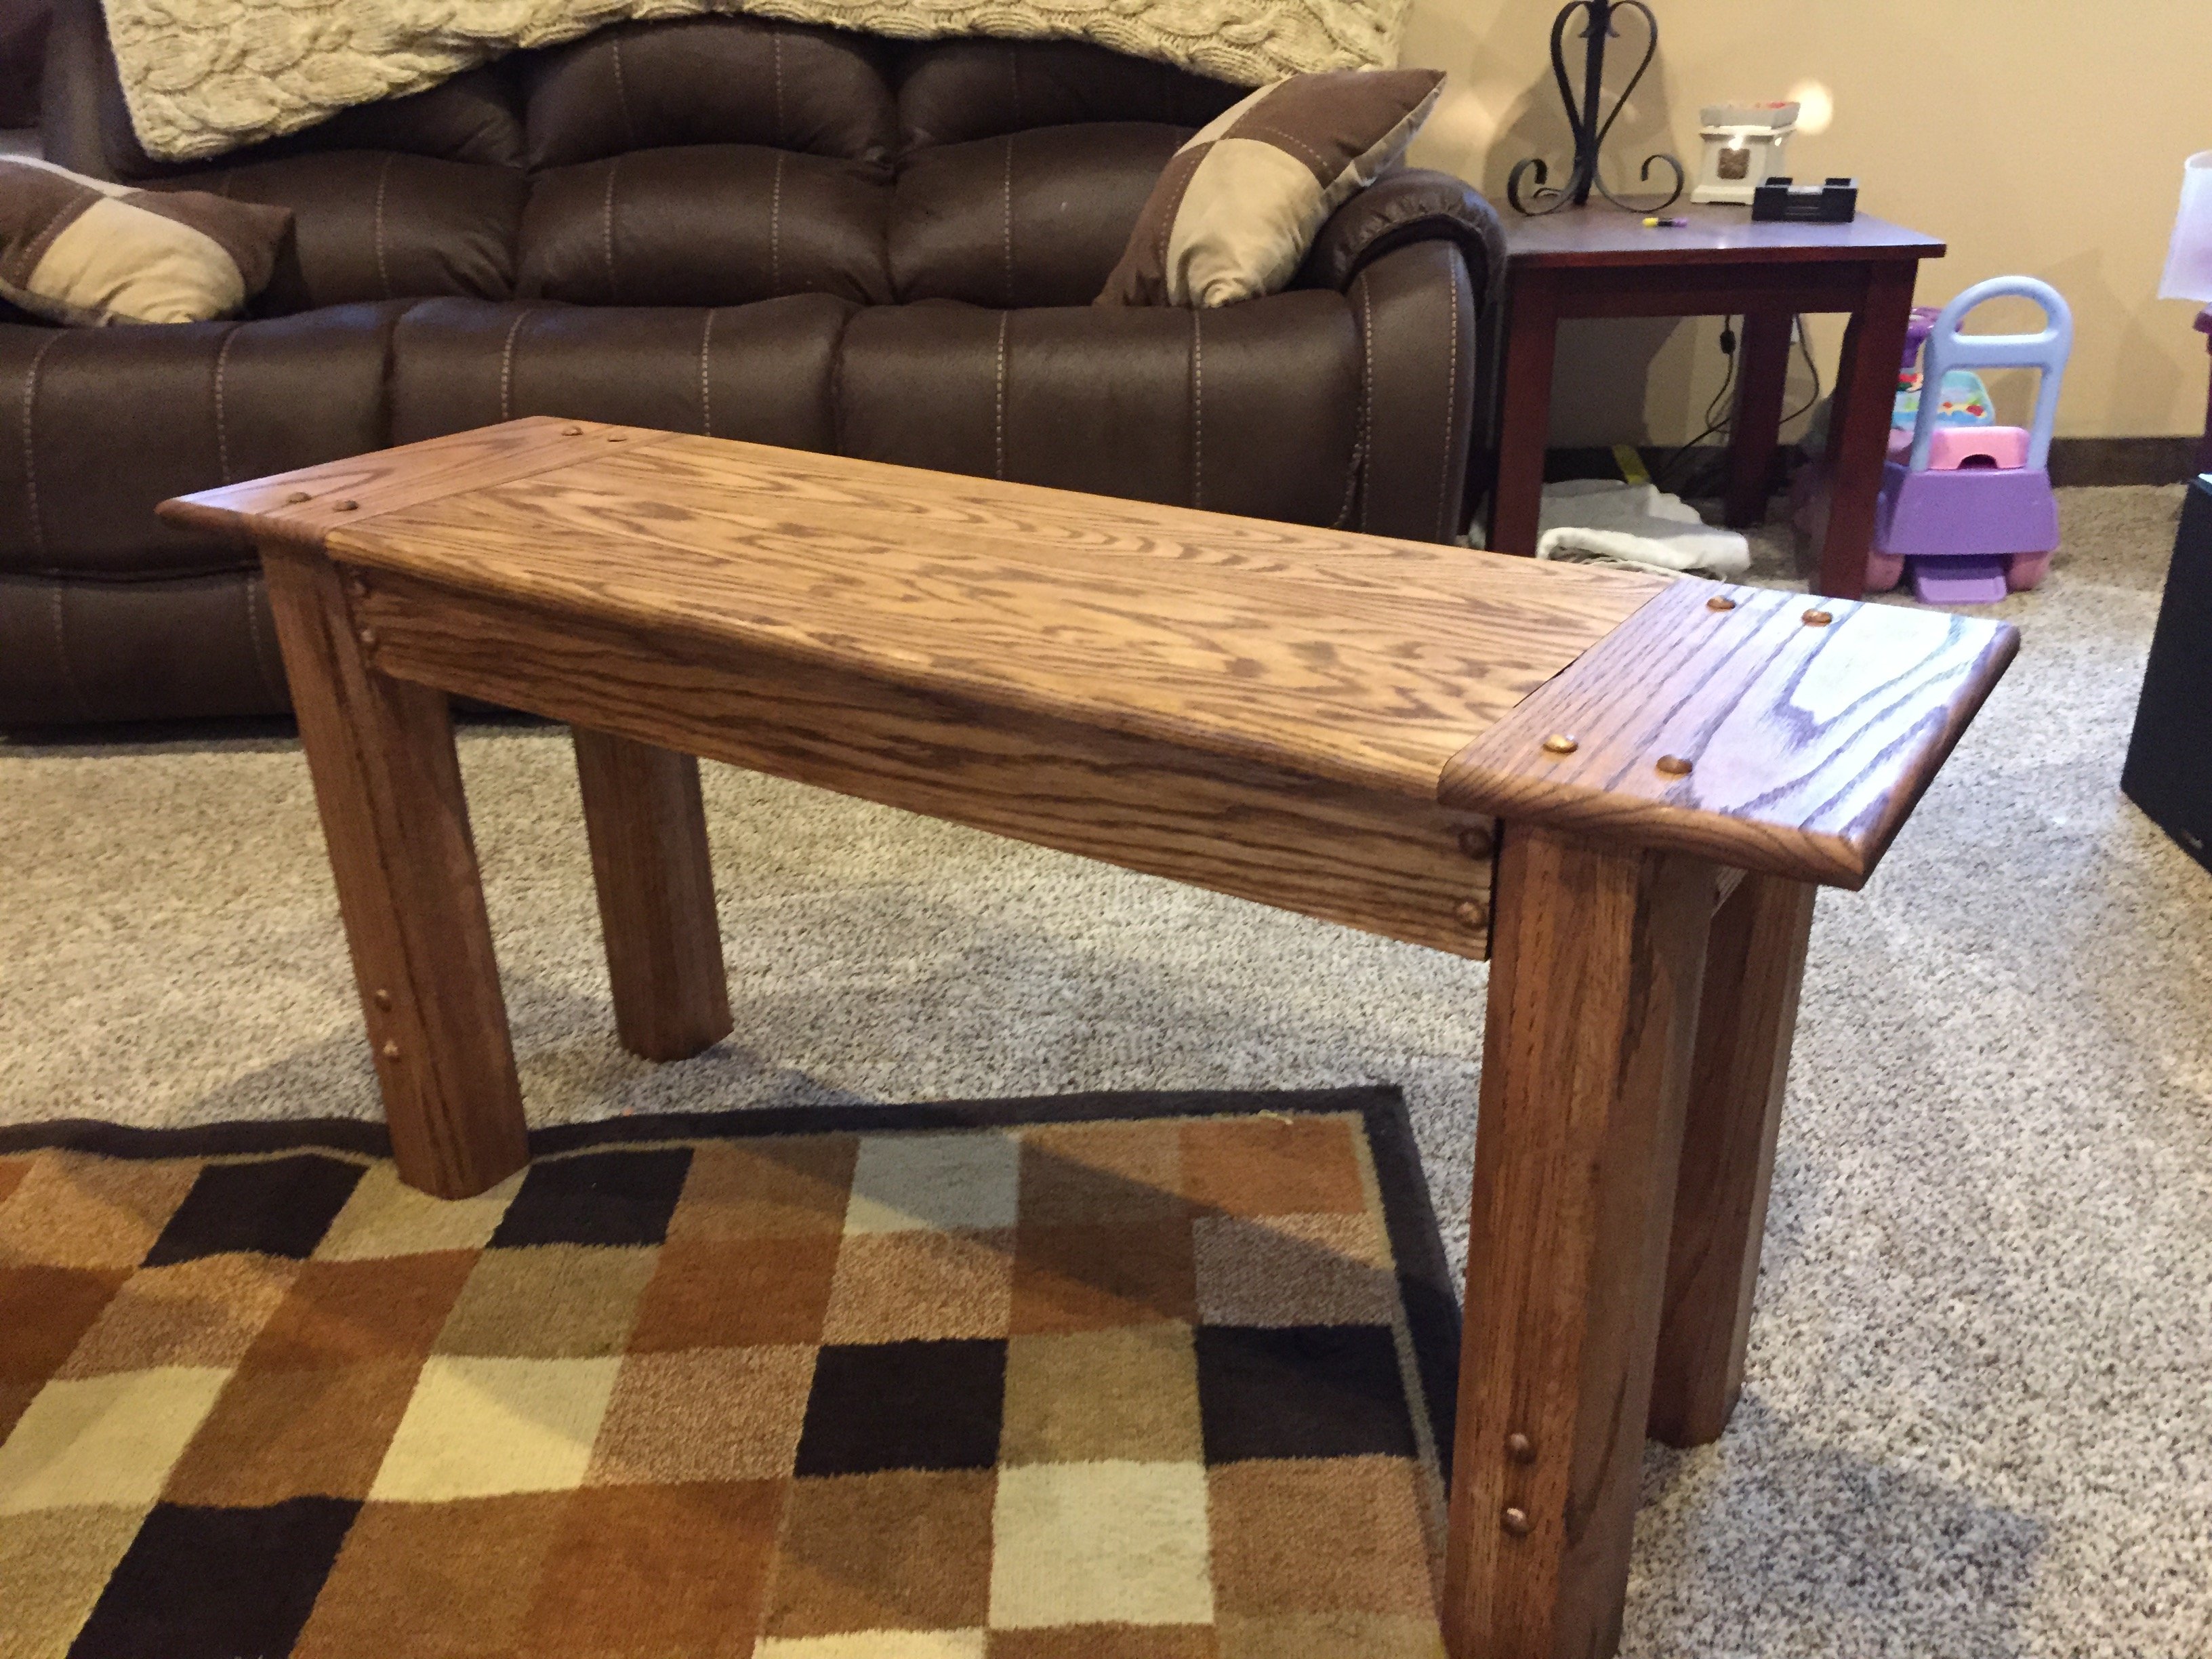
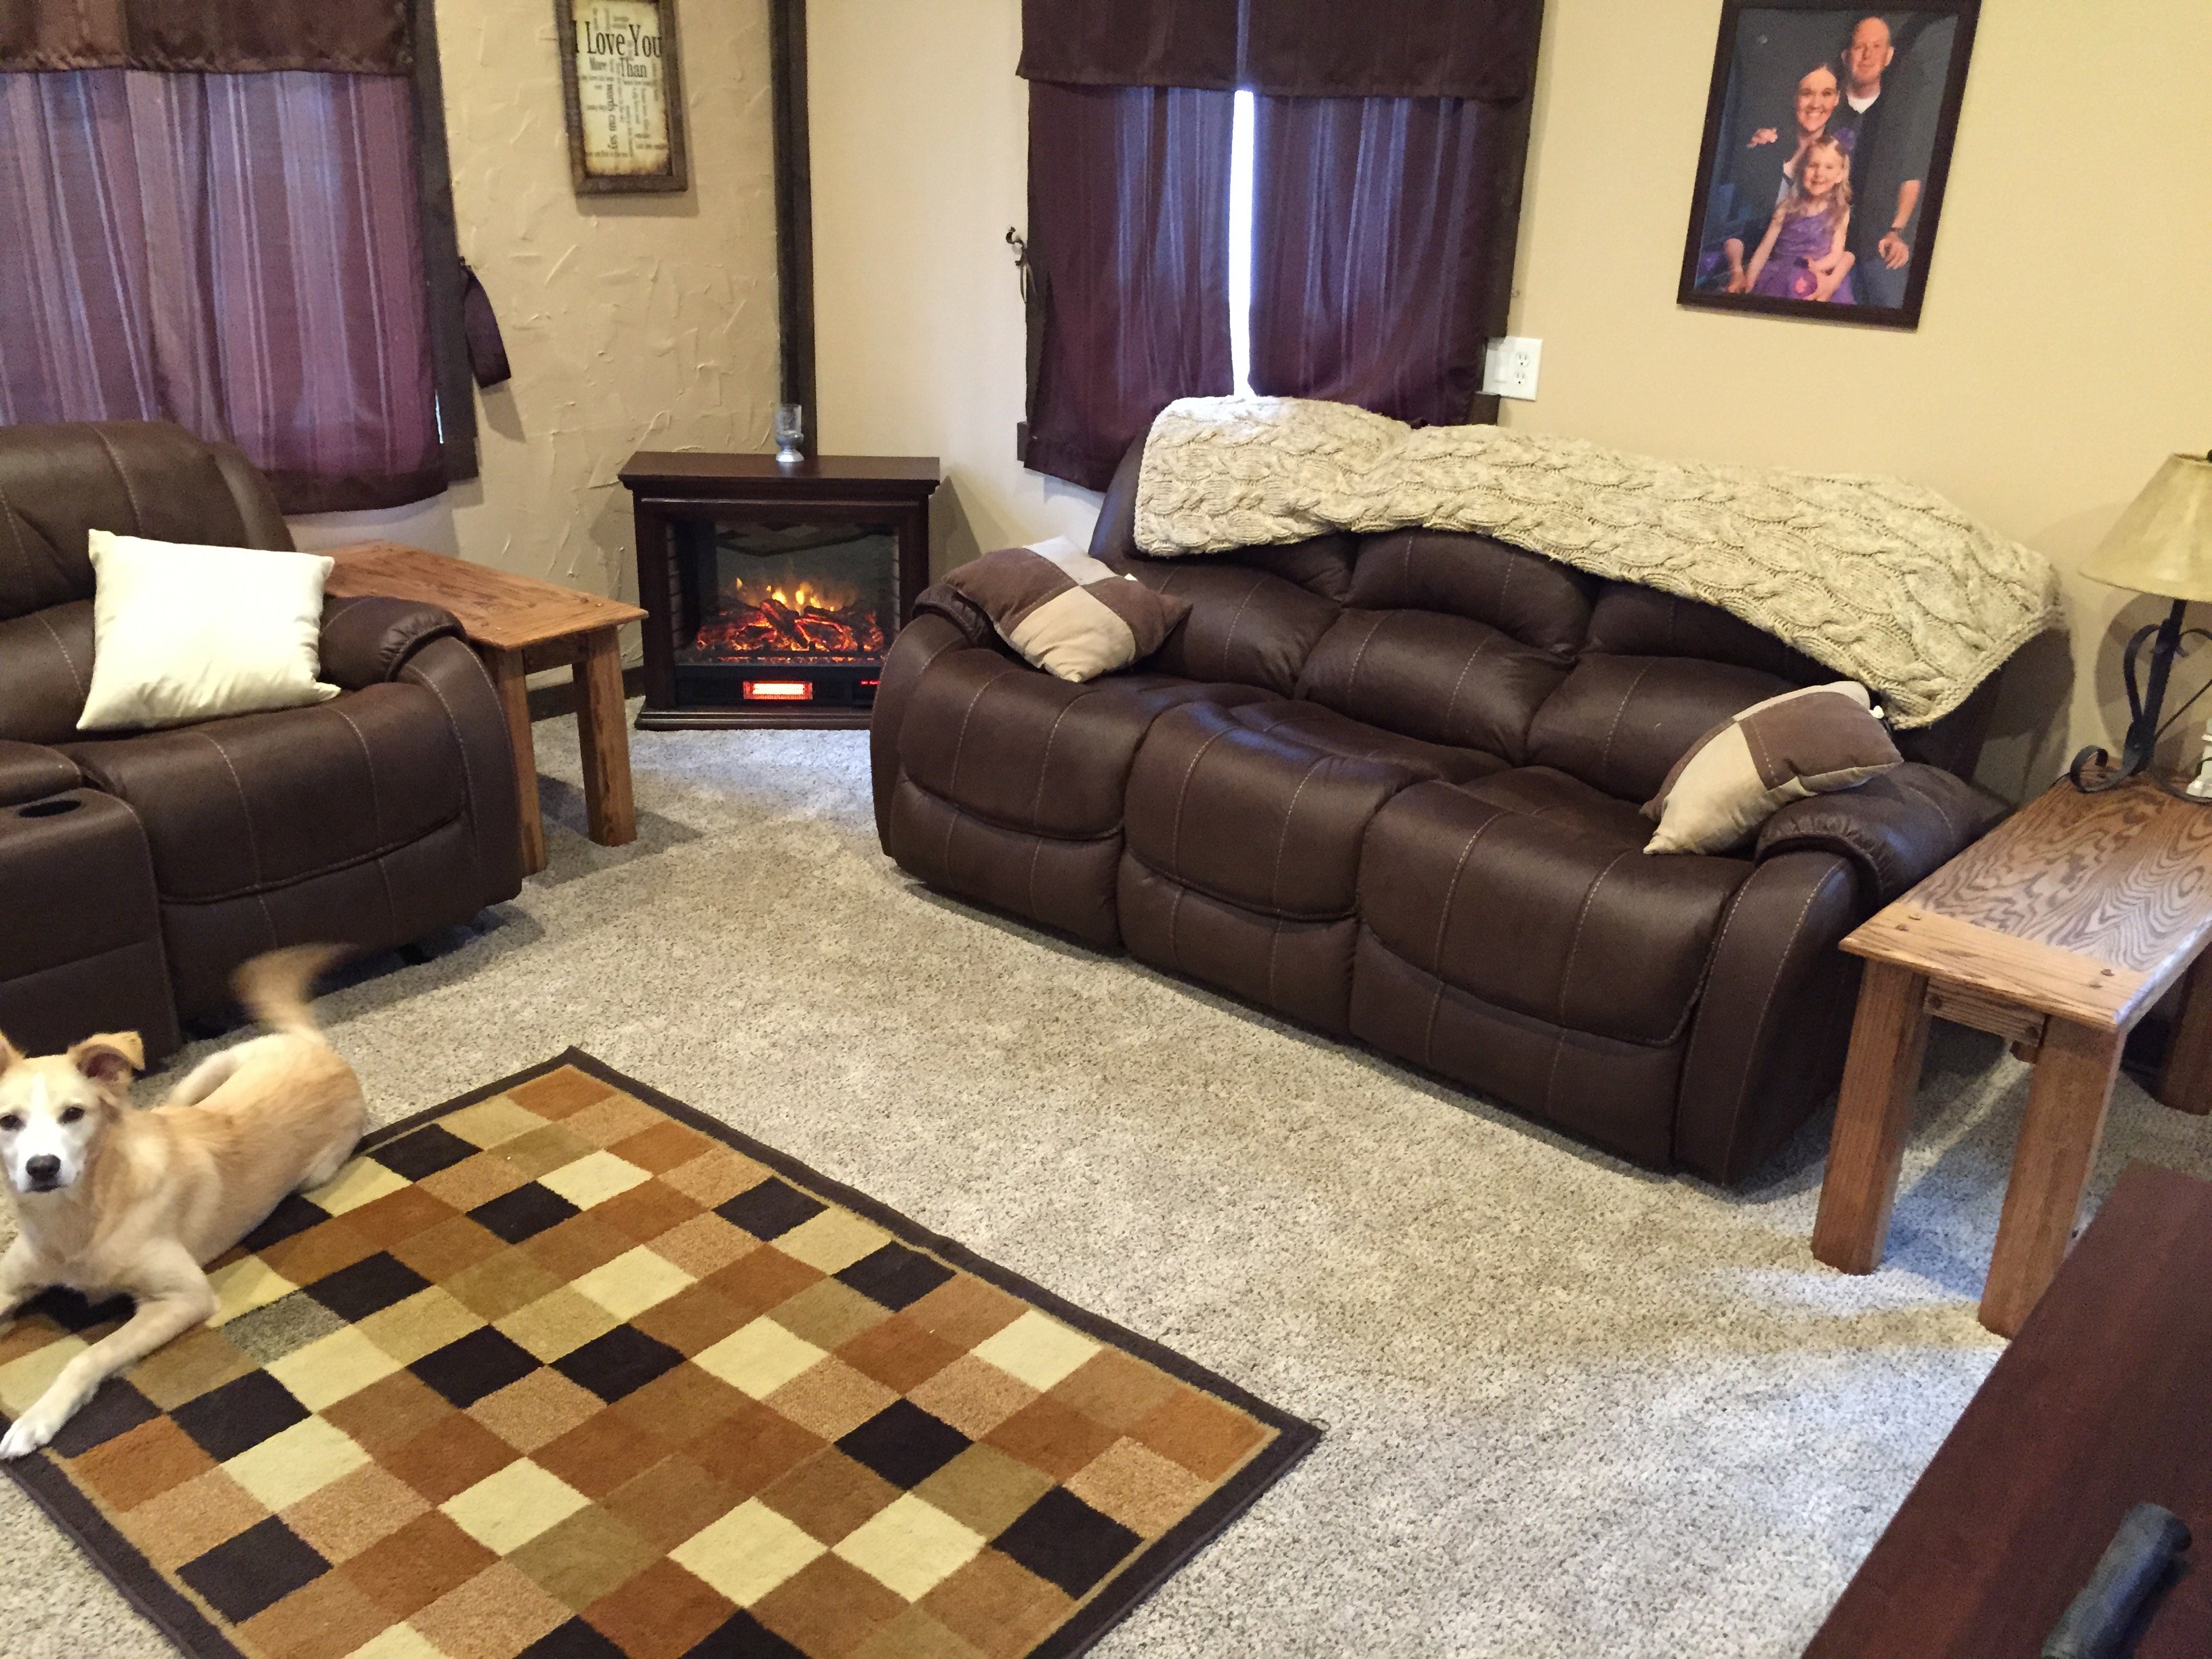
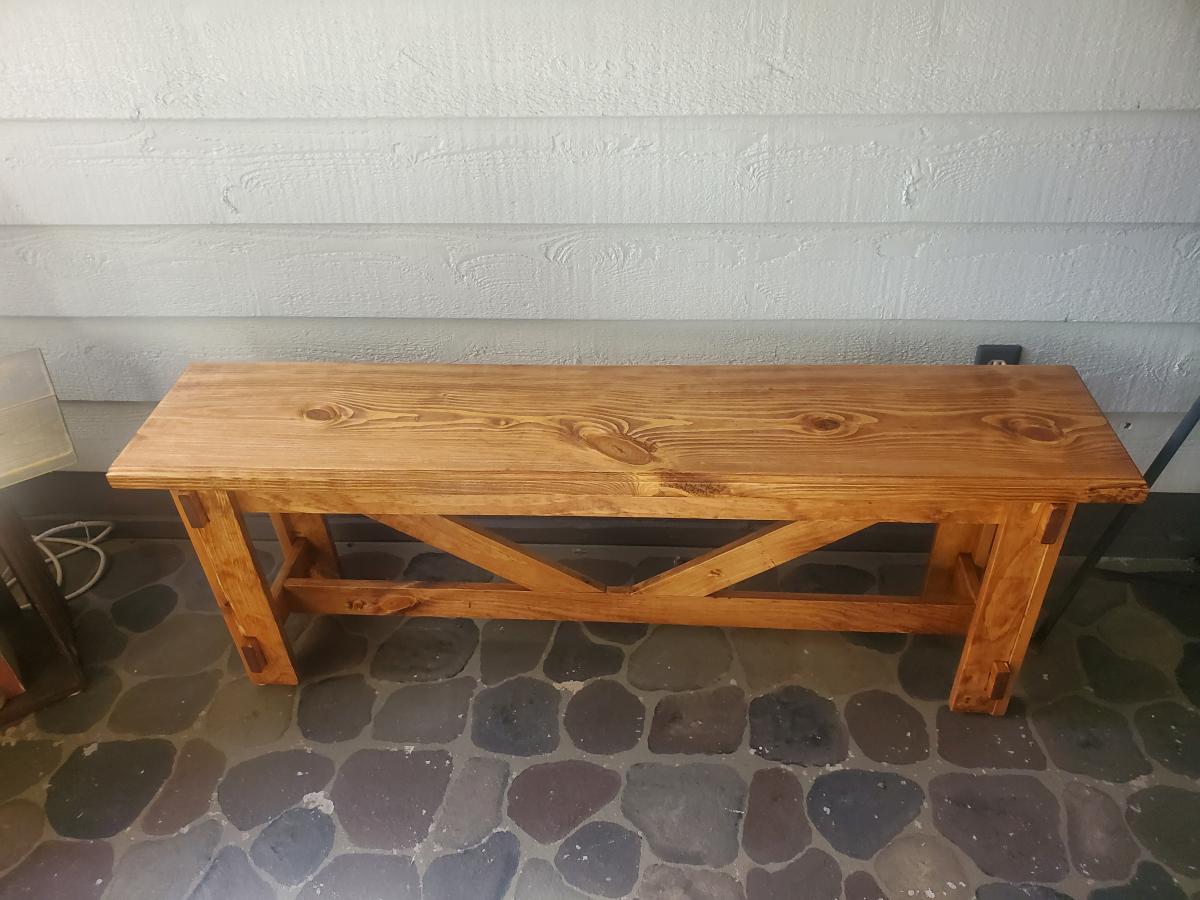
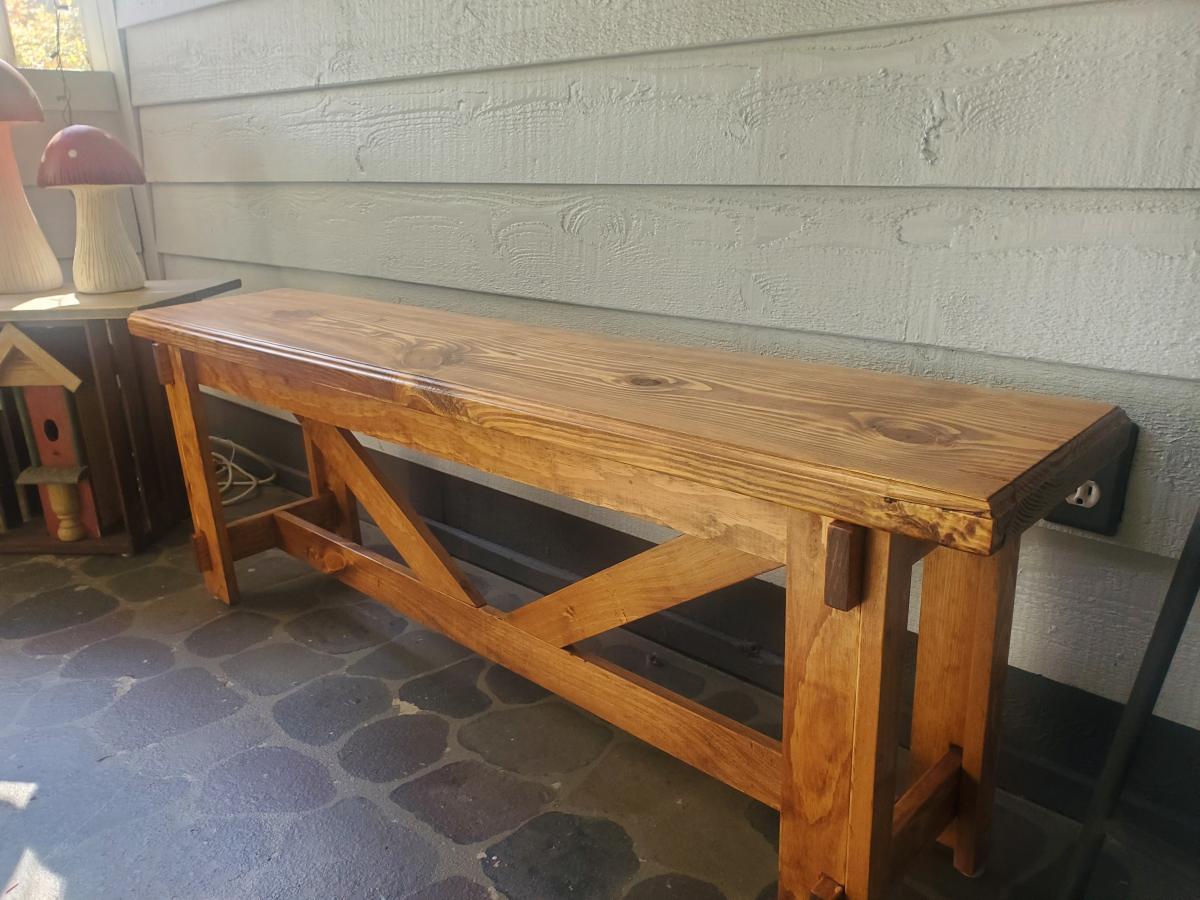
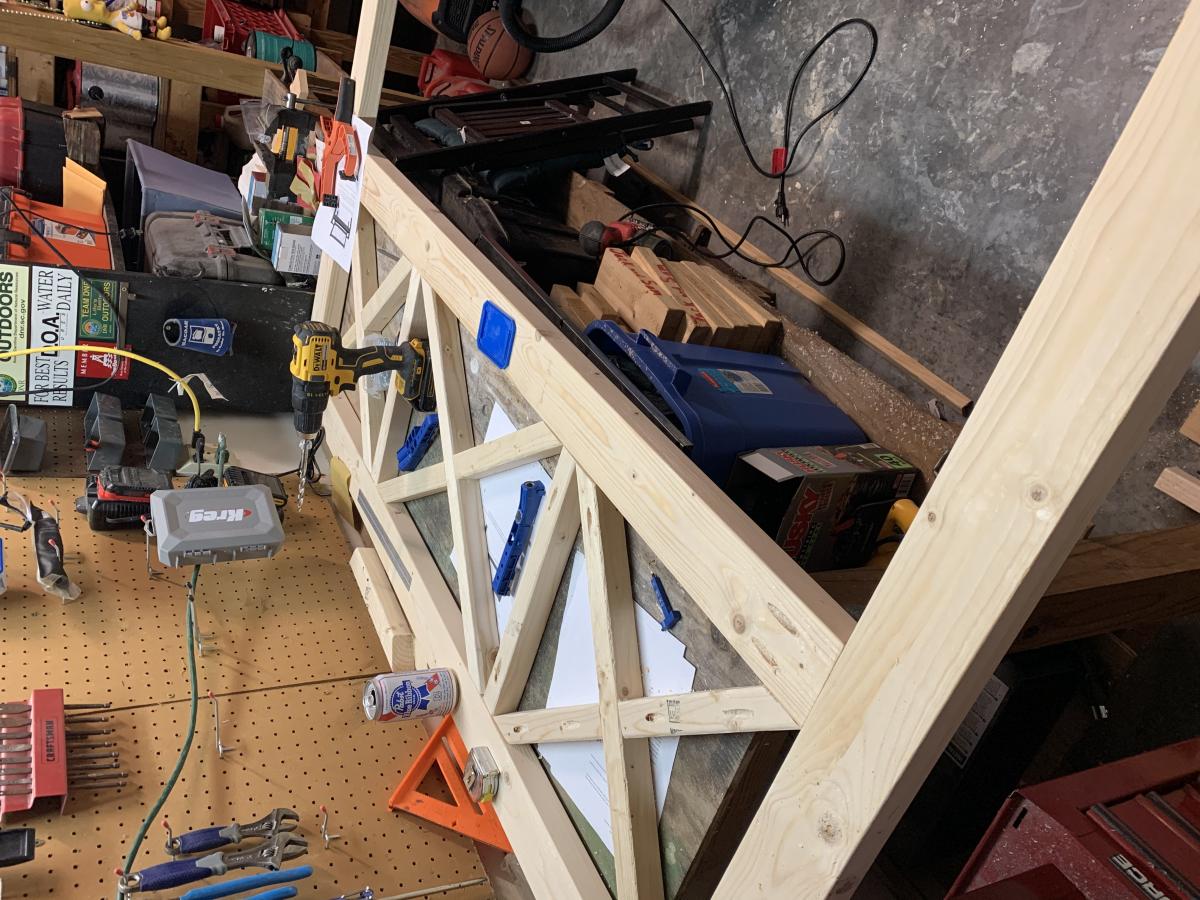
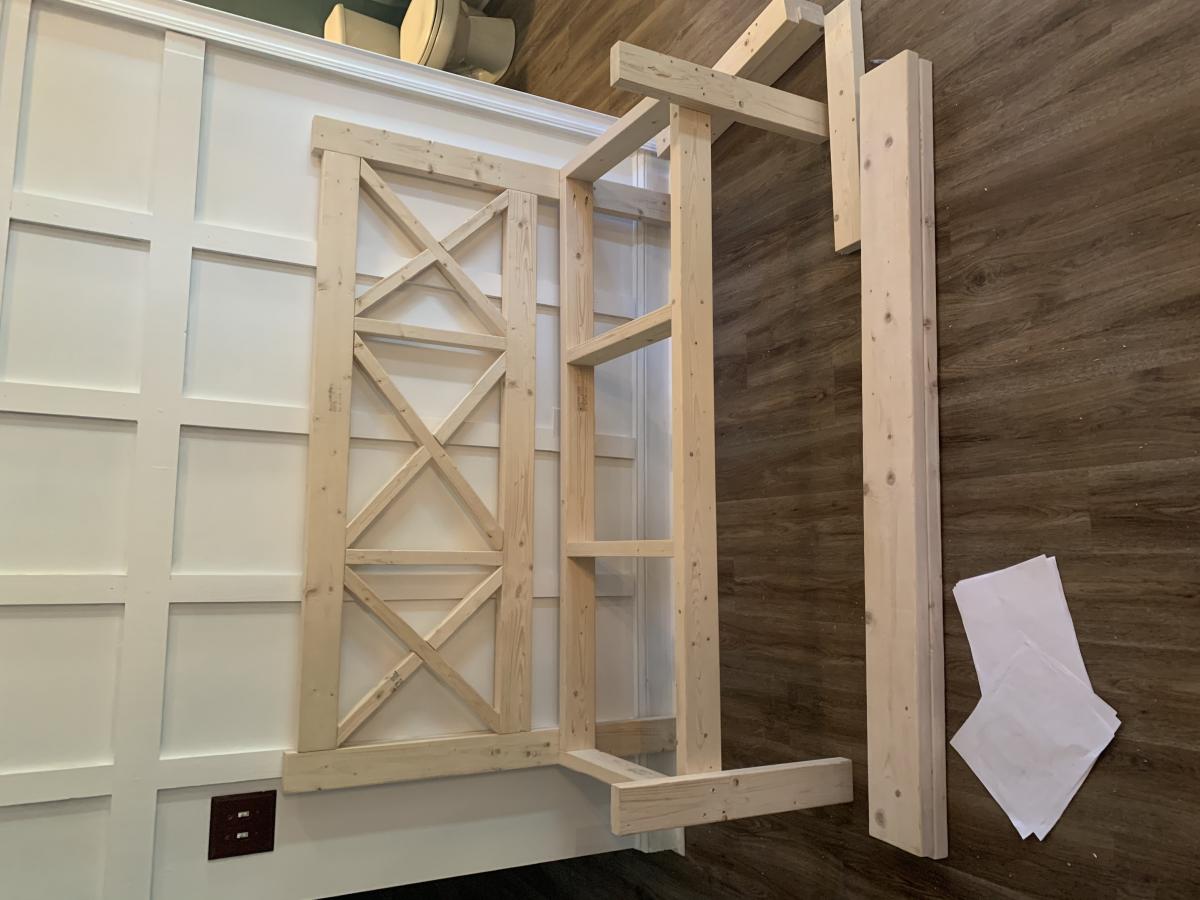
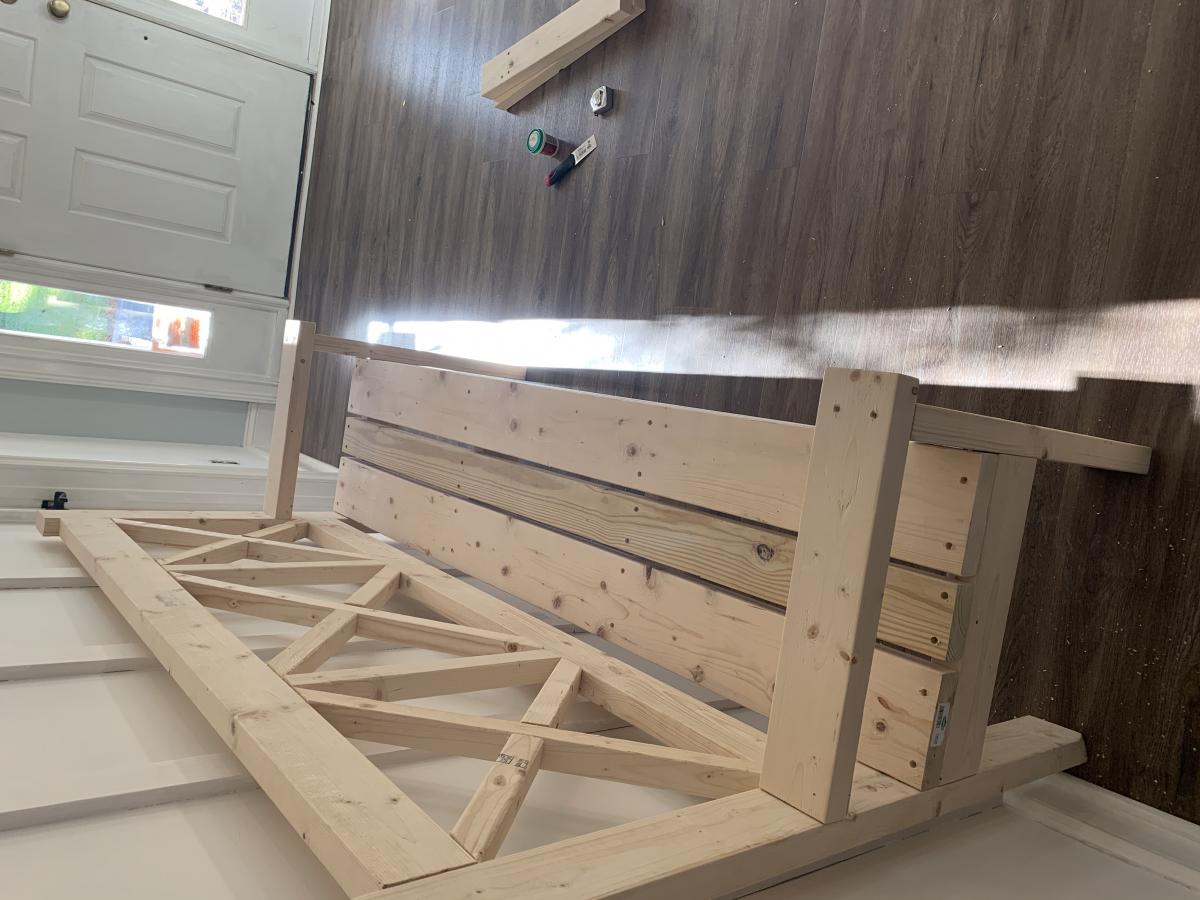
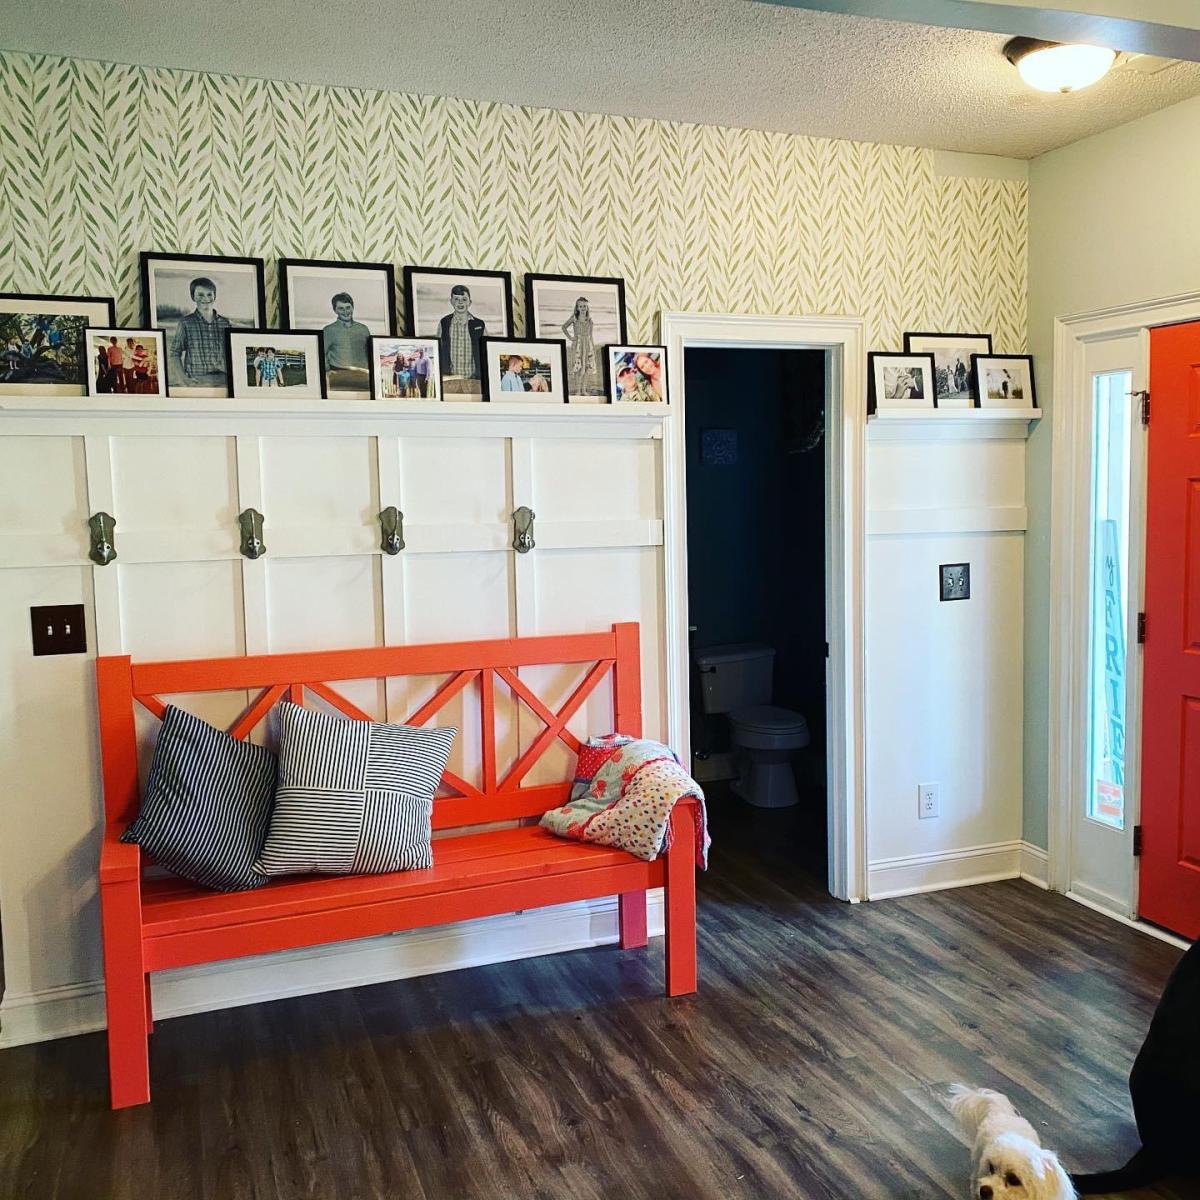
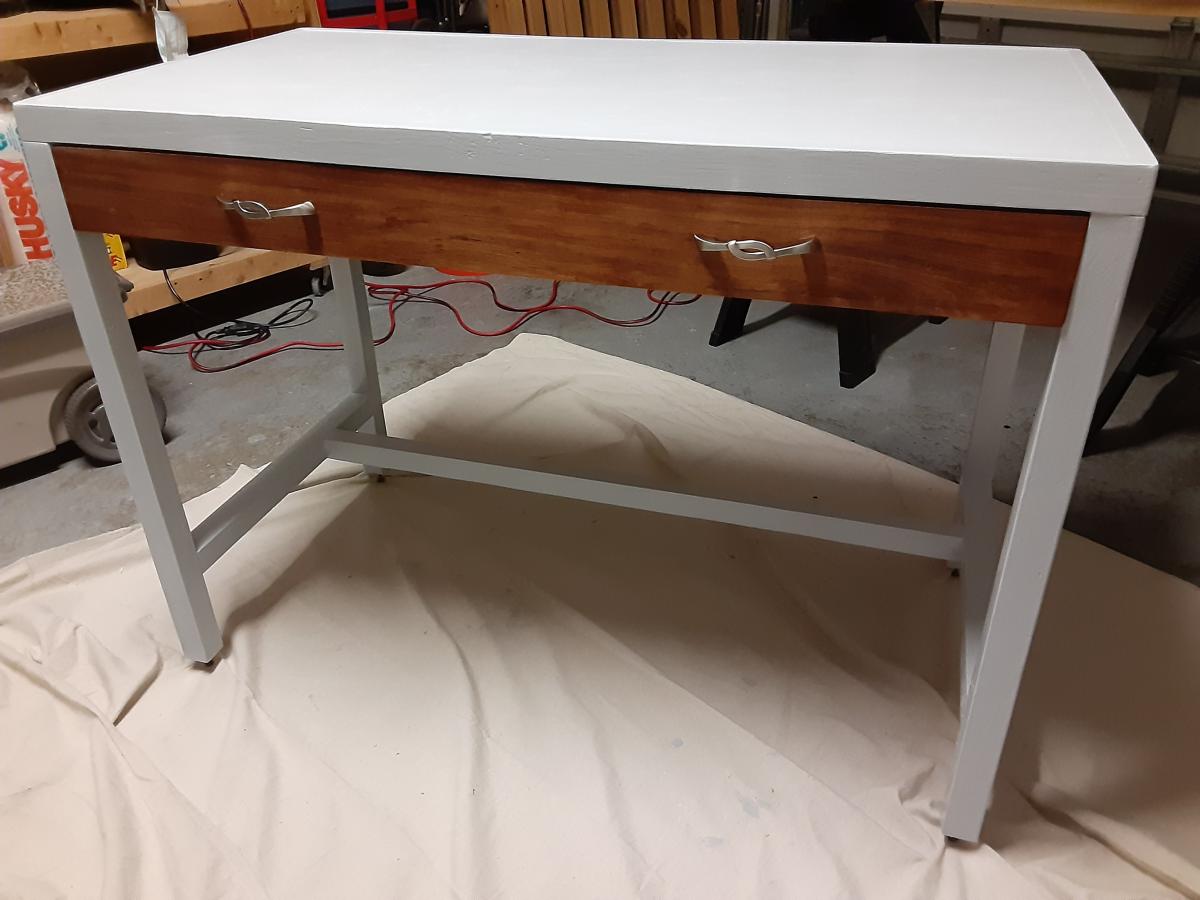
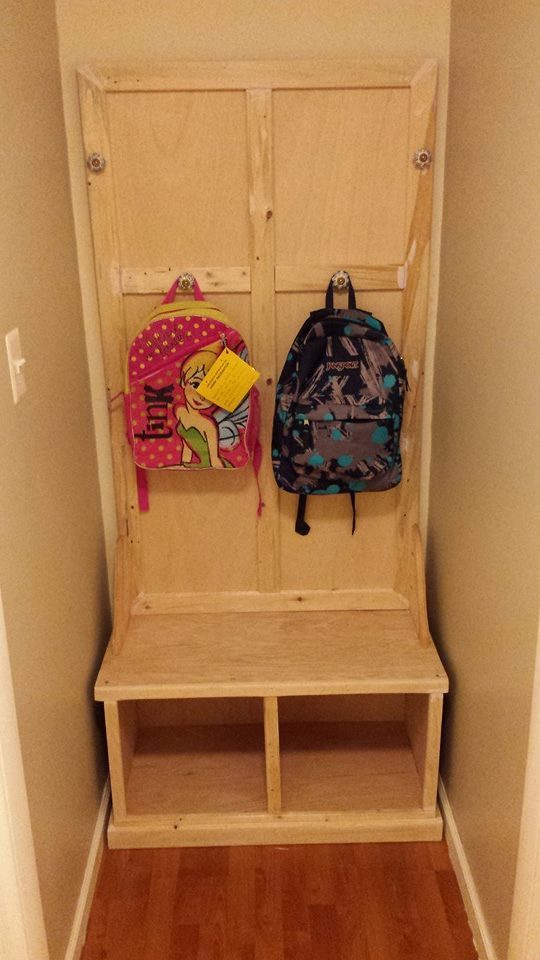
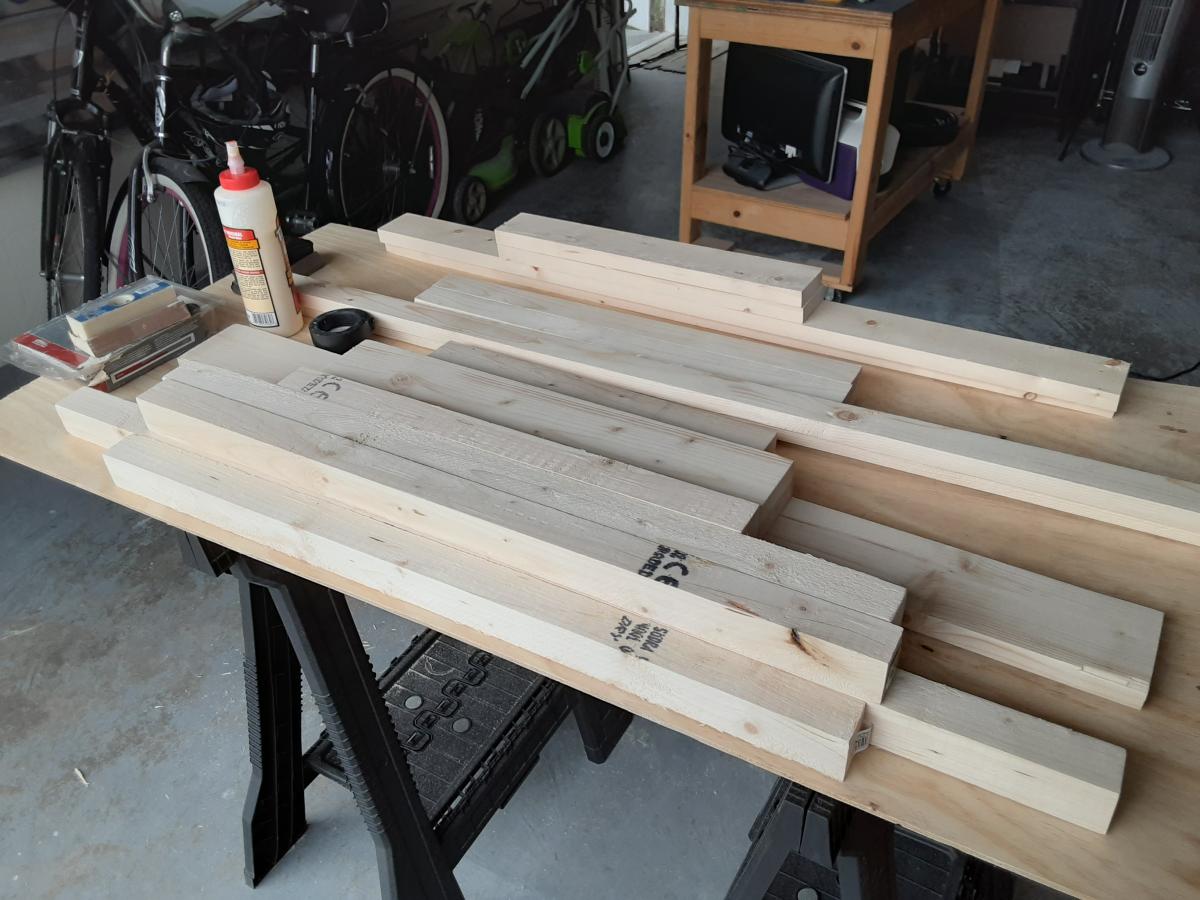
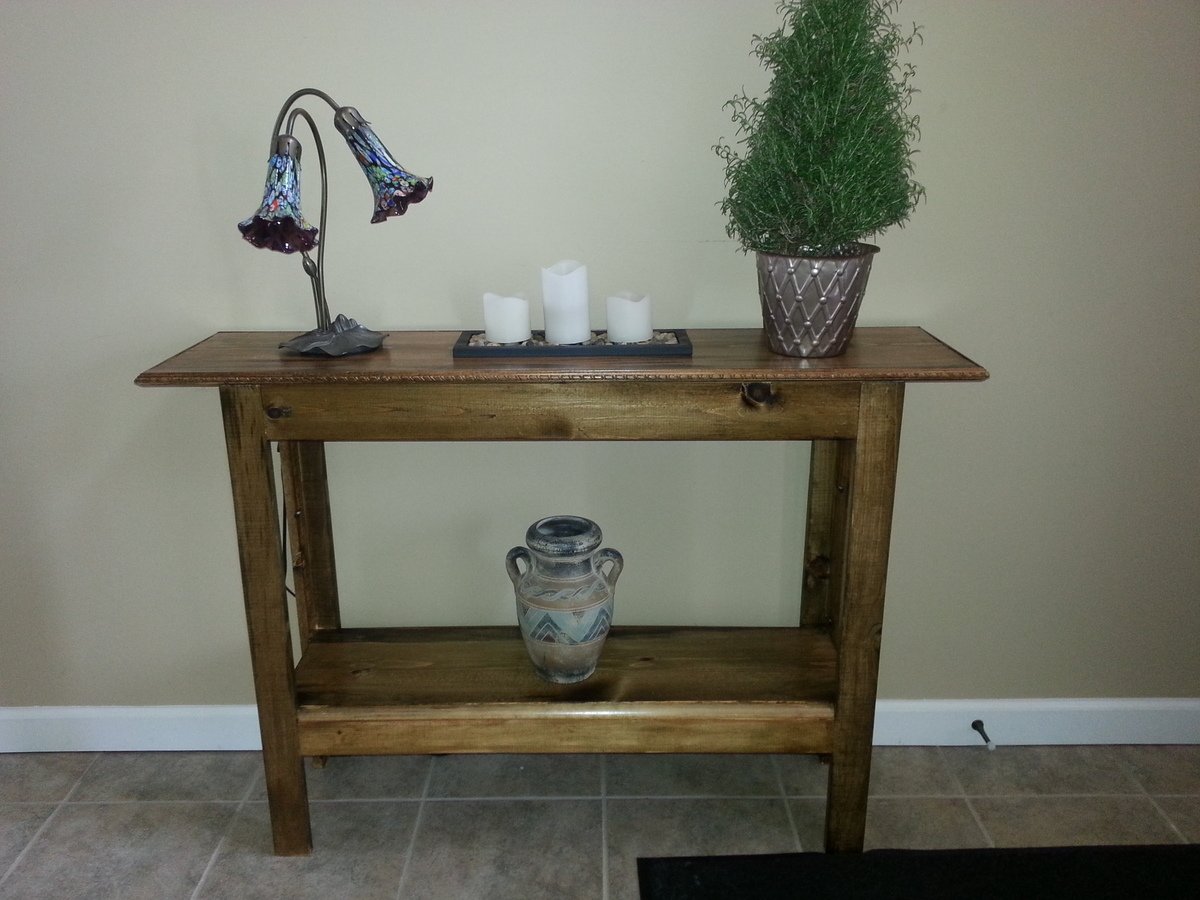
Community Brag Posts

Garage shelv

Submitted by Anonymous (not verified) on Tue, 10/23/2018 - 18:38

104.5” long, 17 1/2” wide. Heughan varies but on average is 72”. My garage slopes downward, so each front leg is a different length which made the unit level. I used joist hangers instead of pocket holes. 

Estimated Cost
$300
Estimated Time Investment
Week Long Project (20 Hours or More)
Recommended Skill Level
Intermediate

Modern Adirondack chair with a couple of variations!

Submitted by Anonymous (not verified) on Sat, 07/09/2022 - 10:40

Needed a chair to sit and drink a beer in, this was a quick and easy build, and does the job of being sat in whilst drinking beer admirably well. Good work all round.

Comments

My Ikea Lack Inspired Bookshelf

This was my third project, but it is my favorite to date!

Estimated Time Investment
Day Project (6-9 Hours)
Finish Used
2 coats of Benjamin Moore Natura paint in Banana Yellow
2 Coats of poly acrylic
Recommended Skill Level
Beginner

Comments

joyreneeb (not verified)

Tue, 09/20/2011 - 12:16

Can you give a price estimate on your project? Looks great, btw!

In reply to by joyreneeb (not verified)

CapriciousElle

Fri, 09/30/2011 - 21:21

The lumber was about $25 and the paint I ordered online with a few other colors, but it is listed at $21.99. I only ordered a quart. Everything else I already had around the house. I hope that helps!

Mini Farmhouse Bedside Table

Submitted by bcarter_1 on Tue, 10/30/2018 - 04:20

I'm just learning to make things with wood, I made two of these for the bedropom update last year.

Estimated Time Investment
Weekend Project (10-20 Hours)
Recommended Skill Level
Beginner

Comments

Simple Oudoor Dining Table

Submitted by kmatt55 on Wed, 08/03/2011 - 17:15

I know, I know...Where are the legs? Unfortunately, I have to store this until December while our multi-family mountain house is being constructed. This way I can store it up against a wall and save a lot room in storage for more Ana White projects. FYI - The legs will be white 2x4's about 29.5 inches tall. For the top I used 1x4 cedar slats spaced 1/4 inch apart. As for the painted white frame, I used treated pine. Why spend money on nice cedar if I am just going to paint over it, right? The contrast of the white and natural cedar was appealing to me for some reason. I used Thompson's clear wood protector/water sealer on the slats to prolong the natural cedar. BTW, if you can build the simple outdoor bench you can definitely take on this project. The two are not very different. I'll have to take pictures of the finished table with legs when I haul these up to the Blue Ridge Parkway and upload them again. Thanks again Ana!

Built from Plan(s)
Estimated Cost
$100
Estimated Time Investment
Day Project (6-9 Hours)
Finish Used
Semi gloss white, Thompson clear wood protector/water sealer.
Recommended Skill Level
Intermediate

Comments

DIY Storage Lockers {No Mudroom? No problem!}

I love my new lockers, and I am in love with building! I think the Kreg Pocket Jig is my new best friend!

This is my first project, and I made a couple of changes to Ana's awesome plans. I used bead board for the backing instead of ply wood, and I added divider shelves on the bottom shelf. I also added hooks on both sides of each locker so that my kids can hang lots of stuff.

Since I am a total beginner builder, I made a few mistakes as I built these lockers. If you are a beginner, too, please check out my post on OneCreativeMommy.com so that you don't have to make the same mistakes! I included a chart that shows the order I used to put everything together and added instructions for the extra dividers.

I am loving my organized space (and so are my kids)!

See the project now: http://bit.ly/lockers-kids
Pin it for later: http://bit.ly/14FpeHD

Built from Plan(s)
Estimated Cost
$150
Estimated Time Investment
Weekend Project (10-20 Hours)
Finish Used
This project was painted with 2 coats of Bare Wood Primer and finished with two coats of Valspar Rapids in Semi Gloss.

Hint--one quart of paint is not enough! I bought one quart of primer and one quart of paint. I scraped the cans clean and had to leave a few hidden spots with only one coat of paint. I have nothing left for touch up. Splurge and buy the larger can. You can always use it to paint accent pieces to match!
Recommended Skill Level
Beginner

My Julia Nightstand

I decided it was time to use up some of the leftover materials from previous projects.  This little nightstand is a mix of spruce, mdf and plywood.  I constructed the little "feet"  from a stair baluster that I cut up and drilled a hole into the top to add a piece of dowel before gluing to the table leg. 

Built from Plan(s)
Estimated Time Investment
Day Project (6-9 Hours)
Finish Used
Painted a soft white and finished with a clear coat in a satin finish.
Recommended Skill Level
Beginner

Comments

Bath Board

Submitted by tjh4au on Tue, 11/06/2018 - 16:57

Bath Board! My very first woodworking project. It's 2 pieces of 2x6 cut to about 36" inches long each. You will need to measure your bath tub to see what size boards you will need to fit across it. I ripped 1 long side of each board on my table saw so I could join them togther. I used 3 pocket screws and glue to join them. I plugged the pocket screw holes and sanded the plugs down smooth. You can barely tell in the pictures after the stain was applied. I mixed saw dust with the glue when I put the plugs in so it would take the stain better and blend in. I marked up the outline of the areas that I needed to cut out with my router and penciled them in. The areas I cut out are for a wine glass, phone, soap bar, and a candle. You can arrange your board however you want, this is just the order I did mine in. Then, I used my router to cut out those areas free handed. I stained it with a dark wood stain. I used my wife's vinyl cutting machine to cut out the word "Relax". I painted over the vinyl with white chalk paint and pilled it off. Mother-in-law was very happy with her new bath board. Being my first wood project, I thought it turned out fairly nice and exceeded my expectations.

Ask any questions and I'll try to help the best I can.

Estimated Cost
$20
Estimated Time Investment
An Hour or Two (0-2 Hours)
Finish Used
Dark wood Stain
Recommended Skill Level
Starter Project

First Furniture Console

Submitted by cjohnston on Sun, 08/07/2011 - 14:10

This is my version of the Balin Console, presented by Ana White.

I used knotty pine for the wood and finished the piece first in two layers of walnut stain.

Over the stain, I painted two layers of Vast Sky blue by Sherwin Williams.

To finish it off, I used a polyurethane satin finish varnish--two coats.

Built from Plan(s)
Estimated Cost
$200.00
Estimated Time Investment
Week Long Project (20 Hours or More)
Finish Used
Stain the piece with a dark colored oil based stain--2 layers.

Rub a candle on the corners and edges where you plan to sand to give a distressed appearance.

Coat the piece with 2 layers of polyurethane paint.

Use fine grit sandpaper to sand edges to give a distressed vintage look. The candle wax applied to the stain will protect the wood from the sandpaper--sanding will only remove the paint layer and leave the stain layer intact.

Cover with two coats of a satin finish varnish to protect. Make sure there is plenty of drying time between the varnish layers--2 days +
Recommended Skill Level
Beginner

Comments

debandtom25

Fri, 08/12/2011 - 04:38

It's a very impressive looking piece. It would catch my eye if I saw it in someone's house. Great job!

windjamer812

Thu, 03/22/2012 - 23:25

You did a wonderful job on this project. It looks like it came straight from a 1930's country kitchen.

classic bunk beds

Submitted by jenherndon on Sat, 08/31/2013 - 18:30

Easier than I thought!

Estimated Time Investment
Week Long Project (20 Hours or More)
Finish Used
Dark mocha stain, then sanded edges, then restained with natural cedar color, then 3 coats of satin poly.
Recommended Skill Level
Intermediate

DIY Wall Mounted Concealed Jewellery Organizer

The idea for this project (and the final image that you see) came from the Whiskey Drink Studio ! Cheers to them for the original design. 

So, this is a really fun project that has to solve the following problems: 

  • Be a handy place to store jewellery
  • Feature a custom layout / organization system 
  • Be concealed, meaning it shouldn't be directly obvious it's a container, or if so that it contains jewellery
  • Be mounted on the wall (just because where else would you really put it)
  • The cover should be a painting on a canvas or another form of artwork. I mean not really SHOULD, but this was the original idea, you can modify it for your purposes
  • Should be styled to match the decor and interior design

Great, lets start with the:

Materials 

Materials for the concealed jewellery organiser

The sizes are entirely up to you, but if you're going to be using a canvas as a cover, you should first pick the size of your artwork and then scale everything else to size. 

They go as follow: 

1 x A3 Canvas Painting (420mm x 100mm)

1 x Same size hardboard cover (420mm x 100mm)

2 x Wooden Boards (420mm x 100mm x 50mm)

2 x Wooden Boards (287mm x 100mm x 50mm)

1 x Bundle of nails 

1 x Bundle of screws

1 x Bundle of screw hooks

1 x Magnetic catch set

3 x Standard cabinet hinges or 1 x Piano Hinge

This a very very beginner level build, so we're using the easiest techniques possible. Advanced users, who want to make the strongest box possible, can use alternative materials and methods. 


Step 1: Assemble the box

step 1 assemble the box - start with the frame

So, very straightforward, just start building the box, starting from the frame. In the GIF above you see how we put the shorter boards in between the longer ones and just nailed them together. 

If you want this to be extra strong, you can use corner braces on the inside. 

attach the hardboard

After the frame is ready, flip it on it's face and nail in the hardboard. The hardboard should be thick enough so it holds the screw hooks and your jewellery. It should also be pretty sturdy and well attached to the frame so use plenty of nails (well, don't go overboard).

Step 2: Attach the cover

step 2, attach the cover

Take your canvas (or whatever other cover you picked) and mark equidistant locations on the lower back side. Take your measurements and mark the same locations on the bottom of the frame. Put the two together and see if they match. 

Now screw the hinges in the cover and then, into the frame. 

At this point the door should open and close, lining up perfectly. 

Step 3: Screw the hooks

step 3 add the hooks

The next step is to think about the internal layout. Using a pencil plan and divide your space to represent your needs for storage. Then simply screw the hooks in. 

Step 4: Attach the magnet catches

step 4: magnet catches

The last part is attaching the magnet catches. They will hold the cover tighly close, with no accidental falls and issues. This can be substituted for a hydraulic arm, but we chose the simplest options. 


Special thanks to Rachel at Whiskey Drink Studio for the inspiration ! 

Check out the full tutorial over at my blog - DIY Wall Mounted Jewellery Organiser

Estimated Time Investment
Day Project (6-9 Hours)
Recommended Skill Level
Beginner

Comments

My wife's new Craft table

Submitted by MattB on Tue, 08/09/2011 - 23:29

This is actually my third project from your site Ana.

I acctually decided to make this table ten inch wider since my wife has a loooooooot of crafts :)

This project took a little longer then I thought.
It was my own fault!!! I thought I would safe some time and get some of the wood cut buy the clerk at Home Depot. That turned out to be a really bad idea. Most of my cuts were uneven and even after I gave the clerk the exact measurements, a few of the boards were up to 2 inches too long. At the end I had to buy two more boards because I had to cut peaces away to have straight edges.
Lesson learned!!!

I love building wood furniture. And I already got my next plan from your site that I'm going to build.

Built from Plan(s)
Estimated Cost
$160
Estimated Time Investment
Weekend Project (10-20 Hours)
Finish Used
Valspar-Dove tail white(Eggshell)
Behr- Surfer(eggshell)
2 coats of clear Polyurethane Semi-Gloss
Recommended Skill Level
Beginner

Comments

Guest (not verified)

Wed, 09/07/2011 - 04:18

awesome job! im in the middle of making one of these at the moment. but just to be a tad different i have put a small cutout hole on the top, theres a little bin that sits on the shelf under it, so all i have to do when ive finished with all my paper cuts is swipe it down the hole! hehe how nifty. oh and where did your wife get the black cricut machine?? lol

2 Drawer Modern Nightstand (with Charging station)

Submitted by mt51 on Mon, 09/02/2013 - 22:21

I really liked the look of the 2 Drawer Modern Nightstand but I wanted to add a twist to it. Since I can't live without my devices (laptop and phone), I decided to add an open slot to the middle shelf of the nightstand for power cables. It also has a space that I added in the back that can hold a power strip. Embarrassed that I did not paint the back of the nightstand but I was really done at that point after a long weekend's worth of work!


Pin For Later! 

2 Drawer Modern Nightstand (with Charging station)


Estimated Time Investment
Weekend Project (10-20 Hours)
Recommended Skill Level
Intermediate

Mimi's Storage Bench as Toybox

Submitted by ematurne on Sun, 10/25/2015 - 10:34

My husband and I decided to make a personal gift for our new niece.  Everyone loved it, and we are currenly making another one.  The first time took us a LONG time...the second time went much faster!  We used nicer wood than suggested, which raised the cost. I used Sherwin Williams paint colors (buy the samples from Lowes...it was more than enough paint and only $5!) and the stencils came from a craft store. Can't wait to try more projects!!!

Built from Plan(s)
Estimated Cost
$120 for nicer wood, but you can do it cheaper.
Estimated Time Investment
Weekend Project (10-20 Hours)
Finish Used
Sherwin Williams paint (sample cans from the Color Pizzazz card, see below) and I sprayed a polyurethane coating from Michaels to protect the inside painting.

Turquoise- Reflecting Pool
Gray- Accessible Beige (it looks gray)
Yellow- Classic Yellow
Coral- Coral Reef

Michaels- Plain Wooden Letters and Stencils- Birds, Tree, Chevron, Bicycles
Hobby Lobby- You are my sunshine

Stenciling: I got really good at stenciling on the very top of the box (the last thing I did!) and I realized that your roller should have almost NO paint on it. It is cheaper to buy a door roller from Lowes. Also, the thicker stencils work much, much better (the ones from Michaels).
Recommended Skill Level
Beginner

Comments

Pub/Counter Height Table

Submitted by S.far87 on Sat, 12/08/2018 - 22:03

Facebook.com/esfwood


Modified the plans to match size for preexisiting tables in the bar. Table top burned, routed, dremmeled, stained, and finished with glaze coat.

Built from Plan(s)
Estimated Cost
180
Finish Used
Stain and Glaze coat
Recommended Skill Level
Beginner

A Home for Some Orchids

I built this with some scrap mdf, and 1x3's. I offset the shelves, and voila! A modern shelf to go with our eclectic, yet very modern decor. It also gives me a nice display for some of my orchids. I love this shelf!

Built from Plan(s)
Estimated Time Investment
Afternoon Project (3-6 Hours)
Finish Used
Kona Brown
Recommended Skill Level
Starter Project