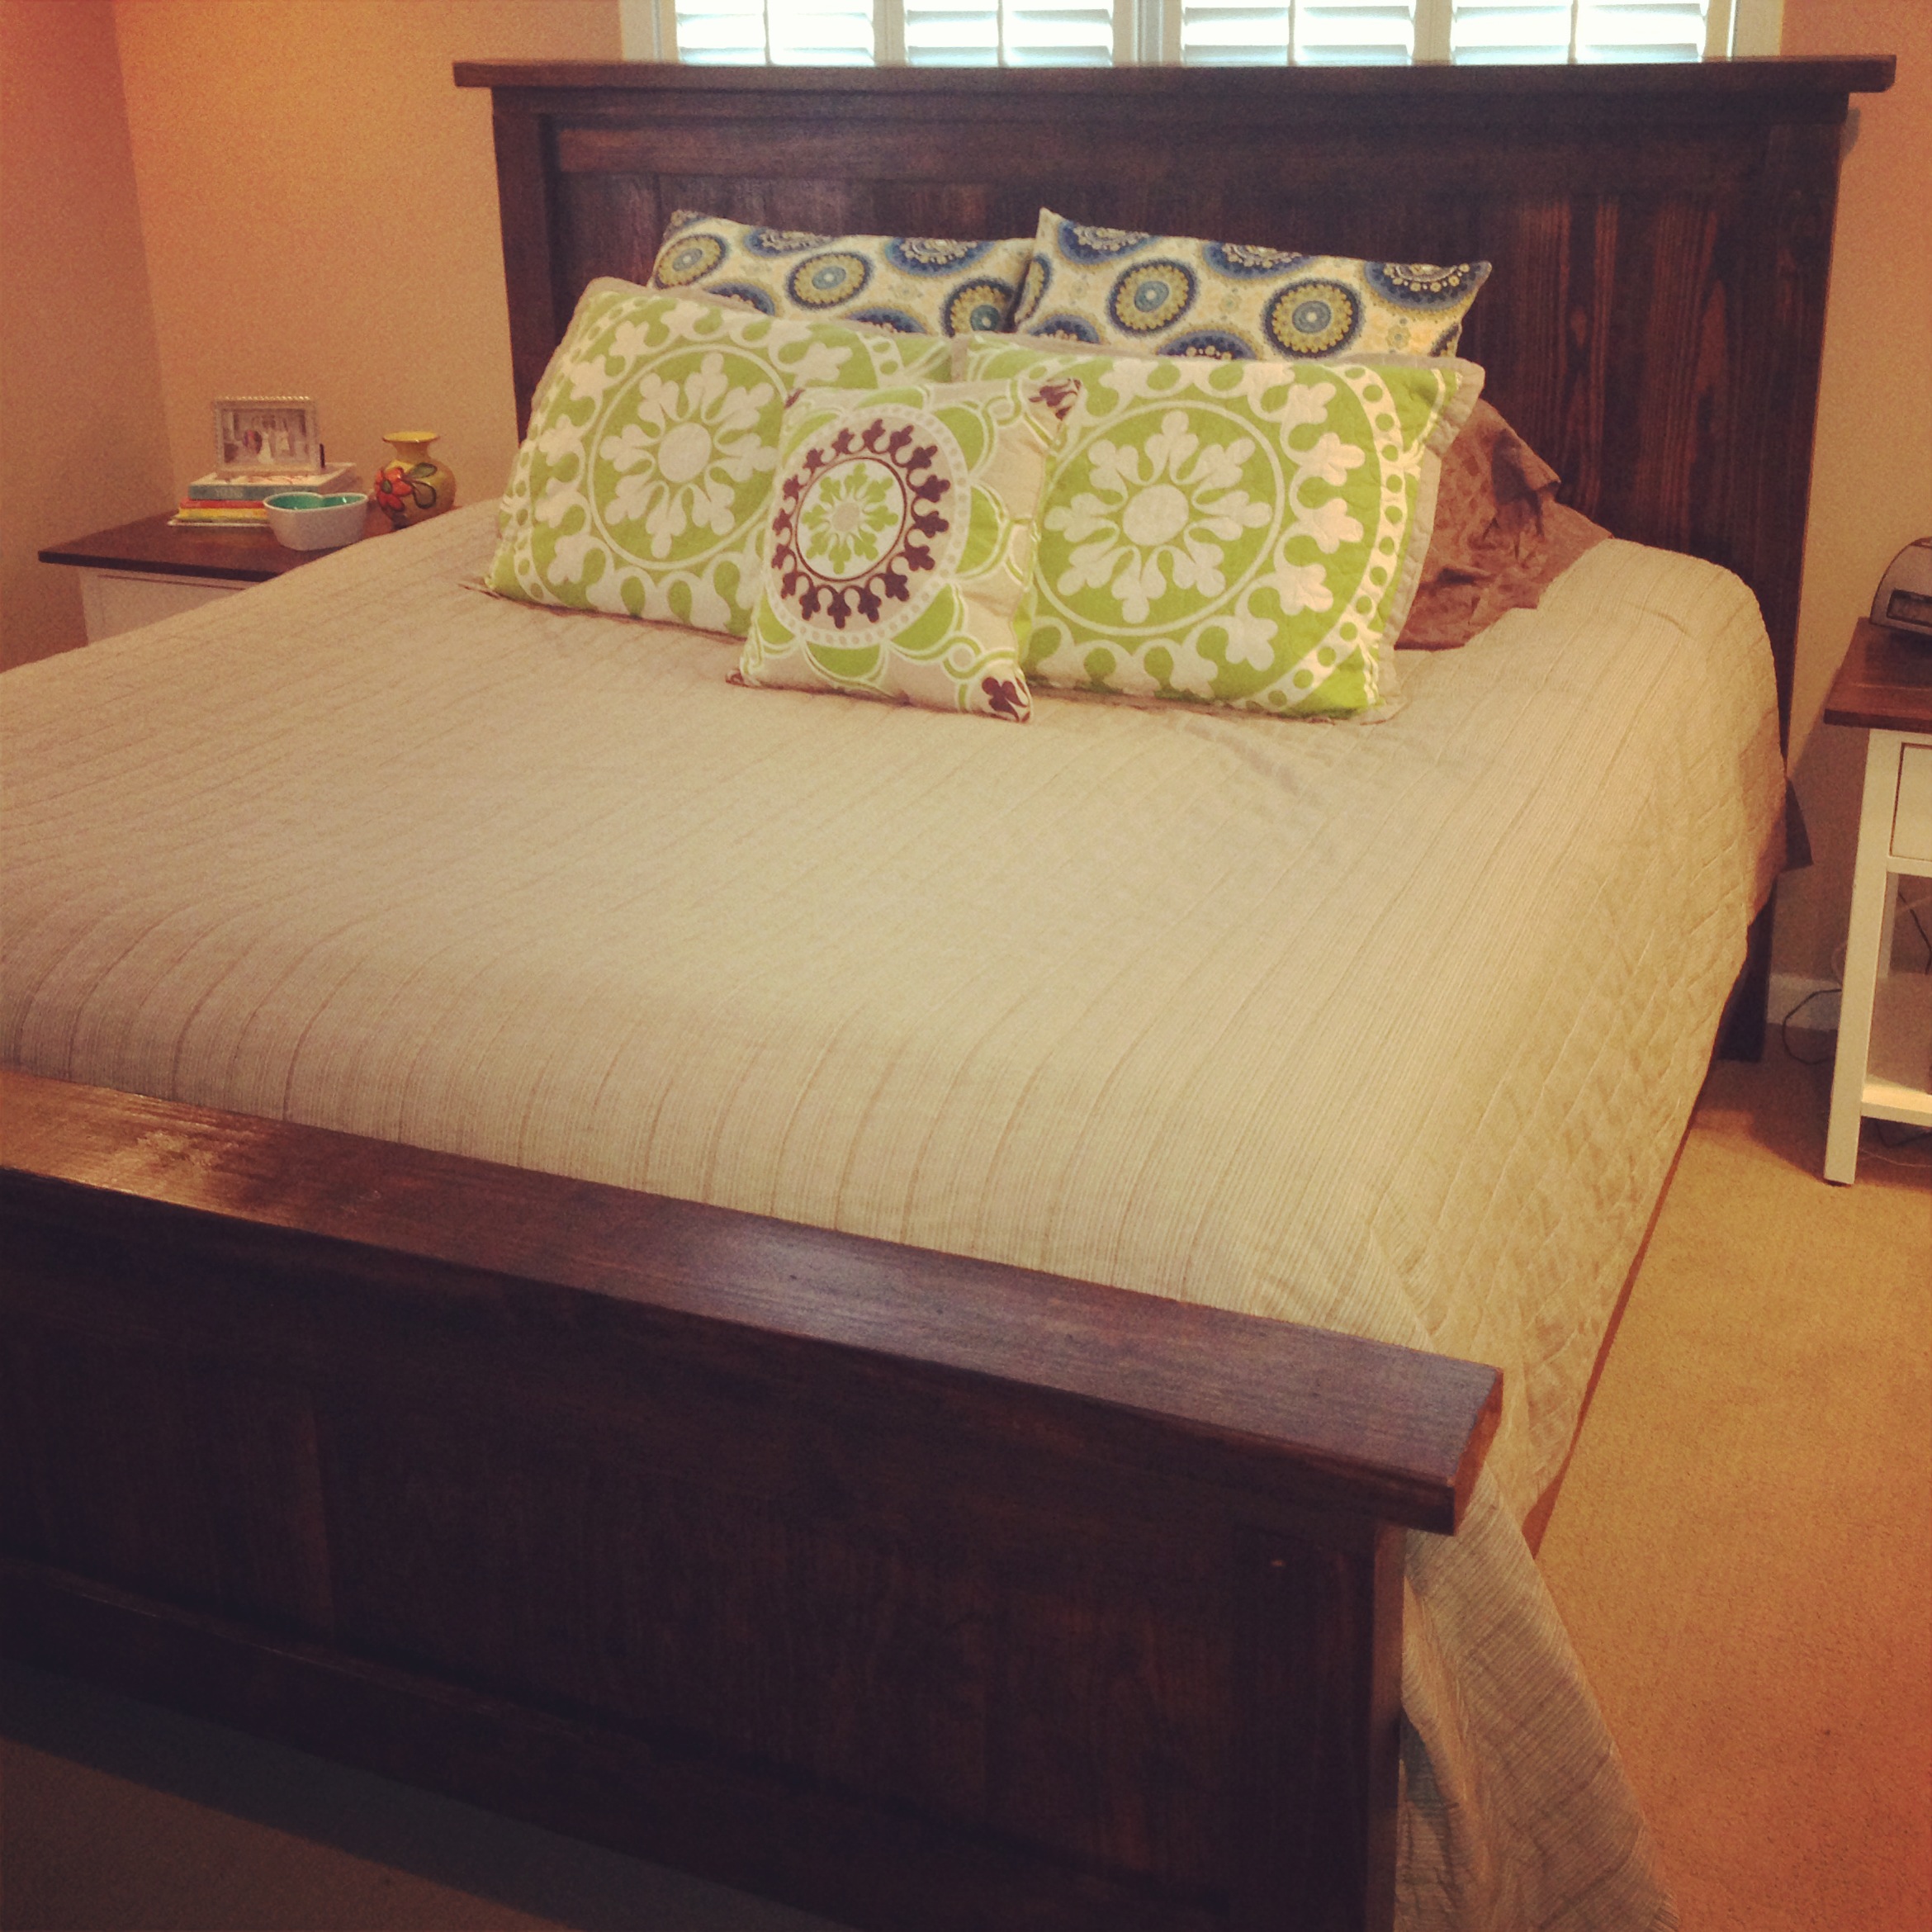
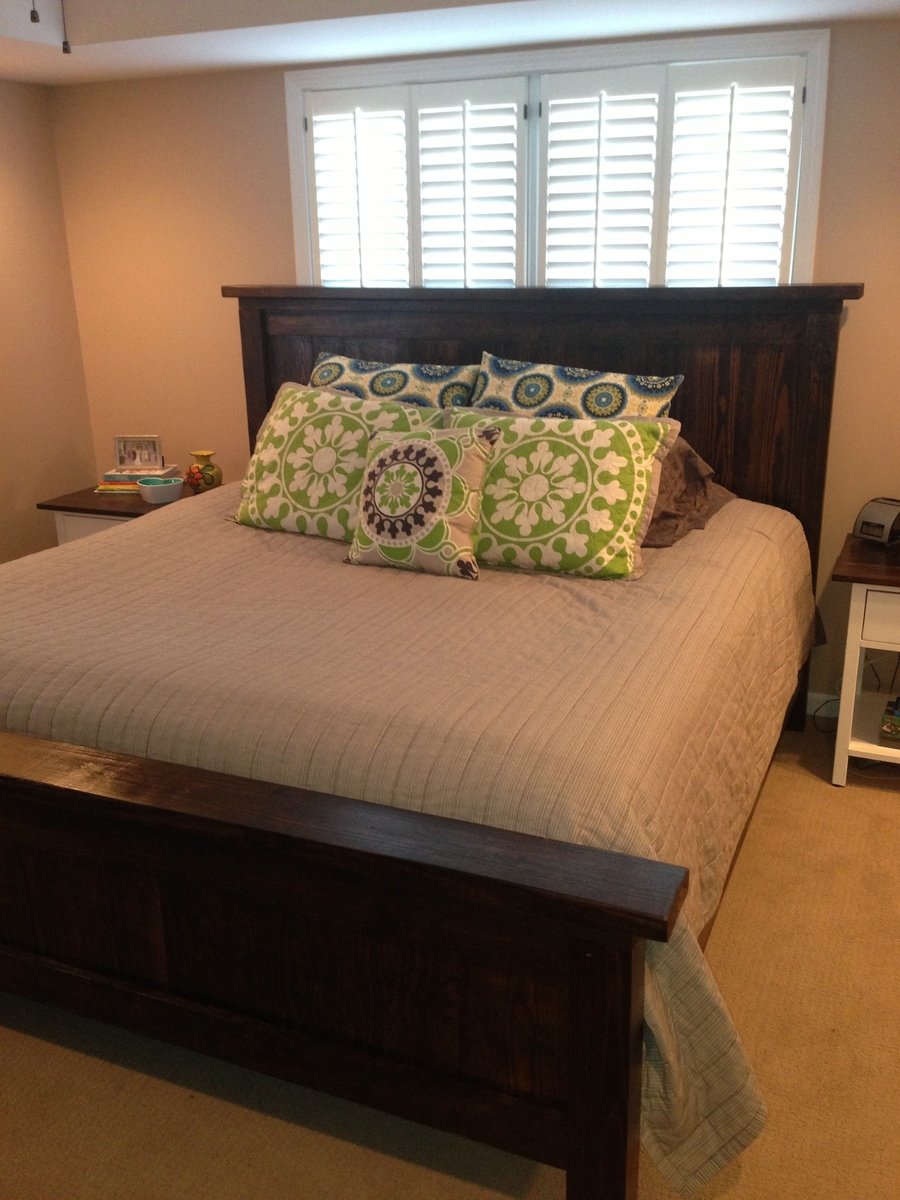
We made this bed after making the farmhouse bedside tables. So now we have a whole new bedroom set for probably less than $600. We love how it all turned out, and the plans were so easy to follow. We built both projects from Ana's book and plan to build a lot more from it too!
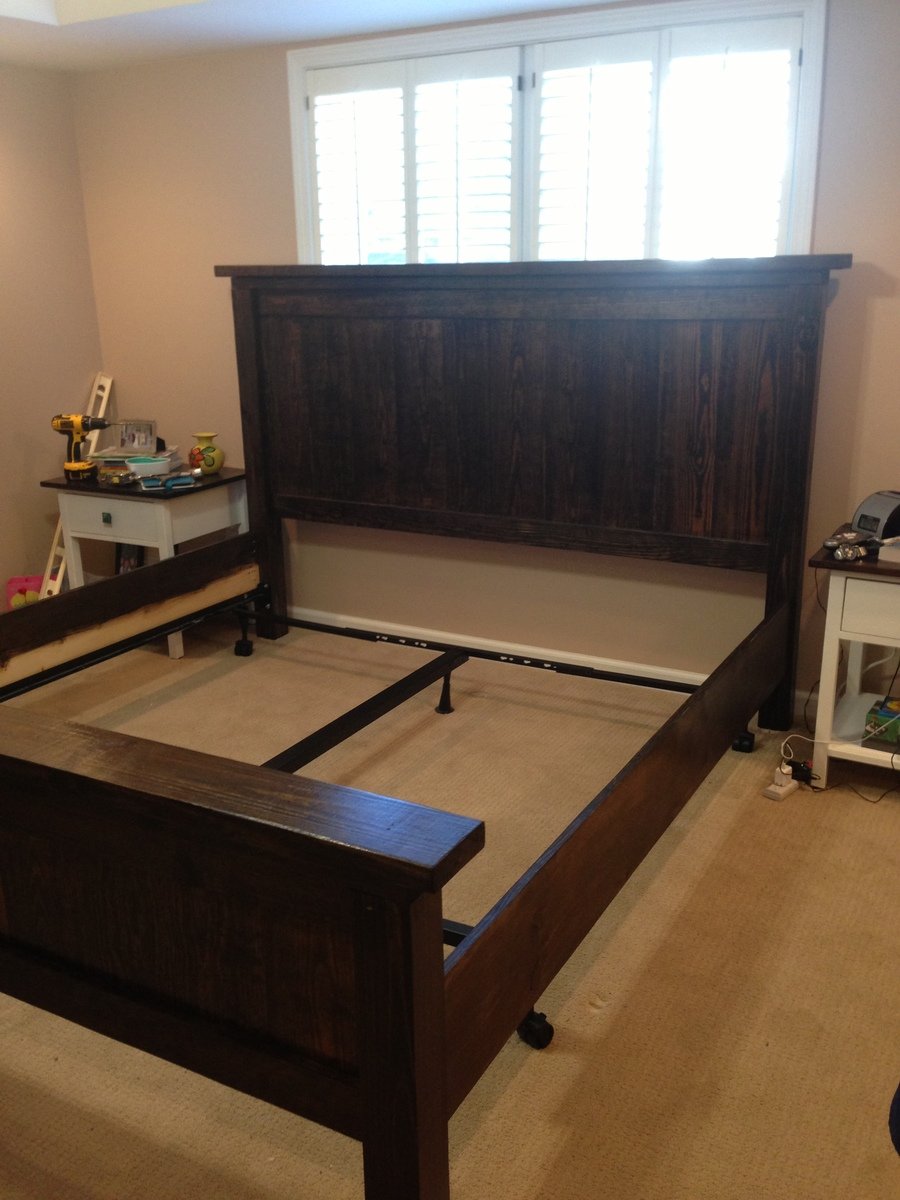
**In the book the plans are for a queen size bed, we modified it to fit our King size**
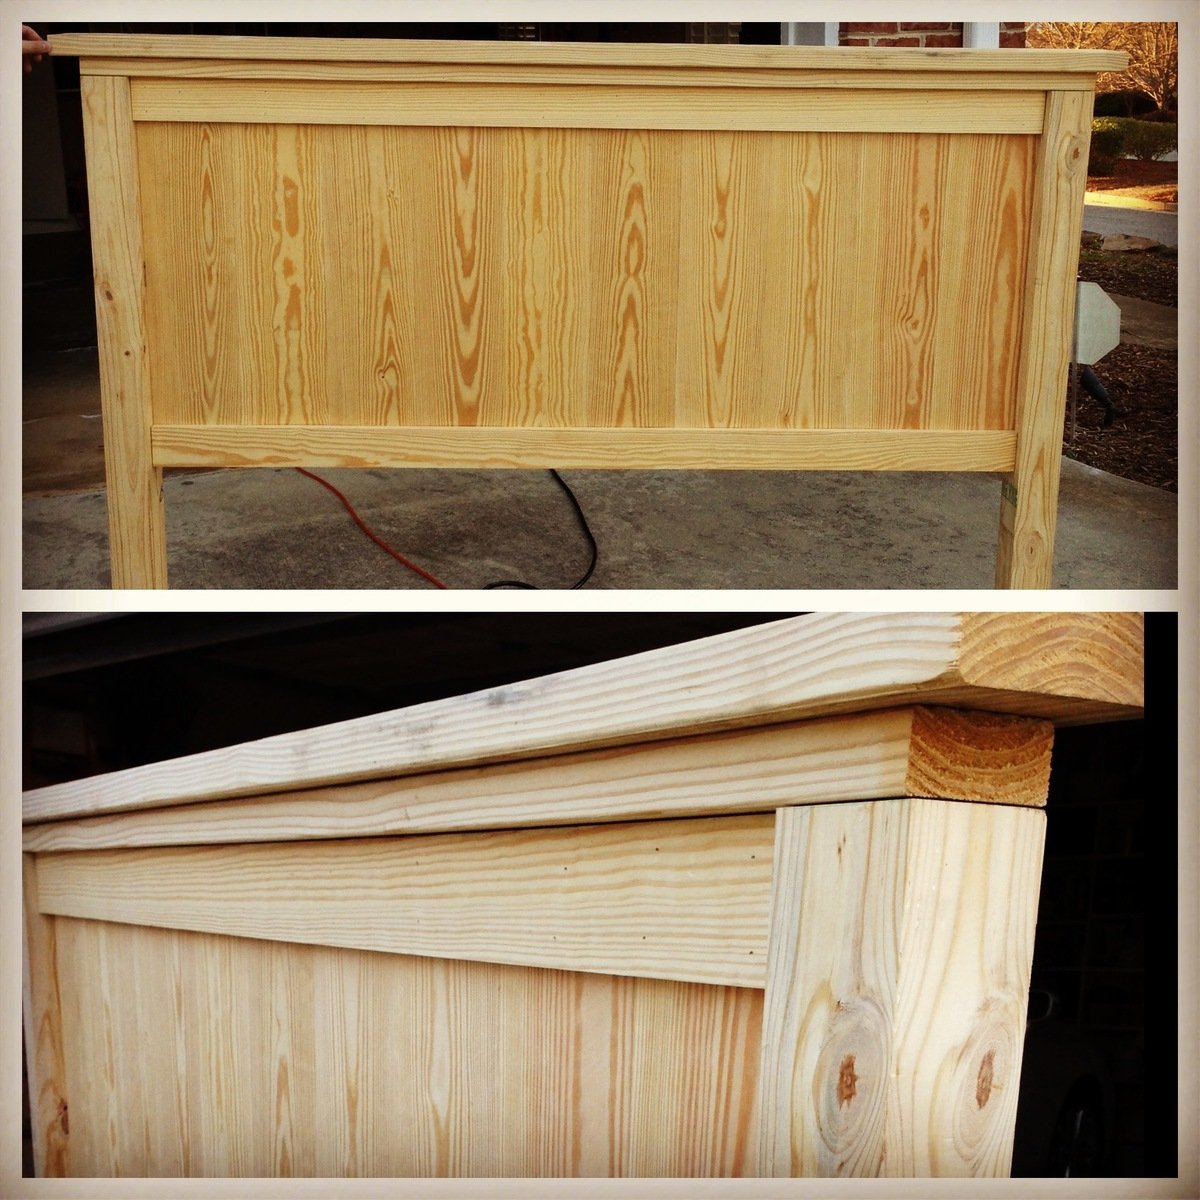
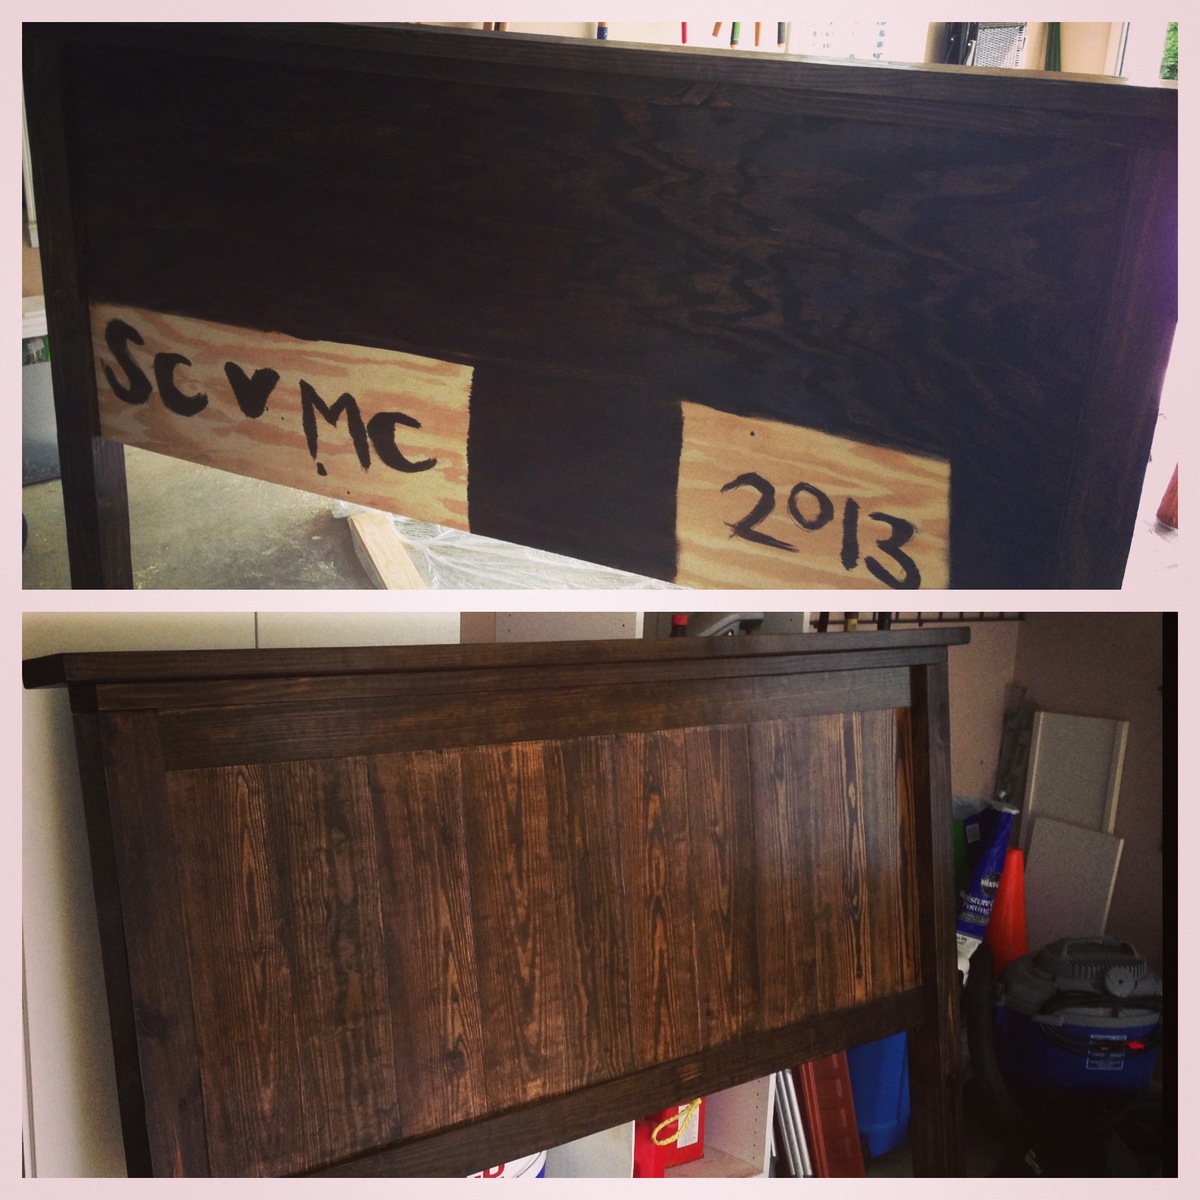
We added a piece of plywood to the back of the headboard and footboard and stained them so that it would cover all the pocket holes. Also, we extended the very top piece of wood that is on both the head and foot boards so there was a two inch overhang instead of just one.
This bed is so sturdy! I think if a tornado ever blows through we could just hang onto the bed and we wouldn't go anywhere! The side rails also give it a nice finished look even though they just essentially cover the box spring and bed rails. The bed still sits on the metal frame that is bolted into the headboard.
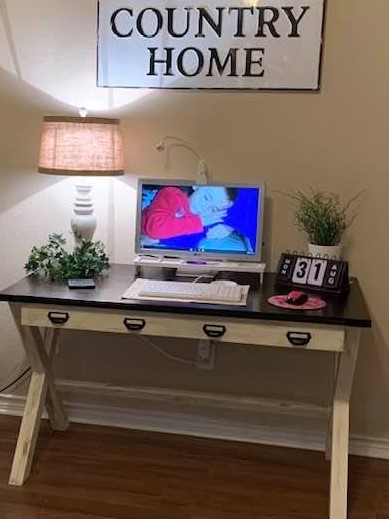
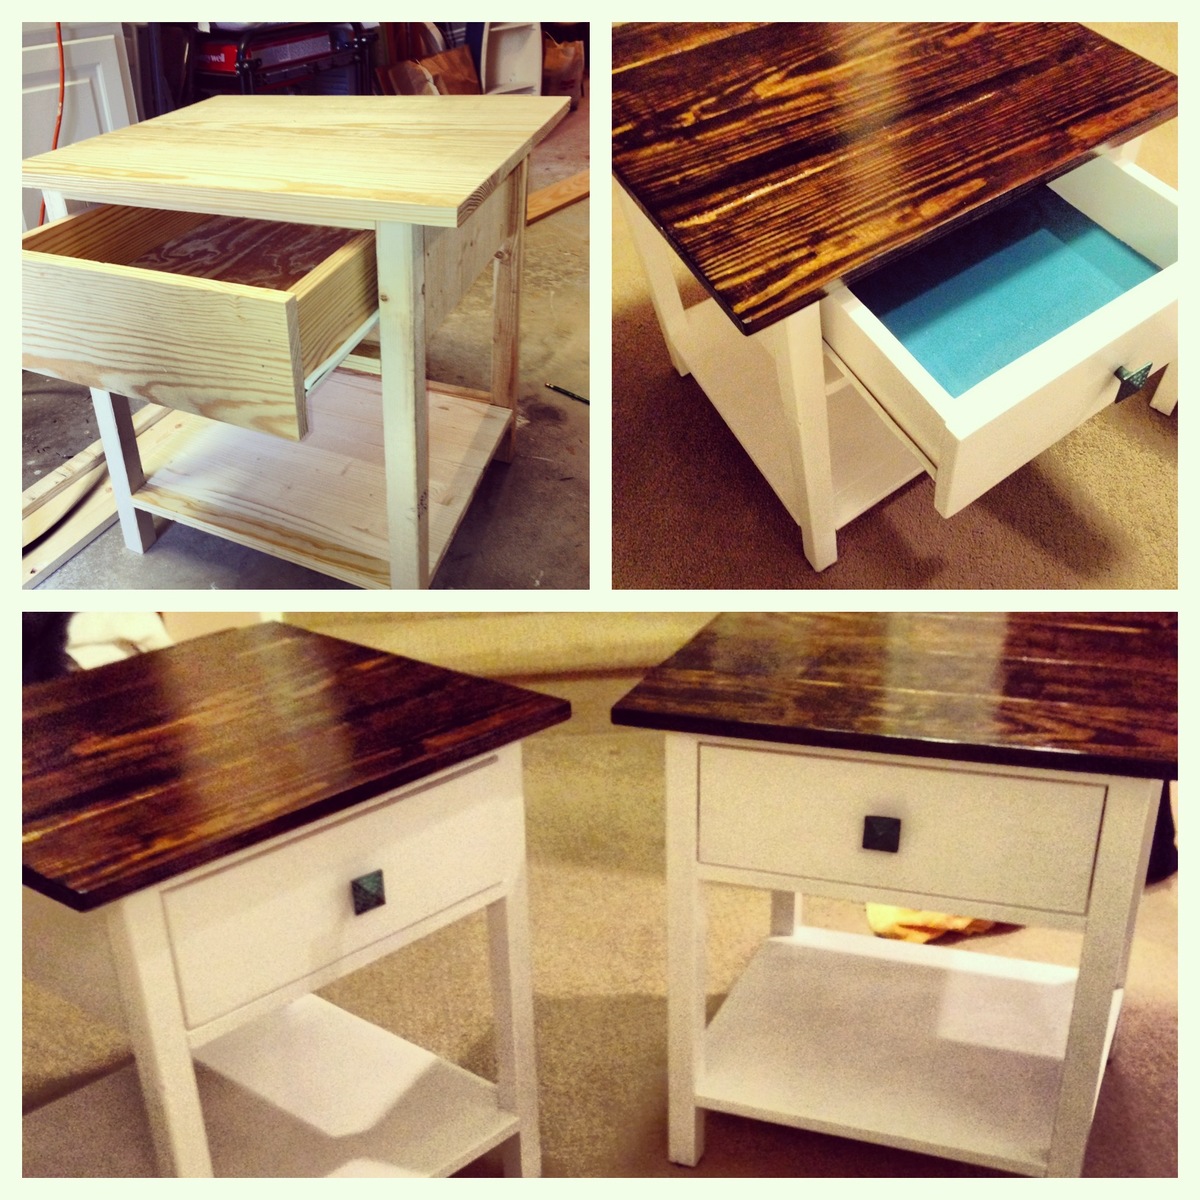
Check out the bedside tables we made to go along with it!
http://ana-white.com/2013/02/farmhouse-bedside-tables-2-toned