3 hook coat rack
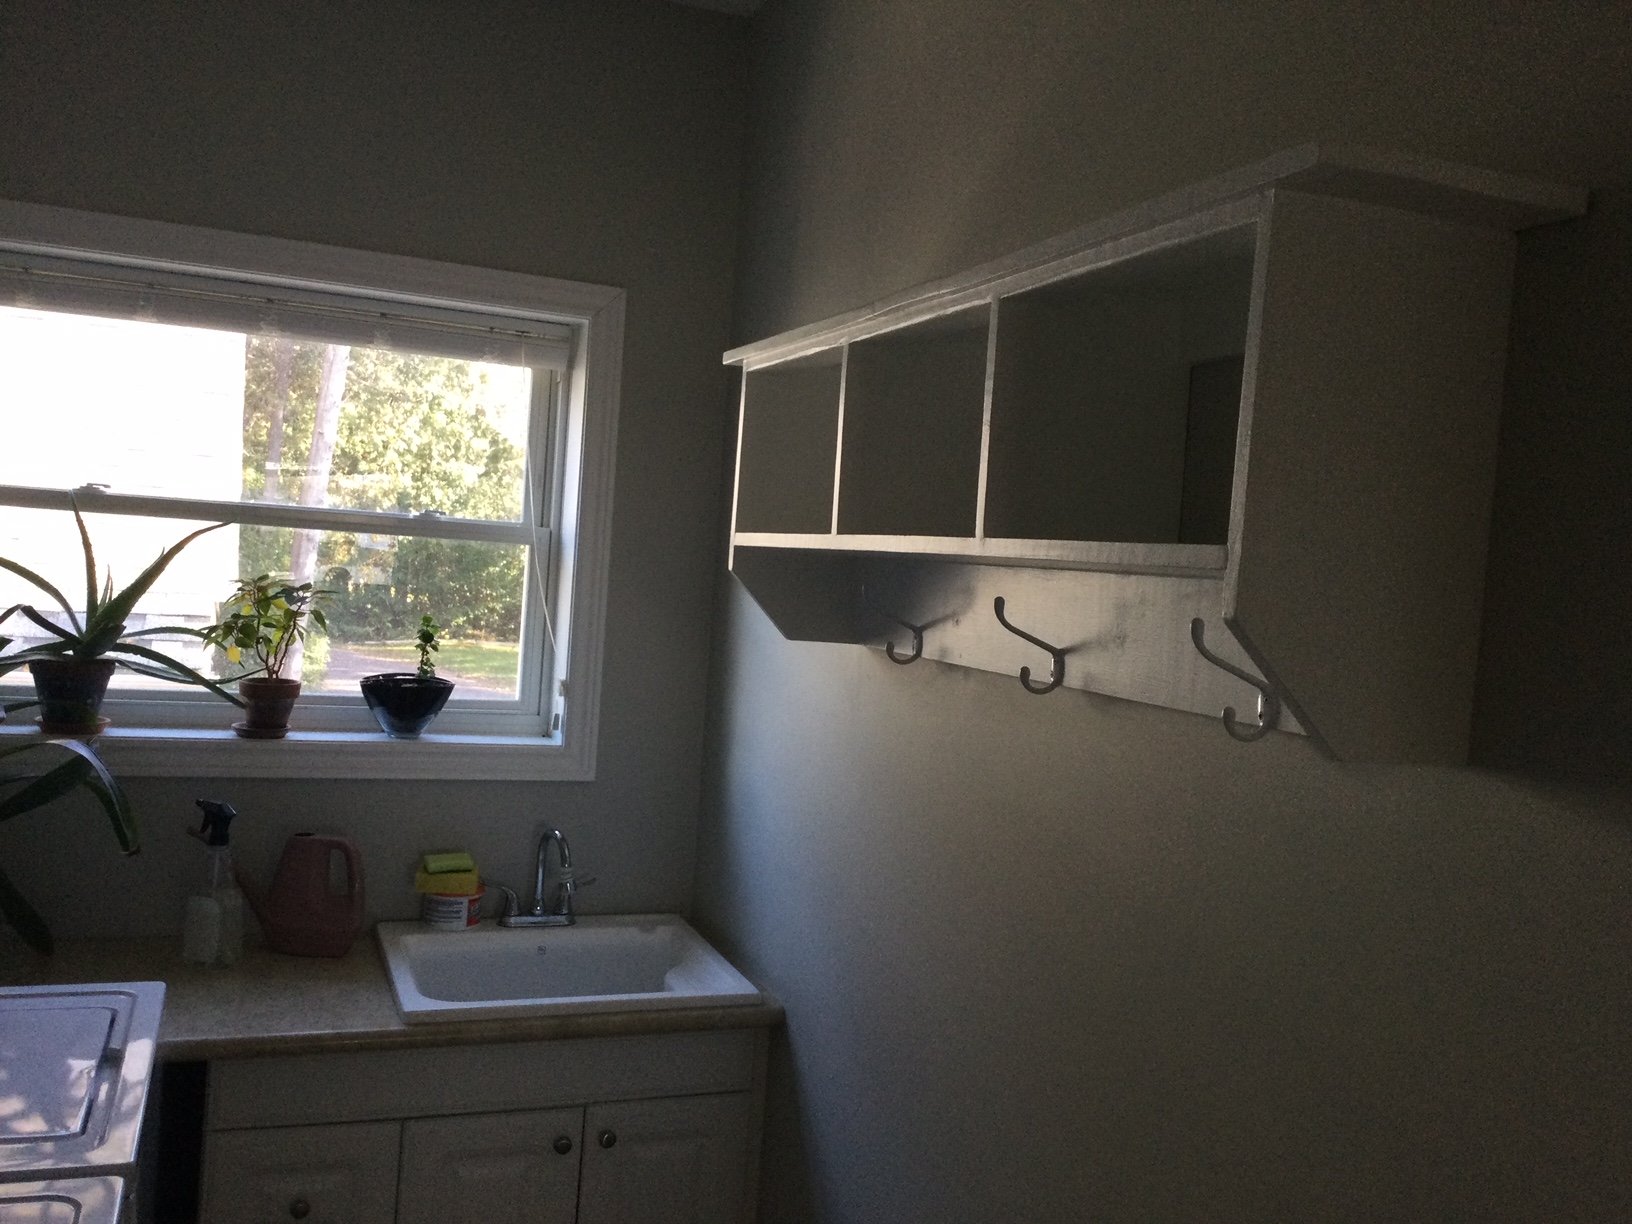
Thank you for this - I just made it slightly longer.
Built from Plan(s)
Thank you for this - I just made it slightly longer.
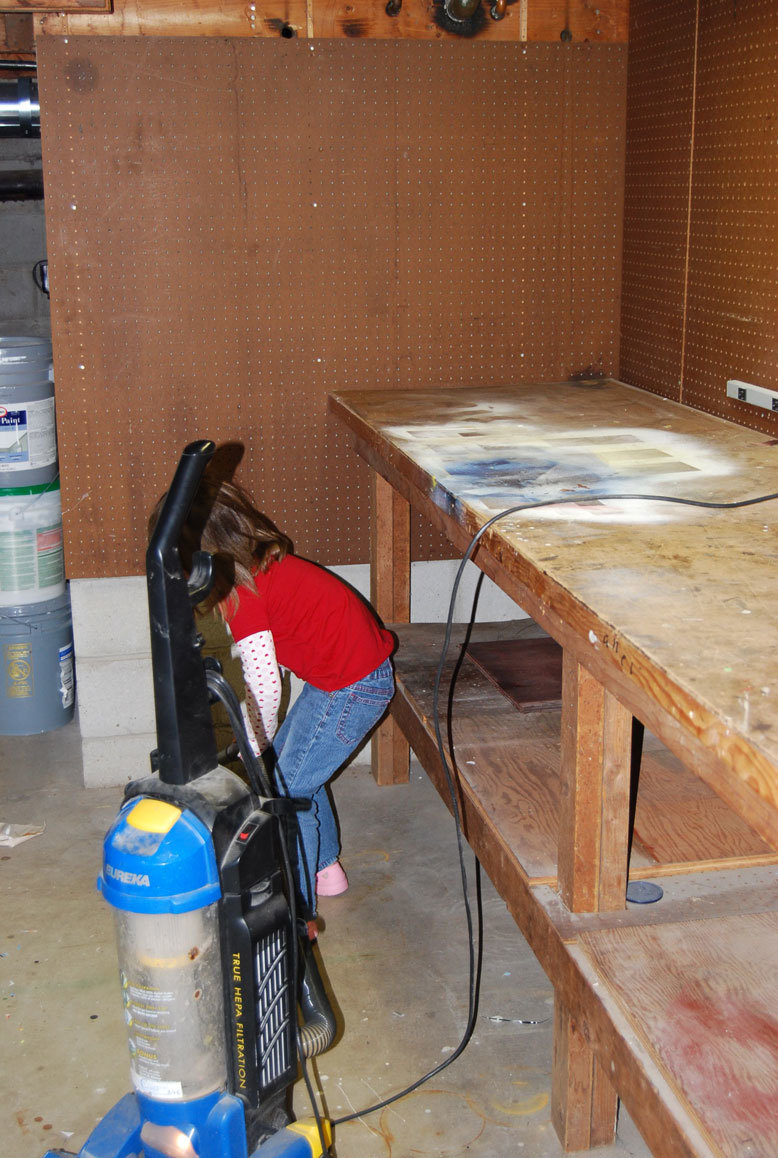
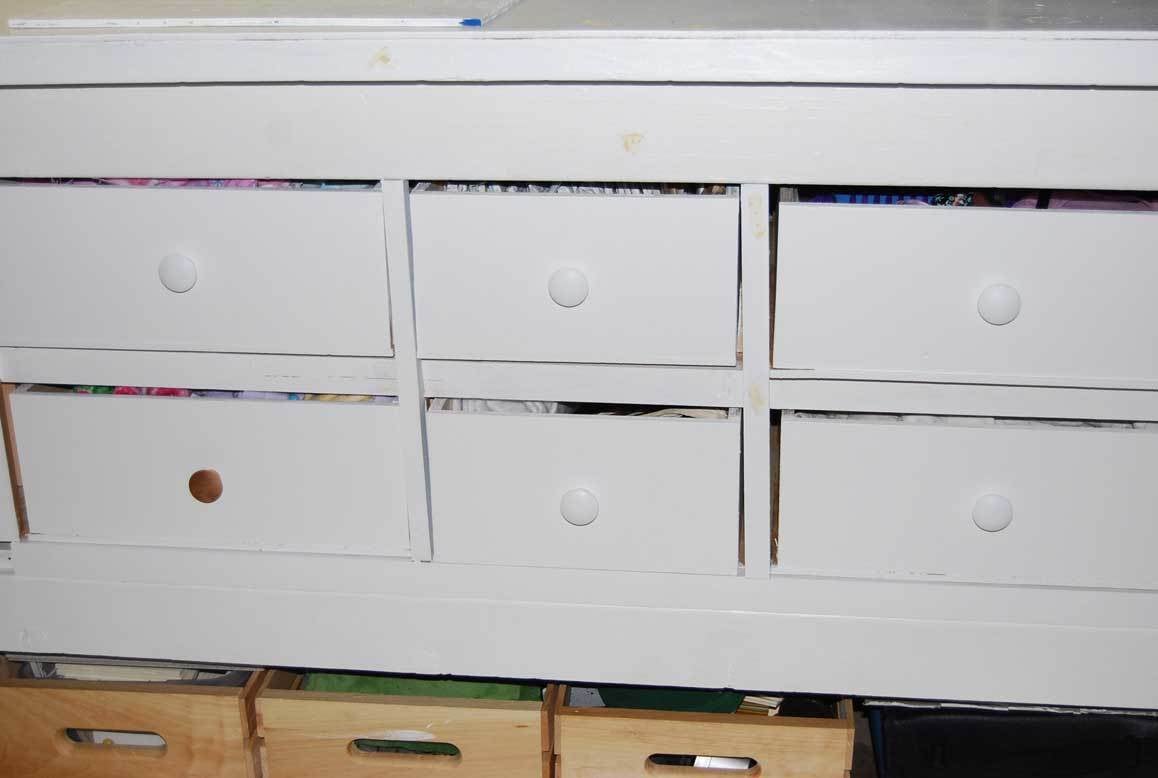
I had an old table that was in my basement. I wanted to re-do my craft room. I have been thinking and thinking about it. So when I saw Ana’s link to her drawer organizer – and how to install drawer slides – I thought – ok – now it’s time to do it.
I spent about a week drafting plans, making measurements. At first I was going to recycle the metal sliders I had left over from the kids dressers…but there wasn’t enough – and to do 12 drawers would be more money than I wanted to spend.
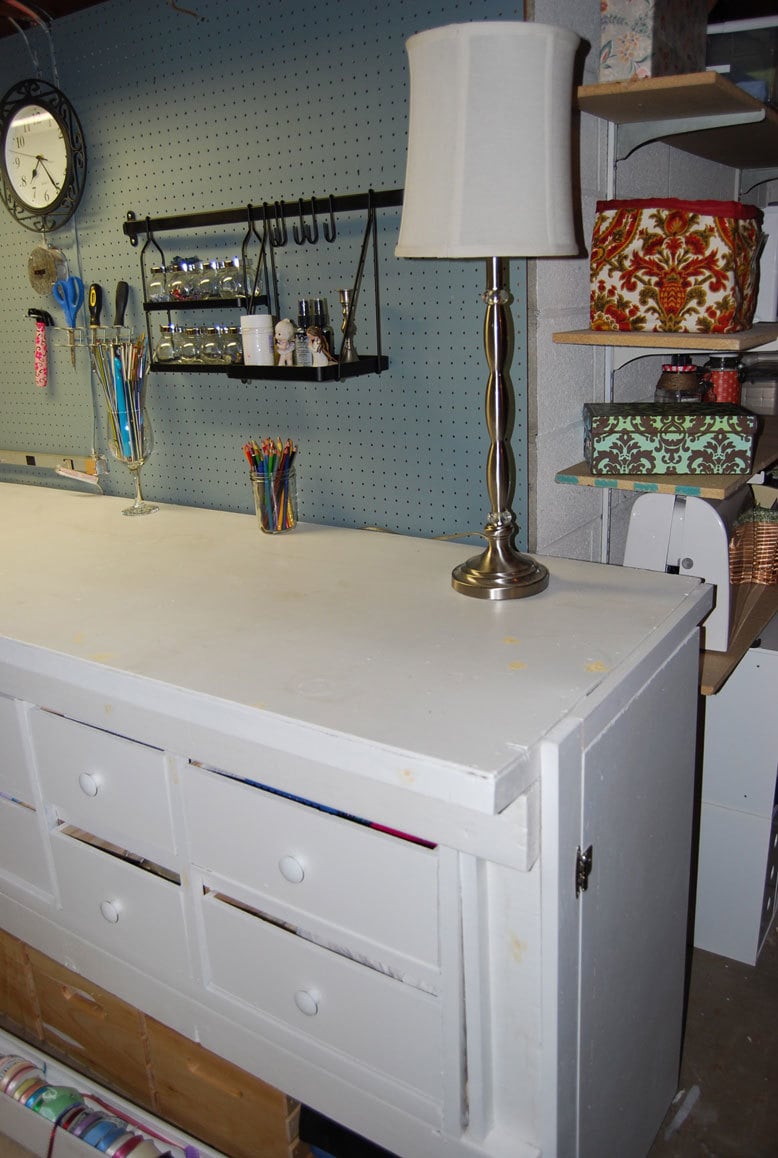
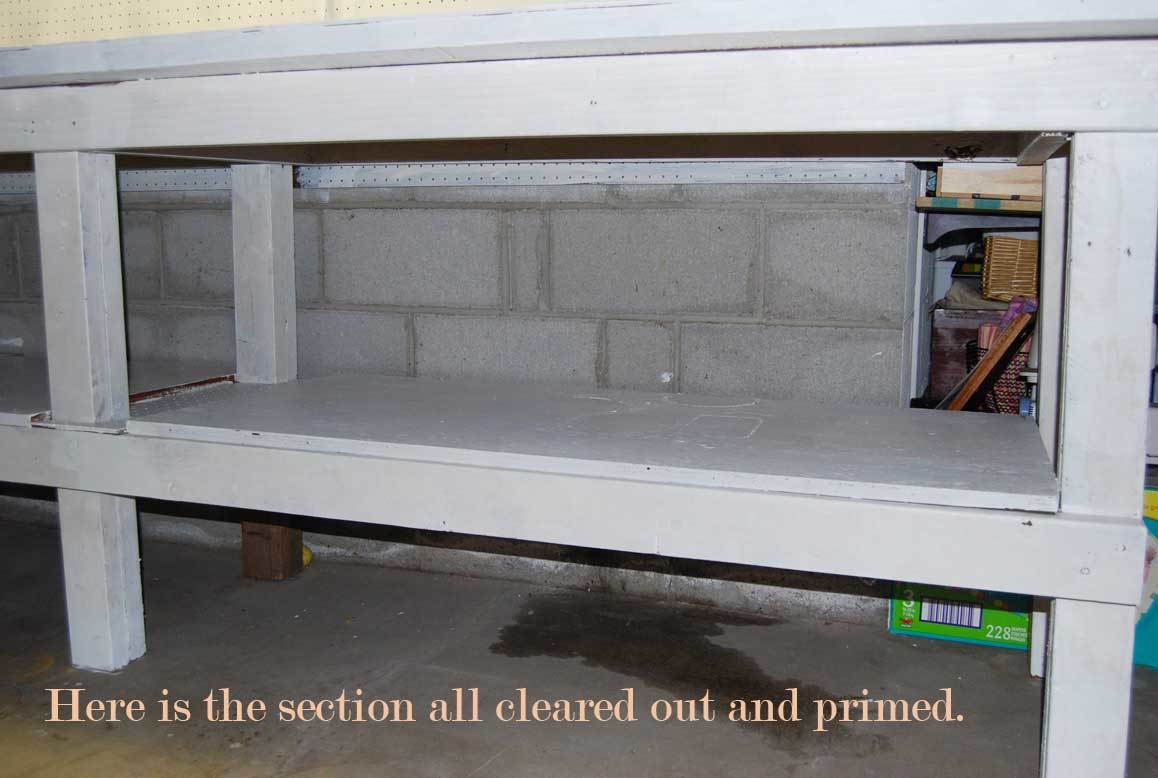
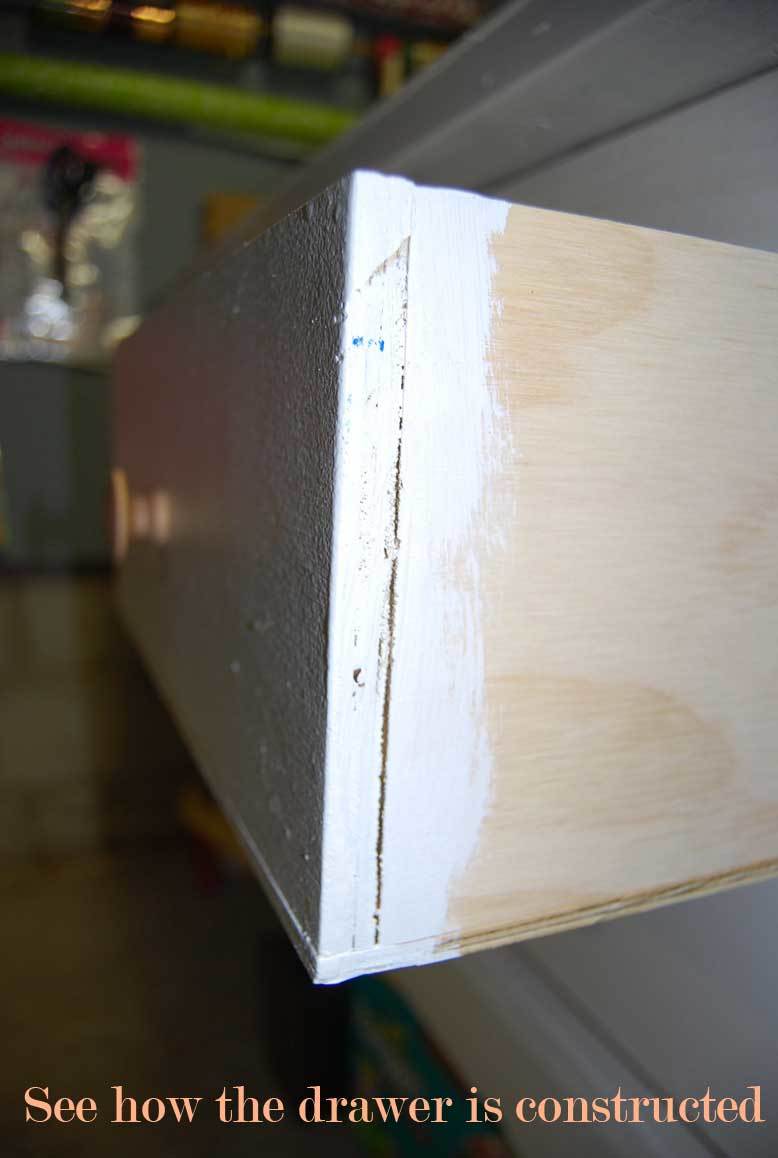
So – a trip to home depot – I was able to take this table that was just collecting junk – literally – to an organized and functional crafting cabinet – with huge deep drawers. There are 12 drawers in total. They are all 6 inch in height, 26 inches deep, and then there are 8 that are 16 inches wide, and 4 that are 12 inches wide.
Here are some before and after pictures – I have all the details on the build on my blog. I wouldn’t have been able to do it without Ana. Her plans and continual inspiration!

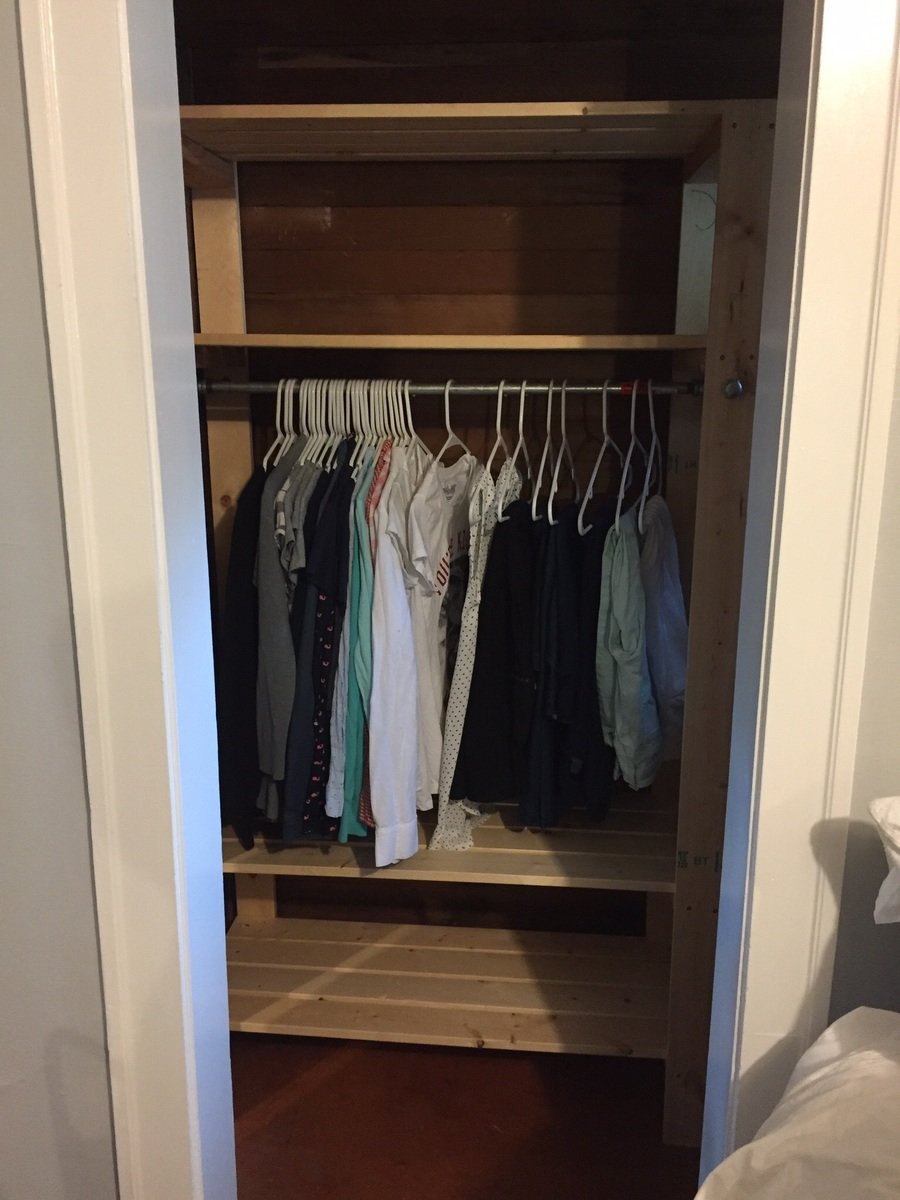
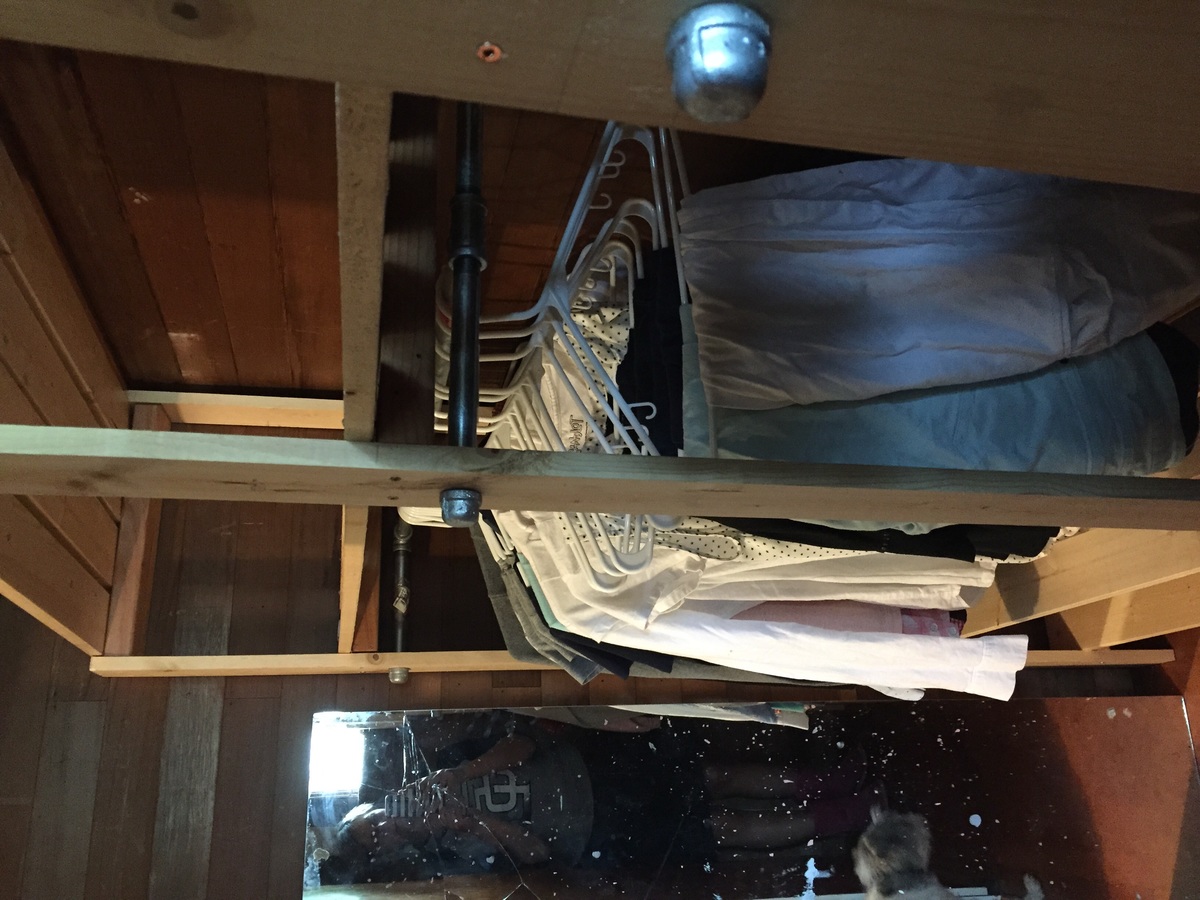
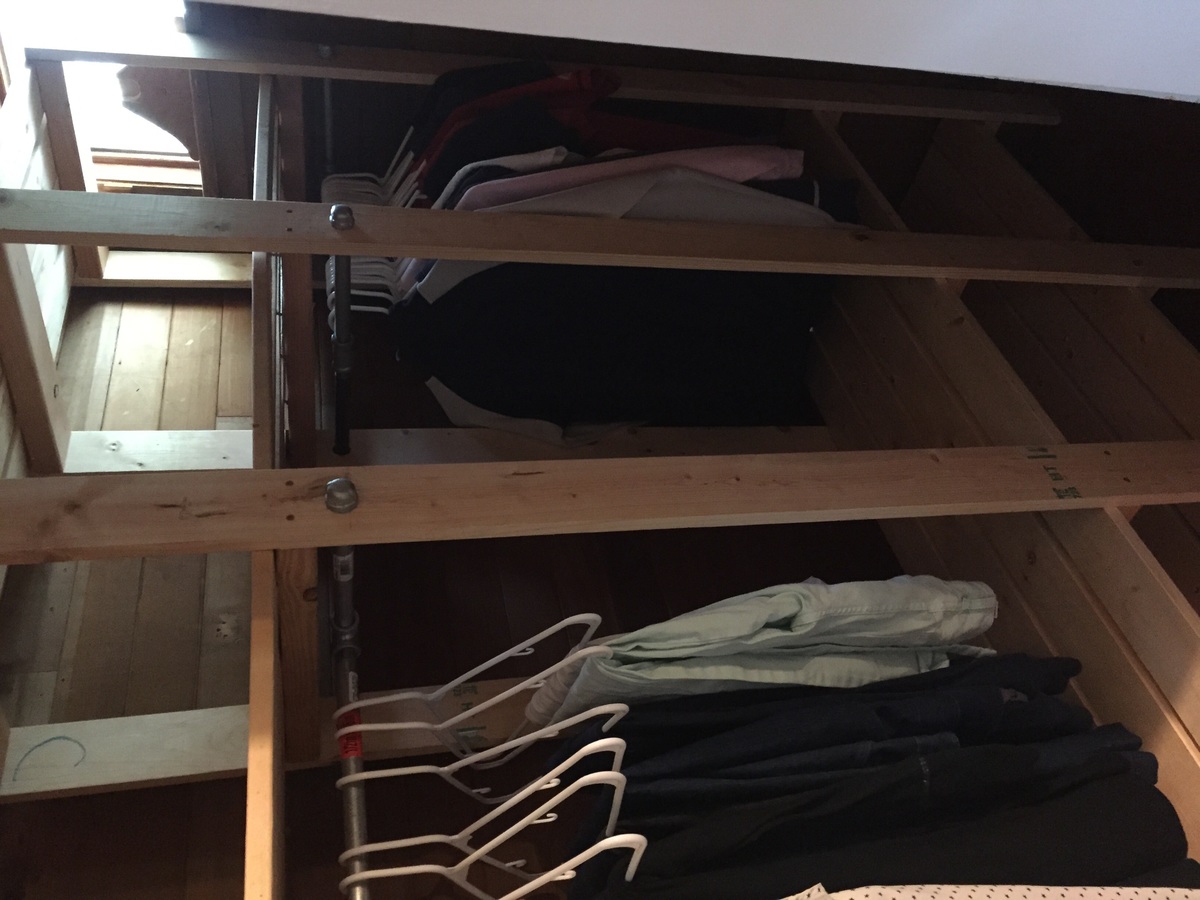
It was a bit tricky putting it together in my limited space closet but I got it all done! Loving it! It also forces me to make up a capsule wardrobe and clean out my closet as there isn't room for everything. Thanks Ana!
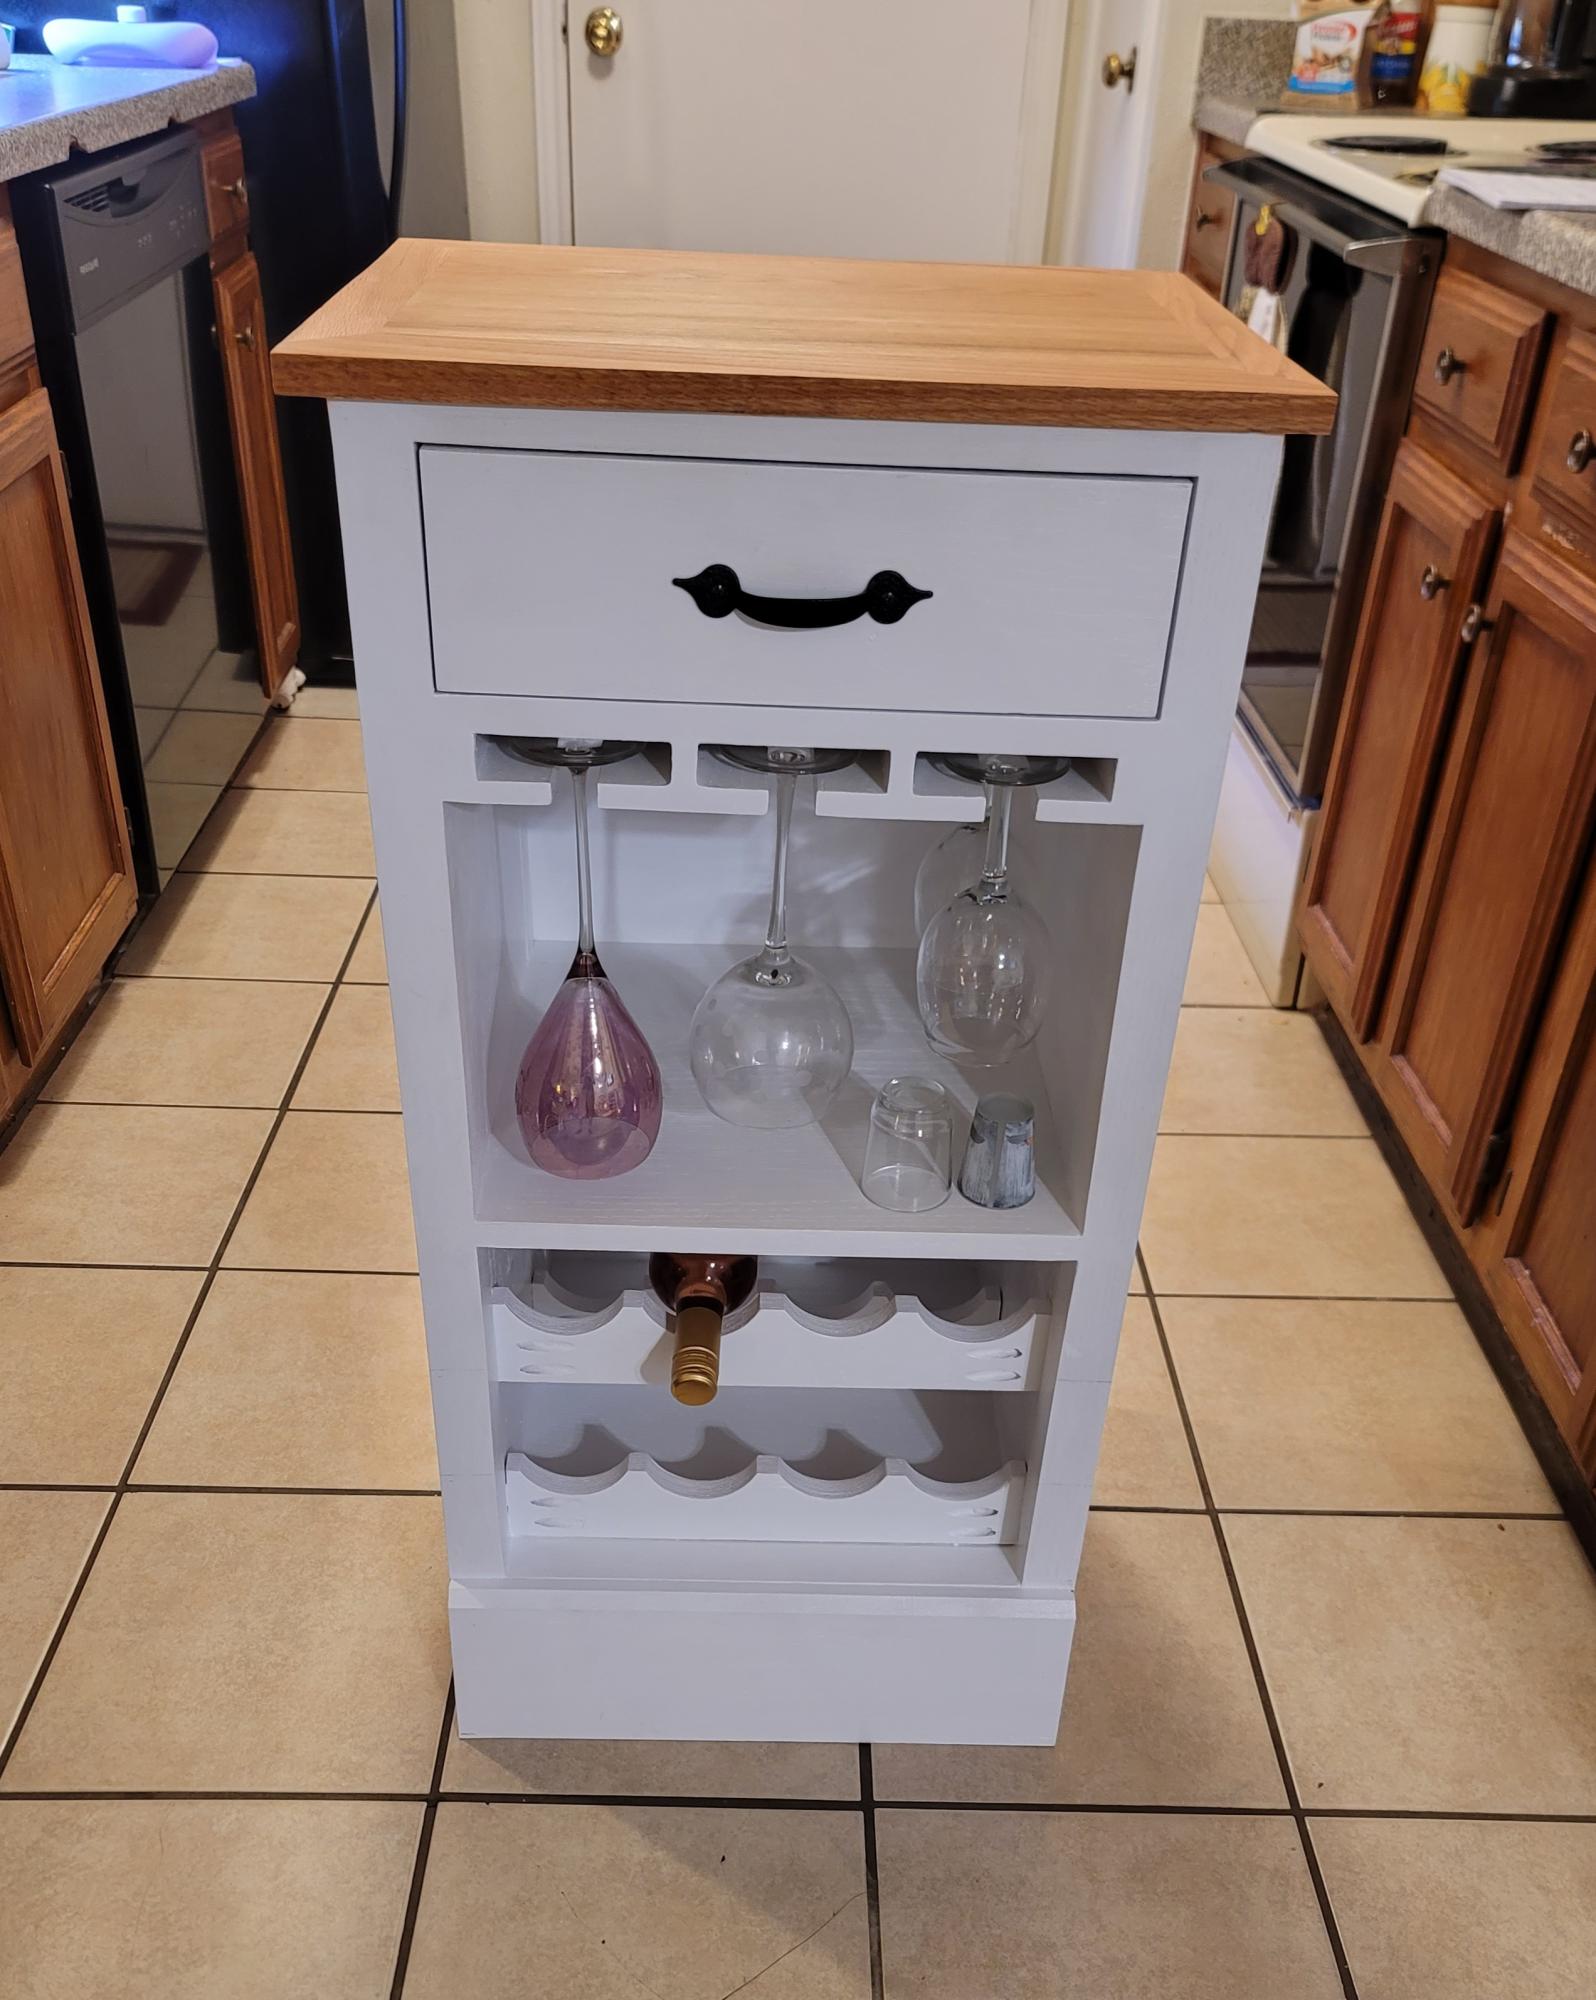
This was a really fun project. Thank you to Ana White for the awesome plans to make this wine cabinet possible. It's much loved, and is a beautiful new additions to a new home. I enjoyed making it, the plans were very easy to follow.

Sun, 11/07/2021 - 09:14
Super cute, love your finish and hardware choices!
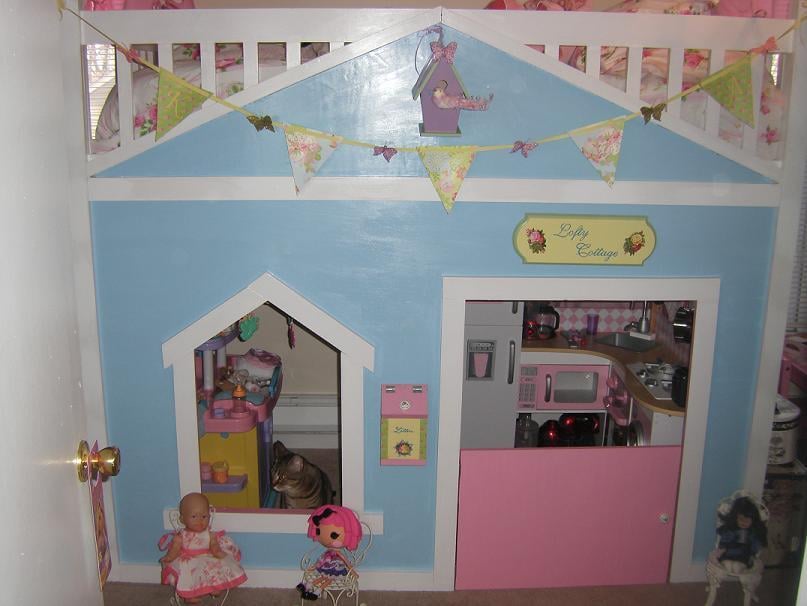
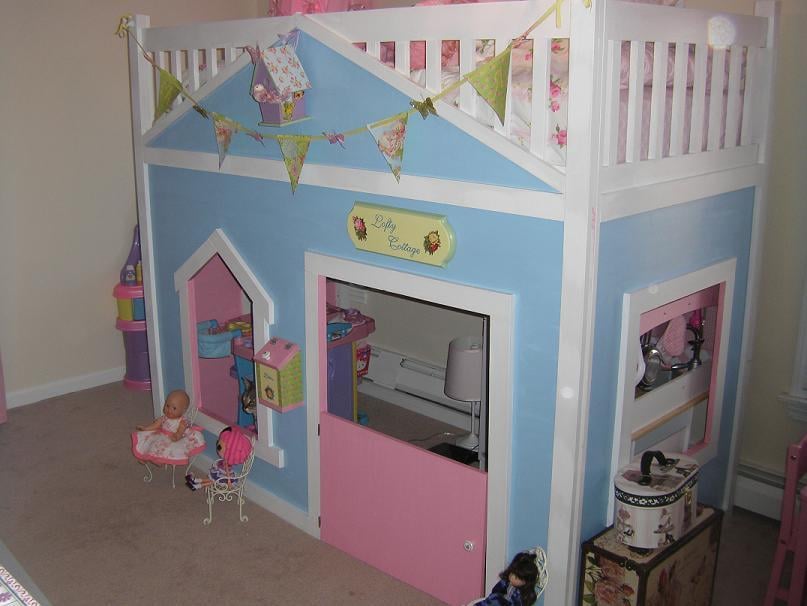
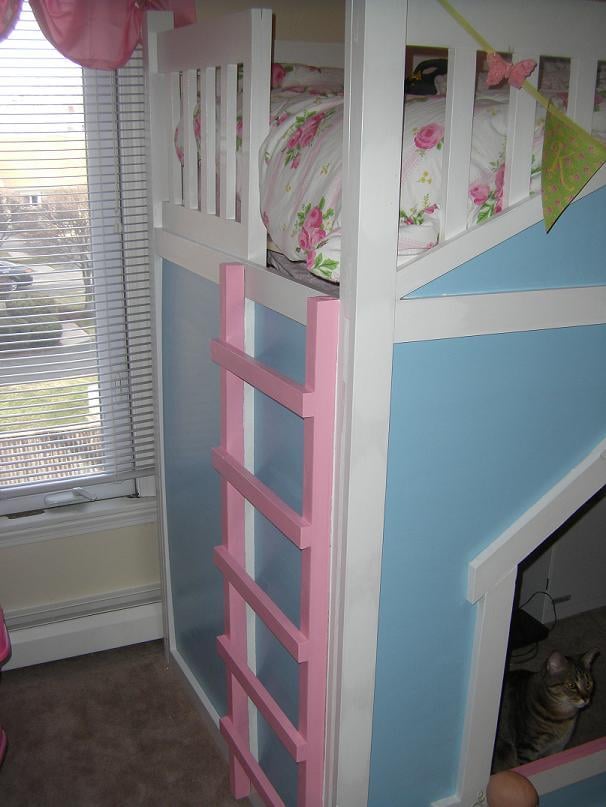
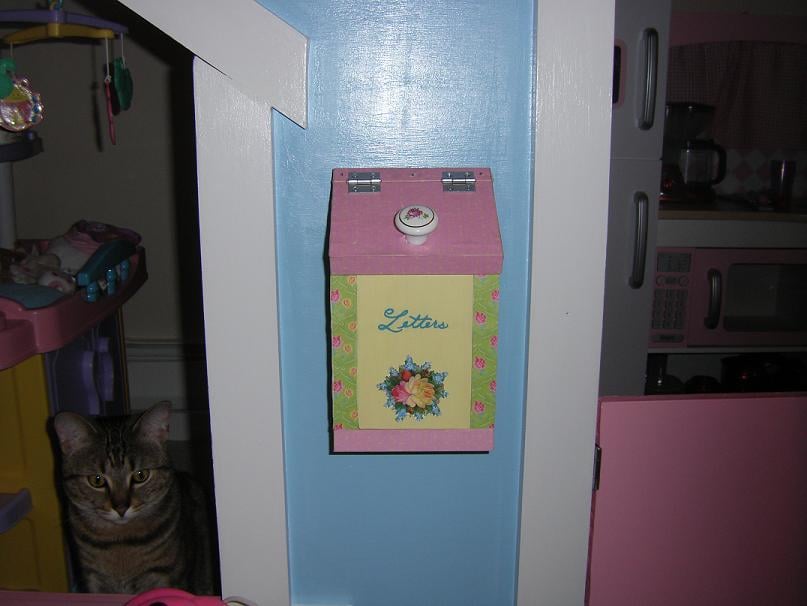
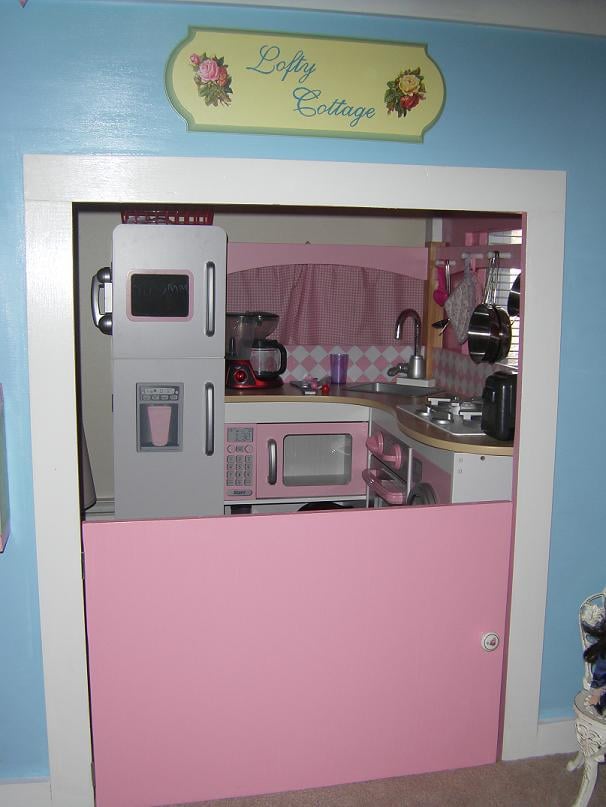
This is my first KOW project...I built the playhouse loft bed for my daughter, Kayla. She named it Lofty Cottage. I used leftover pink paint from painting her table and chair set for the inside of the playhouse. I made the letterbox from scraps and the half-door from the door cutout. I added hardware that matches the hardware on her other furniture. I made the banner by hand and hand painted the birdhouse and the sign. She loves it! Thanks for the great plans Ana! Can't wait to start on something new now!
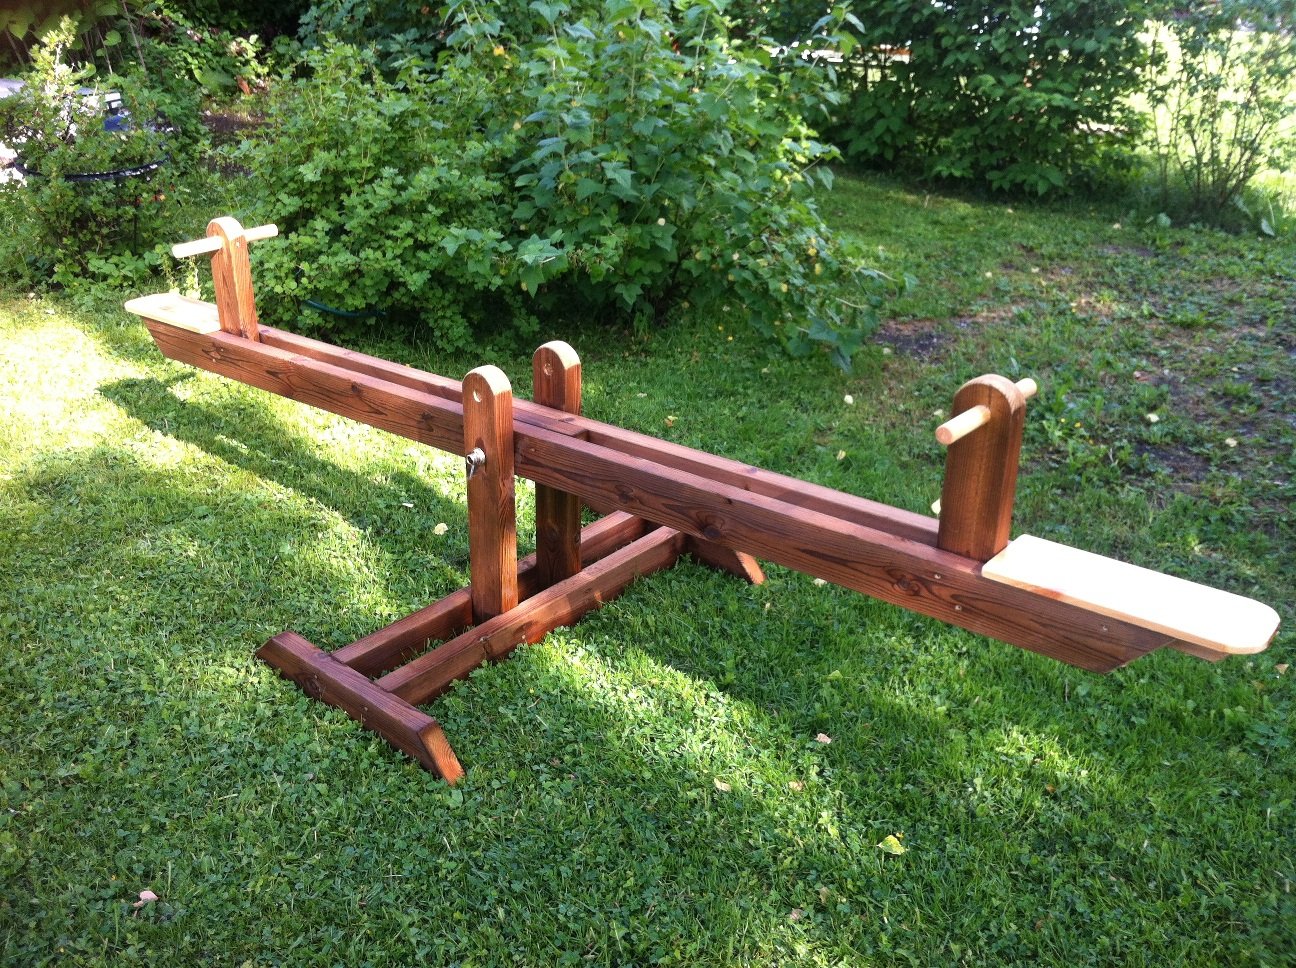
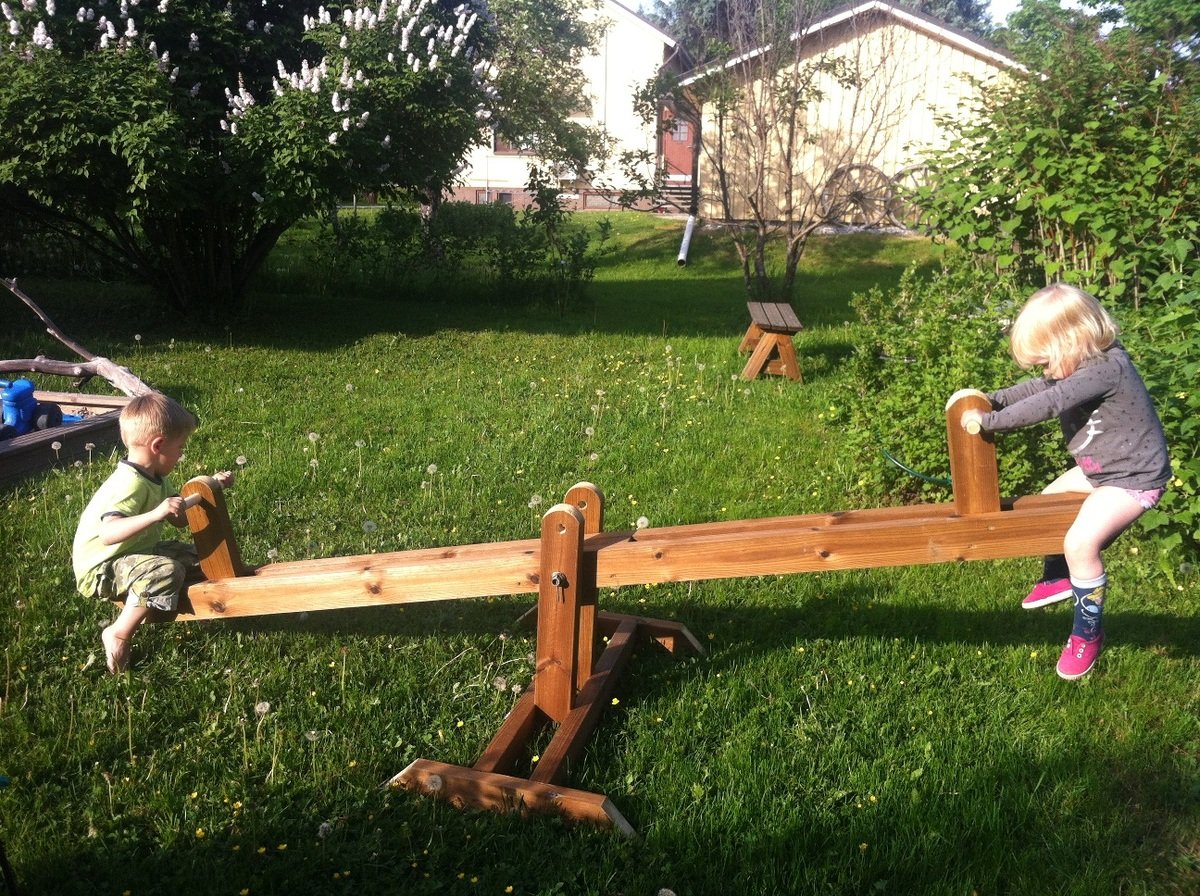
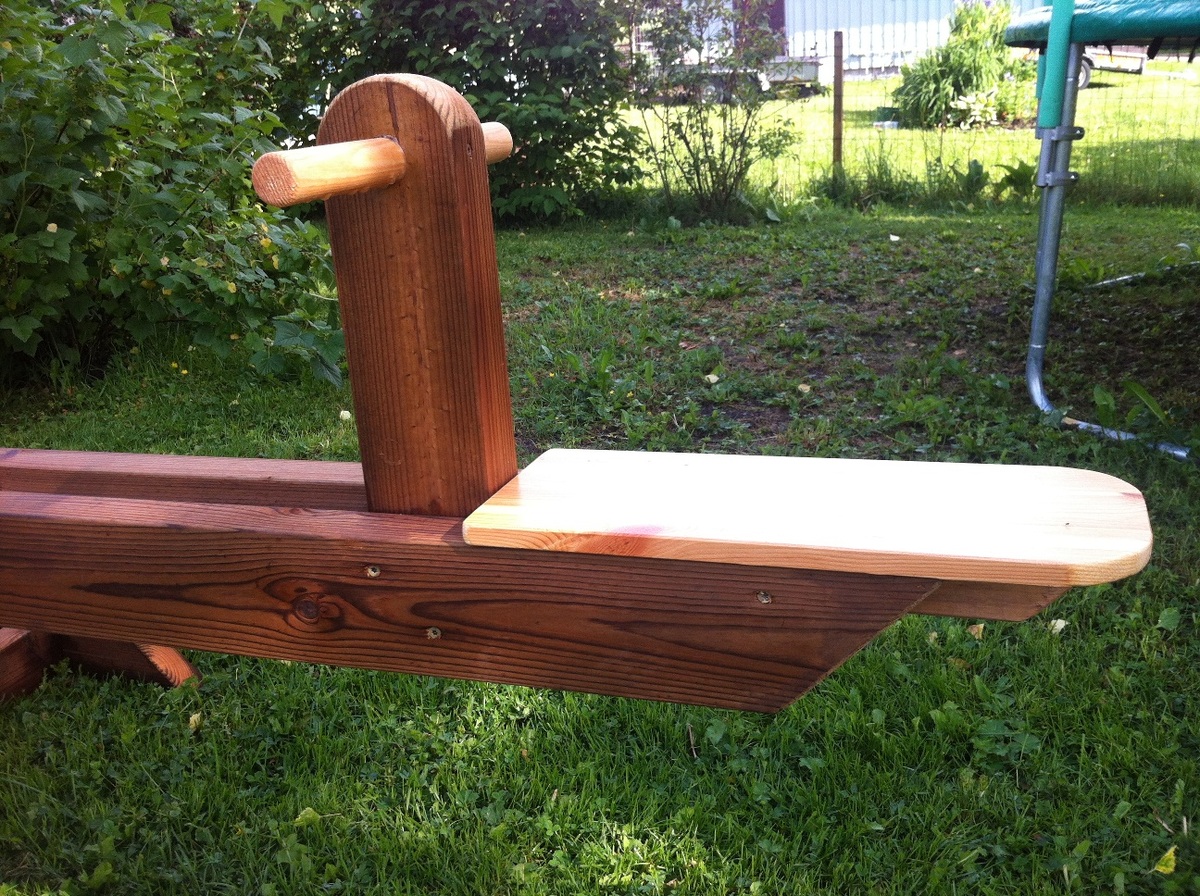
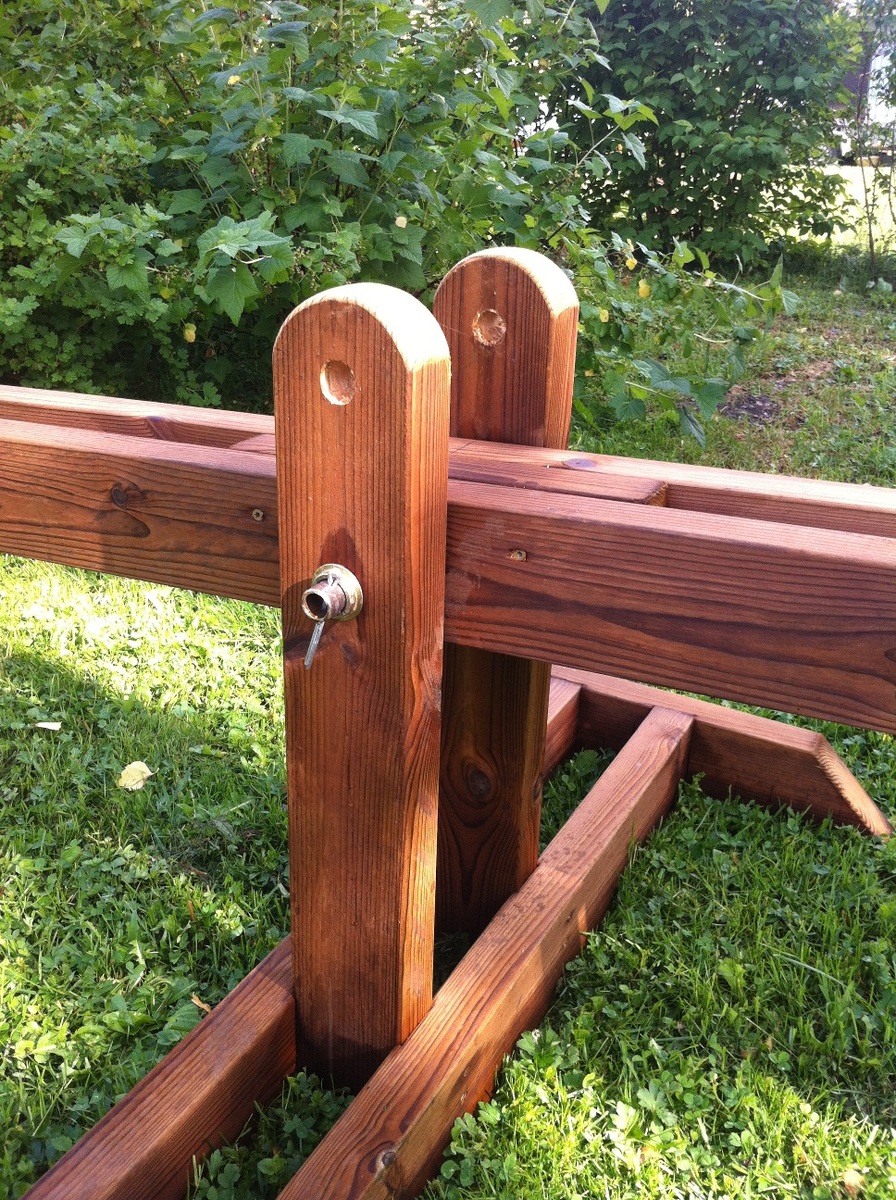
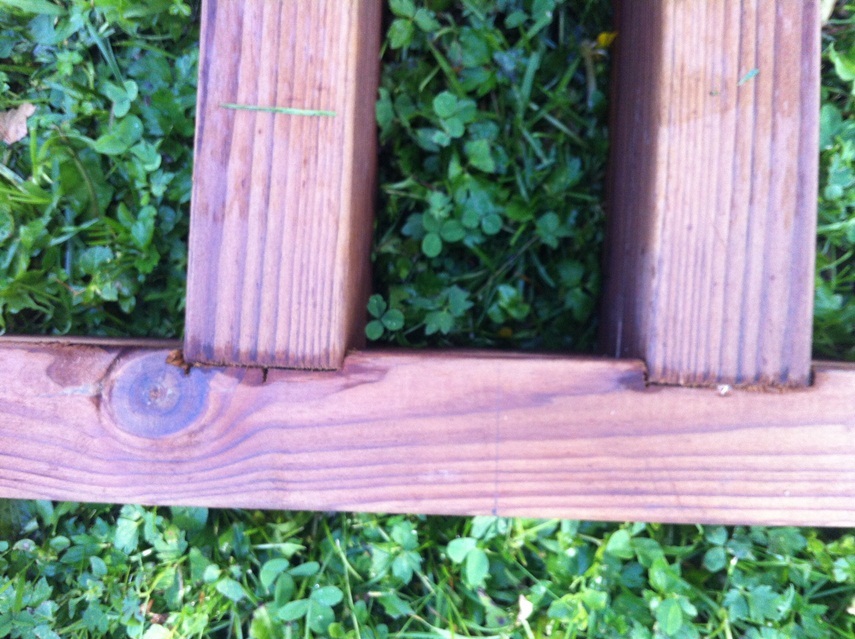
Greetings from Finland. I made teeter-totter from excellent plans Ana has donatet for all of us. I used treated wood, so I didn't need to paint the project (and never will :-) Handles and seats are made from raw wood. Gives also nice twin color look. To add some extra support I embed the beams at foot.

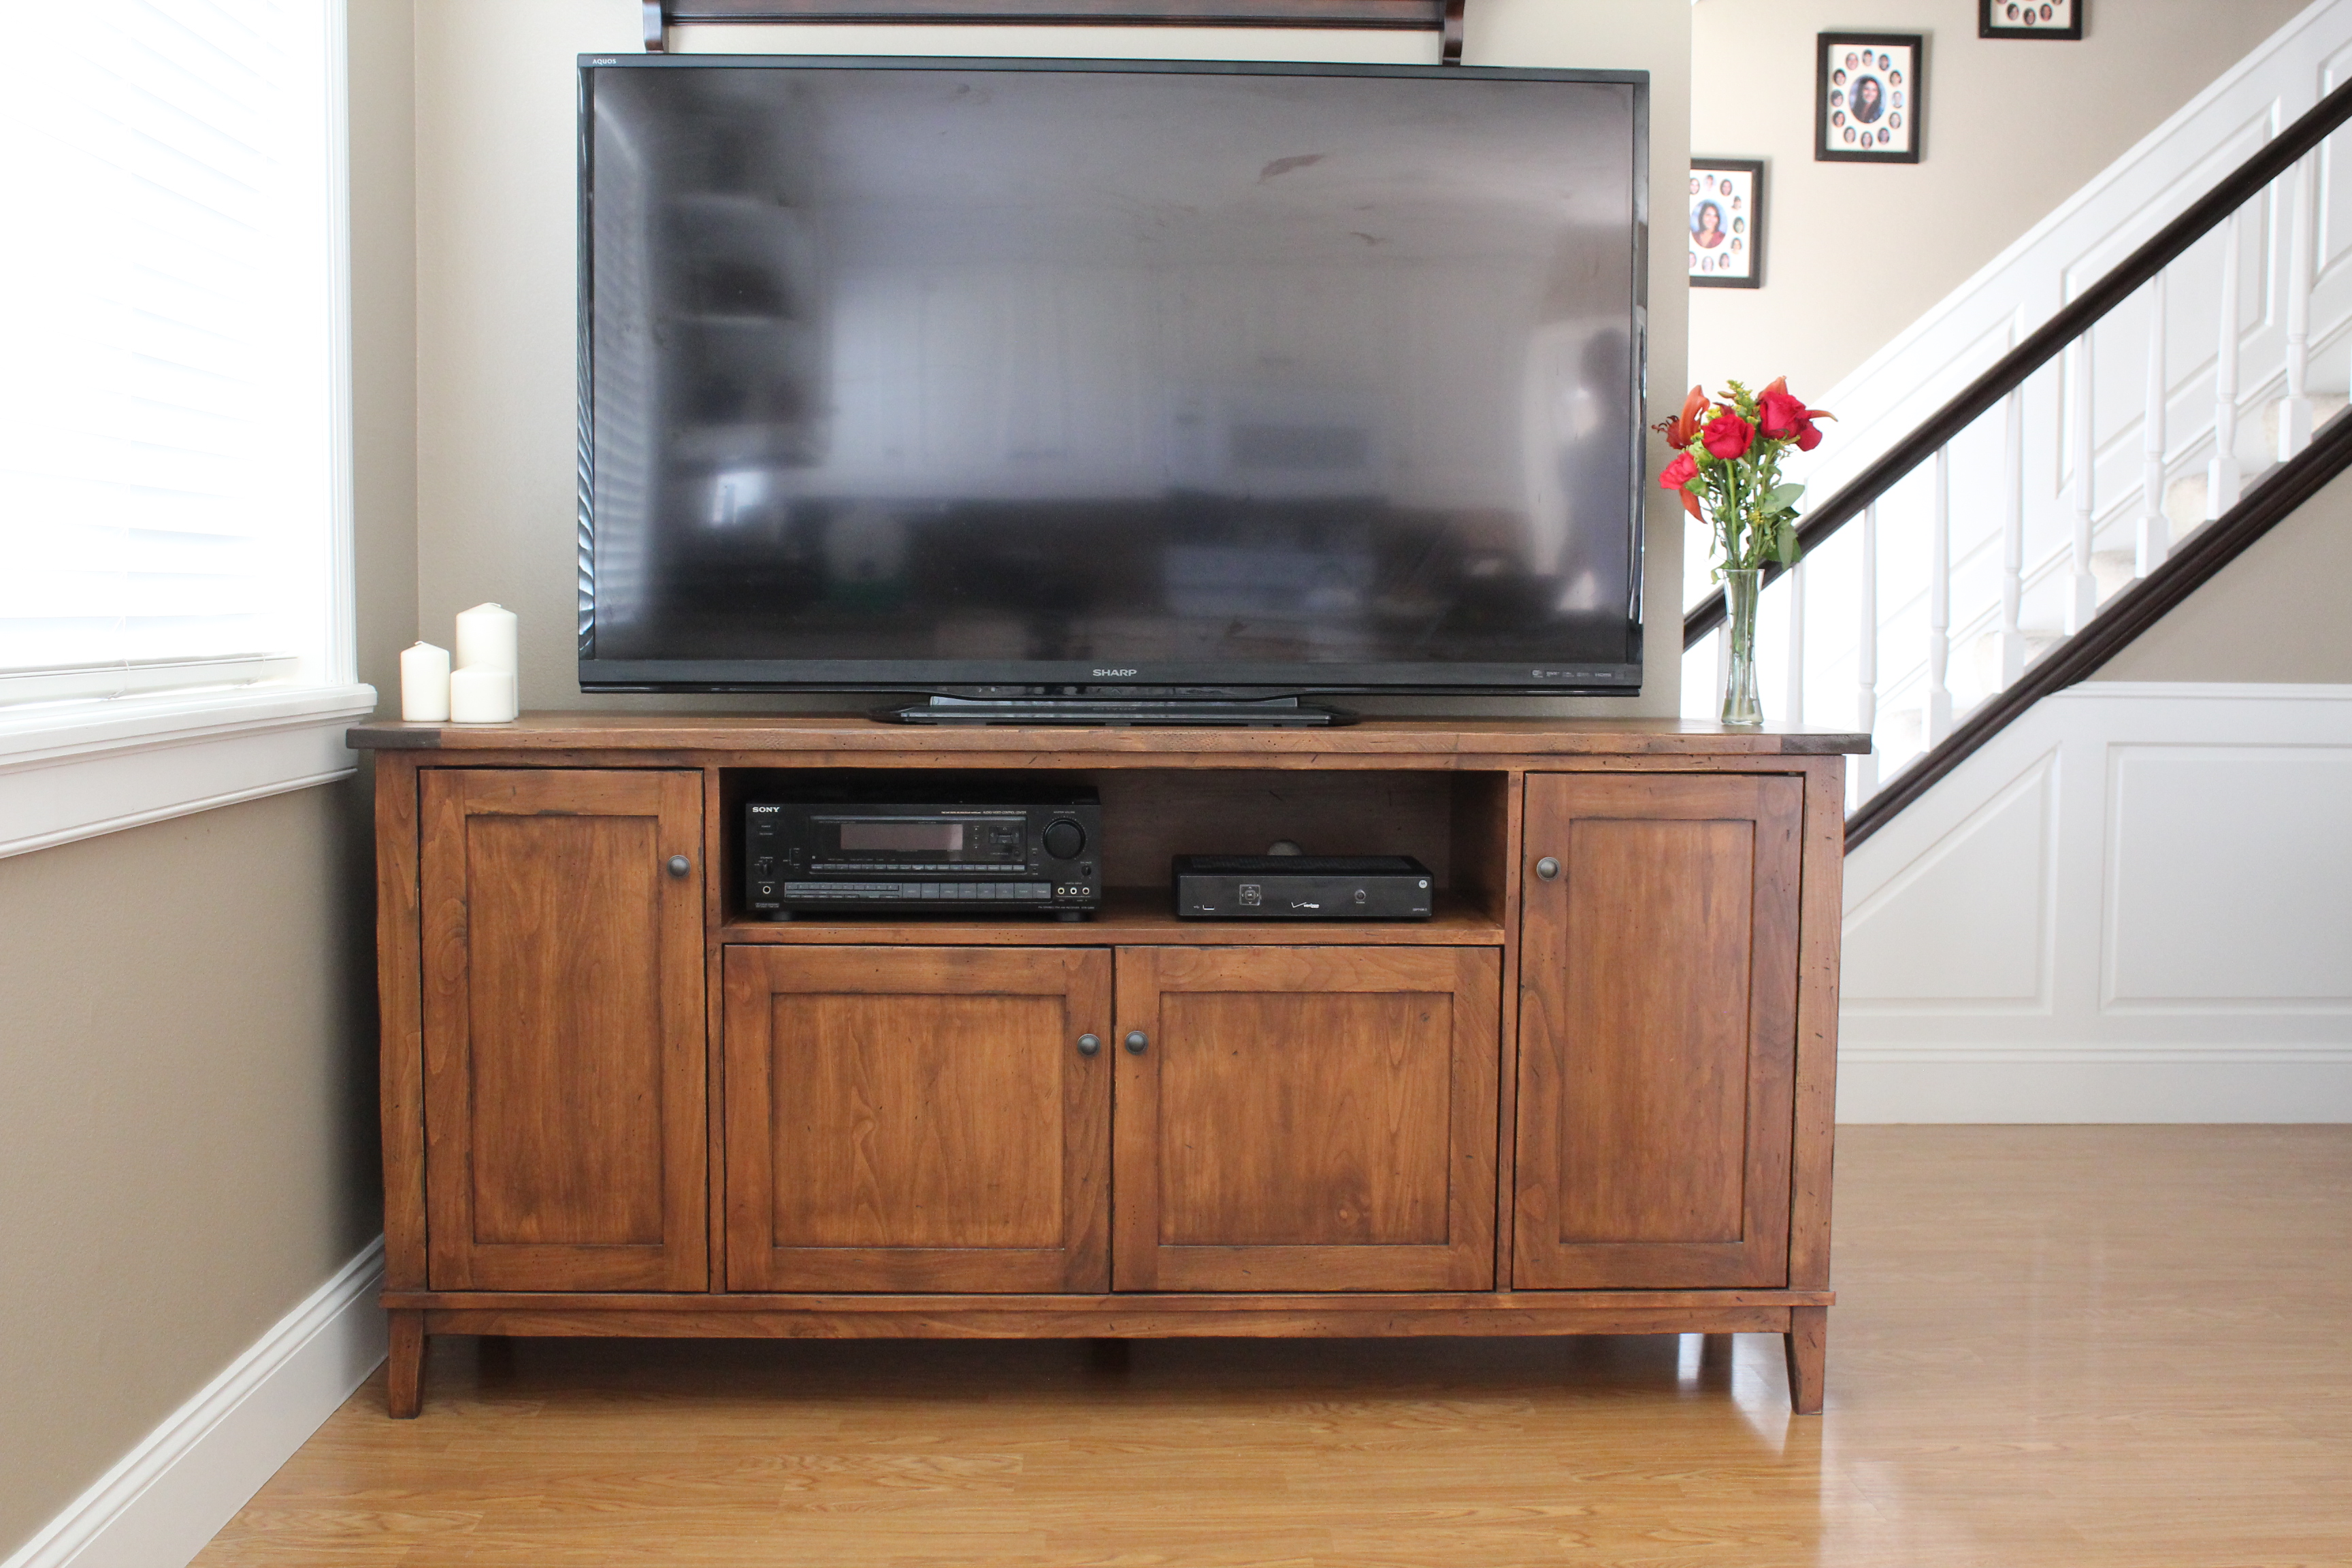
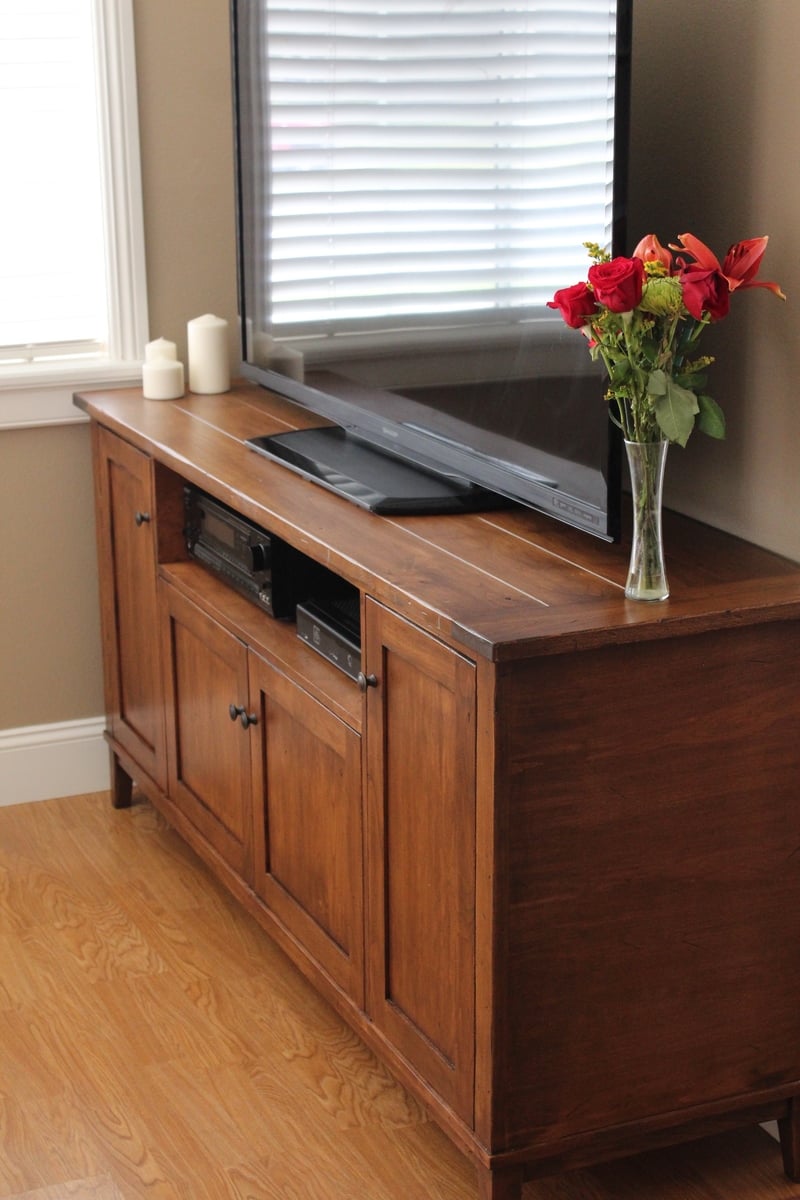
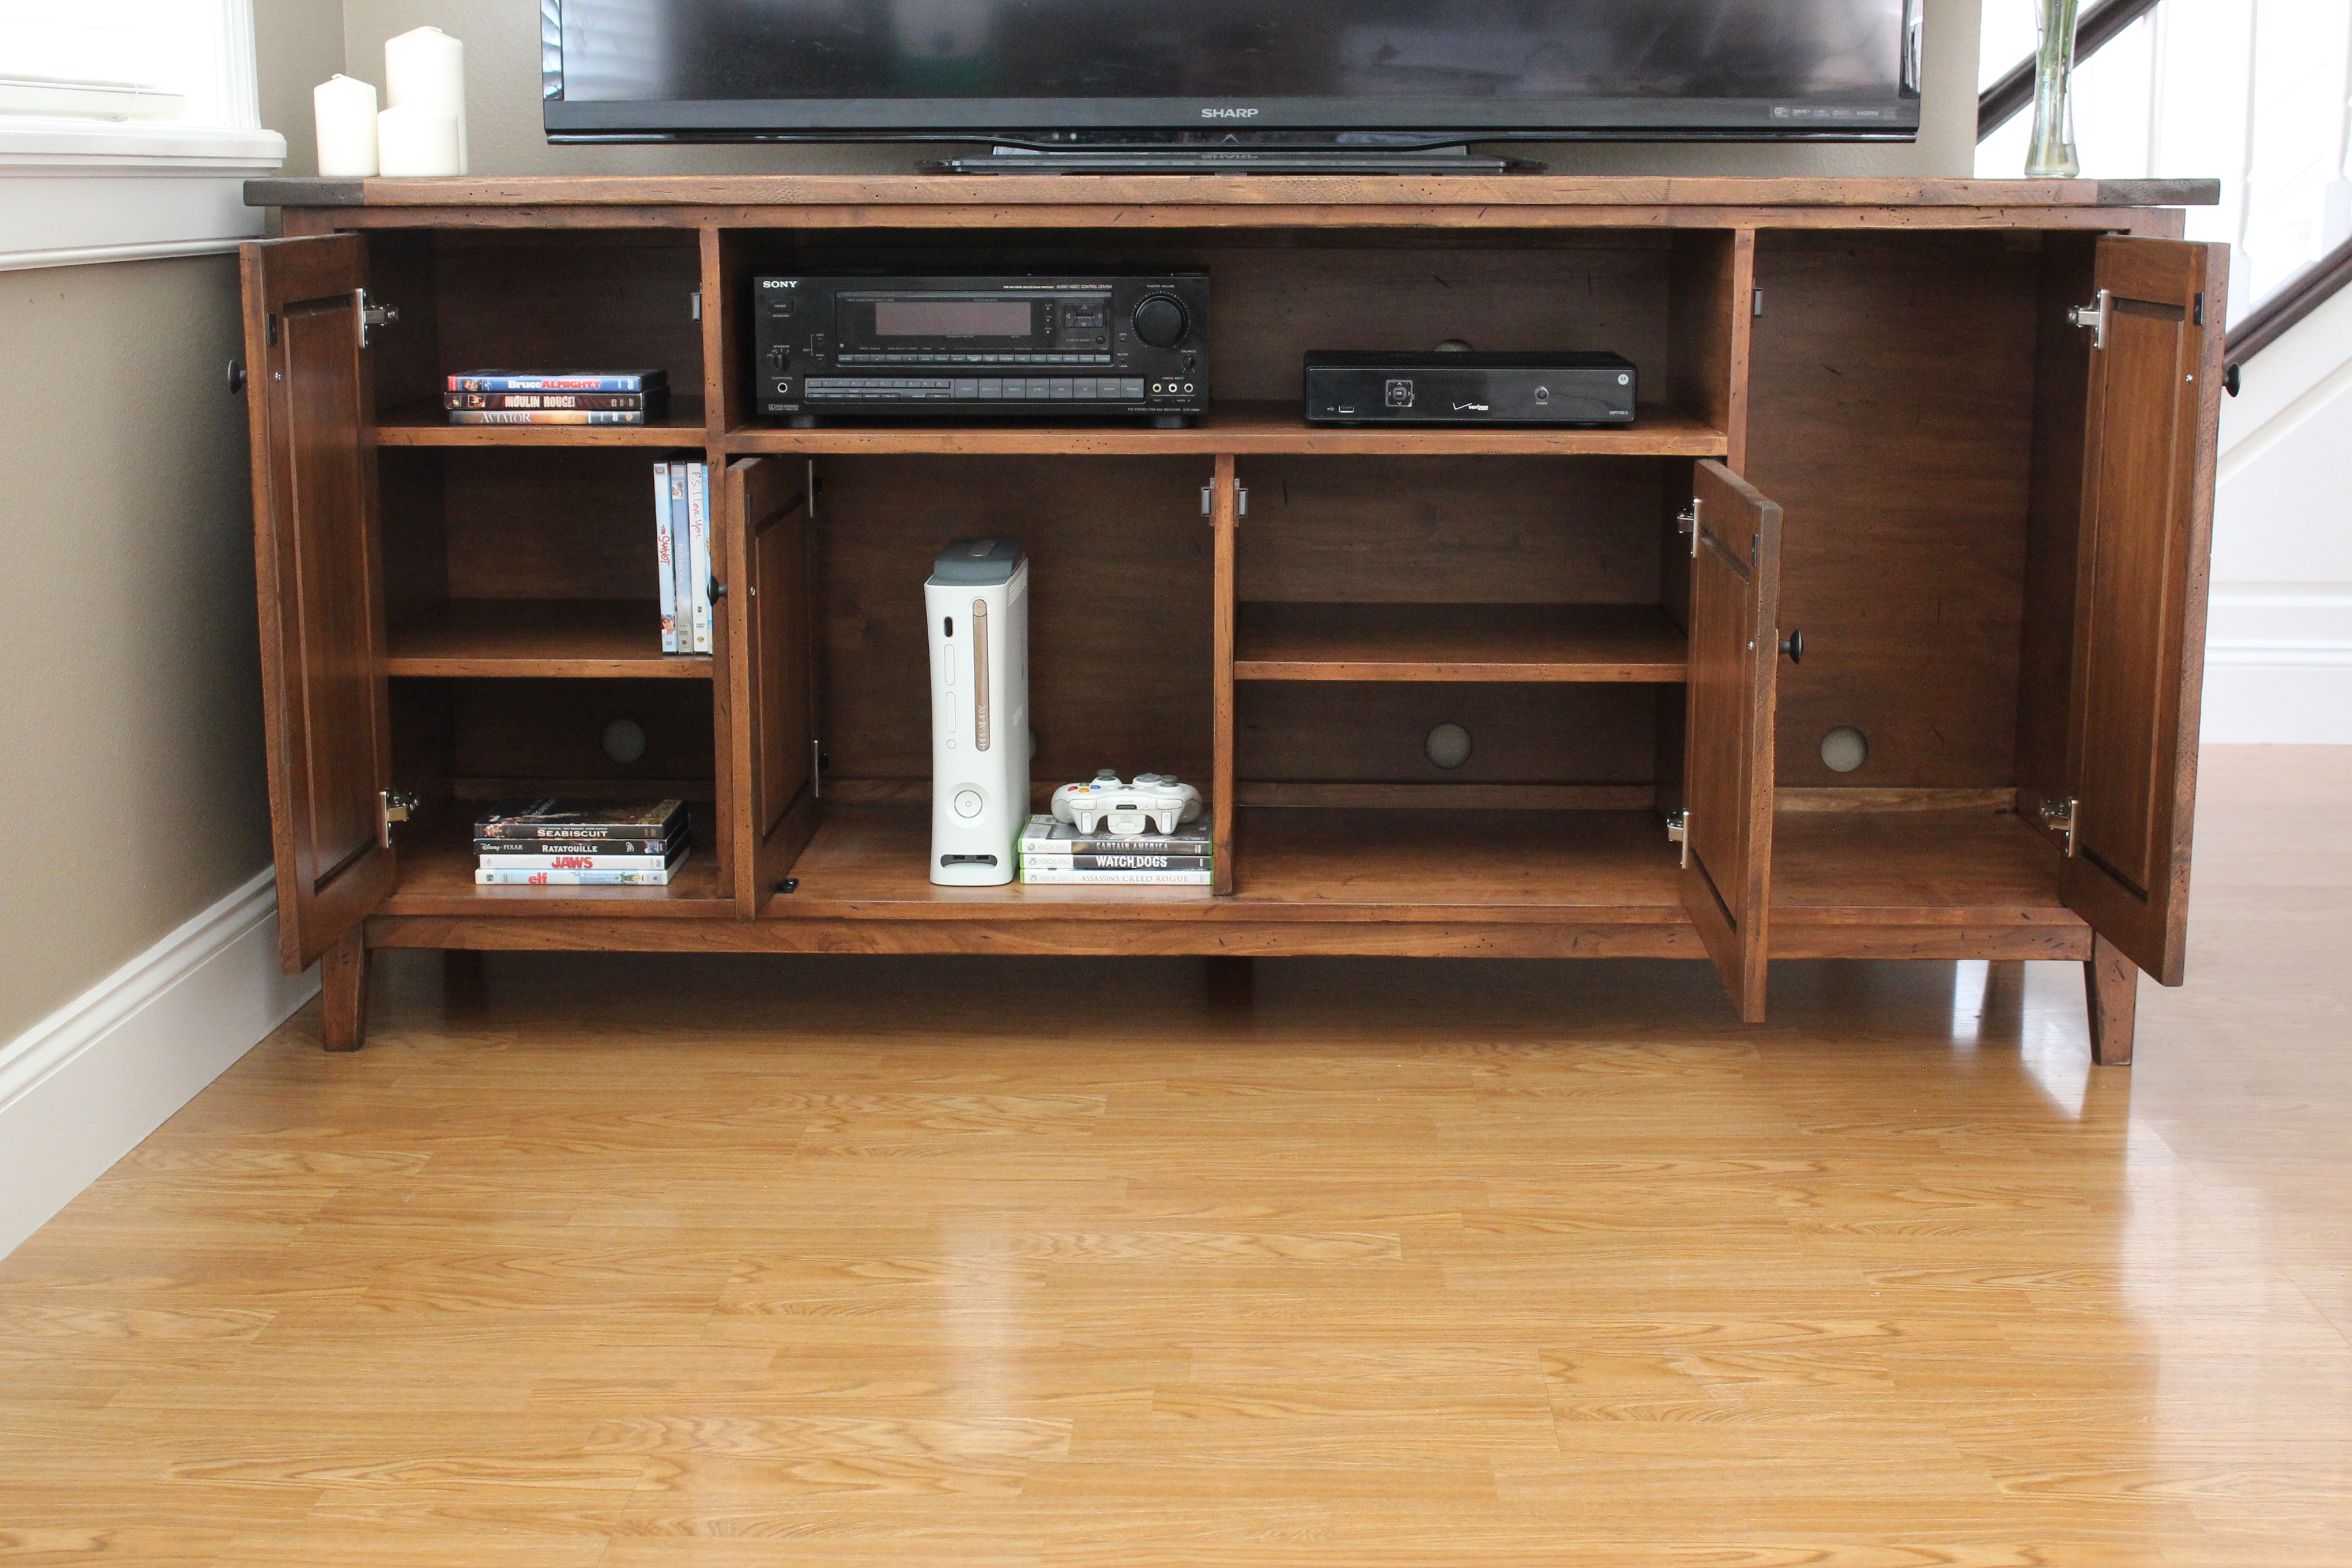
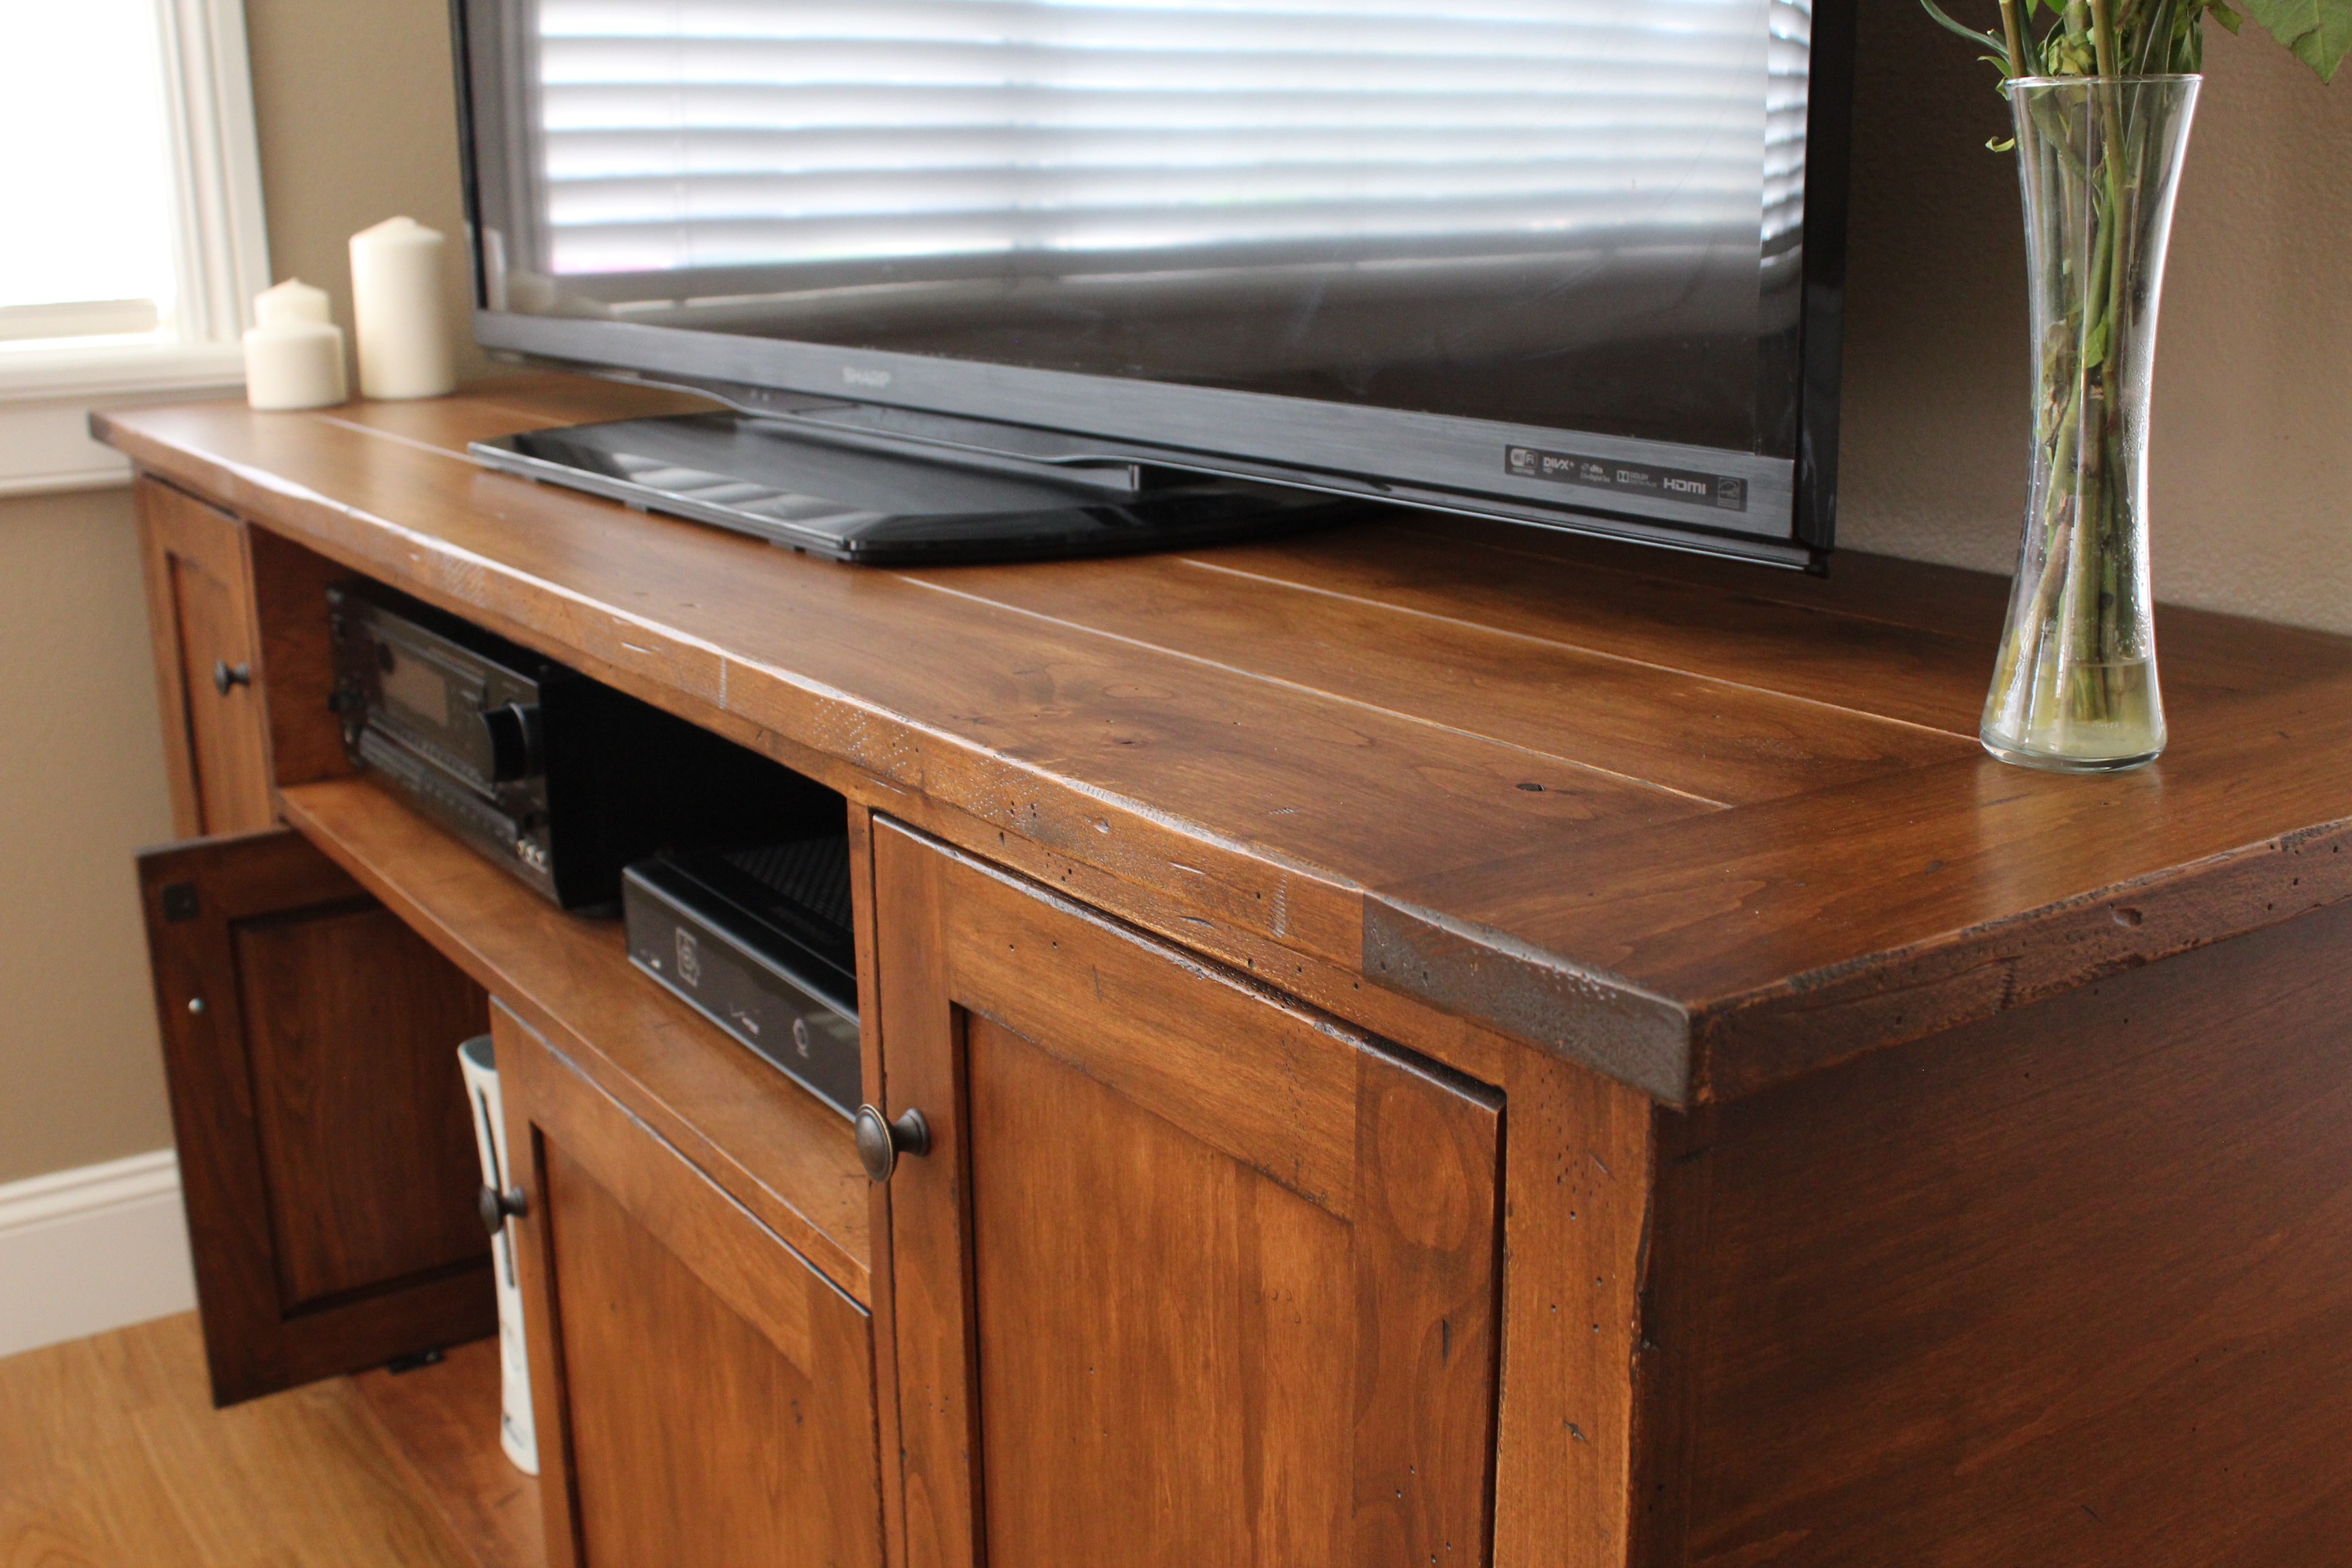
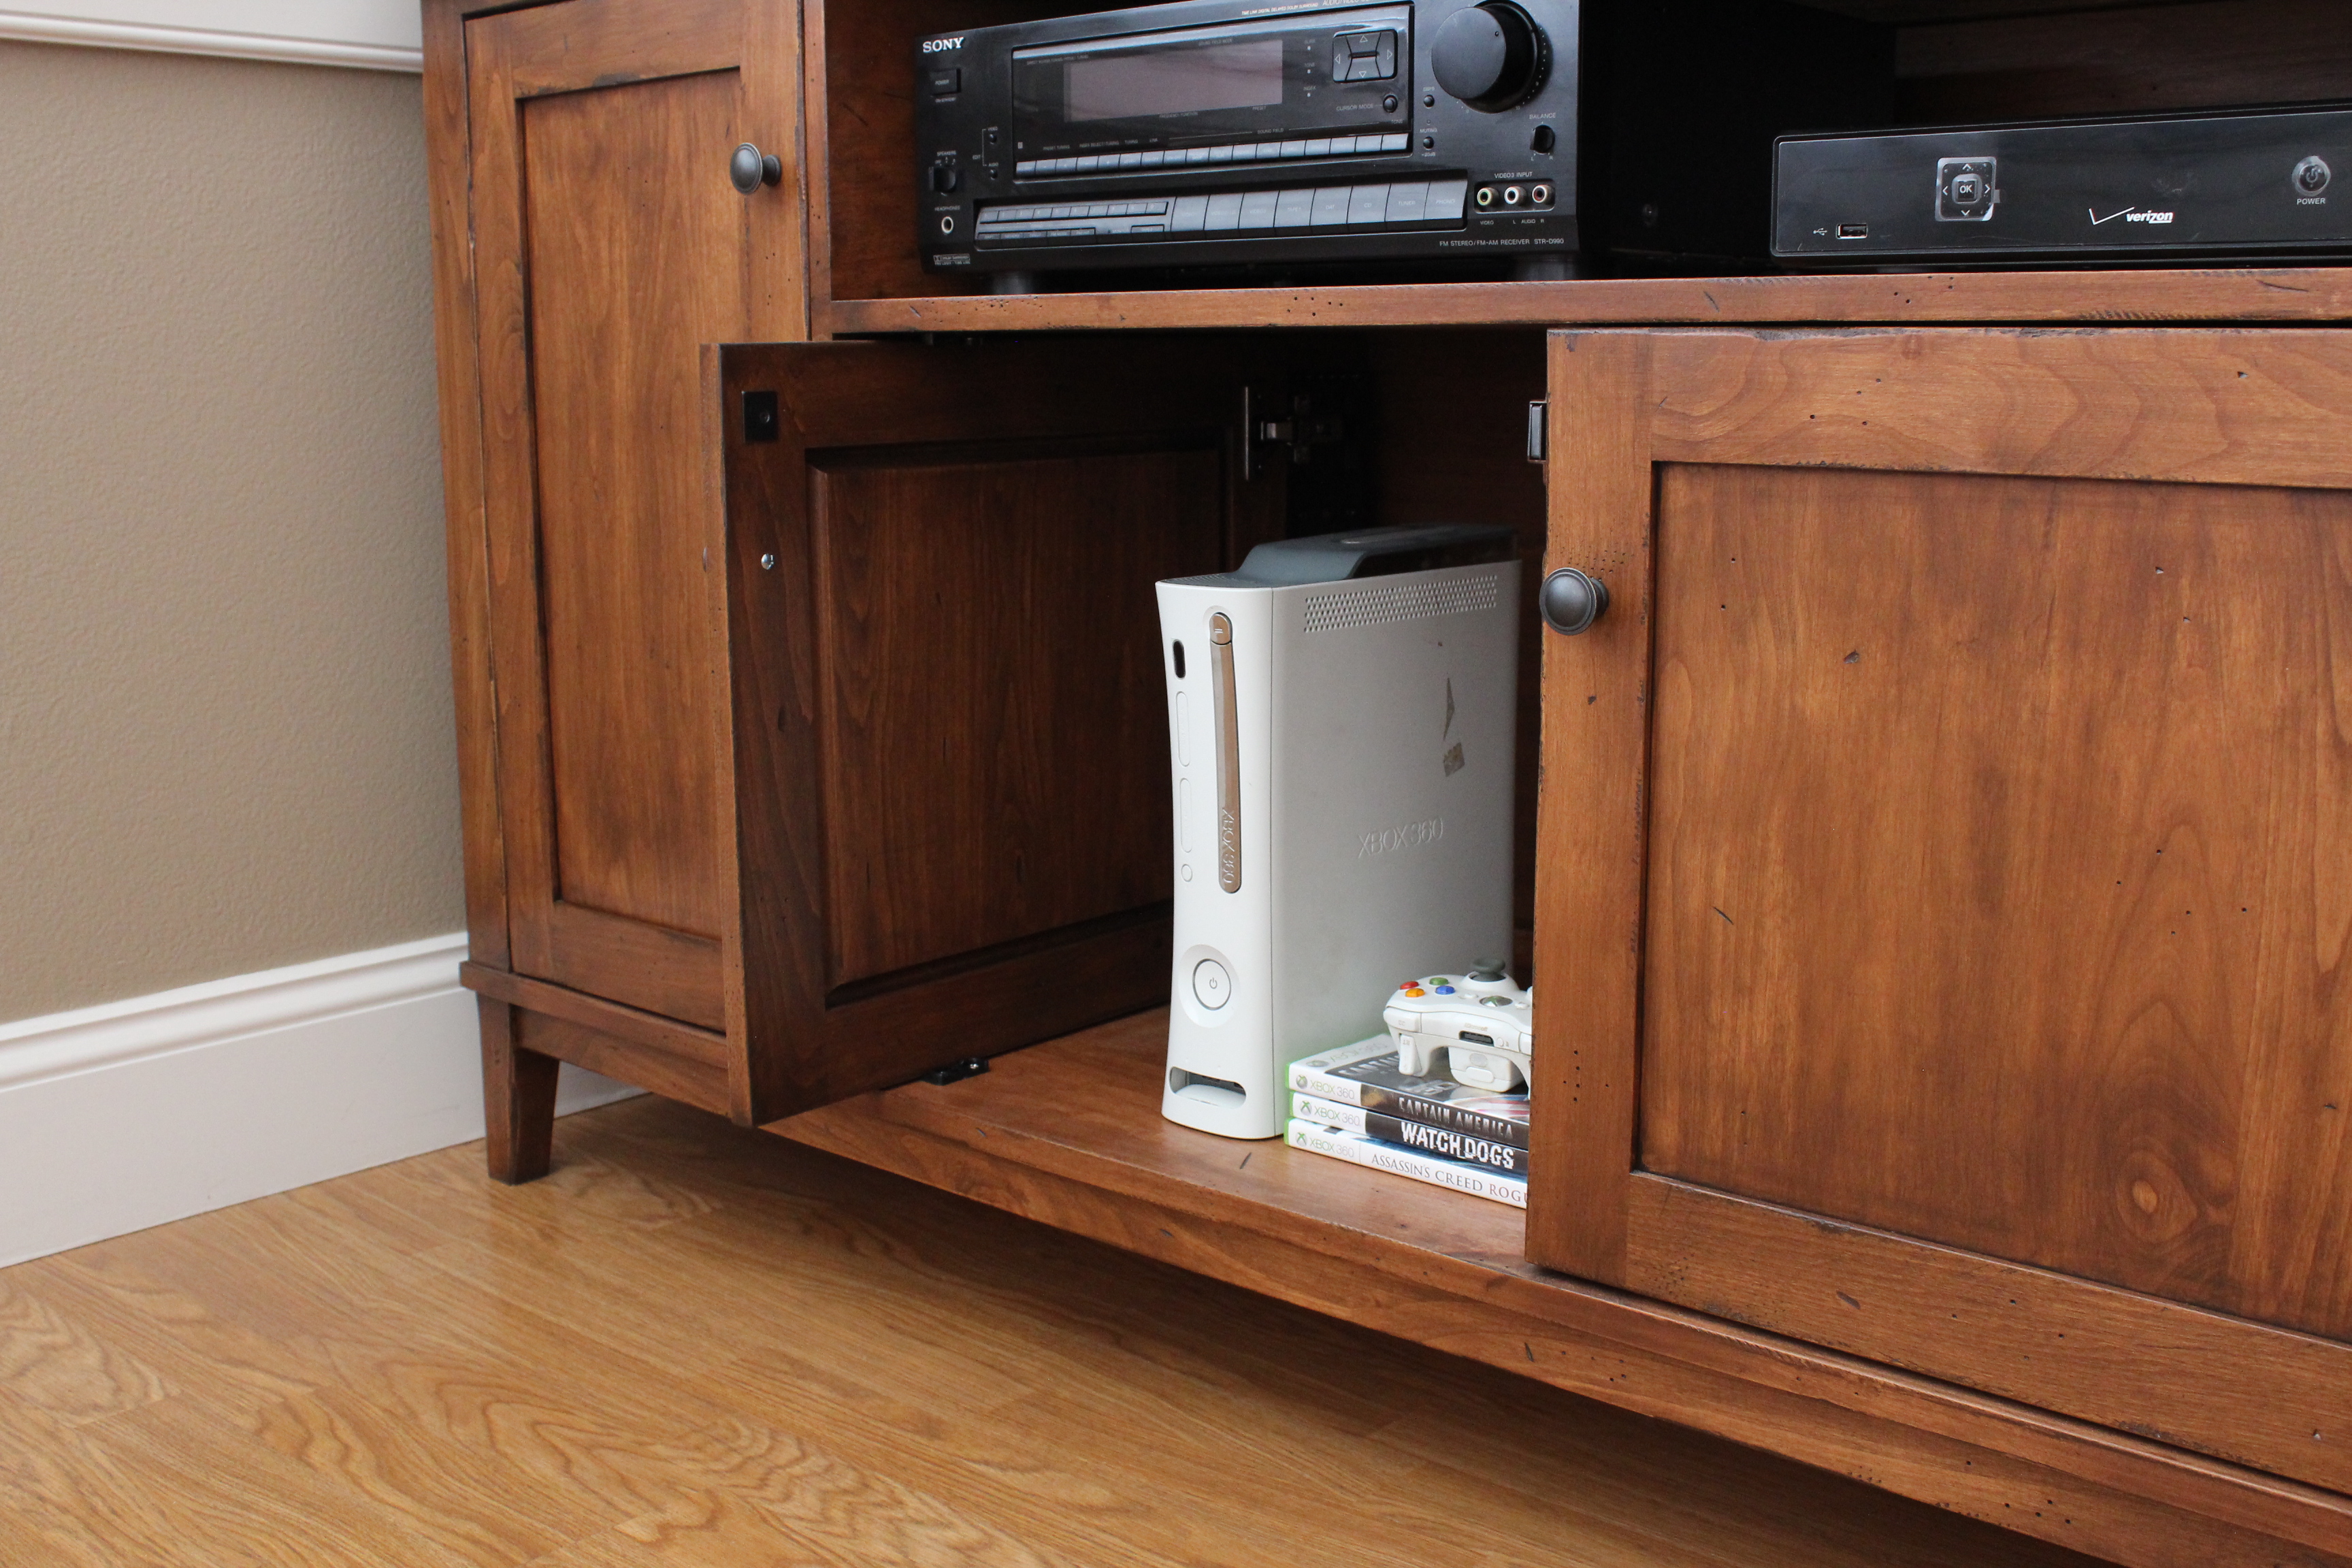
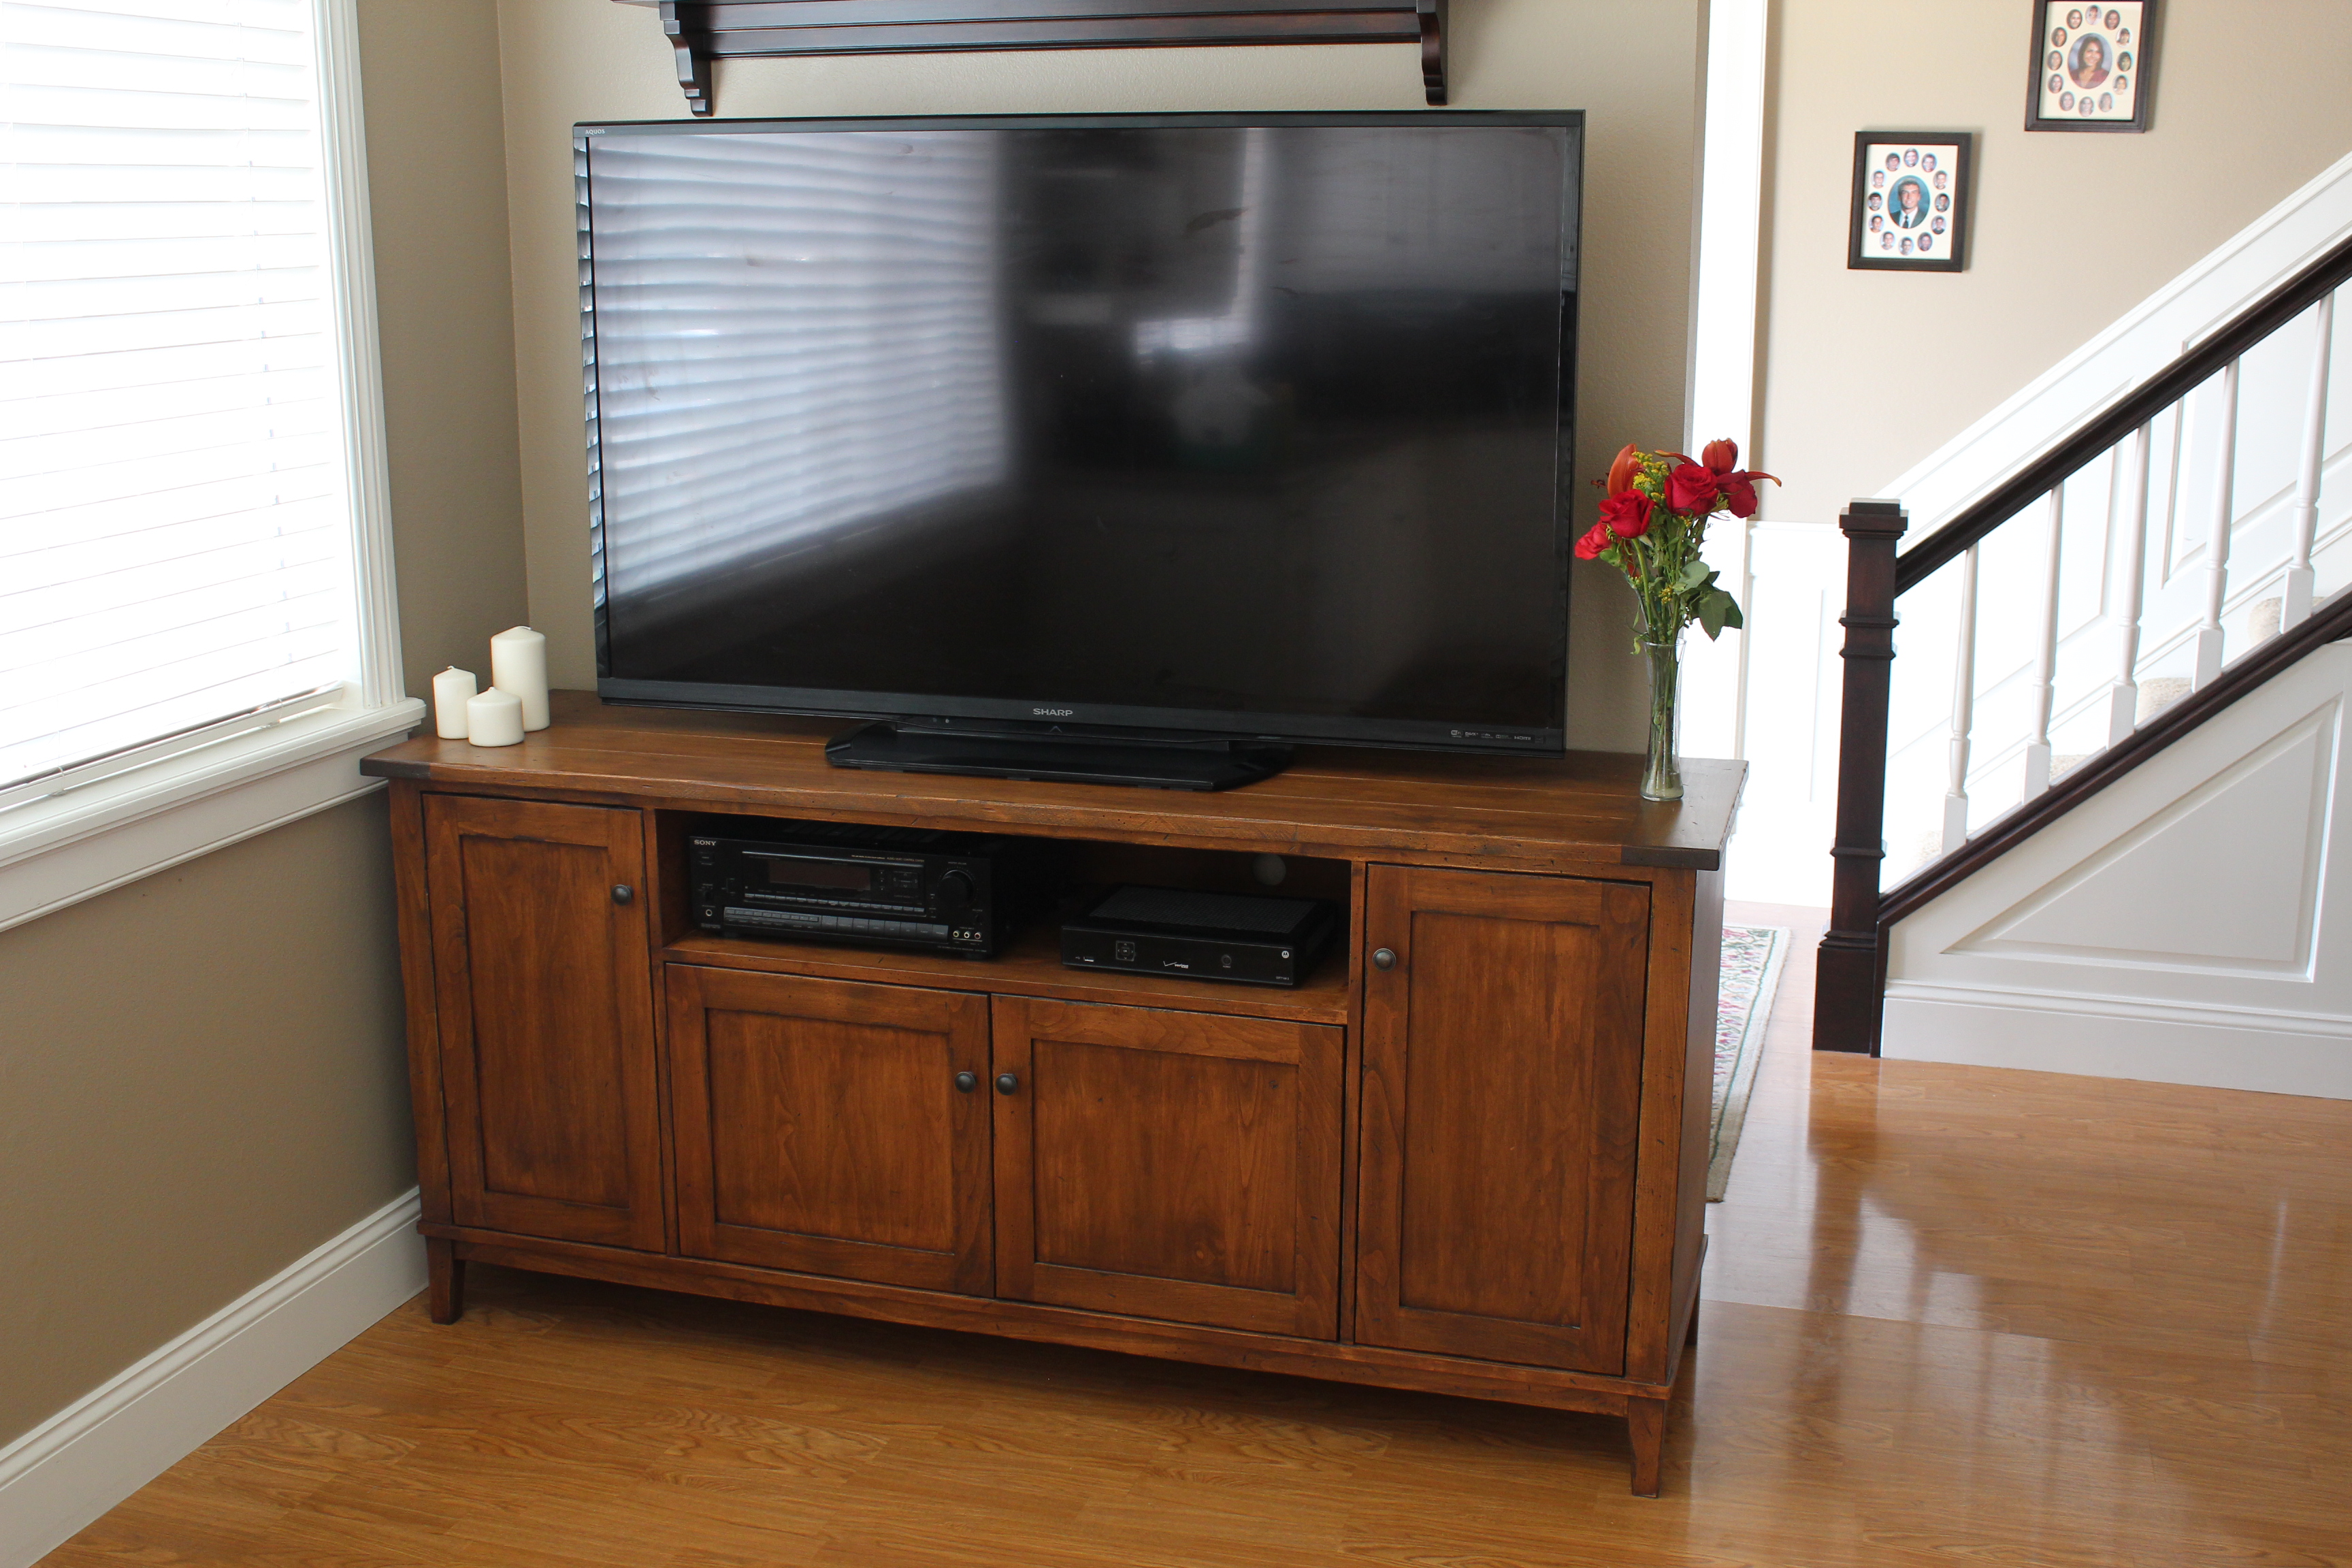
I have been wanting to build this piece for some time now. This is actually a Pottery Barn piece that is now discontinued that I modified here and there. I added a "flipper door" which opens and slides back into the cabinet. Adjustable shelves throughout. I used solid alder and alder plywood for material. - Brad @timberandsoul www.timberandsoul.com

Sat, 05/16/2015 - 14:52
that looks great! I love seeing your brag posts! You make really great quality furniture. :) Hopefully one day I get to that point :)
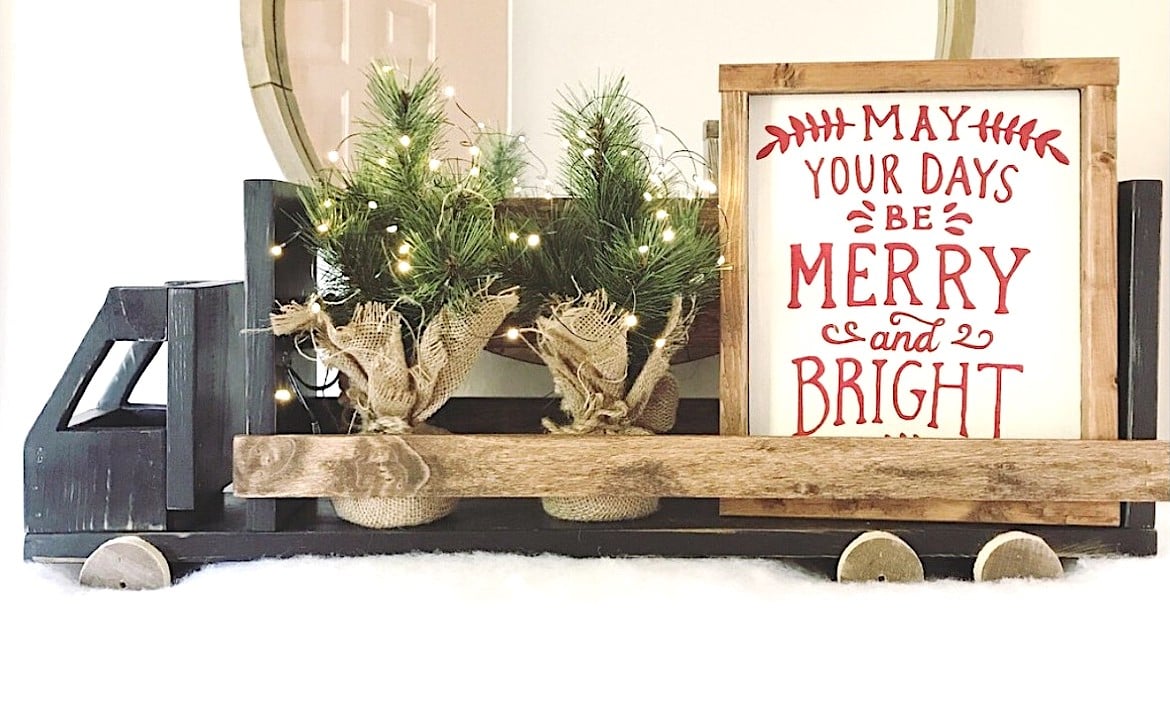
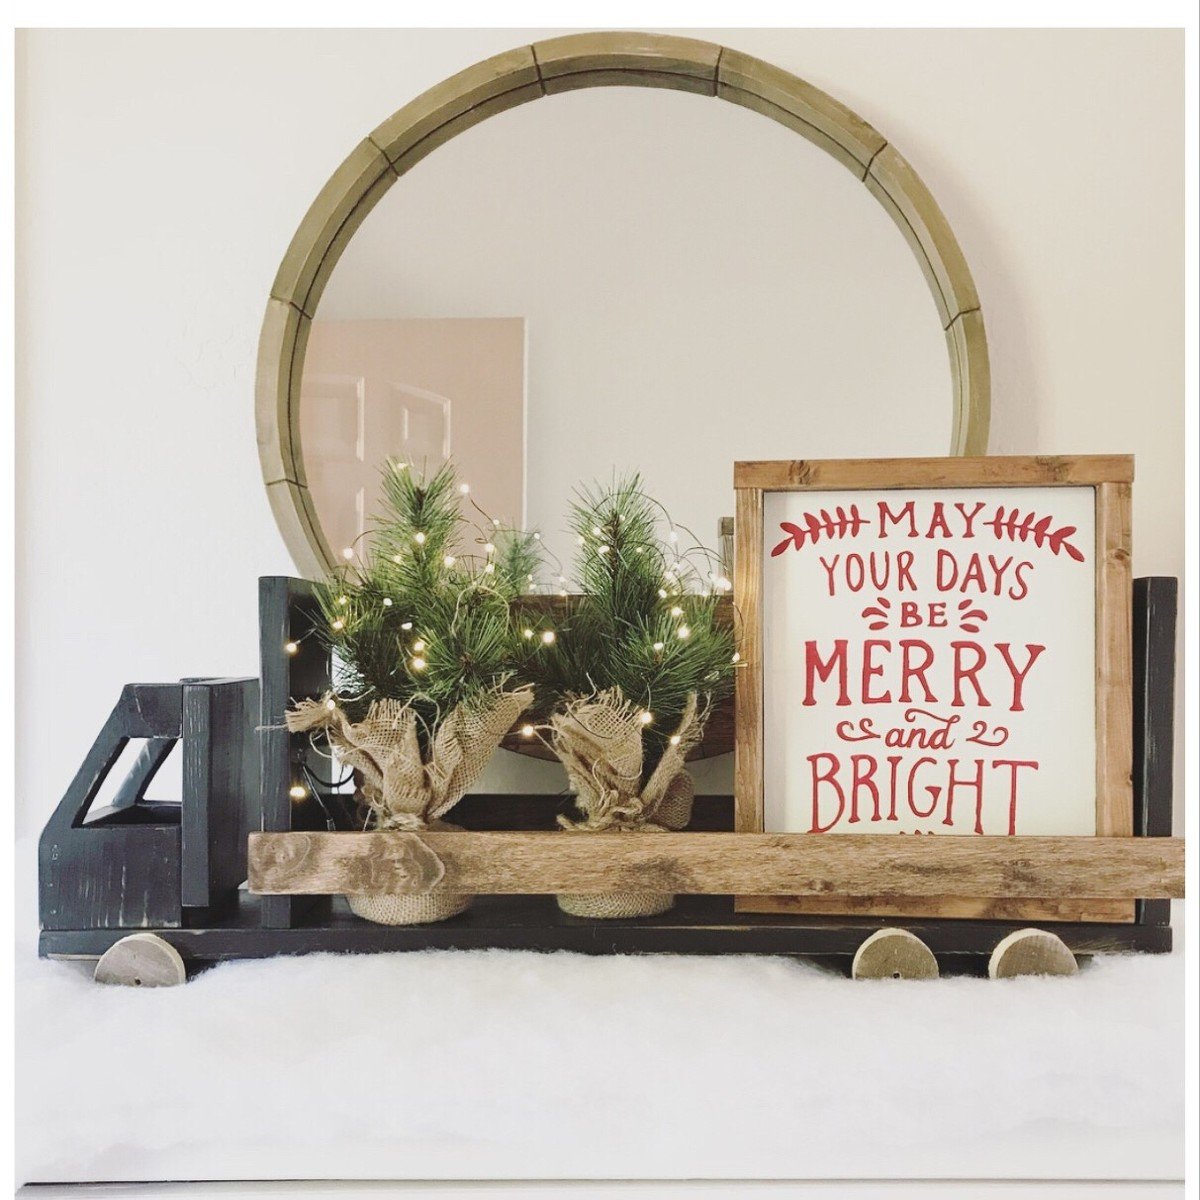
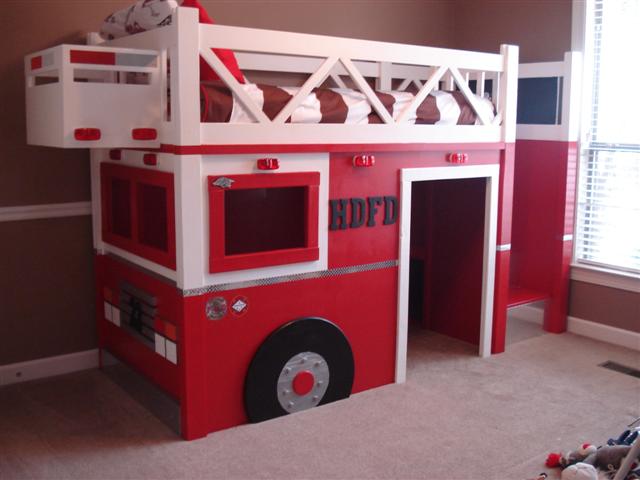
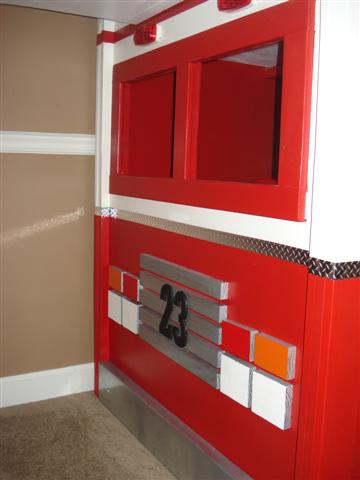
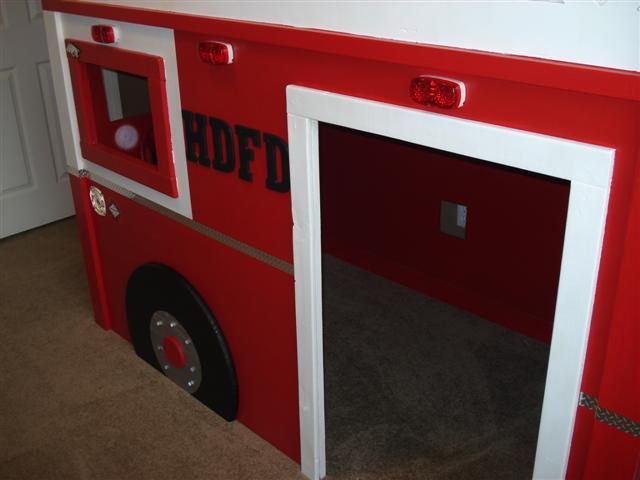
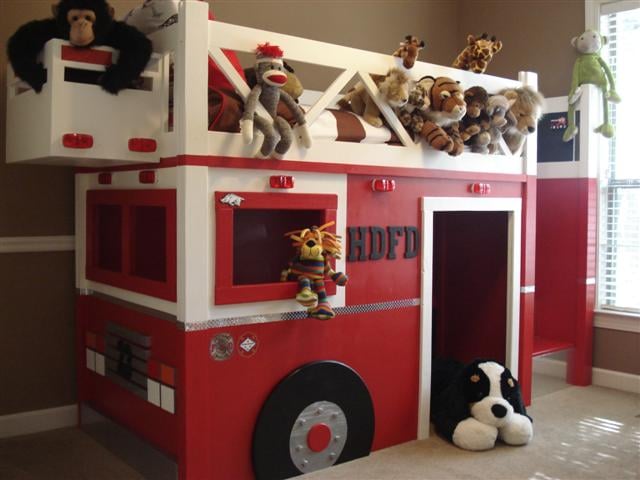
I built this truck to give to my son for a Christmas gift. It came together really fast. It took about 2 hours including sanding, painting, staining, waxing, and assembly. I really love the finished product! I have a lot of pictures of the process on my blog.

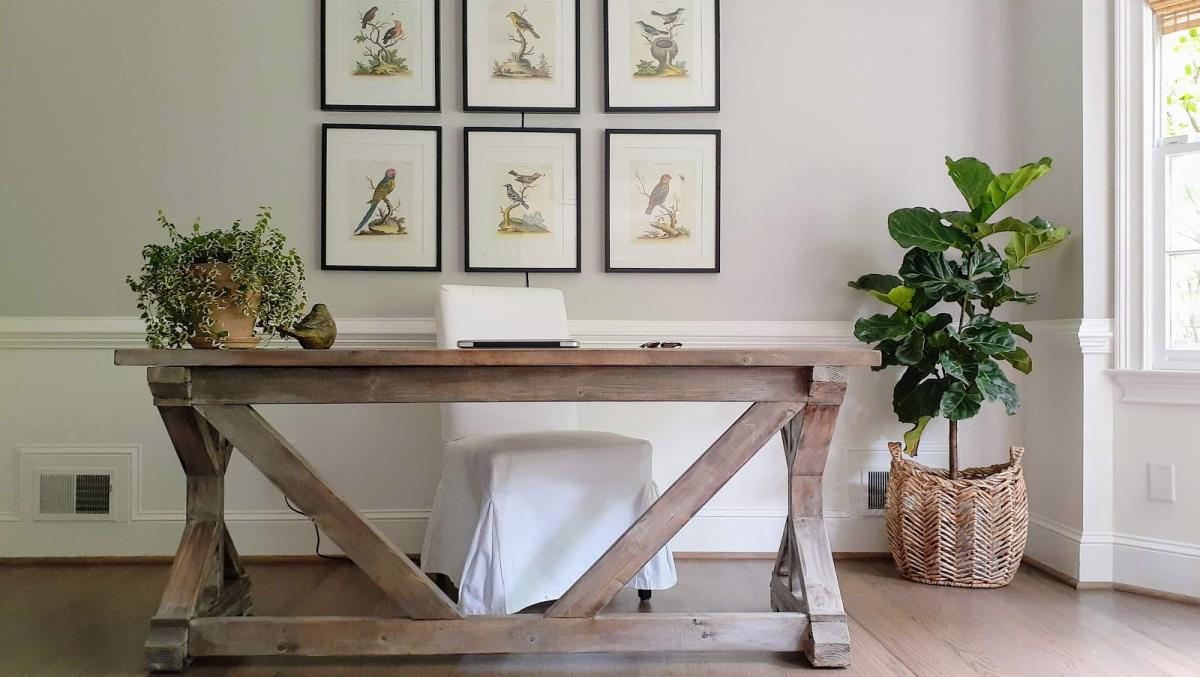
We love the style and finish on this fancy farmhouse desk, for more details visit Oak House Design Co.
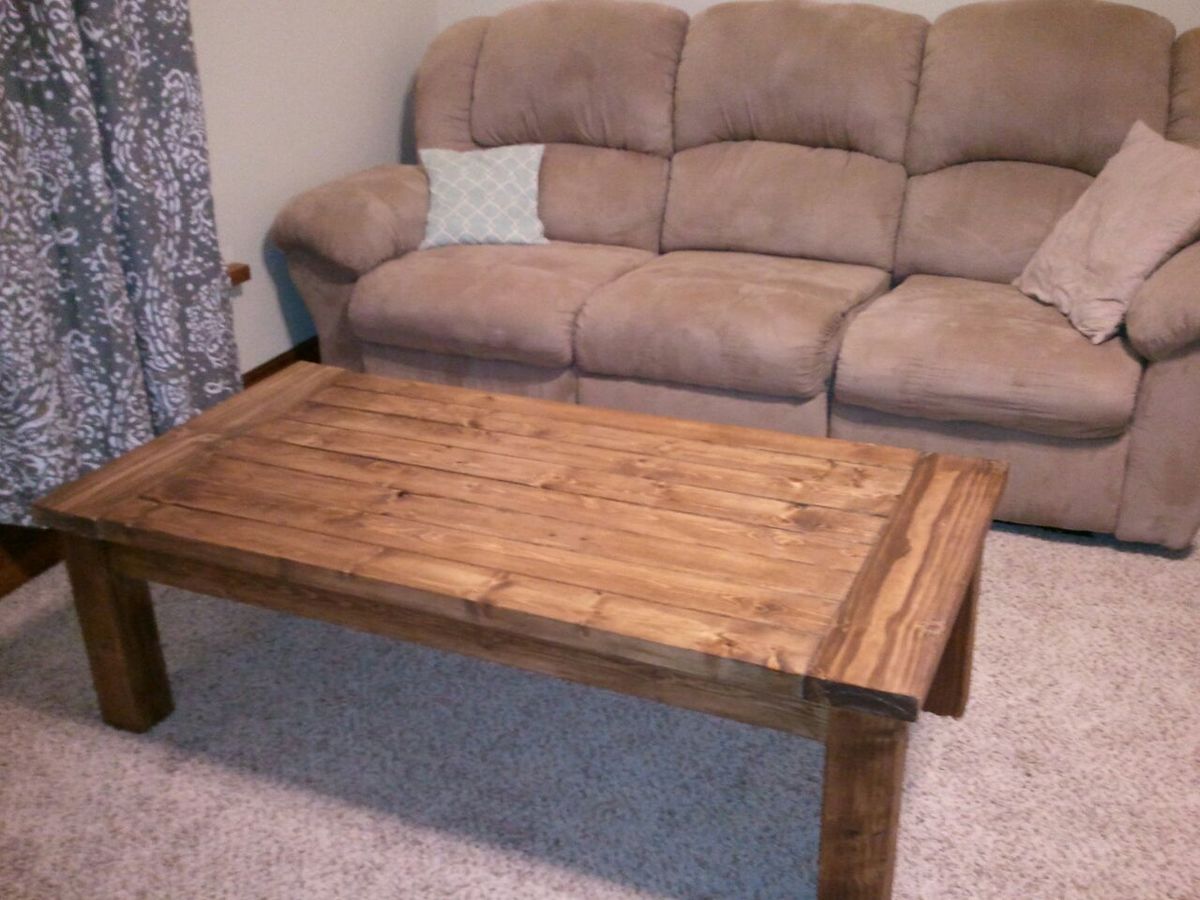
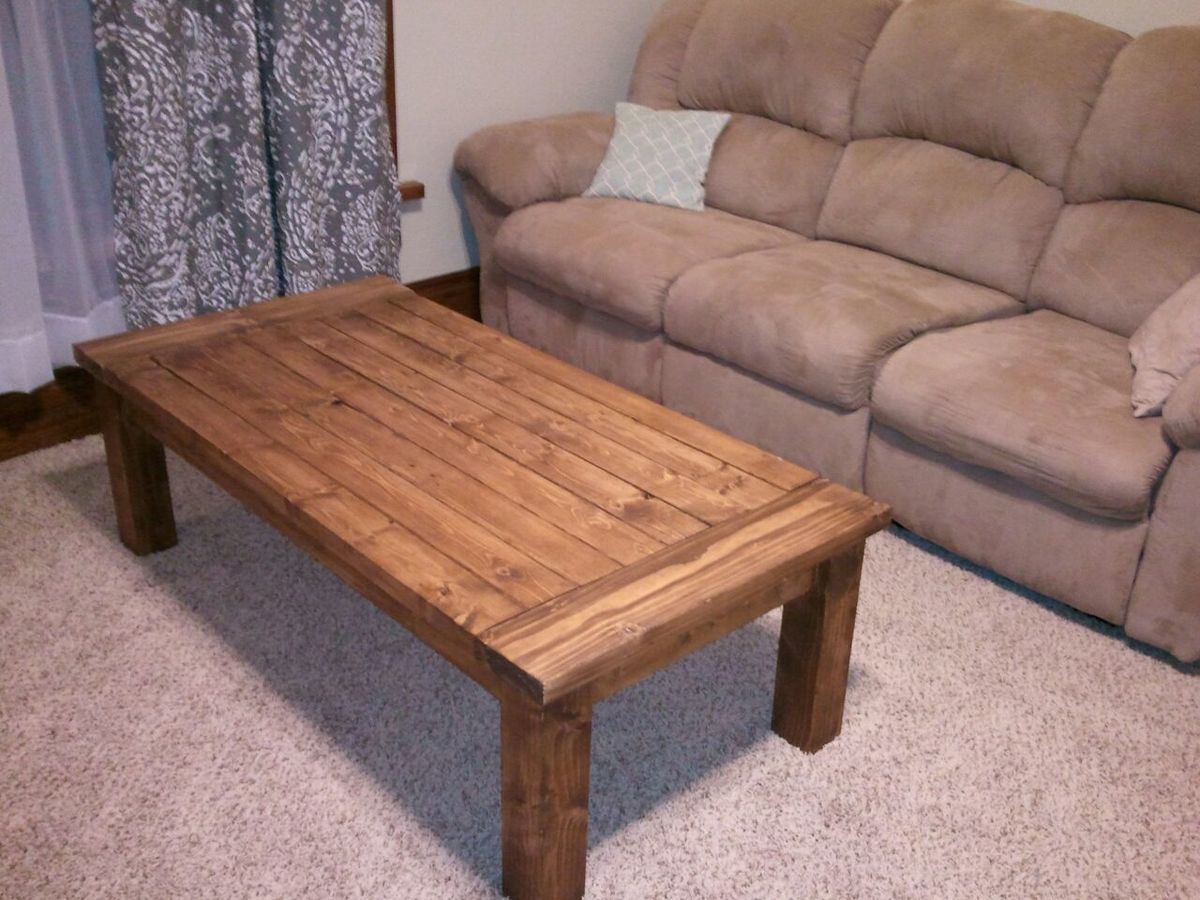
This was my first project. We are using it in the Man Cave.

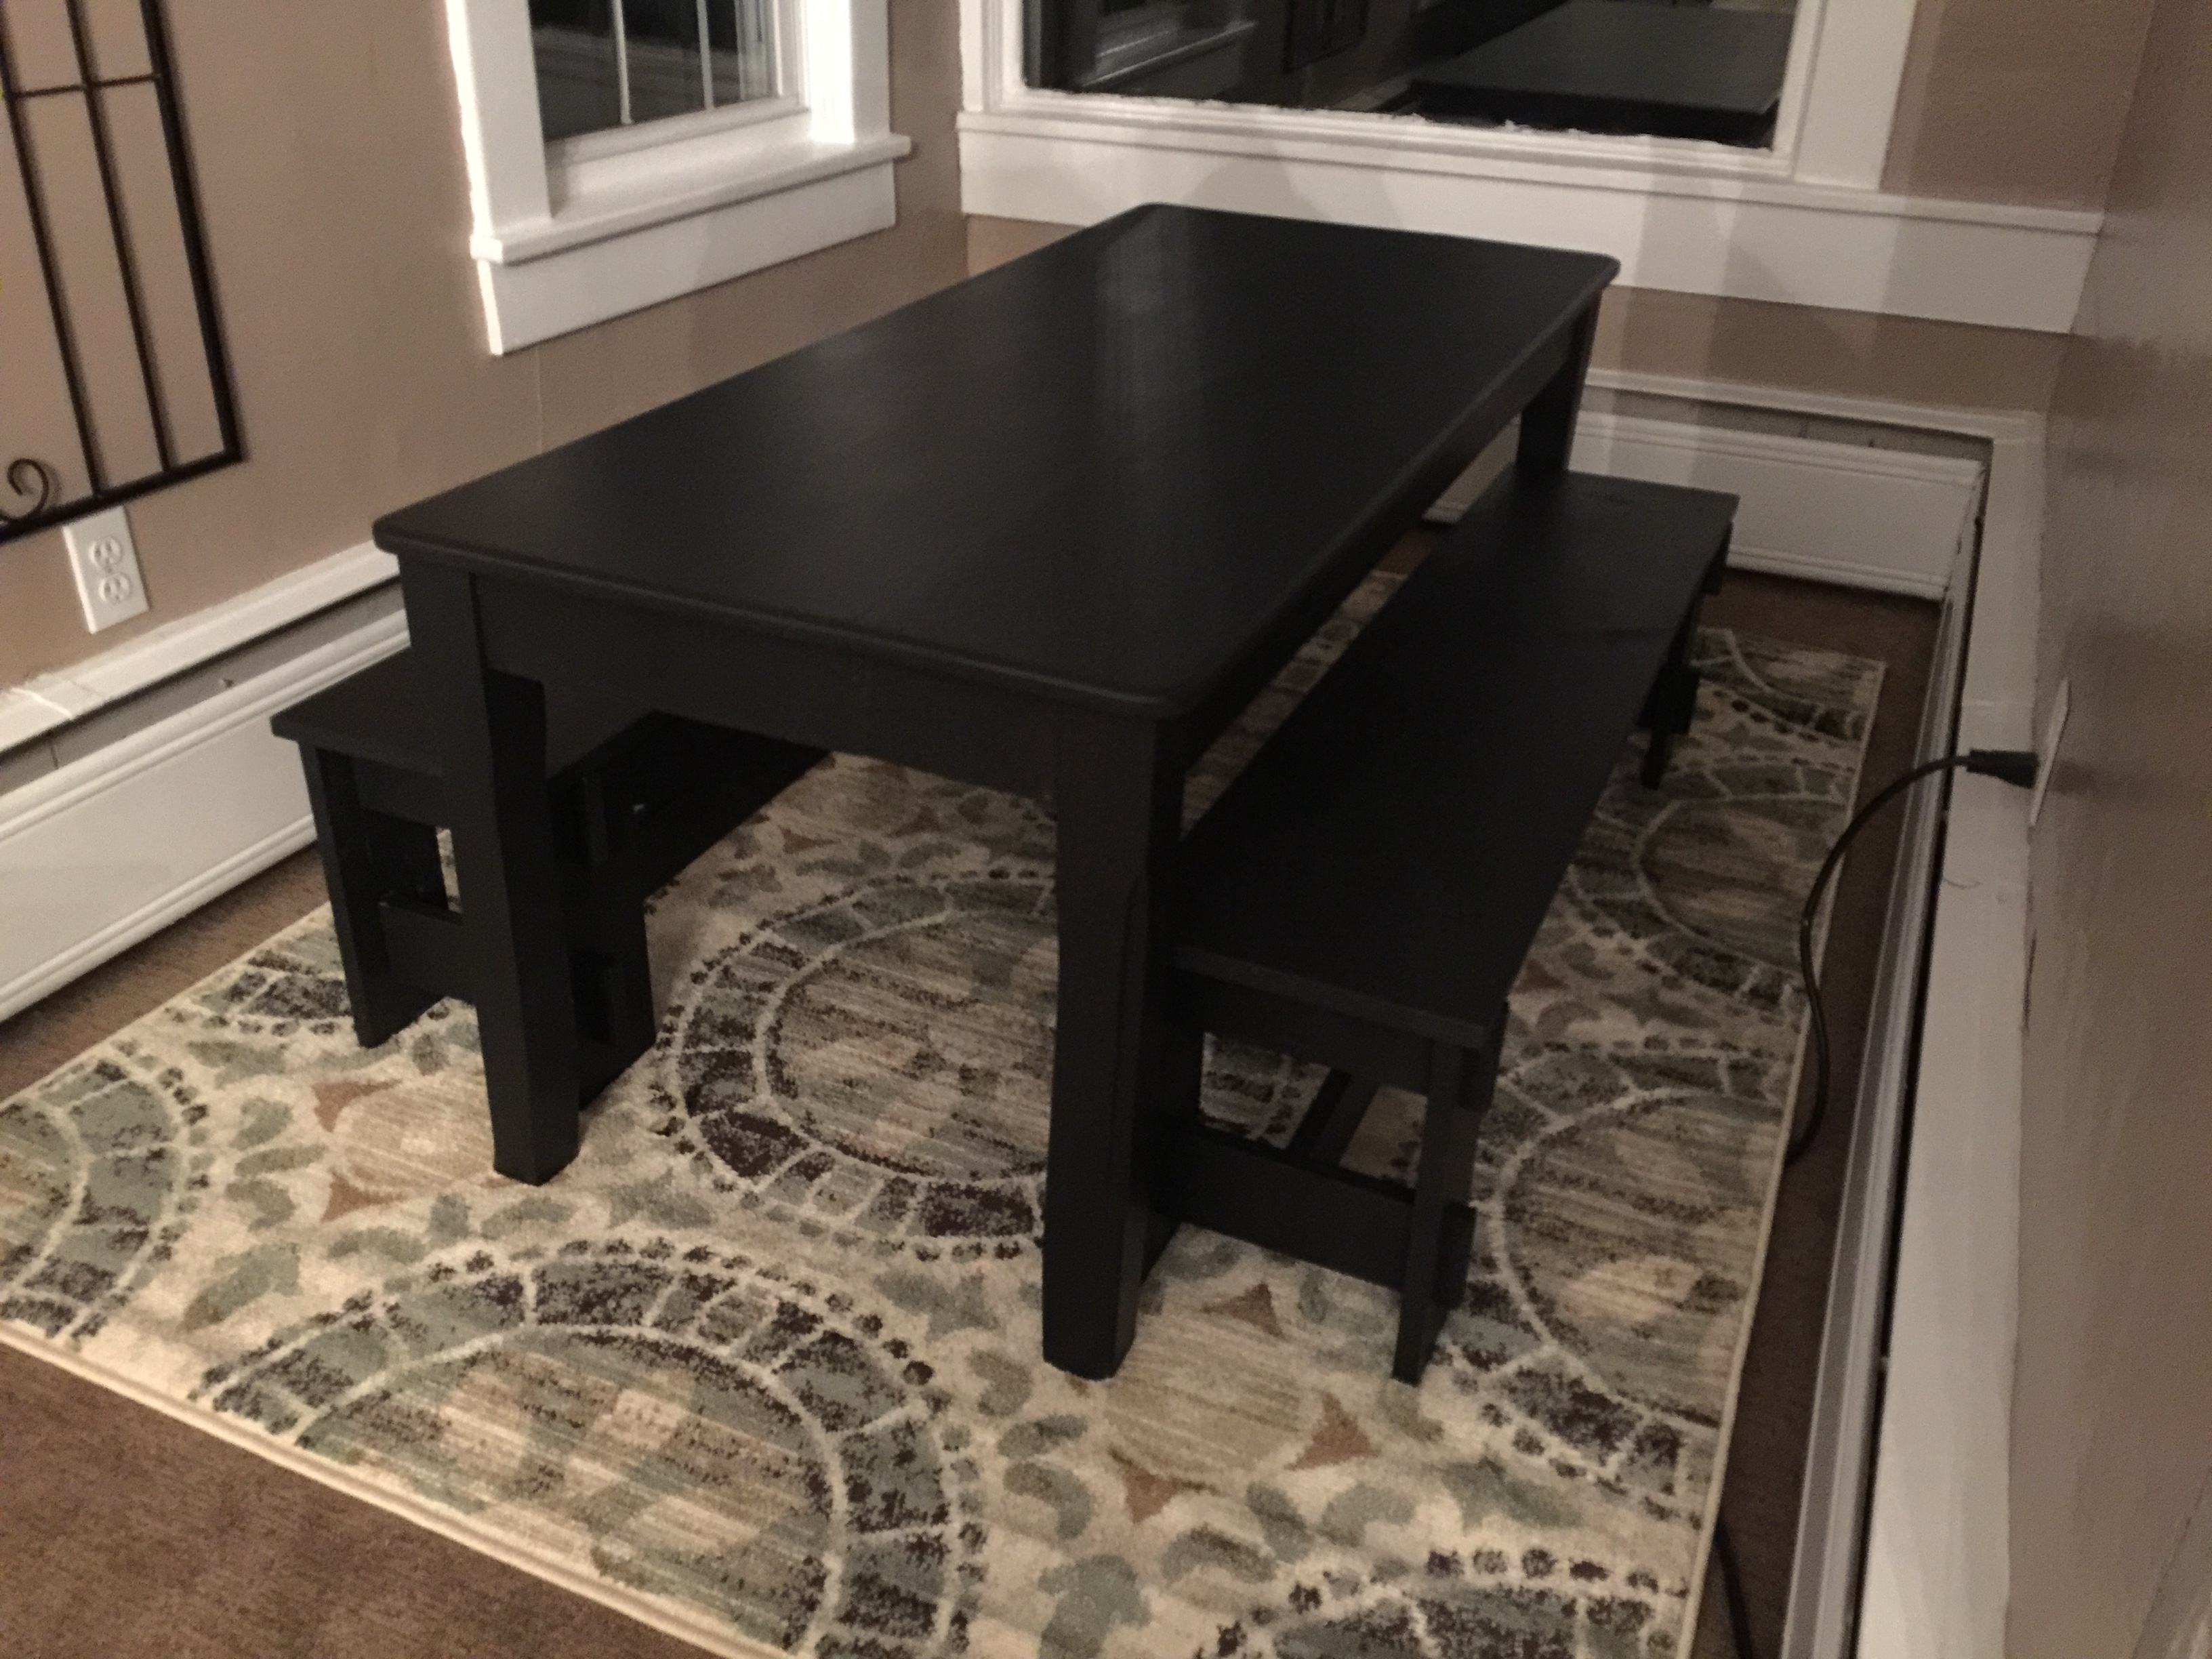
I scaled down the large rustic x bench plans to create seating for my grandkids at the new kid's table.

Wed, 05/20/2015 - 08:46
I really like that bench. Especially how beefy it looks scaled down like that.
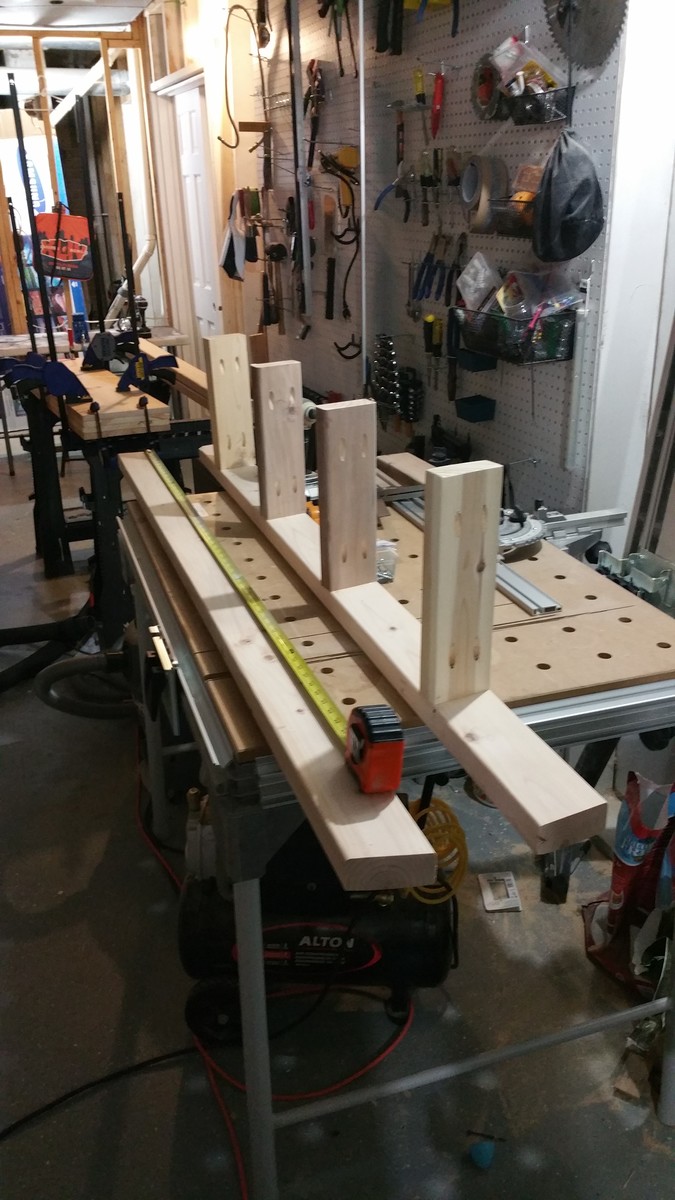
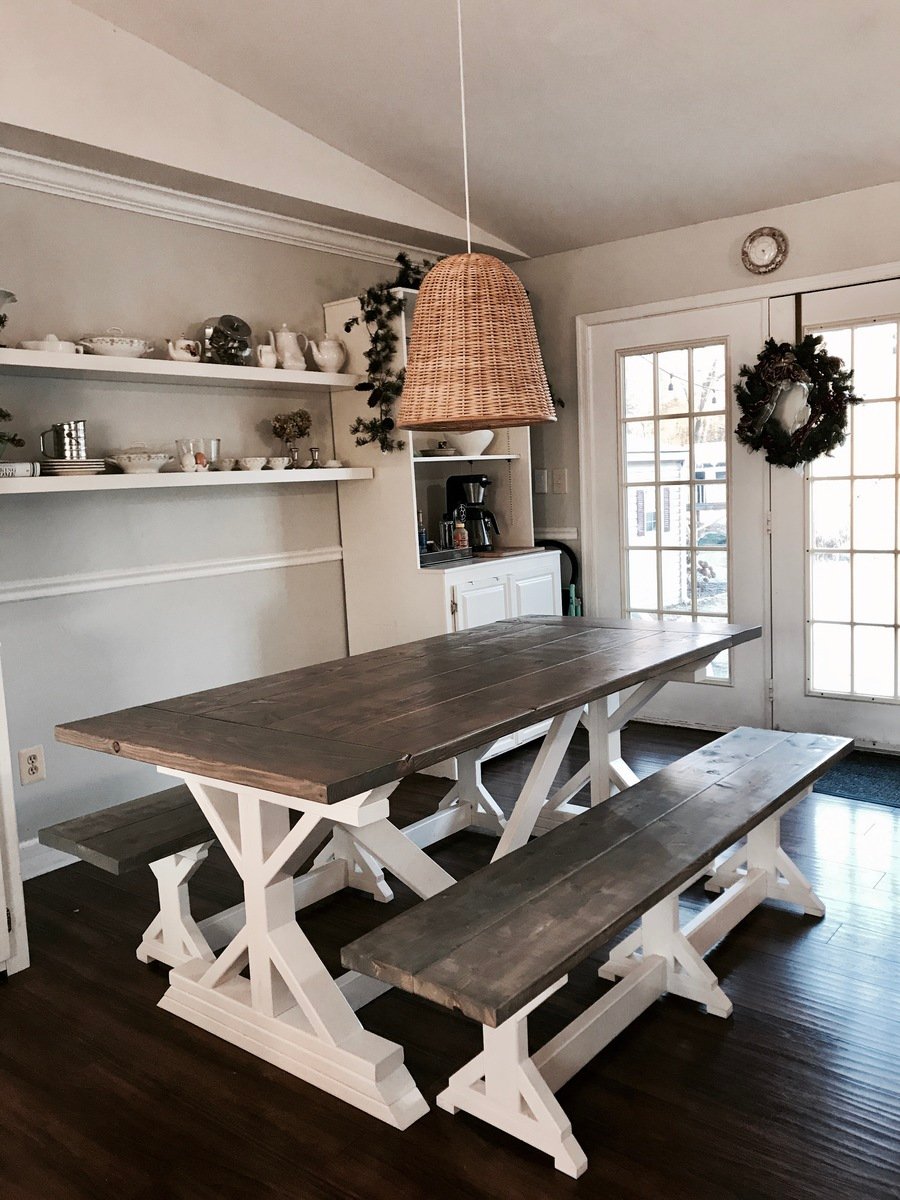
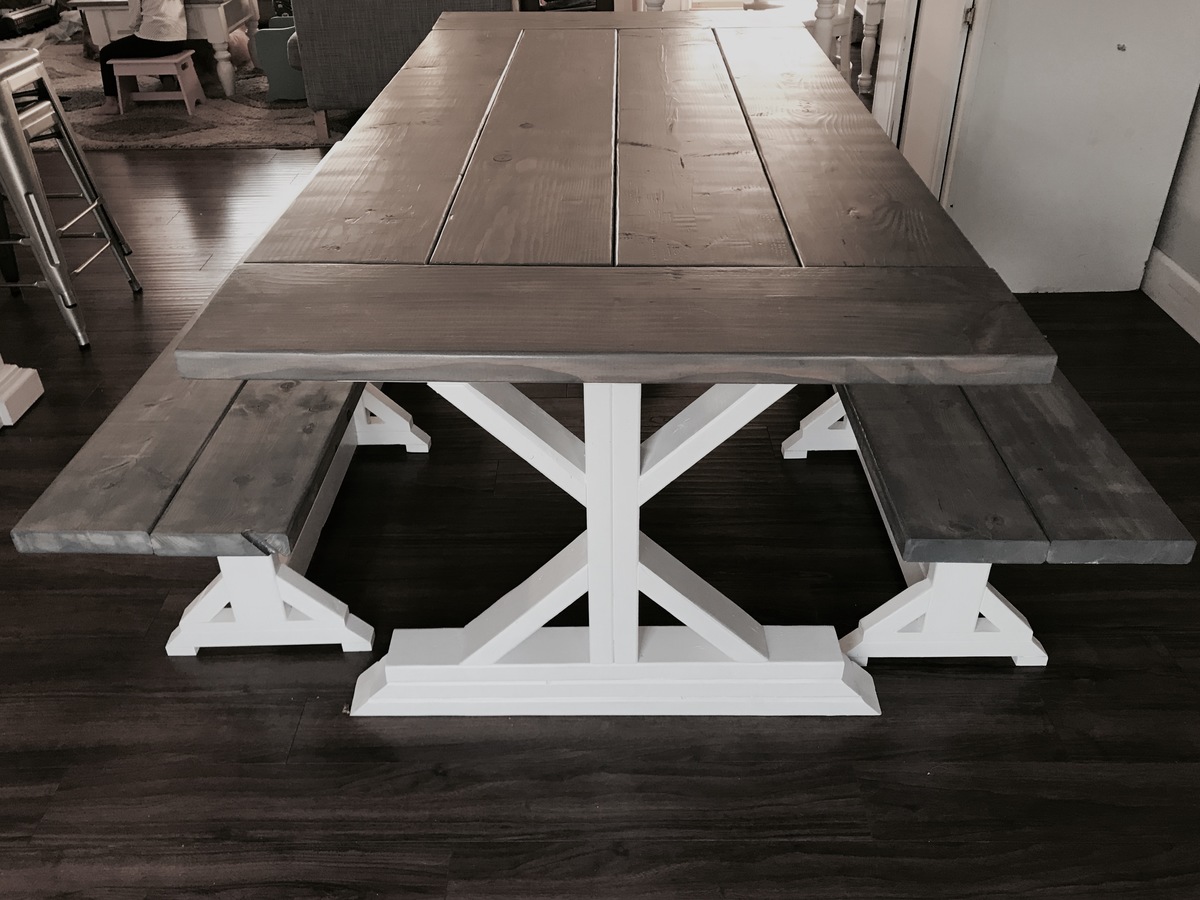
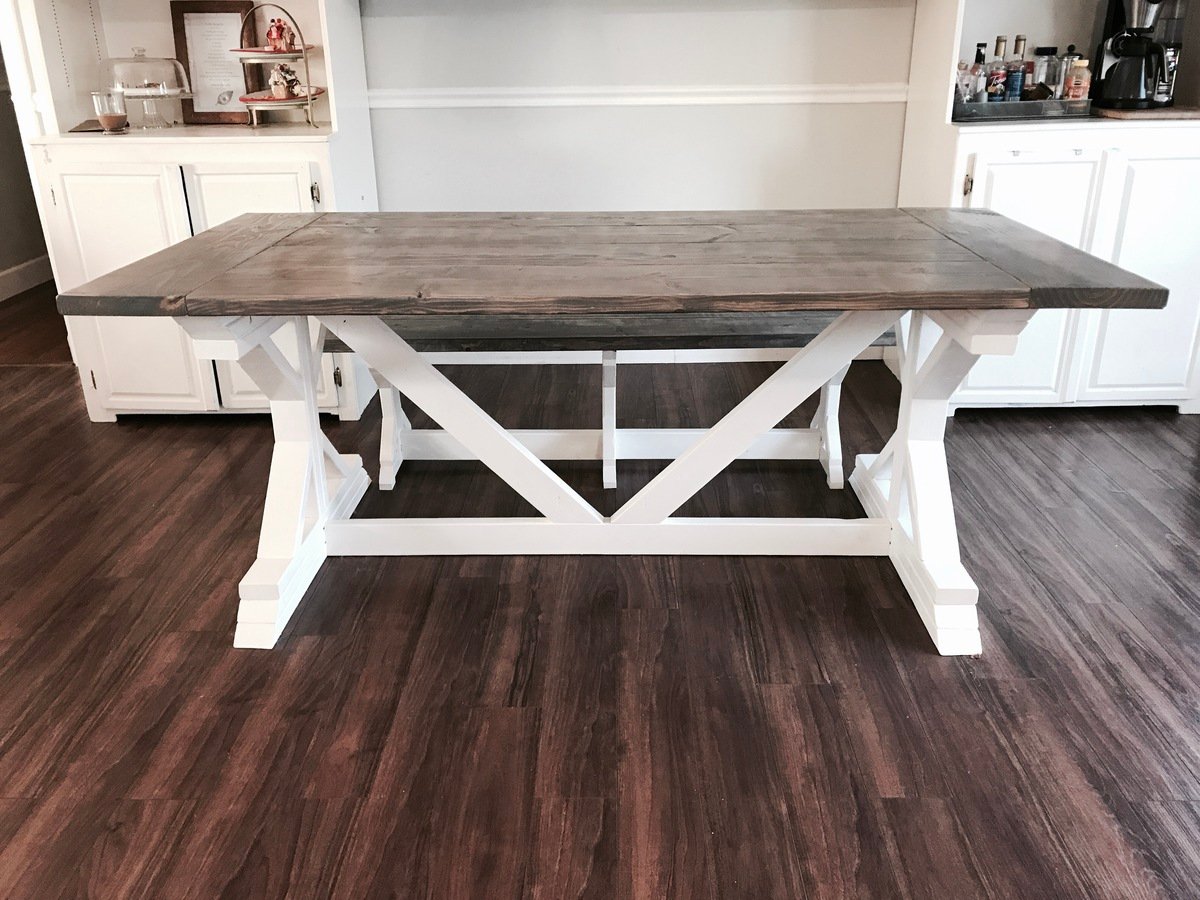
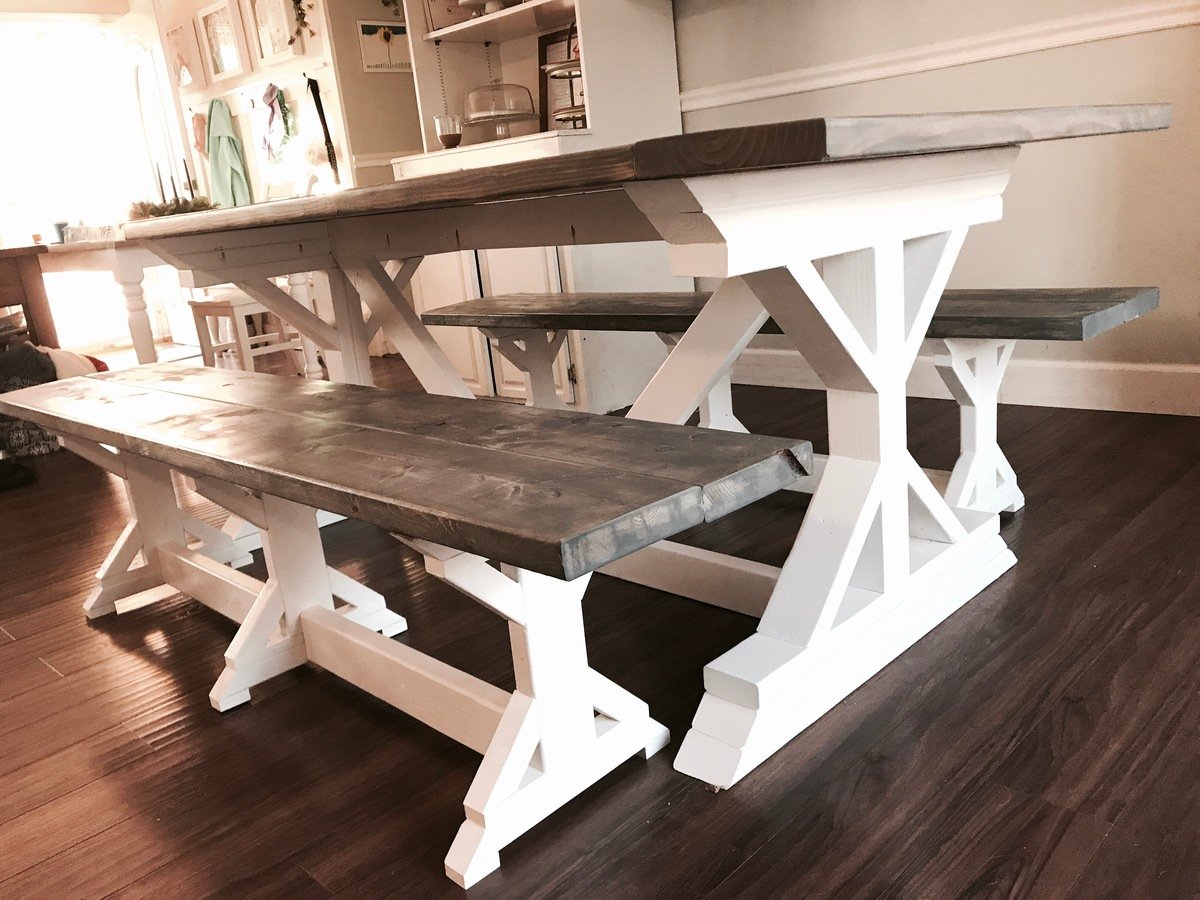
This was my first attempt at building a big project! I invested in a table saw a couple months ago since I sell handmade signs, but all I had tried to make were the signs and some very simple projects. I had been wanting a big farmhouse table for the longest time, but was so intimidated by such a big project!
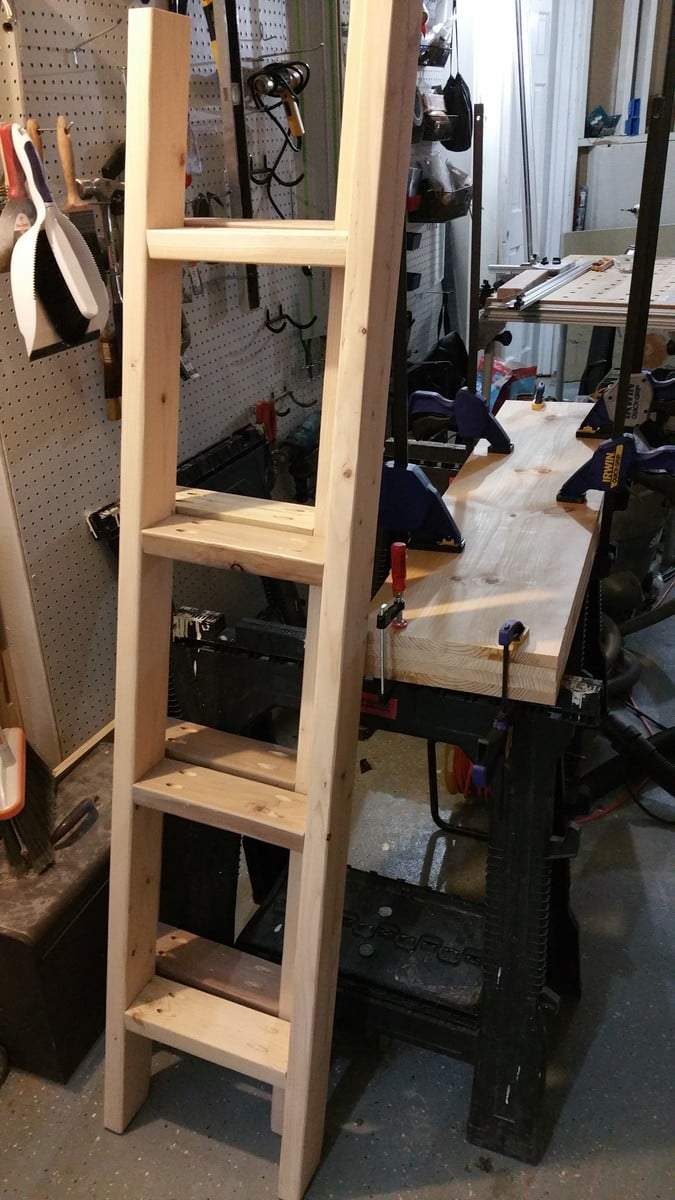
I finally got up the nerve and tackled it over the course of a weekend, and made the whole table by myself! I decided to buy a pocket hole Kreg Jig, which made the project go pretty smoothly. Ana's plan was easy to follow and I followed it to a T, other than using 2x6s instead of 2x8s for the tabletop, 2-2x4s instead of 4x4s for the legs, and extending the length a bit (my table is about 8.5 feet long!) It took me longer than it should have, I'm sure, but even as a beginner I finished the table from start to finish in a weekend.
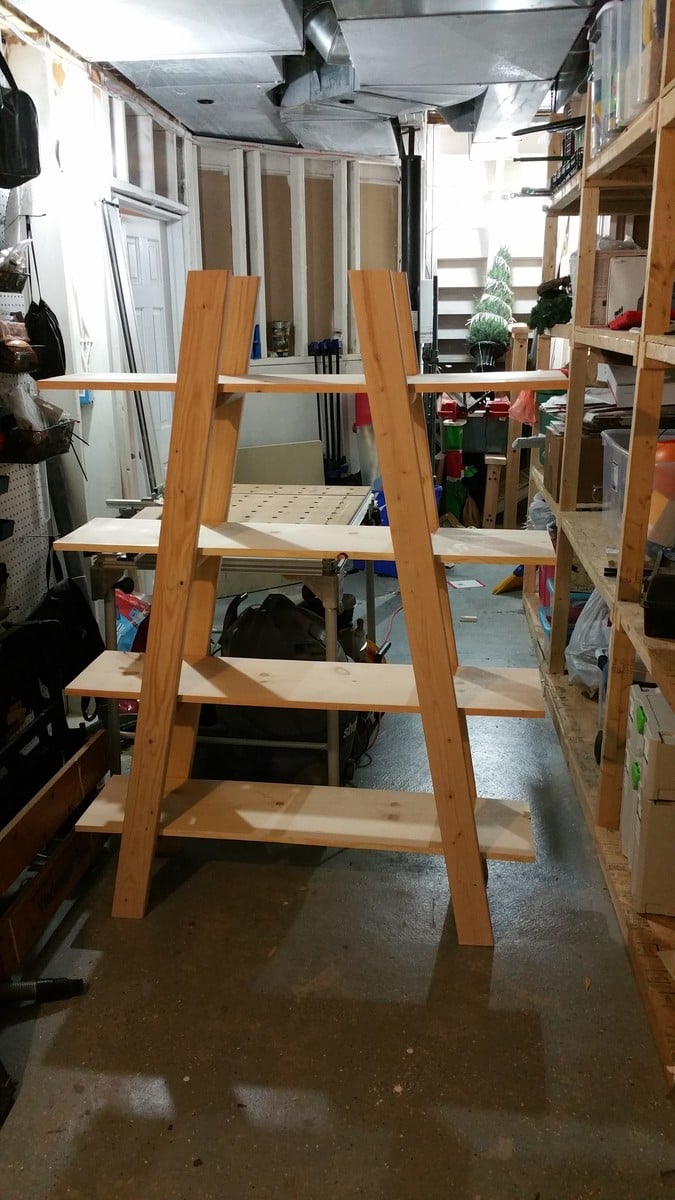
The finish is my favorite stain color, a half-and-half mix of Mixwax Weathered Oak and Espresso, topped with a coat of Varathane Triple Coat Matte Poly.
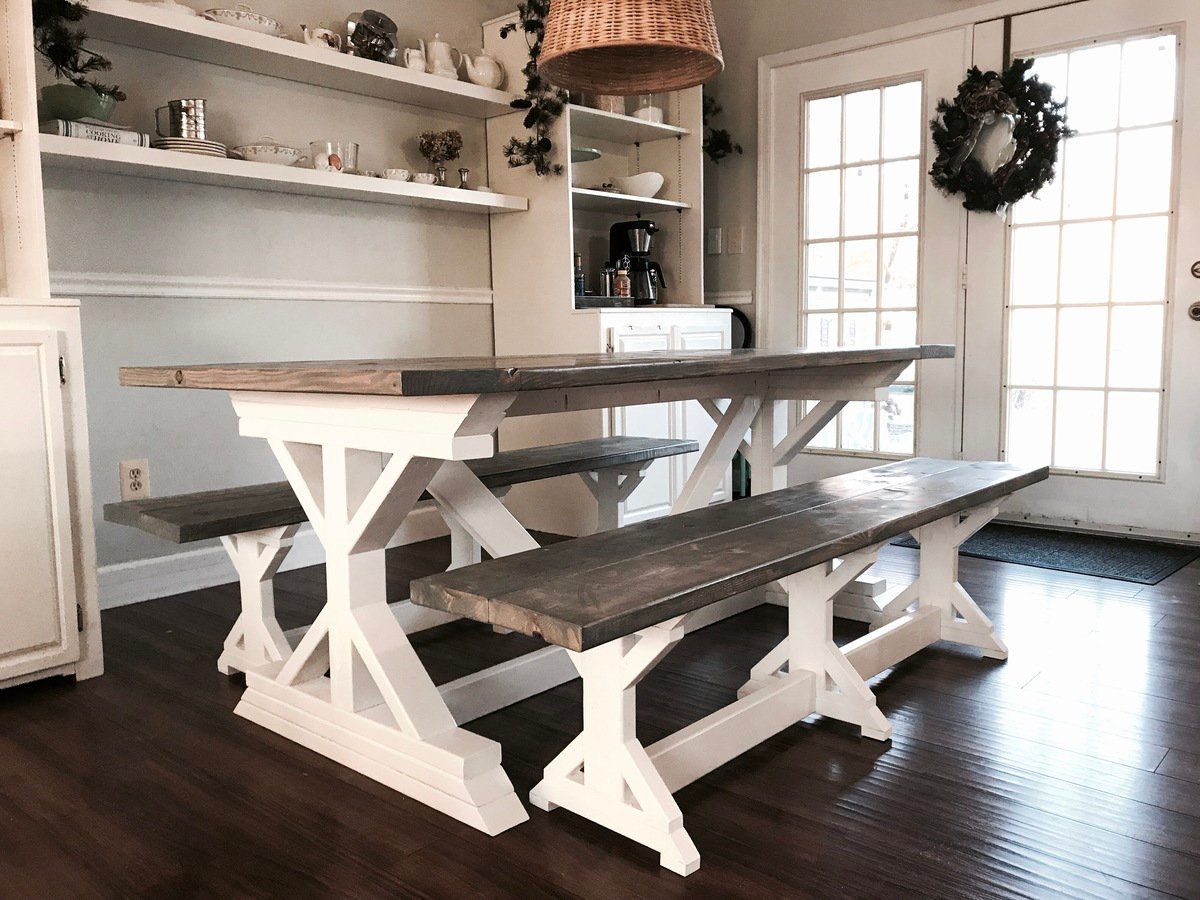
I built a matching bench the next day because I couldn't resist! I did accidentally put the end pocket holes on the wrong side of the end aprons, so they're facing outward (oops!) but I still love how the table turned out! I posted more photos of the process and finished product on my blog if you'd like to see more!
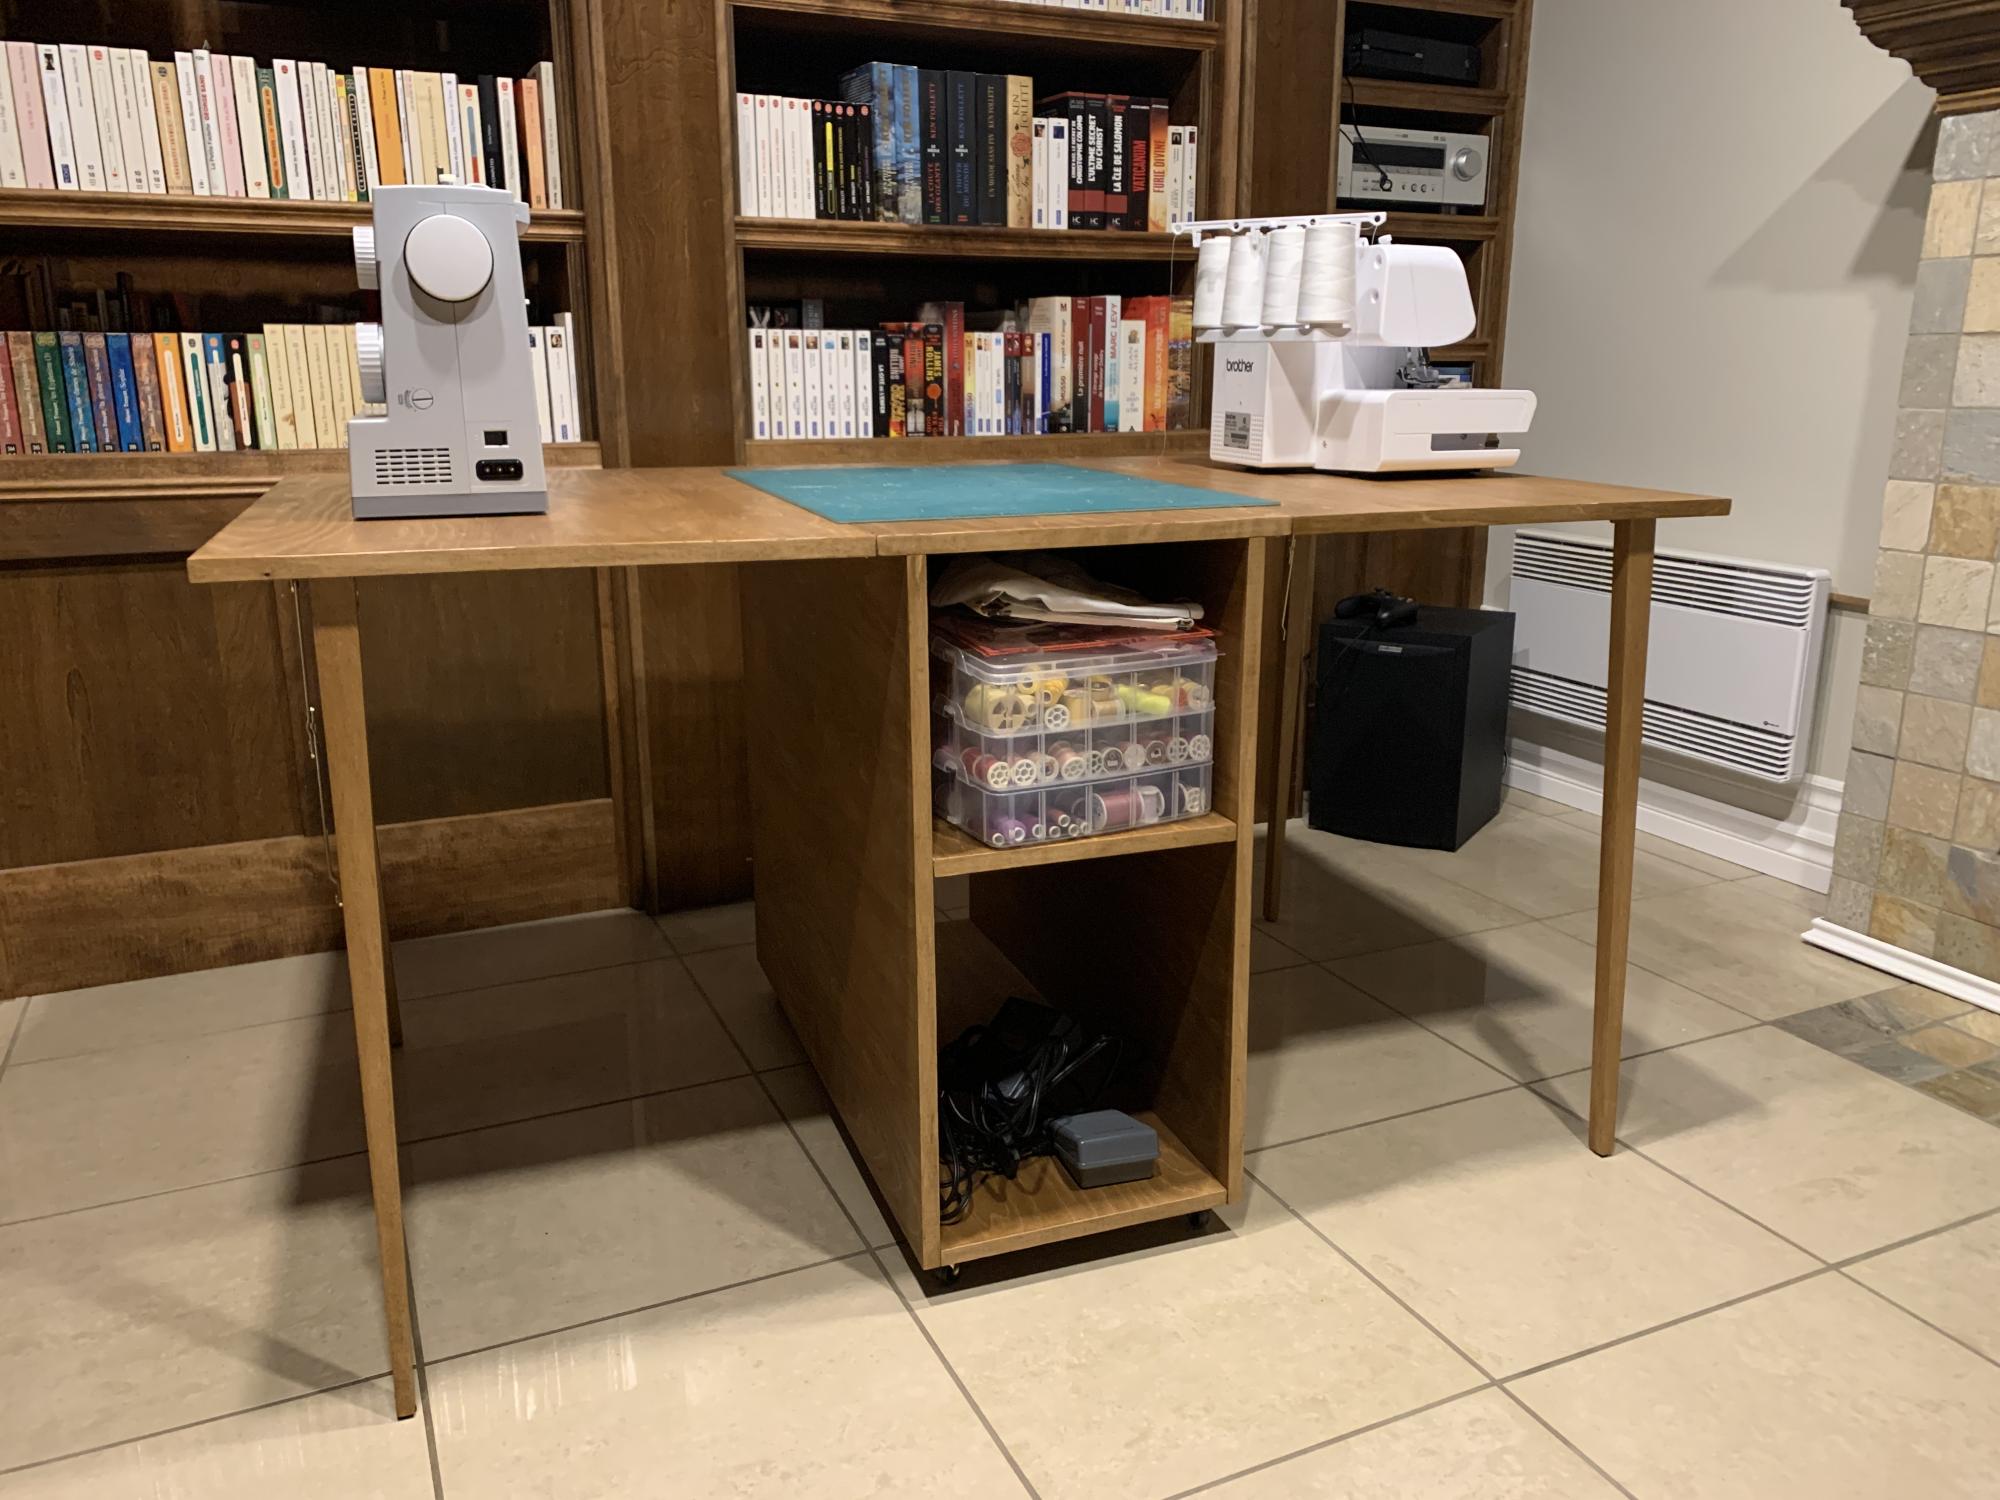
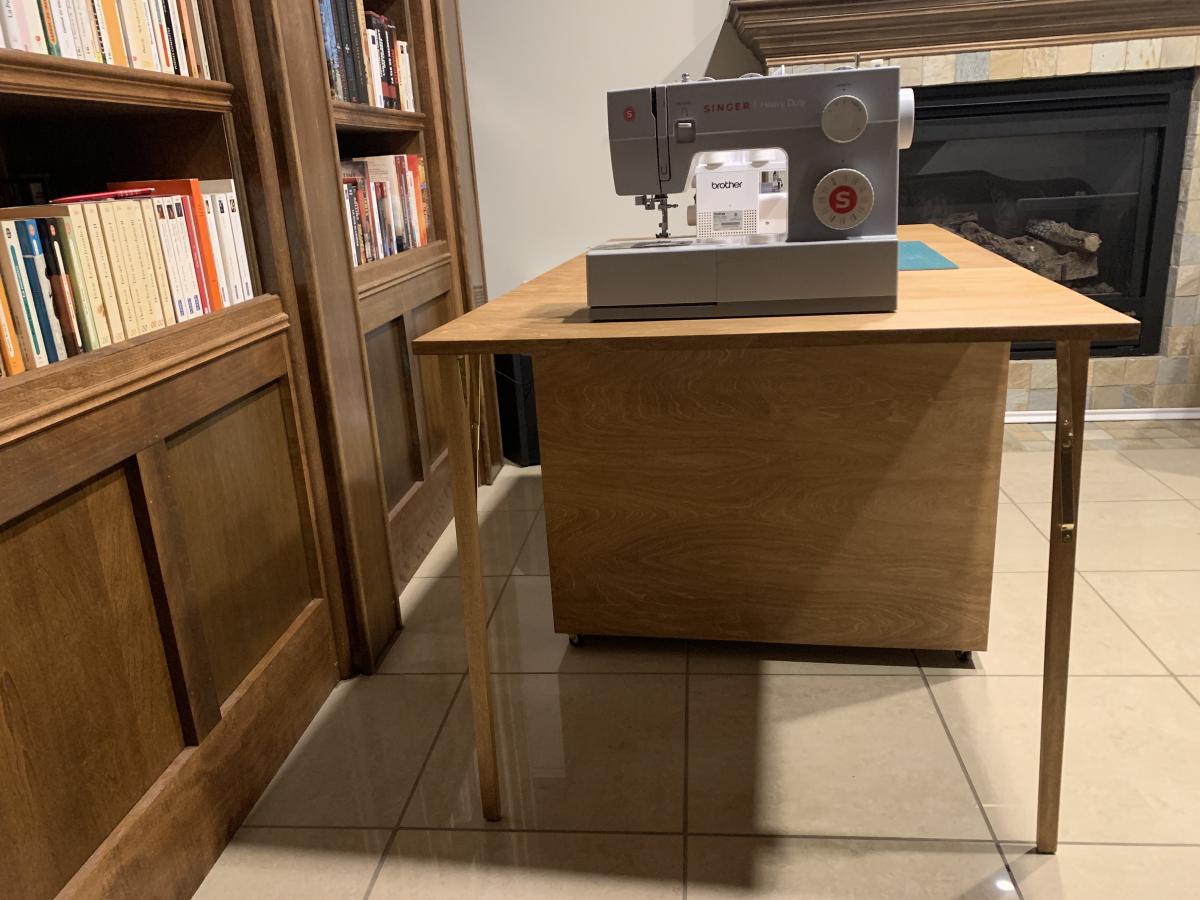
Built this Folding Sewing Table for my daughter.
- 18 mm Baltic Birch
- Birch leds
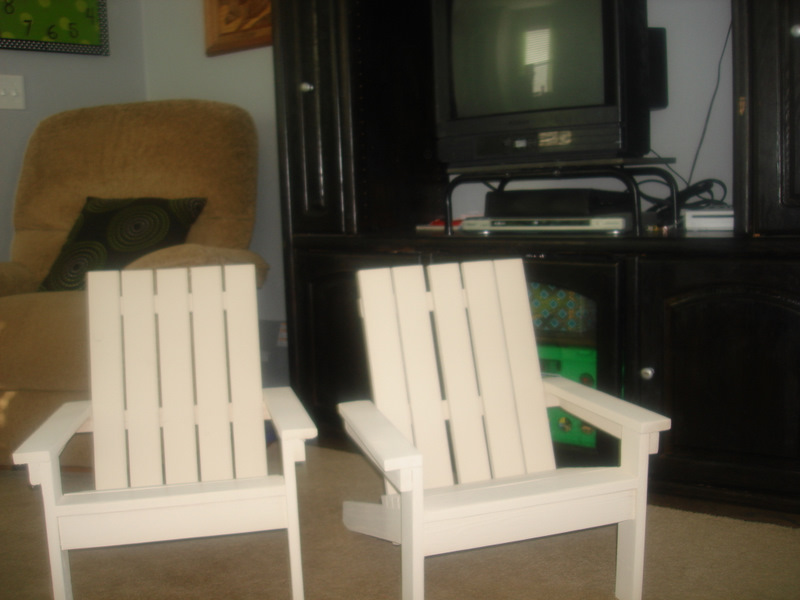
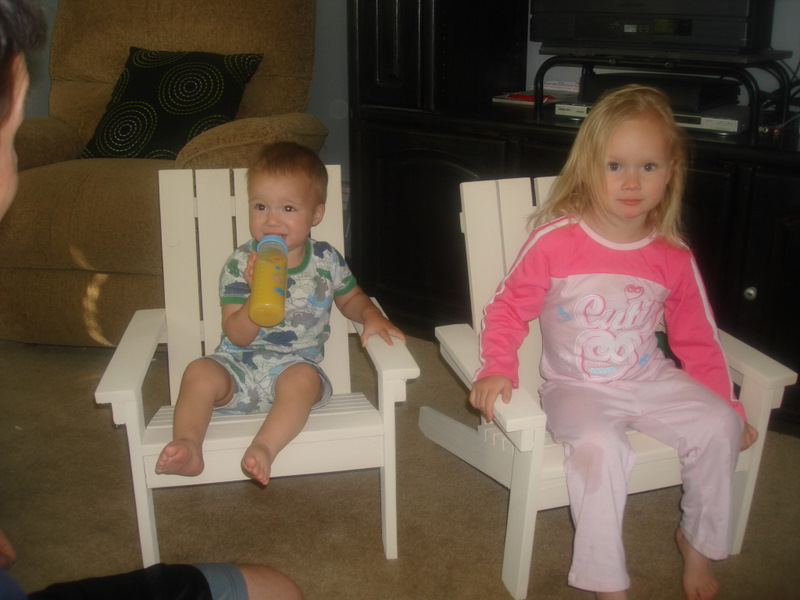
This was admittedly a little harder than I thought. The first one turned out short of perfection trying to get things looking great. The second one was better using a level and being more careful. However, the fact that my nail gun totally went out halfway through made the project a long one. But my kids LOVE them and they look so cute and luxurious out in my grass. I love it.
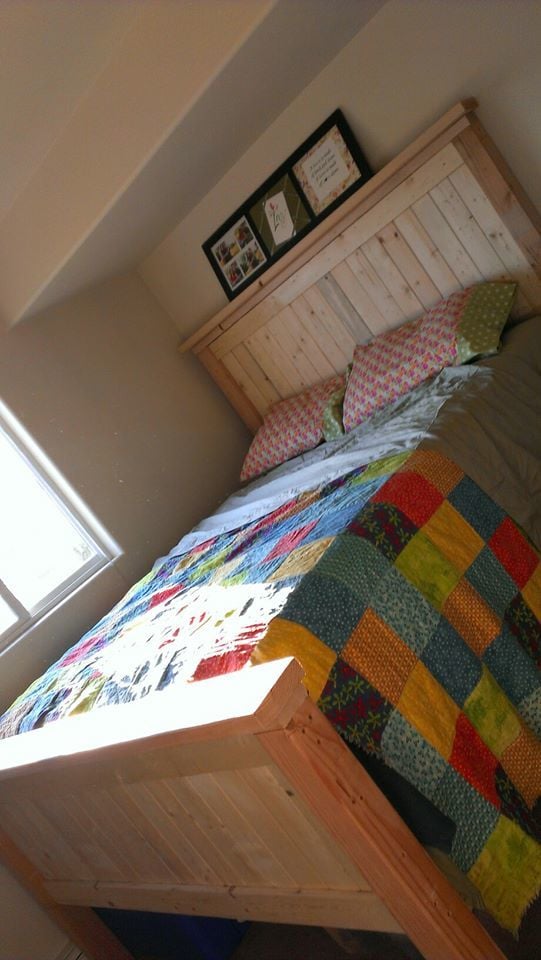
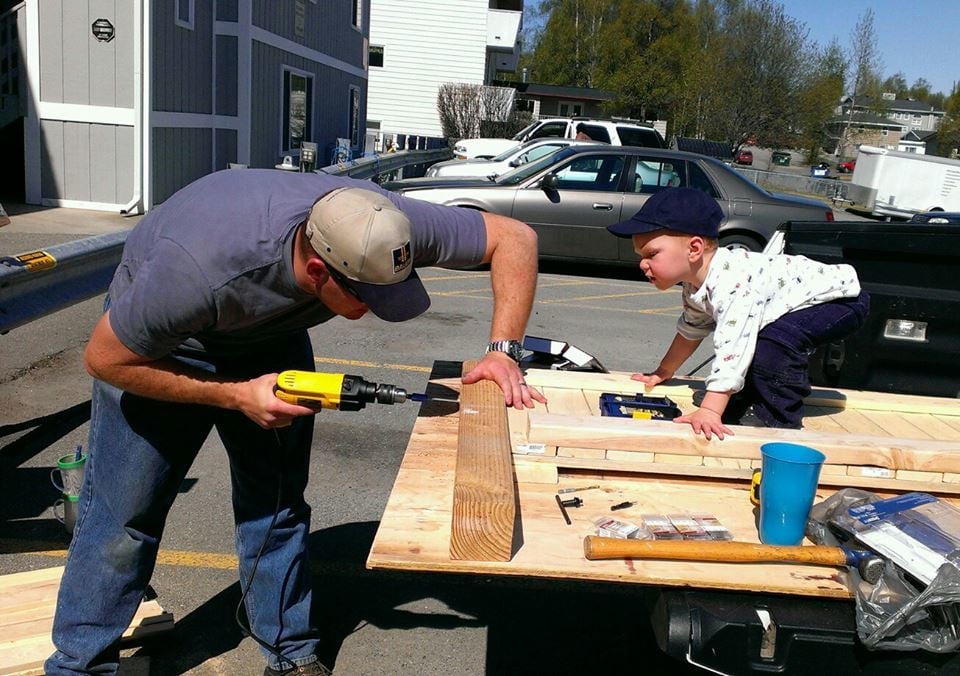
It took about 7 hours to complete this project. We used Ana White's Farmhouse Queen plans, with some modifications: the bottom of her bed frame is about 4-6 inches off the floor, ours is 17 inches for extra storage space. We also made the footboard slightly deeper to accommodate longer legs. Due to limited space, we built it on the bed of our truck with the "help" of our 18 month old. We love the way it turned out.
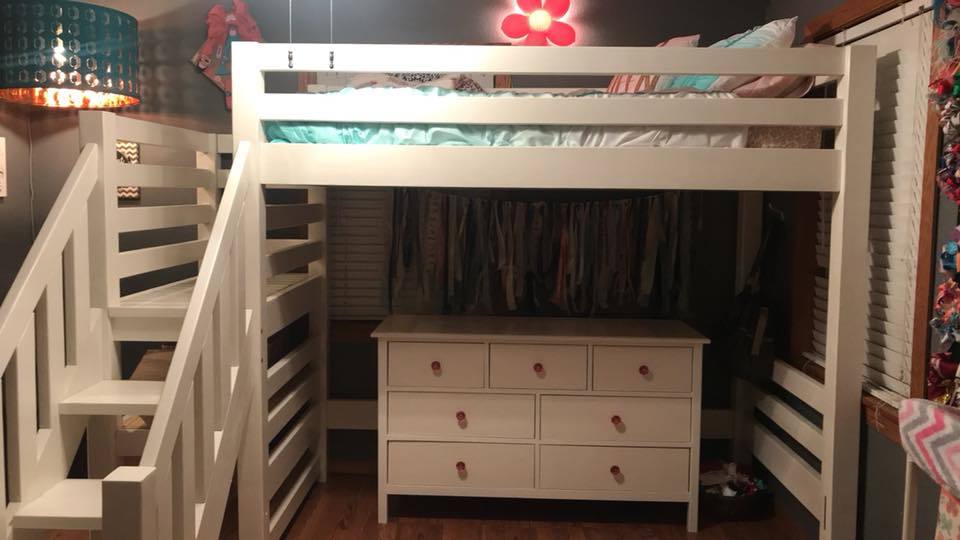
Modified the Camp Loft bed with Stairs plans slightly so that the dresser would fit under the bed without banging your head for access. The heght is taller creating the need for railings to be added to the platform. Conversion to bunk beds was considered so all bottom boards save the front rail were installed. If bunk beds are needed, just add the 2x6 front rail. The mortise slot is already cut. Went with mortise and tenon joints instead of pocket screws. Cubby storage area created under the platform accessed from left side.
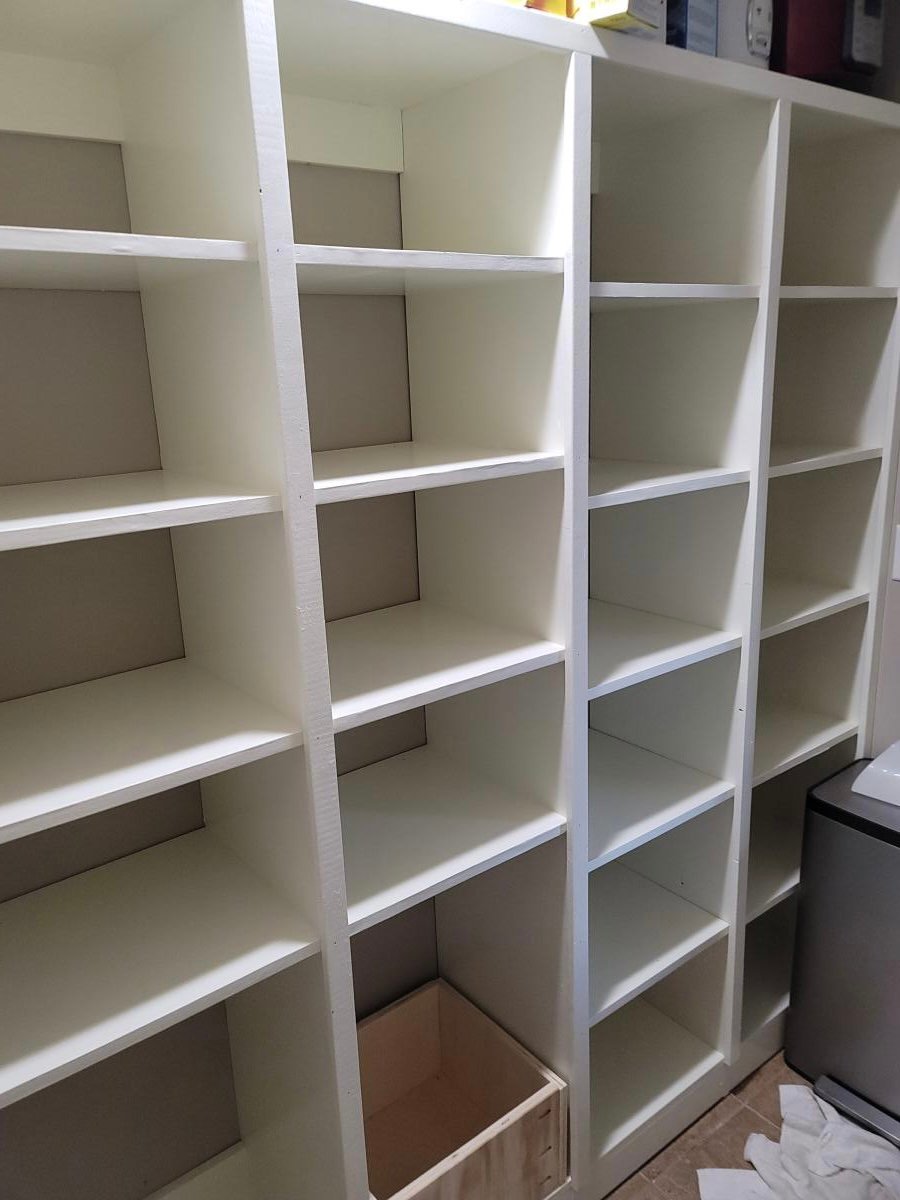
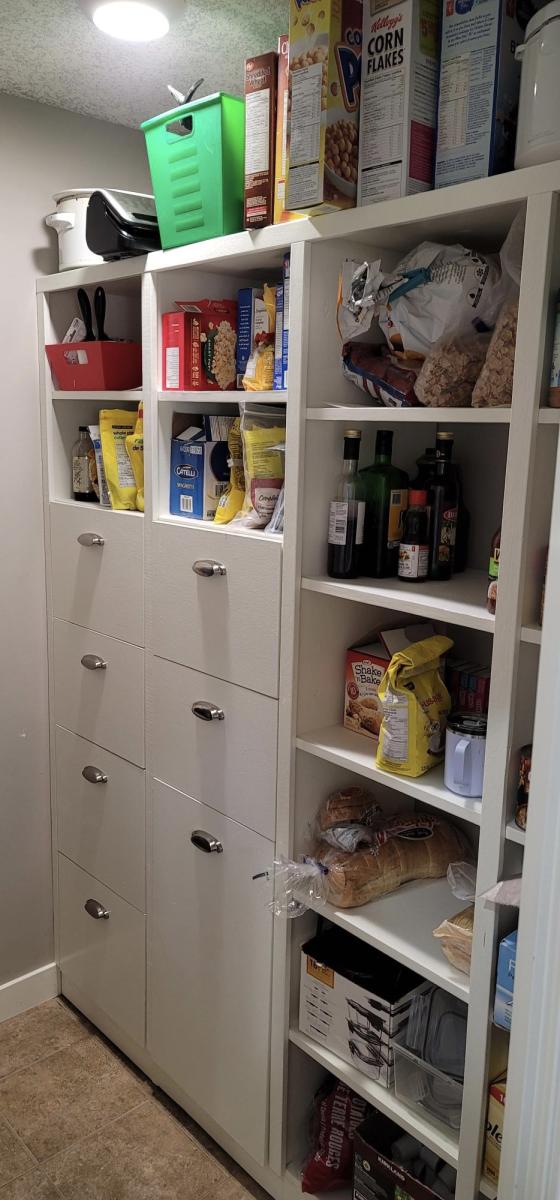
Kitchen pantry project using 3/4" plywood and using Anna's shelfhelp spreadsheet to get my dimensions. Added drawers including one large for recycling. I wanted to add another large drawer beside the recycling drawer for garbage but my wife nixed it stating she didn't want to have dripping greasy garbage in her hand and try and open the drawer...so she won that one.

I started this project several weeks ago, and I am very happy with the outcome. Please see my Blog since there is so much information. www.atouchofarkansas.com

Airplane swing made from pine and "A" frame made from 2x4's


Friends of mine are having a girl and needed a bookshelf for the nursery. Loved the simplicity of this design and wanted to see in an antique white finish. Great plans and design.
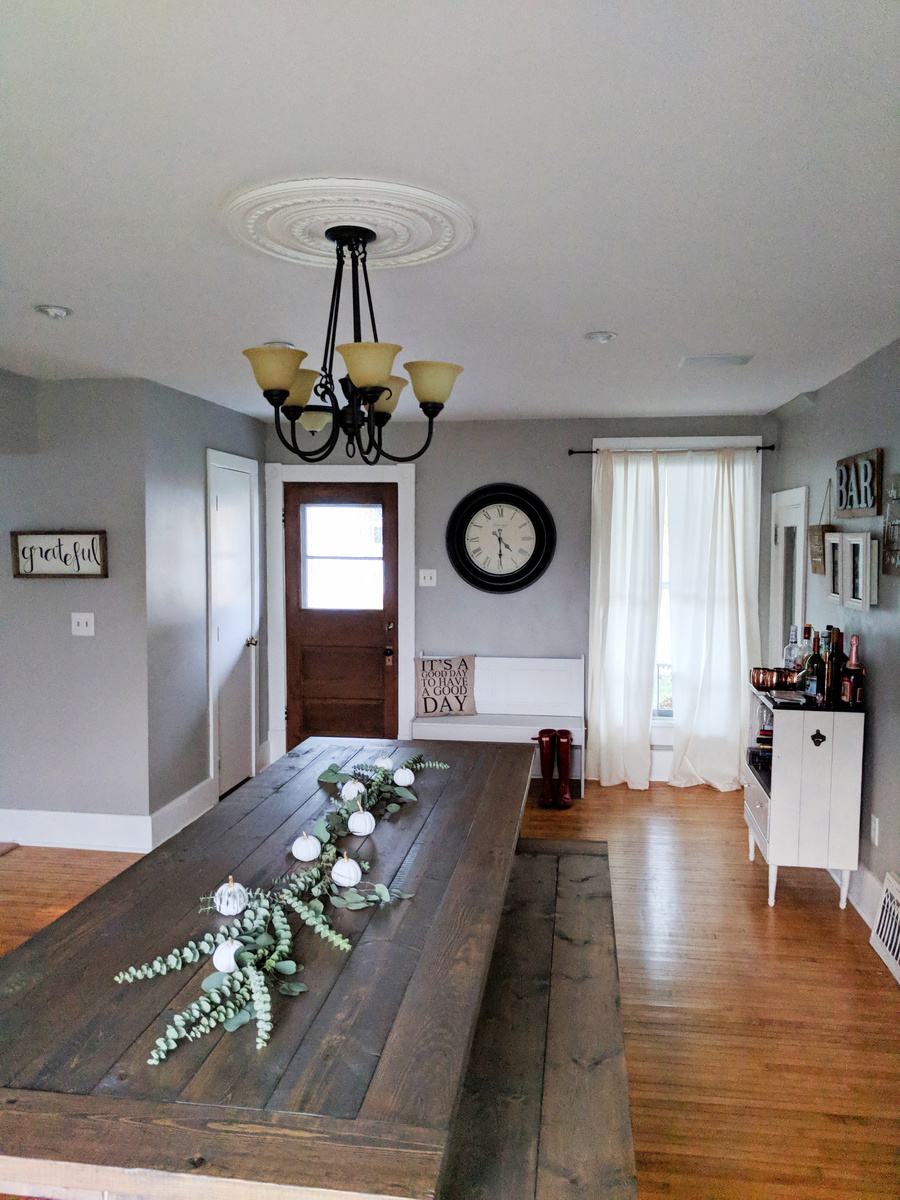
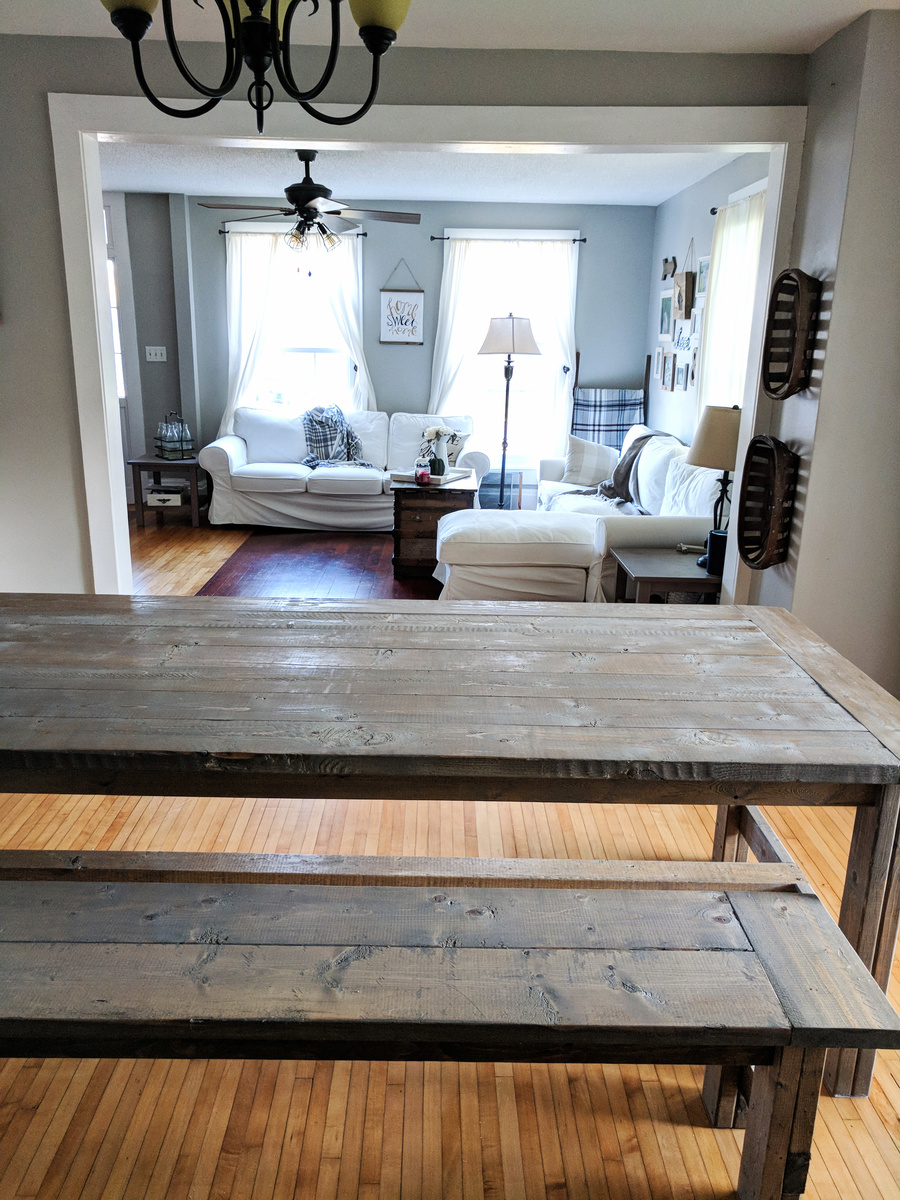
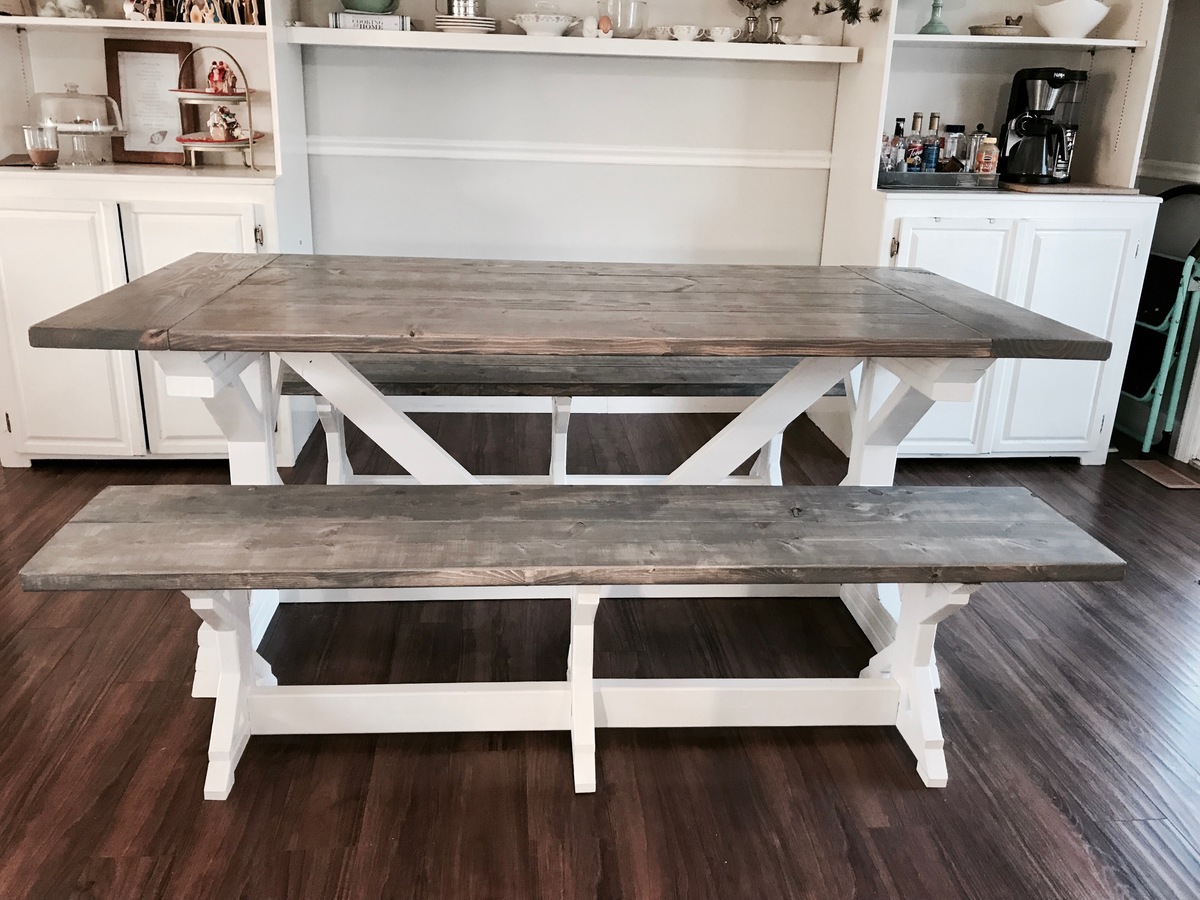
A beautiful 6 1/2 foot weather gray farm table. Thanks for the design, Ana!

Comments
Ana White Admin
Thu, 11/04/2021 - 14:15
Awesome!
This looks great, thank you for sharing!