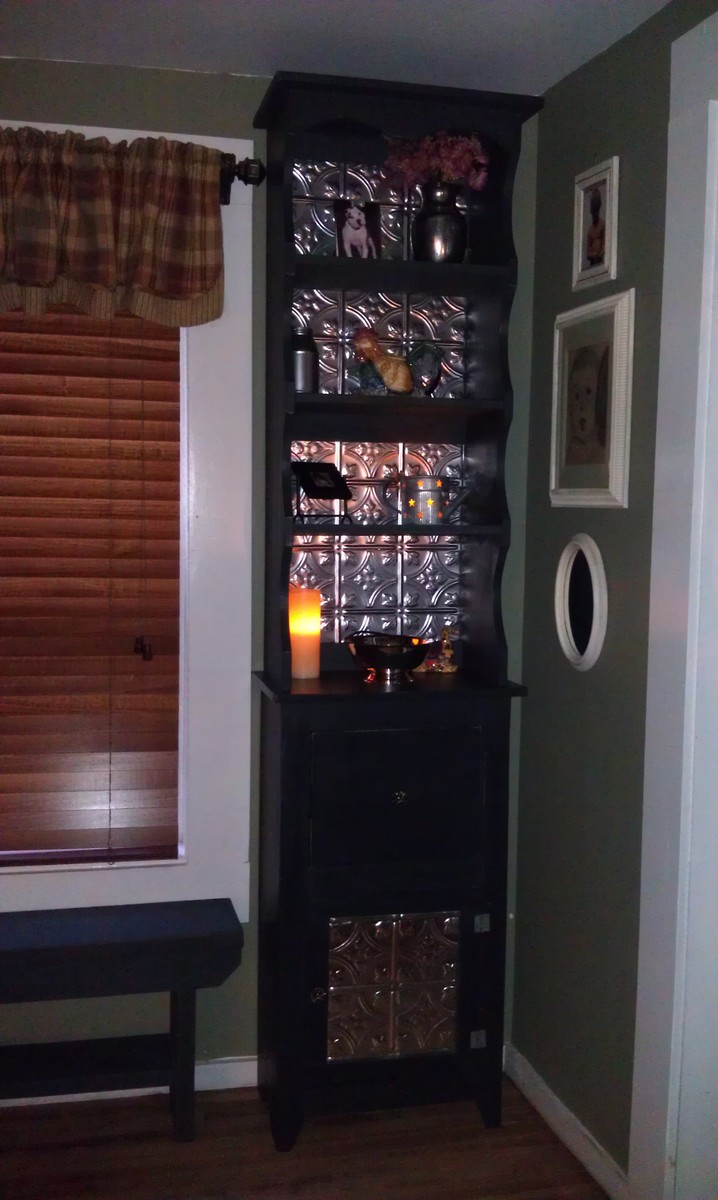
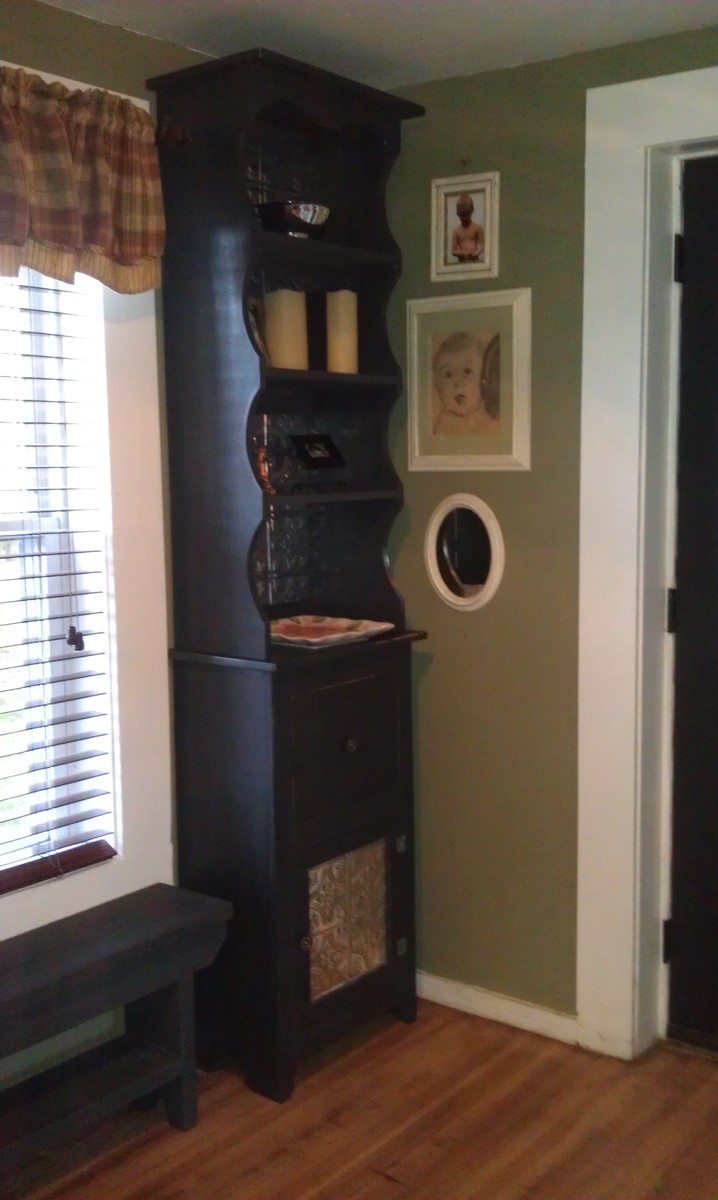
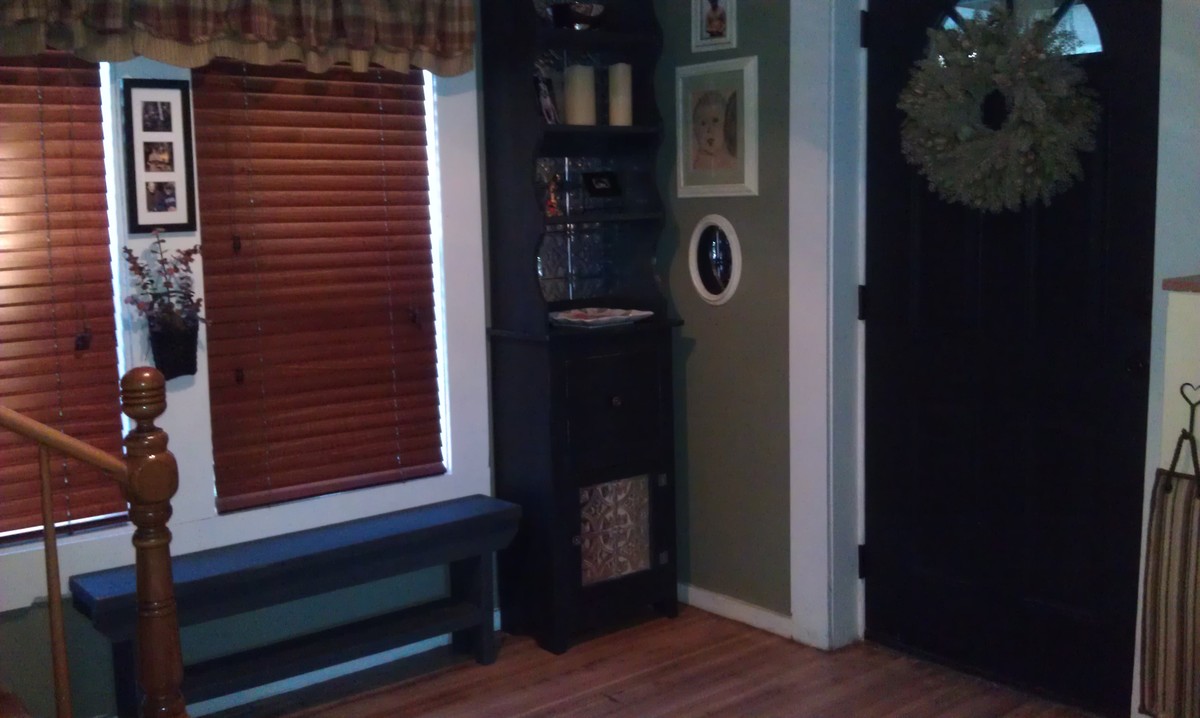
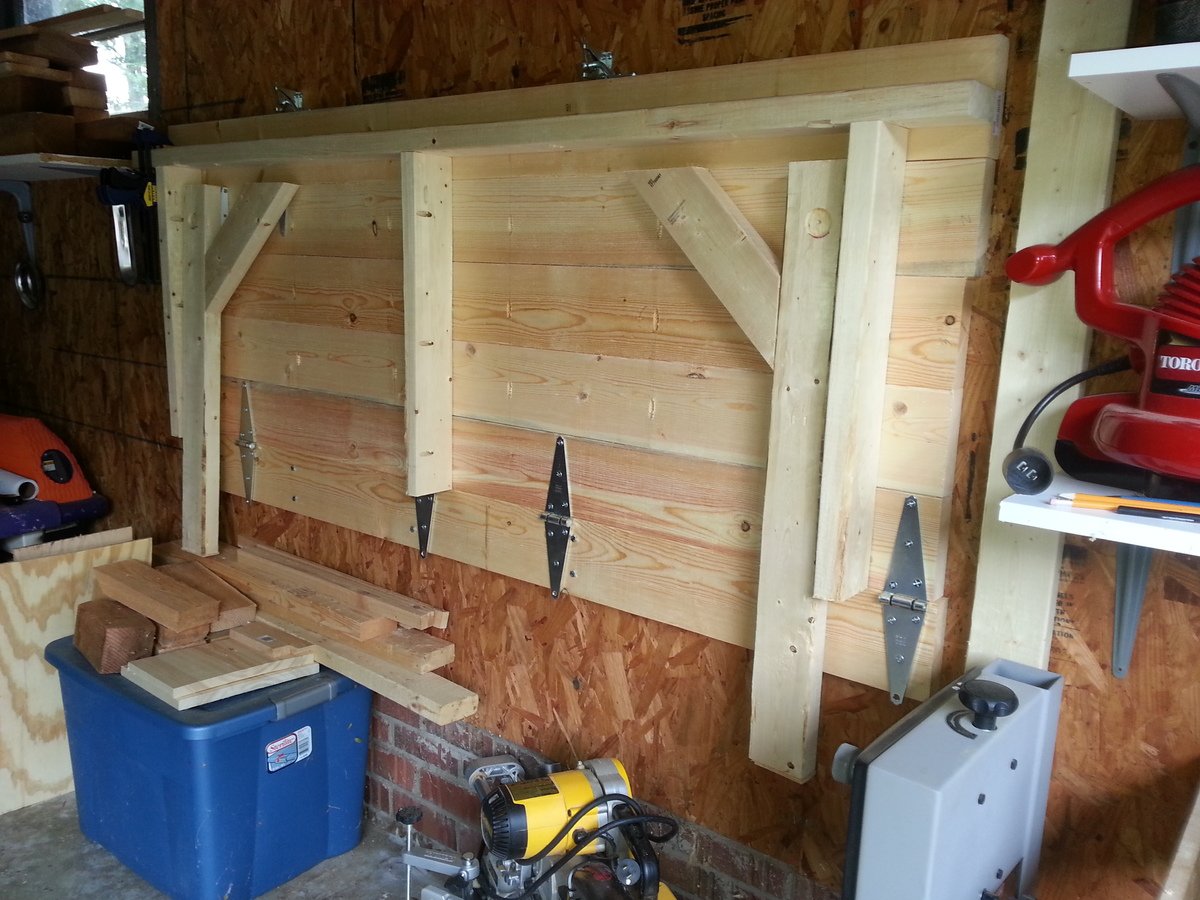
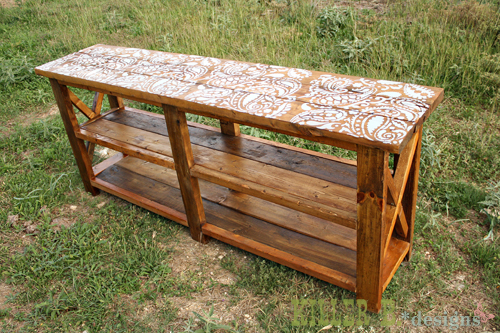
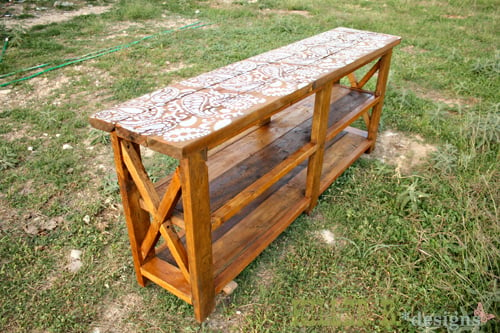
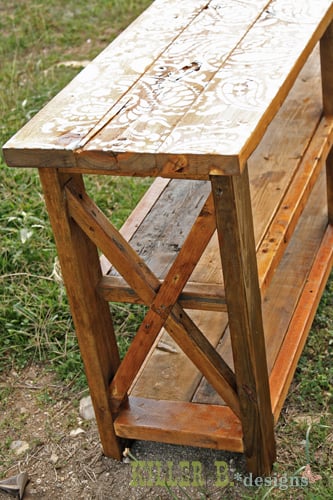
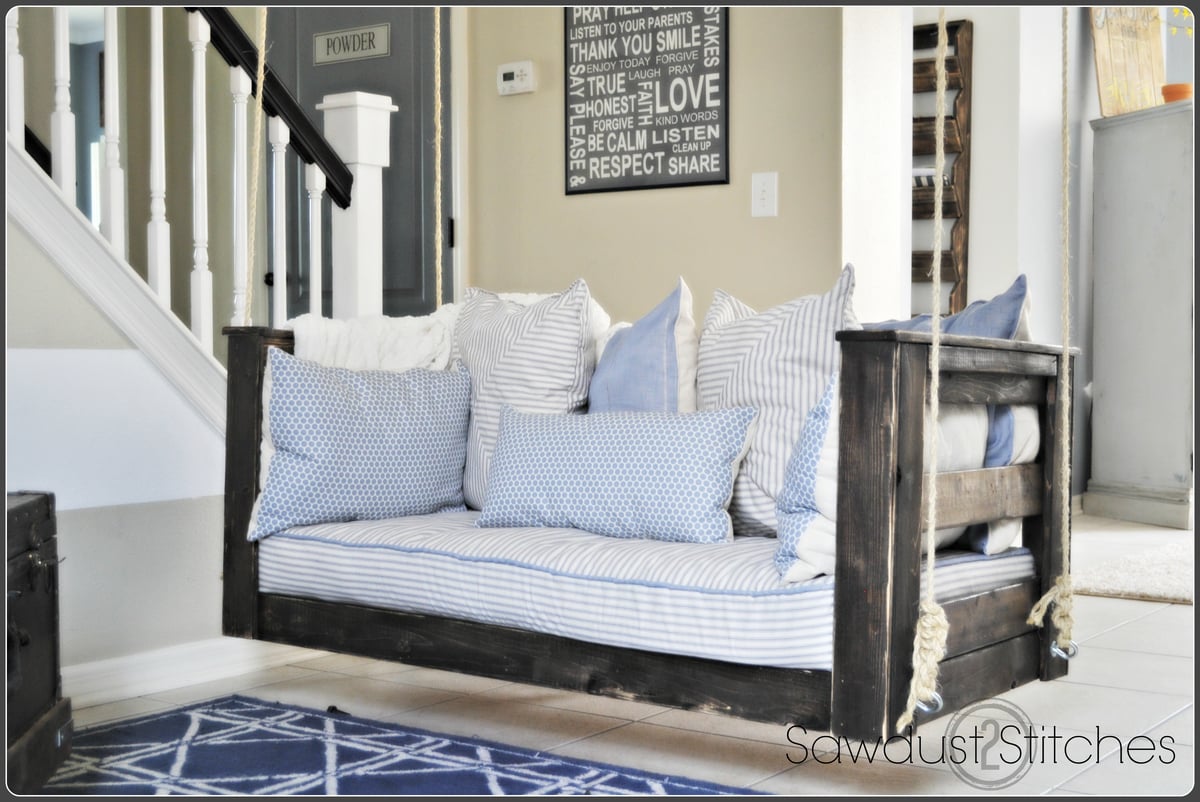
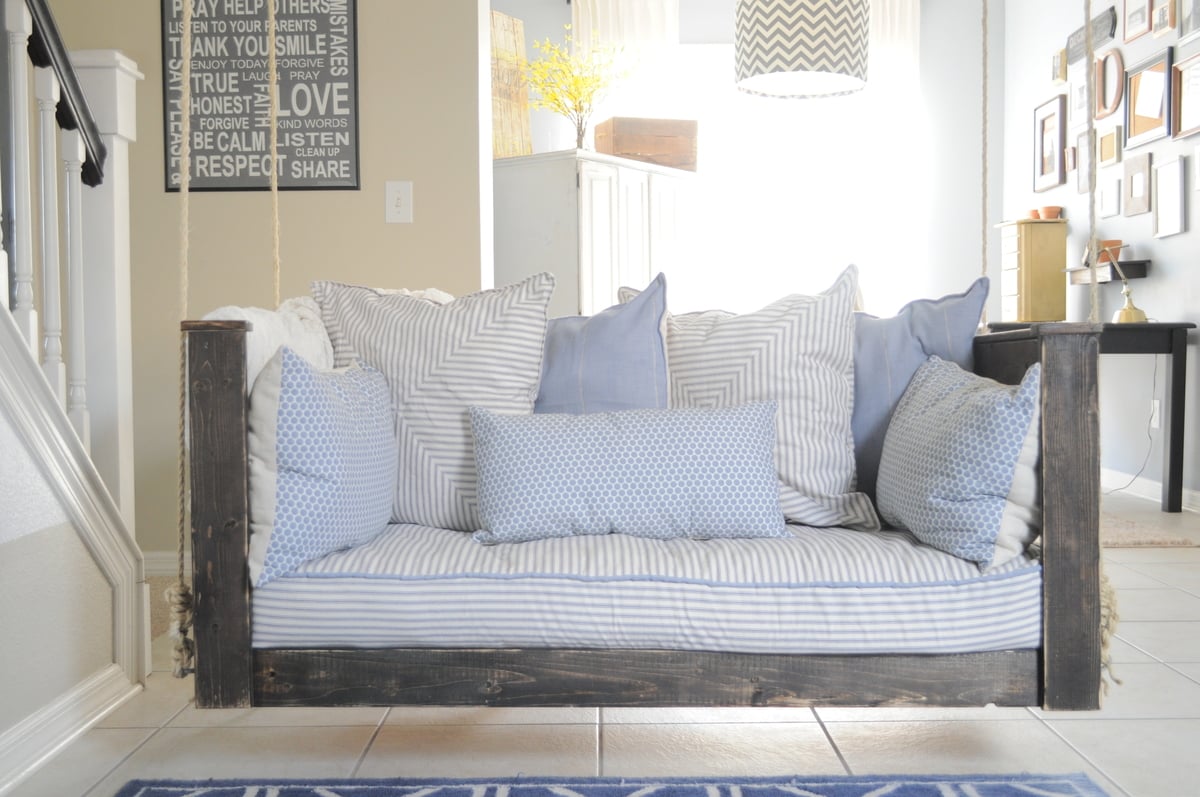
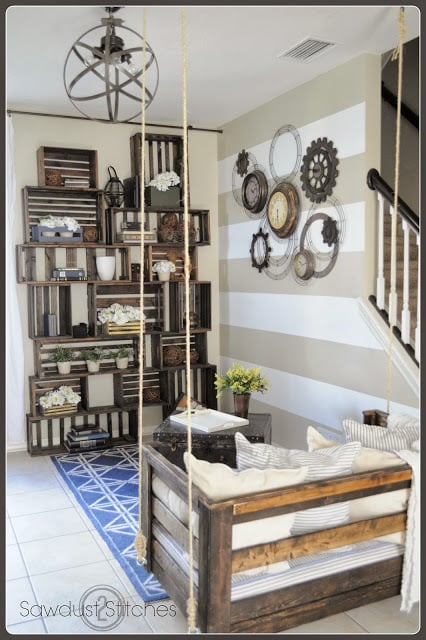
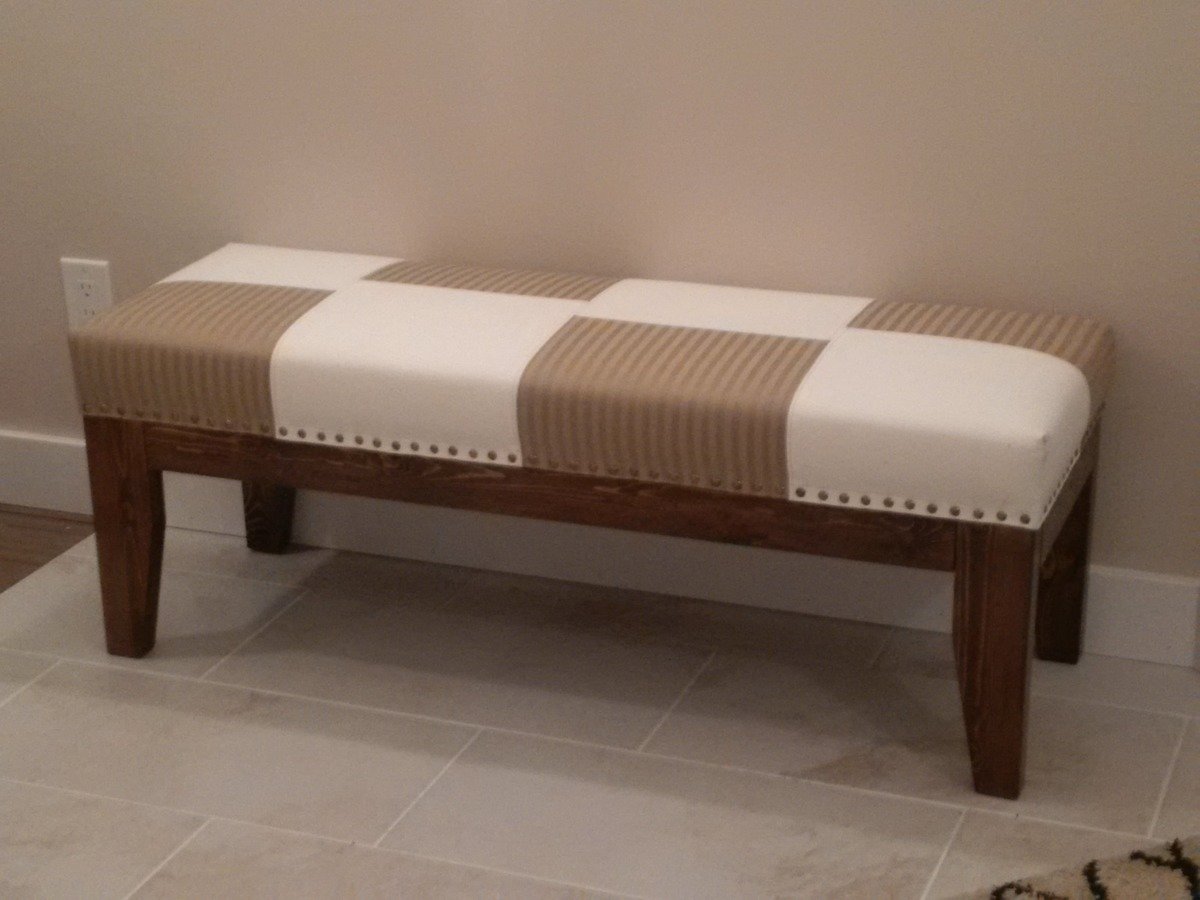
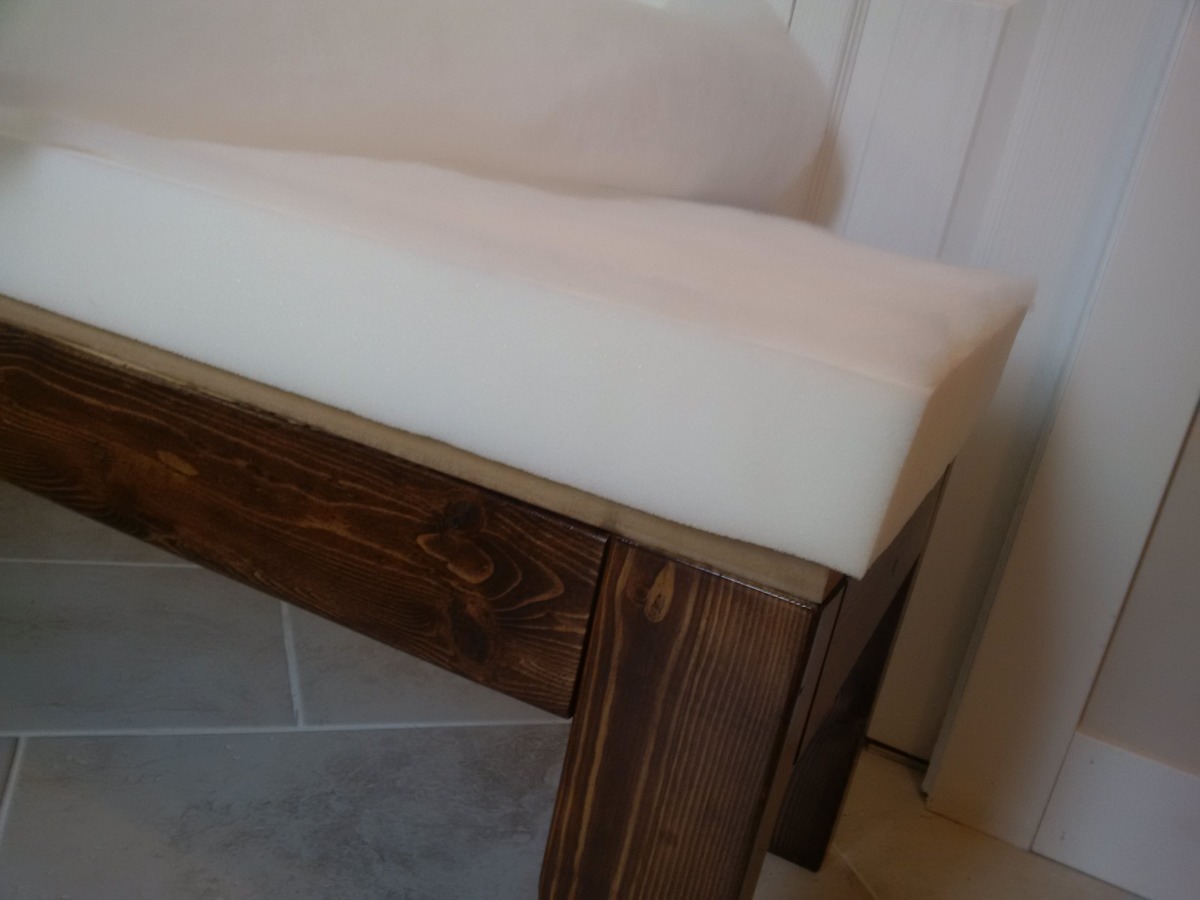
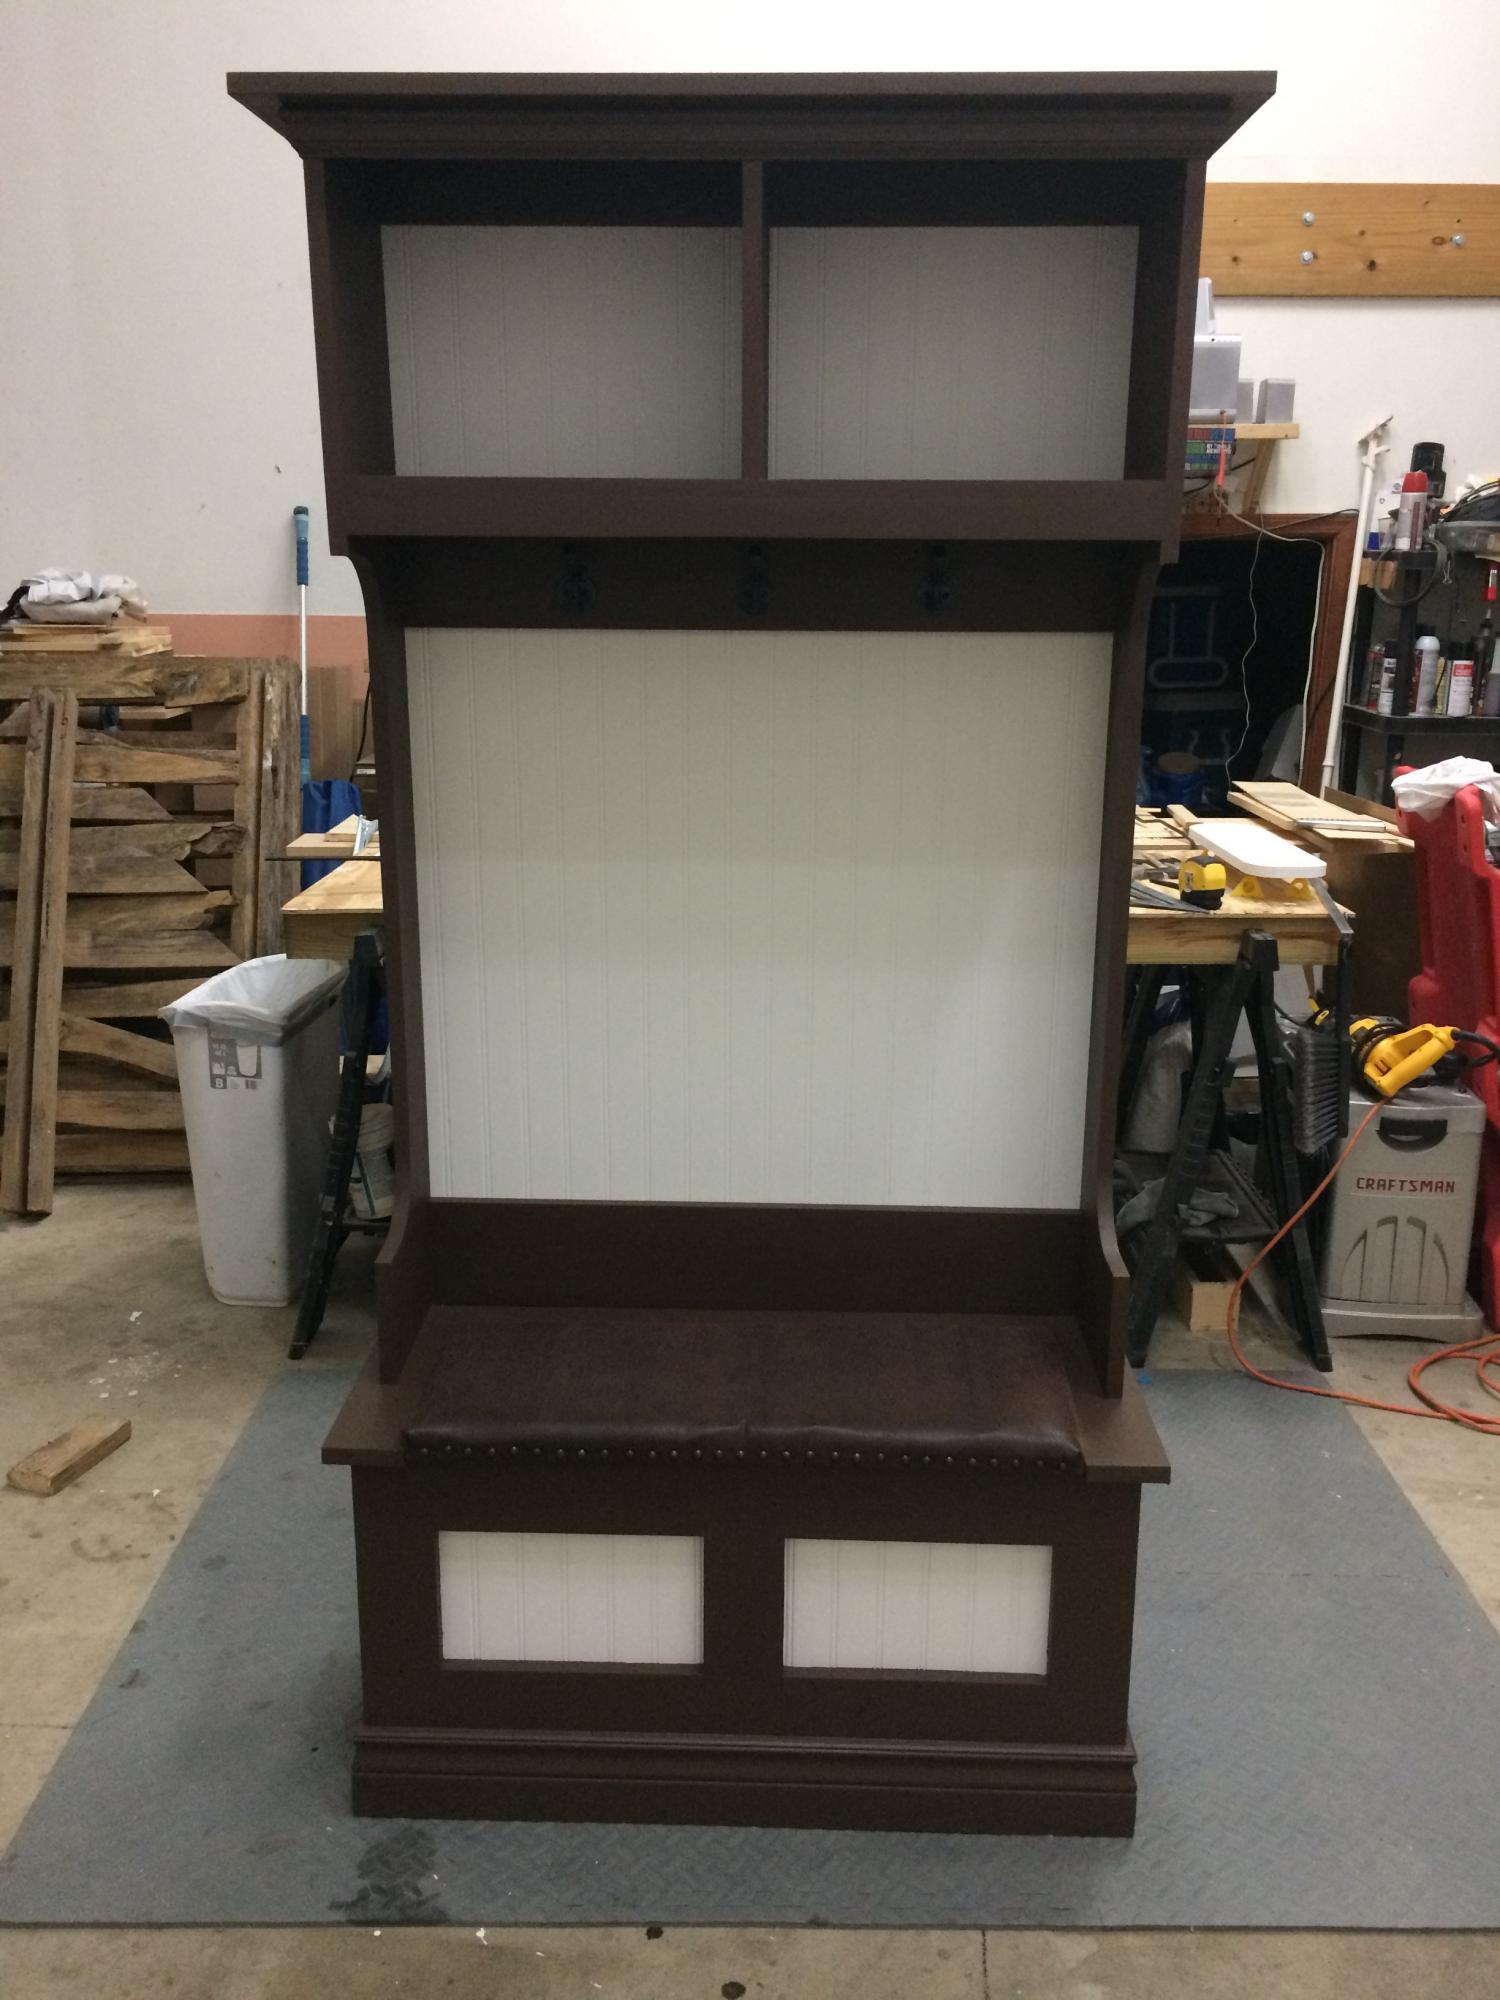
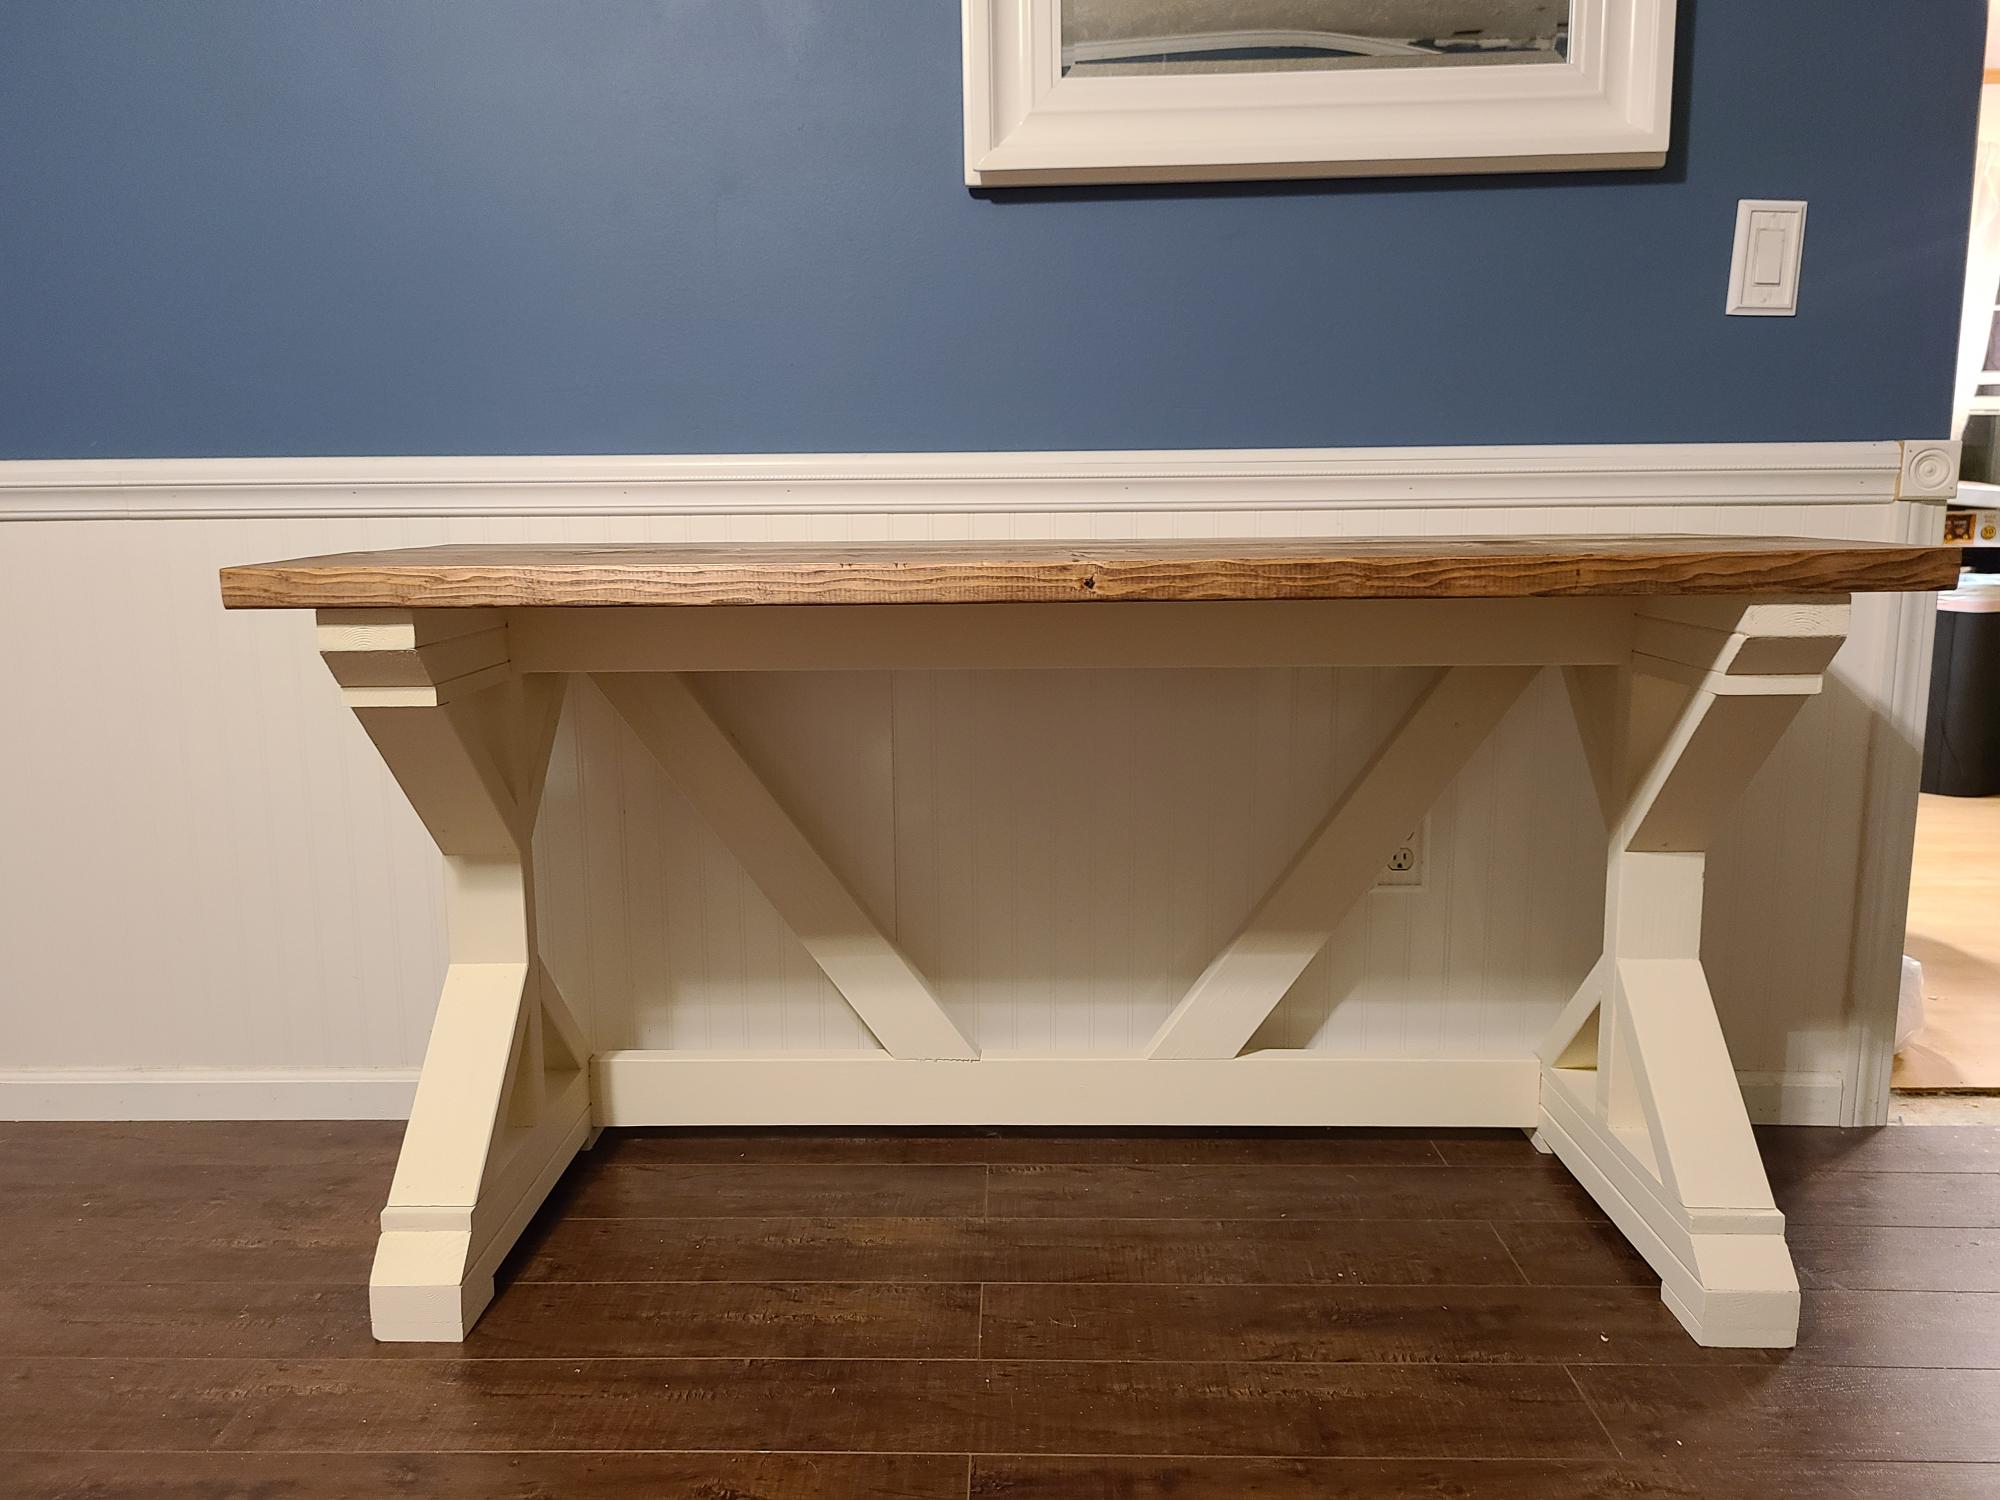
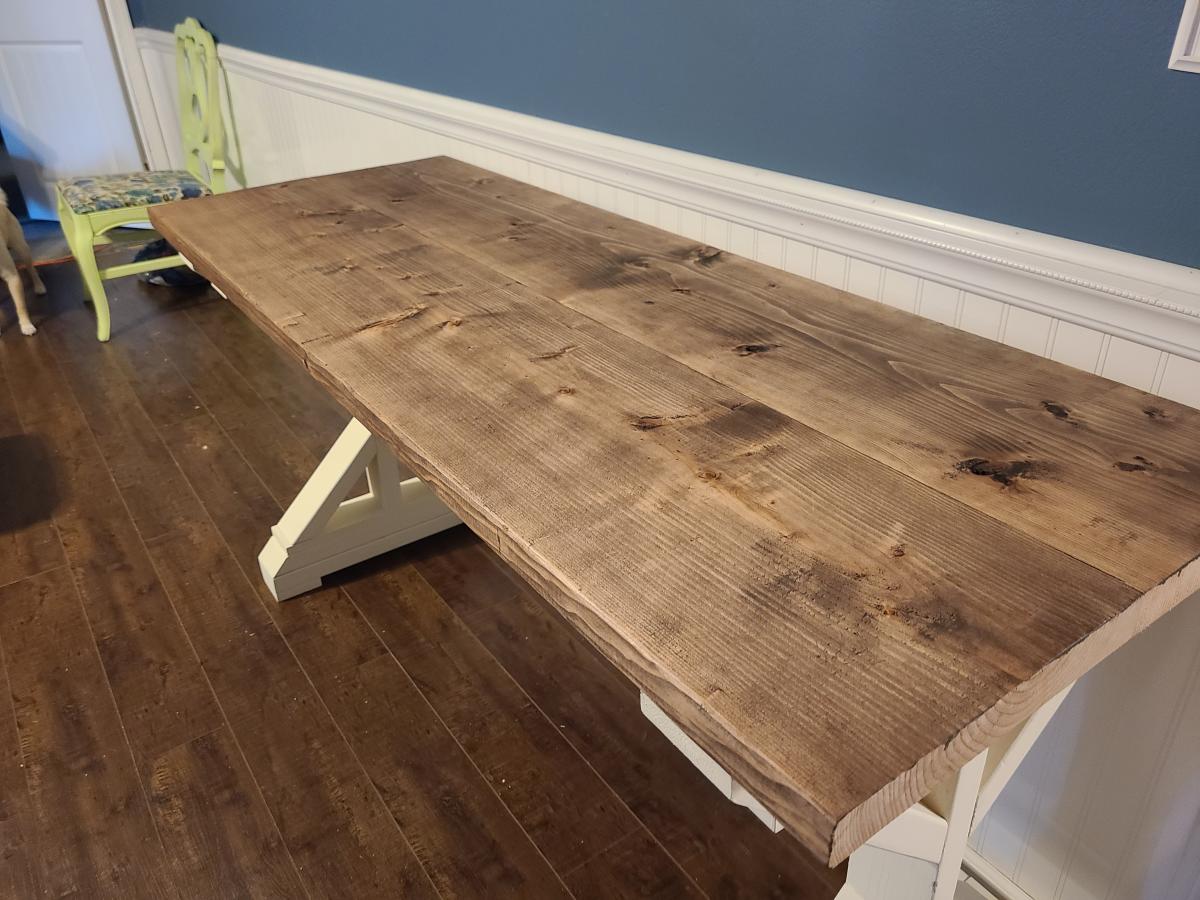
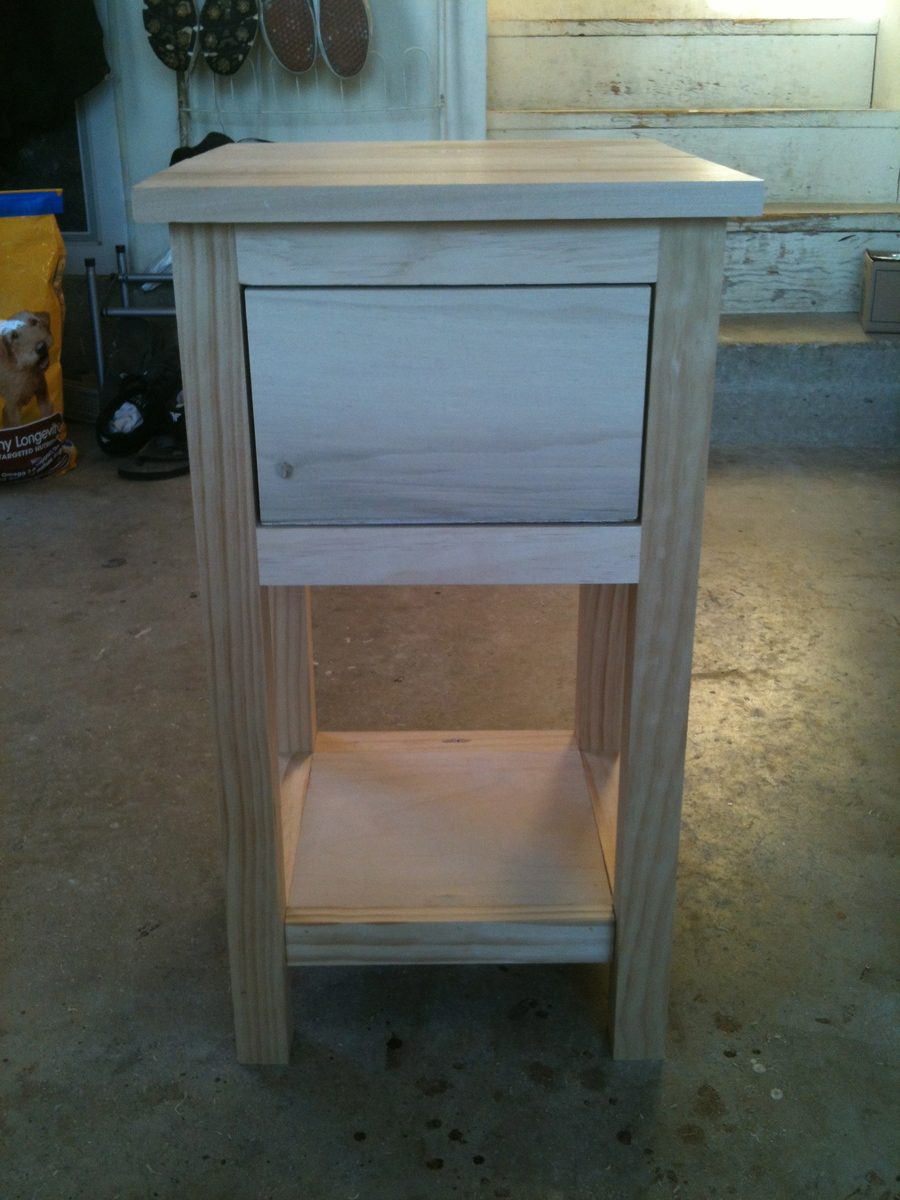
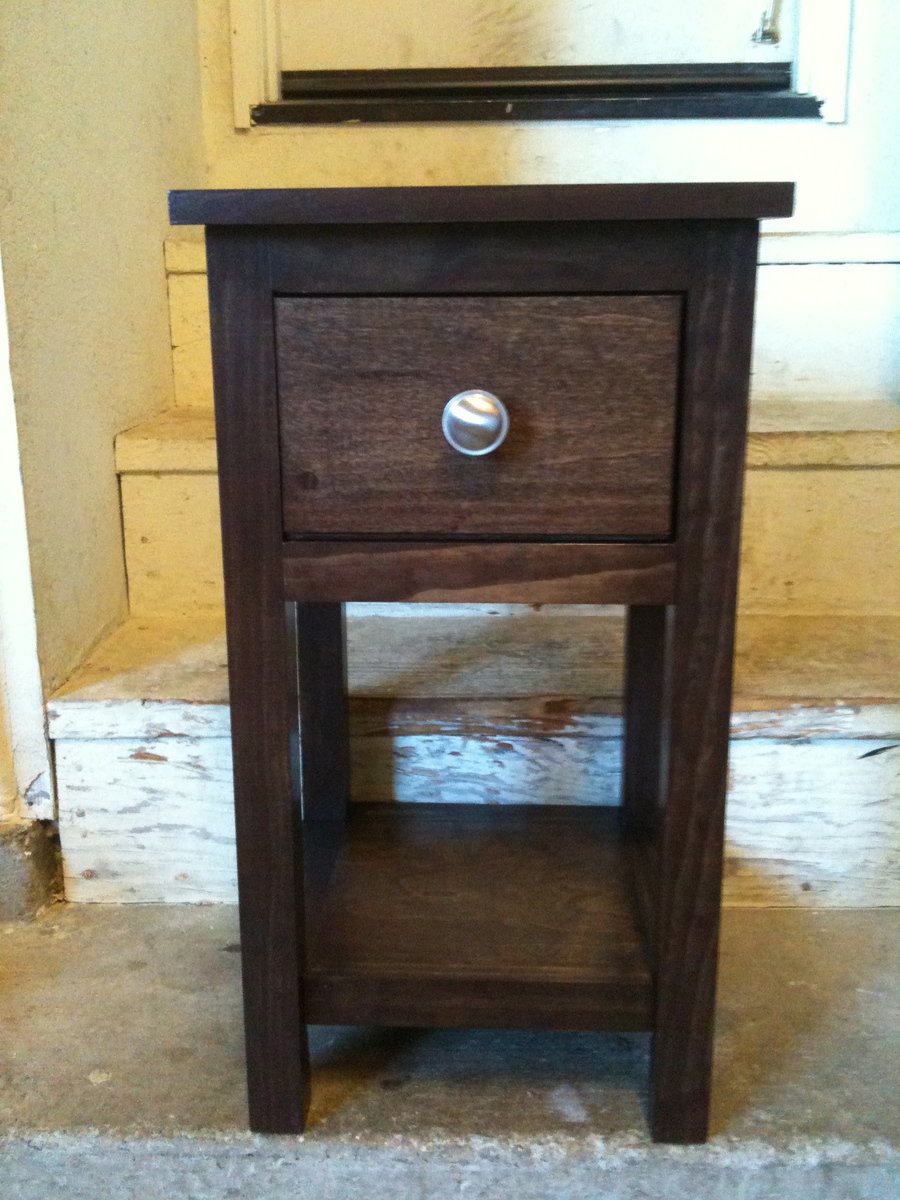
Narrow console table
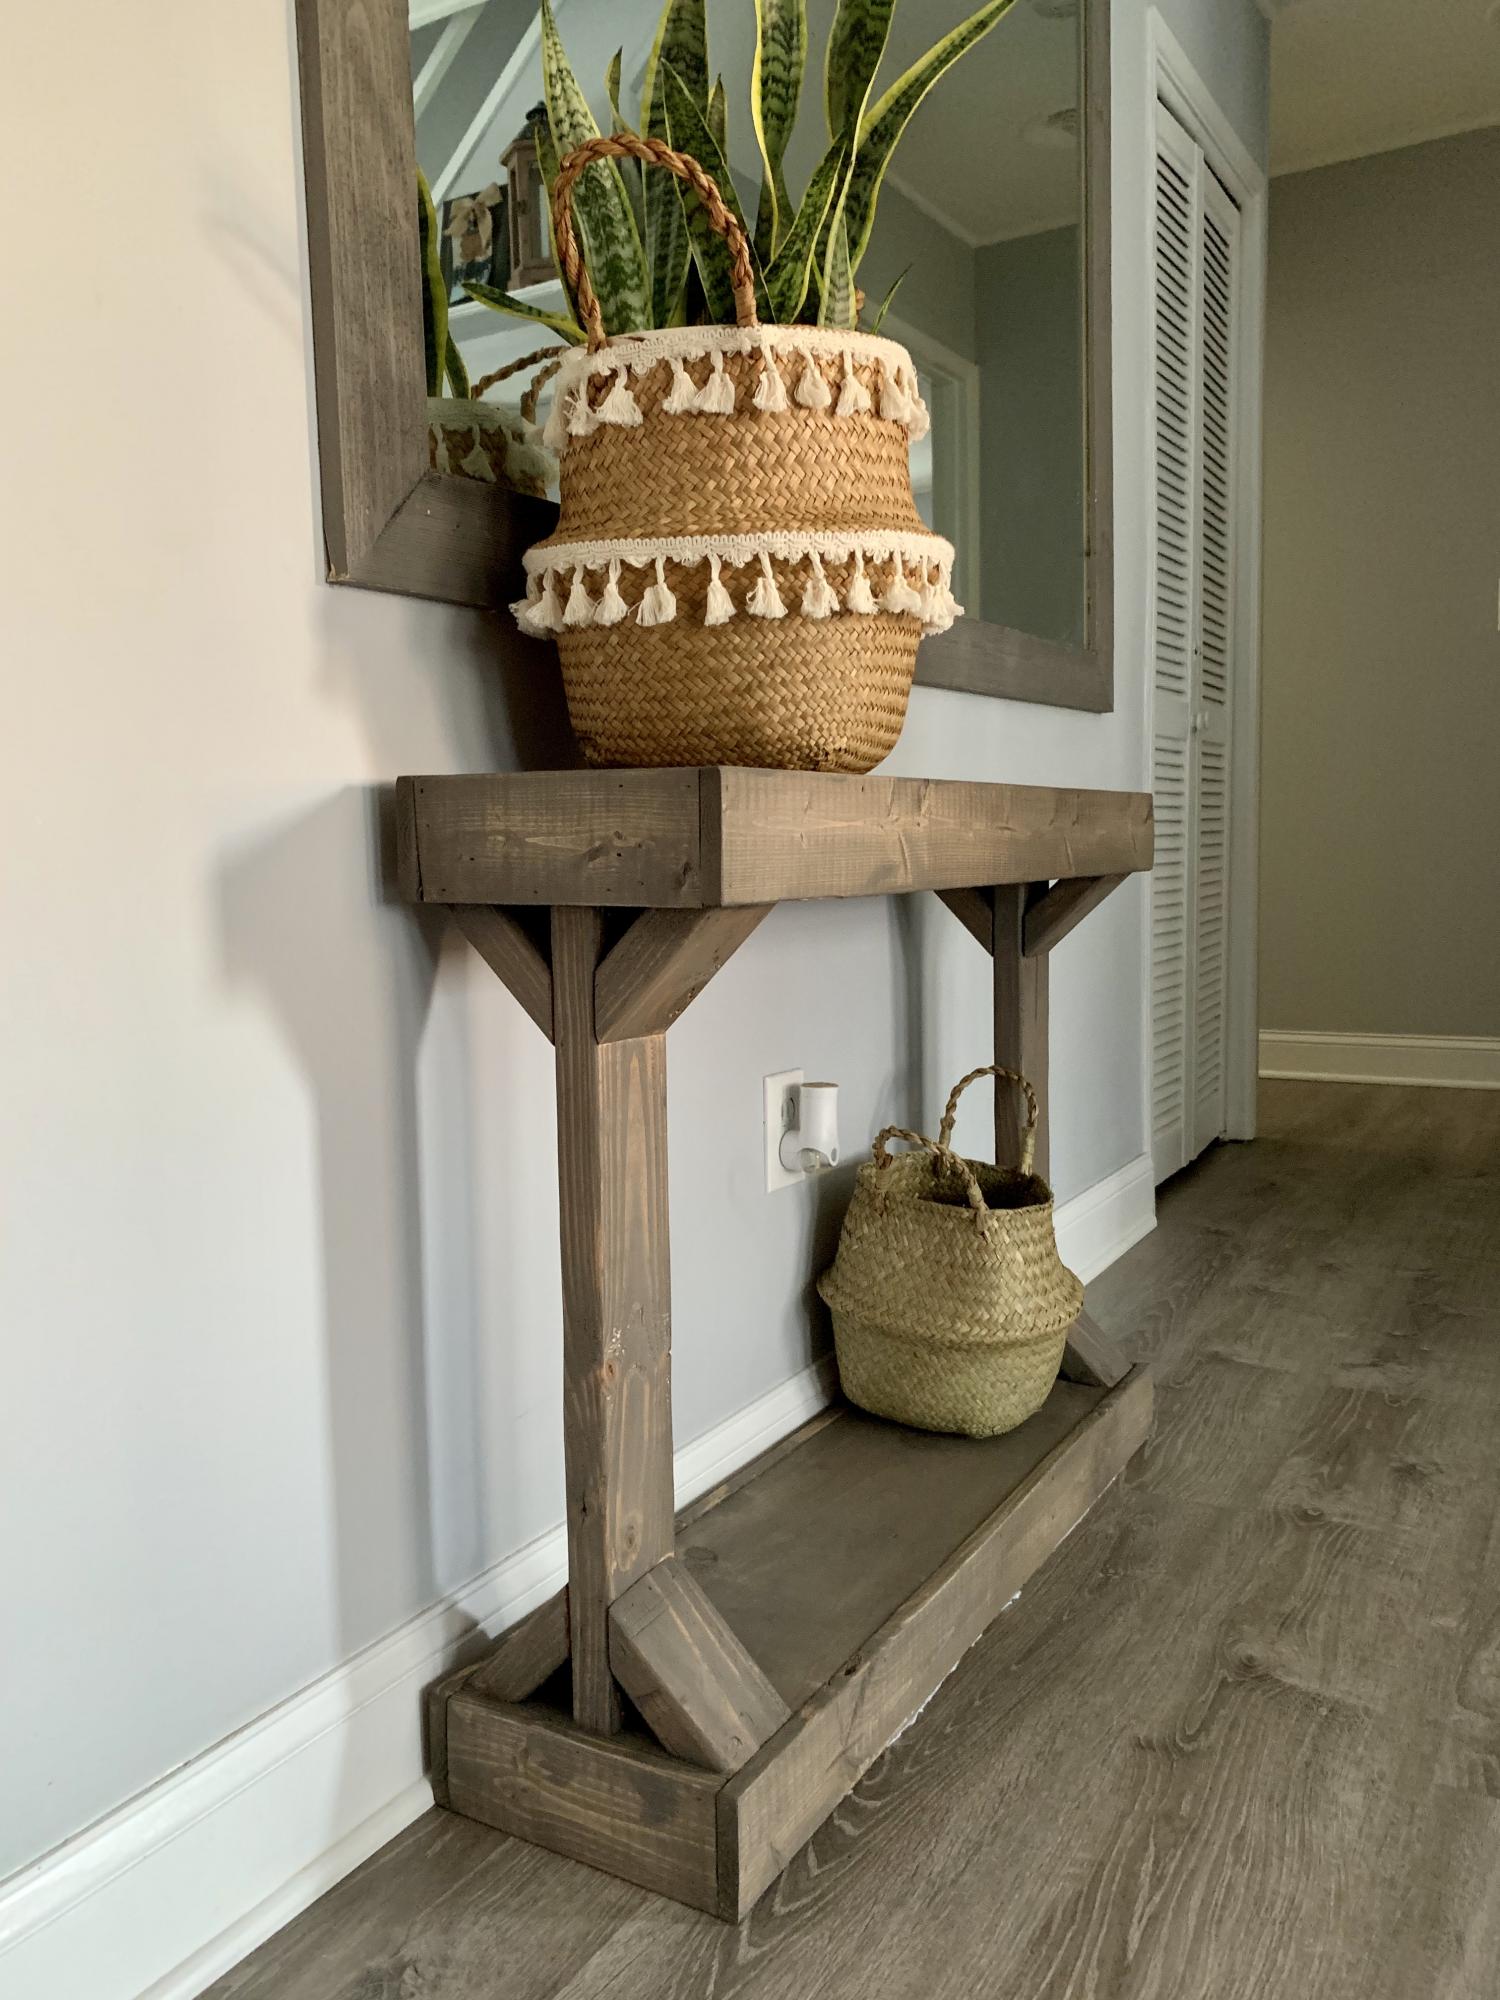
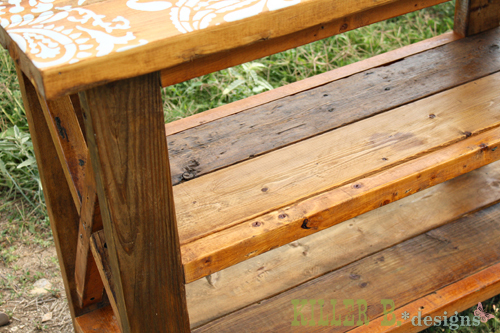
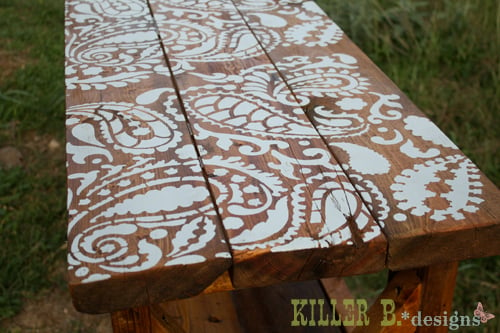
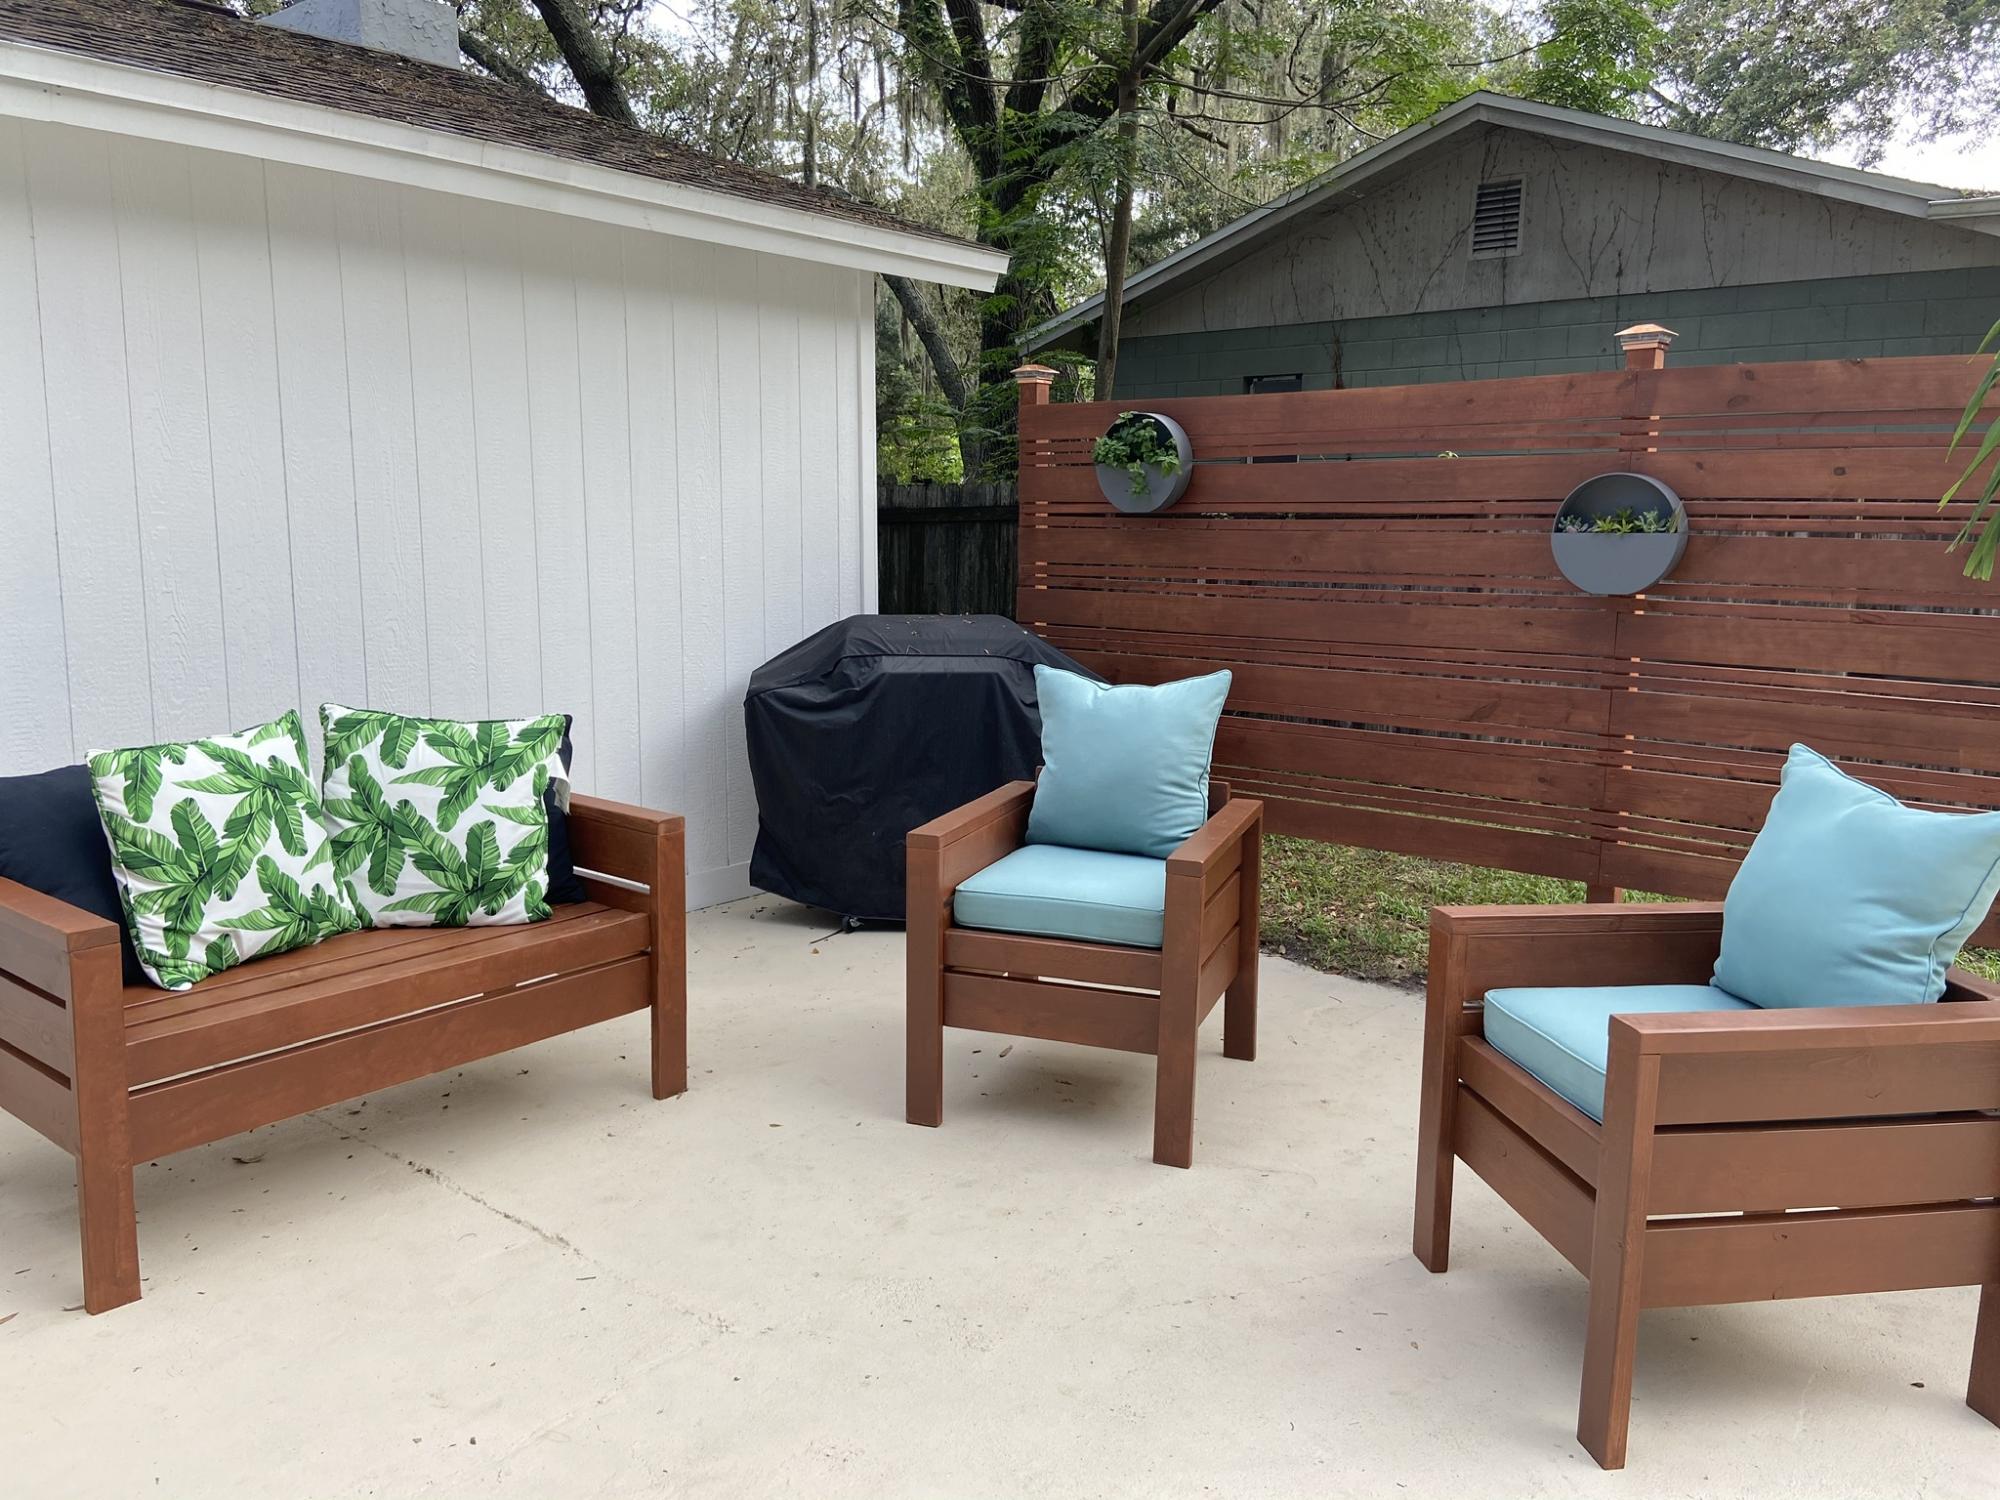
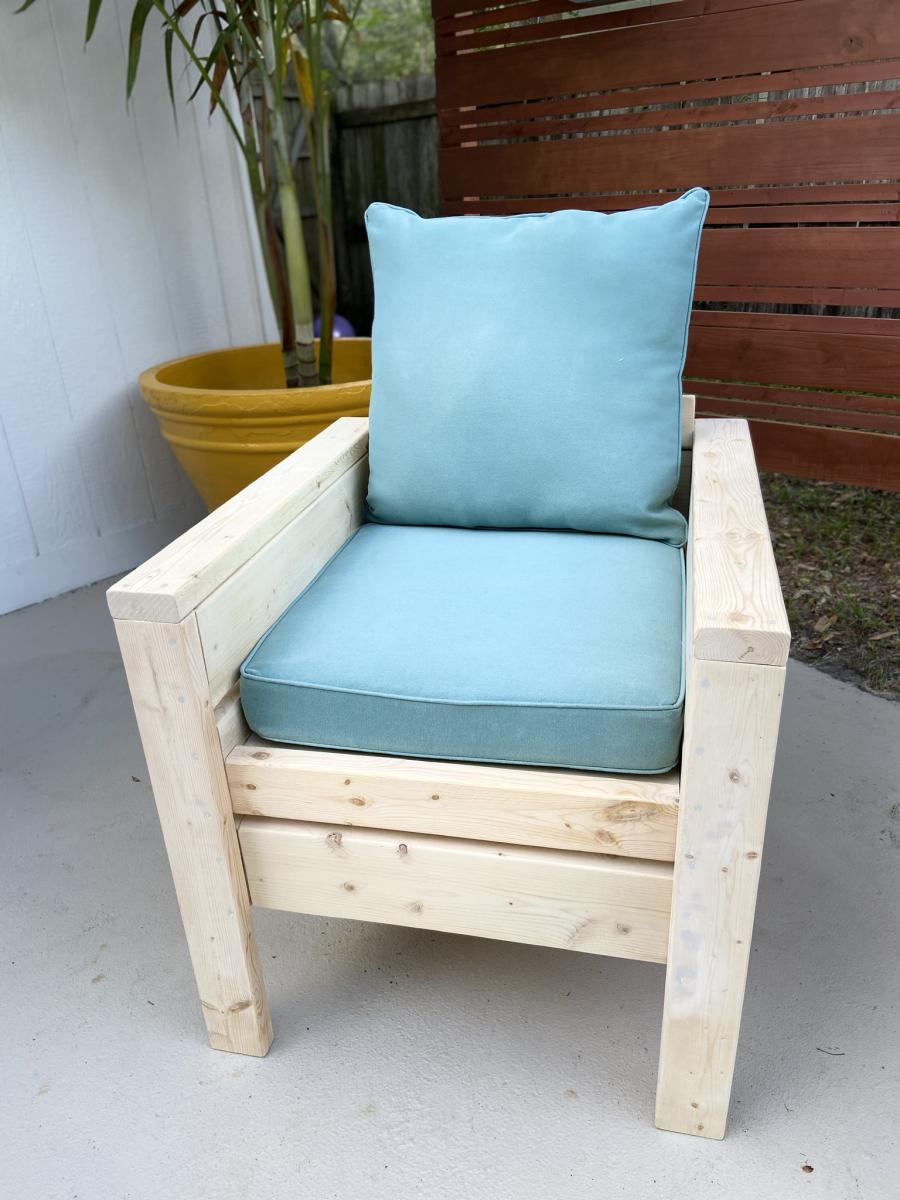
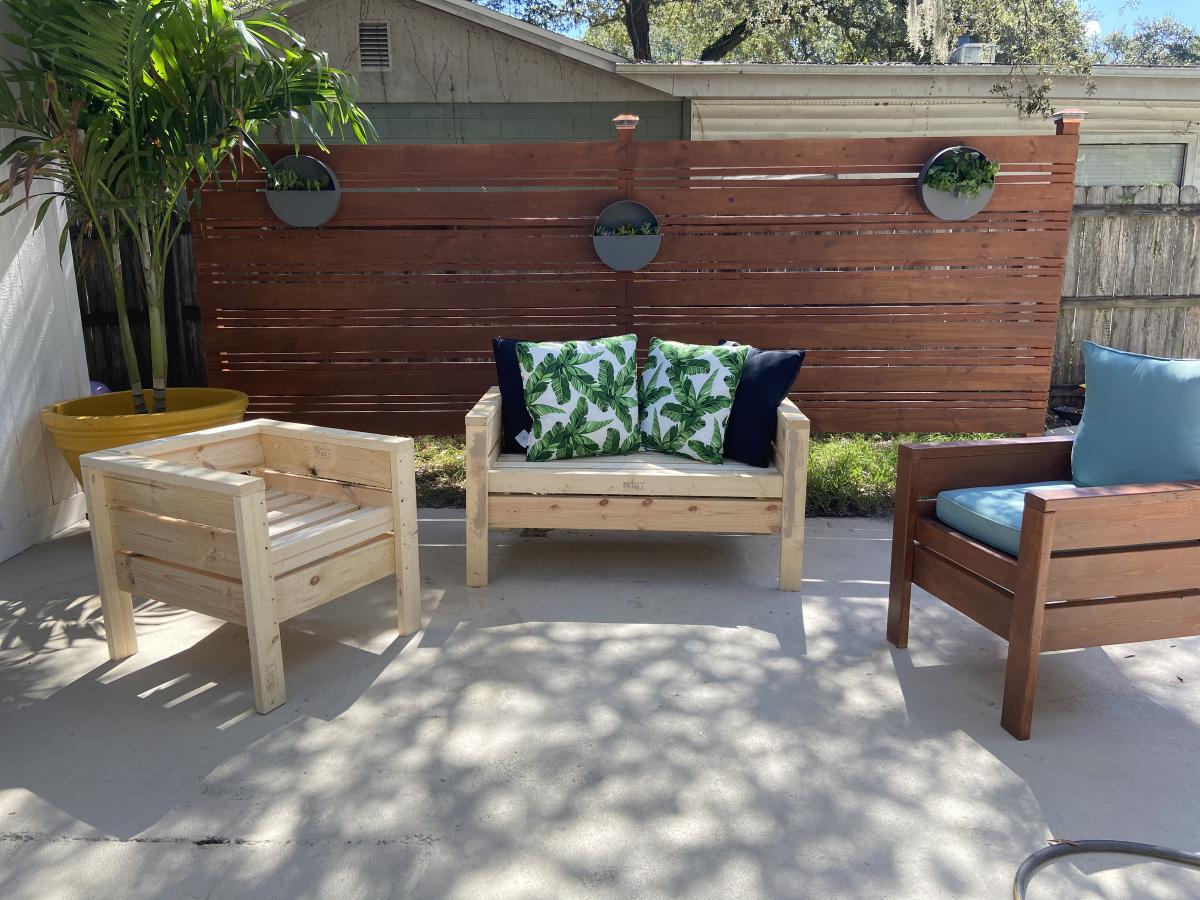
First build! Love the way it turned out! Used stain in color “Briarwood”.
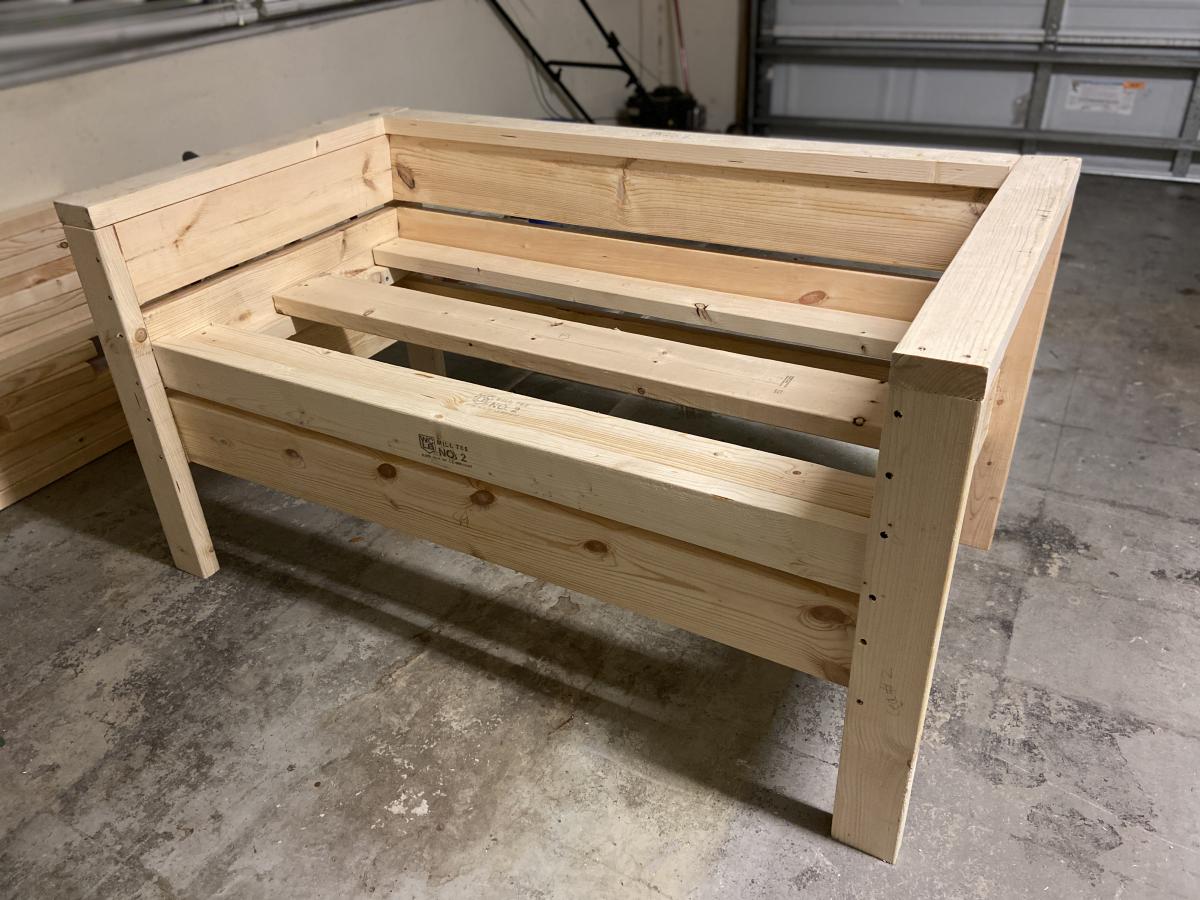
Built from Plan(s)
Estimated Cost
$50 (wood is expensive in PA right now)
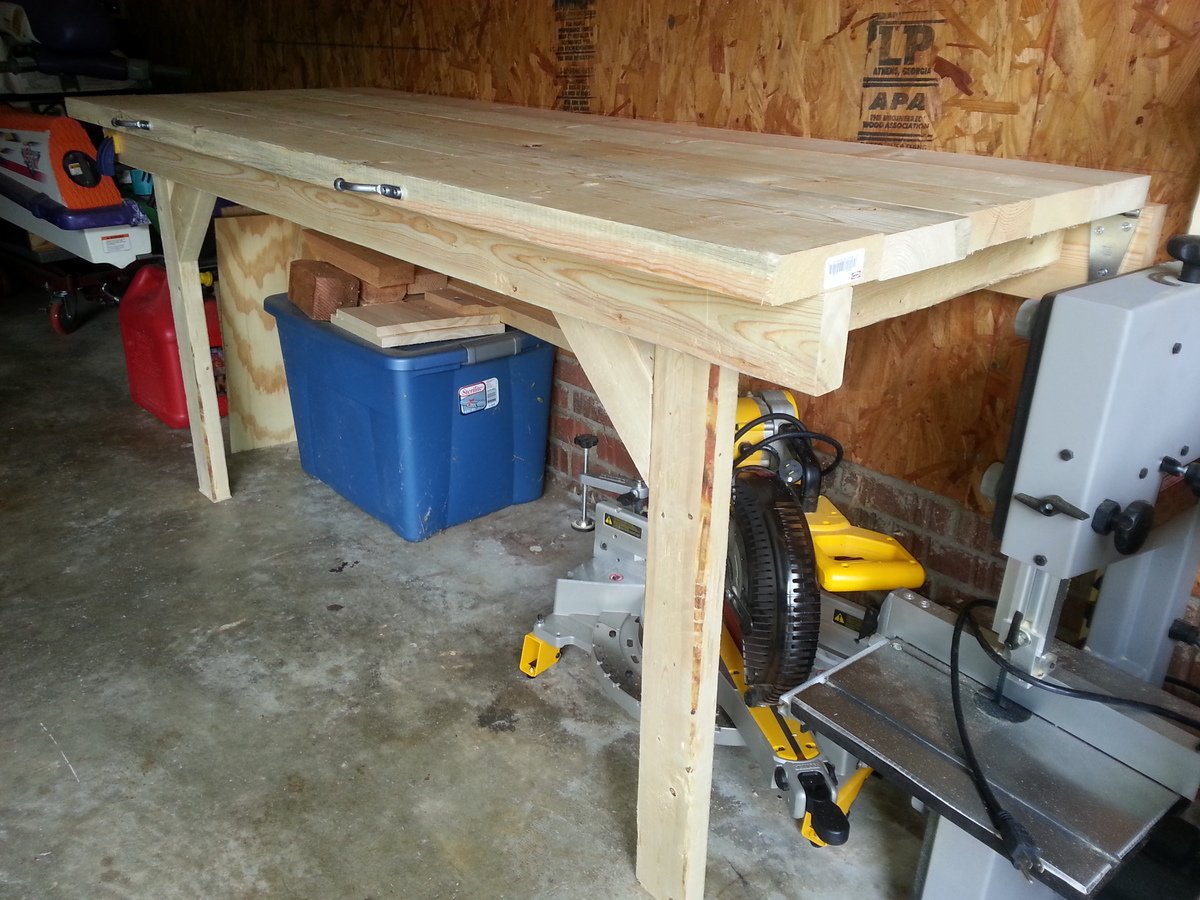
Estimated Time Investment
Afternoon Project (3-6 Hours)
Finish Used
Briarwood
Recommended Skill Level
Beginner