Love your plans!! Tv show please!!

Your plans are awesome!! Your YouTube videos rock!
Built from Plan(s)
Estimated Time Investment
Weekend Project (10-20 Hours)
Your plans are awesome!! Your YouTube videos rock!

Made this for my daughters new house! Love how it turned out!!
Elaine Freitas
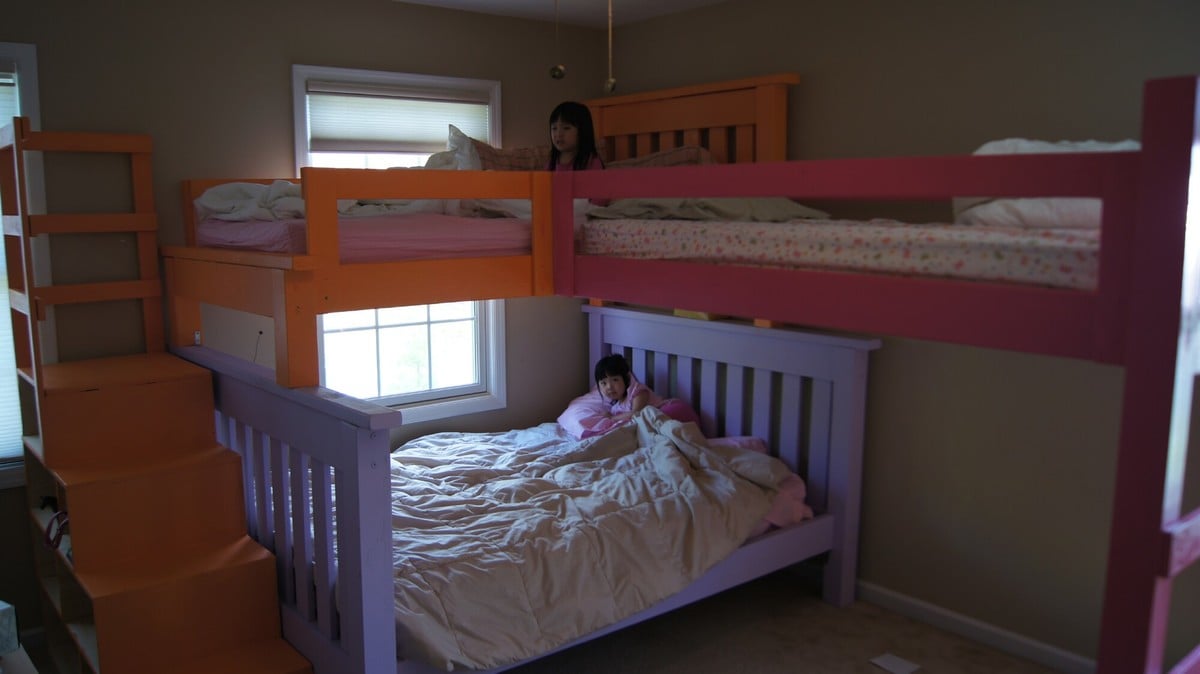
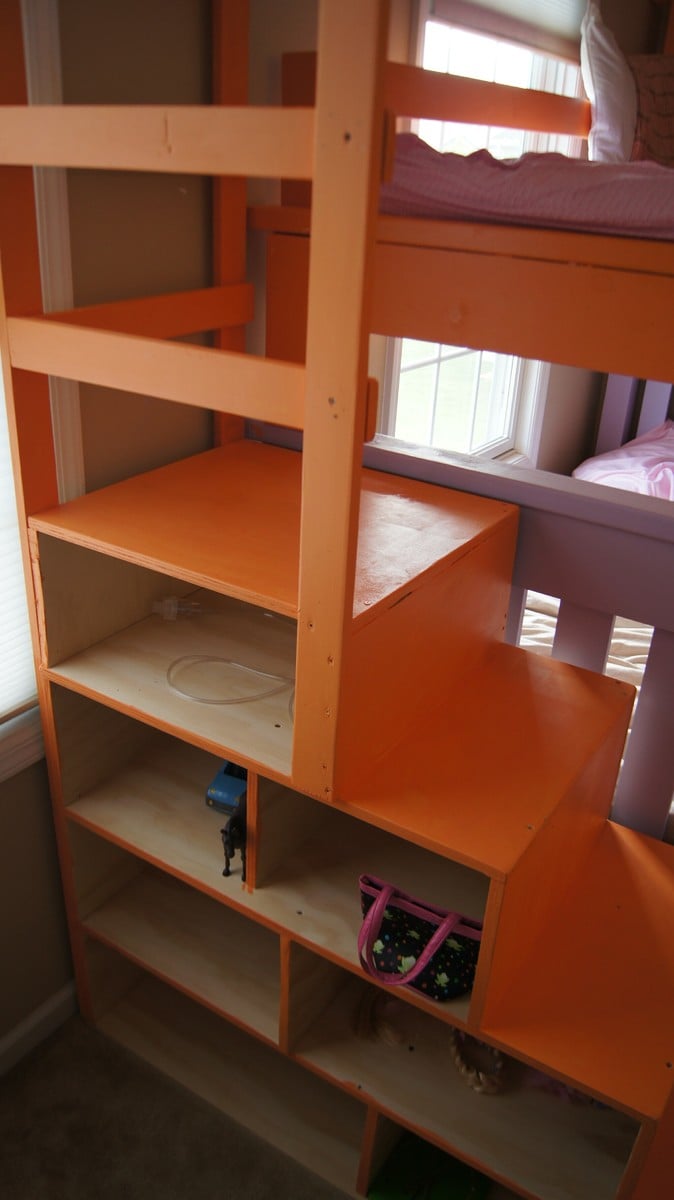
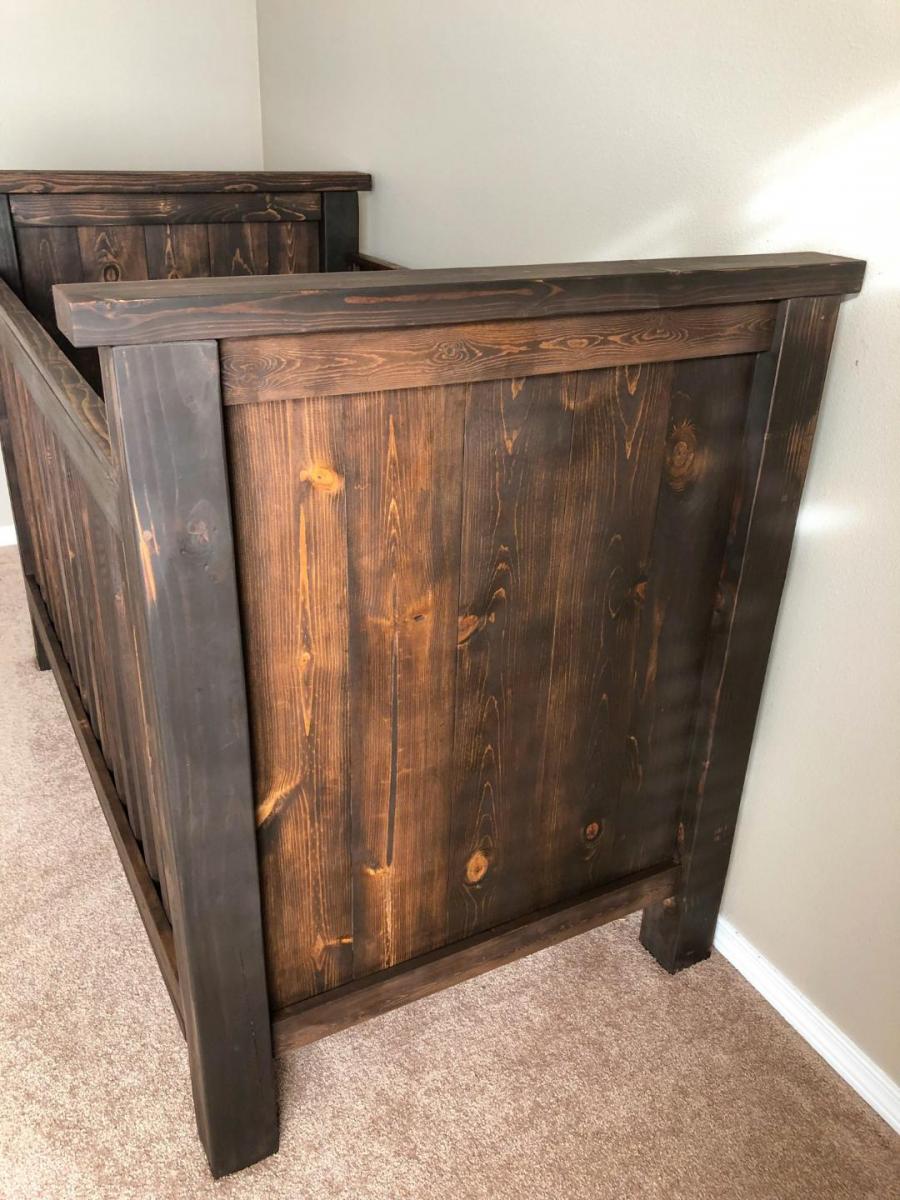
I'm a father of 4 girls ages 6,5,4, and 1. So a regular bunk wasn't enough so I decided to add the 3rd bunk. Each painted in my girls favorite colors. The paint was Martha Stewart signature paint which was on clearance on Lowes. Think it was 3 or 4 dollars a quart. The cubby steps are basically just 4 boxes stacked on top of each other and nailed together and made from 3/4" furniture grade plywood.
It didn't come out perfect but I'm pretty happy with the results. Let me know what you guys think. Thanks.
PS, Ana...my wife is a big fan of yours. She's the one who turned me onto your site.
Fri, 05/11/2012 - 17:30
That looks awesome! It's definitely one of a kind too. Nice job.
Sat, 11/24/2012 - 09:06
Hi,
We are looking to build something very similar, but are needing more information. How did you attach the loft bed to the top bunk bed? What do you have at the foot of the loft bed to keep it up? Thanks so much for any information.
Thu, 07/31/2014 - 14:17
This is BEAUTIFUL. I bet your girls have loved it and worn it well. :) I would love to see 2-years-later pics to see how it has held up over the years. :)
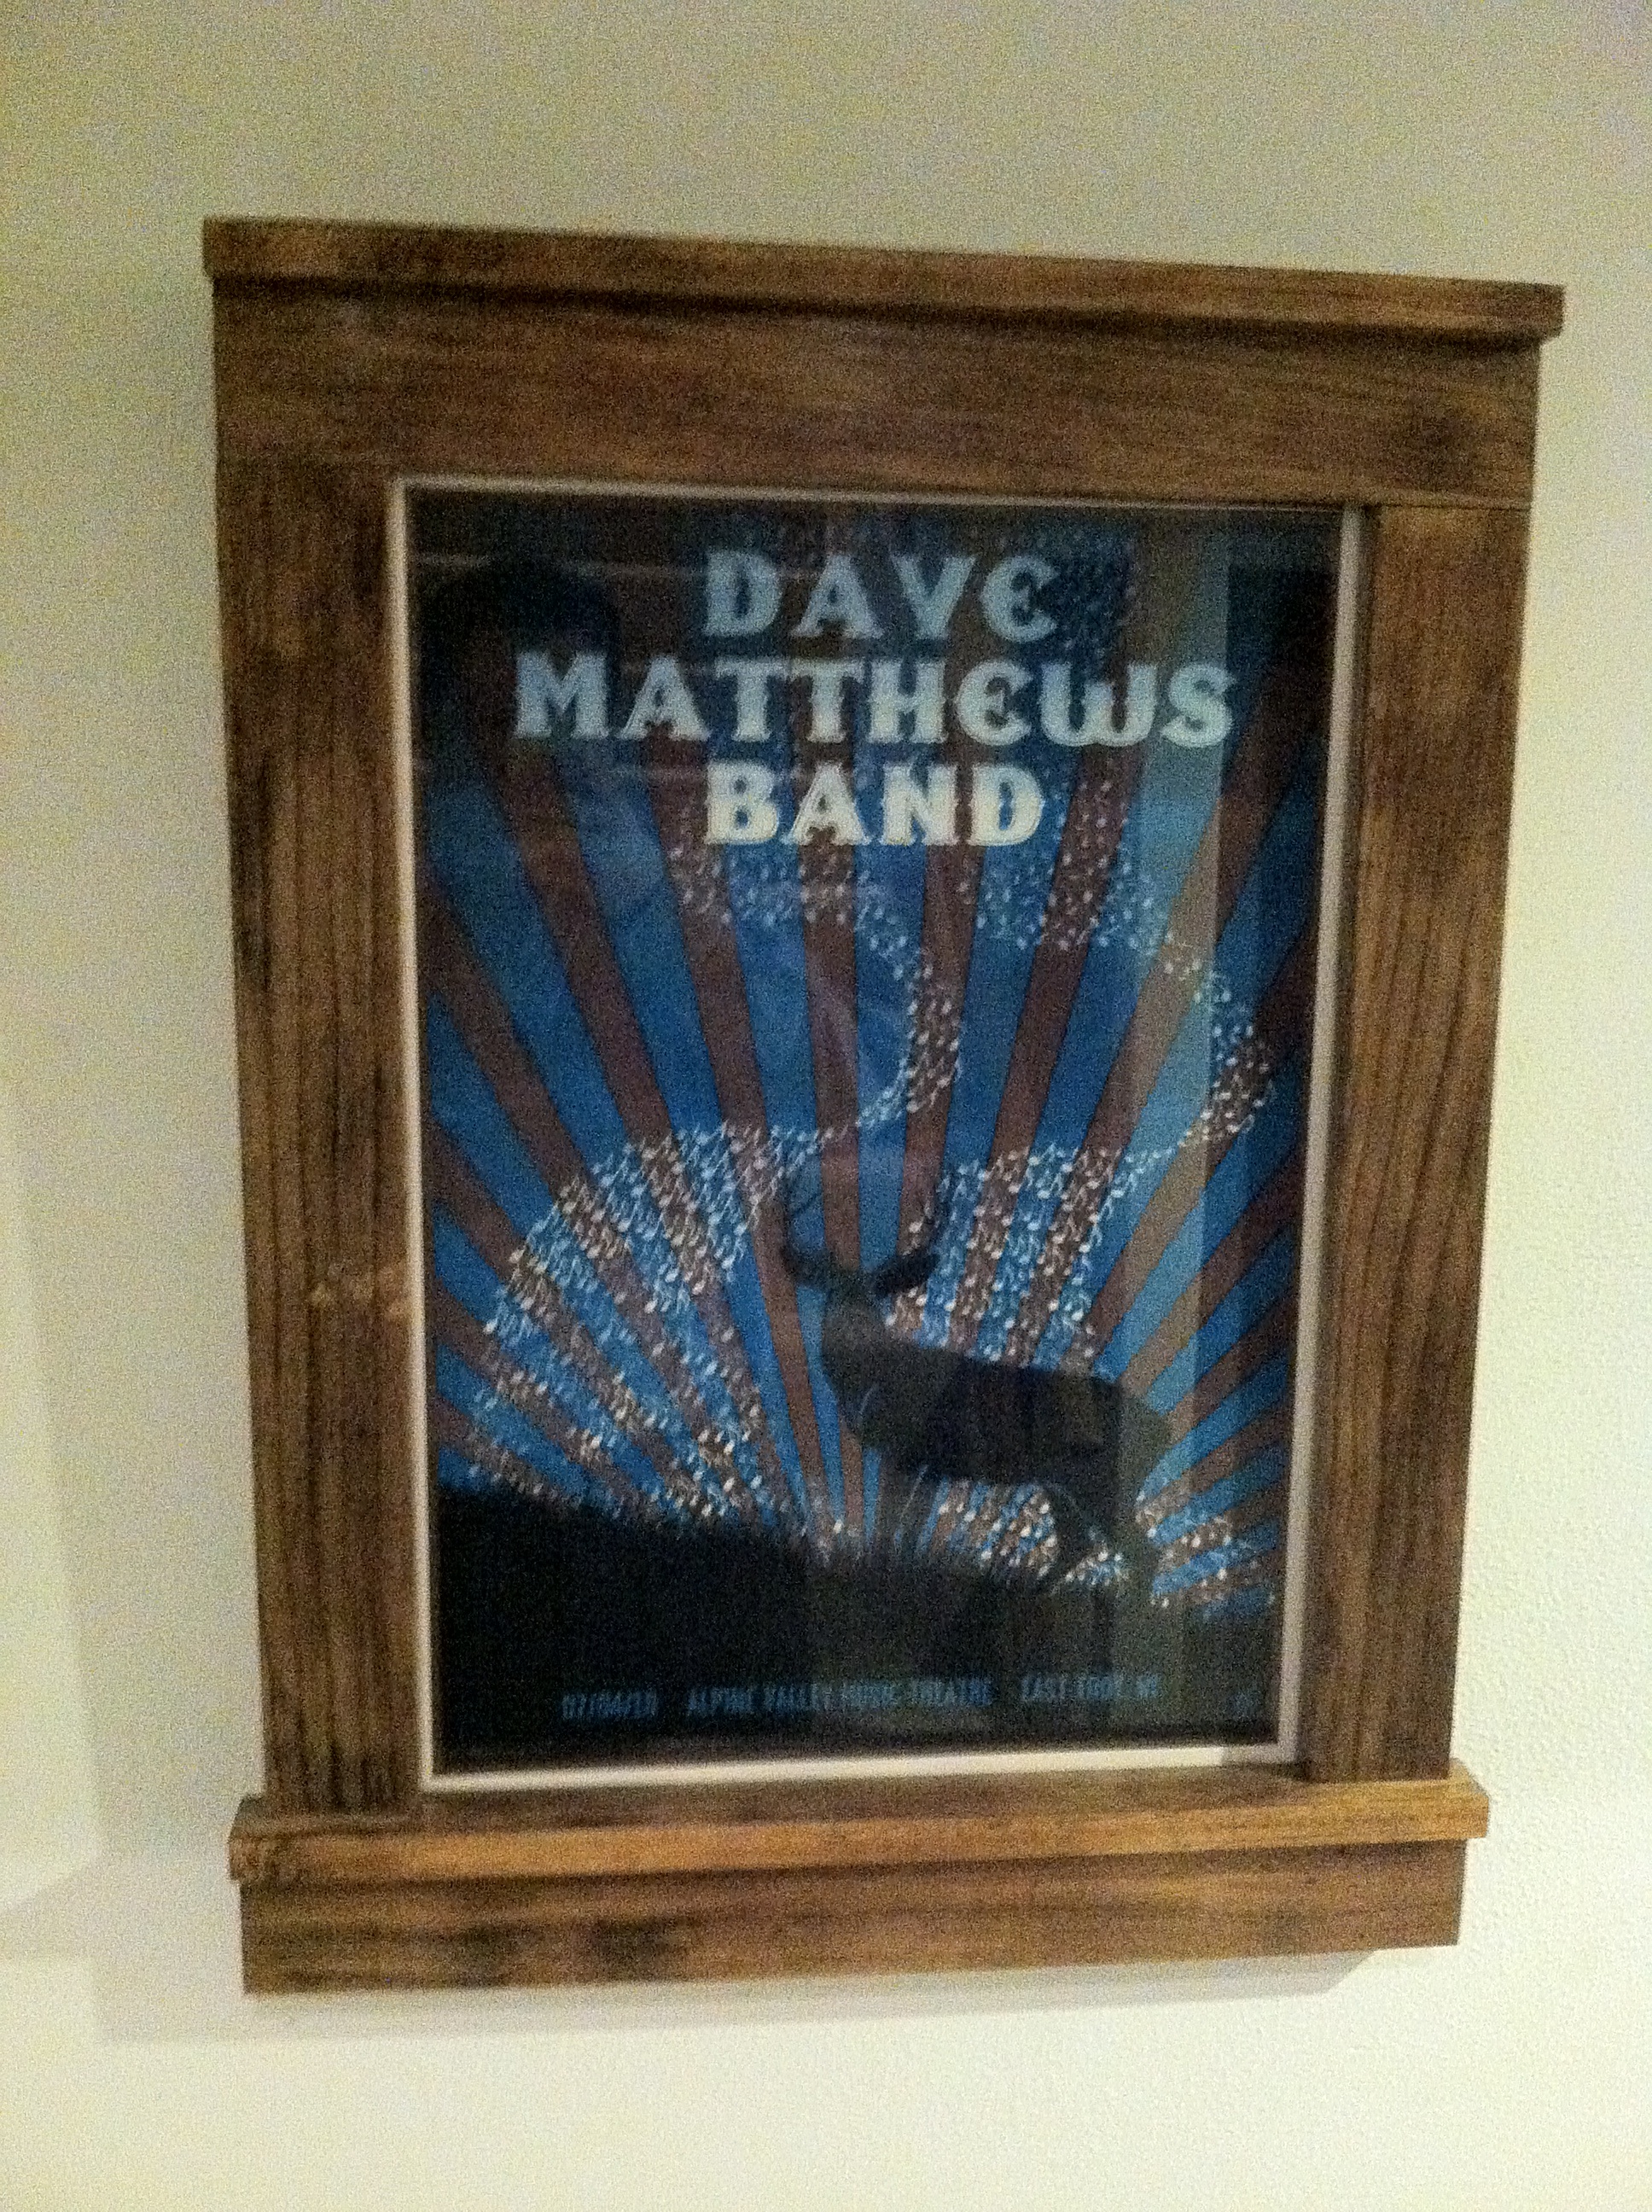
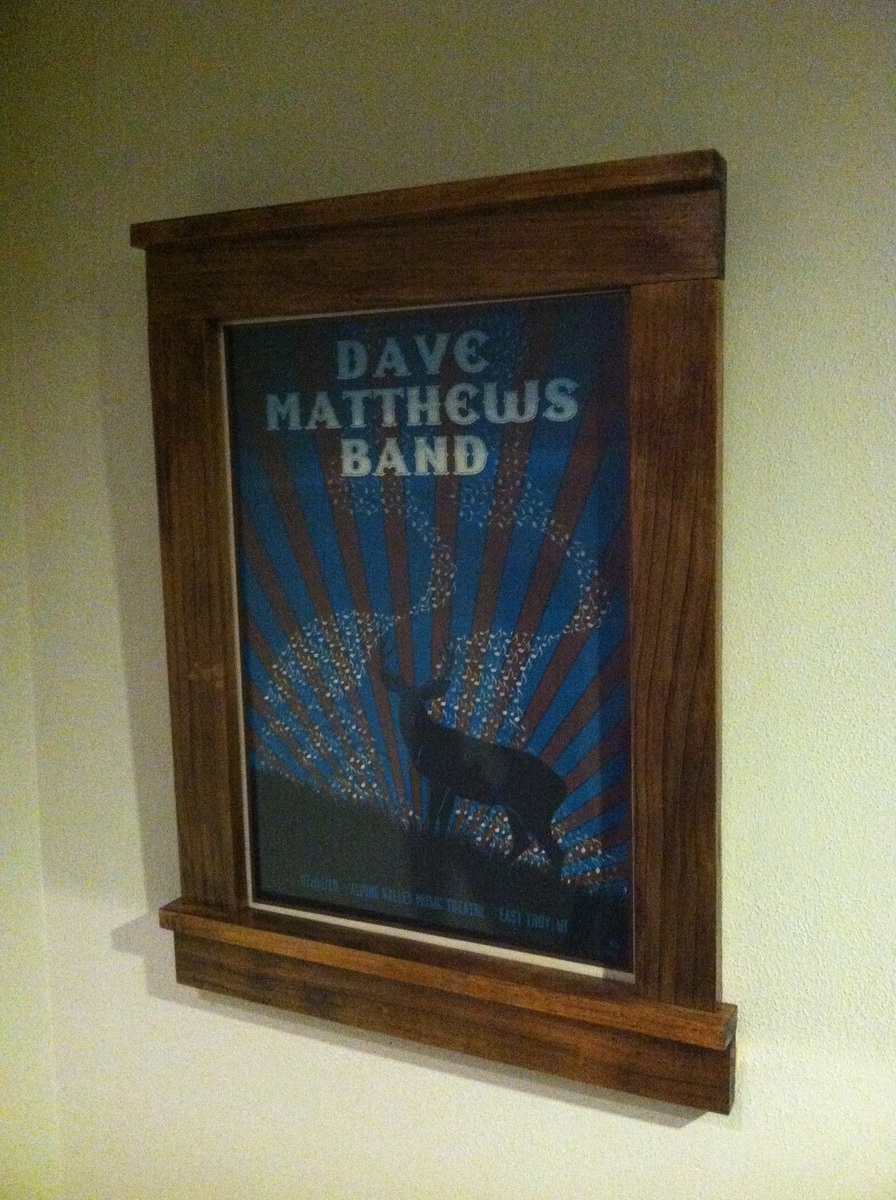
Had an old concert poster that I had been looking to frame. Glad I found these plans.
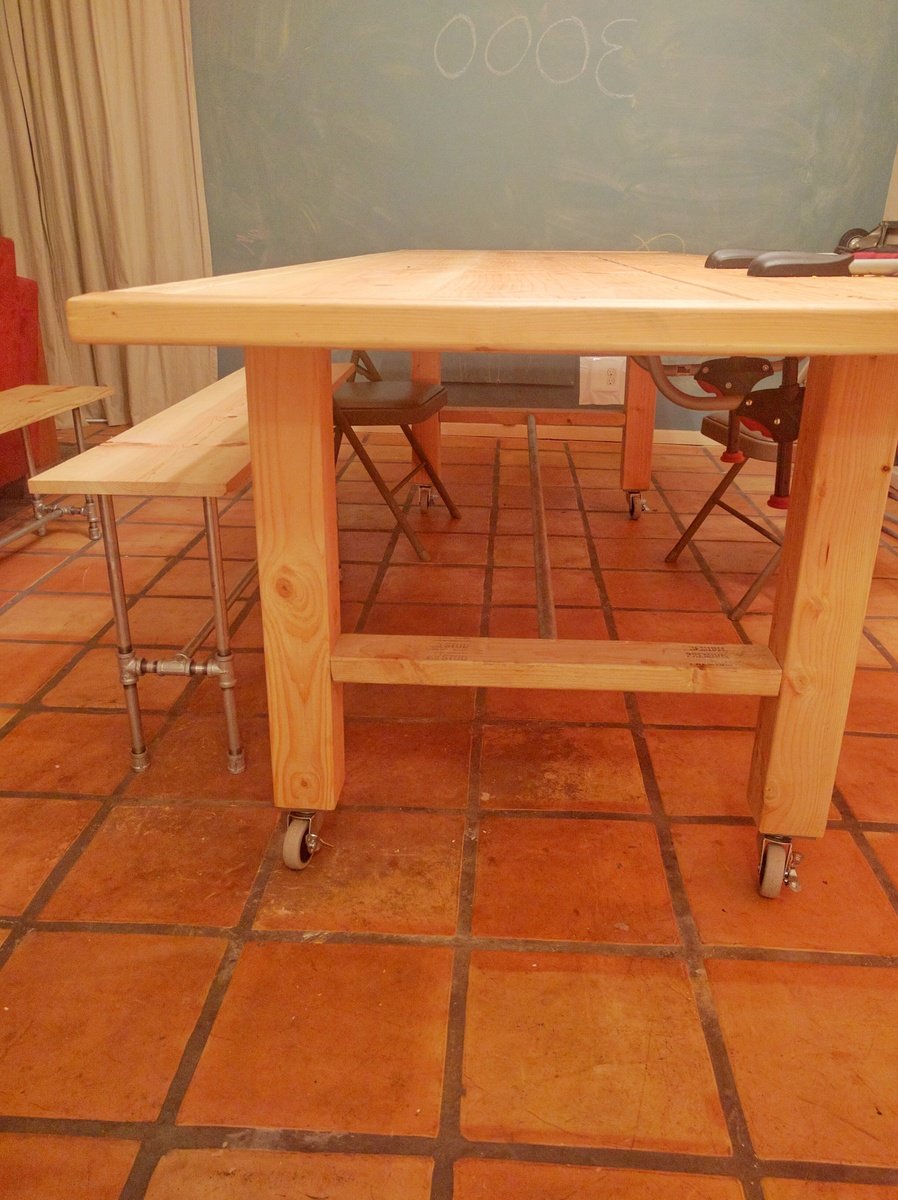
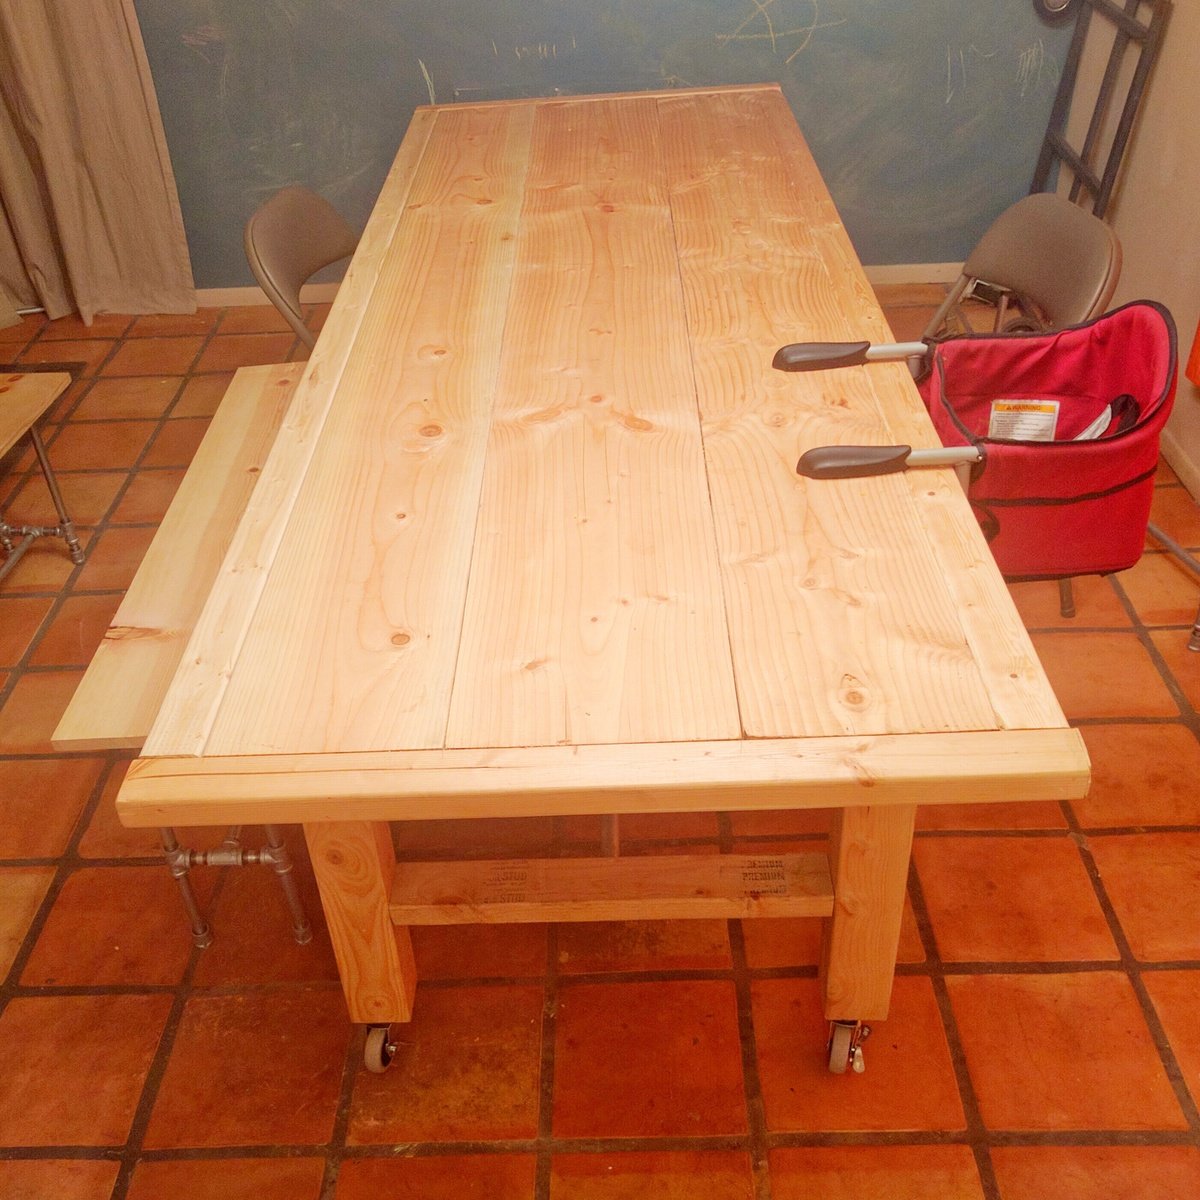
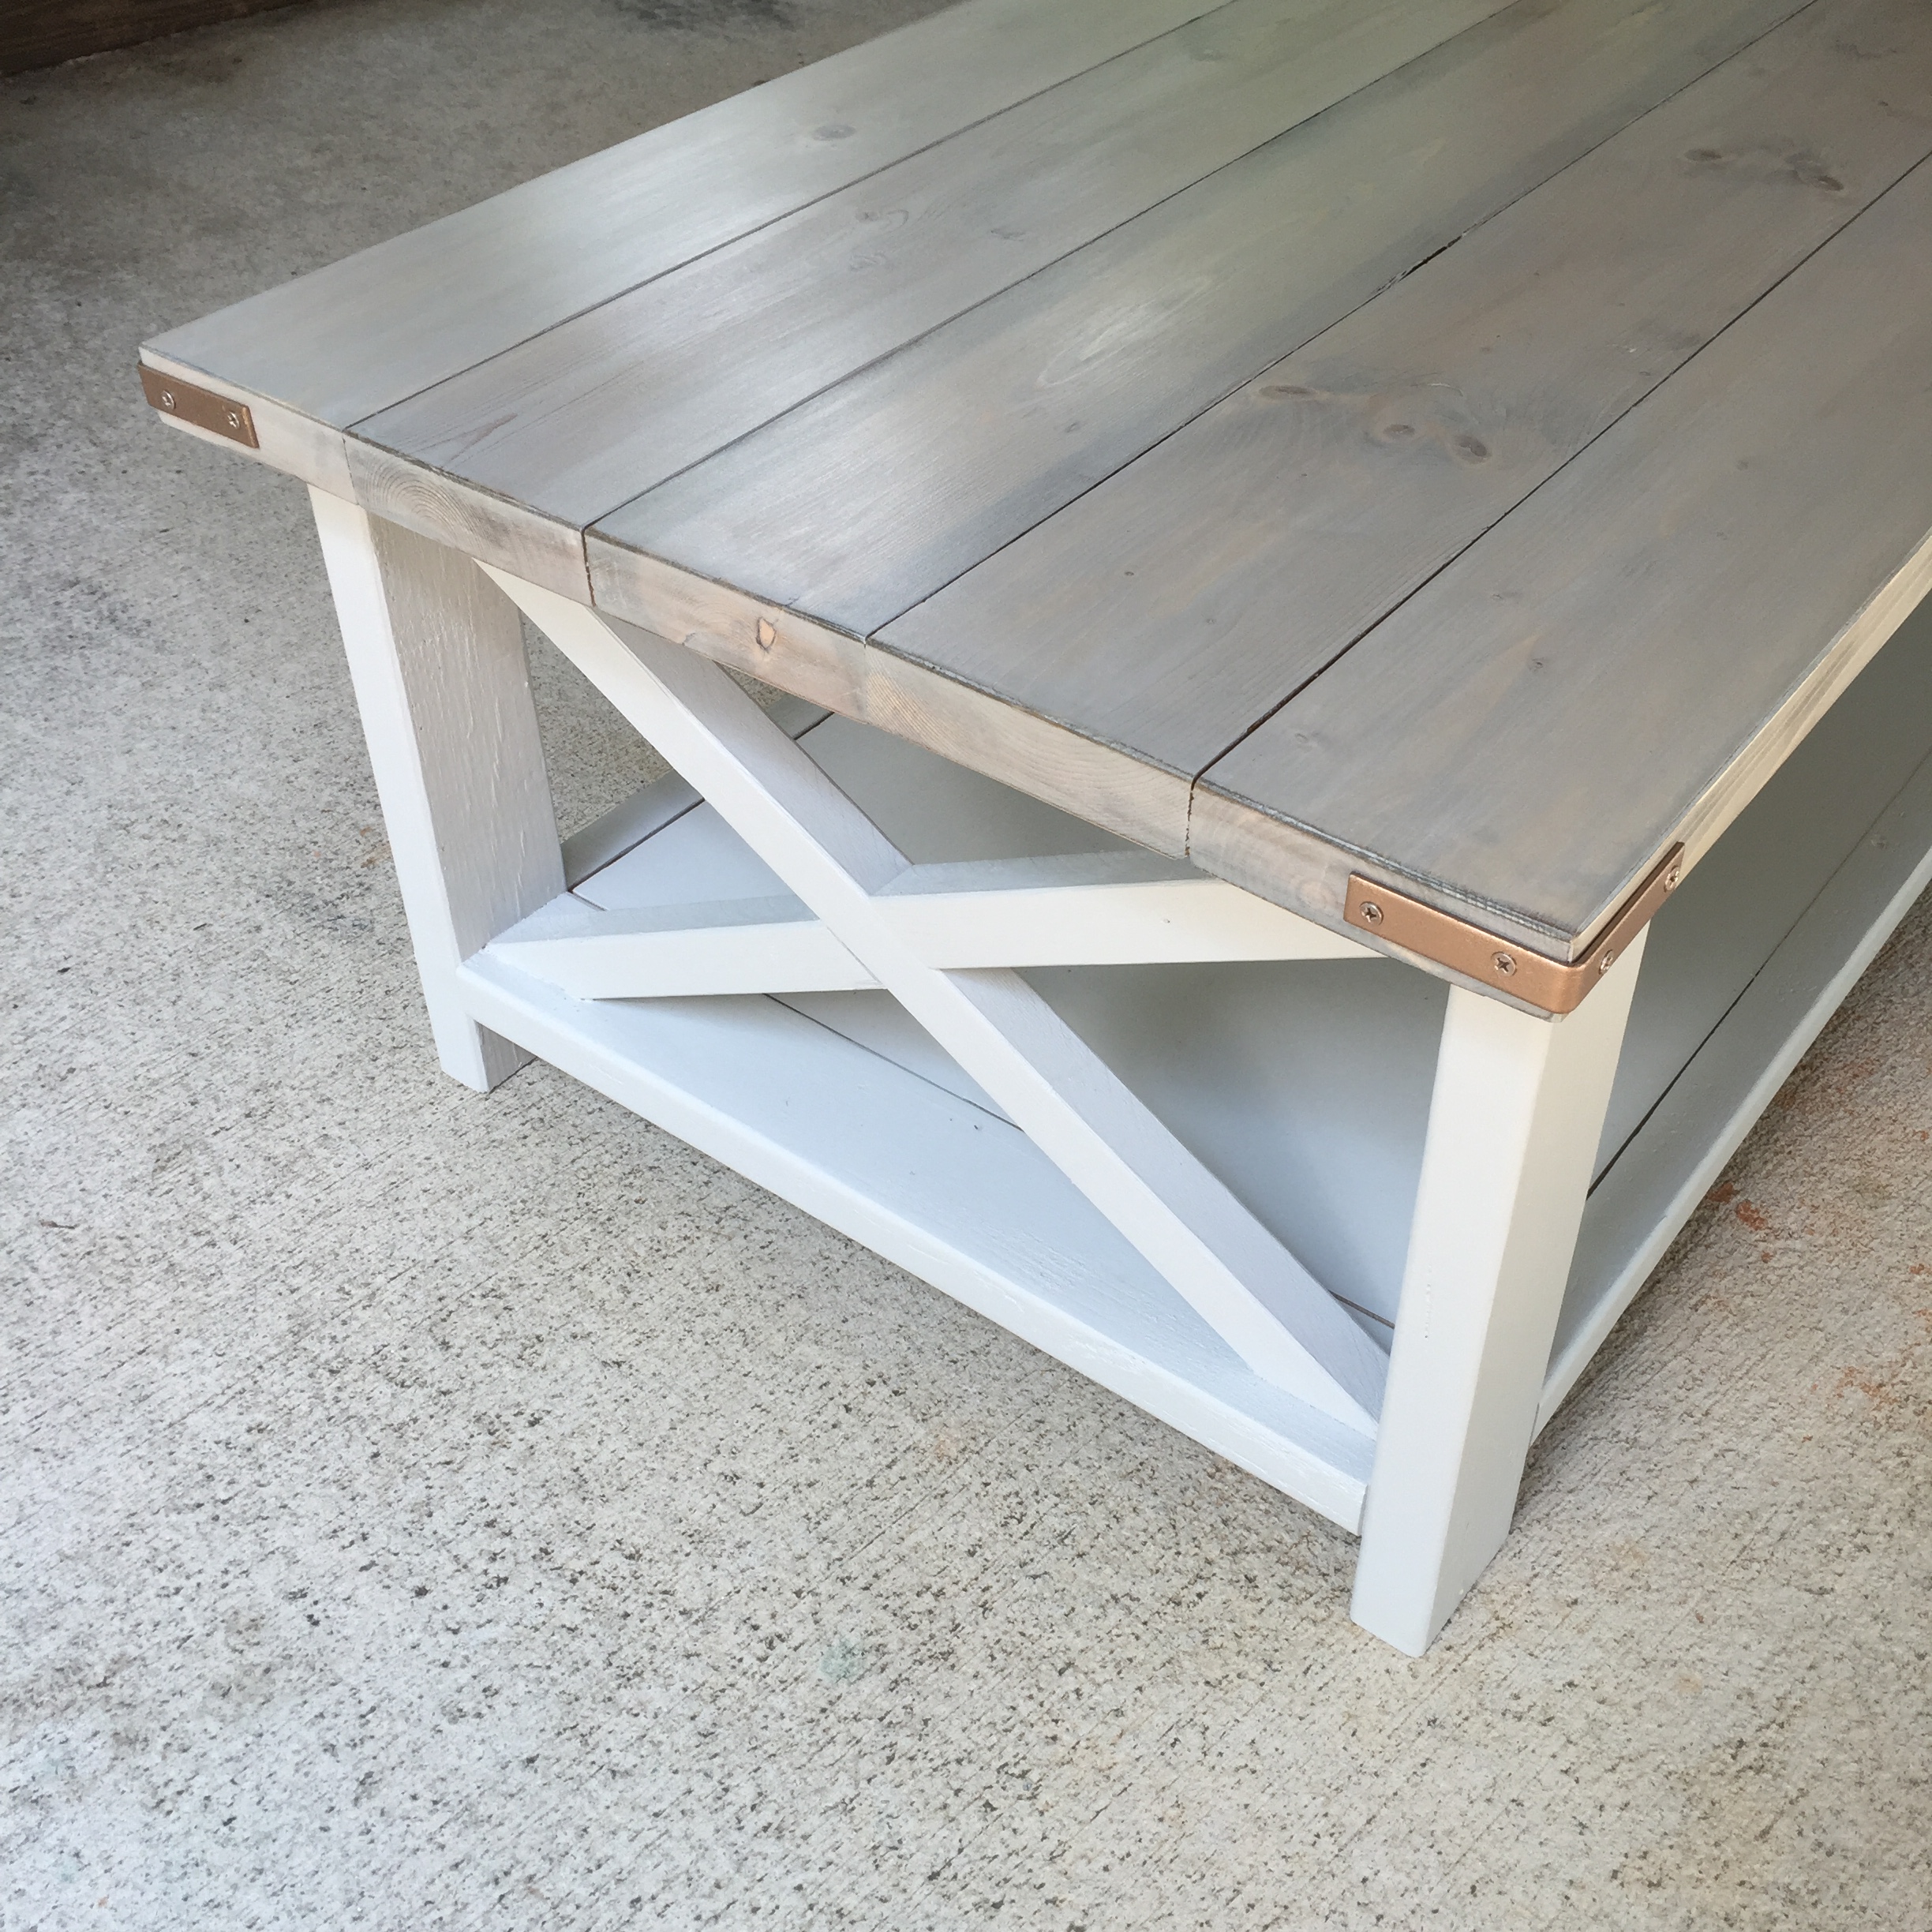
Modified top boards, 3/4 inch galvanized pipe as center support to reduce cuts needed, and casters so the massive thing can be moved.
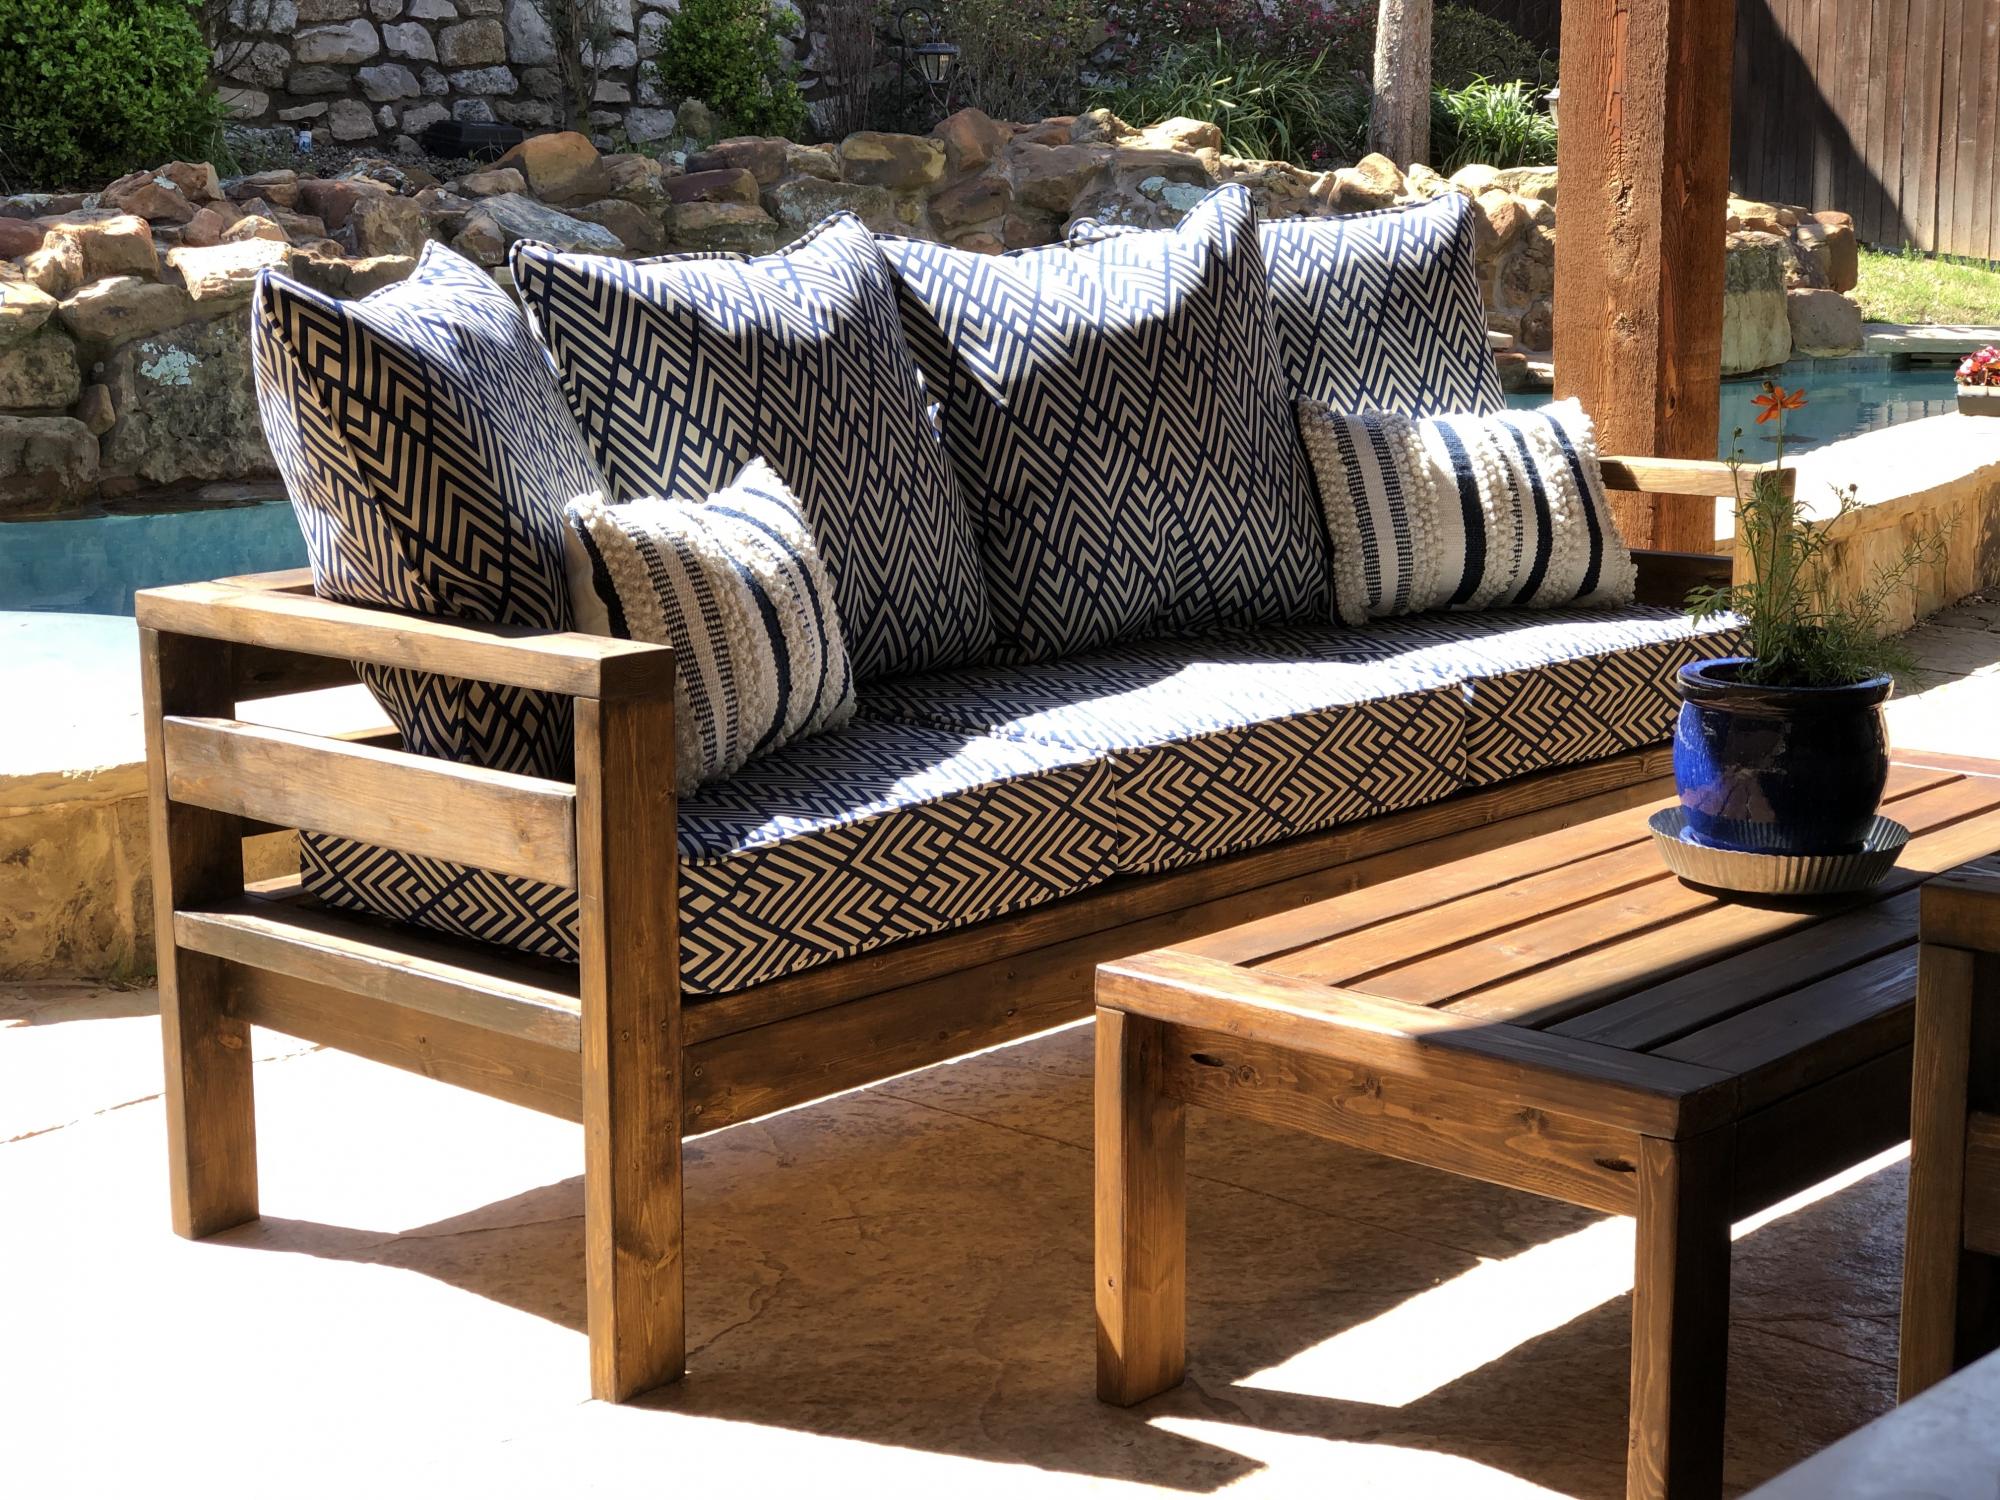
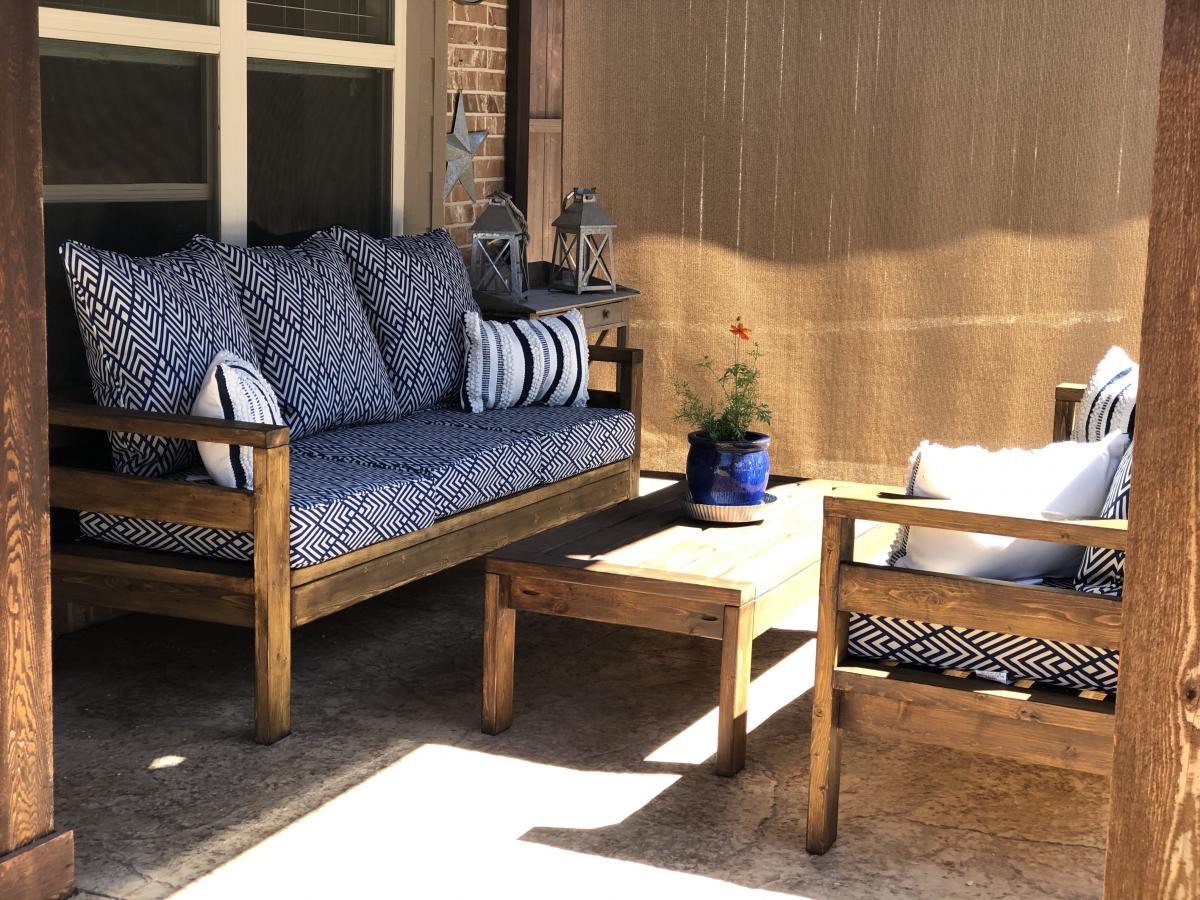
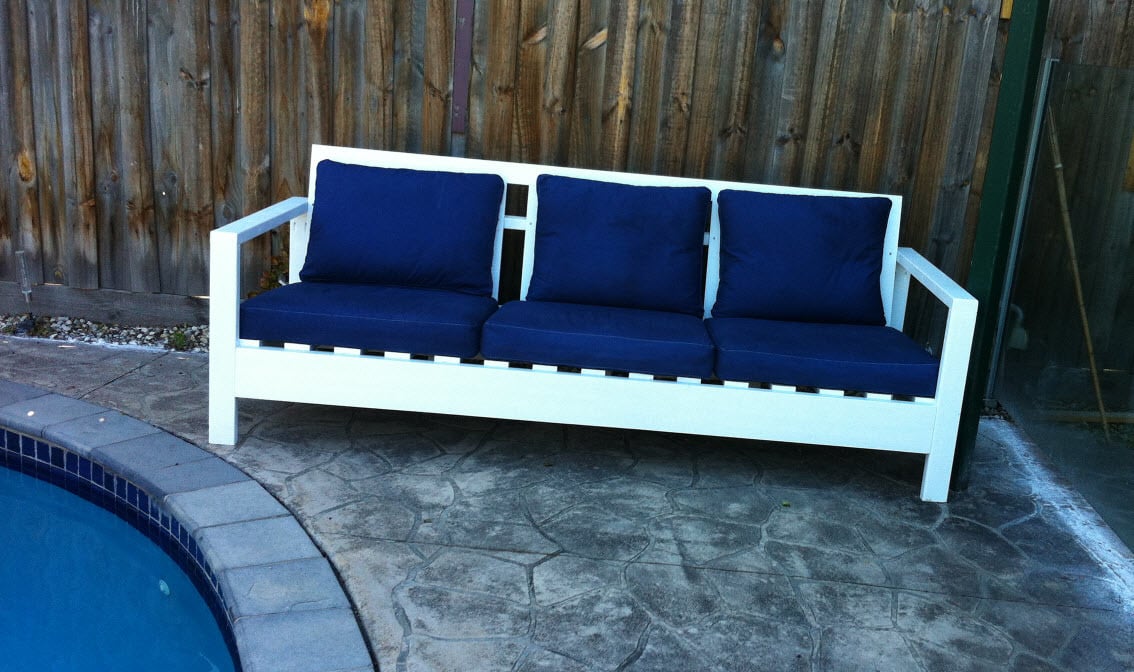
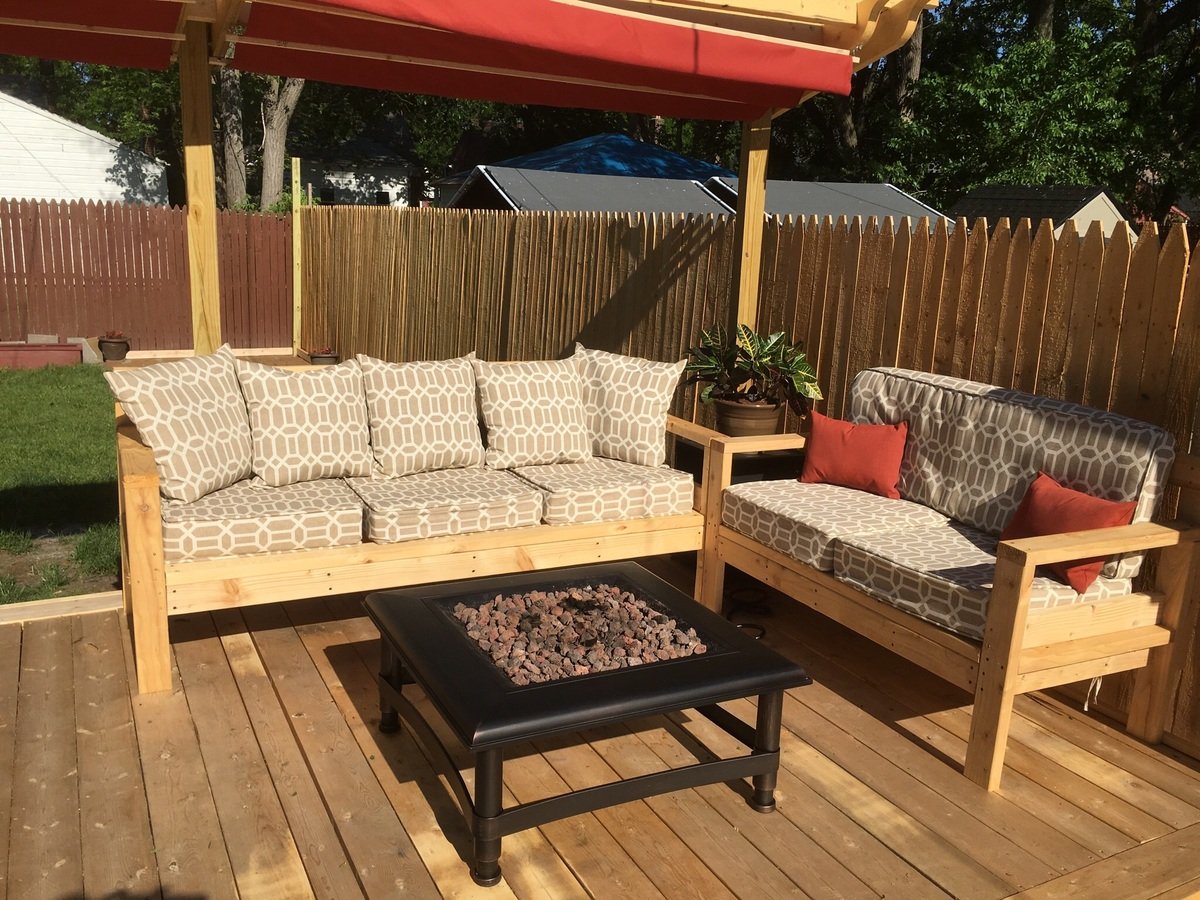
We LOVE our new patio set! Total cost of 2 sofas, coffee table and cushions: $530
Cushions B&G Retro Diamonds Deep Seat cushion set purchased from Walmart.
Thanks for sharing the plans!
We used cedar for these nice, little chairs and based the table on the chair model, only 24" tall, rather than the 18" of the chair seats. It took longer to cut than assemble these - total time: @4 hours for all.
Thank you, Ana!
Darin
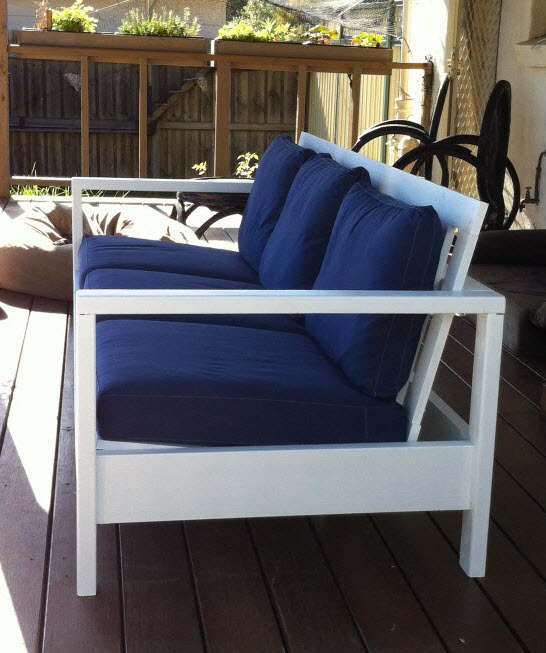
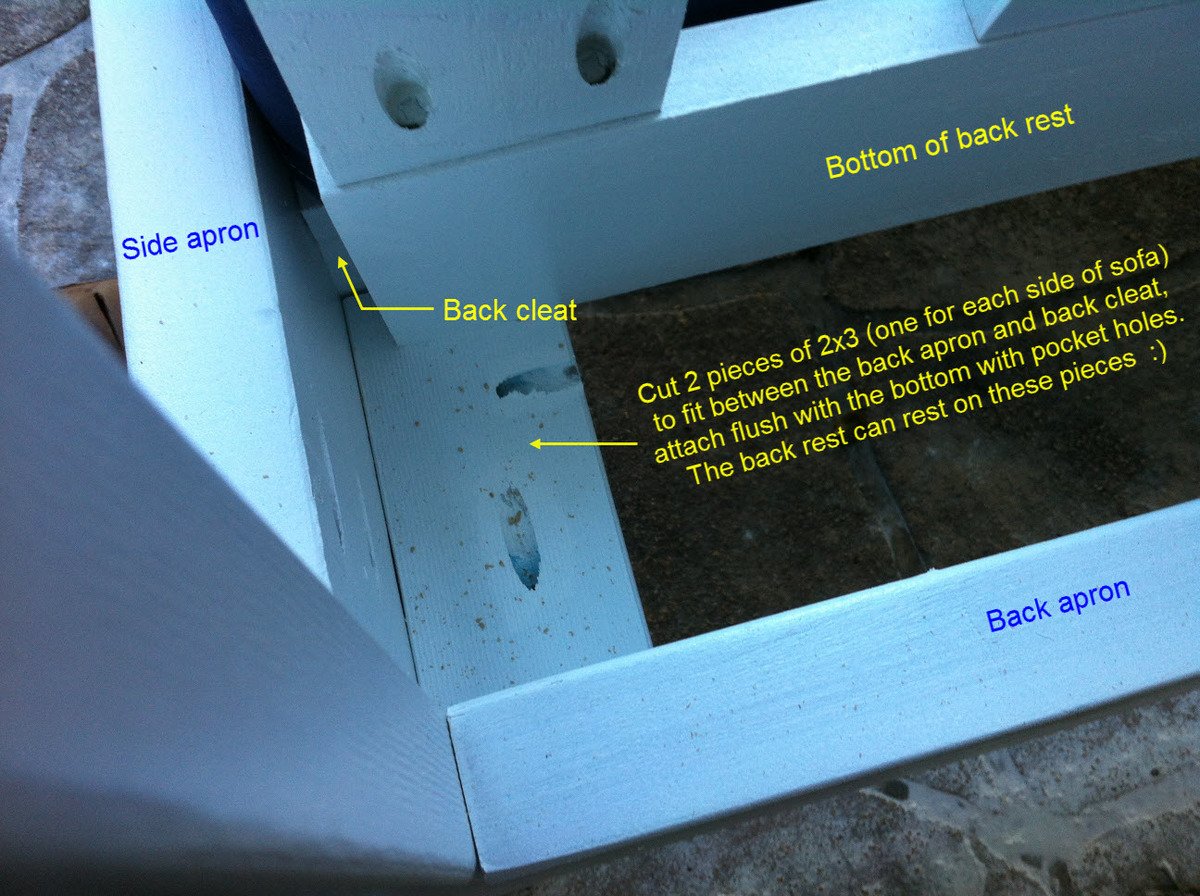
An easy build! Thanks for the plans, Ana. This was a housewarming gift for some friends and it now sits nicely by their pool. I got the cushions from Ikea (Arholma range) and sized the sofa around them. I used 2x3s for the frame and added a couple of 2x3 support legs under the back cleat for extra support. I also attached a couple of 2x3 pieces between the back cleat and the back apron for the back support to rest on. Now for the table... :)
This was by Far The Best Sectional plans on the Net! Very Easy To Make! Thanks Anna white
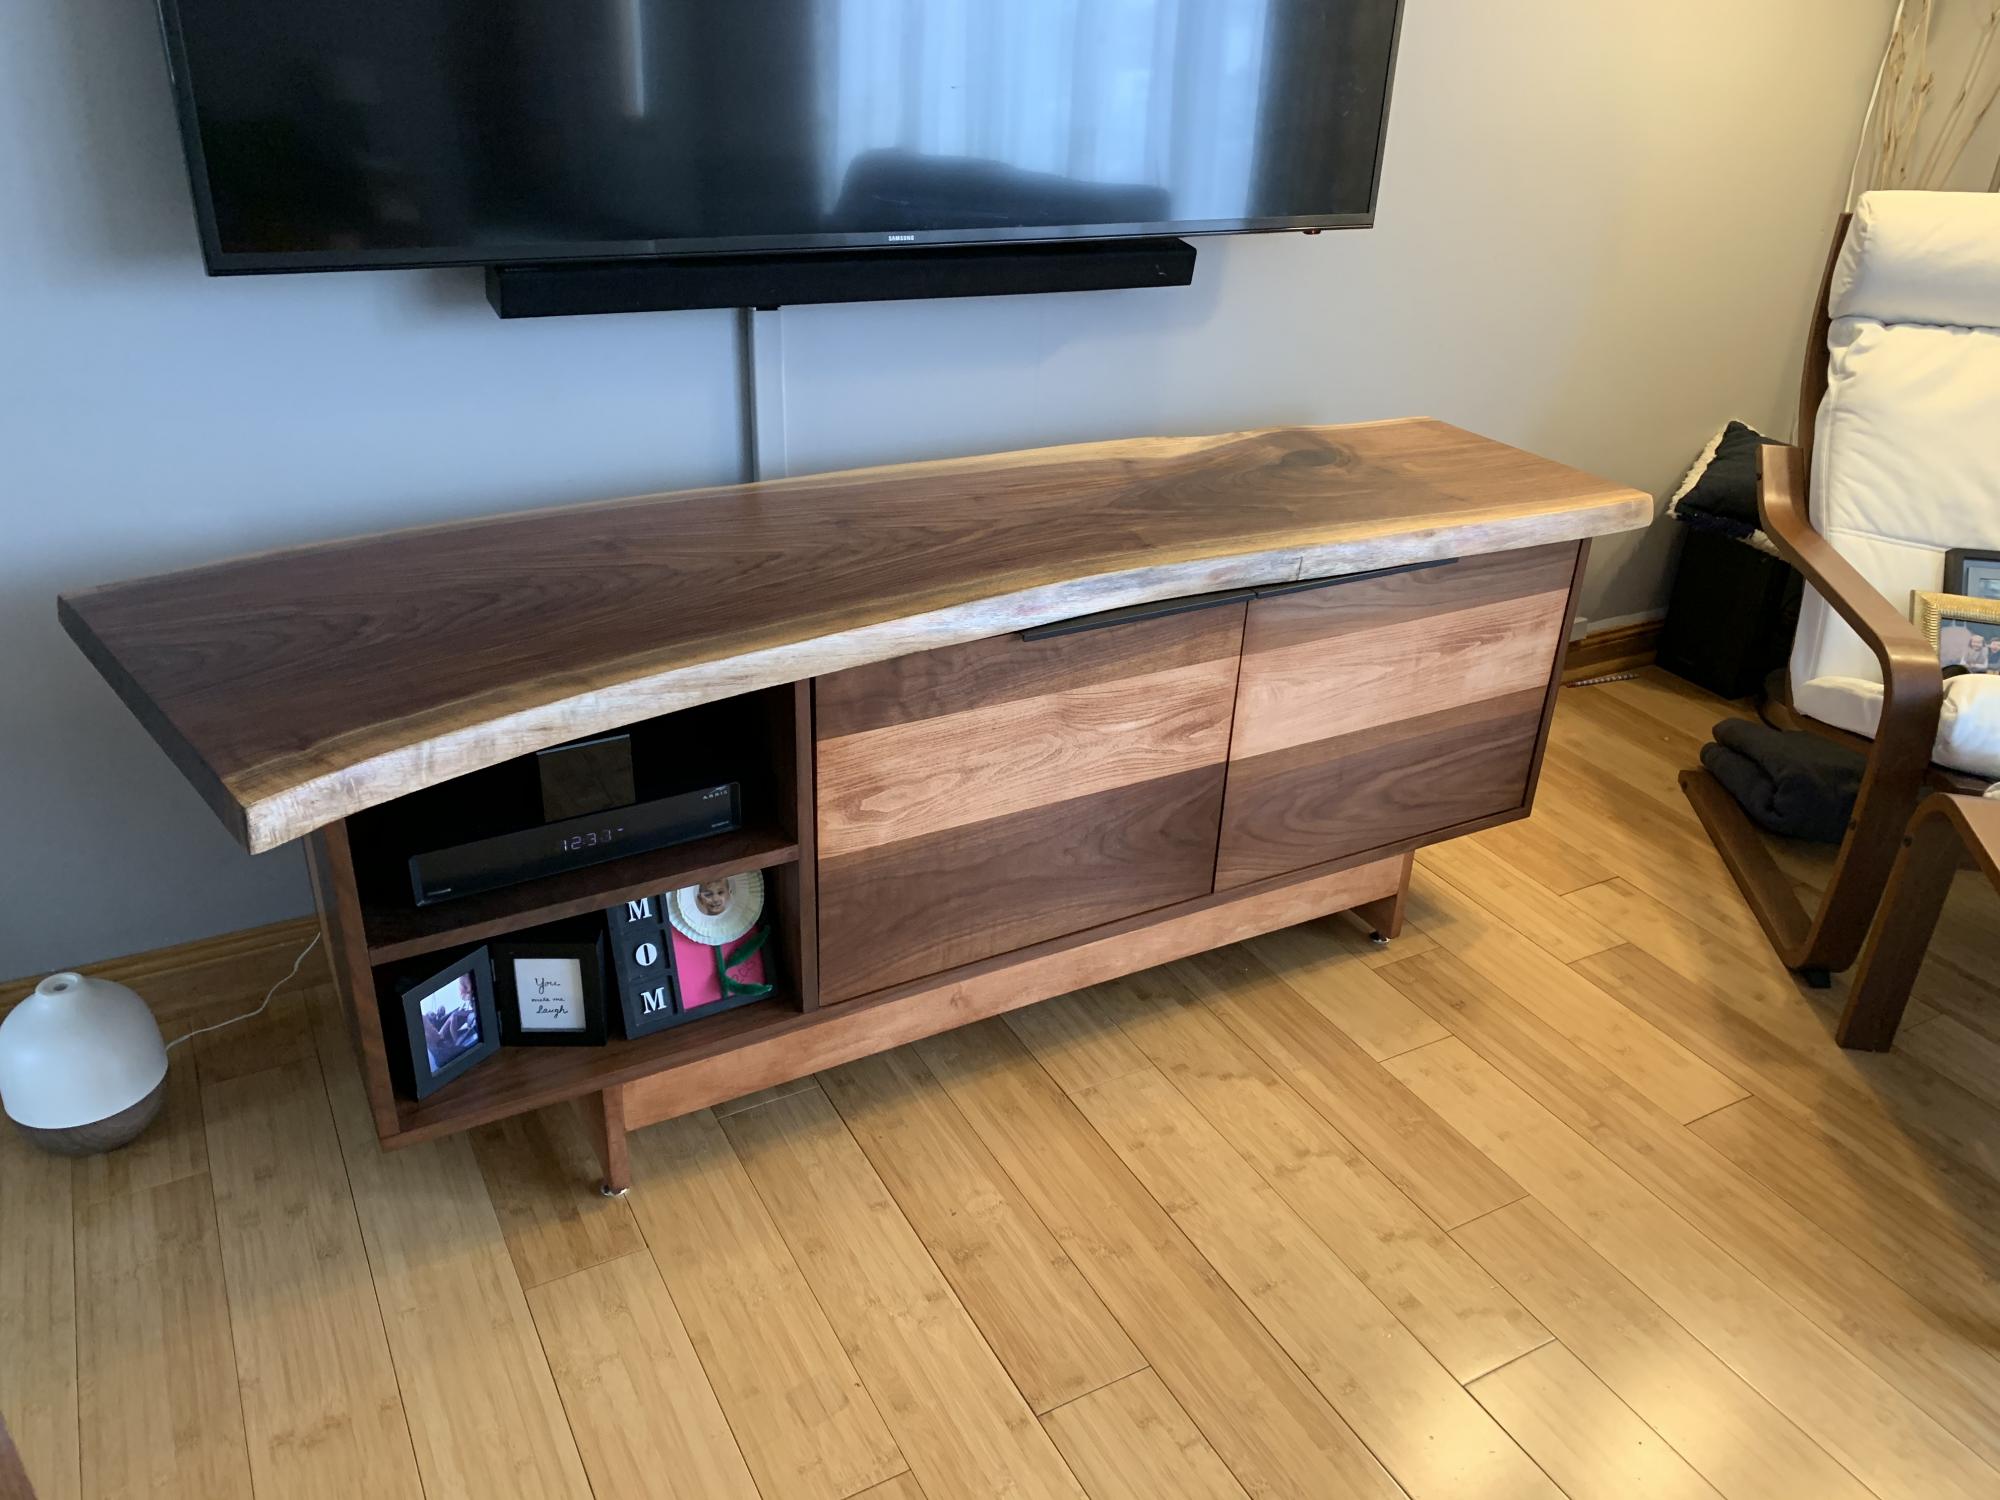
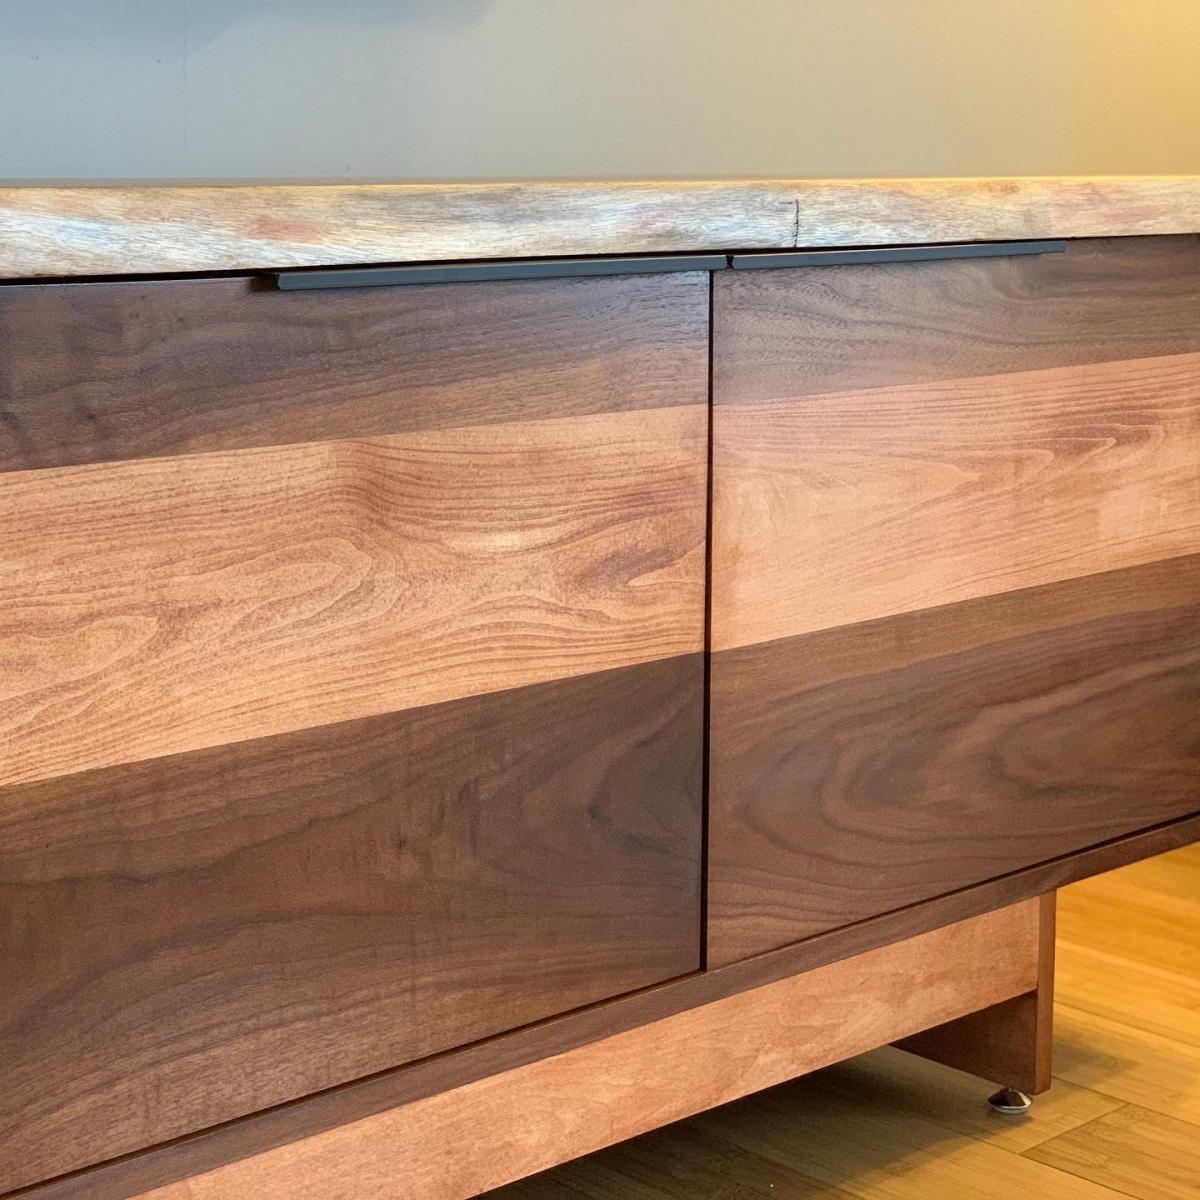
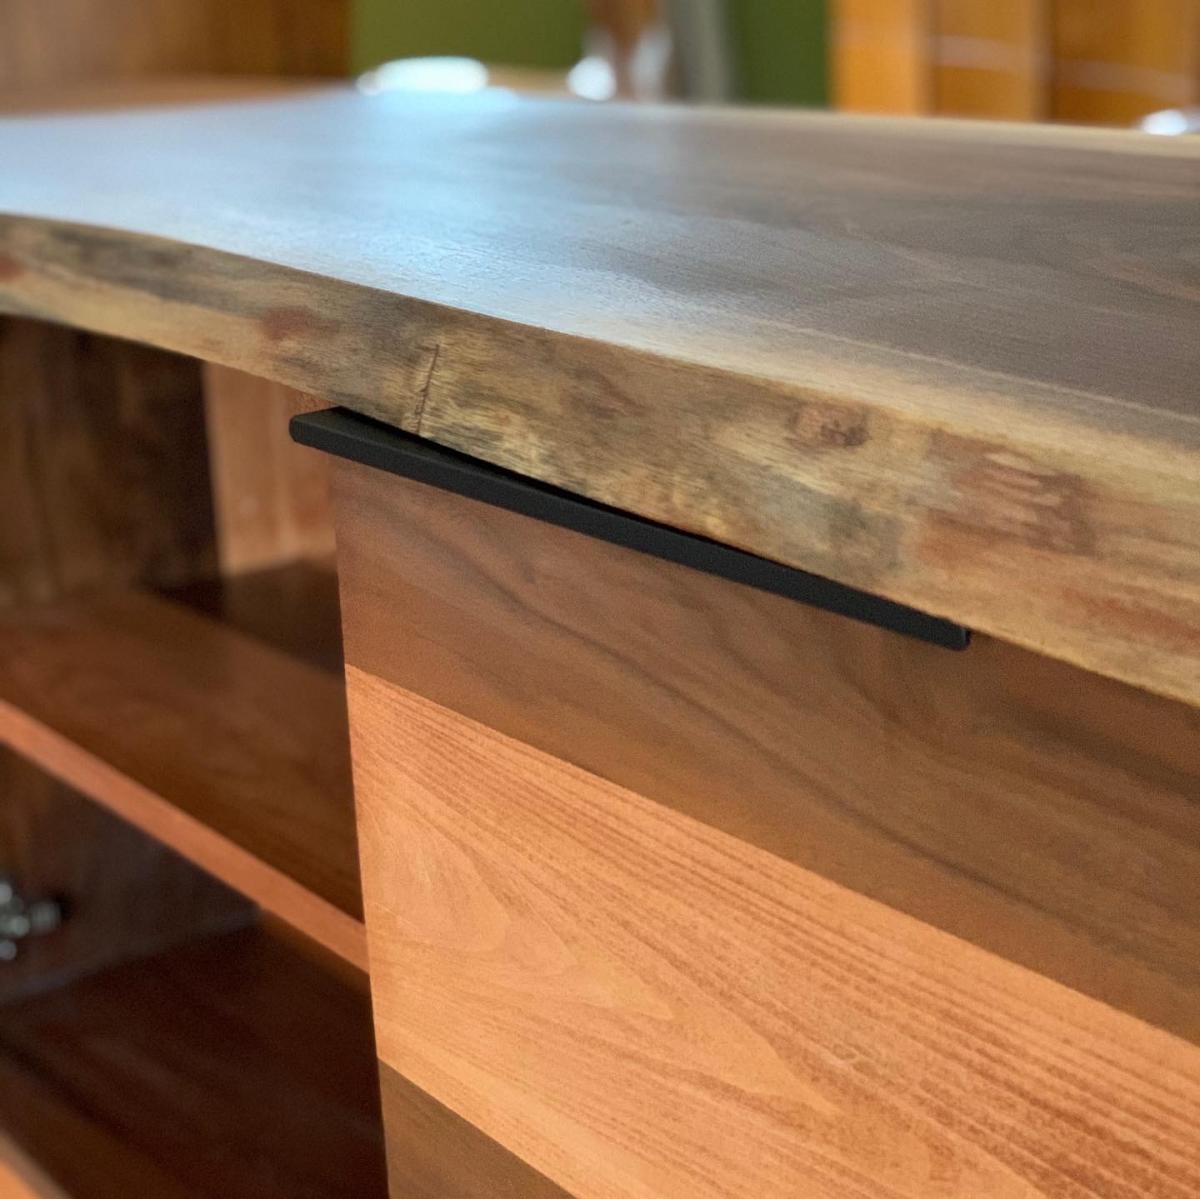
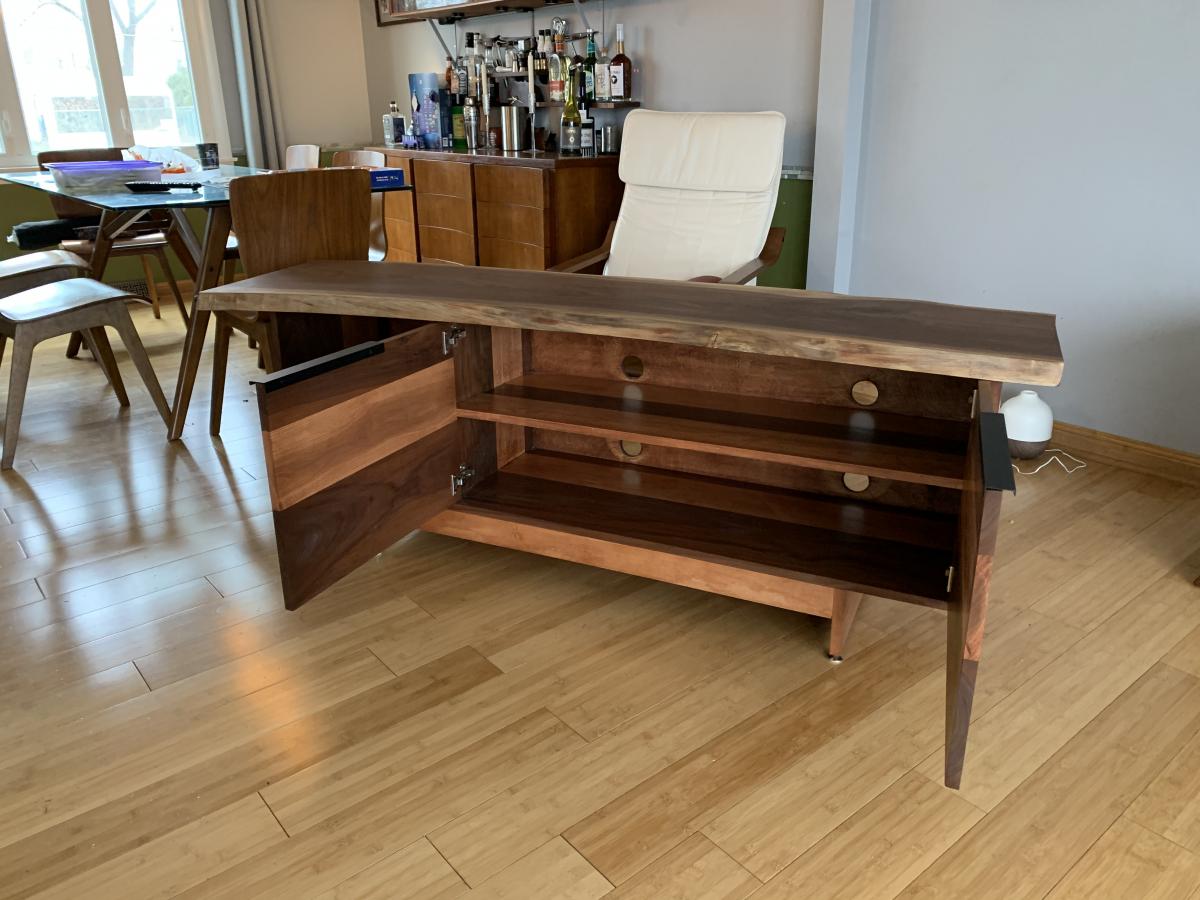
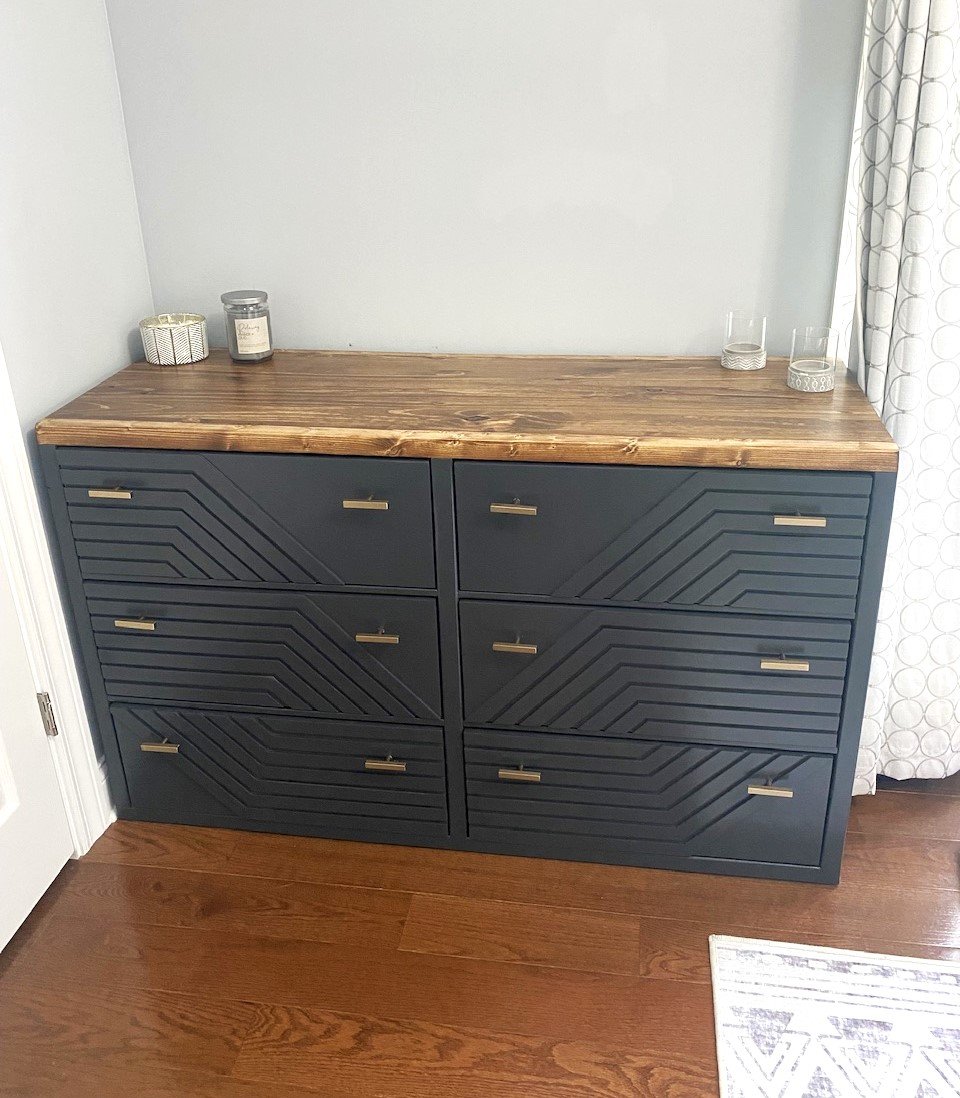
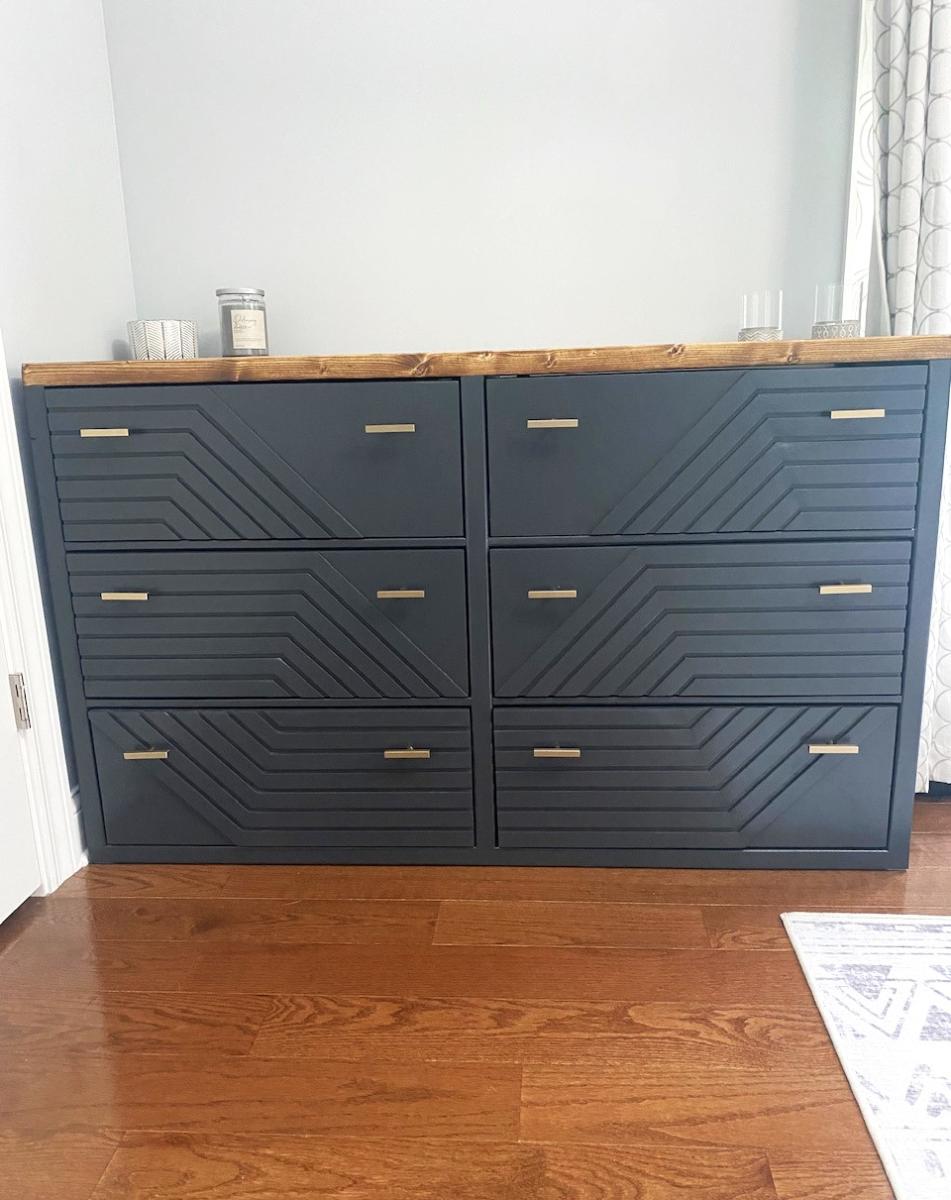
Built mainly from the Modern Media Console plan, modified in a few ways. Aside from the obvious part being the walnut slab on top, I modified the doors to be inset hinges for looks, and it’s slightly longer than the original plans. The other main modification was using the base from the Emersen Console or Buffet plan with the addition of the adjustable height leveling legs.


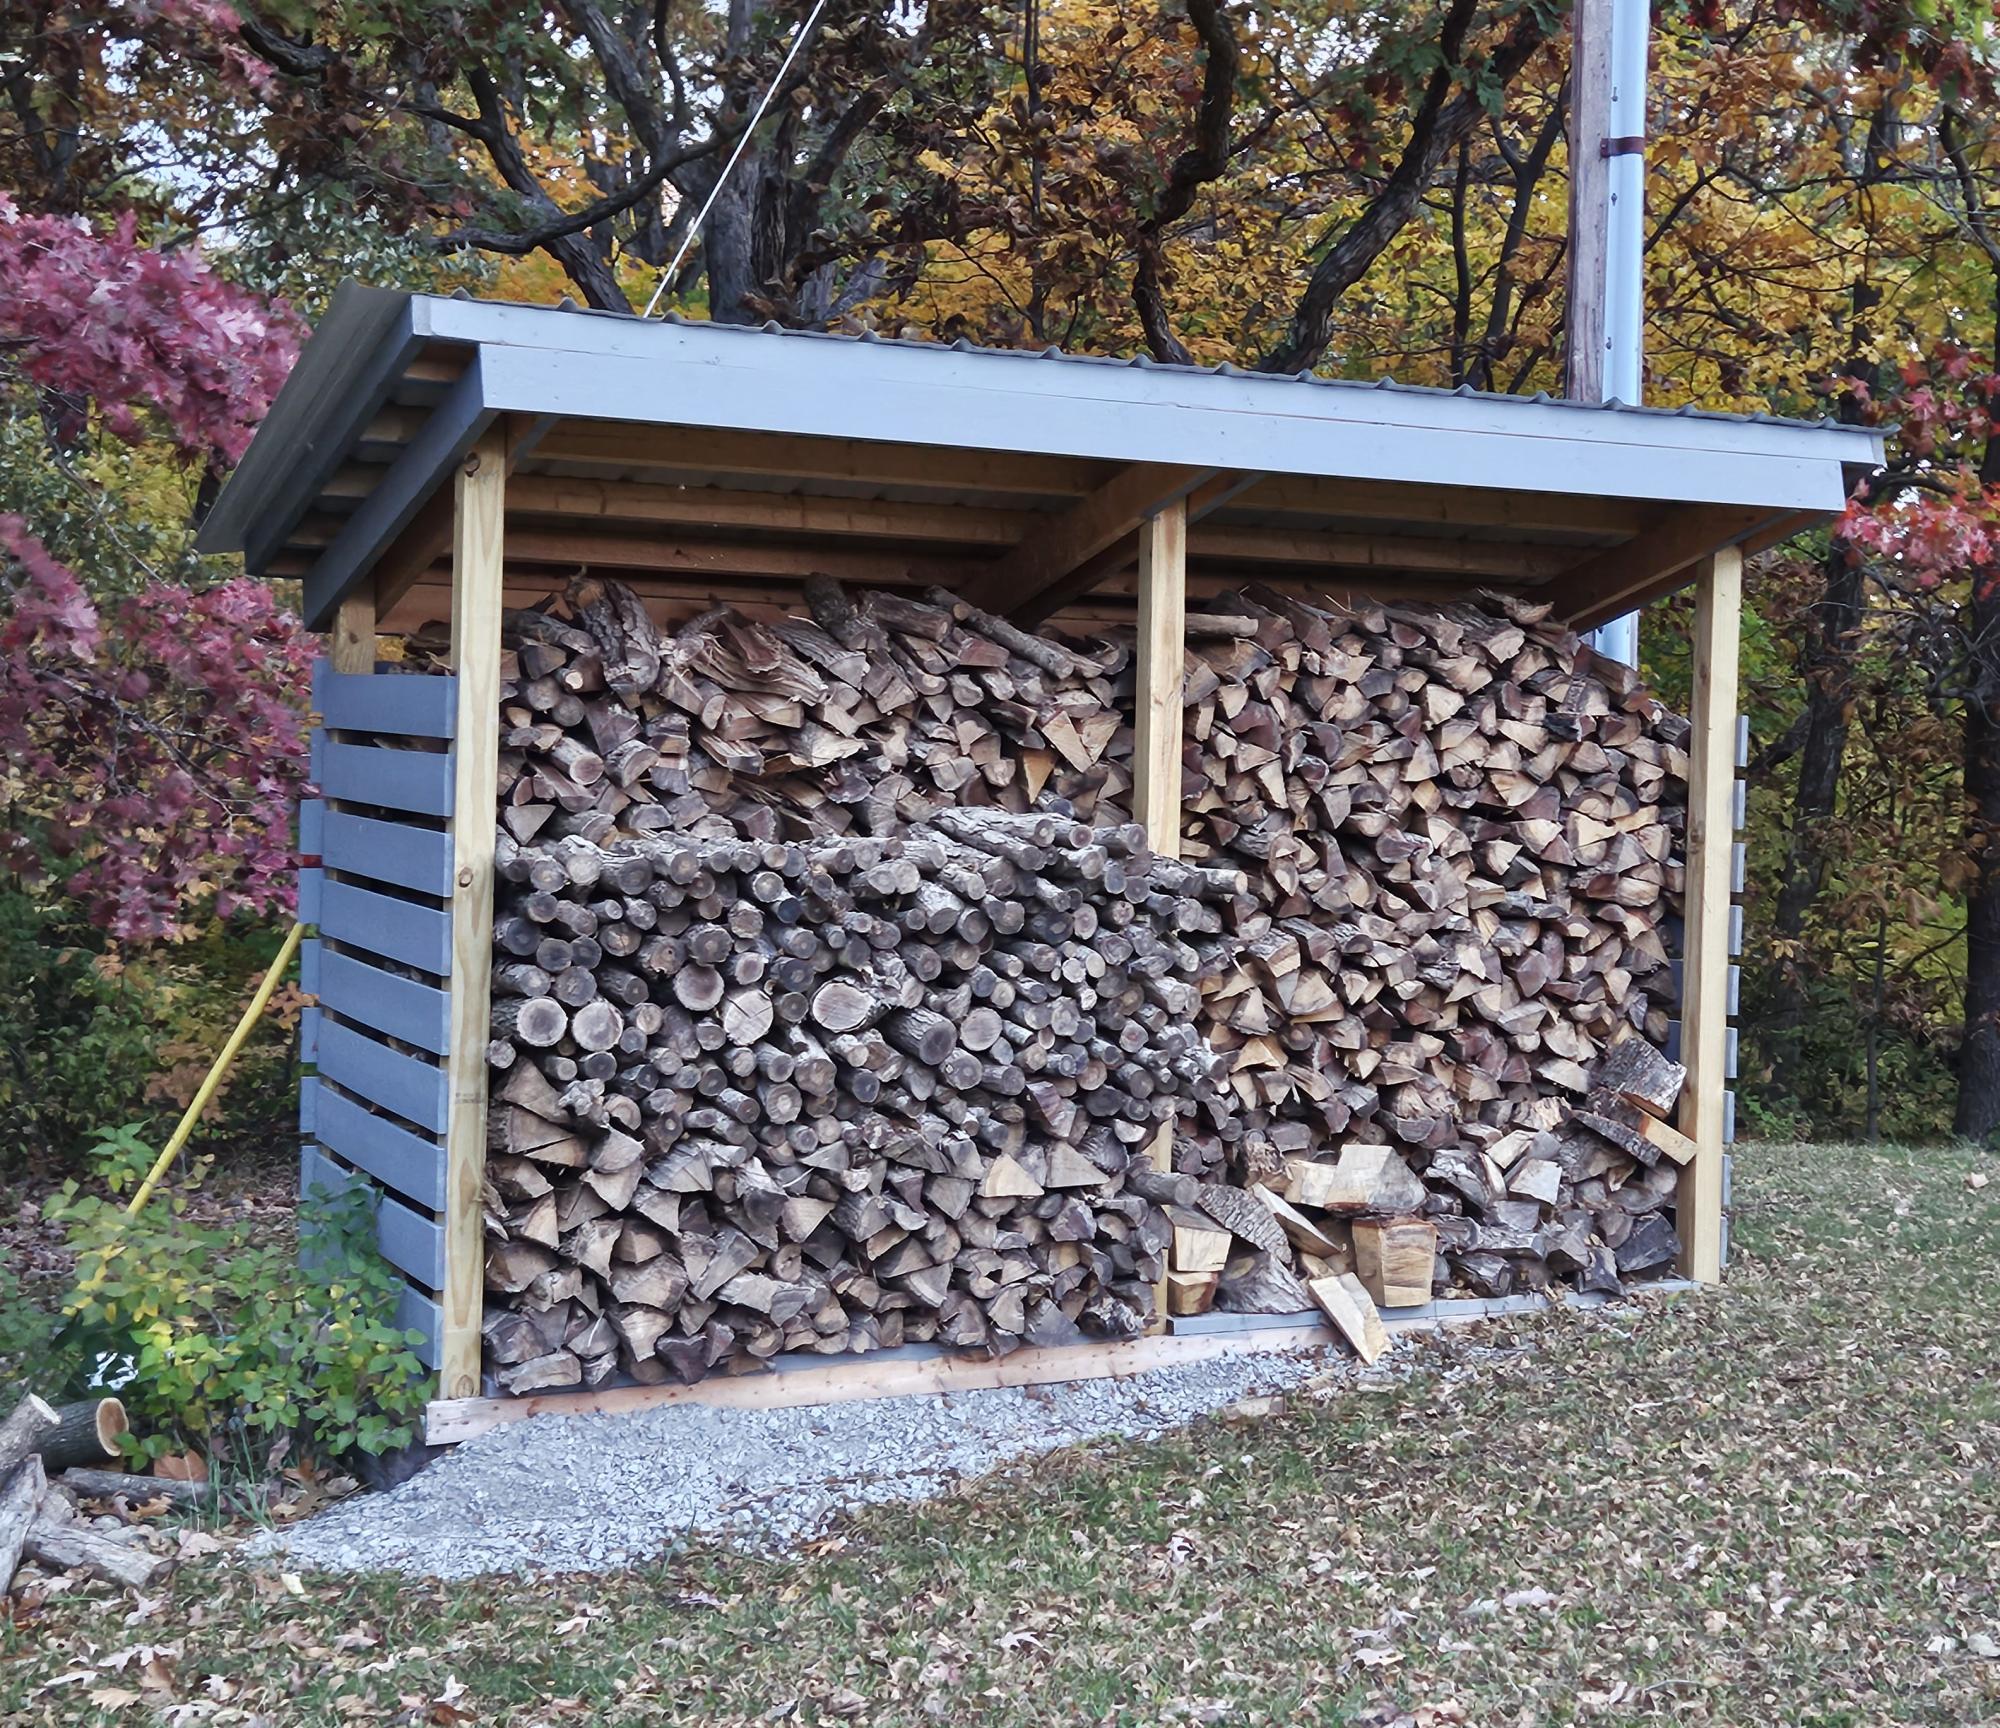
I am a mathematics teacher in Central IL. I teach a class called Geometry in Construction. I had my math students build this wood shed in pieces at the school, then I brought it home and put it together with a few of my son's friends. The students enjoy a math class that gets to go to the wood shop to apply their math skills to a wood working project. I am proud of my students hard work and dedication.
Shari Bruyn (I'm old, so I do not have Instagram or a blog page. lol)
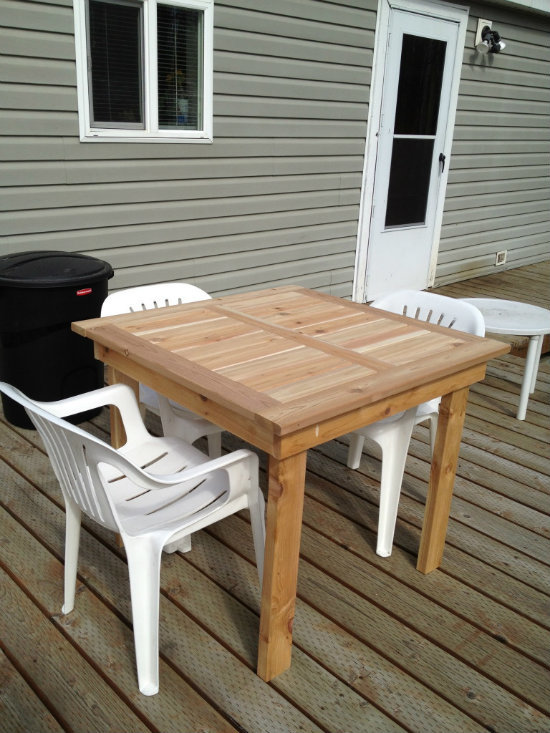
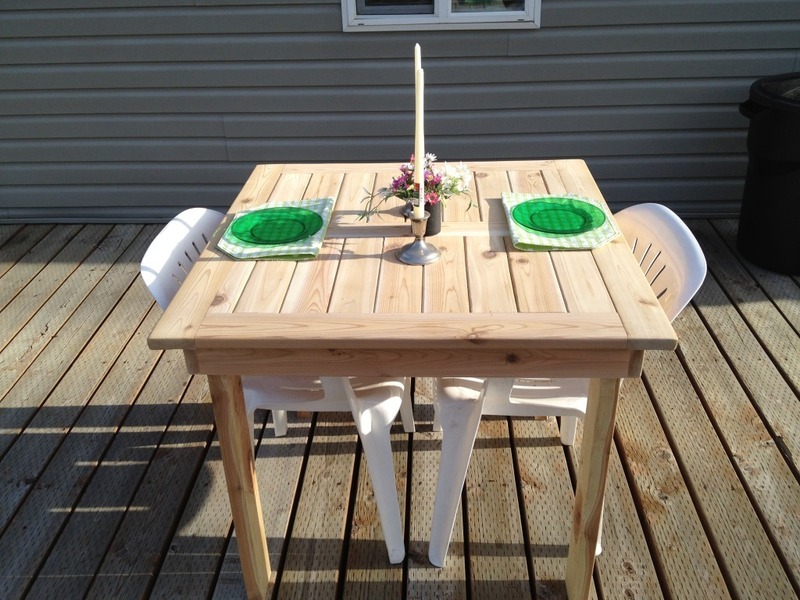
My wife has been wanting new patio furniture so here is my version of the simple outdoor table, I shortened it to fit our needs. Next is the chairs to match.
Sat, 06/16/2012 - 16:00
What are the dimensions? I am trying to build a similar table and am thinking 40" square.
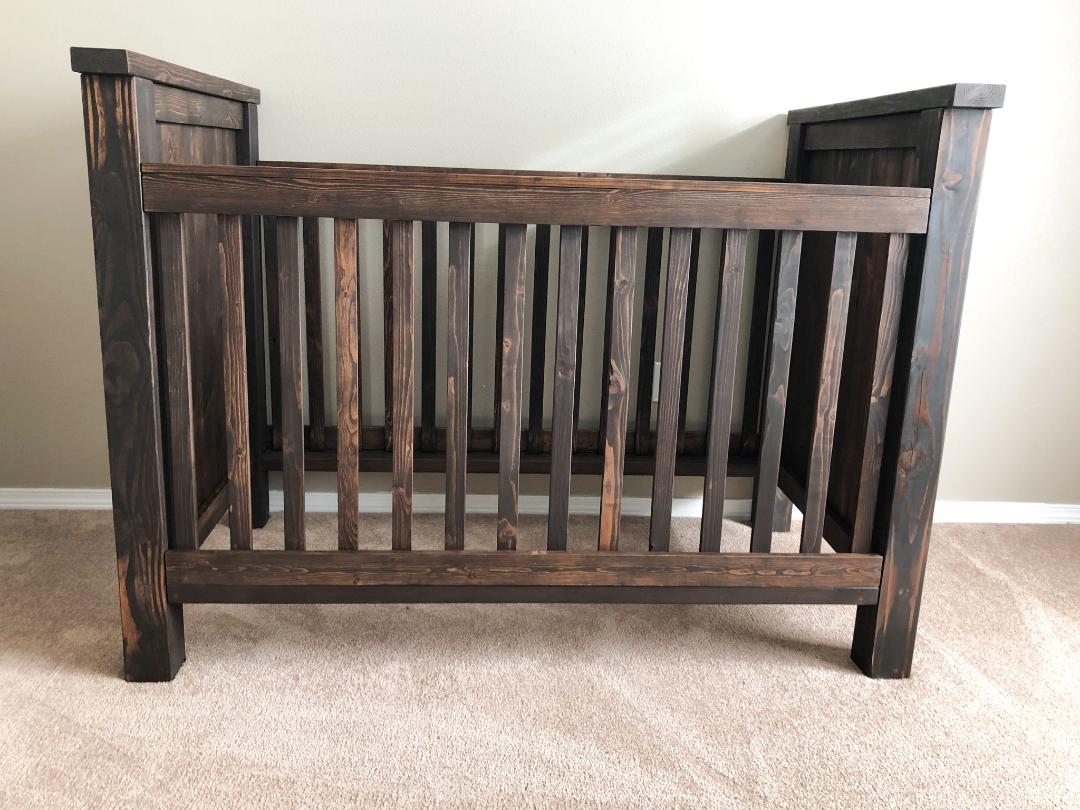
Built this for my son's nursery. Cutting and assembly was a snap. Took under four hours. Painting however took forever. I'm a slow and careful painter. Each coat took two hours, then sanding in between. I'm happy with the result. I bought the kreg r3 pocket hole jig and I love it.
I started this project a few months ago for a friend. The build went easy enough and was complete is less than a day. The only issue I had was with the X's. My miter saw doesnt cut past 55 degrees and it called for 60 degrees. I had to eye it and the X's turned out less than perfect. It did give me a compelling arguement to upgrade from my 10" to a 12" sliding saw (we will see how that pans out). The finishing was the real problem for me. Ive had issues in the past with not liking the final color and having to sand the whole project over and over until I finally just settle. I was hesitant on the vinegar and steel wool finish but went for it anyway. The top turned orange, almost like a fresh cedar color. I whitewashed it the following day and roughed it up with some light sanding. It looked great. I added poly and the top turned orange again. It was horrible. I had to sand it and start over. I then went with a weathered grey with a whitewashed top coat and it looked great but my friend wasnt a fan. I sanded AGAIN and tried another color. Third time was a charm and the sunbleached stain with whitewash came close to what we wanted to acheive. He likes it, I like it, and eveyone is happy!
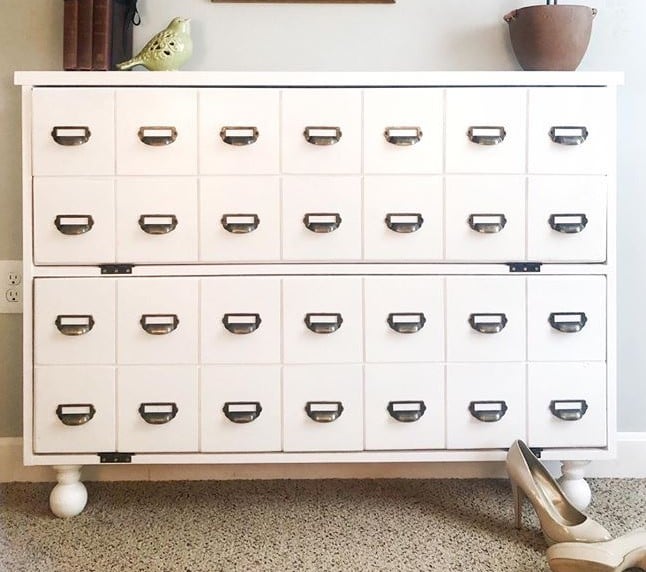
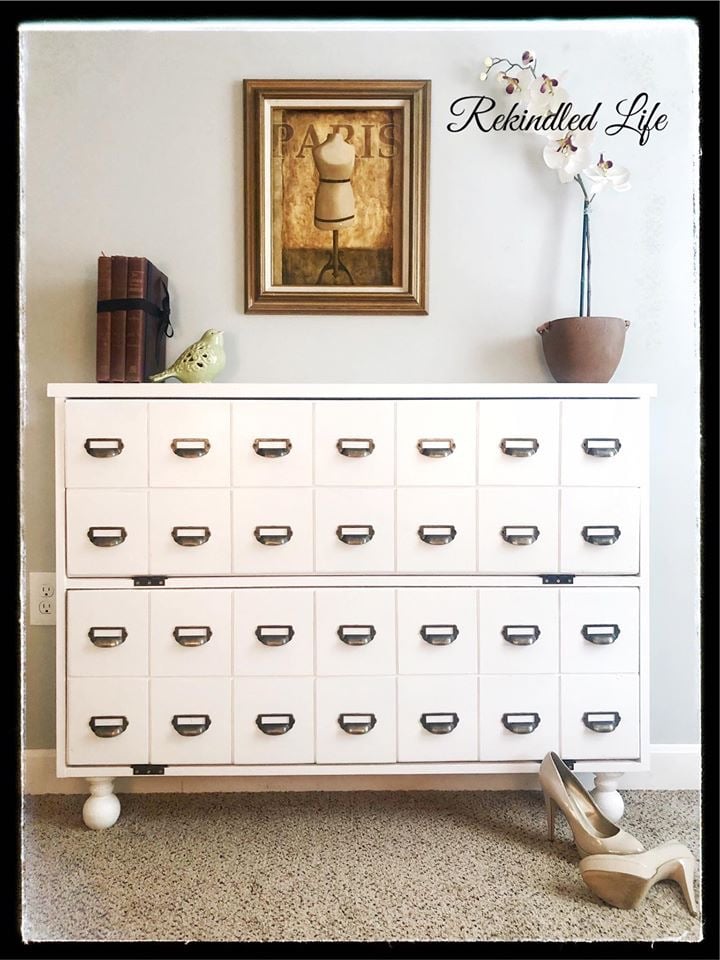
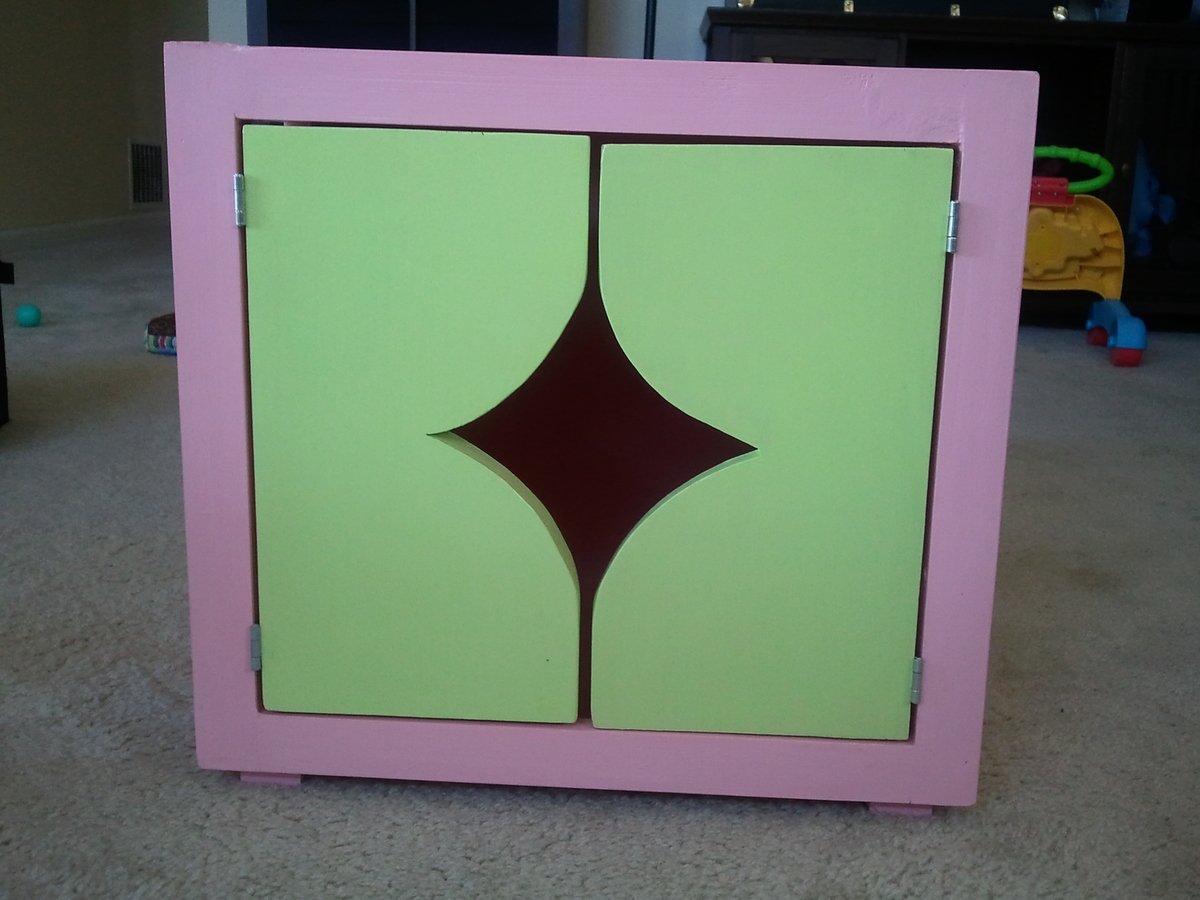
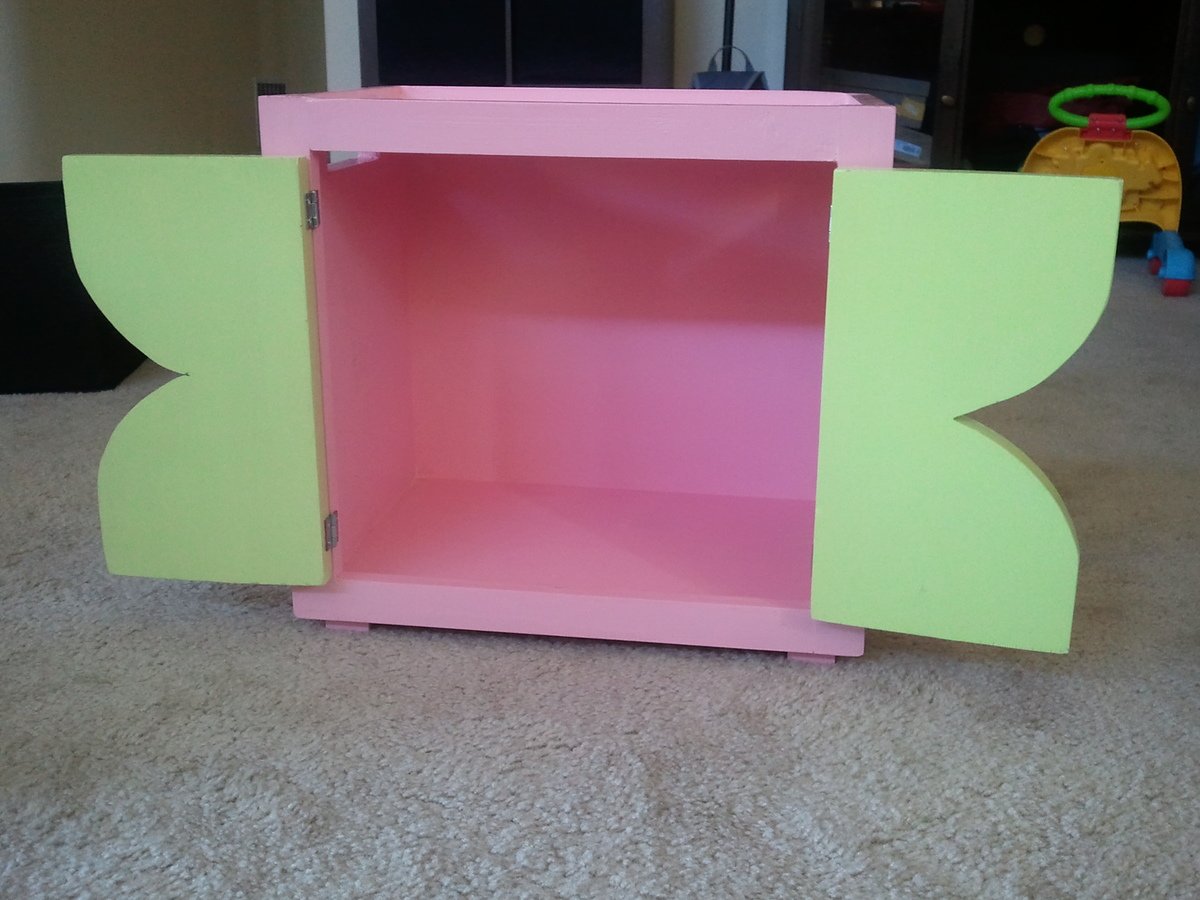
I built the shoe cabinet but added card catalog handles. Also used deck railing toppers for the feet
Bedroom dresser made from Ana White’s plans! Absolutely love it and it was easy to build!
Kristen Kobeszko
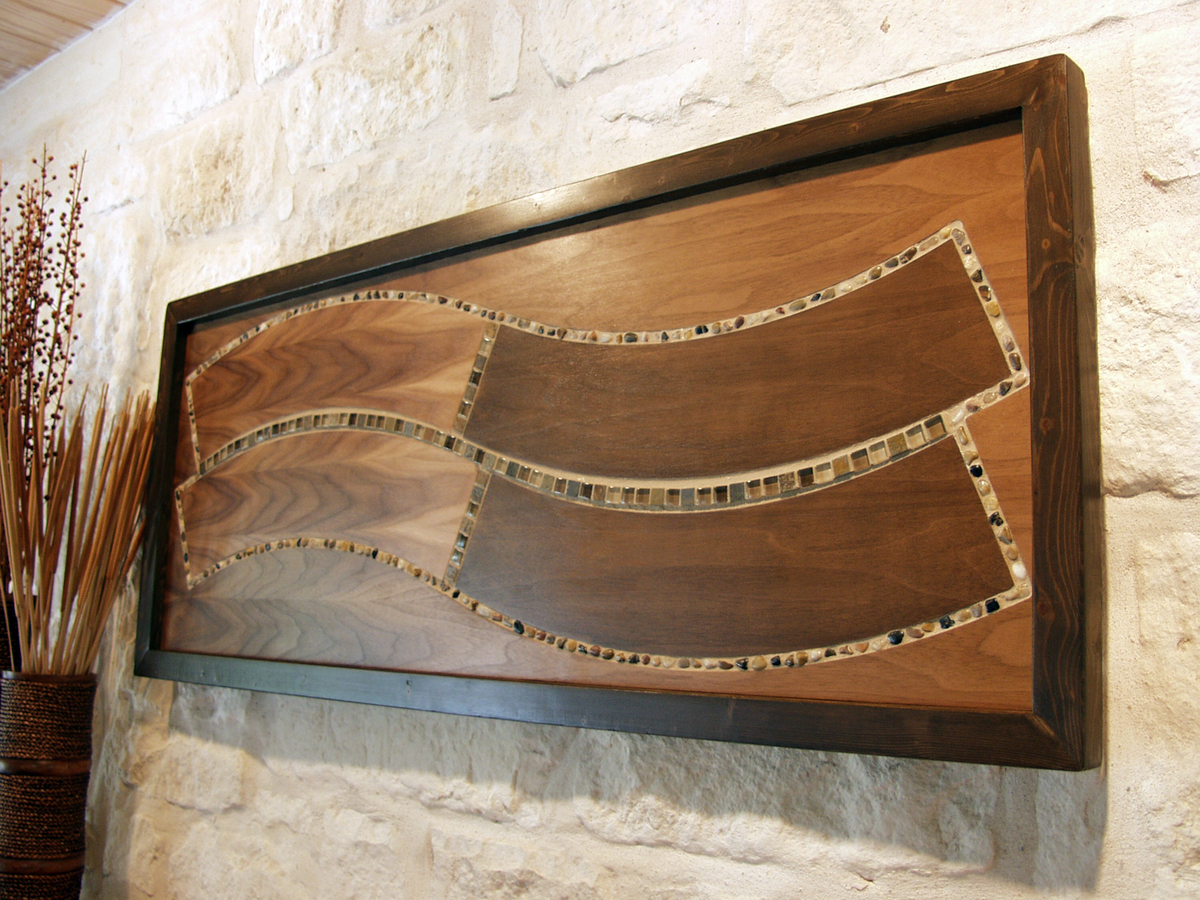
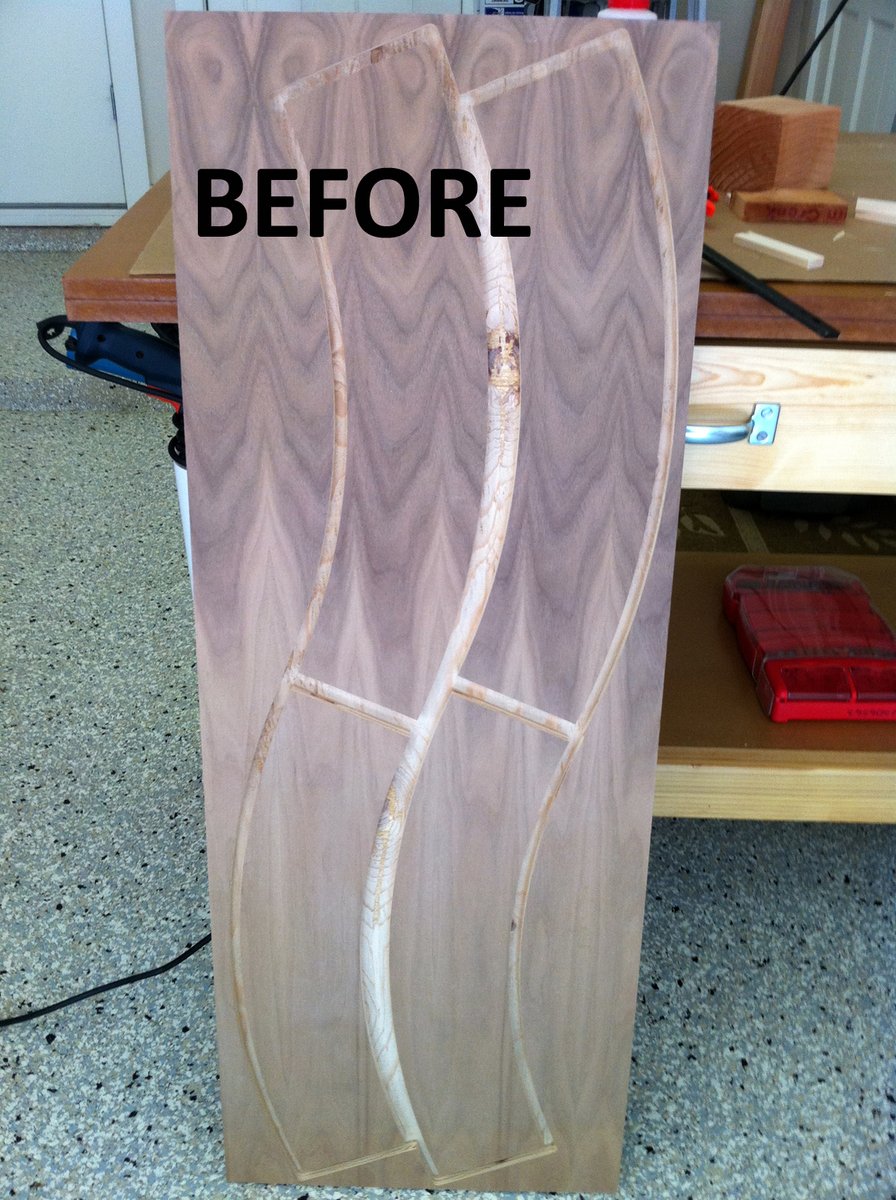
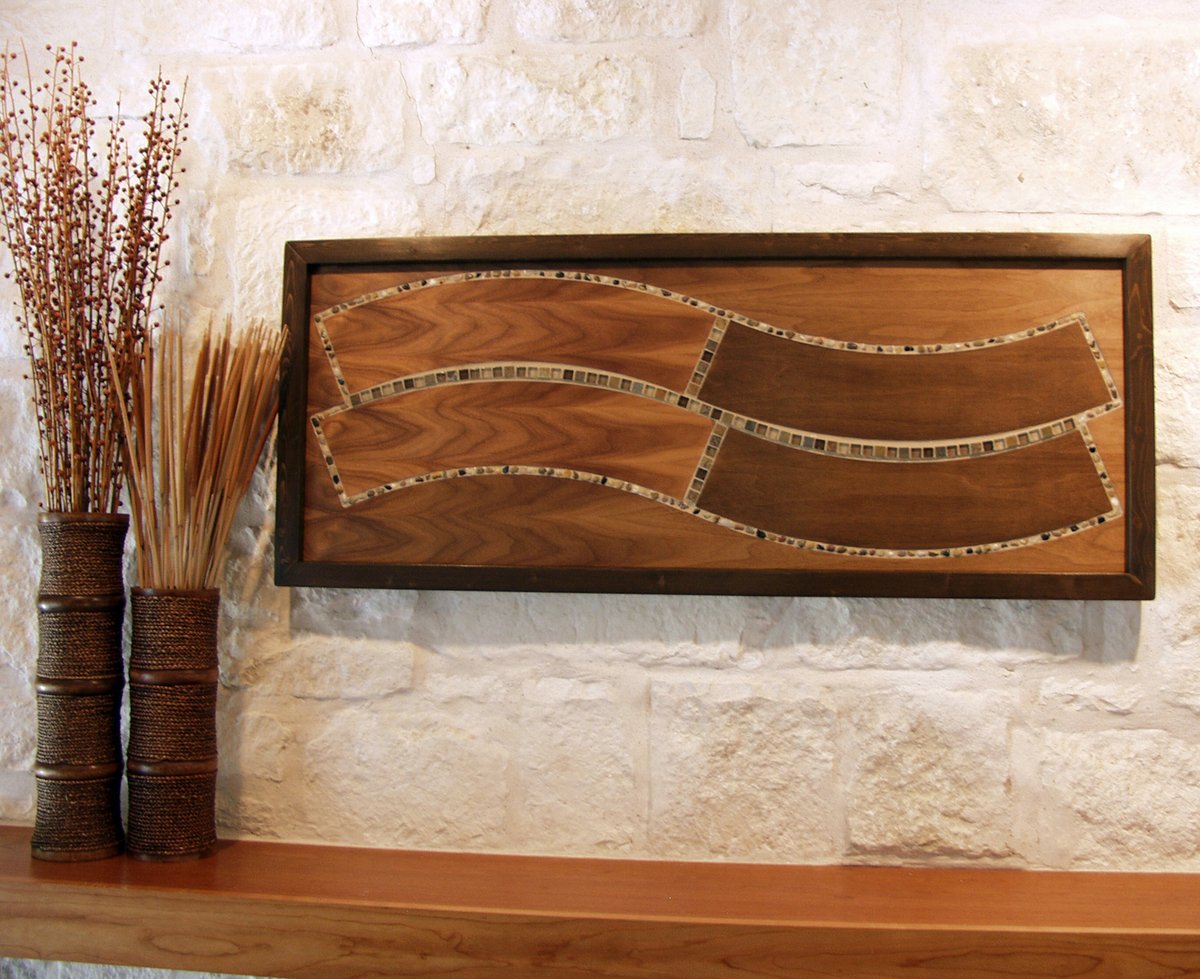
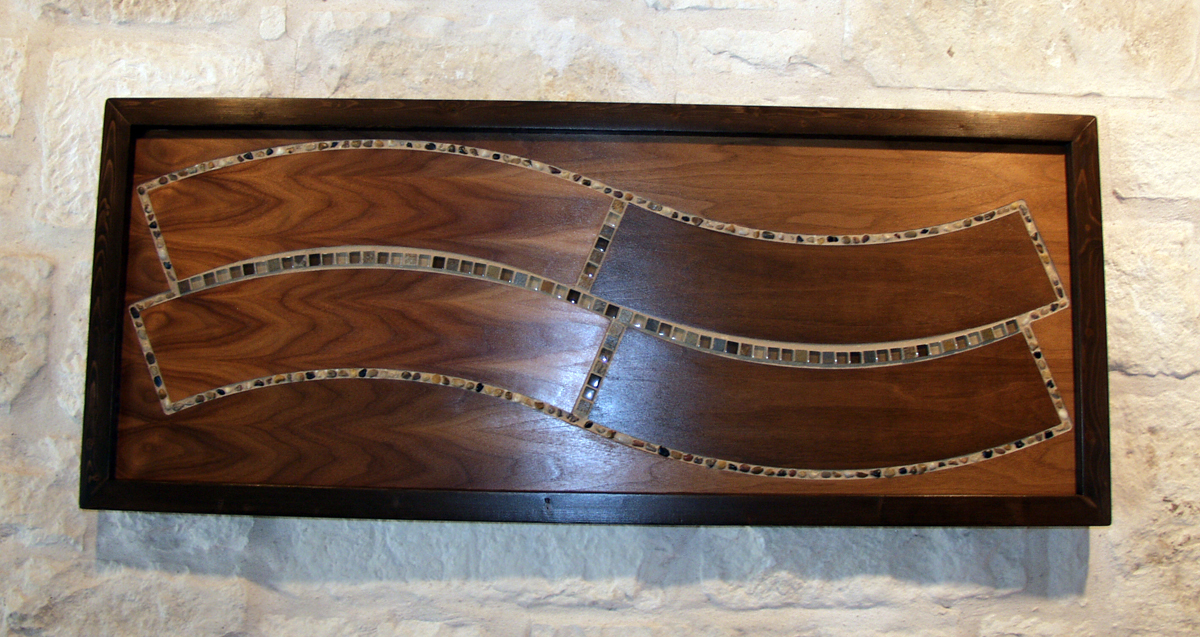
This piece began with finding a unique piece of walnut that had been discarded by a custom cabinet manufacturer. When I saw it, I thought I could make a beautiful wall hanging out of it. The walnut wood is absolutely beautiful; pictures don't do it justice. The majority of the piece is not stained; the natural color is enhanced with a clear polyurethane designed to give a hand-rubbed finish. The darker walnut section was lightly stained for contrast. The frame is made of pine 2x2s. I built a platform in the grooves with shims, and embedded earth-toned glass and stone tiles (as well as river rocks) in the grooves around the "waves".
While this didn't come from any specific plan, most any inspiration and techniques come straight from what I've learned on ana-white. Ana's site has really changed my life and given me a passion for building.

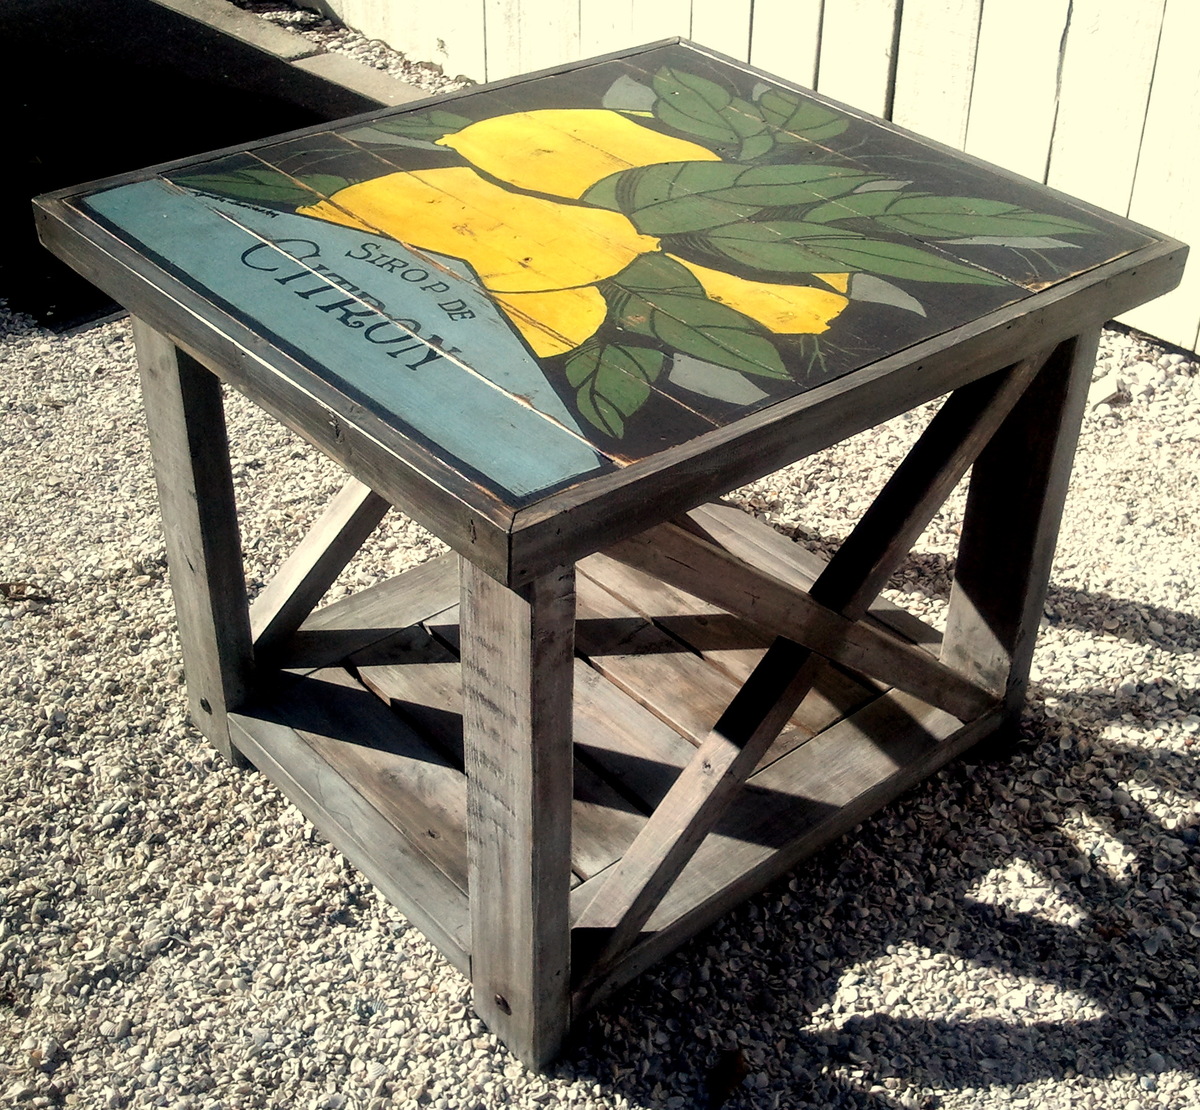
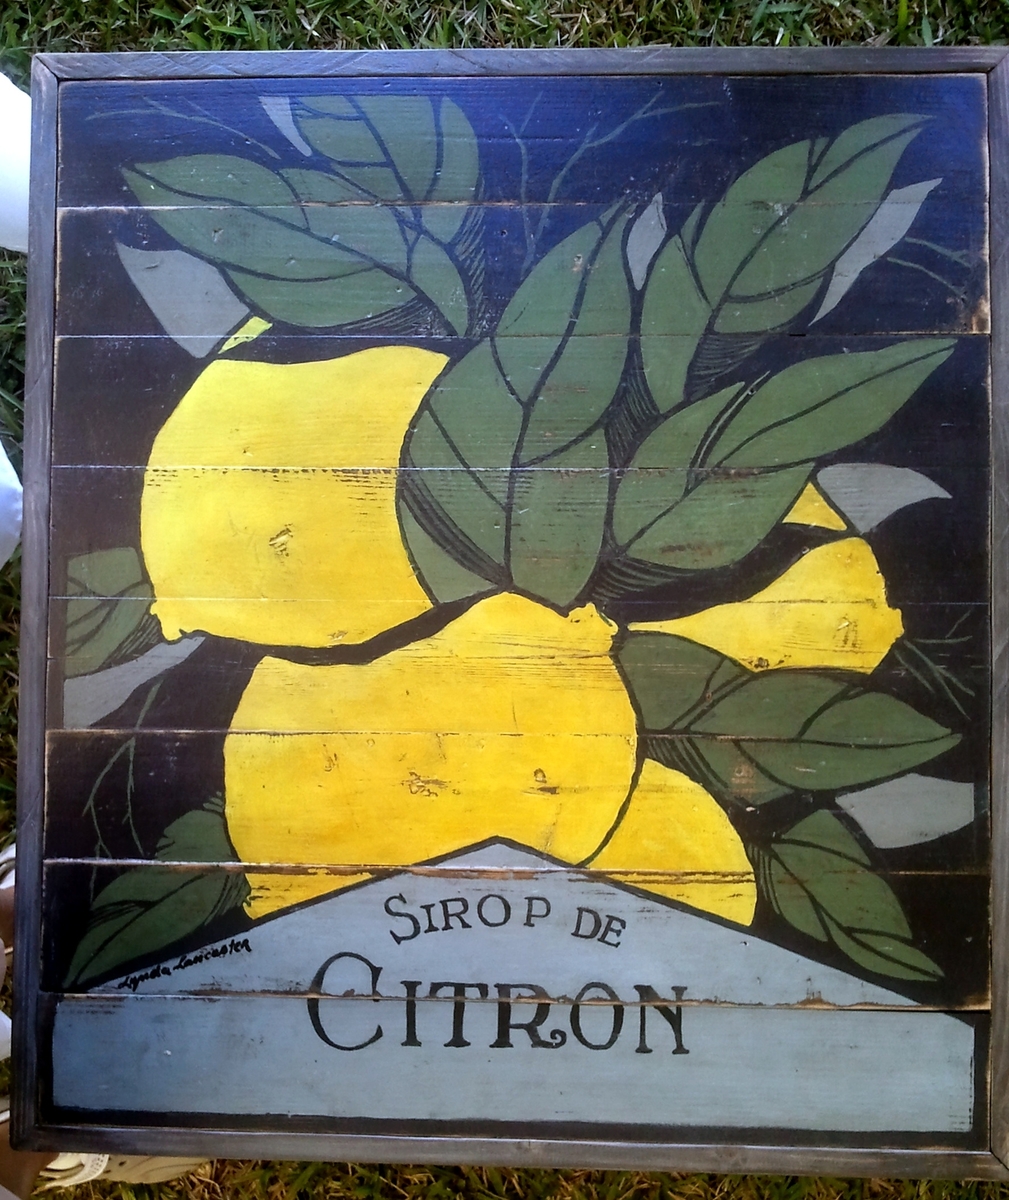
I modified the plans just a tad bit, i.e., framed the top and used 1" x 4"s on the top and bottom horizontal planes... painted a vintage citrus label on the top and now I have a one-of-a-kind side table for my porch.
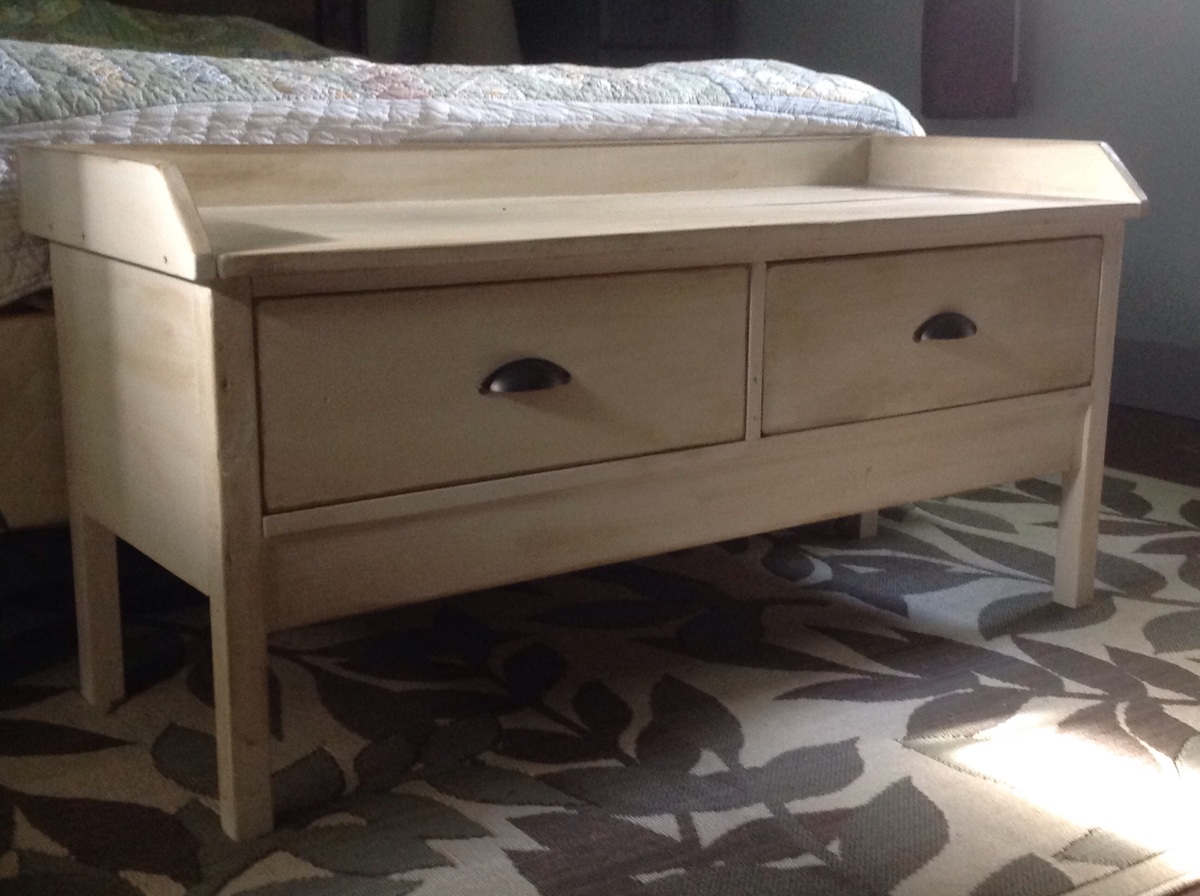
This was a very quick and easy build that was completely finished in an afternoon. My Kreg jig was loaned out, so I have exposed fasteners, but I prefer to let them show instead of filling the holes. I built this with 20" legs to make it a little taller and more comfortable for my height. I also prefer straight lines and angles, so I changed the trim pieces a bit to suit my style. The hardest part was getting the drawer slides lined up. The finish is Rustoleum Heirloom White with a coffee colored glaze. The picture makes one drawer look darker, but it's really just a shadow. I'm in love with this project!
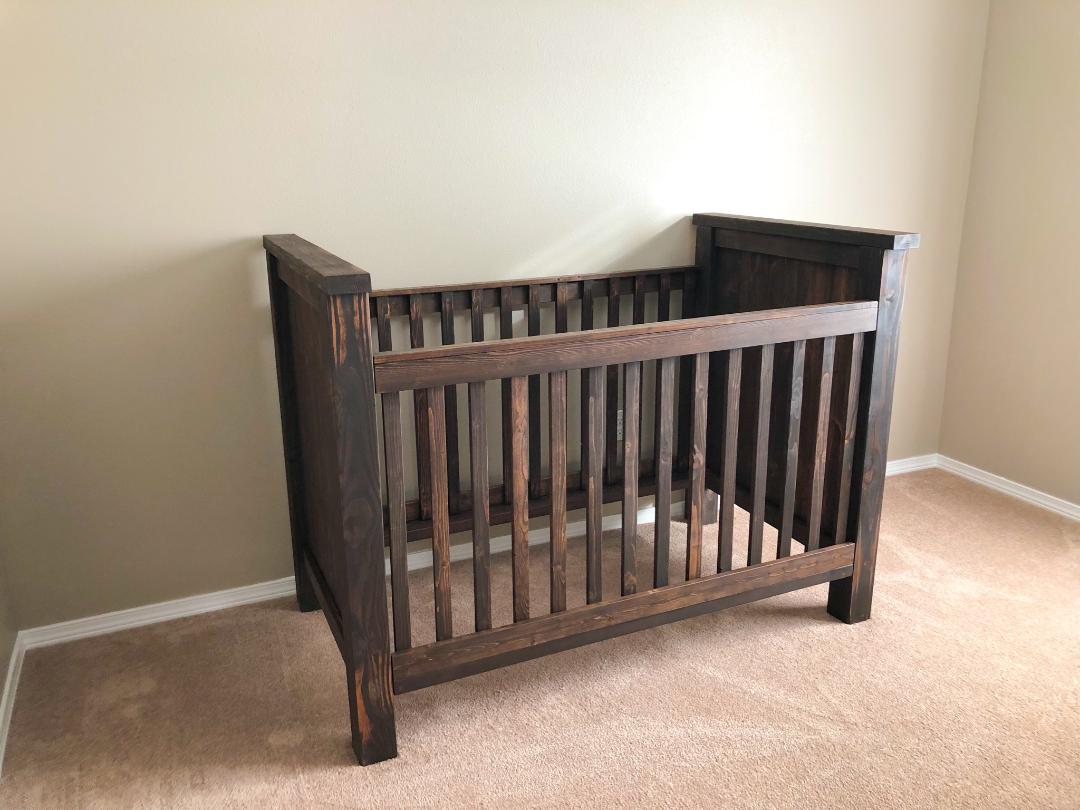
While I found the plans a little difficult to follow as there were steps left out, missing measurements, and misinformation, it was an easy project and I'm so glad I made it. Even at 21 weeks pregnant it was totally doable alone. The only thing I needed my husband for was to hold the side rails at the correct height.
Hi all,
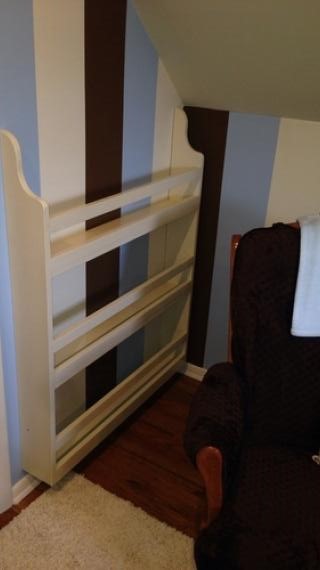
This is my second project I have build from plans I have found here. I'm a novice at woodworking and only get a couple hours on the weekend to work on projects. So it takes a while to finish one. My daughter loves her new toy shelf. The hardest part for me was to attach the doors straight. I'm sure there is a secret I just haven't figured it out yet.
I primed the whole piece, applied three thin coats of latex paint and sanded with 320 grit sandpaper in between coats. I applied two coats of finish after 48 hours and sanded with 400 grit sandpaper in between.


Comments
Ana White Admin
Fri, 04/30/2021 - 12:13
Love the added detail!
Thank you for sharing this charming build!