Mantel Moulding Headboard with Teal Accent
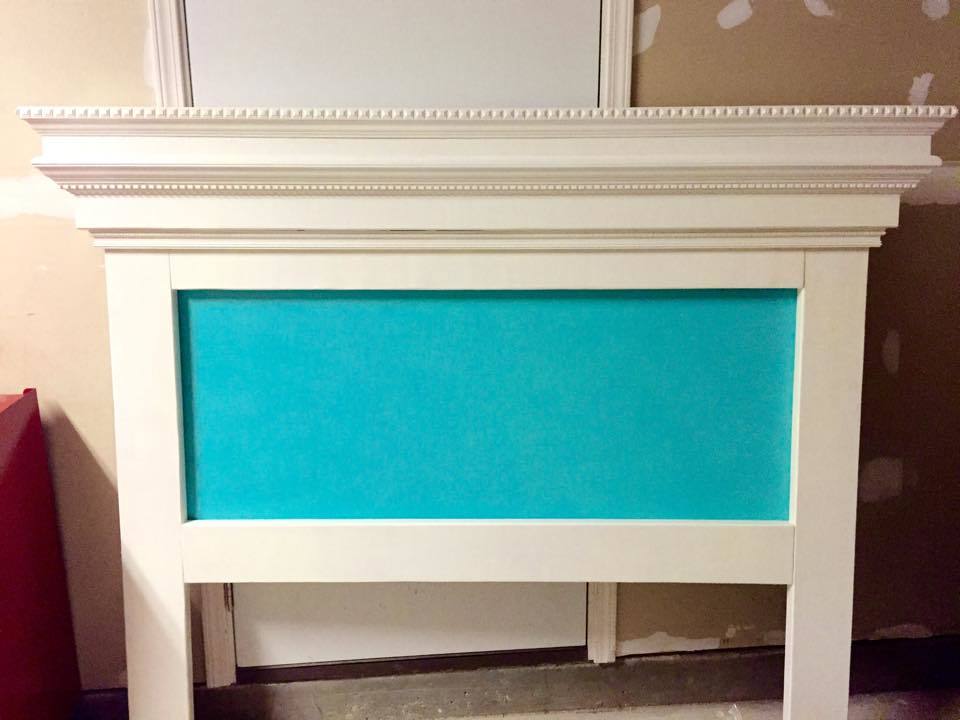
Used the smaller Dentil crown, and the blue accent that will match the accents on the end table that i will also put up when finished

Used the smaller Dentil crown, and the blue accent that will match the accents on the end table that i will also put up when finished
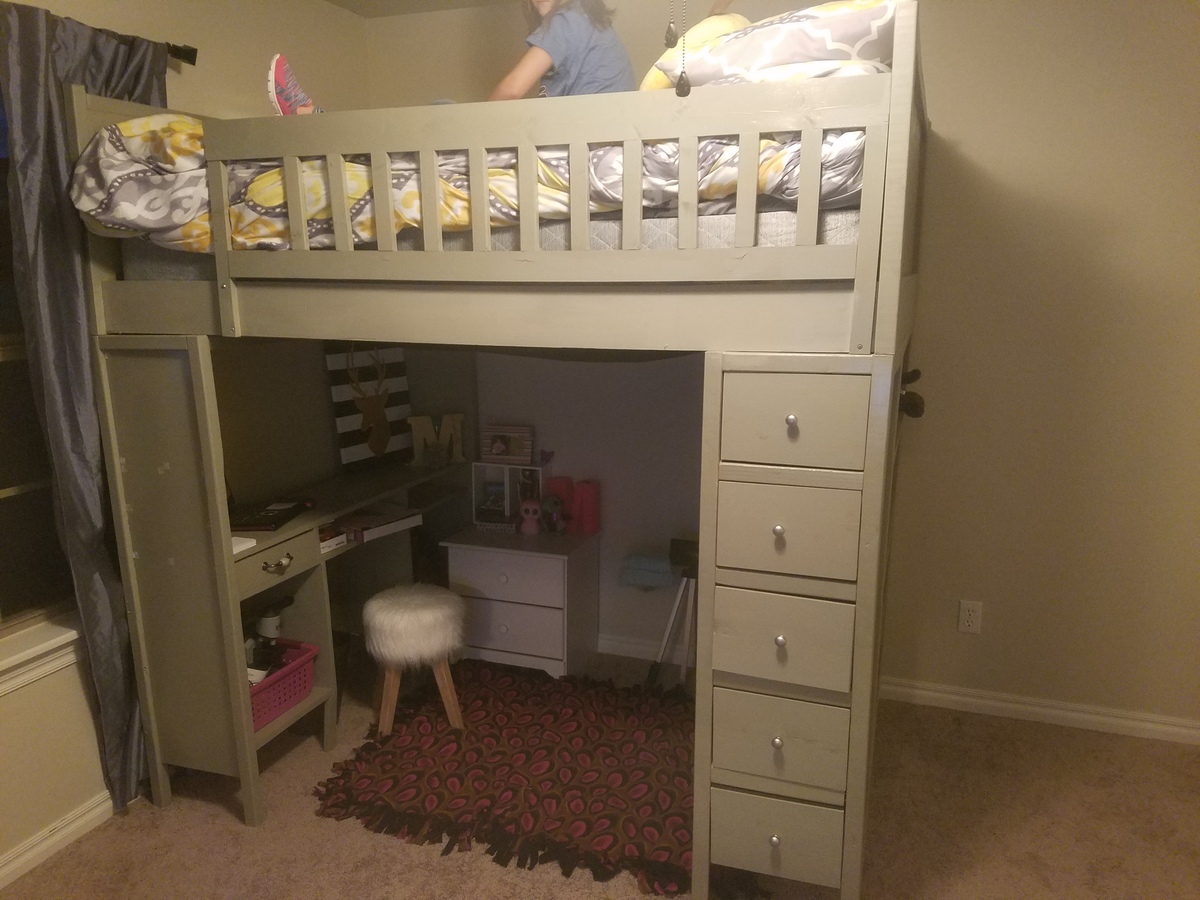
this project was pretty easy over all, I had a little trouble getting the drawers level, but that was about it. I did have to change the measurements to make it a full size bed but it came out fitting perfectly!!
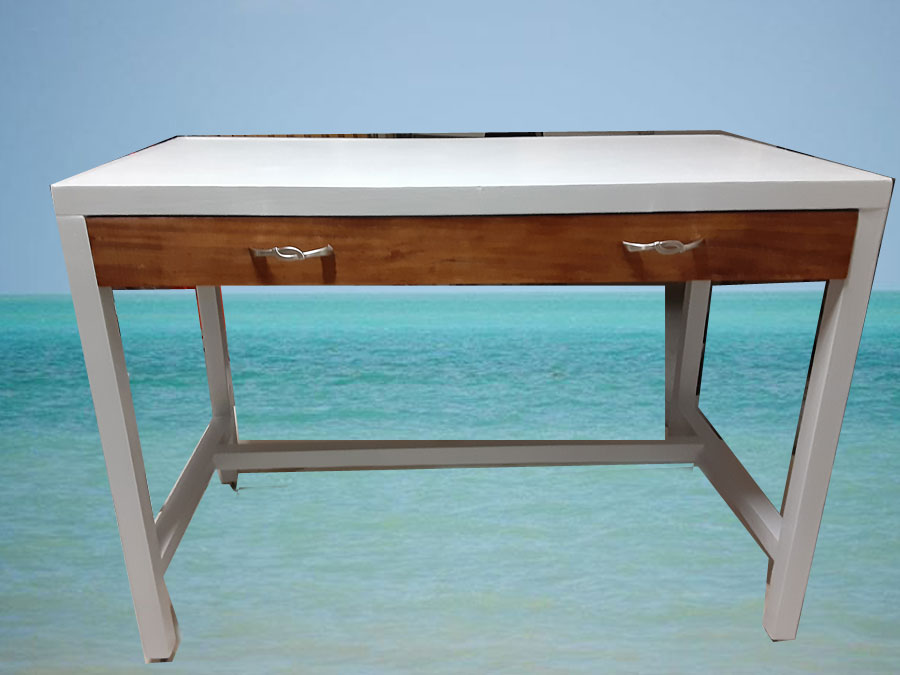
I needed an additional desk at work to organize all my paperwork and files. I couldn't find anything that I liked on Office Depot and Amazon in my budget range, then decided to search Ana's site for plans to make my own and at the same time, get to try out my new Kreg Rip-Cut Circular Saw Edge Guide. I purchased lumber from the local big box (note: disappointed to only find 2x2's out of furring strip wood). Anyhow, I followed Ana's plans and couldn't be more happier with the end result! I love the fact that I'll now have a nice big drawer at work!
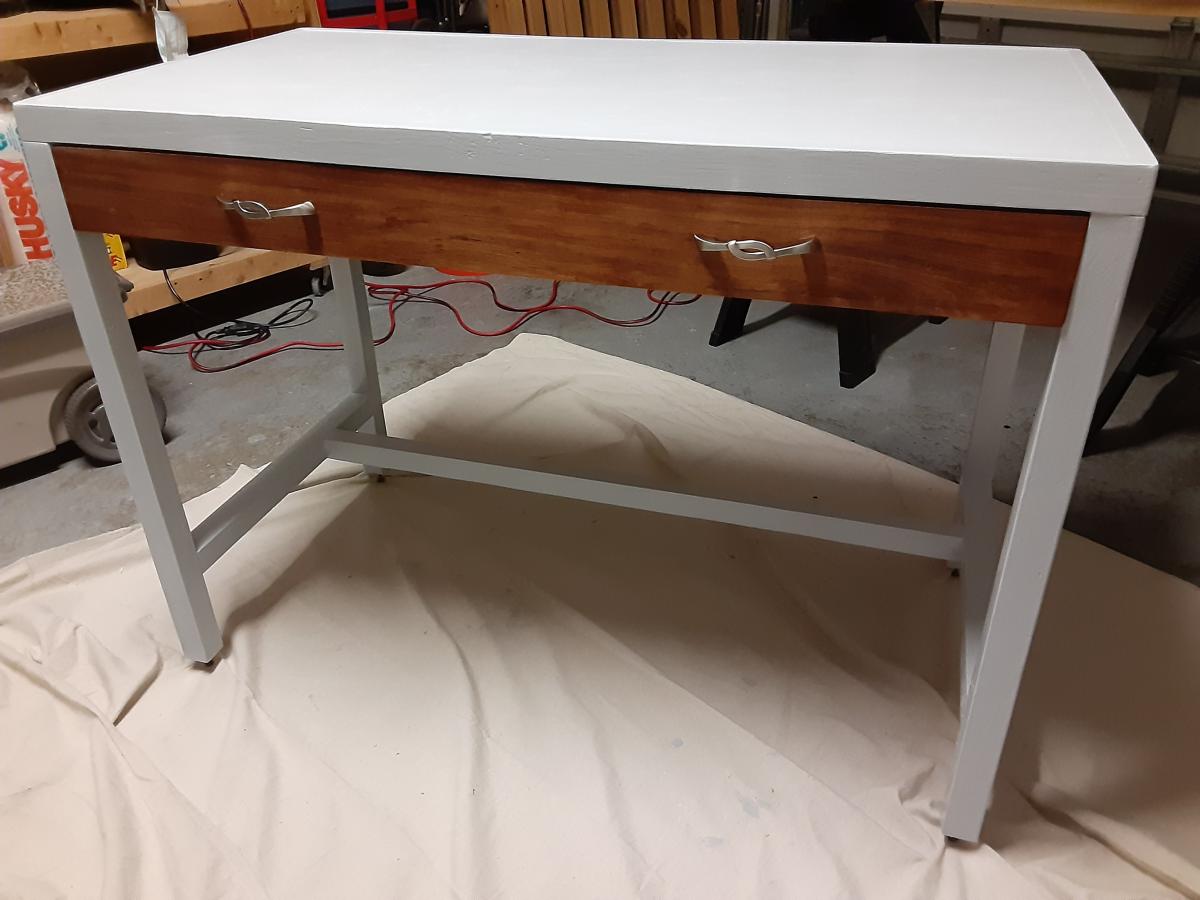
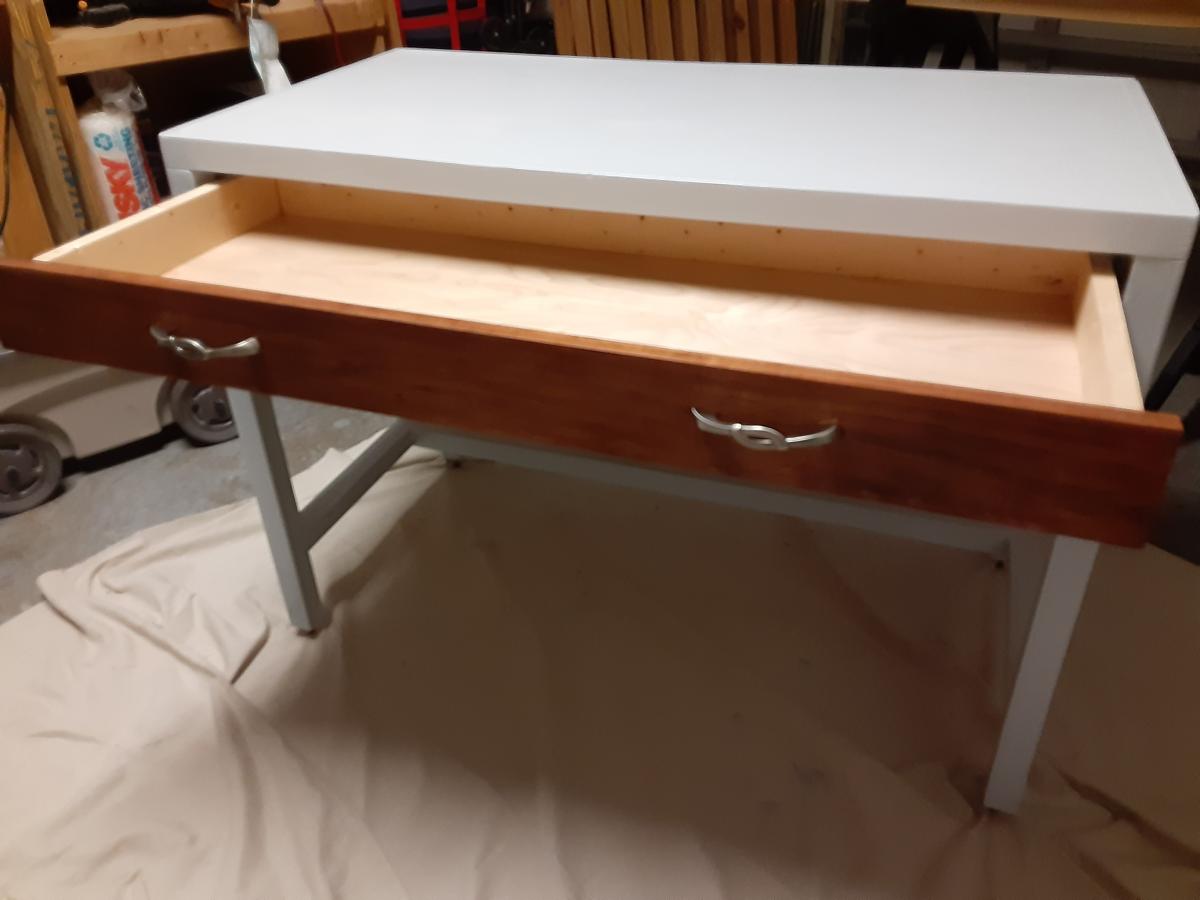
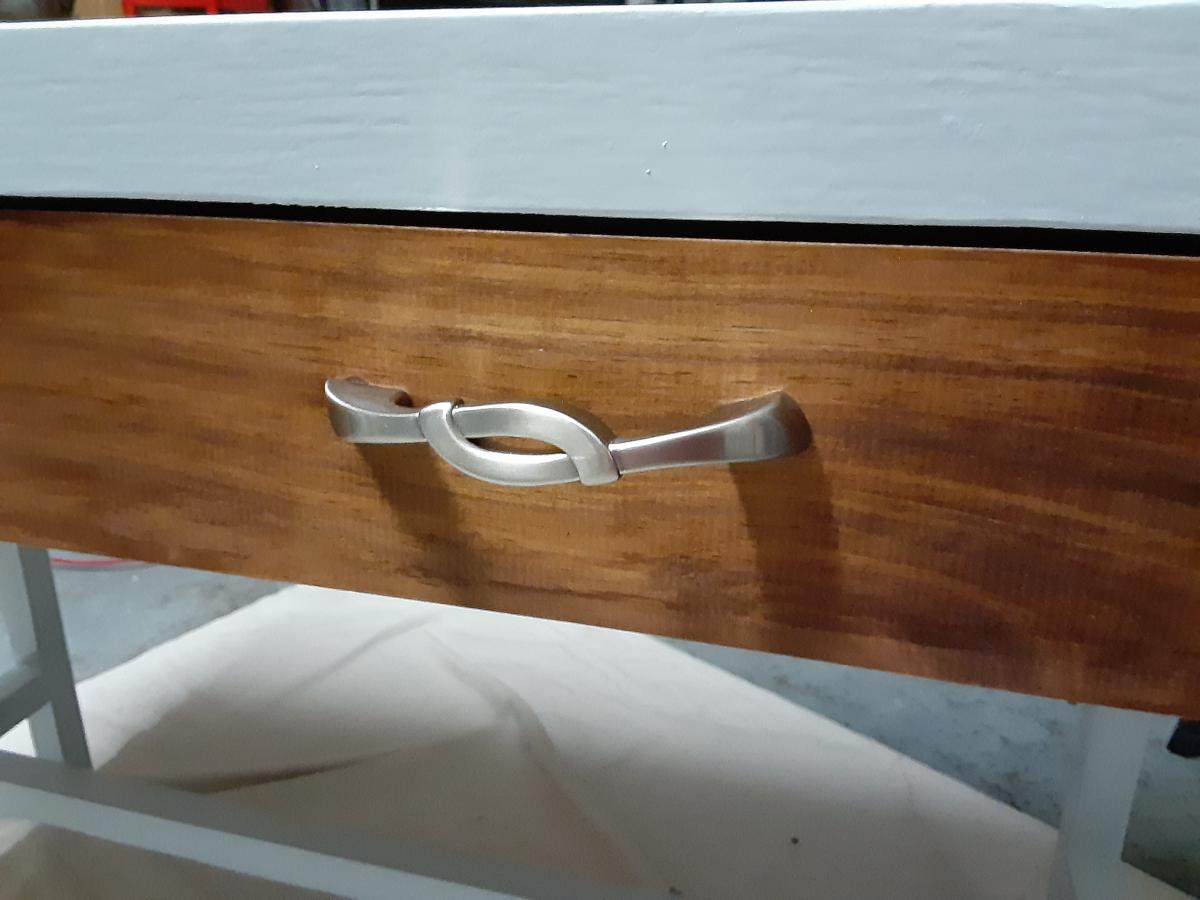
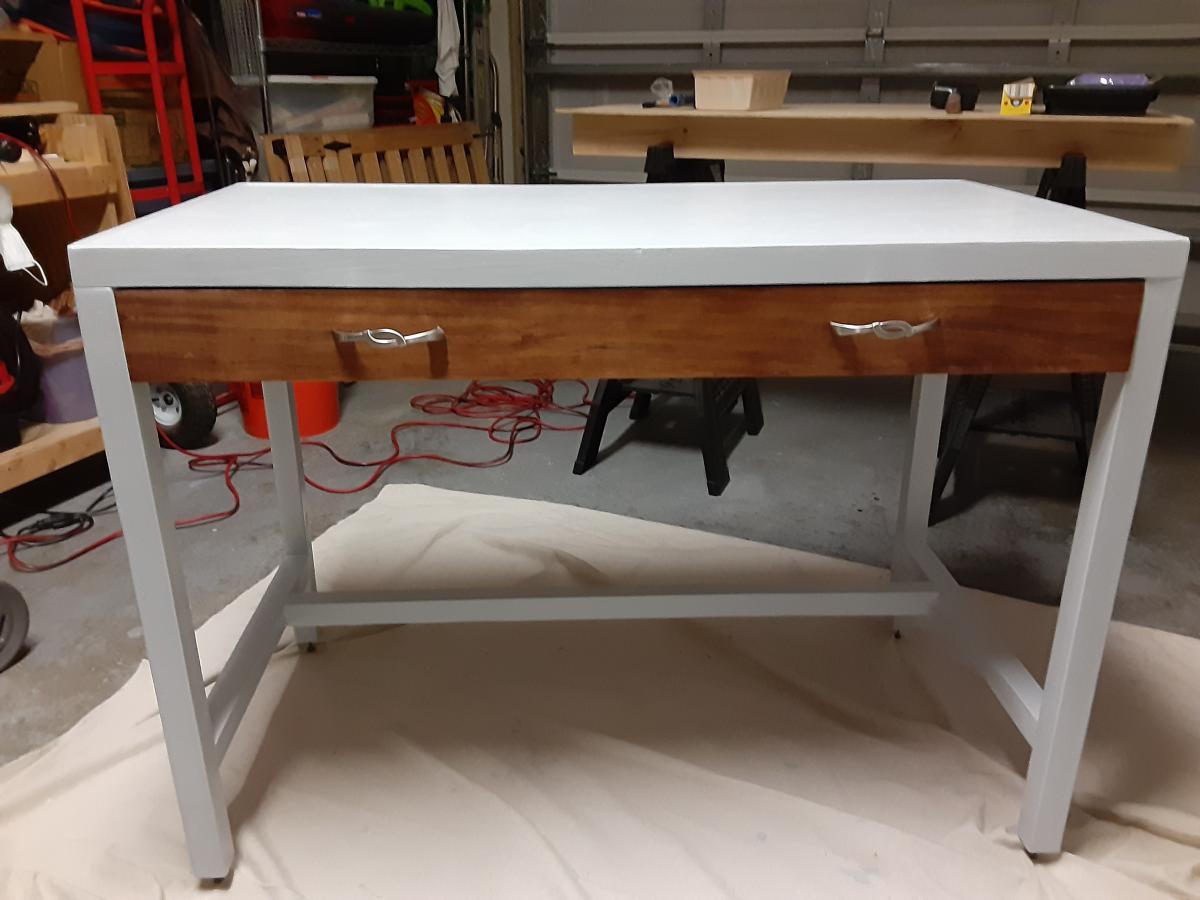
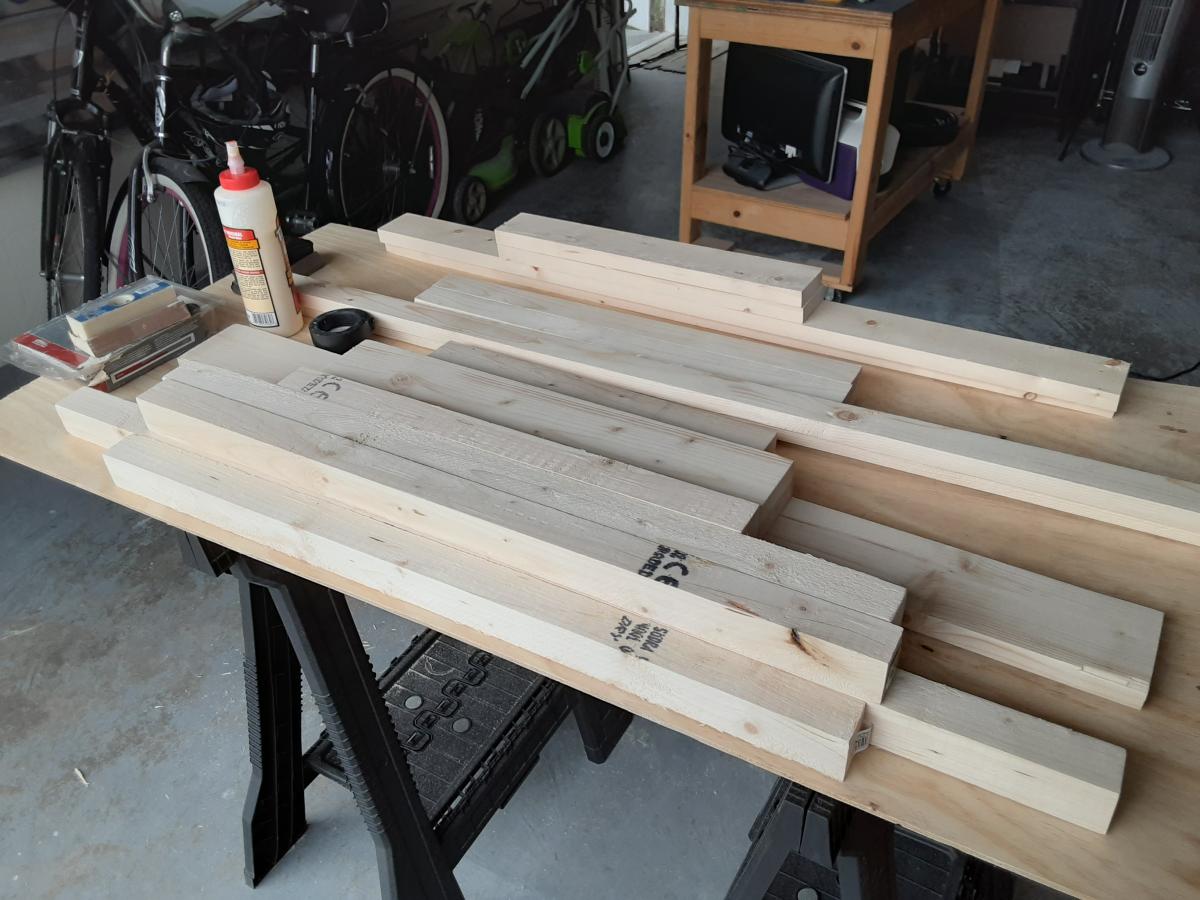
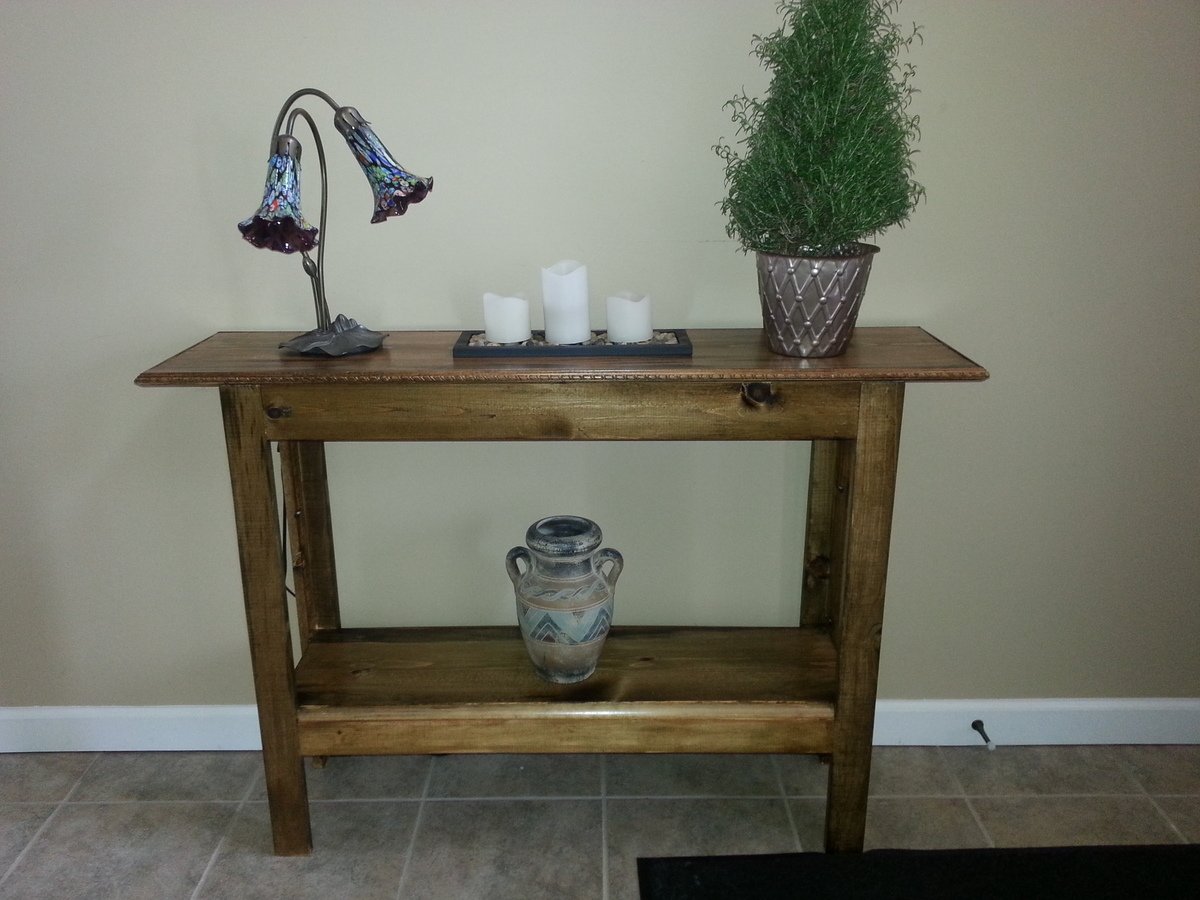
This was a great project to begin with. I used pocket holes instead of finishing nails. I also added another shelf and trim work.
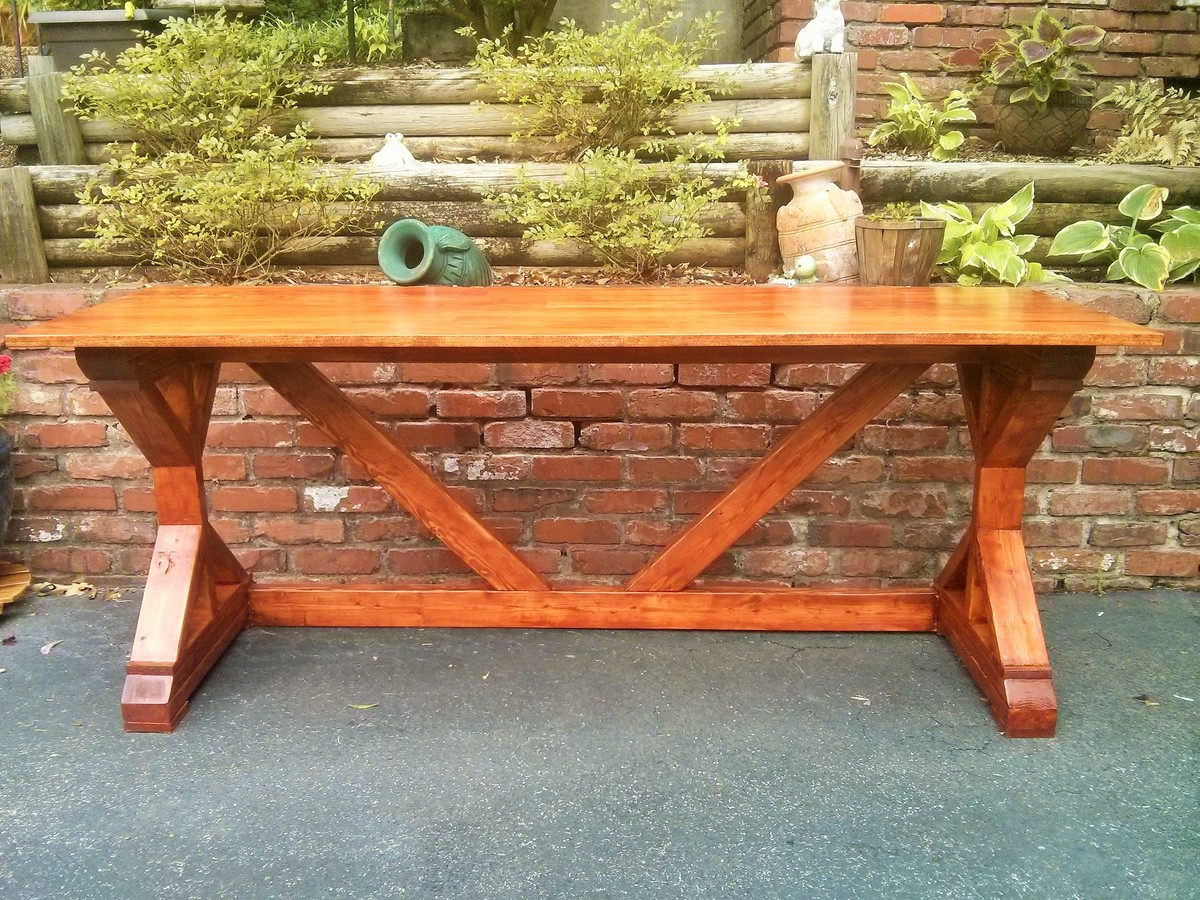
This is the second X desk I have built. For this one I used a pre-done aspen piece for the top that I got from Lowes for $40.00. That was the only modification.
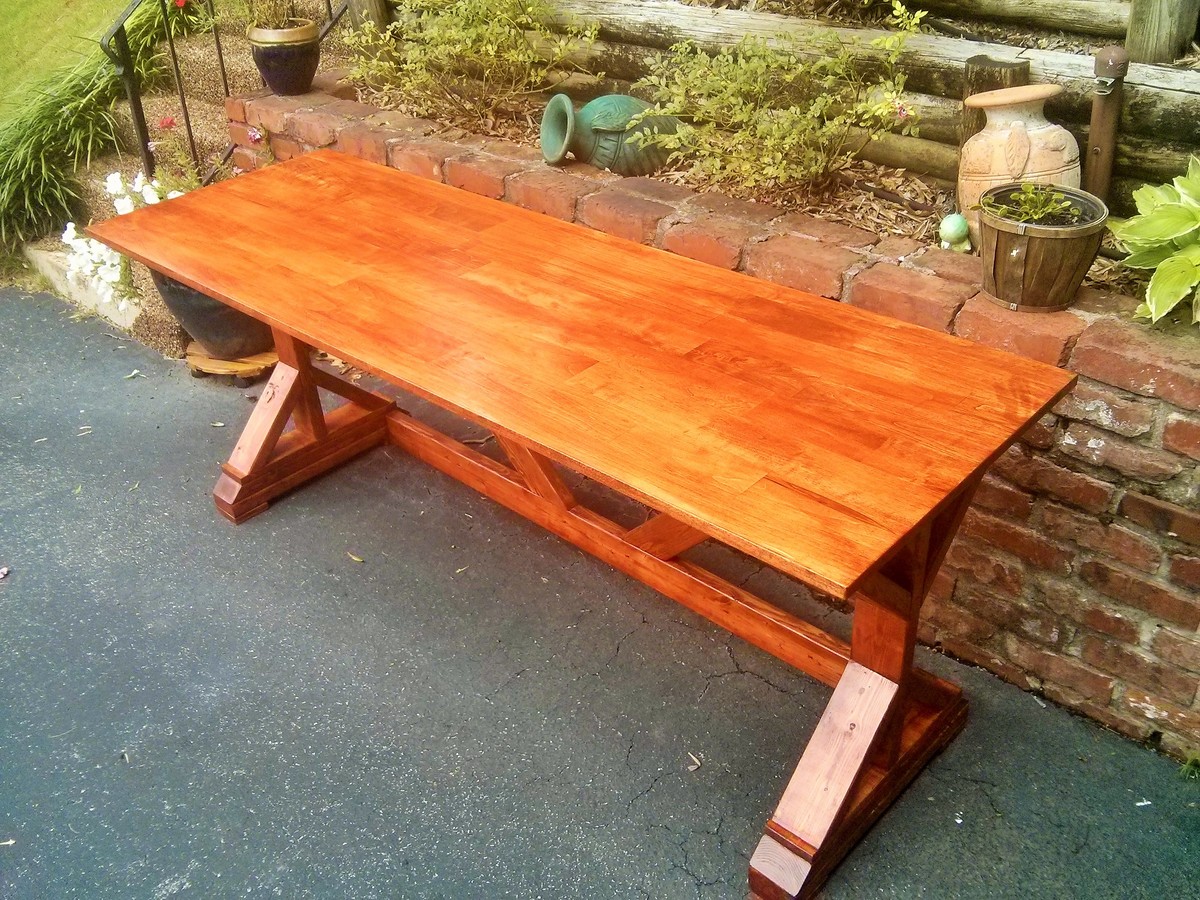
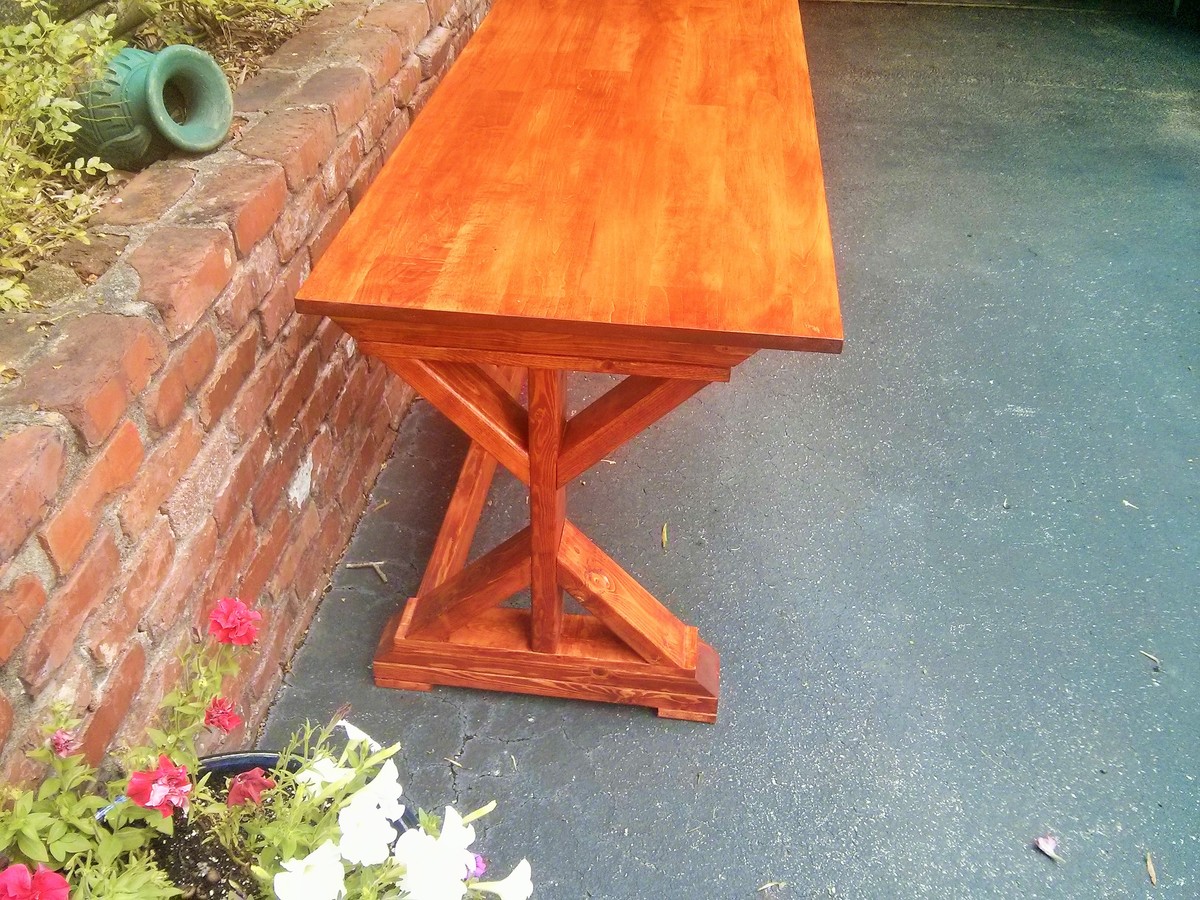
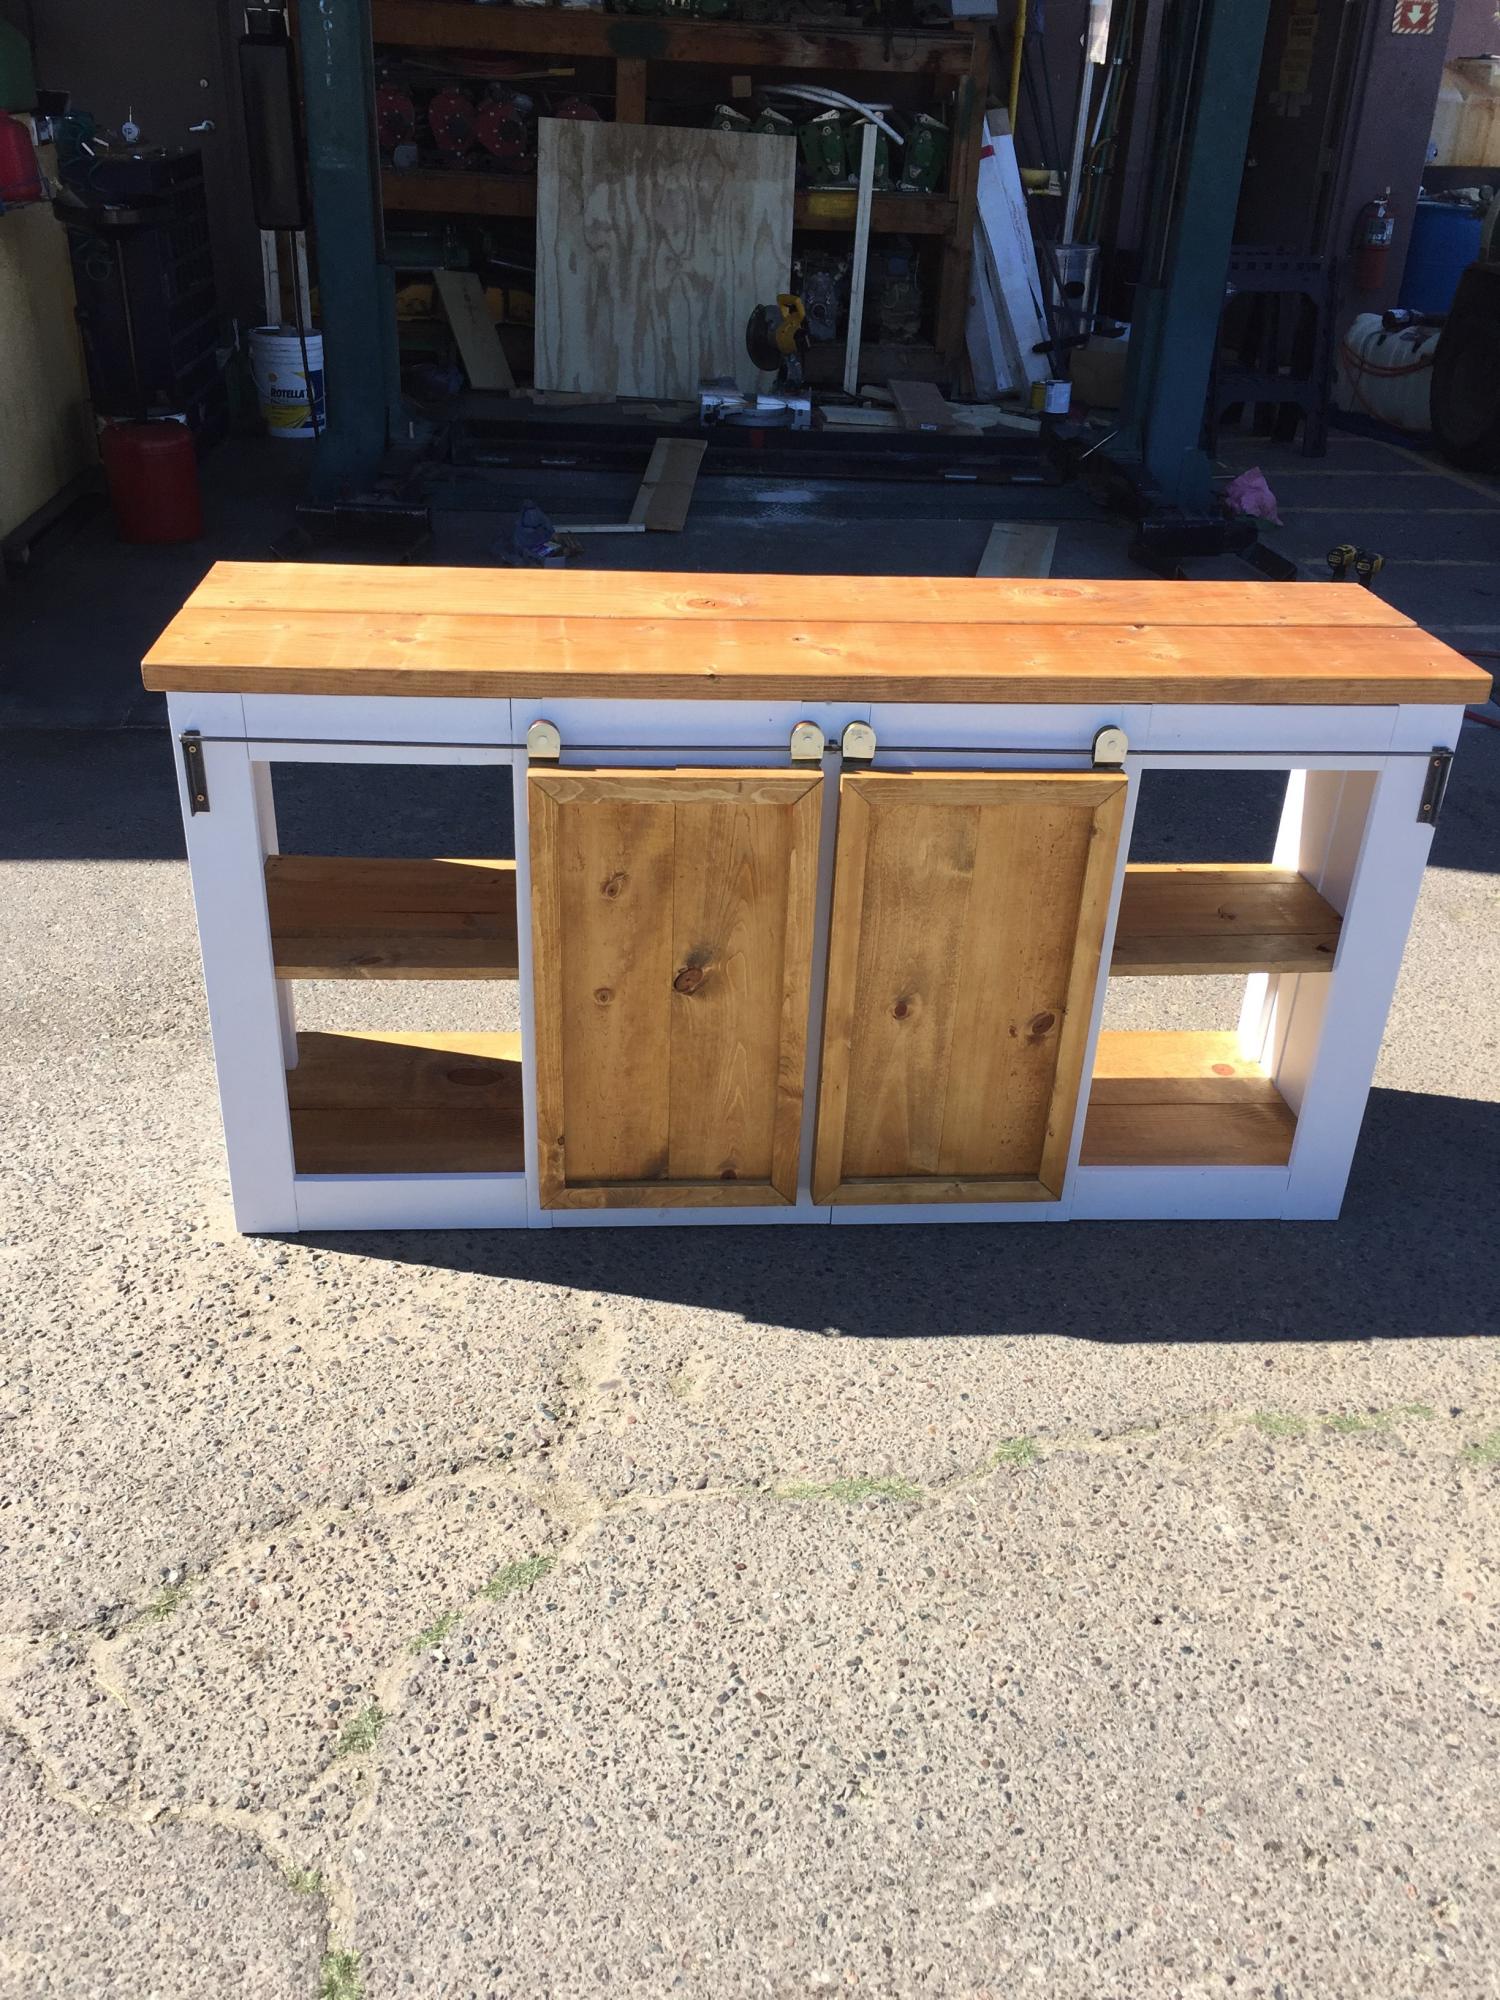
overall pretty easy porject took me about 8 hours to build/paint I sized it down a little made it only 32" tall and about 64" wide but keeping the depth to the plans. The barn door hardware I ended up building myself. I took 4 1" pulleys bolted those to the doors and the track I built using some angle iron and 3/8" metal dowel. The stain is 'golden oak' from min wax and I just used a simple white paint two coats.
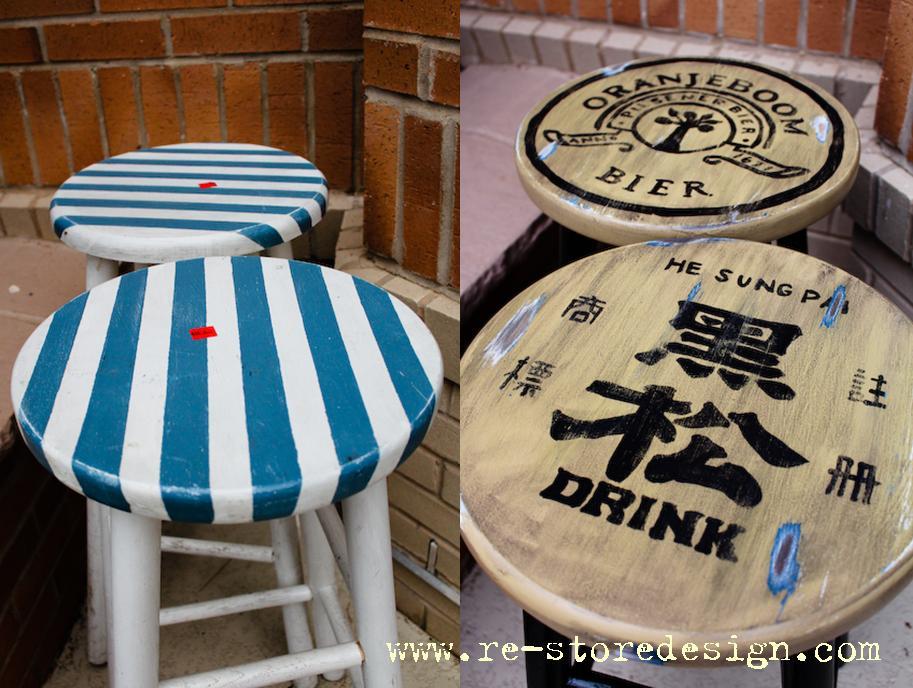
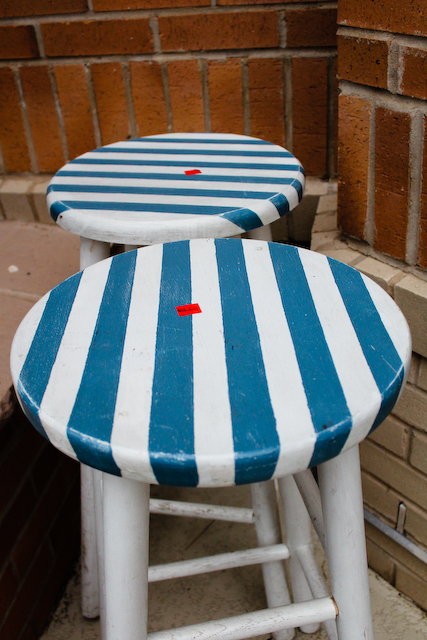
Our new place has a kitchen island, so we needed stools. We had been searching the internet for vintage drafting stools, but could not justify spending over $200 a stool. We stopped at the local Goodwill and found two stools for $7 a piece. To make it even better they were on sale. We spent under $10 for the two.
Check out my blog for more photos of the process.
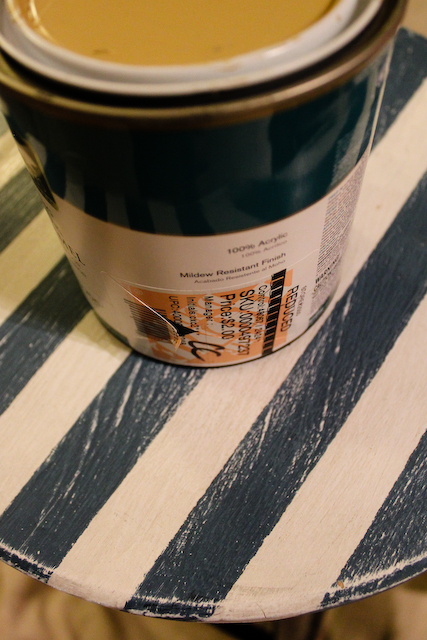
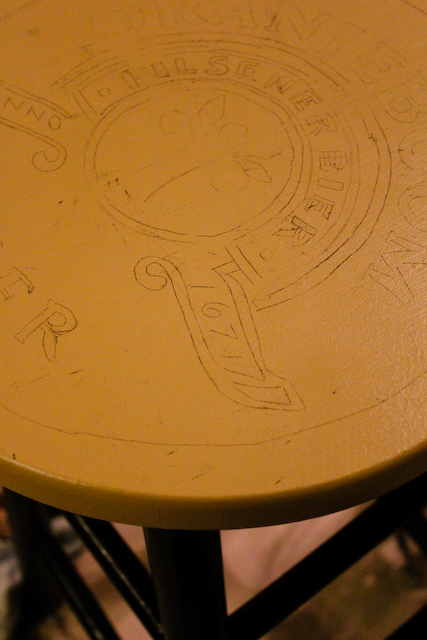

A company wanted to charge us $5800 for this! All told I think I spent about $500.
Ana,
My wife saw this and wanted one to match her benchwright coffee table. I decided to make her one and used rough cut pine to get that look. Just used 80 grit to knock off the roughness but not enough to sand into the saw marks and was pleased with how good the results came out. I don't like exposed fasteners so all the joints are pocket hole screwed and glued and the table top is biscuit jointed and the end piece is doweled into the long runners. Love your website and the other projects that you have shown here. Keep up the great work!
Josie
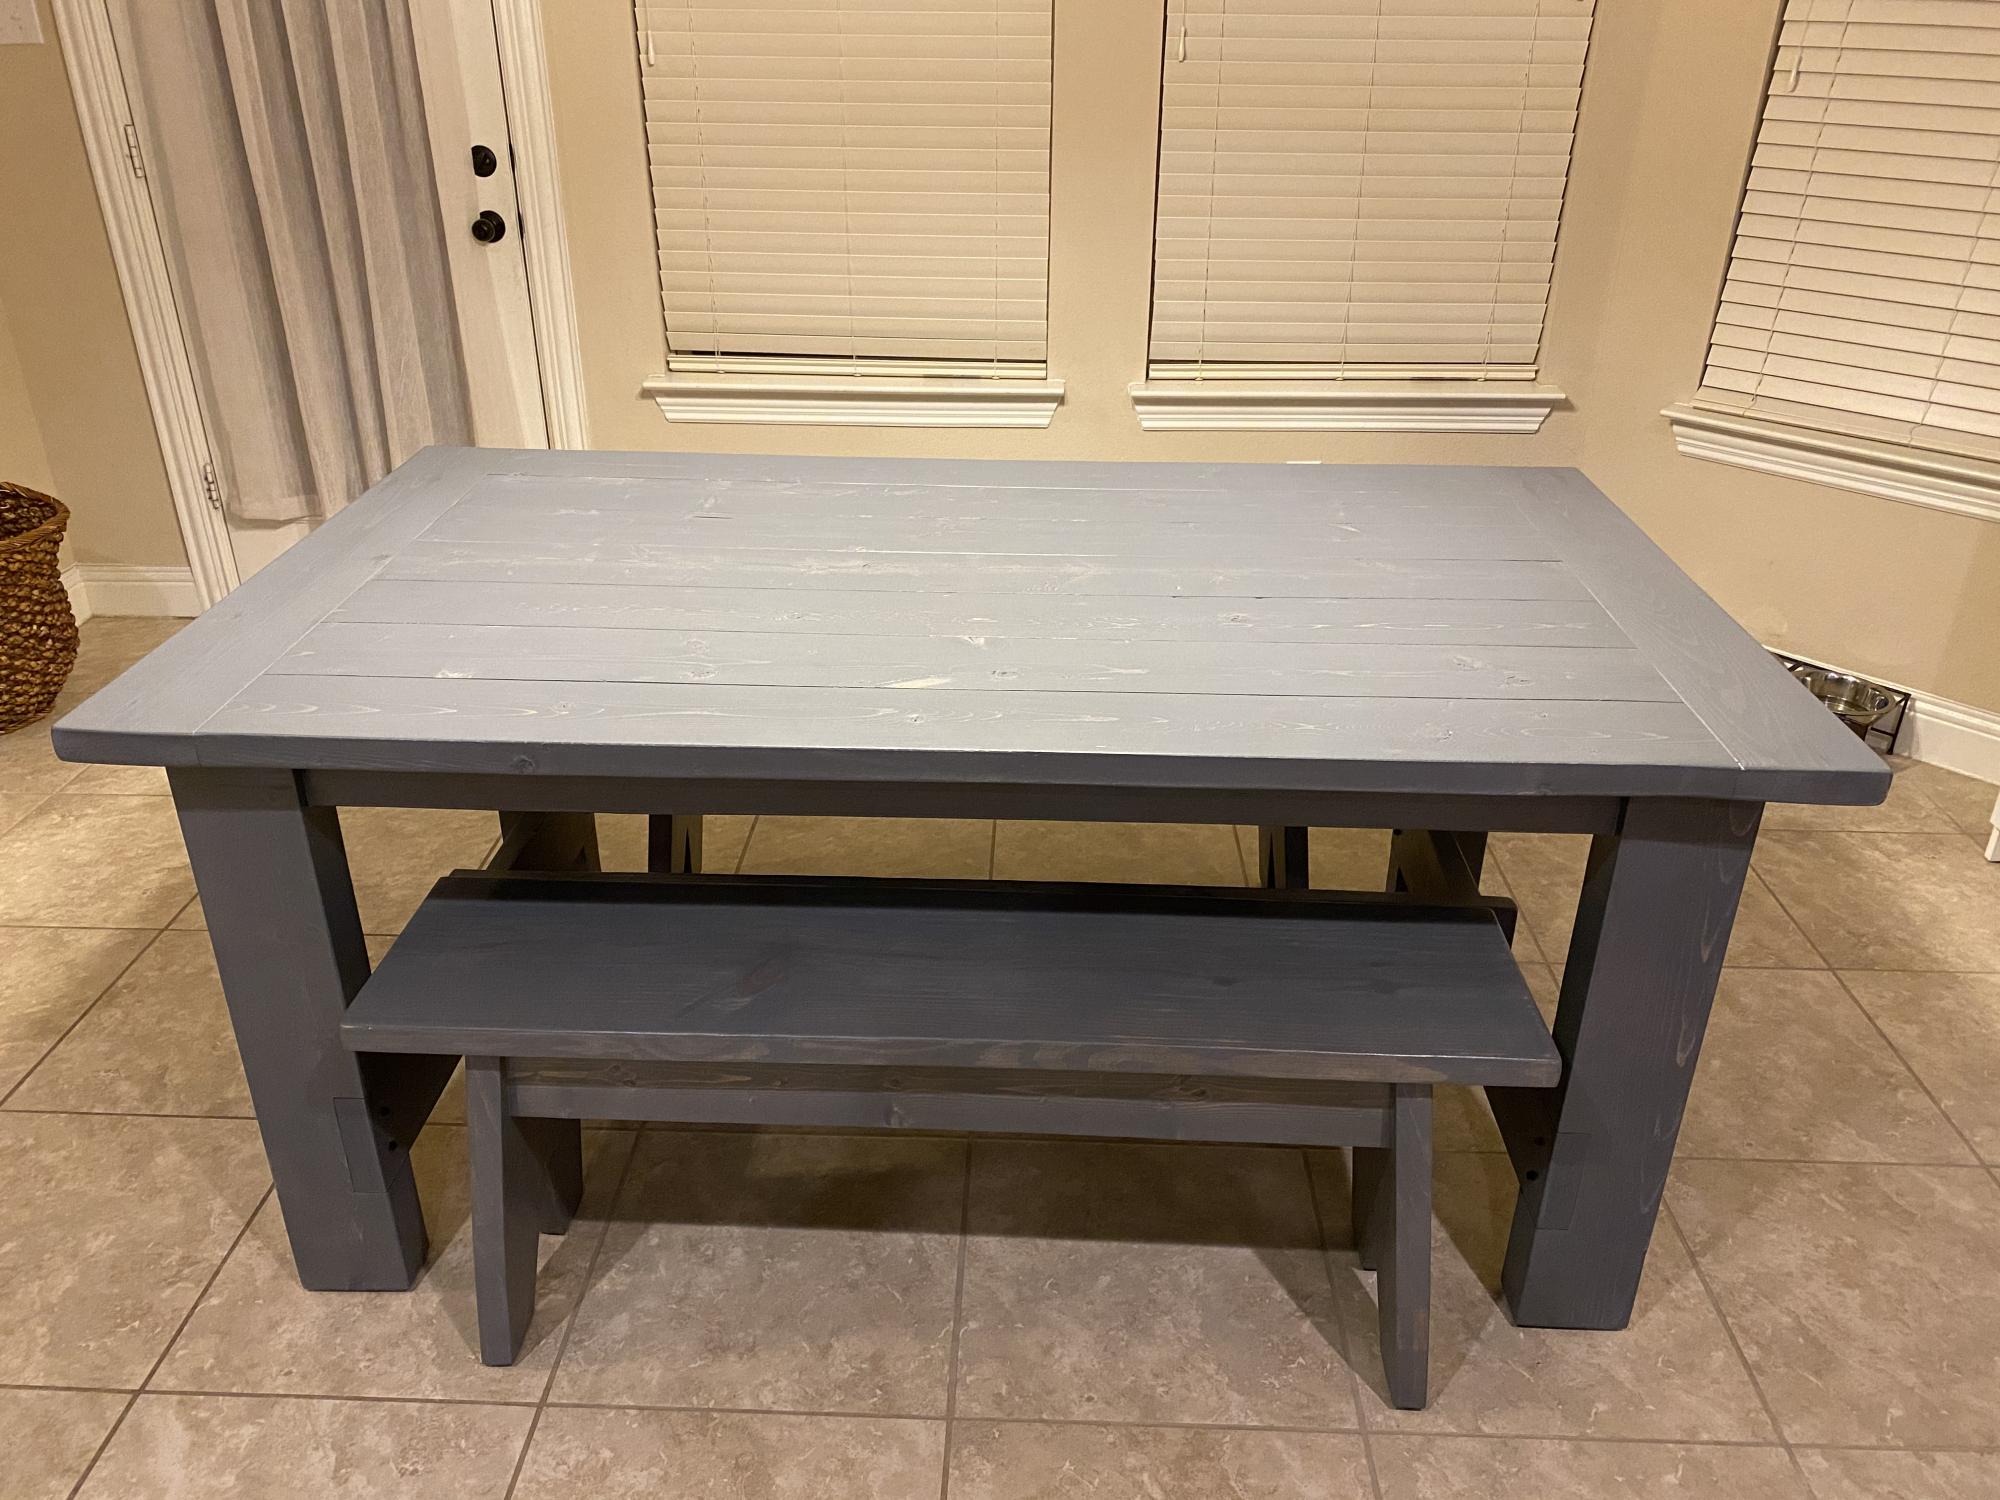
I couldn’t find 4x4s so I planed 2x6s flat and glued them together. Used it for the first time yesterday for our Thanksgiving dinner.
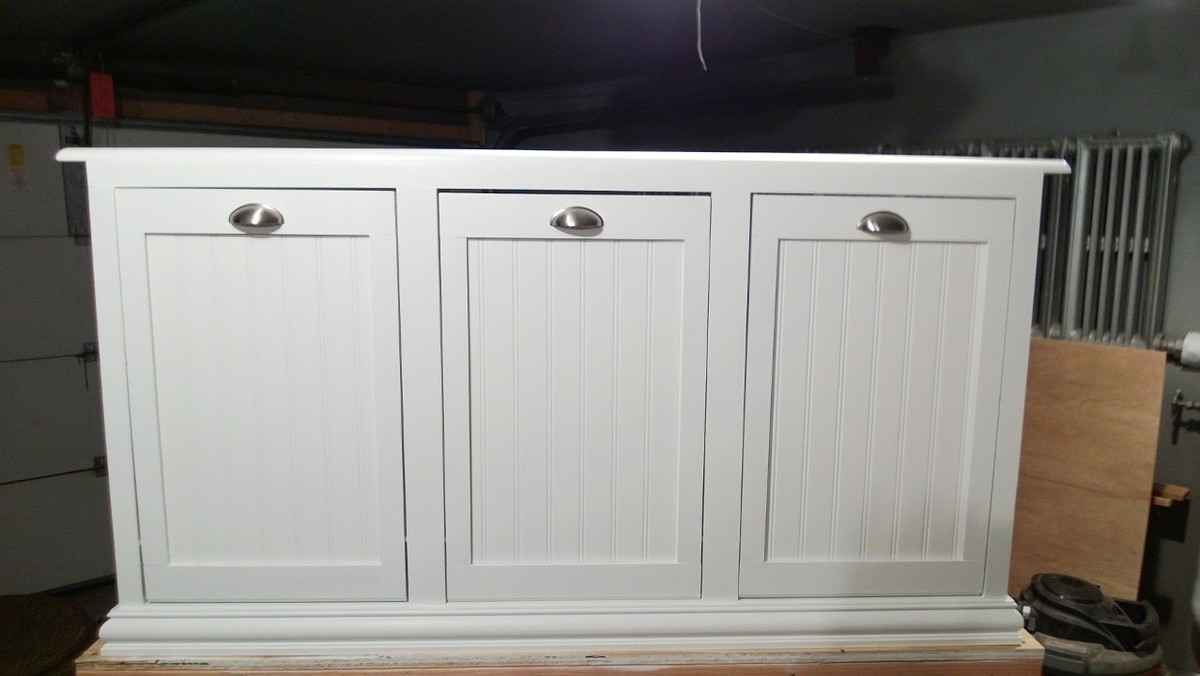
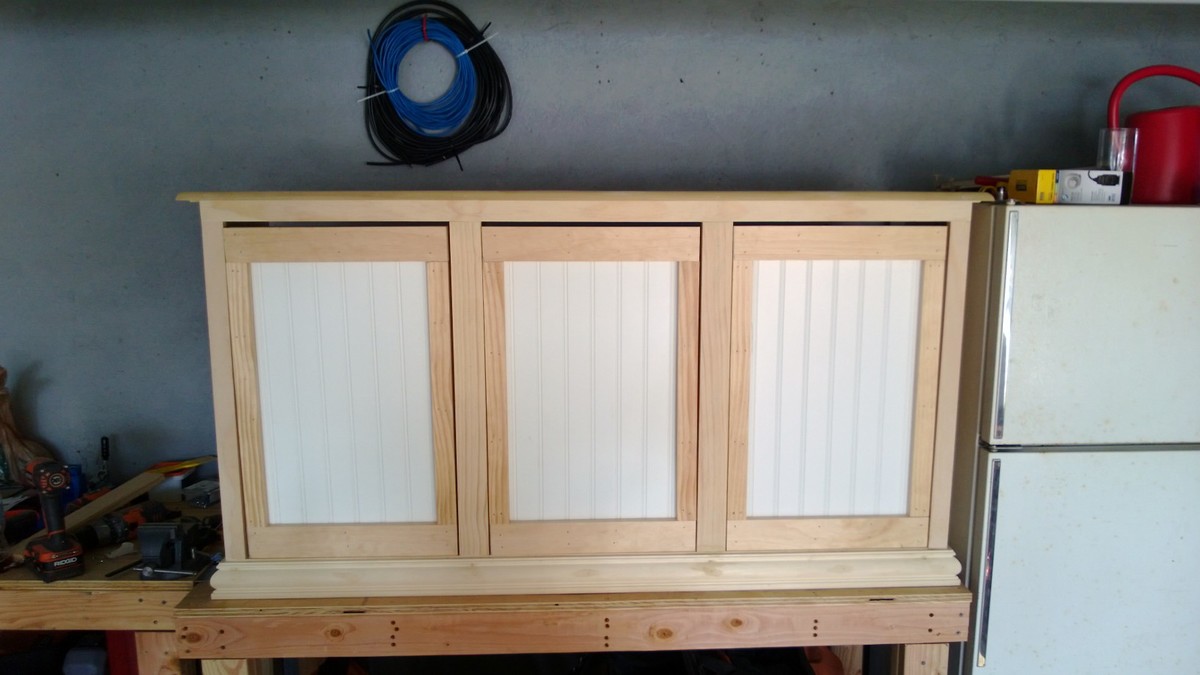
Modified the original plan to meet our needs of a laundry sorter. Had problems with the hinges so ditched them. I used dowels with a combination of a chamfer cut on the bottom of the door. Dado-ed the trim on the doors and slide the bead board panels in. The face frame is all held together with pocket hole screws, which I highly recommend because it eliminates nail holes and keeps the face frame square. This was my first wood working project, took me a little long to get it done. Thanks for looking.
Modified January 28
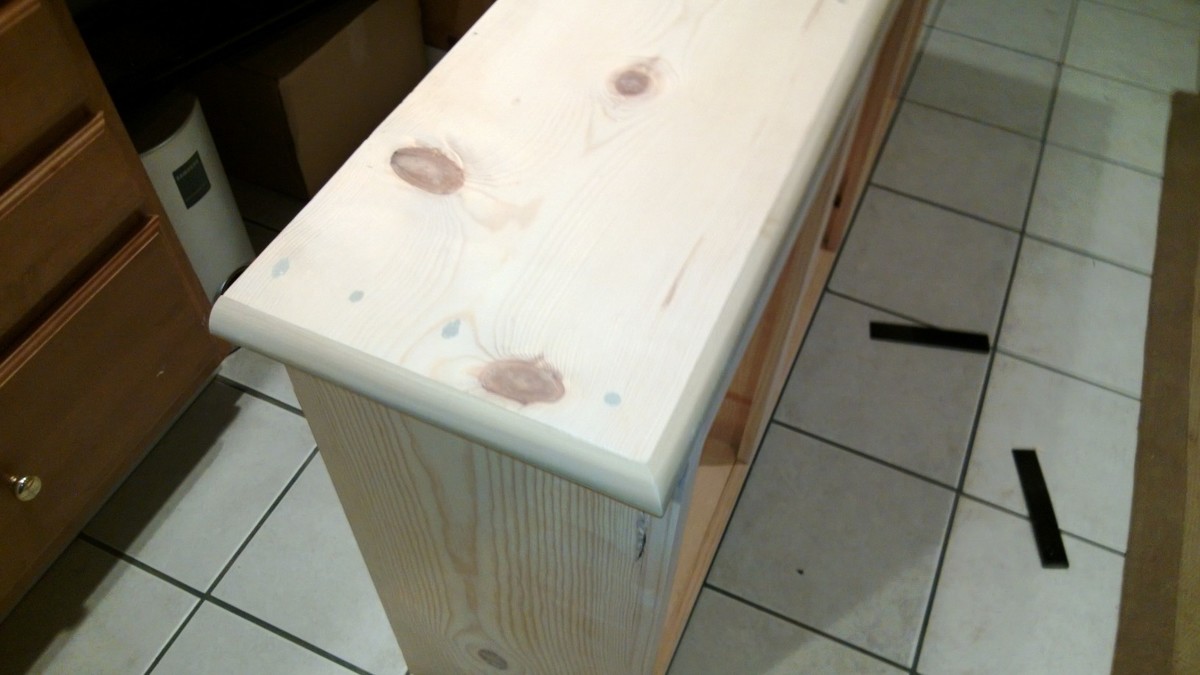
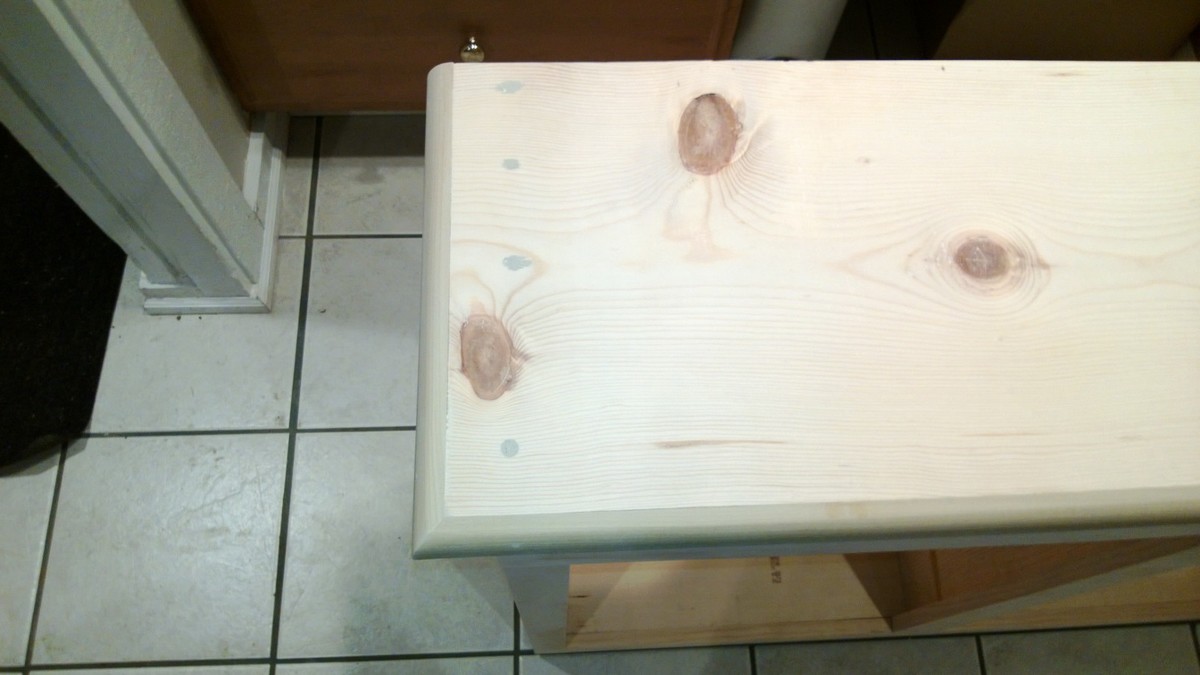
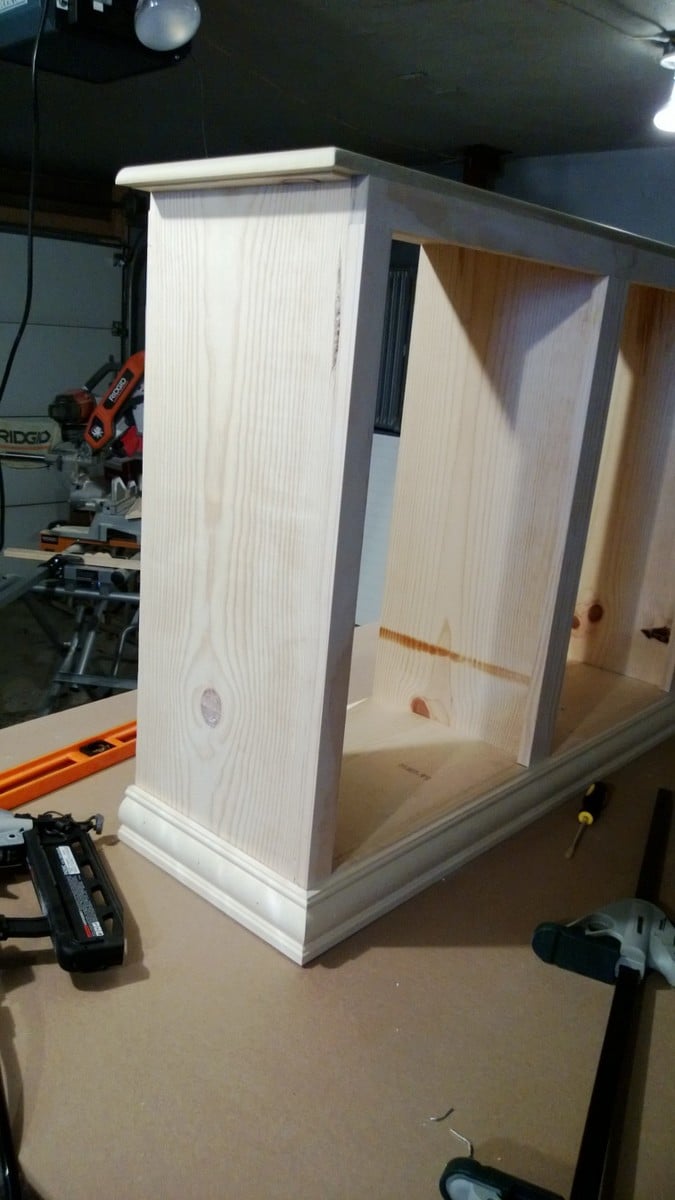
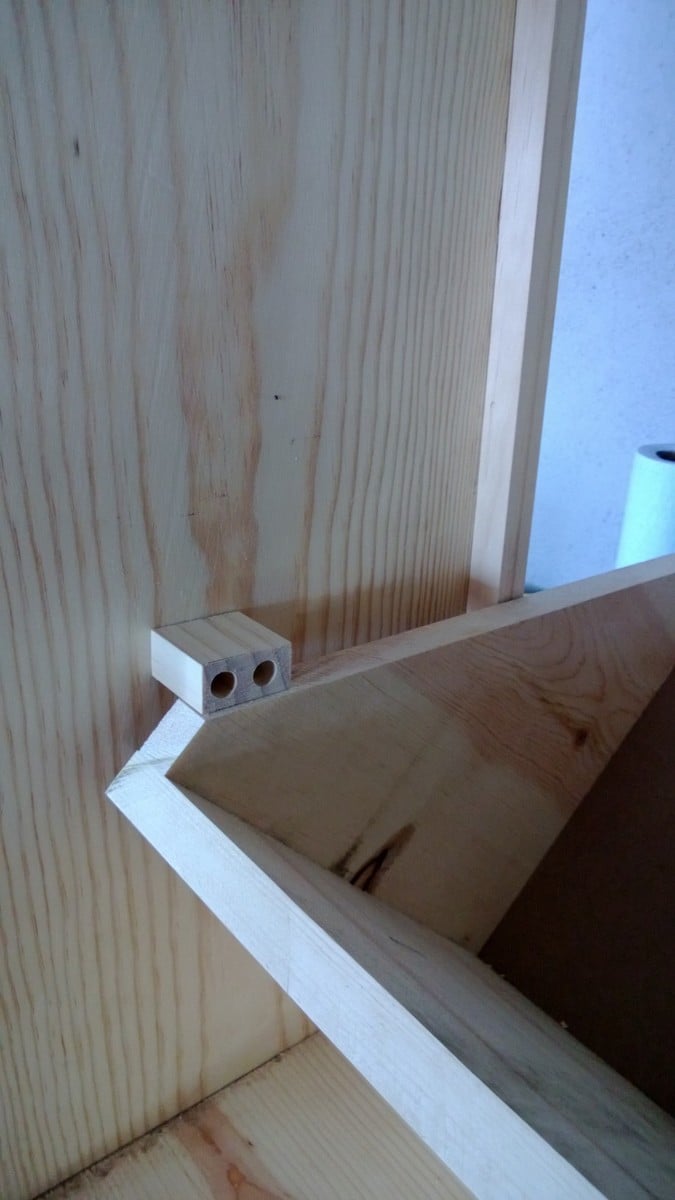
So here are some more pictures of my project. I don't really have any good pictures of the dowels. But what I can tell you is, I drilled holes through the sides of the face frame and the trim pieces and then measured where the holes would be in relation to the "drawer". I then drilled holes in the drawers at those measurements, I was careful to not go to deep. I think I went in half an inch. After that I started at one end and placed the dowels in, then put each drawer in. It wasn't easy but with a little patience it worked. The key is to wax the dowels so they will last longer as well. I also am including pictures of the top and bottom trim. On the top the original plans called for an overhang piece and I didn't like the way that looked. I ran the top board an inch long on each side and then wrapped it in quarter round trim. I did this because I plan on adding the Mimi Hutch Top. The bottom was built per the plan, but I ran into a problem with my bottom trim not being level and you could tell. So I raised the whole unit on 1 1/2 legs then placed it on a level surface and again wrapped it in a decorative trim. The key on both trims was a nice miter joint. Last picture I added was of my stoppers. I took scrap from the 1x2 trim and cut them to an inch and a half or two (can't really remember), then using the Kreg Jig drill bit drilled recessed holes. I then opened the doors until the side 45s were level then mounted the blocks on each side. I feel that it is better than a chain or string catch. Again thanks for looking and I hope I answered all of your questions.
Tue, 01/22/2013 - 11:29
Dowels! What a great idea! Would you mind sharing how you did it? Could you possibly add some pictures showing the dowels? You did a great job. It looks beautiful.
In reply to Dowels! What a great idea! by moosmani
Tue, 01/22/2013 - 20:11
Yes I will send you the info you requested, I'll try to get it out to you tomorrow or Thursday.
Wed, 02/15/2017 - 11:05
Can you send the plans to me?!?! I need this for my new home! [email protected]
Thu, 01/24/2013 - 09:27
I love what you have made! Could you post pictures of the top and the bottom trim? I'm very impressed that this is your first project!
Sat, 11/16/2013 - 18:23
I am a little confused. I love the three bin laundry sorter, but everyone is mentioning plans. I am not finding plans for it on the site. Also, what goes in to hold the clothes? There may be obvious answers, but I am not seeing them. I'd appreciate any help you could give.
Tue, 12/02/2014 - 02:58
I've been thinking of working up one very similar to this, also with 3 bins, but I didn't want to use chain either. Those stoppers will be ideal - do you put them on both sides or is one enough? Thanks for the share!
Sat, 01/24/2015 - 11:29
Hi-
Im not sure if you still have the plans to this awesome project, but if you do, would you be able to share them with me? Ive been looking to make something like this forever, but just couldnt find any help!
thanks,
karah
[email protected]
Wed, 02/25/2015 - 12:35
If you still have these plans, could you please send them to me? [email protected]
THANK YOU!
Wed, 02/25/2015 - 16:45
I am searching for the plans for the gray corner entertainment center. Does anyone still have them that could email it to me….
Tue, 01/19/2016 - 17:43
Hi there! If you still have the plans for this I would love to have them! Thanks a lot
Tue, 04/12/2016 - 18:51
I would love to have the plans for the laundry bin if they are still available, Thank you!
Wed, 02/15/2017 - 07:16
Can i also have the plans! This is perfect for what we want to do in our laundry room
Wed, 02/15/2017 - 11:24
Can you please send me the plans! [email protected]
Mon, 07/10/2017 - 04:19
I absolutely LOVE your laundry sorter!!!! You did a fabulous job and the TRIM, WOW amazing!!!! I've searched Ana's website and cant find the plans' could you please email me the plans to [email protected]. I started building my own furinture back in October 2016 and the reward is amazing... Keep up the good work.
Happy Building,
Lisa
Tue, 01/16/2018 - 19:55
Love this! Can you email the plans to [email protected] please?
Thank you
Tue, 01/16/2018 - 22:18
I'm too new at woodworking to be able to tackle this right now, but would love to download the plans for future. My most successful project so far is a pretty standard bookshelf. I got a free plan, with lots of guidelines and explanations, at https://tinyurl.com/ydeup8lo -- it came with a 440 page guide, "The Art of Woodworking" that has tips and techniques, and am plowing through that right now.
Wed, 02/28/2018 - 12:53
This is amazing. I am very new to woodworking. Could you send me the plans please? I would be most appreciatative
Wed, 03/11/2020 - 23:27
I would love to have the plans for the three bin laundry sorter to build for my laundry room. Are the plans available? Awesome work!
Thu, 07/16/2020 - 14:14
Looks amazing!! I want to build one just like that, can you please email me the plans, thanks!! [email protected]
Tue, 01/12/2021 - 06:26
This looks like something I can build. Would you please e-mail me the plans? The address is [email protected]
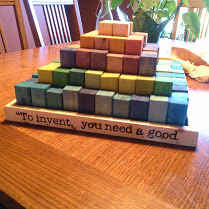
I made these for my new niece- Here's my story with recipe for a homemade sealer as the dye runs on drooly faces.
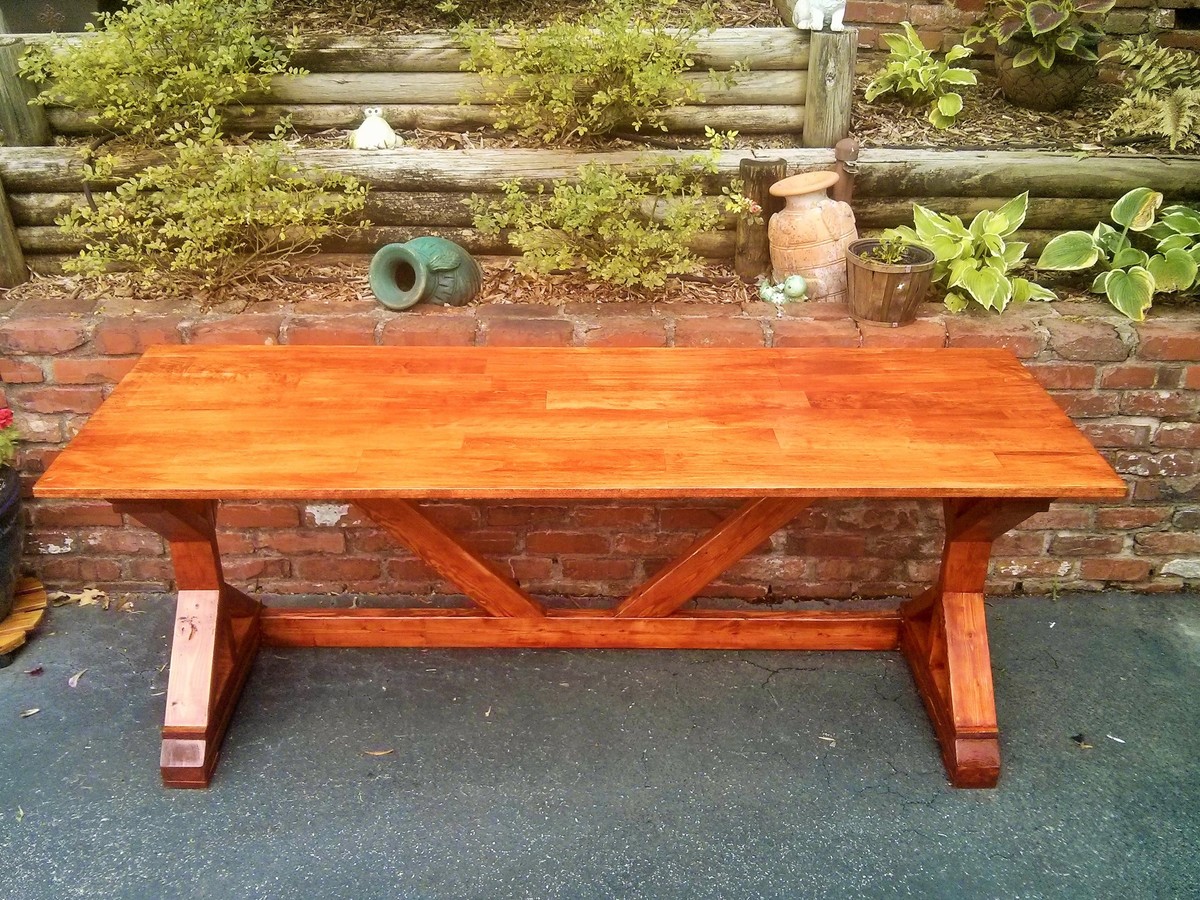
I loved Ana's 4x4 Truss Beam Table which was my inspiration for building this outdoor patio table Yesterday, I had a lot of fun. I used brown pressure treate wood because I wanted a table for my patio which would be weather resitant, a strong, great looking table that goes well with the rest of my patio anf I bet it wil last for a long time... Ready to entertain family and friends as soos as Spring comes!
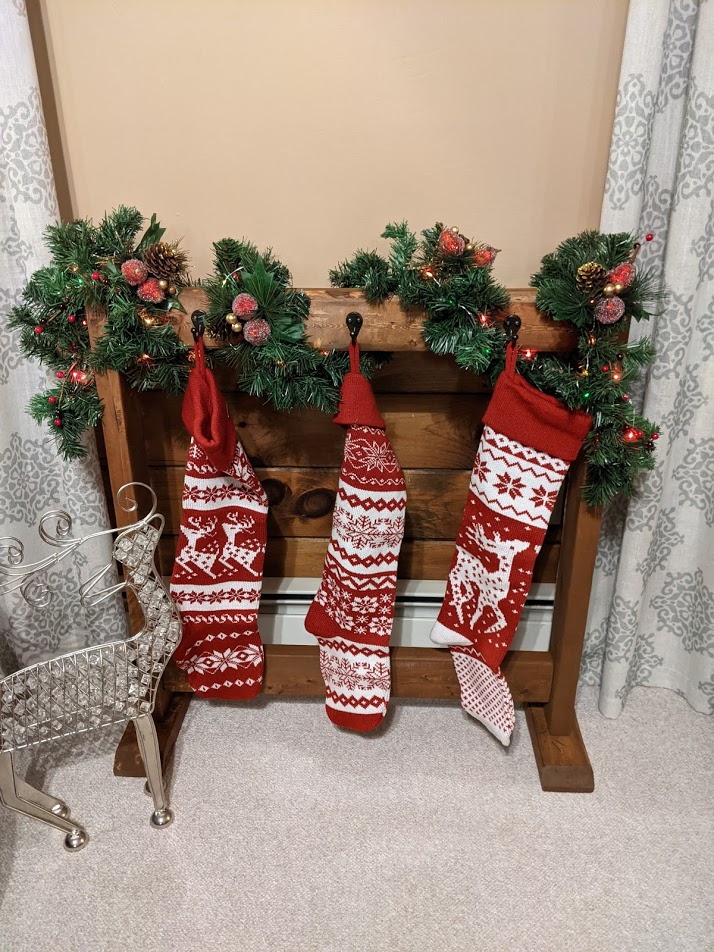
Thanks for the plans! Modified the scale, really happy with the results.
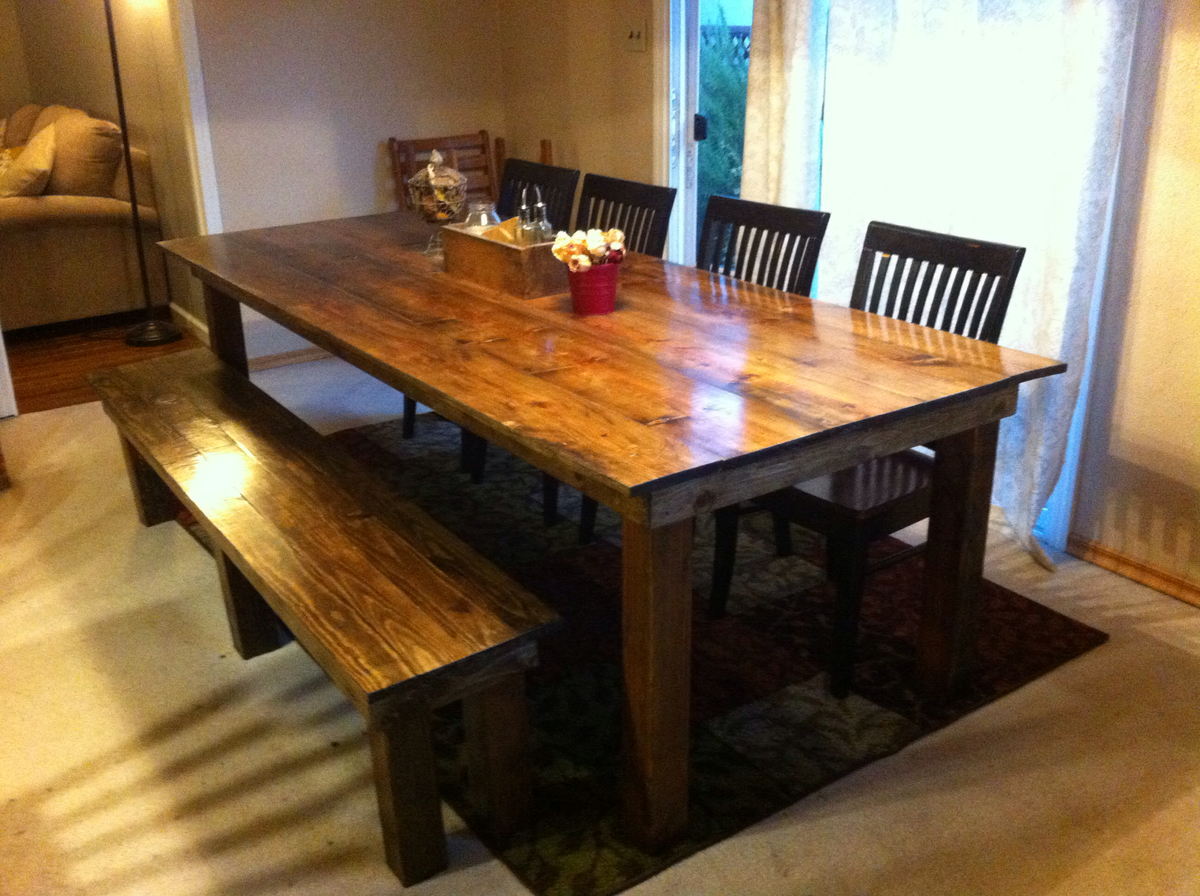
Built this table for our dining room and made it larger than the plans to fit 10 people around it.
Fri, 11/21/2014 - 09:13
Wow that looks really awesome! Great choice of stain!
Tue, 03/31/2015 - 12:42
Thank you and thanks for the plans! We are really happy how it turned out.
In reply to length by stephaniadawnia
Thu, 01/19/2017 - 10:34
Dimmensions of the table are 96 x 42 for the top. For the bench I measured the inside of the legs and made it 4 inches shorter than that dimmension to make sure I have a couple of inches on each side to slide the bench in and out easily.
I found this on the Pottery Barn site for $ 3,000. We wanted to make it for my grandson who had a lot of health issues. We thought he would really enjoy it. We made it around a full size bed & I really think it looks just like P.B's. !!!
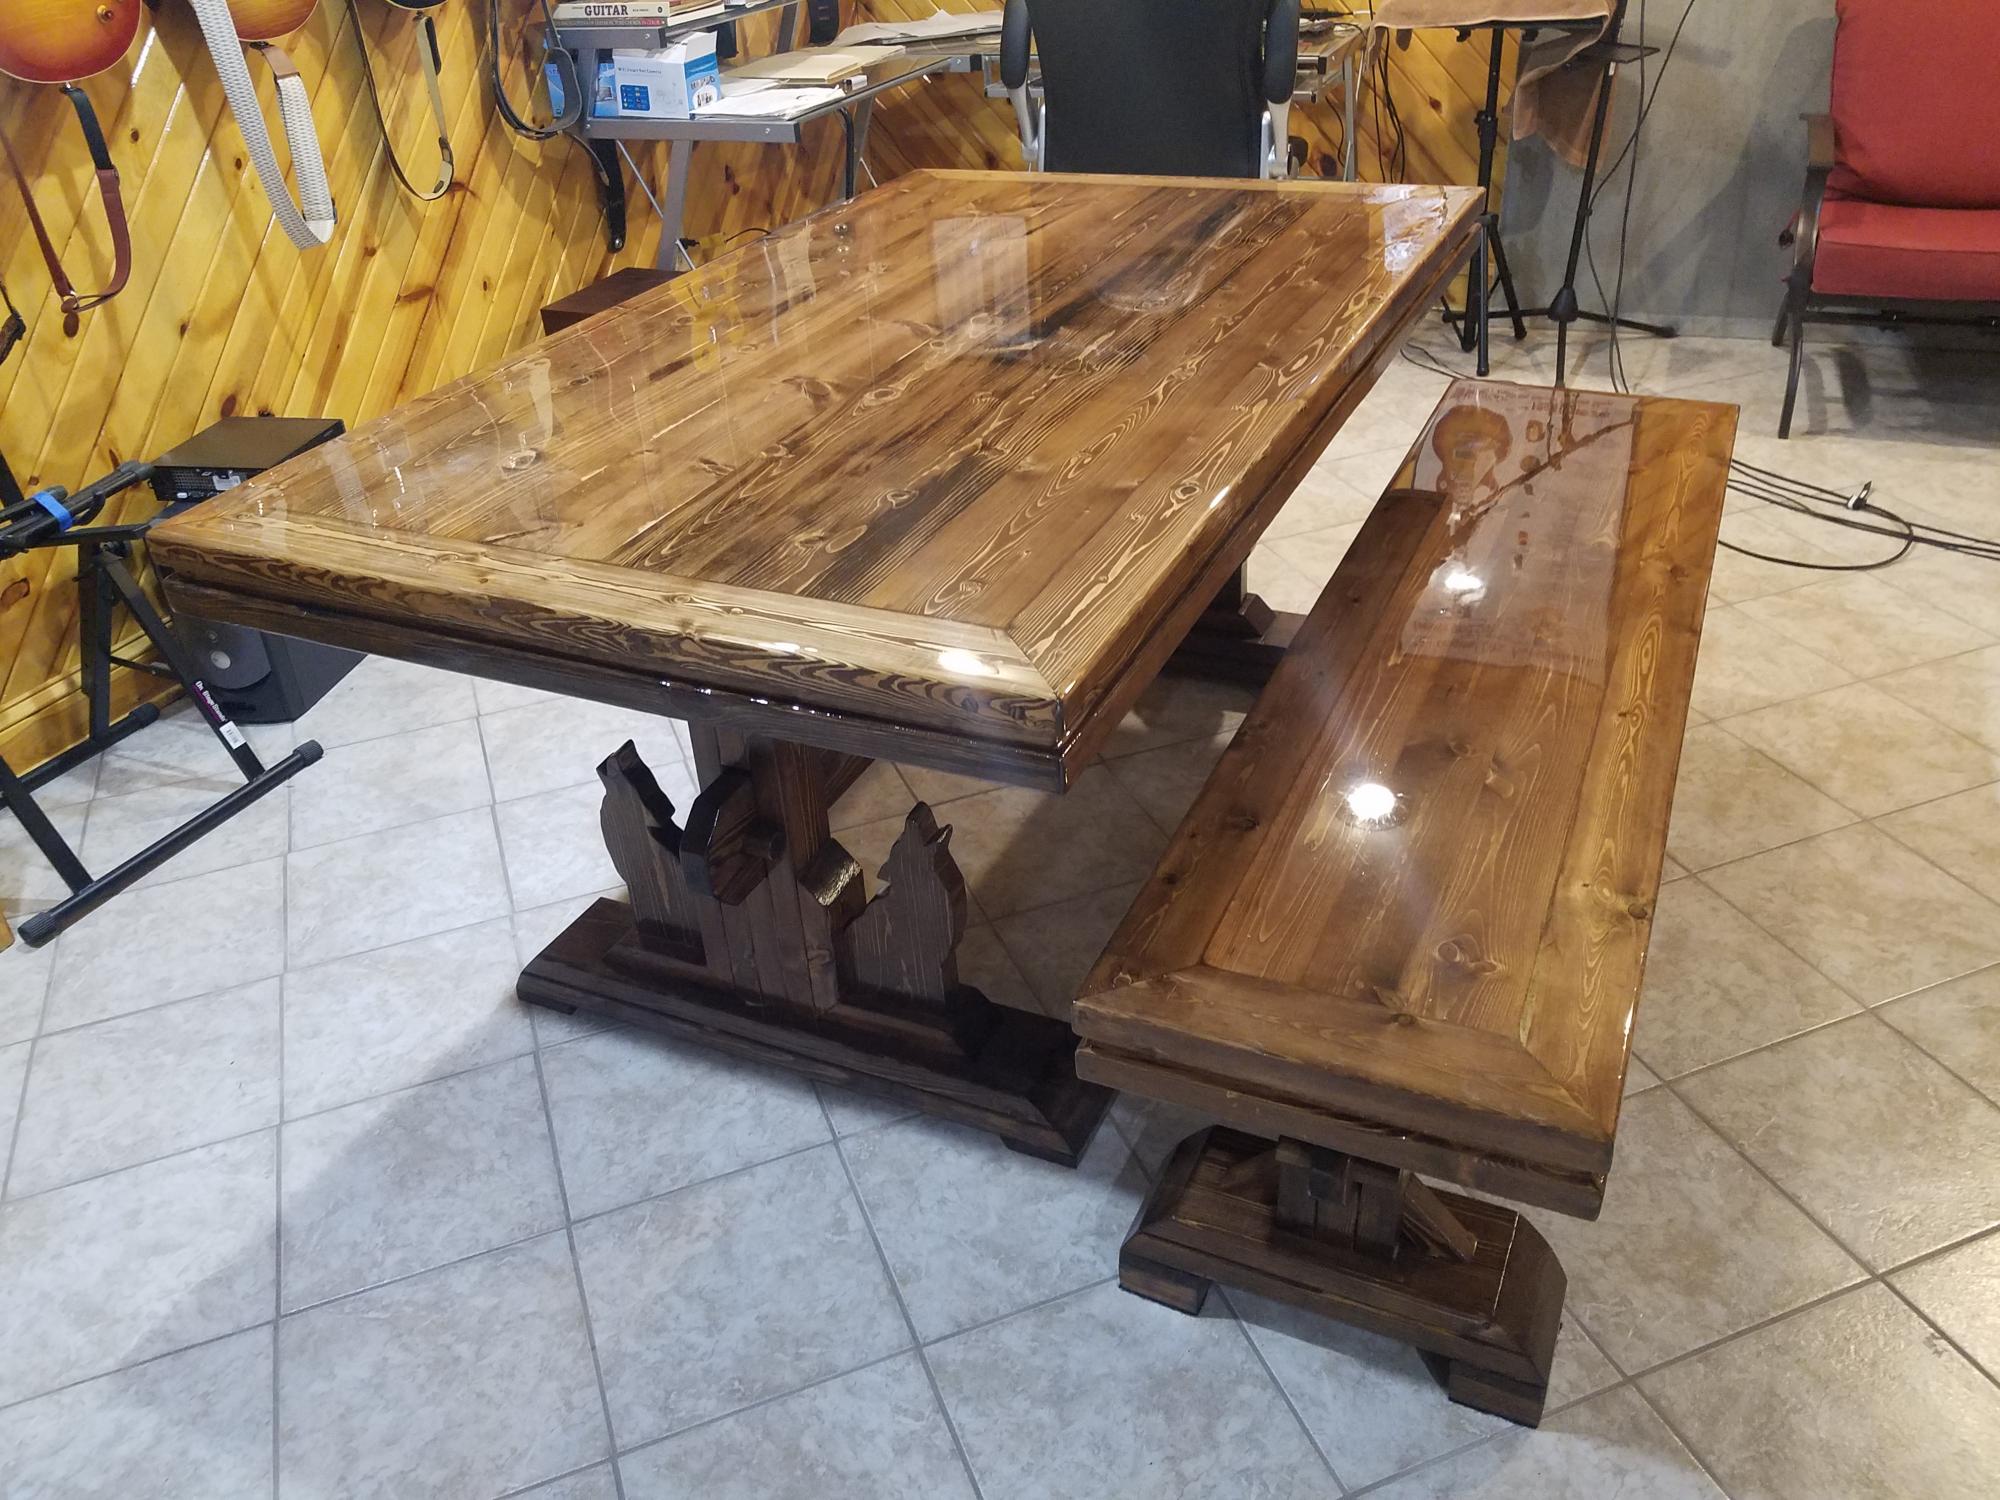
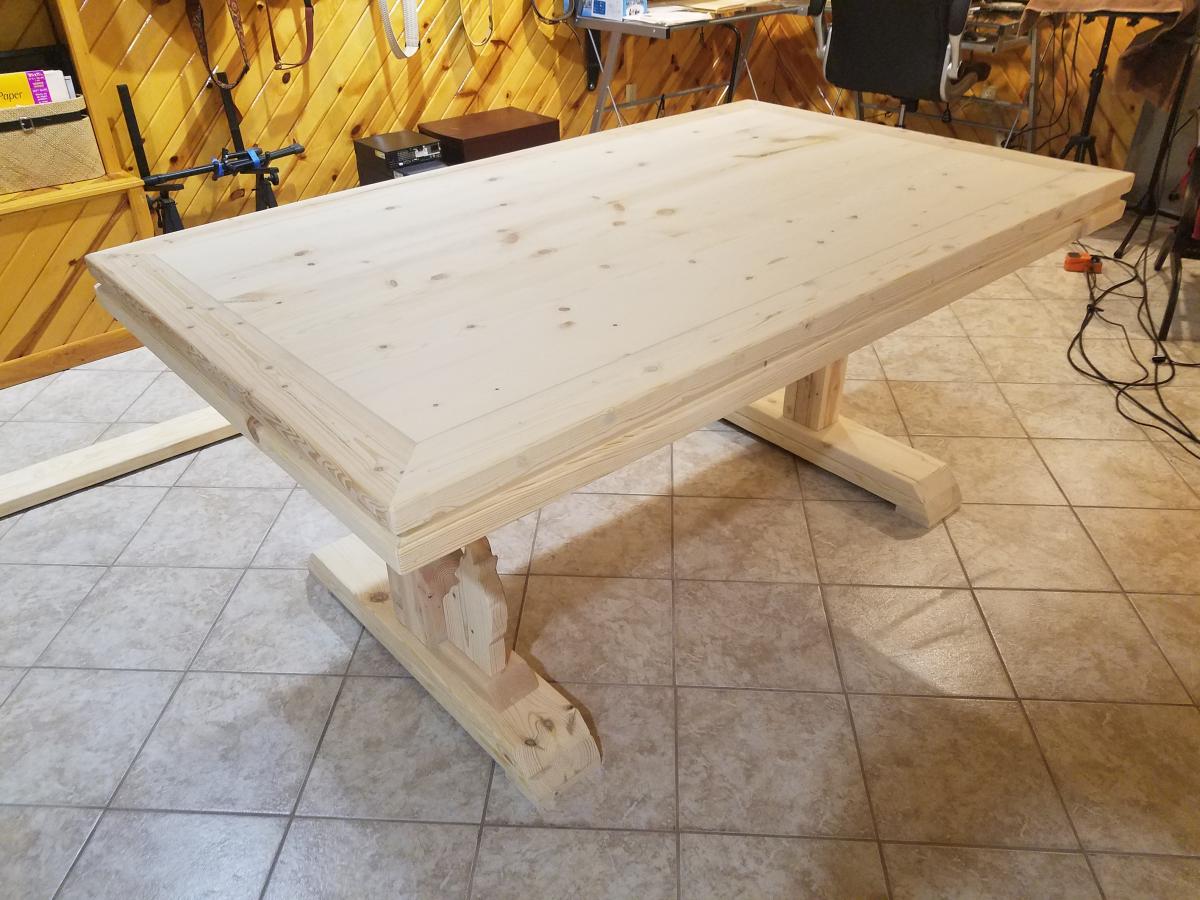
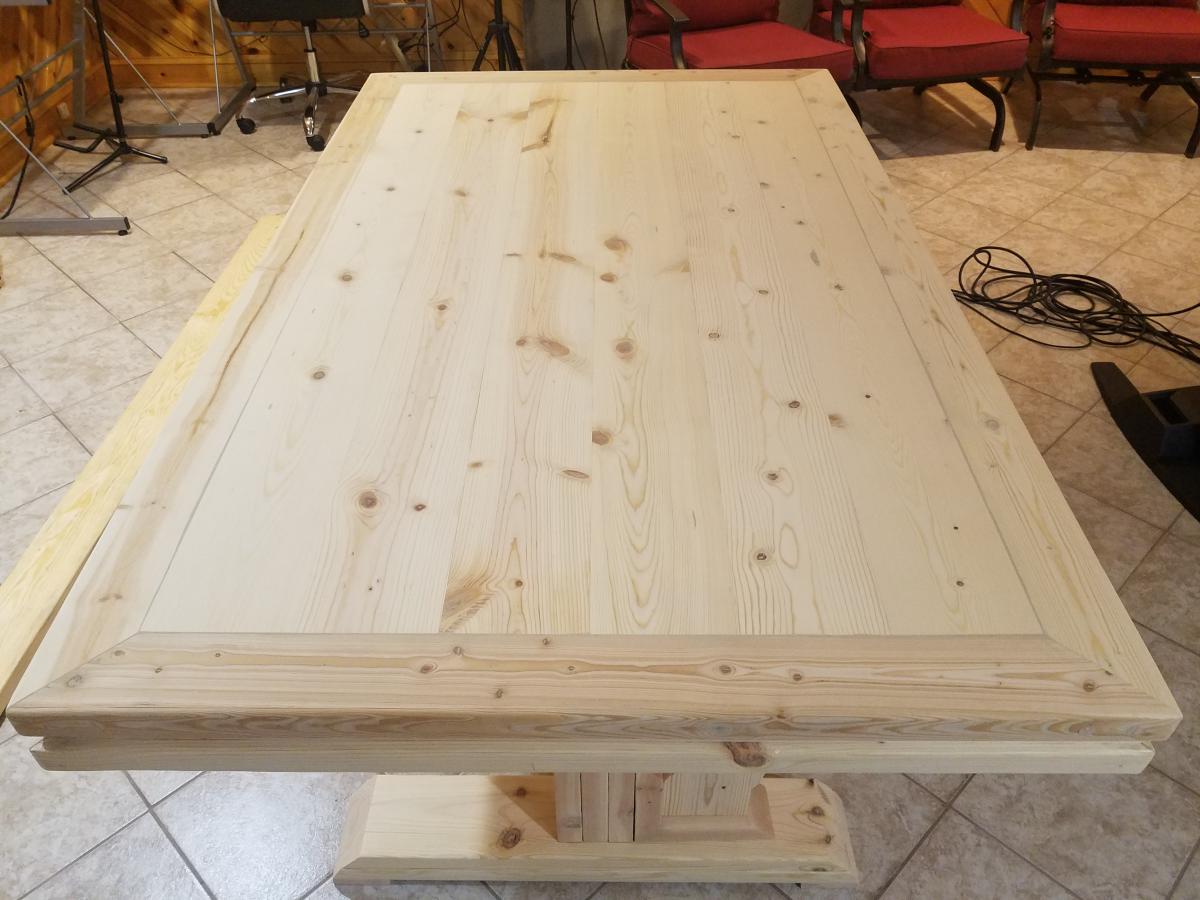
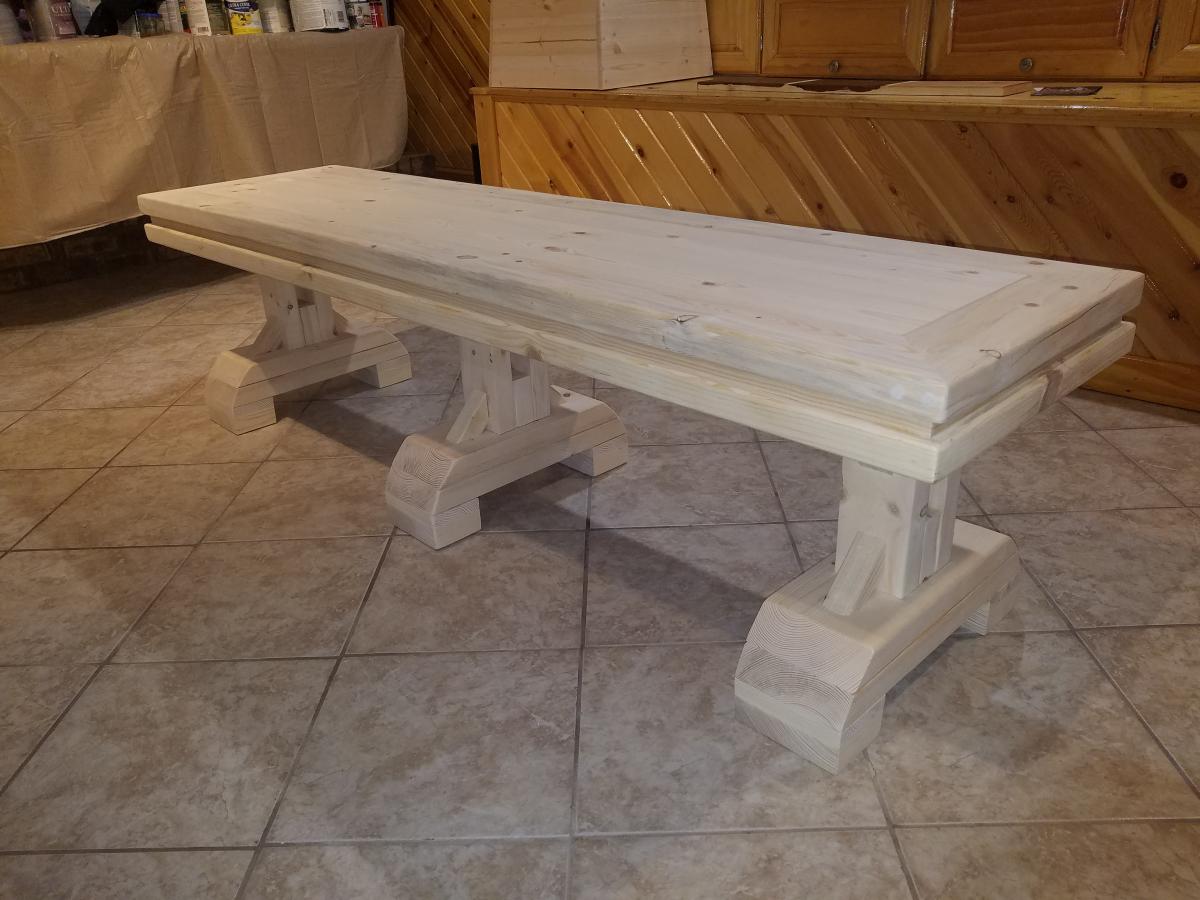
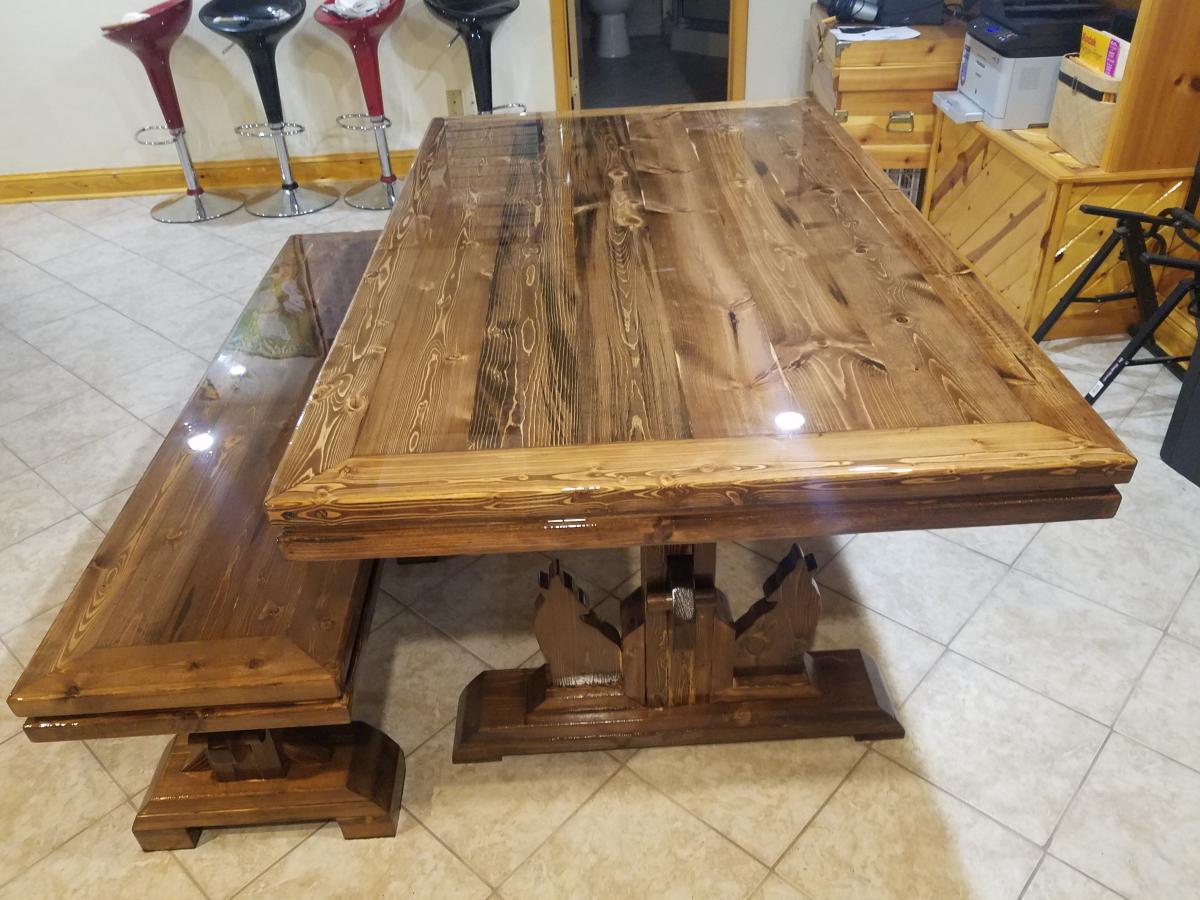
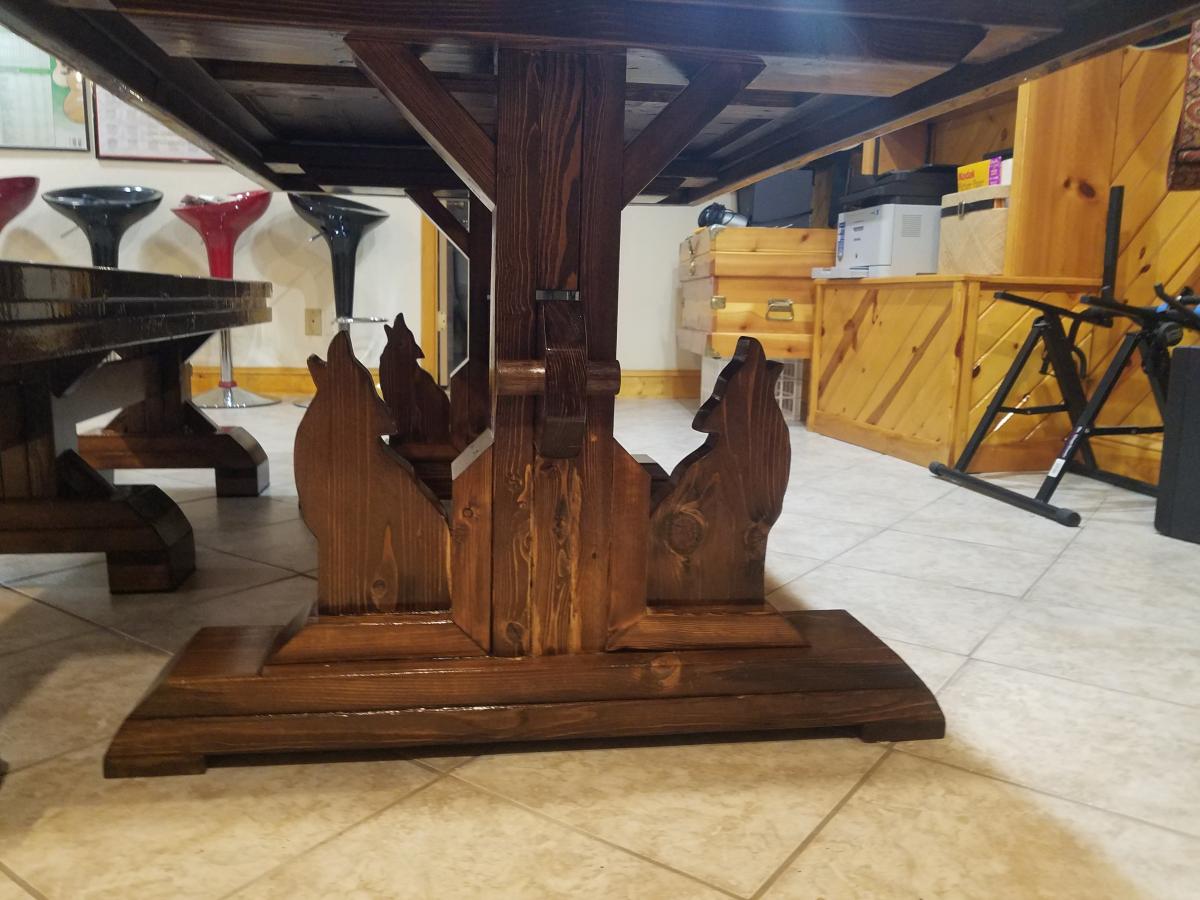
I used Anna's plan as a guide nut put my own spin on it. All mitered corners and added Coyote shilloute's. This for our southwest home.
Tue, 12/08/2020 - 11:31
Love your one of a kind table! Thank you for sharing your work:)
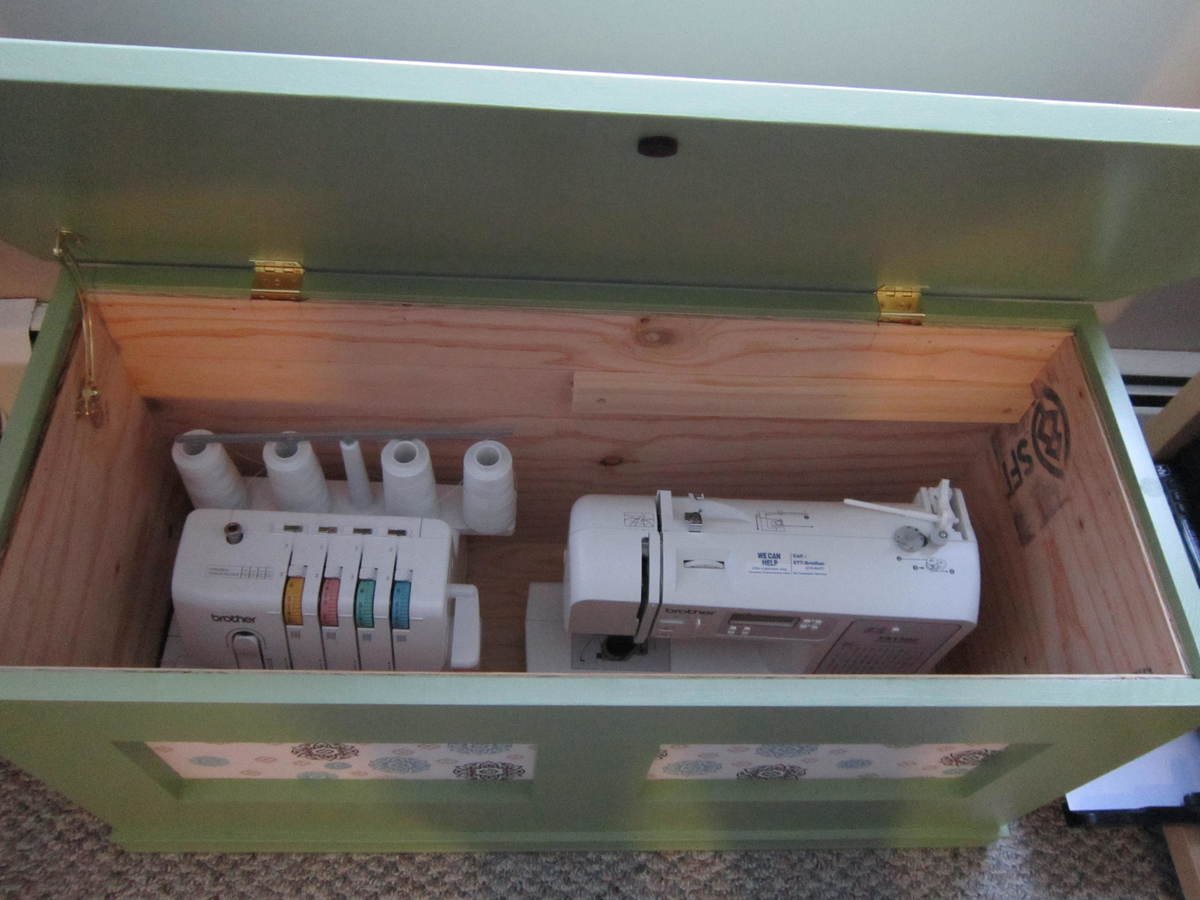
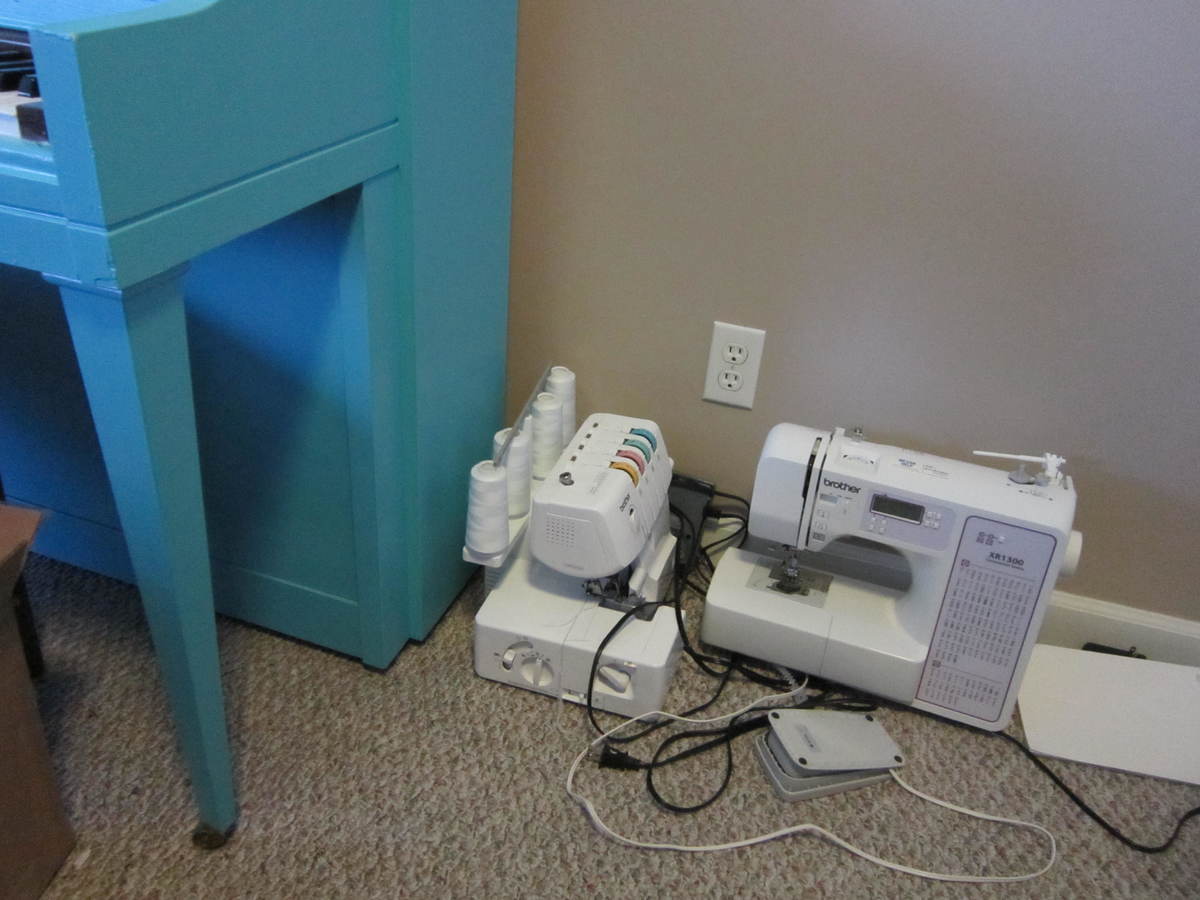
We have a pretty small place and not a lot of room for our sewing/crafting stuff. We would leave our machines by our piano, on the floor, every time we brought them down stairs. We needed a better way to store them and this was the perfect solution, and it added a few more seats in our little family room. I build the bench with a one-piece top and added a removable tray for the cords.
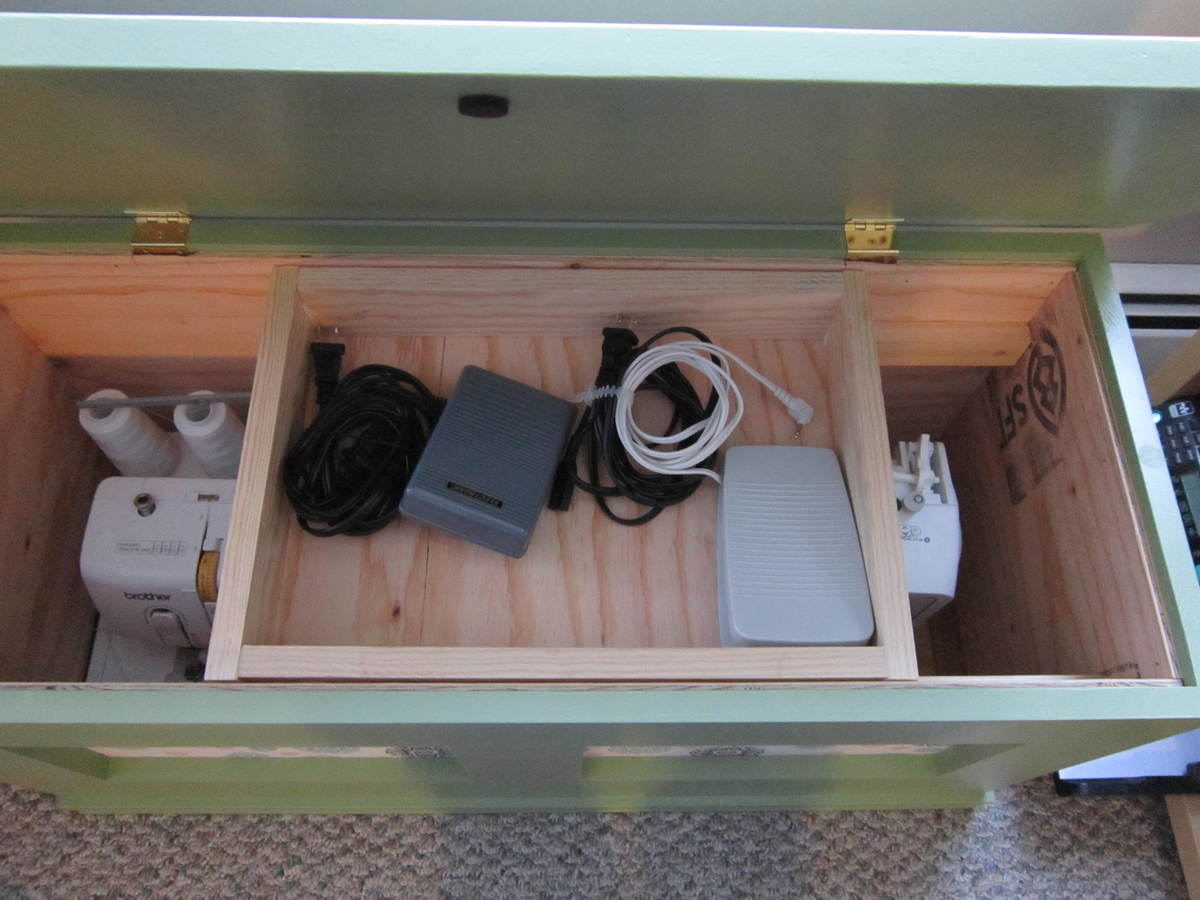
we made this for our friends for a housewarming gift. Will definitely make again!
Comments
Ana White
Sat, 11/08/2014 - 11:57
Nice!
That is super cute!