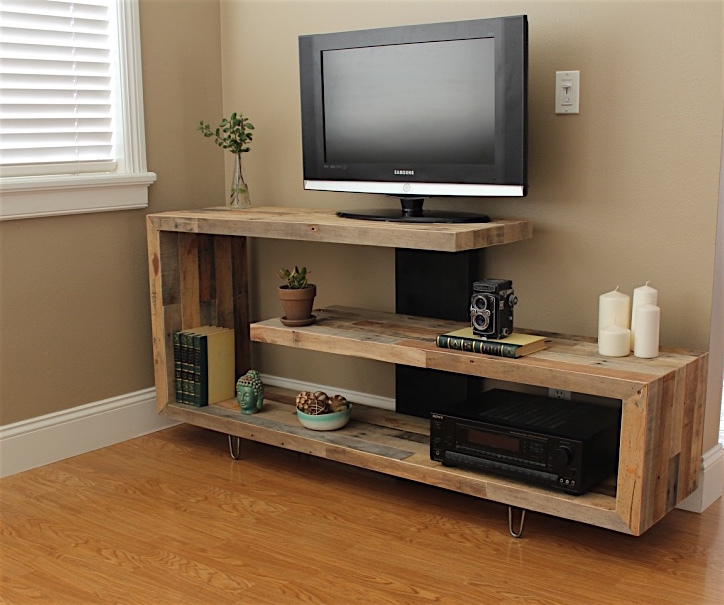
Farmhouse Entryway console
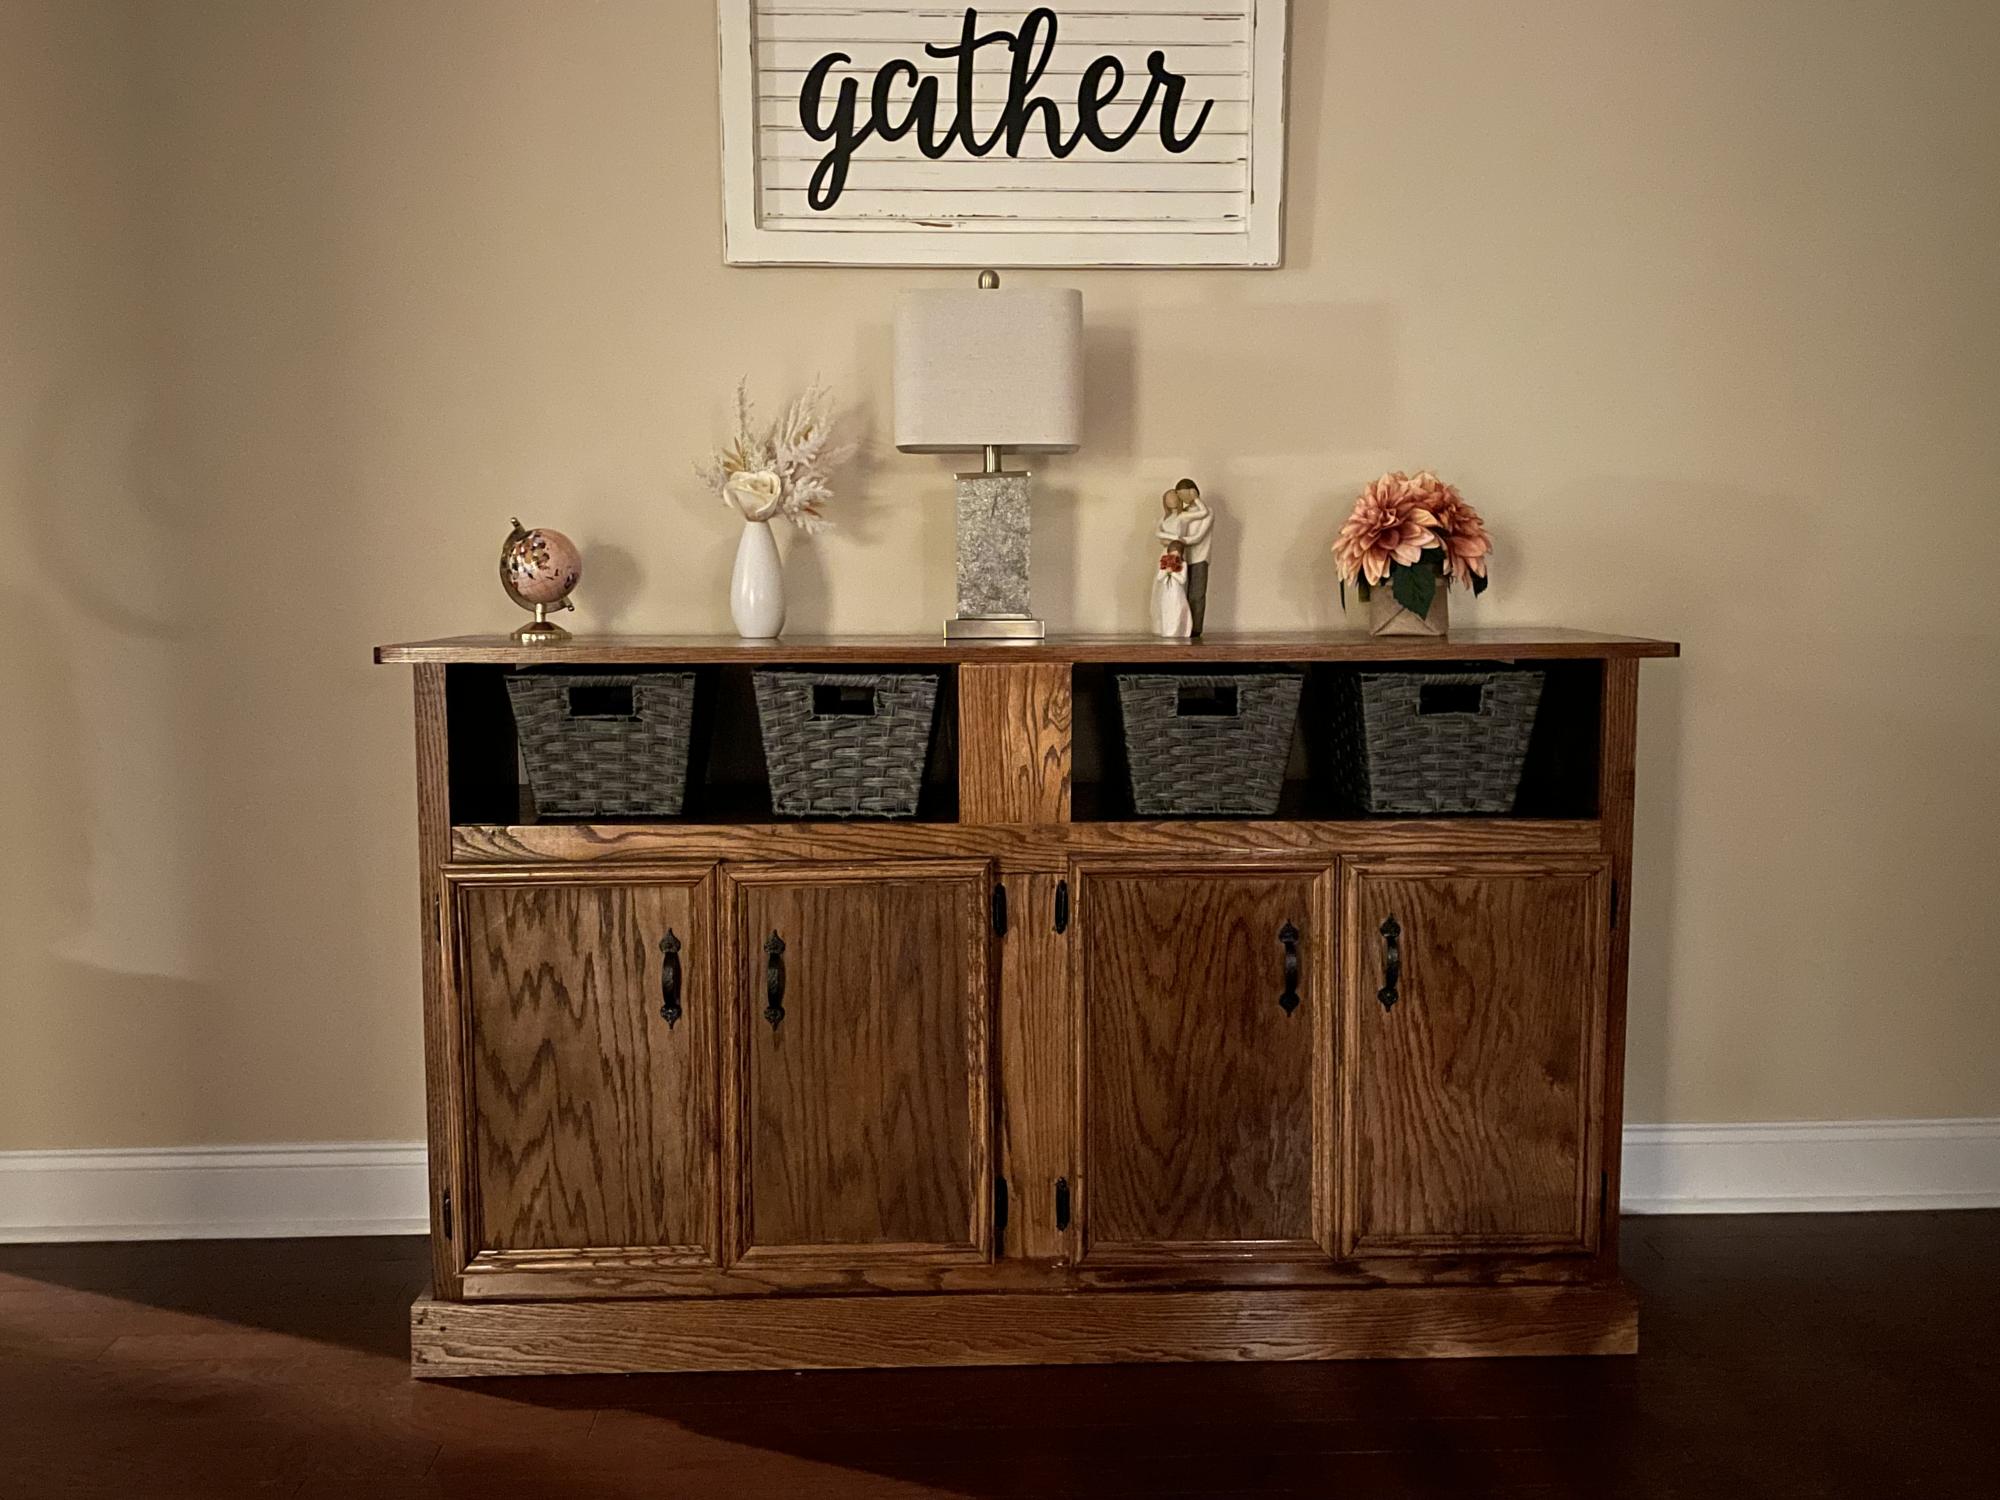
I saw these plans several months ago and finally got the time I wanted to make it. I chose oak because it’s the best and prettiest stained. I love the way it turned out!
Built from Plan(s)
I saw these plans several months ago and finally got the time I wanted to make it. I chose oak because it’s the best and prettiest stained. I love the way it turned out!
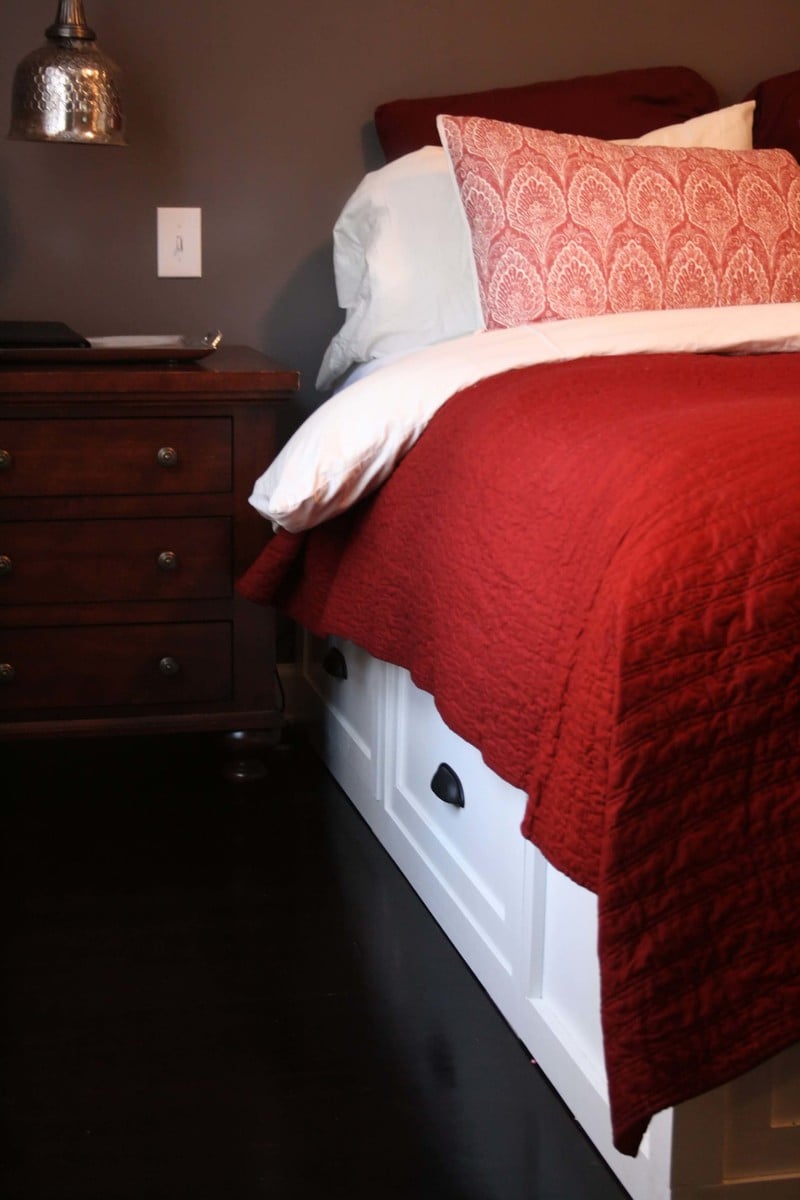
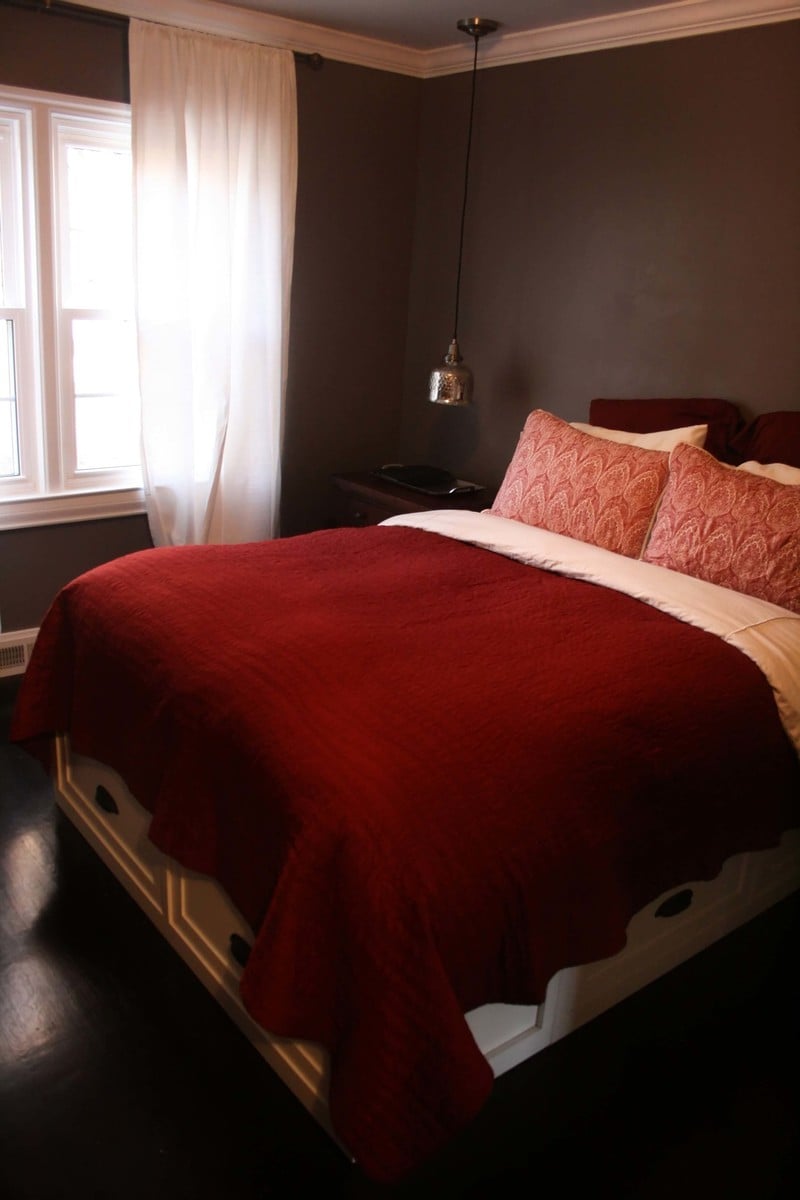
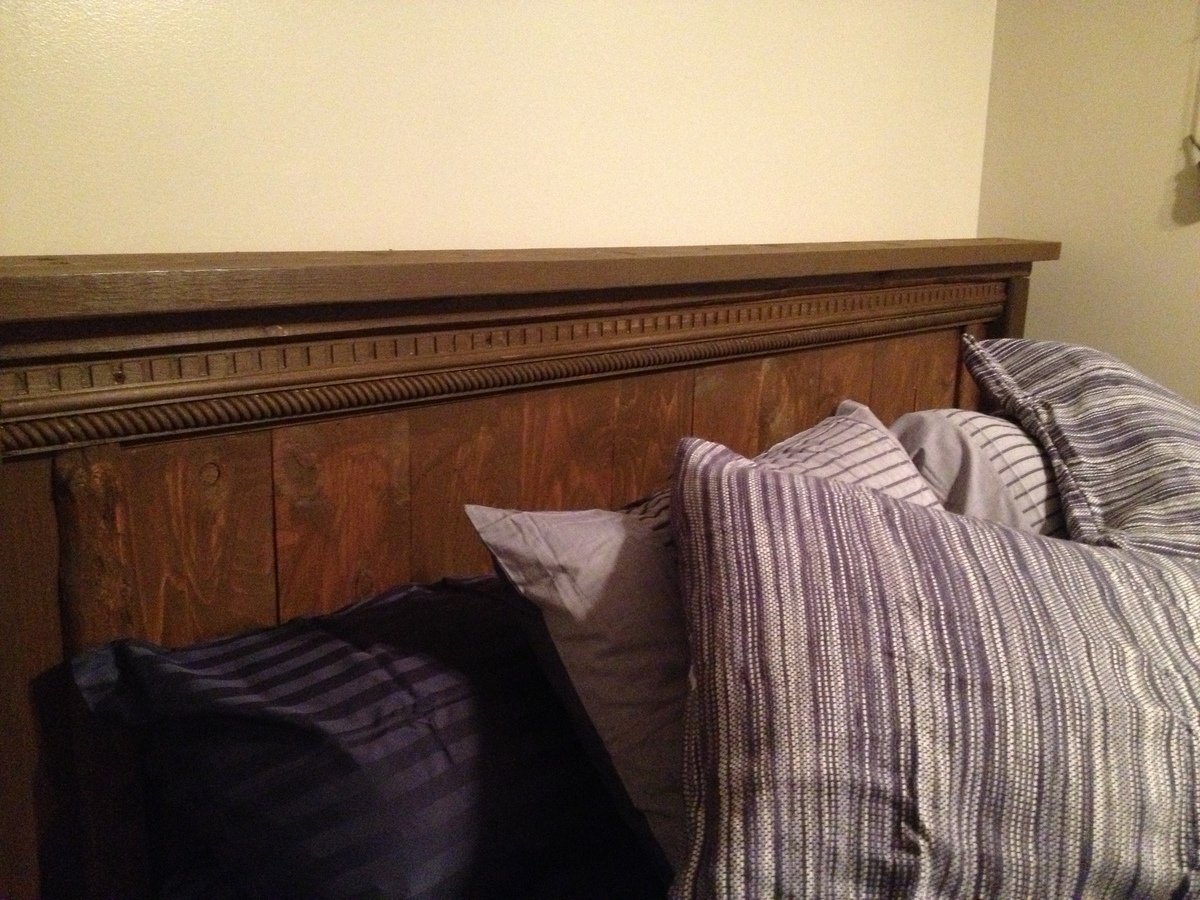
While doing some renovations on our house we gave our kids the largest bedrooms while my husband and I took the smallest. We desperately needed extra storage in the Master bedroom since not even a dresser would fit. The Queen Sized Storage Bed plans were the perfect solution and the bed looks gorgeous! More details on my blog...
Fri, 12/02/2011 - 08:26
WOW, we've been trying to find the time to complete these same plans and seeing your results make me want to put it on the top of our list. Your bed is BEAUTIFUL!!!!
But the hanging lights next to your bed and your flooring also add to the beauty. Would you mind sharing where you got these two items? Thanks!
Fri, 12/02/2011 - 13:28
engineer2mommaof2: Thanks for your kind words about our bed. We love it too! The lights are mercury glass pendants from Pottery Barn. Our hardwood floors are red oak that were original to our home (built in 1939). A couple months ago we sanded them down and stained them a dark walnut. The dark color is gorgeous...but pretty hard to keep clean with young kids around since they show every speck of dirt. Good luck on making your bed. Go for it! You won't regret it!
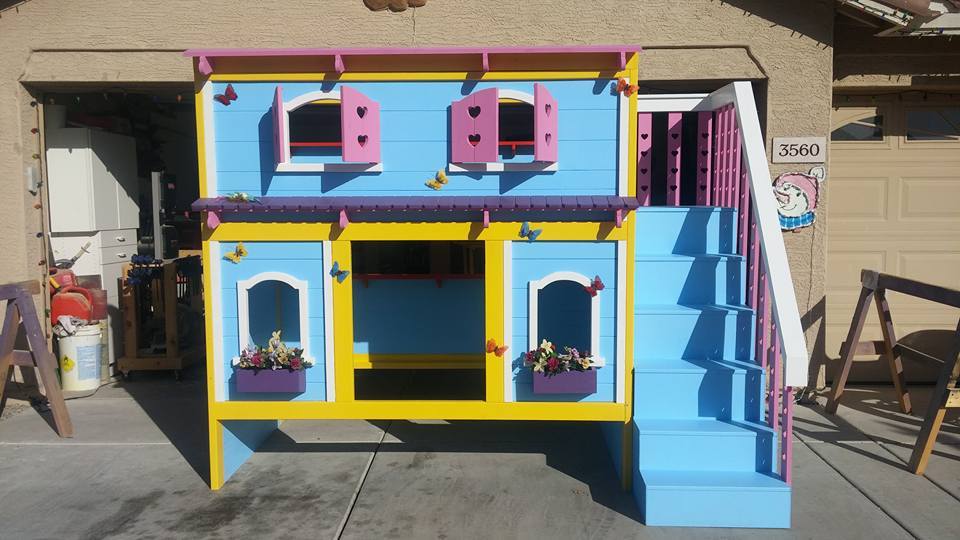
I built this for my grandkids. It took me several weekends to complete to this point. I made a few changes from the original and still have the drawers to complete but overall its about finished.

Mon, 01/22/2018 - 10:41
I love how bright and vibrant you made this! It looks absolutely beautiful! I'm working on a bunk bed for my two young daughters now and I liked seeing how you tweaked the plans a bit- I'm doing something similar. Thanks for sharing!
I work at a lumber yard, and this was built with "garbage" door jambs.
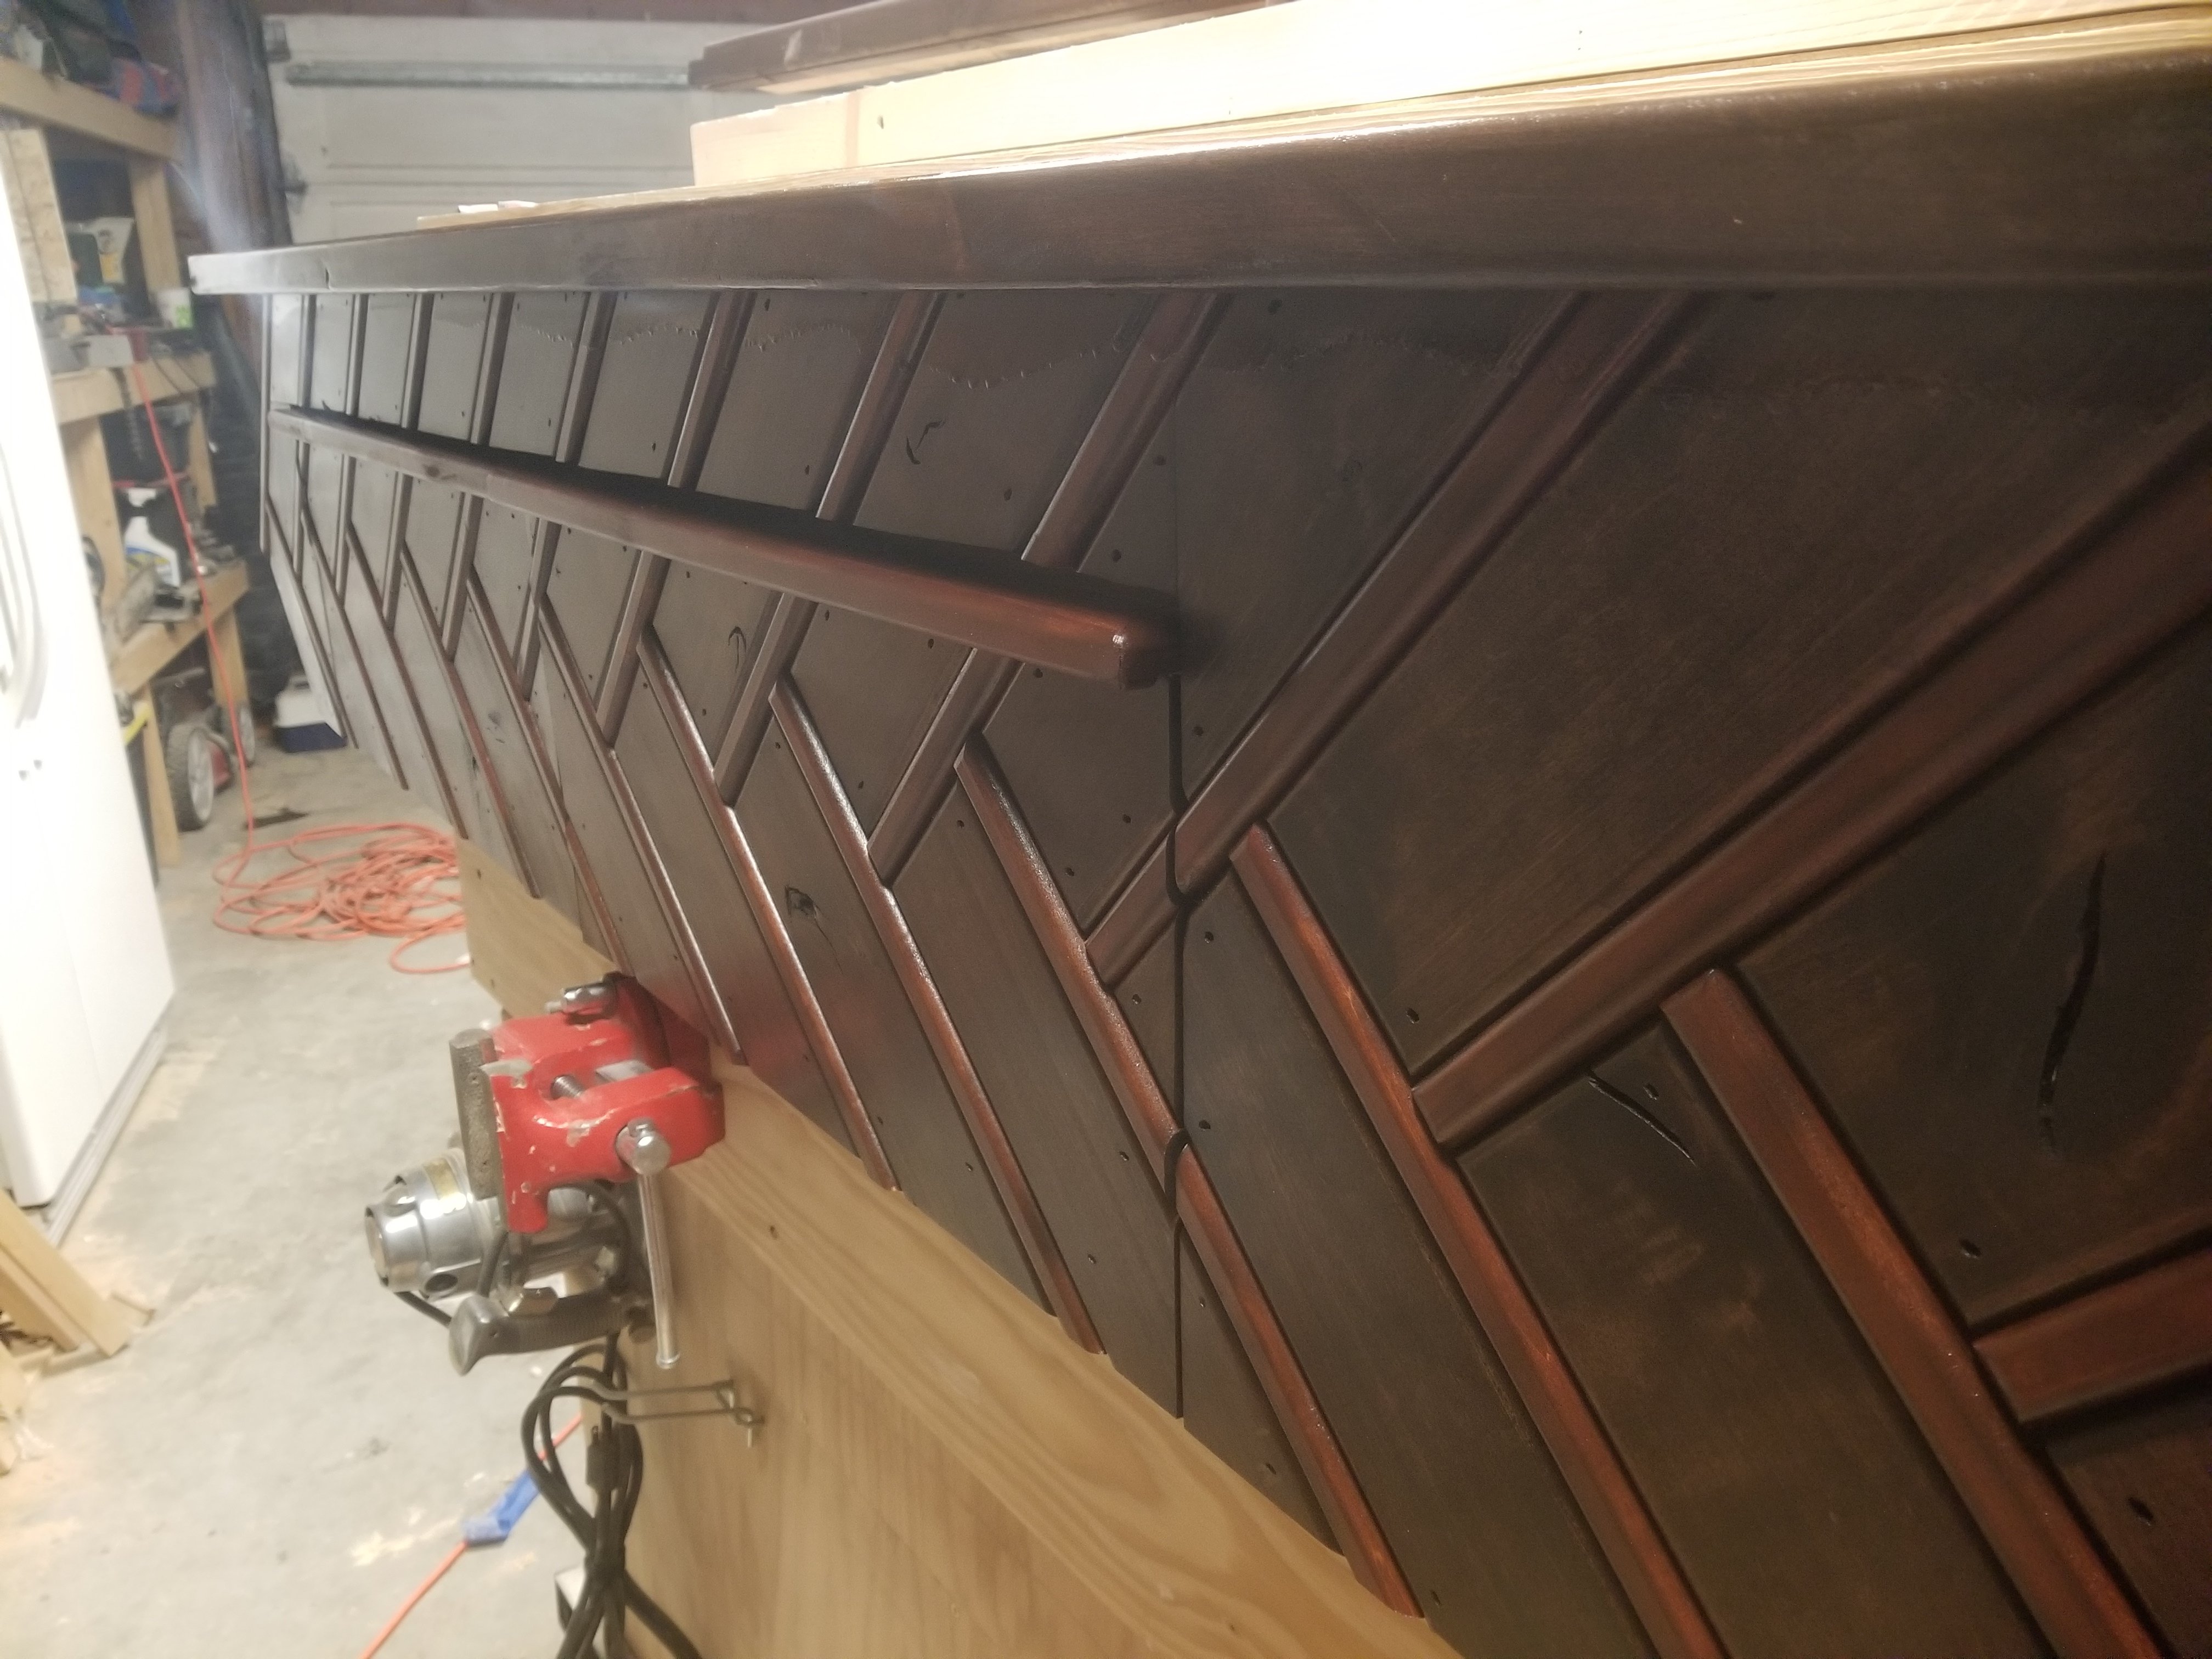
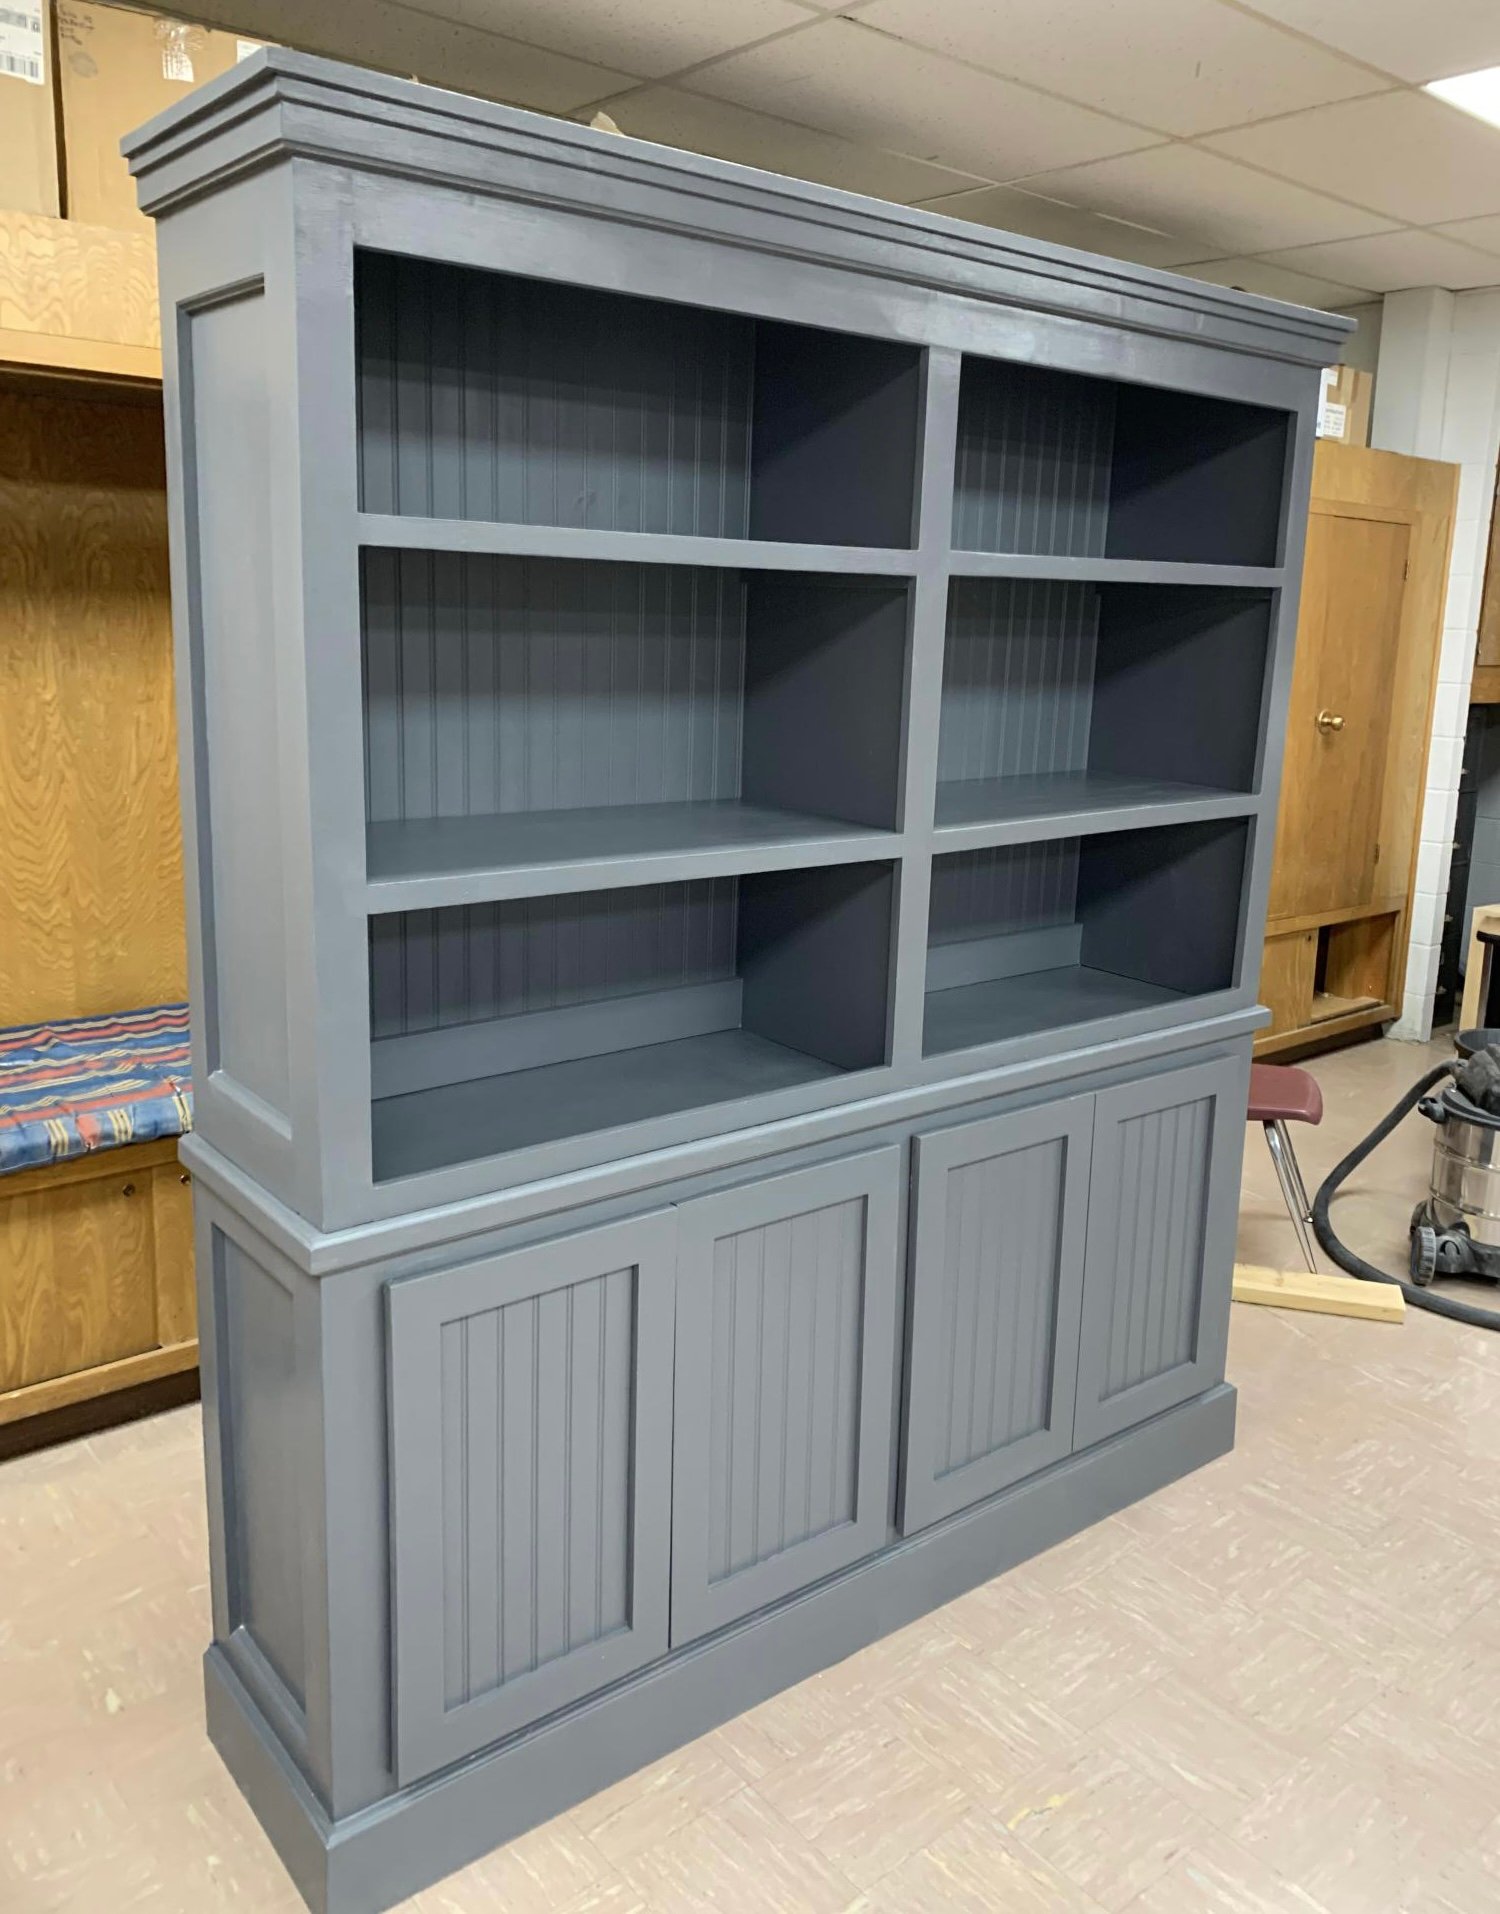
This is the Shanty Chick Side Board and Hutch that some of my high school students chose to build. It is going to the Texas state contest in Corpus Christi next week.
Fri, 03/24/2023 - 10:06
This is amazing, love the finish! We just shared it to our Facebook page, it is quite popular :)Thank you for sharing and good luck!

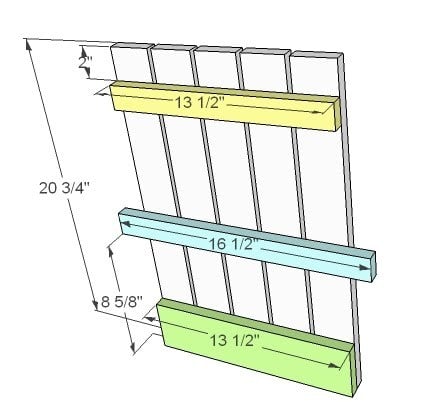
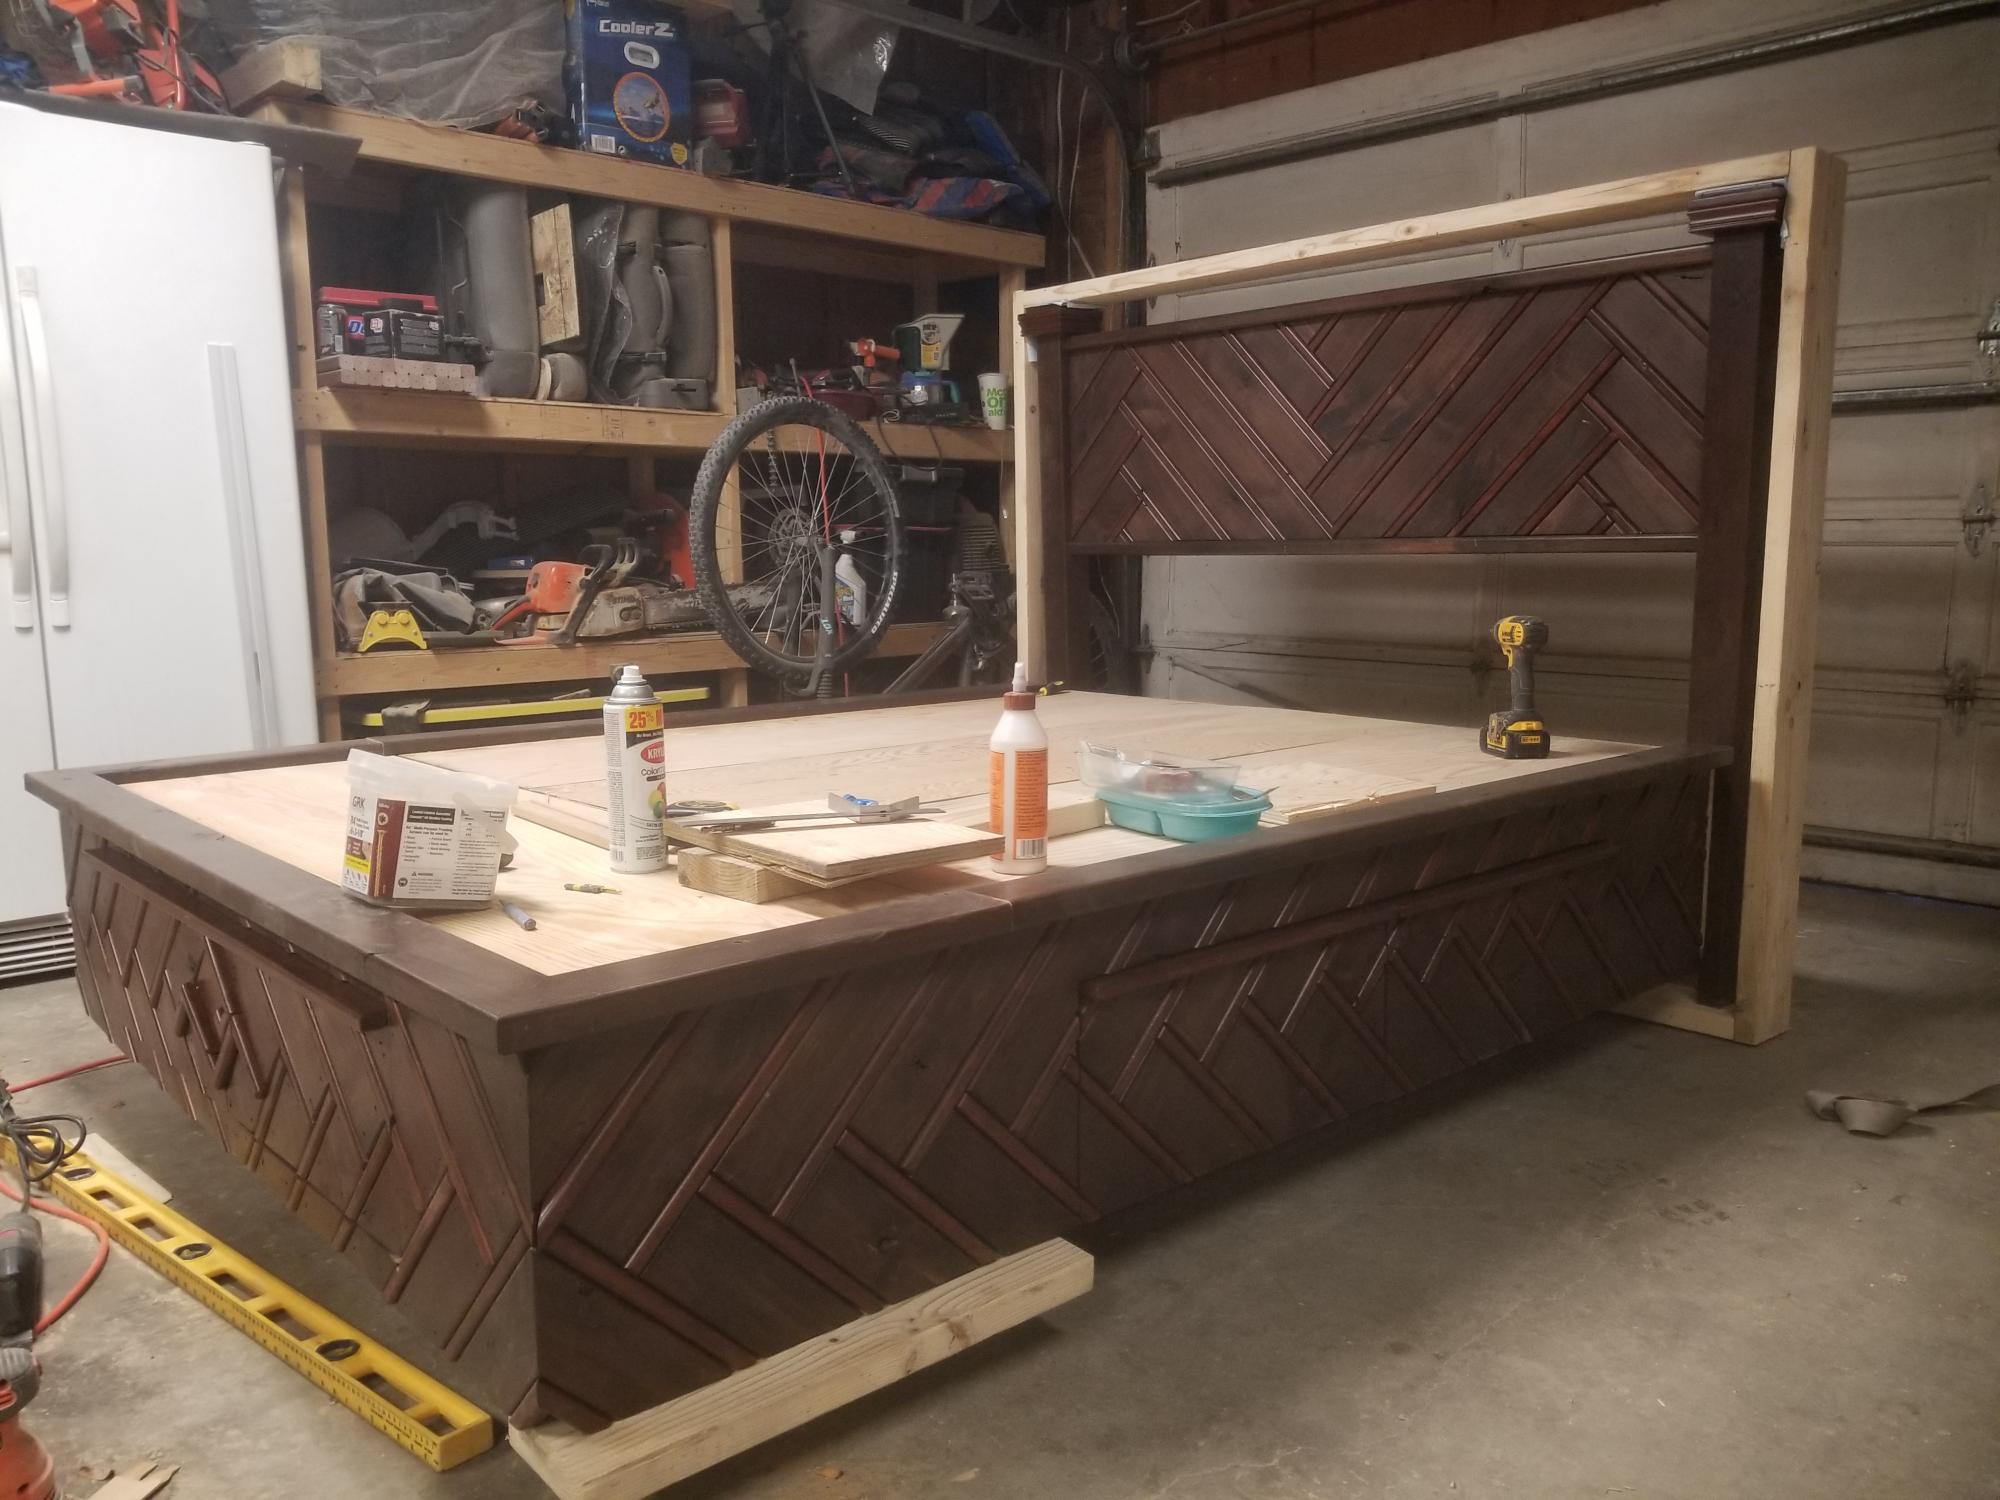
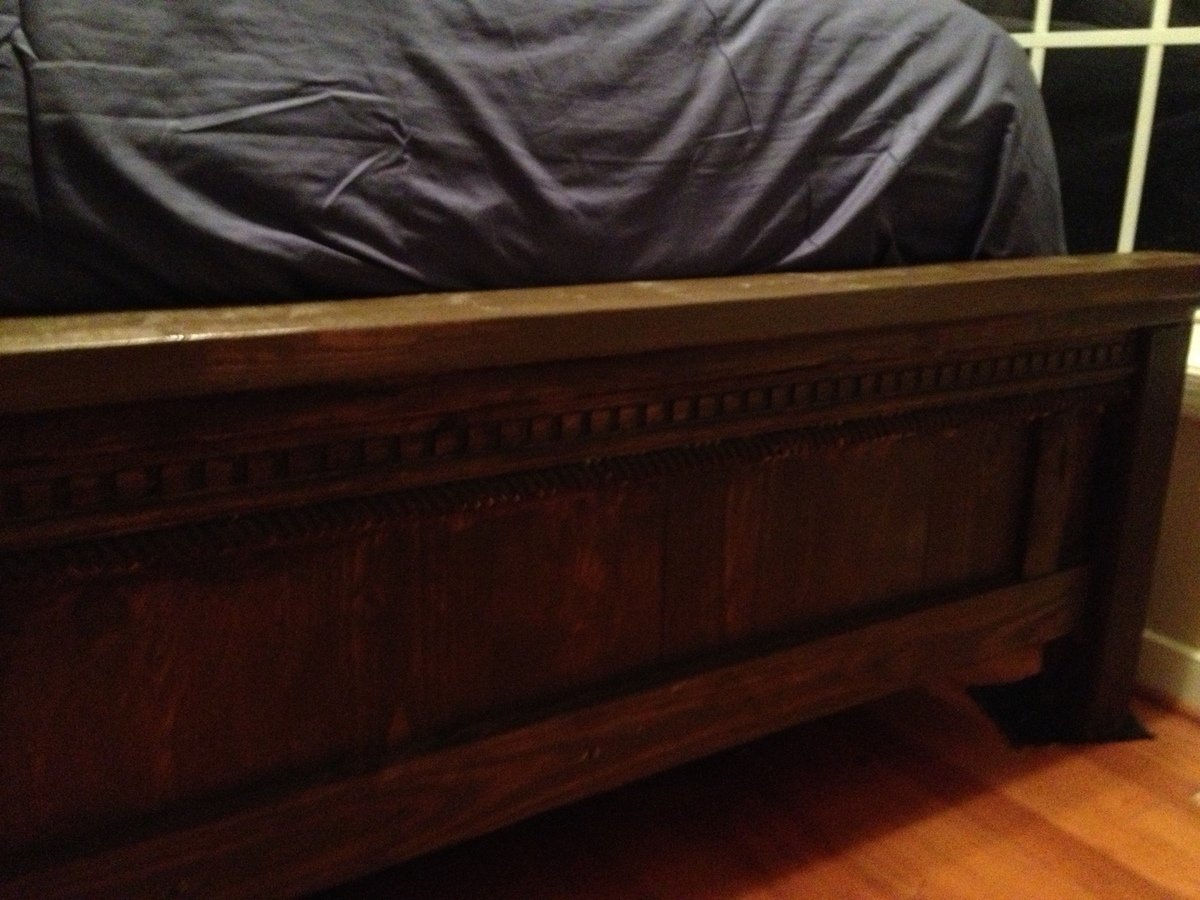
Used cedar for the planks in the headboard and footboard
Added some common trim pieces like the rope
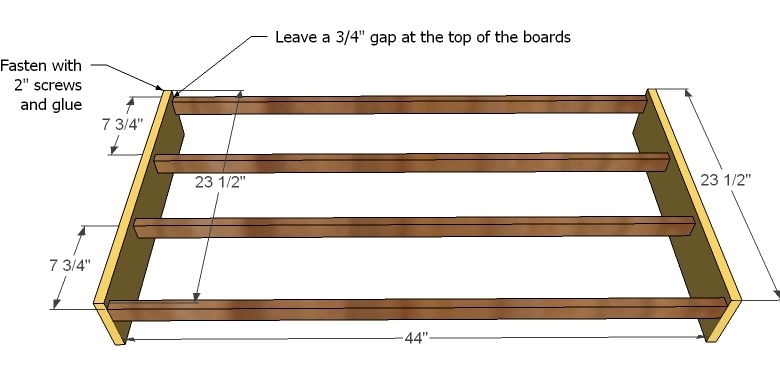
Built the frame as described in the Queen plans - found that a standard metal ammo can on its side is the perfect height to set up the side panels at the corners.
Used 2x4 studs for the cross slats, but set them on their side to give some added height.
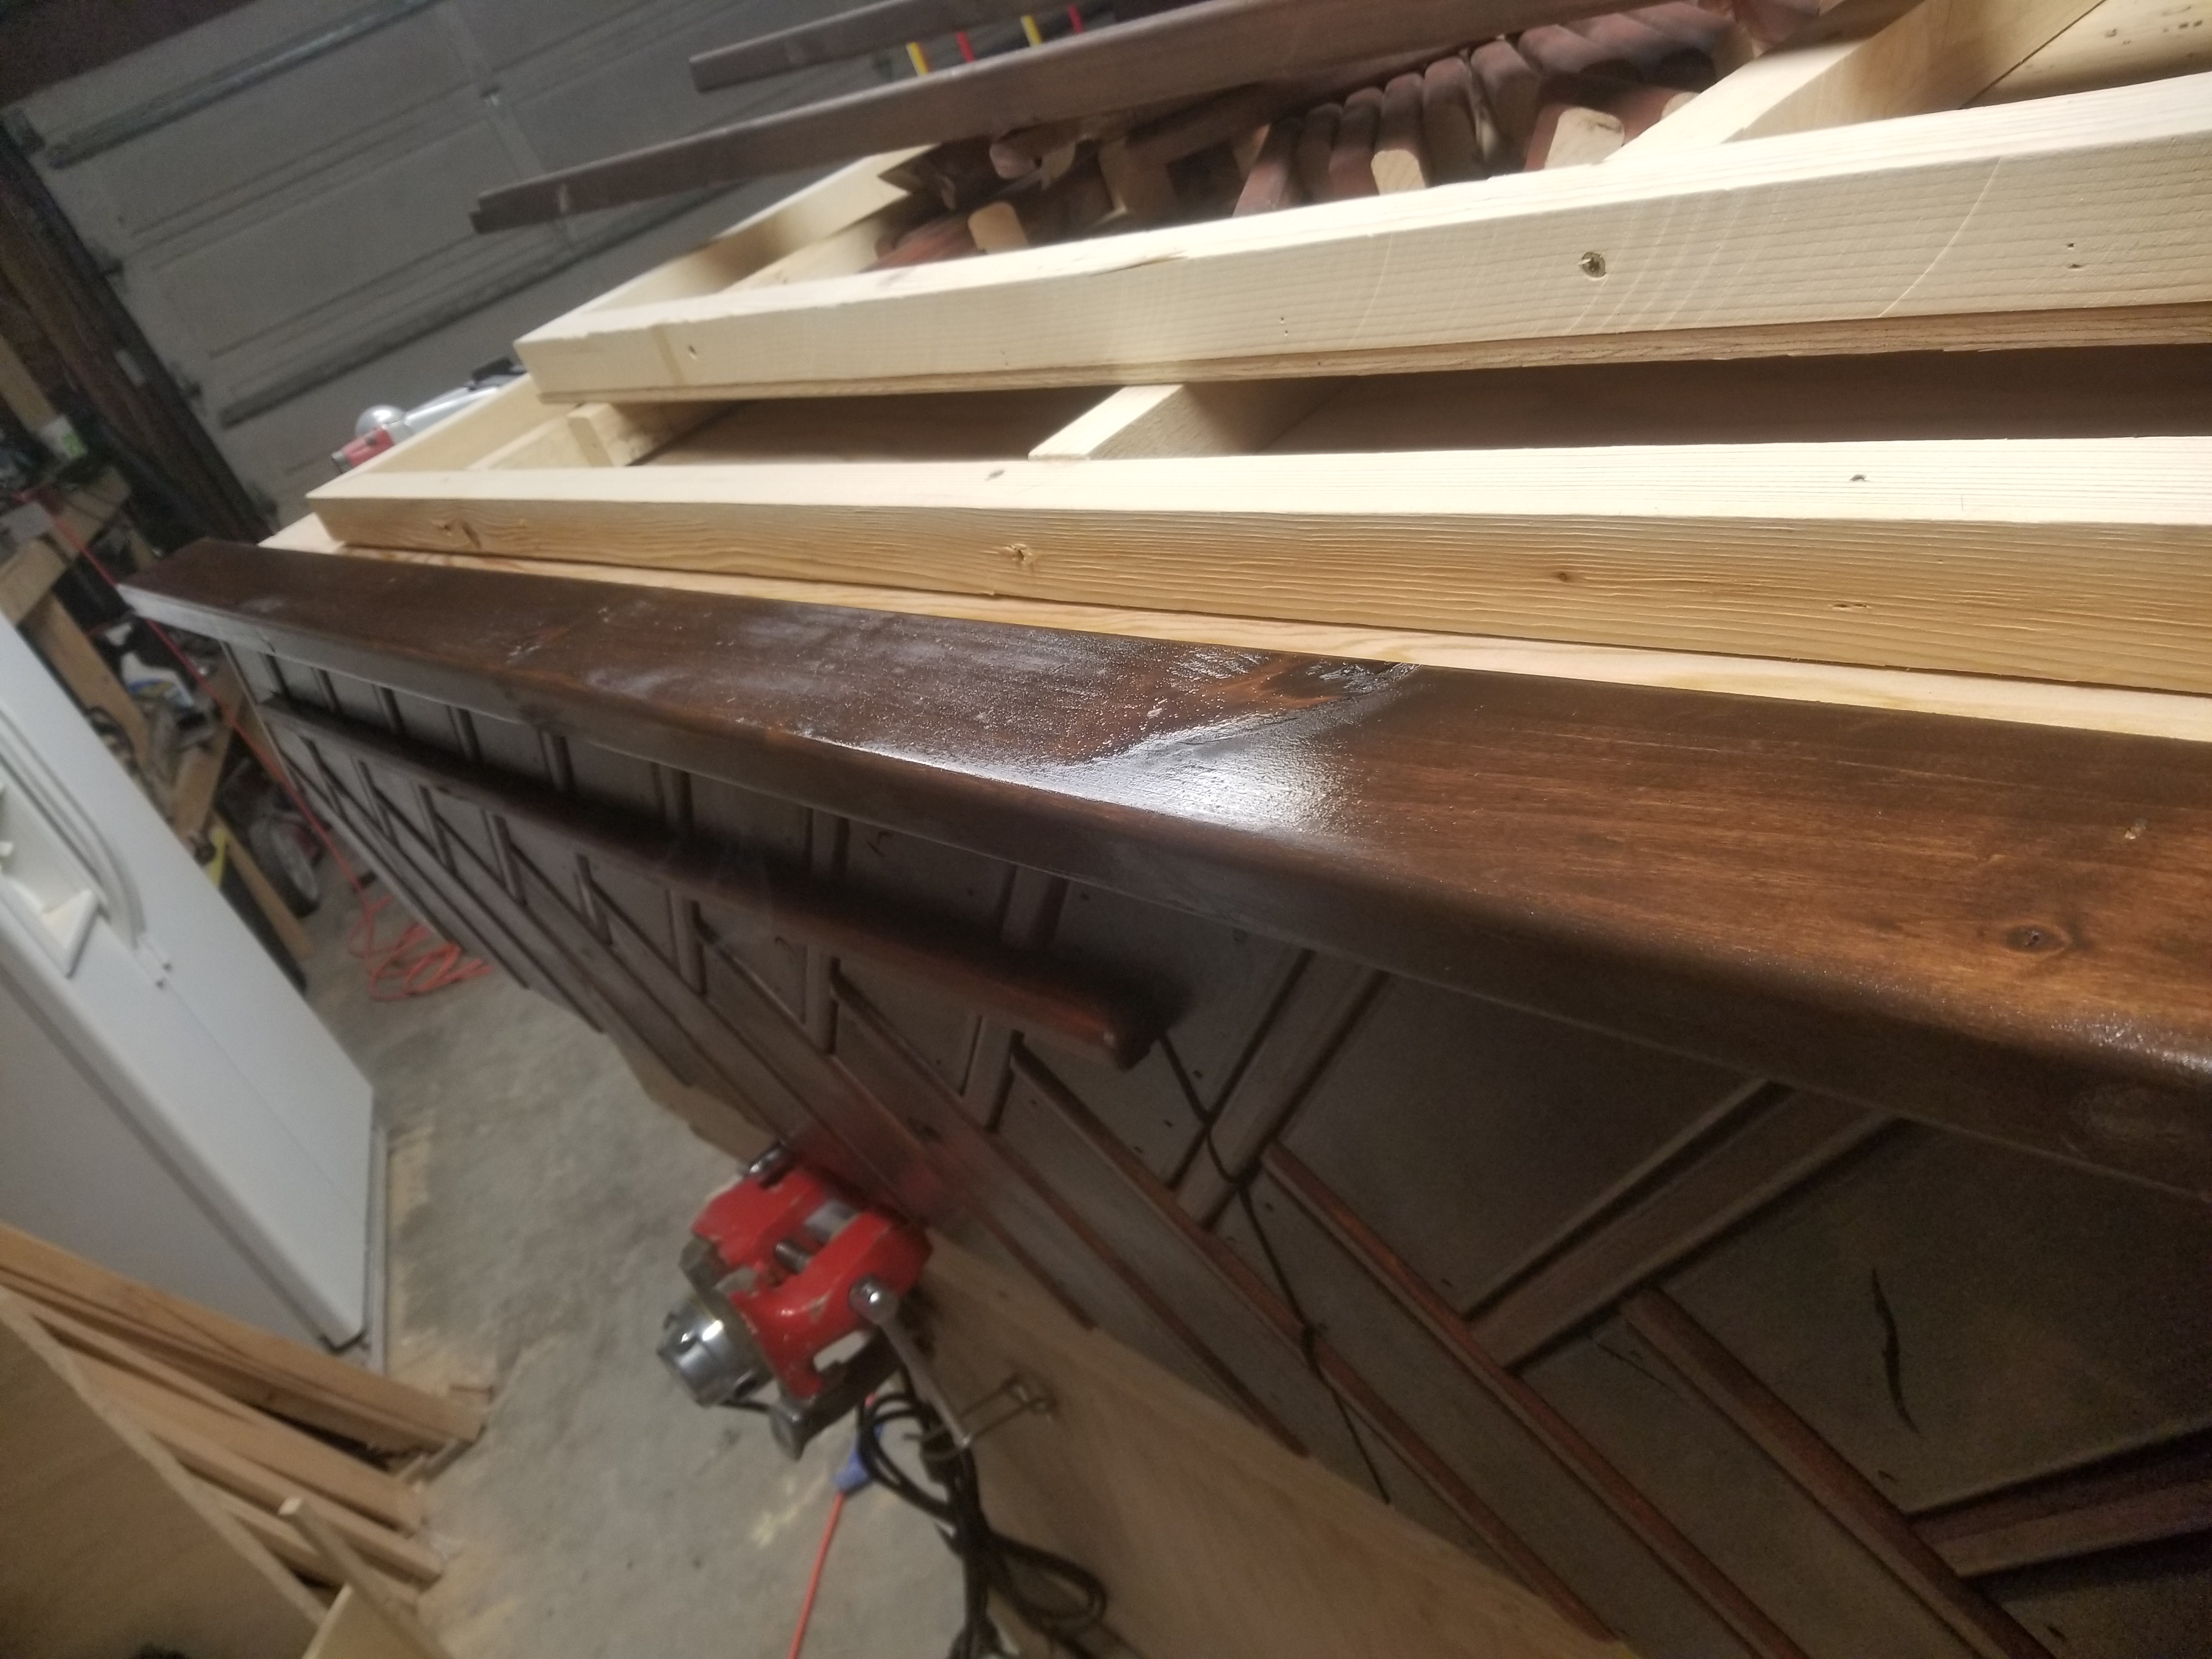
Used minwax Walnut stain - really looks nice on the cedar - just one coat for the cedar
Waxed top of the footboard
Stained a small footstool using Walnut.
Kingsize version is a monster - very solid, no movement or creaking
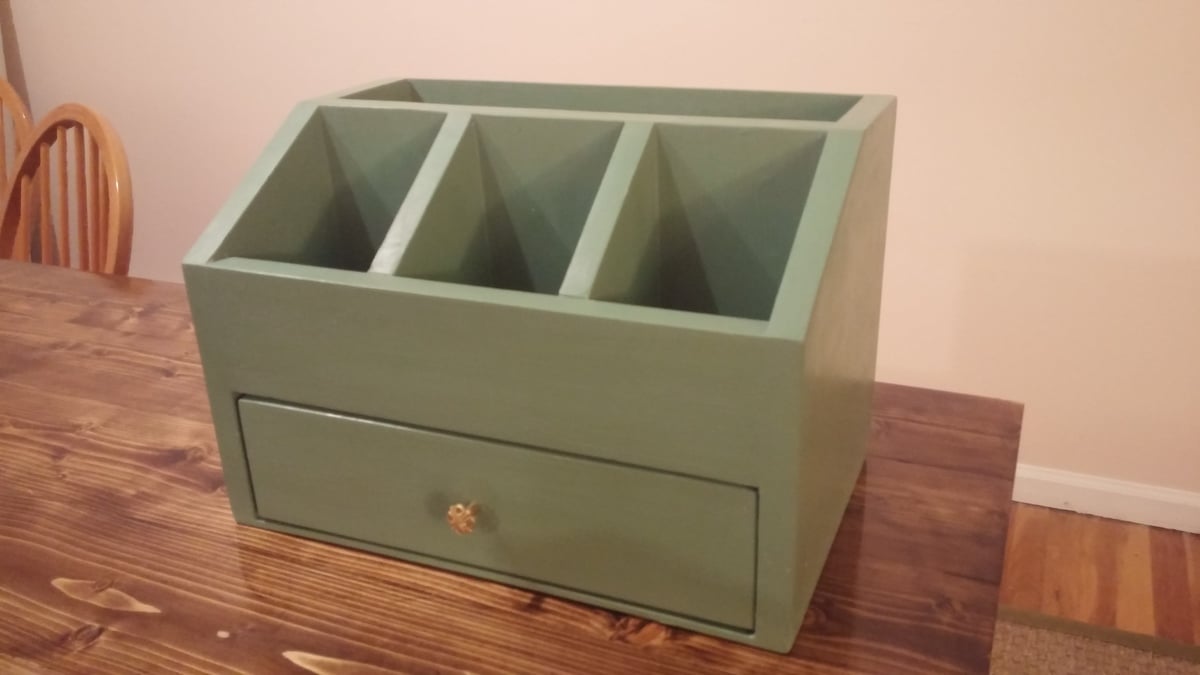
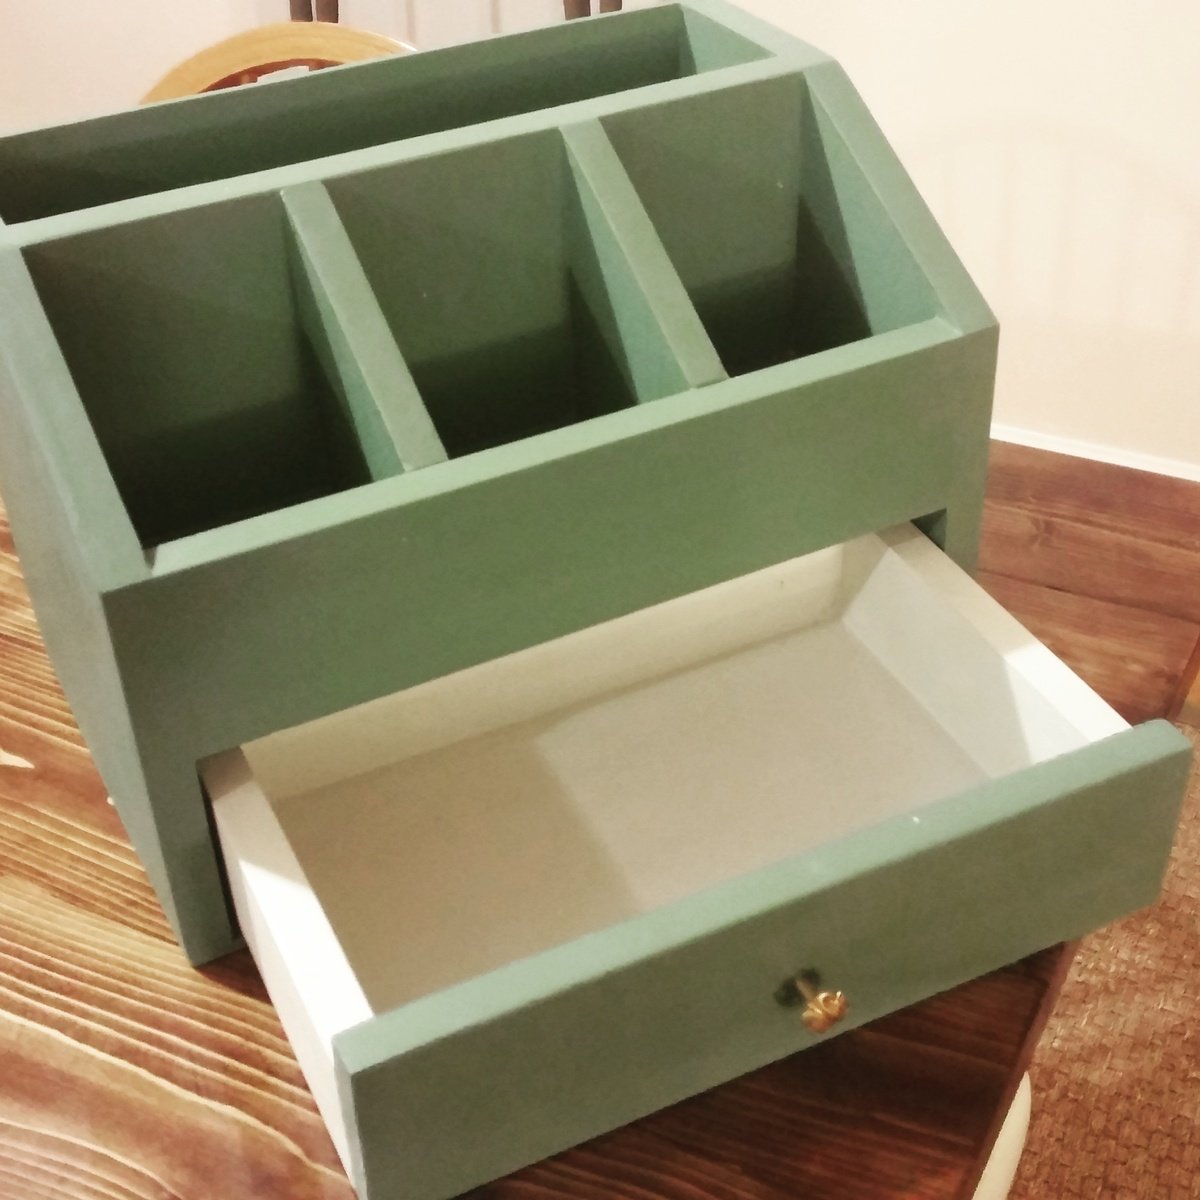
Built this in an afternoon with scraps left from other projects! Using it at at work on my desk. Added 1/4" plywood to base to close up drawer space. Felt strips on bottom of drawer makes the drawer slide out very nicely.
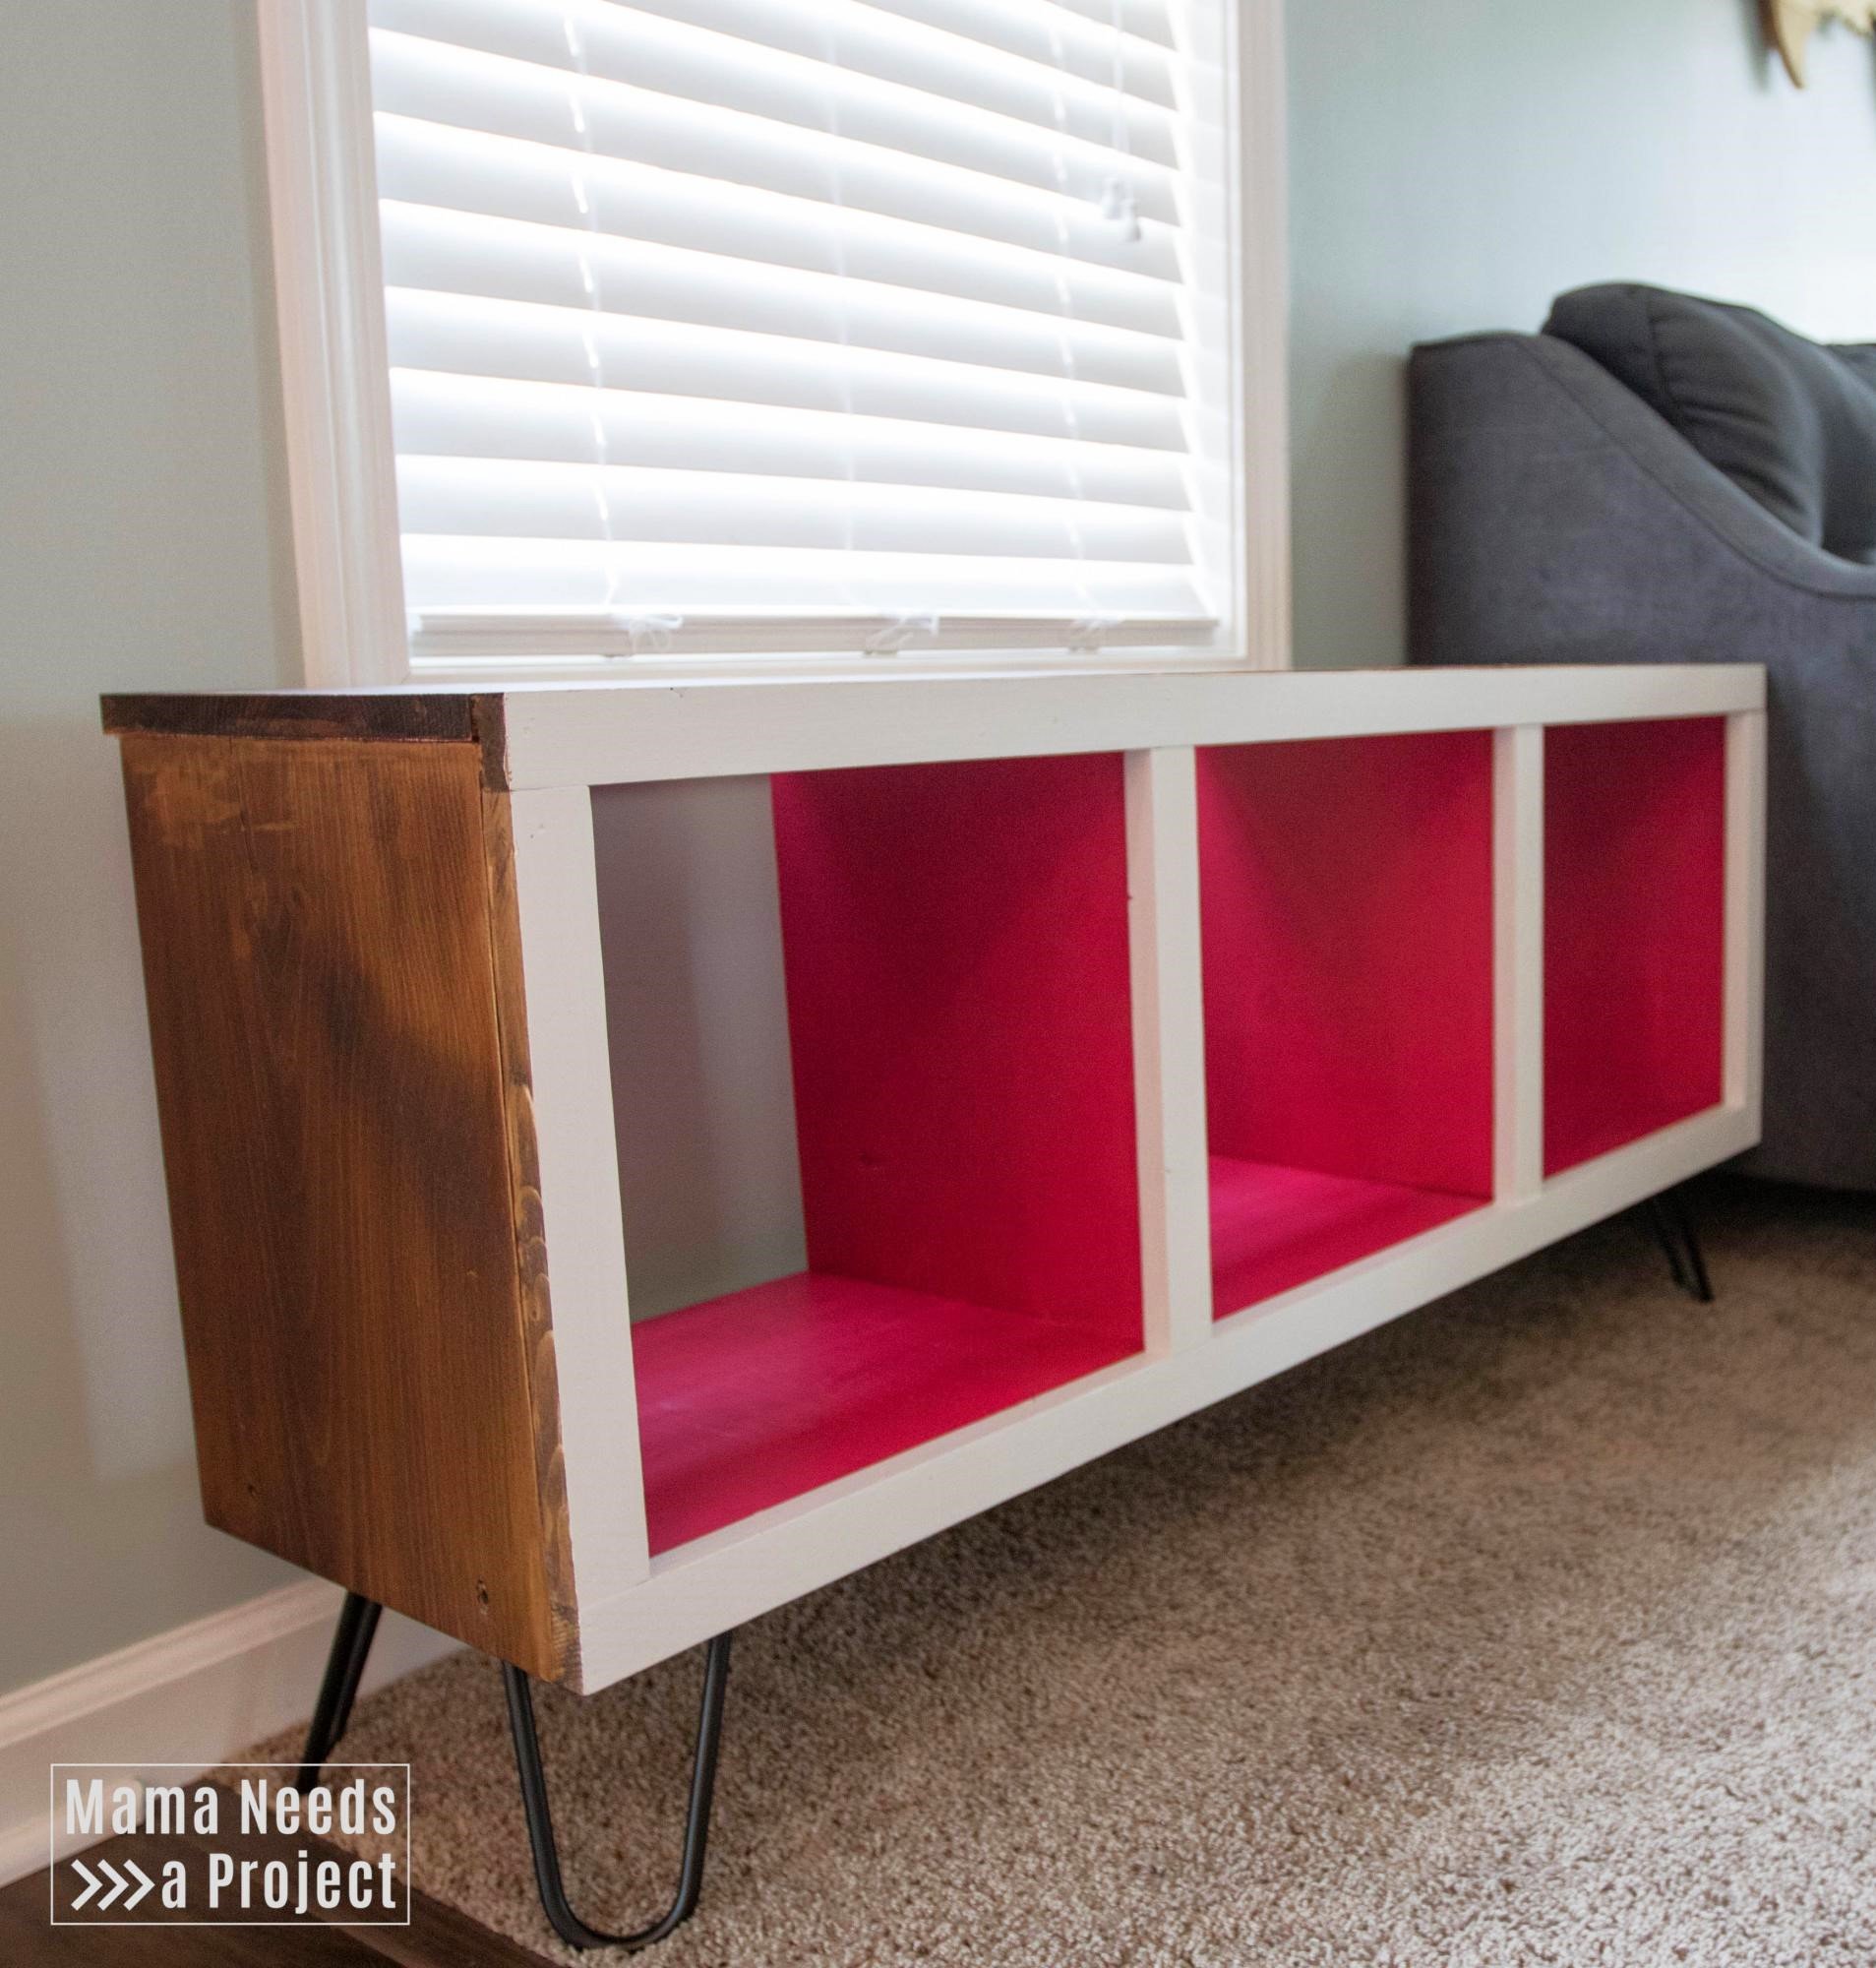
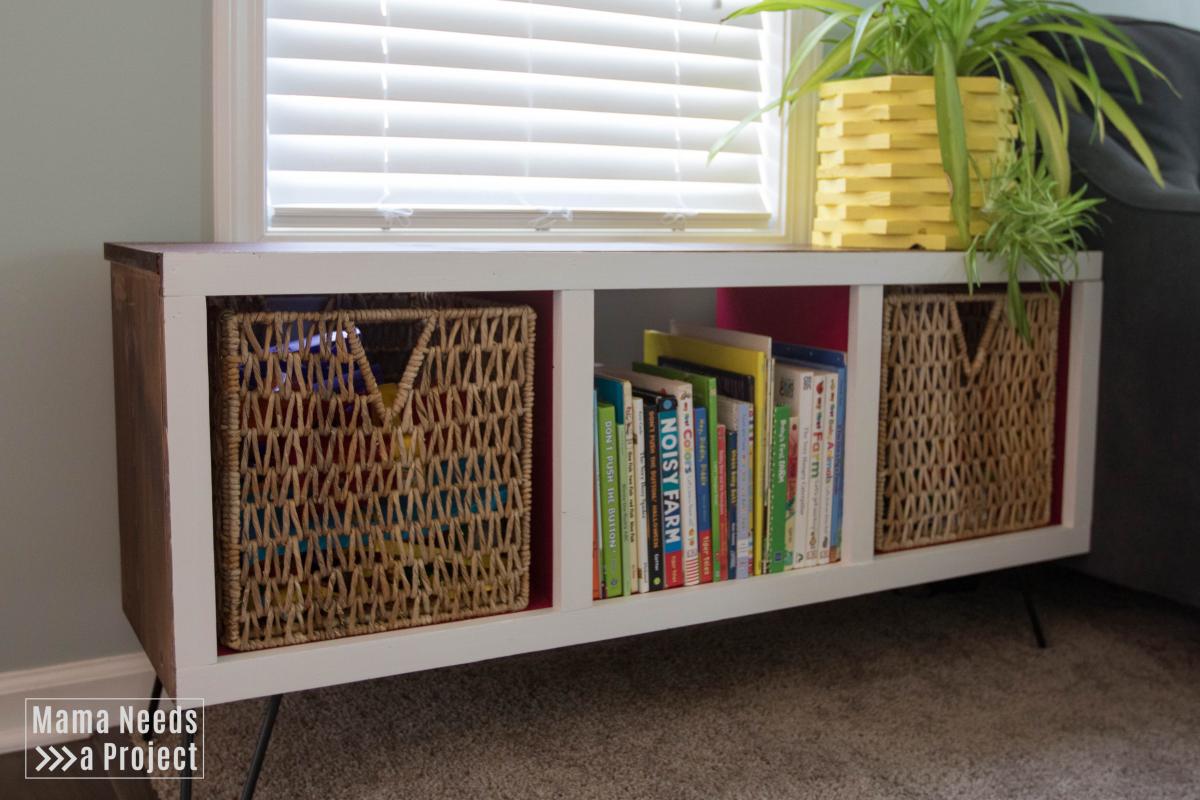
I built this modern cubby storage shelf by making a few modifications to the Rolling Cubby Bench plan. It's a quick project with extra bright paint to add a bit of fun. Check out all of my tips for building this fun storage bench at https://mamaneedsaproject.com/modern-toy-storage-project/ .
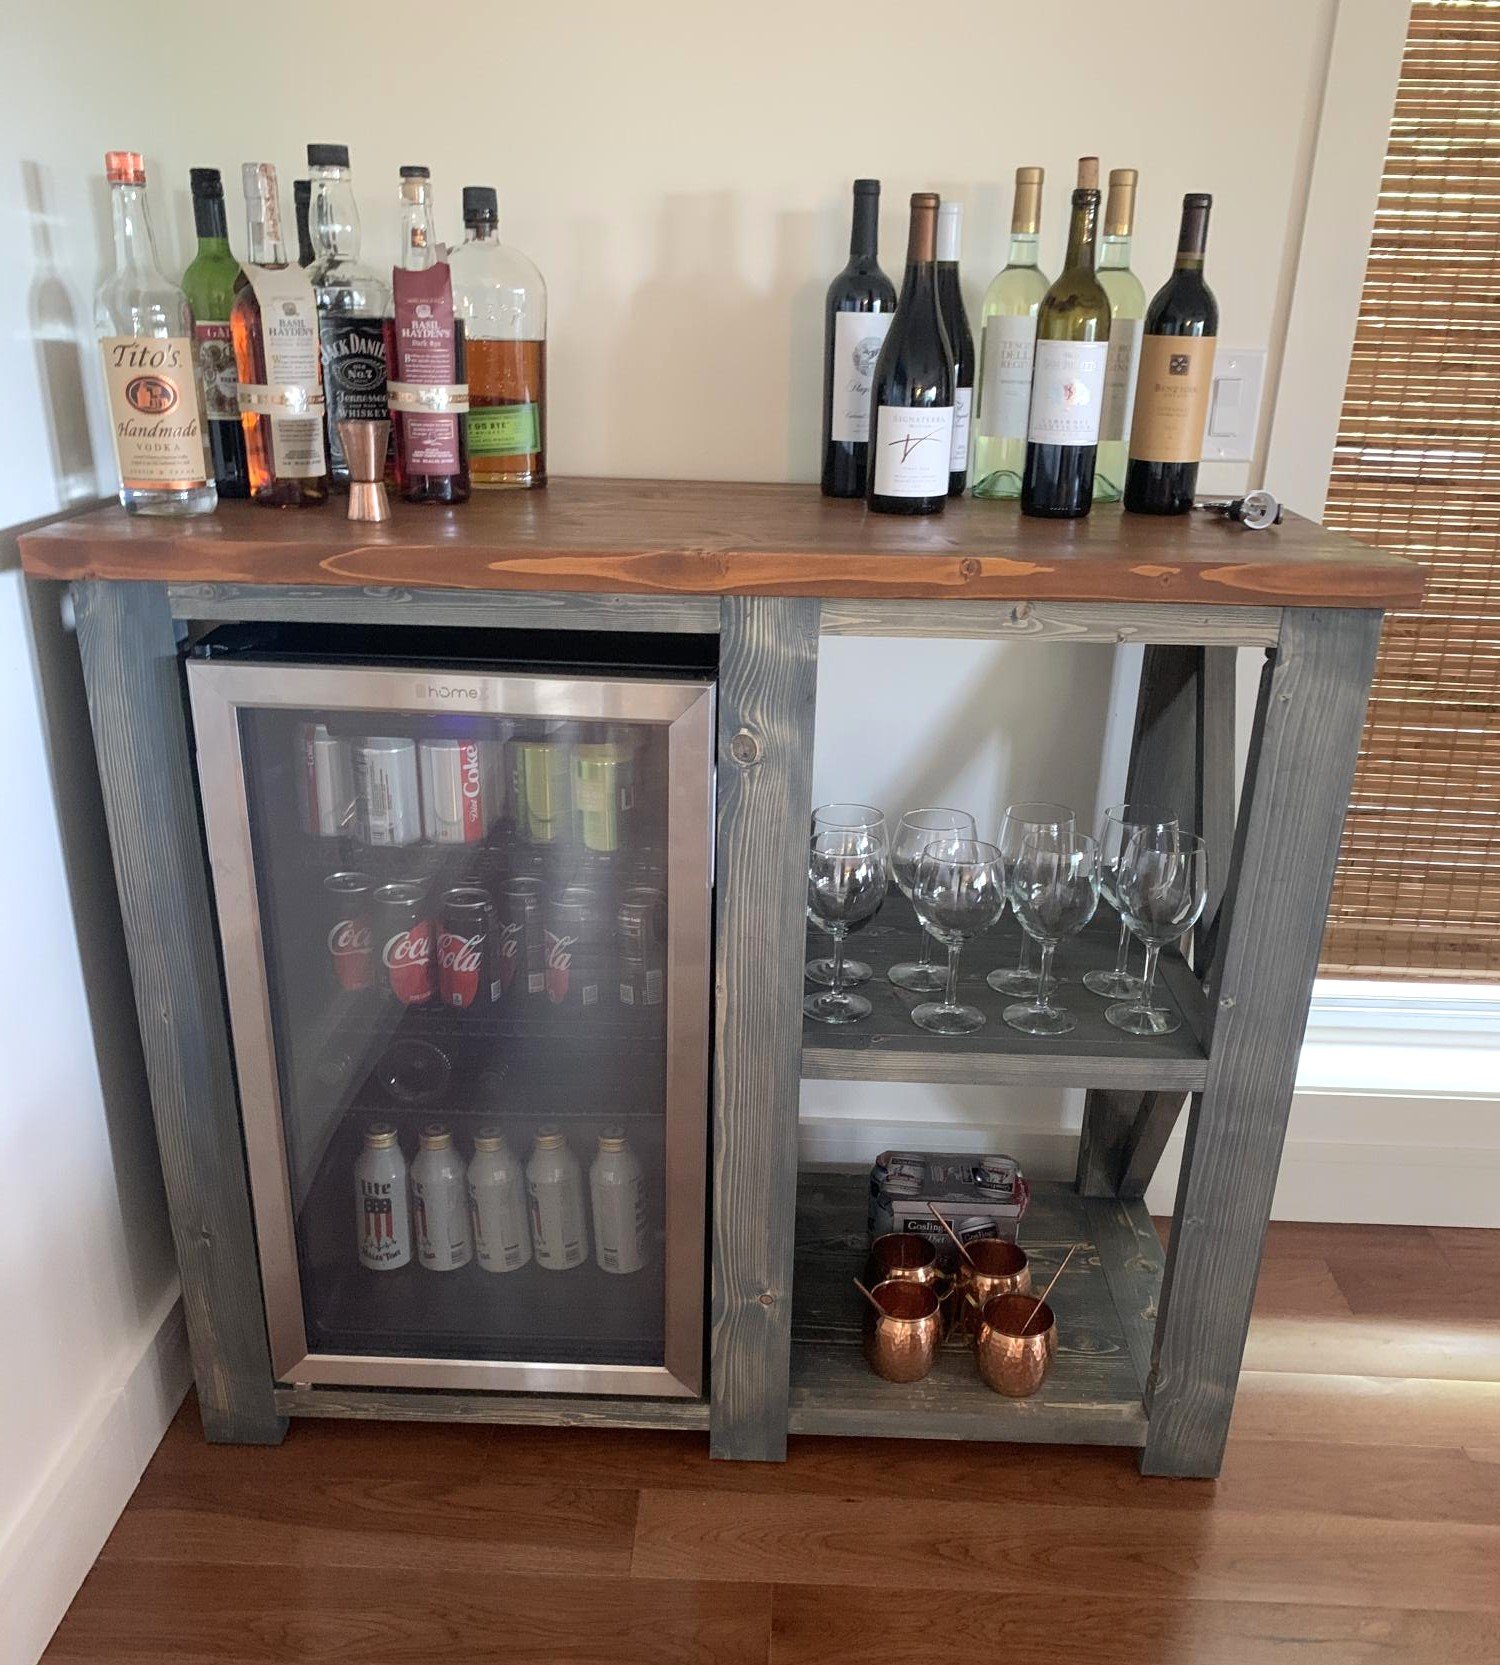
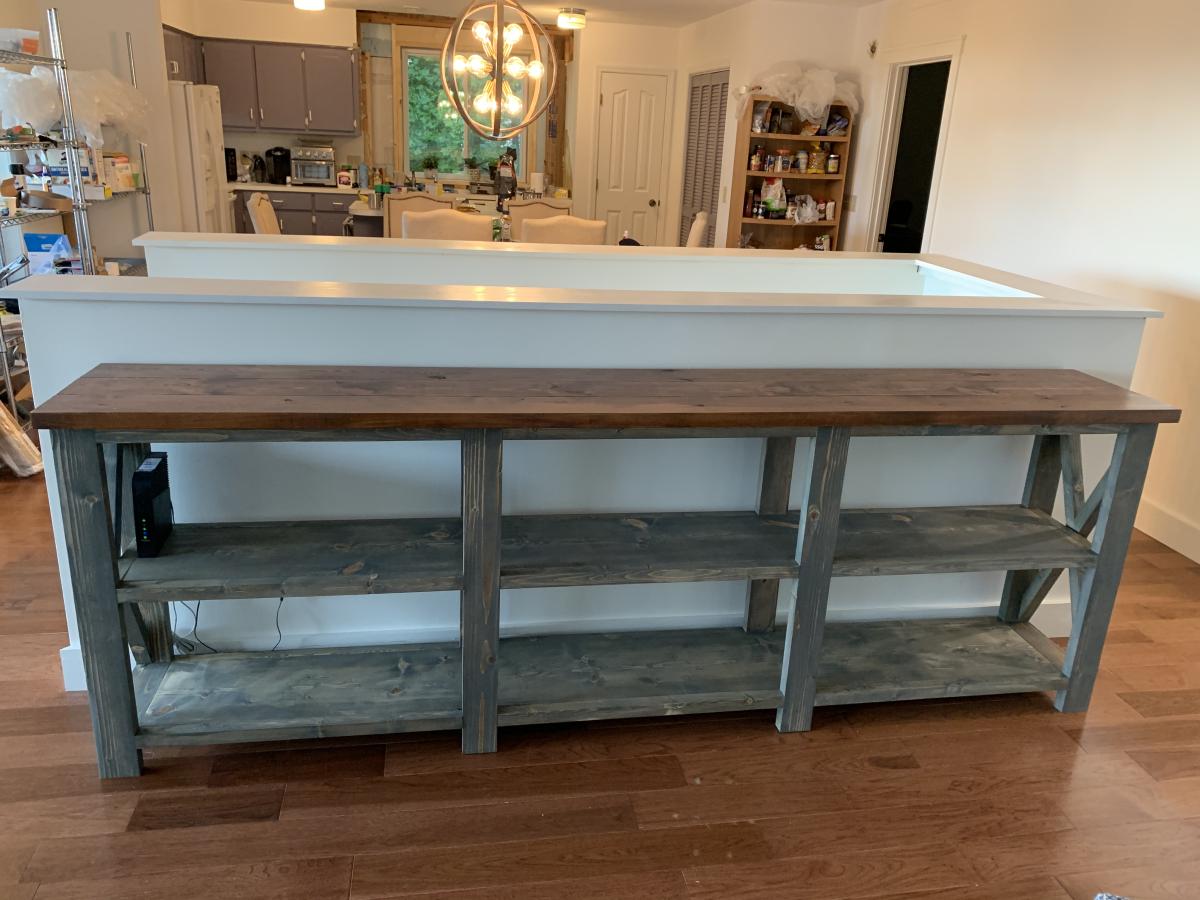
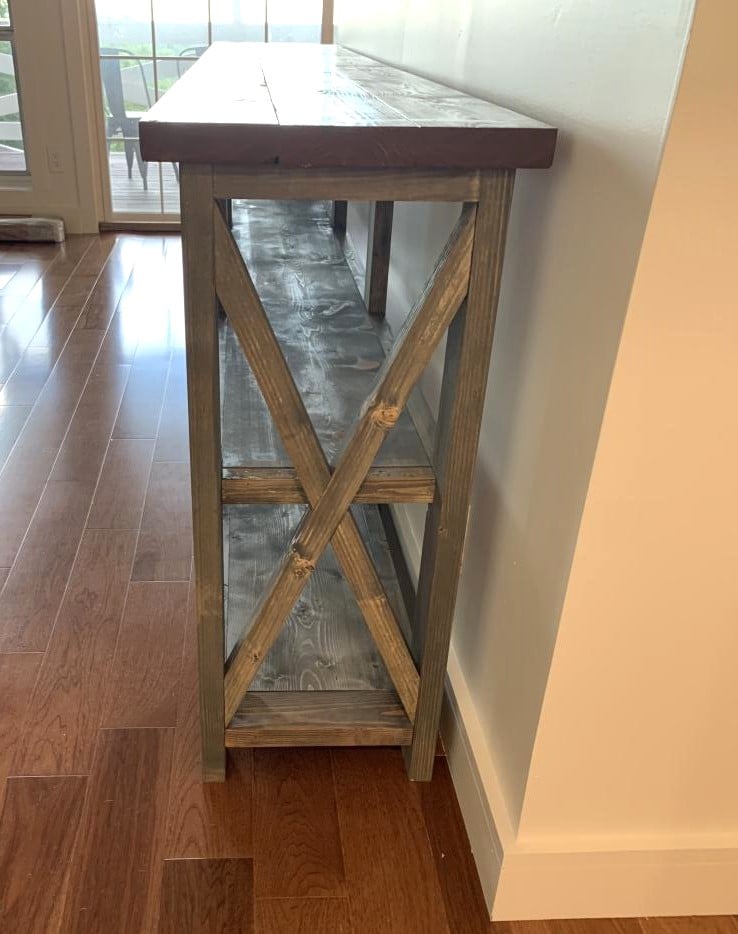
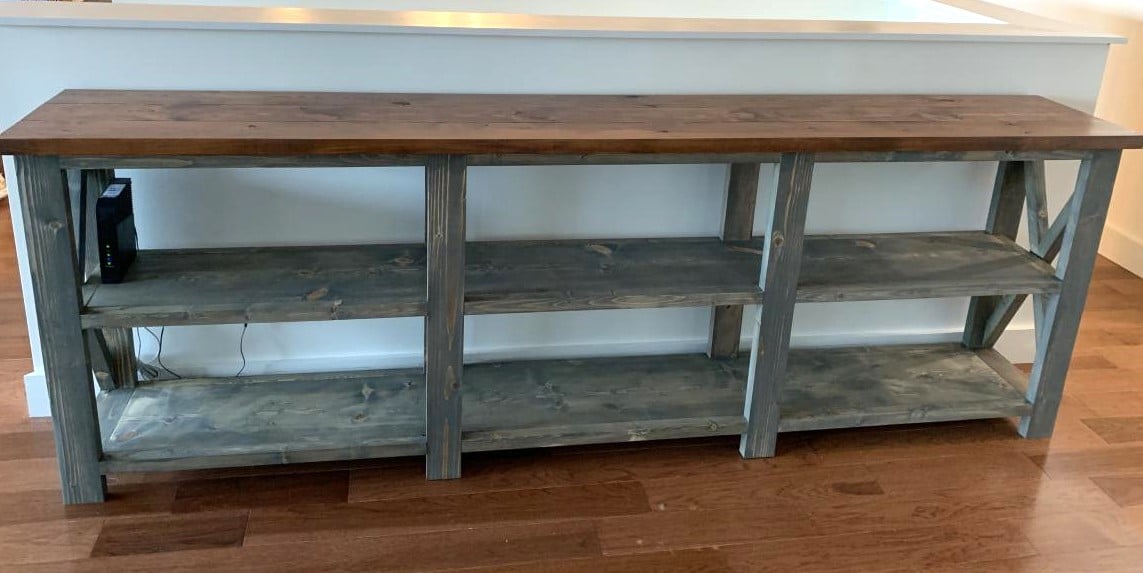
During Covid, my husband and I renovated our mountain house. After taking down a wall enclosing a staircase, we were left with awkwardly long pony wall. Originally we planned to do built in bookshelves, but then I decided the x bookshelves would look good and be a lot easier. So we customized the measurements and built them. Then I decided we really needed a bar space, so we built another x bookshelf around the measurements of an inexpensive bar fridge and voila! They look great and we get lots of compliments on both!
Wed, 03/29/2023 - 08:15
Love the finish and use of both of these! Thanks for sharing.
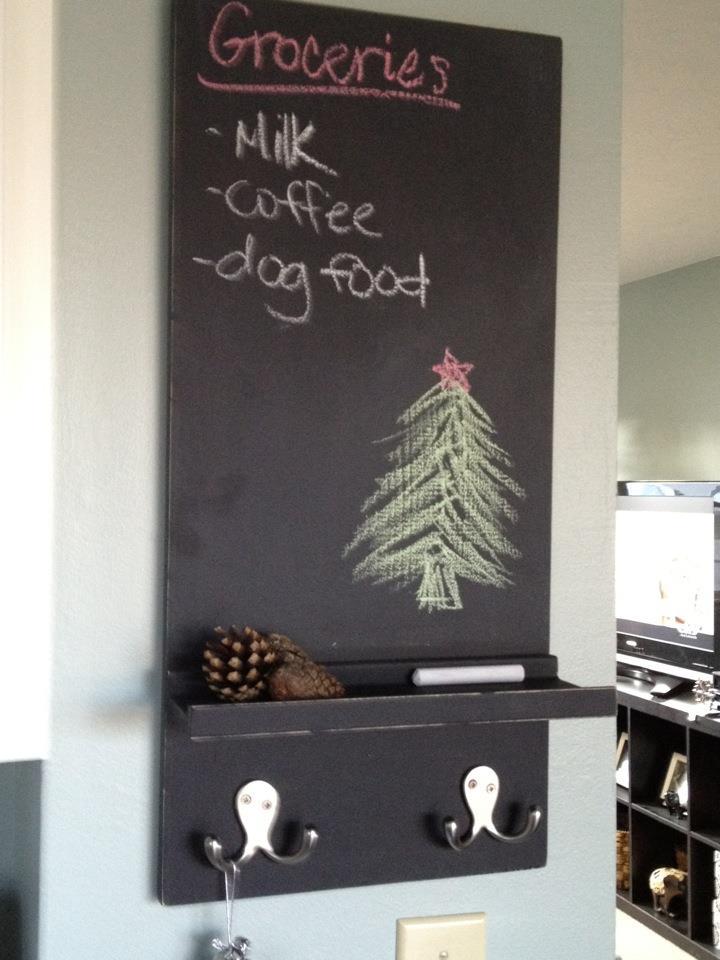
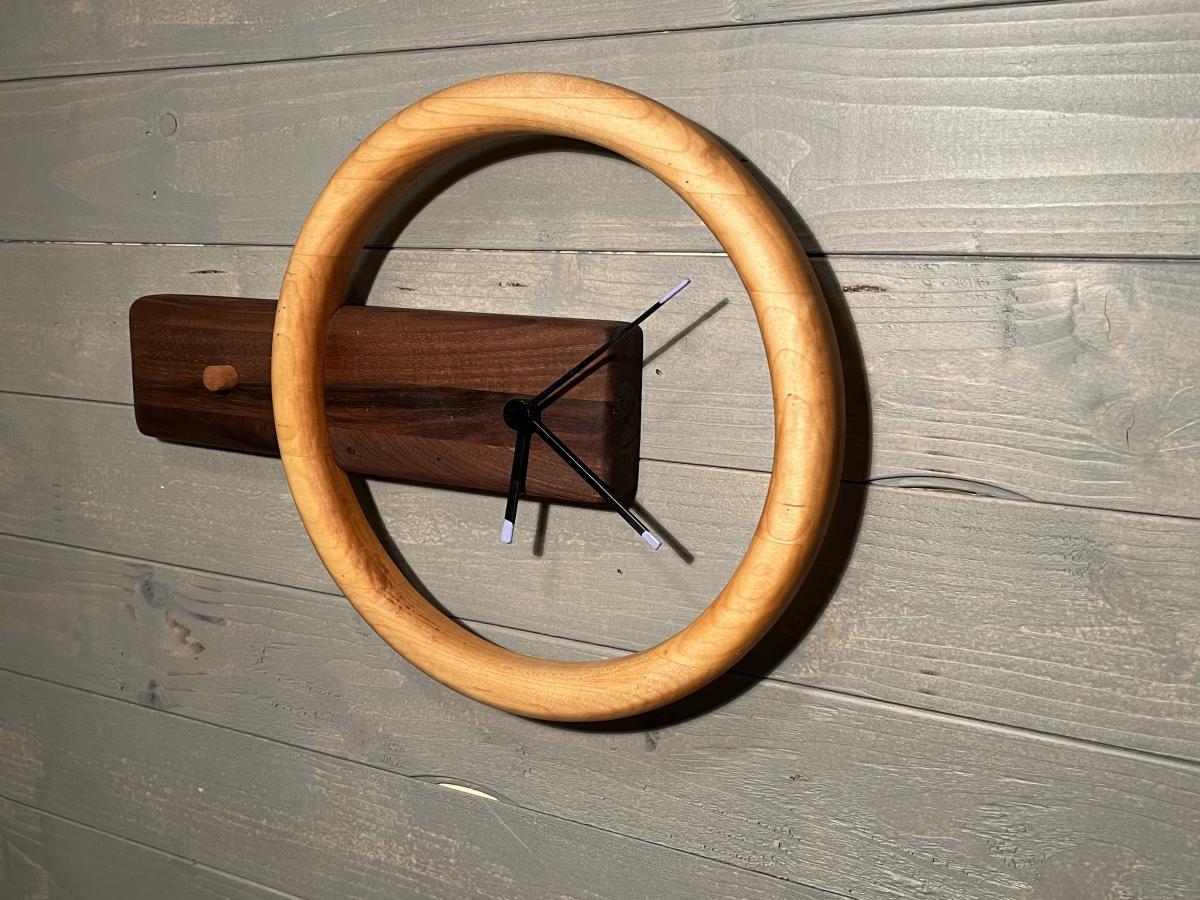
Chalkboard
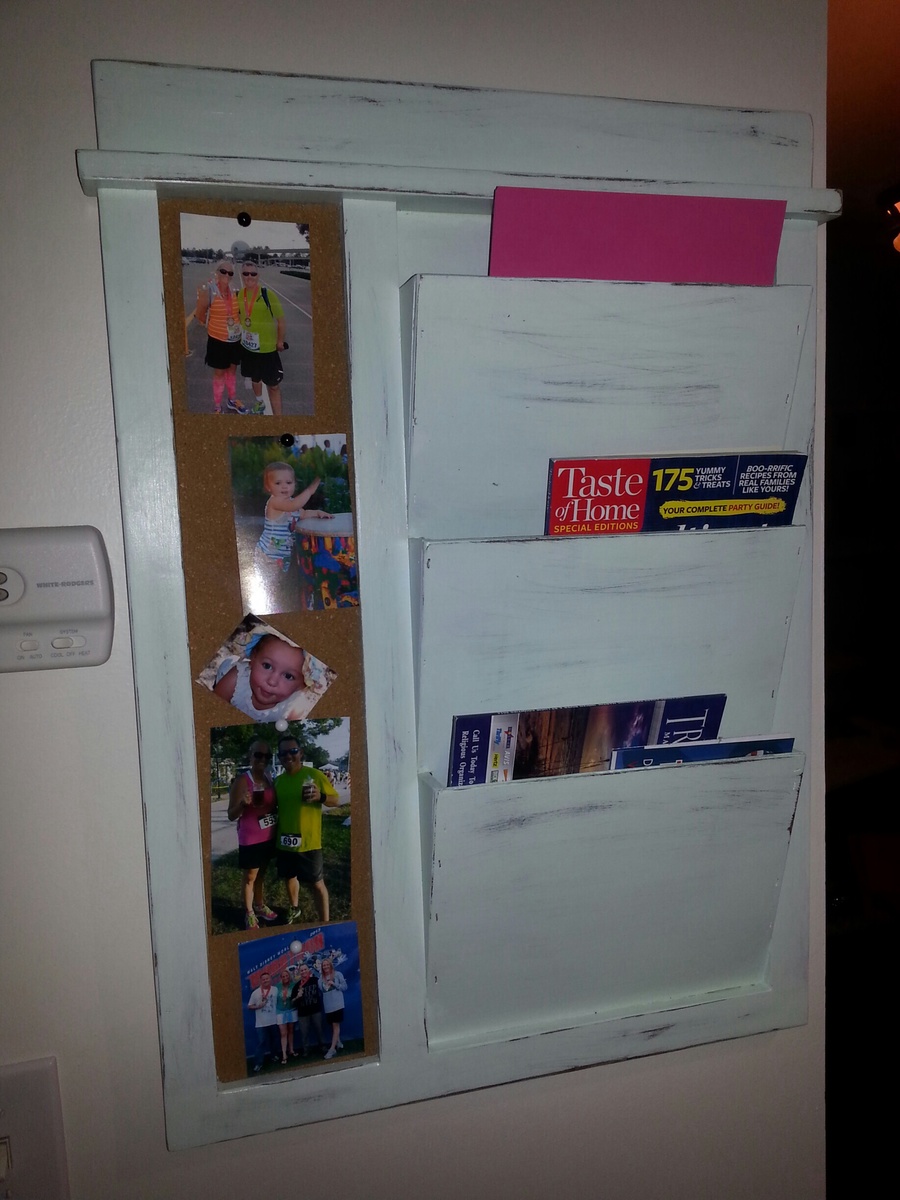
I liked the pb mail bin, but wanted to build the entire piece. Learning experience, measure twice. File folders will not fit, as the inside measurement is to small. Still turned out cool.
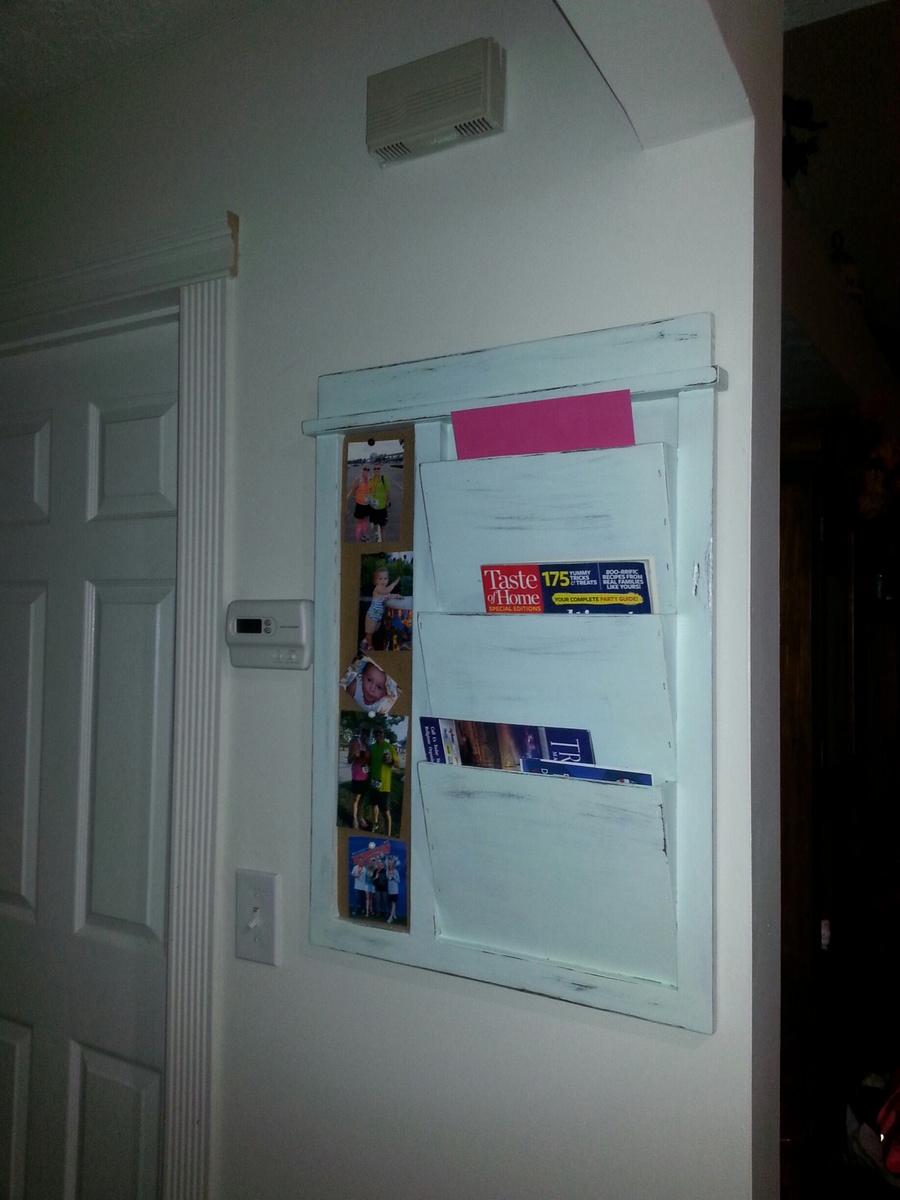
From a picture I found on Pinterest
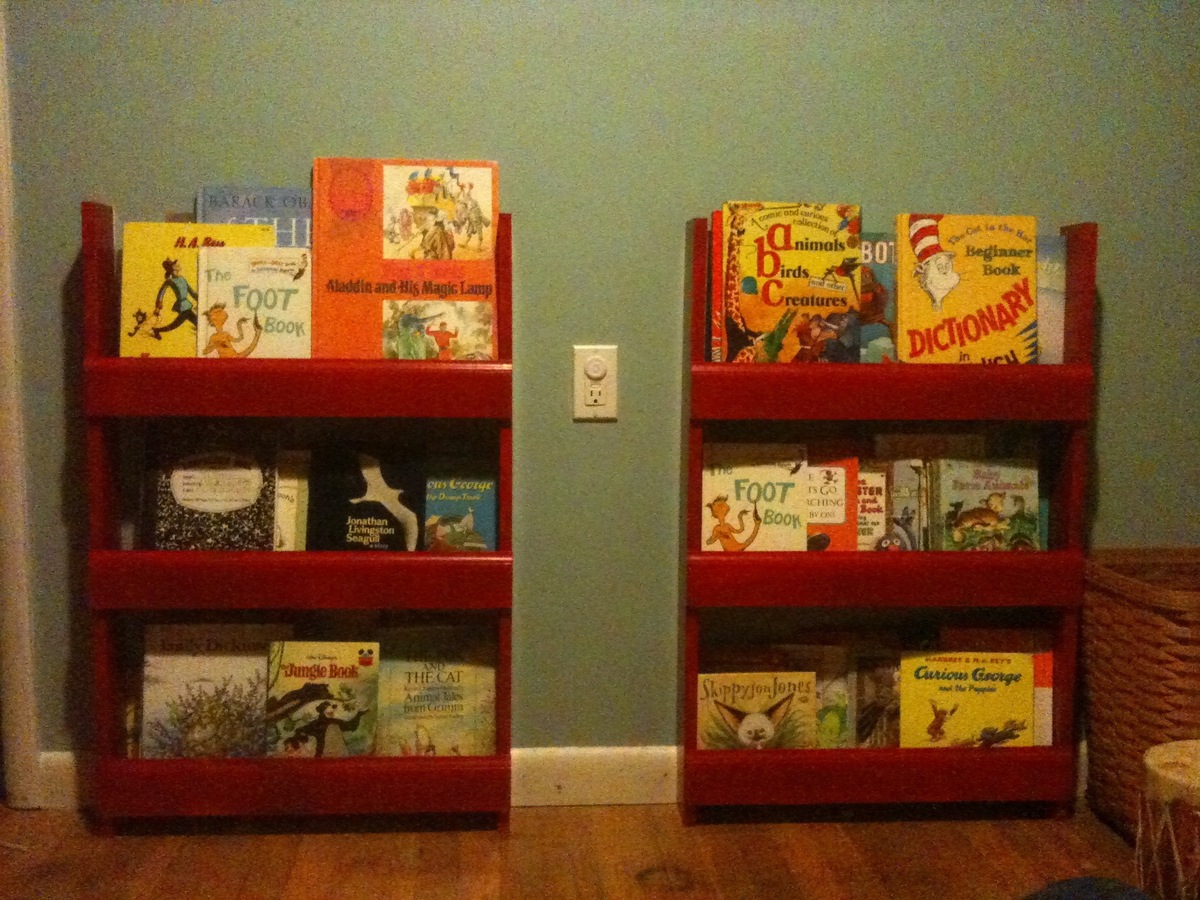
The kids and I worked together to make these shelves from wood I dug up in the scrap pile. I had to be creative to come up with enough wood of the right dimensions, some of the 1x4's started life as 1x6's and the front pieces are baseboard moulding. I didn't use a back piece because it seemed sturdy enough as is. I used removable velcro type hanging strips to attach them to the wall.
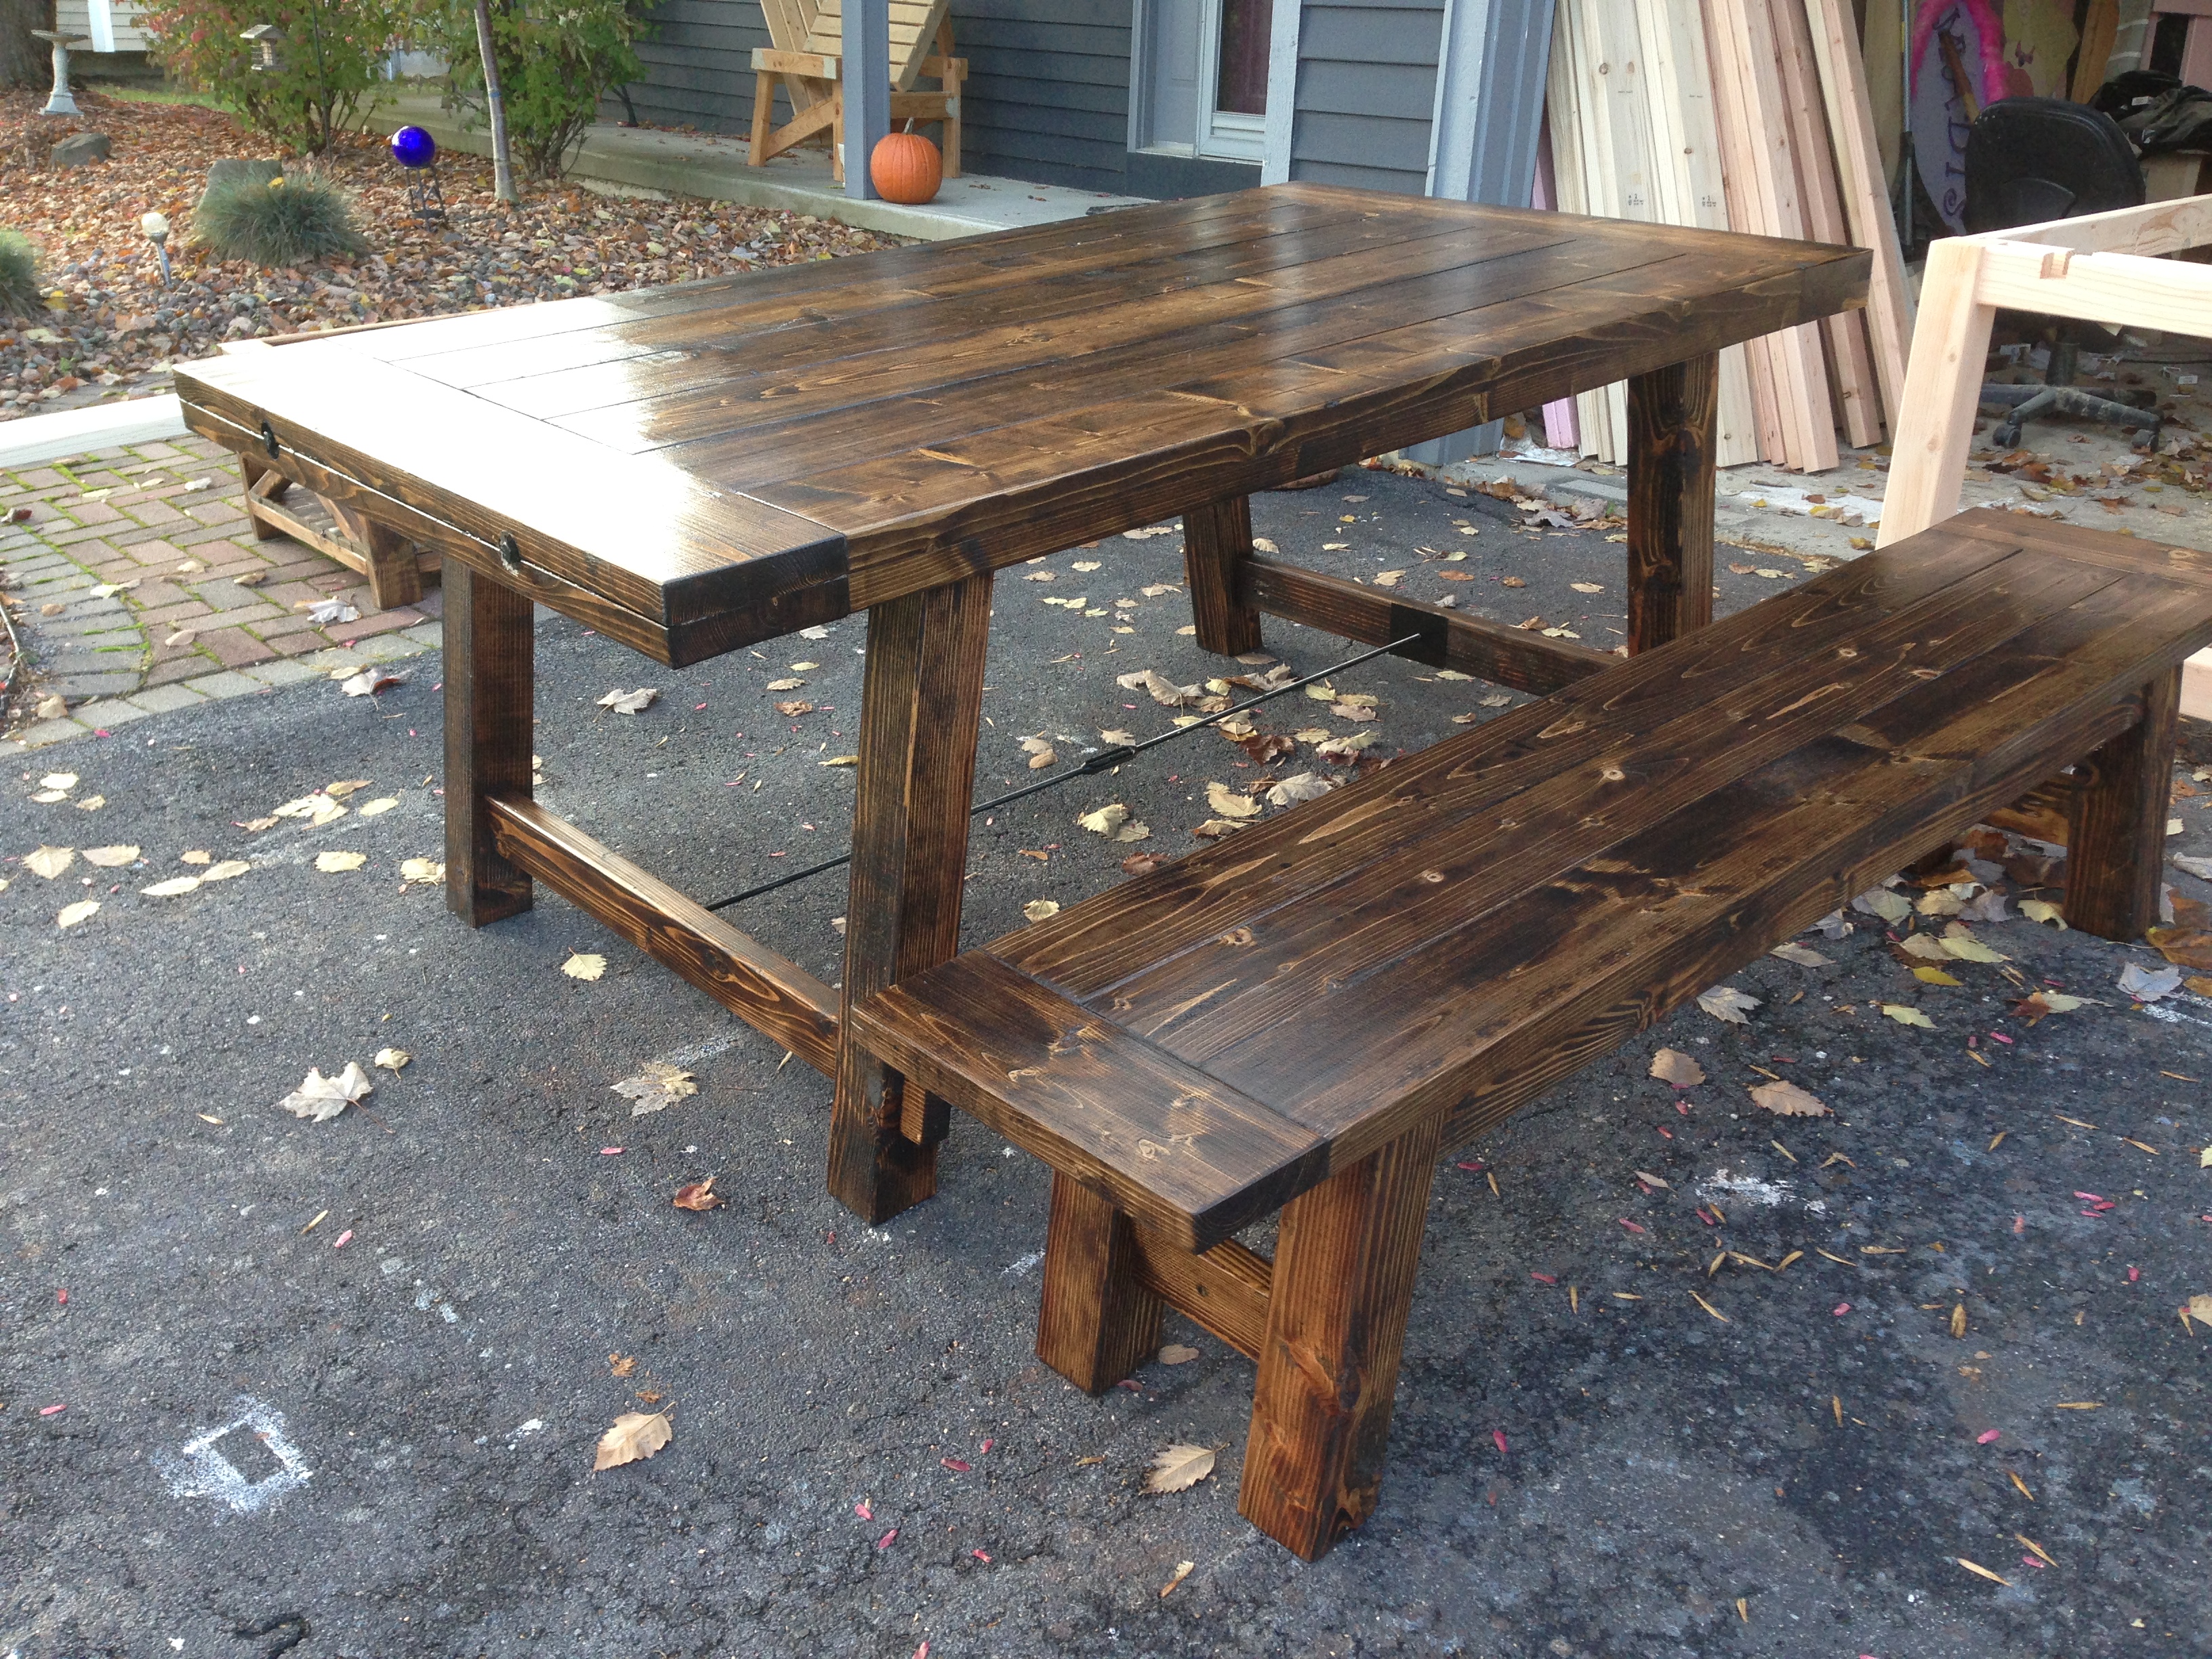
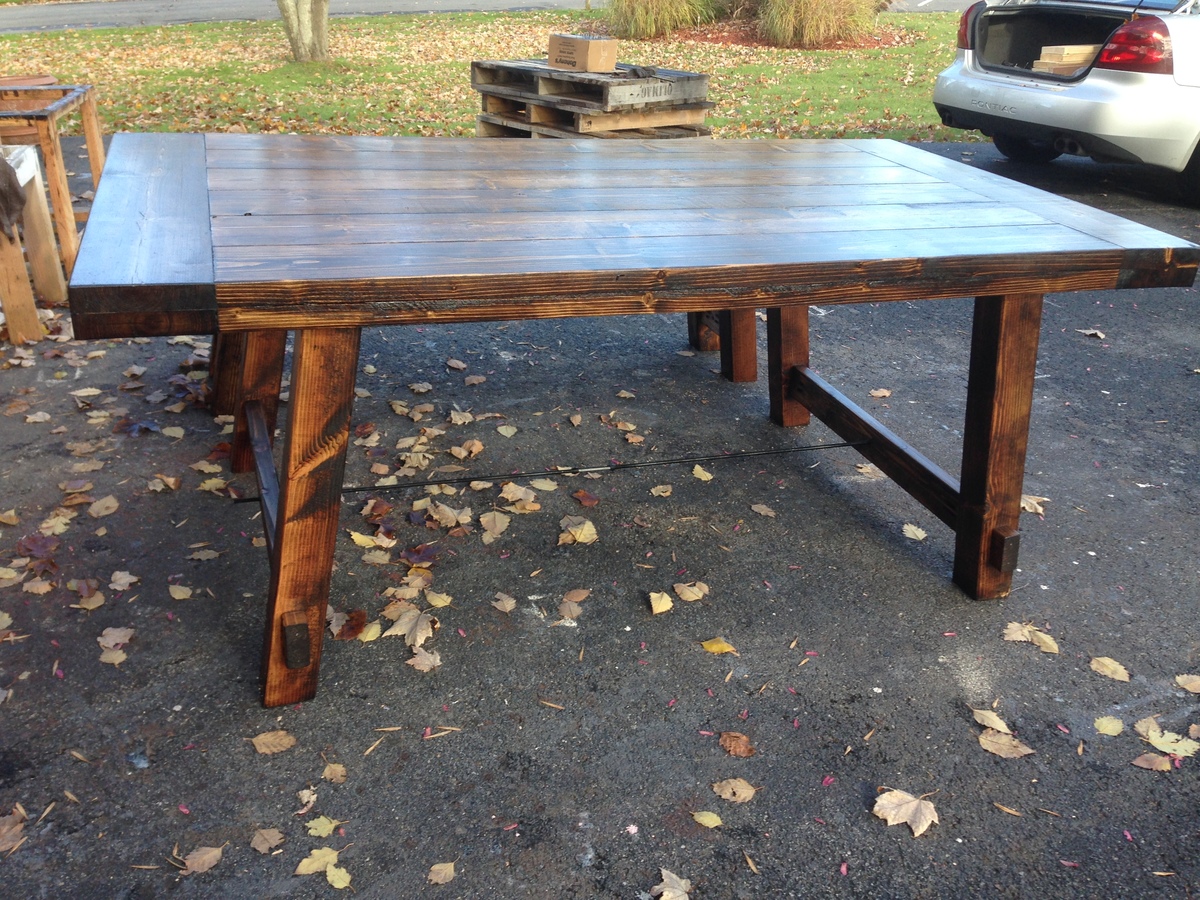
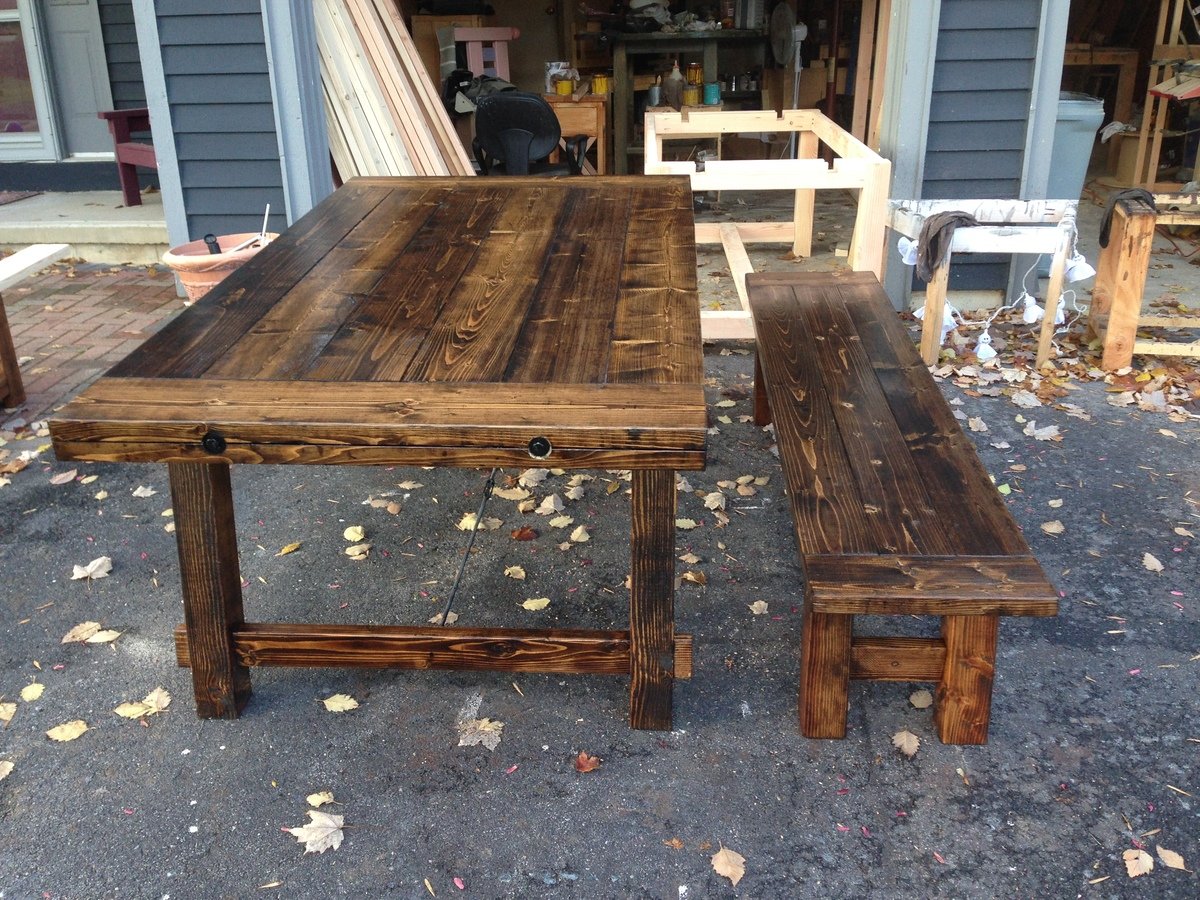
modified plans a bit from on the website. Went with 4 x 4 legs, matching bench. hardware I found the turnbuckles at home depot 3/8 - 16, and picked up the left handed and right handed rods and nuts at grainger.

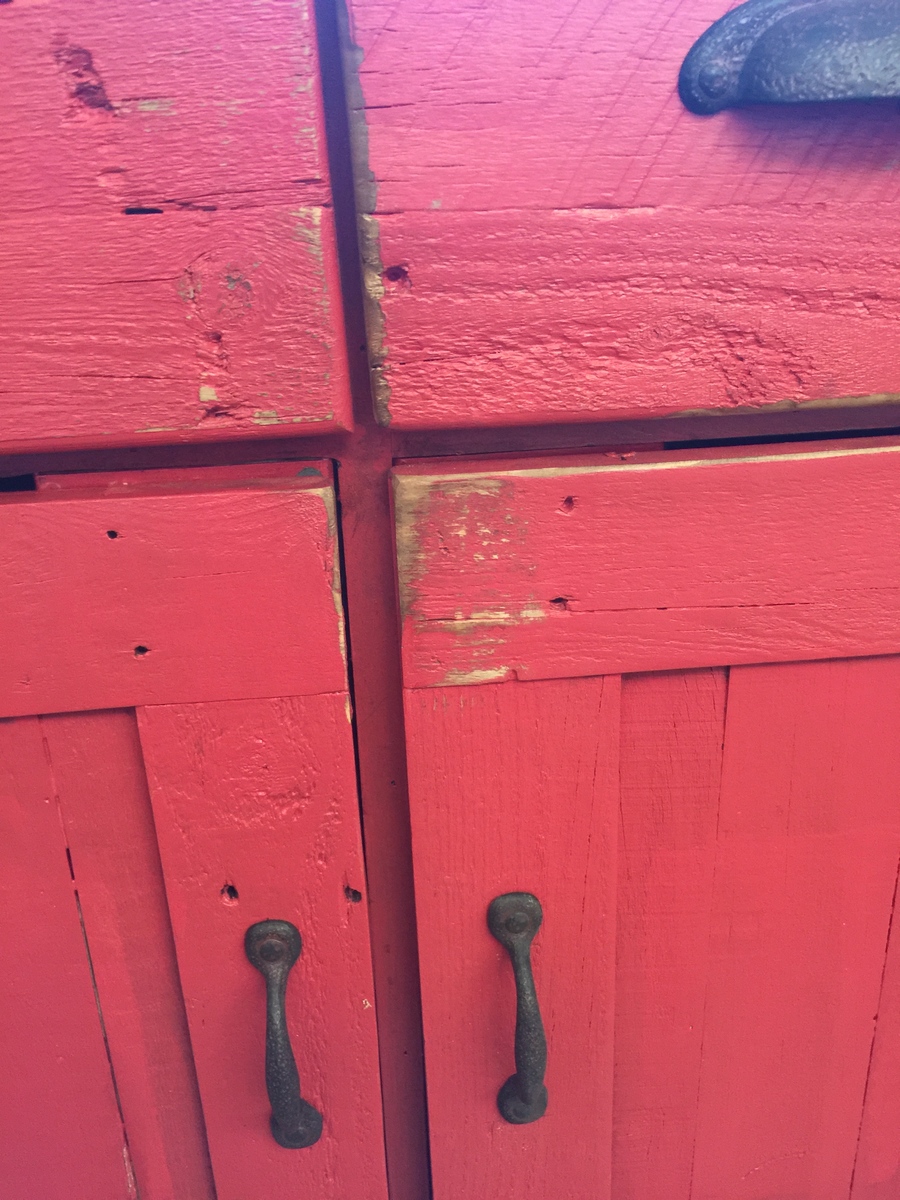
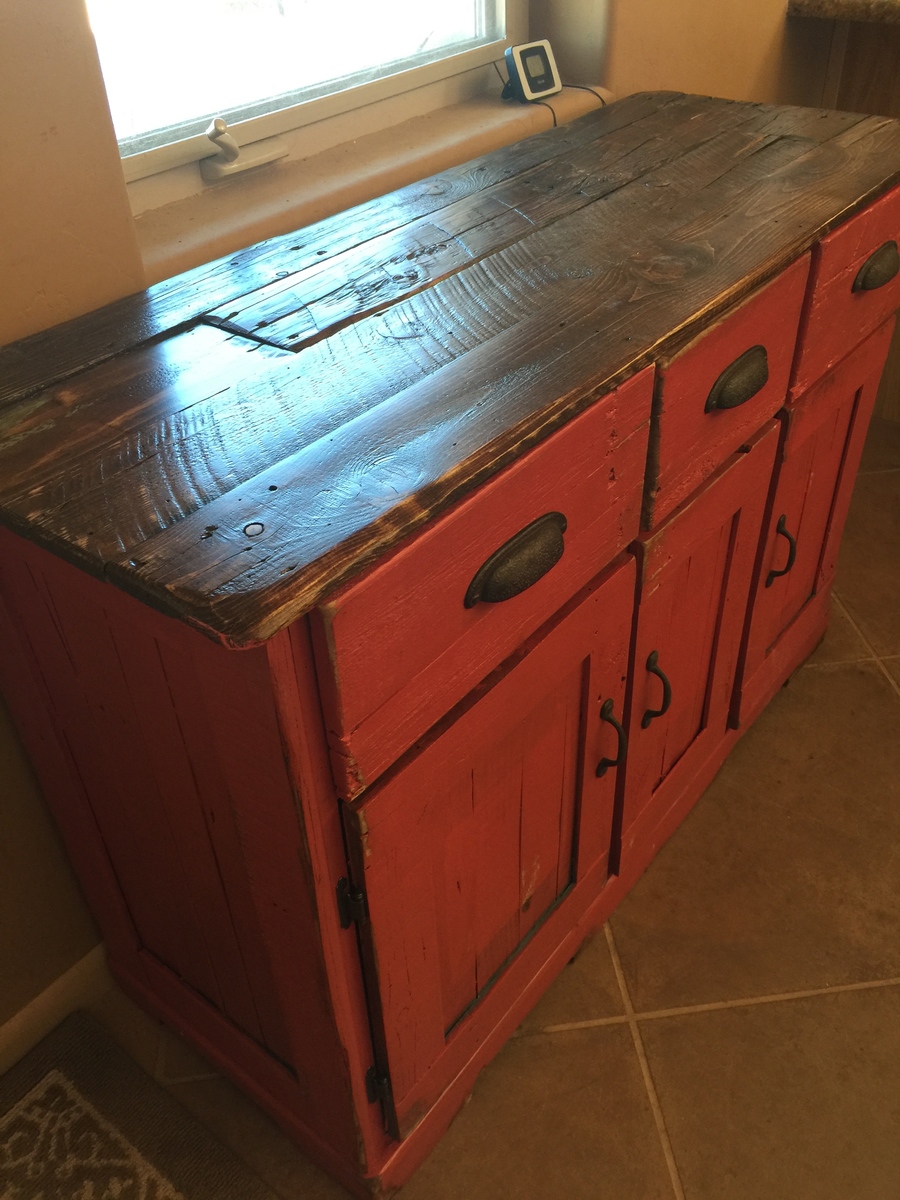
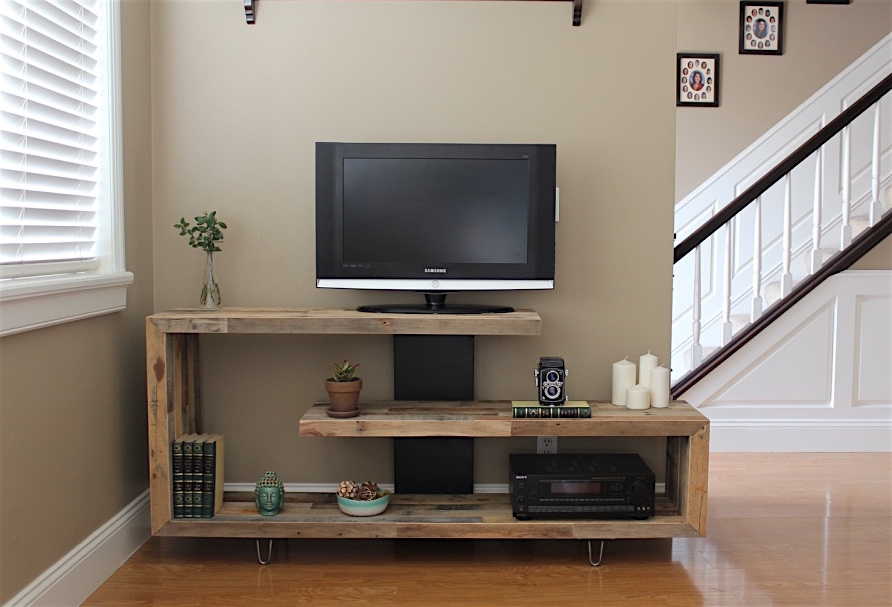
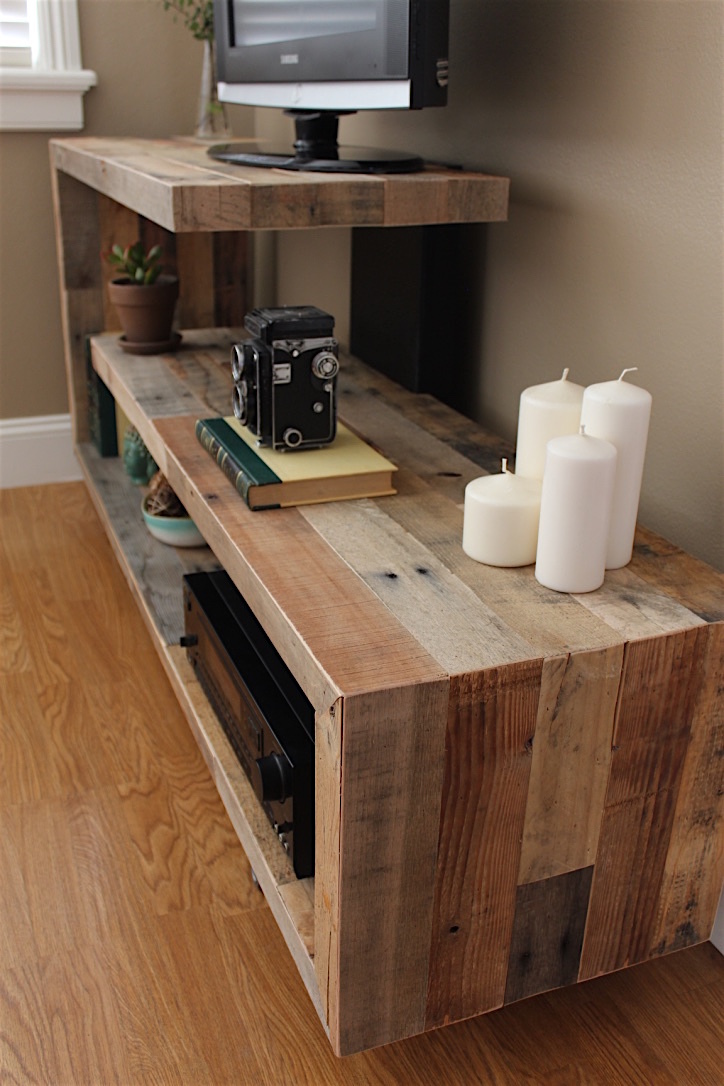
Seeing your planked wood sideboard clicked for us and the cabinet we'd been looking for. We wanted rustic and I chose to make it around a plywood casing instead of using the plans due to the poor strength of the pallet wood. Most of the time was used in deconstructing and cleaning the 40+ year old pallets. Also our space called for a smaller unit. It's used as our coffee cabinet. Since I had a basic structure already in the plywood I was able to be creative in how I used the scraps of pallet wood.
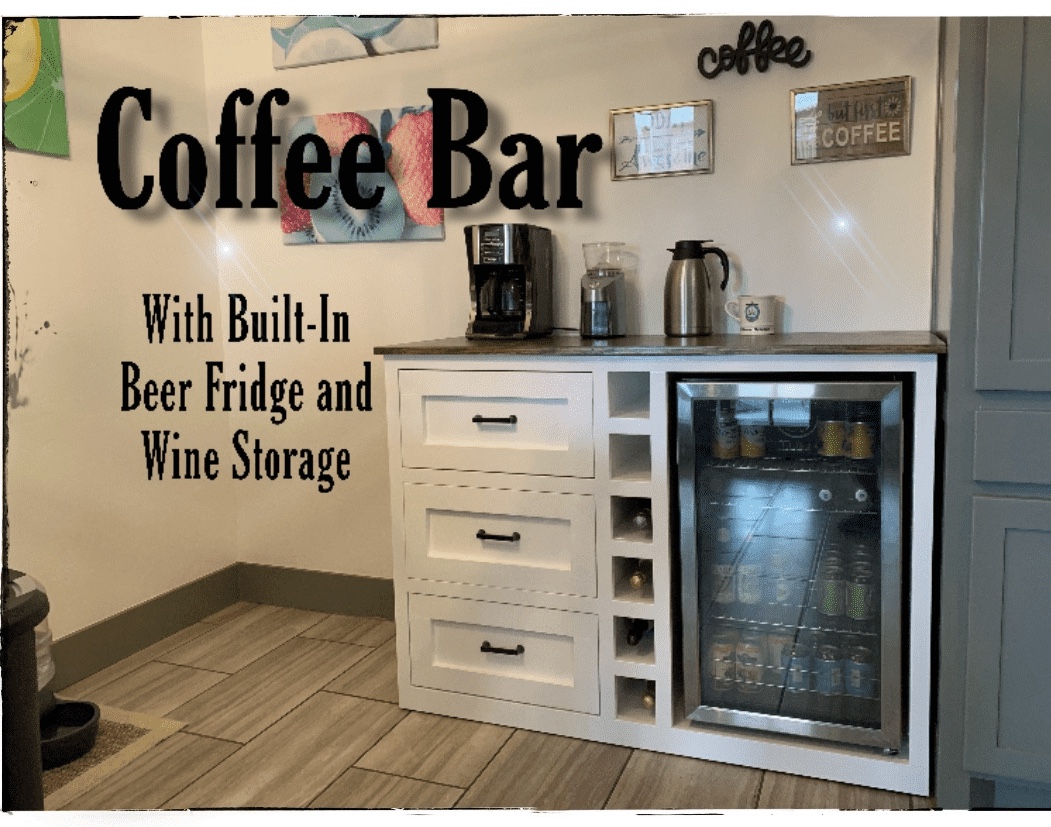
We made a beverage station for the corner of the kitchen!

Mon, 07/08/2019 - 10:46
We didn't use a plan for this but, if someone wants to build it, check out the linked YouTube video.

Tue, 07/09/2019 - 11:11
Amazing! Thanks so much for adding a brag post and linking to your video!
Fri, 07/31/2020 - 09:43
Hello! Was looking to see if this is something you would be interested in building for us? We are in love with this project but don't have the tools or means to do it ourself..
Can talk about pricing / size etc.
Thanks!
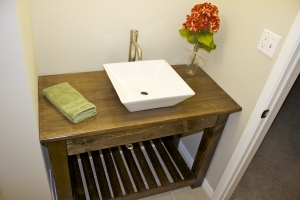
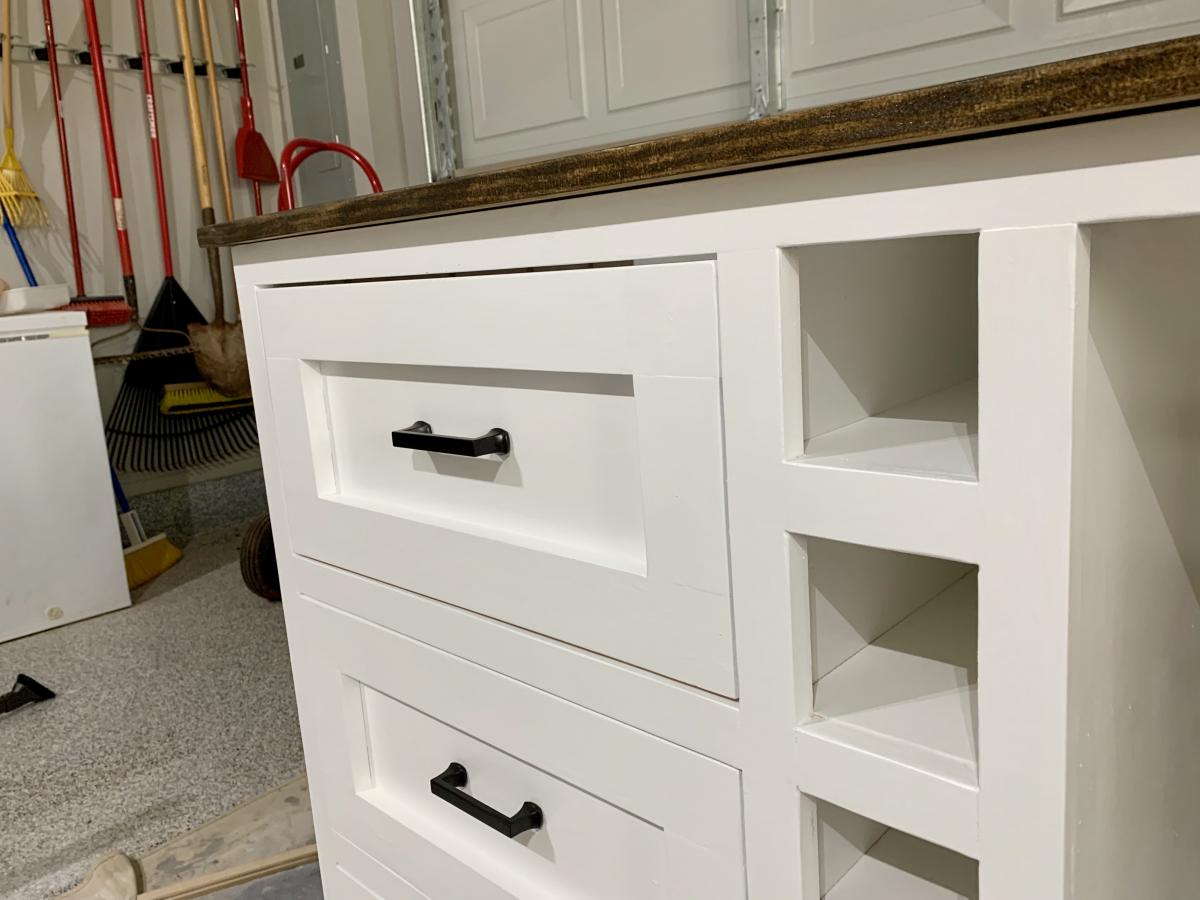
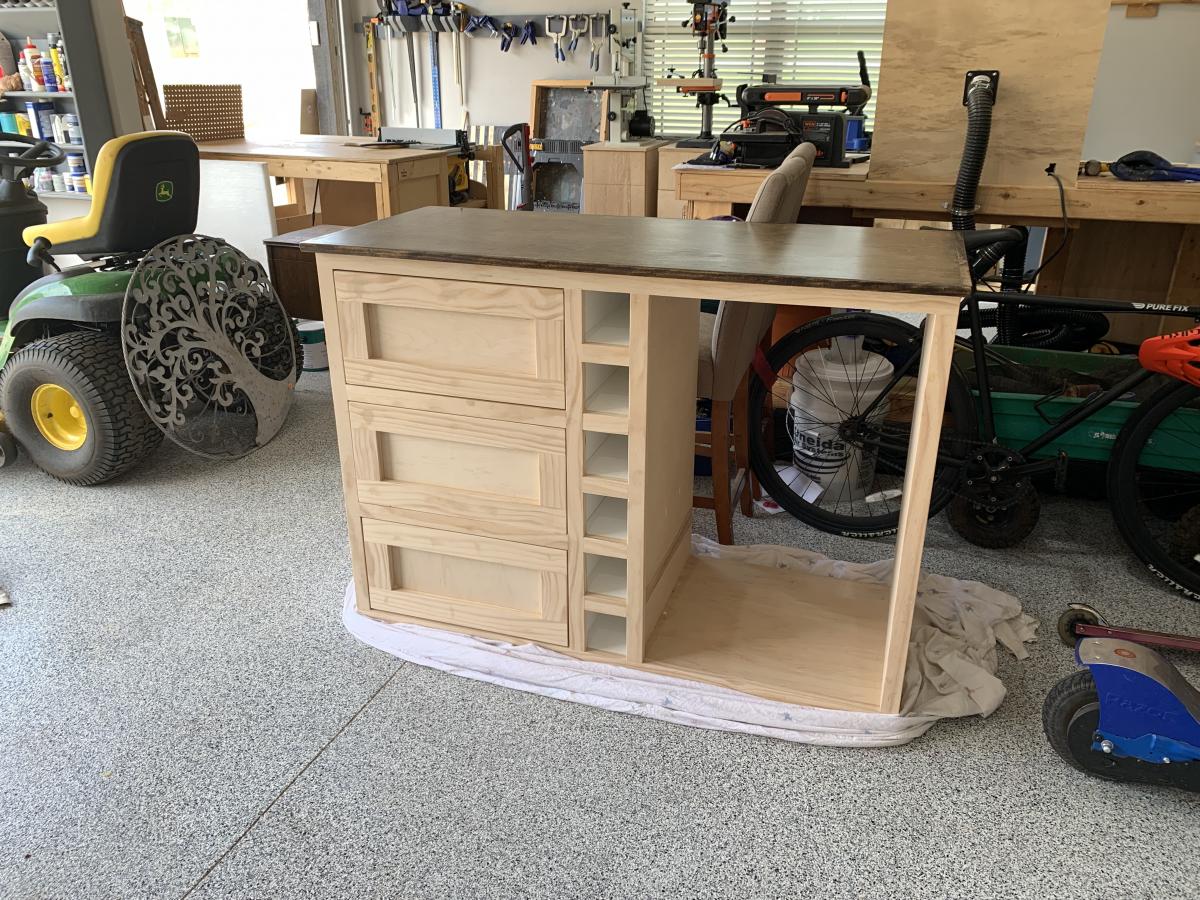
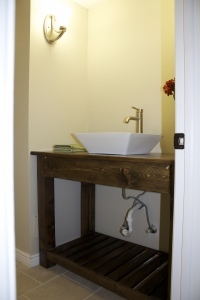
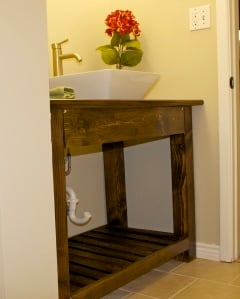
I decided to take on the third bathroom renovation all by myself. No help from the husband. I knew that I wanted a rustic open faced vanity - so I modified some plans that I found here on Ana's site. I used the basic design of the Farmhouse Vanity and added in the spa splatting for the bottom shelf so I could add baskets to hold extra tp and towels, etc.
This was one of the easiest projects I've done and I'm so happy with how it turned out! Total time was an afternoon - and that included the staining and poly!

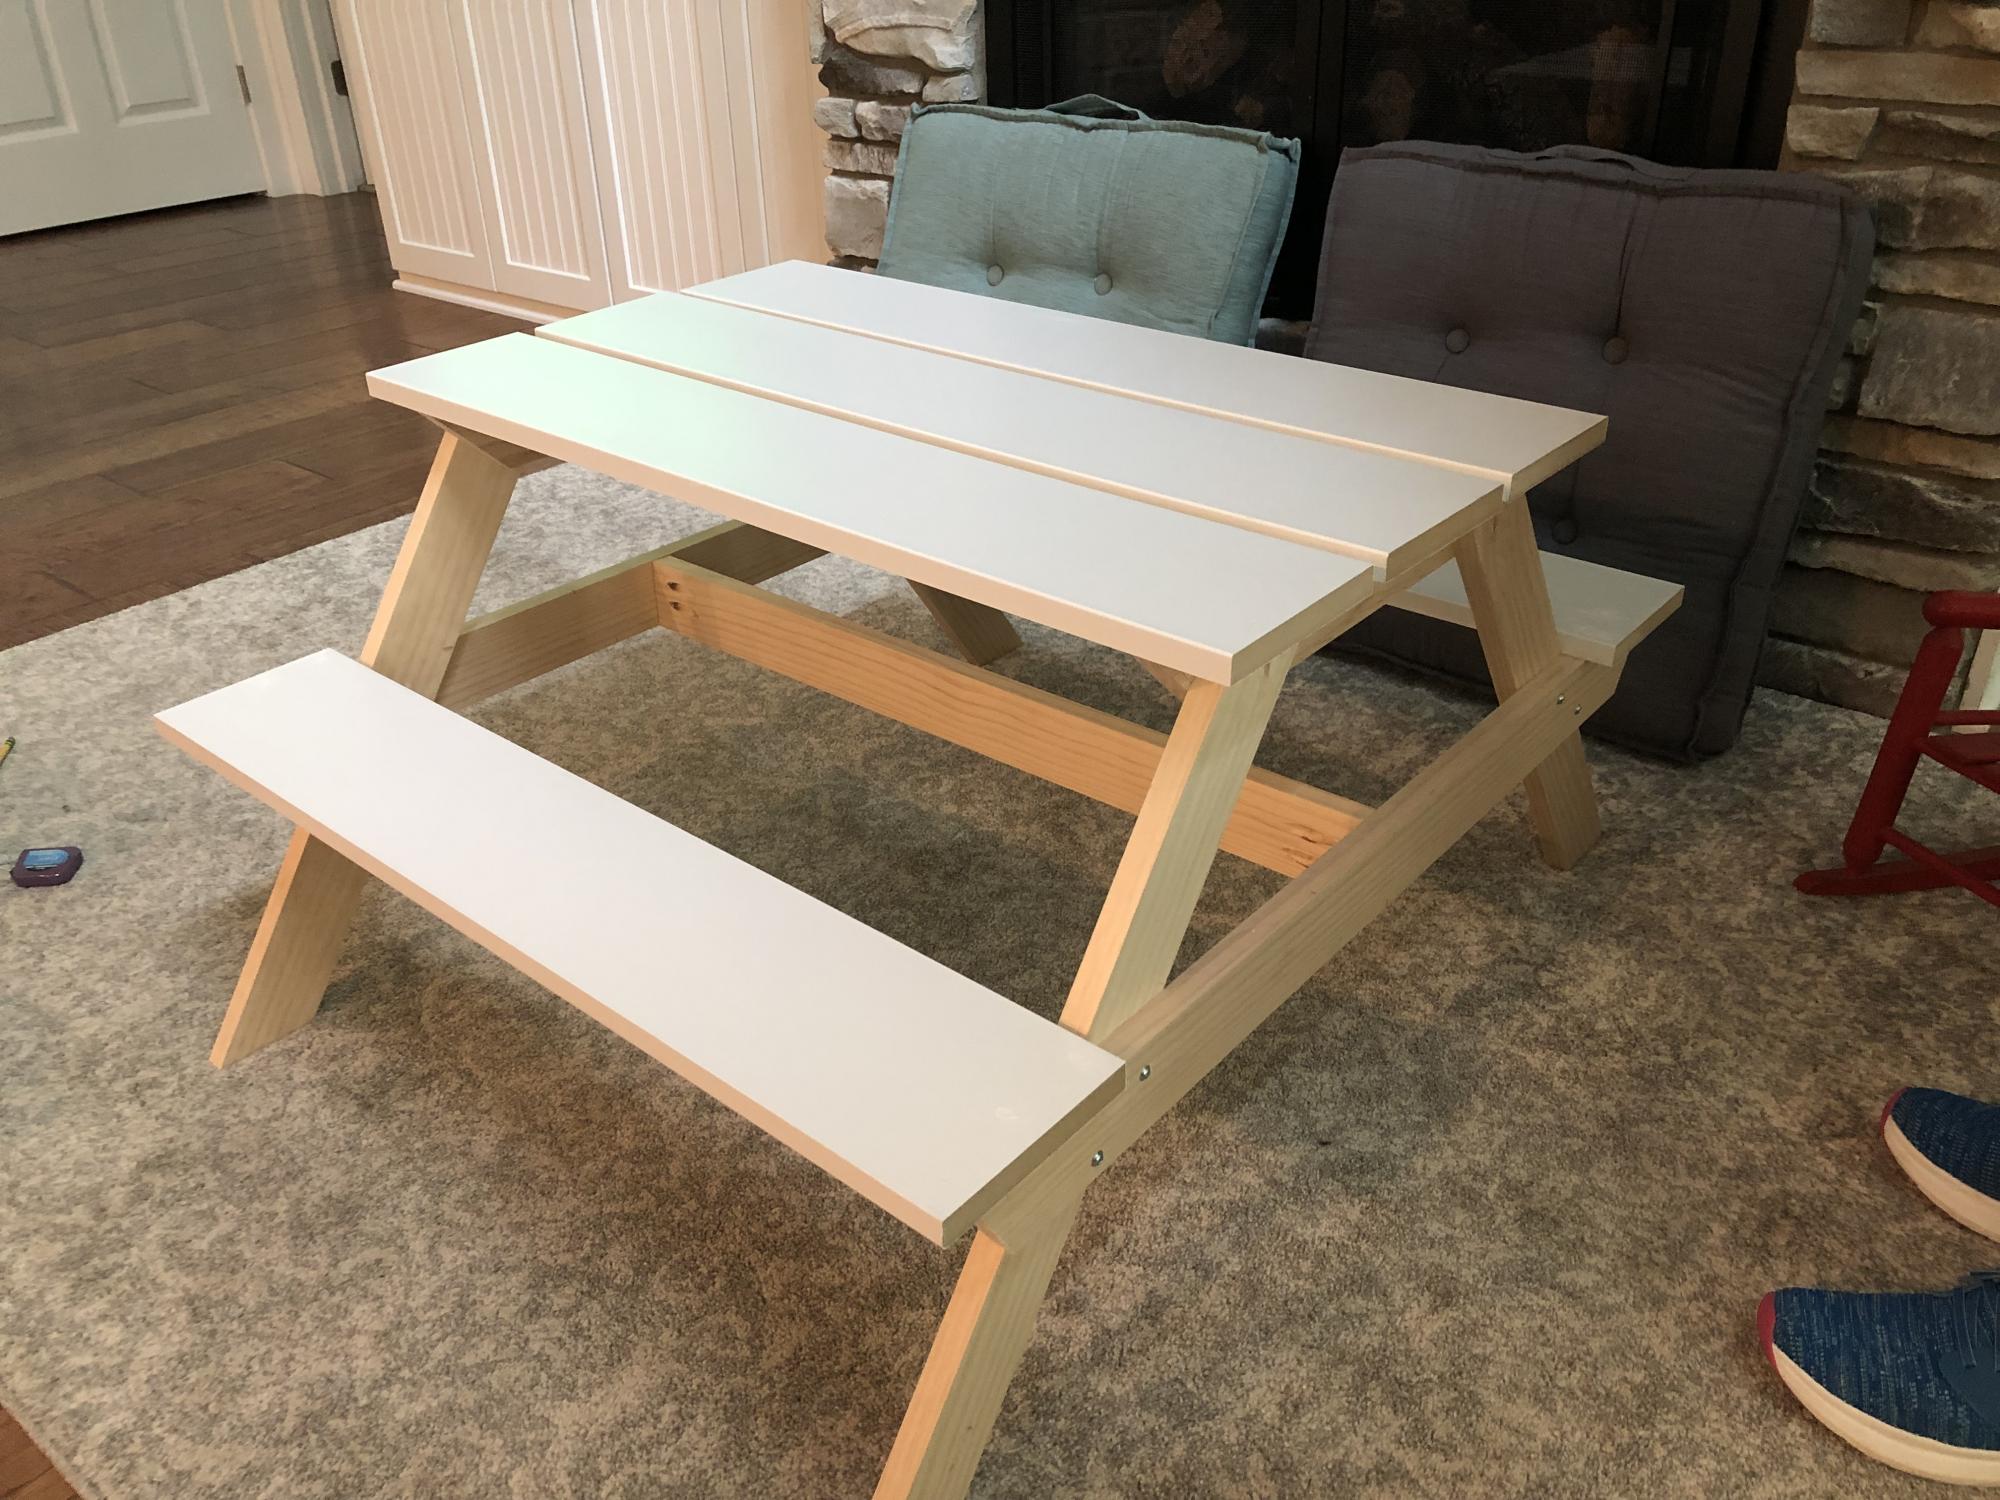
I built this to go with my outdoor sectional. It's perfect for storing the cushions and the gardening tools that I like to keep on the porch. It doubles as a table and extra seating in a pinch, so it's a great addition to the space.
I'd recommend either spray painting it or pre-painting the pieces- I wouldn't want to try and brush between all the slats.
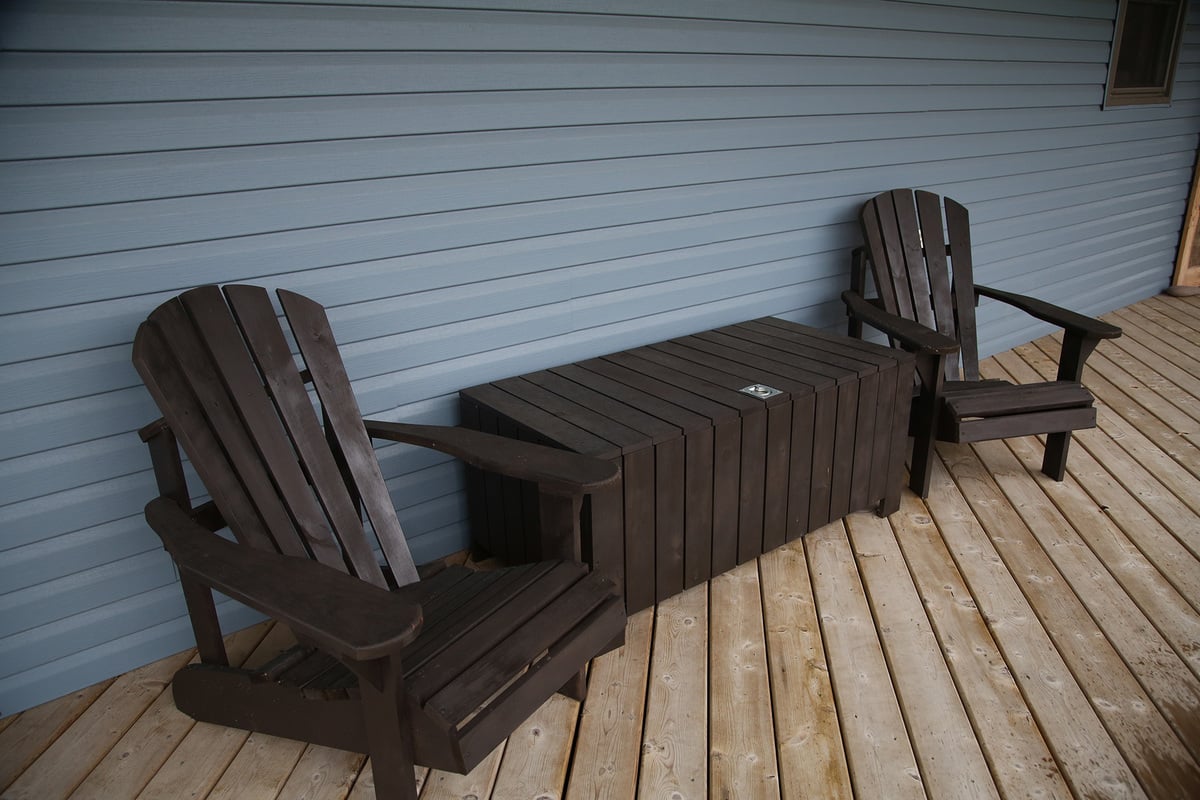
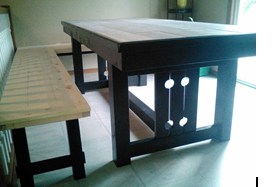
Table was fun to build and put our own spin on it. Great project for my wife and I. Took a few days to complete and begin using. Table dimensions we builst are 7' by 3.5' exactly as we needed for or dining room.


Comments
Ana White Admin
Fri, 03/17/2023 - 19:49
Stunning oak console!
Absolutely beautiful, love the finish! Thank you for sharing.