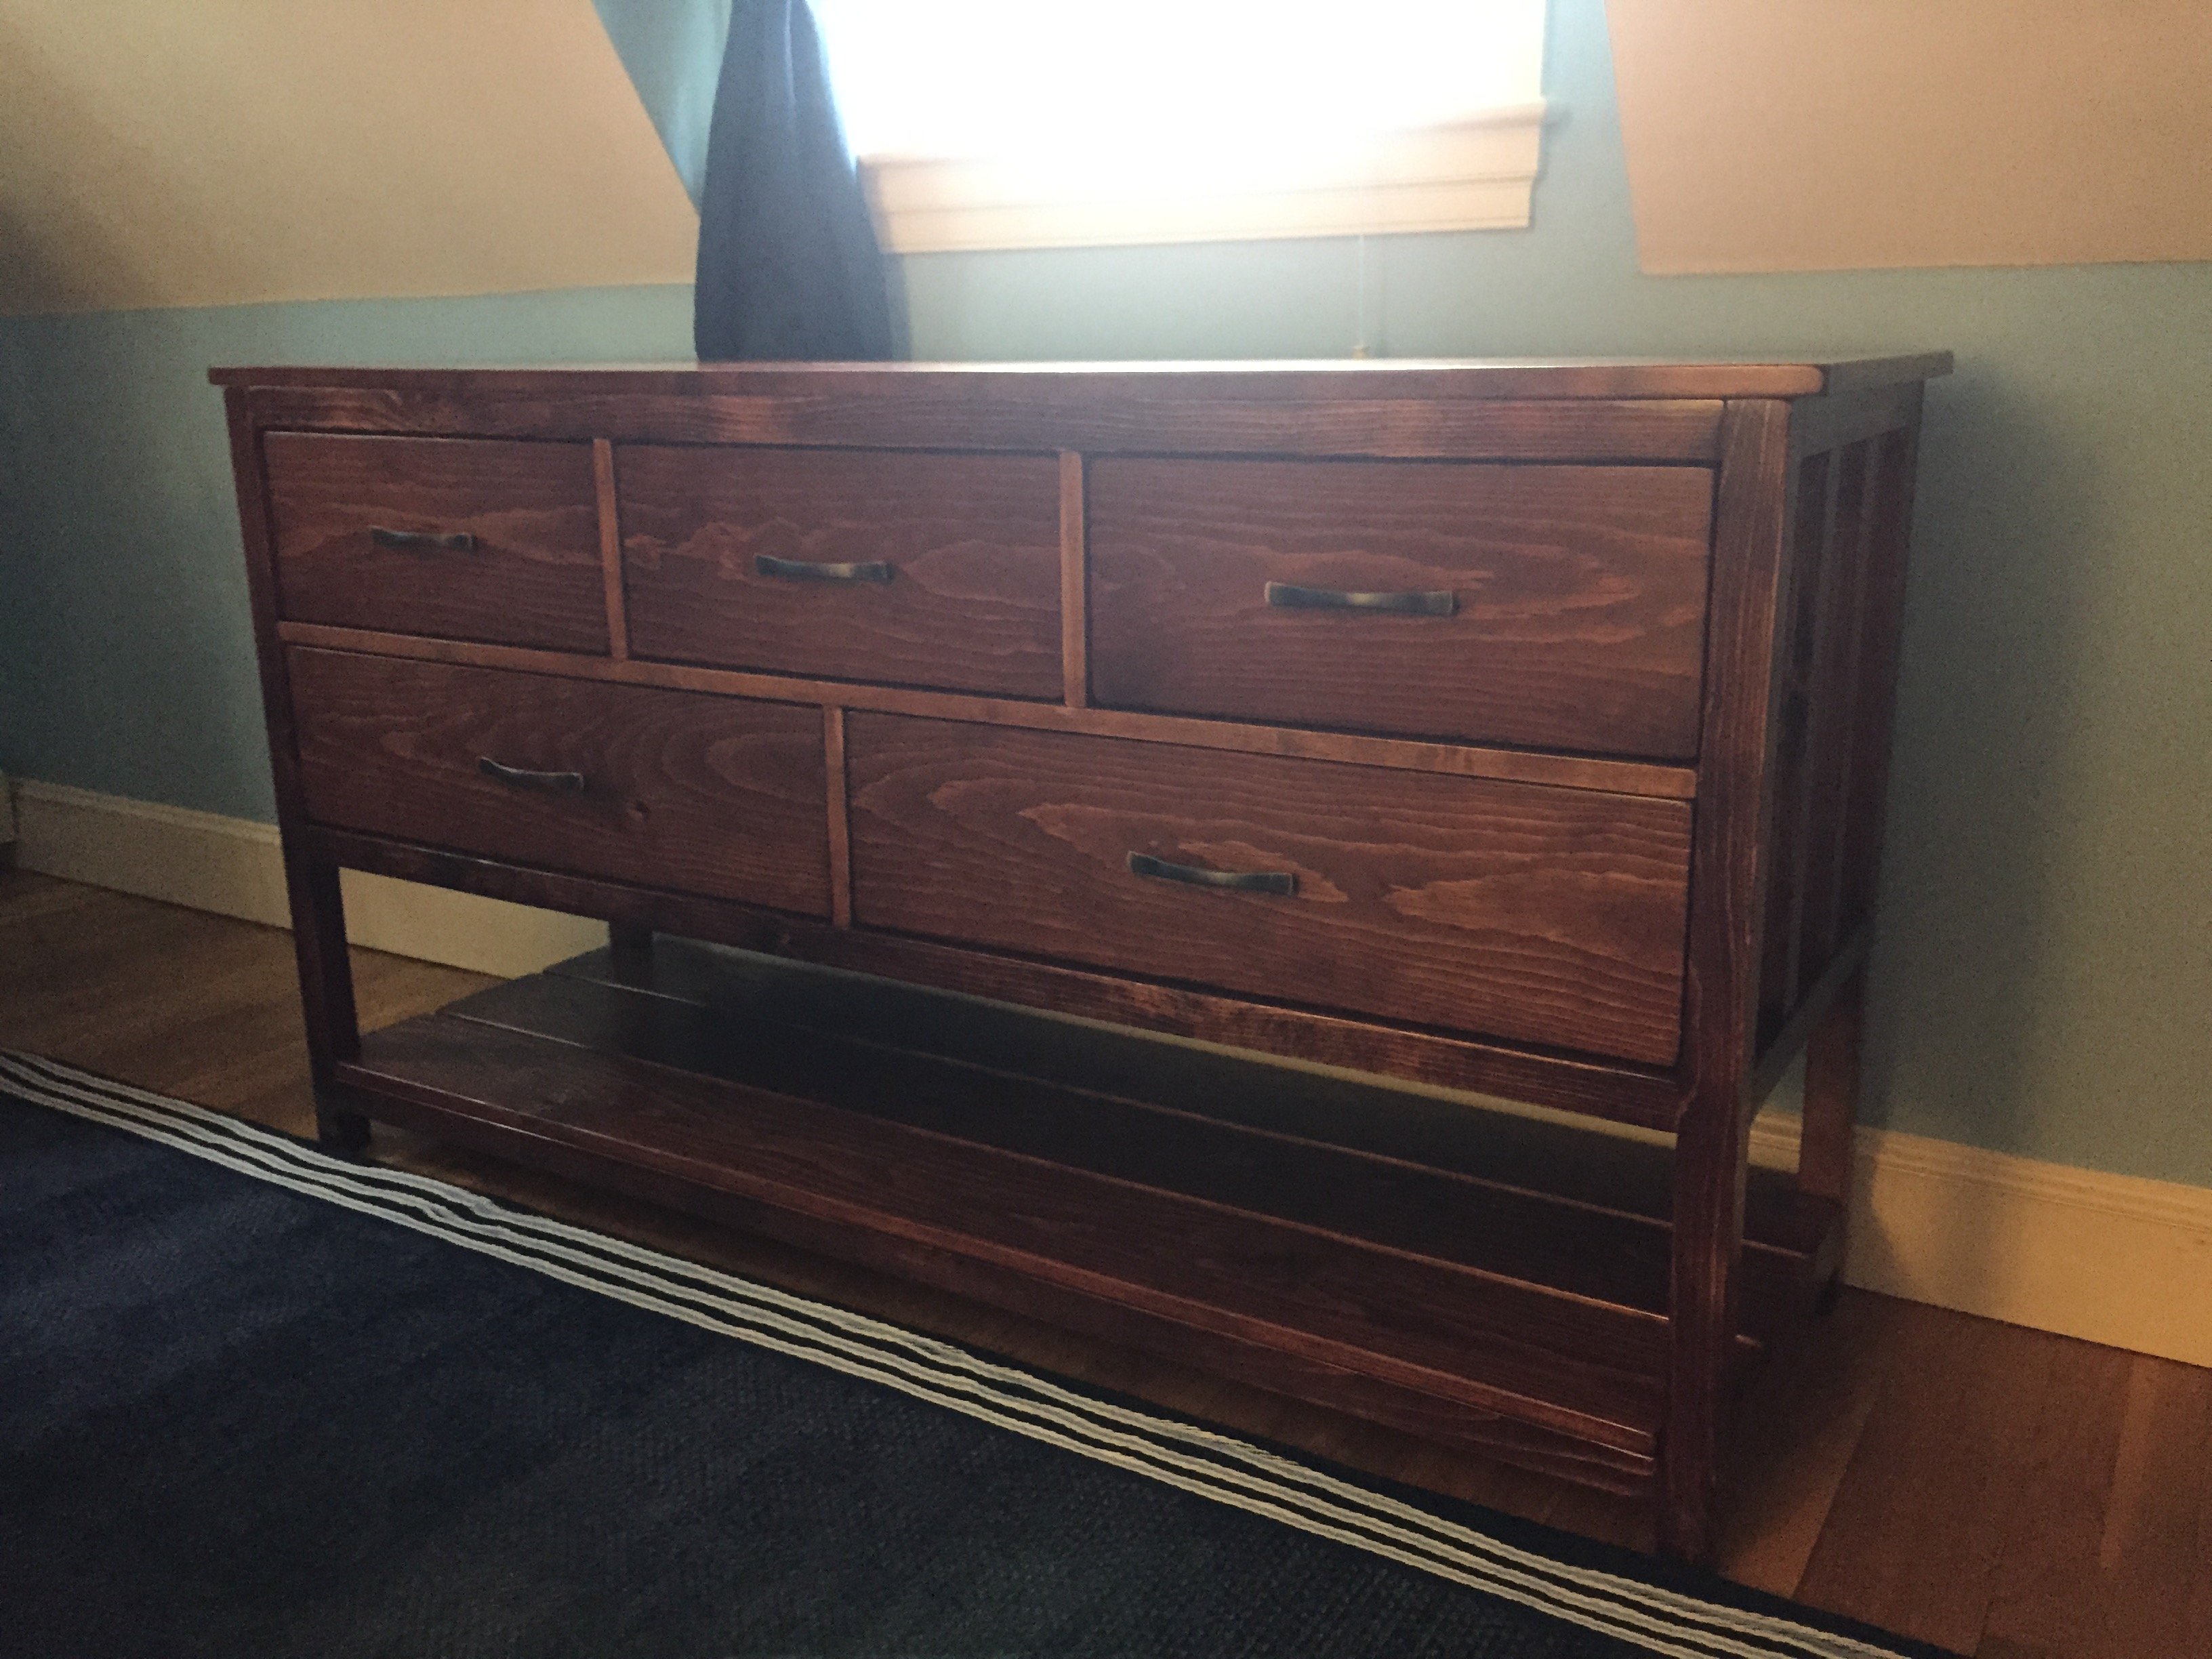
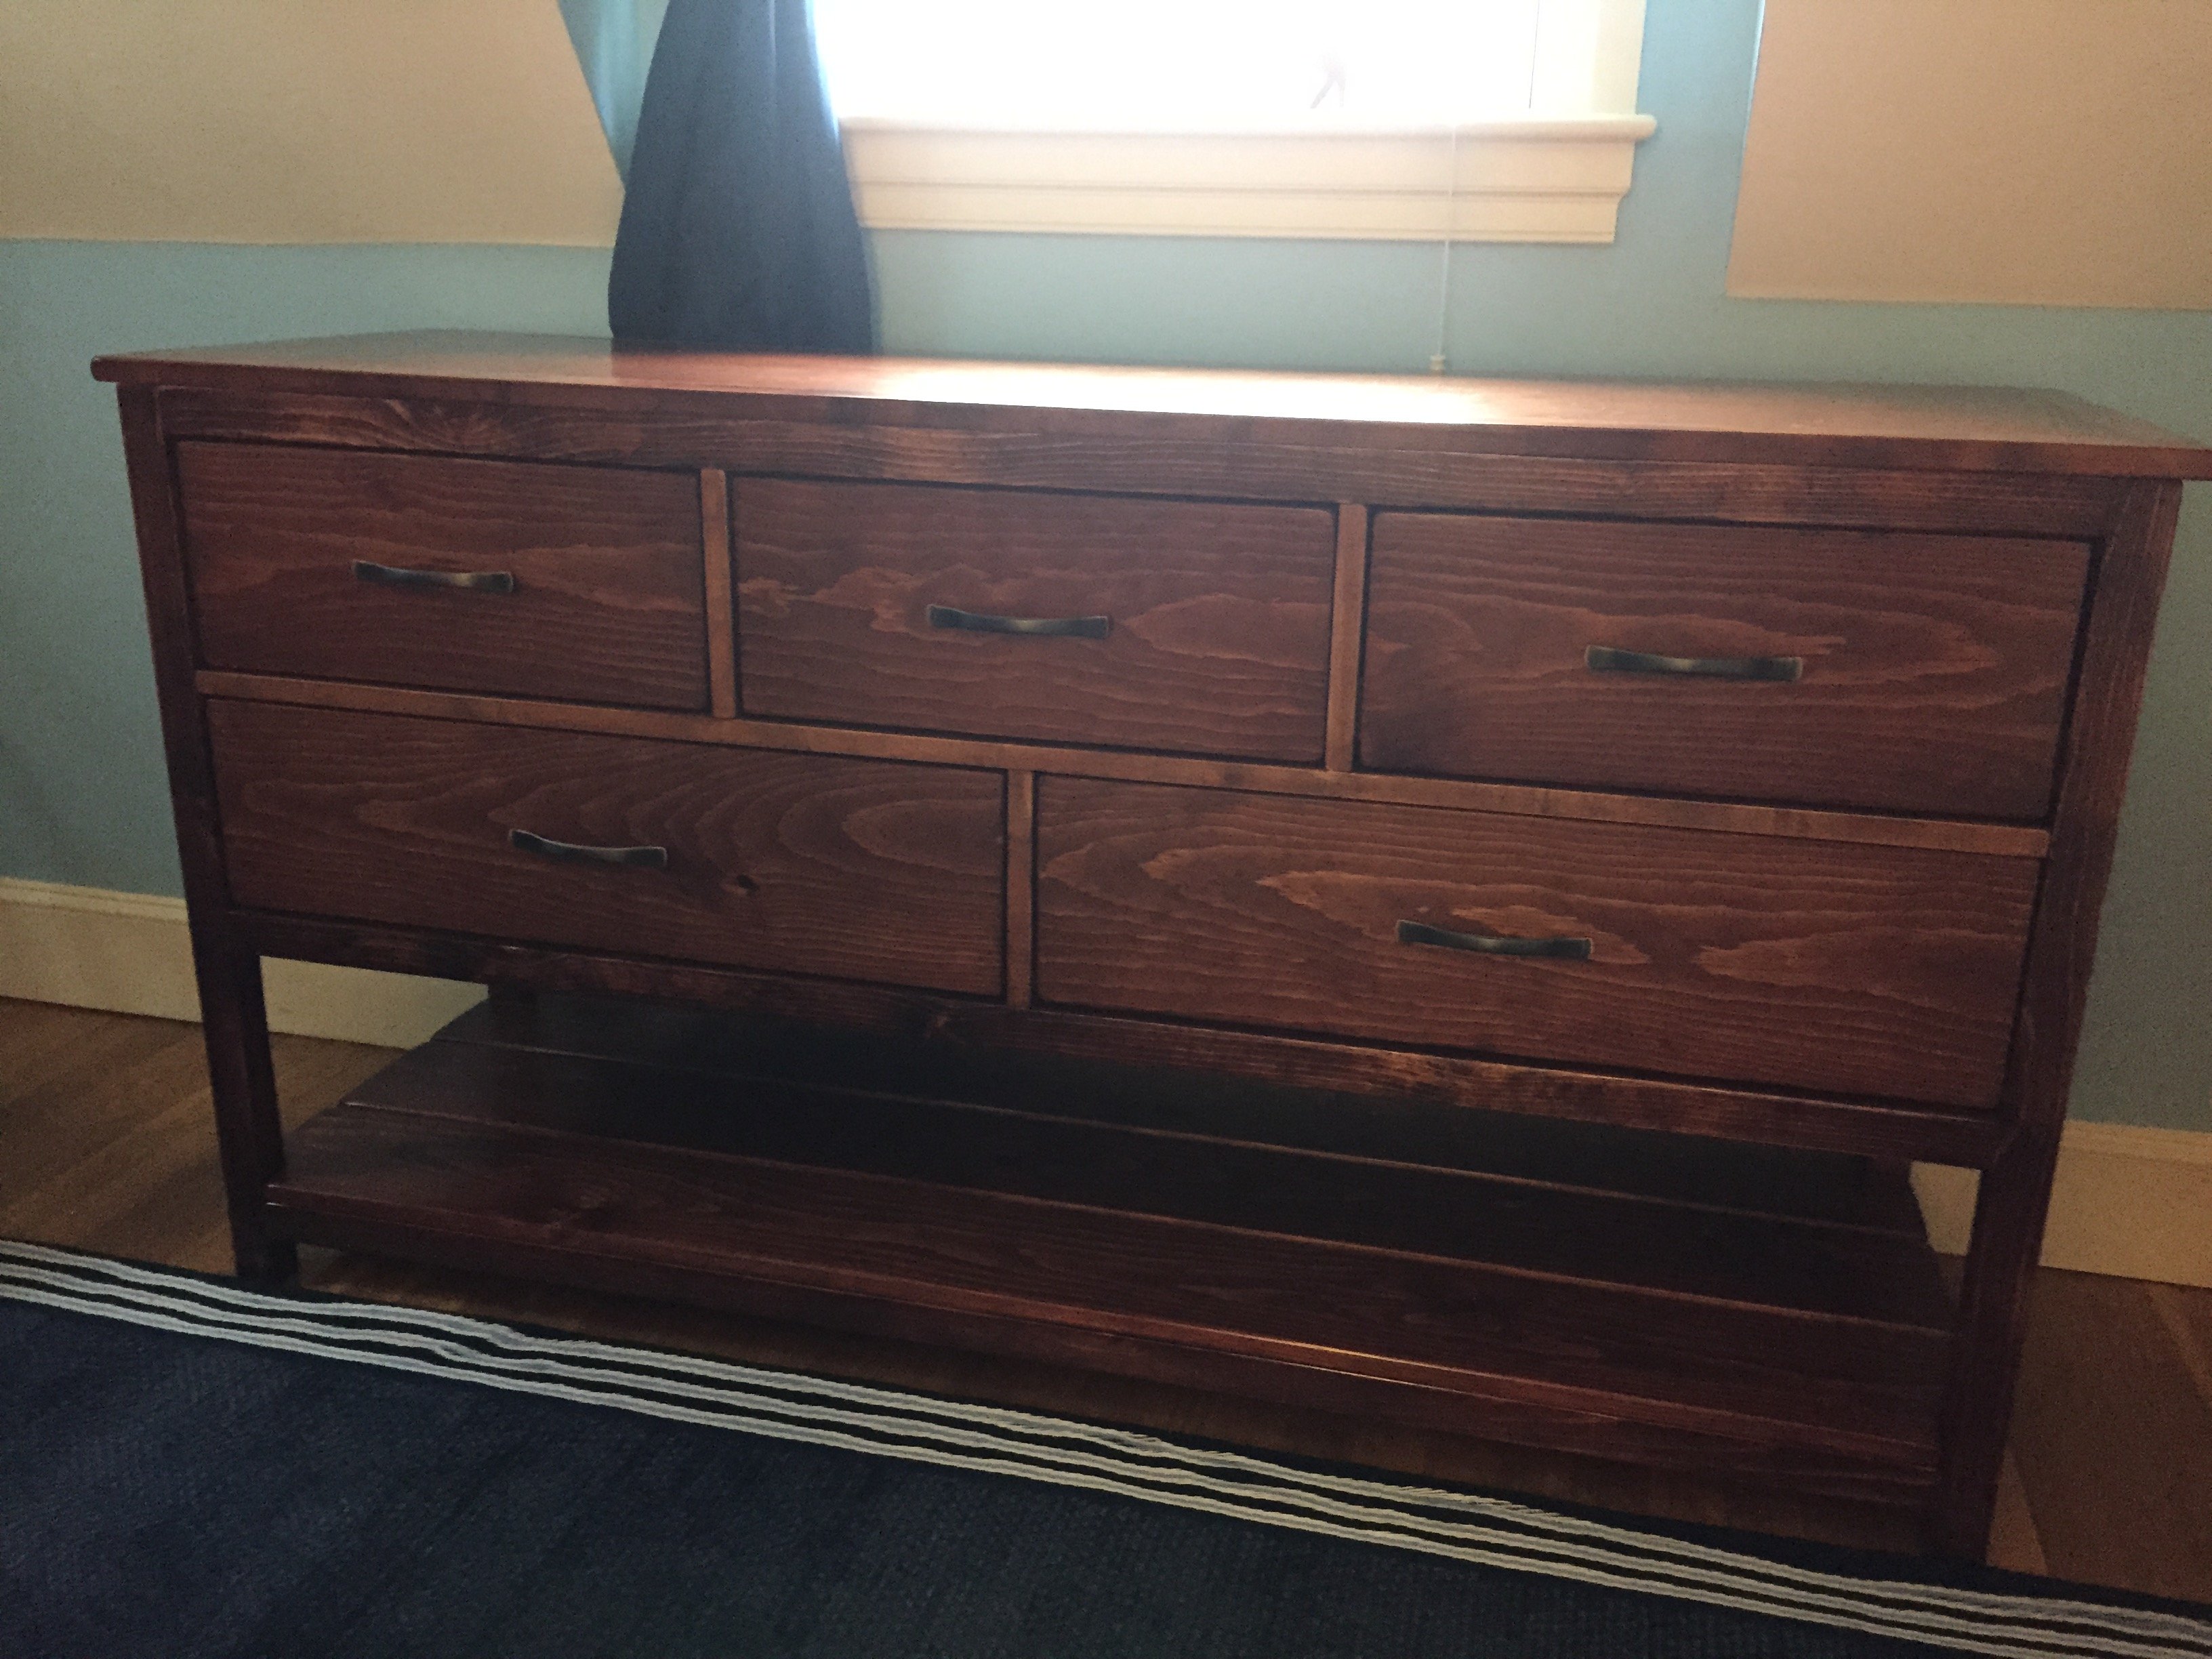
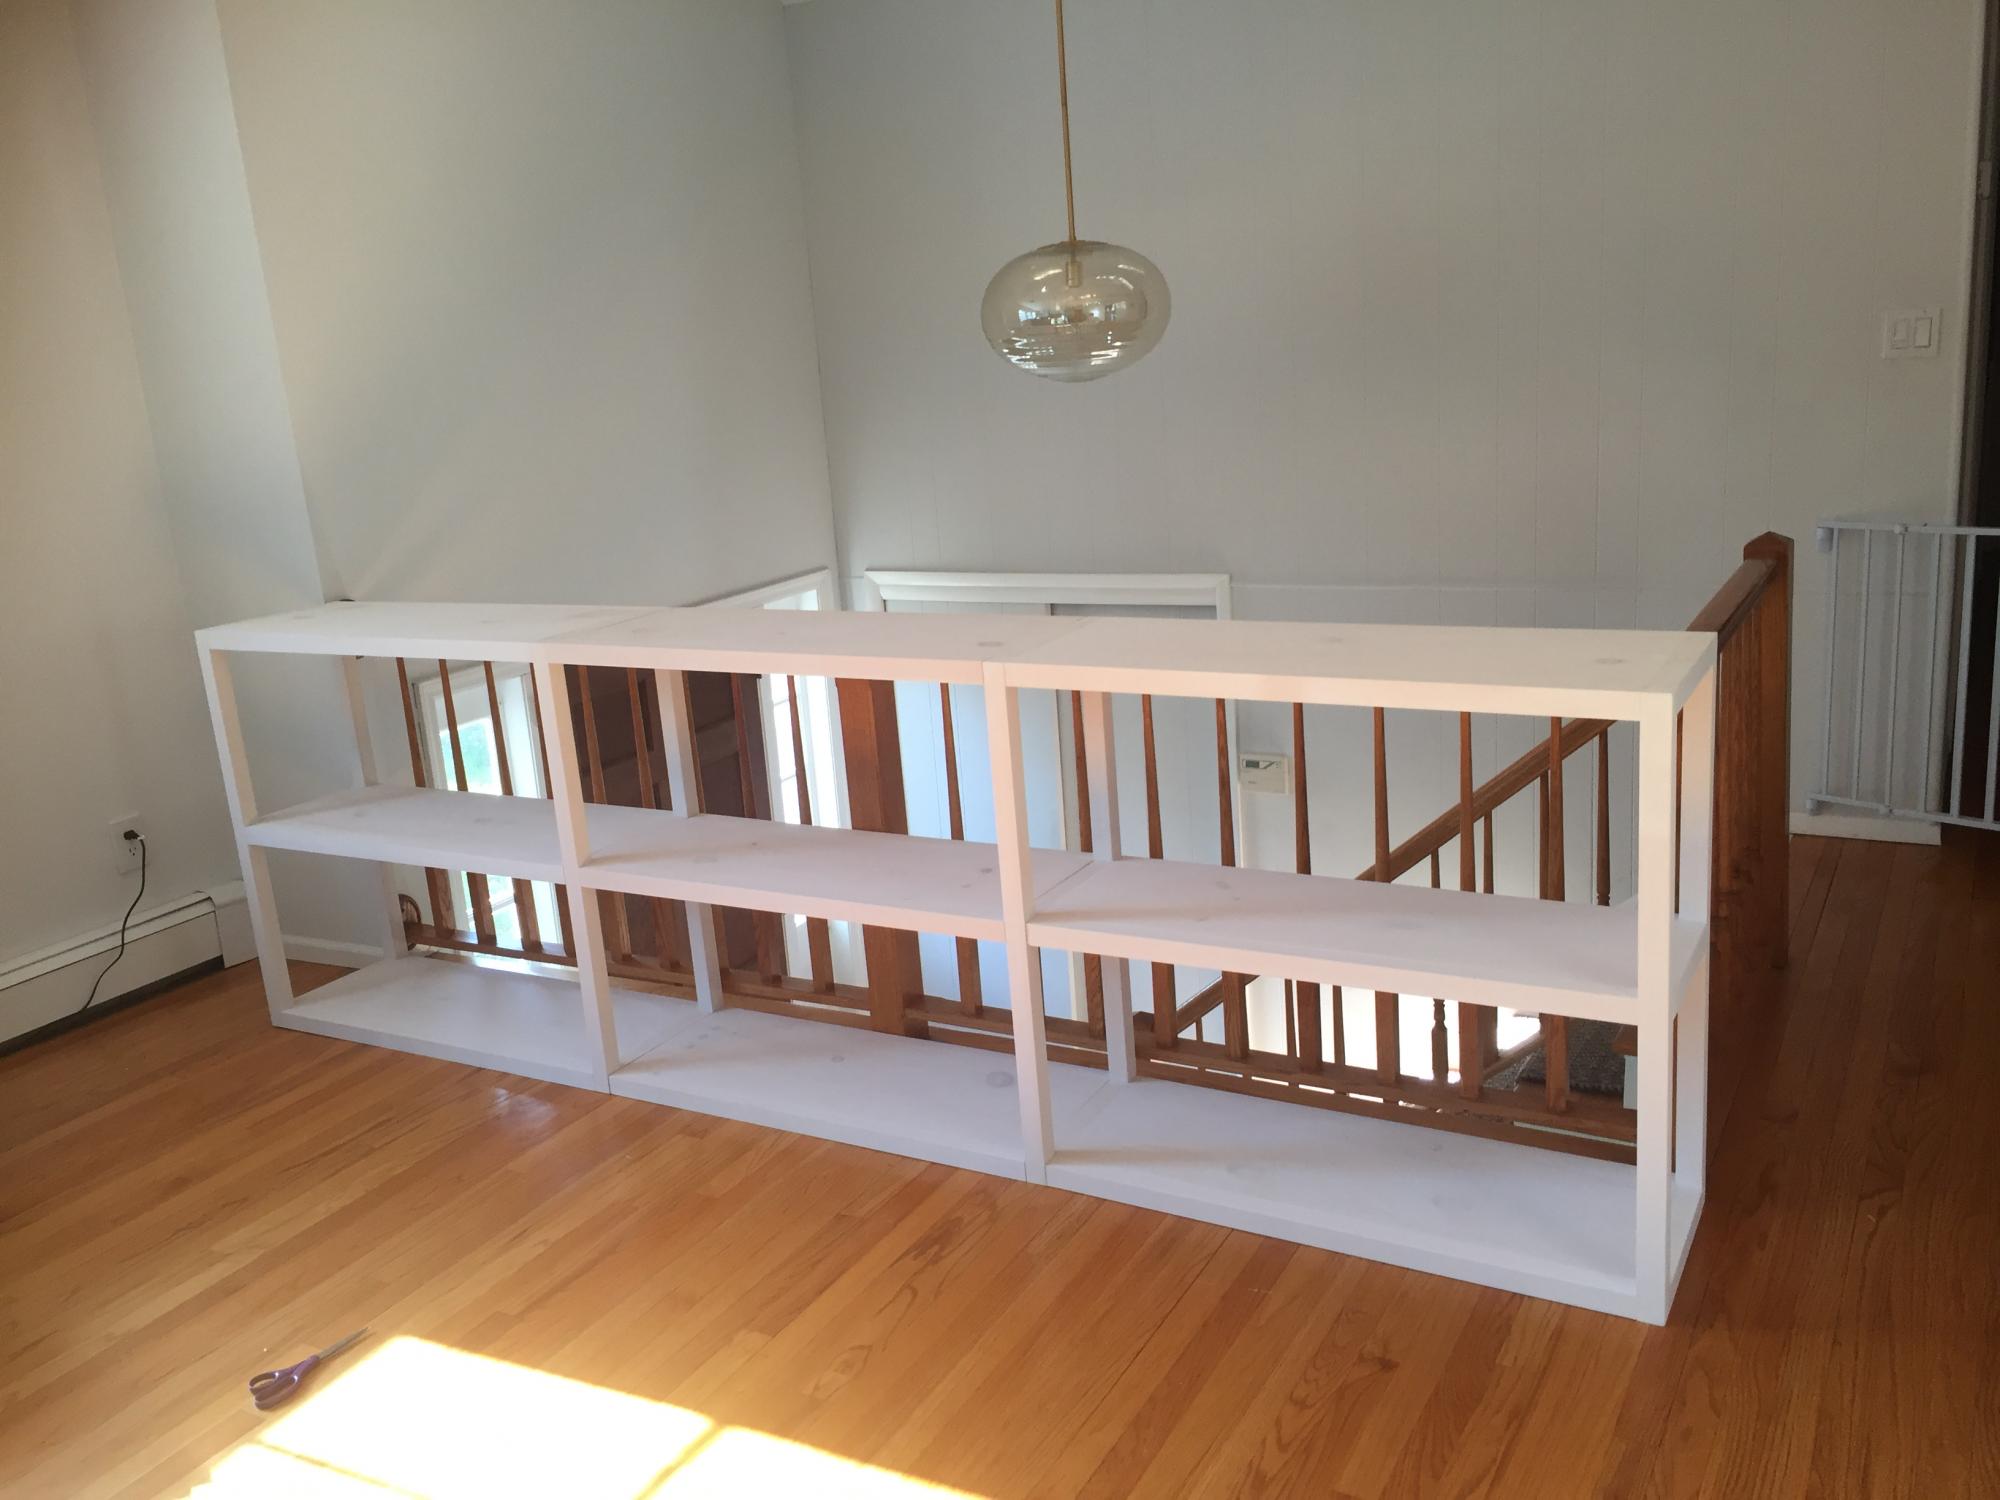
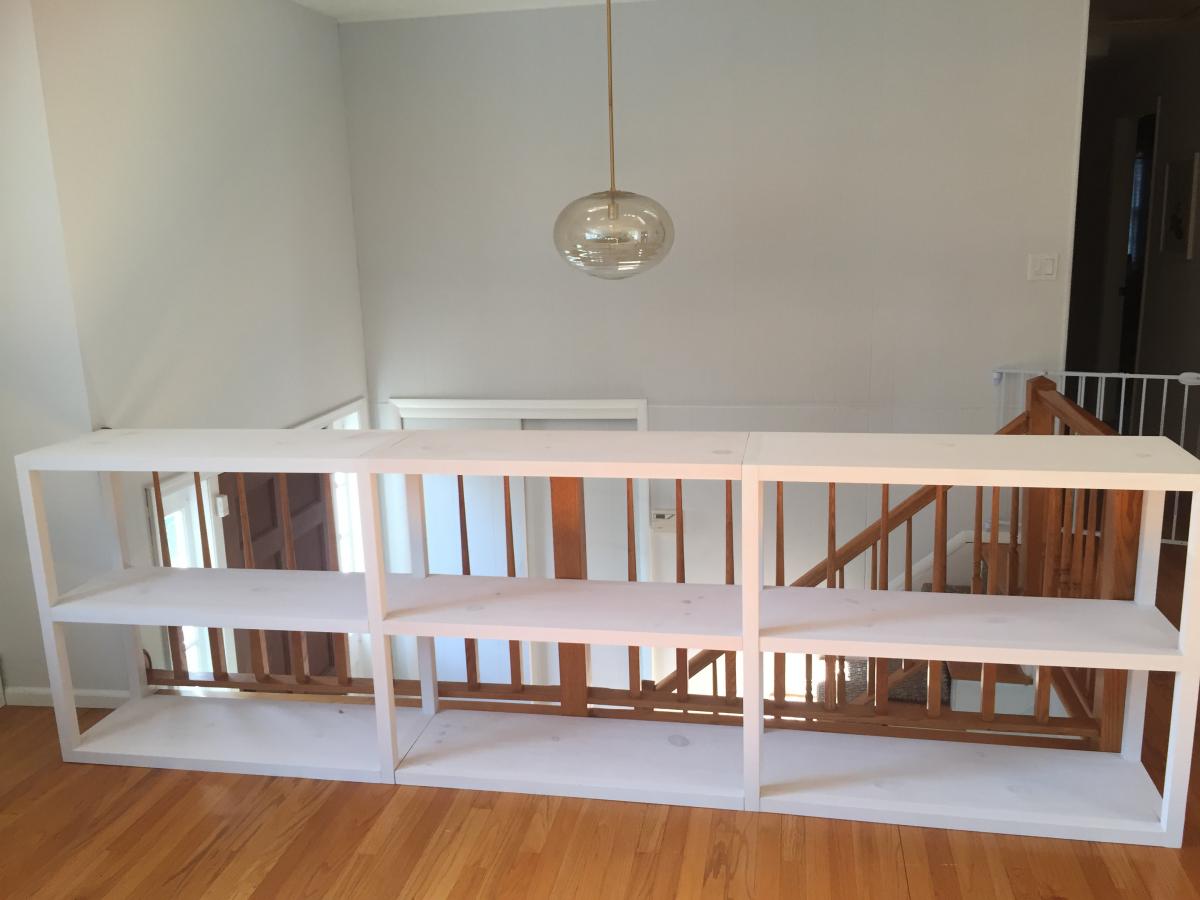
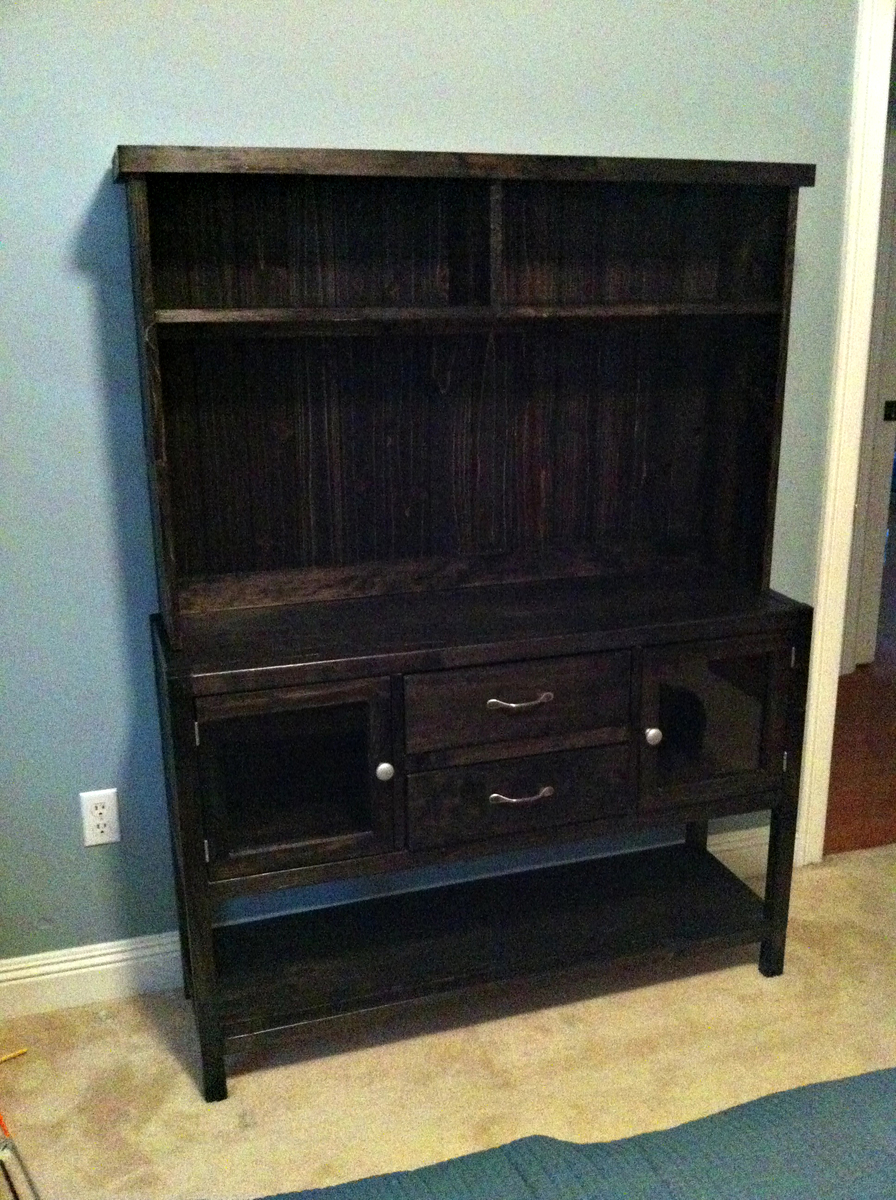
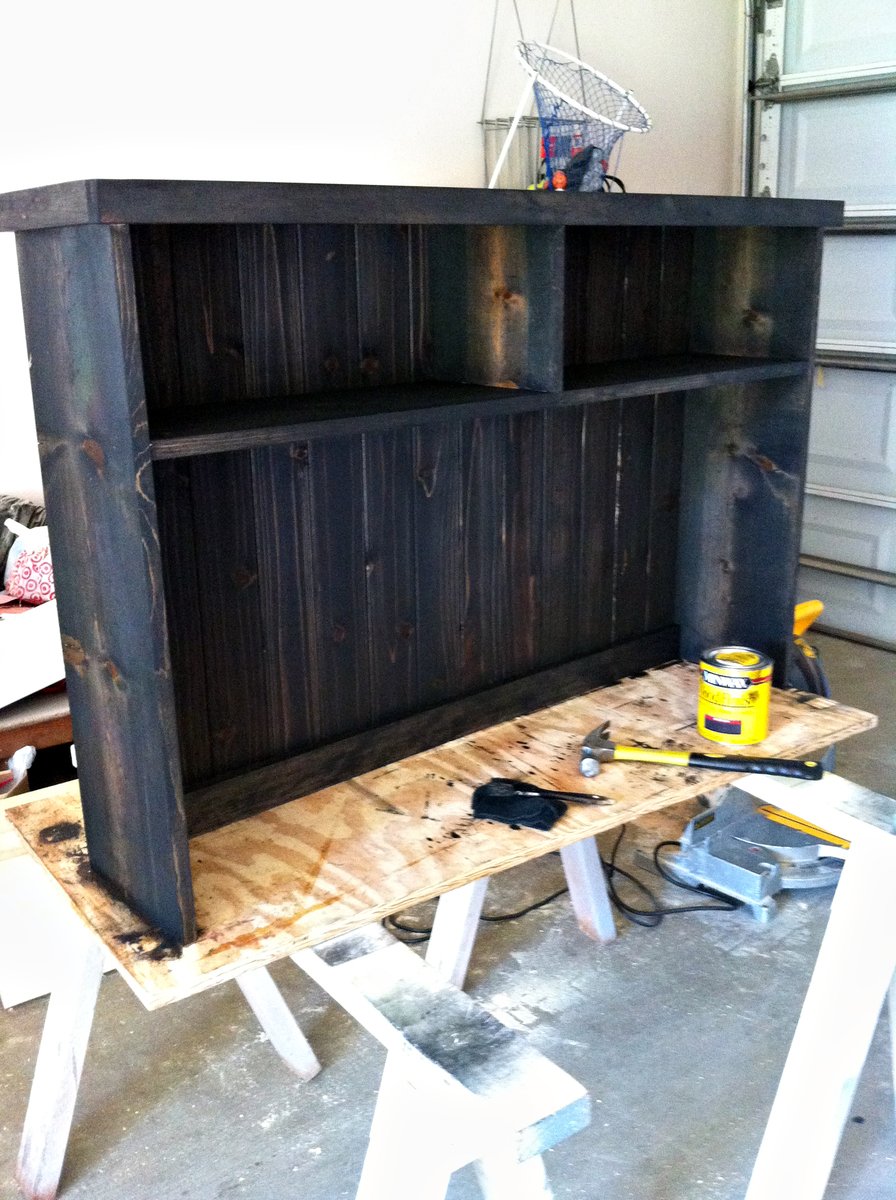
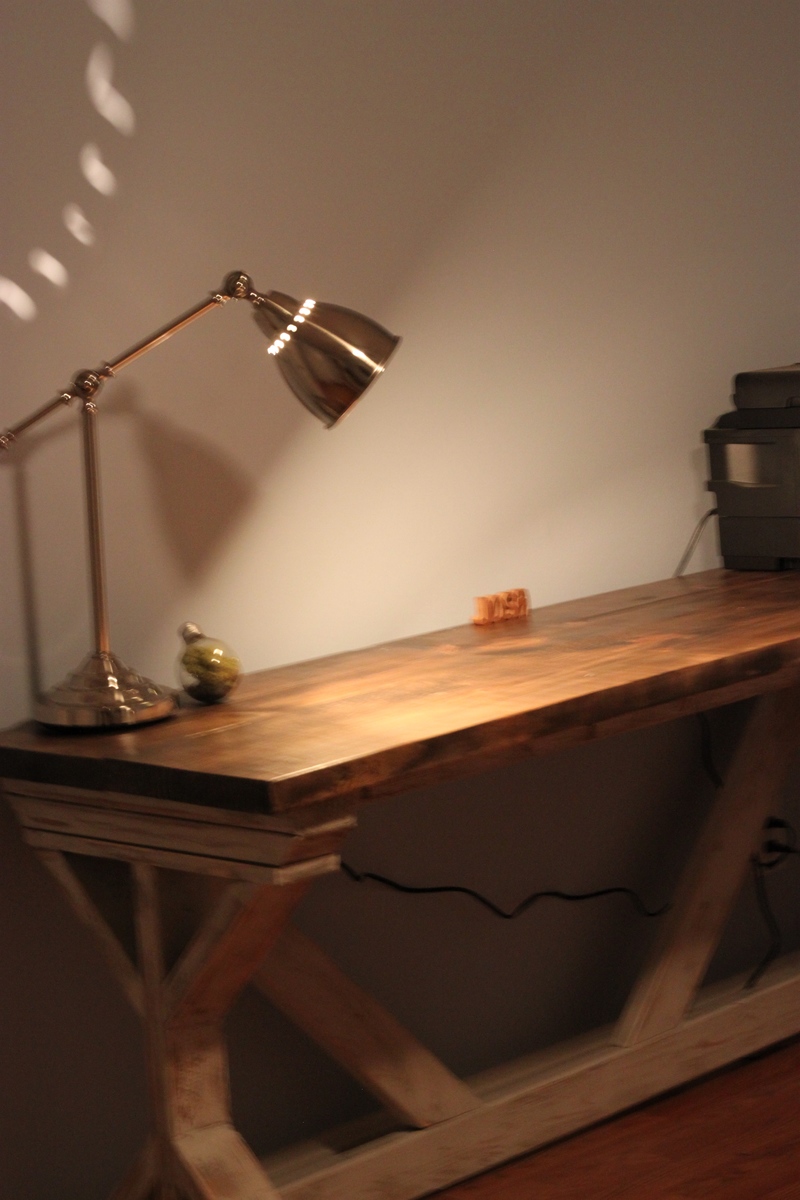
Wide Cabin Dresser
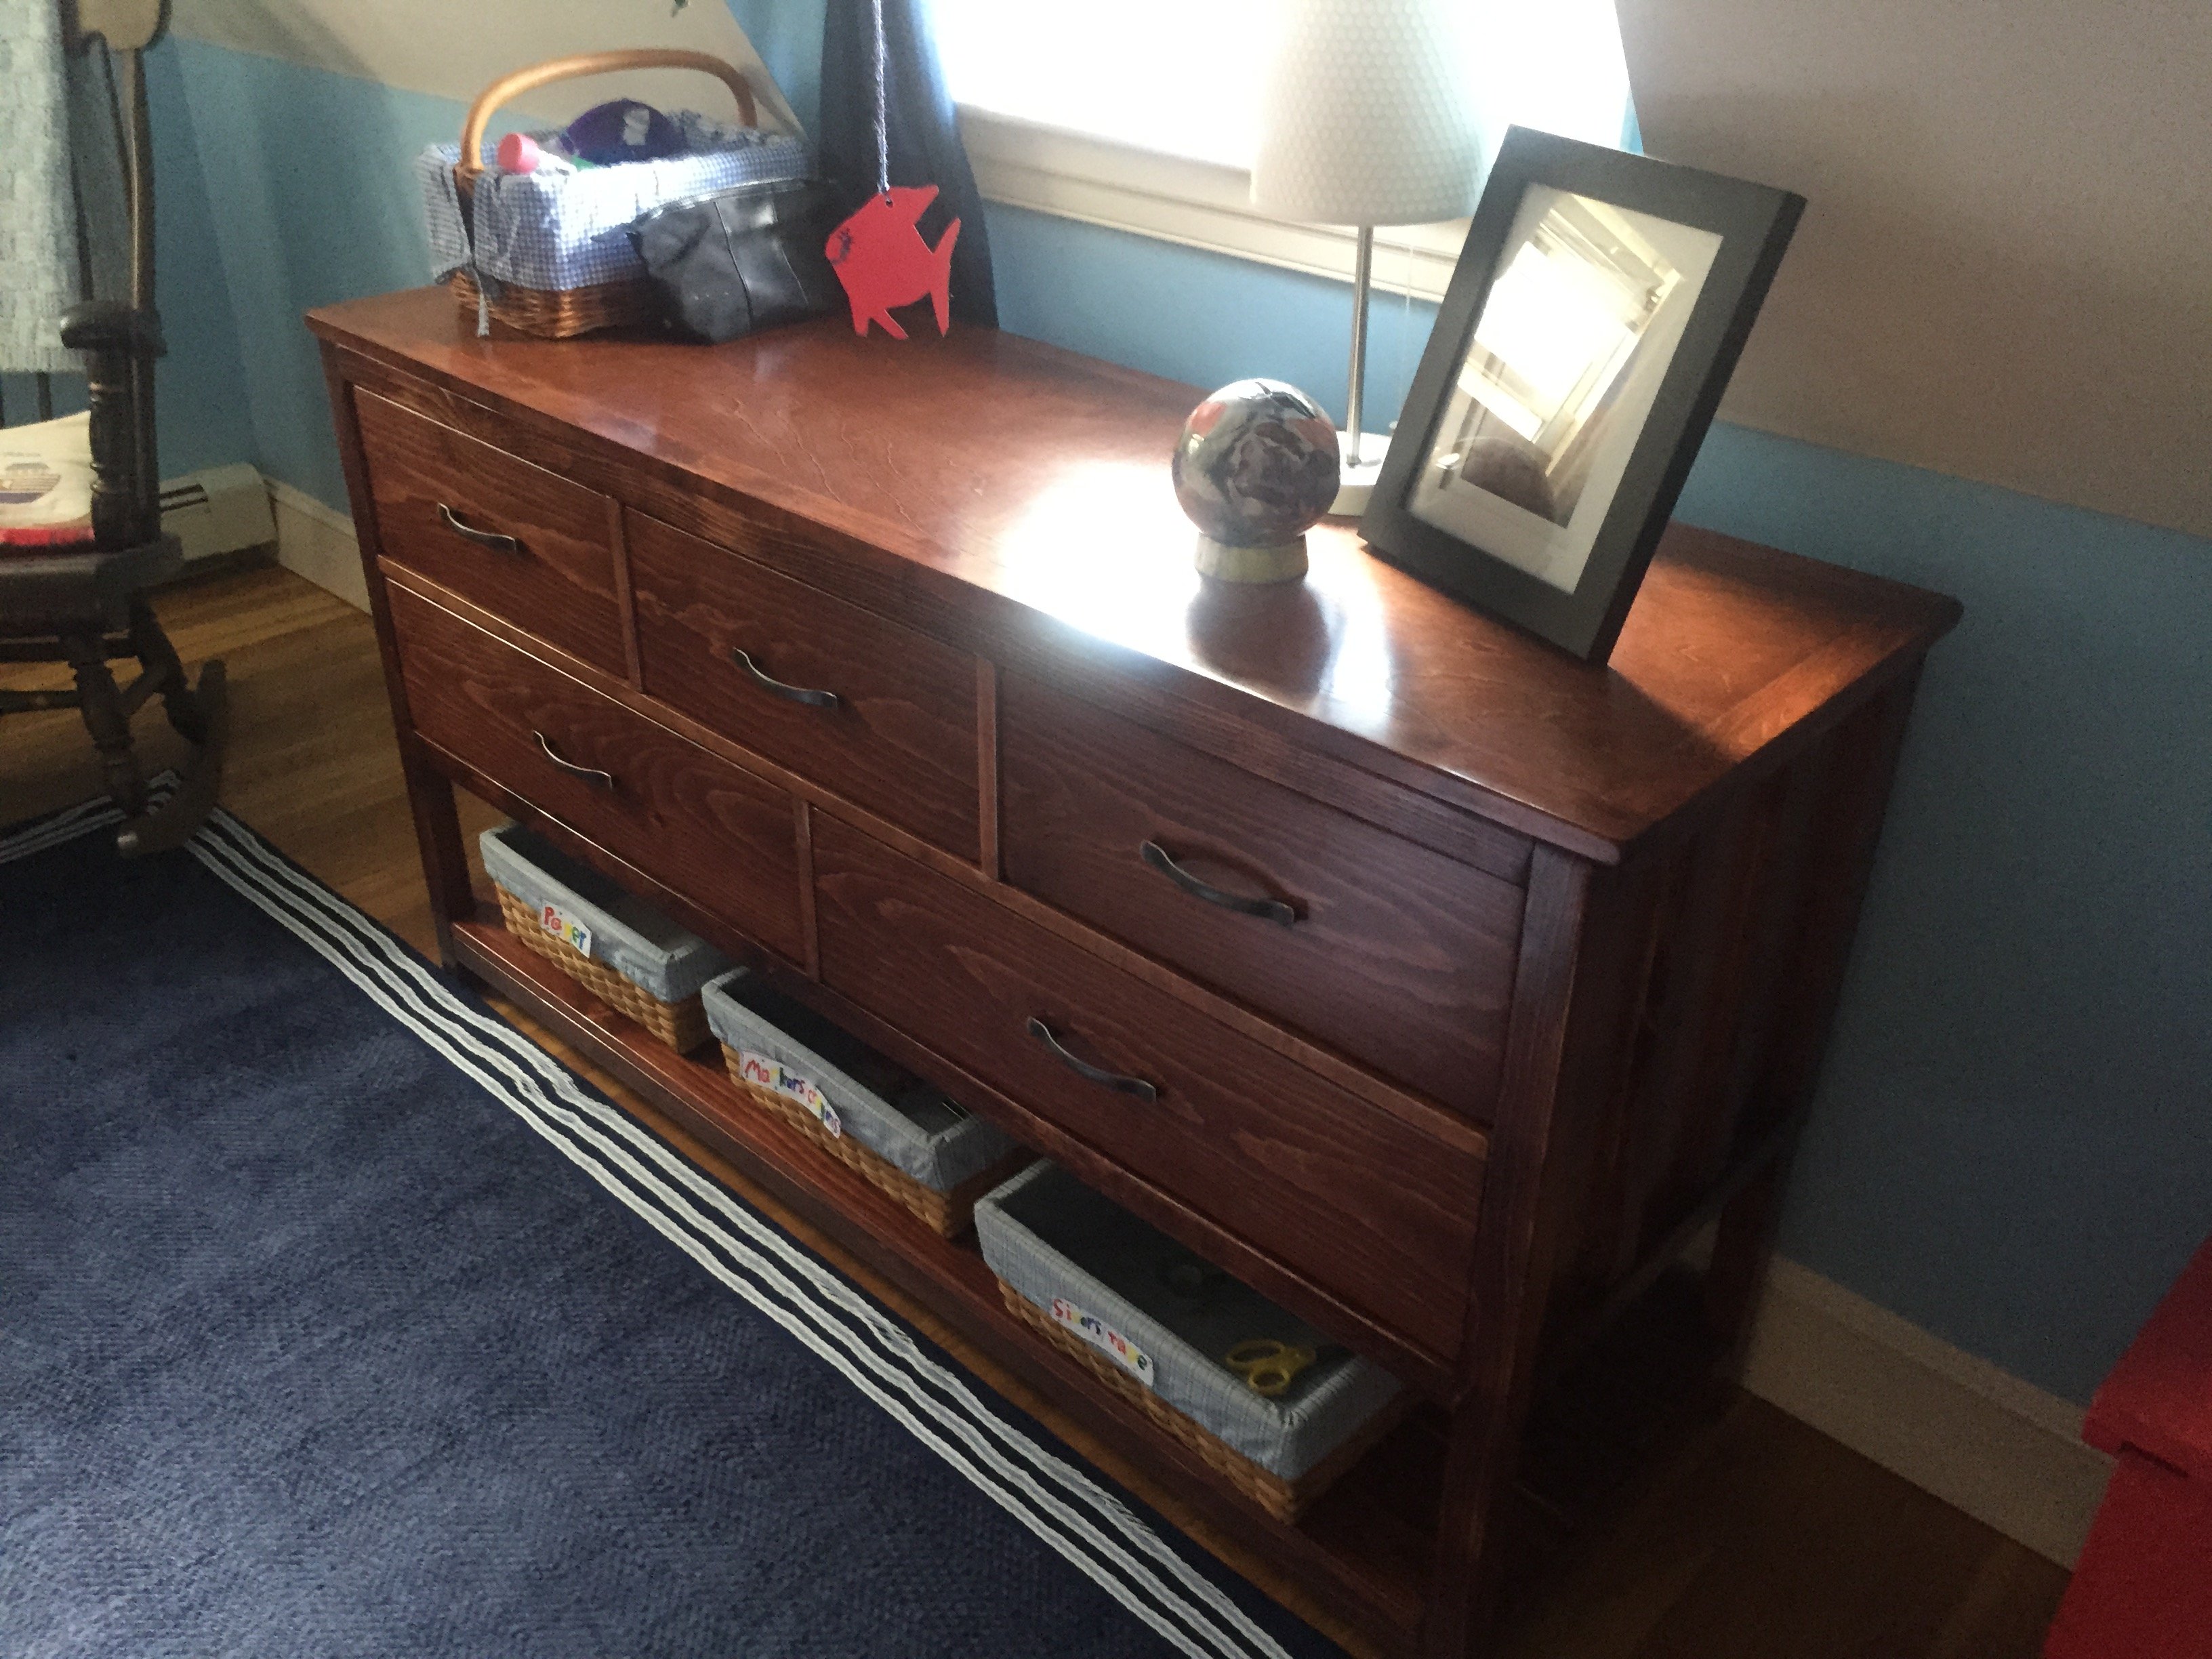
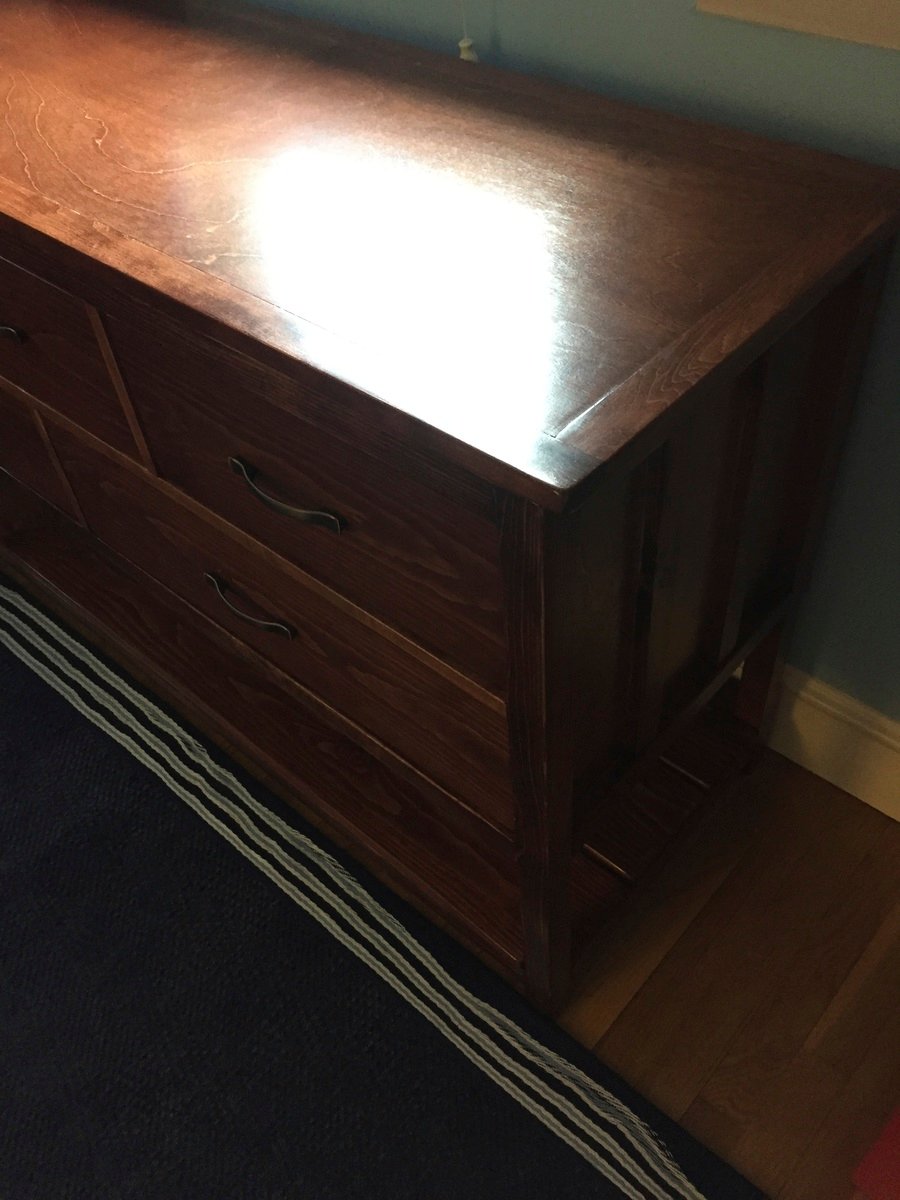
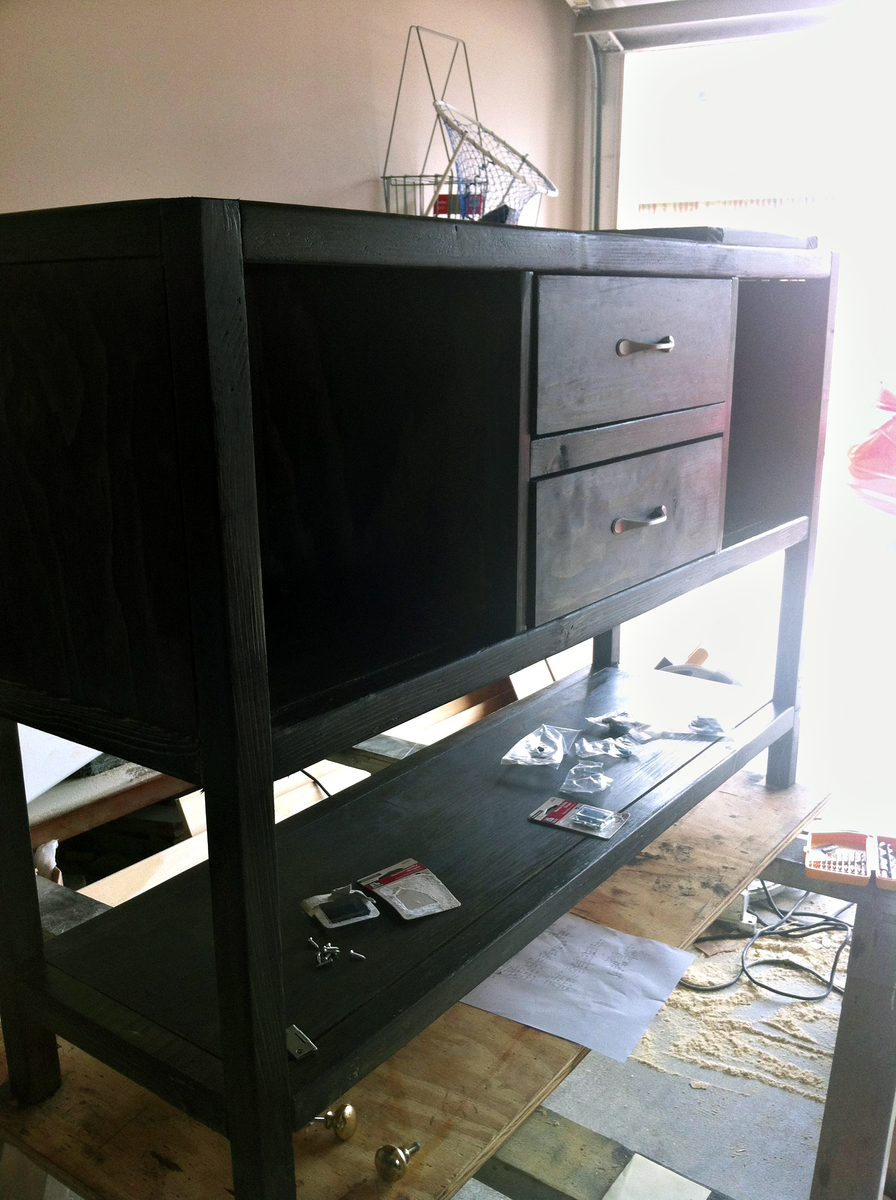
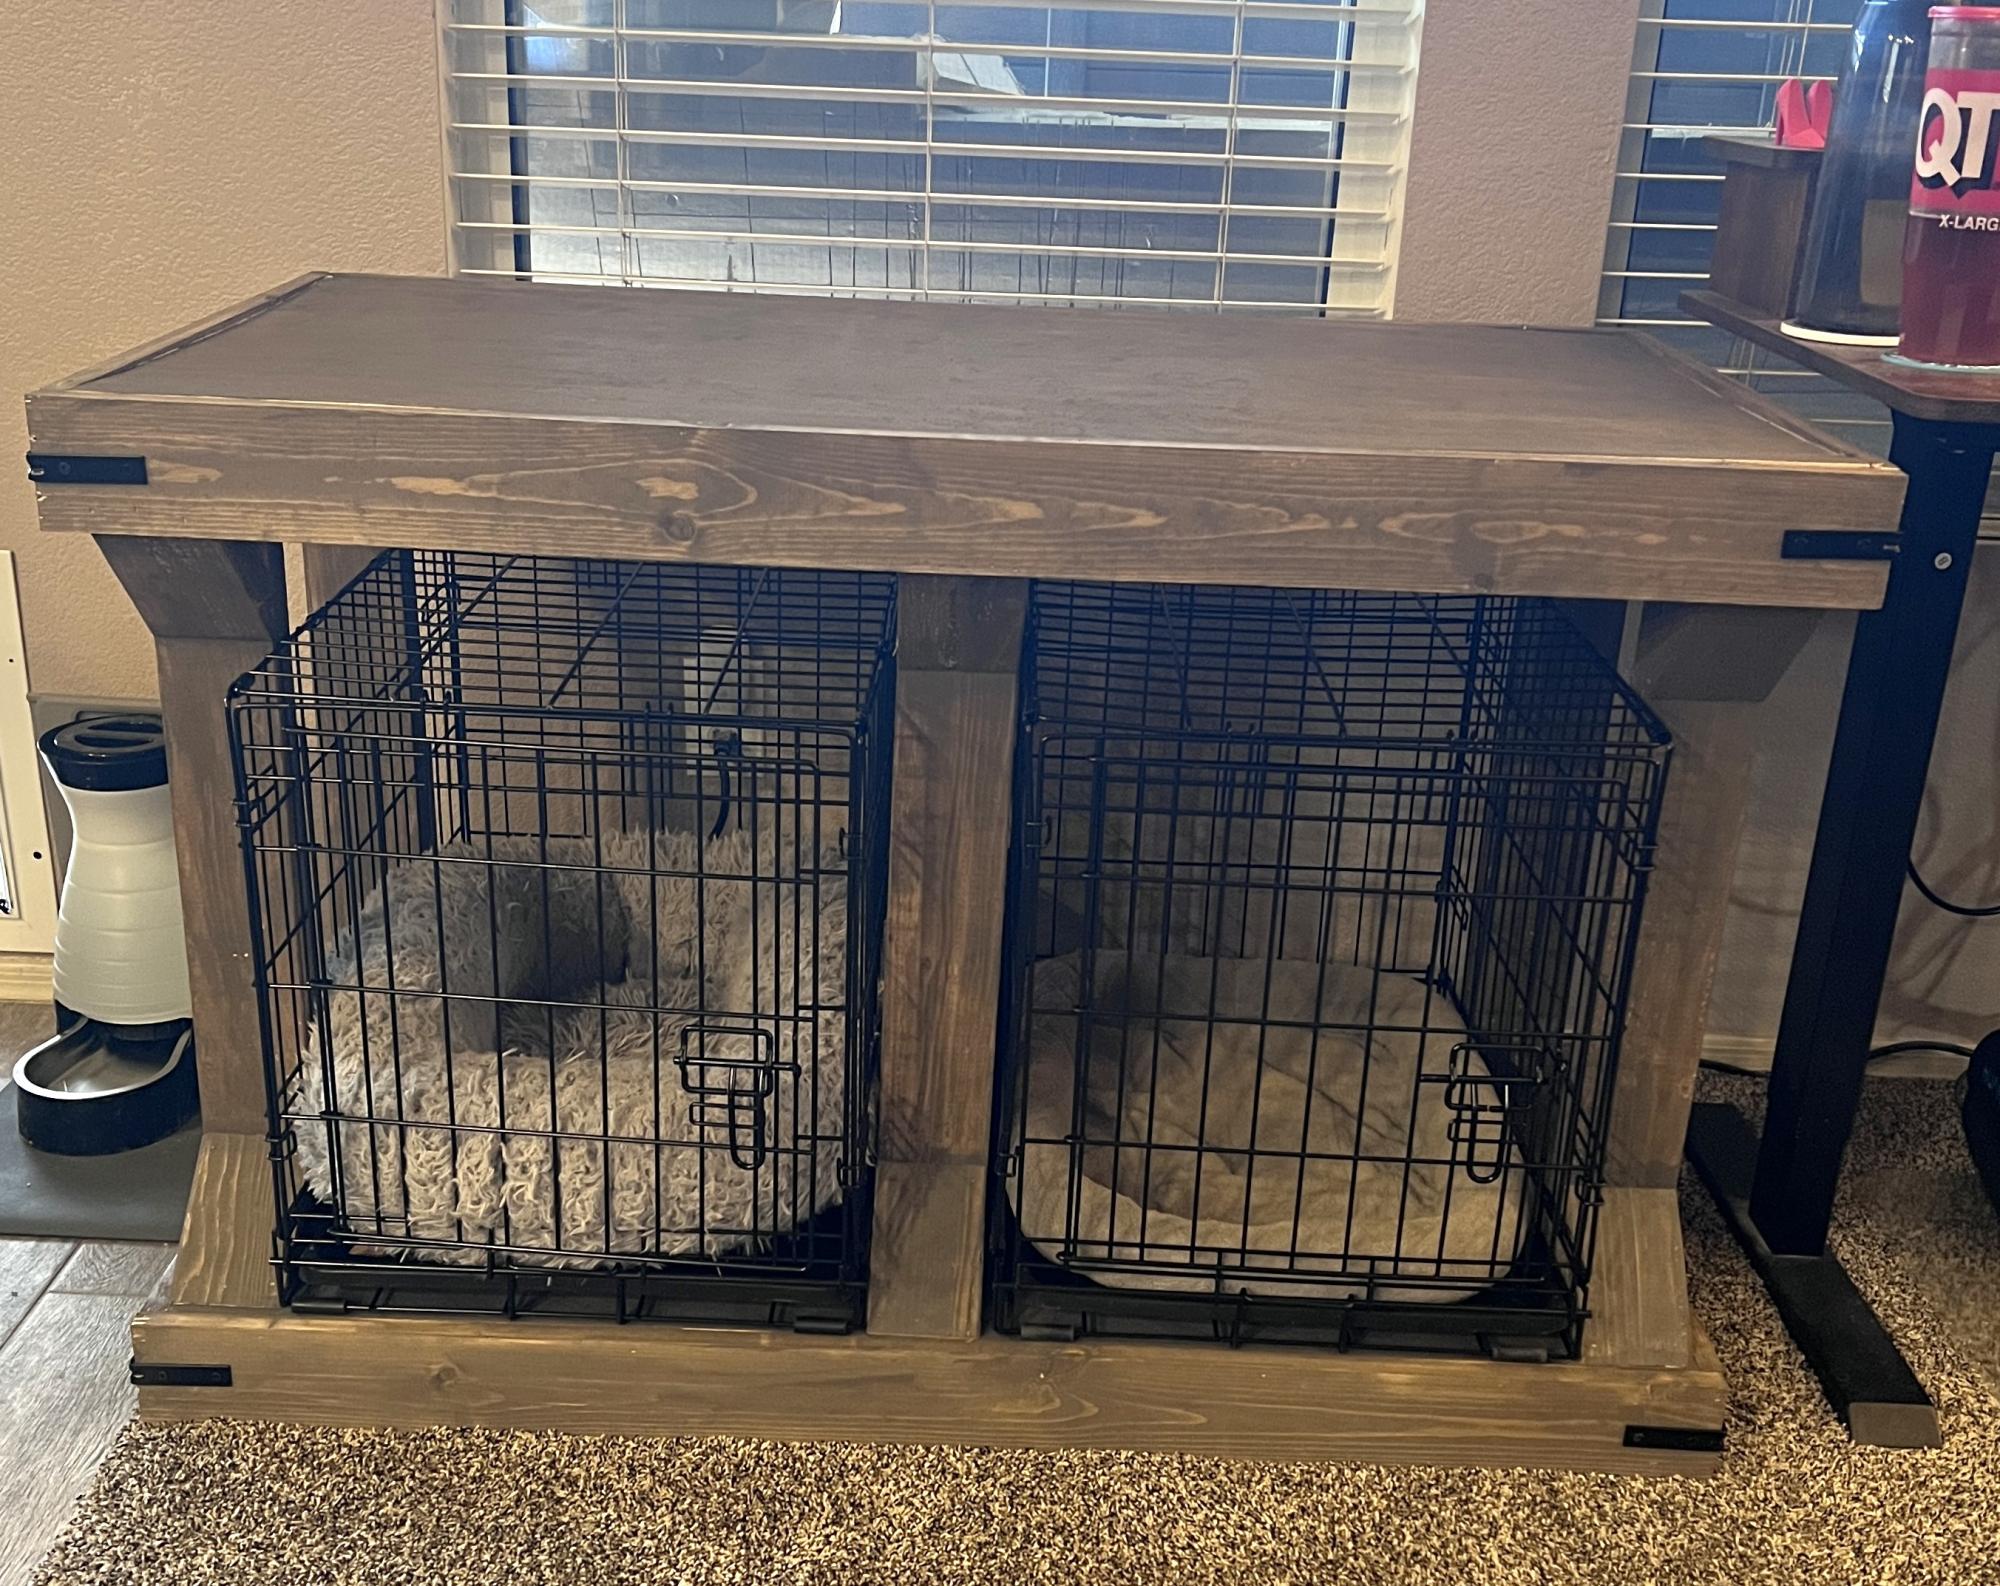
Built from the Wide Cabin Dresser w/ metal slides plans. I used soft-close ball bearing drawer slides instead of the European style ones suggested. The other departure from the plans: I liked the way the three separate boards in the open (bottom) row looked in the Pottery Barn model, hence used that instead of the flat board shown in the plans (and many of the other brag posts).
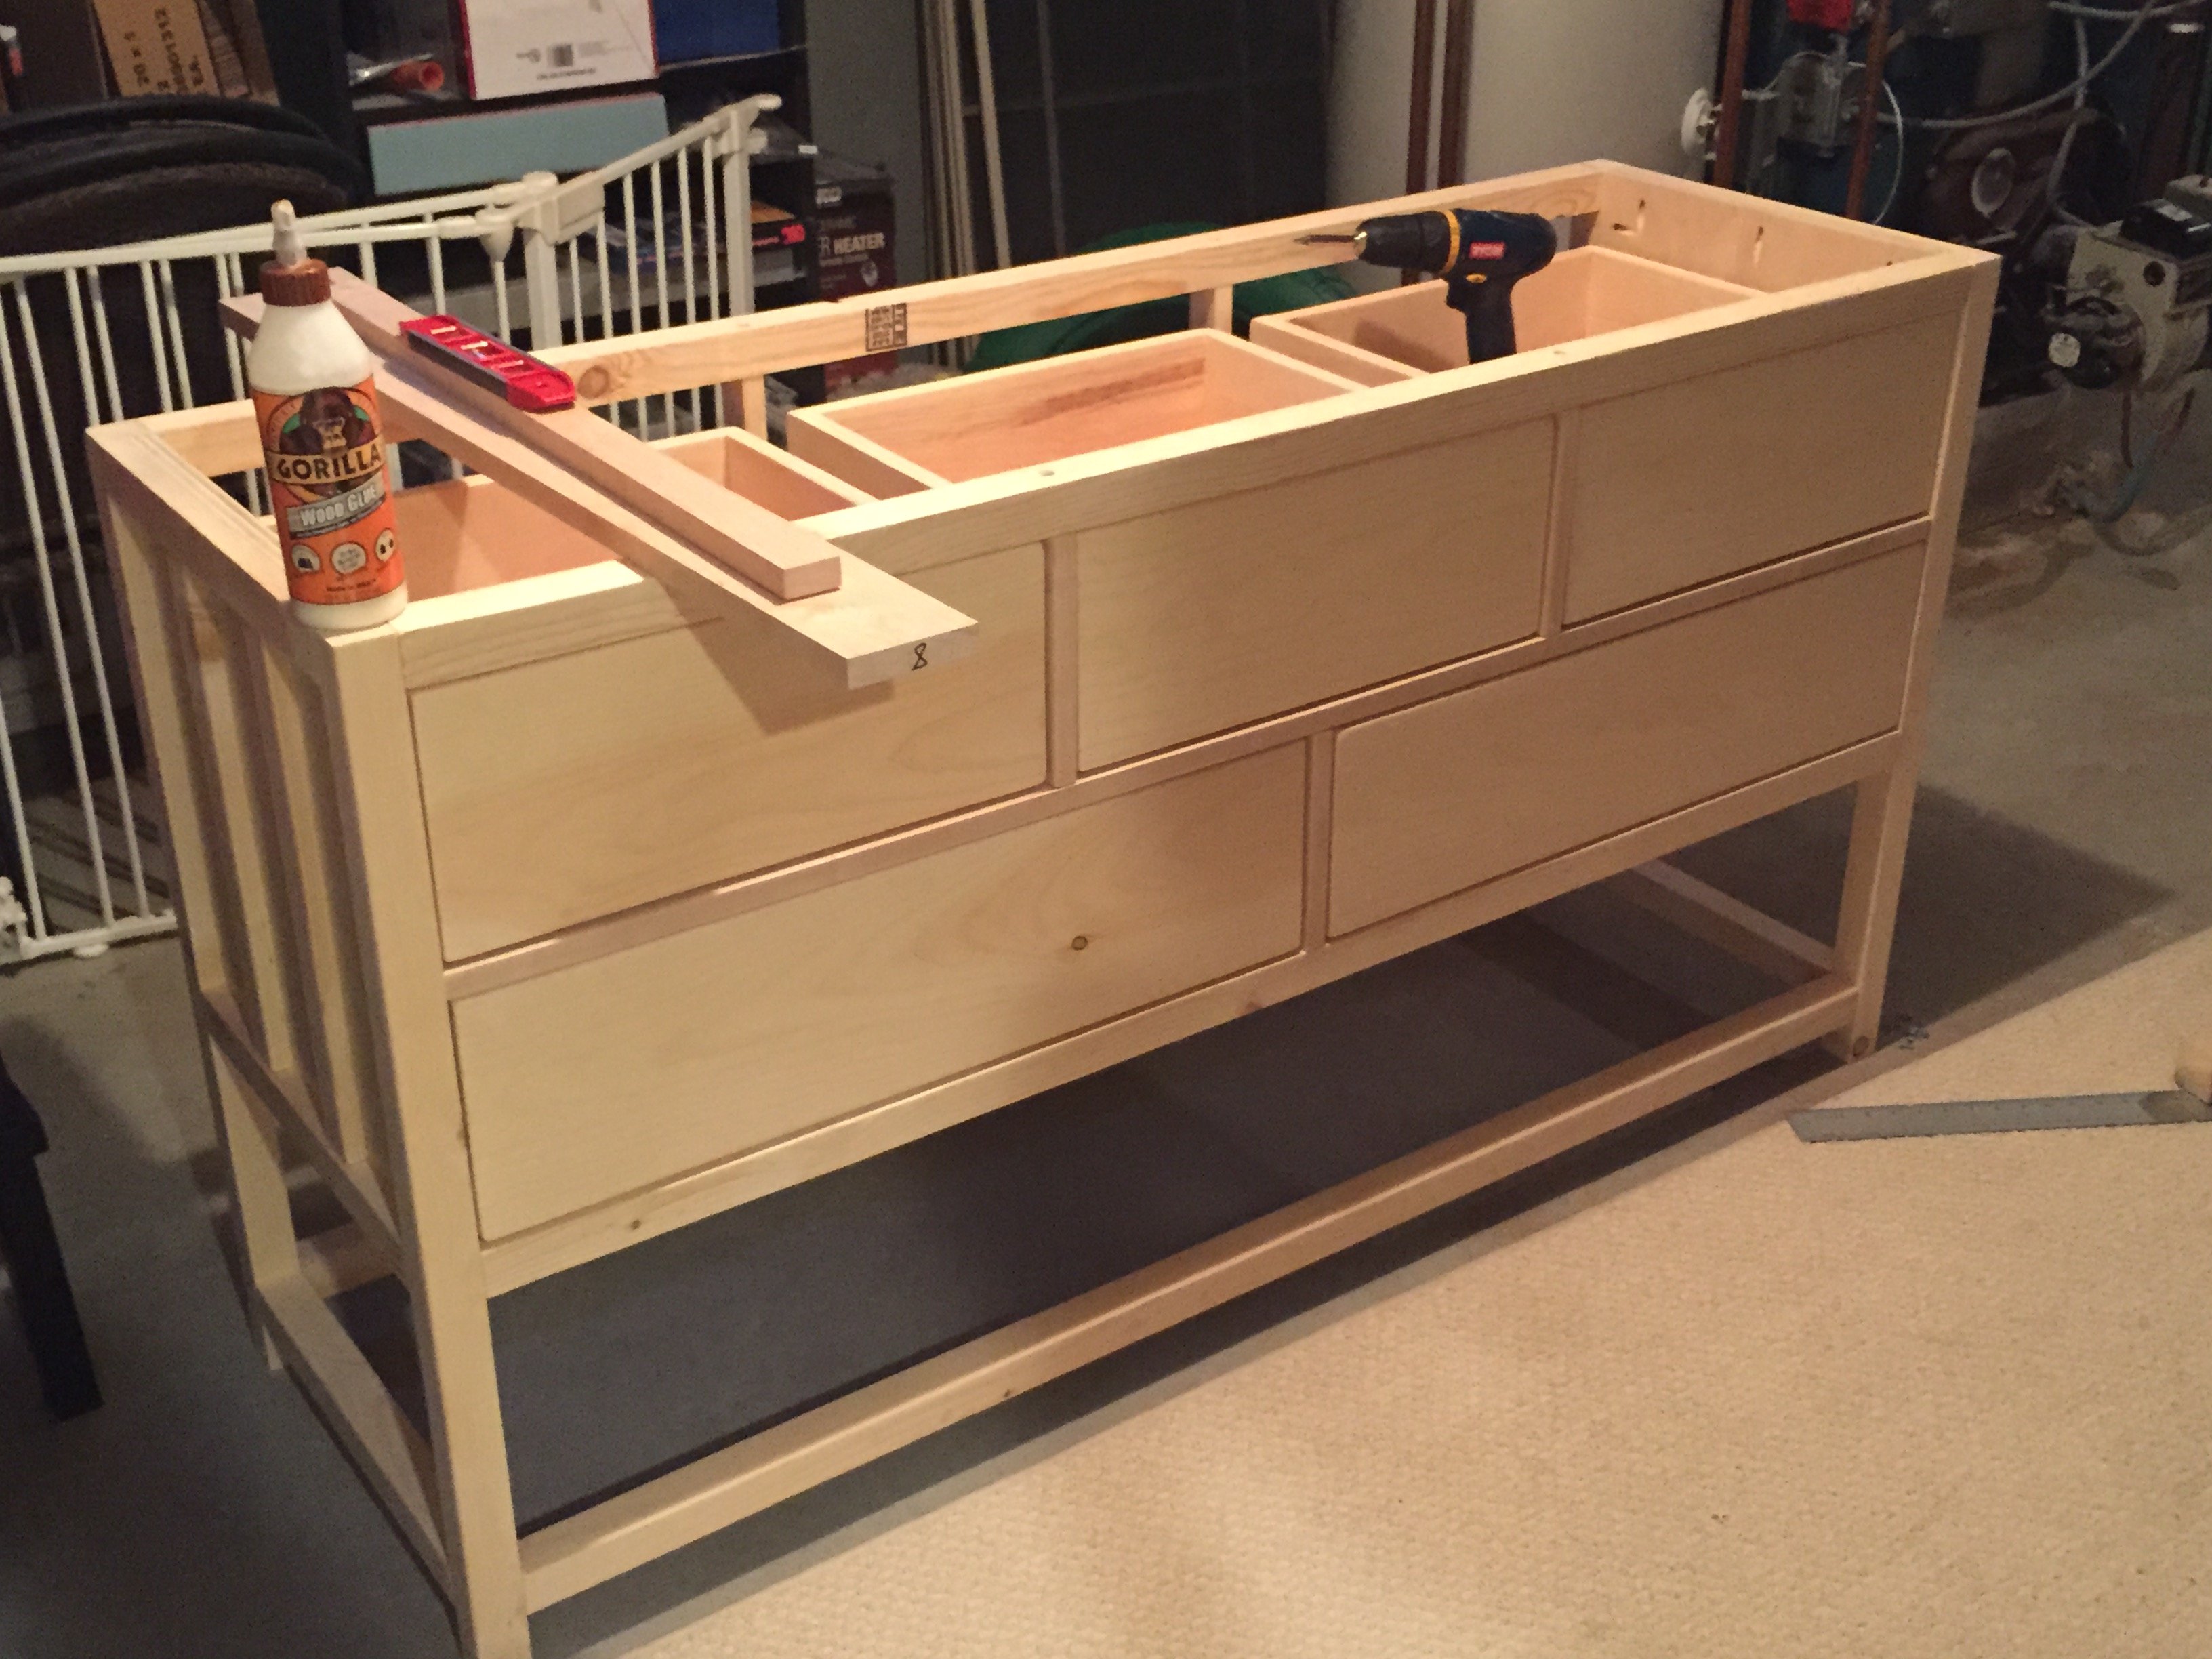
I don't know how people manage to get this done in a single digit number of hours. It took me a single digit number of hours just to get the drawers right and I would still say they're not 100% perfect. Having said this, I rated this project "intermediate" since I'm sure people with more wood-working experience than me (this was my first) would avoid some careless mistakes that I made and which required a few redo's here and there.