Community Brag Posts
Farmhouse Table
This was my first project!!
This plan took me about three weeks start to finish working off and on (multiple hours on weekend days). I widened the table to 48 inches (the dimensions for my table are approx 84" long x 48" wide. Used 4-2x10s and 1-2x12 for the table top and 1x8s for the bread board ends.
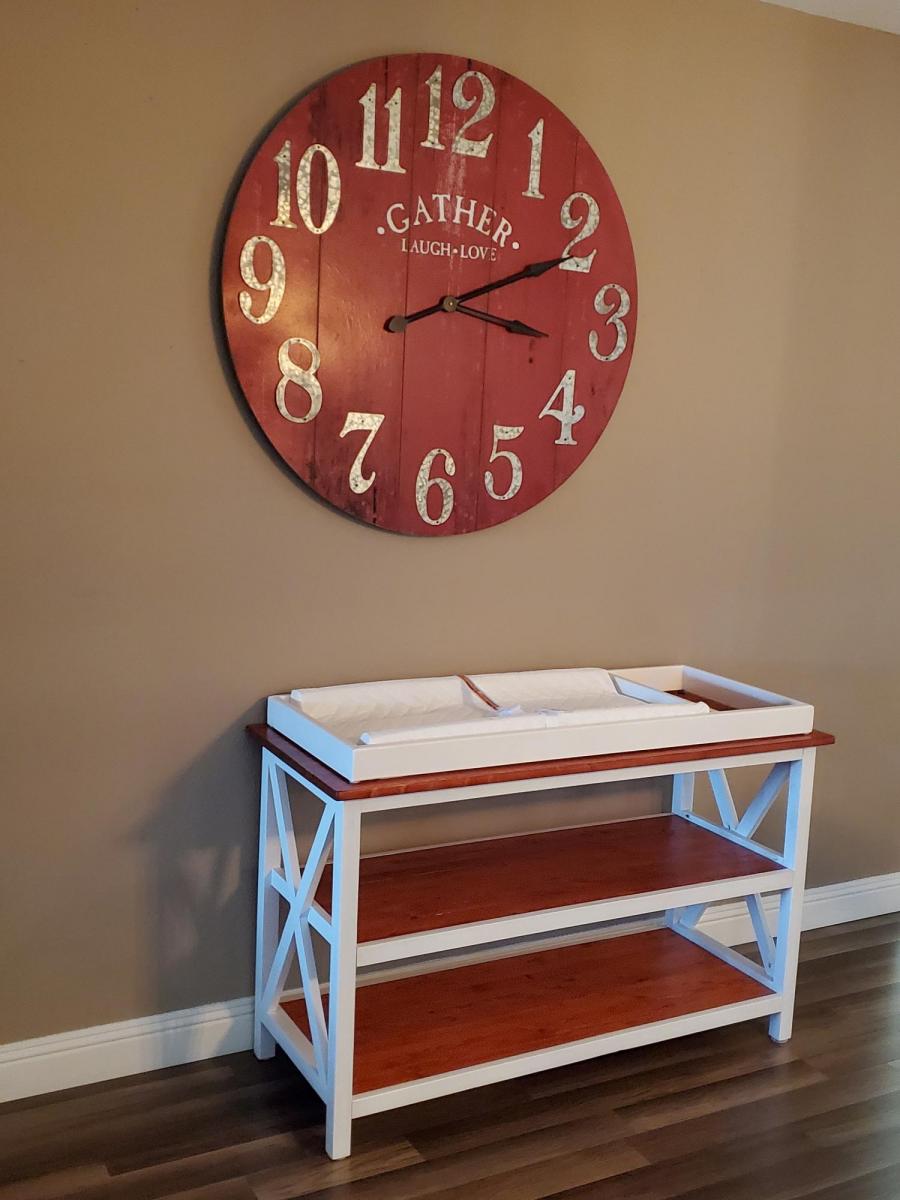
Rustic X DIY changing station w/ removable top
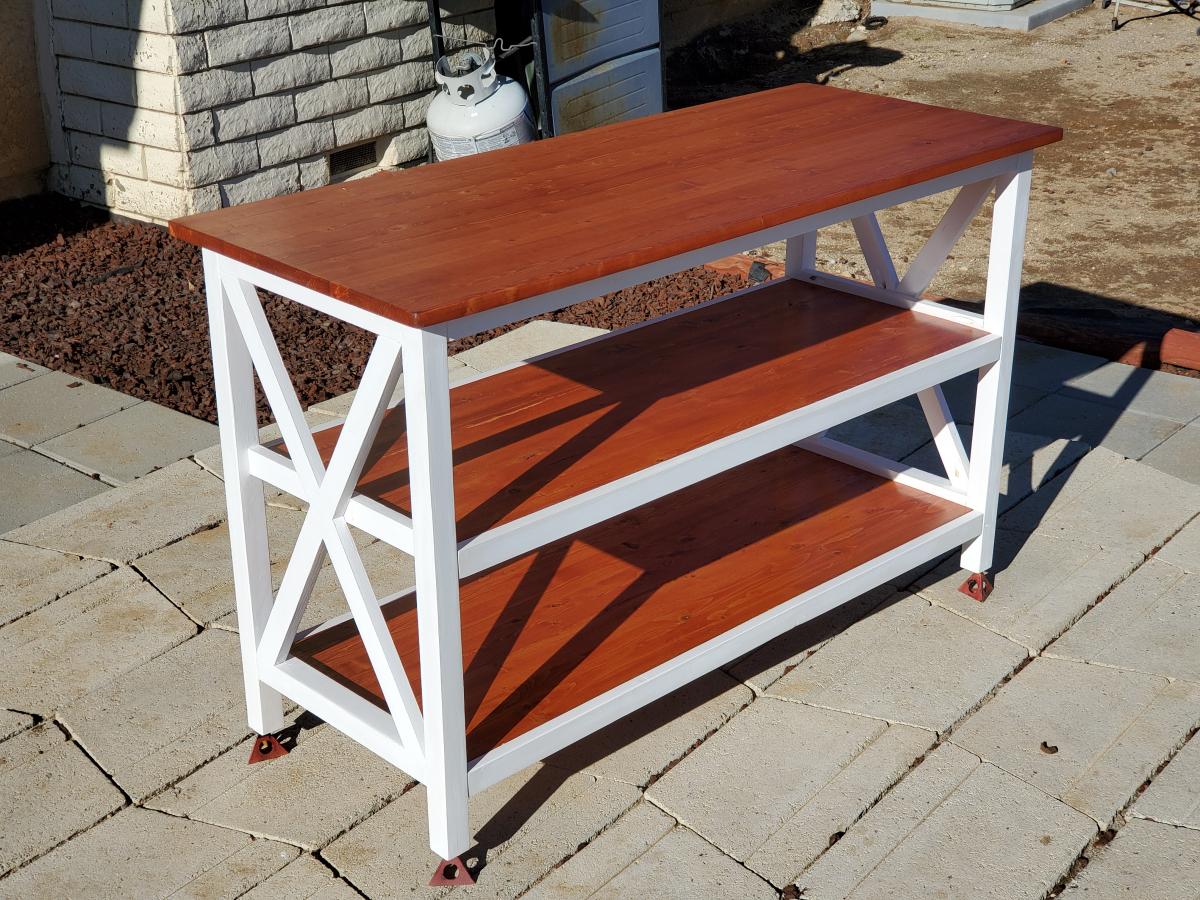
A Christmas gift for a friend who recently had a baby.
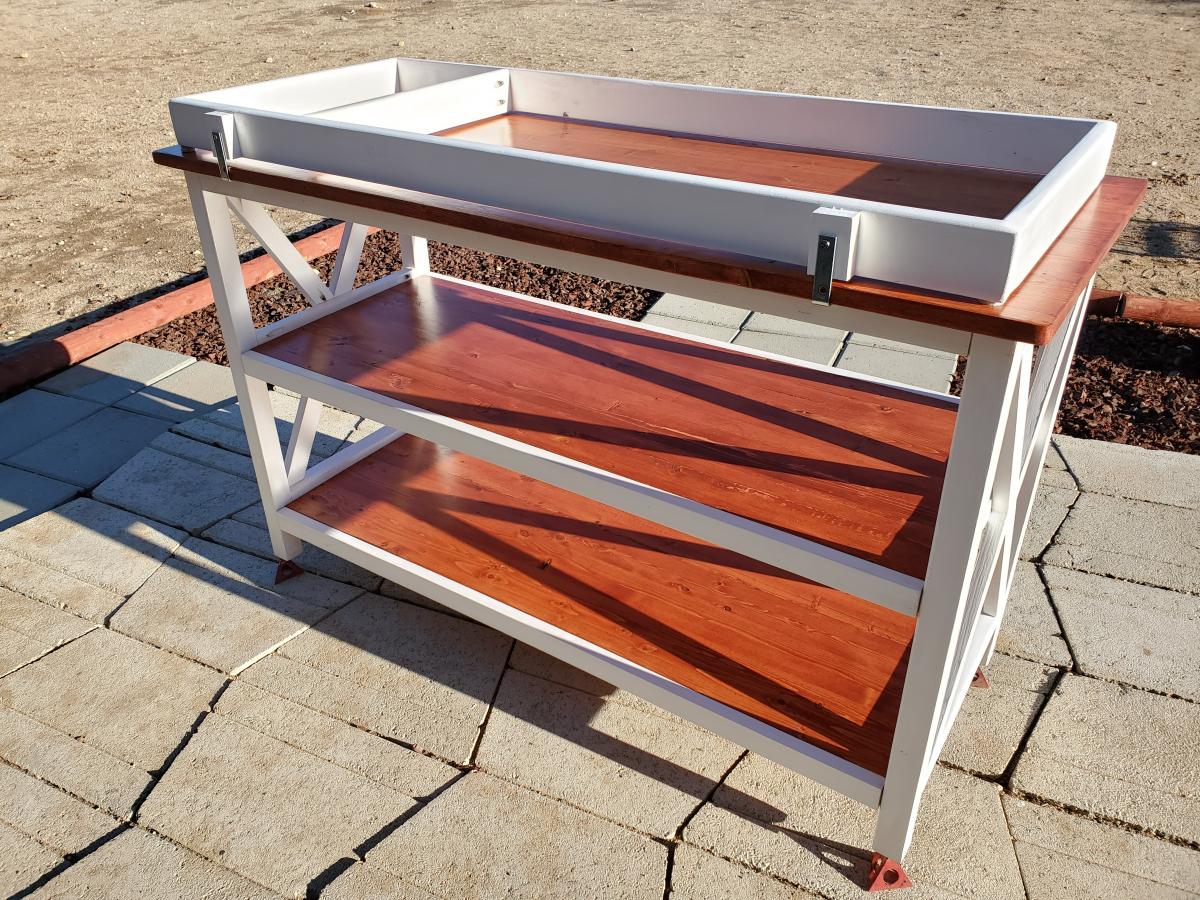
I went with one inch (3/4") project panels. The top shelf is 1"x 20". The lower shelves are 1"x 16", but I added 1 1/2" with two 1"x 2" banding. For the "x" brackets, I used 1"x 2" and added a middle piece to connect the legs and double as a side shelf ledge. The baby changing station top is secured by an L-bracket, where I added a block to keep the spacing even around the station top and screwed from underneath. (Note, you might have to trim the L-bracket to fit on the underside of the lip.) Also, I put on furniture felt under the baby changing station top to prevent any marring to the top shelf.
The removable top allows the changing station to become a standard shelving unit once the baby outgrows the changing station top. There are no holes drilled onto the topside of the top shelve as it's being secured by two L-brackets.
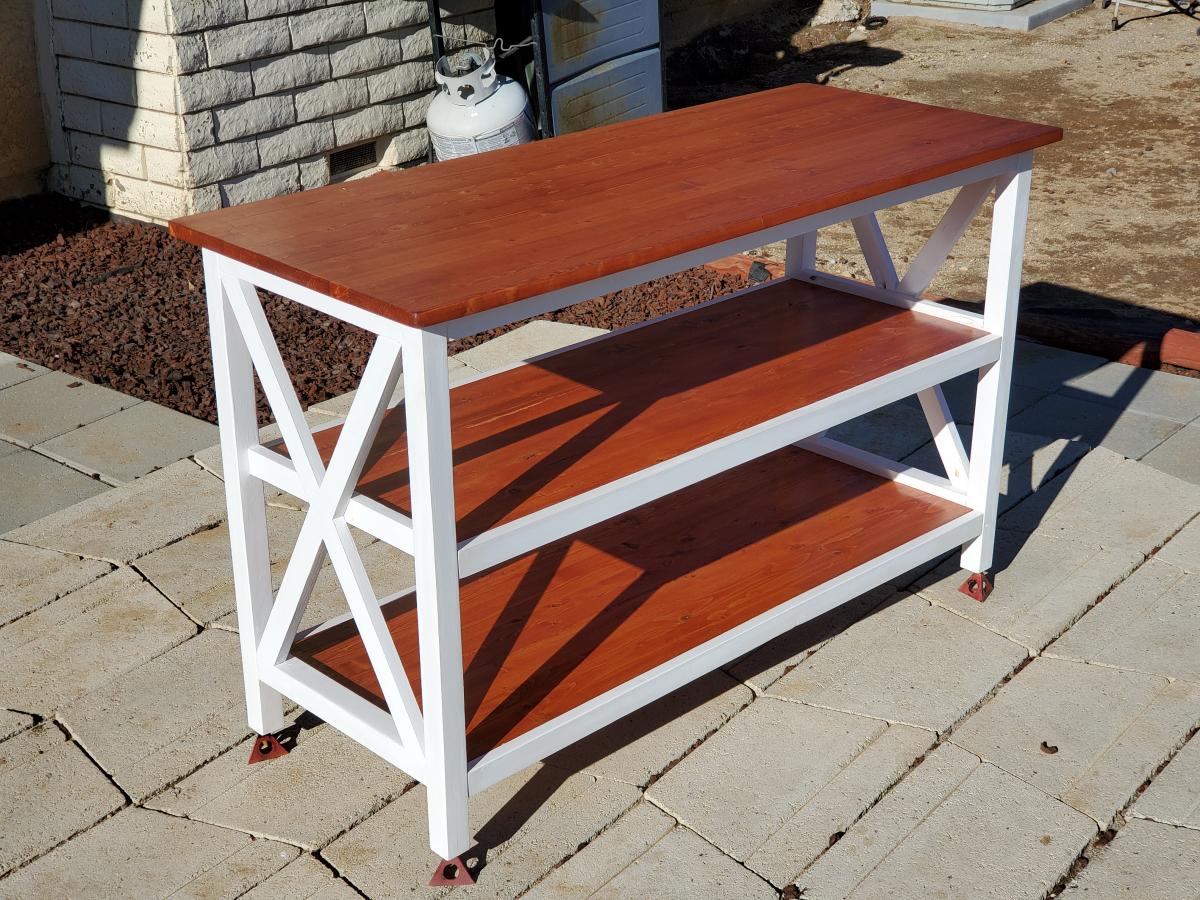
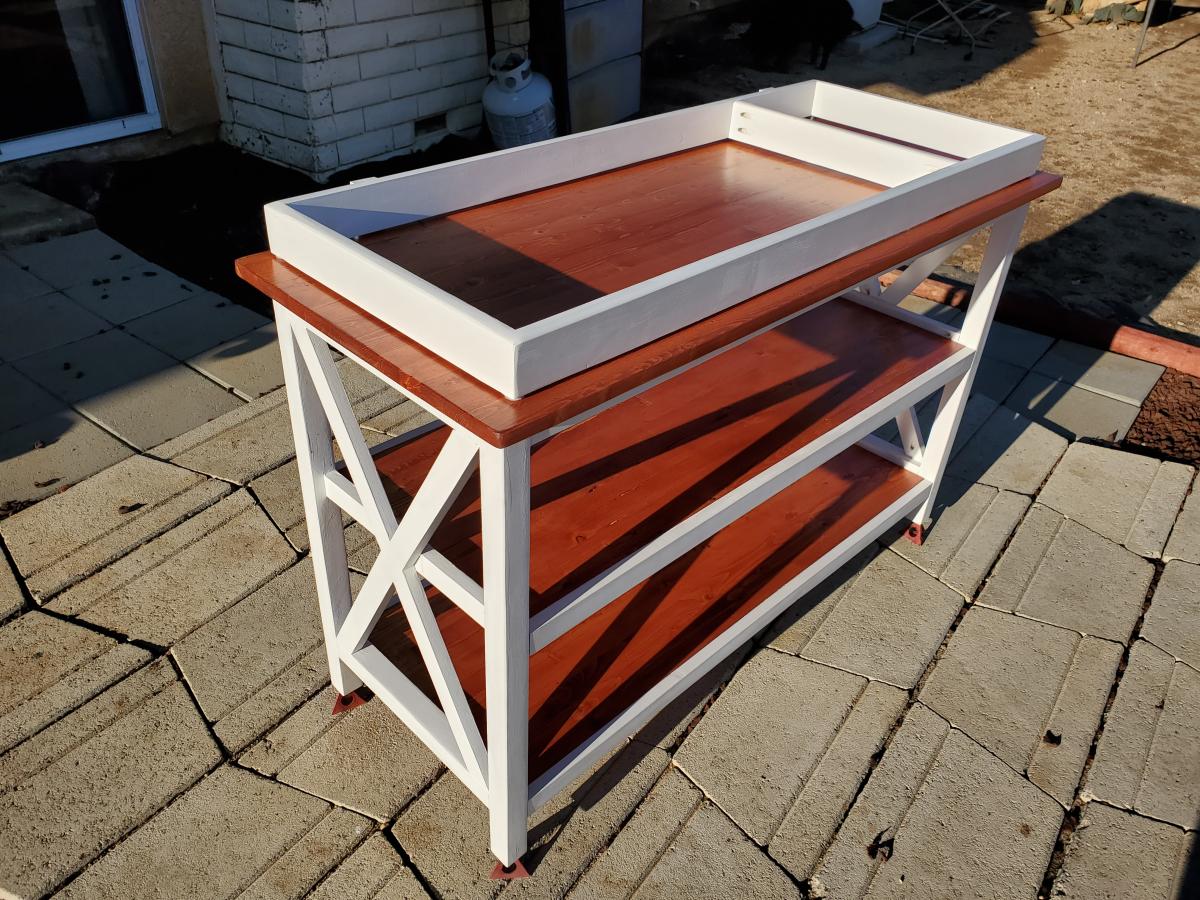
I stained all three shelves first. I painted the rest of the project white, which needed two coats. Then I assembled the unit together. Afterwards, I applied three coats of poly with a foam brush. After the second coat of poly, i used a gray finishing pad. On the third and final coat of poly, I used a white finishing pad (finer than the gray pad).
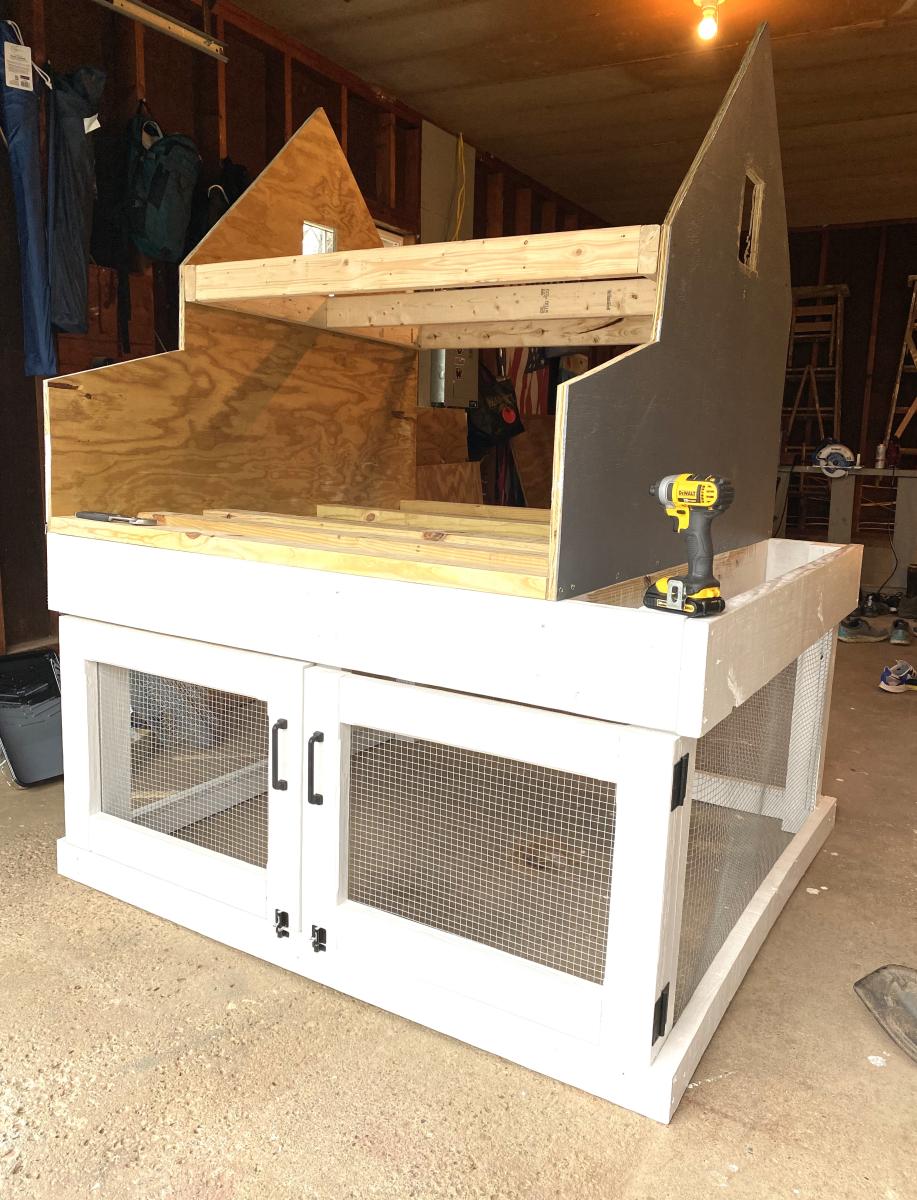
Chicken Coop with Built-in Planter
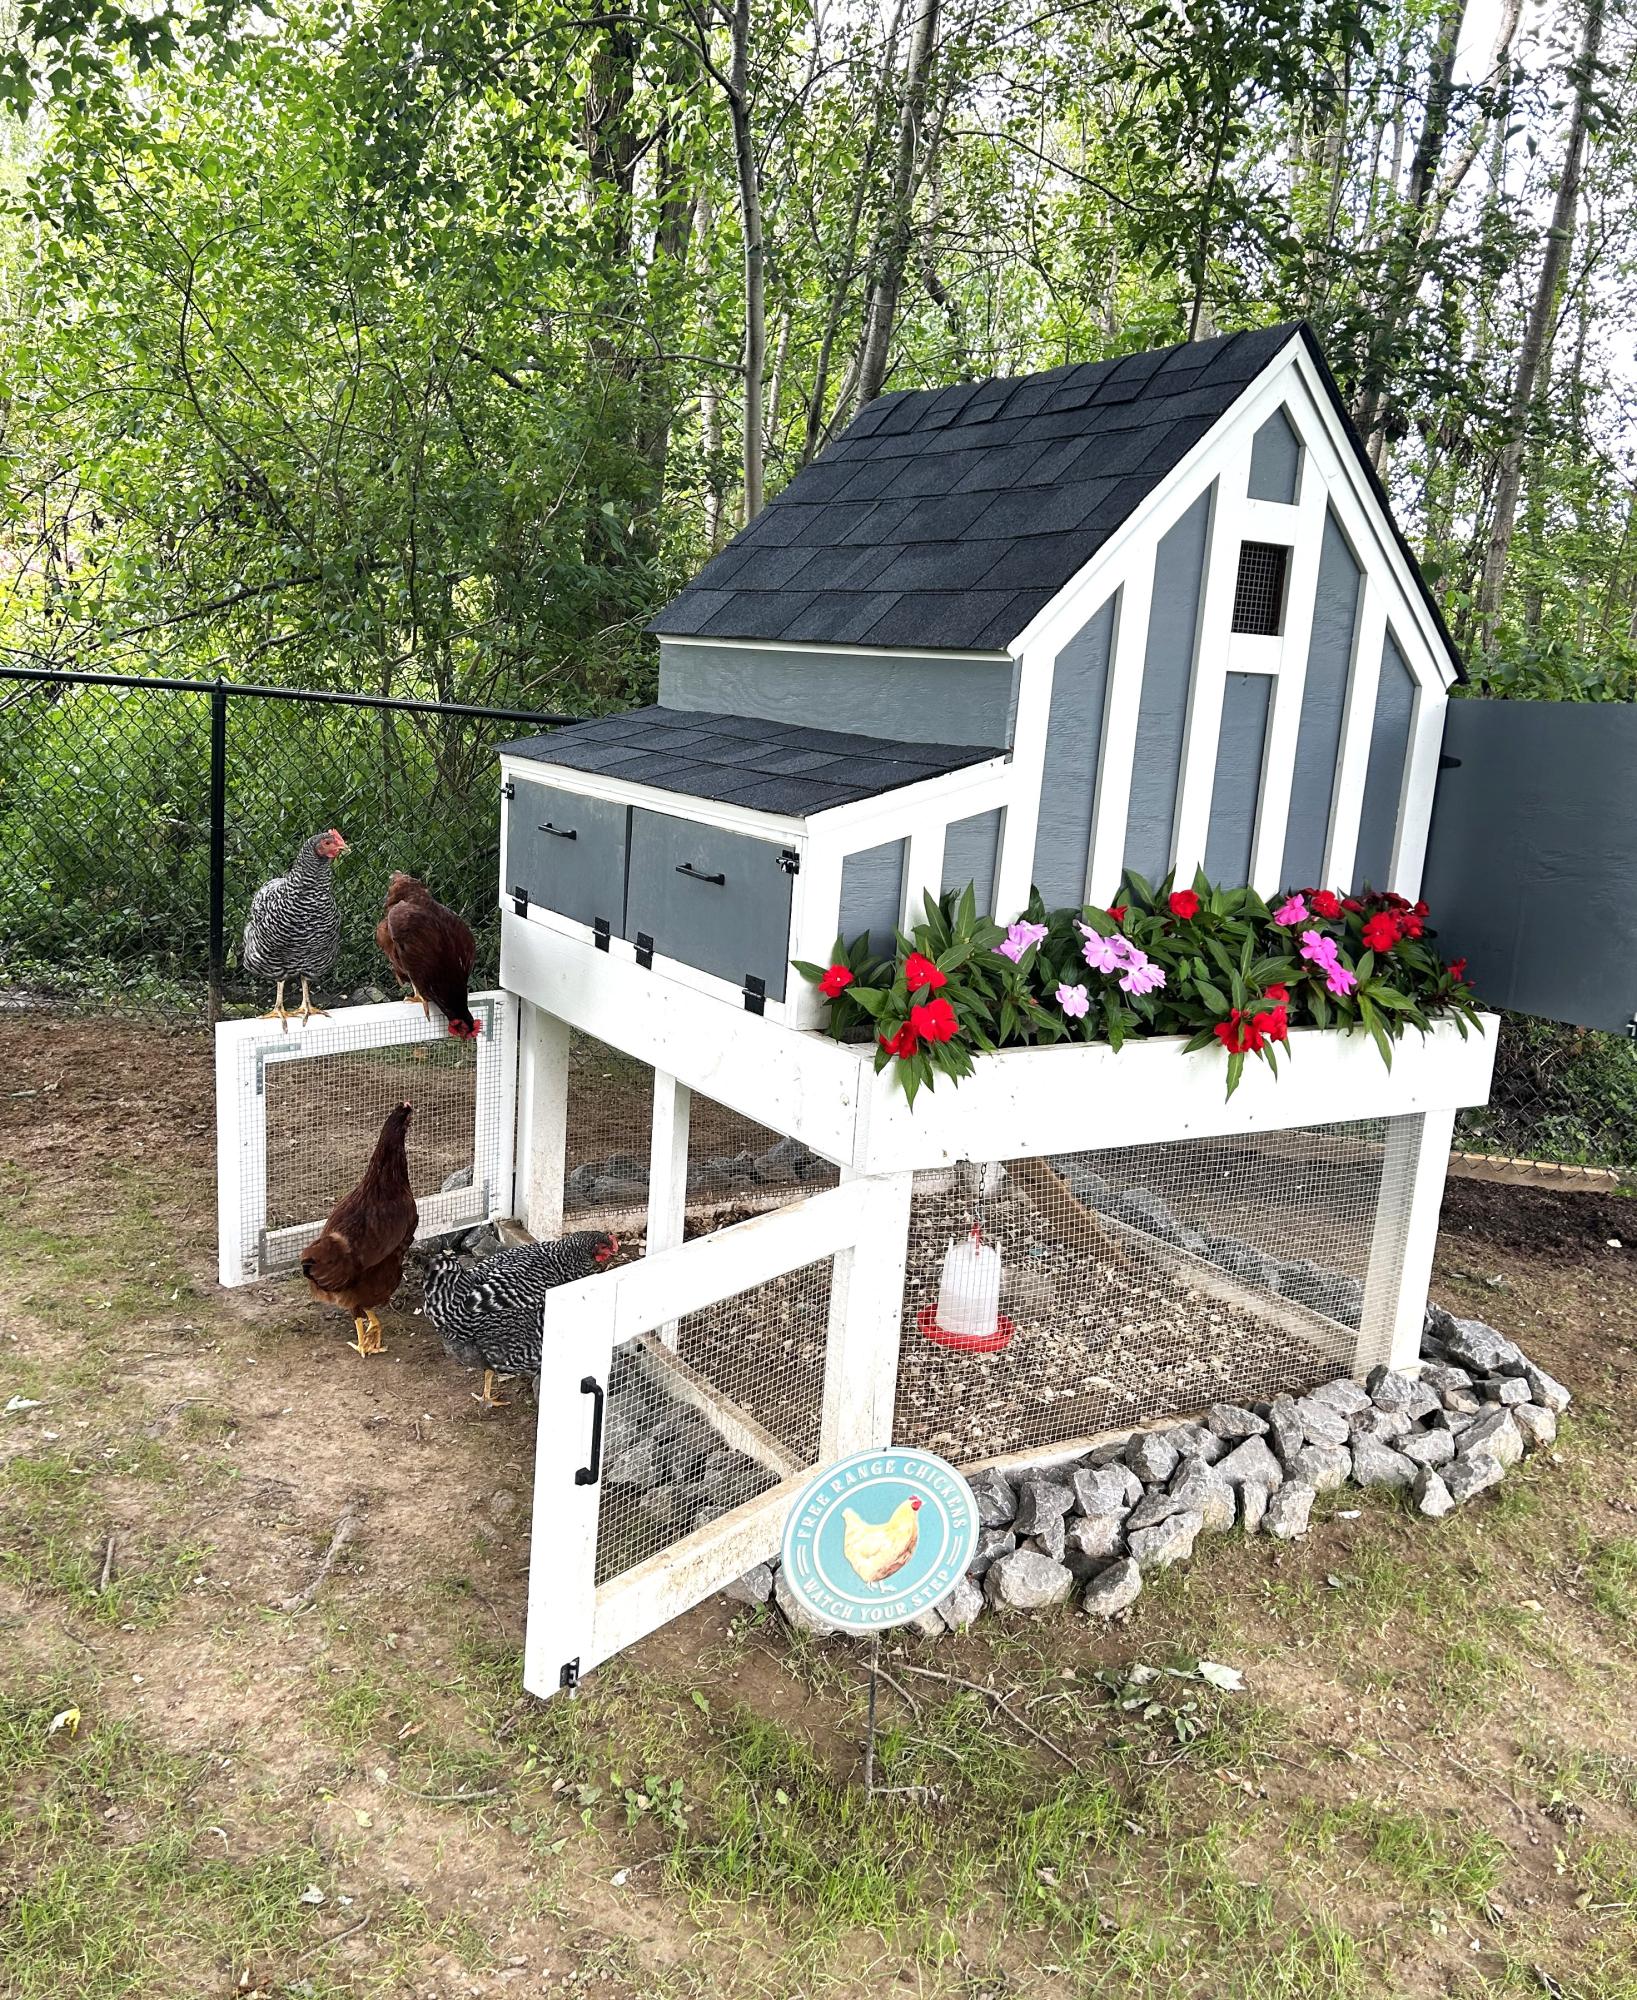
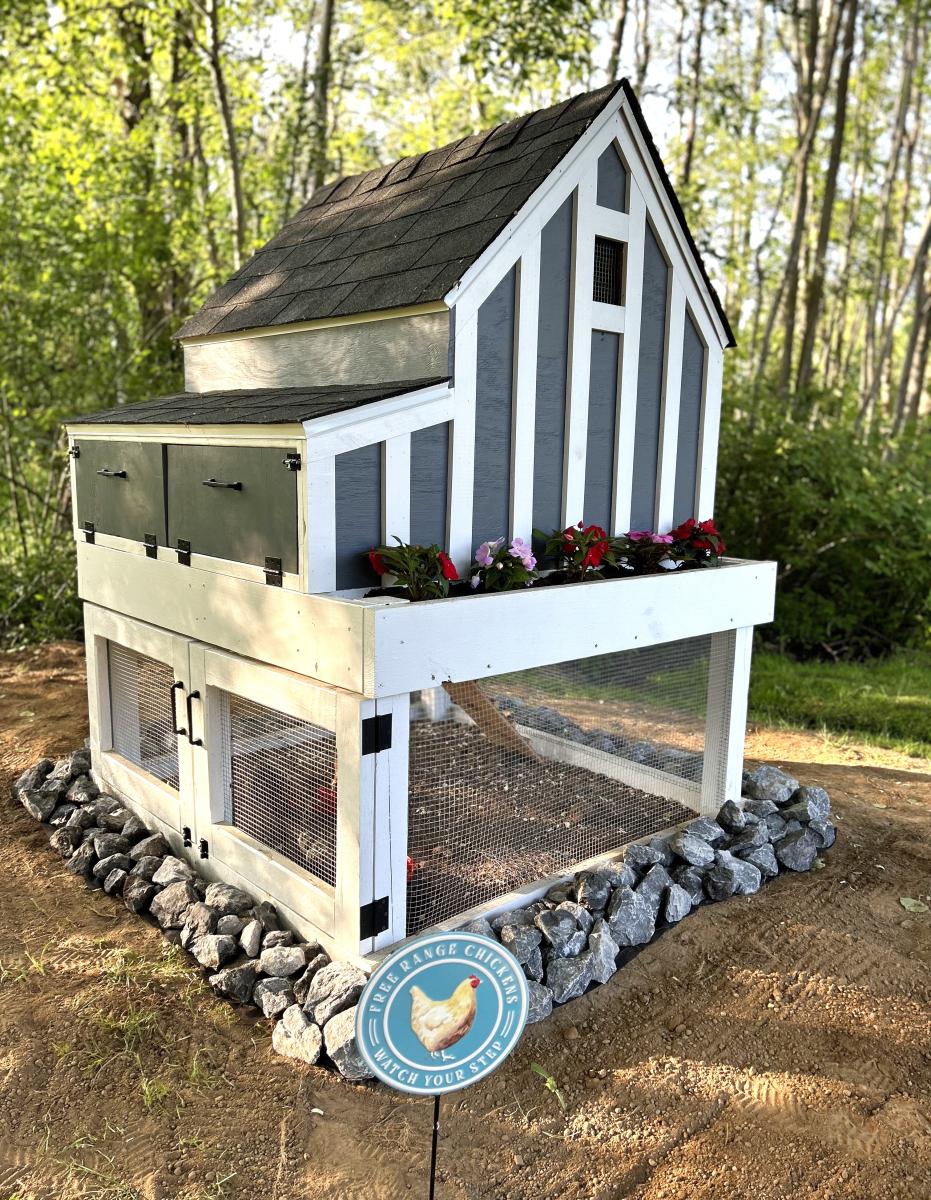
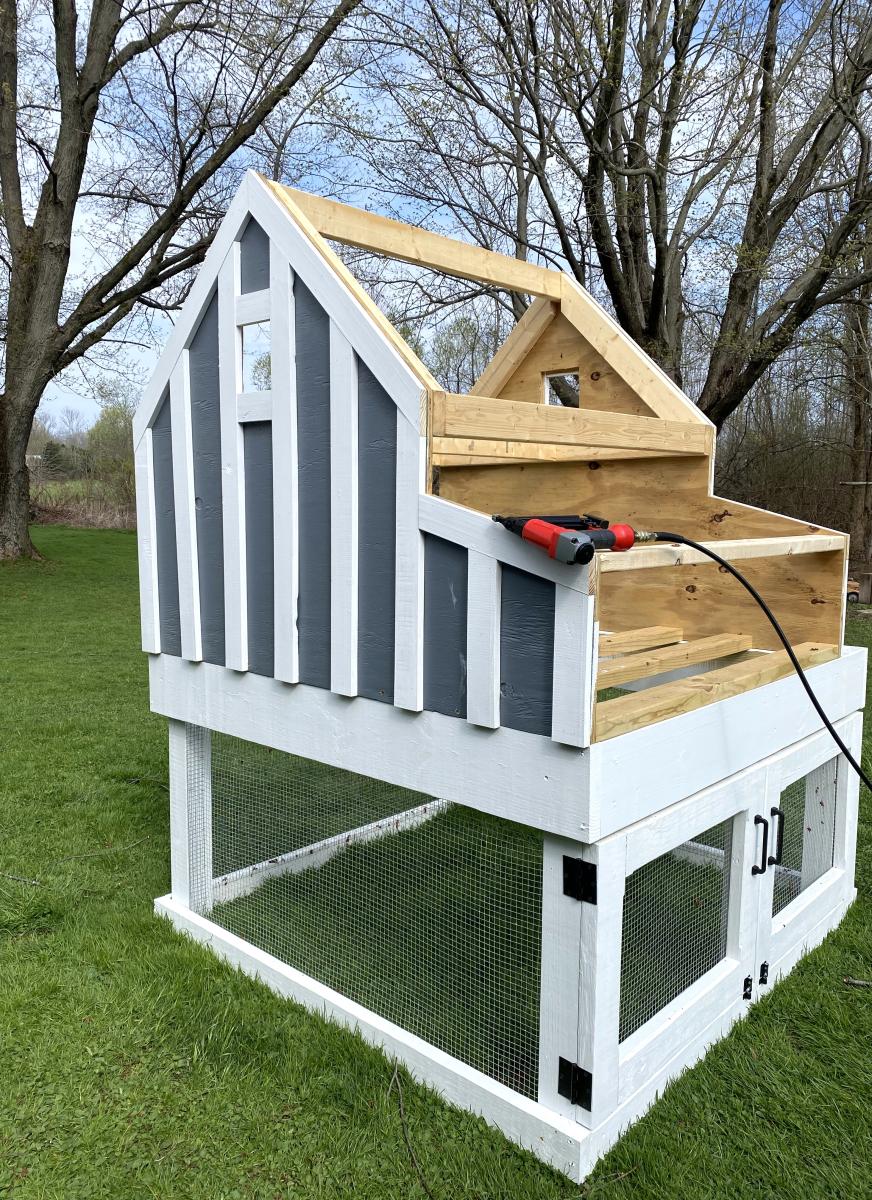
Absolutely loved how this thing turned out. Made a few customizations such as coop extension and drip edge. I have 4 happy hens and a coop that should last a lifetime. Thank you for the help!
Alex
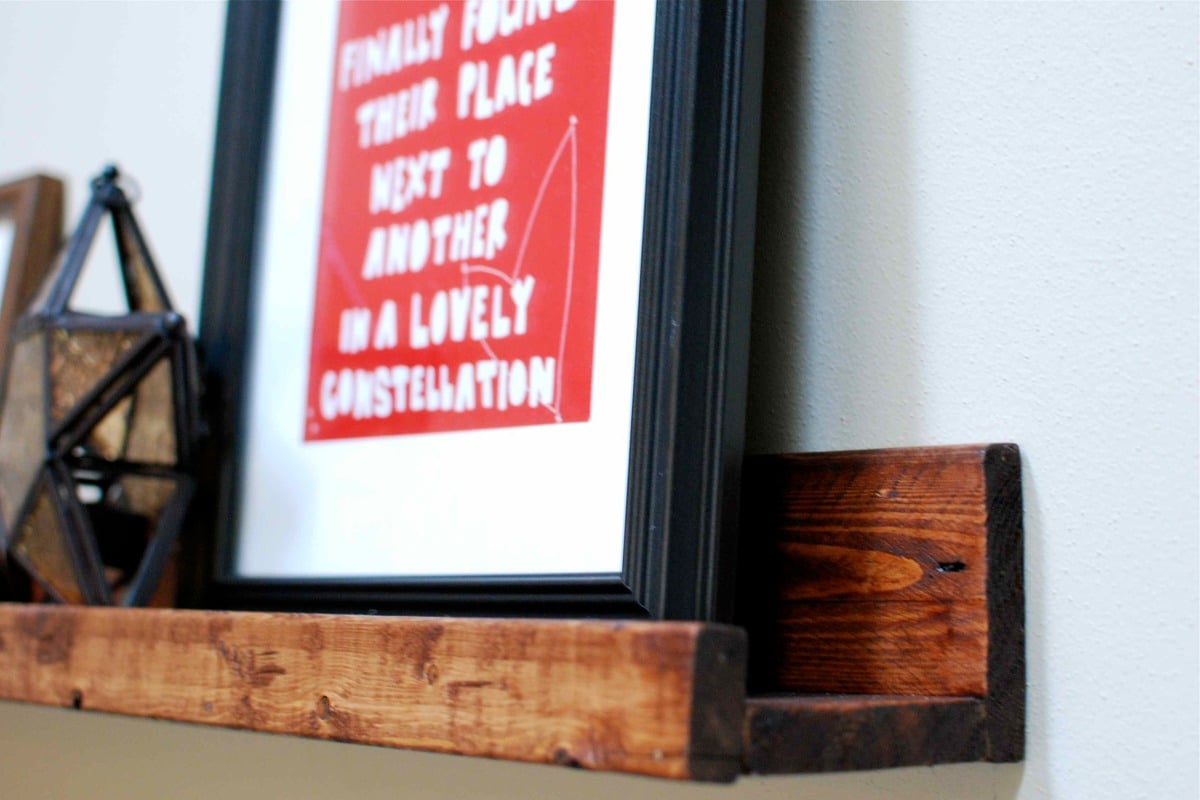
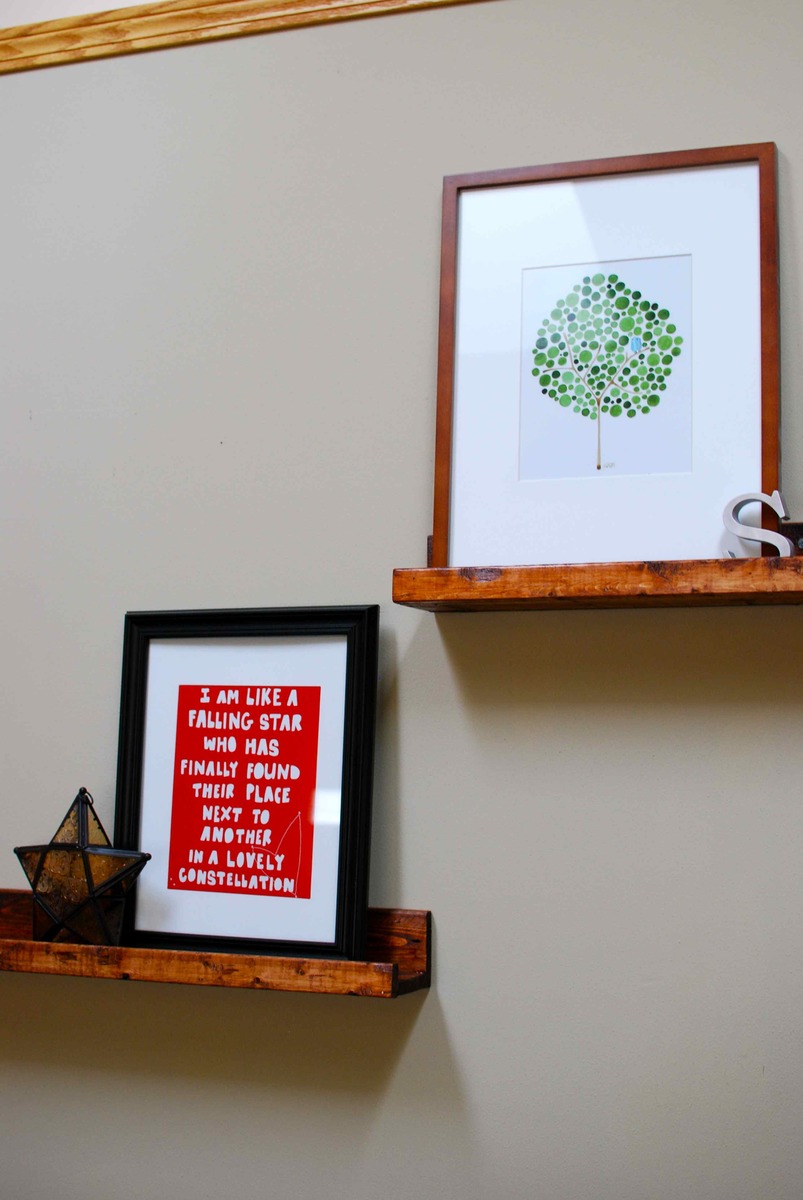
10 dollar ledges
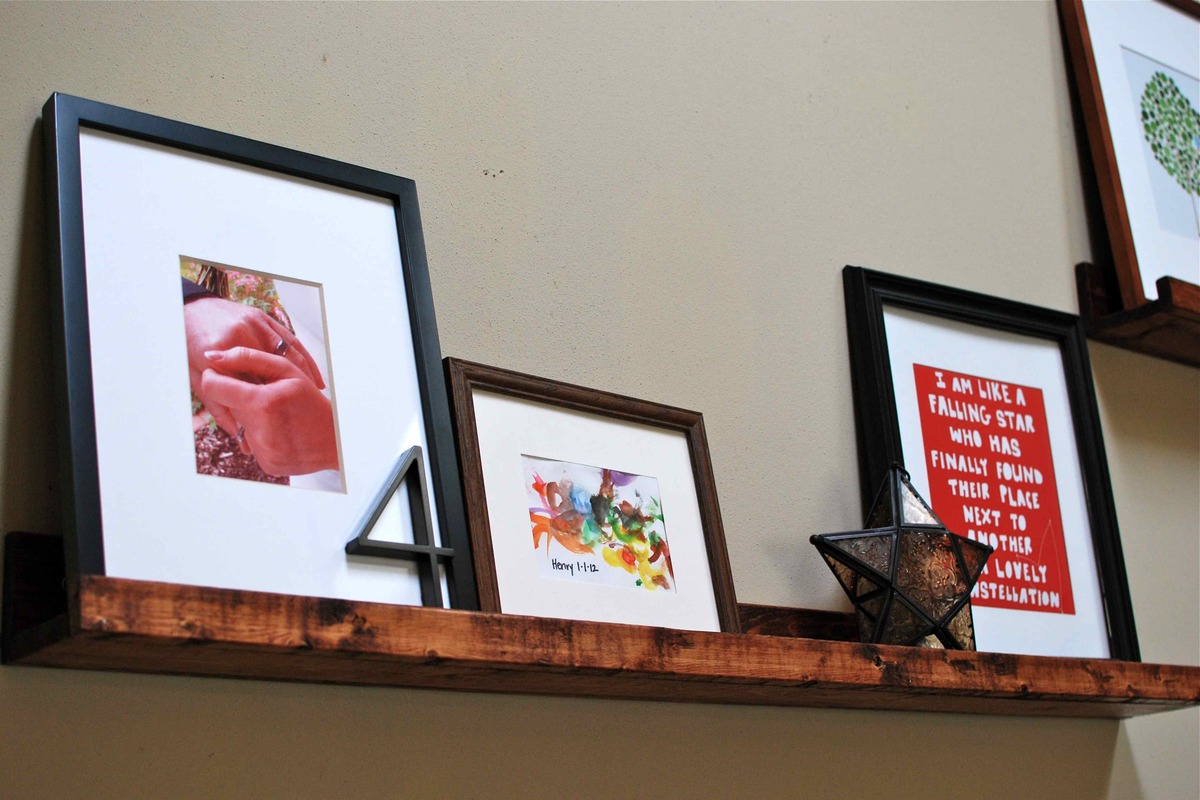
Our take on the 10 dollar ledges. We definitely wanted a rustic look. I love them!
Comments
Mon, 10/08/2012 - 00:37
Absolutely gorgeous finish!
Hello, these are gorgeous! What kind of stain/finish and in what color was used on these shelves? Really love it and would like to know how to make them look liek this.
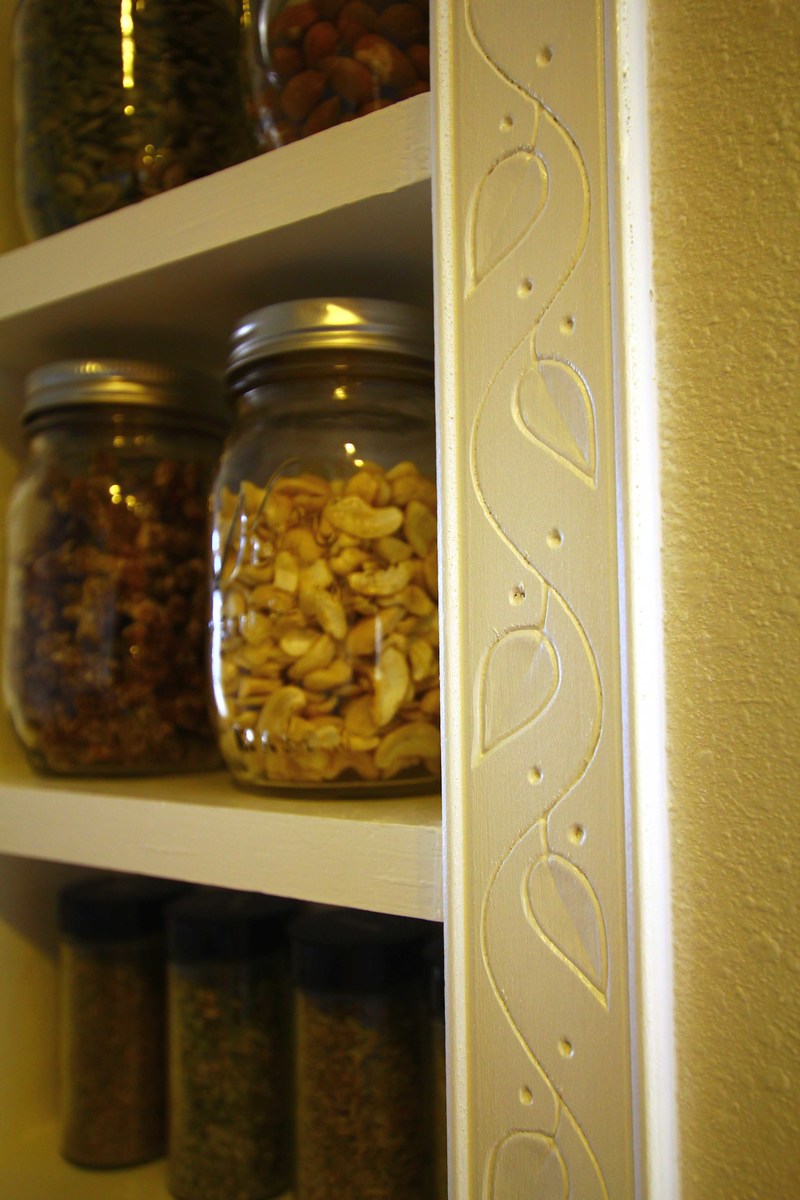
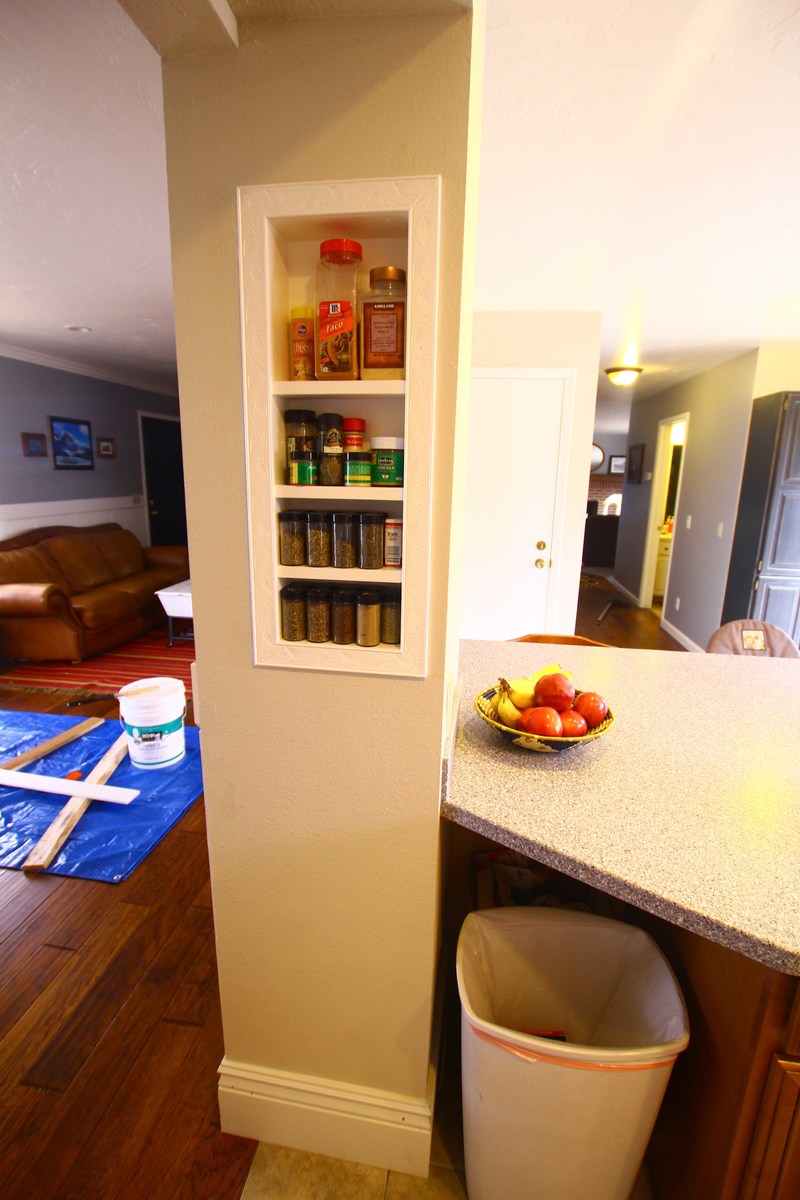
Spice Rack (Built-In)
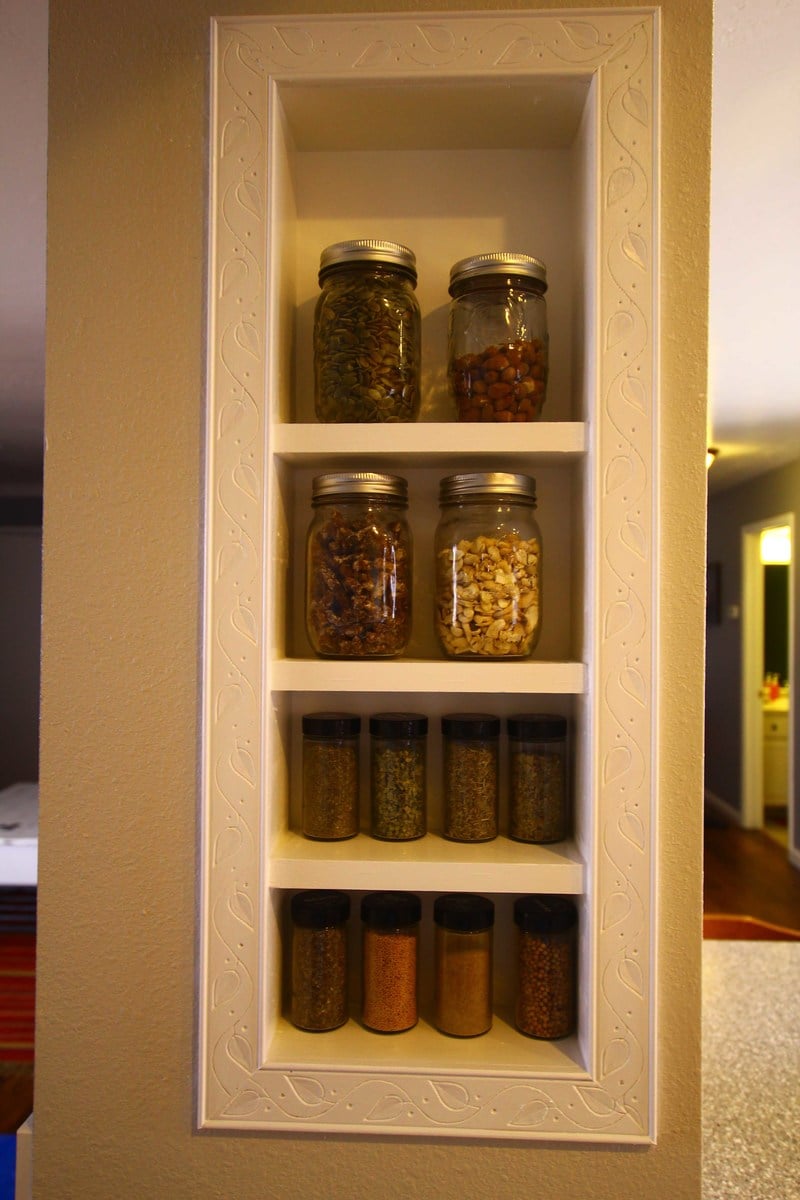
I followed the spice rack plans but put this right inside my wall and added a face frame. I love the detail in the carved wood!
Lego Table
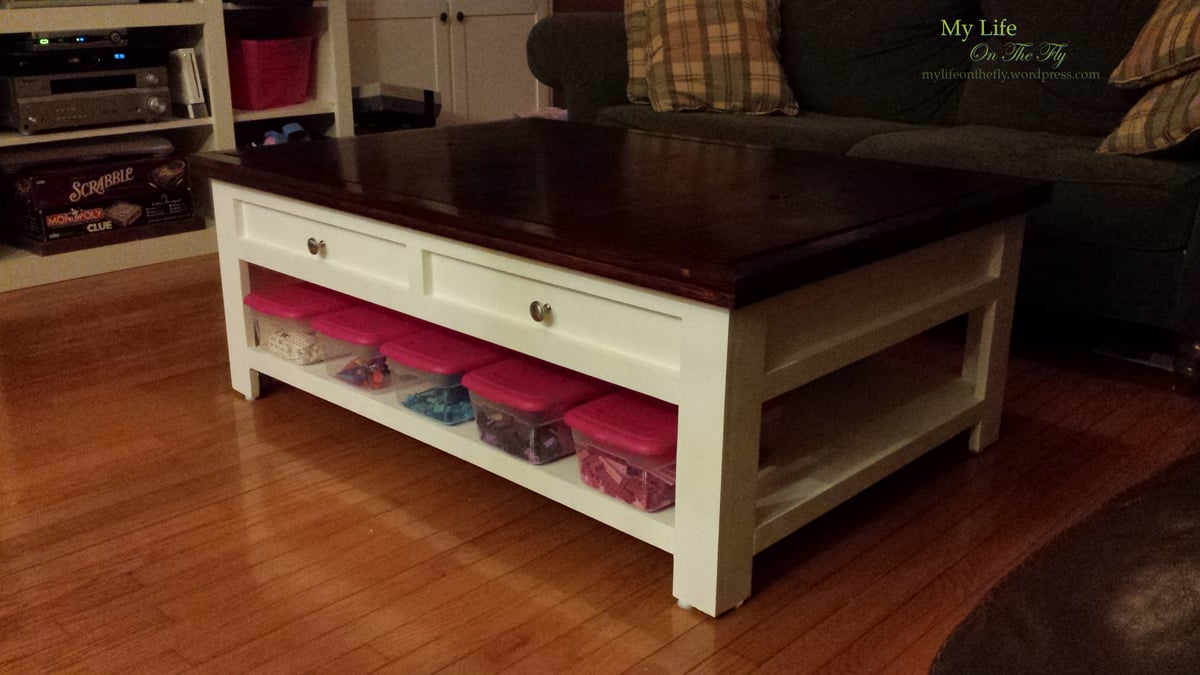
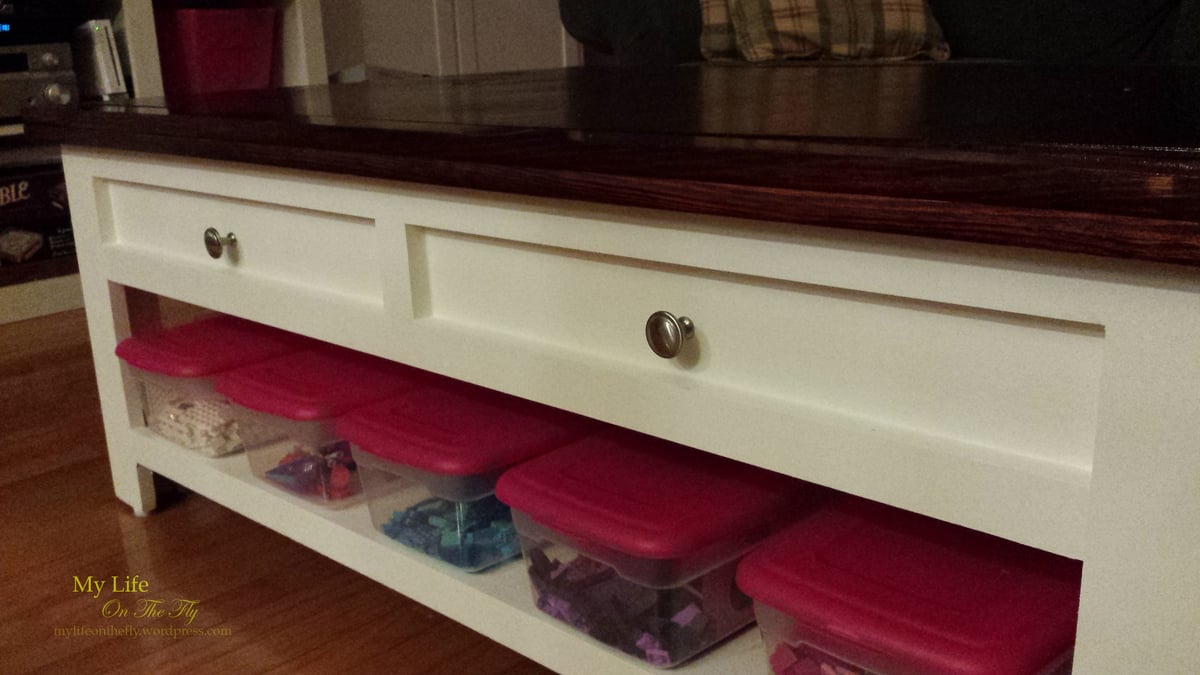
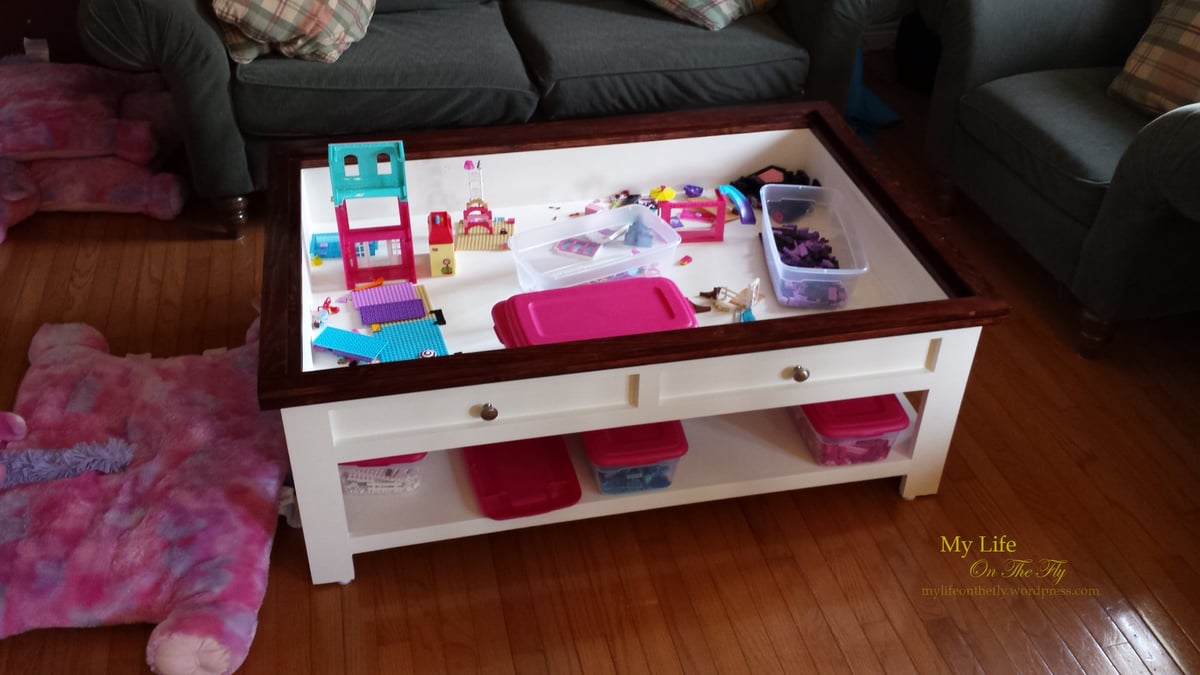
Very Easy project, the plans are straight forward. The kids love having a table to play lego's and we love being able to hide everything away. Very Nice Table. When the girls get older and the Plywood cover shows signs of wear from much use, I'll probably replace the cover with one made from pine 1x6's biscuit-joined to give a nice textured look, but still with the storage for games and stuff.
My try at a step stool
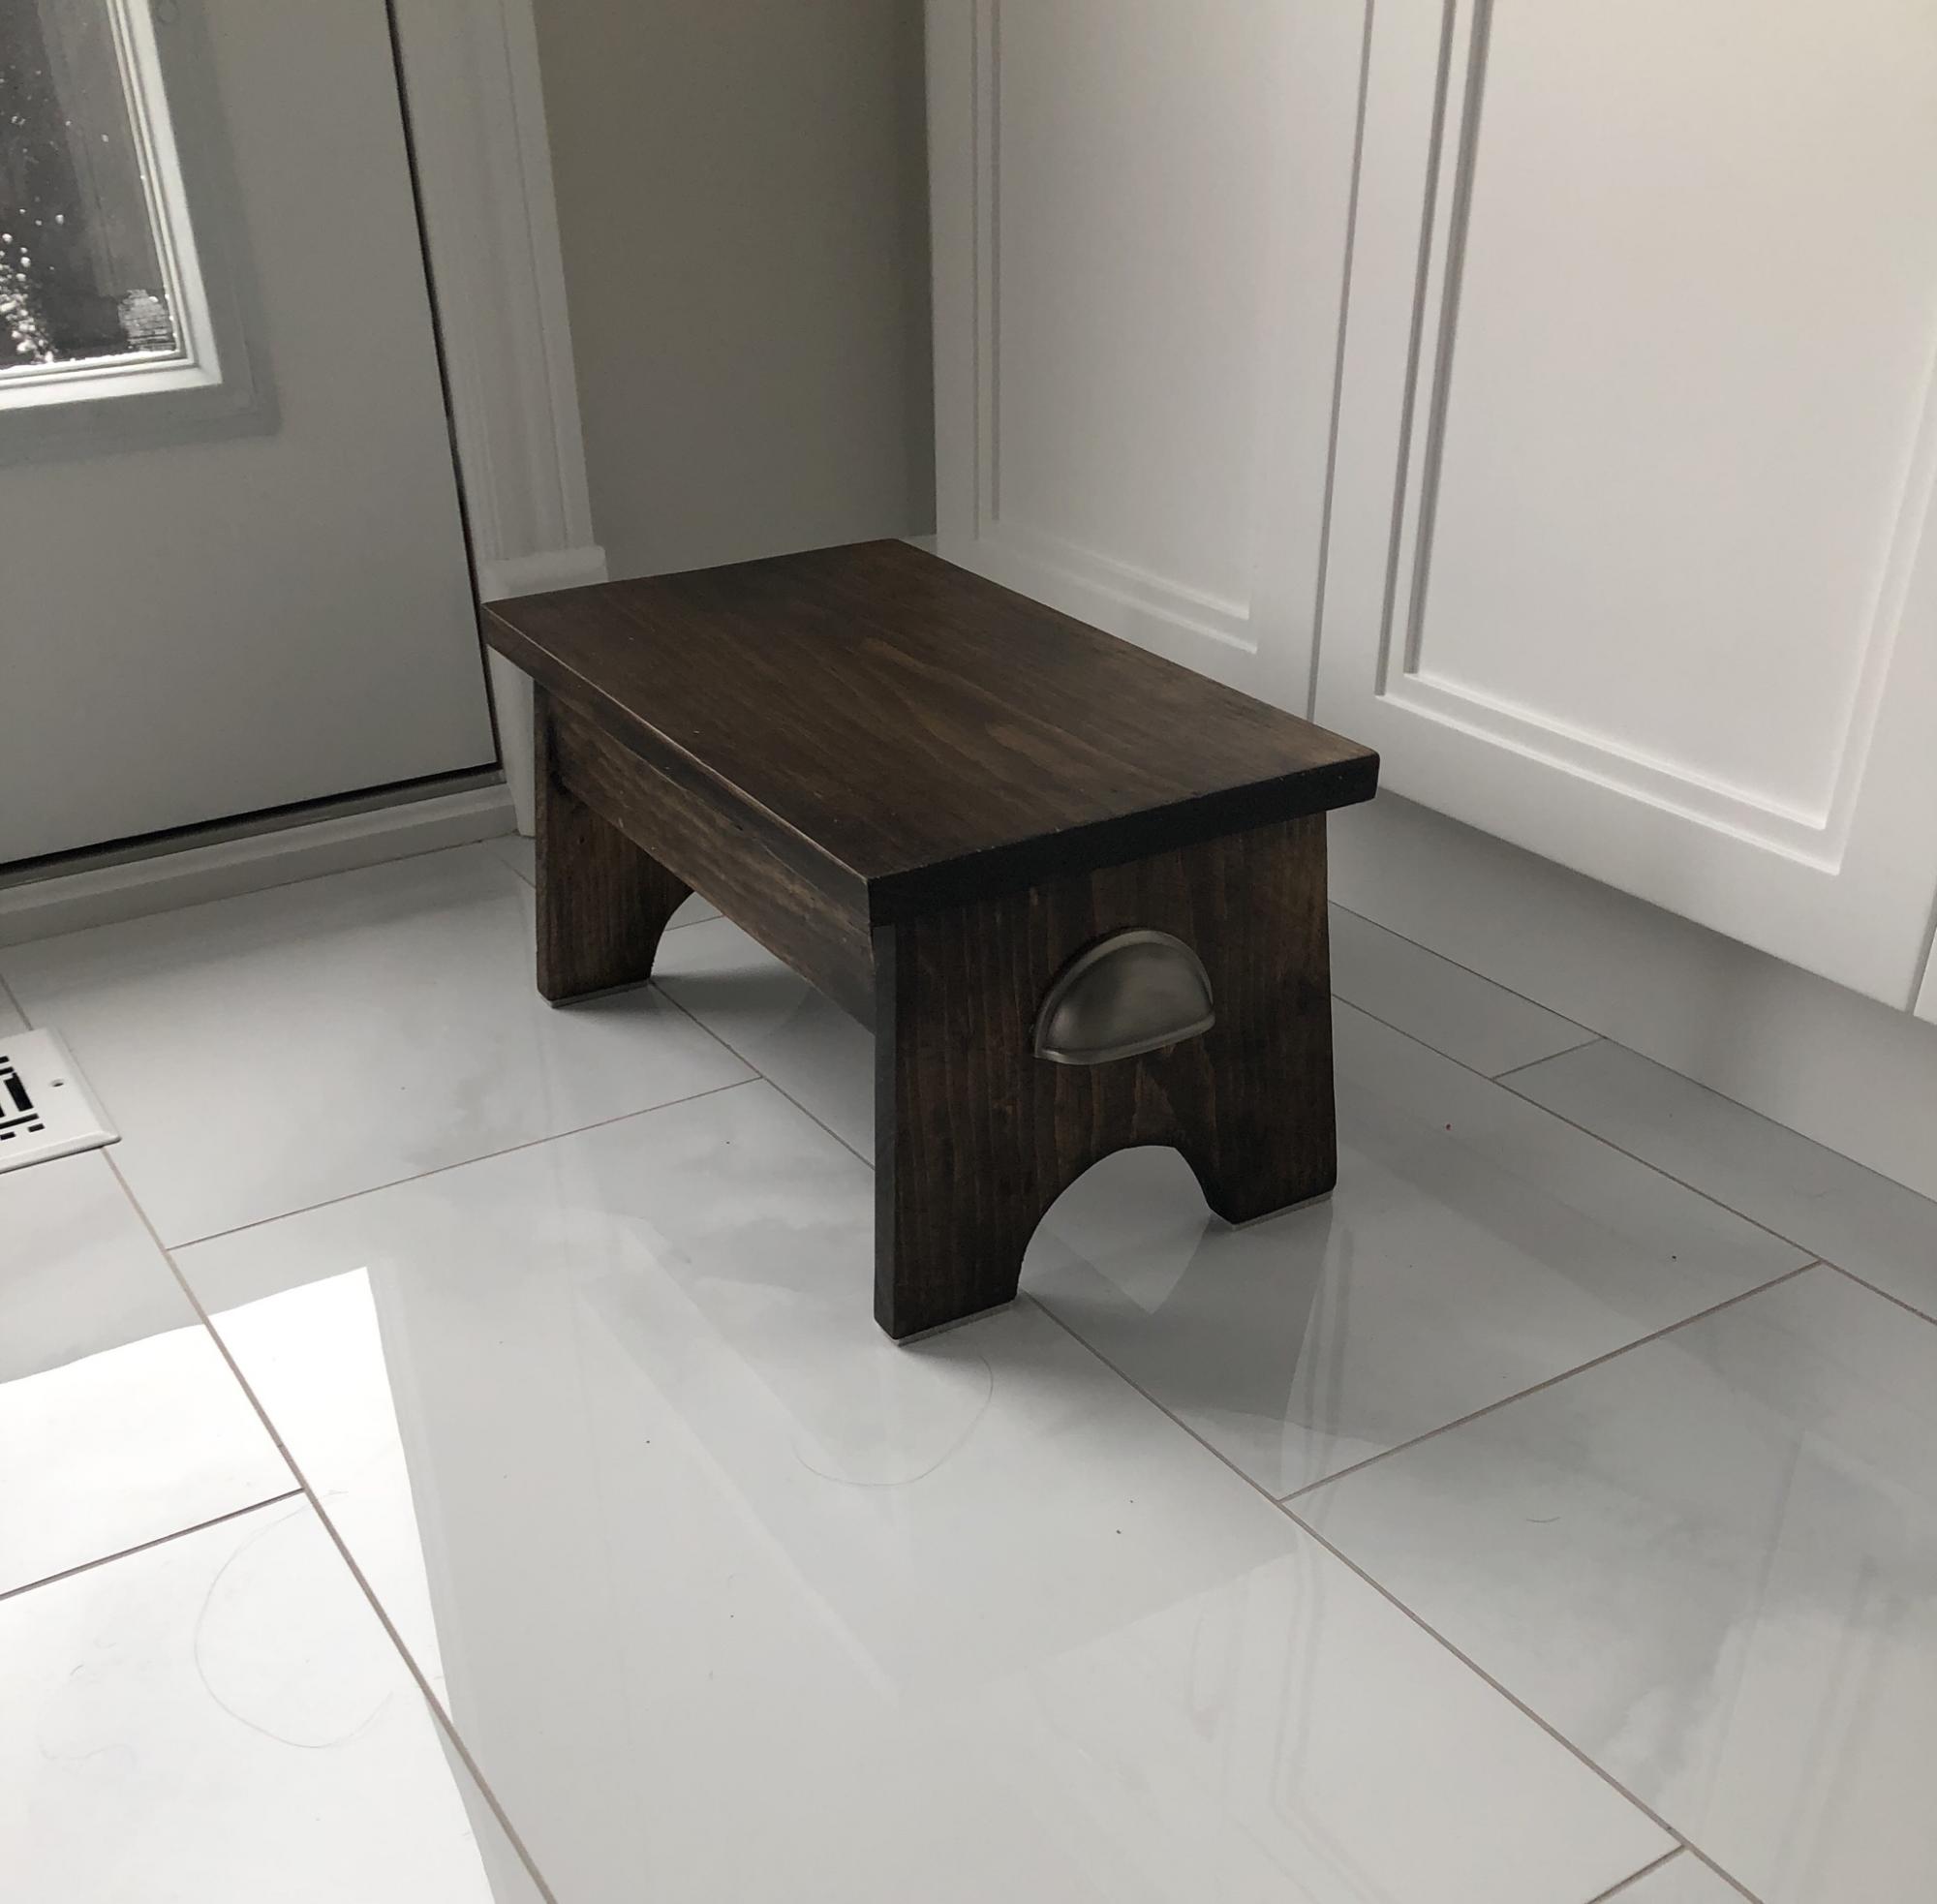
Had fun doing this one. I used a gel stain and about 4 coats of lacquer to finish
Elevated Planter Box
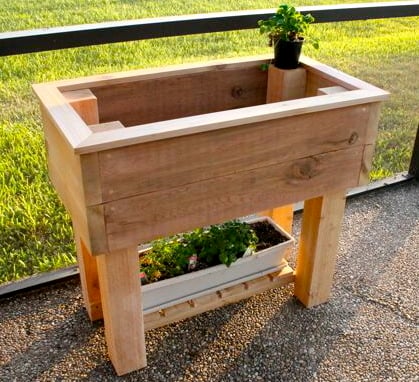
My husband and I decided that we want to learn how to do some gardening and thus decided to build an elevated planter box. A full tutorial is available here
http://sawgrasshome.com/?p=1495
We love it and hope you will too!
My First Project - Farmhouse Bedroom
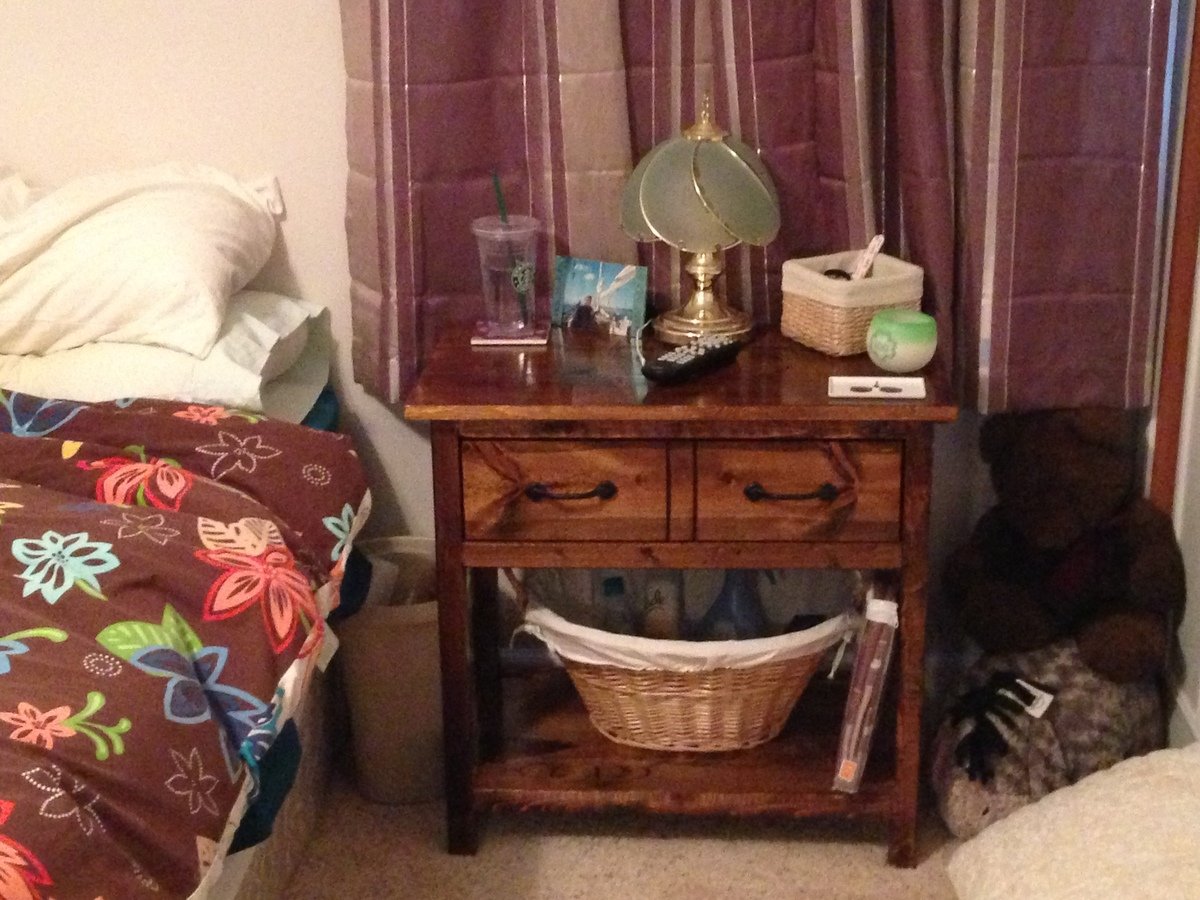
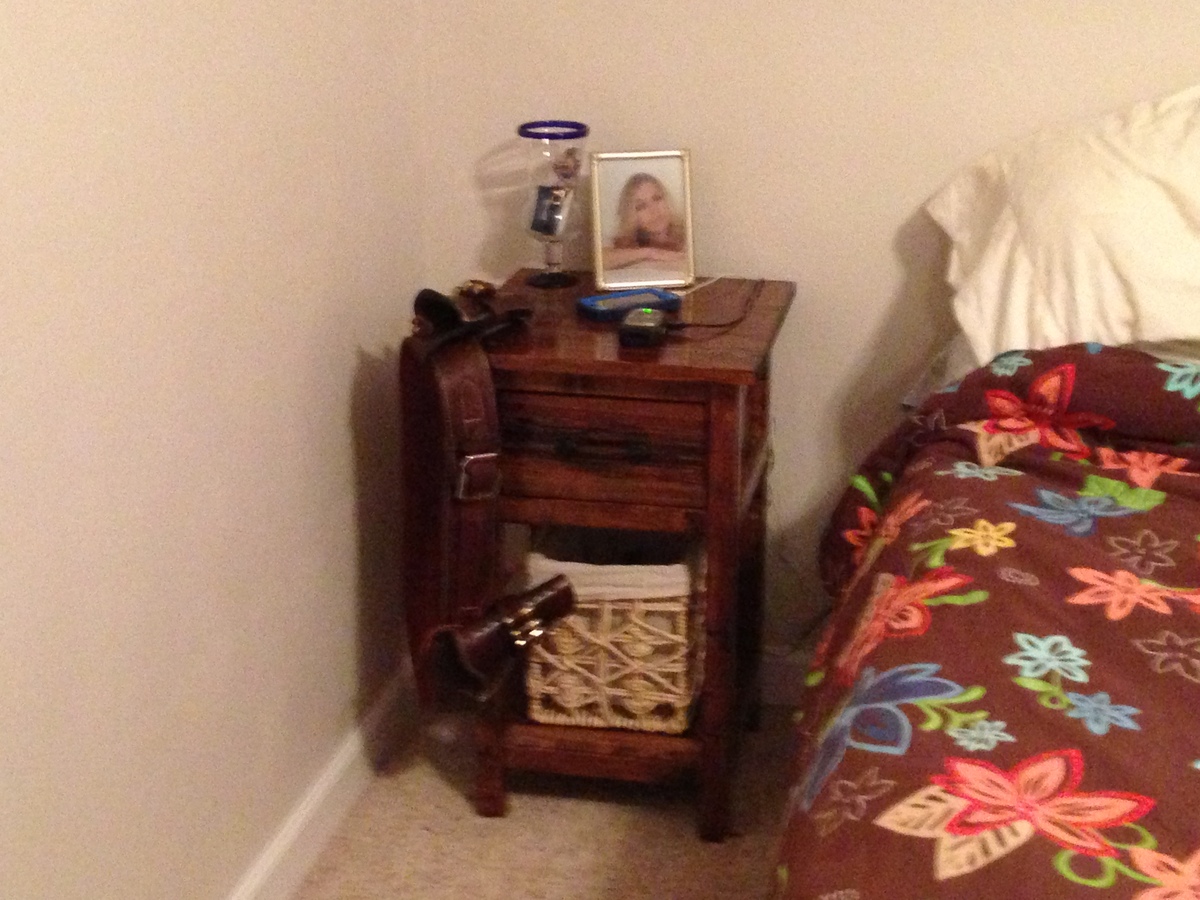
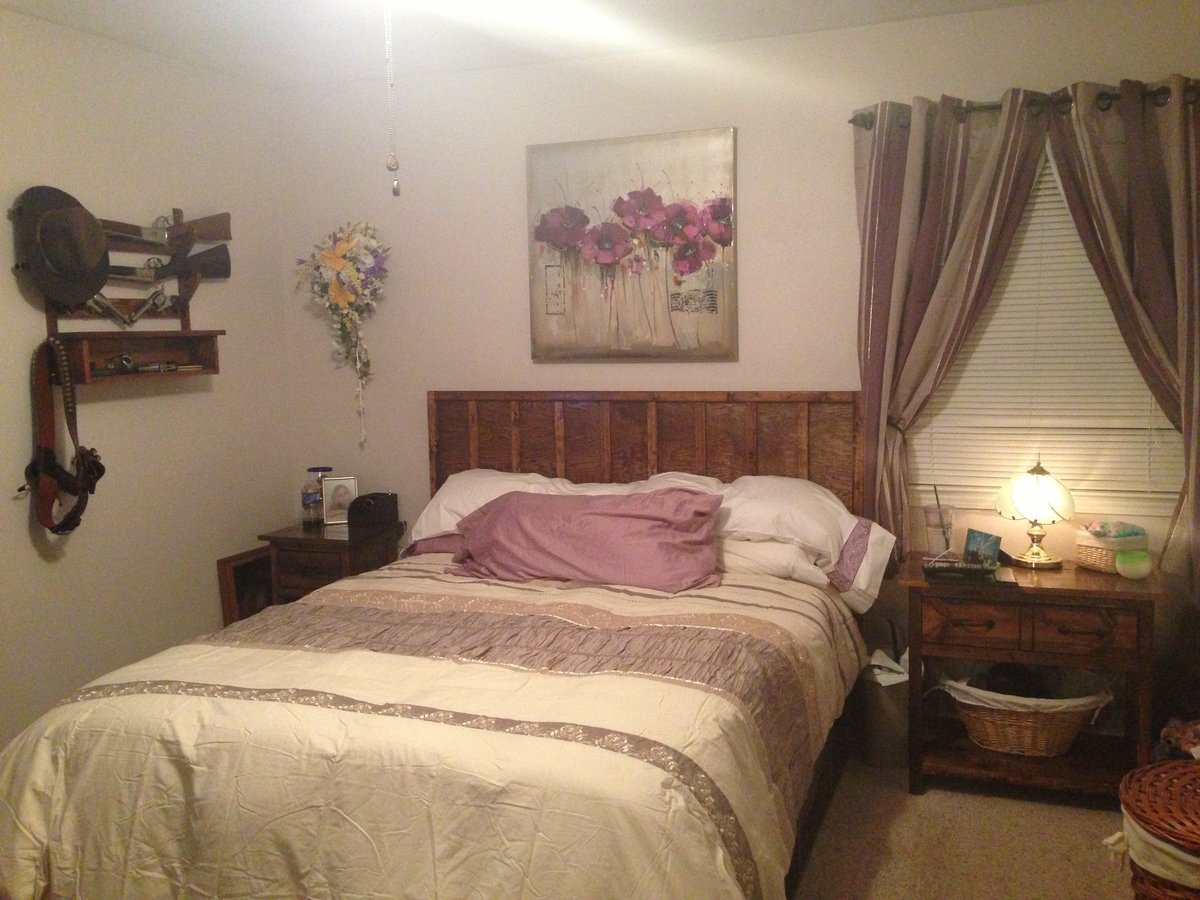
This was my first big project...I wanted to get rid of the store-bought bedroom set that overwhelmed our small room, but I still needed to keep all of the storage space it provided. I started small with the Farmhouse Nightstand, then moved to a double size nightstand. I couldn't stop once I got rolling! The most challenging was the dresser, but I have no complaints! It was a wonderful challenge. Lastly, I made a queen platform storage bed - it has open cubbies underneath with baskets for drawers. I couldn't be happier or prouder of how this came out, our bedroom looks 10 times bigger! I've always been a do it yourself kind of gal - but I surprised myself with this one!
The tables were quick to build, they can both be done in a day. The dresser was a weekend project as was the bed. The finishing has to be done over several days. I'd say this could be done over a week if you have the time. I did this over 3 weekends and finishing in the evenings after work.
Comments
Fri, 01/31/2014 - 20:47
Farmhouse Bedroom
Your farmhouse bedroom looks awesome! Looks like you used all your available space beautifully and to its best advantage. And the finish is gorgeous! Great project!
Fri, 01/31/2014 - 22:46
You did a great job and I
You did a great job and I love the finish!! Im looking at building the dresser soon.
Sideboard - 1st Build!
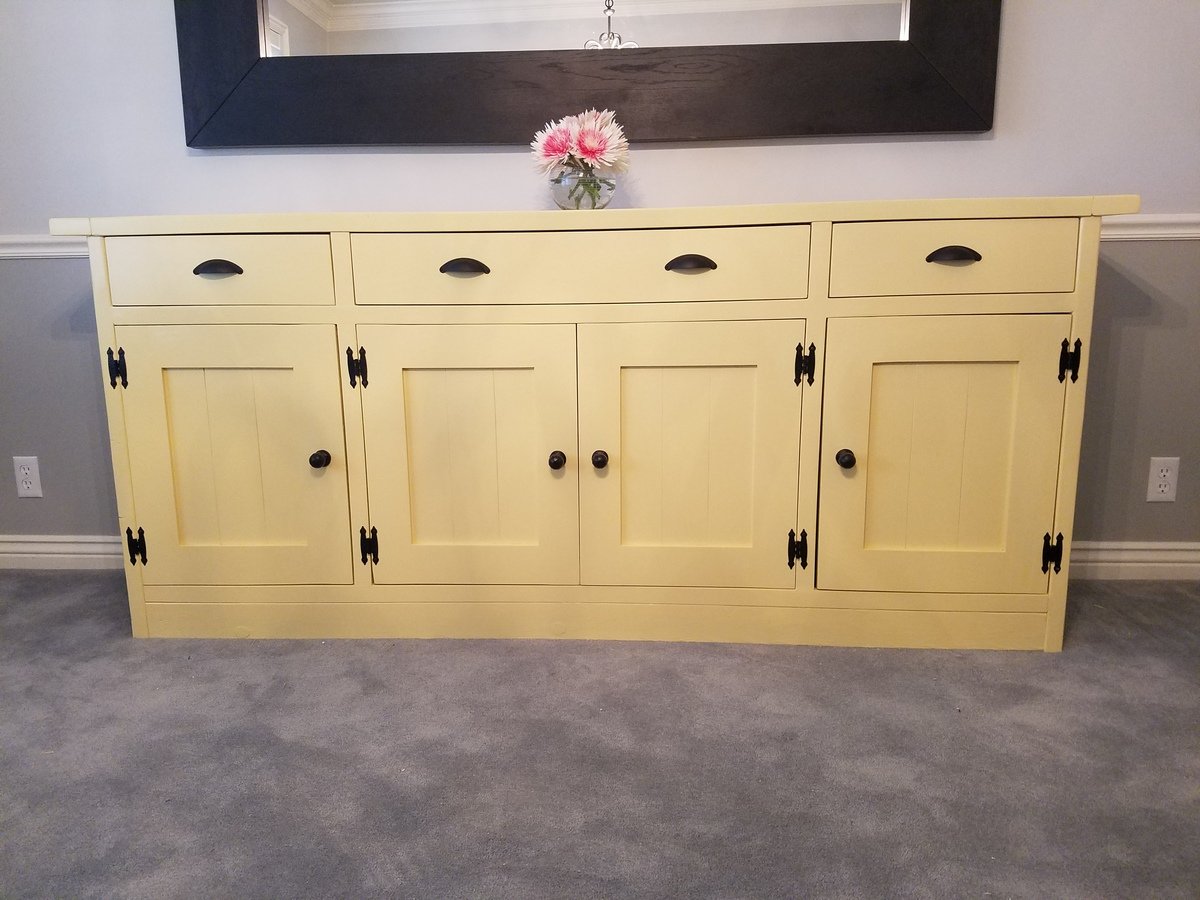
This was my first build from Ana White and my first piece of furniture. It is doable for a determined, handy beginner/ intermediate. I took my time and worked on it when I could, thanks to my wife for letting me take over the garage for several weekends and her great painting skills!
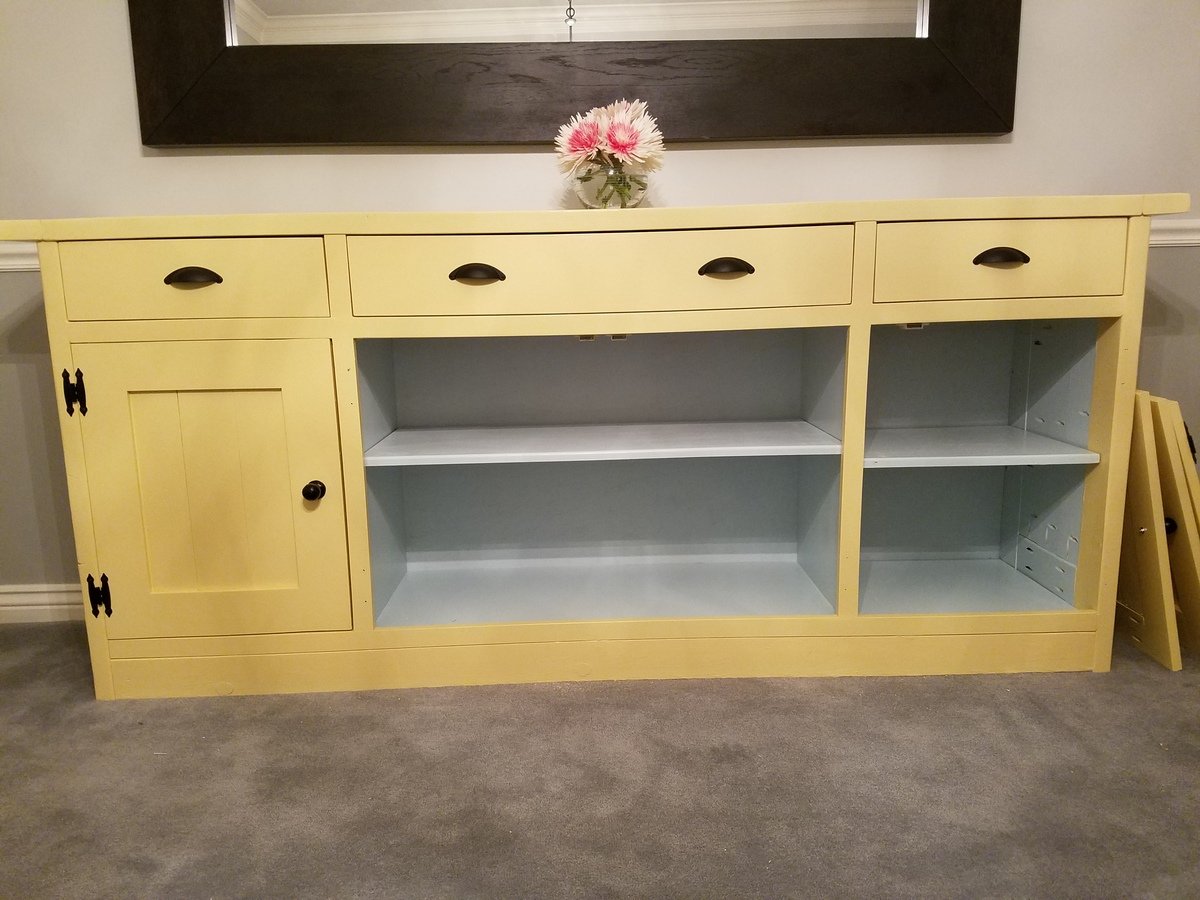
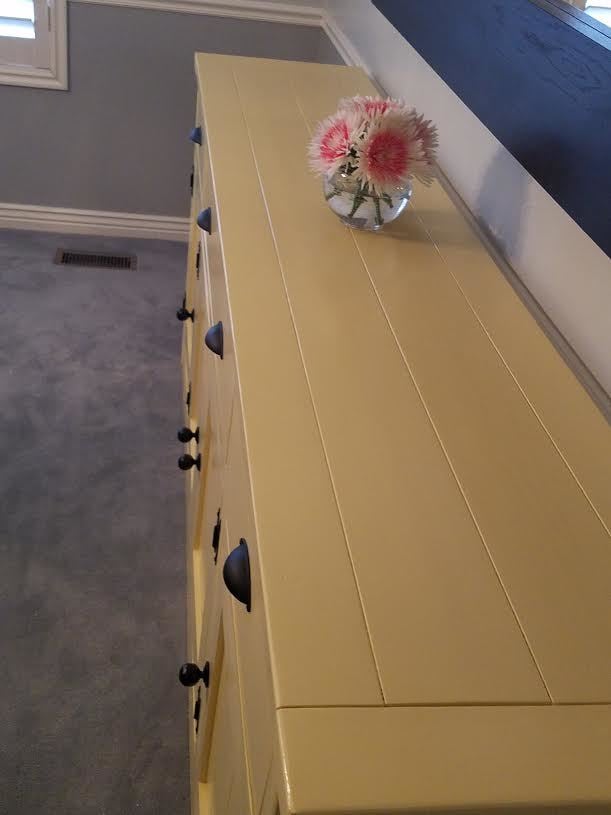
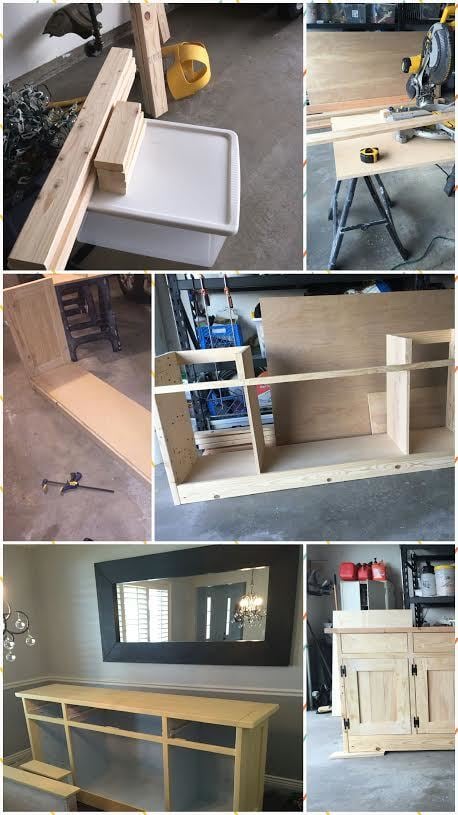
Sherwin Williams: Blue Bell
General Finishes: Poly Finish - satin
We primed it white
Two coats yellow
Two coats poly
Light sanding between each application with superfine sand paper sponges.
Reclaimed Wood Rolling Shelf
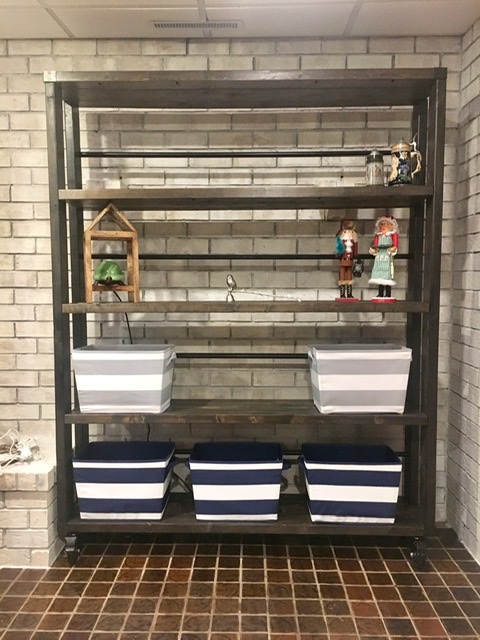
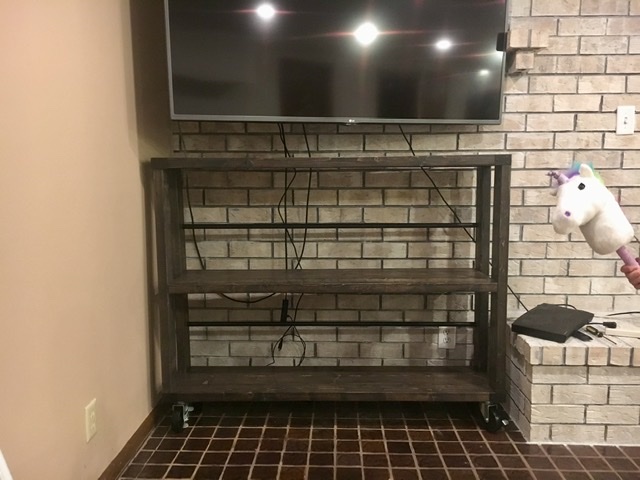
These were fun to make. They let me whitewashed brick show through while still being functional. I made a shorter one to go under my tv too. My advice is to secure them to the wall if they feel tipsy like mine.
Home Depot cut and threaded all my pipe. They were great!
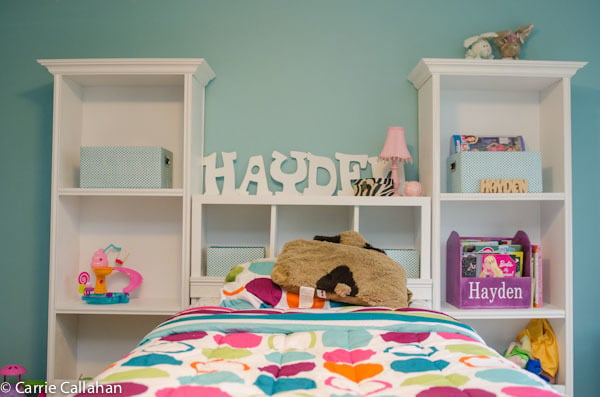
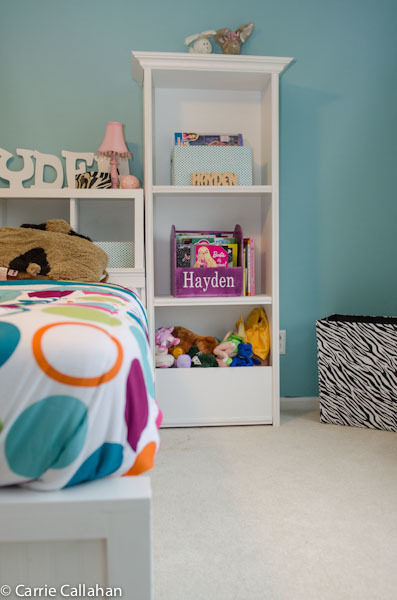
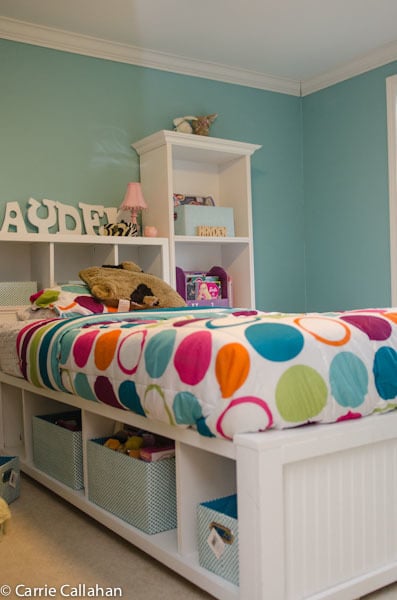
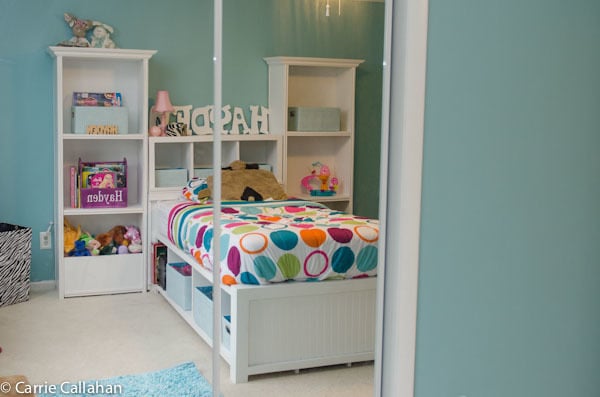
New Room for Hayden
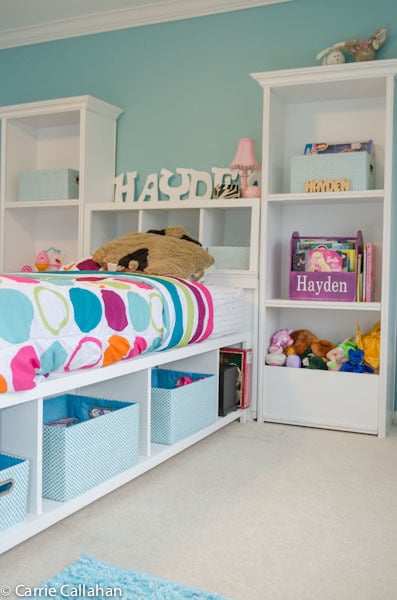
I promised my daughter that I would build her a new room for her birthday (in February). I finally got around to it in late March and I couldn't be more excited! She picked out the paint color (blue) for her room. And I got to work! Every time I go in her room I smile and feel so incredibly accomplished! I did the whole project myself! The only exception was carrying it up to her room. I overcame my fear of the circular saw which was awesome. The only problem was my oldest took one look at the room, fell to the ground in tears and wanted to know why her little sister had a "better" room than she did. And where her bed was! So I told her we'd get her a desk - she looked at me and said "No Mommy - I want you to build it!" I love that!
Comments
Sat, 04/21/2012 - 09:11
Lucky girl!
You have every reason to feel accomplished! The room looks stunning. And you've already inspired your daughters to DIY. Time to build some memories ;-)
Sun, 07/12/2015 - 19:31
Newbie
Okay I have found the plans for the bed, the towers and the hutch on top but i cannot find plans for what the hutch is sitting on. I know its non on the bed or that would shorten it. Where can i find plans to build the headboard that the hutch is on?
Porch Swing for a 1924 FourSquare Home
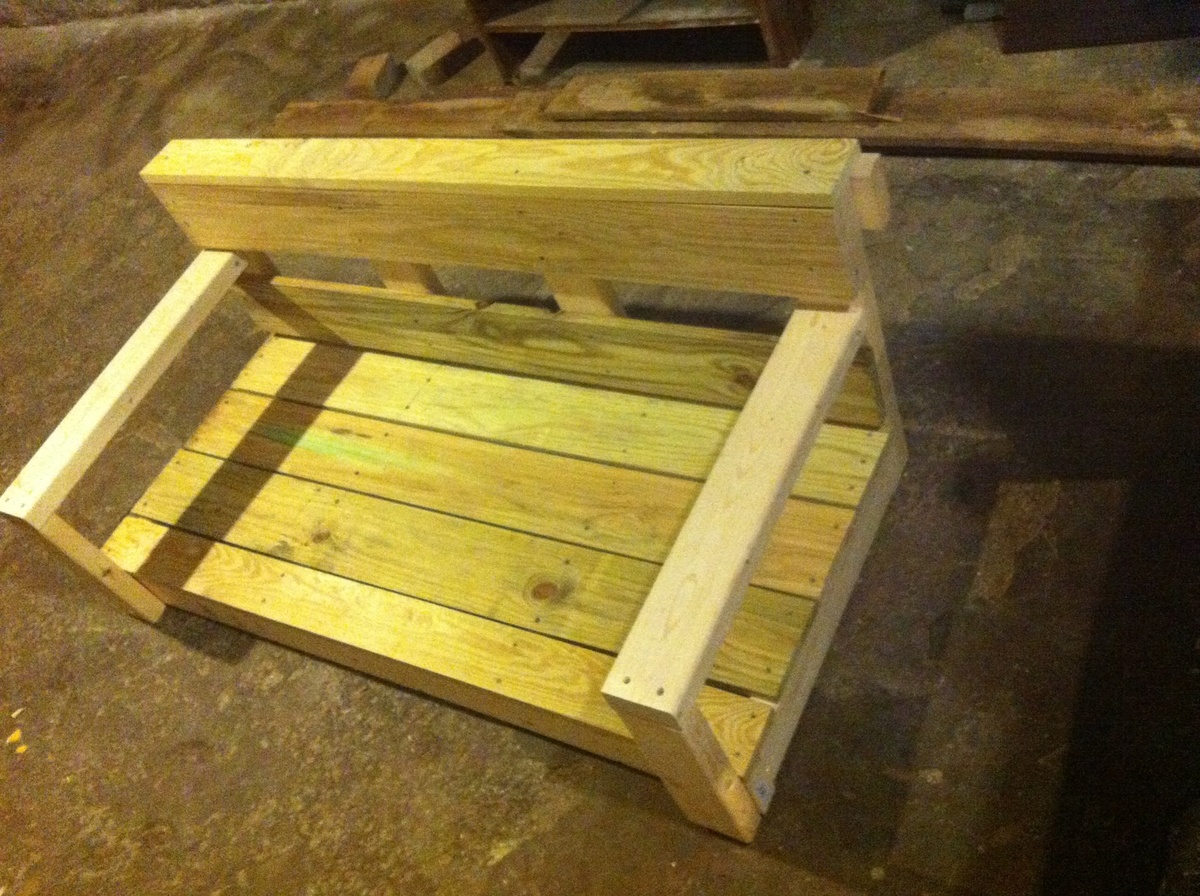
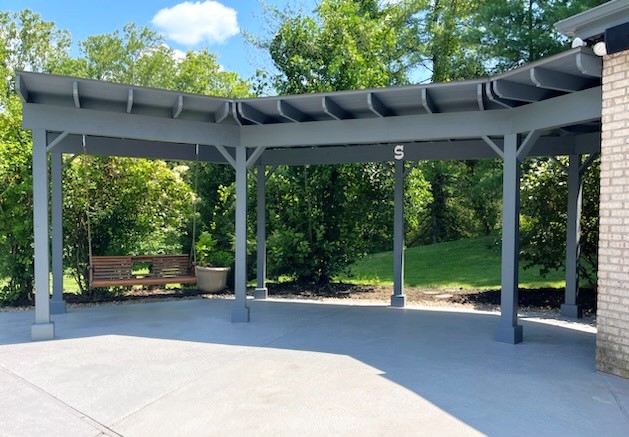
I was shopping for a porch swing for my 1924 Four Square home and I couldn't find any to my liking...I stumbled across this web site on Shanty2Chic's Blog via Pinterest....and I am thrilled by what I have found!
Attached is a photo of the swing I built. I need to finish sanding, filling in the holes and then paint it. I will post a pic of the hanging on my front porch once the weather breaks.
The only deviation in the plan design is that I made the back 2x4 50' long so I could attach eye bolts to support the back. If you have scrap lumber, it would have cost me hardly anything.
Think spring!!
My version, cheater style
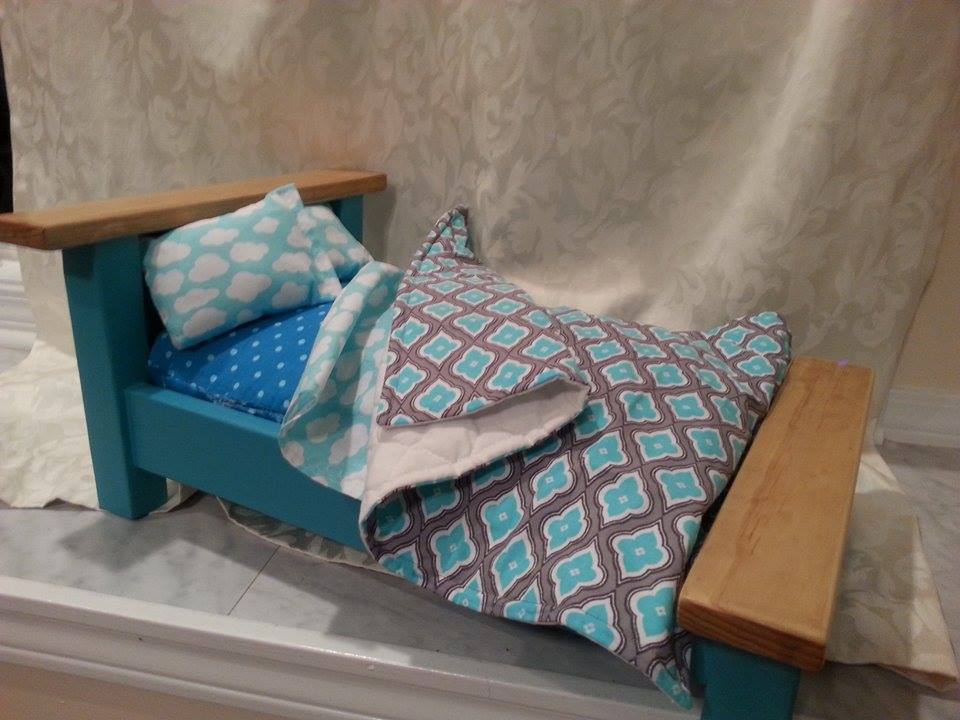
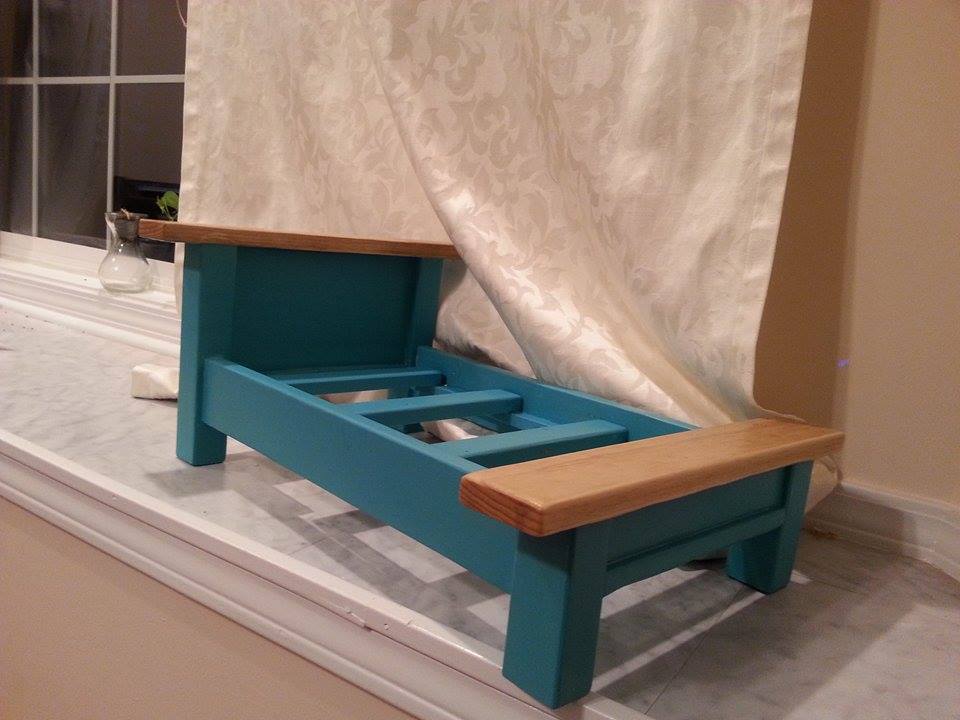
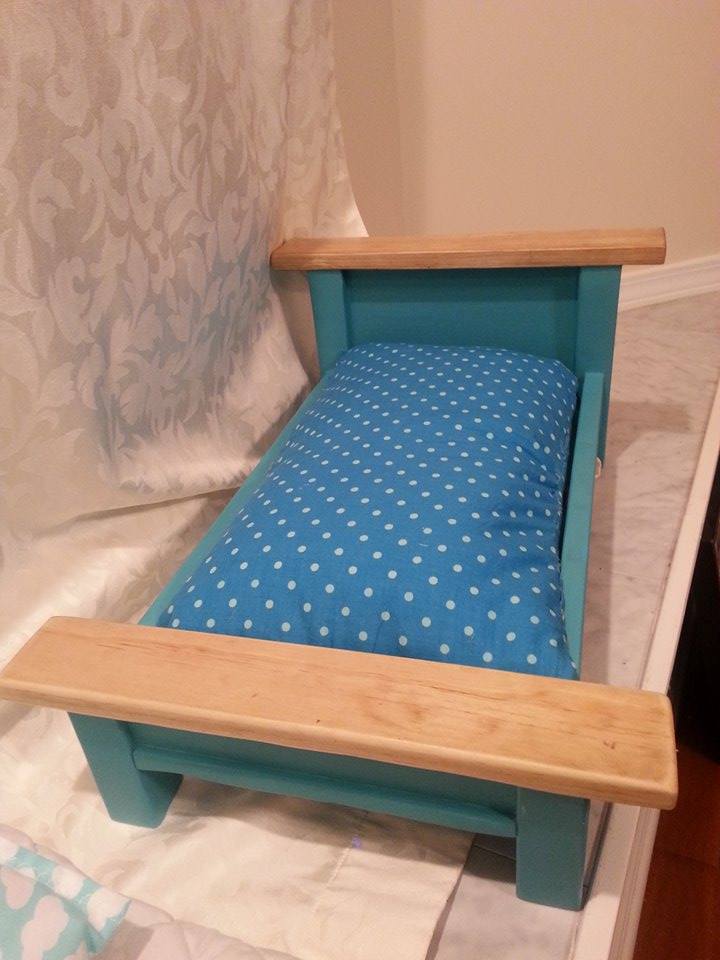
I believe I found the orignal quick version on the Finding Aloha site with a link back to Ana's original Farmhouse Bed. I made the blanket and bedding from some cheap FQ's. It was a hit for my neice's 7th birthday.
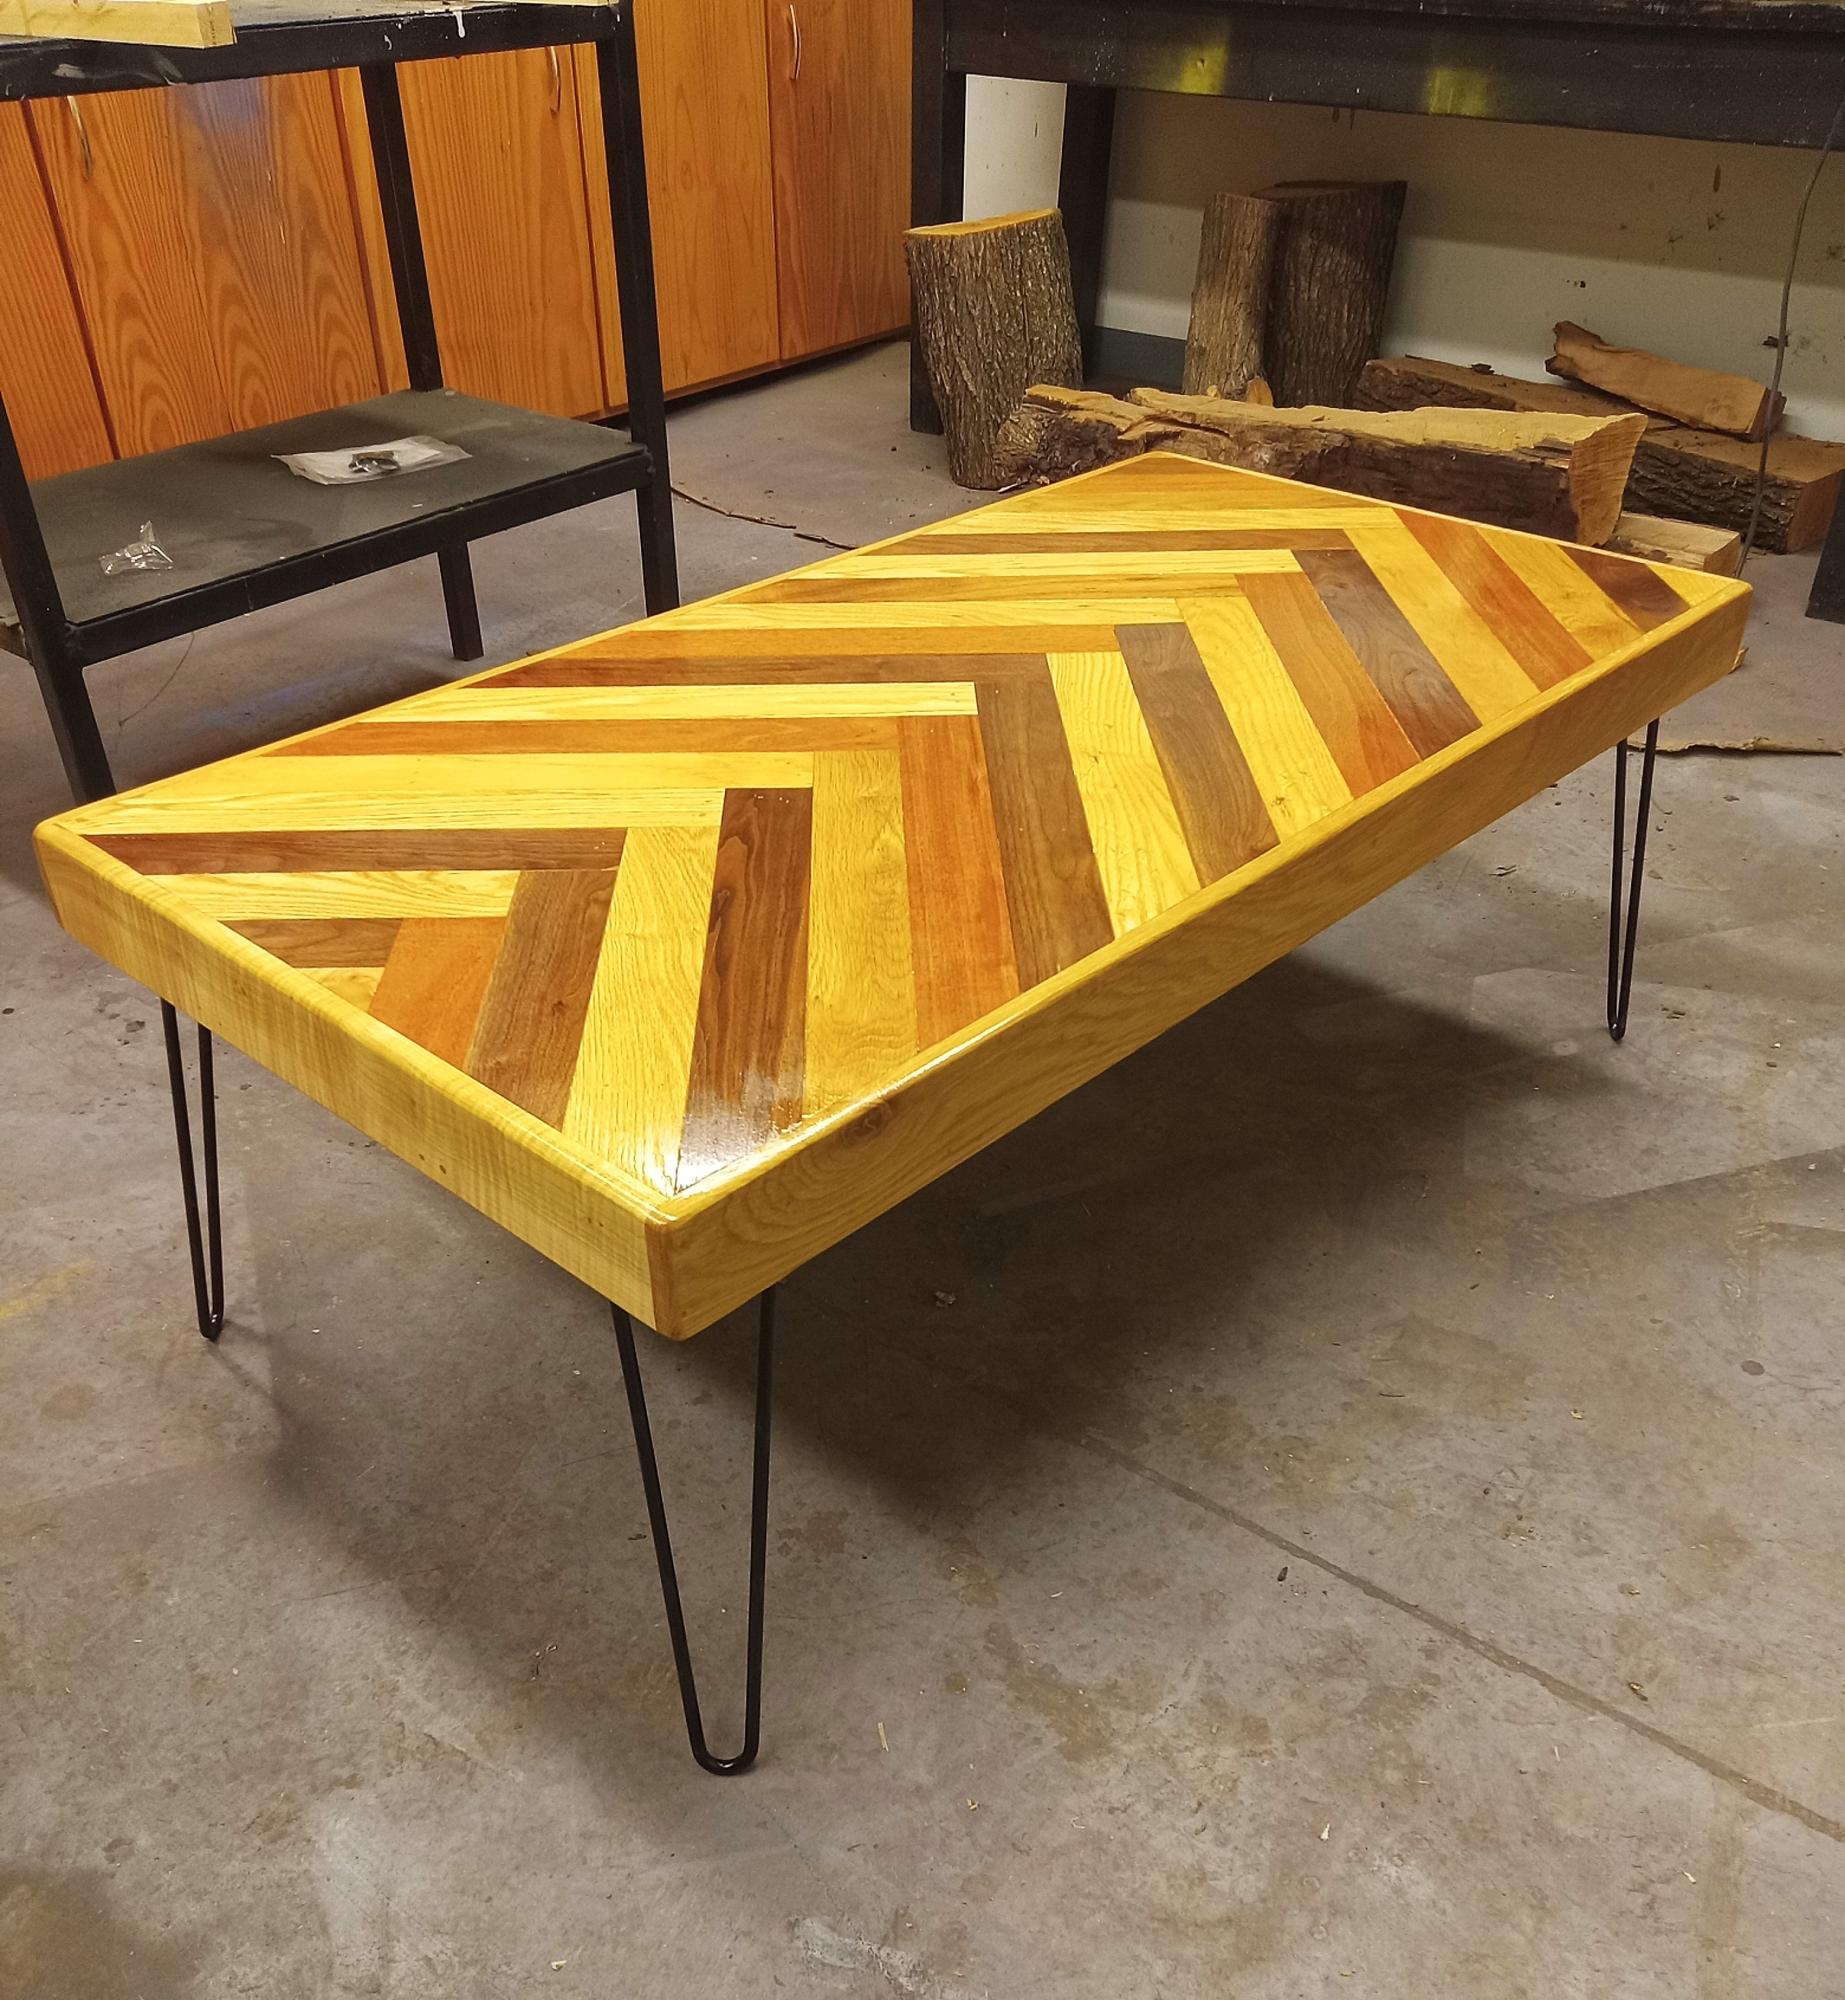
Farmhouse Coffee Table
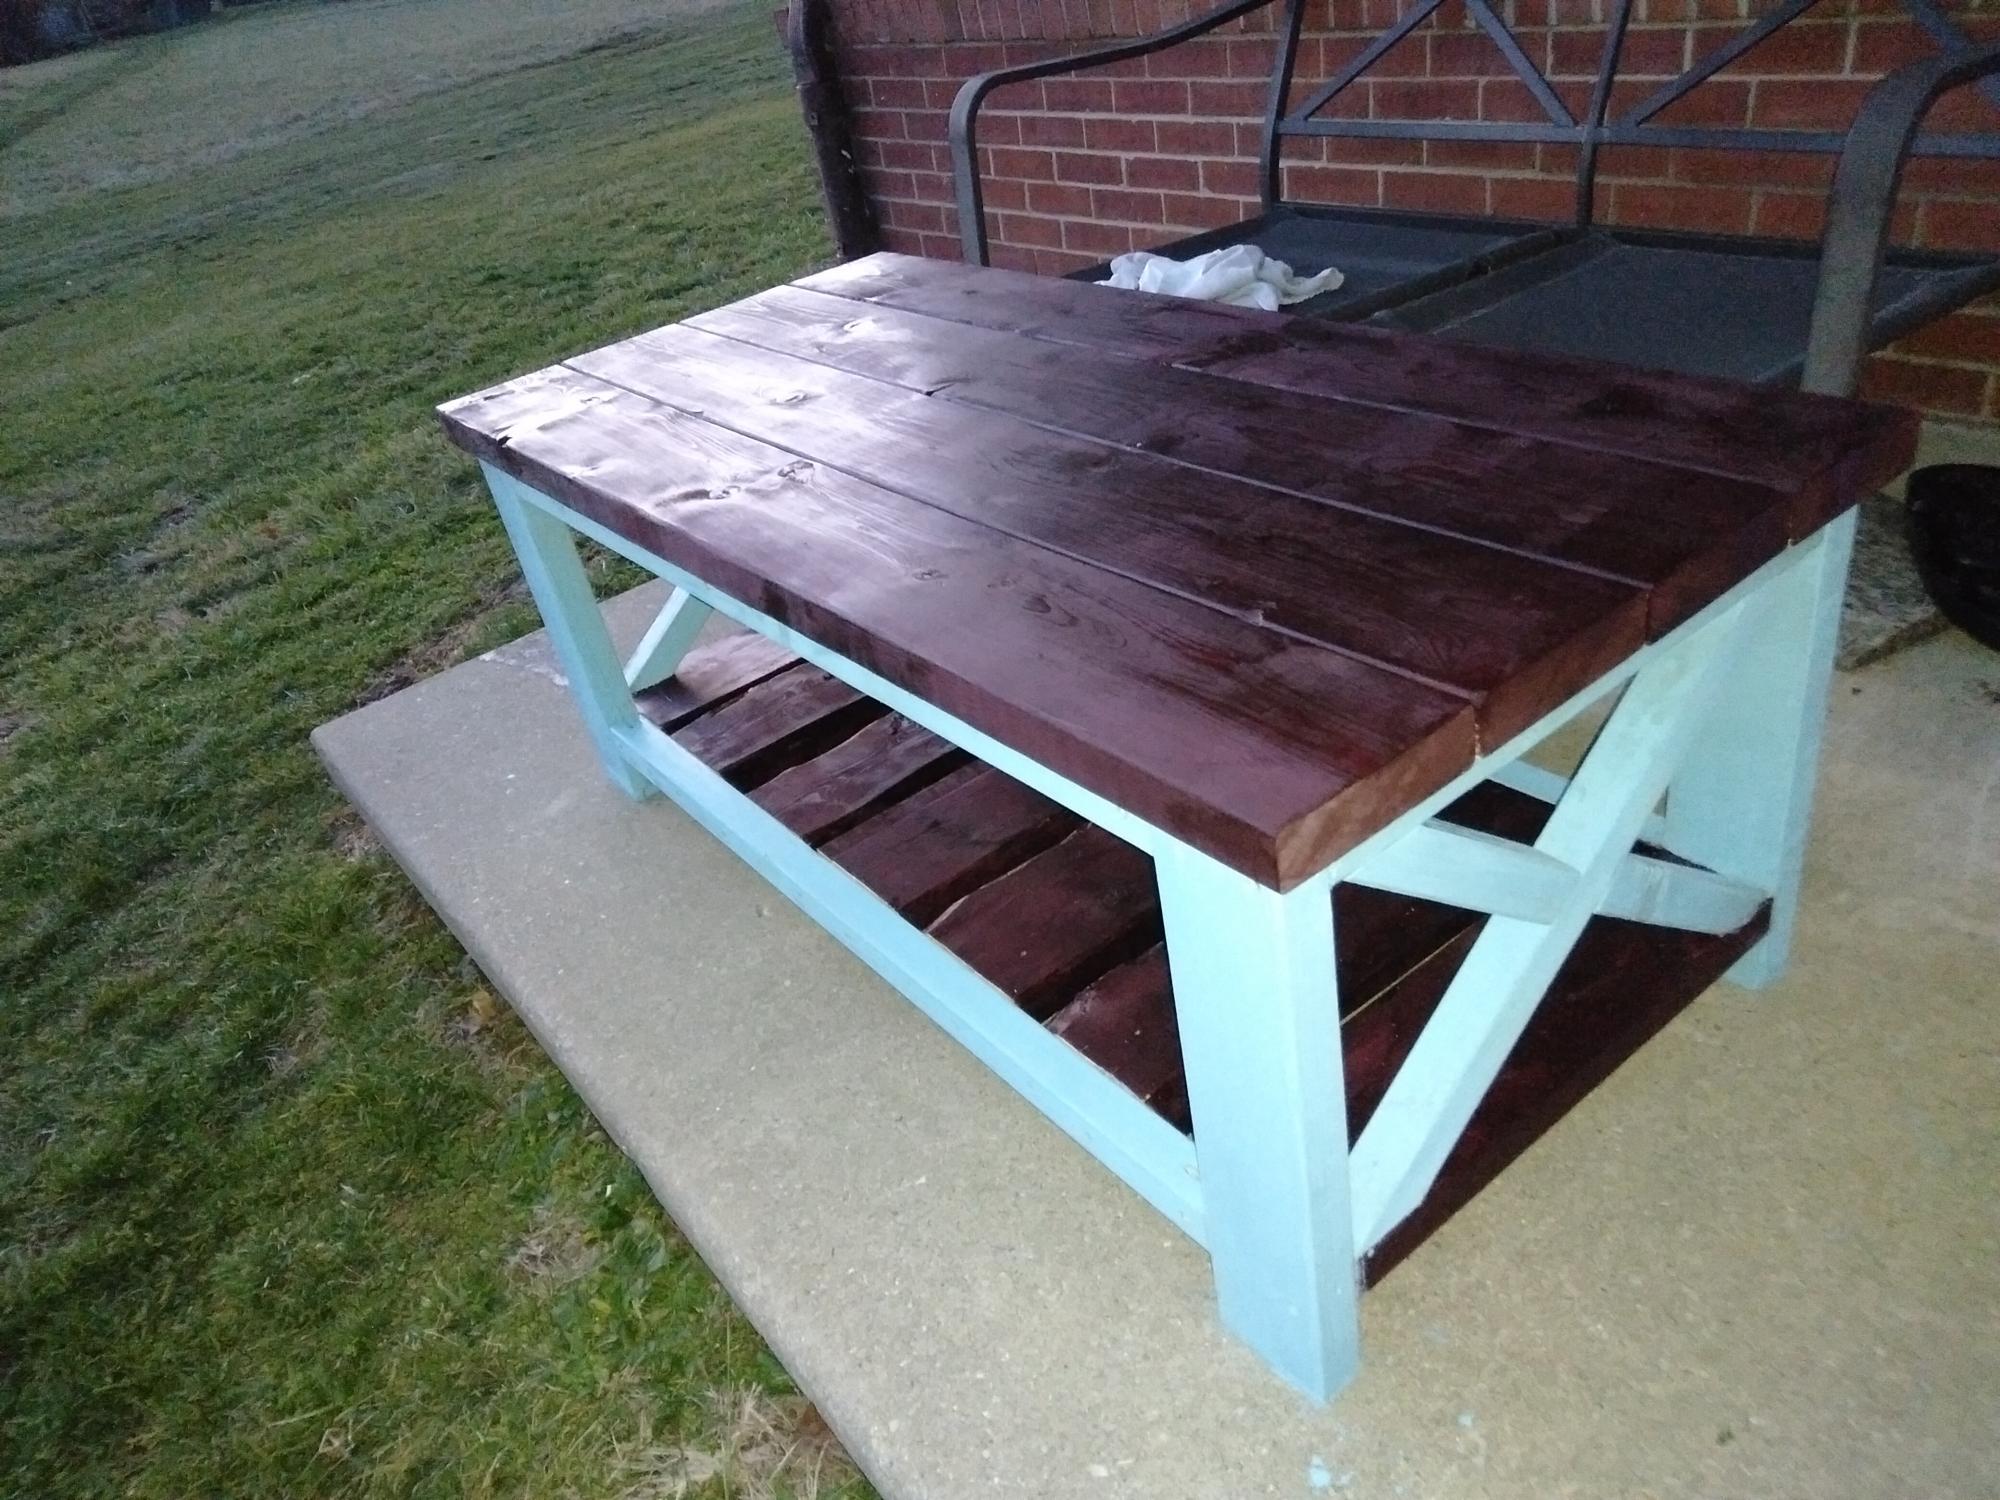
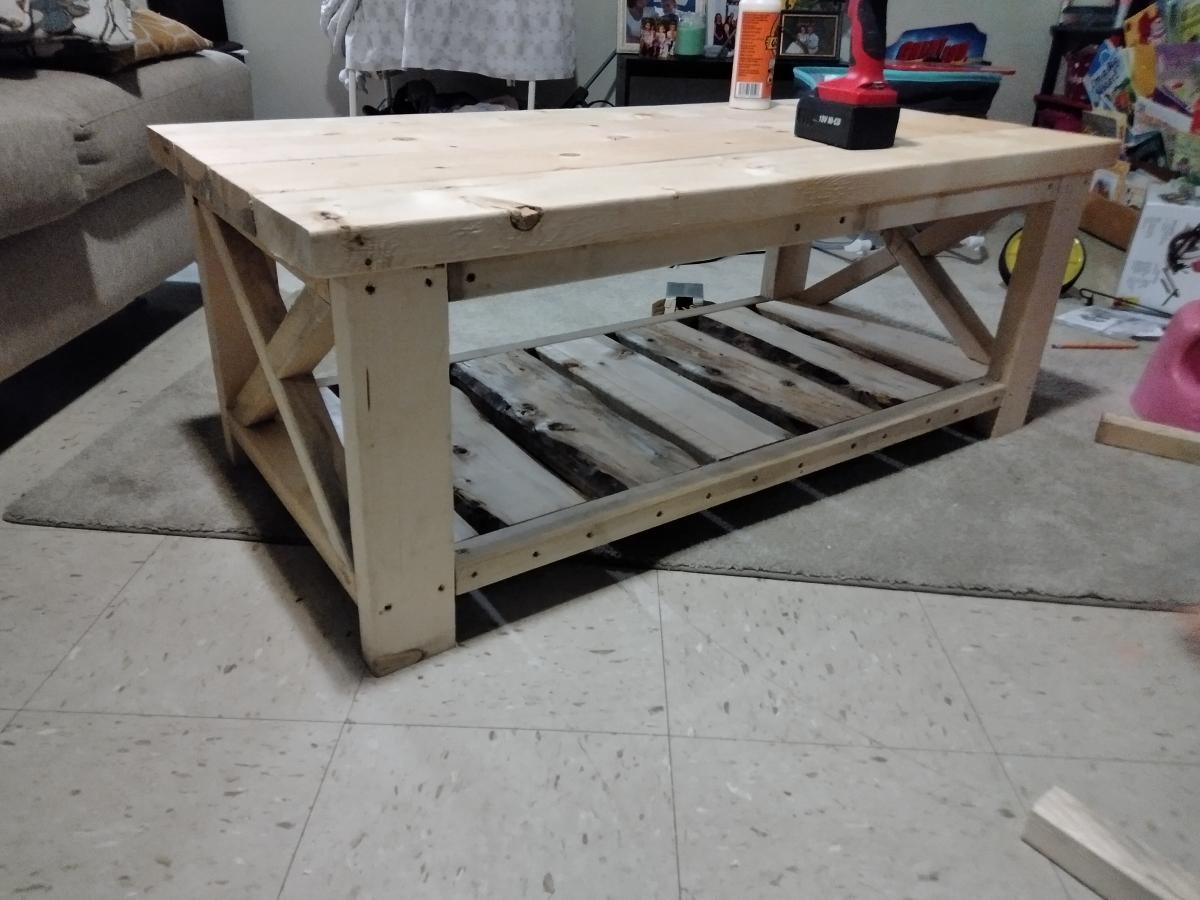
So thankful for the blueprints I found on this website. Table turned out amazing!!
And Antique Aqua paint.
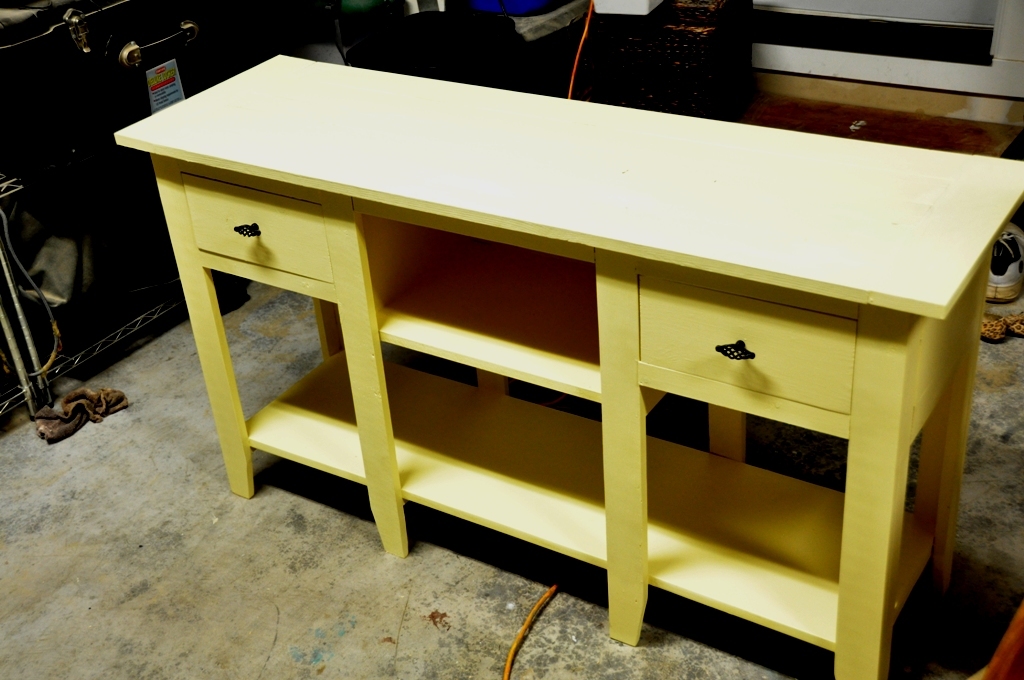
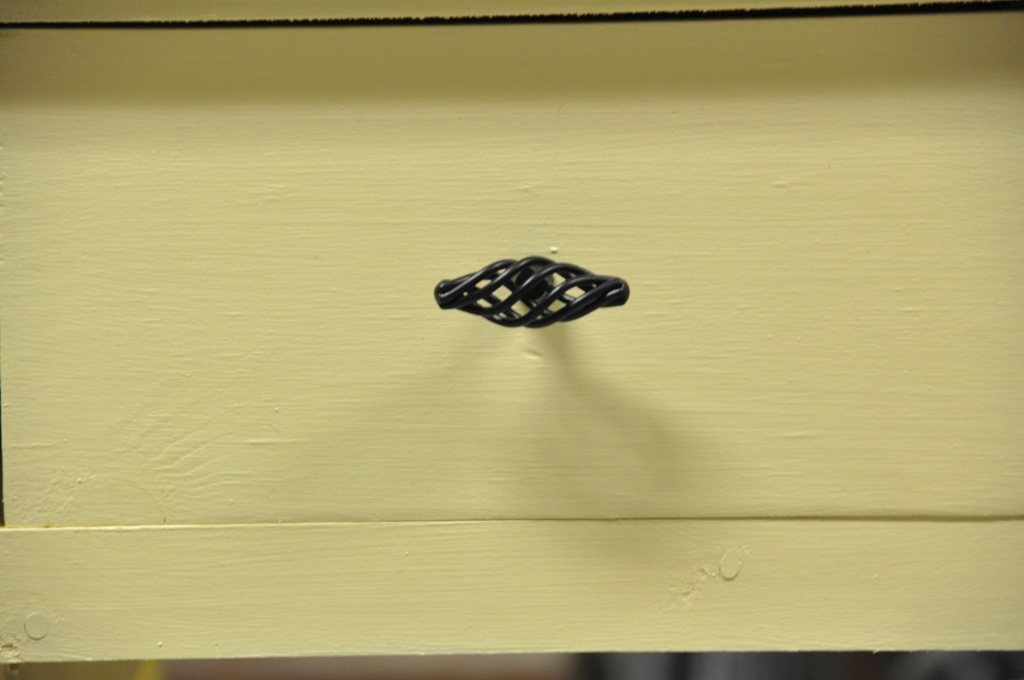
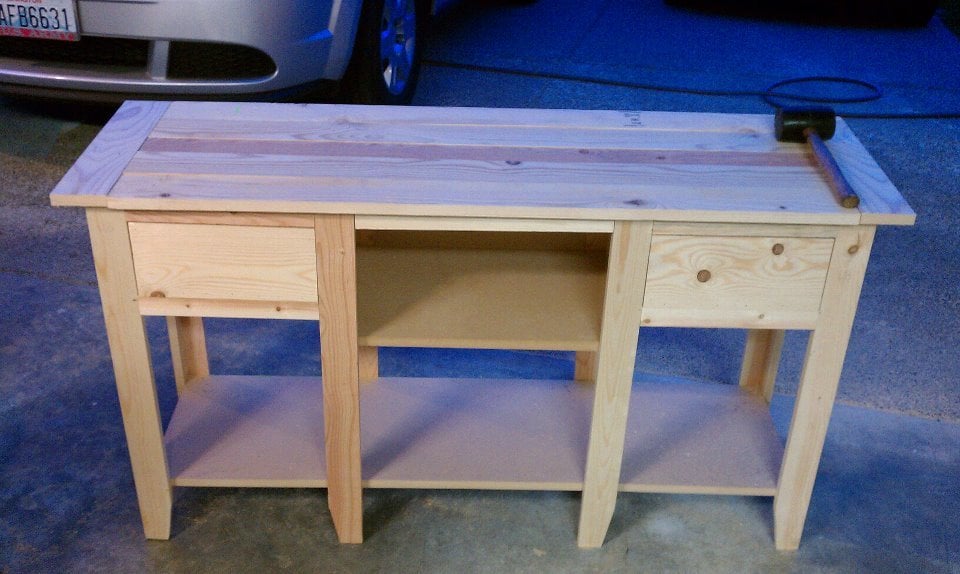
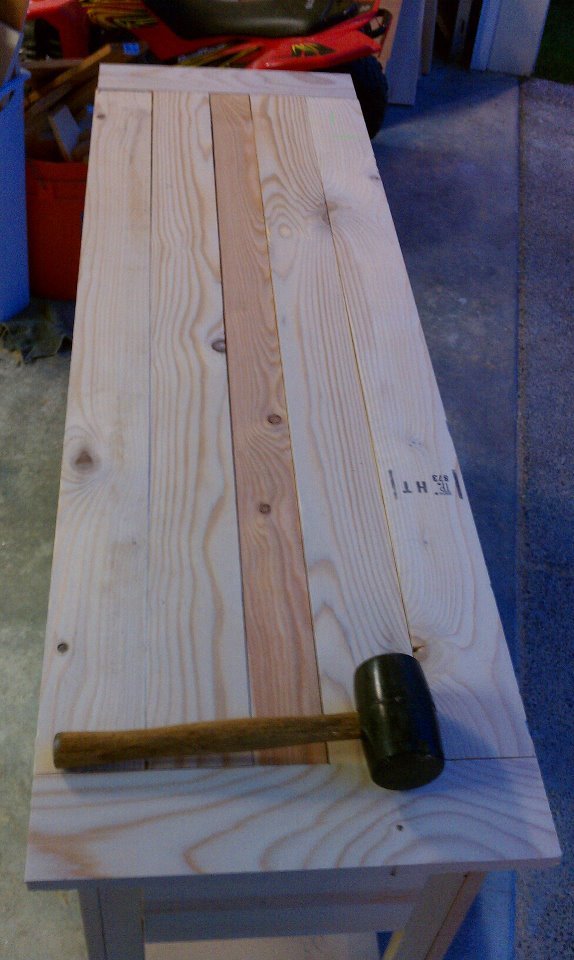
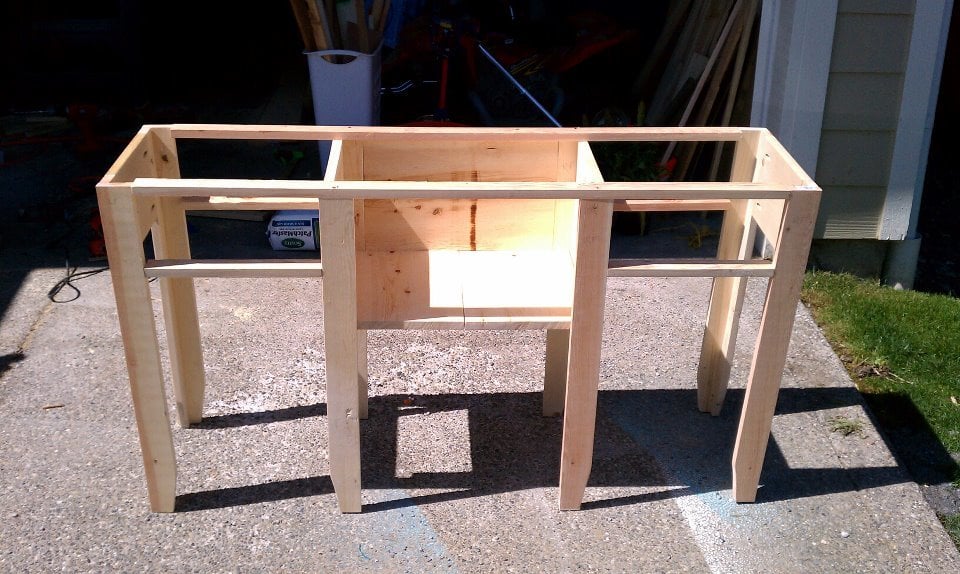
Liberty Casual 2-Drawer 2-Shelf Sofa Table
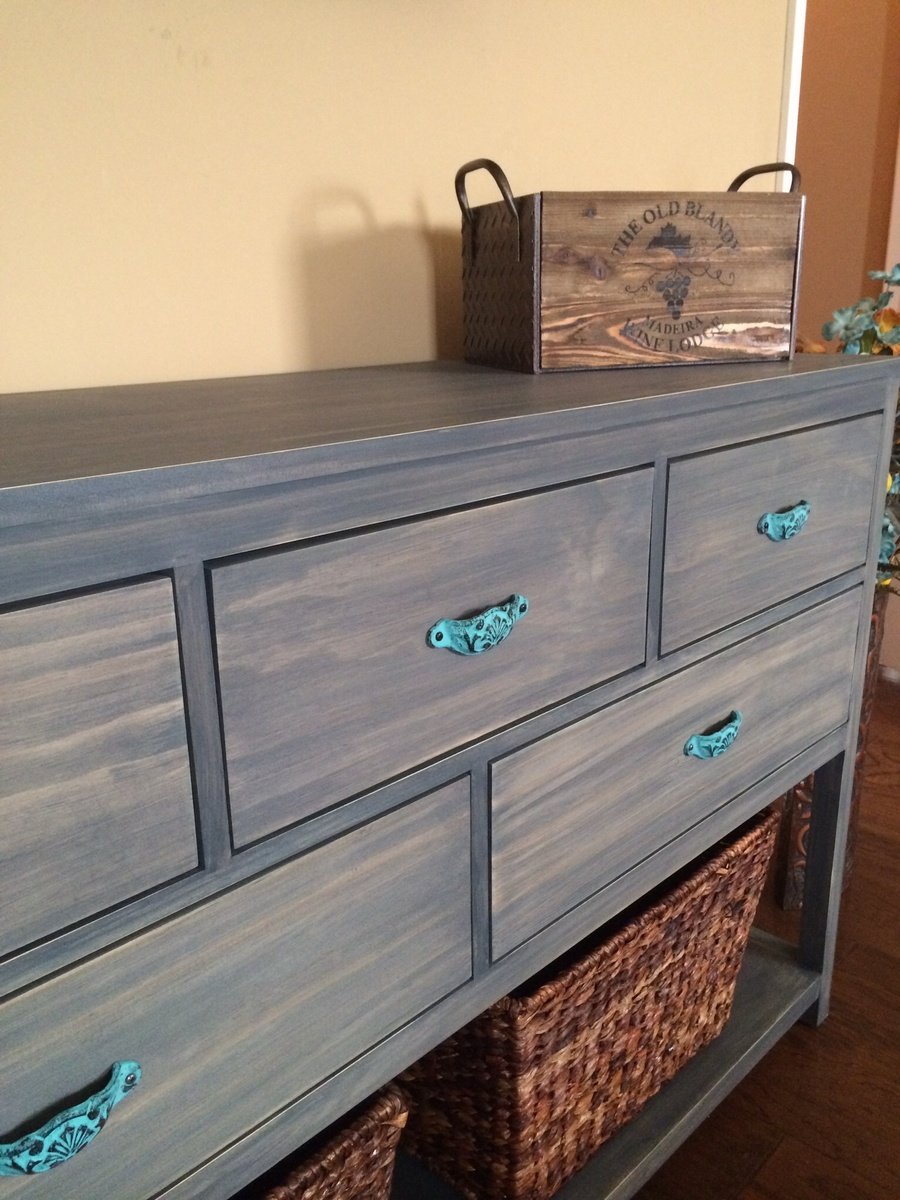
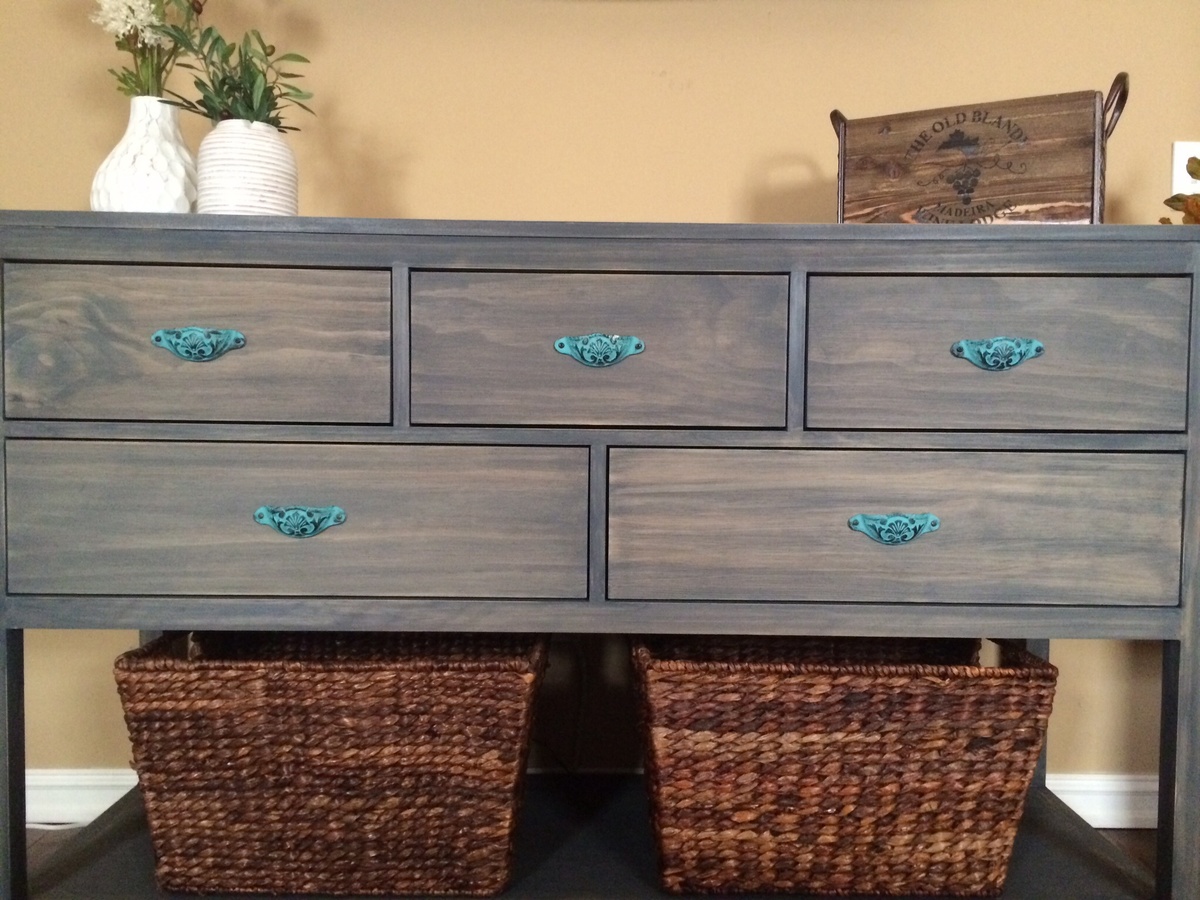
So my wife got her new Country Sampler magazine the other day and she saw this table in there that she liked. After an hour of research I found the table at Becker Furniture World online. The table is called the Liberty Casual 2-Drawer 2-Shelf Sofa Table by Steve Silver. I decided to draw up some plans in my head and give it a shot. After 2 rounds of Home Depot warped 1x 12s we got the table together. Instead of making this a sofa table, I extended the table top out a little to make it into a console table. If you want to see my inspiration google search Liberty Casual 2-Drawer 2-Shelf Sofa Table by Steve Silver. If you like it let me know and I will give out the wood list and the cut list.
Comments
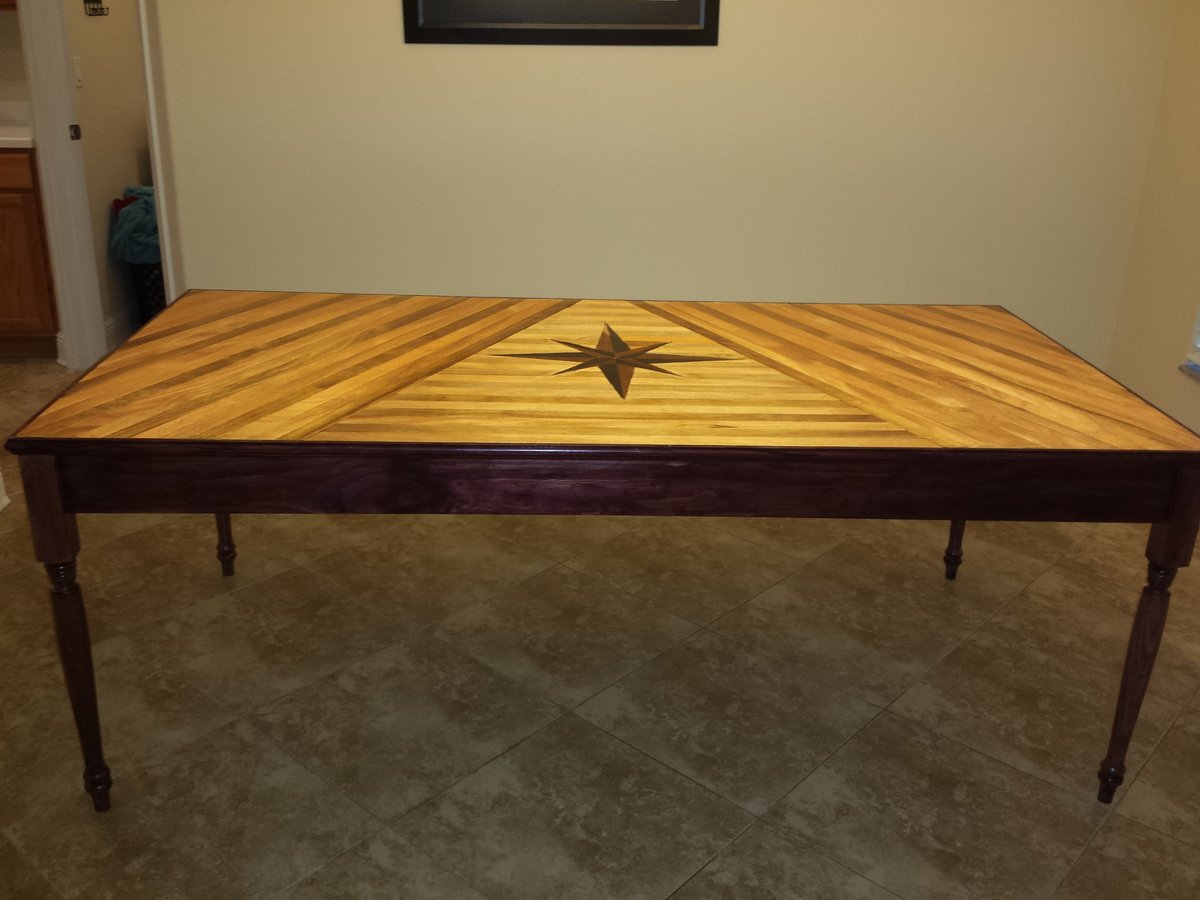
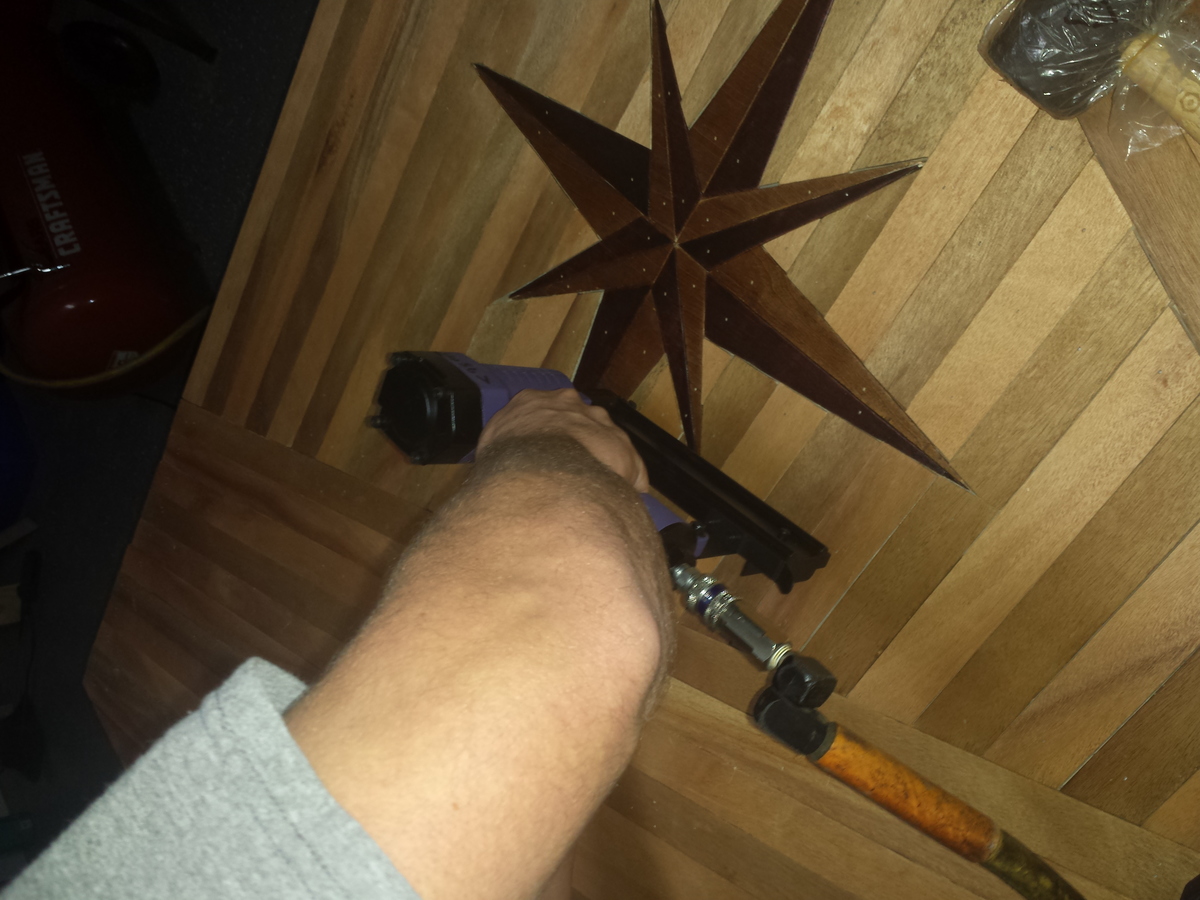
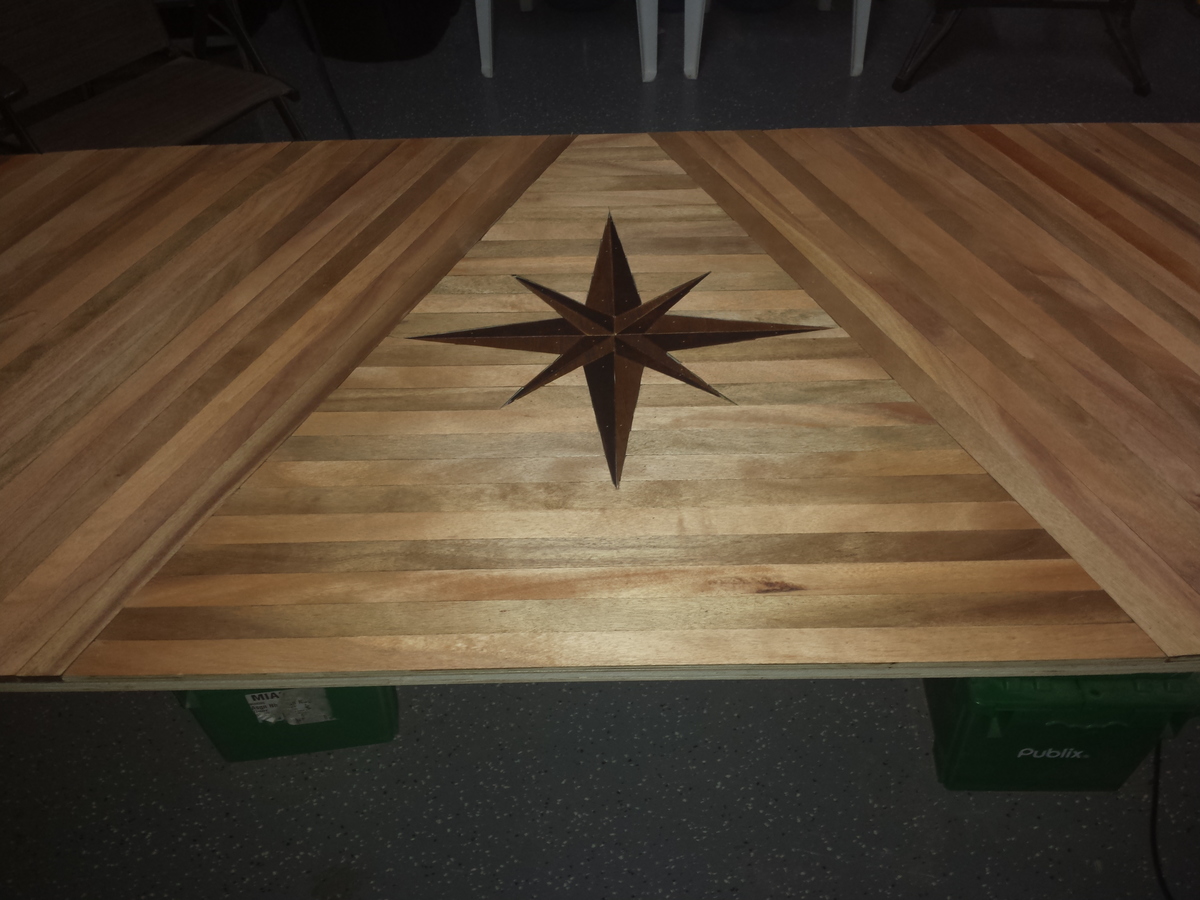
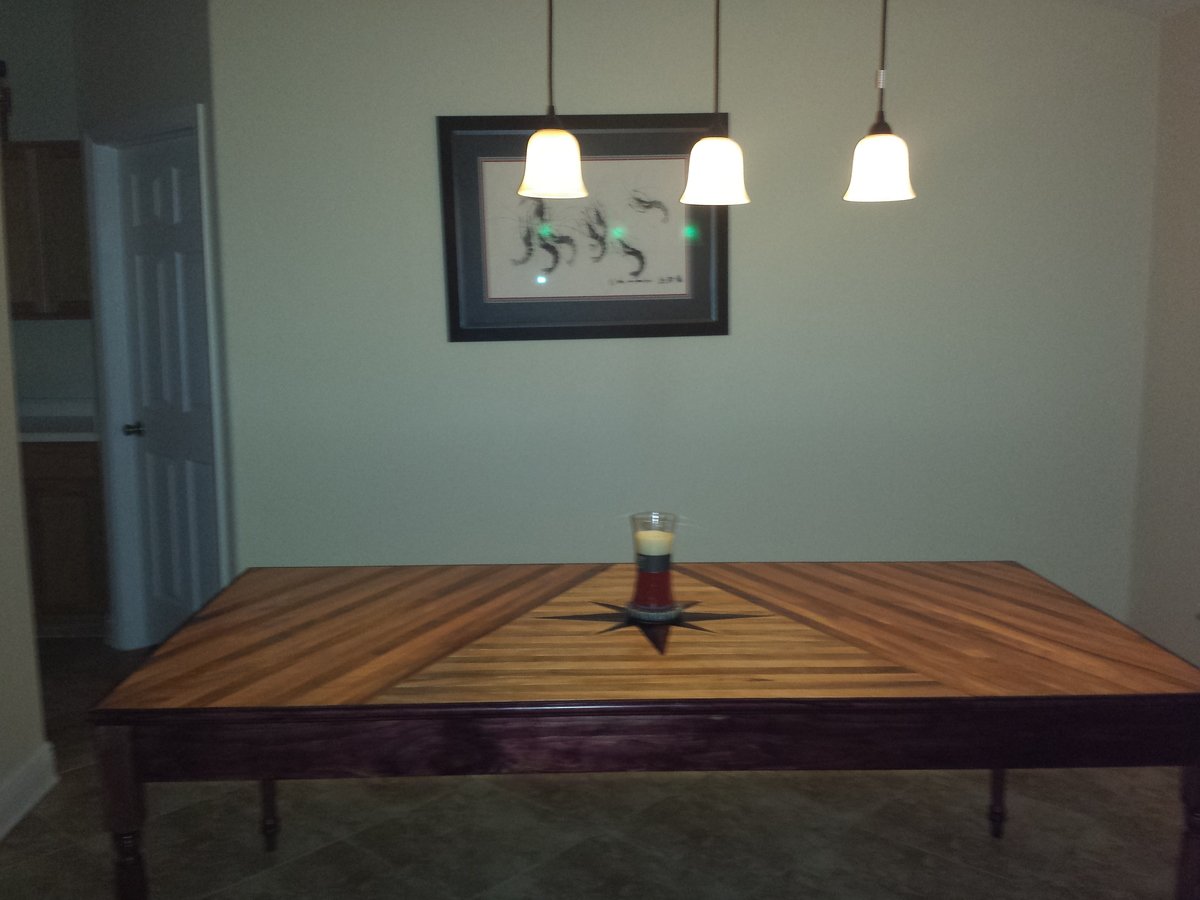
Compass rose plywood table
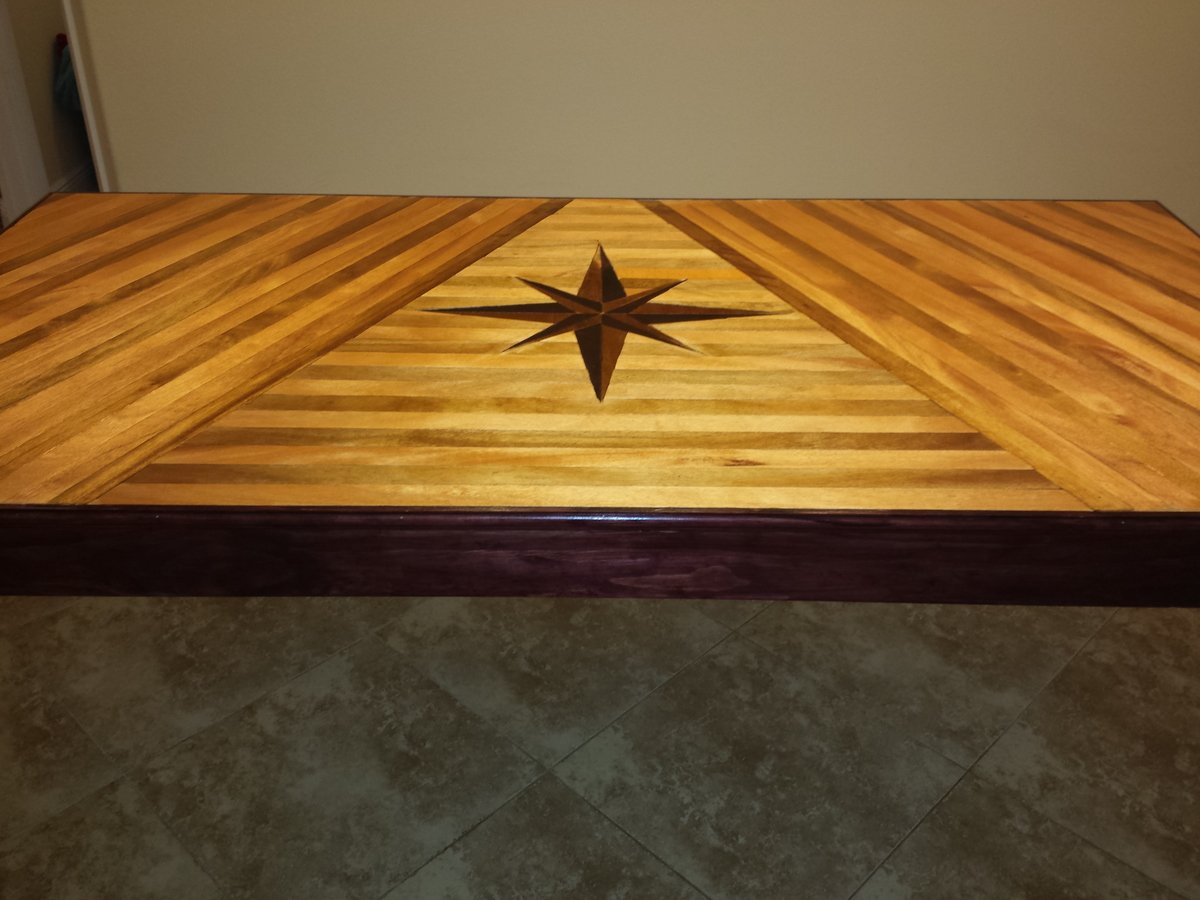
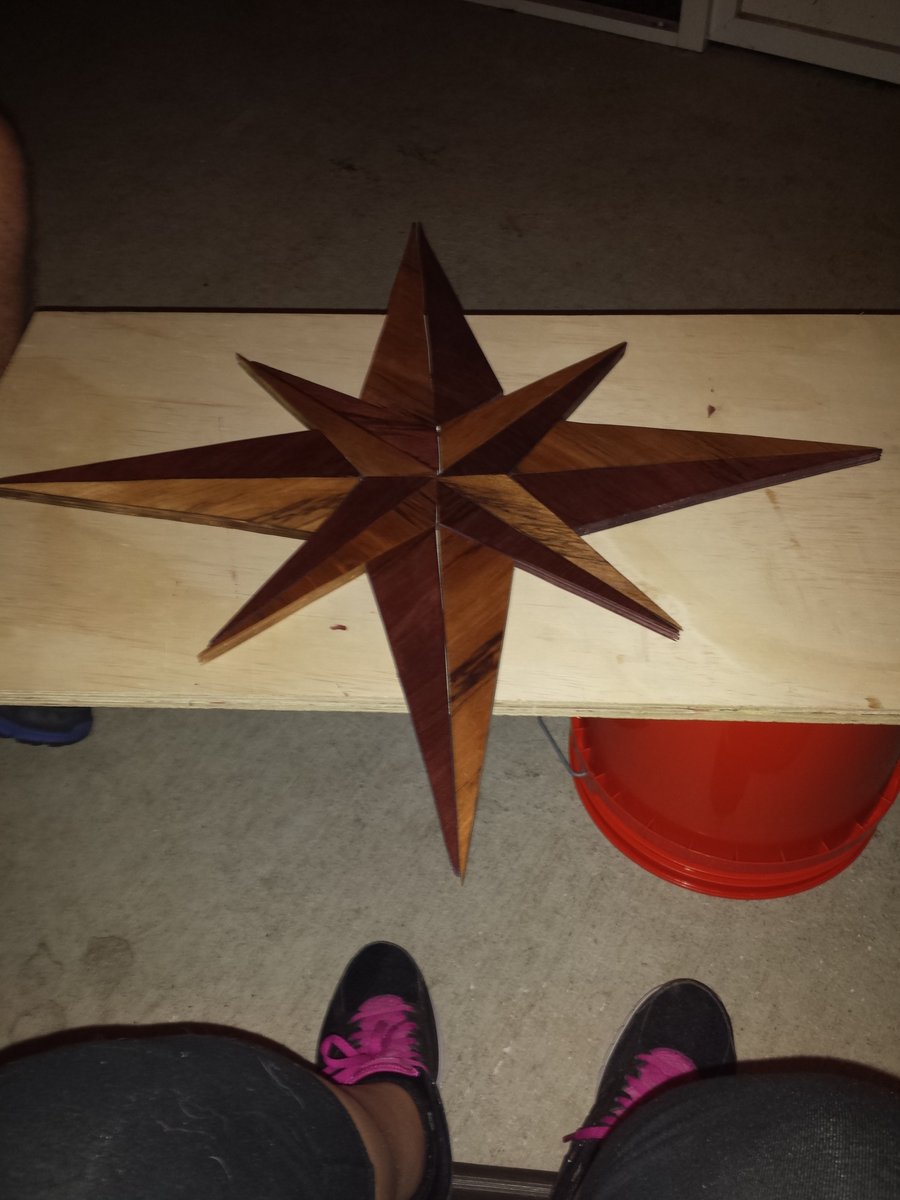
Compass rose dimensions: 22×22 (90 degree cross) tilt 45 degrees 16×16 (90 degree cross) then connect lines with a ruler, start with the 16" lines connect from outer point to 2" from center of the 22" crossed lines, once that star is complete make lines from point of the 22" lines to 2 1/2" down side of star adjacent to that point (hint: it's much easier to look at a picture of a compass rose while trying to sketch it). Cut sizes should turn out to be: 8- 9"×7"×2 1/2" triangles and 8- 8"×7"×2" triangles (hint: we had best results using a table saw to make all the cuts)...


Comments
DecorSanity
Sun, 01/26/2014 - 20:37
beautiful!
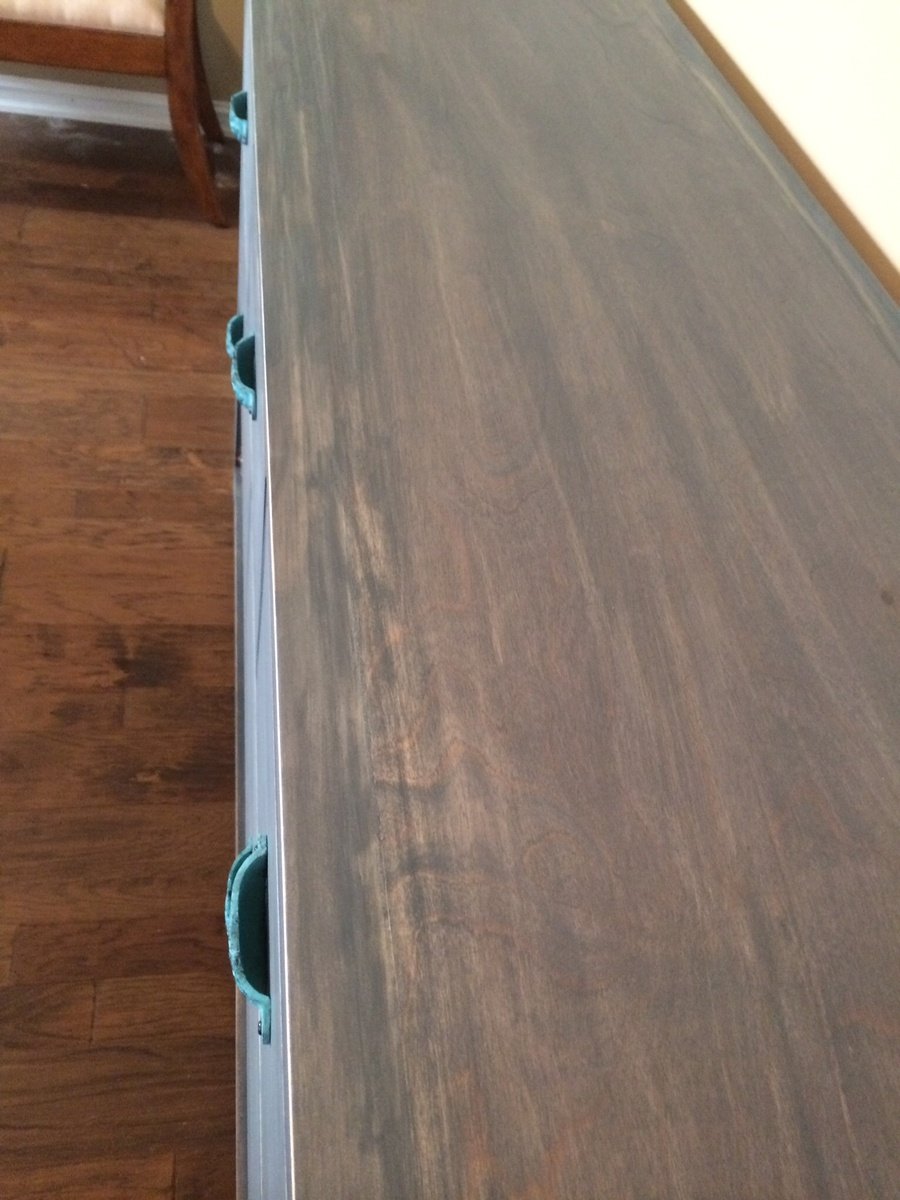
Great job, beautiful finish!
Pam the Goatherd
Tue, 01/28/2014 - 08:07
I absolutely love the finish
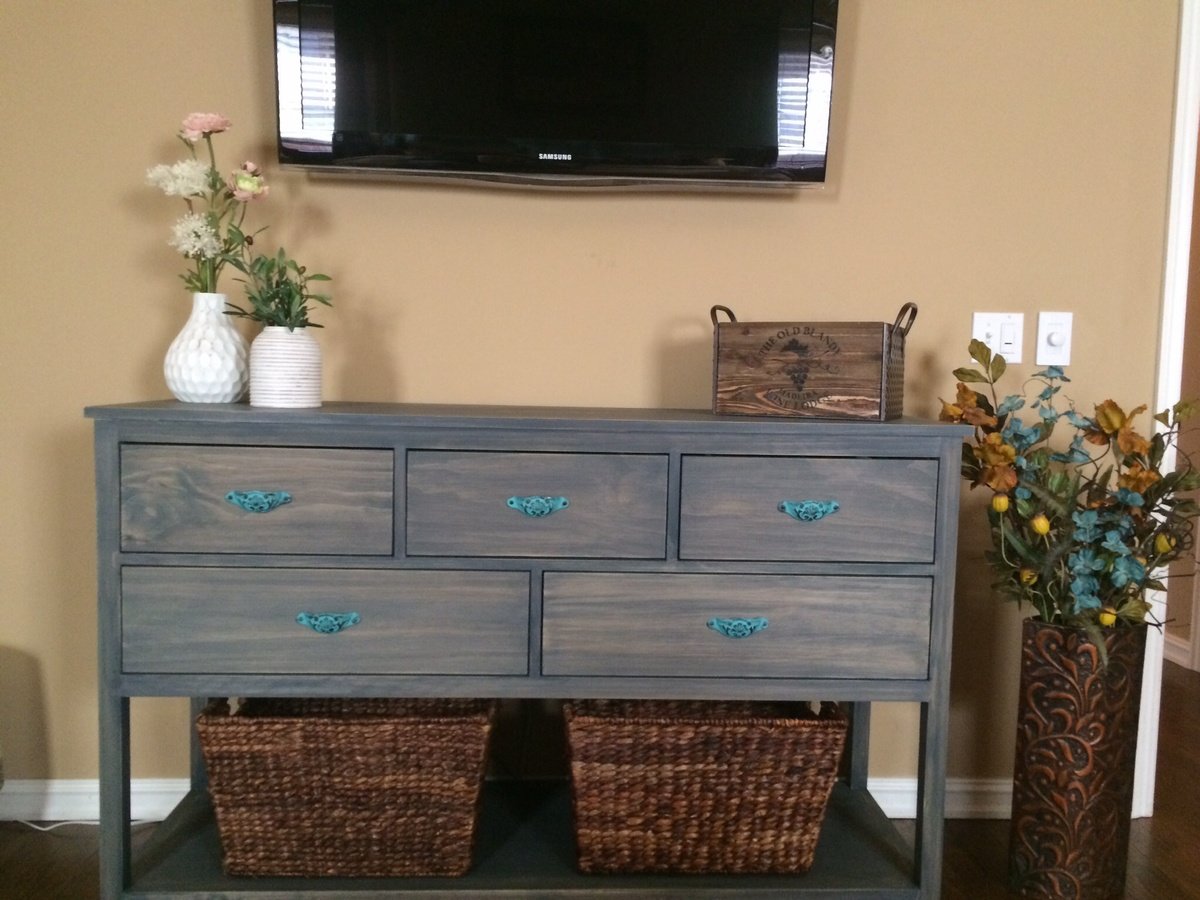
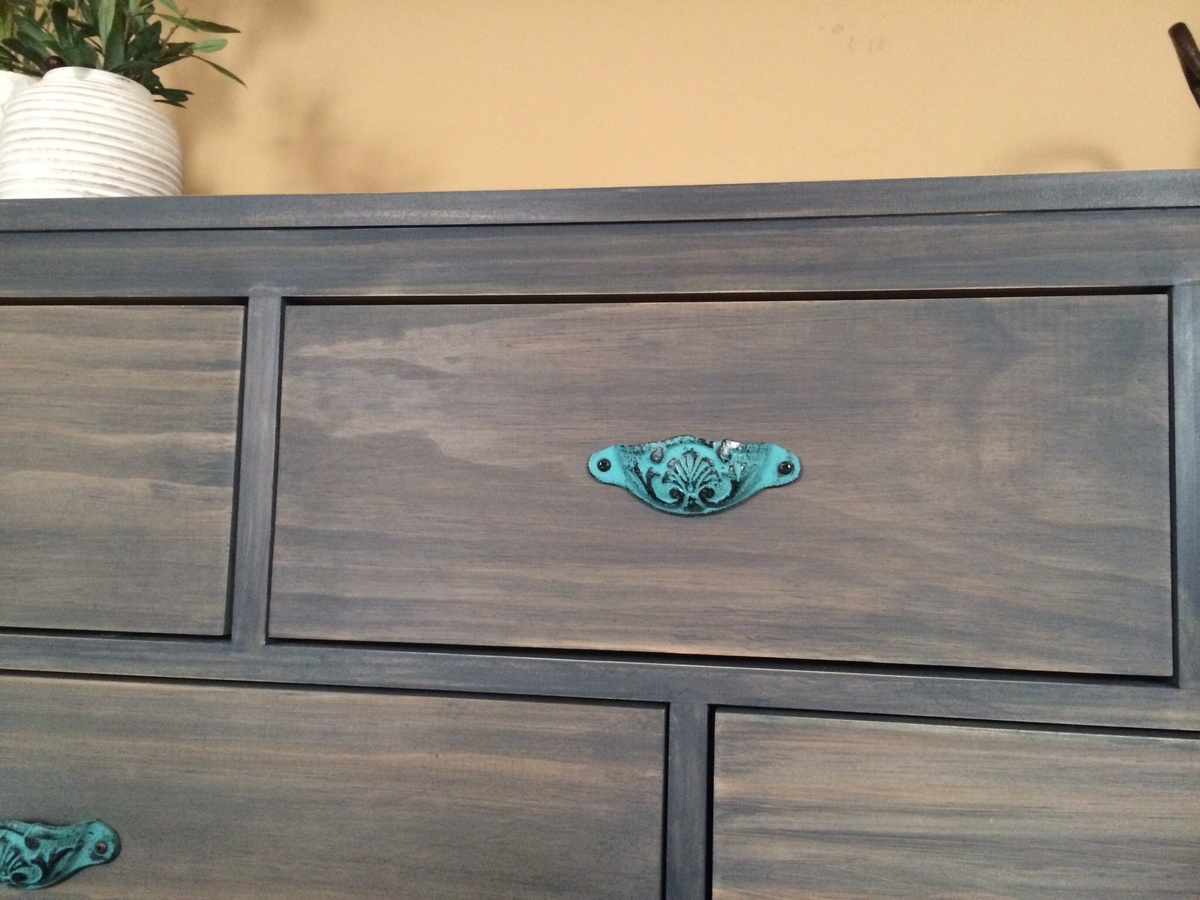
I absolutely love the finish and the turquoise handles! So pretty!