Community Brag Posts

Shed Chicken Coop and Run

Submitted by mikesofka on Tue, 05/12/2020 - 09:27

I had such a fun time on this shed coop/run build! My wife and I have 5 children and it was fun involving them in building everything about this coop and run. They have a wonderful sense of accomplishment in looking at what they helped build.

A few notes, while this what a fairly straightforward build, there are a lot of little intricacies to be aware of. Such as:

• Make sure your chicken coop is about a foot off the ground. It's best to do that so critters such as rats and snakes don't make their home under the shed and potentially eat their way through the floor.

• It is highly advisable to dig a trench about a foot to a foot and a half deep around the coop and the run and attach chicken cage fencing from the bottom of the coop/run into the trench, and then taper the cage fencing outward. This will prohibit critters such as raccoons from trying to dig under the coop.

• When you attach the poultry netting to the outside of the chicken run, staple one side really well, then move to the other side and pull the netting fairly hard to make the netting as tight as possible. (Also, be careful when putting the netting across the top of the run to not fall off the ladder as I did and dangle there until one of your kids comes to help you! Ha! :D )

Thank you, Ana, for posting these plans! We are so excited to get our little chickies out into their new home as soon as their feathers come in!
Estimated Cost
$800
Estimated Time Investment
Week Long Project (20 Hours or More)
Recommended Skill Level
Intermediate

8' Entertainment Console

Submitted by Anonymous (not verified) on Tue, 01/09/2024 - 08:51

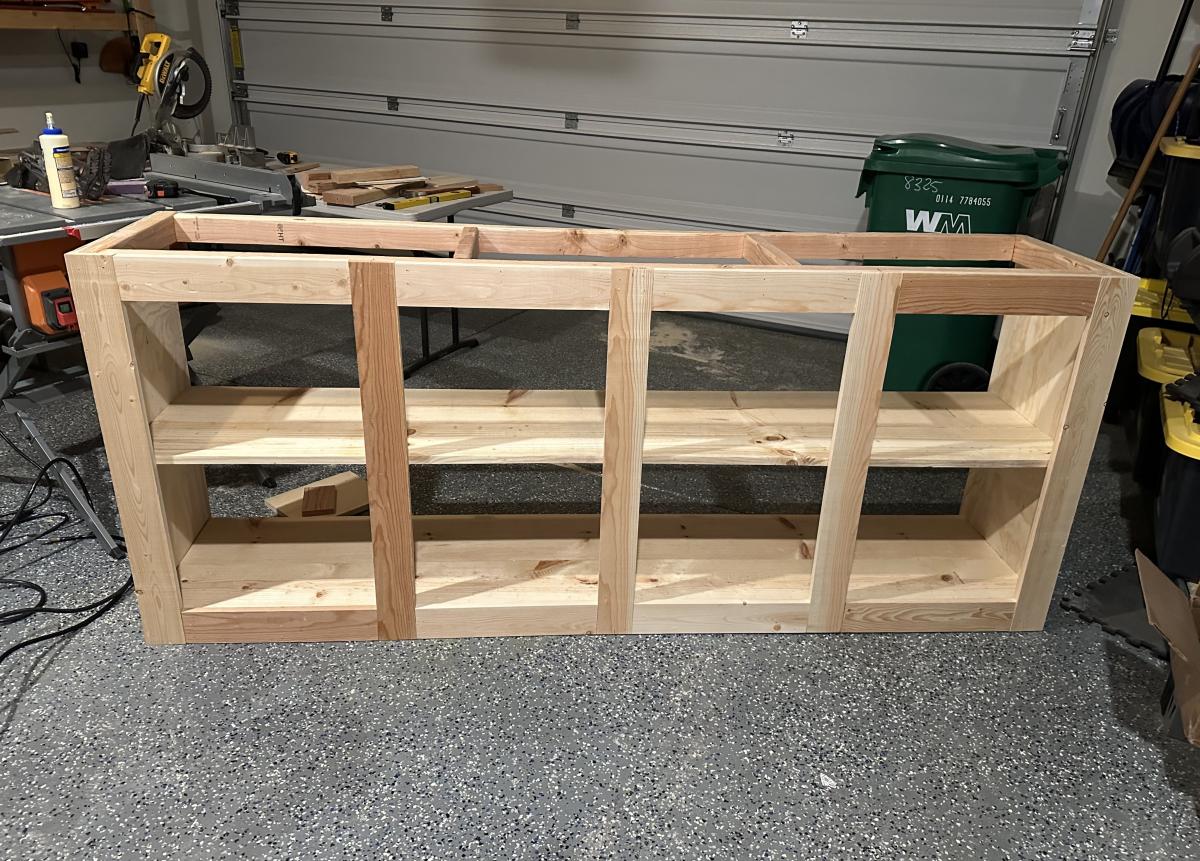
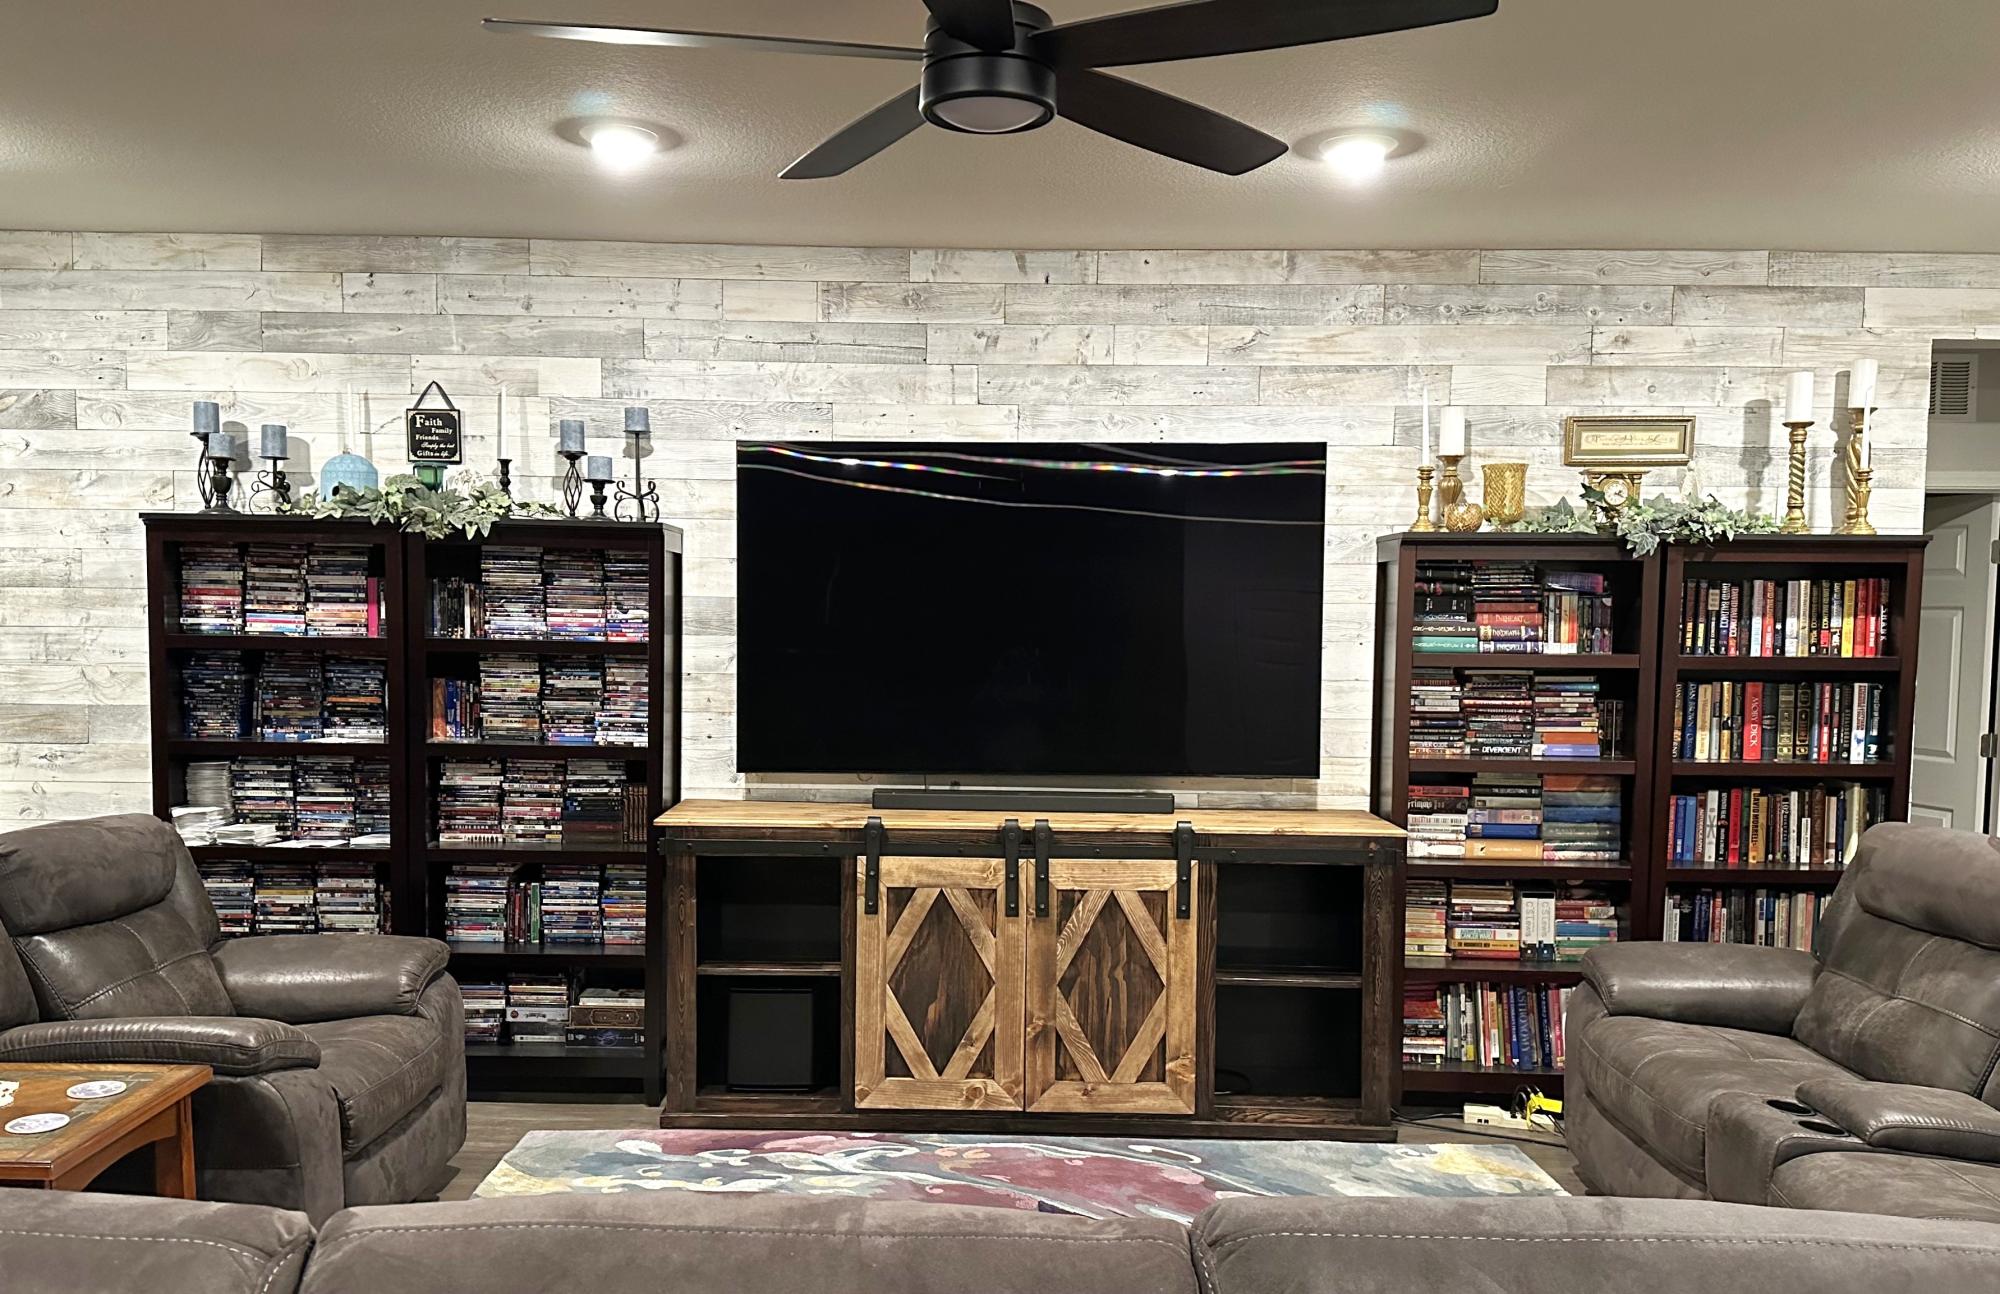
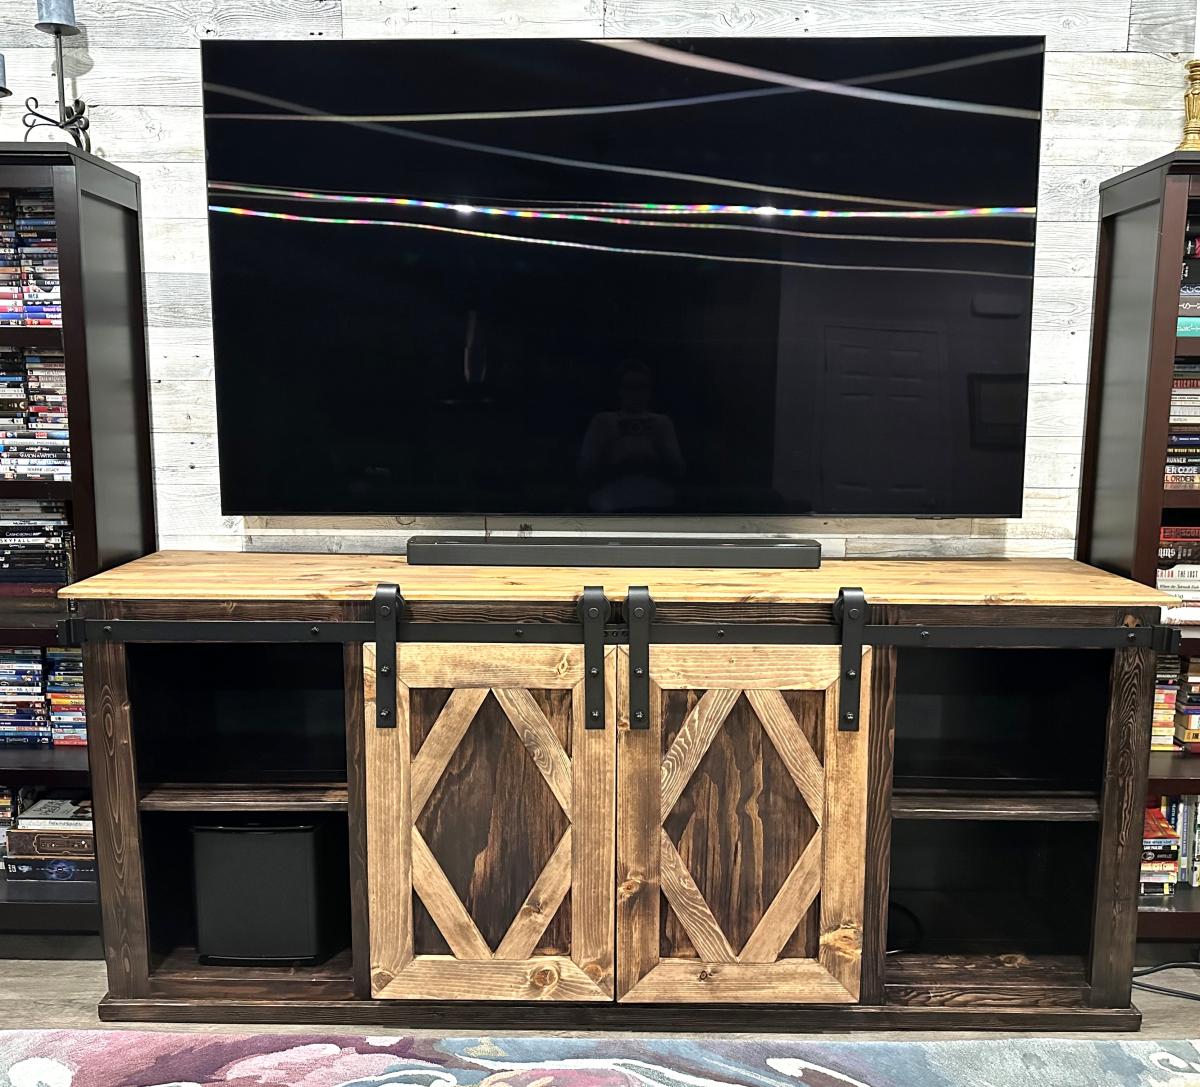
We have been looking for a TV console for the last couple of years, but couldn't find anything we liked. My husband said, "Why don't we build it ourselves?" We found the Simplified 8' Barn Door Console plans! The rest is history! We LOVE this console. And we loved making it together!

Janet Pulleyn

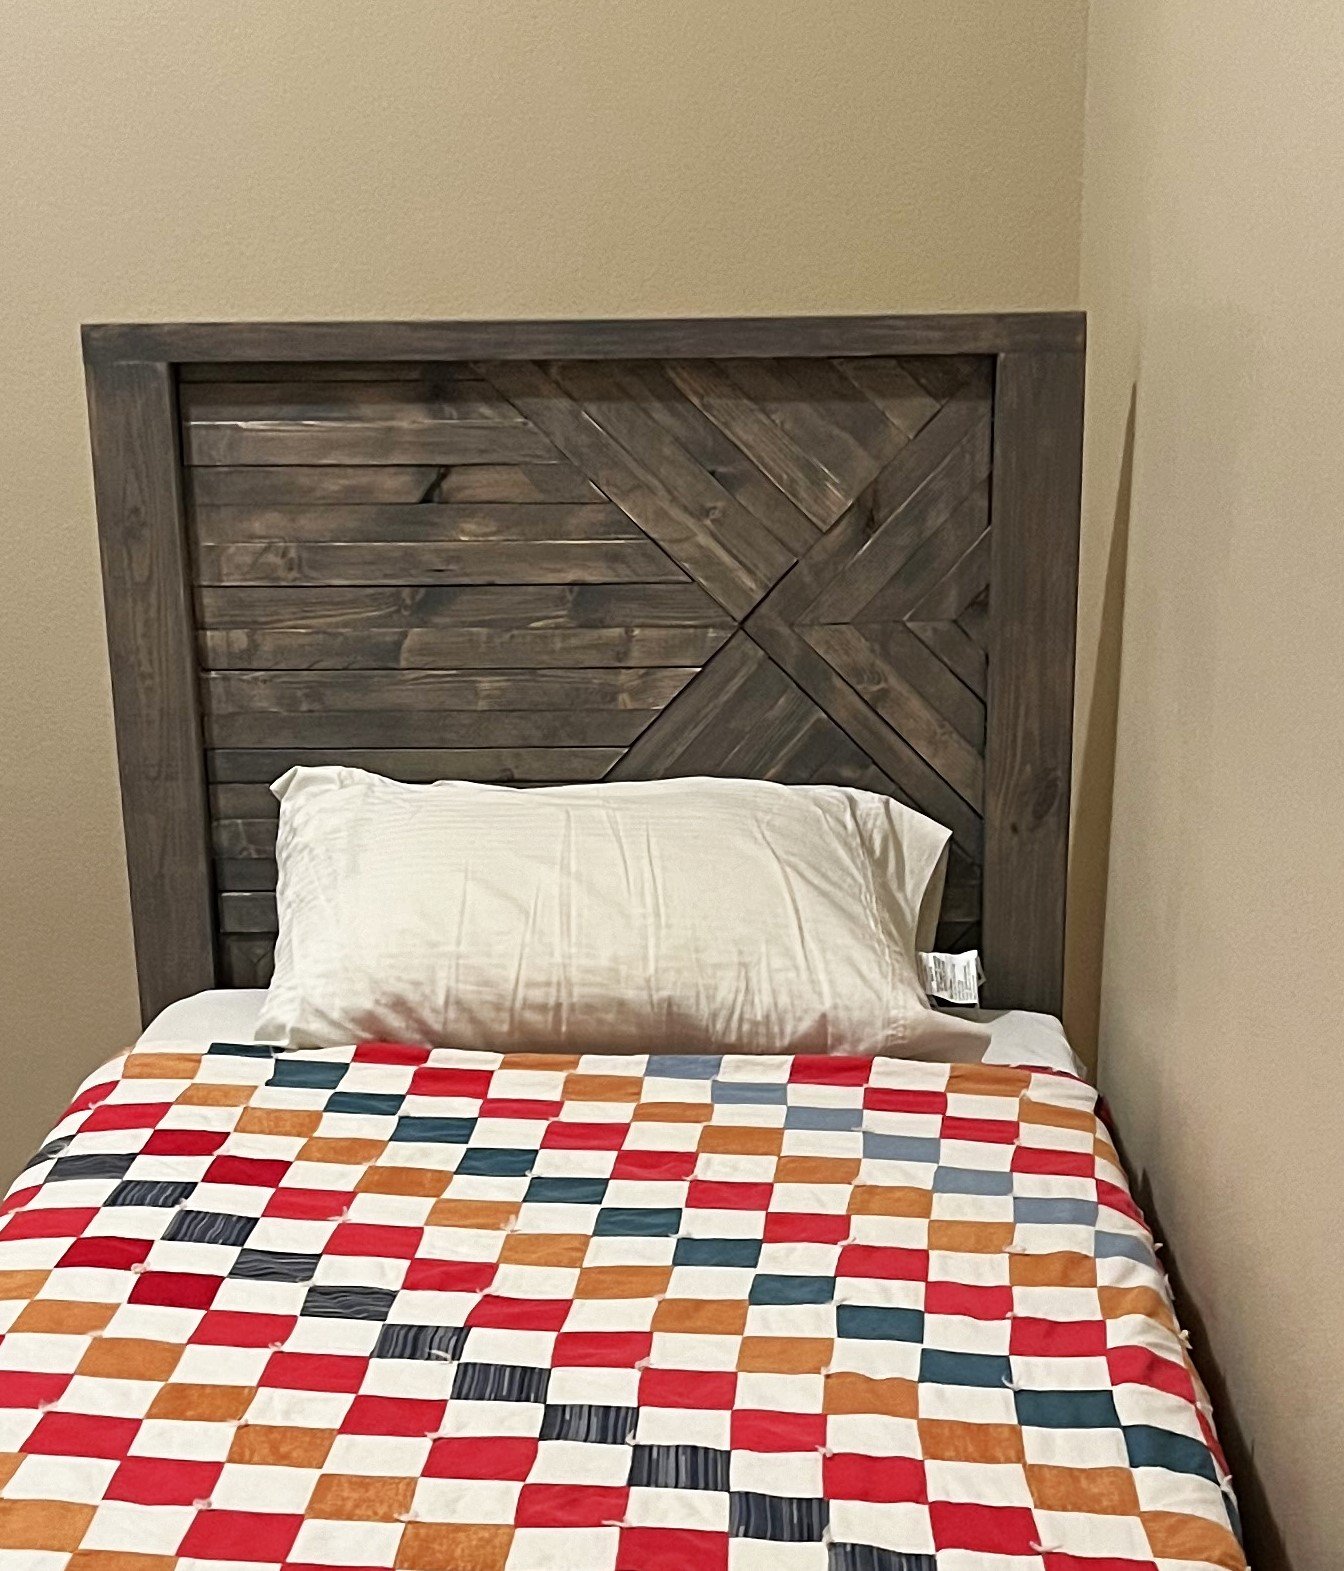
Reclaimed-Wood Headboard

Submitted by keribeth on Fri, 07/06/2012 - 14:49

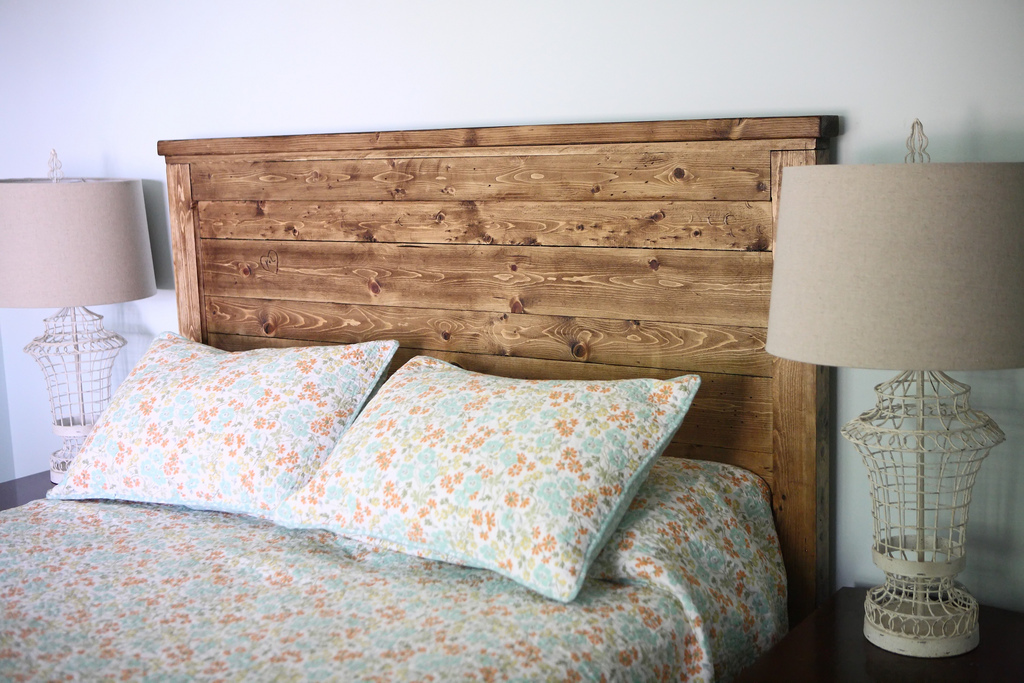
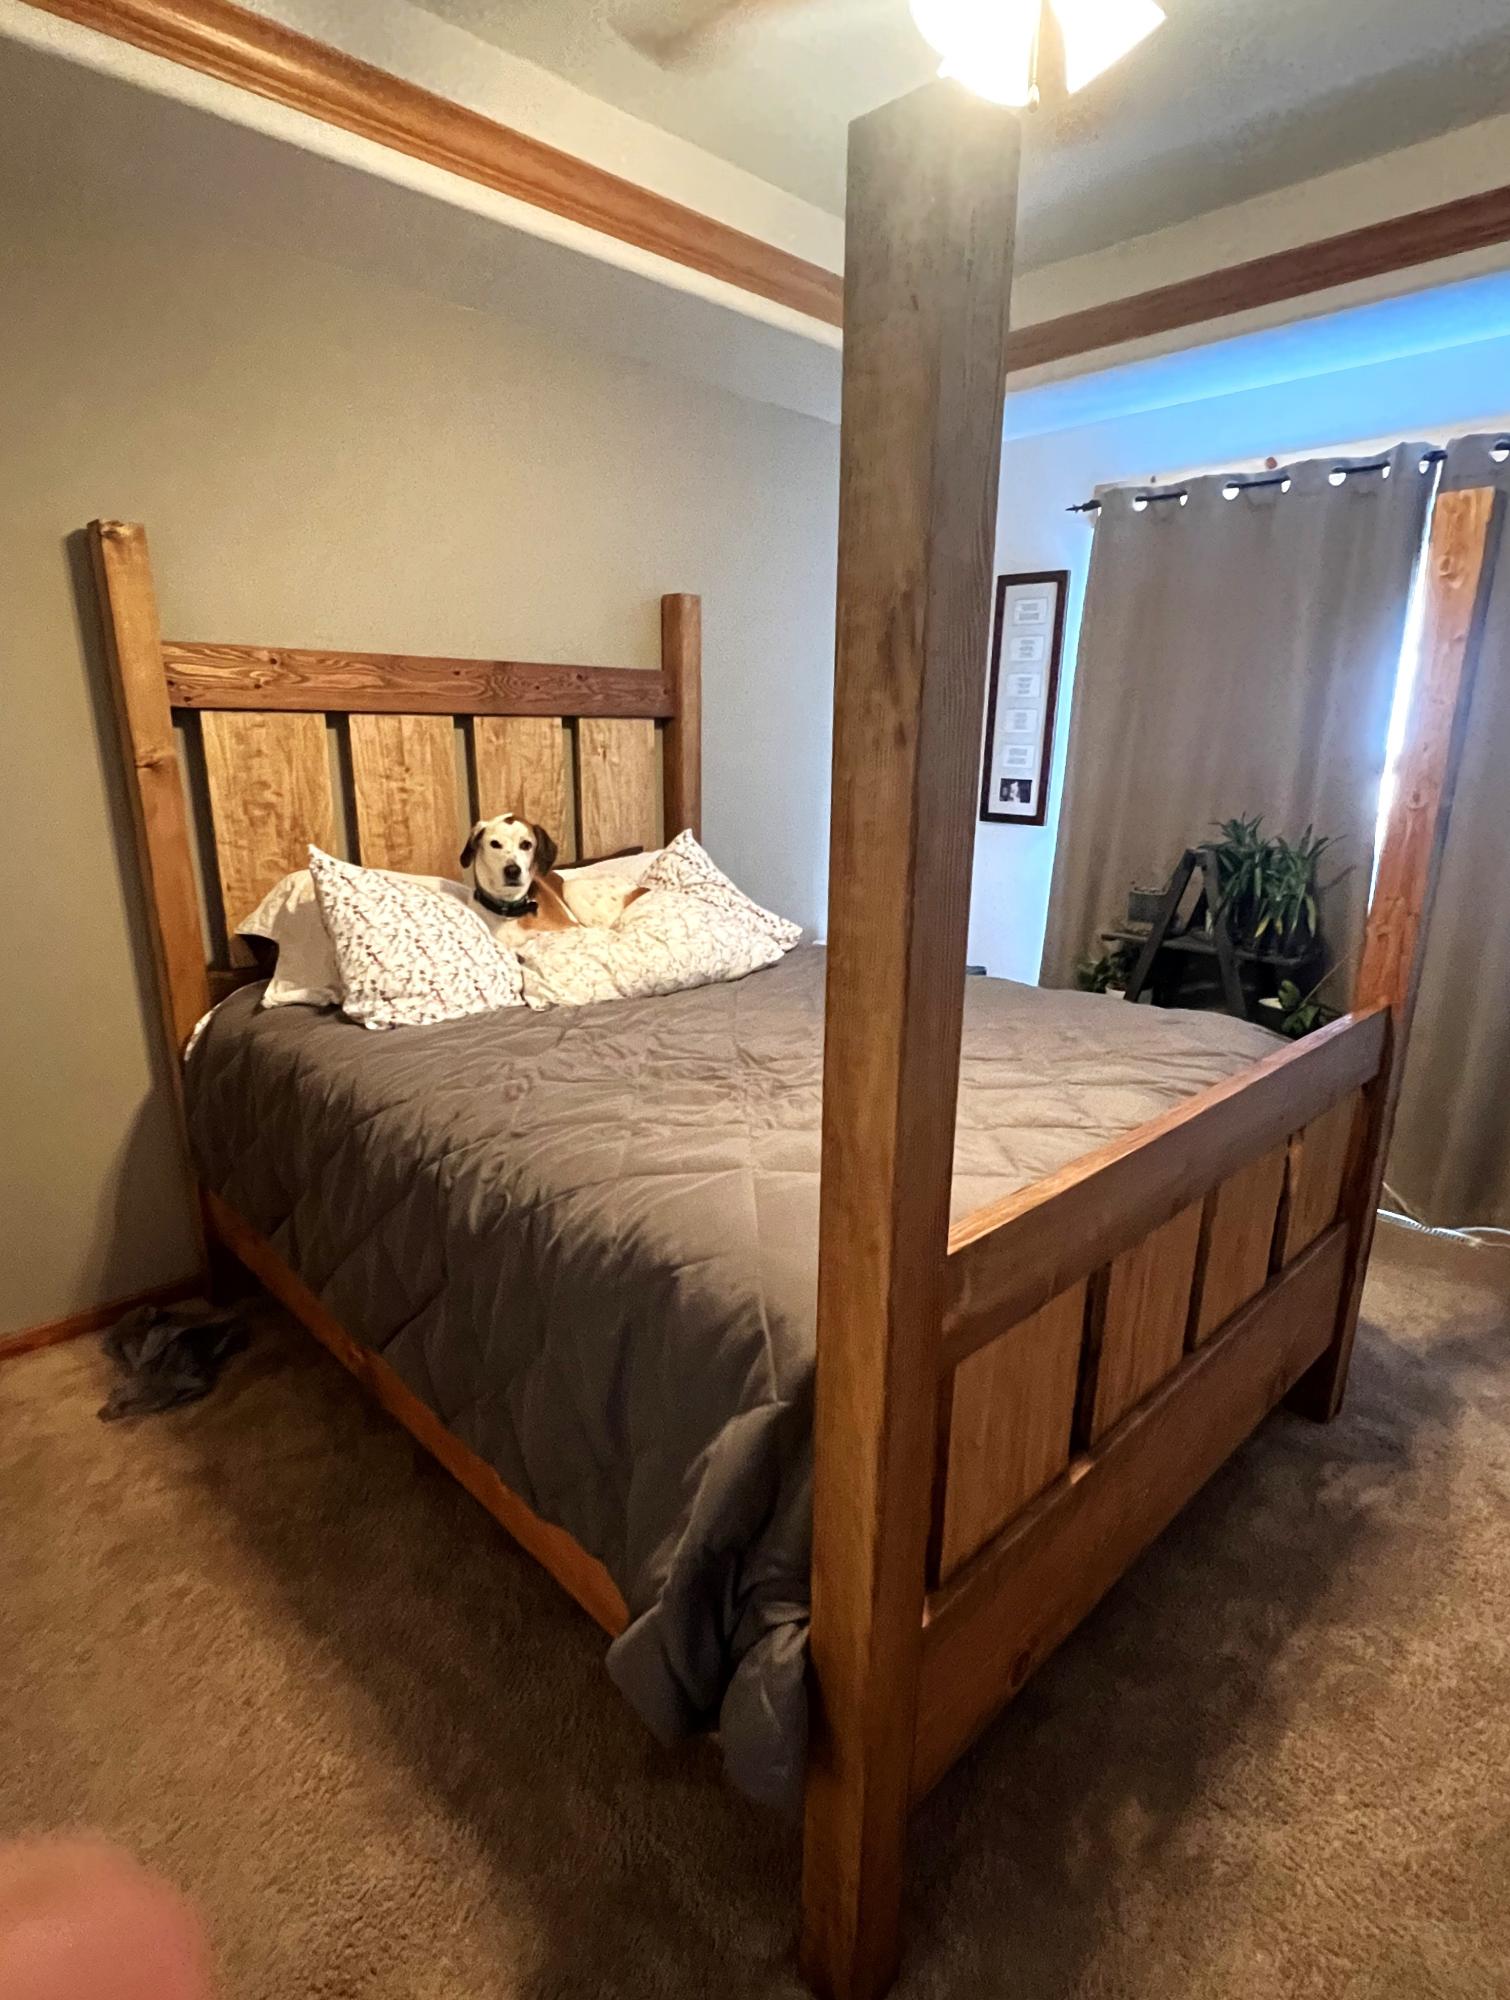
Reclaimed-wood headboard from pine boards with minwax aged oak gel stain and stain finish wipe-on polyacrylic. I distressed some of the board with a screwdriver, a pipe, and whatever else I found in the garage, and etched my and my wife's initials in a heart on one side. Aww!

Estimated Cost
~$85 in lumber
Estimated Time Investment
Day Project (6-9 Hours)
Finish Used
Minwax gel stain in aged oak
Recommended Skill Level
Starter Project

Comments

MichelleC

Fri, 07/06/2012 - 19:44

I was going to carve mine and my hubby's initials in a heart on our reclaimed headboard, too!!!!! I didn't end up doing it because I think we'll eventually sell it and build a headboard with padding on it since my husband likes something padded to lean against while watching tv at night.

Dining cart

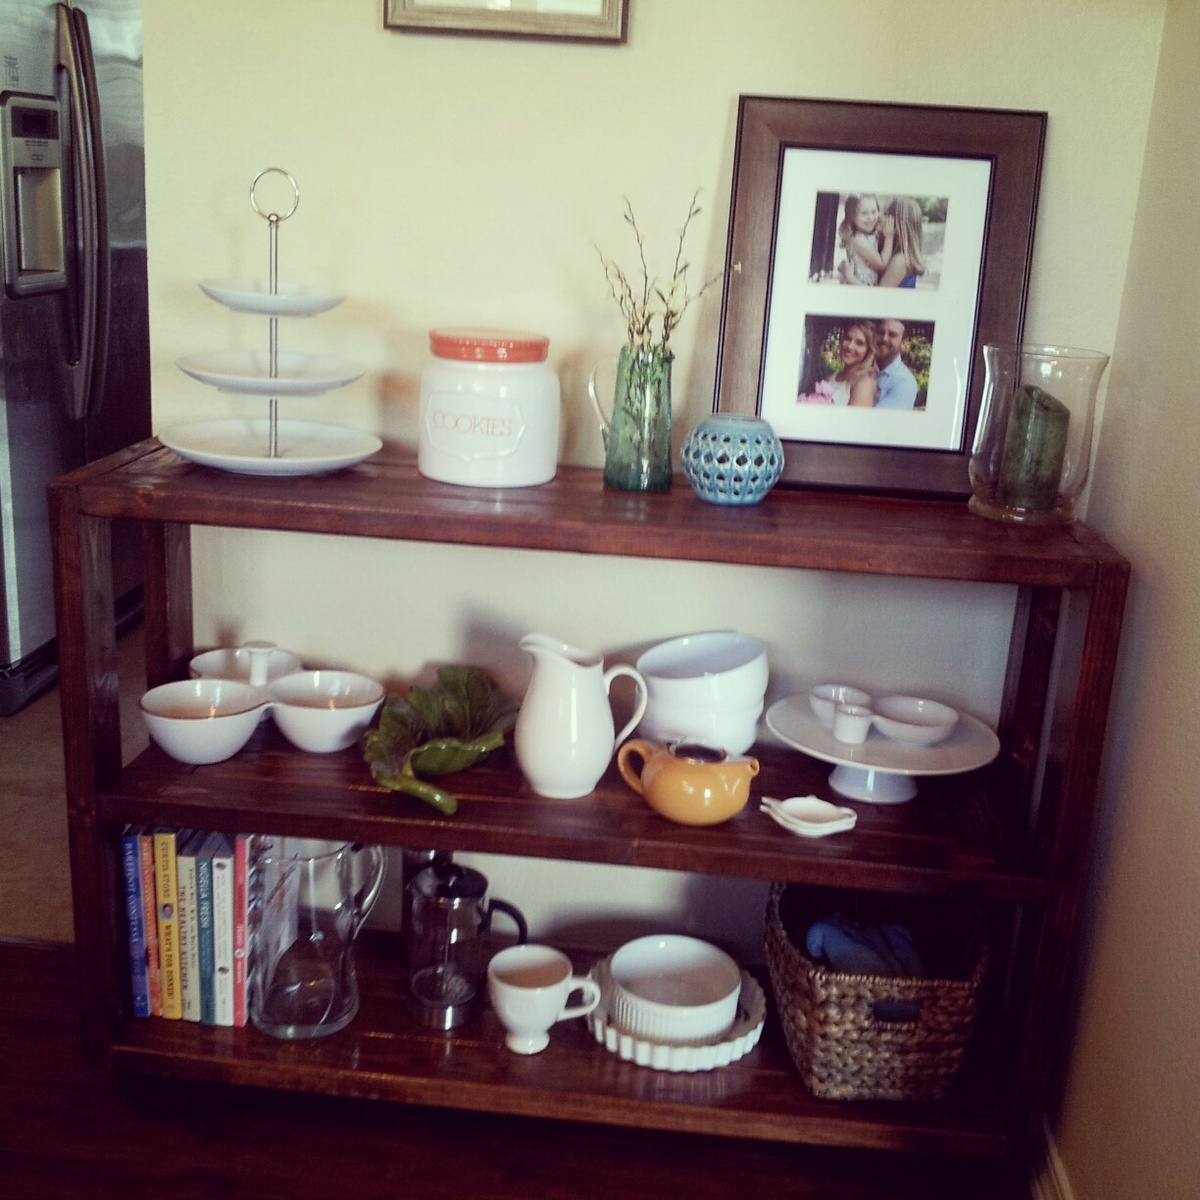
This dining cart is very versatile. It could be used in any room of the house. I love that it has wheels on the bottom so you can move it easily if needed.

Built from Plan(s)
Estimated Cost
100.00
Estimated Time Investment
Day Project (6-9 Hours)
Finish Used
Rustoleum Early American, Polyurethane
Recommended Skill Level
Beginner

Bed Bridge Bookcase

Submitted by Anonymous (not verified) on Sat, 07/23/2016 - 19:06

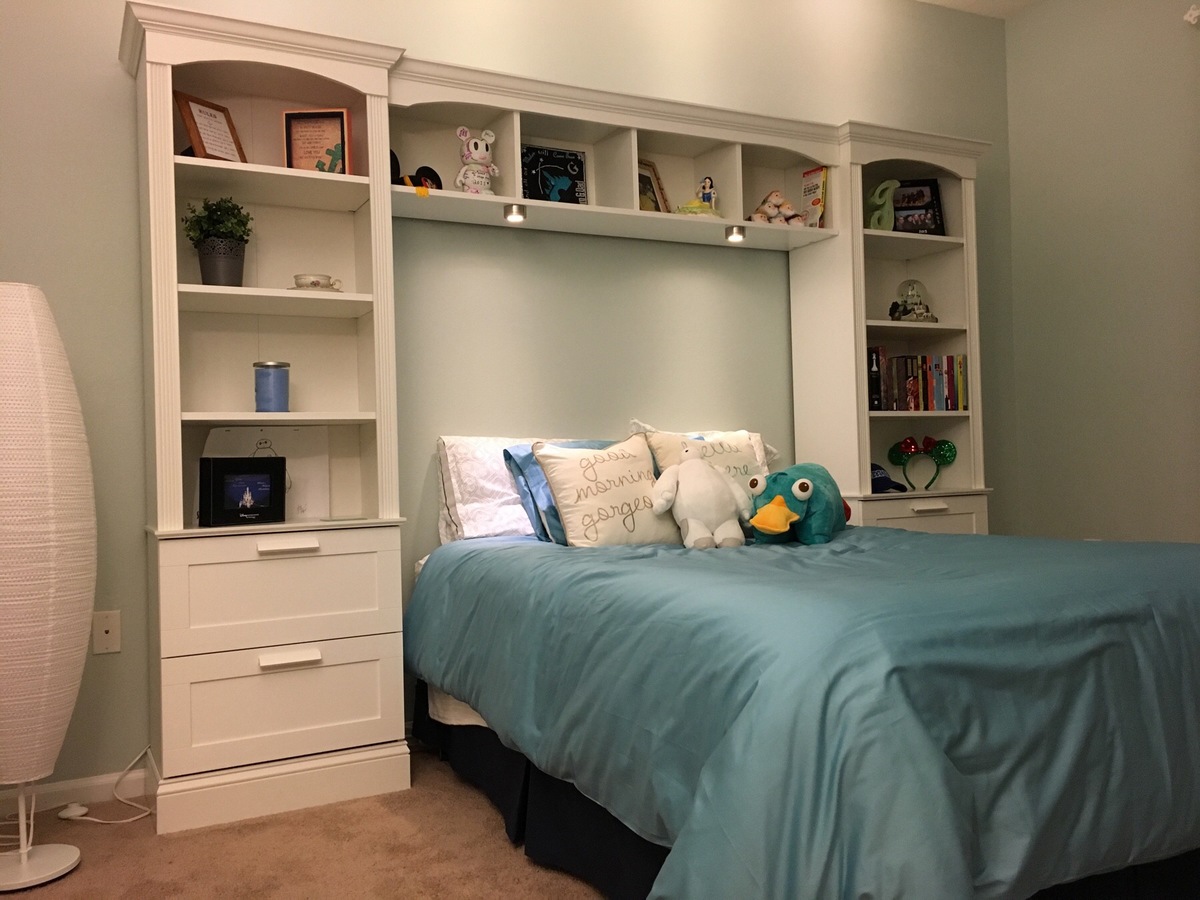
I hacked three IKEA bookcases into this beautiful bed for my princess of a daughter who was getting her first apartment in Orlando, FL, because she got a full-time dream job with Disney. Full details at http://handydad.tv/ikea-hack-bed-bridge-bookcase/.

Estimated Cost
$390
Estimated Time Investment
Weekend Project (10-20 Hours)
Finish Used
White paint
Recommended Skill Level
Intermediate

Modular Office Wide Bookcase Base

Submitted by solomonson on Sat, 07/07/2012 - 20:29

The toy room needed some attractive storage for the books and puzzles instead of the floor! Enter this plan. I shortened the shelves to 36" and fastened the shelves to 1x2 stretchers that I fastened to the inside of the sides. I hid them by nailing a face frame to it made of 1x2s. I used beadboard for the back, which I painted before attaching it.
I had a hiccup when I forgot to use my square and had to backtrack some, which made this project longer than I anticipated.

Estimated Time Investment
Weekend Project (10-20 Hours)
Finish Used
Used some conglomerate for the back of lots of little samples of oops paint I had lying around. I used Valspar white everywhere else and Minwax spray-on poly.
Recommended Skill Level
Beginner

Toybox with shelf

Submitted by jandmhough on Thu, 04/24/2014 - 18:13

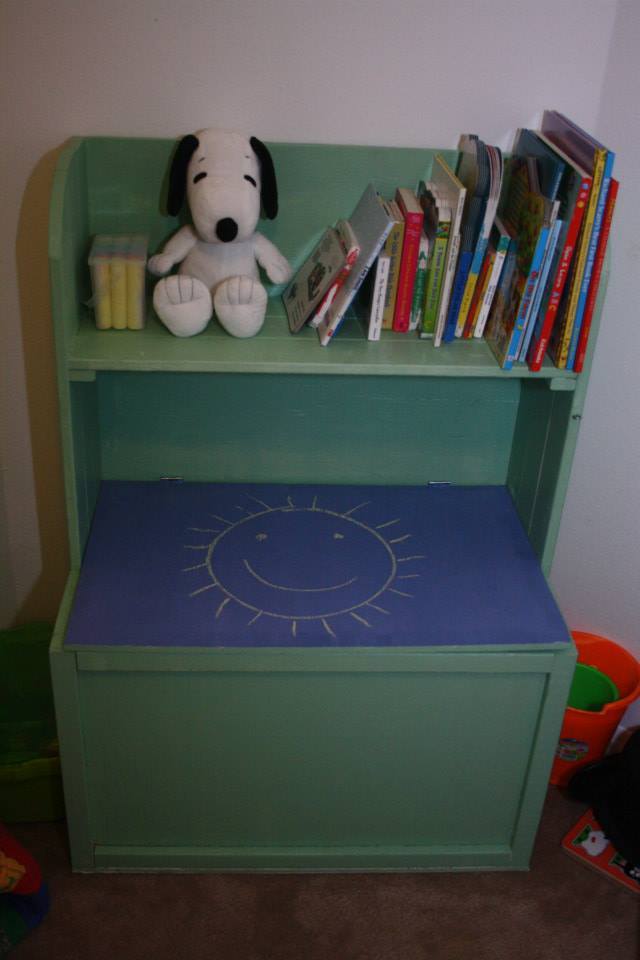
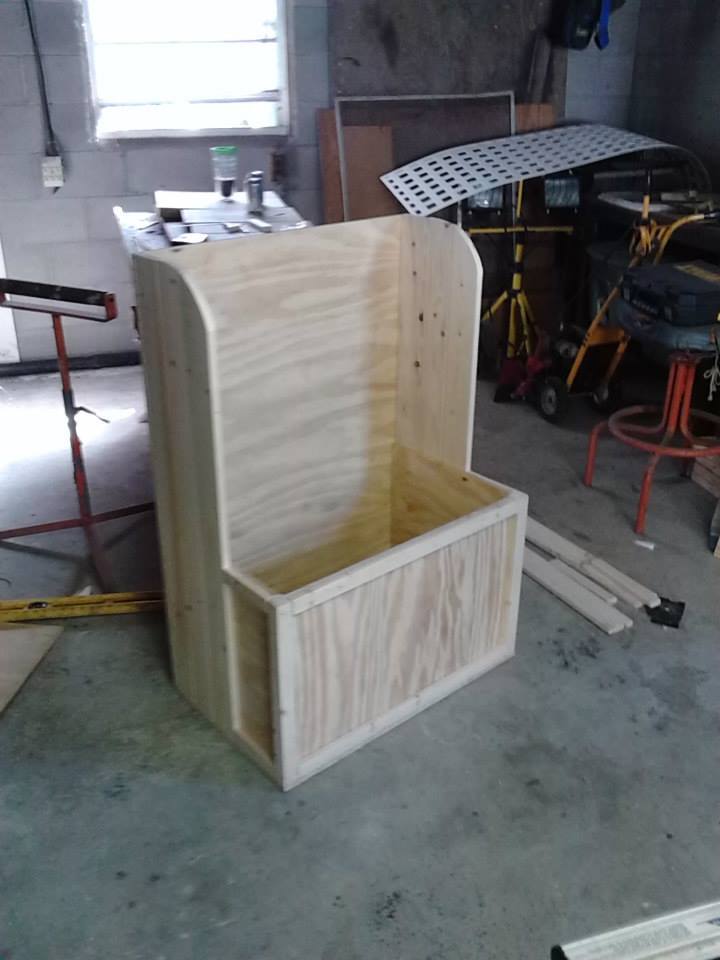
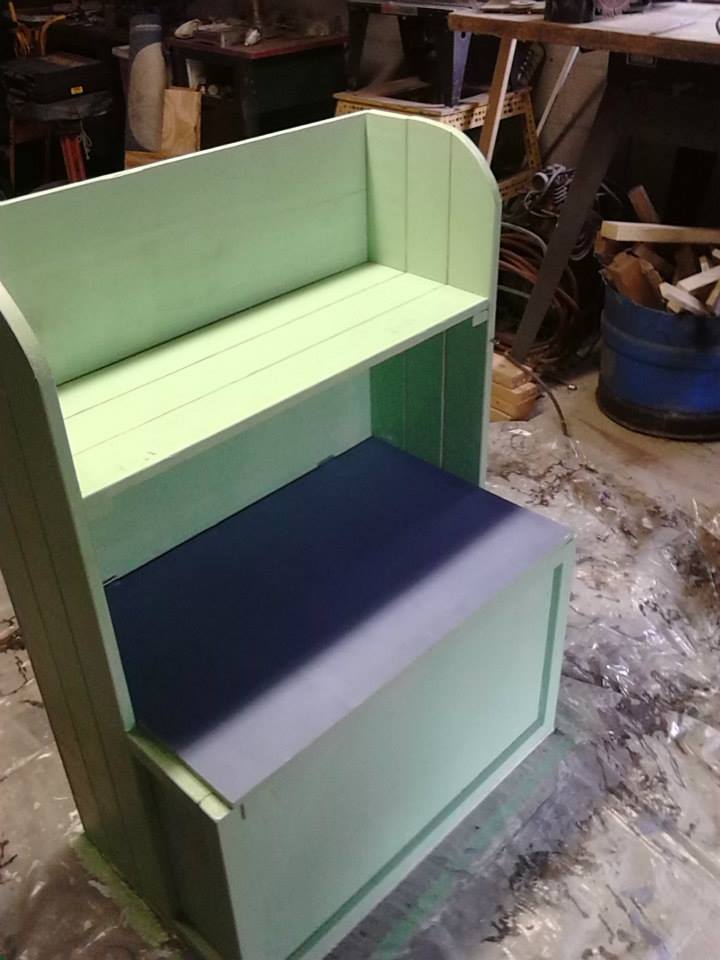
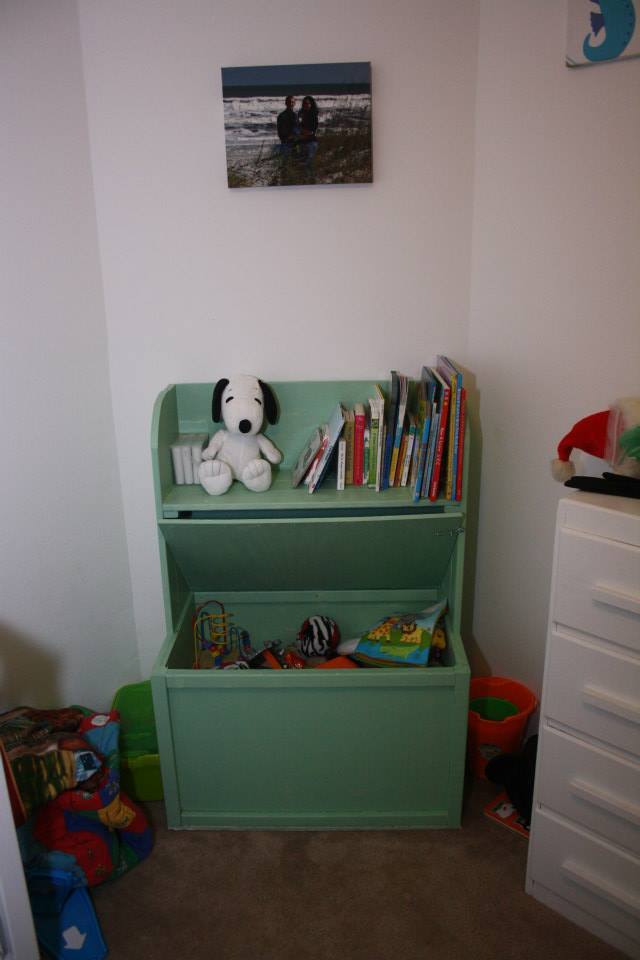
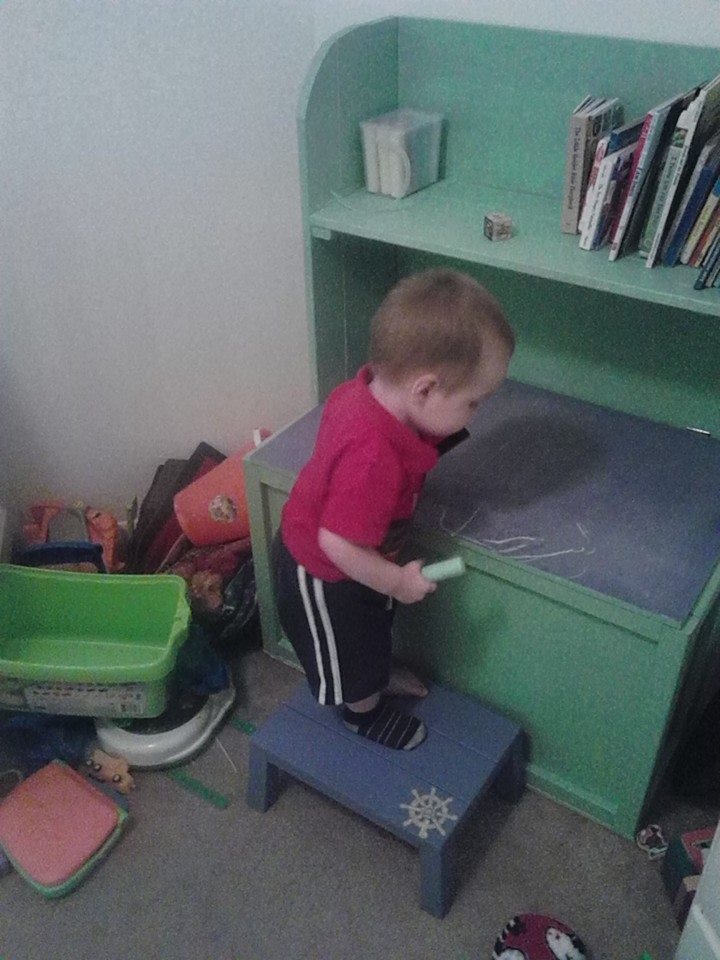
After building the farmhouse table, I got really excited about doing another project. While I was on spring break (nice benefit of being a teacher) I put together this toybox for my son. It's great to finally get the toys out of the laundry basket we had them in and into something more appropriate. We decided to make the lid a chalkboard for a little added fun.

Estimated Cost
$80-$100
Estimated Time Investment
Day Project (6-9 Hours)
Finish Used
The toybox is painted with Glidden Sea Glass Green. The top of the lid we used Rustoleum's tintable chalkboard paint in Periwinkle. It's a really cool combo and our boy loves the chalkboard.
Recommended Skill Level
Beginner

Miter Saw Modification

Submitted by Anonymous (not verified) on Mon, 07/25/2016 - 20:55

I followed the plans as listed pretty closely. I added a 2x4 under the main shelf for extra support, and used 2x4s instead of 2x2s at the bottom, so I could have something to attach the casters to. I also opted for 1x3 braces, rather than the hinges to hold up the sides. I need to add the fence and paint it white.

Built from Plan(s)
Estimated Cost
$80-100
Estimated Time Investment
Afternoon Project (3-6 Hours)
Finish Used
white paint (forthcoming)
Recommended Skill Level
Beginner

$10 Ledges

Submitted by sraper2 on Mon, 07/09/2012 - 19:49

These are super simple and easy to build. The stained ones are in my dining room and the blue ones are in my craft room. Not sure how much they cost since I used scrap wood.

Estimated Time Investment
An Hour or Two (0-2 Hours)
Recommended Skill Level
Starter Project

Di Bello Family

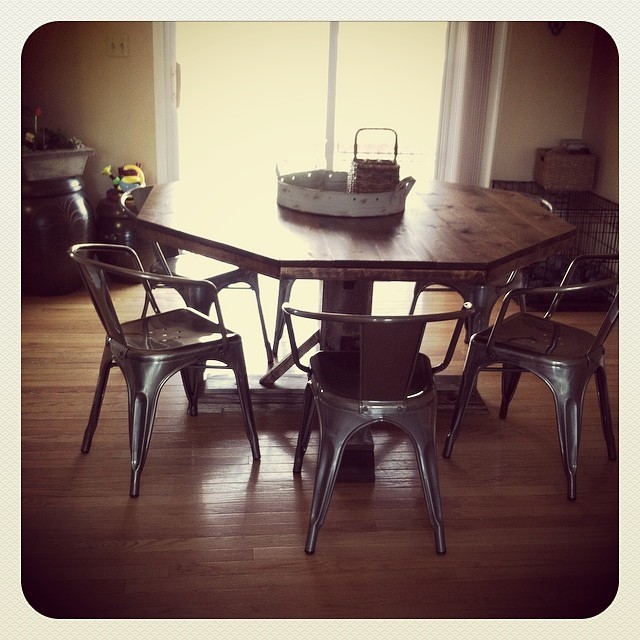
We needed a table for the breakfast nook in our new home that we will be moving to in June. We were so excited about this table that we built it ahead of time and sold our other dining room table. We love this table! Thank you so much for the awesome plans.

Estimated Time Investment
Week Long Project (20 Hours or More)
Recommended Skill Level
Beginner

Comments

Our New Patio Table

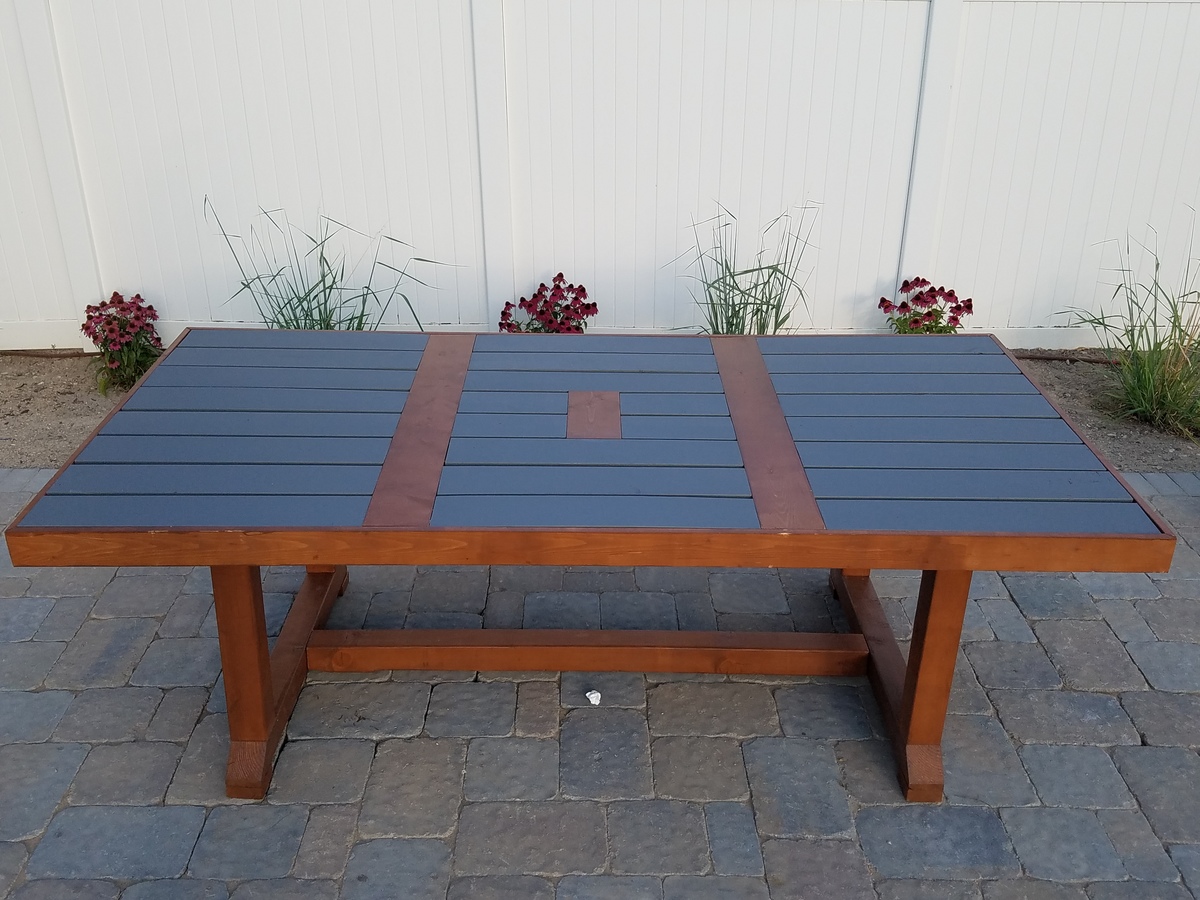
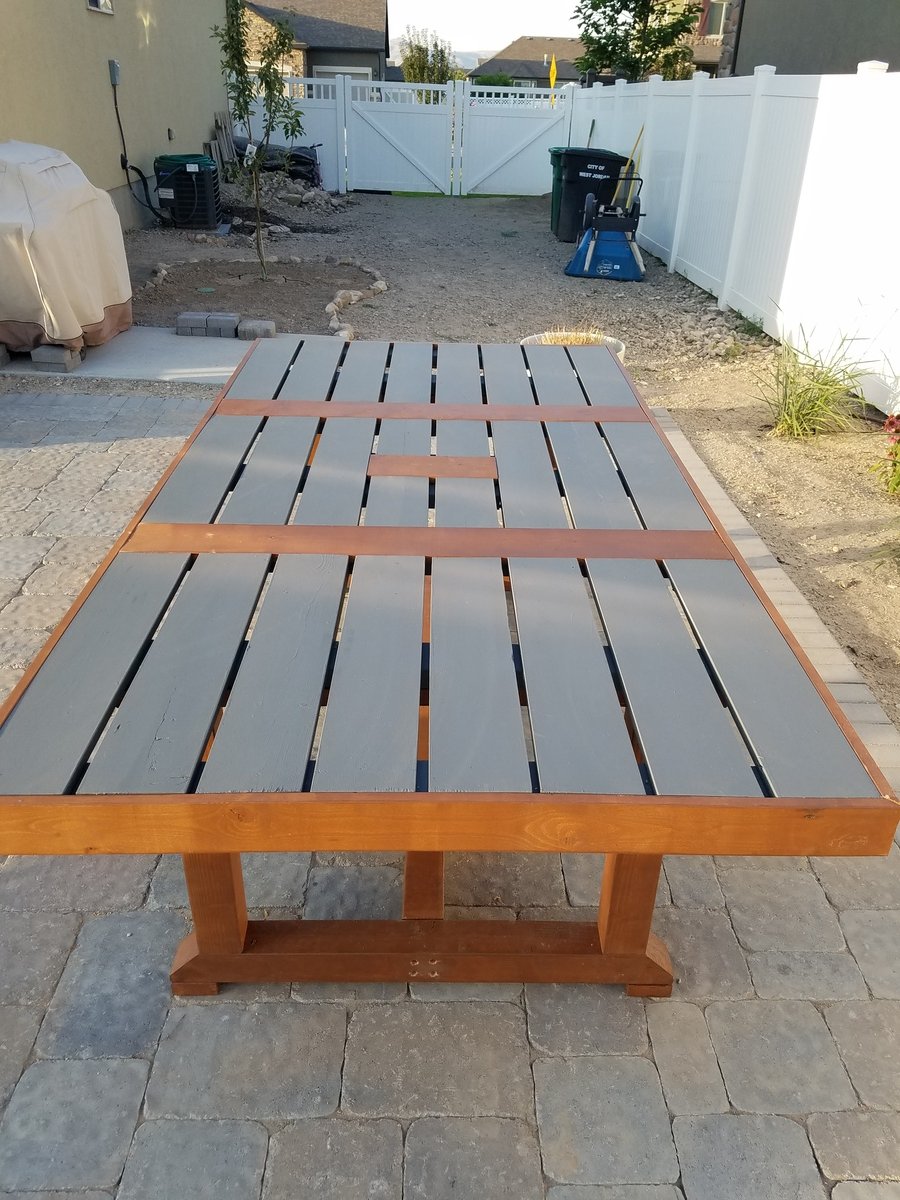
This took new novice DIYers about 25 hrs. Also this table is really heavy when complete so build it where you want it to sit or build in it one place and right before you are about to finish move the 3 built peieces separely where you want it to sit and finish assymbling it. Also, when completed this is counter height. We are going to take ours apart abit and shave 6in or so off the legs to be normal table height.

Built from Plan(s)
Estimated Cost
About $175
Estimated Time Investment
Weekend Project (10-20 Hours)
Finish Used
Bear Solid and Semi- Transparent Stain
Recommended Skill Level
Beginner

Washer and Dryer Pedestal

Submitted by blkbltwmn on Thu, 07/12/2012 - 06:38

This is my first build. I found the plans for it almost perfect but made a couple of adjustments.

FYI- if you do the 5 crossboards on both platforms, you will need to buy 3 more 2 x 4's to get the cuts you need for everything.

I also added posts in the center to ensure that there is no future sagging.

To get it into my closet sized laundry room that is right off of my kitchen, we painted it before assembling it inside the house. We attached the posts to the bottom and installed that first, then added the top. The clearance in my space would not allow it to be completely assembled before we put it in.

The extra posts don't allow for 3 baskets, but it does still allow for two. I'm also thinking of doing some pull out drawers or something in the bottom.

We painted with metallic silver spray paint and it worked great.

Estimated Time Investment
Afternoon Project (3-6 Hours)
Finish Used
Metallic Silver Spray Paint
Recommended Skill Level
Starter Project

Comments

blkbltwmn

Thu, 07/12/2012 - 06:39

I just noticed that it looks like it is not centered. FYI, that is because my house was built in the 1970's and a lot of things are not centered, including my laundry room. LOL

Toddler vanity turned toddler sized media center

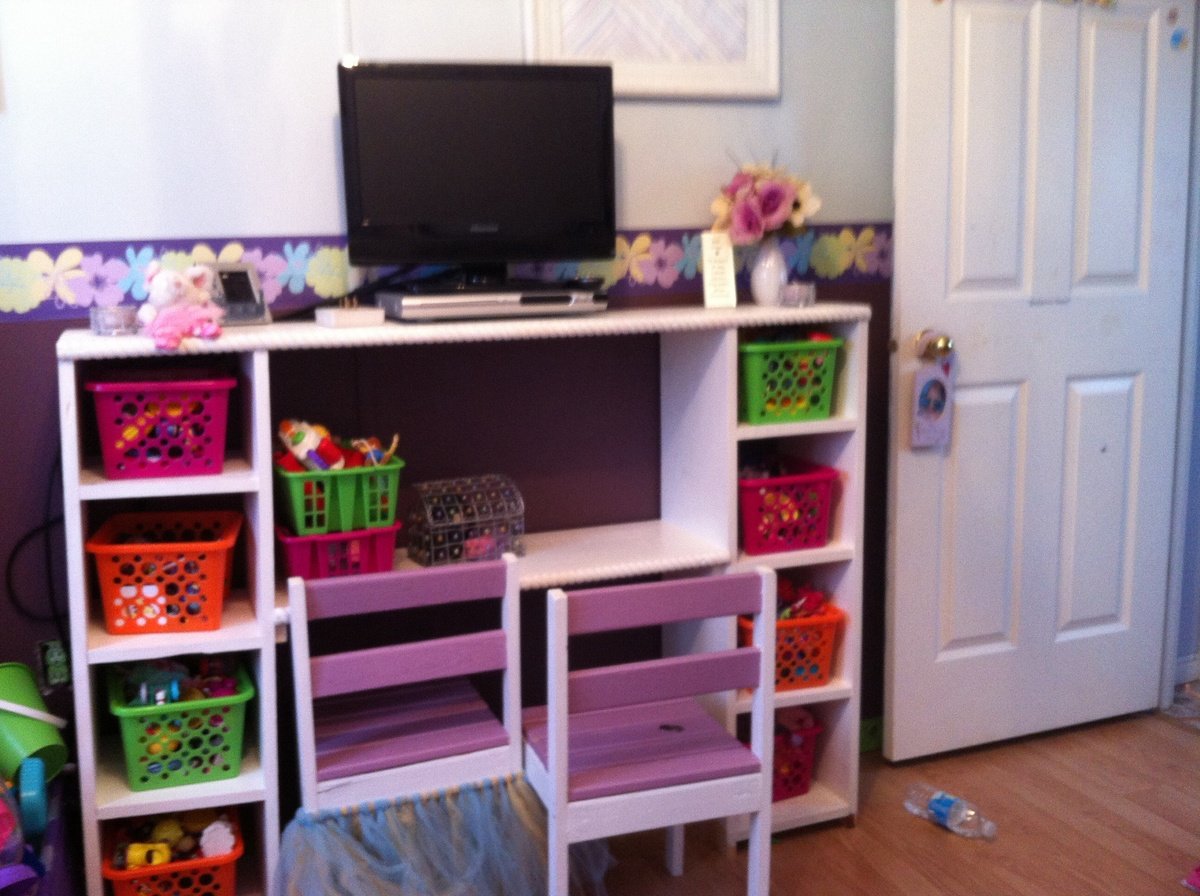
I found the plan for a small vanity and fell in love! I really wanted to build it for my 3 year old. With her room being small and all of her toys having separate spaces for each her room was getting crowded! So with some thinking I came up with a plan to double the whole plan and got myself a media center that took up less space than everything else while still looking pretty! My little girl loves that she can store all her toys, still have her desk and be able to watch movies from her bed.

Built from Plan(s)
Estimated Cost
$30
Estimated Time Investment
Afternoon Project (3-6 Hours)
Finish Used
Used a white paint that is durable and can easily be wiped down. Not sure of the name.
Recommended Skill Level
Beginner

Flower Storage Table

Submitted by JoseM860 on Mon, 08/01/2016 - 16:58

Built this table for my niece 3 years ago which she still wont let go of even though its getting small for her..  I mostly had all the materials needed minus paint which i got from home depot. Pretty straight forward project that i got done in a few hours. She was 3 at the time and is now 6 and still has the table which she still uses and has.

Built from Plan(s)
Estimated Cost
$12
Estimated Time Investment
An Hour or Two (0-2 Hours)
Finish Used
Sanded with 220 grit sand paper. primed and painted with behr ultra satin color
Recommended Skill Level
Starter Project

Farm House Coffee Table

Submitted by Anonymous (not verified) on Sat, 05/23/2020 - 06:34

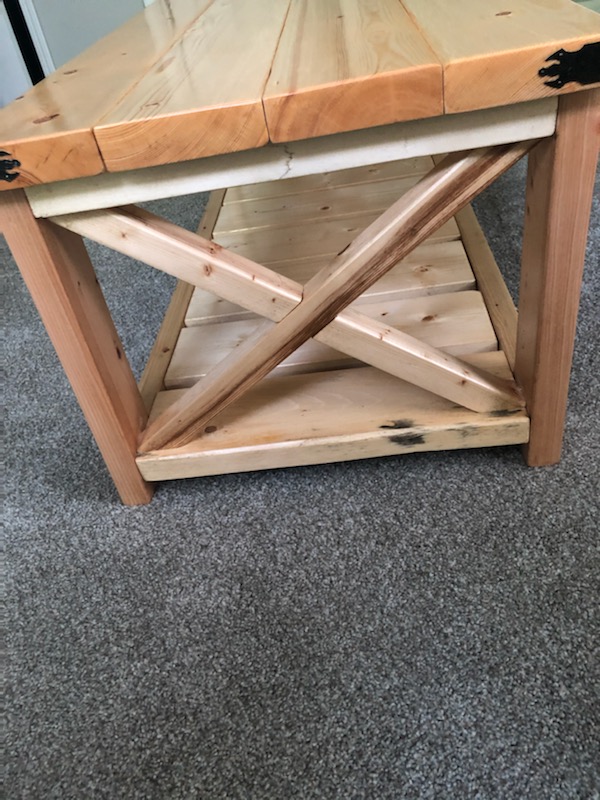
Great plan. I could not get the X right (terrible carpenter). A neighbor suggested I trim where they join for a flush fit. One turned out great, the other I cut a little too much. This was for my Daughter, she liked the natural color, I finished with Tung Oil so it took a while for the finish to dry completely.

Estimated Cost
$60
Estimated Time Investment
Day Project (6-9 Hours)
Finish Used
Tung Oil
Recommended Skill Level
Beginner

Comments

Sturdy Work Bench

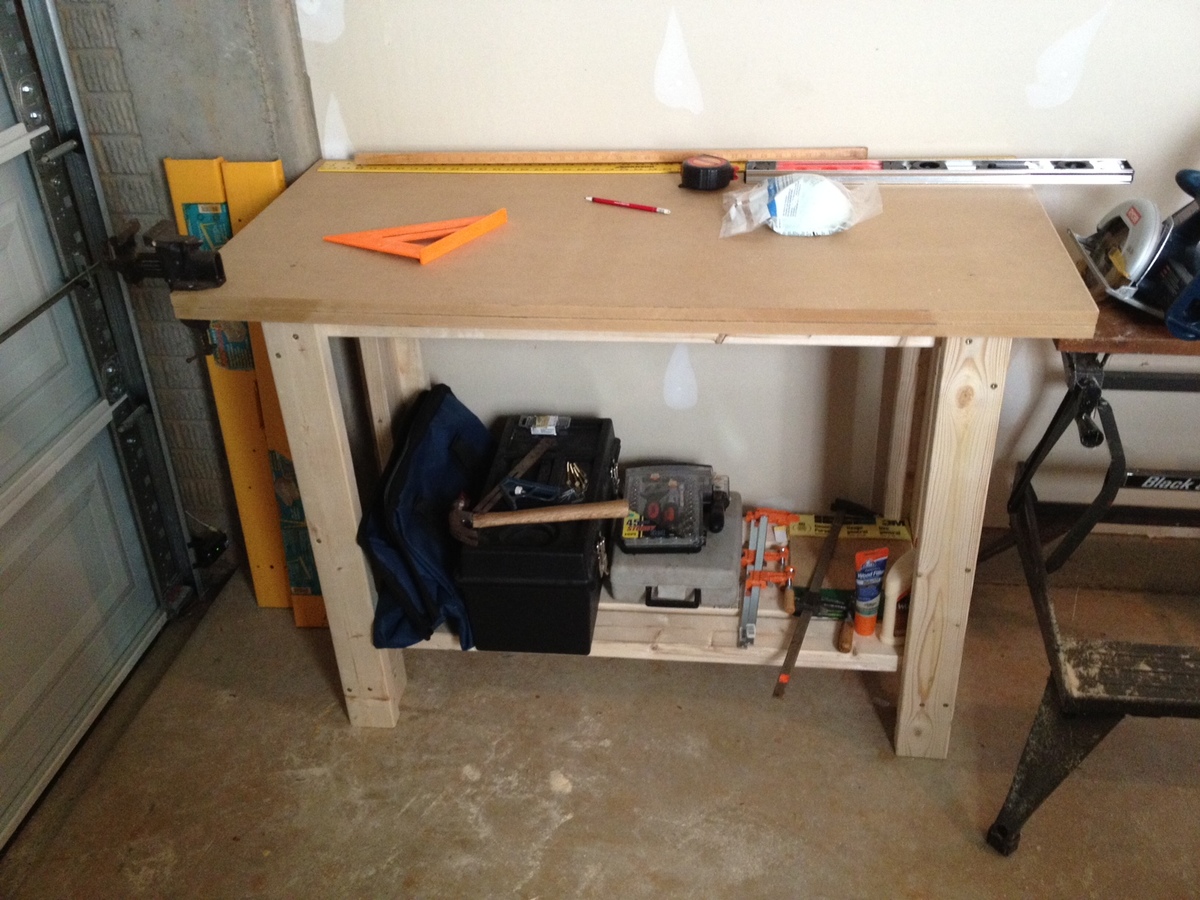
I built this using the sturdy workbench plans. I hesitate to call it a brag, as it is my first project, and I used some 2x4s from Home Depot. Premium... Yeah right!

Despite my crooked cuts and warped wood, the sum of the parts is actually pretty sturdy!

I did modify it a bit. As I'm 6'2", I made the legs approximately 35" and used 2 3/4" Sheets of 24x48 MDF as the top. This gave me a total height of about 36 1/2" of height, which is pretty comfortable.

I would have preferred more workspace, but I'm limited to a portion of my one car garage, so 24x48 will have to do!

Finally, though this was definitely an hour or two worth of project, it took my about 2 weeks to complete, working in increments as small as 15 minutes, sue to having a 4 month old son!

Now to decide what to build next!

Estimated Cost
About $50 worth of wood, if you already have the tools.
Estimated Time Investment
An Hour or Two (0-2 Hours)
Recommended Skill Level
Starter Project

Comments

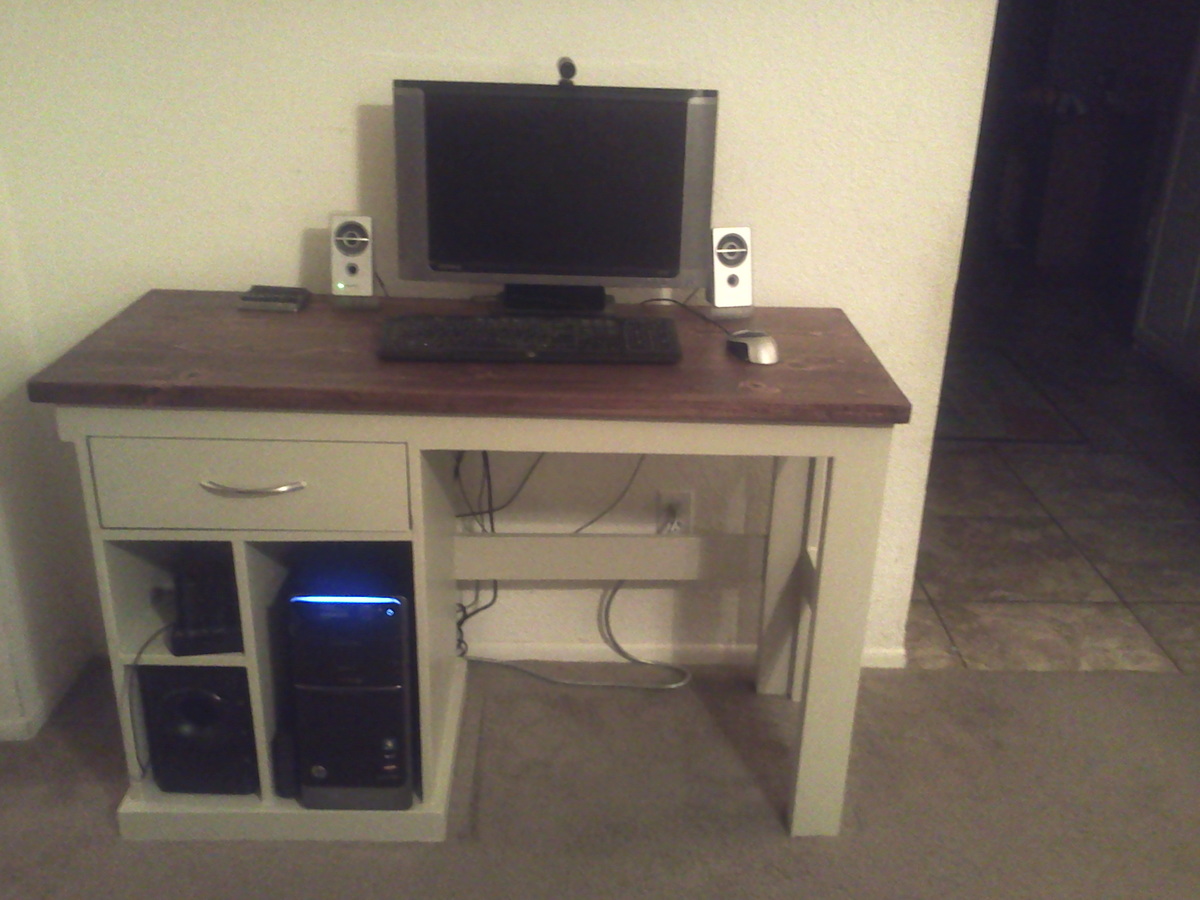
Computer Desk

This is my first furniture project I wanted to replace my cheap computer desk that was falling apart. The build was pretty simple, the only problem was finding a good project board and finding a good stain. Tried several different stains an a piece of scrap before deciding on red elm gel stain. Project took longer than I anticipated but most of that time was in getting the finish right, the build part was pretty quick.

Estimated Cost
$175
Estimated Time Investment
Week Long Project (20 Hours or More)
Finish Used
mini wax red elm gel stain
clear matte poly spray
almond color paint
Recommended Skill Level
Beginner

Comments

CSaintD

Mon, 05/05/2014 - 08:29

Well done. I feel your pain in looking for good boards - it takes me about an hour at Lowes just to find 4 or 5 good boards. Wish I had a lumber yard close by.
I like your finish on the top. I will try that one next time.

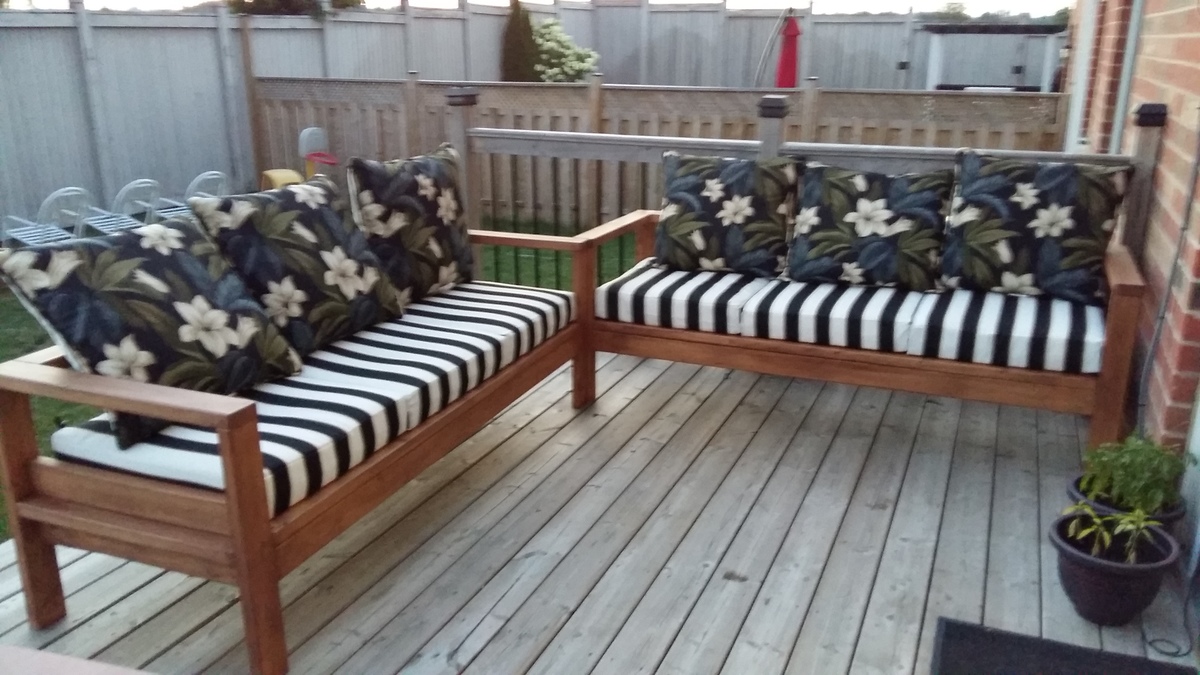
Outdoor Sofa

Submitted by Anonymous (not verified) on Wed, 08/03/2016 - 17:53

Had an awesome time building this! Very little modification from original plans. Used Thompsons water seal, Desert Brown. 

Estimated Cost
$90 without cushions
Estimated Time Investment
Weekend Project (10-20 Hours)
Finish Used
Thompsons water seal, Desert Brown
Recommended Skill Level
Beginner

Rebecca Media Center Console

Submitted by shastacoke on Wed, 07/18/2012 - 10:18

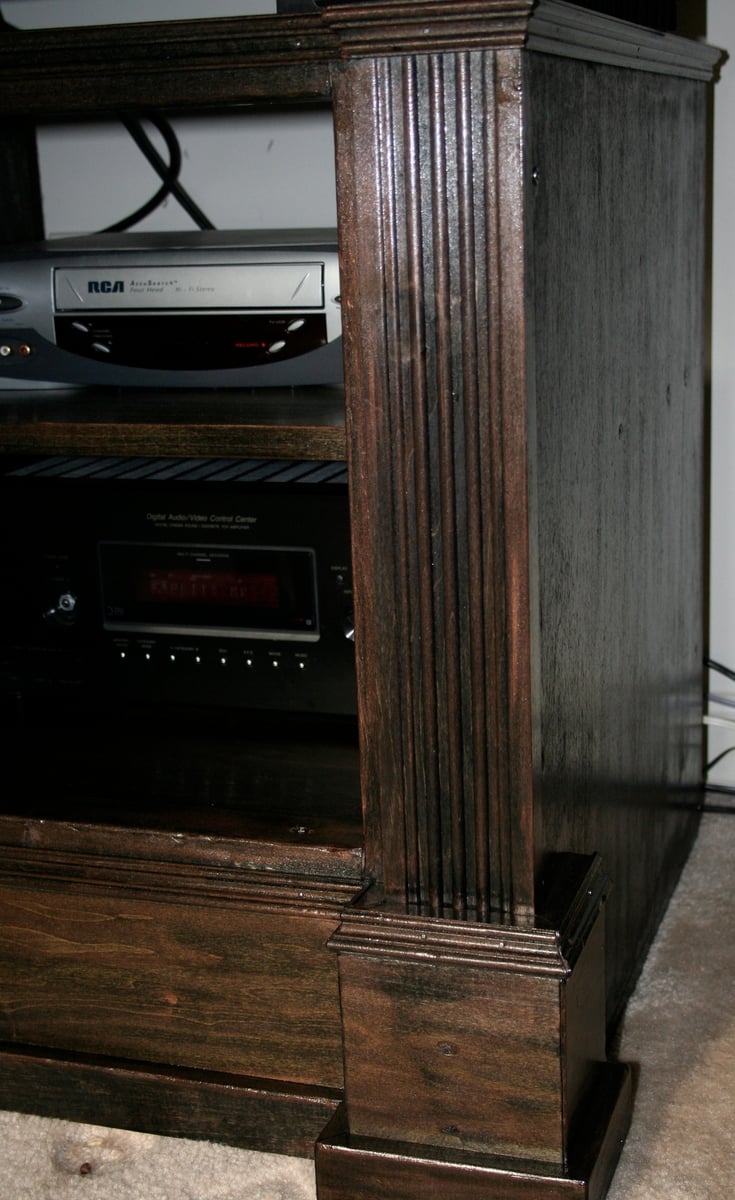
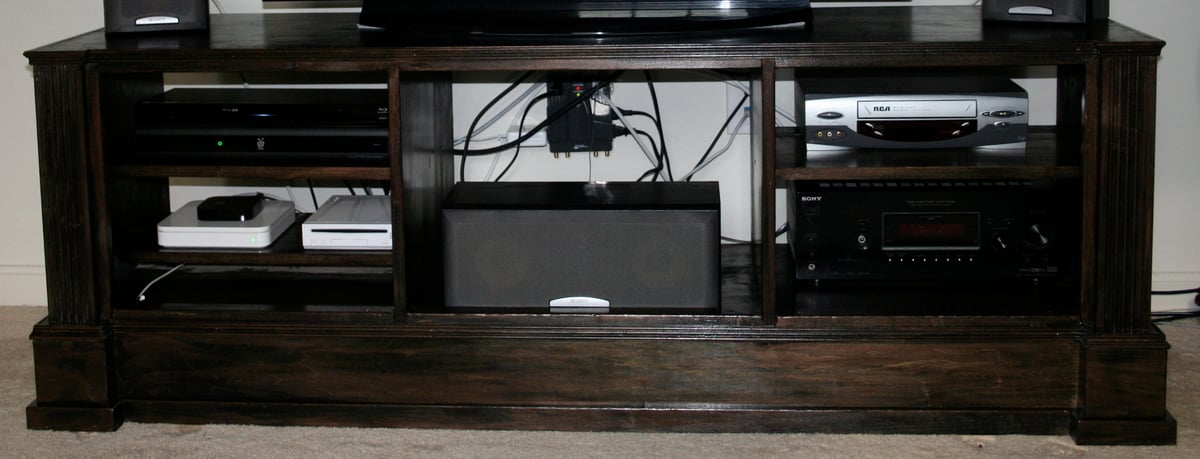
I have been needing an entertainment center for so long. When this plan popped up, my husband and I went into action. We designed this piece a little differently though. For one, the plan is too narrow for us and our tv-so our console is wider but shorter-to save on costs. Another note-we needed a place to put our computer so it can charge without our twin boys getting ahold of the cord. You can see that feature on the lower left hand corner. I also used a picture in a very well known catalog and I used the picture to get the stain just right. This might just be my favorite piece so far. I will be adding the bookcases and hutch to this. I am also in the process of adding 2 doors to this console. They needed to be stained before I could add them though.

Estimated Cost
$150
Estimated Time Investment
Weekend Project (10-20 Hours)
Finish Used
I used Minwax Ebony Stain. Then I used 240 Grit sandpaper and sanded just a tiny bit-it seemed to give the piece a more matted look and it exposed the grain more. After that, I used Martha Stewart's Copper Penny Metallic Glaze. I brushed the glaze over the parts where I wanted to make it look aged. I'm not a fan of painting hard woods or you could just paint it, then wax it and then use a copper paint. I wanted to be able to see the wood grain through the stain-so I used stain and did it this way. After the glaze dried, I used 1 coat of semi-gloss polyurethane.
Recommended Skill Level
Intermediate

Comments

shastacoke

Wed, 07/18/2012 - 10:22

I also wanted to note-we will be adding bead board behind the middle part of this console. We are leaving the other 2 backs exposed because I don't have a router to notch out holes in bead board. :)

redhead_61

Fri, 10/19/2012 - 12:14

Yours looks so great. Glad that our plan could inspire something for your needs. Looks great. I love the design.

shastacoke

Fri, 10/19/2012 - 12:43

Thank you!! I saw the stain at EA and since I don't like to paint furniture I stained it black and took some copper paint from Martha Stewart and 'aged' it. I love the outcome much better than painting and waxing.

Back