Outdoor Sofa & Coffee Table
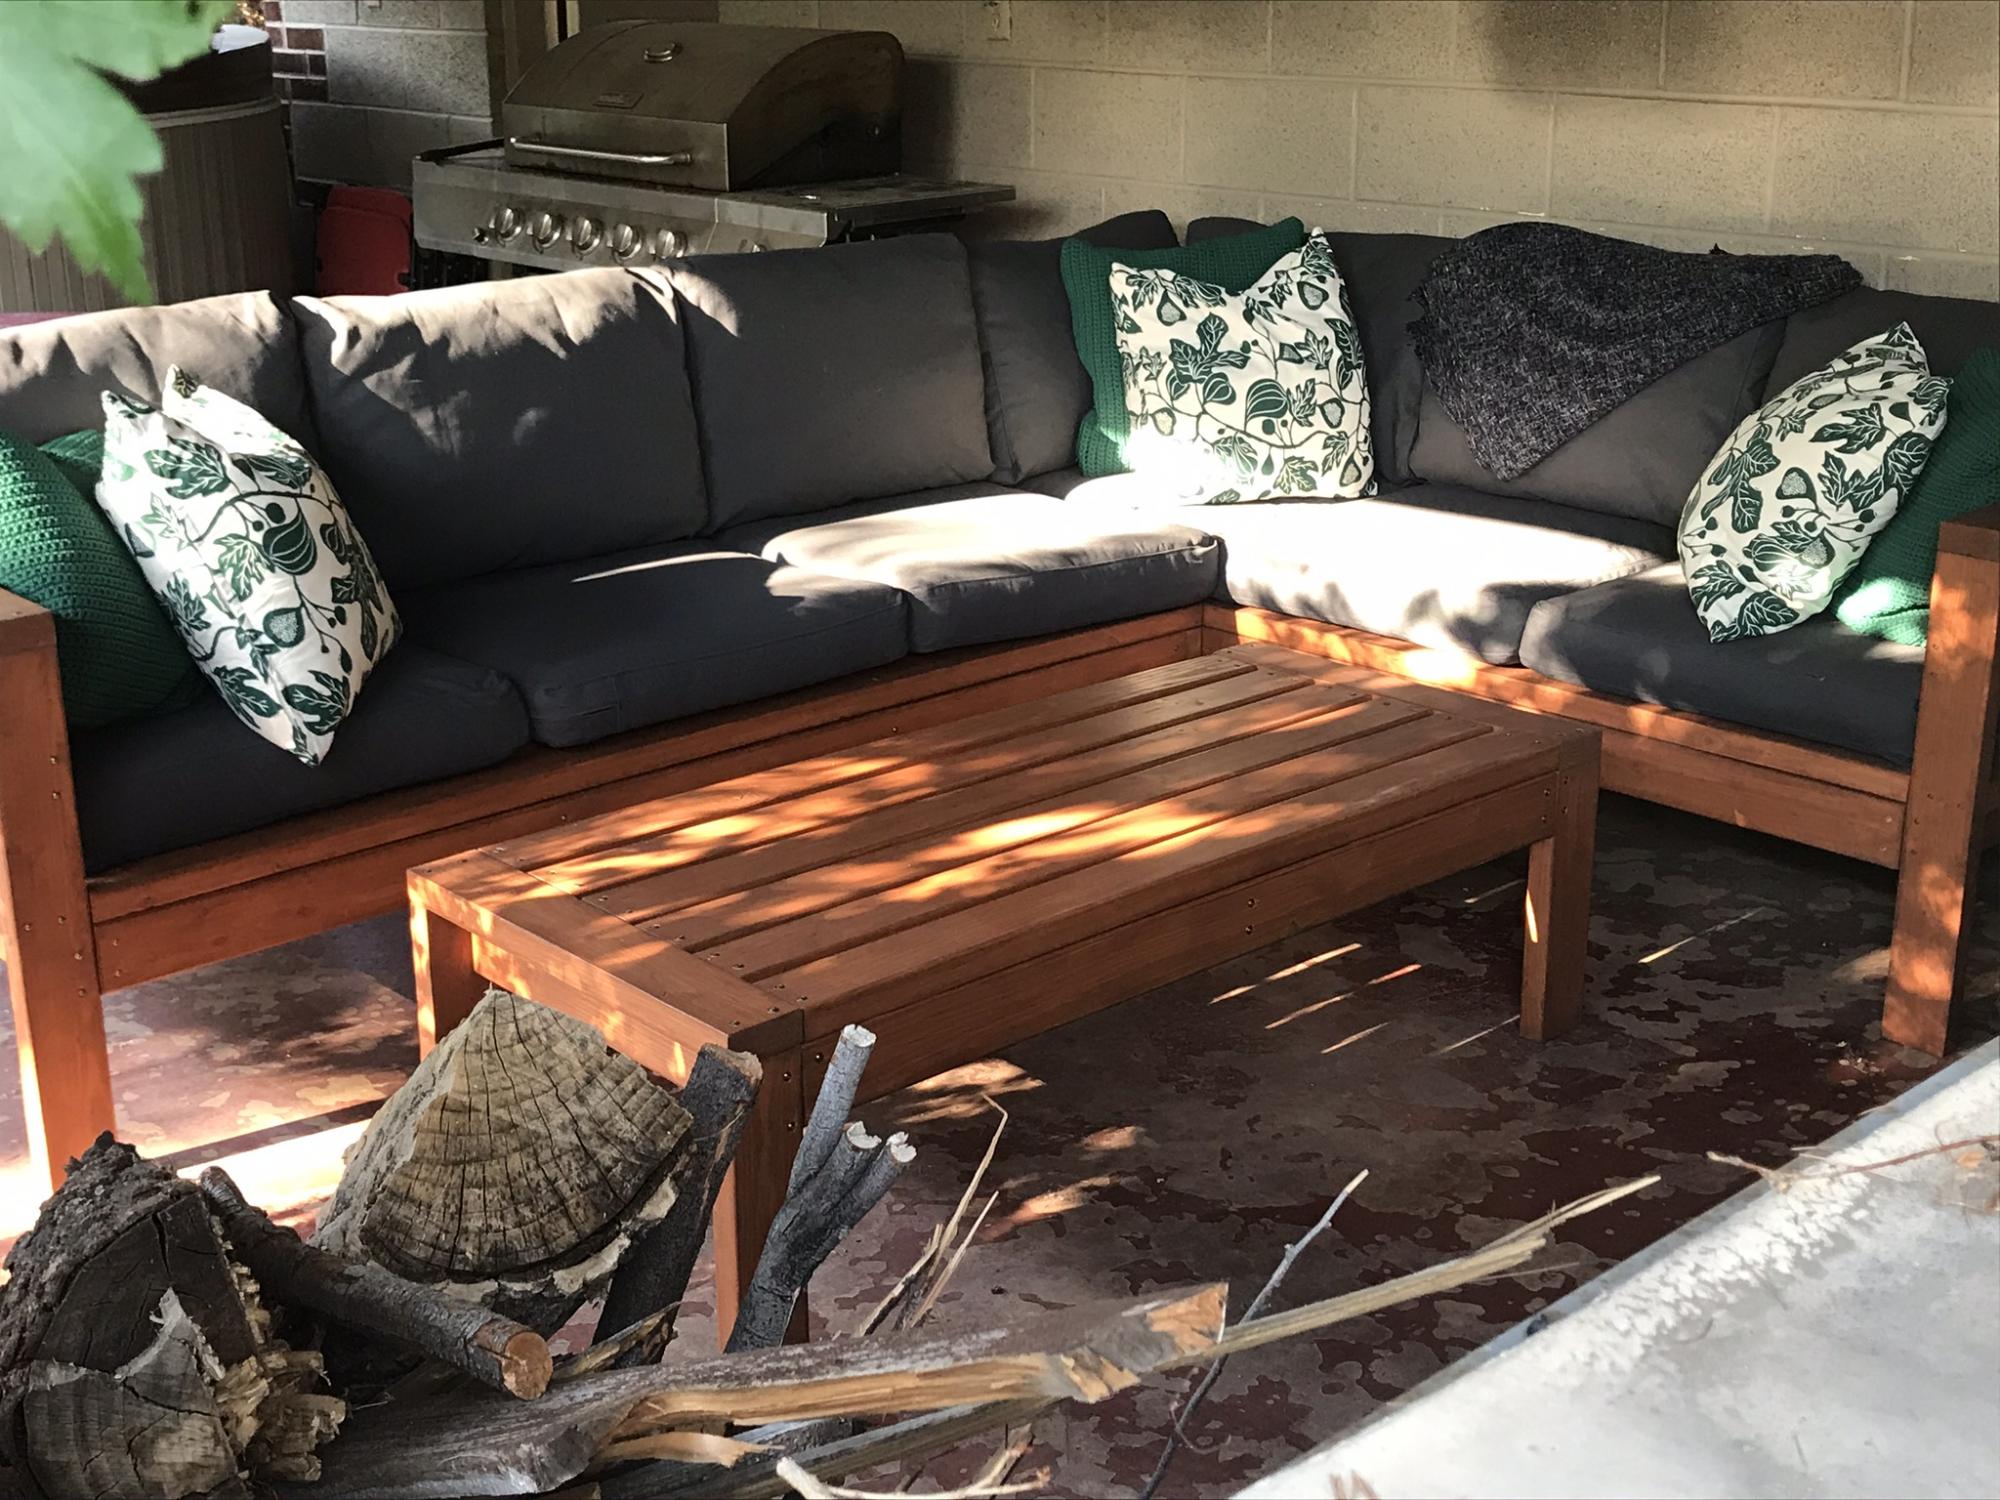
This project took a while. Stained everything before assembly which made it easier. Plans are easy to follow. Thank you for making them available. Our property is starting to look a lot like your website.

This project took a while. Stained everything before assembly which made it easier. Plans are easy to follow. Thank you for making them available. Our property is starting to look a lot like your website.
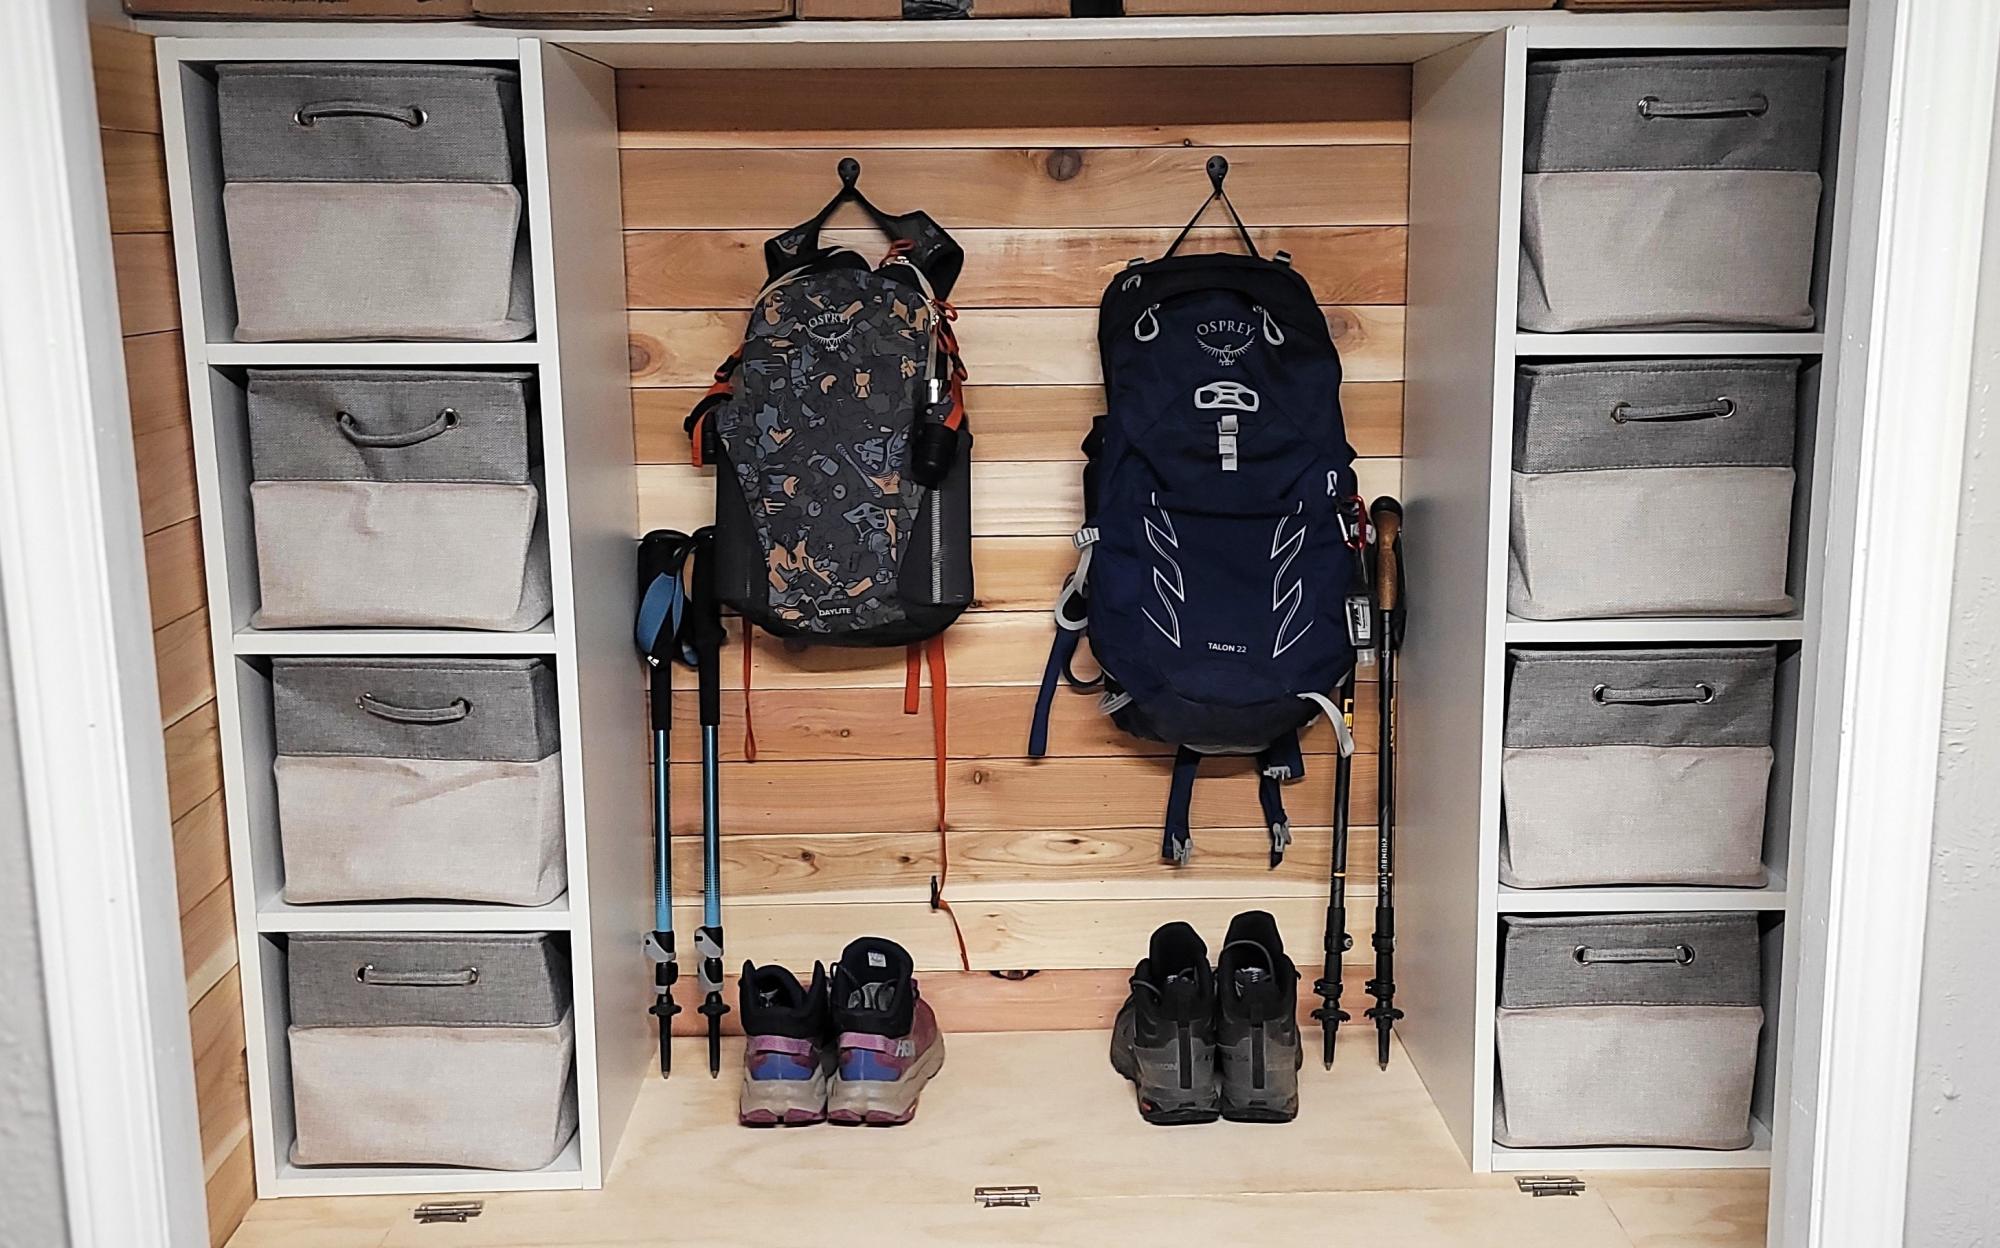
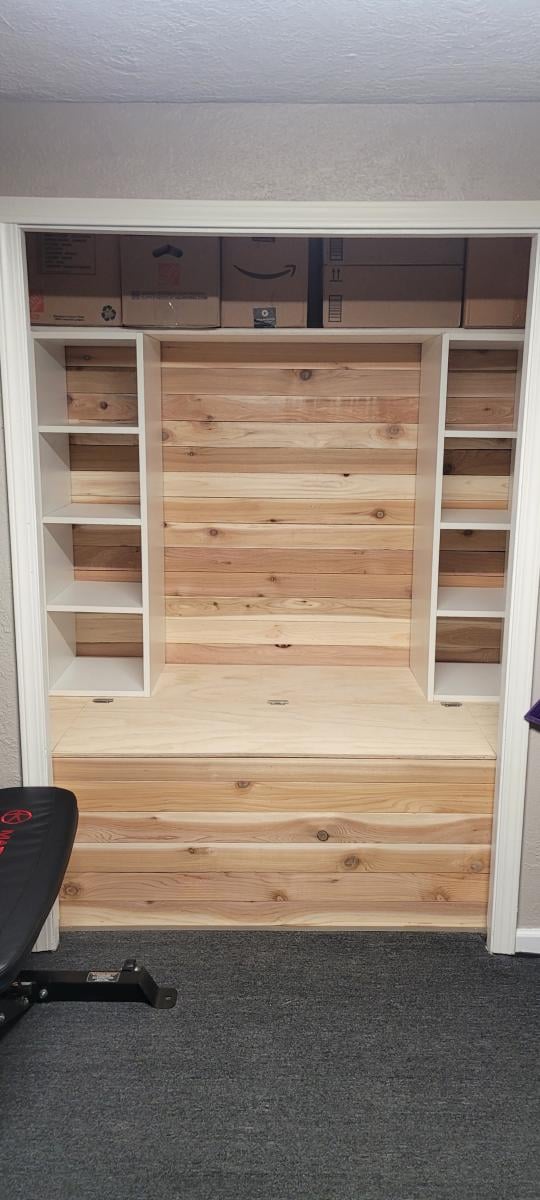
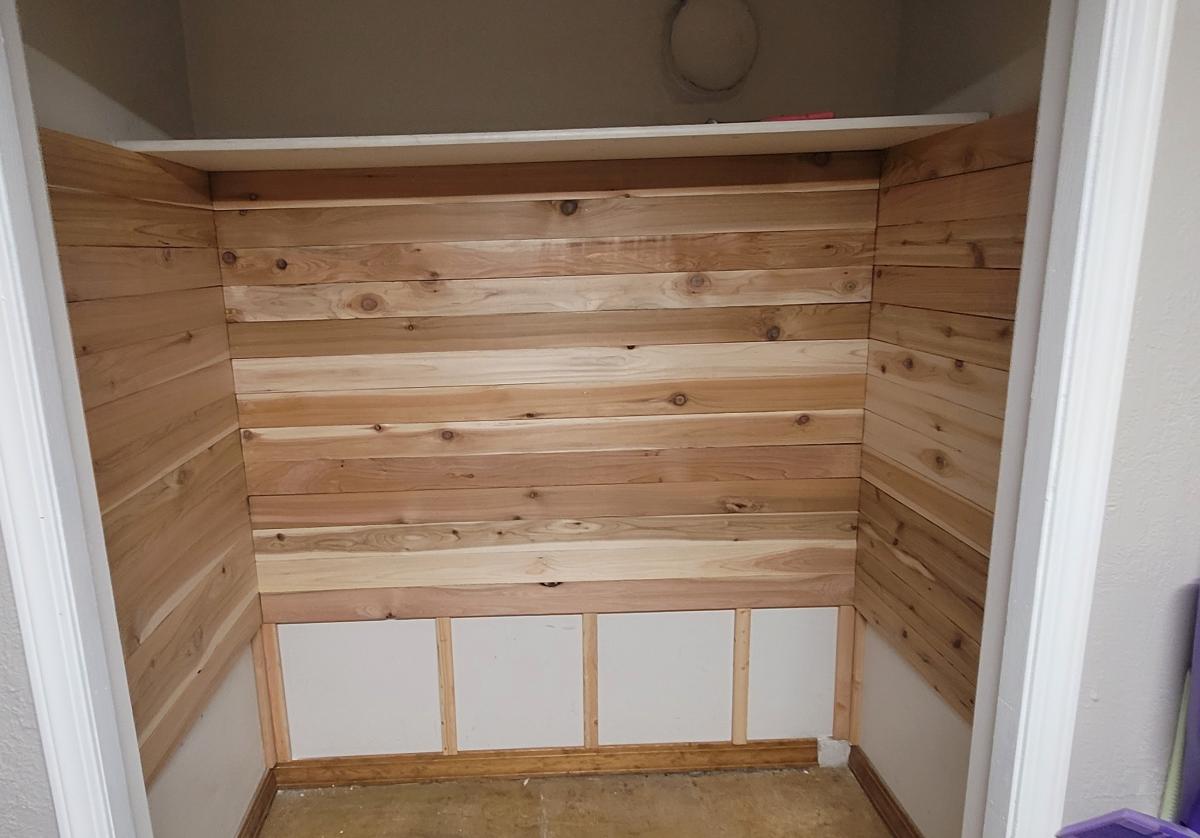
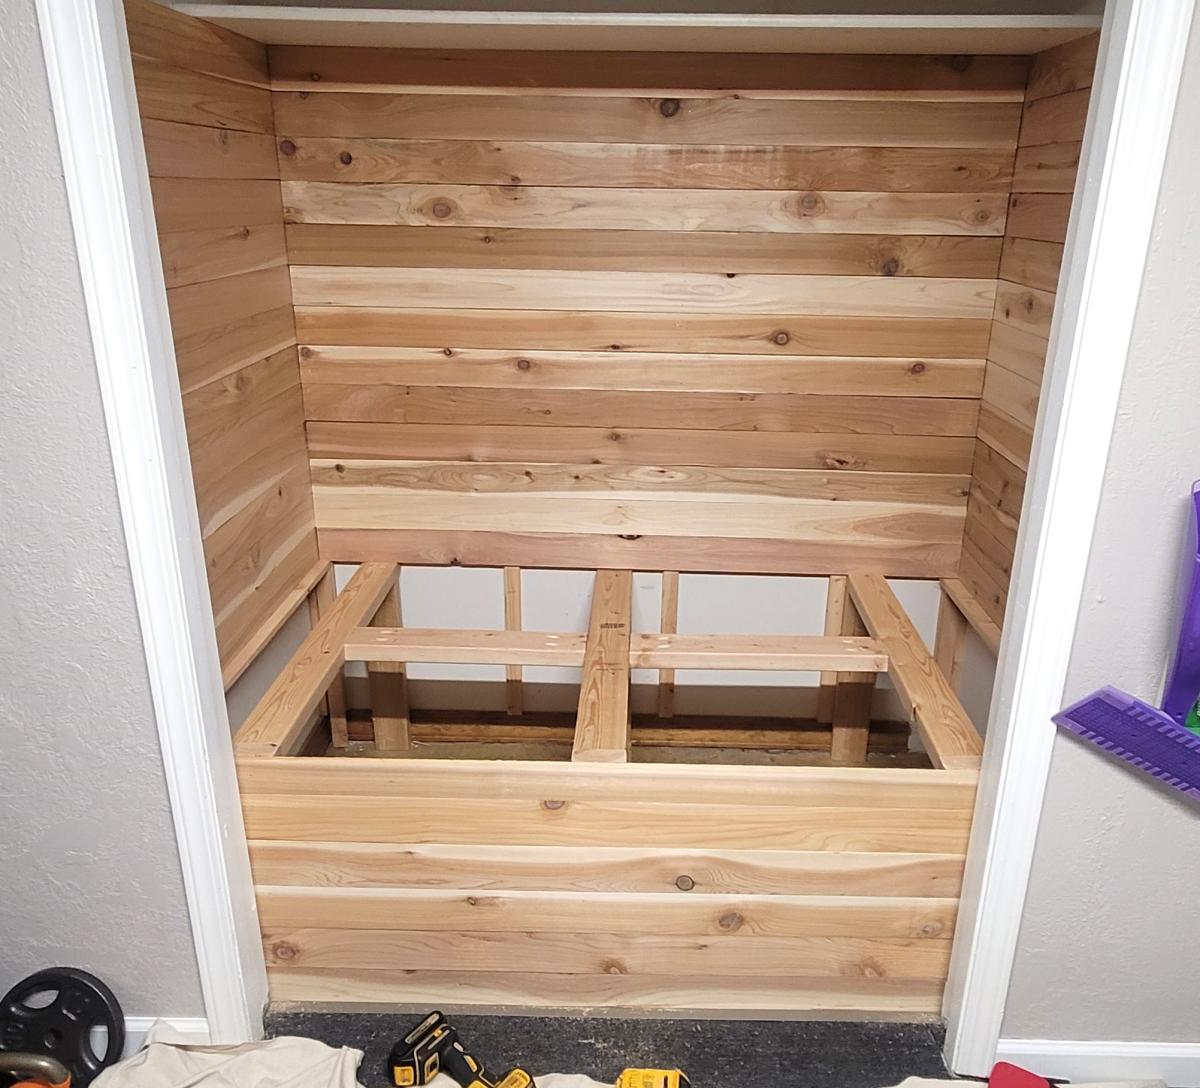
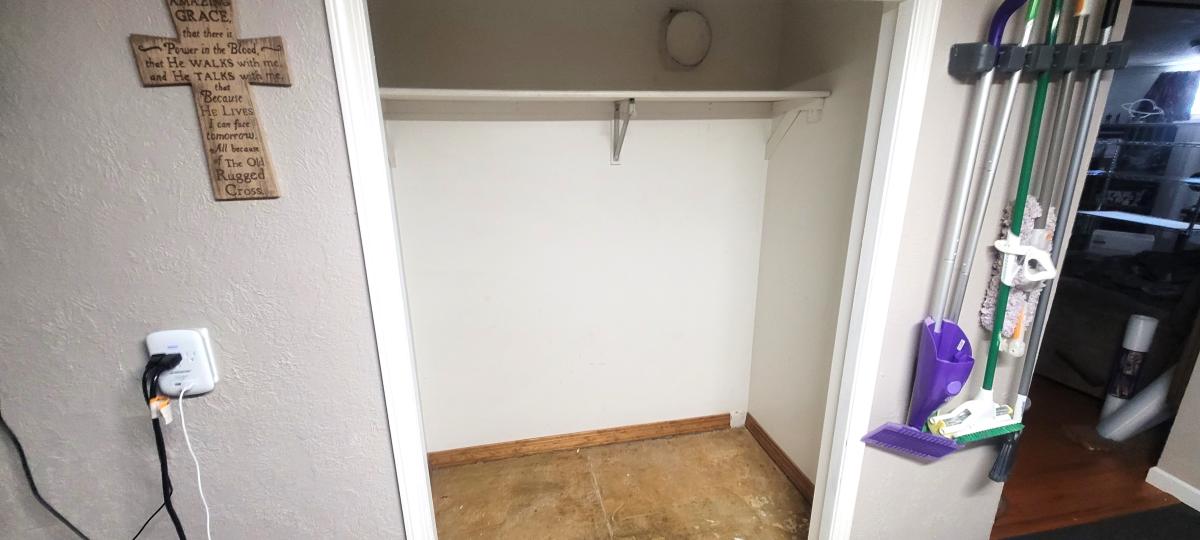
This is our basement closet. We wanted to make it more useful. We were inspired by the plans for the closet makeover.
Crystal L.
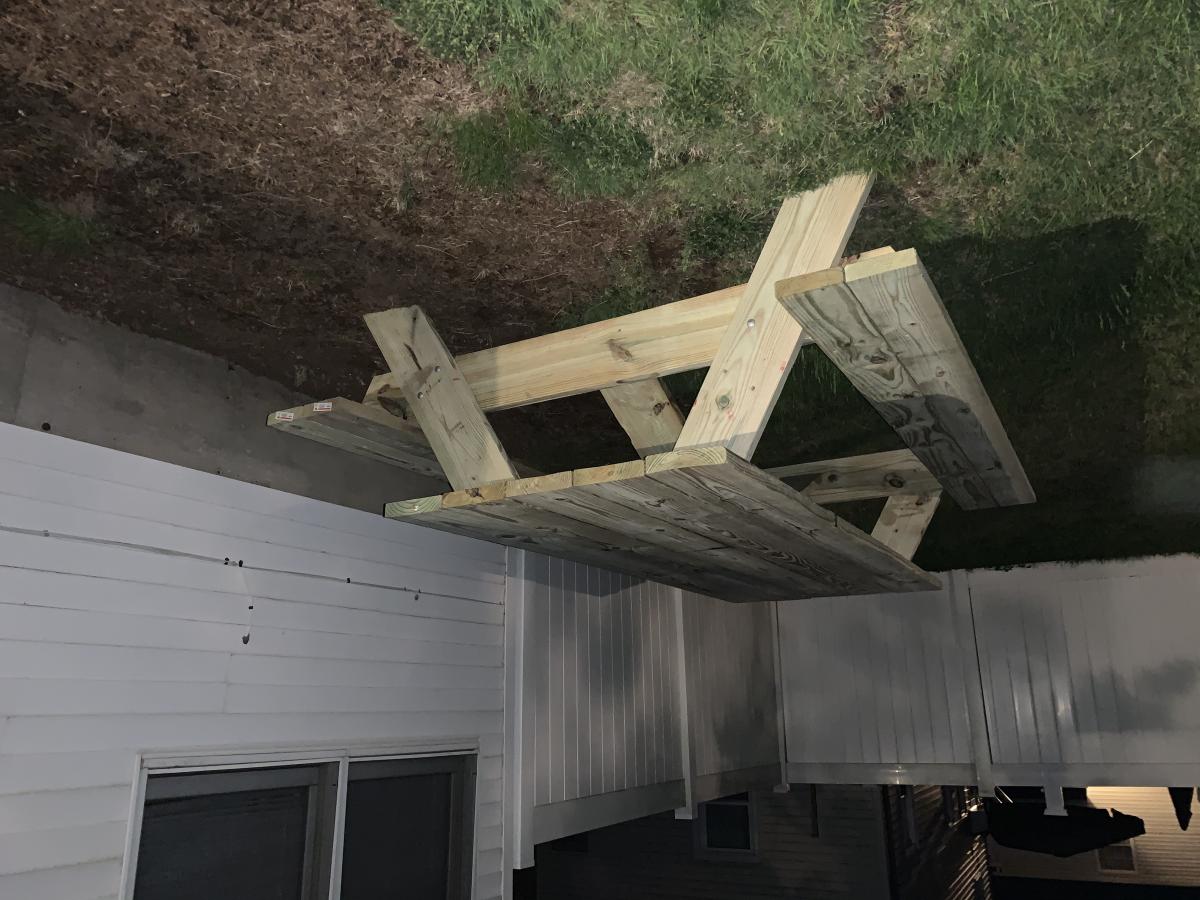
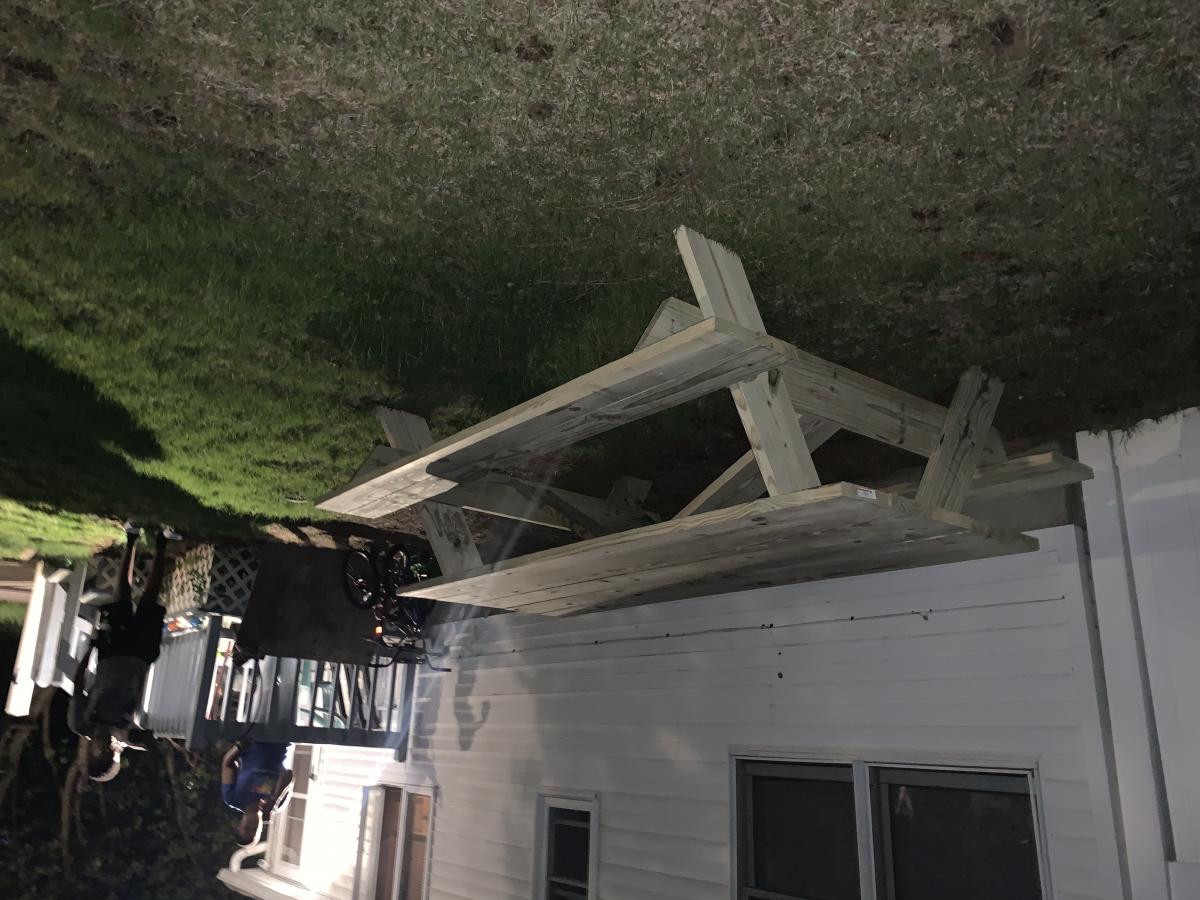
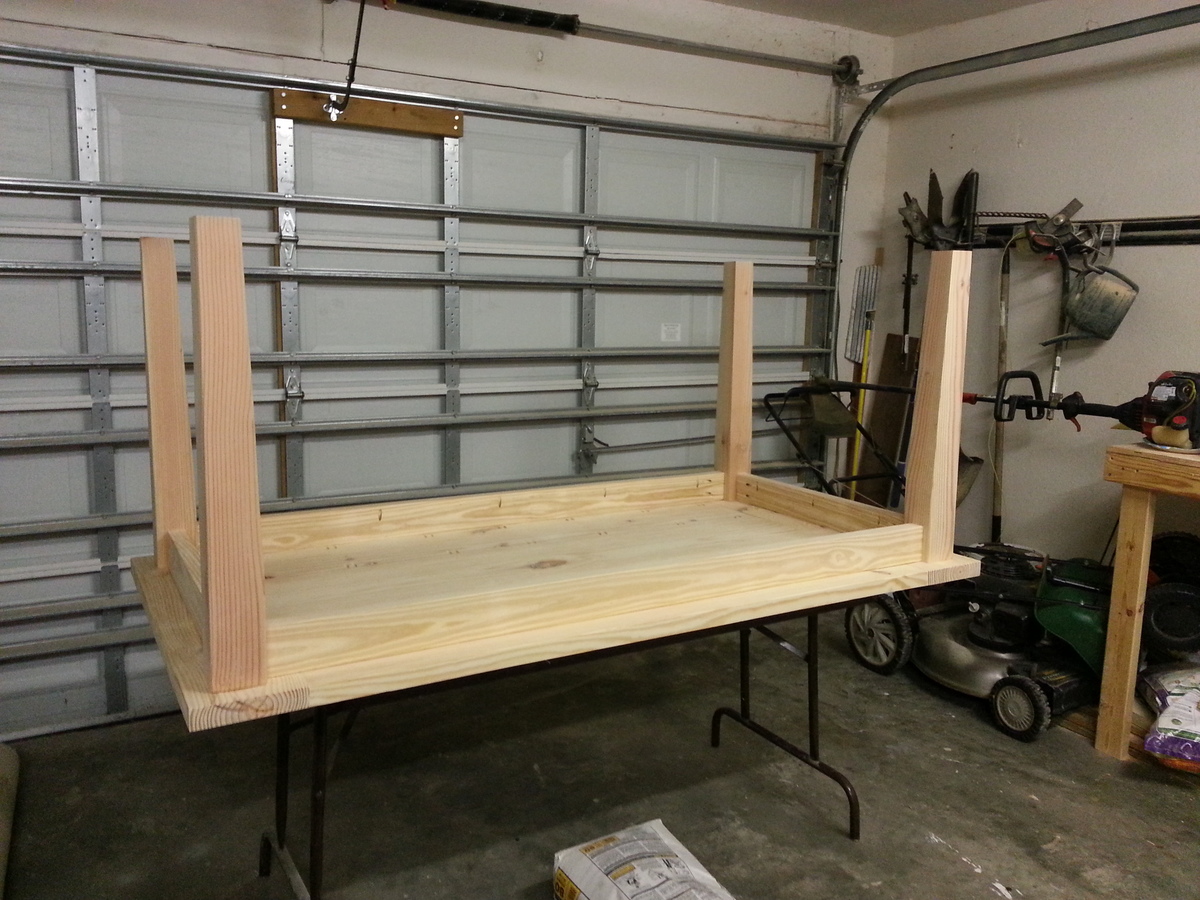
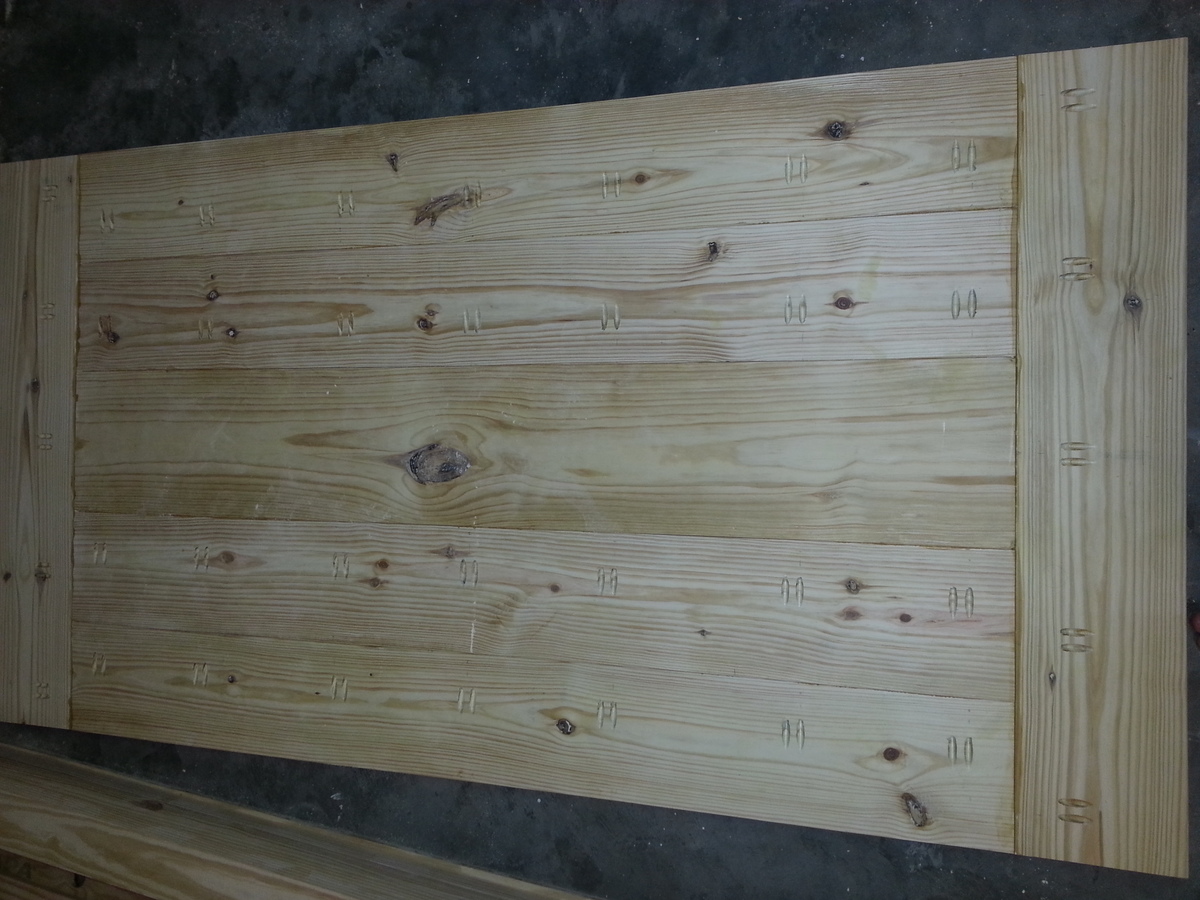
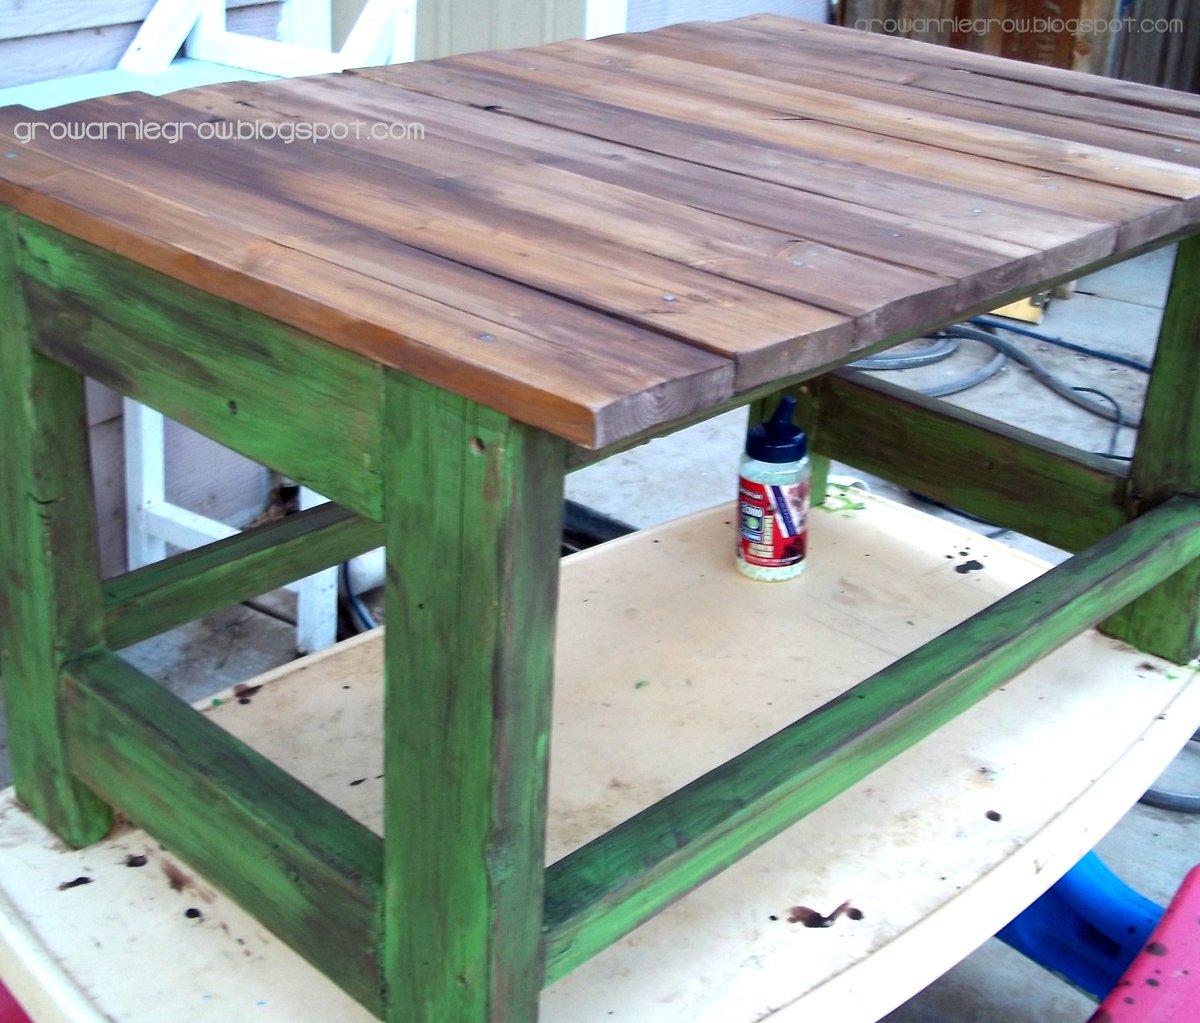
I've been meaning to build a coffee table for a few months now. About a month ago we received a hutch from some family friends. The back of it was made of 3/4" tongue and groove boards. So, I used those boards to make the top of the table and a couple of 2x4's to make the base. It's got a cool rustic feel that goes really well with the beach chic design that we have in our living room. For the design i really liked the look of the x picnic table, so I modified it for a coffee table.
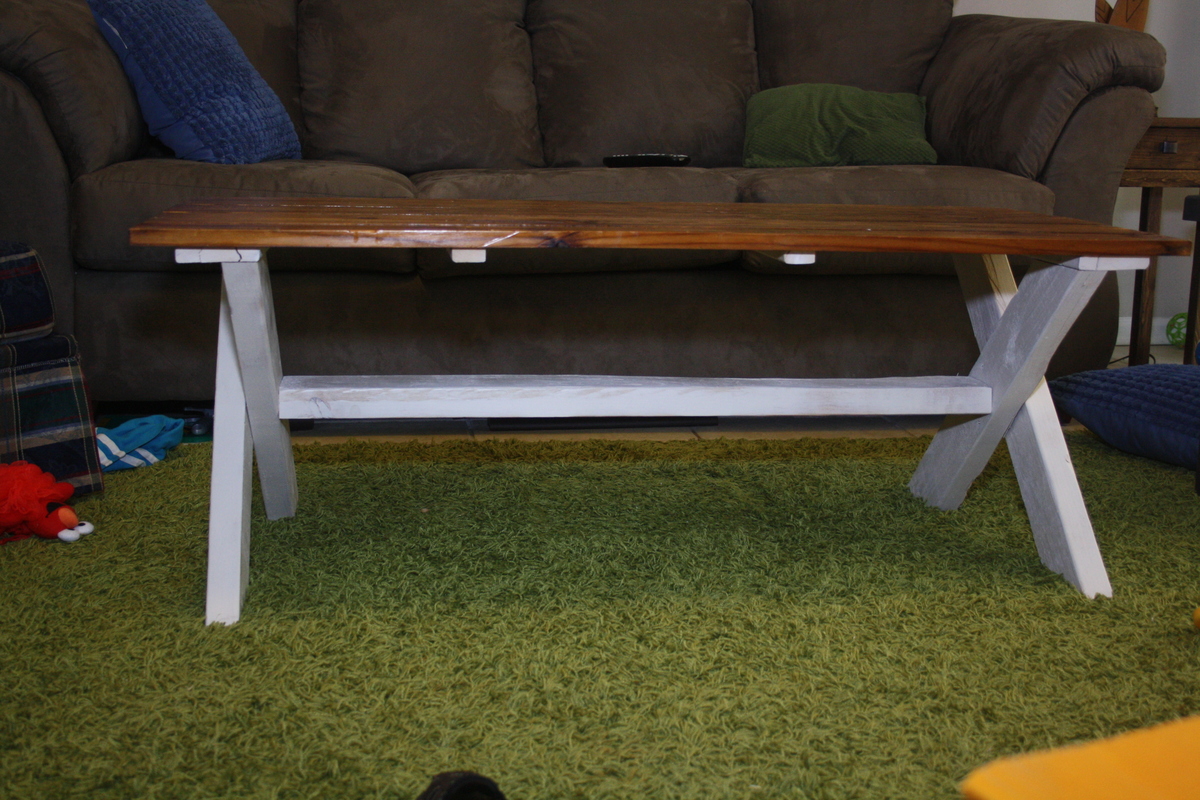
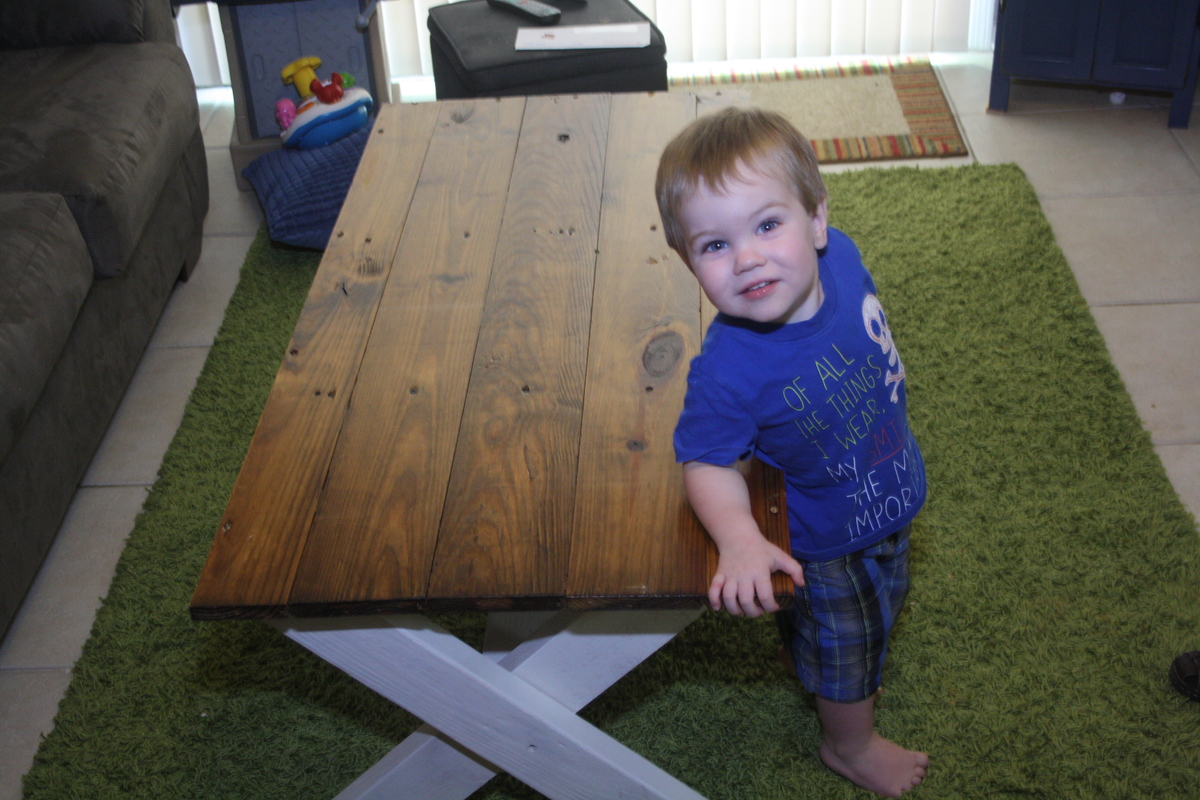
I modified this plan slightly in how I attached the legs to the table top. I put screw inserts into the bottom of the table so I could screw the legs in and not worry about the wood stripping. We move often and I can't move the whole table assembled. Also, I haven't secured the cross beam, so this table will completely flatten and be easy to pack.
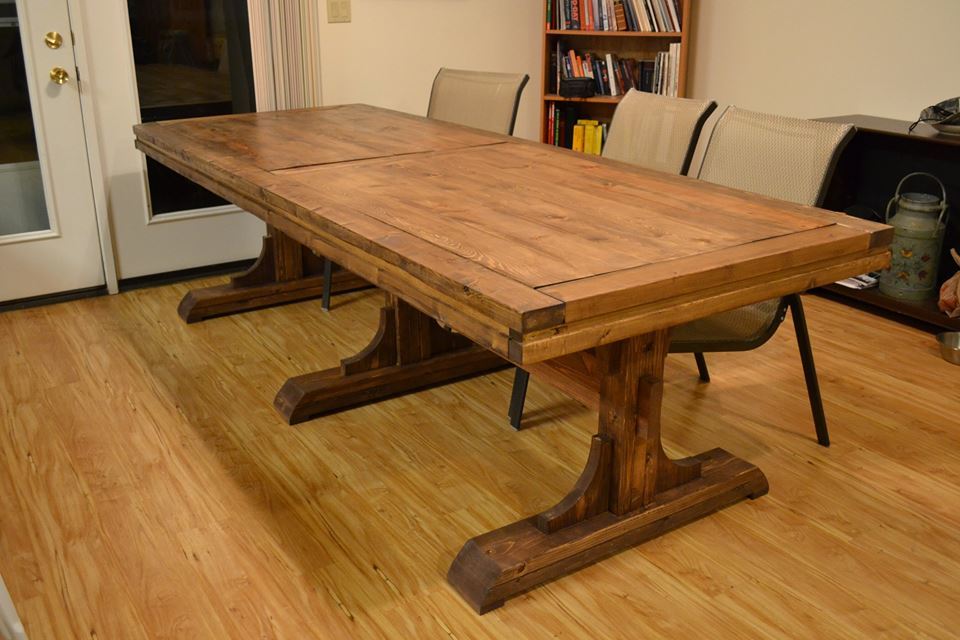
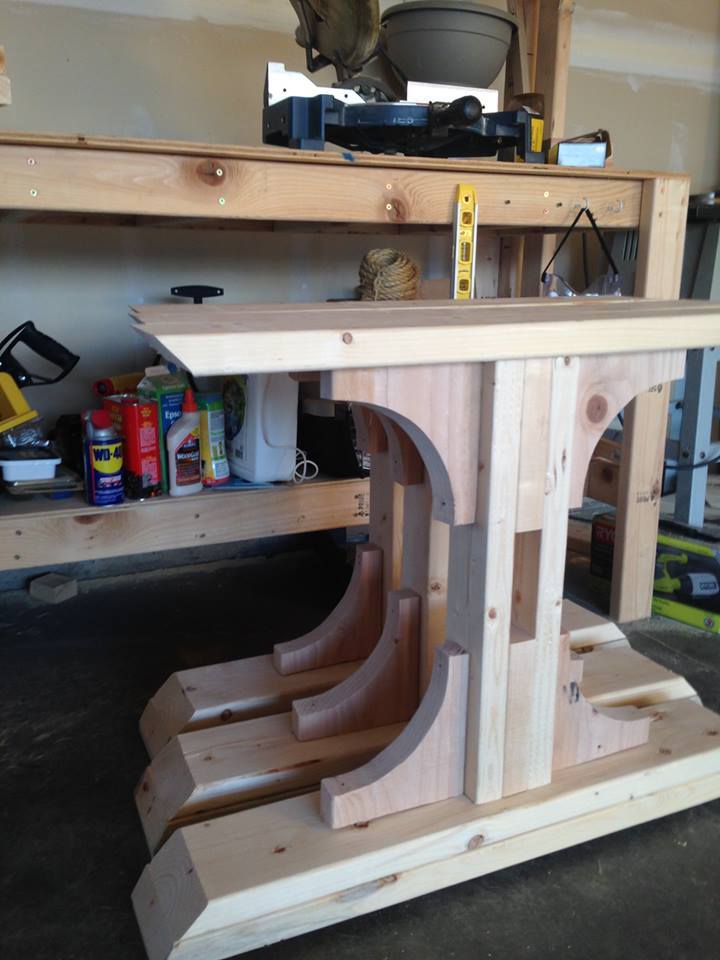
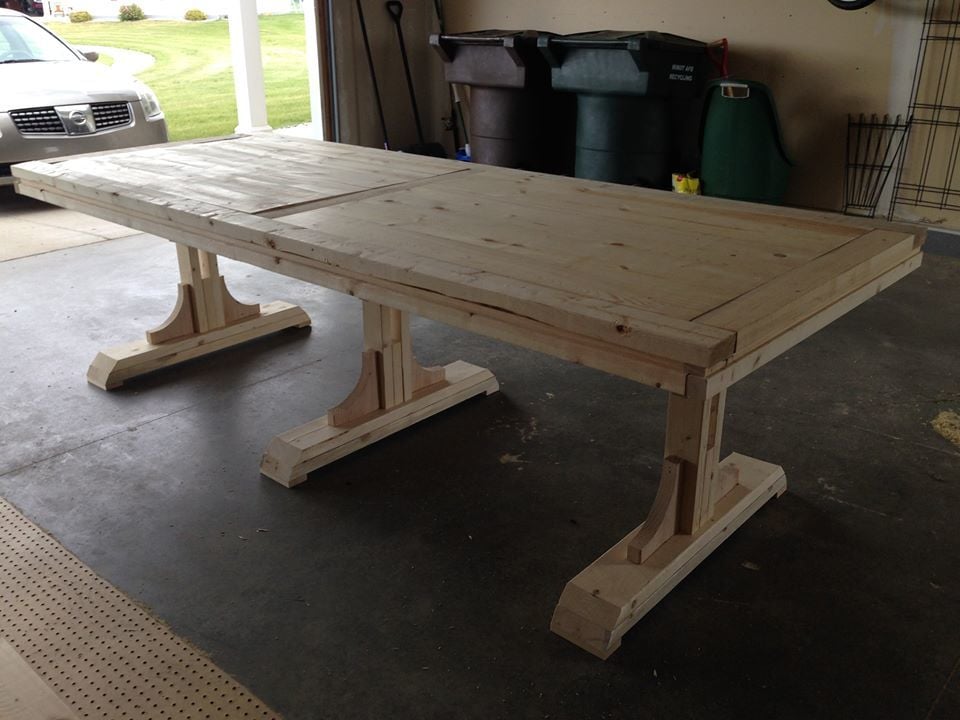
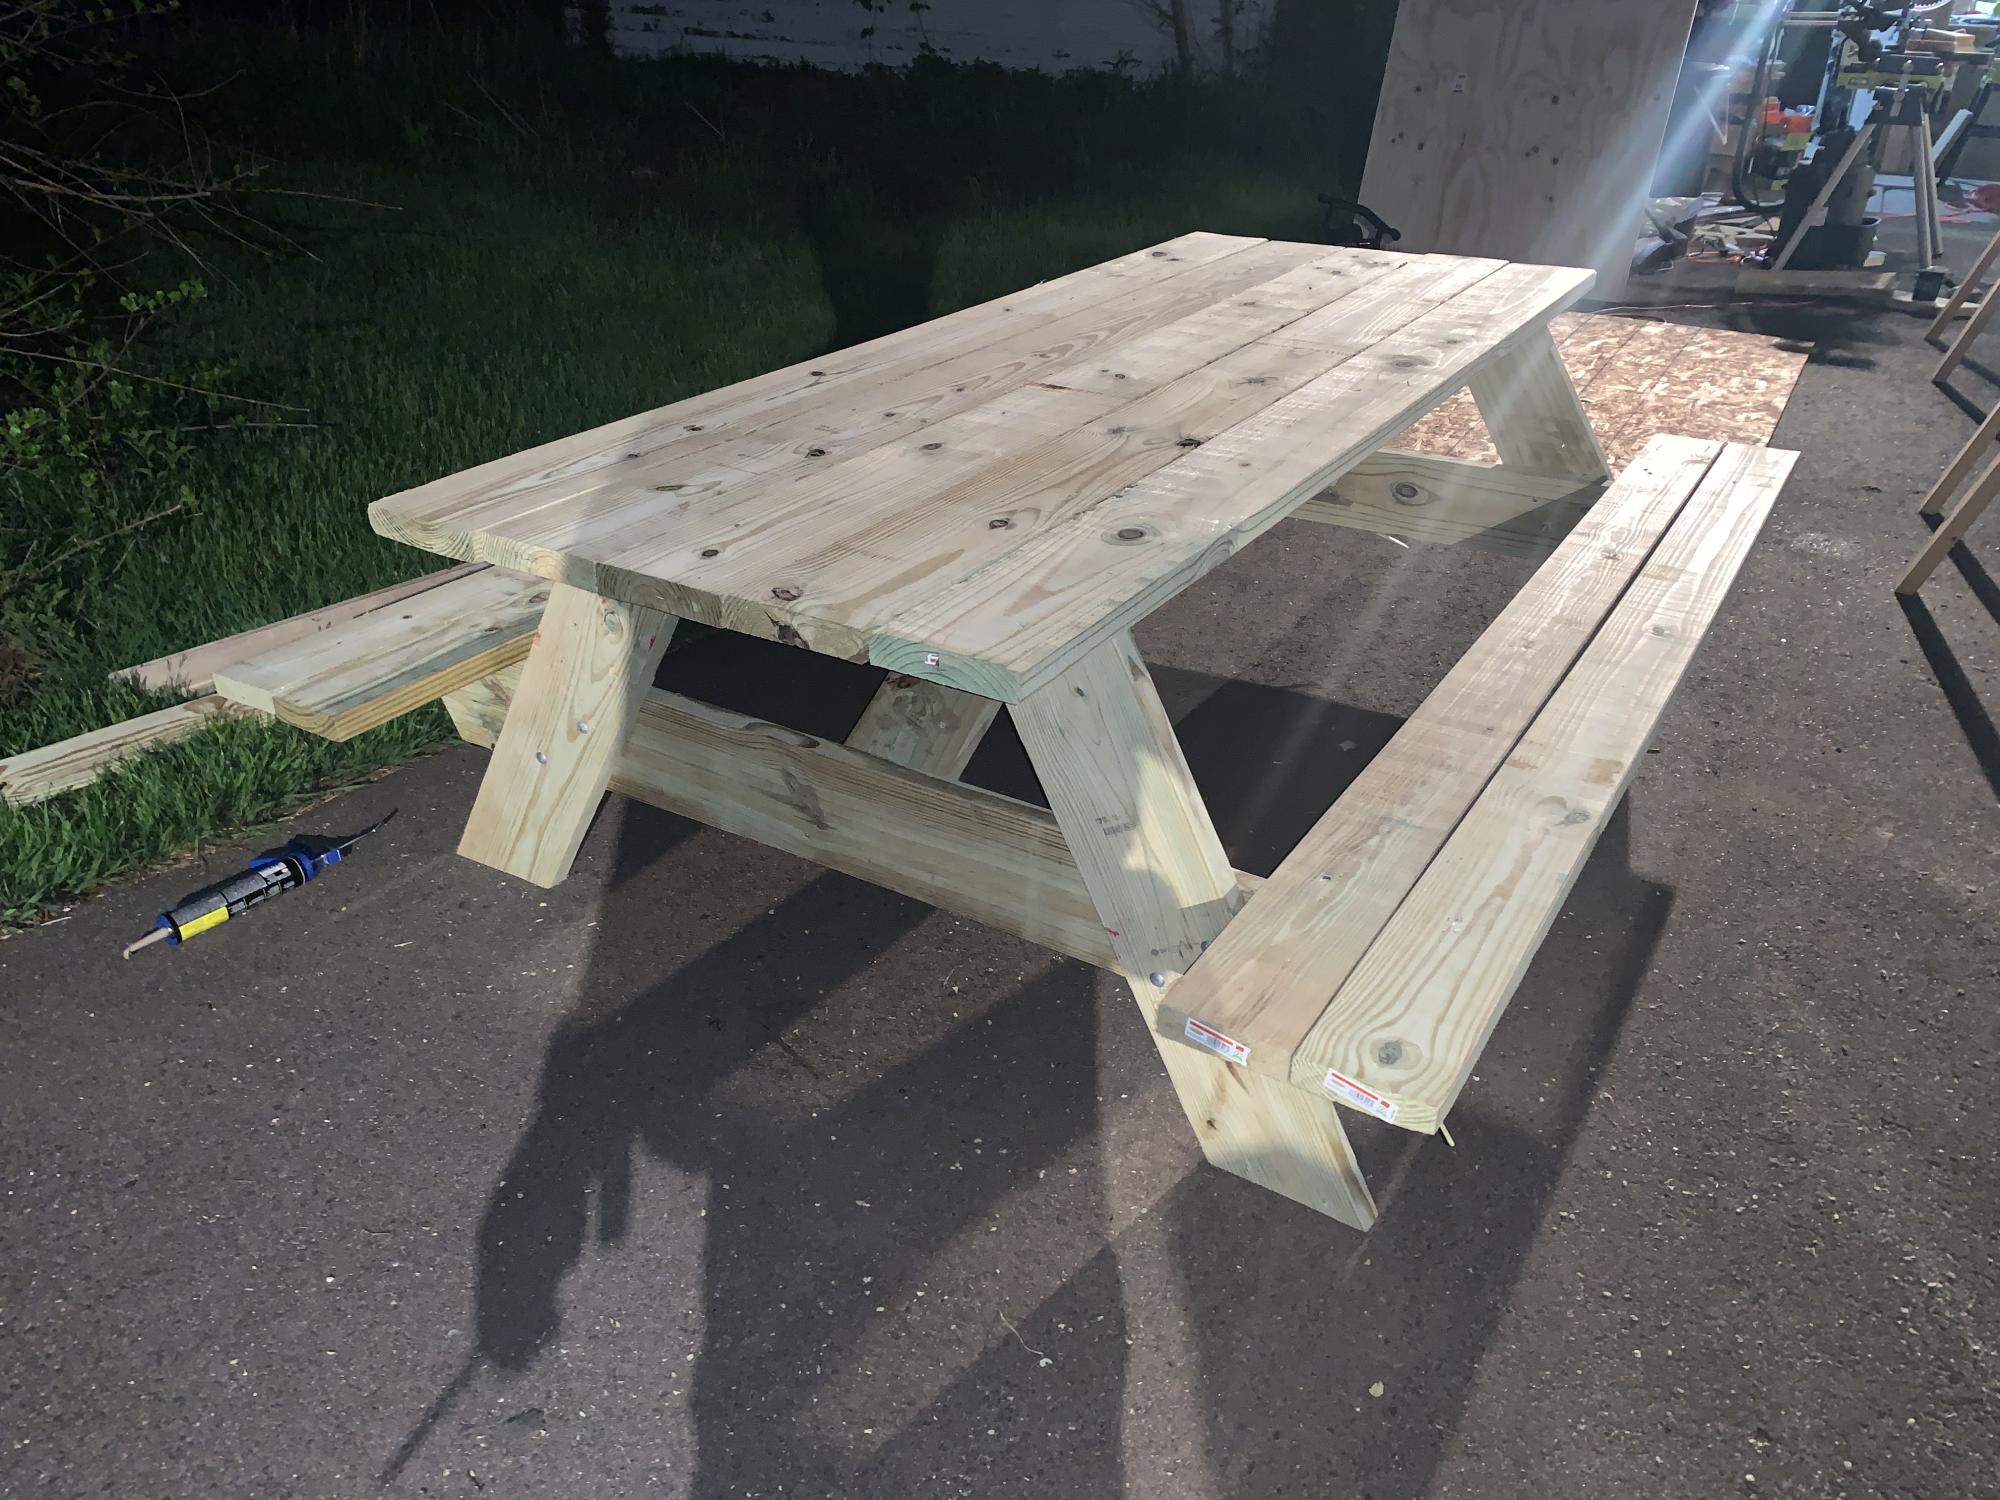
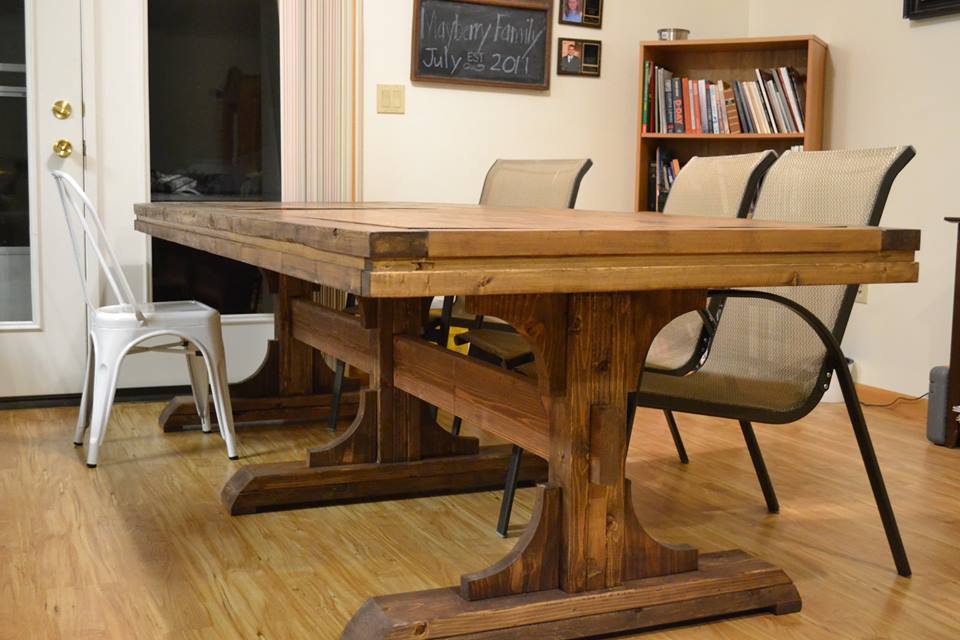
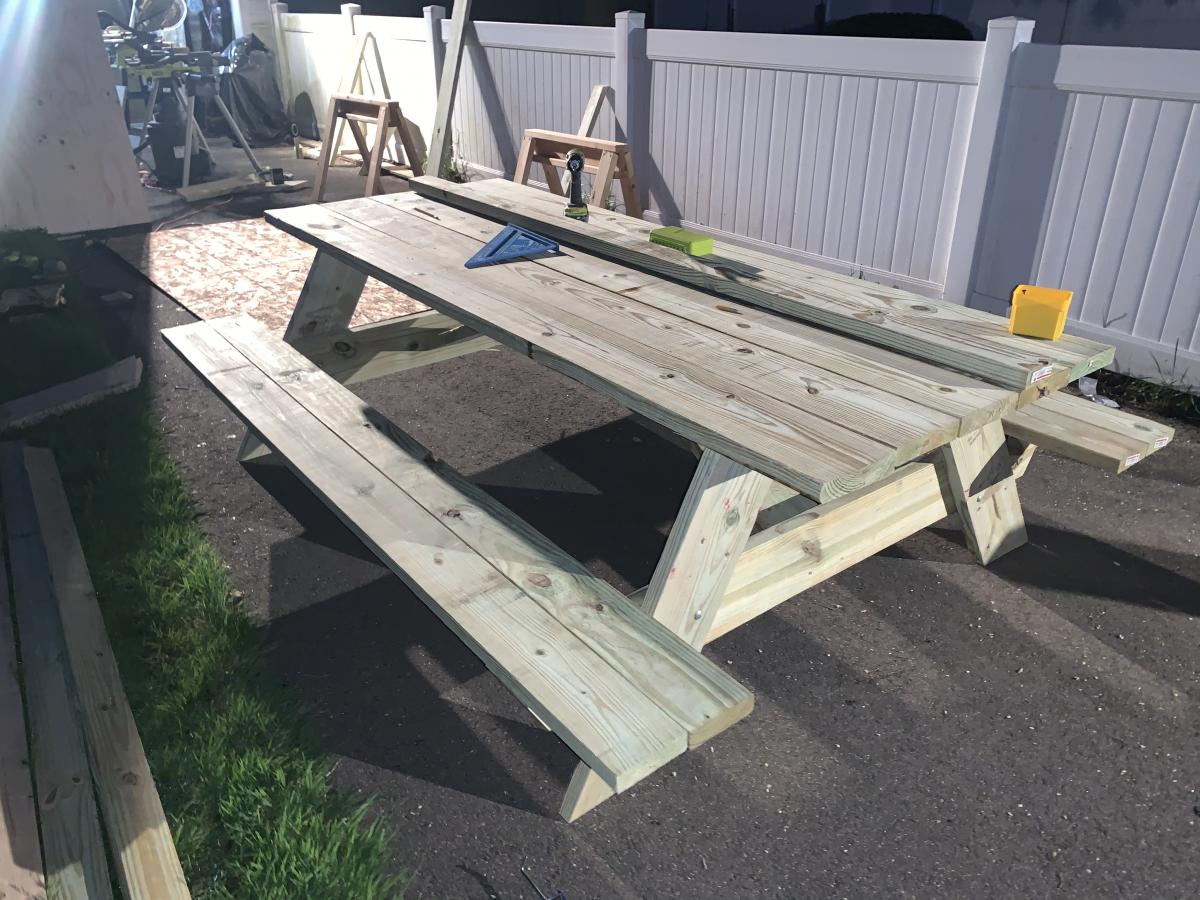
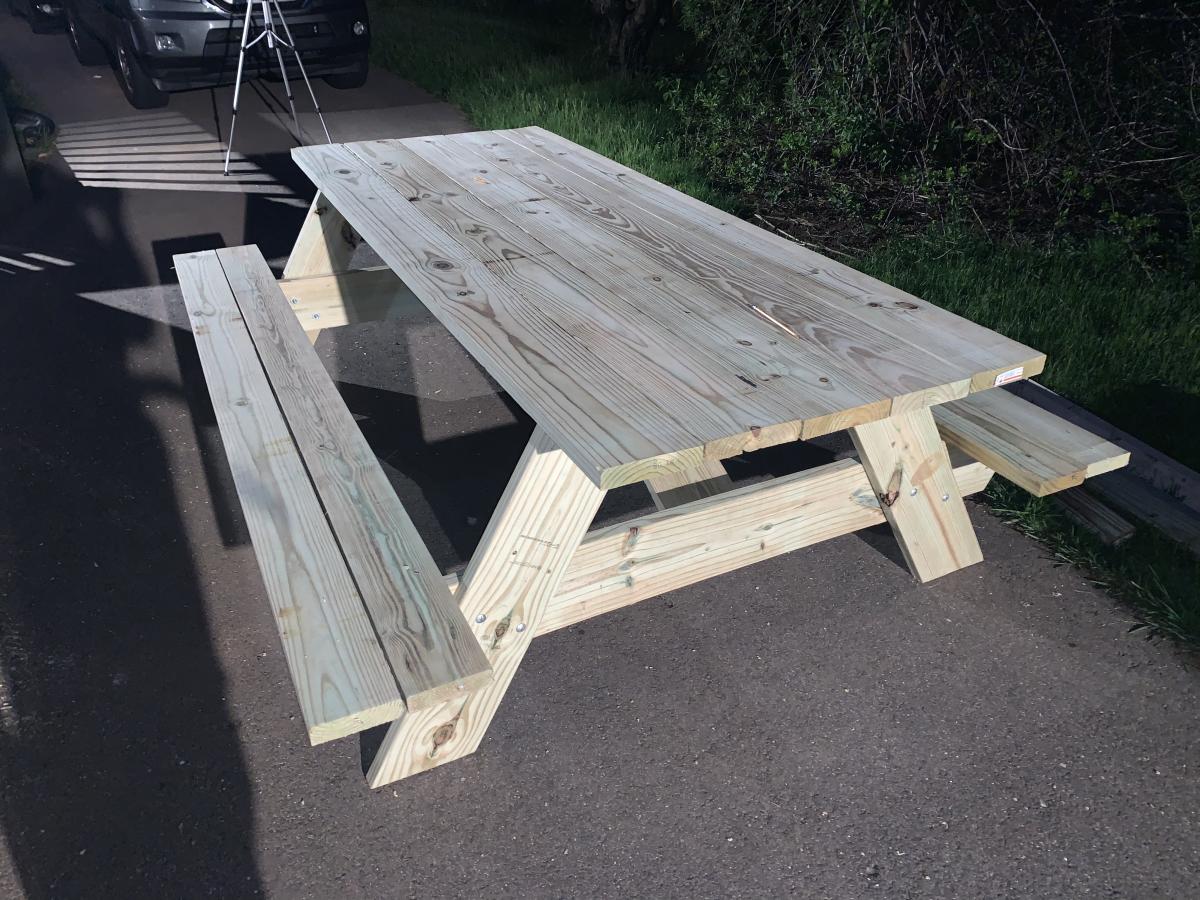
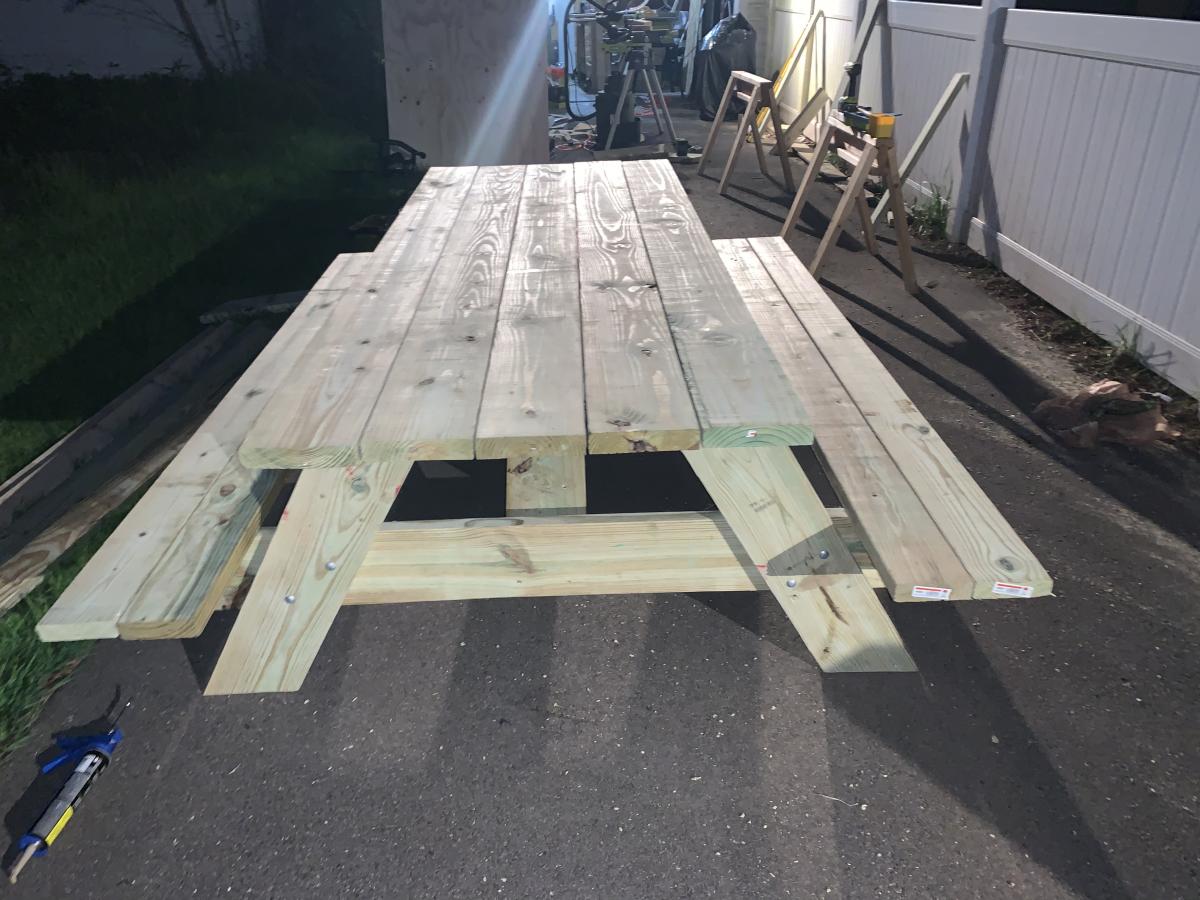
8’ x 3’ Table
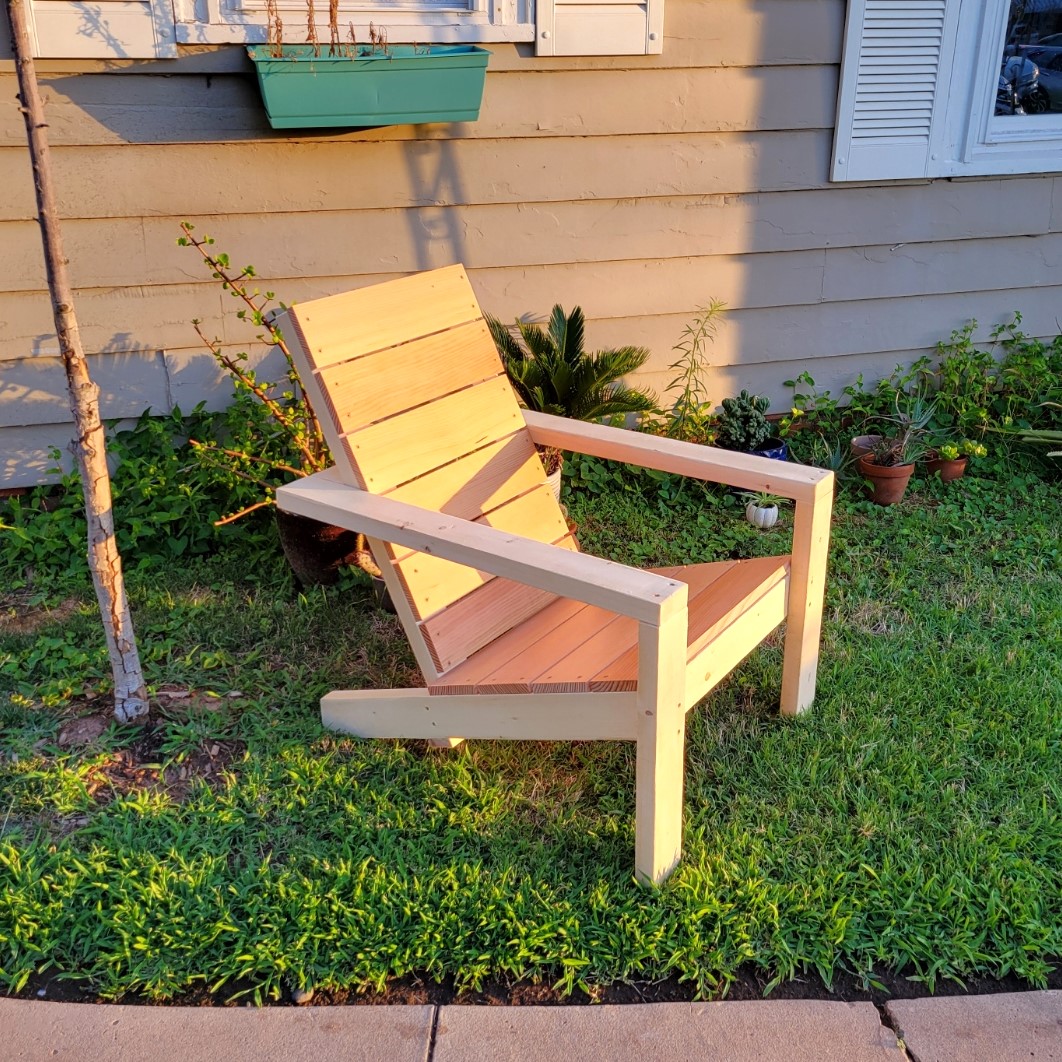
Modern Adirondack Chairs
Joseph Knauf
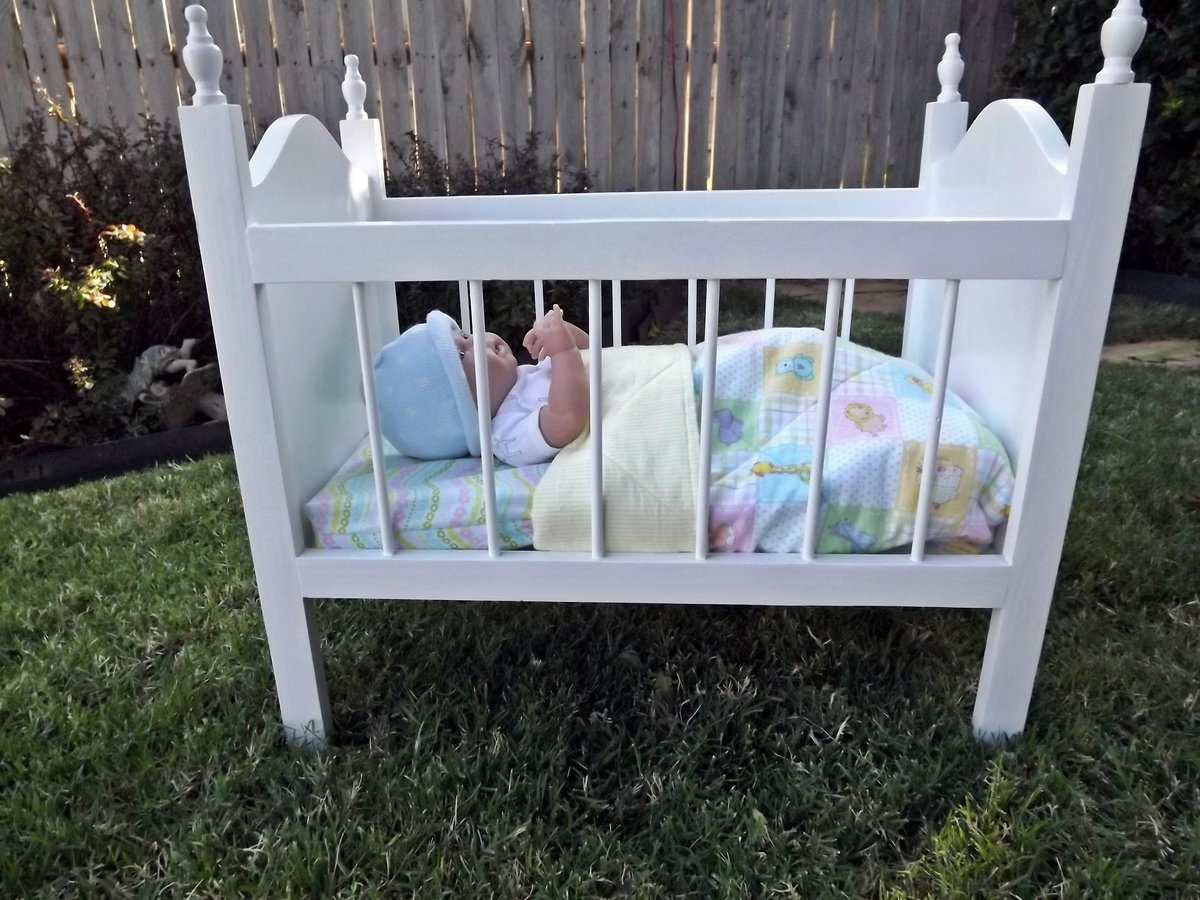
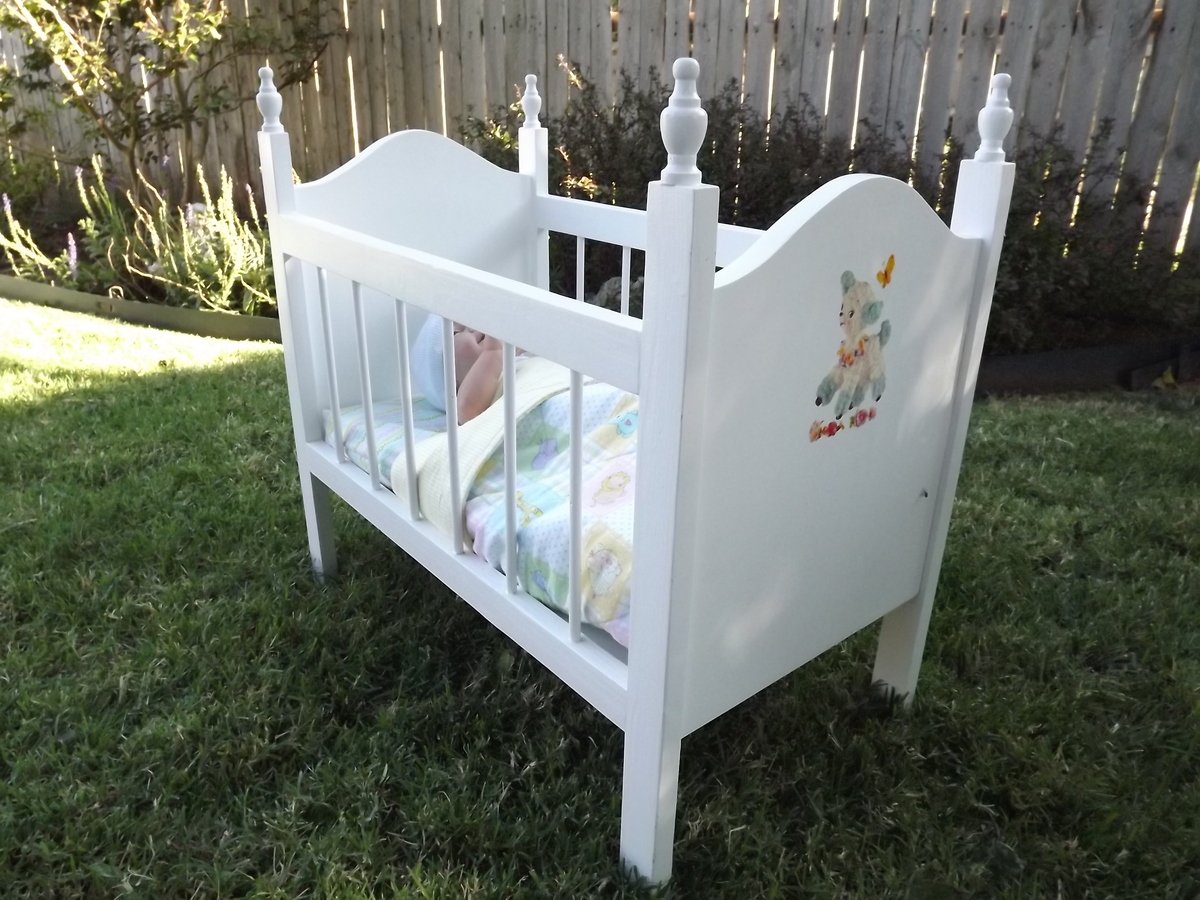
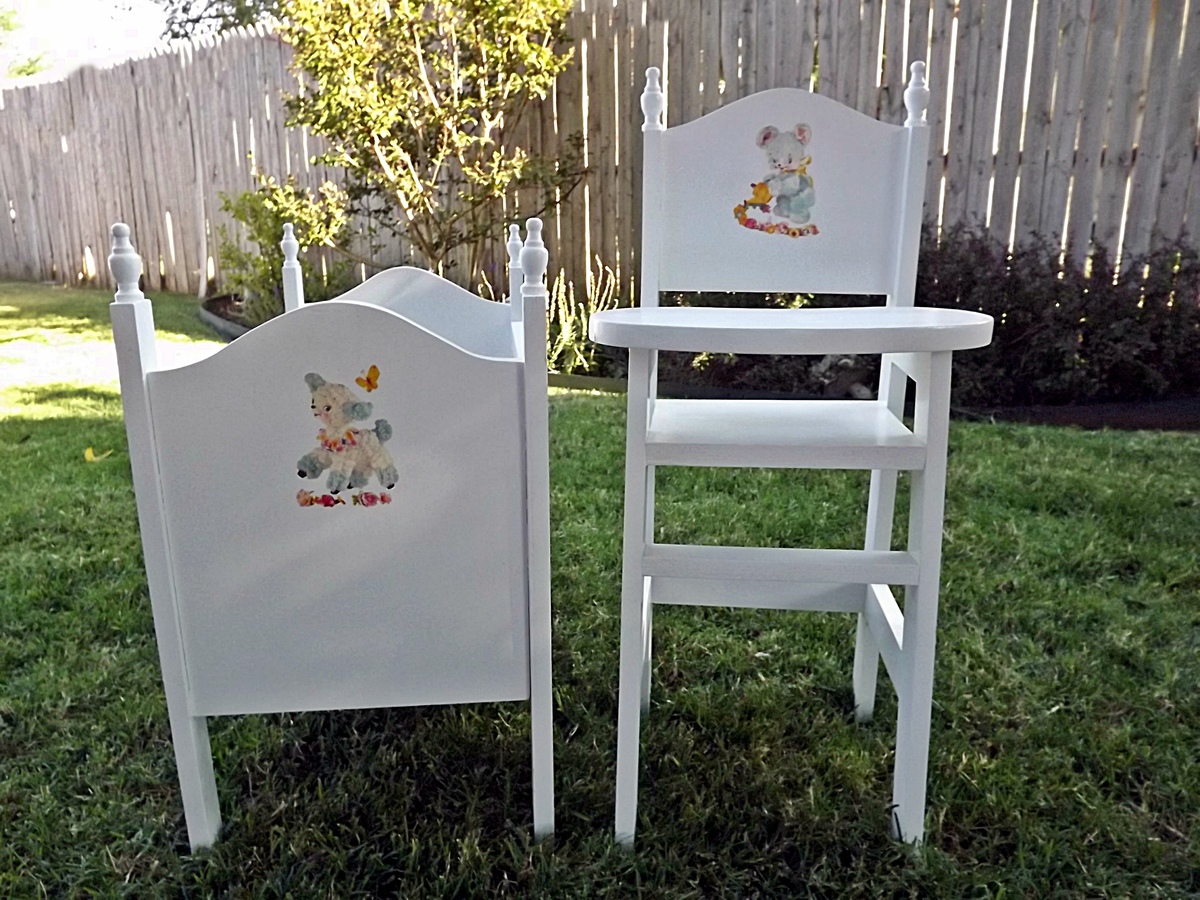
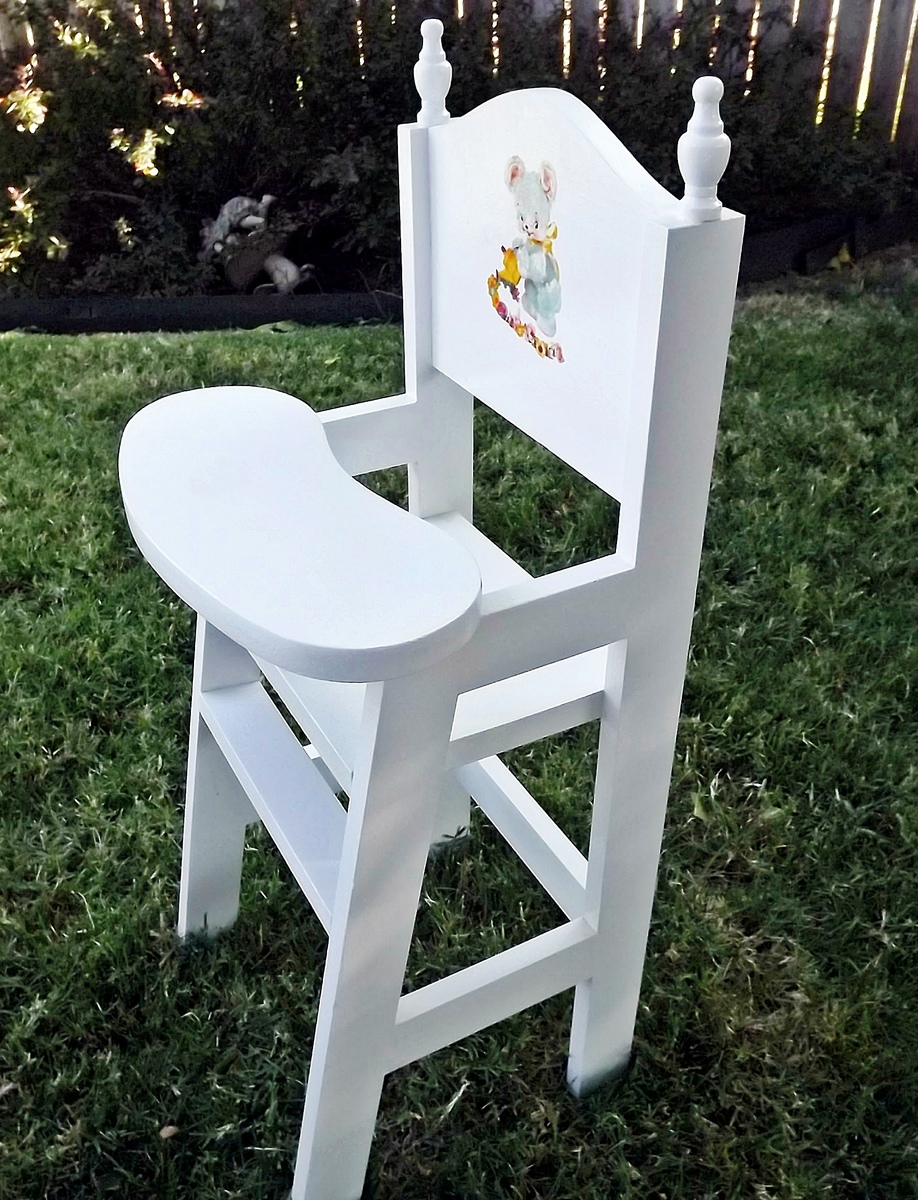
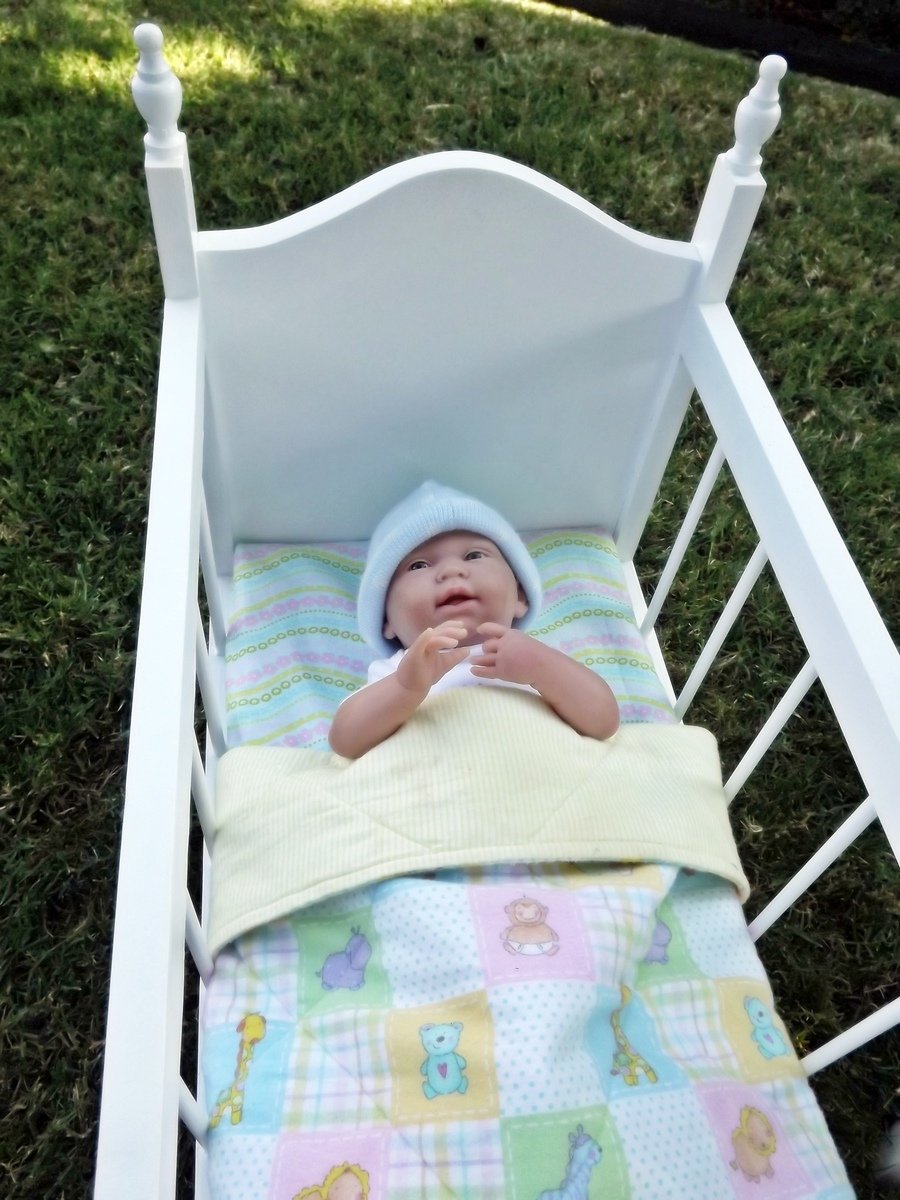
I made this set for my granddaughter using the Fancy Doll Crib plans. On this build I enlarged the size of the Fancy doll crib to be closer to the Olivia crib. For anyone interested: ends-13 5/8”; bottom-21¾”; side rails 21”; legs-20”; 12- 3/8” dowels @ 8¼”. I thought the scale of the finials from Lowe’s were too large, so I found some I liked better at Hobby Lobby: 3 pcs per pack @ $1.47, item #165274. Since I got 6 altogether, I put two on the high chair. Love the look. I also changed the shape of the curve of the ends and replicated that on the highchair back. The shape of the highchair tray is also curved and slightly cantilevered over the side ends; the tray is 4¾” x 13” to allow for the curve, cut from a 6” wide length of scrap. The vintage lamb theme that I used with my great-nieces is carried out with this set, too. I found the water-slip decals at www.decalcottage.com.
Sat, 10/13/2012 - 18:53
This looks great! I wouldnt have immediately thought of finials on these... fantastic look!!
Sat, 10/13/2012 - 21:31
This is so sweet! Reminds me of the set I had when I was a little girl. Someday I'll have grandchildren to build these for...
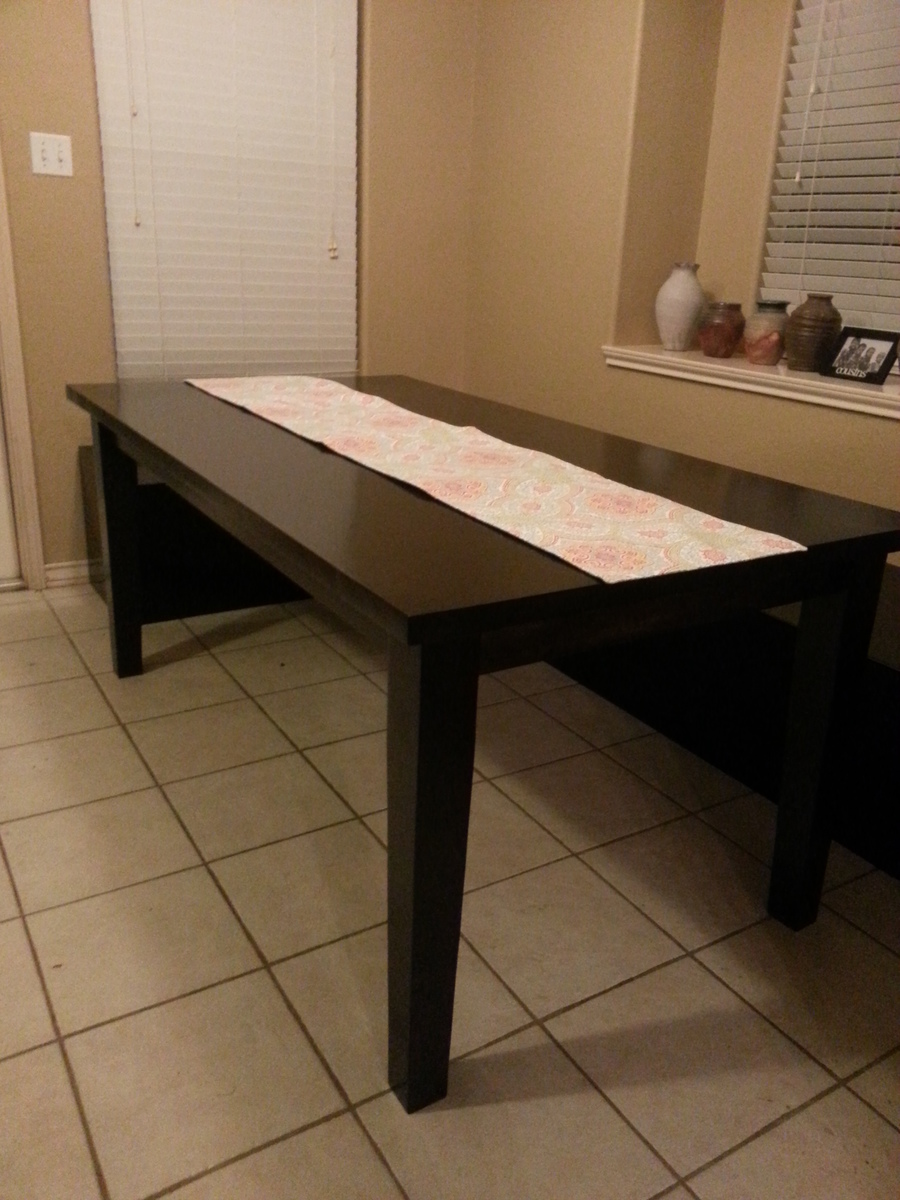
This table was made using the original farmhouse table plans with pocket holes.I tapered the two inside sides of the 4x4s (25%) and subtracted the bottom support structure. All pieces were glued and screwed using the kreg system. Even without the lower support this table is rock solid. I choose to make this table look a little more traditional then the farmhouse table to match our design plans.
All parts of the table were sanded down smooth to 180 grit and treated with minwax prestain wood conditioner. The table was then stained with cabot premium wood stain and sealer in one(espresso -satin). Warning large surfaces are hard to stain evenly with out brush marks using this product. I used 3 coats in all with a light sanding using 600 grit after the first coat since it is a water based stain. It covered just a little more of the natural wood grain then I would have liked but I did prefer it to the polyshades product I used on the custom bench behind it.
When using pine it maybe best to just go for the distressed look. I am worried that my smooth table top will get destroyed by my son but he knows he isn't allowed to play cars on the table now so I am crossing my fingers. So far the table top is holding up very nicely to any abuse but it is still early on in its life.
I think in the future I will bite the bullet and use hard woods. As long as it takes to build furniture its nice if it lasts a little longer.
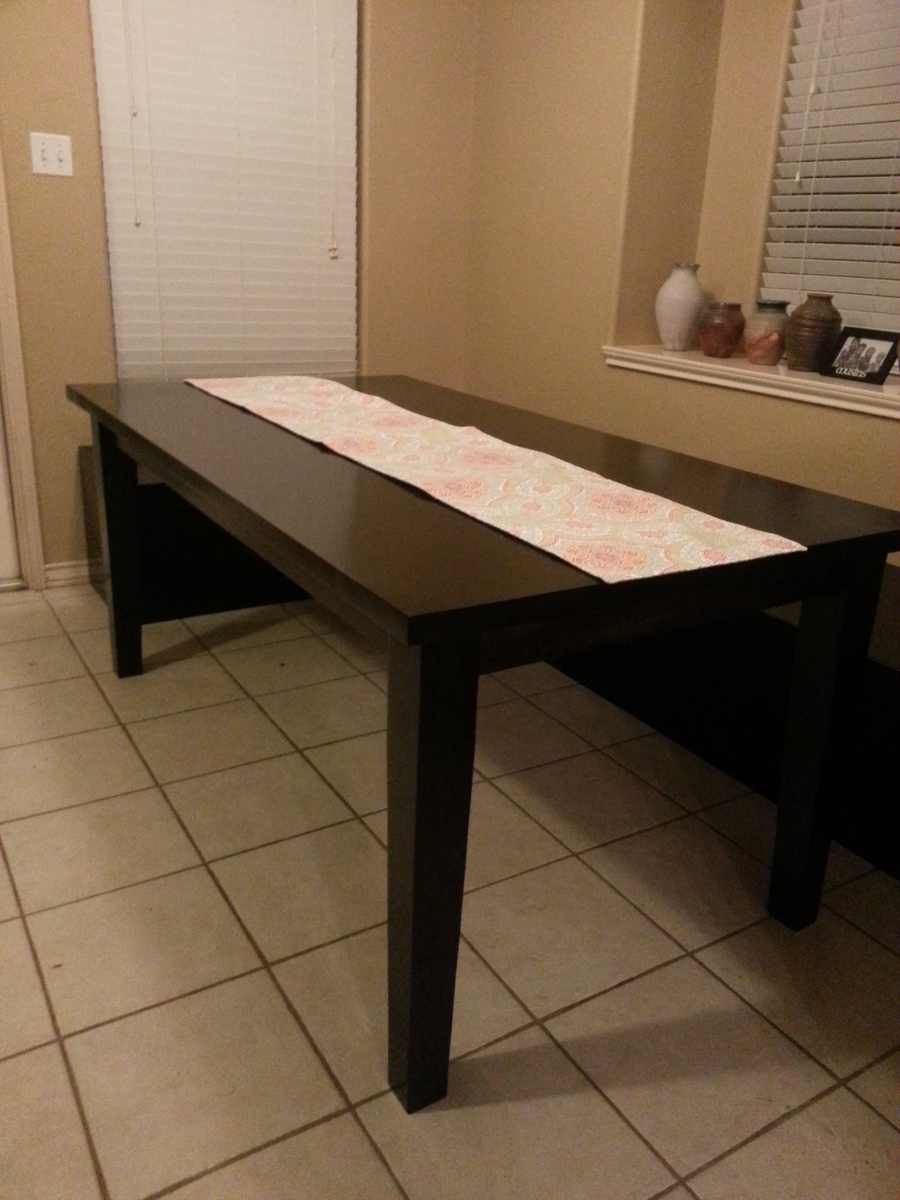
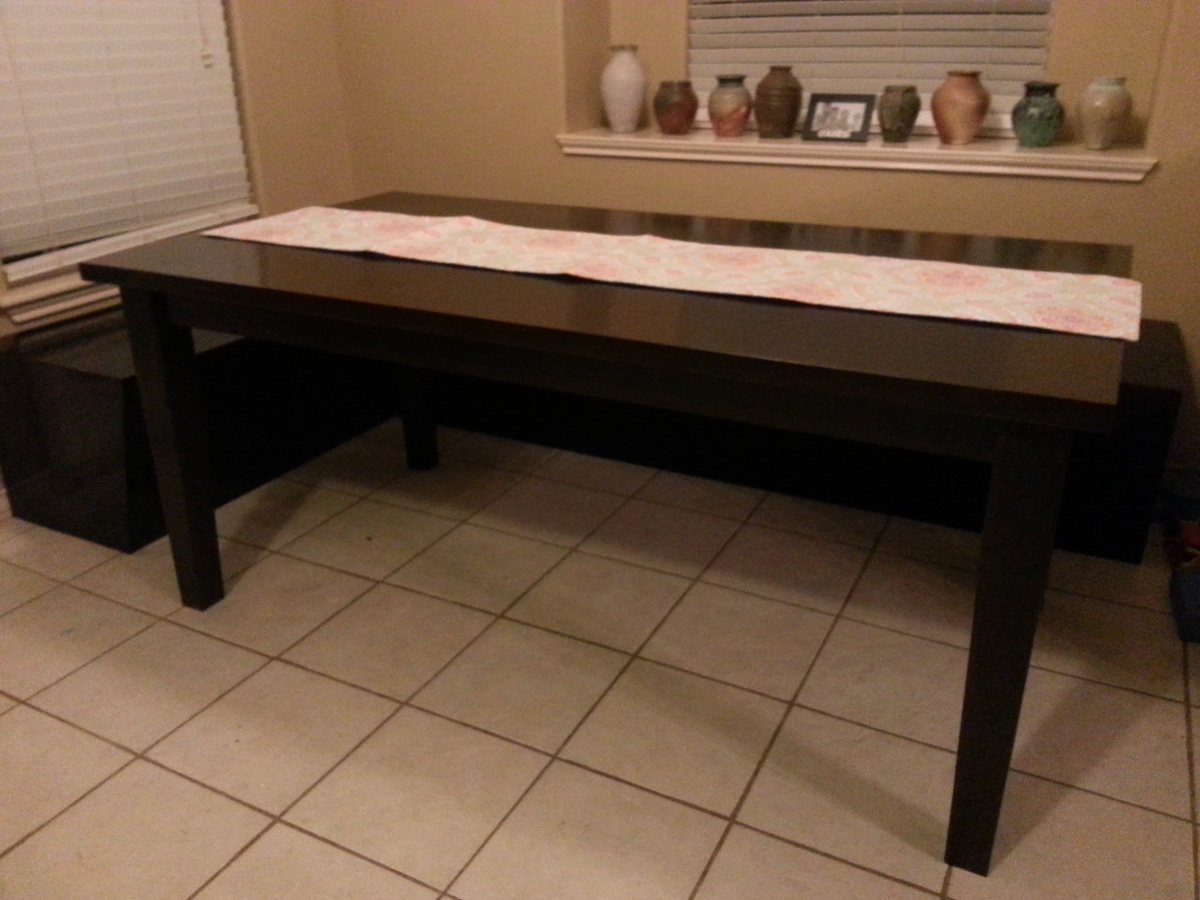
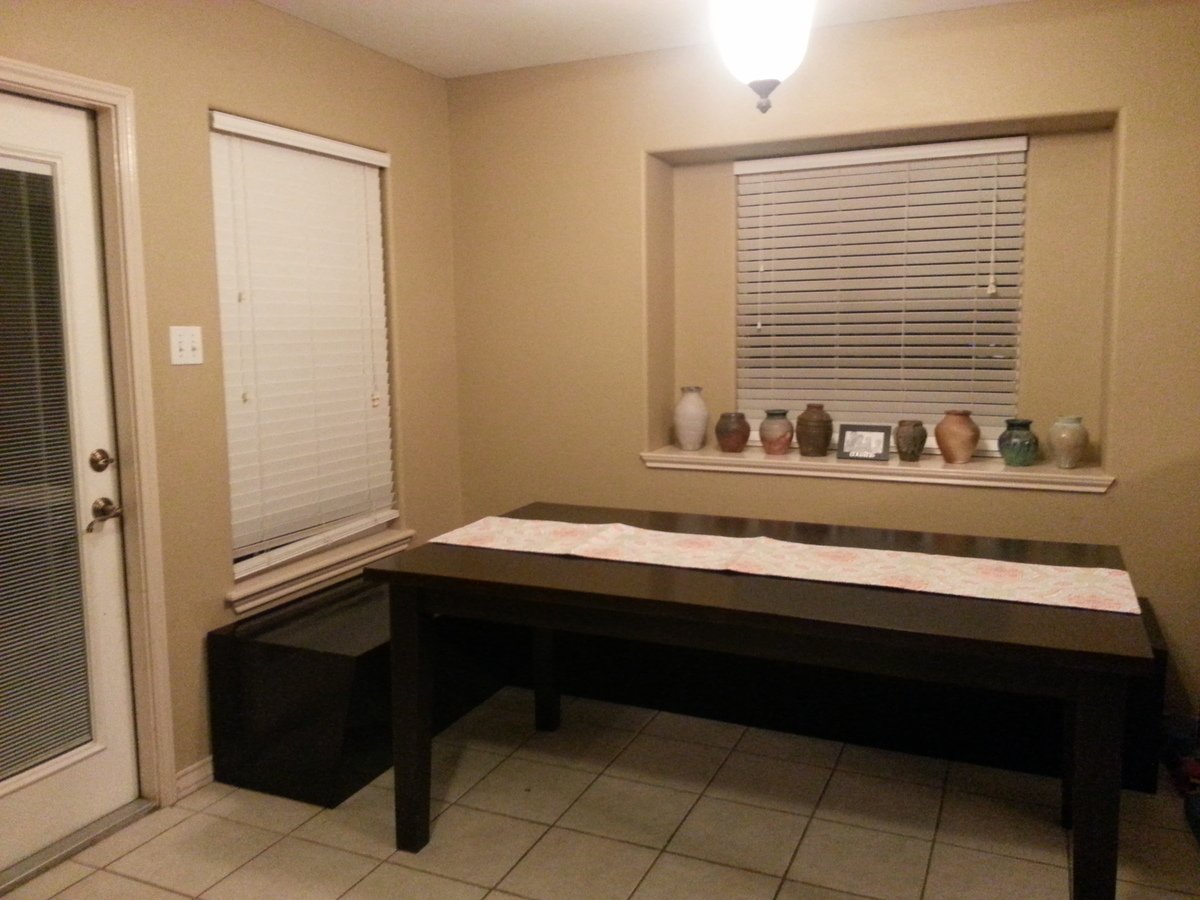
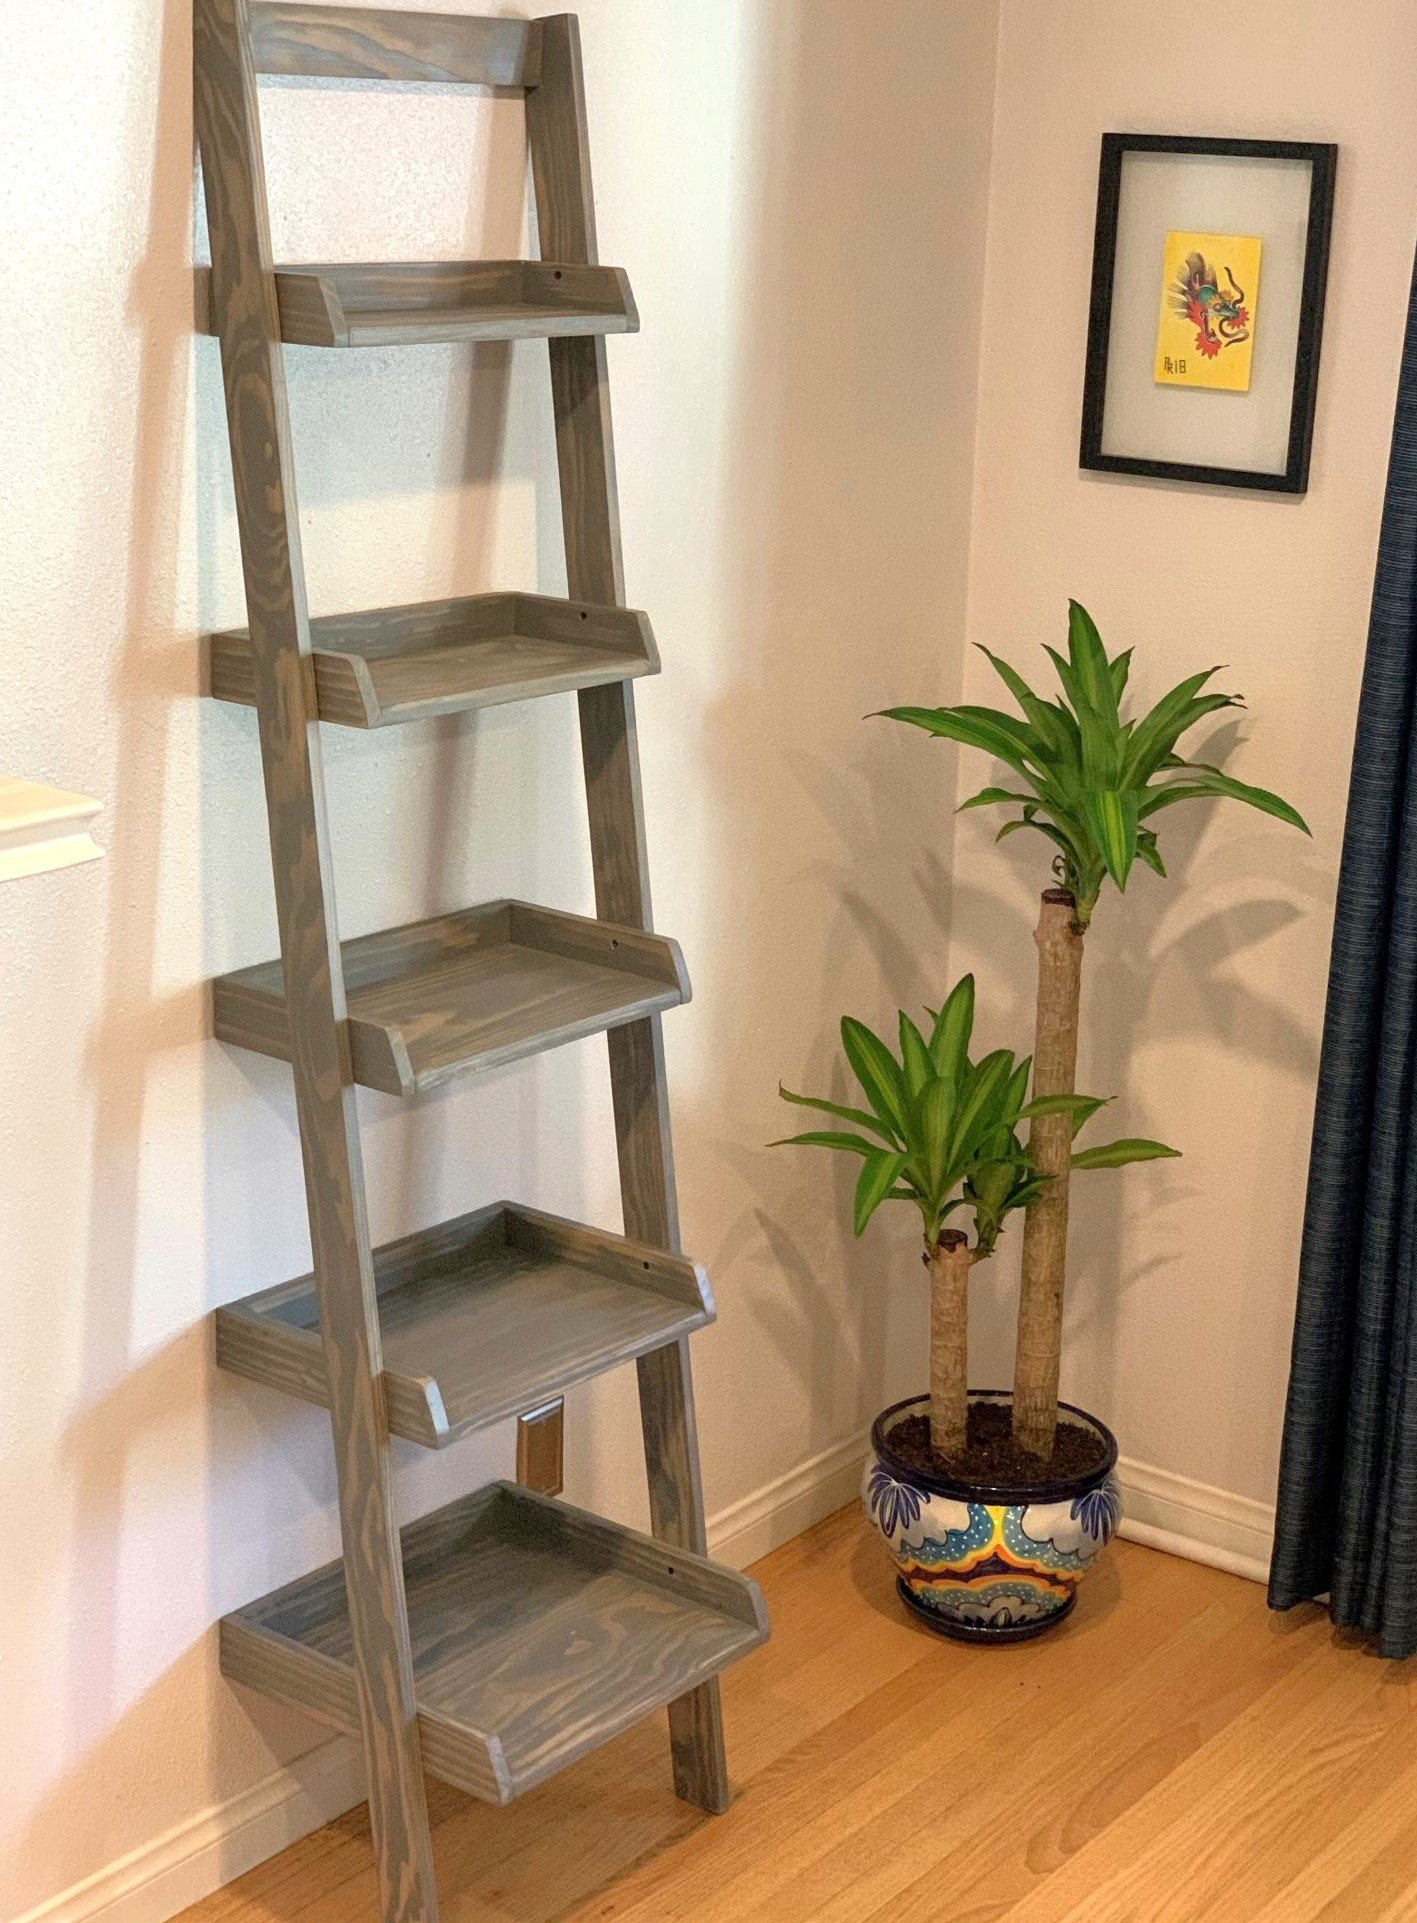
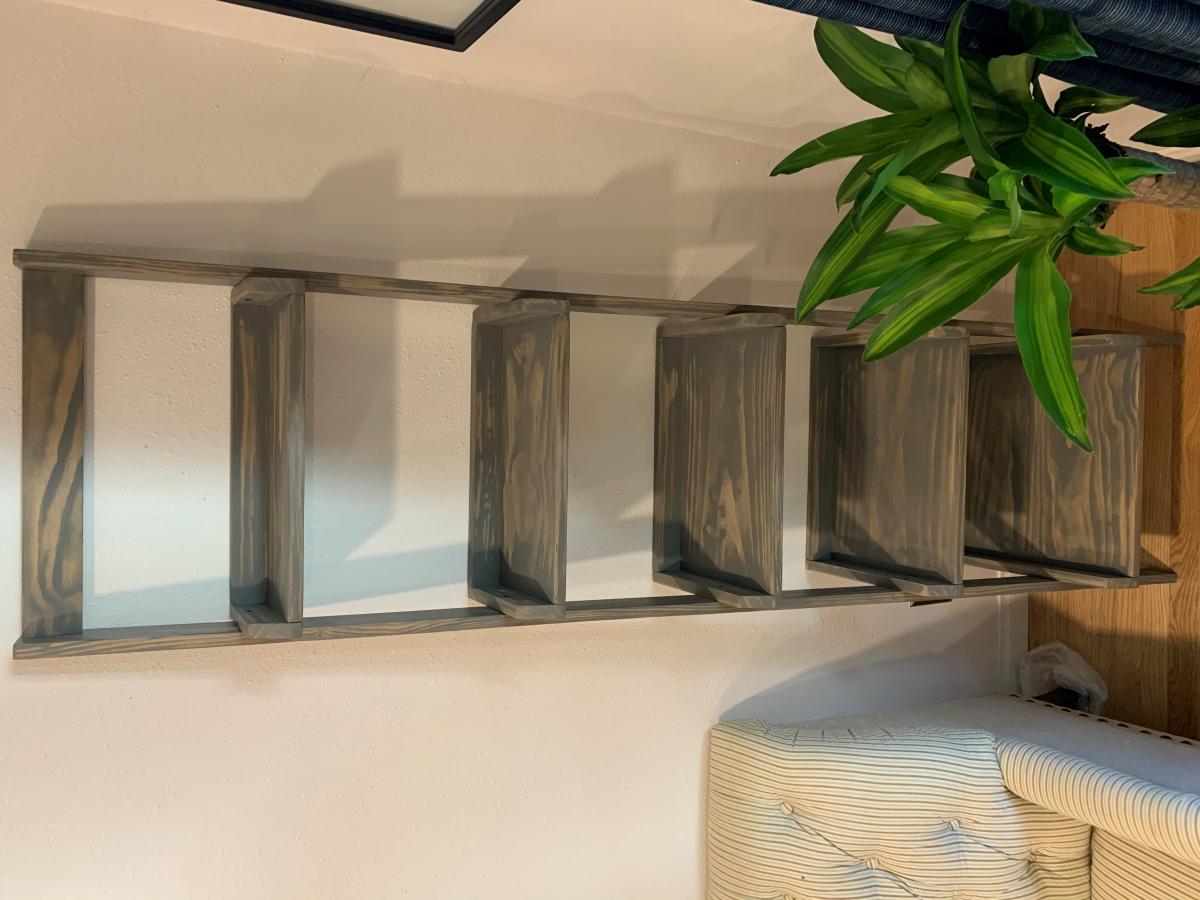
Another one bites the dust. Made this out of Ana instructions for a ladder shelf. Like the way this turned out alot. Ana White knows whats up :)
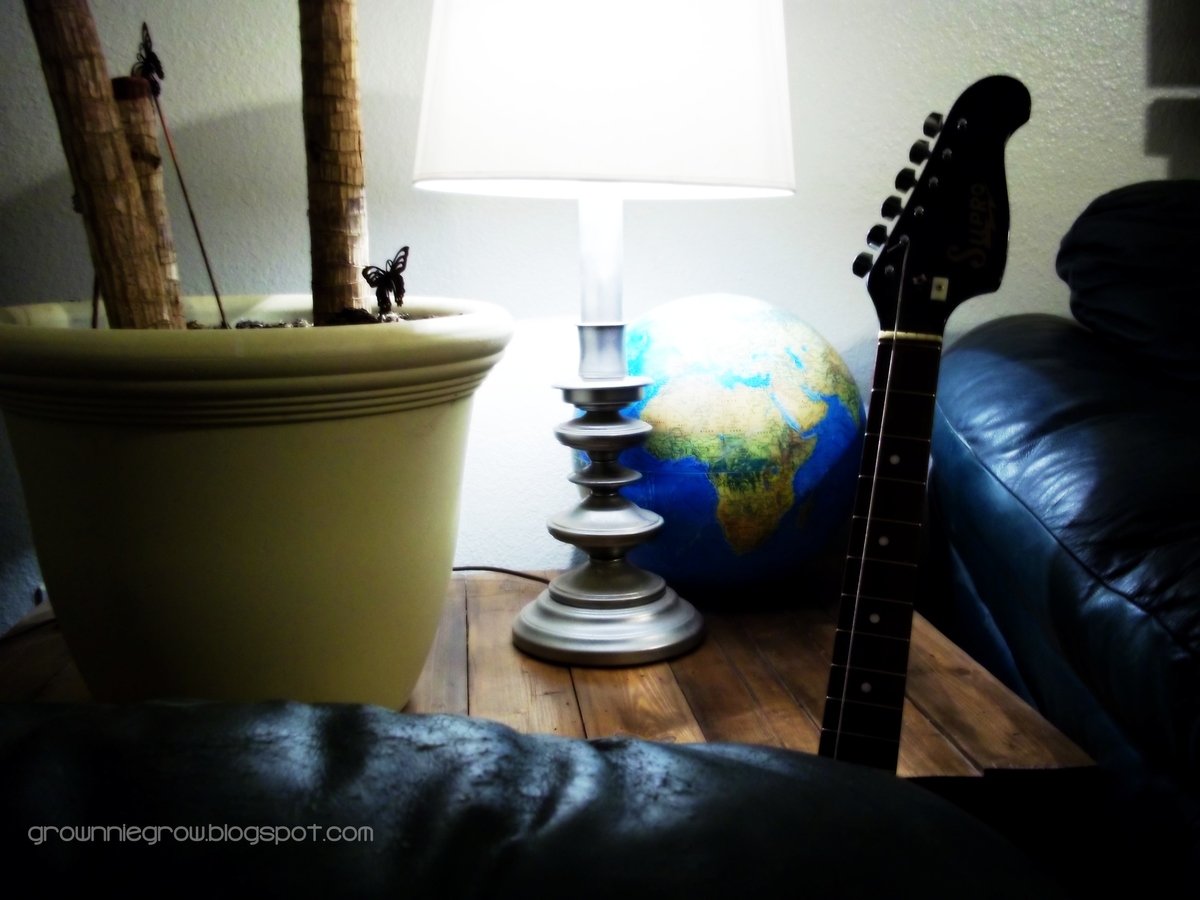
I needed an end table that was a little bigger than the average end table - I had a space to fill in a corner between a couch and chair and was tired of the blank space being used as a dumping ground for...things my kids didn't want to put away or throw away. :) So I pulled ideas from a couple projects here and came up this. The cost was free since I just used the leftover wood from other projects we'd done and paint we already had lying around.

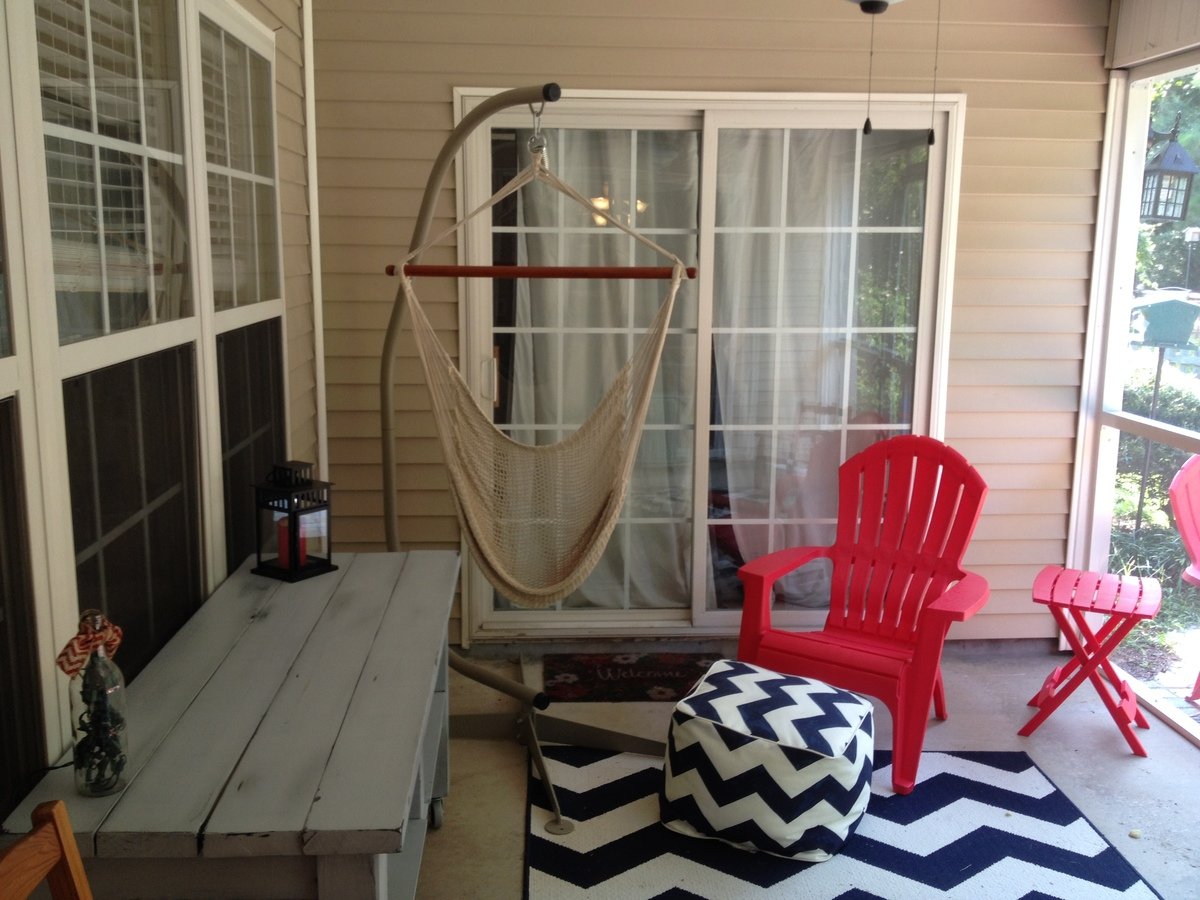
I fell in love with this table and decided to tackle it as my first ever furniture build. We spent more money that we'd planned investing in some new tools (i.e. Kreg Jig Mini and Clamps). We also had a lot of anxiety about initially getting started and trying the Kreg Jig for the first time, but I watched Ana's Kreg Jig Tutorial on Youtube, and it was actually very easy.
I'm going to say that it took us 10-20 hours to complete, because of the way we finished the table. We only worked on it 1-2 hours each week though, so it took us a couple months. :-)
This table is now on our patio where we can use it for toy storage or as a serving buffet for BBQ's. I'd call it a success! Thanks Ana for the inspiration!
For this project, I wanted my faux fireplace to look very similar to a real fireplace (of course!). So in orde to do that, I added a little more depth by using 1x6 boards instead of 1x3s. For the front of the piece, I added the faux brick wall paneling from Home Depot and used the spackling method to give it that weathered appearance!!
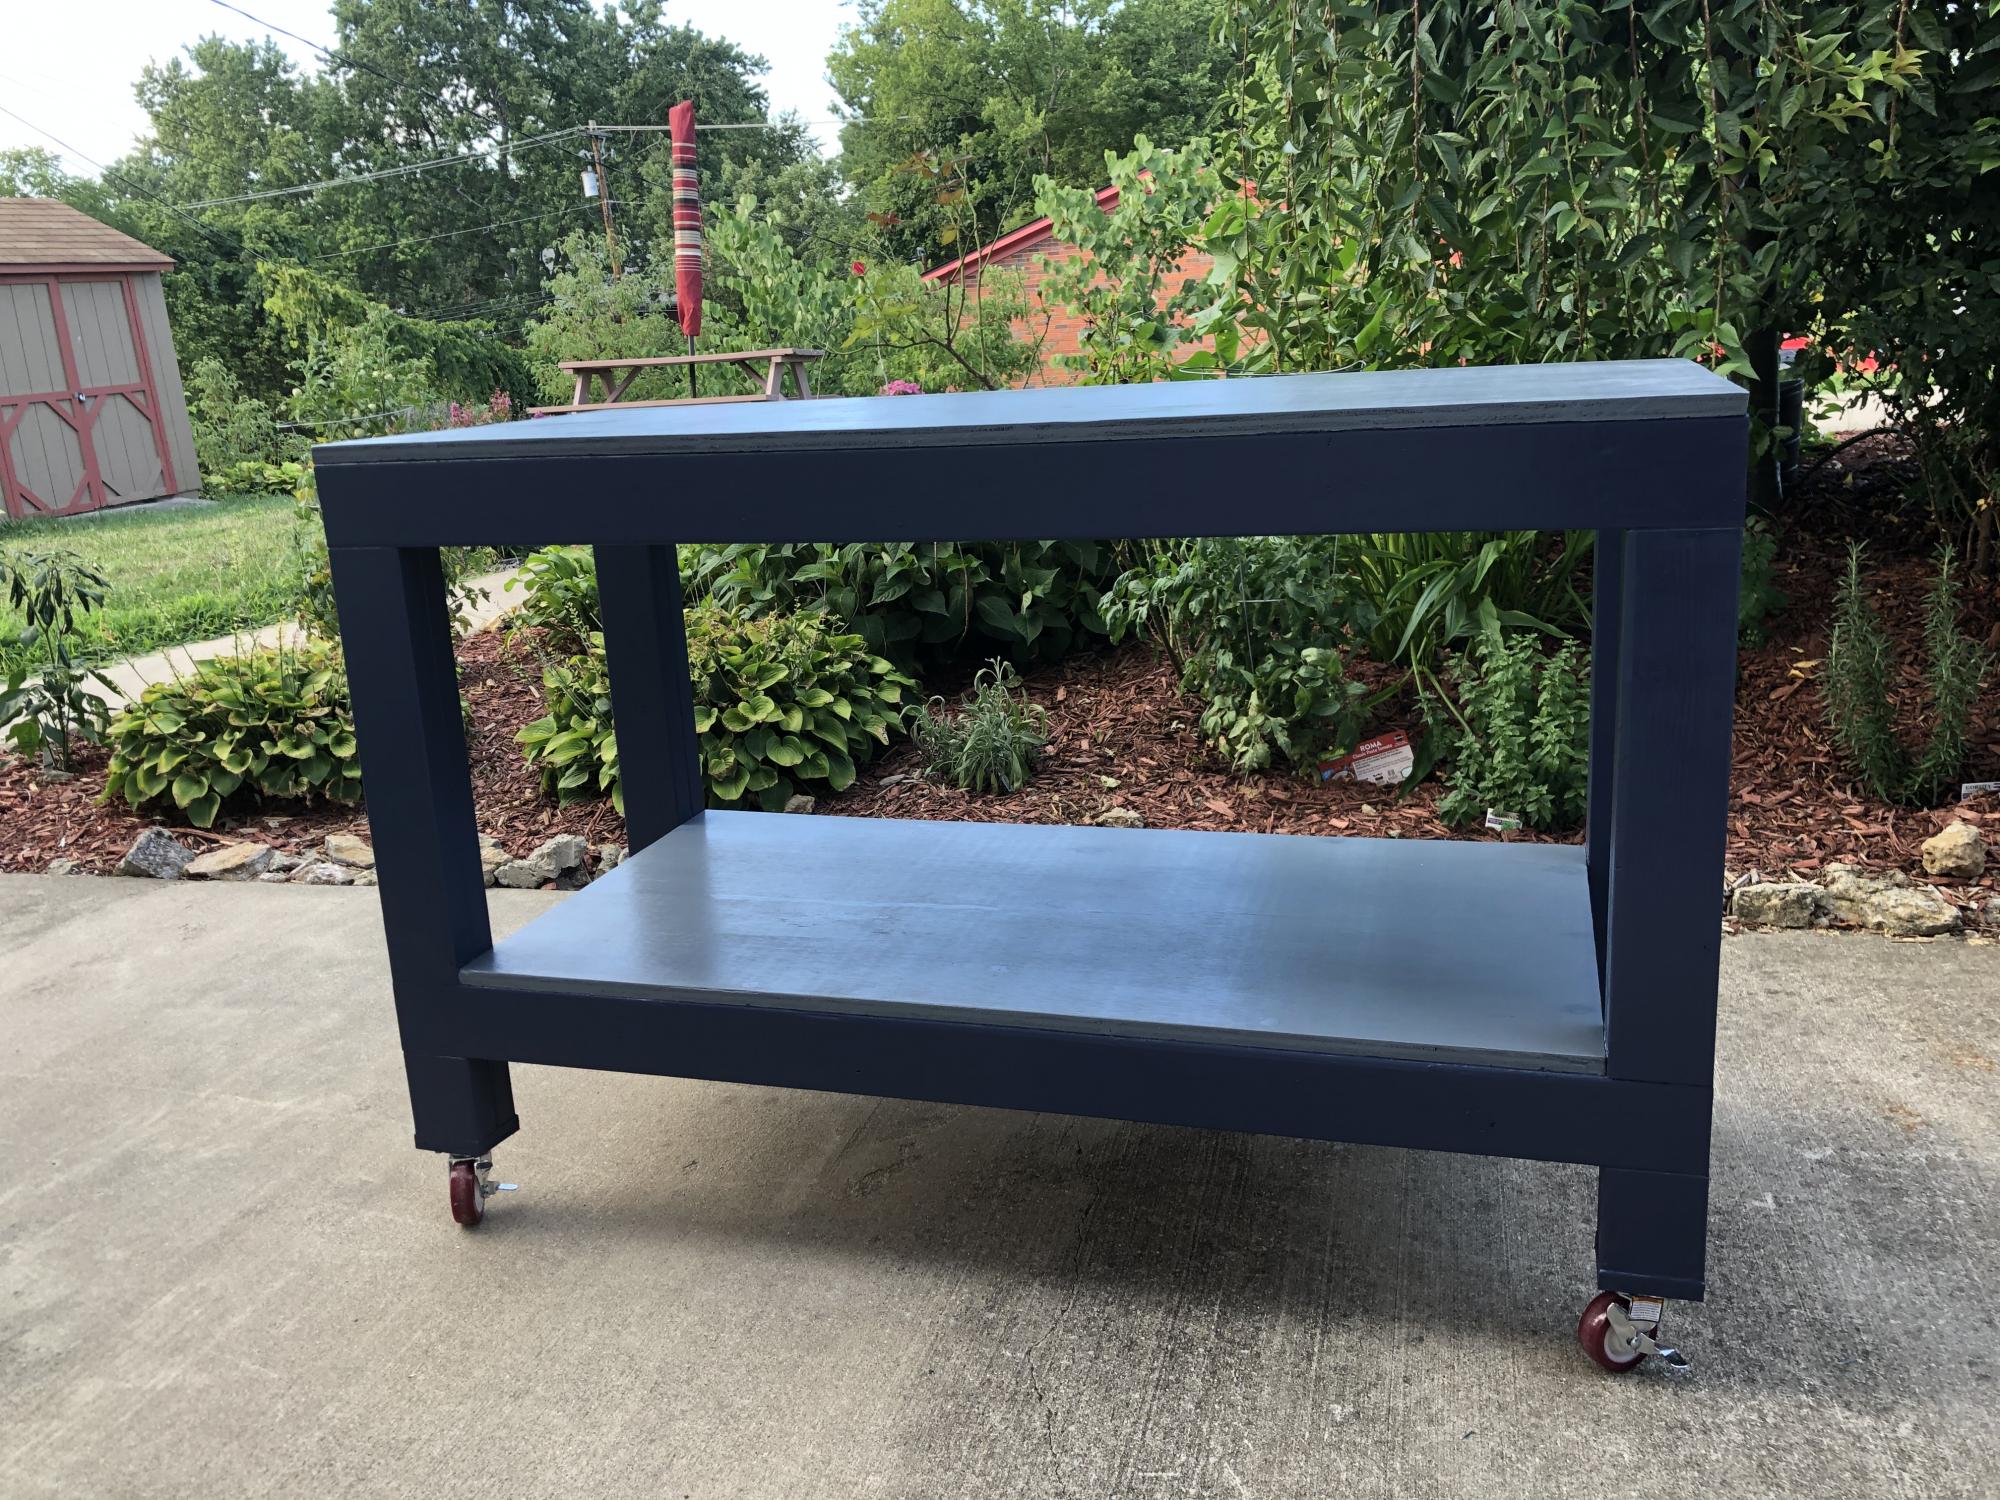
This is my first big build and I couldn't be happier with how it turned out. There are a few things I would do different but its all a part of the learning process :-)
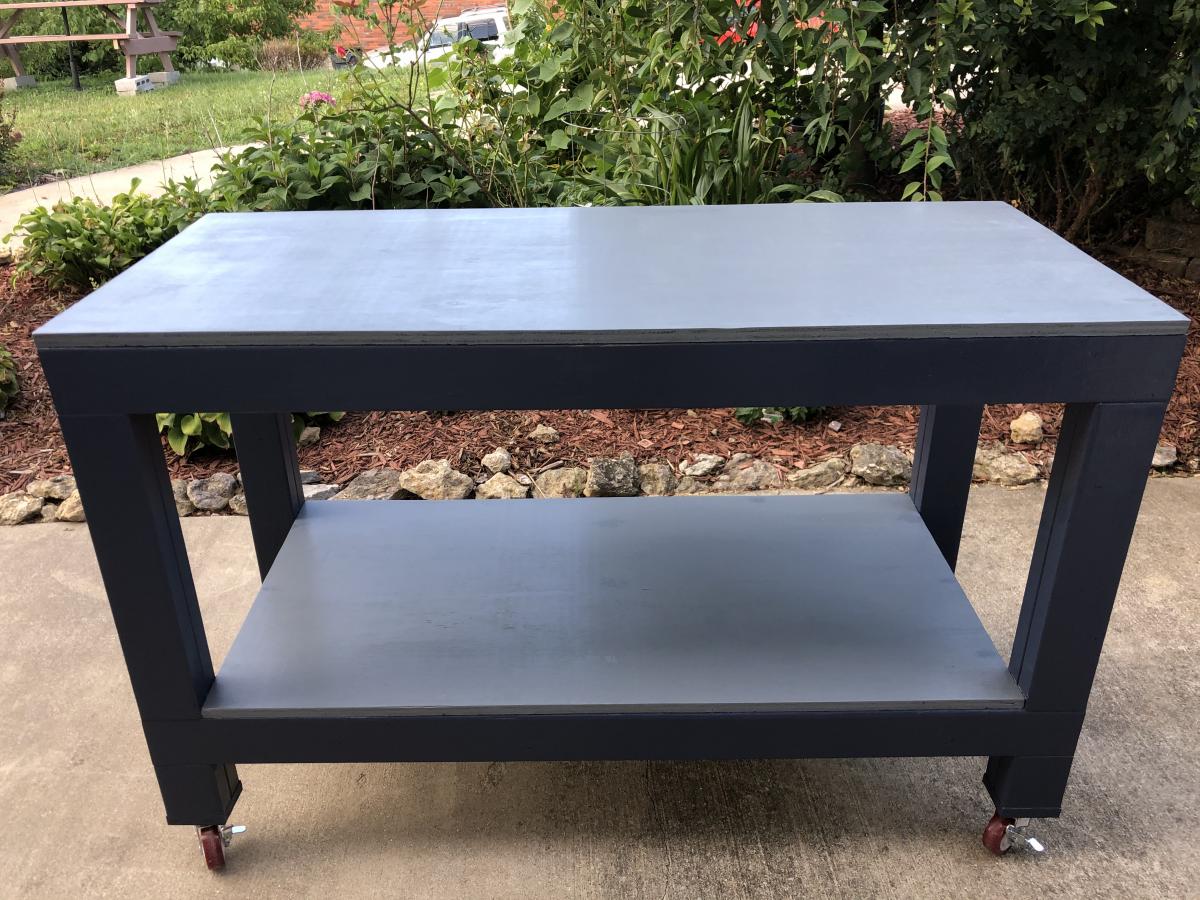
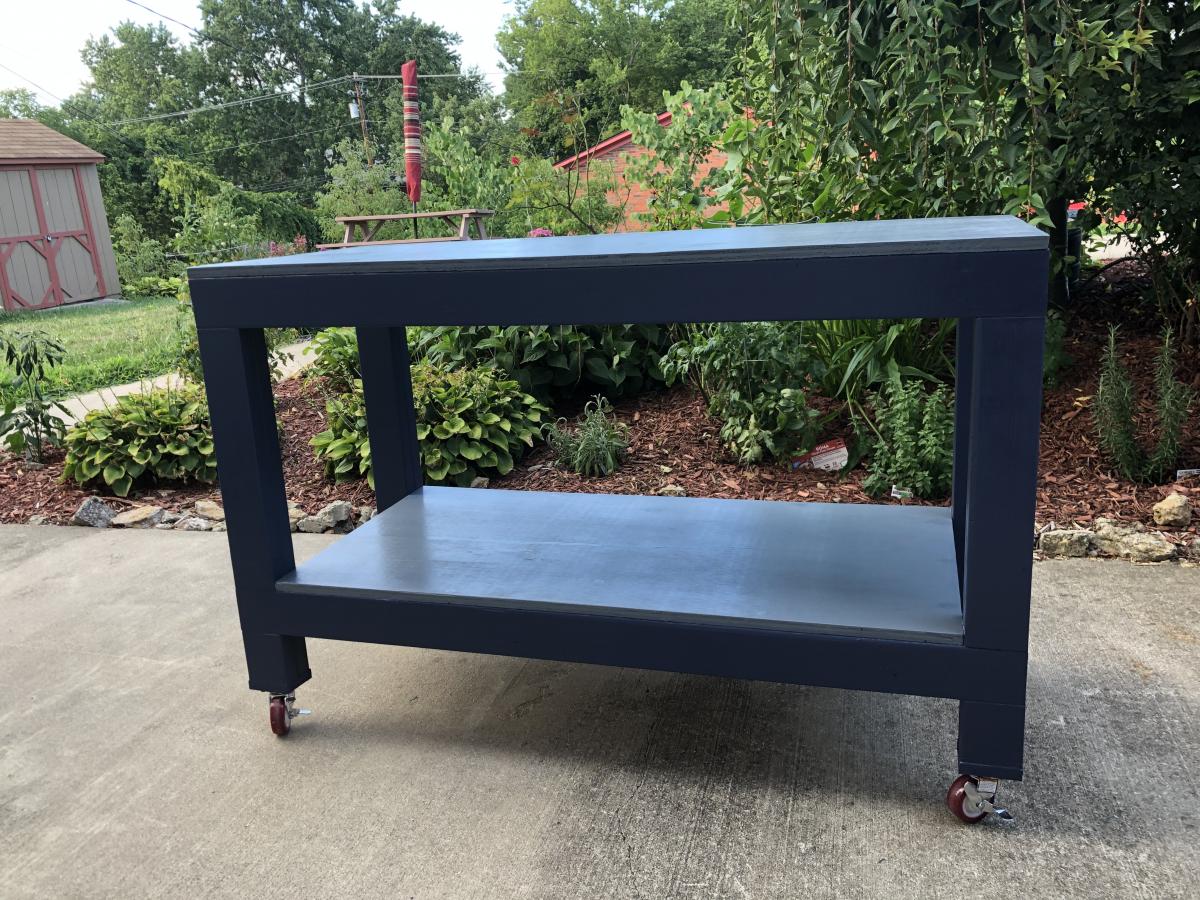
I cut the leg blockings down to 4" and added casters so I could move this around.

This is a king sized bed frame. The beams interlock. They were burnt with a torch, stained and clear coated. The headboard was my first attempt at upholstery.


Mon, 10/22/2012 - 18:54
Oh my gosh, this bed is absolutely gorgeous! Did you use or modify one of Ana's plans, draw it up yourself? Would absolutely love the plans to build one for myself if its okay :)
Sun, 10/28/2012 - 07:31
Thanks! I don't really have any plans for it. I got the idea from searching screwless bedframe. Found one one instructables site:
http://www.instructables.com/id/Nail-less-glue-less-almost-screw-less-f…
I wanted one that could be built with no screws (the headboard does have some screws though). My plan is to raise the frame on posts also so I could get rid of the box spring.
The hardest part is making the wedge cutout. I used a miter saw first and finished the cut on the scroll saw to get straight clean cutout. (step 3 from the website posted shows a good picture)
The headboard is basically a smaller version of the bed frame. Then I stapled the fabric on, then stuffed it with quilting baton.
Hope that helps. Check out the link, it will help more.
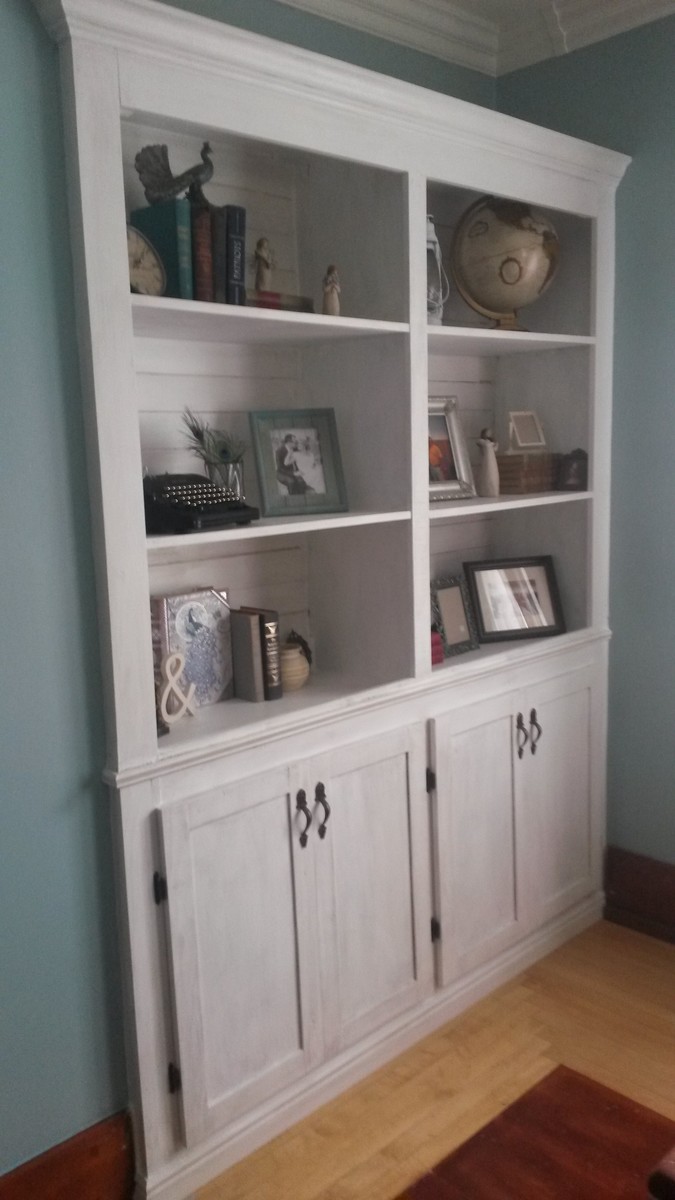
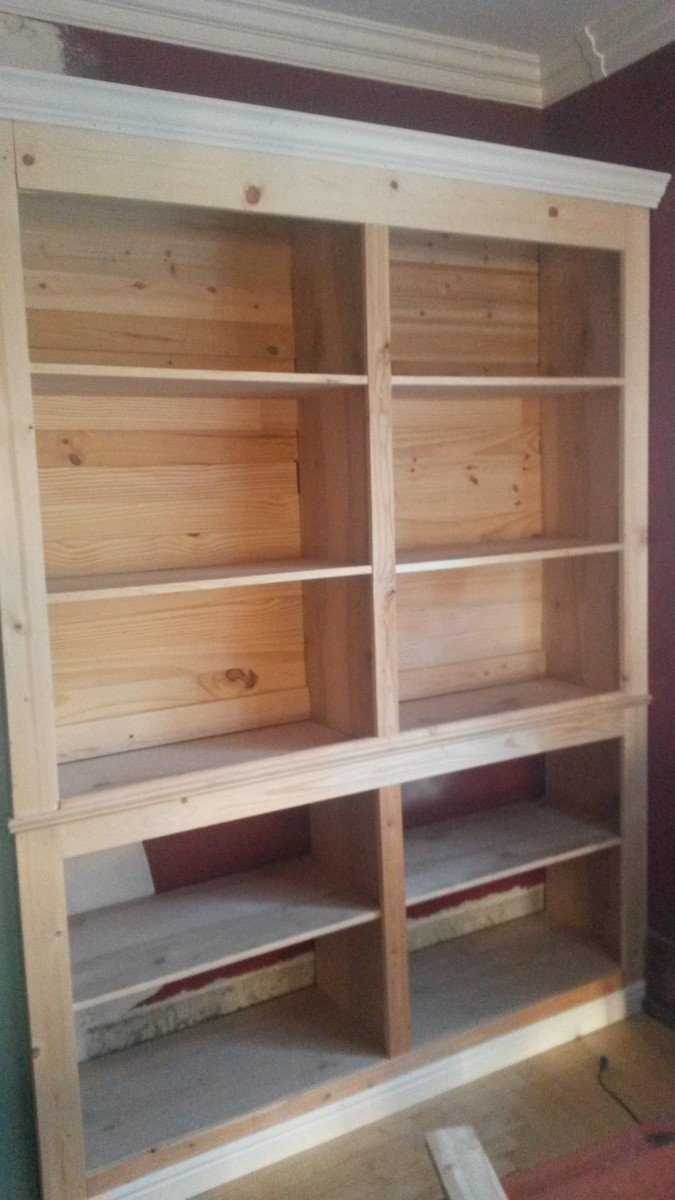
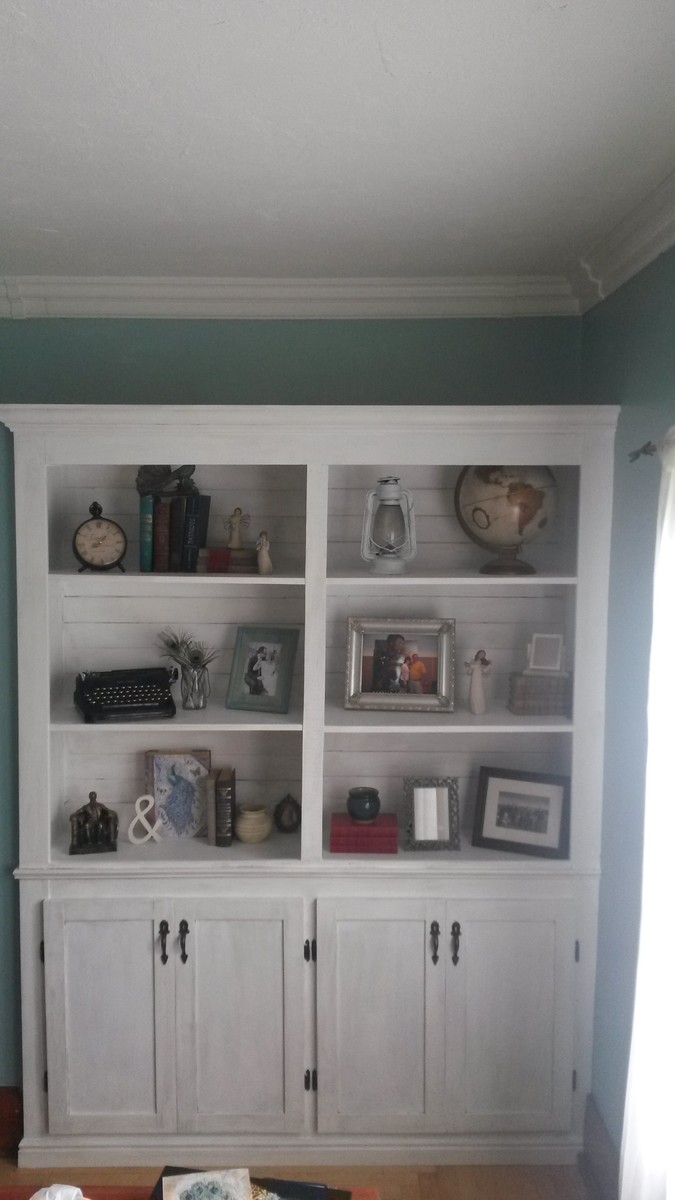
I made this a built-in cabinet instead of freestanding. I am so in love with how it turned out. My 15 year old daughter helped me build it, and we couldn't be happier. The total cost for this was around $300. The wood itself was only $200, but my drill died on me, so I had to get a new one. (Poor me, right?)
This new built-in has changed the whole look of my dining room. I just wish I had done this a year ago!
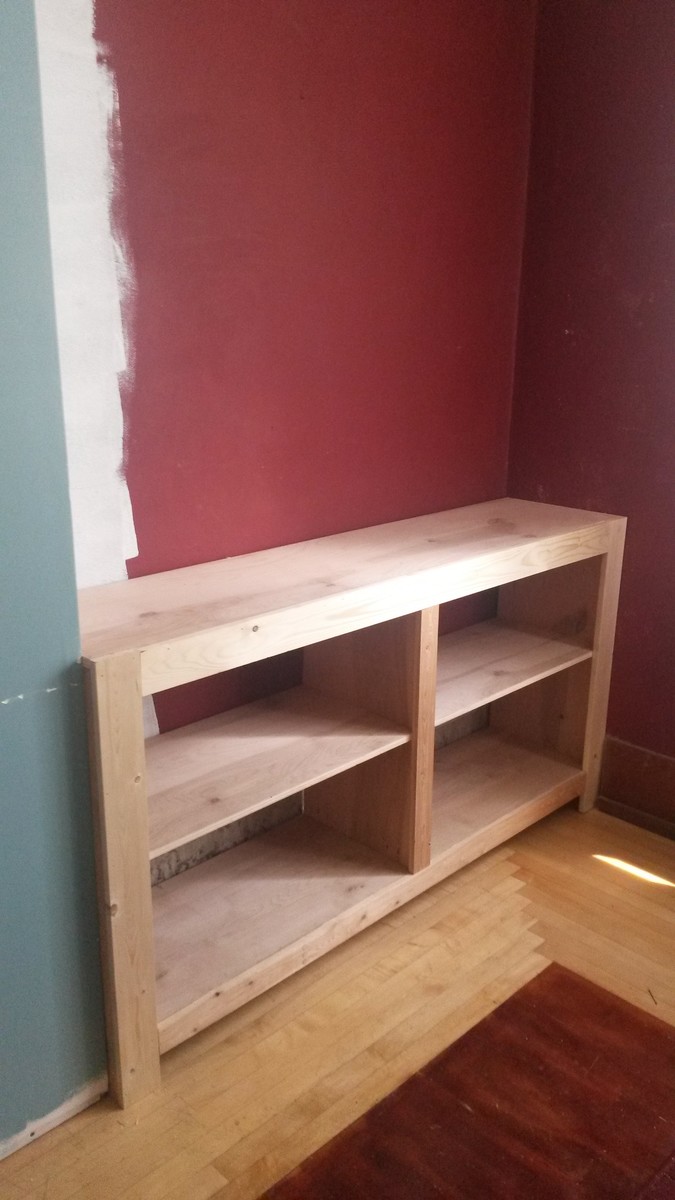
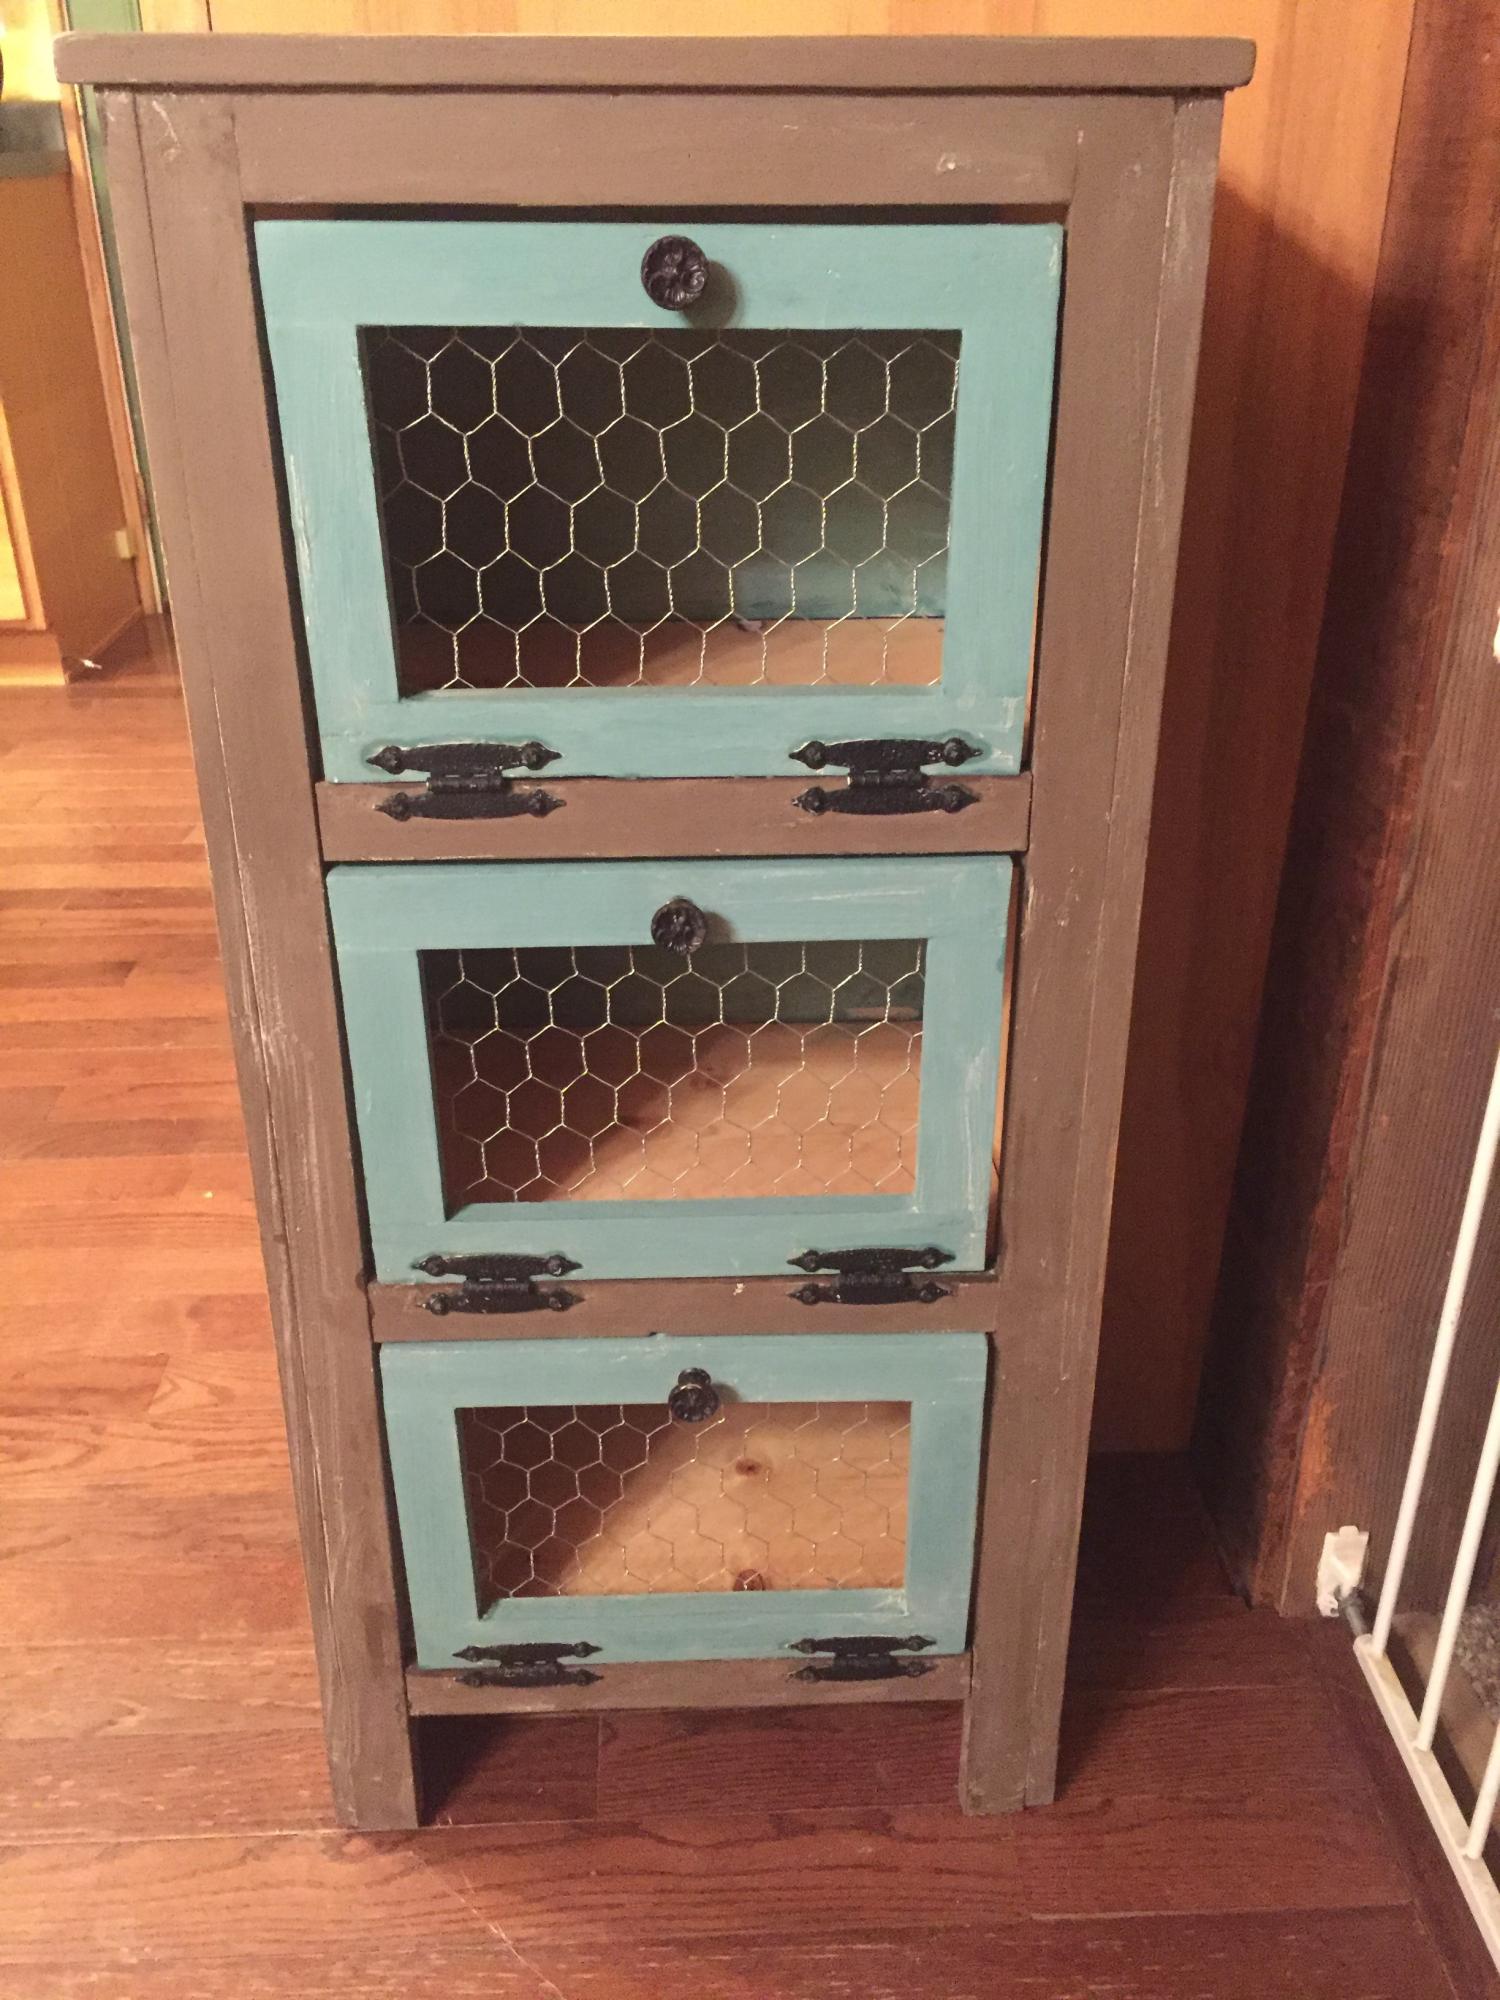
The plans seemed ok for me. I used all scrap lumber I had laying around. I bought a kreg jig in the middle of this project, after watching one of Ana's vidoes's about pocket holes. That is one reason why I built the 3 doors all twice, but also swapped out the top piece of the bin 3x's before I finally settled. In other words, I really struggled with this, but I was so excited to perservere and have this completed!
I haven't wanted to make one of these for a long time. Thank you so much for the site and all the plans! I love all your work and your style.
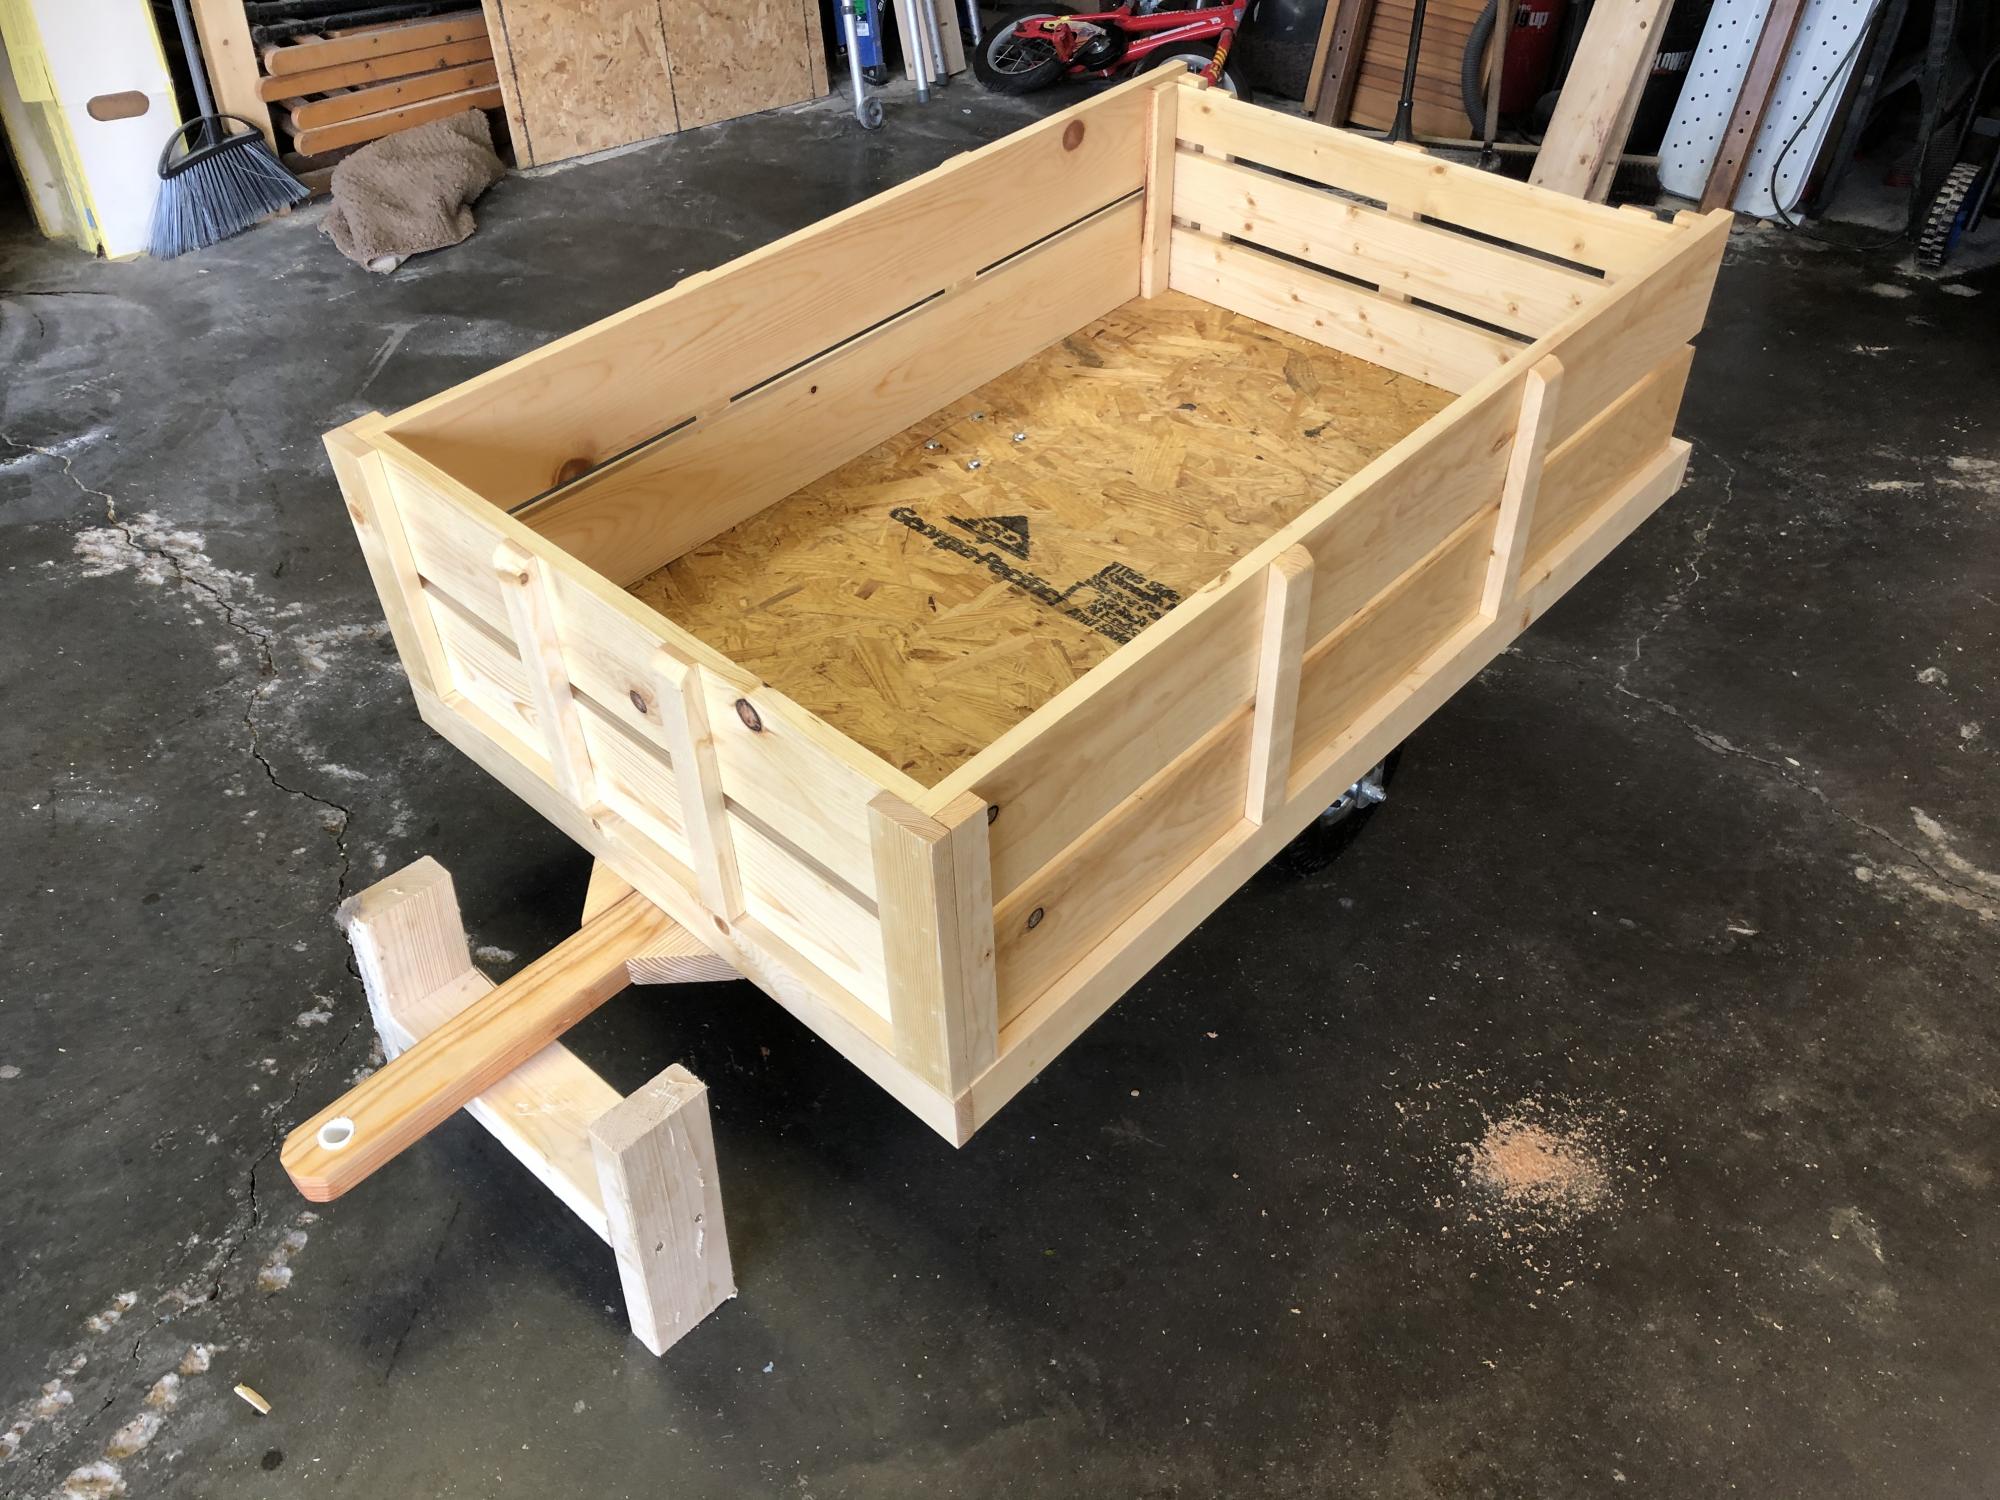
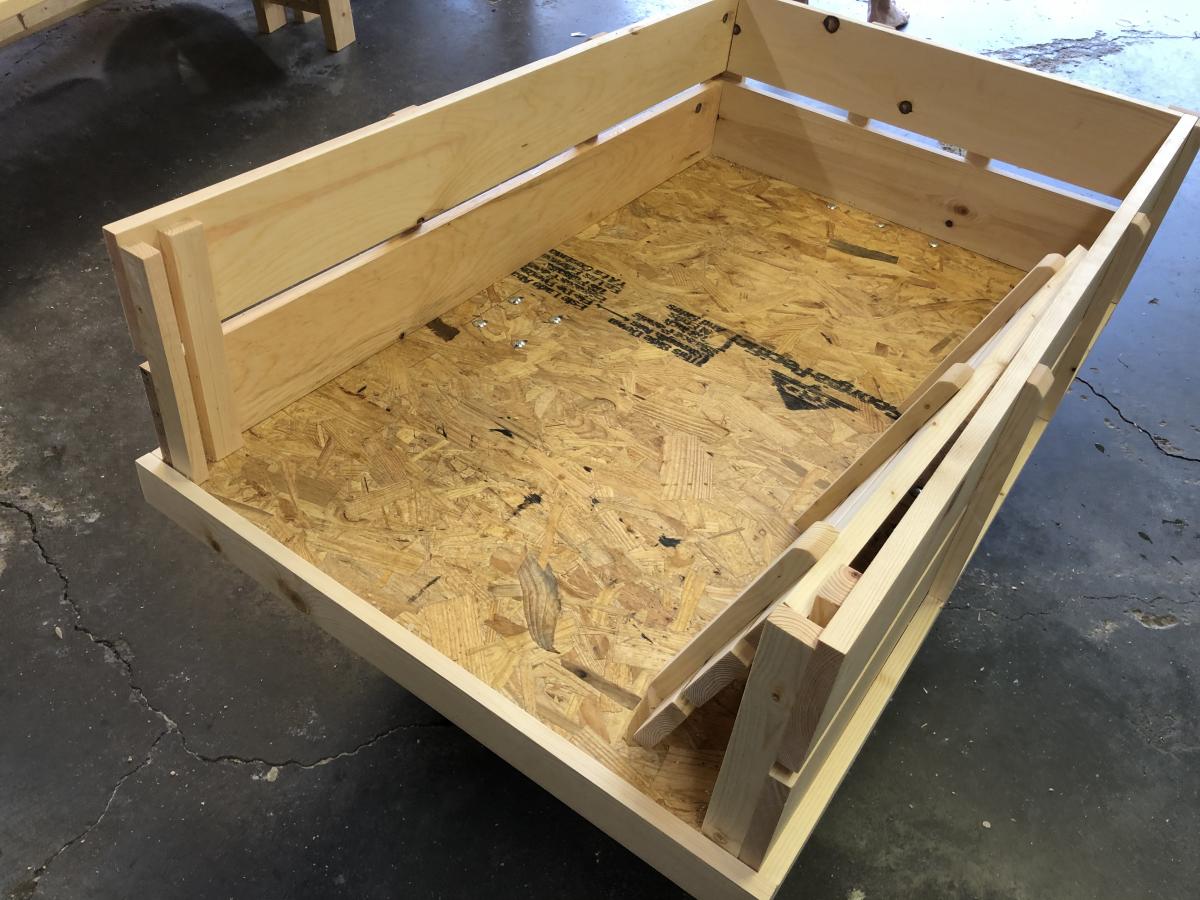
This is my second yard wagon, a little bigger and cleaner looking than the original. Made from 2x3 lumber for the frame and hitch, 1/2” OSB for the floor area, and various 1x lumber for the rest.
Because I detest seeing screw heads in anything I build, the side boards are assembled with plenty of 1.25” brad nails and Titebond glue. It is thoroughly sealed with Thompson’s before being assembled. You could paint or finish this anyway you want.
The rear railing lifts out to help you in emptying it.
The tires were bought at Menards for about $15 each.
This small but elegant side table was made based upon a plan from The Design Confidential. A friend of mine gave me a lot of 3/4" solid oak flooring that her deceased husband (11 years ago) had stored in a shed. It is beautiful. So I made this little table using the wood for the top. I made the top by putting Tightbond III glue in the flooring grooves and then clamping the pieces together. Then after the glue dried I used my flooring saw to rip the tongues and grooves so I have one solid piece of flooring/top. I also did not glue the top to the base but just used pocket hole screws from the underside to hold it on the base. The reason was in case the top or base became damaged it would be easily removable for repair.
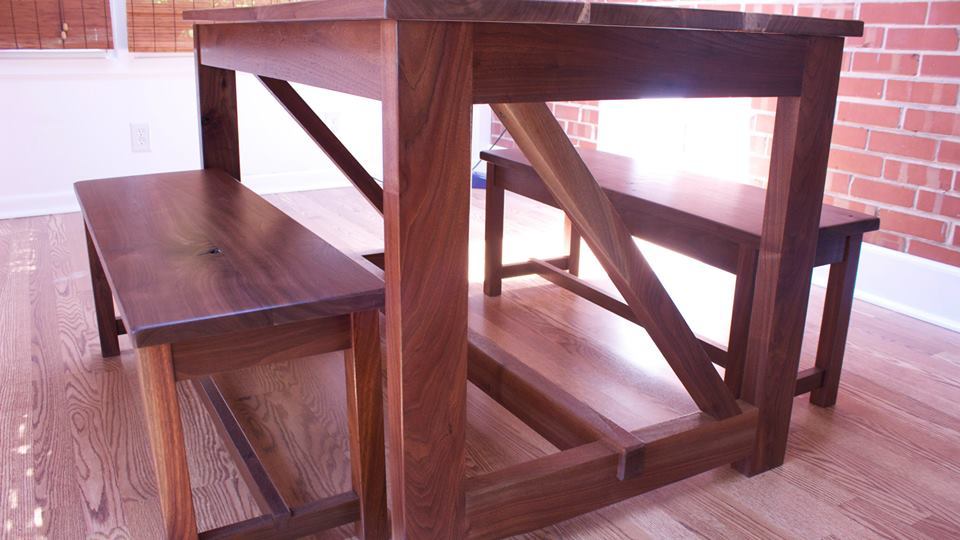
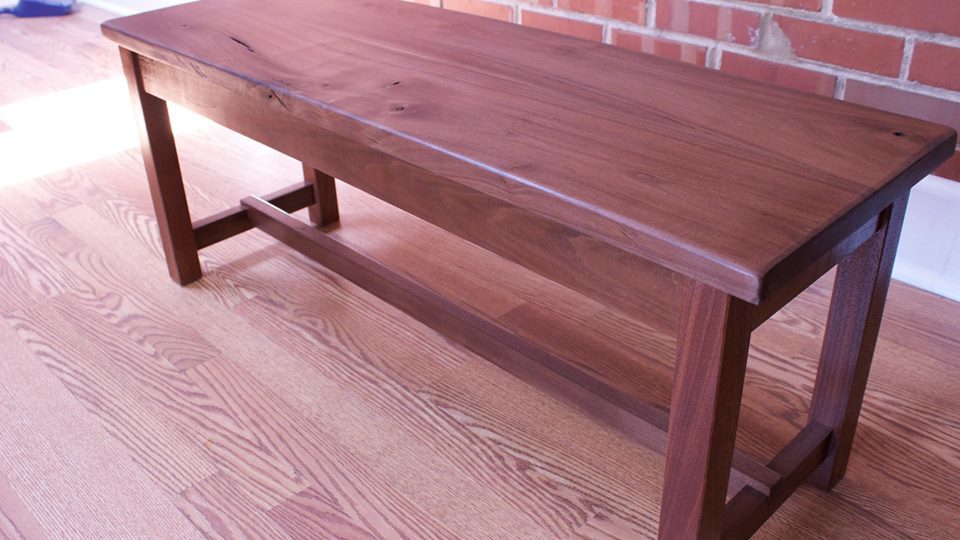
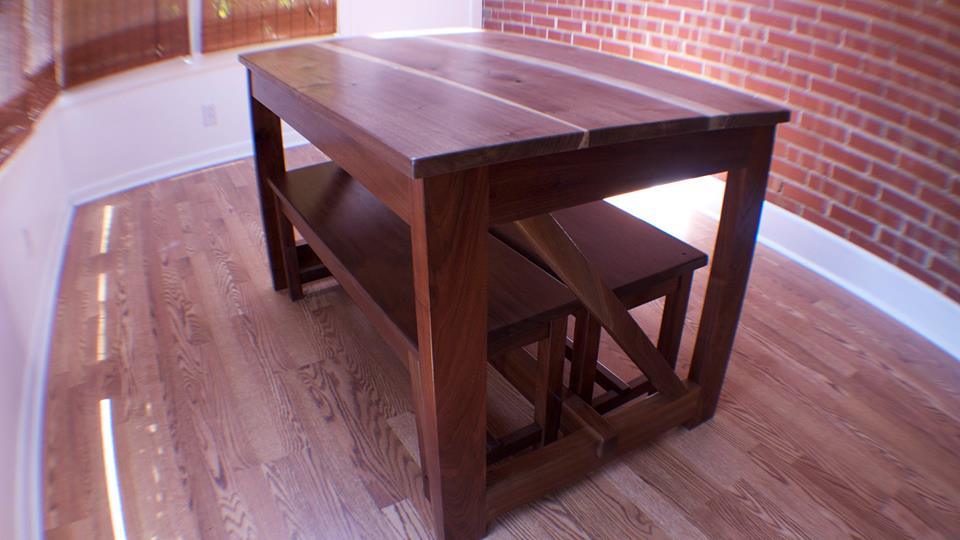
This table was a lot of fun to make it wasn't too hard. The hardest part was cutting the dados. If you have a table saw, it's not as hard. I hope you watch the video of how it was made.
http://youtu.be/ymz3Zim79Lo?list=PLRGcaQeW9svX5lRtTc9w2LrOzEFoez3j0
Comments
jwood4
Mon, 08/02/2021 - 08:35
Joining method?
Looks amazing! What method did you use (pocket holes, dowels, deck screws, etc) to join the visible portions like the arms?