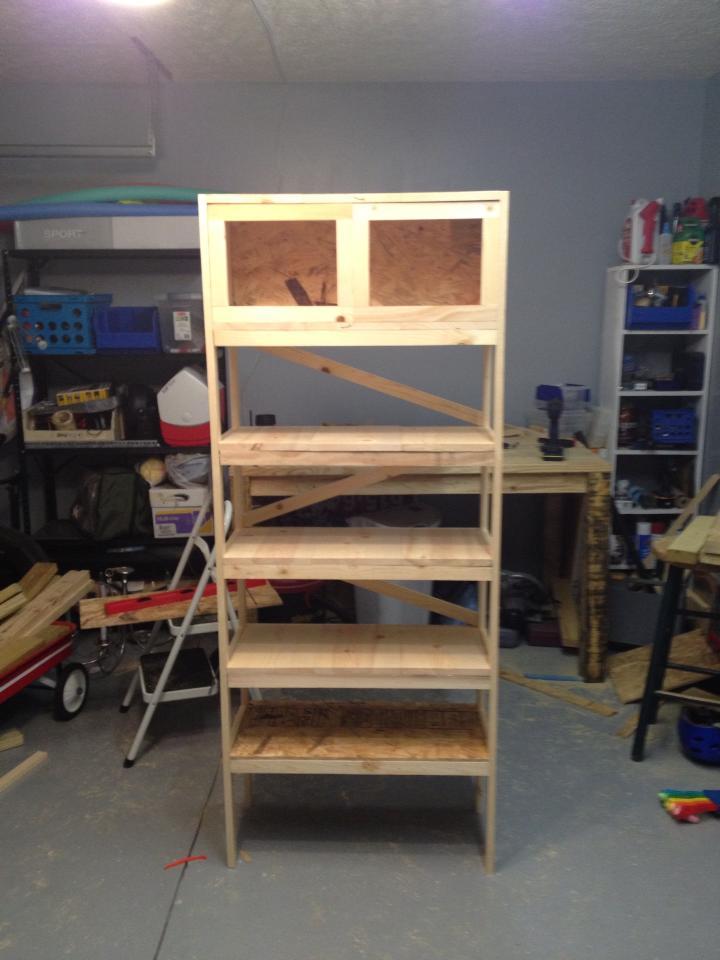
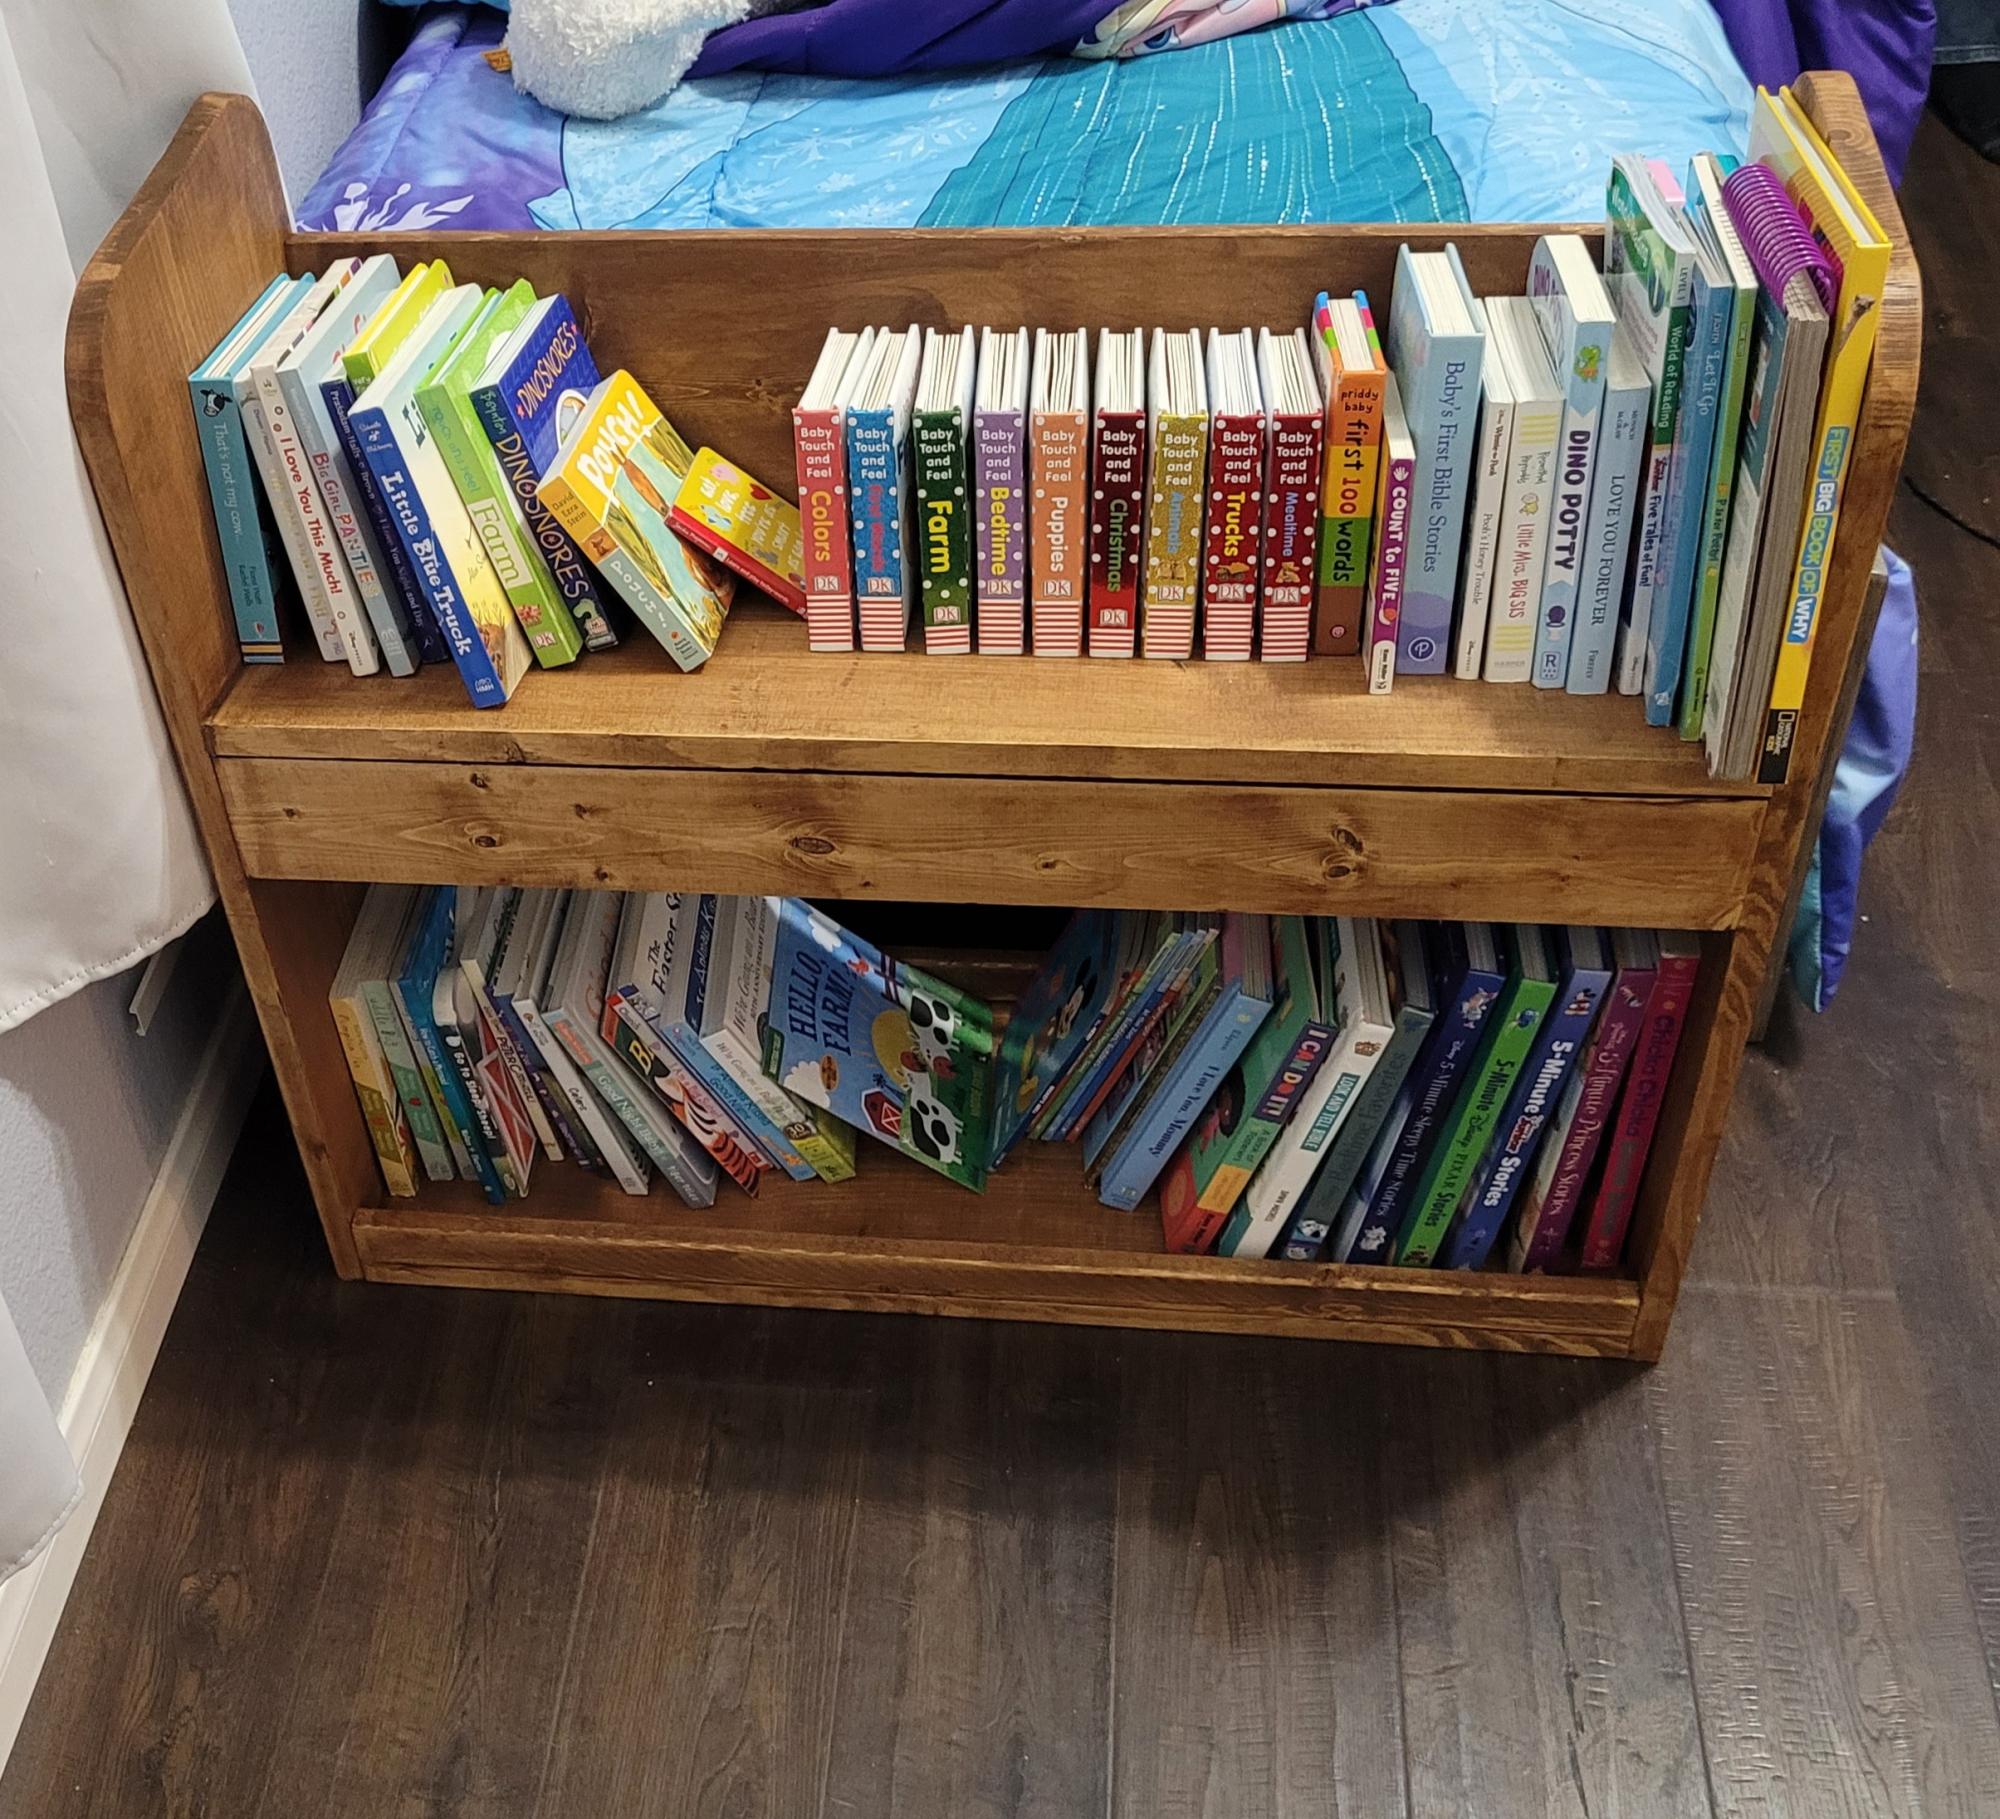
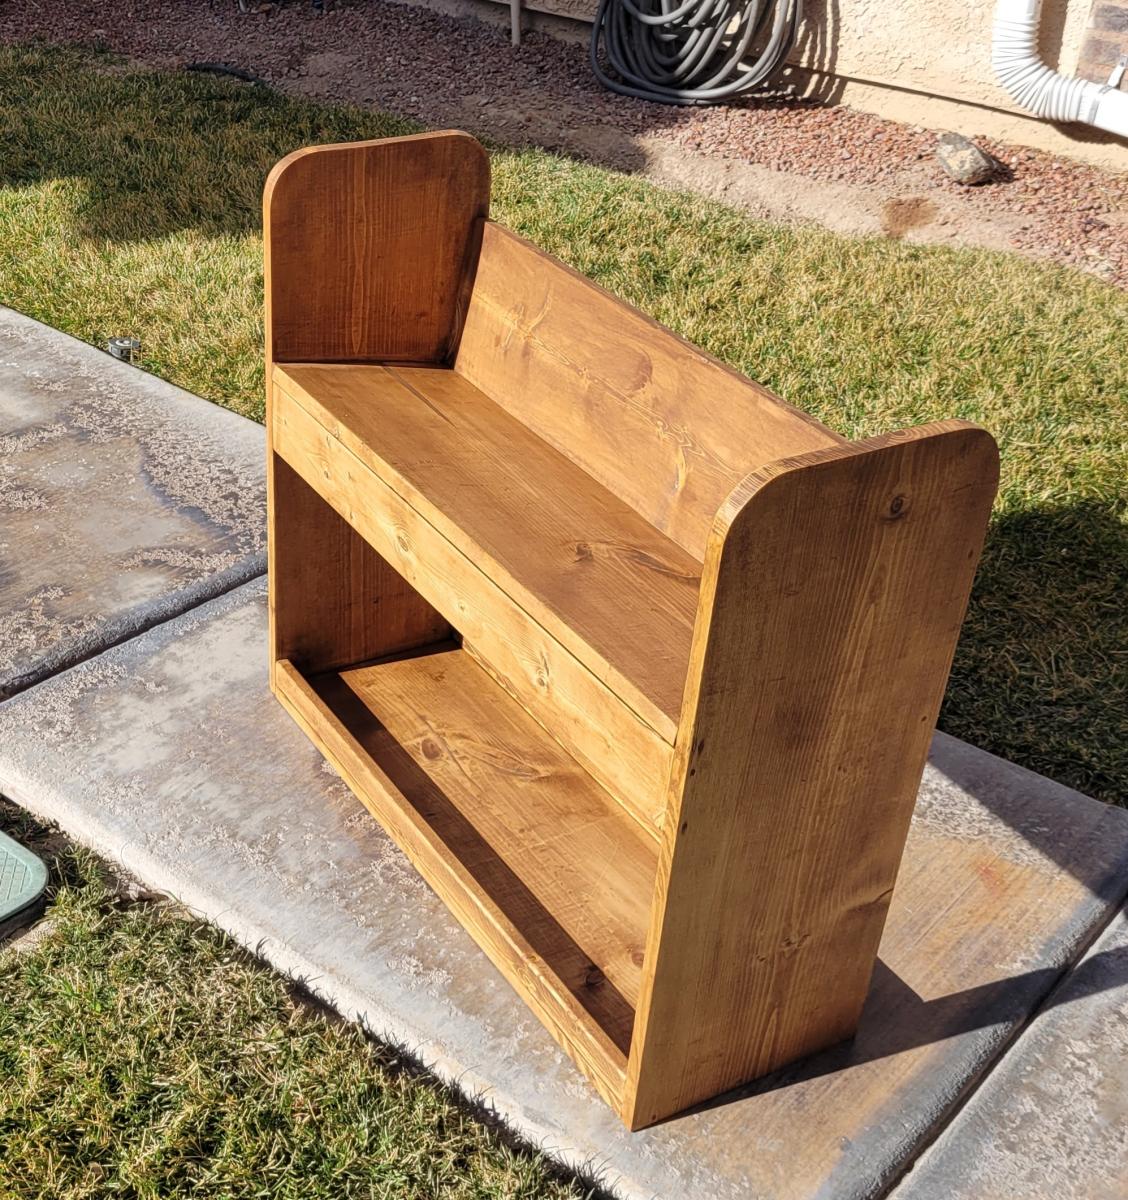
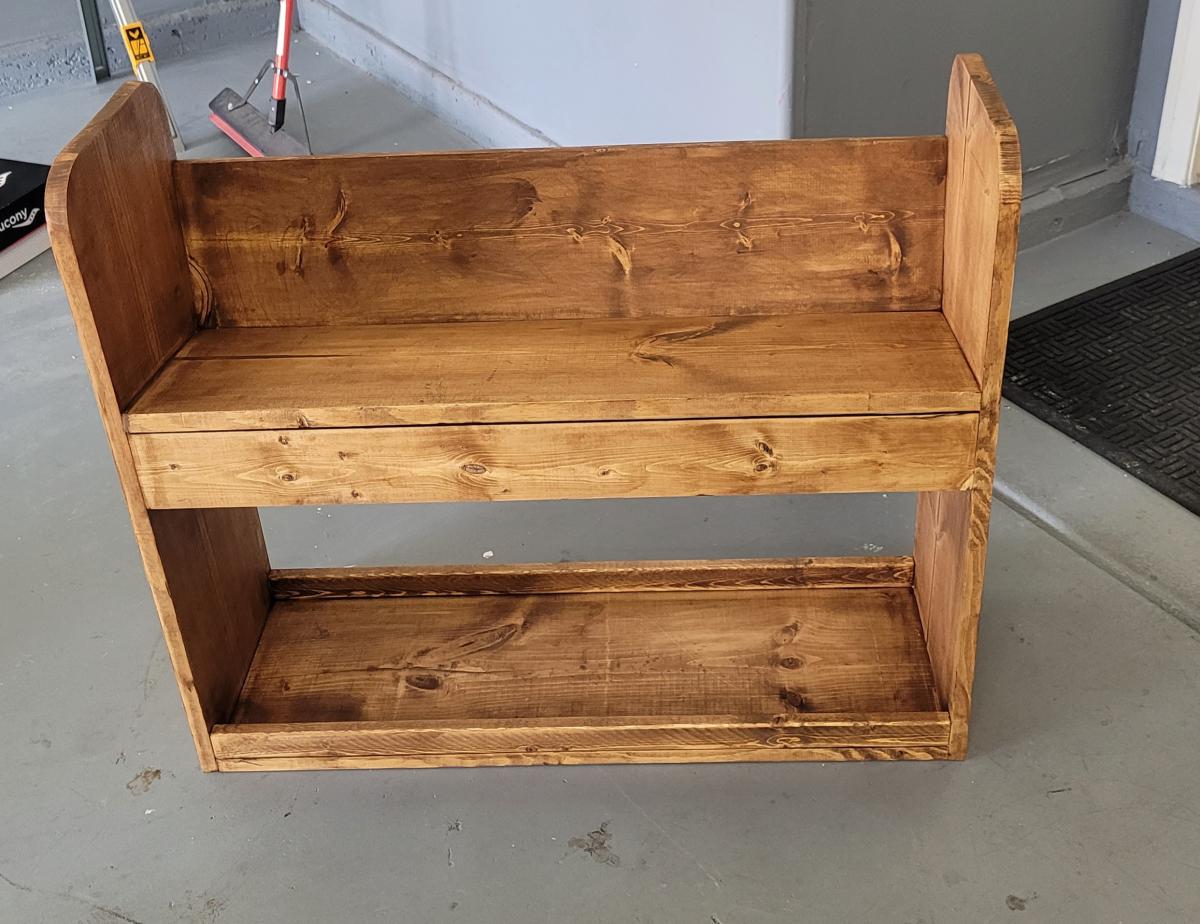
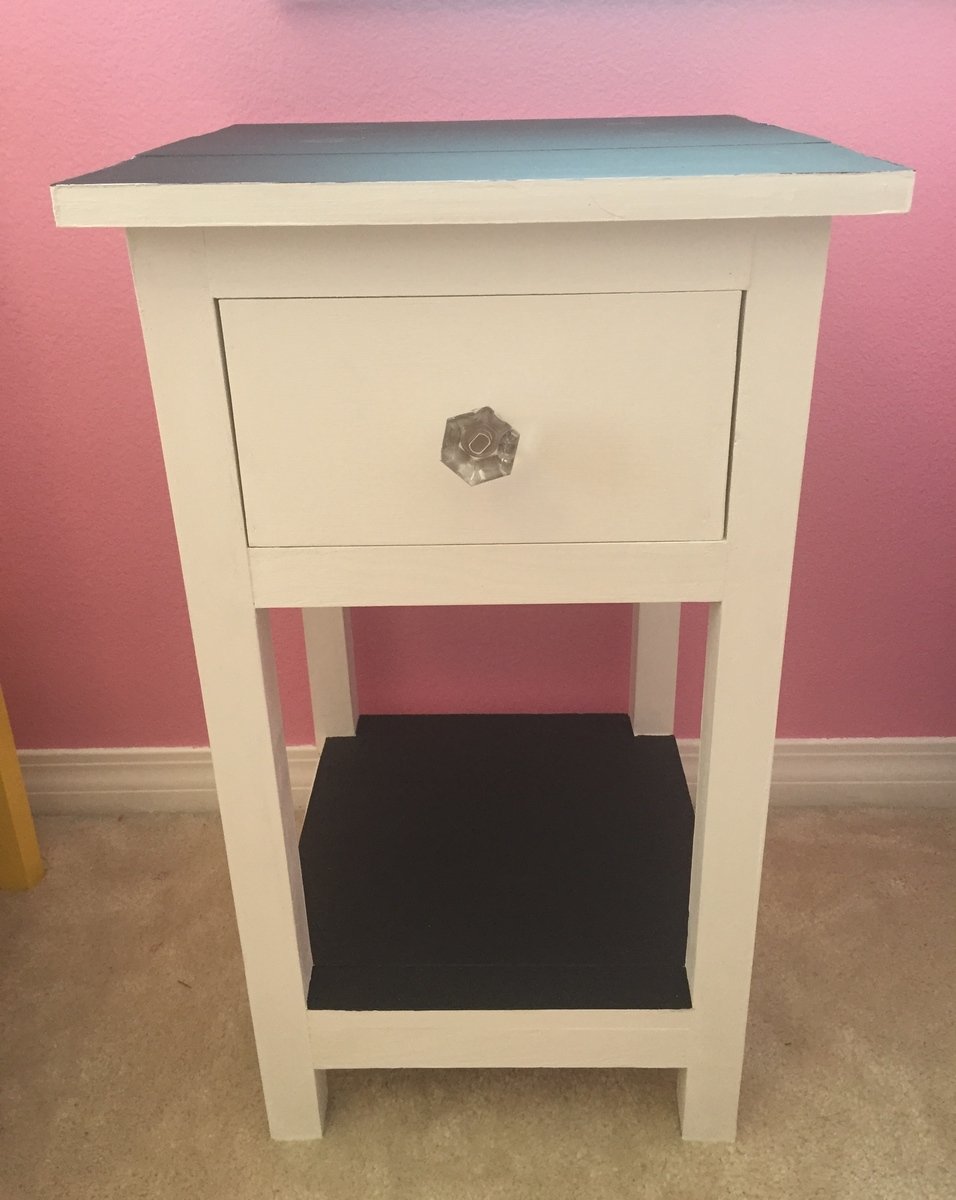
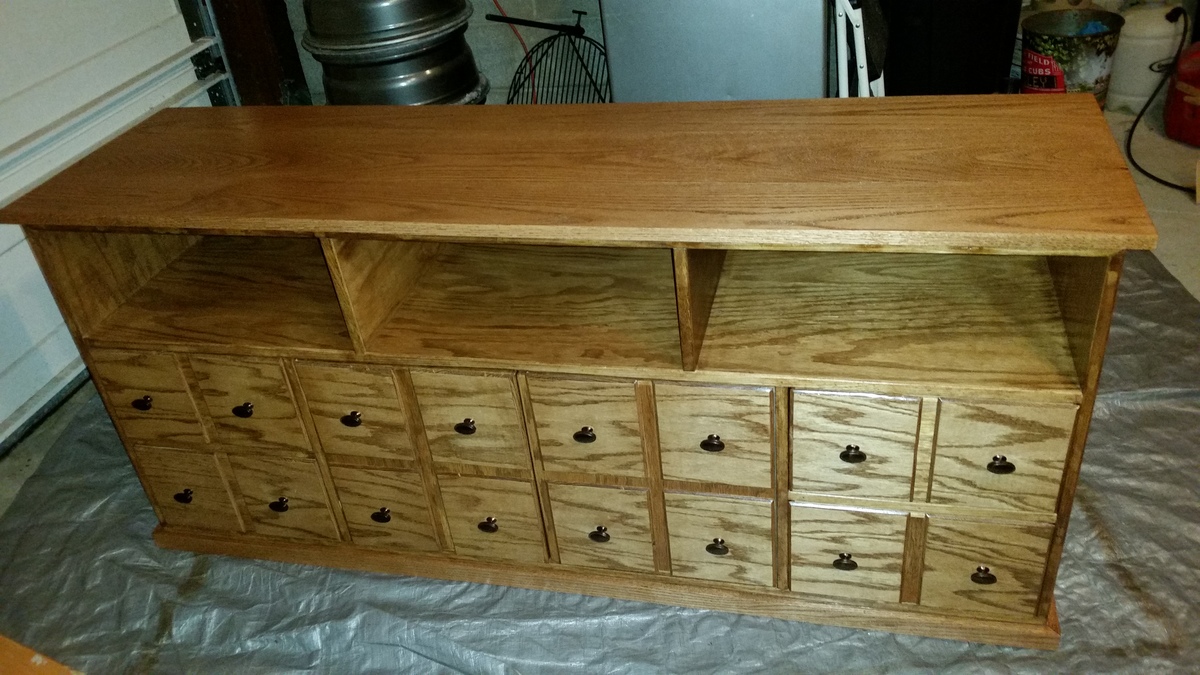
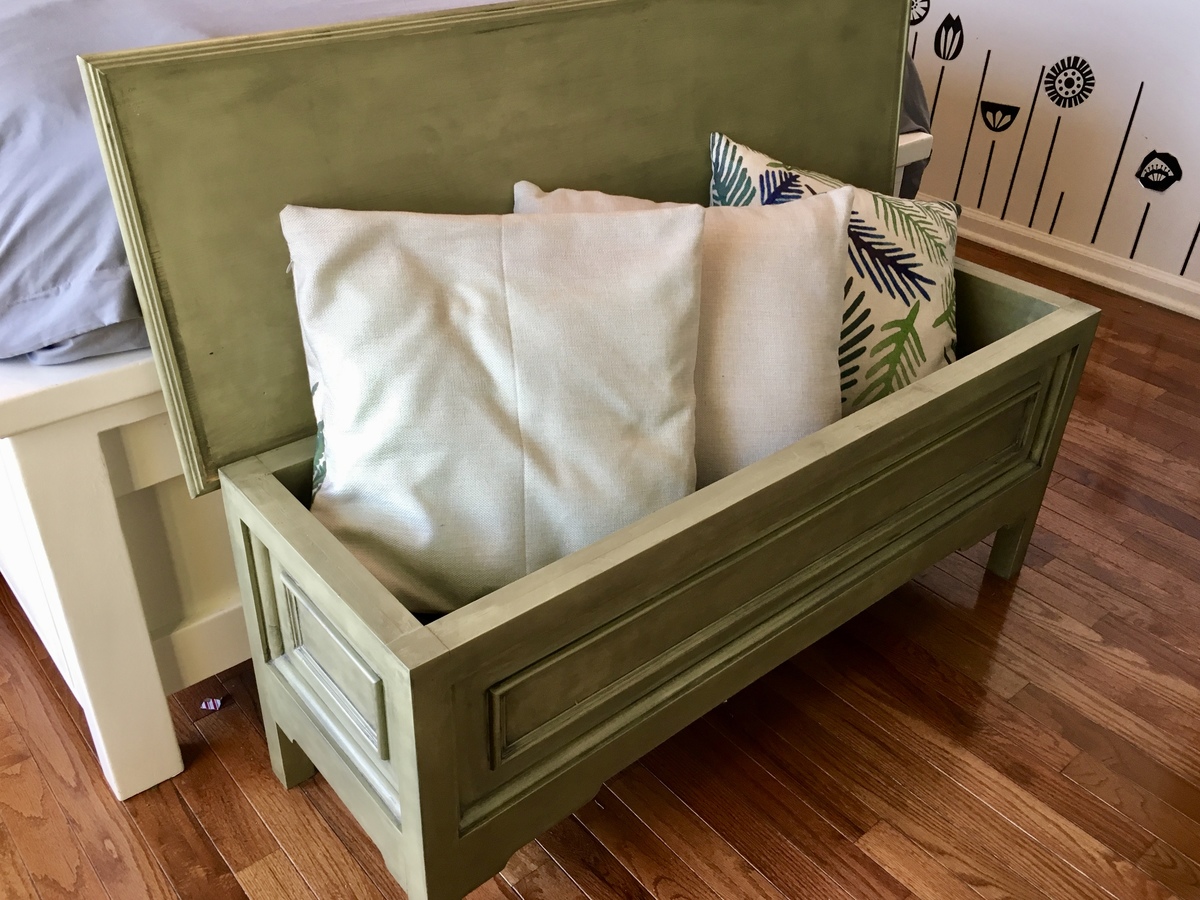
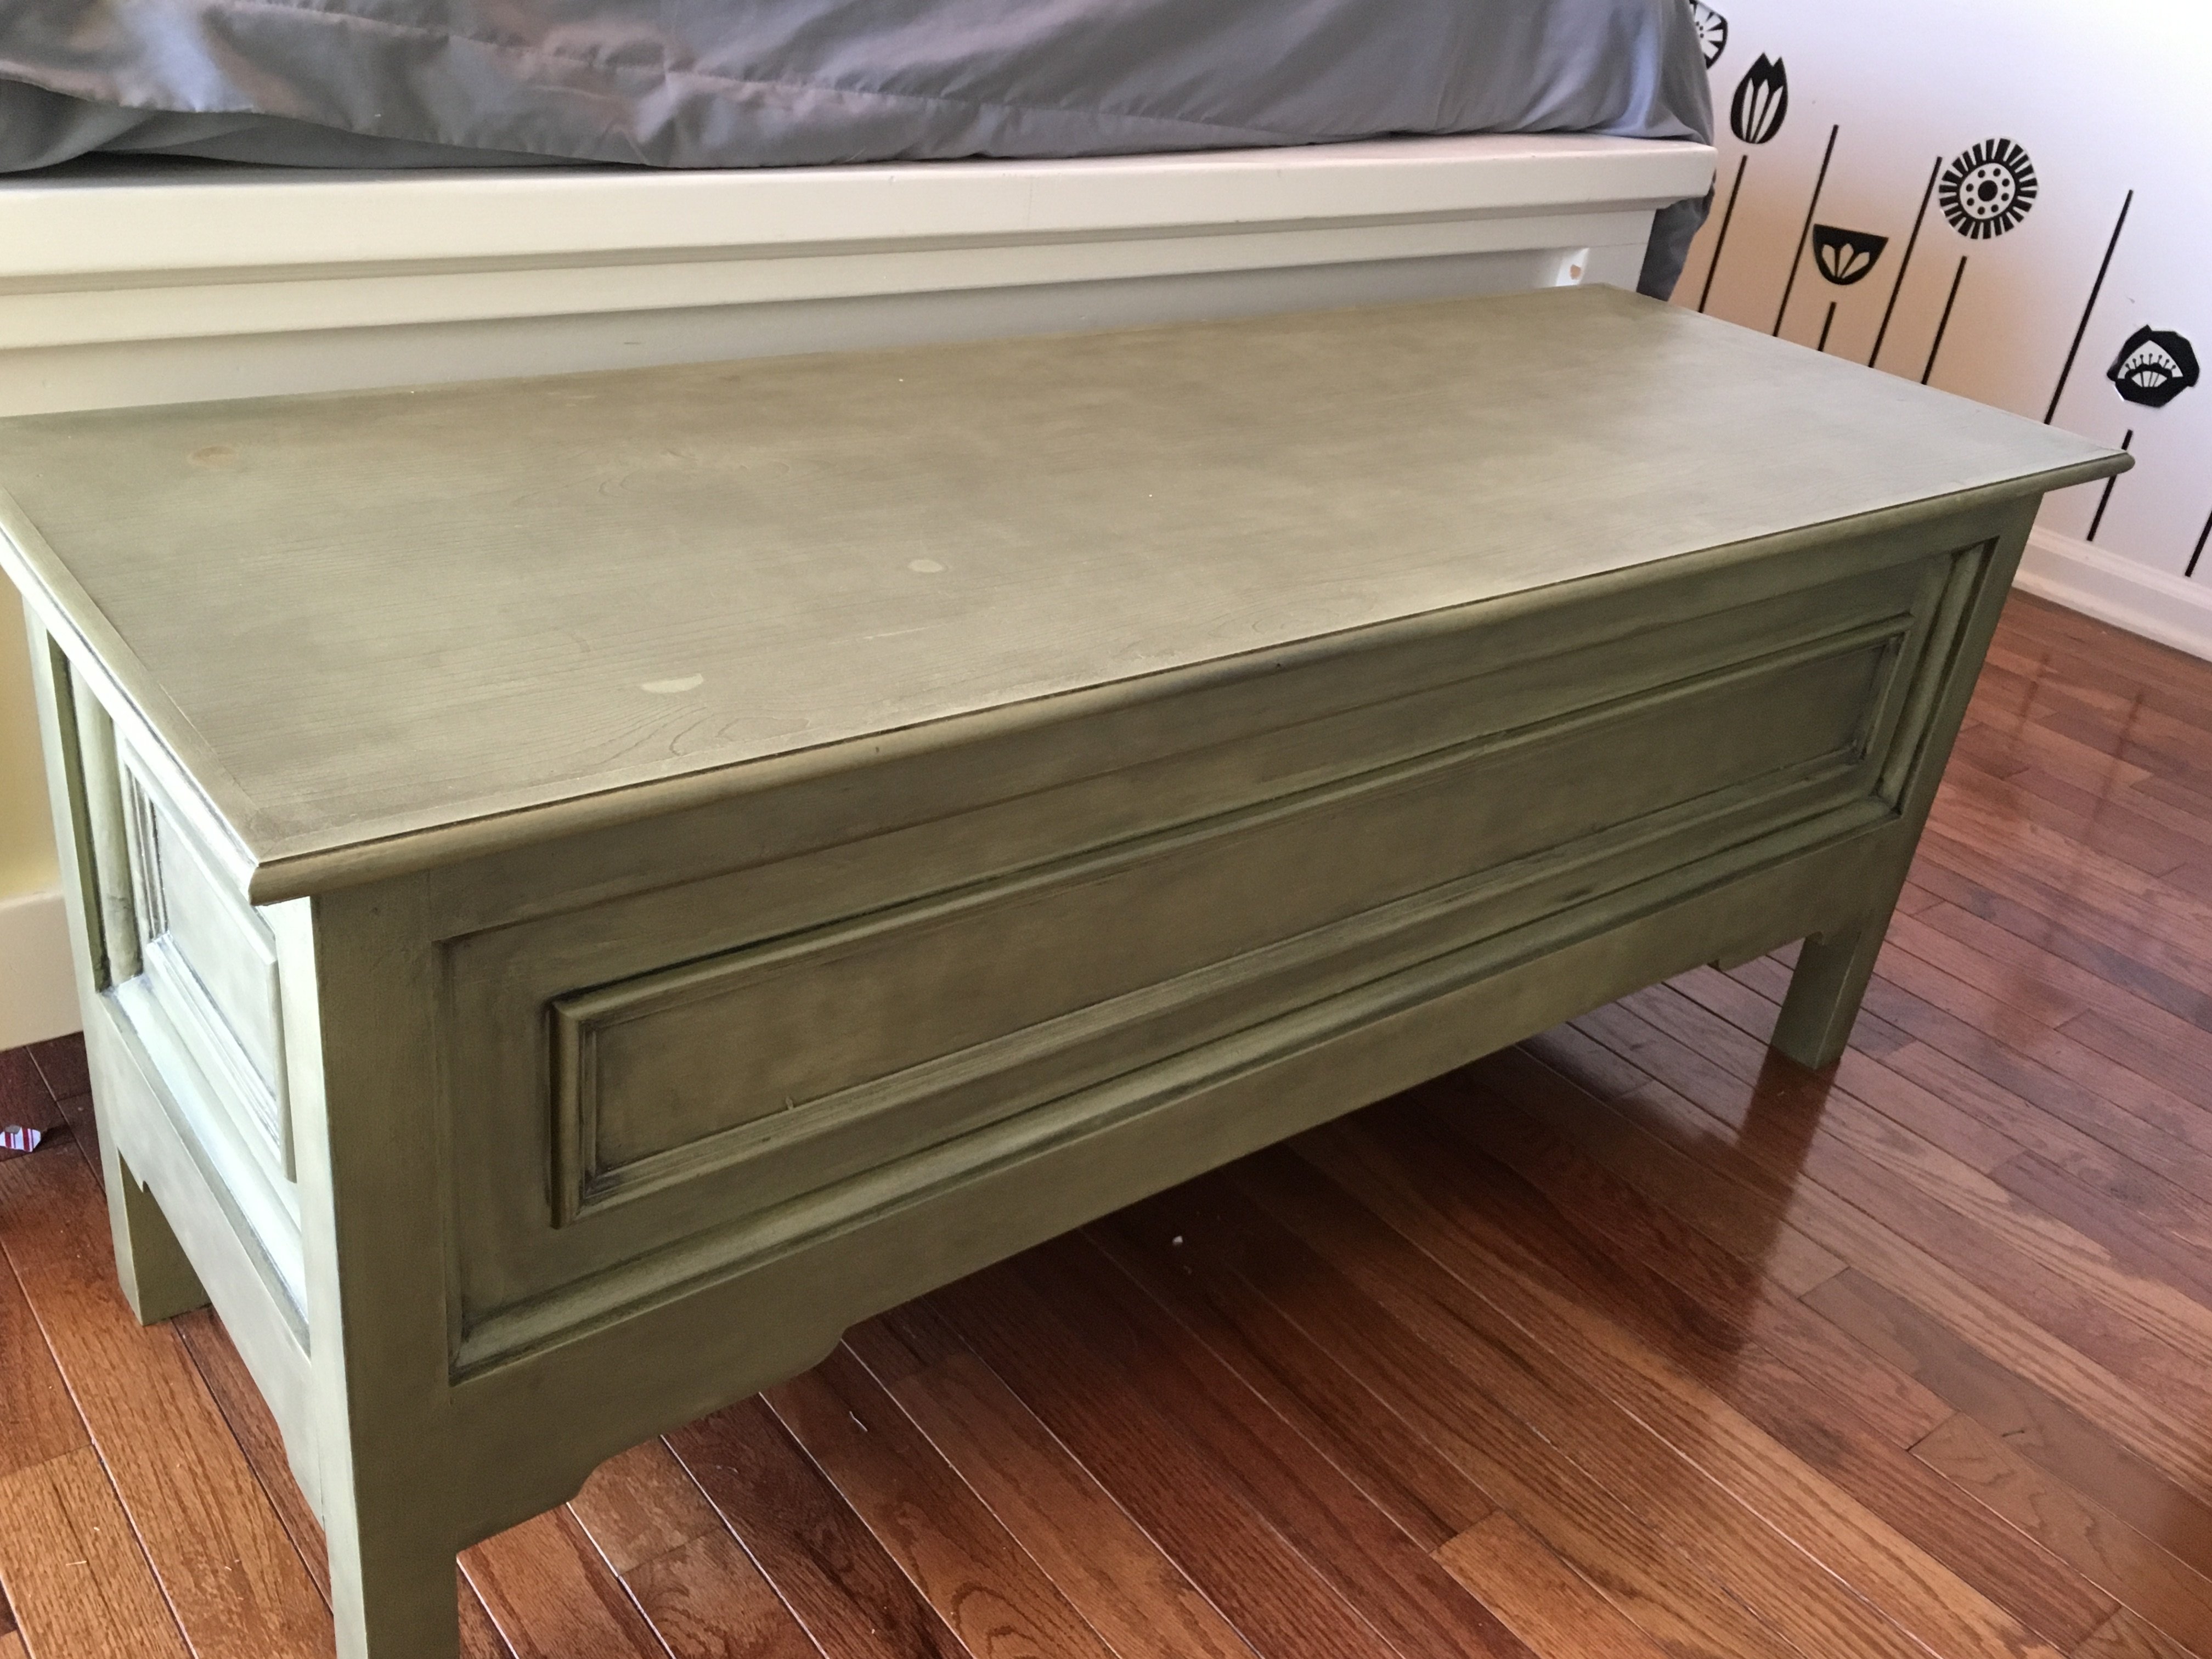
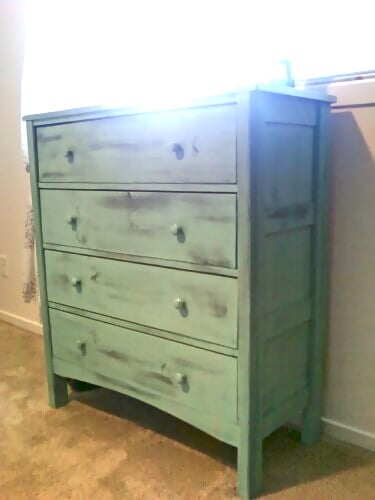
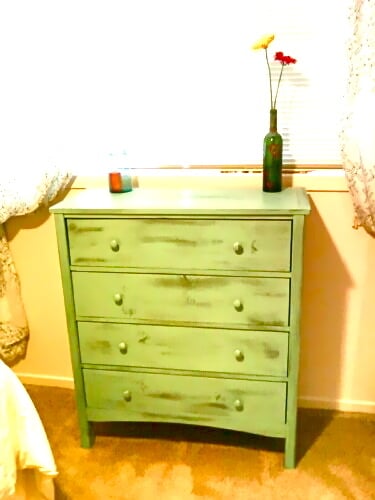
Modified Outside Table
I'm just starting out. I built this from scrap wood I had laying around. I followed the plan except for the table top. Here I used a 2x6 that I cut on the miter saw, and used bowties to help give the middle more strength.
My daughter needed a step stool to reach the sink in our bathroom. I simplified the jigsaw cuts for this design to accommodate my learning curve. :) I used leftover plywood for the sides and 1x6s for both steps because it was what I had on hand in my garage. It was fun to make and is something we use every day!
built by Instagram: @sawdustandperfume
built to be used in an buisness office that a former cattle rancher conducts buisness.
Queen bed frame with drawers.
Alex's Dad
These built-in bookshelves were my first project, and were loosely based on the Willy bookshelf plans, although I changed the dimensions, set them on a 2x4 base, and added trim to the sides and molding on top.
Sat, 08/11/2012 - 05:58
hello,
Just wondering how the sides and middle part are built. They look like thicker than 1/2 in.Is it a trim or a 1x2? or did you use some 2x4 too?
I am looking at building a bookcase too but i wanted something more massive than 1/2 in. like yours.
Thanks
Great job!! looks awesome
Tue, 08/21/2012 - 05:31
I made the two bookshelves separately so I could move them in my house easier. Each has 1x12 sides (so 3/4" thick), and and that's 1x2 trim over the side and middle.
Thanks!
I was wanting long, skinny end tables for my couch and when I came upon the spa bench plan I knew it was perfect length and size for what I wanted. I only altered the plans by making it taller to fit my couch. This was my second build and I learned a lot through the process so these are not perfect but I love the imperfections. I also didn't like the first stain that I put on the tables and when I tried taking it off my sander made weird marks but it gave it a more rustic look which I ended up loving. (Which I could never recreate on purpose)
I hacked three IKEA bookcases into this beautiful bed for my princess of a daughter who was getting her first apartment in Orlando, FL, because she got a full-time dream job with Disney. Full details at http://handydad.tv/ikea-hack-bed-bridge-bookcase/.
This was one of my first wood working projects. It taught me so much and it also helped me to realize that I really do love wood working! I think in the future I'd probably paint the bottom more of a light grey color to cut down on the contrast between the stained top and the painted bottom. Overall, I love it and my Sadie pup will be happy to have some new bowls to eat out of!
144 can dry storage for a pantry. In Amarillo Texas.
Jeremy Racette
Sun, 01/14/2024 - 19:44
This looks amazing and stores so many cans! Thank you for sharing.:)
I saw Gina's post and this moved straight to the top of the to-build list. It's gotten my saw off the floor of my garage and provided a ton of storage for my other tools and bits. I also added another shelf after taking this picture. I modified this slightly: I made the wings 24" only, added a short back to provide more stability and reinforcement to the top shelf, added a diagonal support to the wings, and reinforced the top shelf from the sides with 3" dowels. I got my wood from a local lumberyard and the wheels from Blue.
We built a toybox for our son and discovered that he isn't quite tall enough yet to really get into it. So, to remedy the problem I put together a stool for him. I modified the "simplest stool" plan to make it short and wide. Perfect as a little boost to get into the toybox. We also use it in the bathroom as a little step stool for the sink.
This is my first time making this kind of project and it turn out amazing!!! Looking forward to built some end tables with this same design!!!
I had never built cabinets before, but I’ve been wanting to learn how to, and this corner in our house had been screaming for a bar area for awhile. I’m quite happy with the result, given that I’m only one year into woodworking! Thank you, Ana, for all your inspiration!
Jaclyn Pietrafetta
I actually got the idea from Shanty 2 Chic and I thought I would share my take on it here. It was super simply...I just kreg jig'd the boards together and built a frame to the size I wanted. I bought the aluminum from Lowe's and cut it down. I actually built 6 of these so I could give 5 away as thank you gifts. The price for all 6 was under $50 and I think only about $30 of that was the materials to make the boards. The rest was spend on the stuff I made for the boards.
Here is a link for their post! http://www.shanty-2-chic.com/2012/05/diy-12-magnetic-memo-board.html
This build was quite easy. I didn't run into any issues. I went with stair balusters for the legs instead of the 2x2's that the design calls for, but the balusters ended up being 2x2 anyways so I didn't need to make any changes. My building costs were a bit pricier as I find there's a slight price difference for lumber here in Canada. The construction of the table itself took about an hour or so, however the finishing took much longer due to the painting, staining and then lacquering and waxing!
I decided to go with a more distressed/aged look for my finish, and I thought the glass knobs would look gorgeous. I also decided to line the inside storage area because it just looked a little bland to me! All-in-all I'm very happy with the outcome!
This took new novice DIYers about 25 hrs. Also this table is really heavy when complete so build it where you want it to sit or build in it one place and right before you are about to finish move the 3 built peieces separely where you want it to sit and finish assymbling it. Also, when completed this is counter height. We are going to take ours apart abit and shave 6in or so off the legs to be normal table height.
Cedar coffee table and side table from rustic x plans.
*lesson learned: I weathered the wood for each table about a week apart. This meant my vinegar mixture sat for an extra week. The second table came out much darker as a result.
Fancy Jewelry Box, first attempt doing anything like this.
We built this table using Ana White's patio table plan. We modified it slightly only to use pallet wood for the top. With the pallet wood varying by width, we had to adjust the quantity of slats needed for the top. Using the pallet wood for the top also reduced the cost a bit. We think it turned out great! The plan was VERY easy!
This was my first major woodworking project, and I am so pleased with it! I have been looking for a piece of furniture like this and couldn't find something that I liked and could afford. I spent about $180 in lumber, and also took Ana's advice and invested in a Kreg Jig. I HIGHLY recommend this! It is expensive ($100) but so worth it. I had to learn a few things along the way, and had encountered some obstacles, but in the end I am very pleased with the project. A few things I learned on my first project:
1. Exact cuts are SO important. Every 1/8" matters. It was helpful to do as many cuts as possible at the lumber store.
2. Ana mentions this in her beginners section, but it bears repeating: wood glue will repel stain. Be sure to wipe away ALL residue of wood glue before staining, and be sure to give extra sanding attention to areas that had wood glue. Otherwise you will have a white spot in the midst of your stain.
3. On this plan in particular there is one change that I recommend. Do not add the wrap around trip on the top and bottom until AFTER you have put the plywood backing on in the last step. The reason is that the plywood adds another 3/4 inch, and so there was a gap between the edge of the trip and the back on the furniture. I redid it on the top because it was so noticeable.
Wed, 04/30/2014 - 11:14
This is gorgeous! You did a great job! I want to make this but I have no place to put it in my tiny apartment. Someday…
Built this table for my niece 3 years ago which she still wont let go of even though its getting small for her.. I mostly had all the materials needed minus paint which i got from home depot. Pretty straight forward project that i got done in a few hours. She was 3 at the time and is now 6 and still has the table which she still uses and has.