modified outdoor dining table
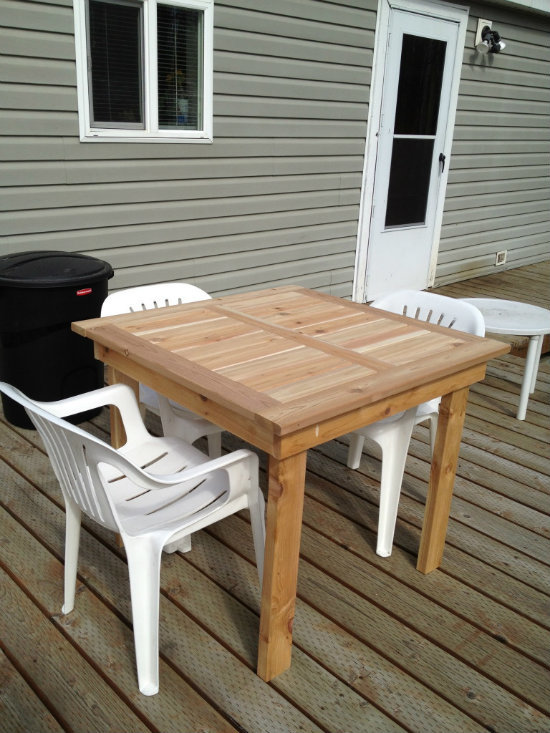
My wife has been wanting new patio furniture so here is my version of the simple outdoor table, I shortened it to fit our needs. Next is the chairs to match.
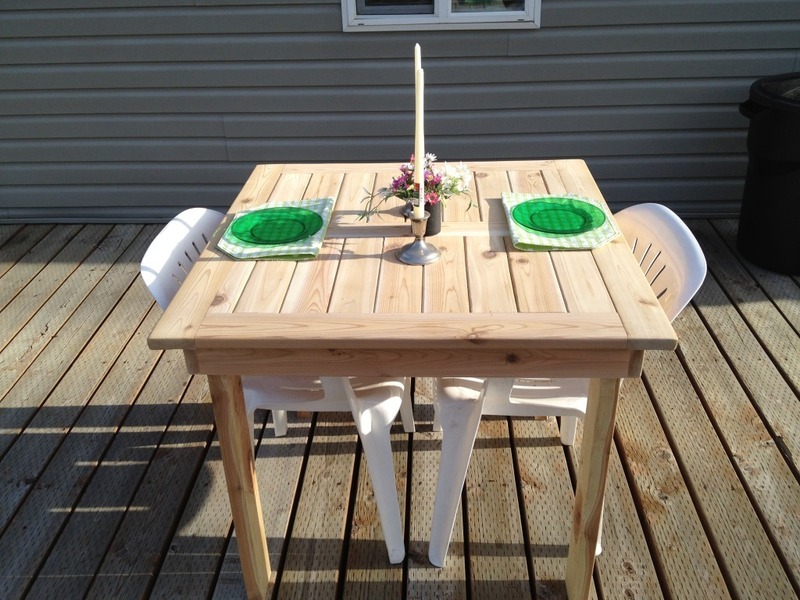

My wife has been wanting new patio furniture so here is my version of the simple outdoor table, I shortened it to fit our needs. Next is the chairs to match.

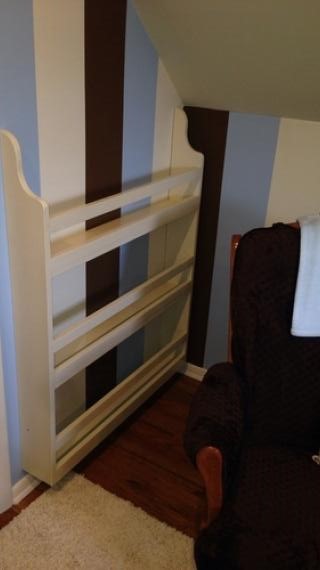
Built this for my son's nursery. Cutting and assembly was a snap. Took under four hours. Painting however took forever. I'm a slow and careful painter. Each coat took two hours, then sanding in between. I'm happy with the result. I bought the kreg r3 pocket hole jig and I love it.
I started this project a few months ago for a friend. The build went easy enough and was complete is less than a day. The only issue I had was with the X's. My miter saw doesnt cut past 55 degrees and it called for 60 degrees. I had to eye it and the X's turned out less than perfect. It did give me a compelling arguement to upgrade from my 10" to a 12" sliding saw (we will see how that pans out). The finishing was the real problem for me. Ive had issues in the past with not liking the final color and having to sand the whole project over and over until I finally just settle. I was hesitant on the vinegar and steel wool finish but went for it anyway. The top turned orange, almost like a fresh cedar color. I whitewashed it the following day and roughed it up with some light sanding. It looked great. I added poly and the top turned orange again. It was horrible. I had to sand it and start over. I then went with a weathered grey with a whitewashed top coat and it looked great but my friend wasnt a fan. I sanded AGAIN and tried another color. Third time was a charm and the sunbleached stain with whitewash came close to what we wanted to acheive. He likes it, I like it, and eveyone is happy!
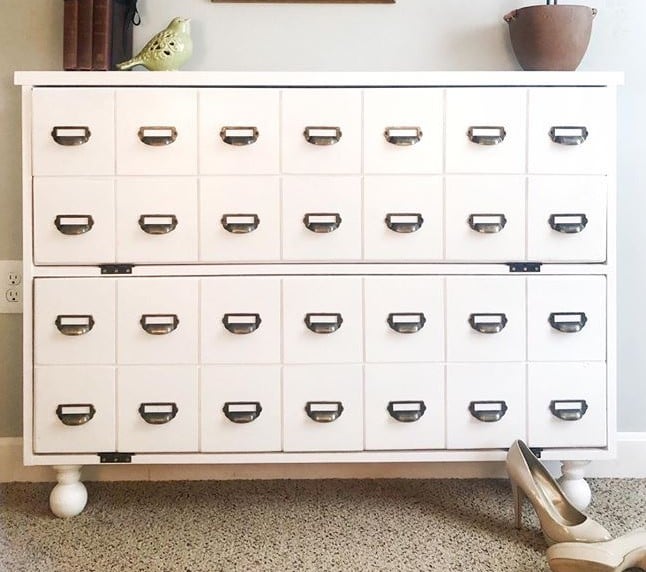
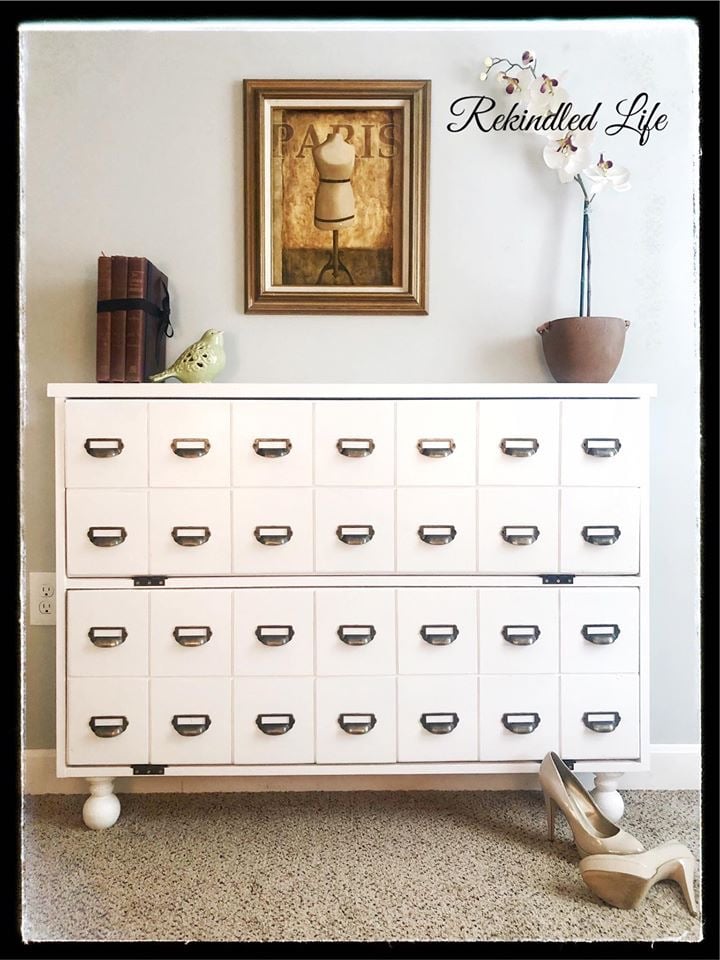
I built the shoe cabinet but added card catalog handles. Also used deck railing toppers for the feet
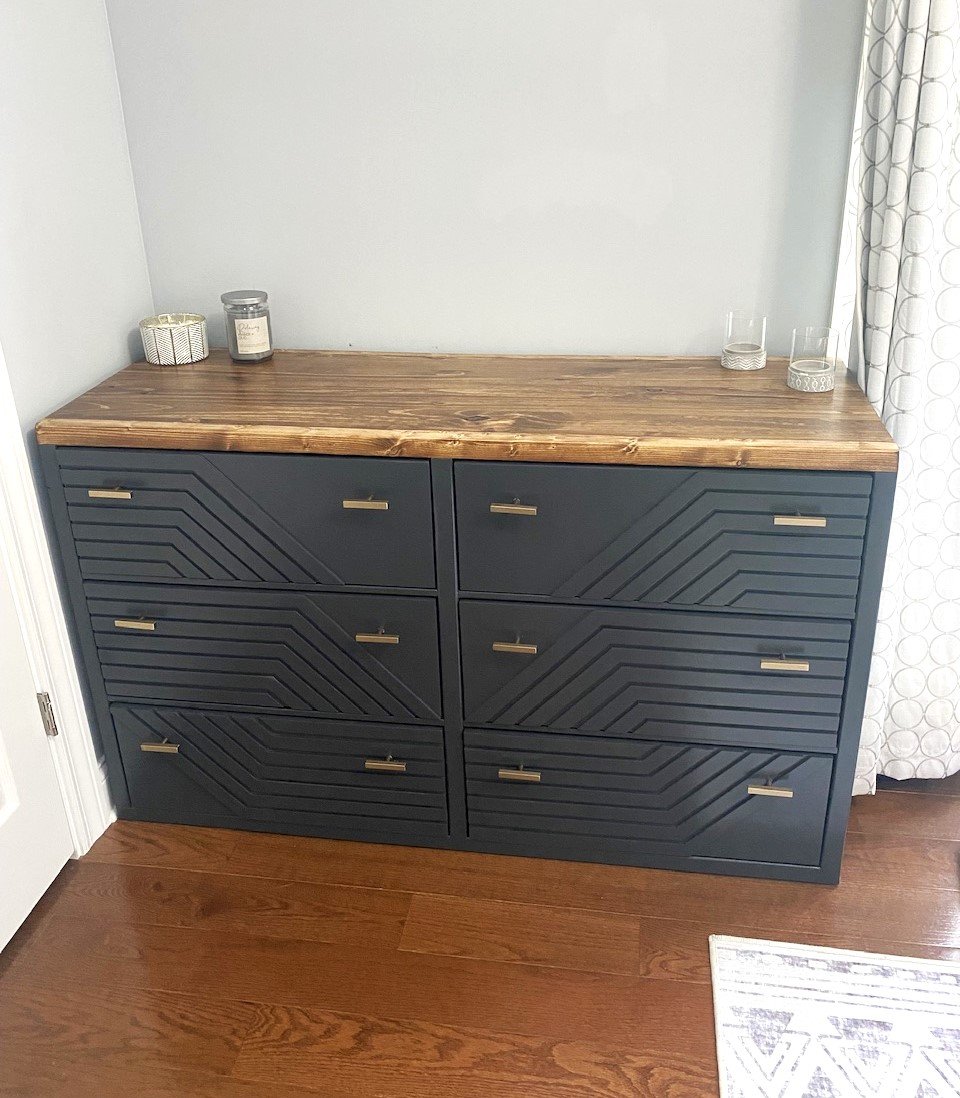
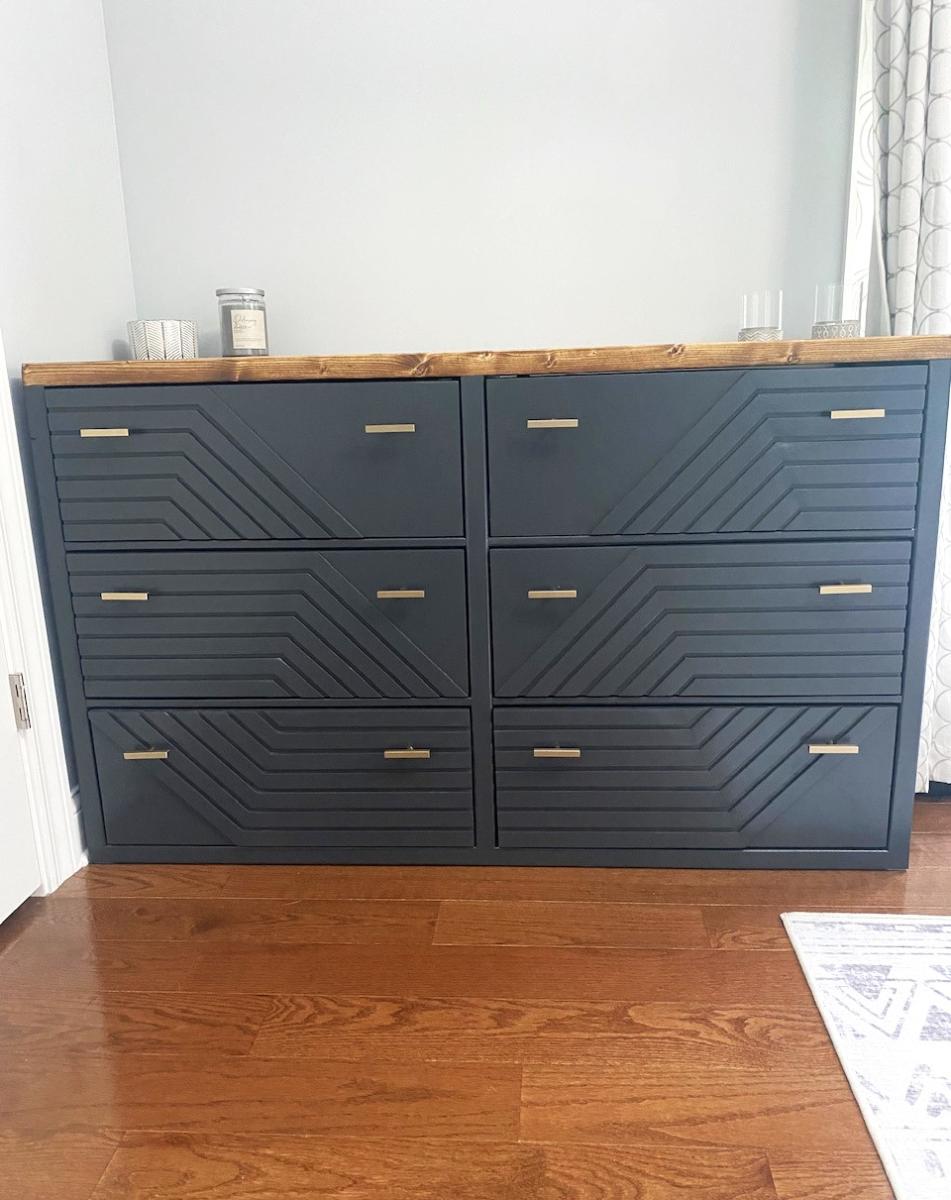
Bedroom dresser made from Ana White’s plans! Absolutely love it and it was easy to build!
Kristen Kobeszko
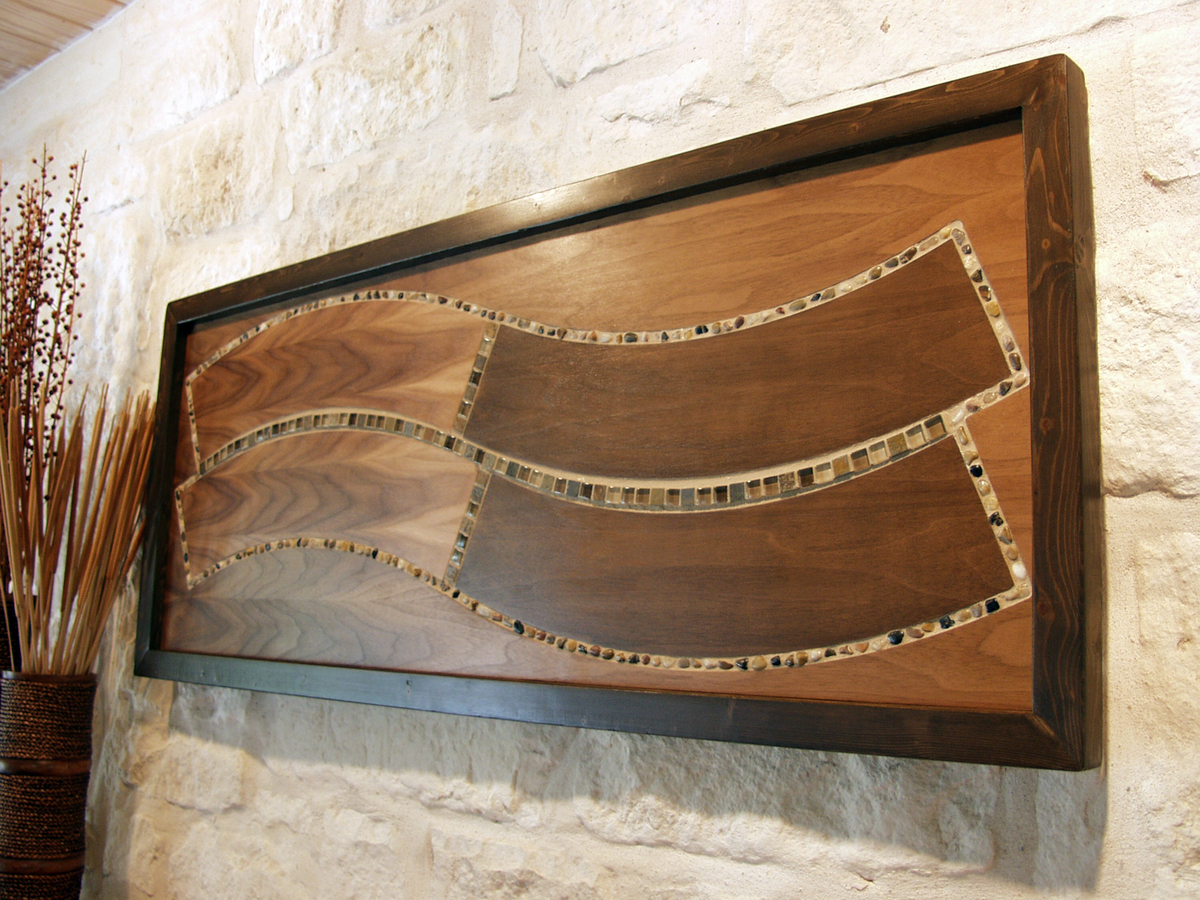
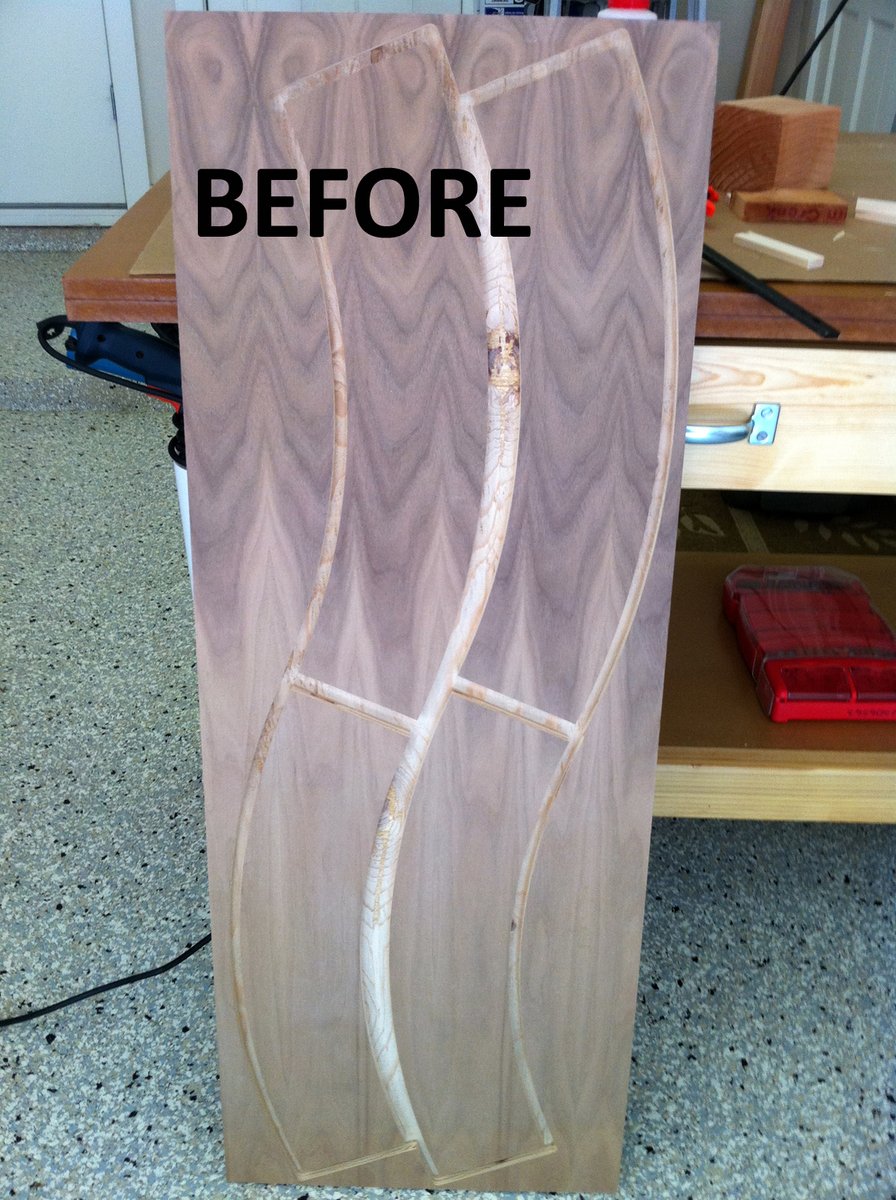
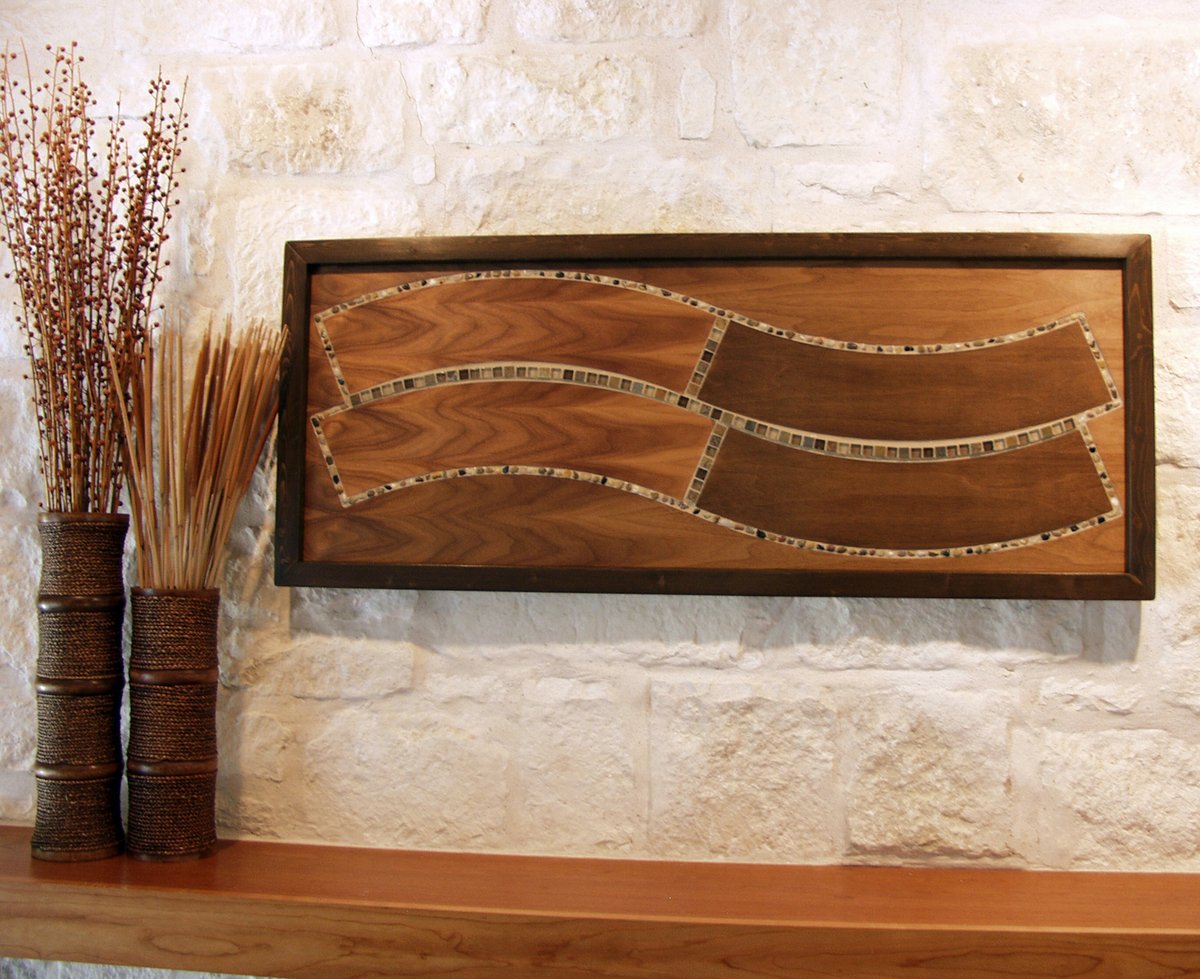
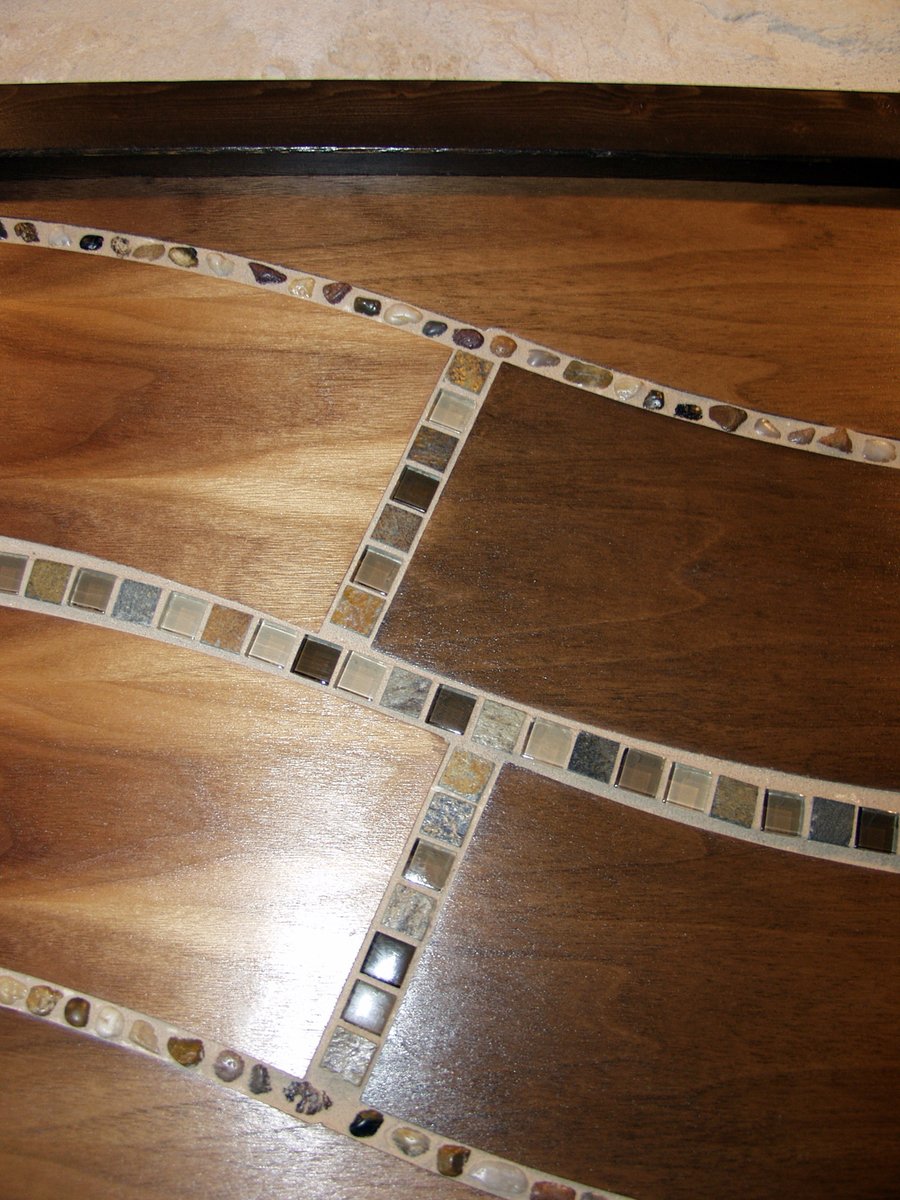
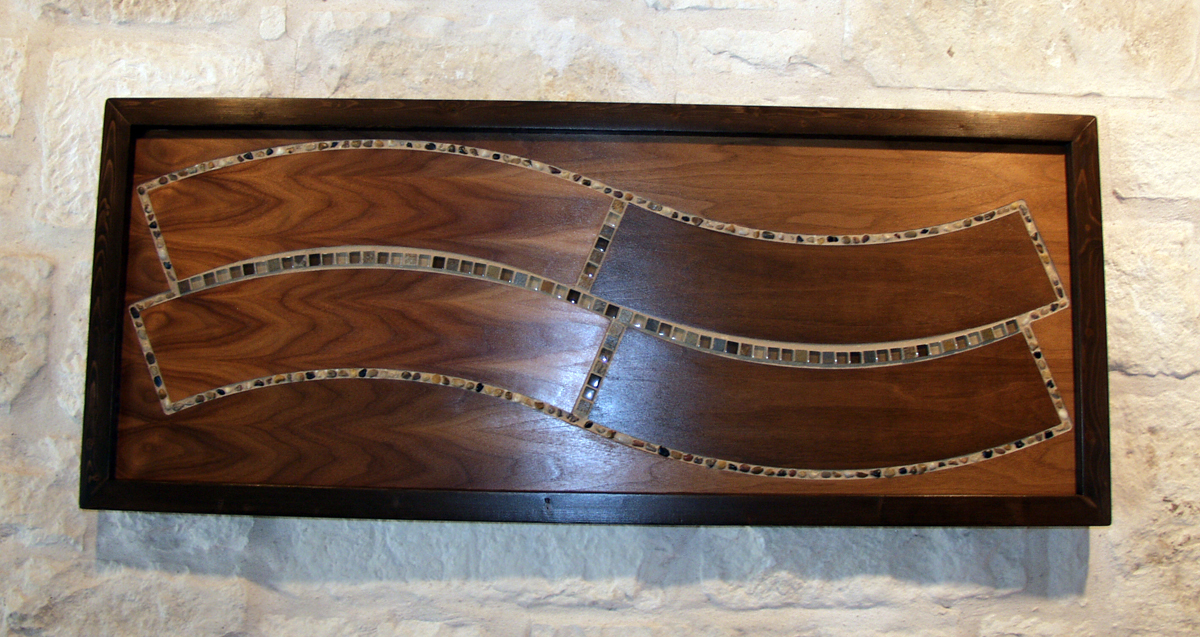
This piece began with finding a unique piece of walnut that had been discarded by a custom cabinet manufacturer. When I saw it, I thought I could make a beautiful wall hanging out of it. The walnut wood is absolutely beautiful; pictures don't do it justice. The majority of the piece is not stained; the natural color is enhanced with a clear polyurethane designed to give a hand-rubbed finish. The darker walnut section was lightly stained for contrast. The frame is made of pine 2x2s. I built a platform in the grooves with shims, and embedded earth-toned glass and stone tiles (as well as river rocks) in the grooves around the "waves".
While this didn't come from any specific plan, most any inspiration and techniques come straight from what I've learned on ana-white. Ana's site has really changed my life and given me a passion for building.
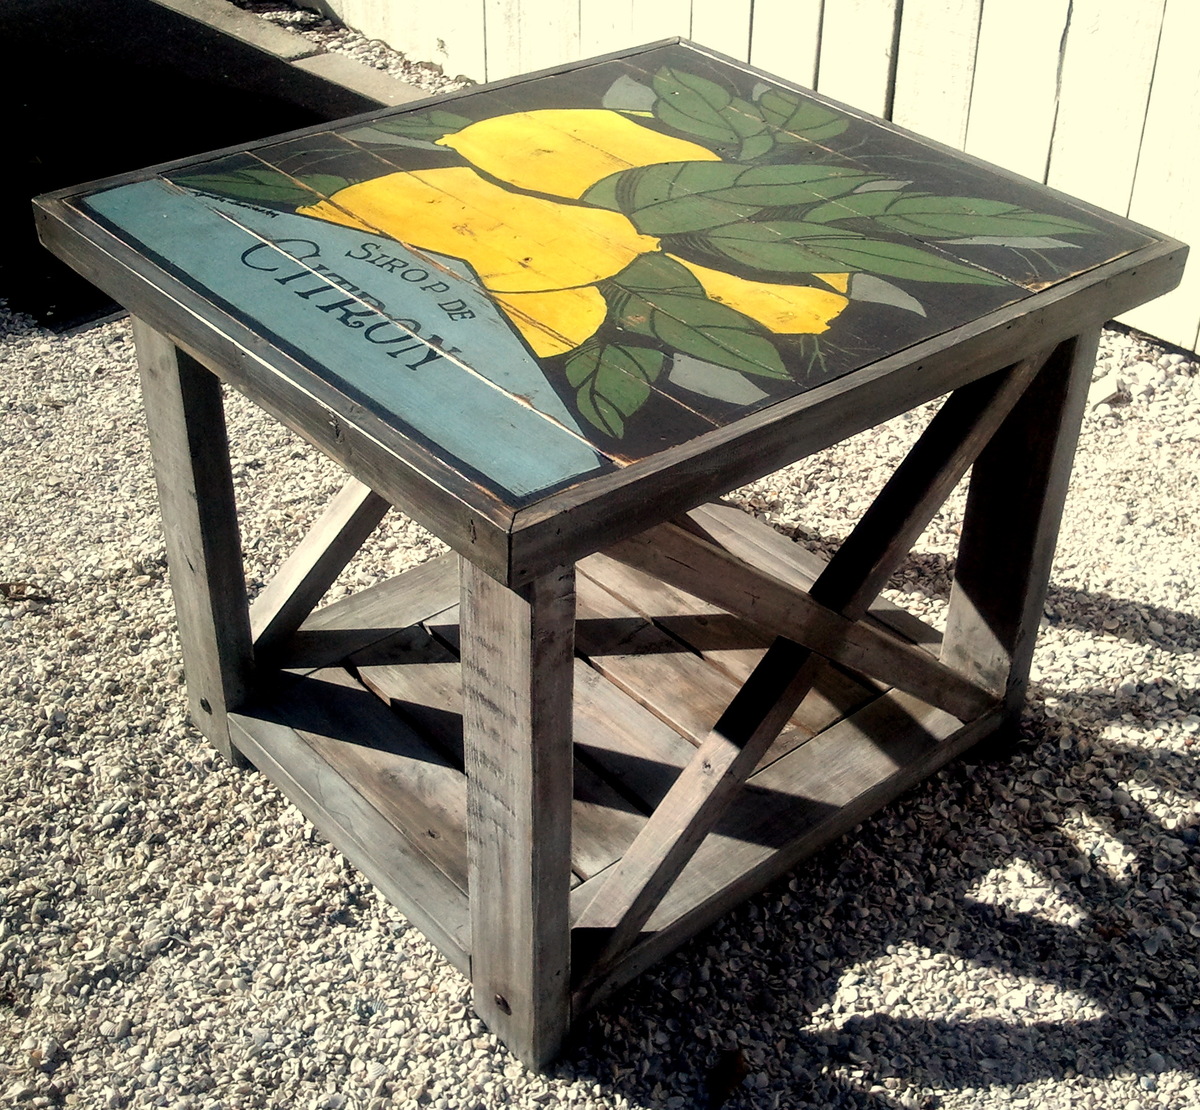
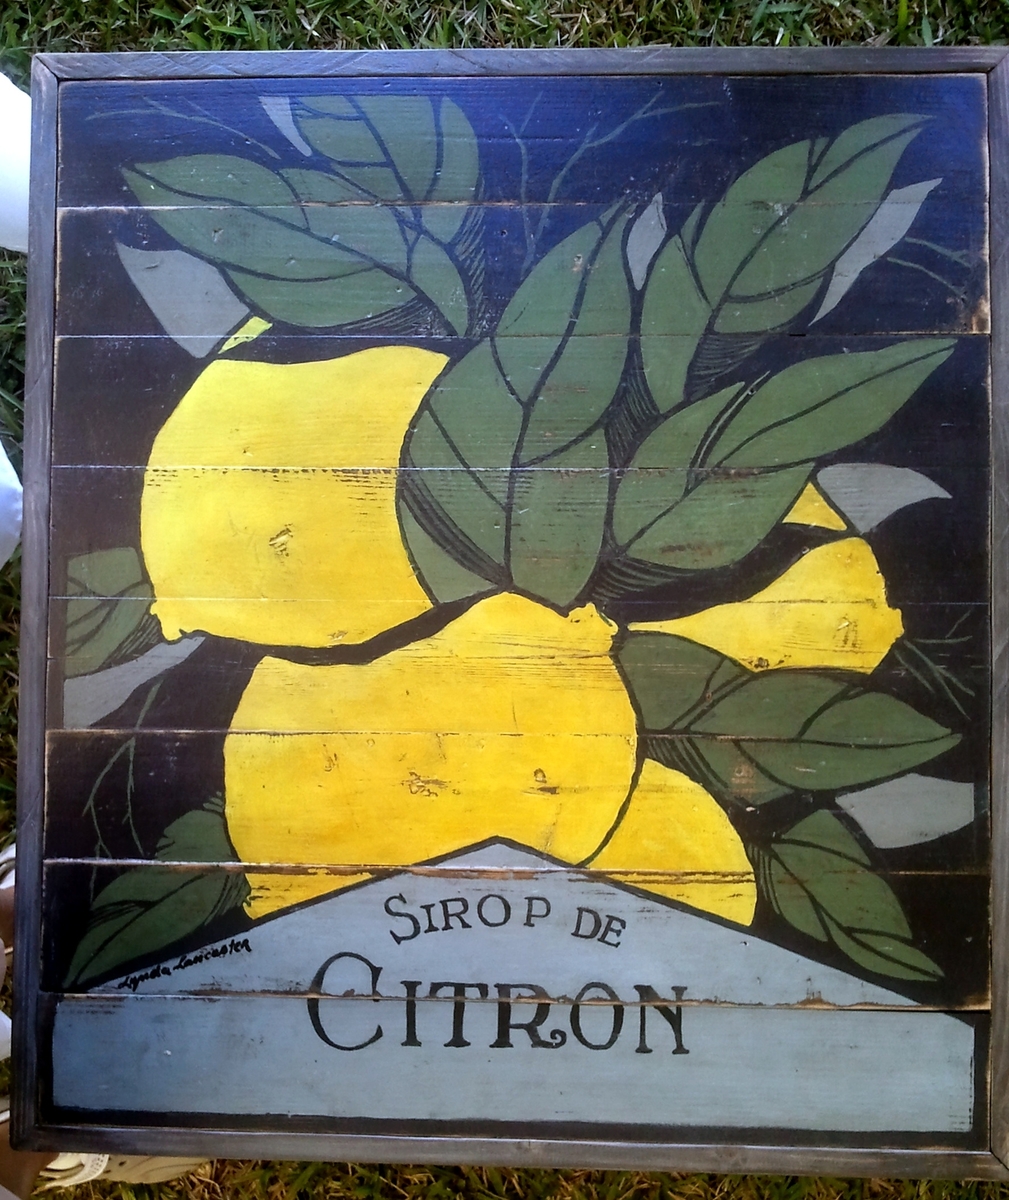
I modified the plans just a tad bit, i.e., framed the top and used 1" x 4"s on the top and bottom horizontal planes... painted a vintage citrus label on the top and now I have a one-of-a-kind side table for my porch.
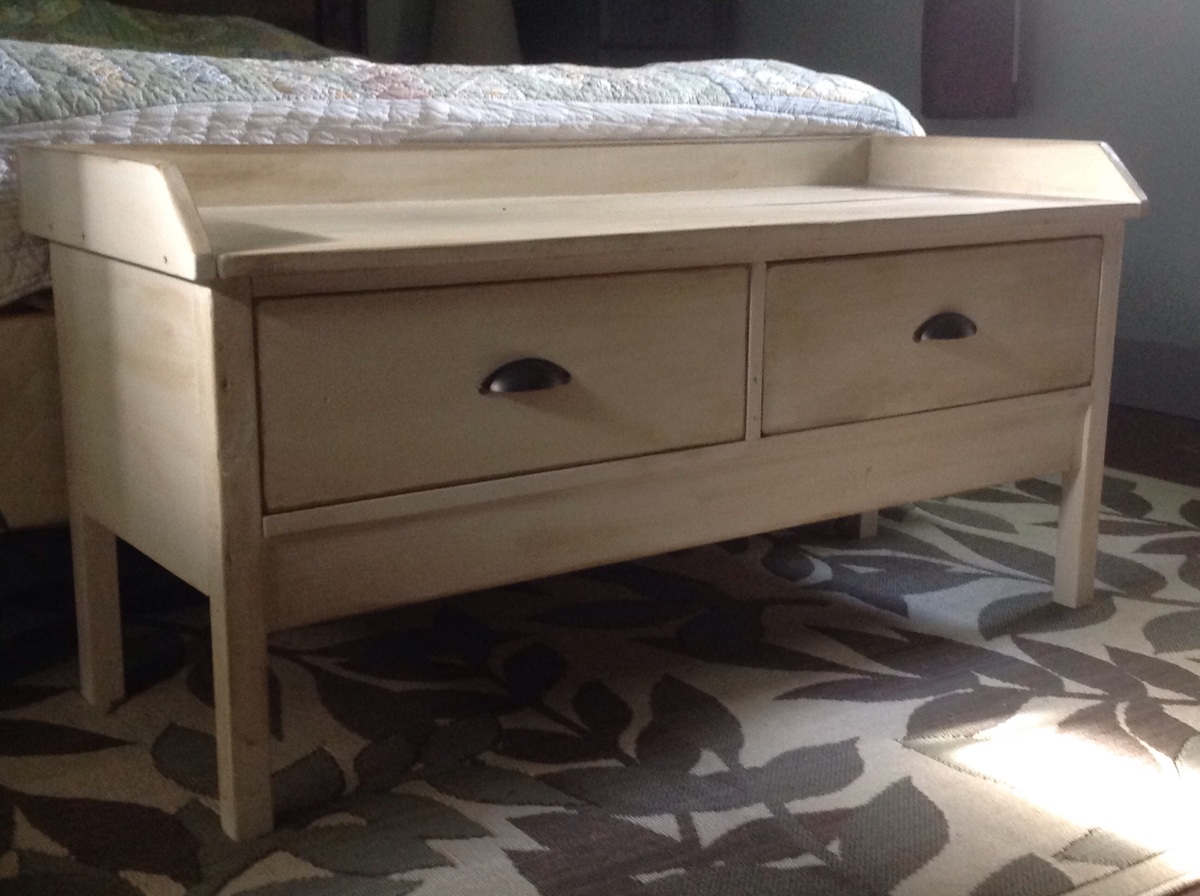
This was a very quick and easy build that was completely finished in an afternoon. My Kreg jig was loaned out, so I have exposed fasteners, but I prefer to let them show instead of filling the holes. I built this with 20" legs to make it a little taller and more comfortable for my height. I also prefer straight lines and angles, so I changed the trim pieces a bit to suit my style. The hardest part was getting the drawer slides lined up. The finish is Rustoleum Heirloom White with a coffee colored glaze. The picture makes one drawer look darker, but it's really just a shadow. I'm in love with this project!
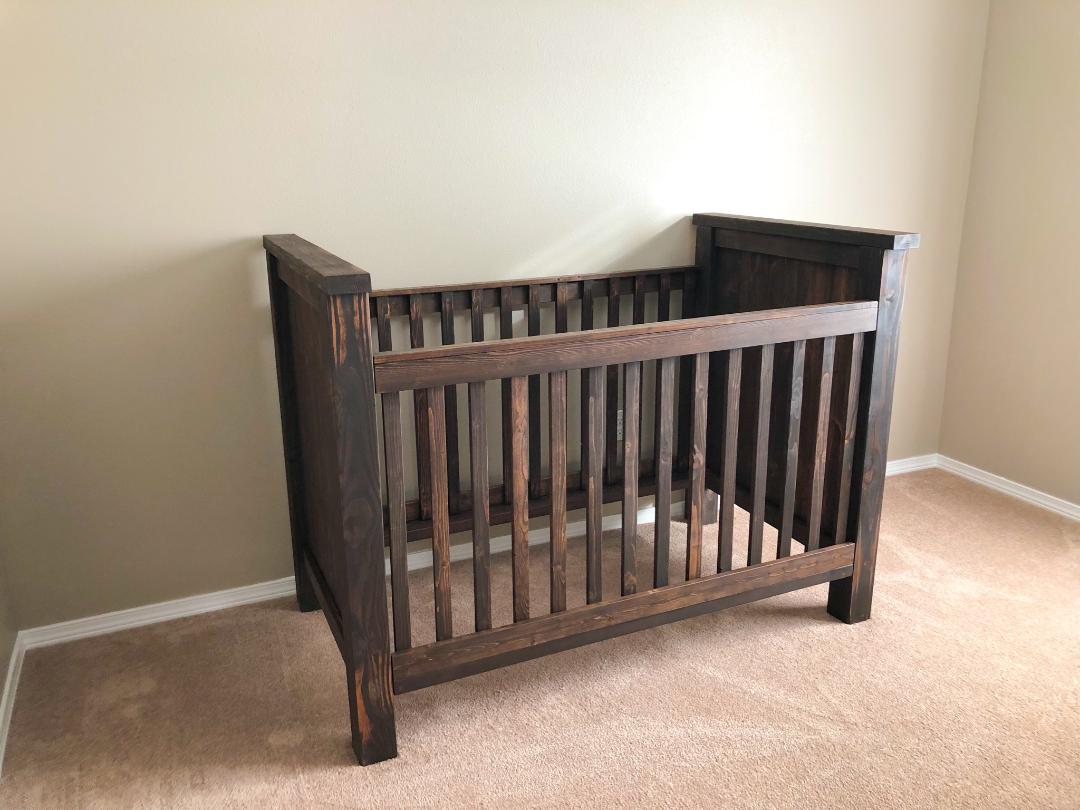
While I found the plans a little difficult to follow as there were steps left out, missing measurements, and misinformation, it was an easy project and I'm so glad I made it. Even at 21 weeks pregnant it was totally doable alone. The only thing I needed my husband for was to hold the side rails at the correct height.
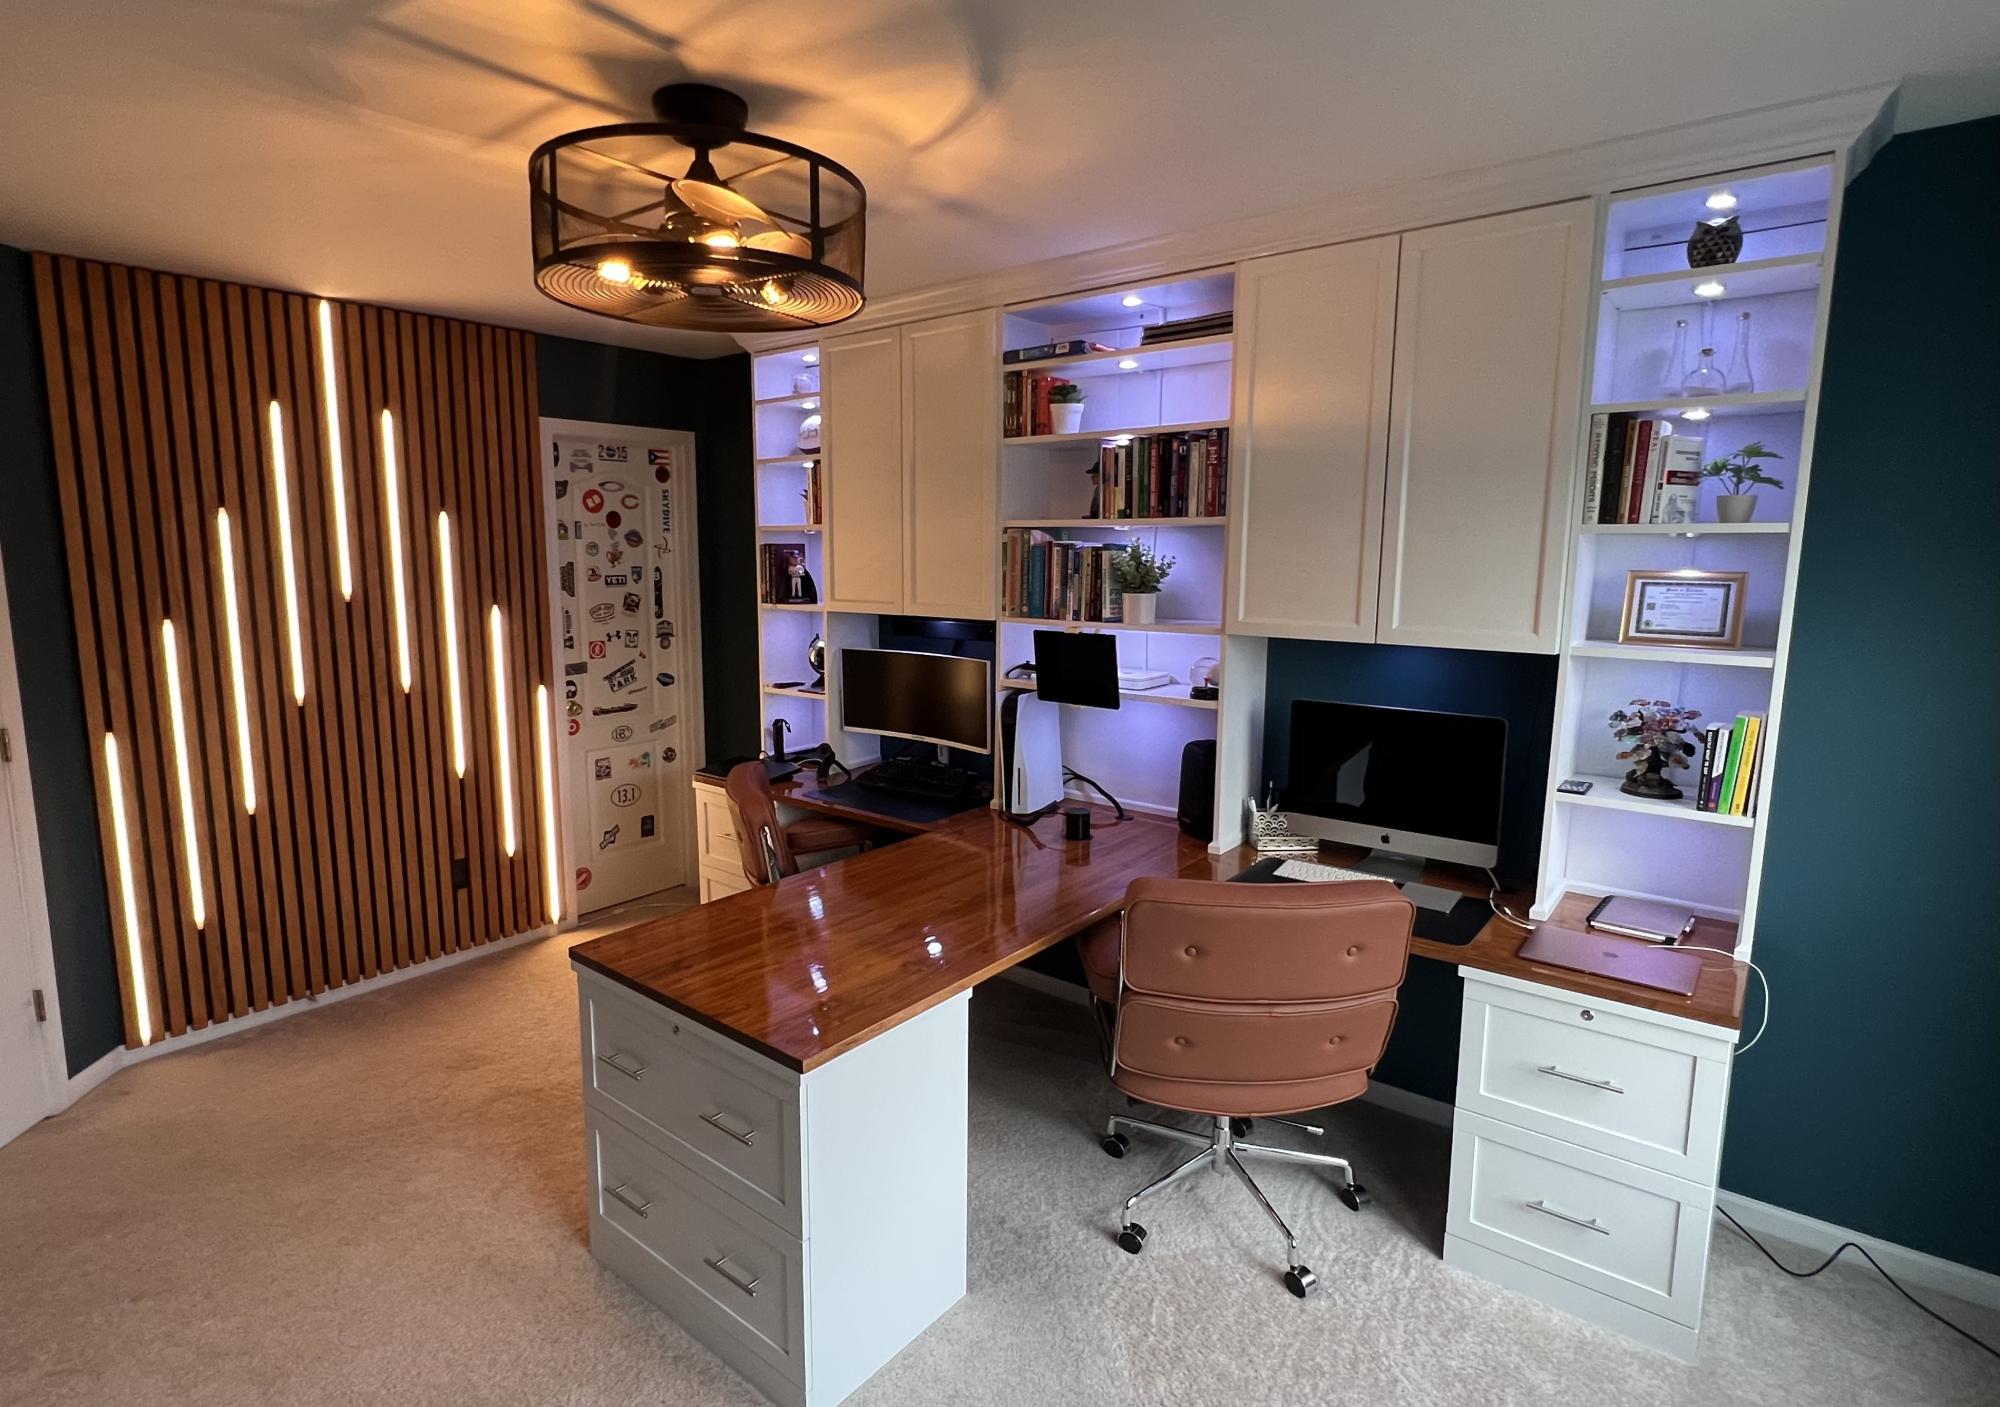
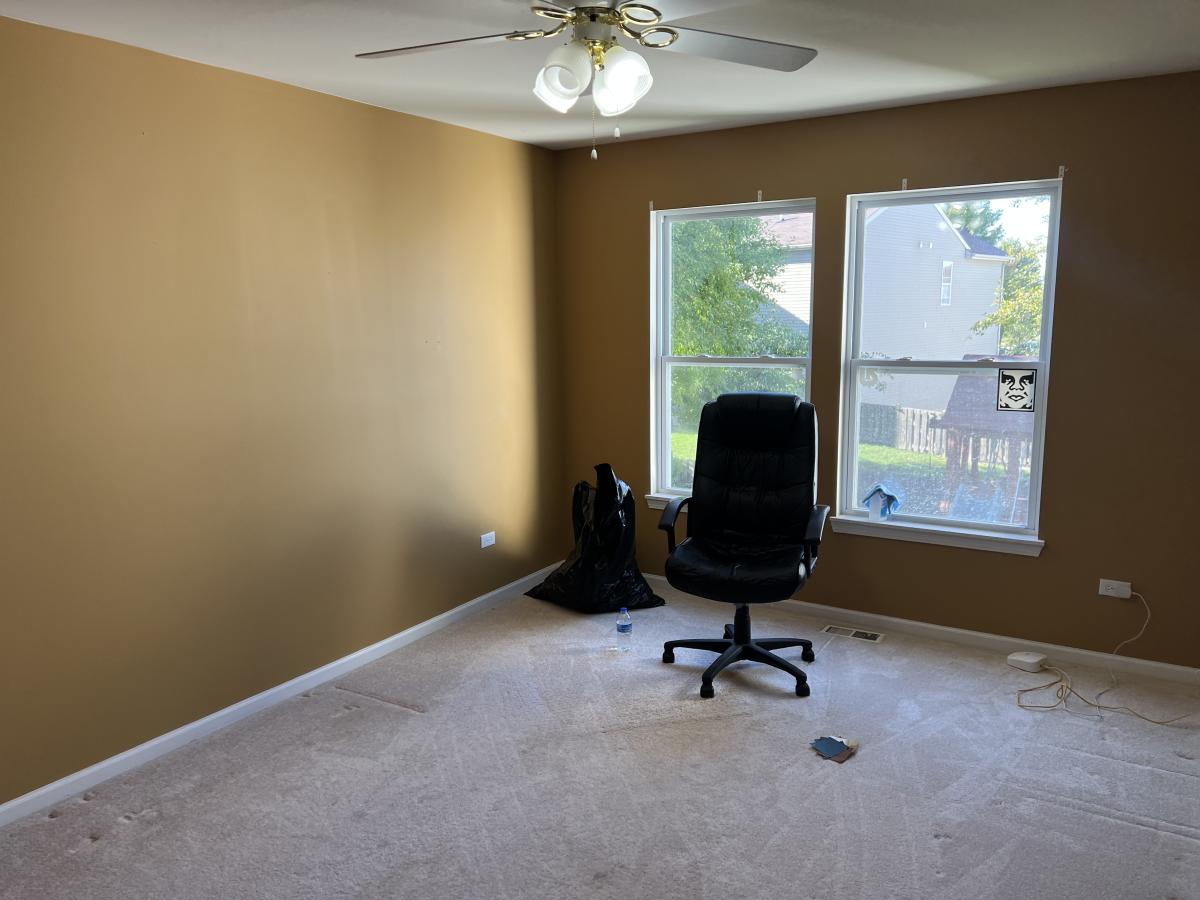
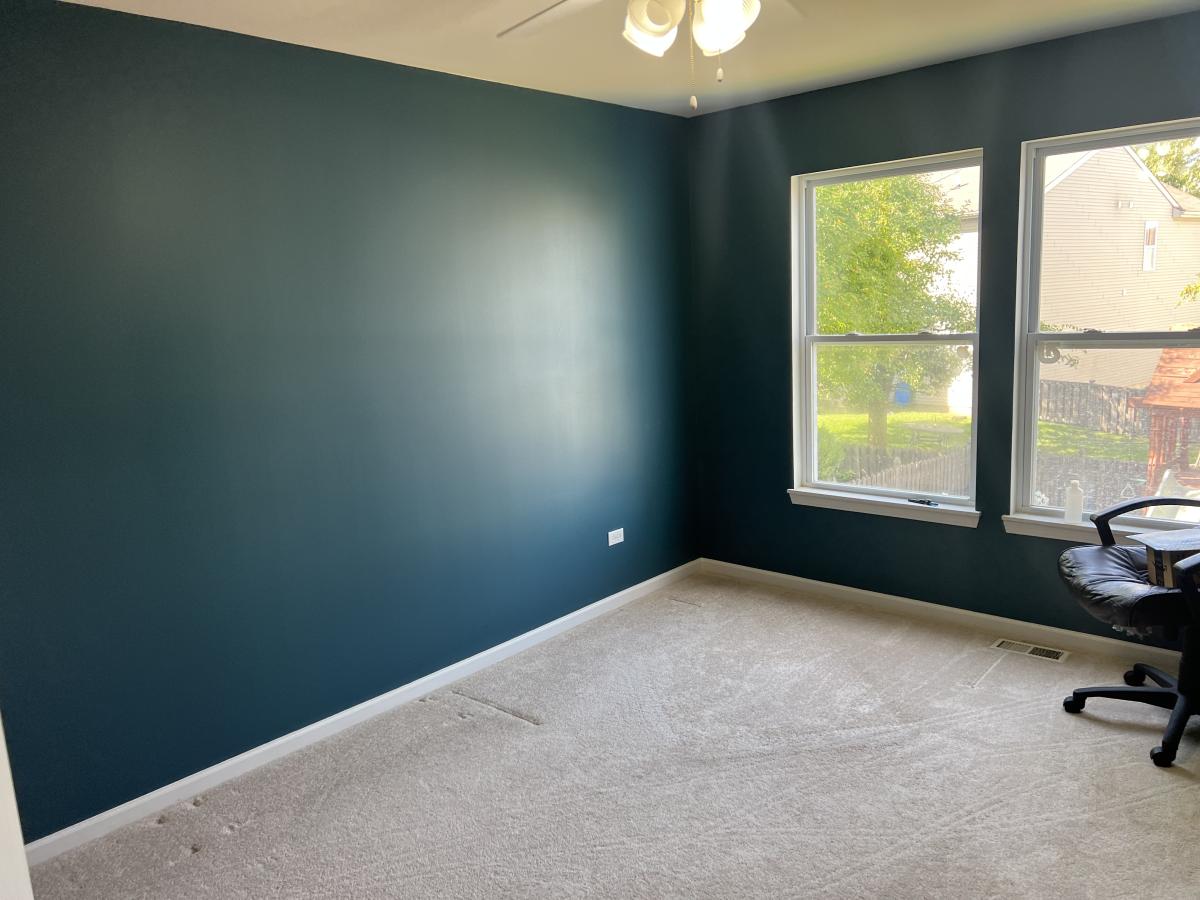
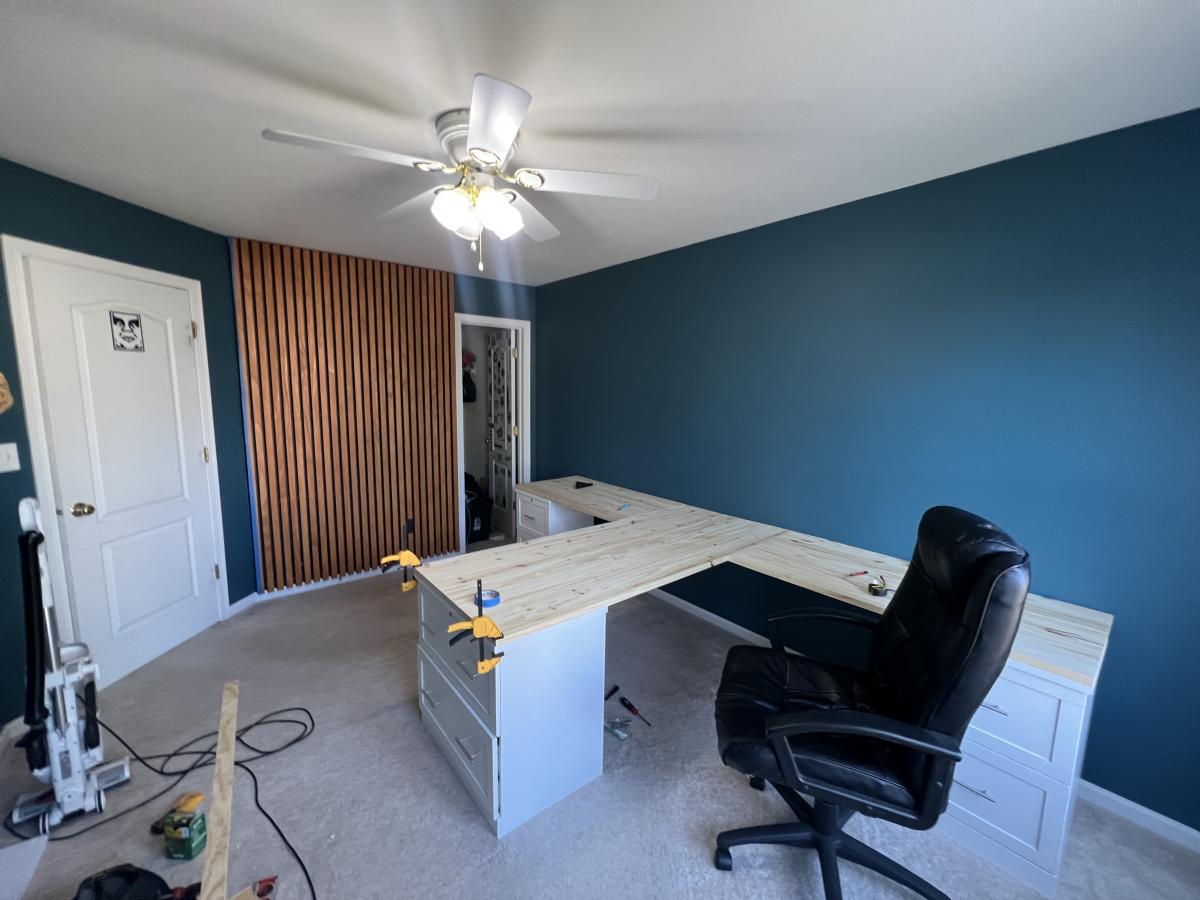
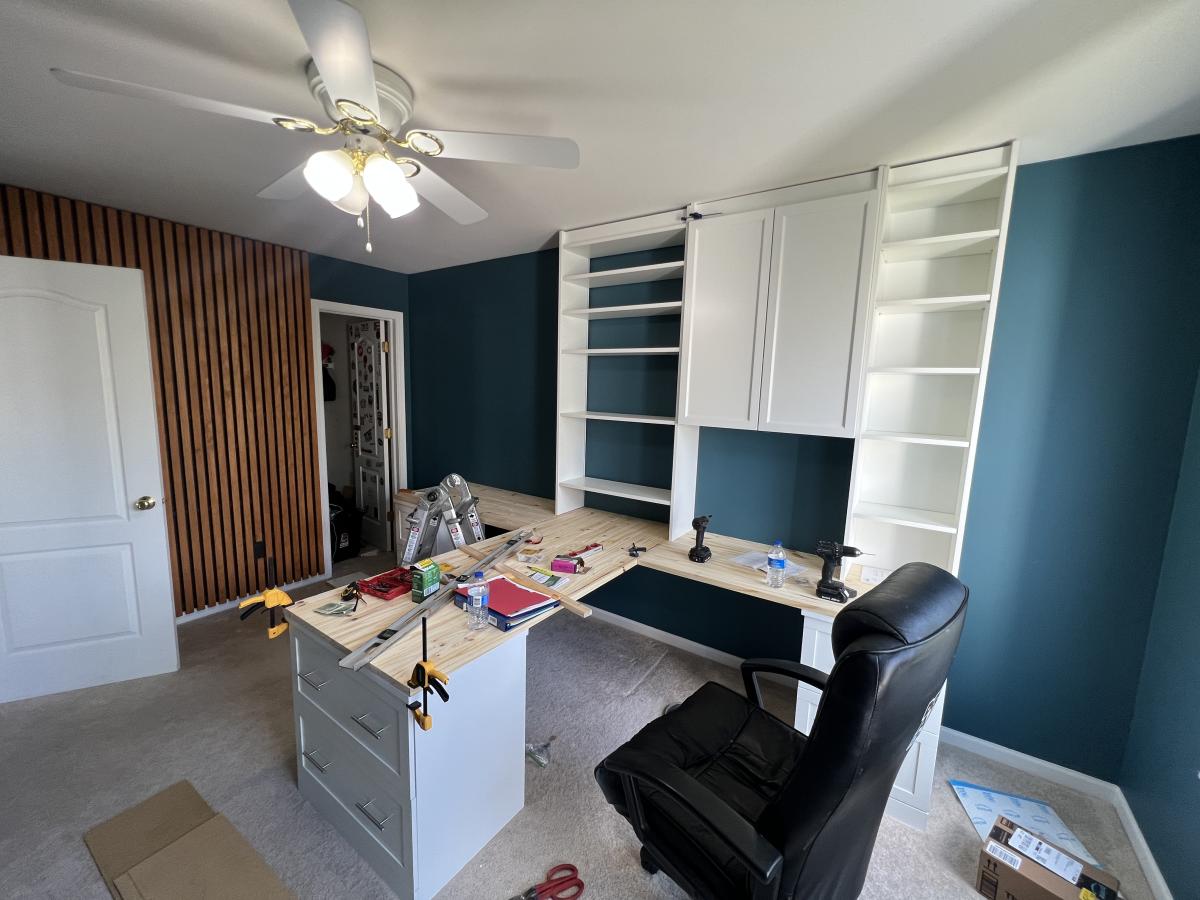
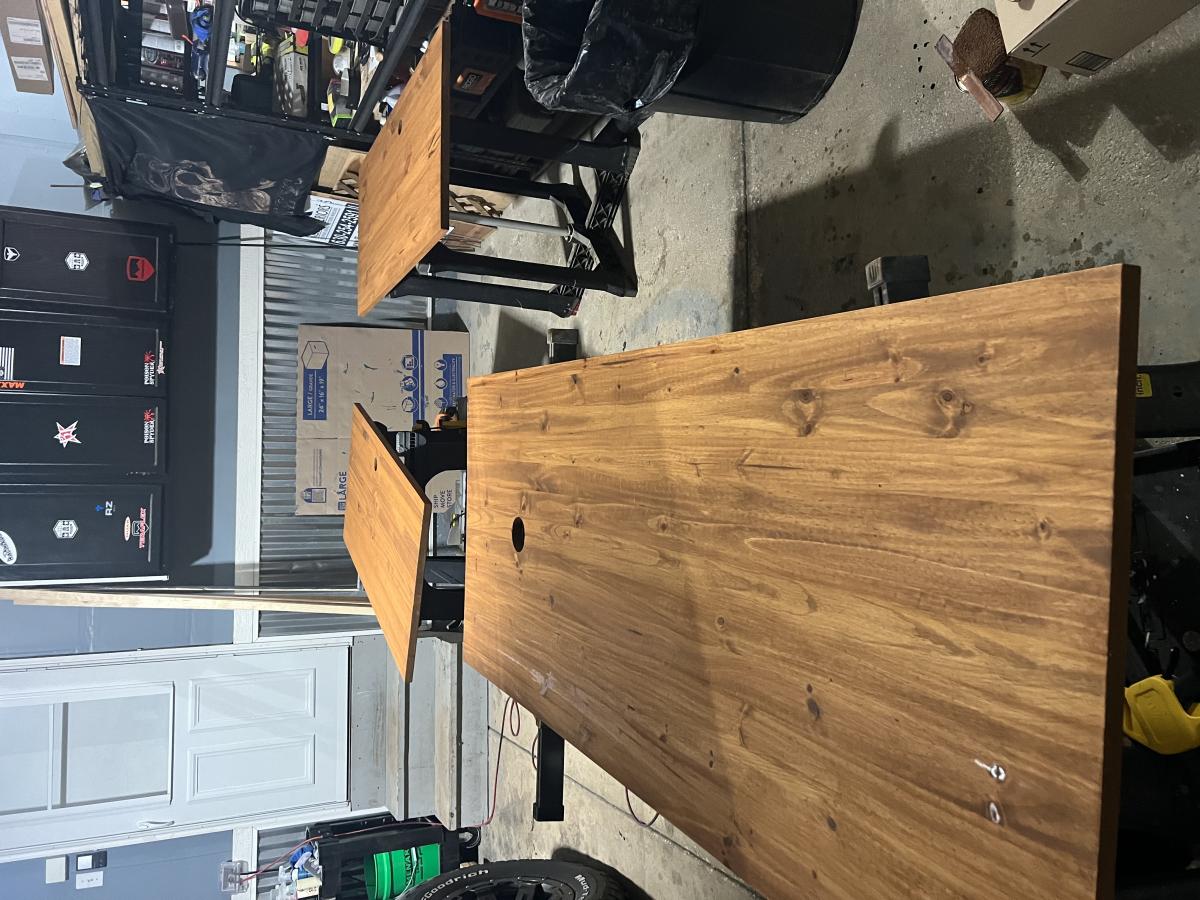
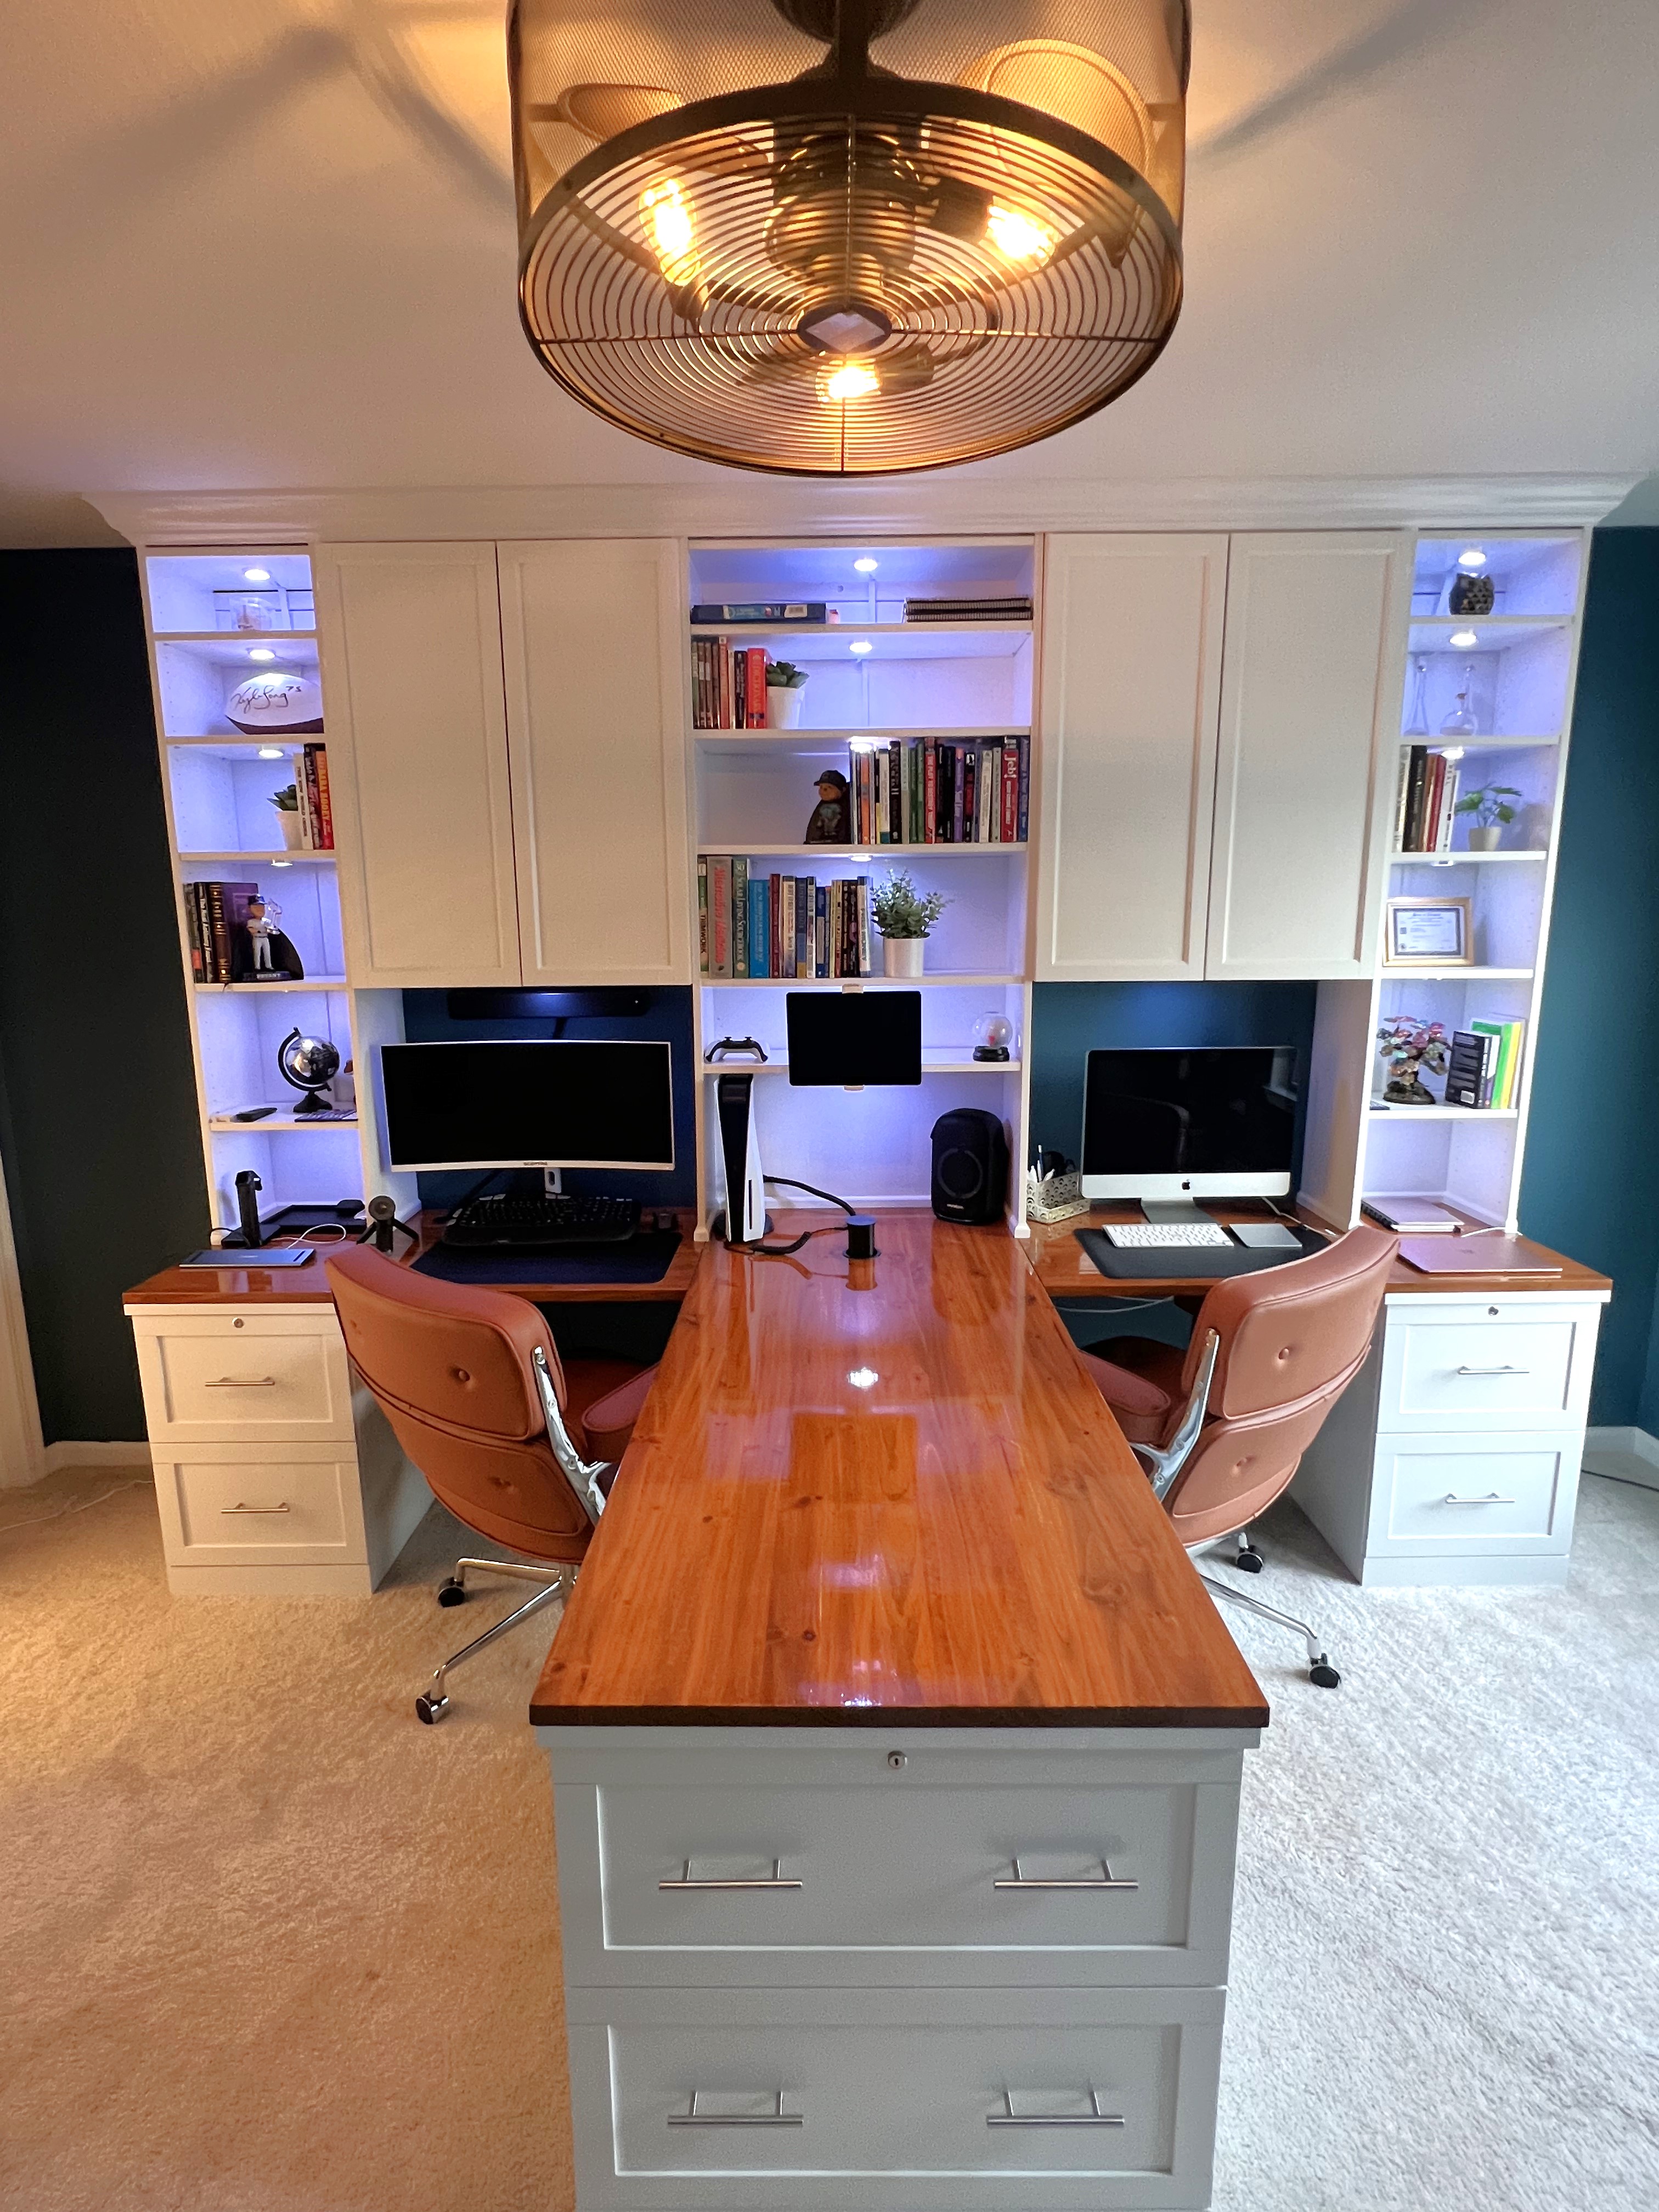 My home office remodel was inspired by a post from Ana White a few years ago. For this project I ended up using IKEA bookshelves and cutting the tops off and flipping them upside down. I used some crown mounding to cover the base of the cabinets on the tops. The desk top bases are file cabinets I found at the office supply store and the desk tops are edge glue pine. Overall I think I only had to make 8 cuts for the entire project. Saving me a ton of time and money. Thank you Ana for all of the wonderful post!
Mark Danreiter on Facebook
Hi all,
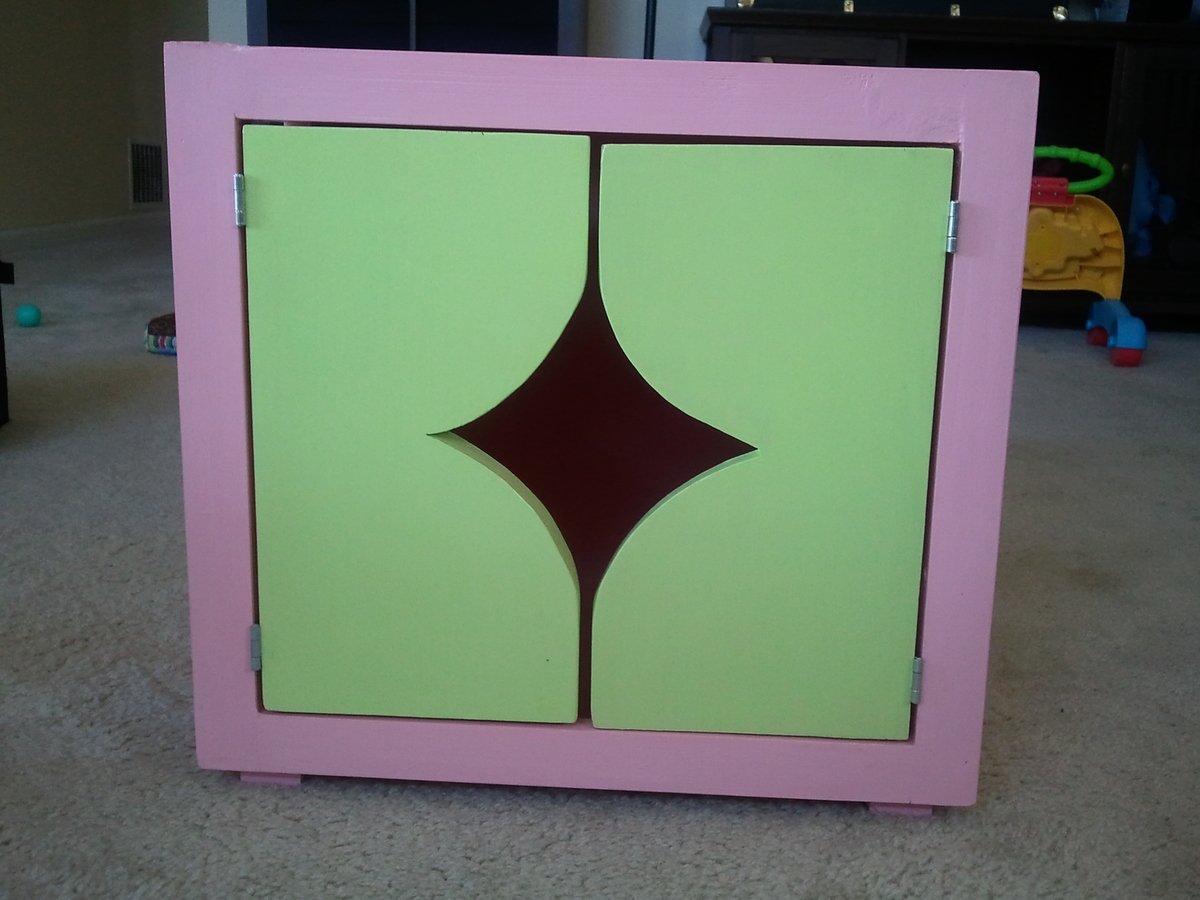
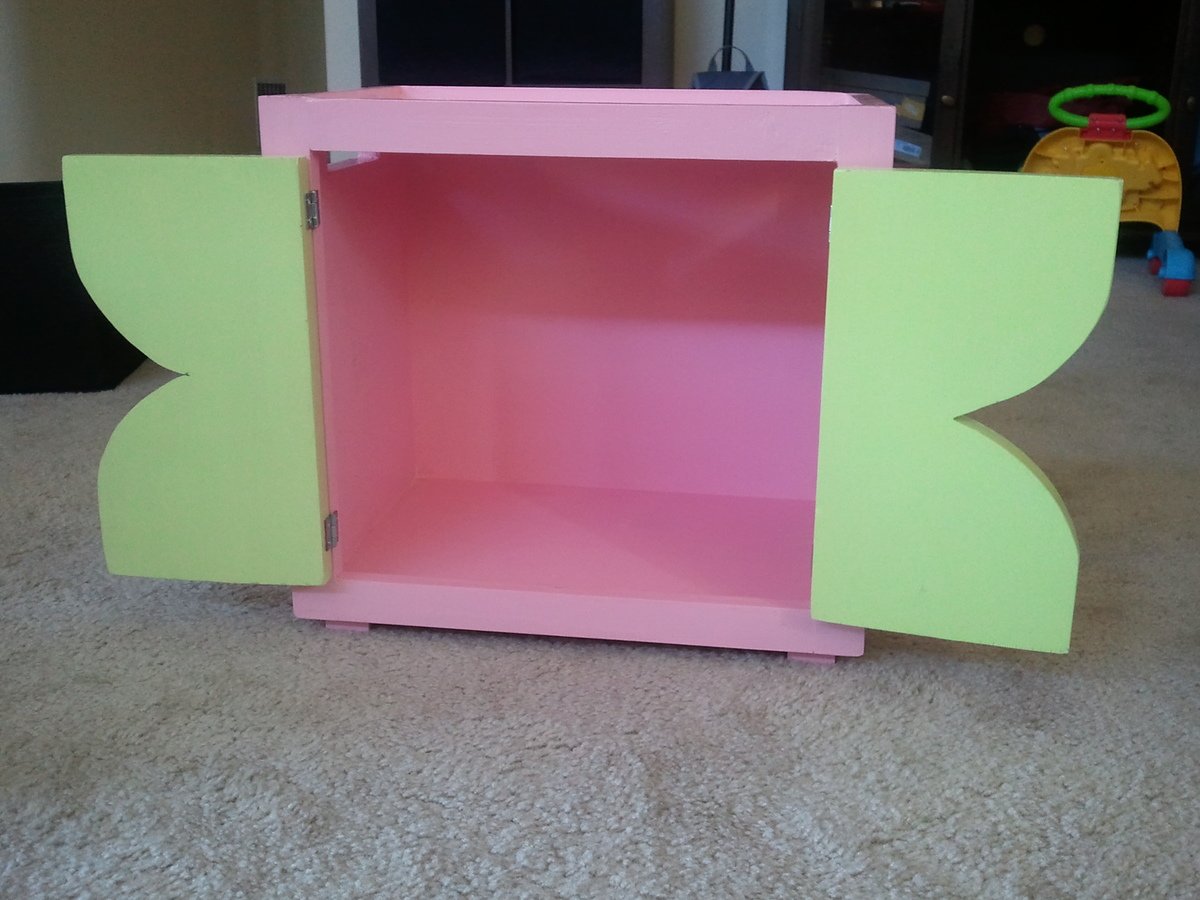
This is my second project I have build from plans I have found here. I'm a novice at woodworking and only get a couple hours on the weekend to work on projects. So it takes a while to finish one. My daughter loves her new toy shelf. The hardest part for me was to attach the doors straight. I'm sure there is a secret I just haven't figured it out yet.
I primed the whole piece, applied three thin coats of latex paint and sanded with 320 grit sandpaper in between coats. I applied two coats of finish after 48 hours and sanded with 400 grit sandpaper in between.
My wonderful hubby built this bed in a short amount of time and I did the sanding and staining. We made it for my 6 year old daughter for her 6th birthday surprise. Her reaction… a high pitched scream of excitement.
I made the bed from the plans on this site, I made the drawers using a dovetail joint.Took a little longer because of that.
Sat, 11/30/2019 - 11:34
Excellent work. I like that the footboard is below the top of the mattress. Was that in the original plans or did you modify? Well done.
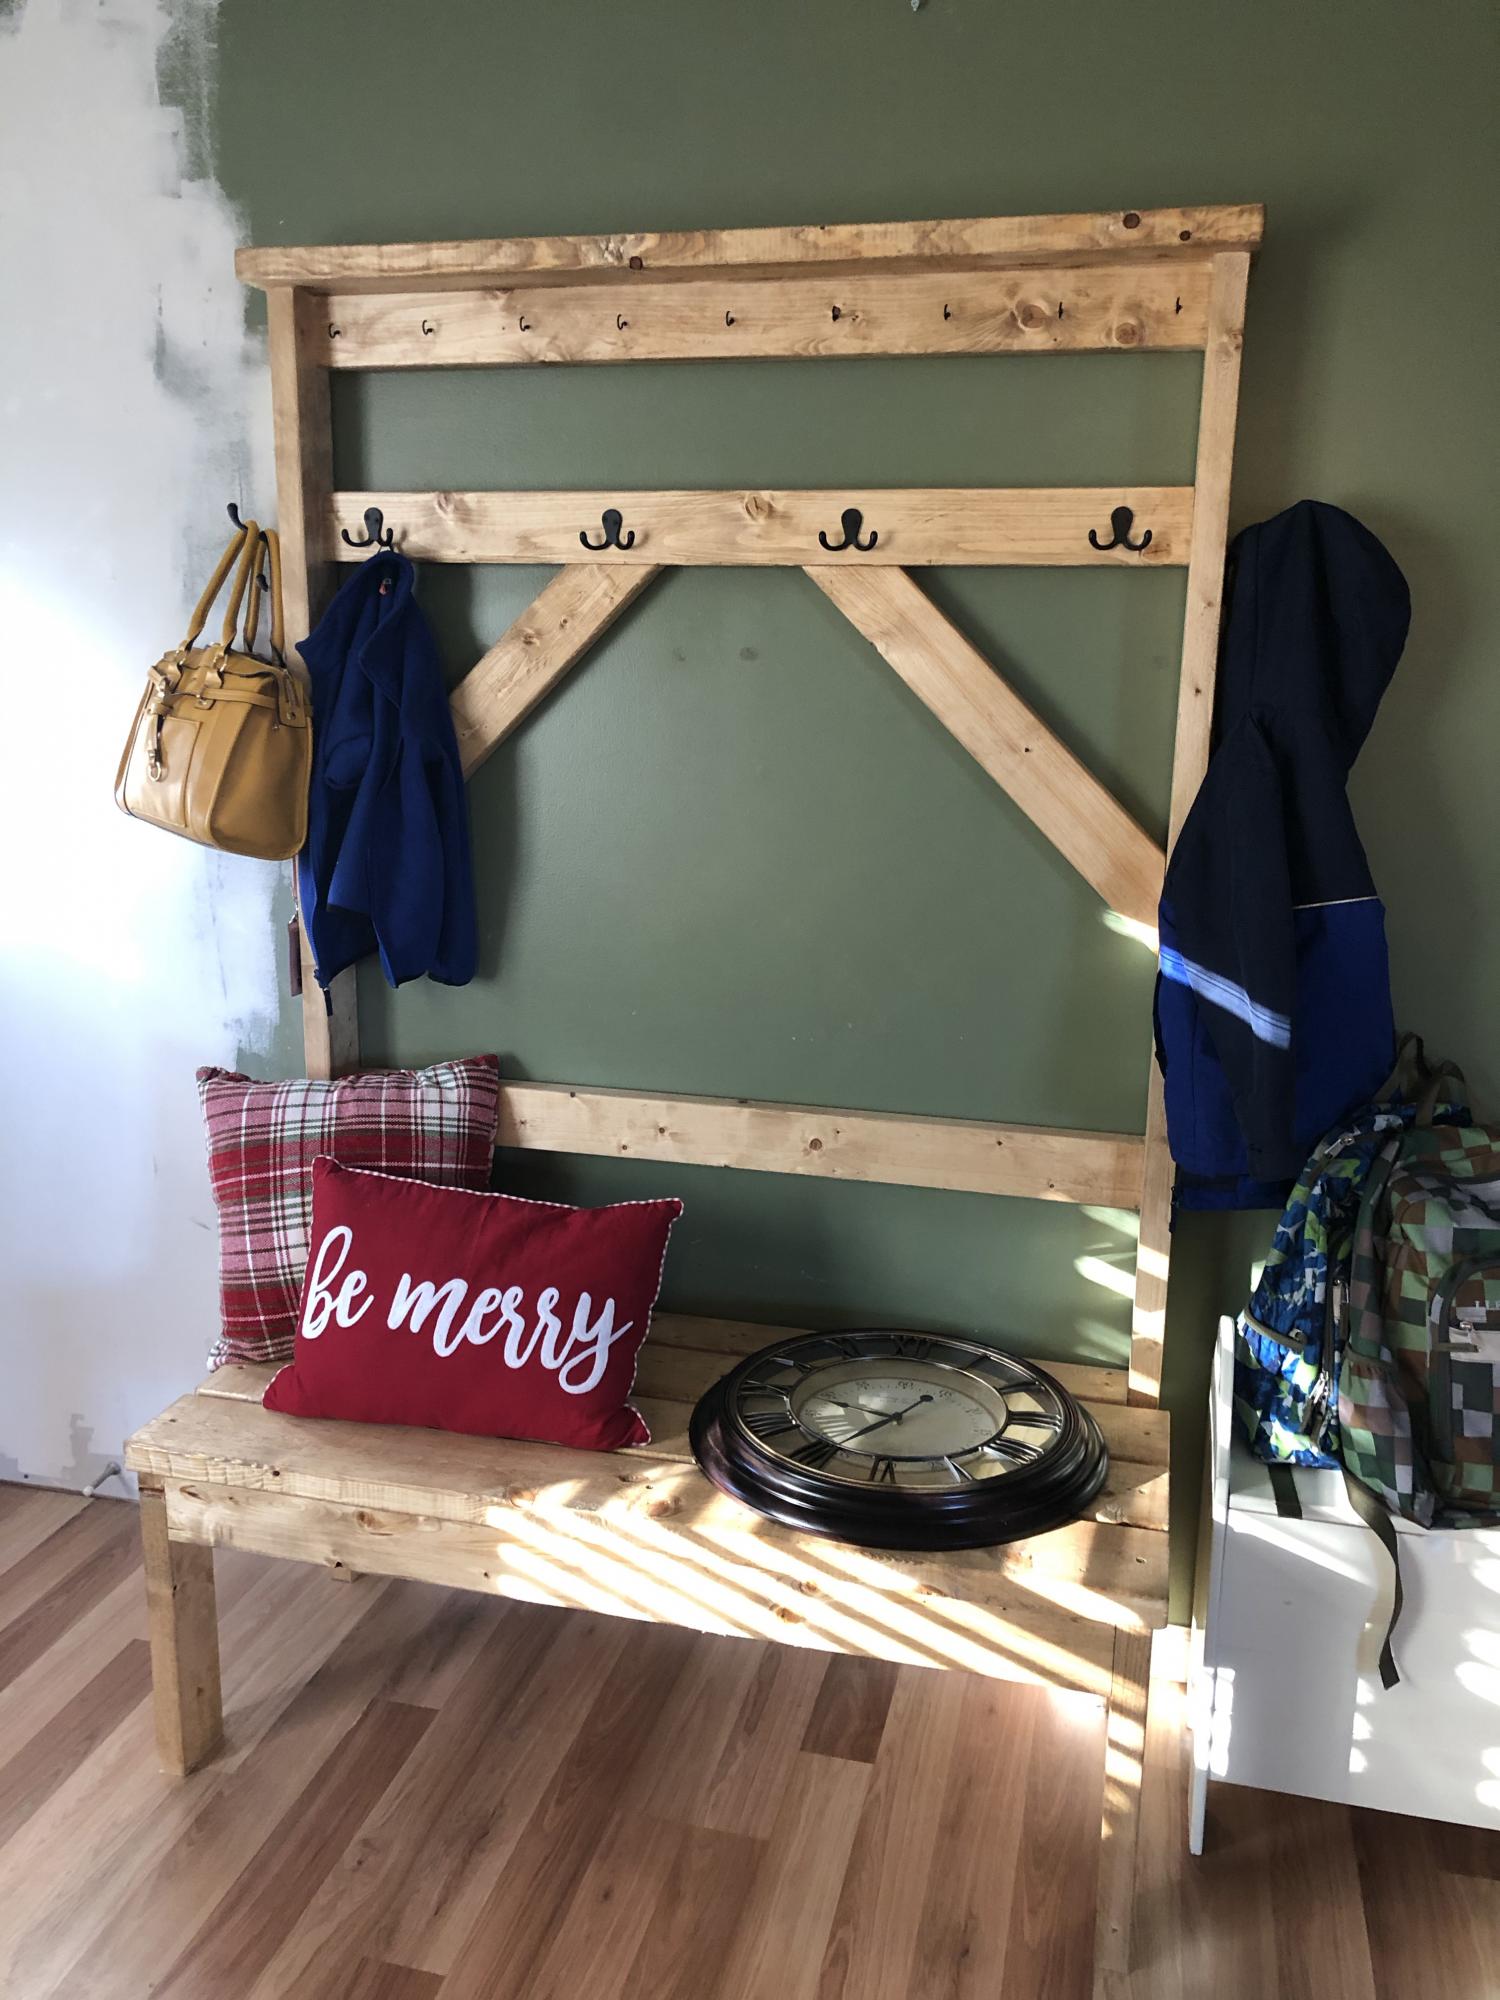
My family was all coming over for Christmas and we were going to have about 30 people at my house. I only had my mudroom hooks but no other place to store people's keys, coats, etc. When I saw these plans they looked quick enough to build in one night (the night before the party lol). So I did! And man did it get use. I wish I would've taken a picture with all the coats and purses and keys on it.
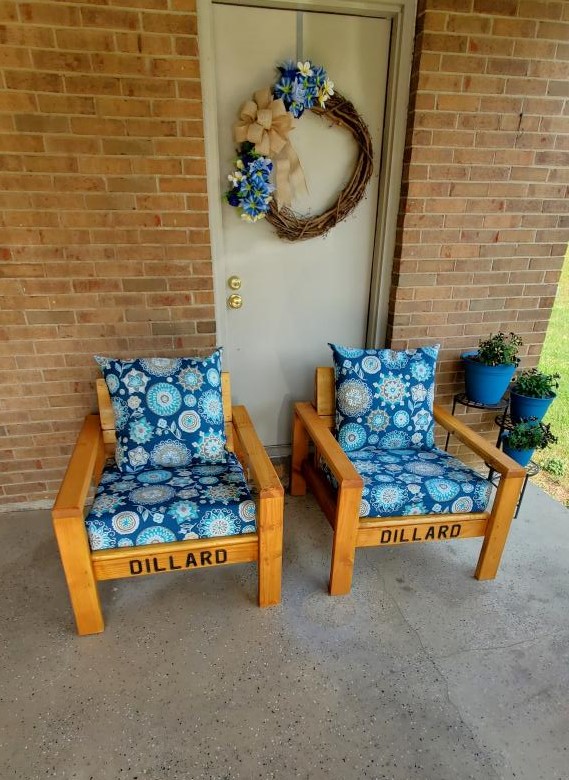
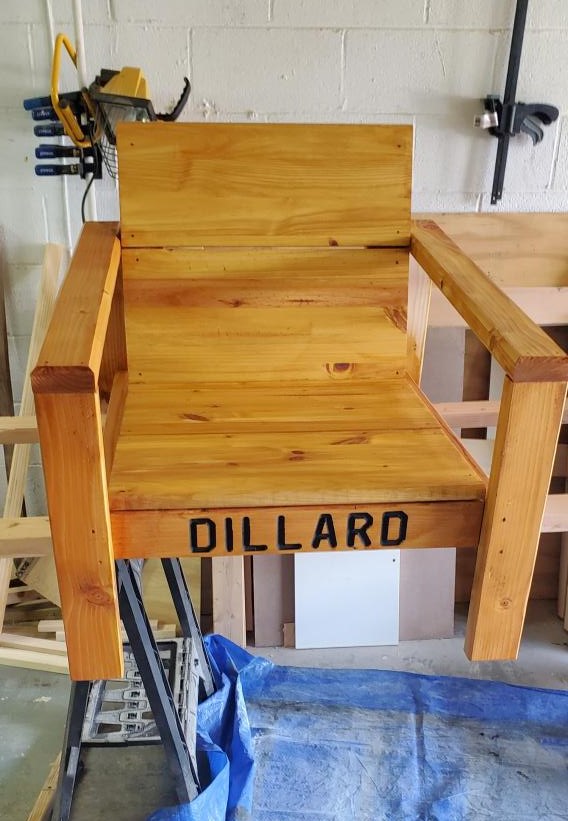
I have done quite a bit of wood working never being great at any of them . But I truly love furniture building.
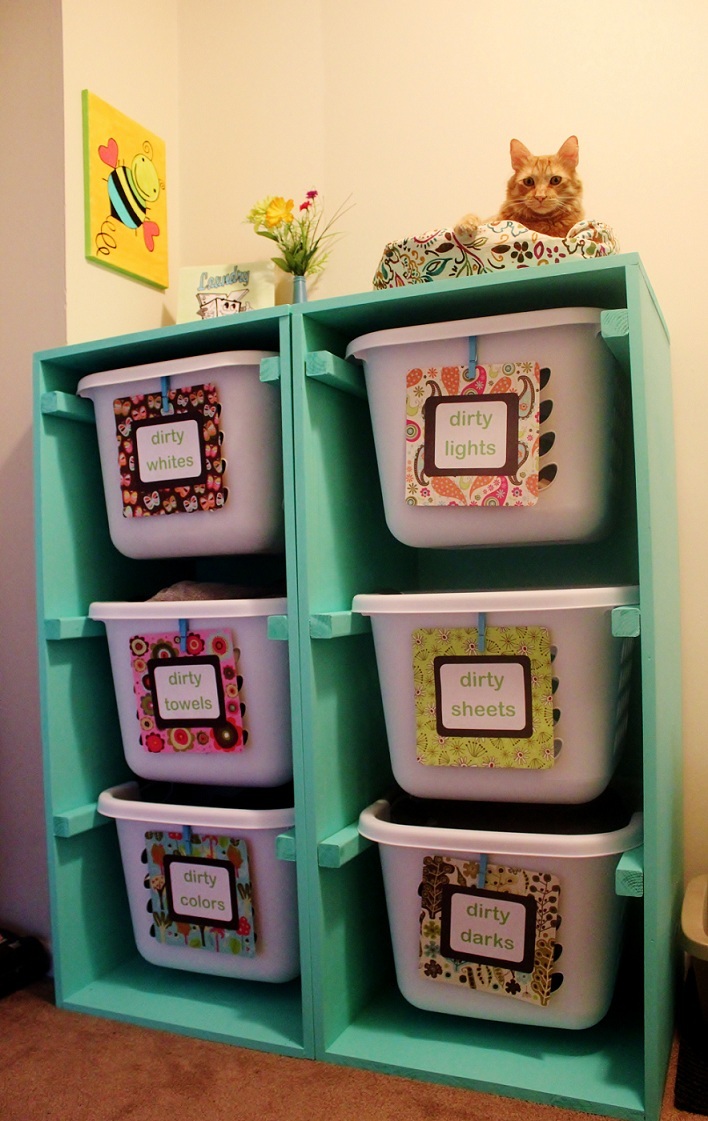
Both dressers were completed in one (long) day by my boyfriend and his father. Modifications were made to make it fit square Sterilite 1.5 Bu./ 53 L laundry baskets (serial/bar code # 073149121789).
I'm not sure what size pieces they purchased, however this is the cut list (for one dresser, 3 laundry baskets):
2 - 48" x 20" (sides) - could possibly be shorter, we had a little bit of extra space
1 - 20" x 20" (bottom)
1 - 21.5" x 20" (top)
1 - 48.5" x 21.5" (back)
6 - (2" x 2")'s cut into 20" pieces (or the metal angle option in the original design)
They did not distance the spaces perfectly for the (2" x 2")'s, but every 14-16 inches should be about right.
I'm sorry these instructions are void of a lot of information, but I hope they can help.
I think this project can take a shorter amount of time if no mistakes are made. They had to run to Lowe's 2 times in the middle of the project because they forgot to purchase a second size of screws and then they cut the back too thin.
Good luck, and have fun! It is a fabulous project and oh so very useful.
Mon, 05/28/2012 - 09:53
This is a brilliant solution, particularly since most sorters don't have enough compartments to separate the whites, sheets and towels from each other. But we really don't want to wash them together, do we?
Love how cozy your kitty looks up there, too.
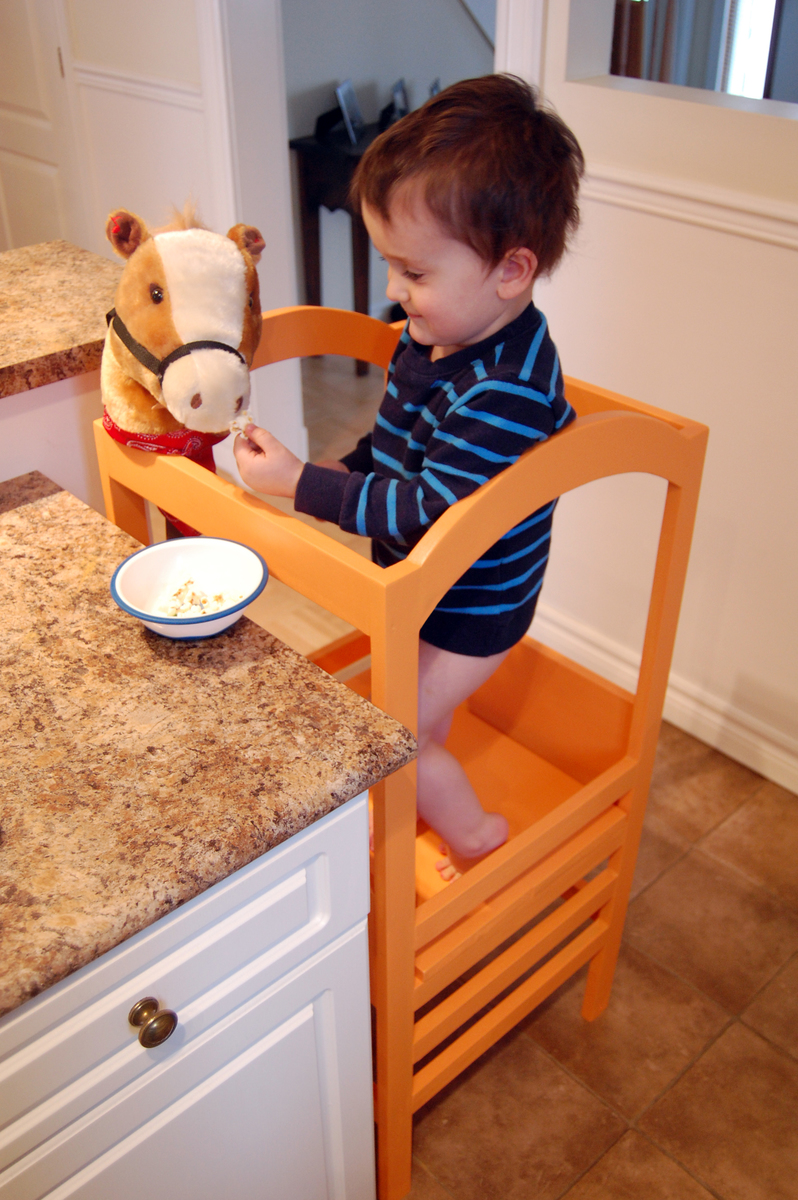
Loved building this for my son, much easier than I expected it to be.
Total build time was about 3 hours, and another 3 hours for finishing. We've had it only a few days and it's already a staple in the kitchen, used for everything from peeling potatoes to feeding his horse!
Thank you so much for making these plans freely available.
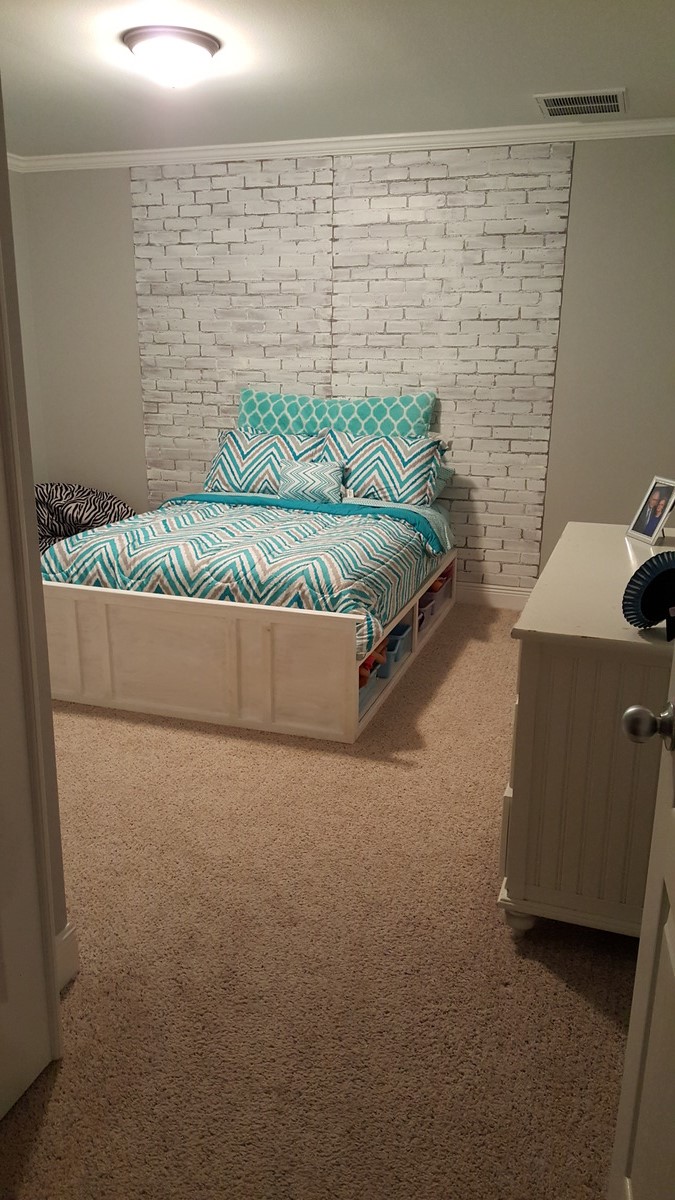
My daughter turned 10 this week and we did a room makeover for her birthday. She is in LOVE with her new space. She has been sharing a bunk with her 6 yr old brother. We told her when her 2 yr old brother climbed out of the crib that she would get the baby's room and the boys would then bunk together. Well, he climbed out as they ALL do.
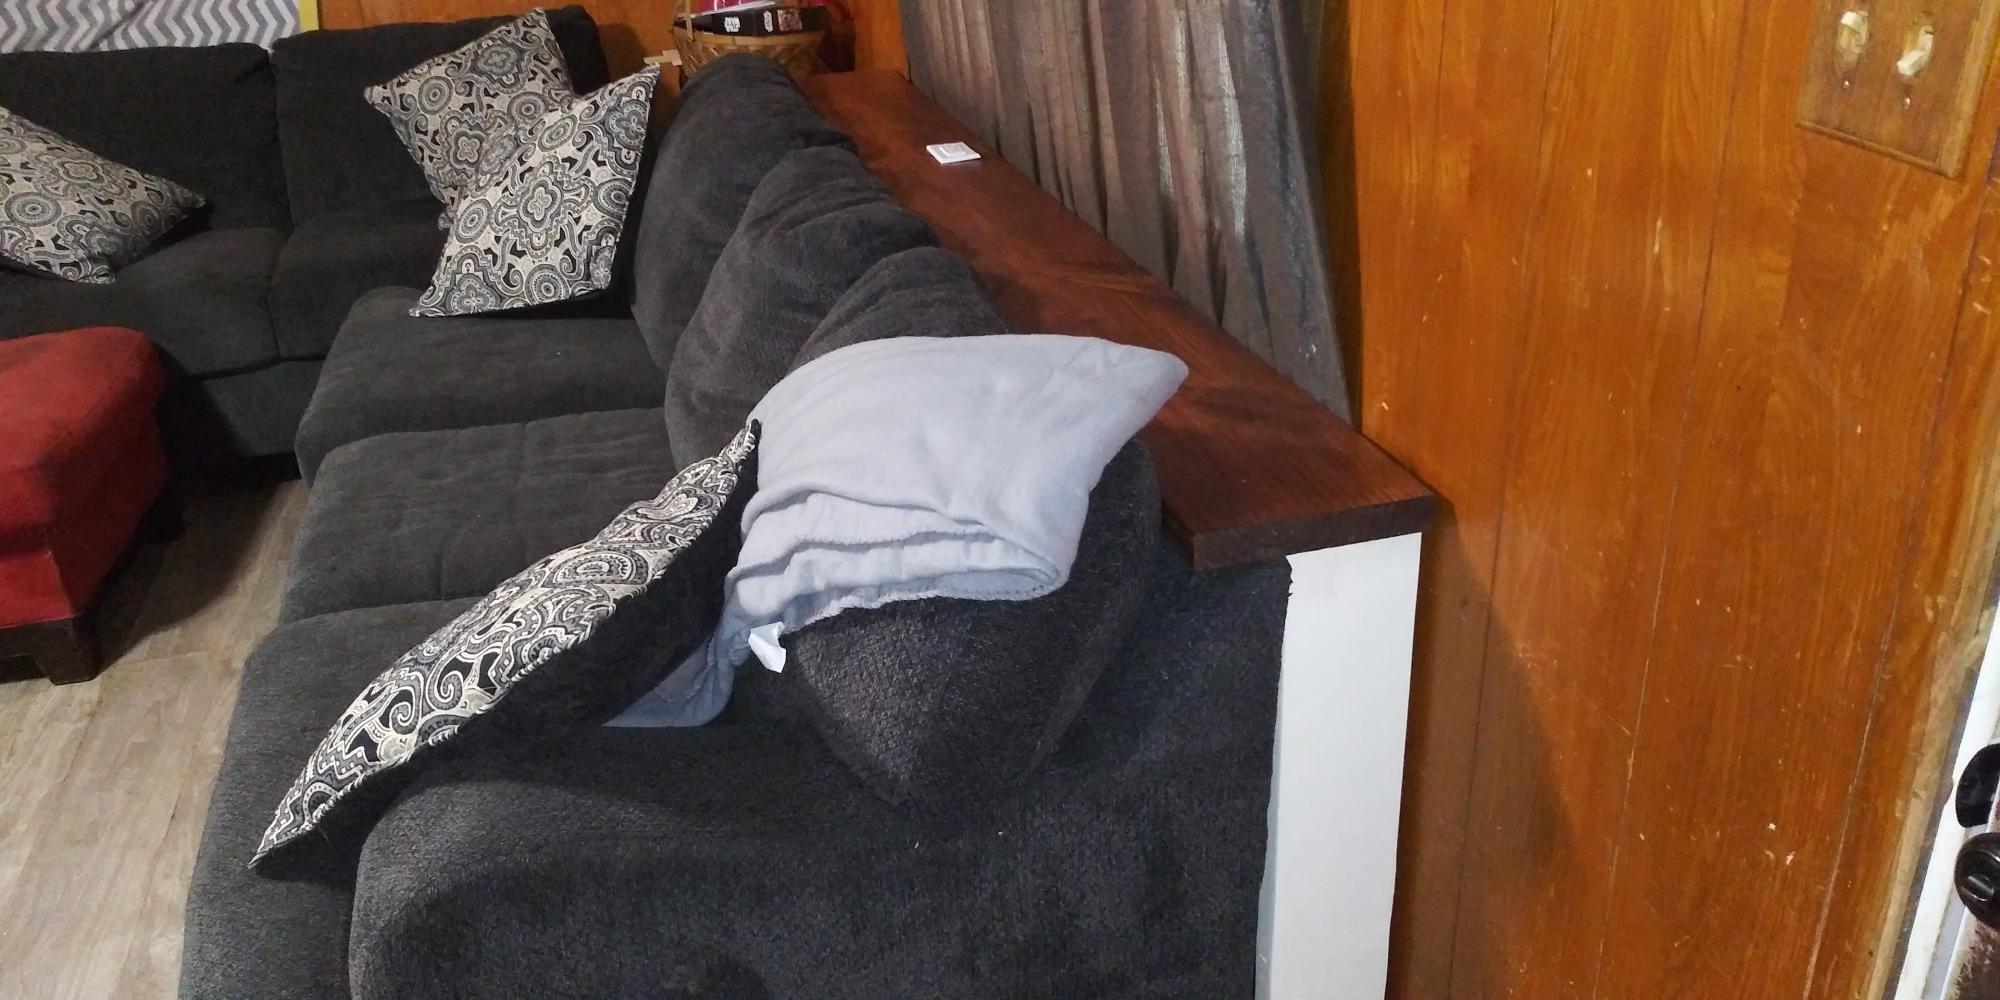
I created a sofa table and also one for the loveseat but I don't have it pictured. I used a 2" x 10" for the top and 2" x 6" boards for the legs as well as braces. Added a two outlet and two USB port socket to the table top which was wired to plug into the outlet that would be covered up. Made it so that the legs we're up against the wall allowing for the top to extend just over the back of the couch, and it allowed the two legs to keep the pets from going behind the couch.
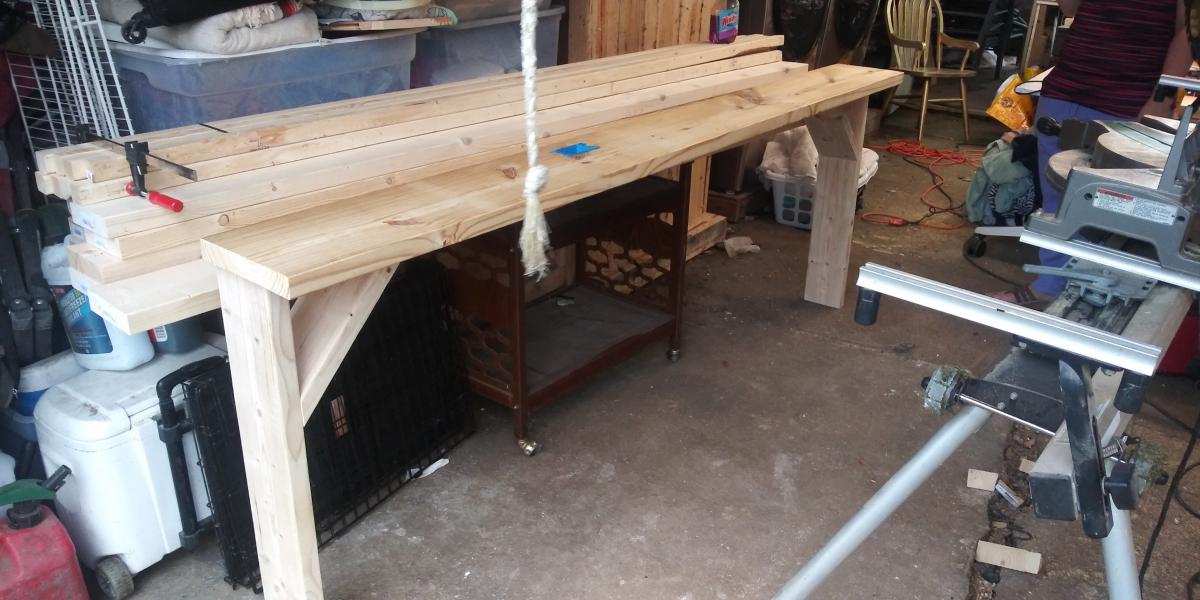
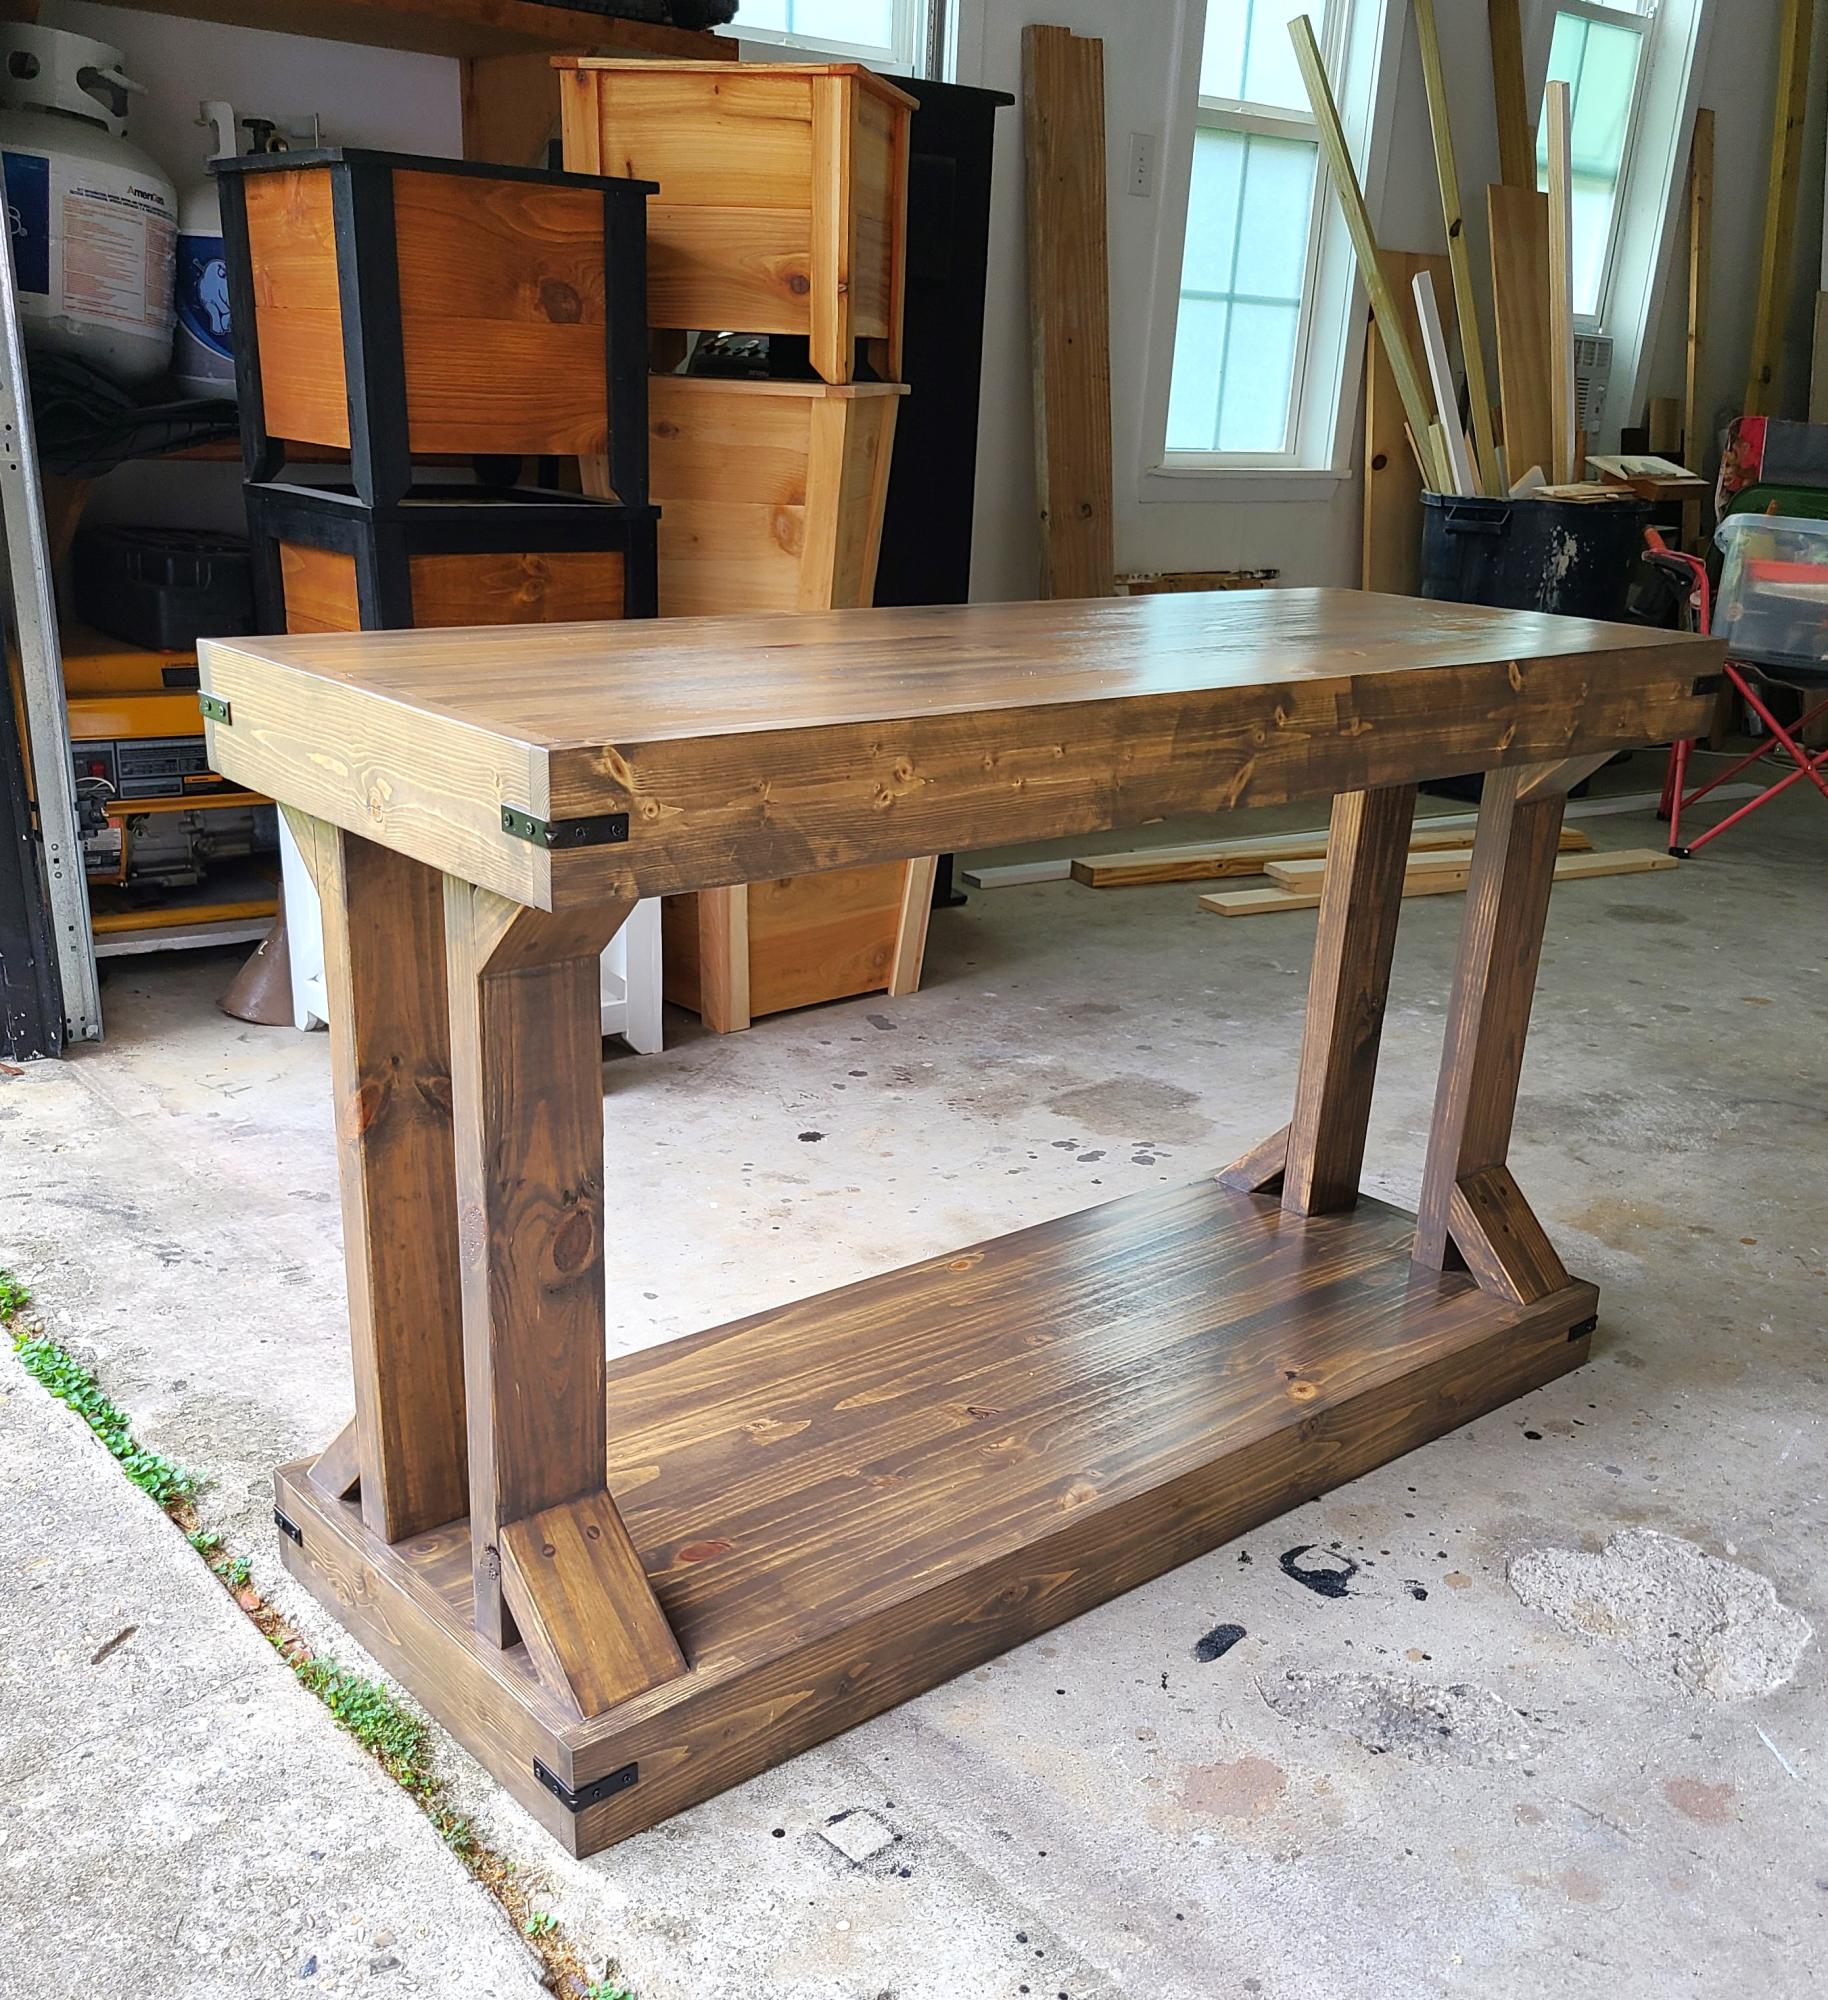
Built 2. Stained one Briarsmoke the other to be determined. Thank you Ana for the inspiration and plans!
Tim Basoco
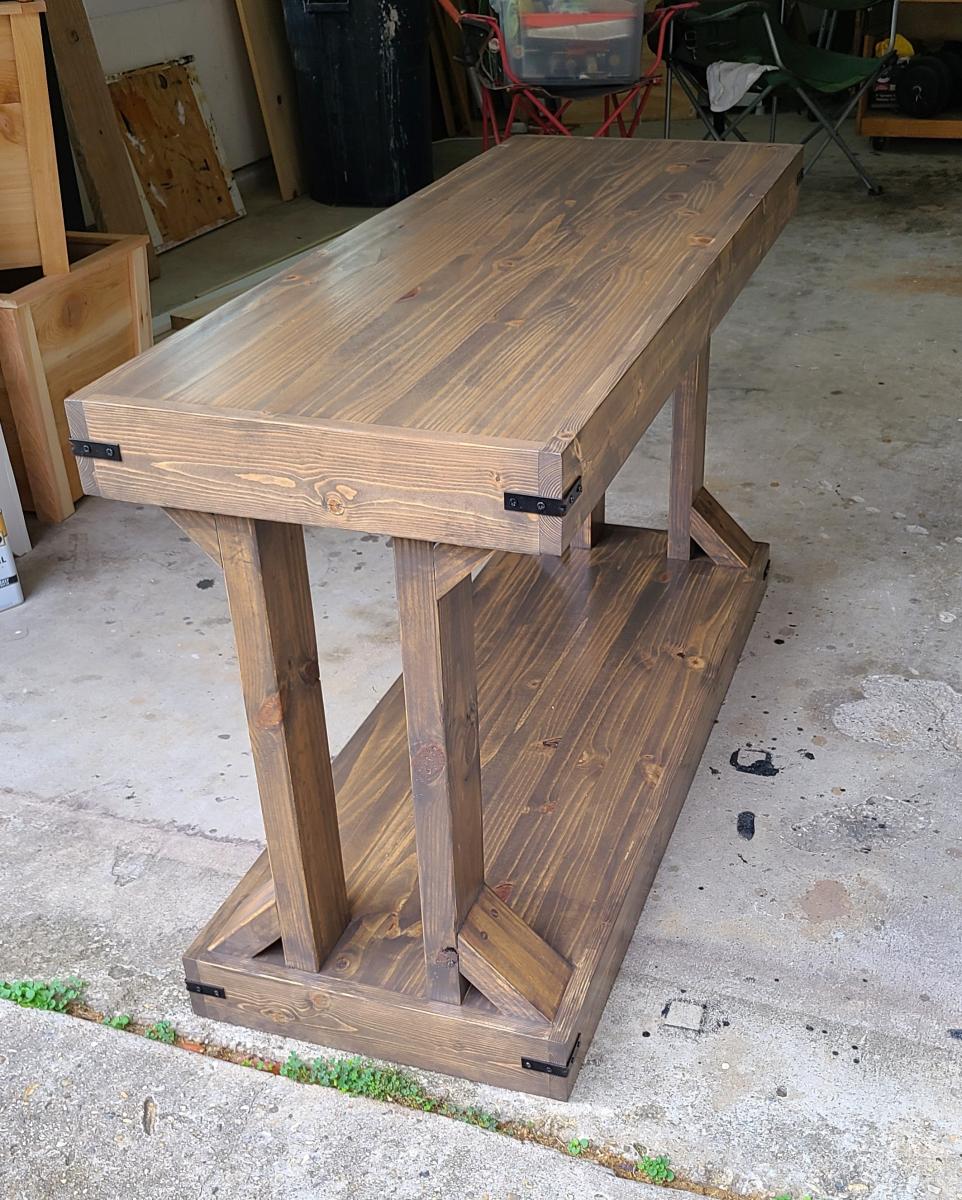
Sat, 11/18/2023 - 12:48
This looks amazing, looks like you've been busy with planters too! Thanks for sharing:)
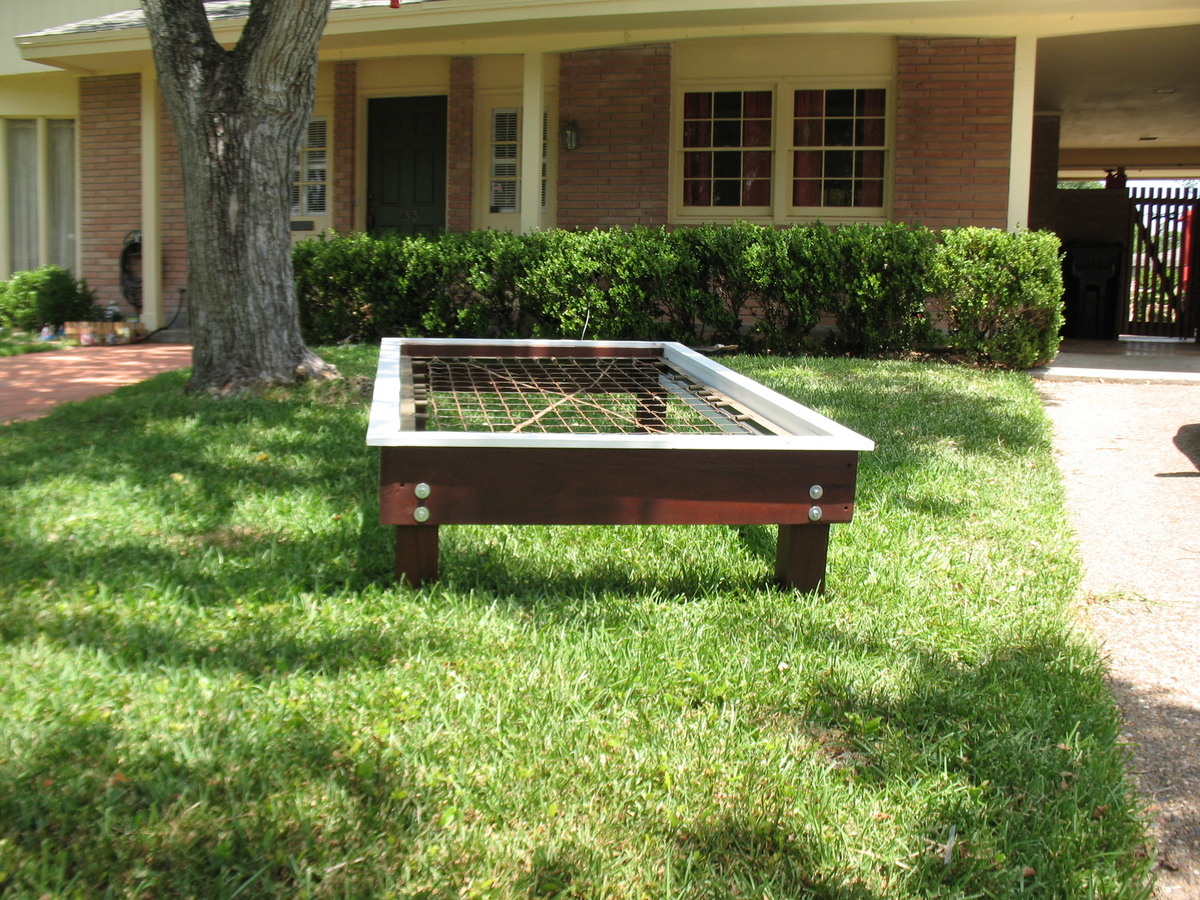
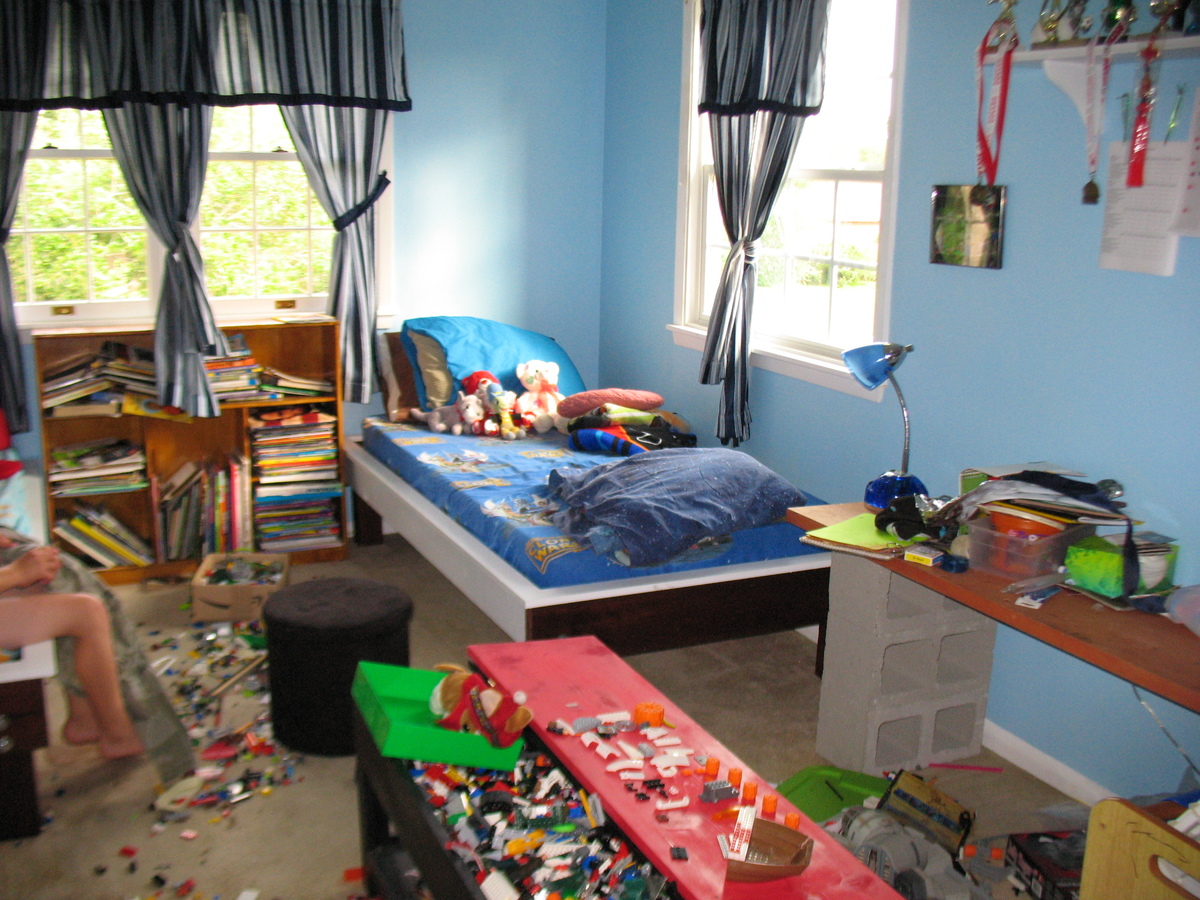
I took the Hailey Platform Bed plan and cut to a twin bed size. I used some old wood I found in the garage for the head and foot boards and the legs. Notice the legs are 4x4s. The grandkids had some old bed springs under their mattresses so I incorporated the spring into the build. That required that I lower the cleat a couple of inches and it meant I had a very complicated leg geometry in order to get it deep enough to support the bed. I built the frame with Kreg Jig pocket joints and they made the work very easy with such large and heavy timbers. Notice I attached the legs to the frame with 5/16" lag screws which allows easy removal of the legs if you need to make it easier to move. Came out very good but I think I will build the second bed without the springs and go for the slat method as shown in the plans.The result is beautiful. My neighbor commented that it looked very Pottery Barnish!
The second bed I finished yesterday is made with slats. A very smart move. The legs are so much easier to attach to the frame. Both beds are beautiful and sturdy. One grandkid told me that when the hurricane comes he is going to get under his bed because it is so strong. He may be right but I will be in Laredo or San Antonio.
Comments
hunteramaris
Sat, 06/16/2012 - 16:00
loving it.!
What are the dimensions? I am trying to build a similar table and am thinking 40" square.
jdjones821
Tue, 06/01/2021 - 18:13
where are the plans for this…
where are the plans for this?
thank you!!!!