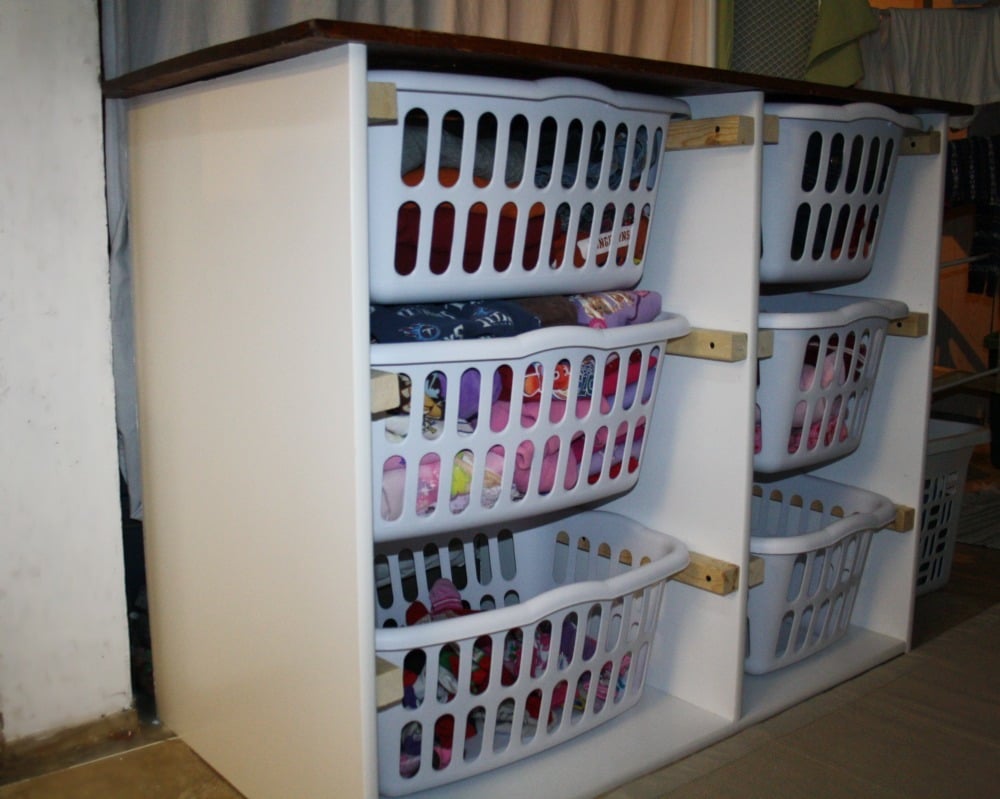
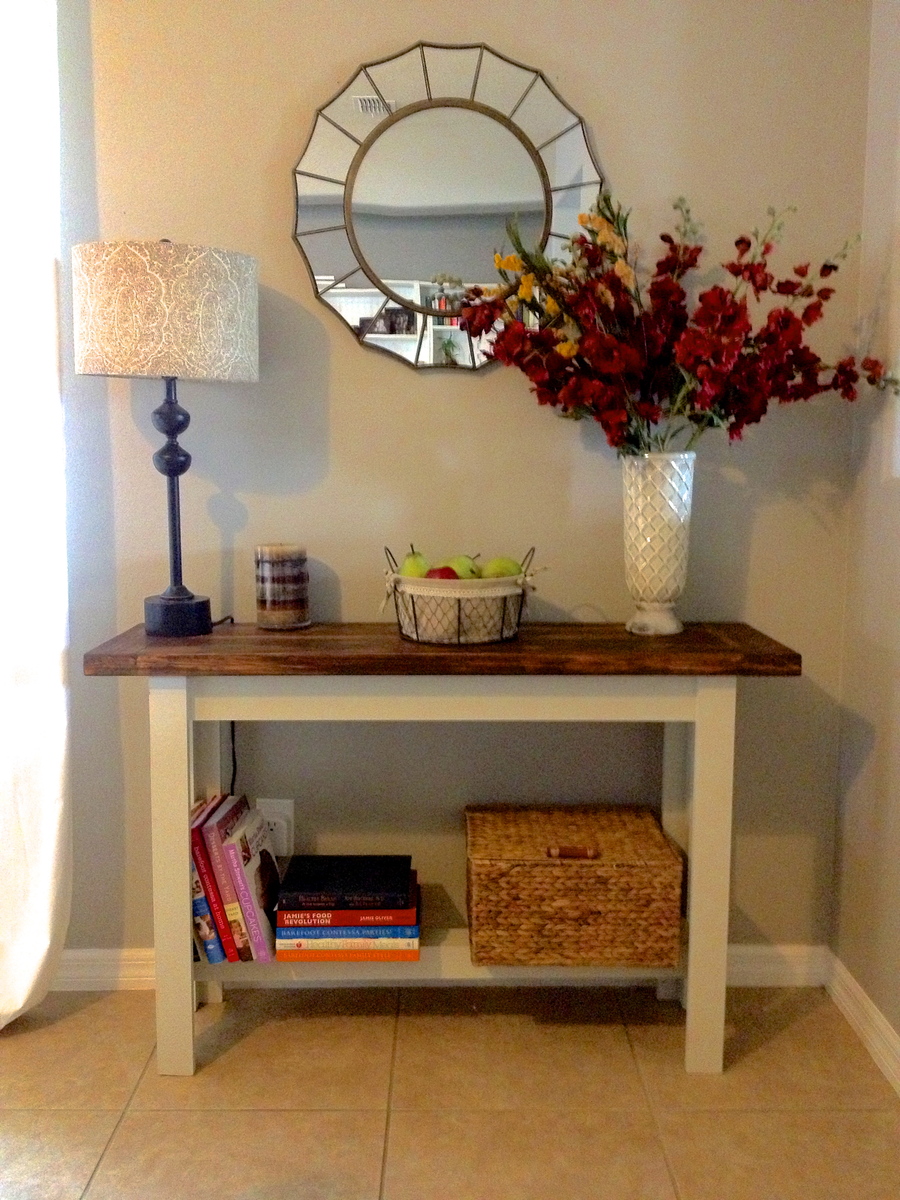
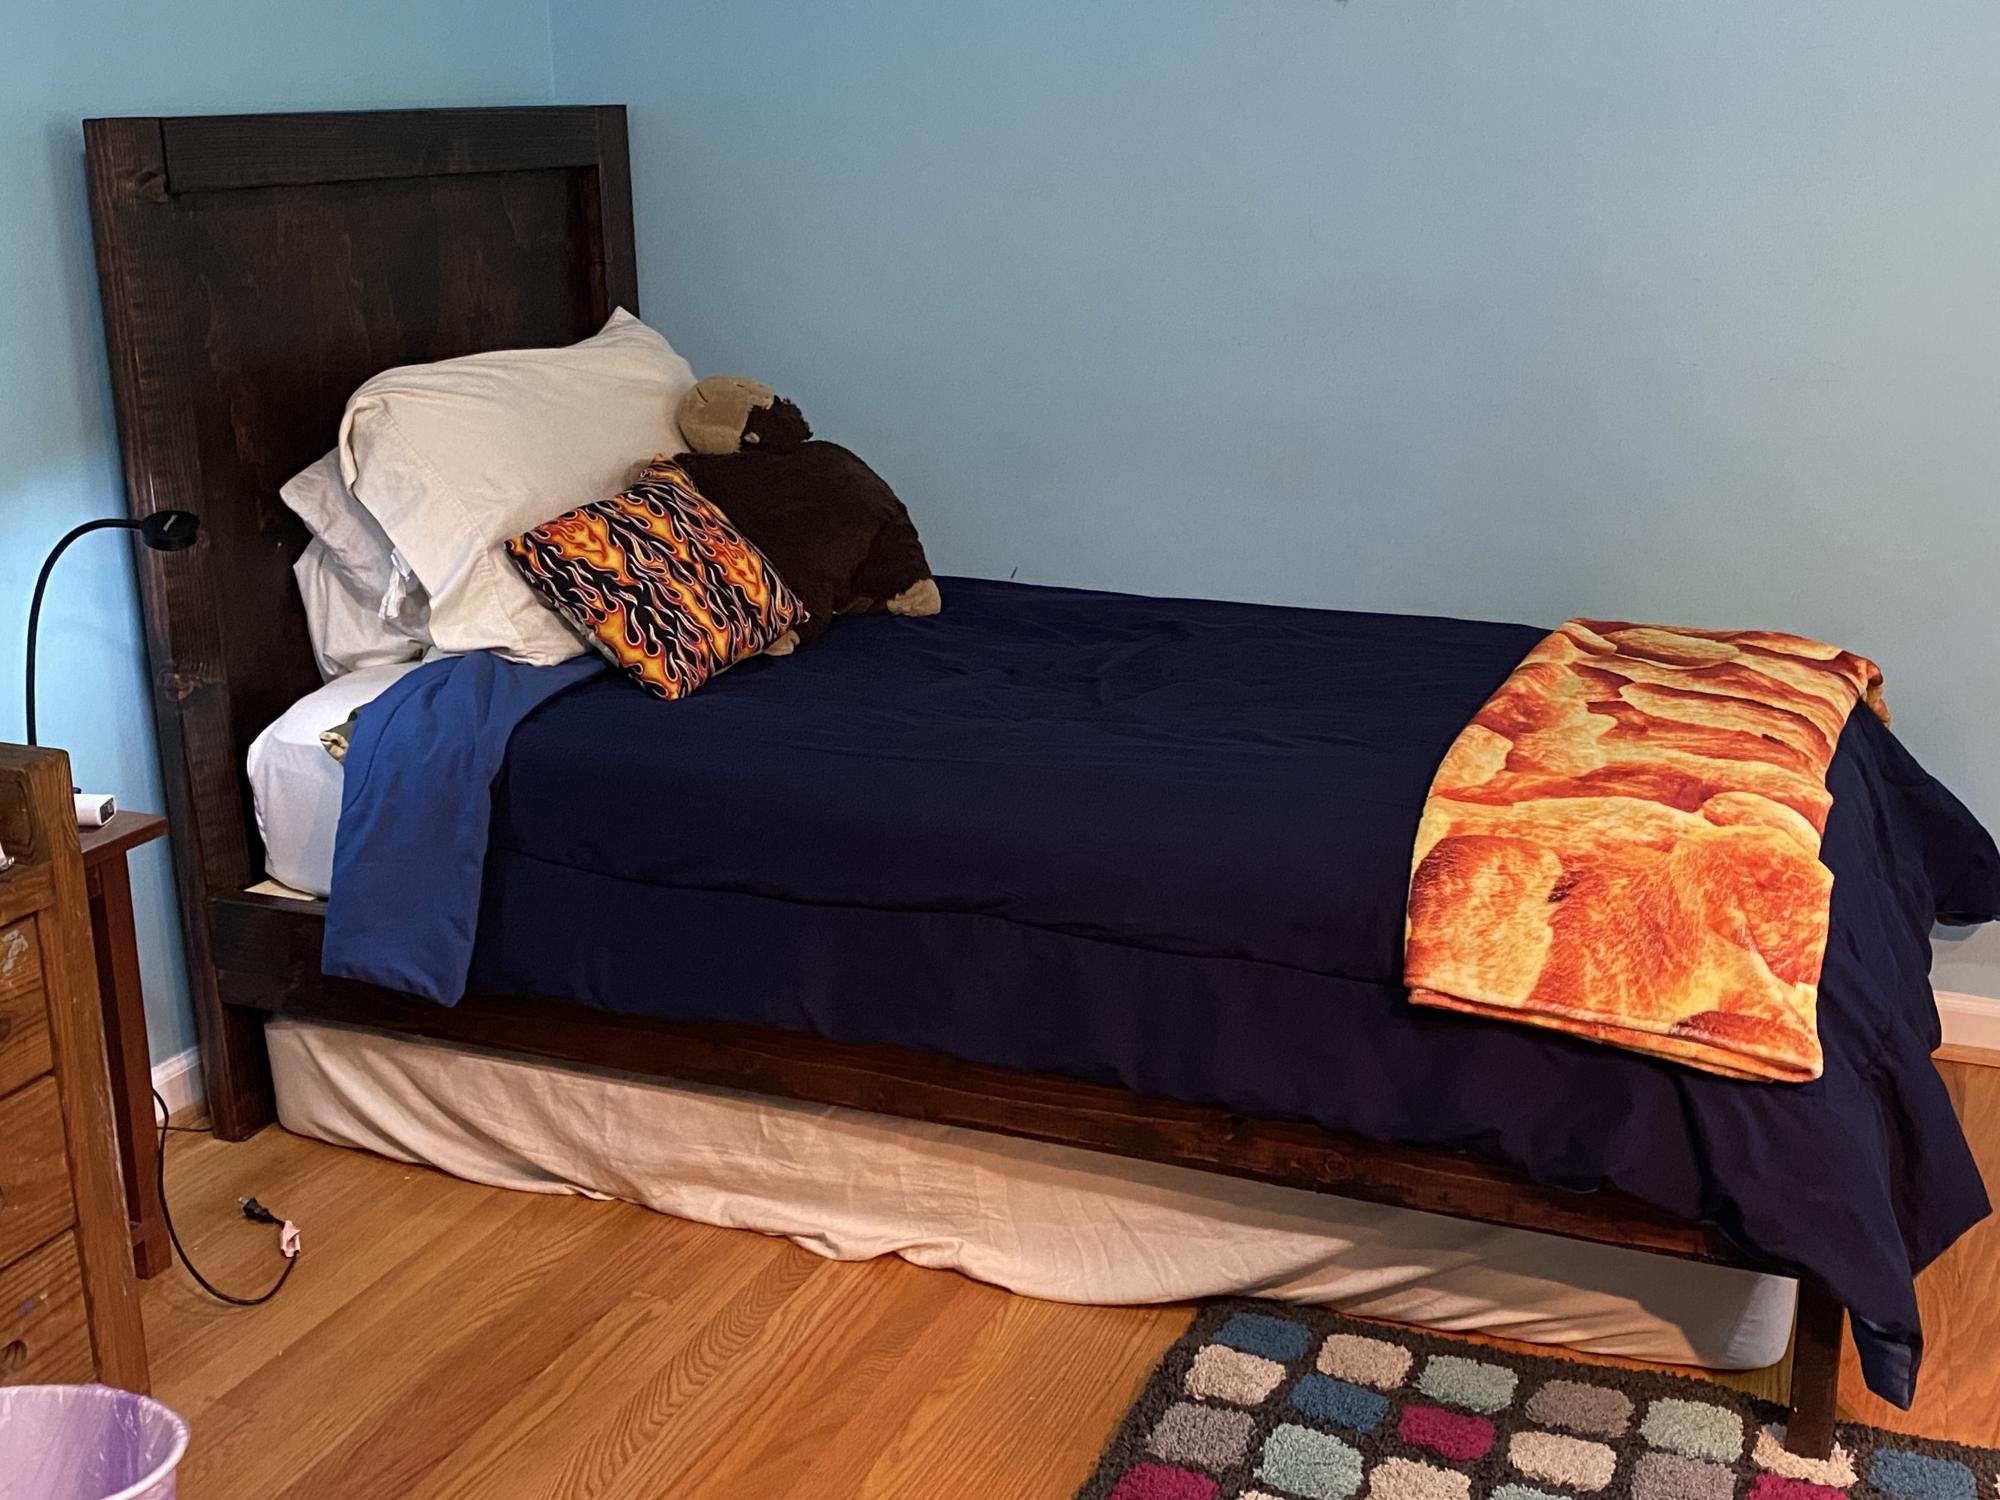
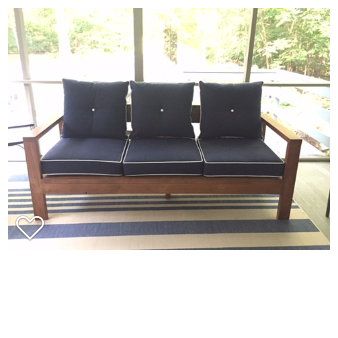
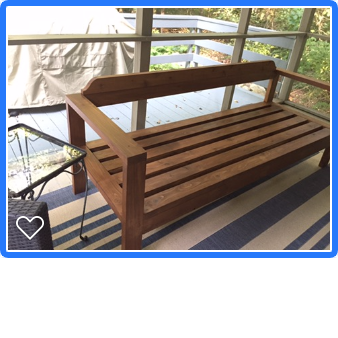
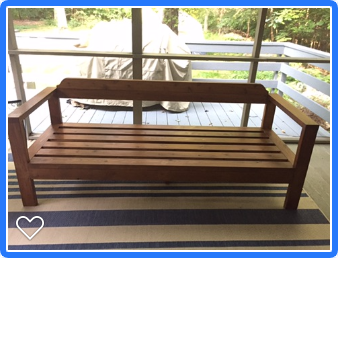
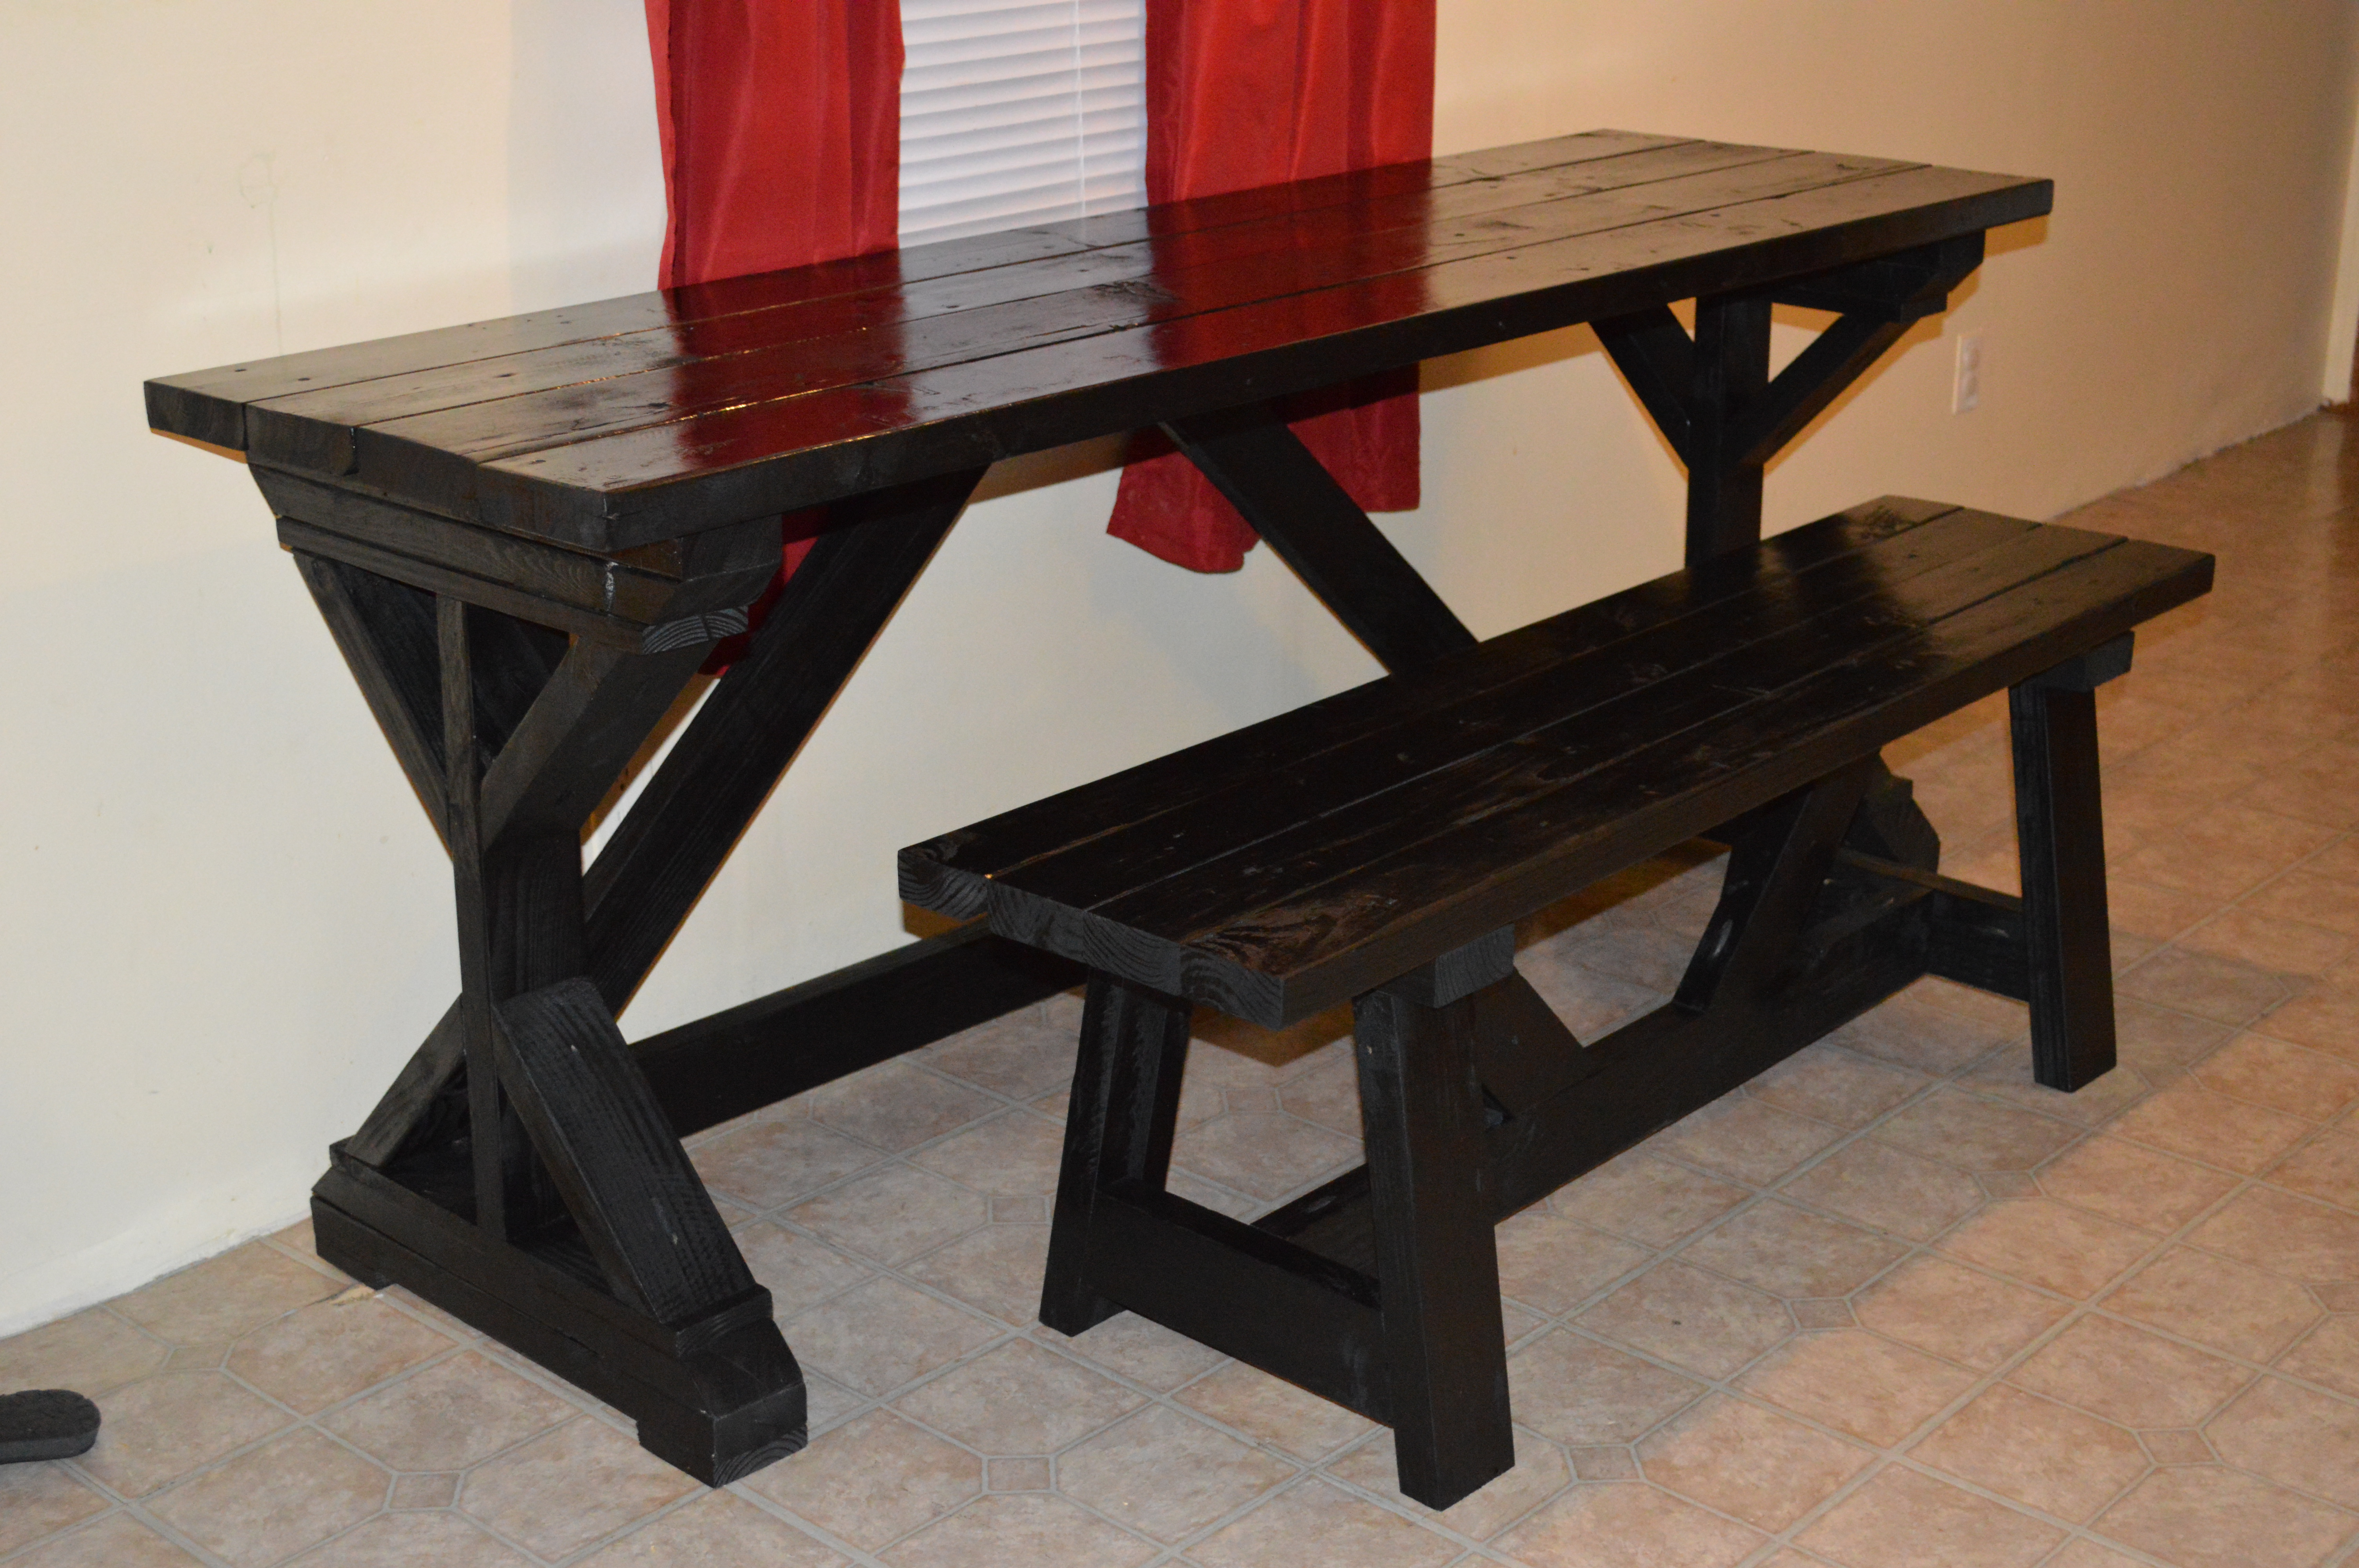
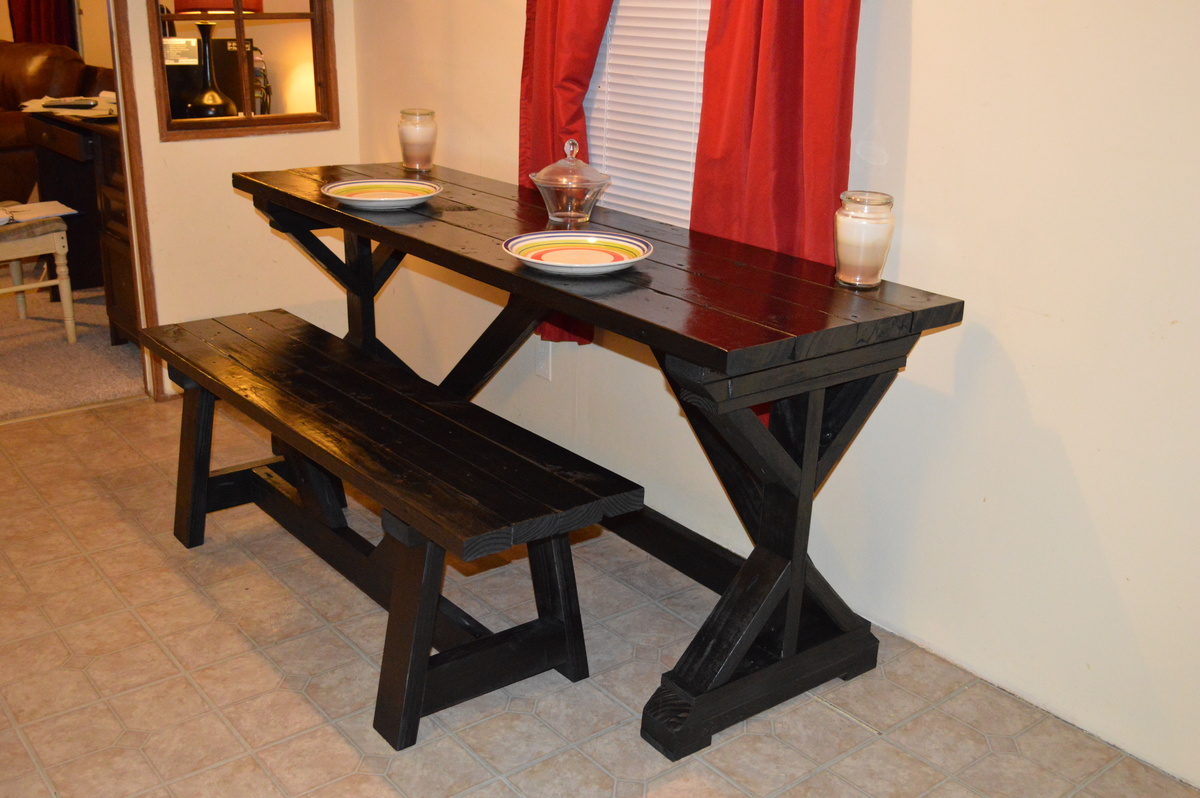
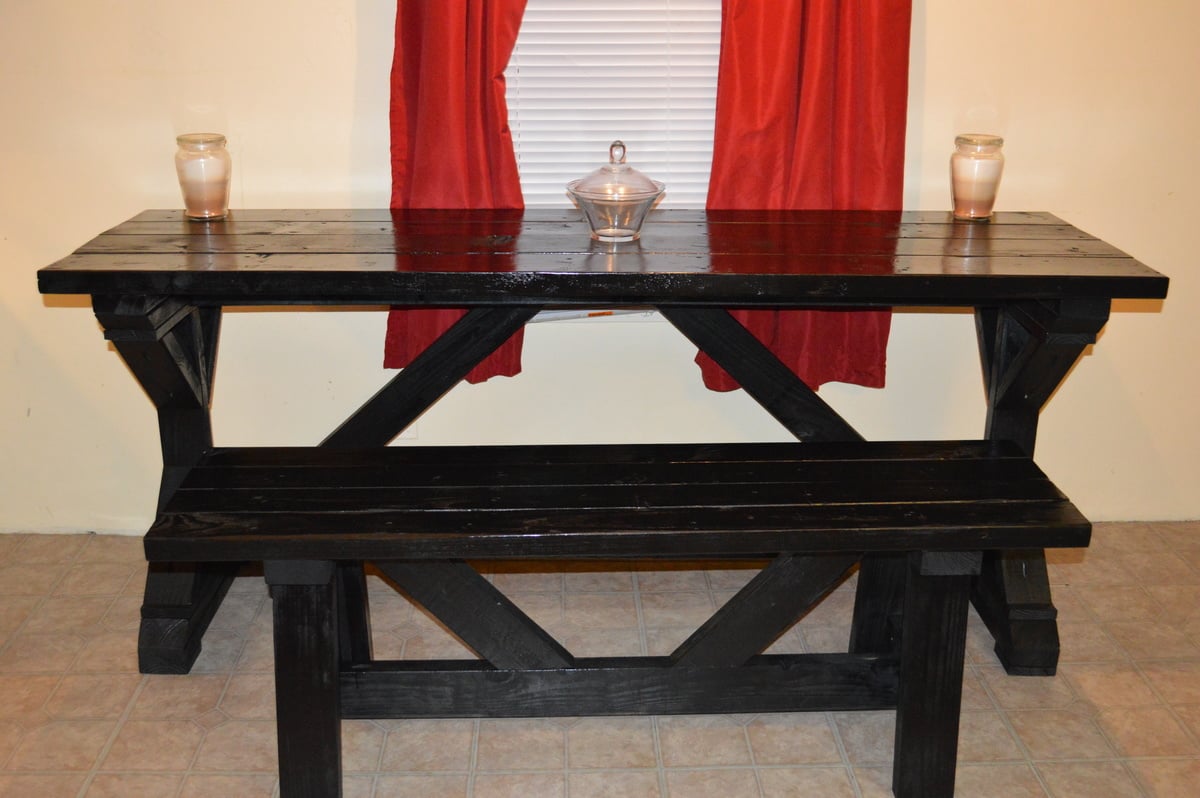
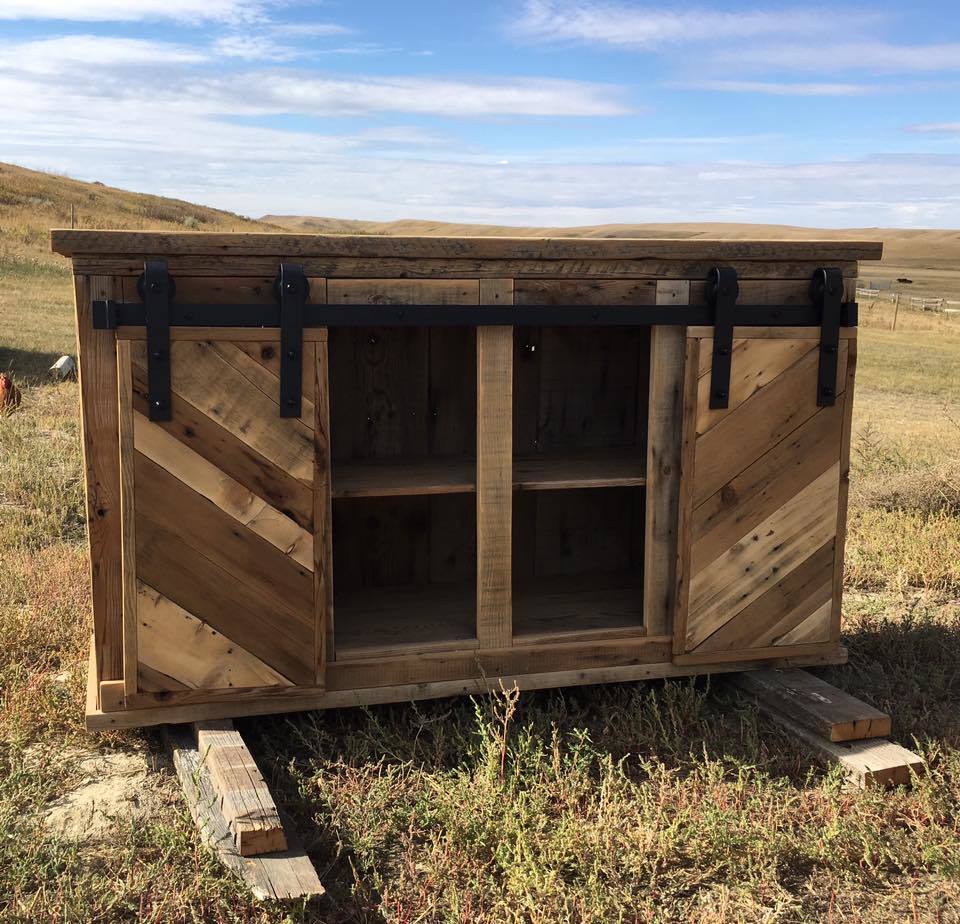
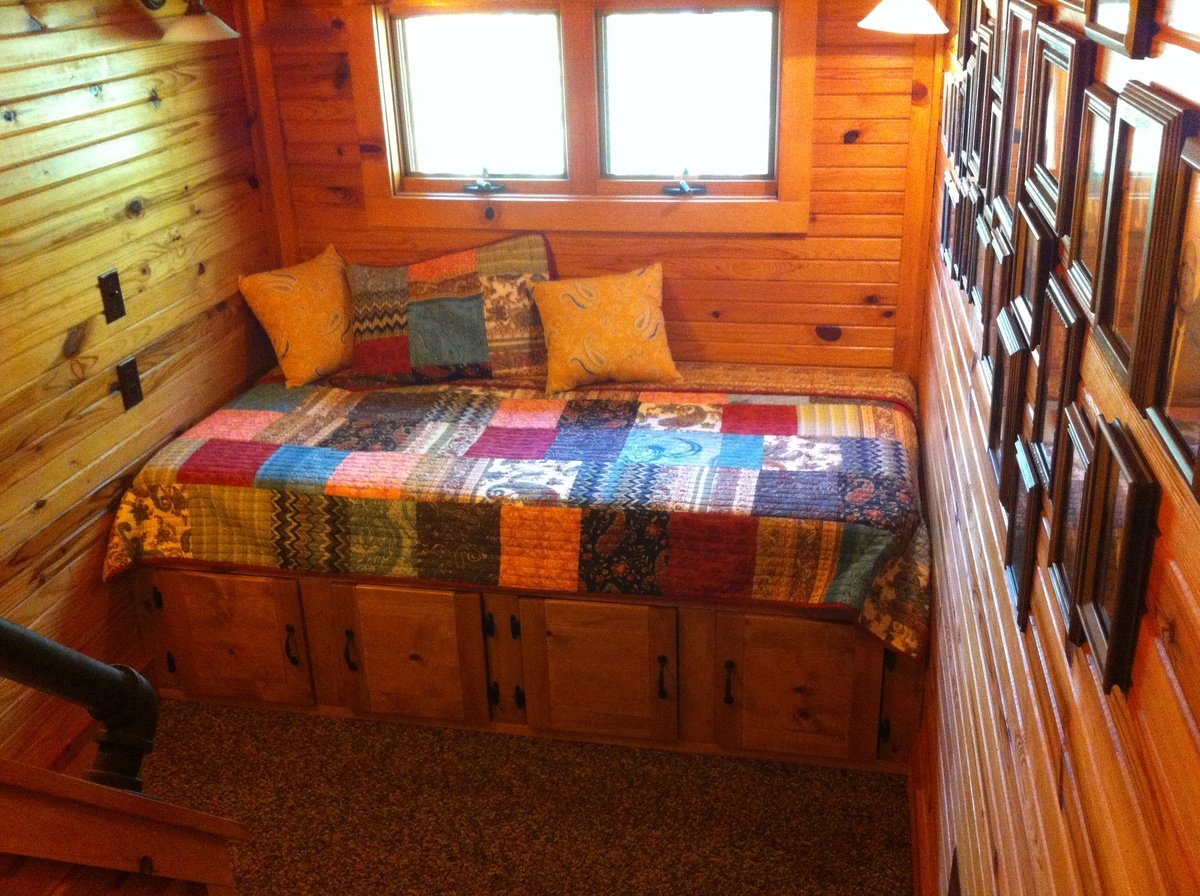
Rustic storage daybed
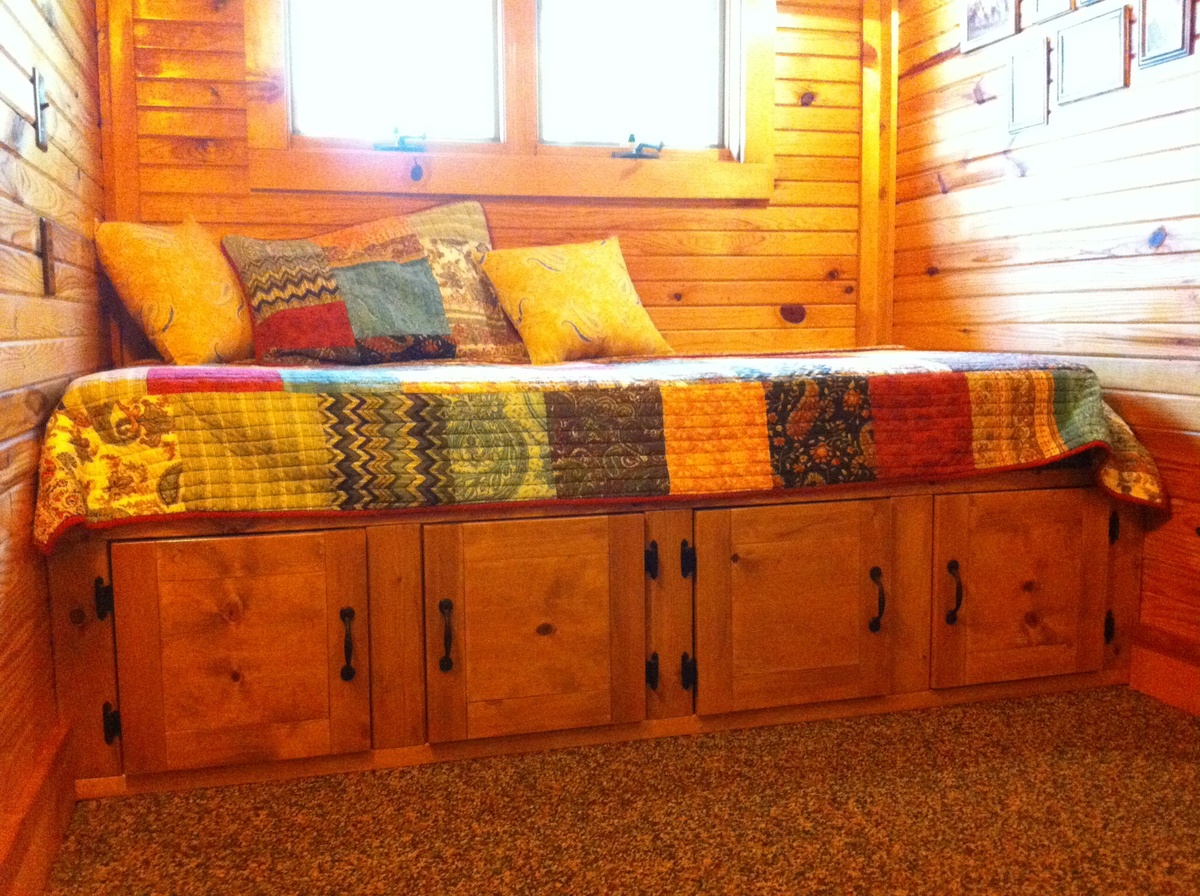
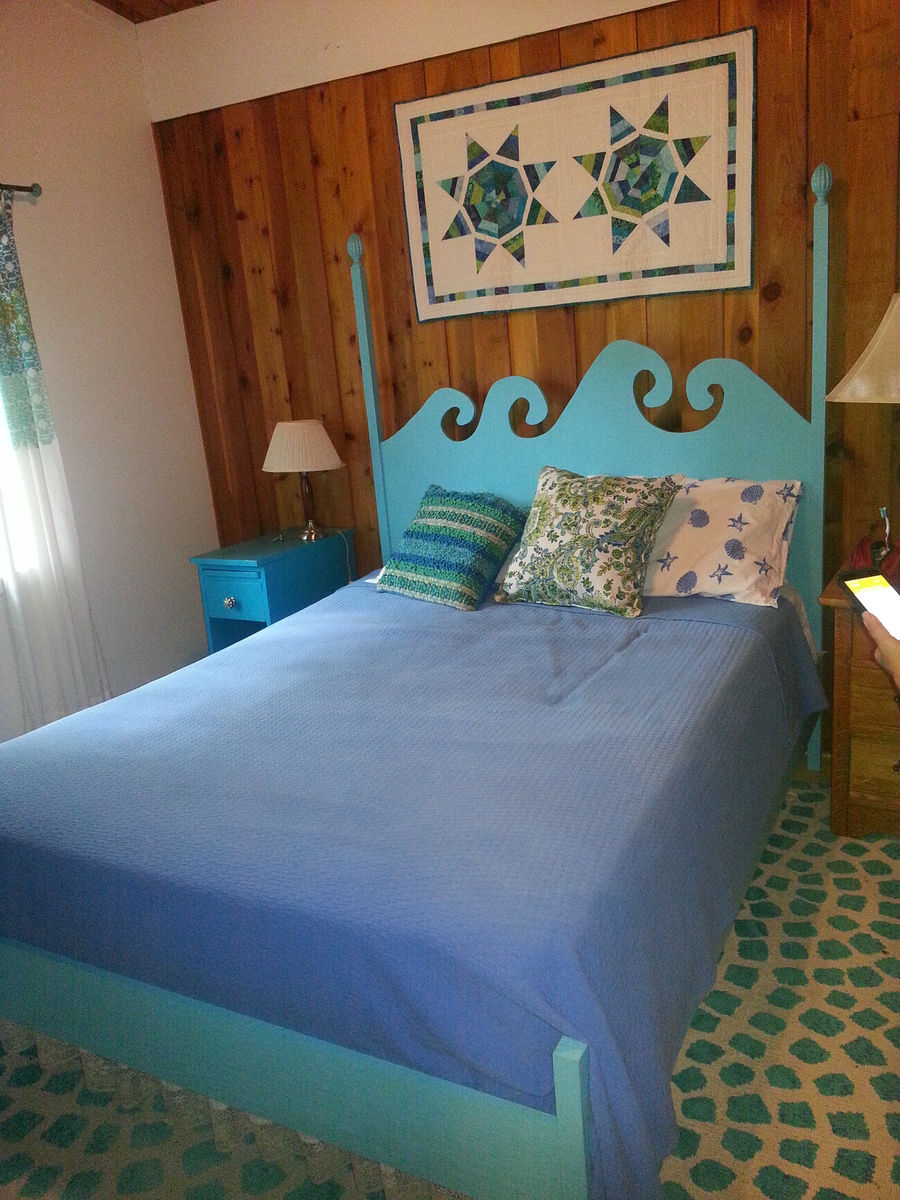
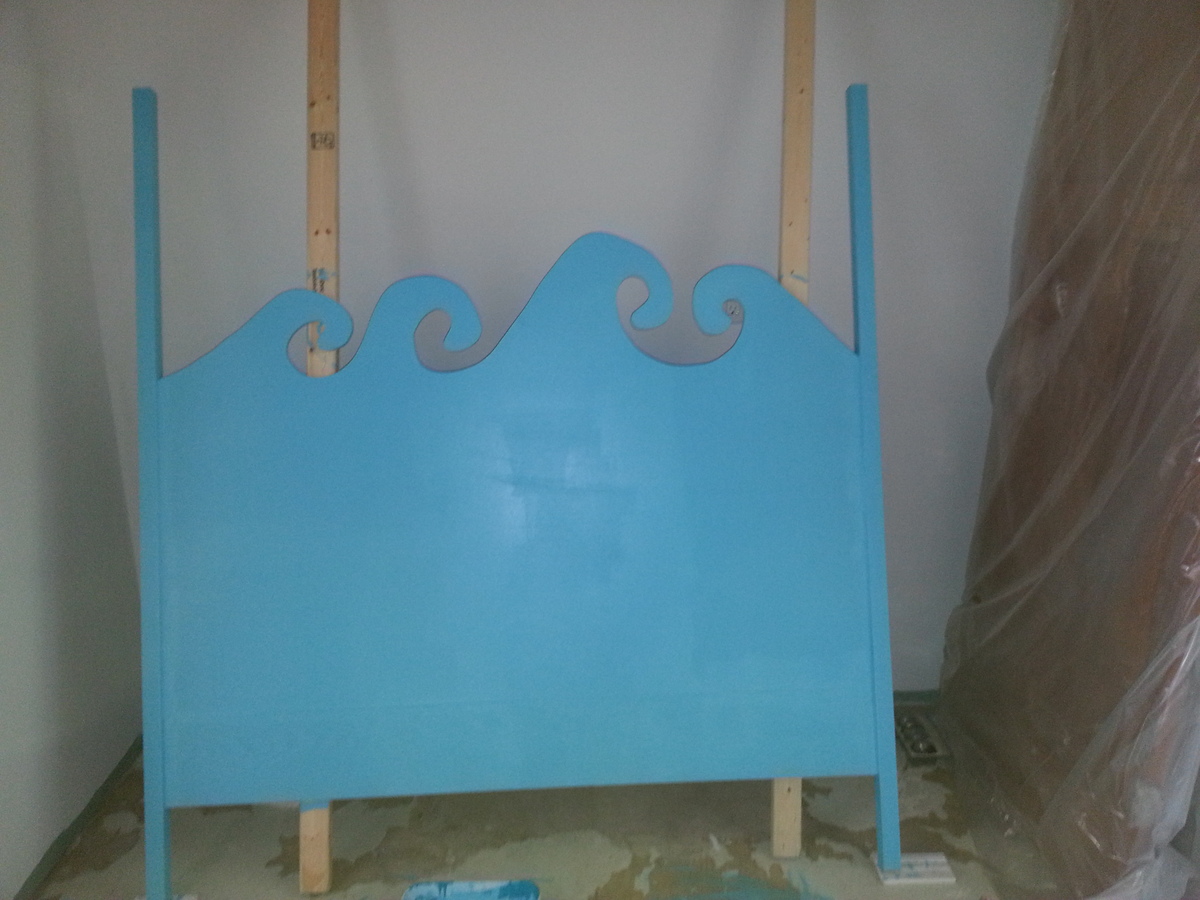
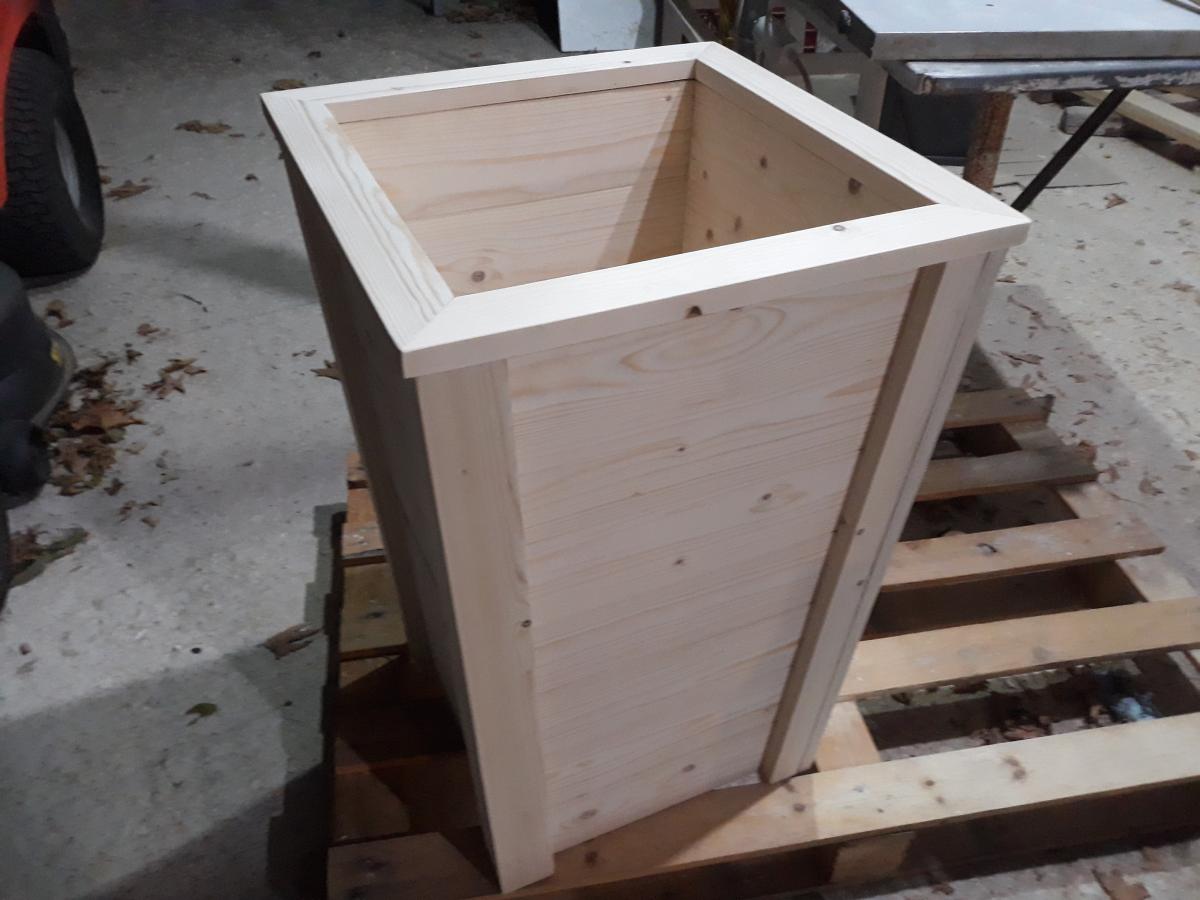
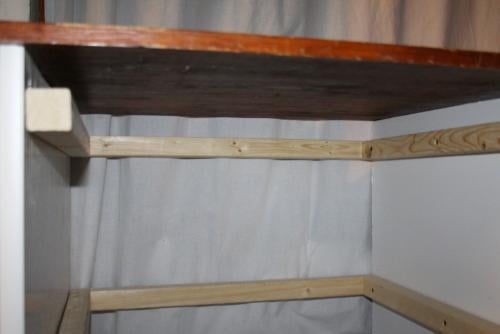
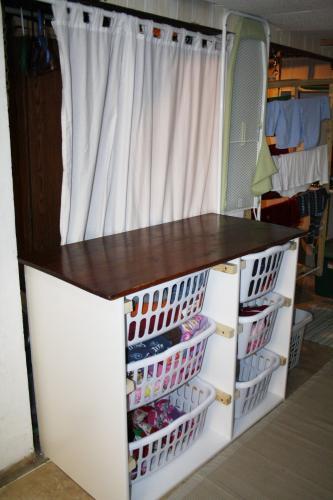
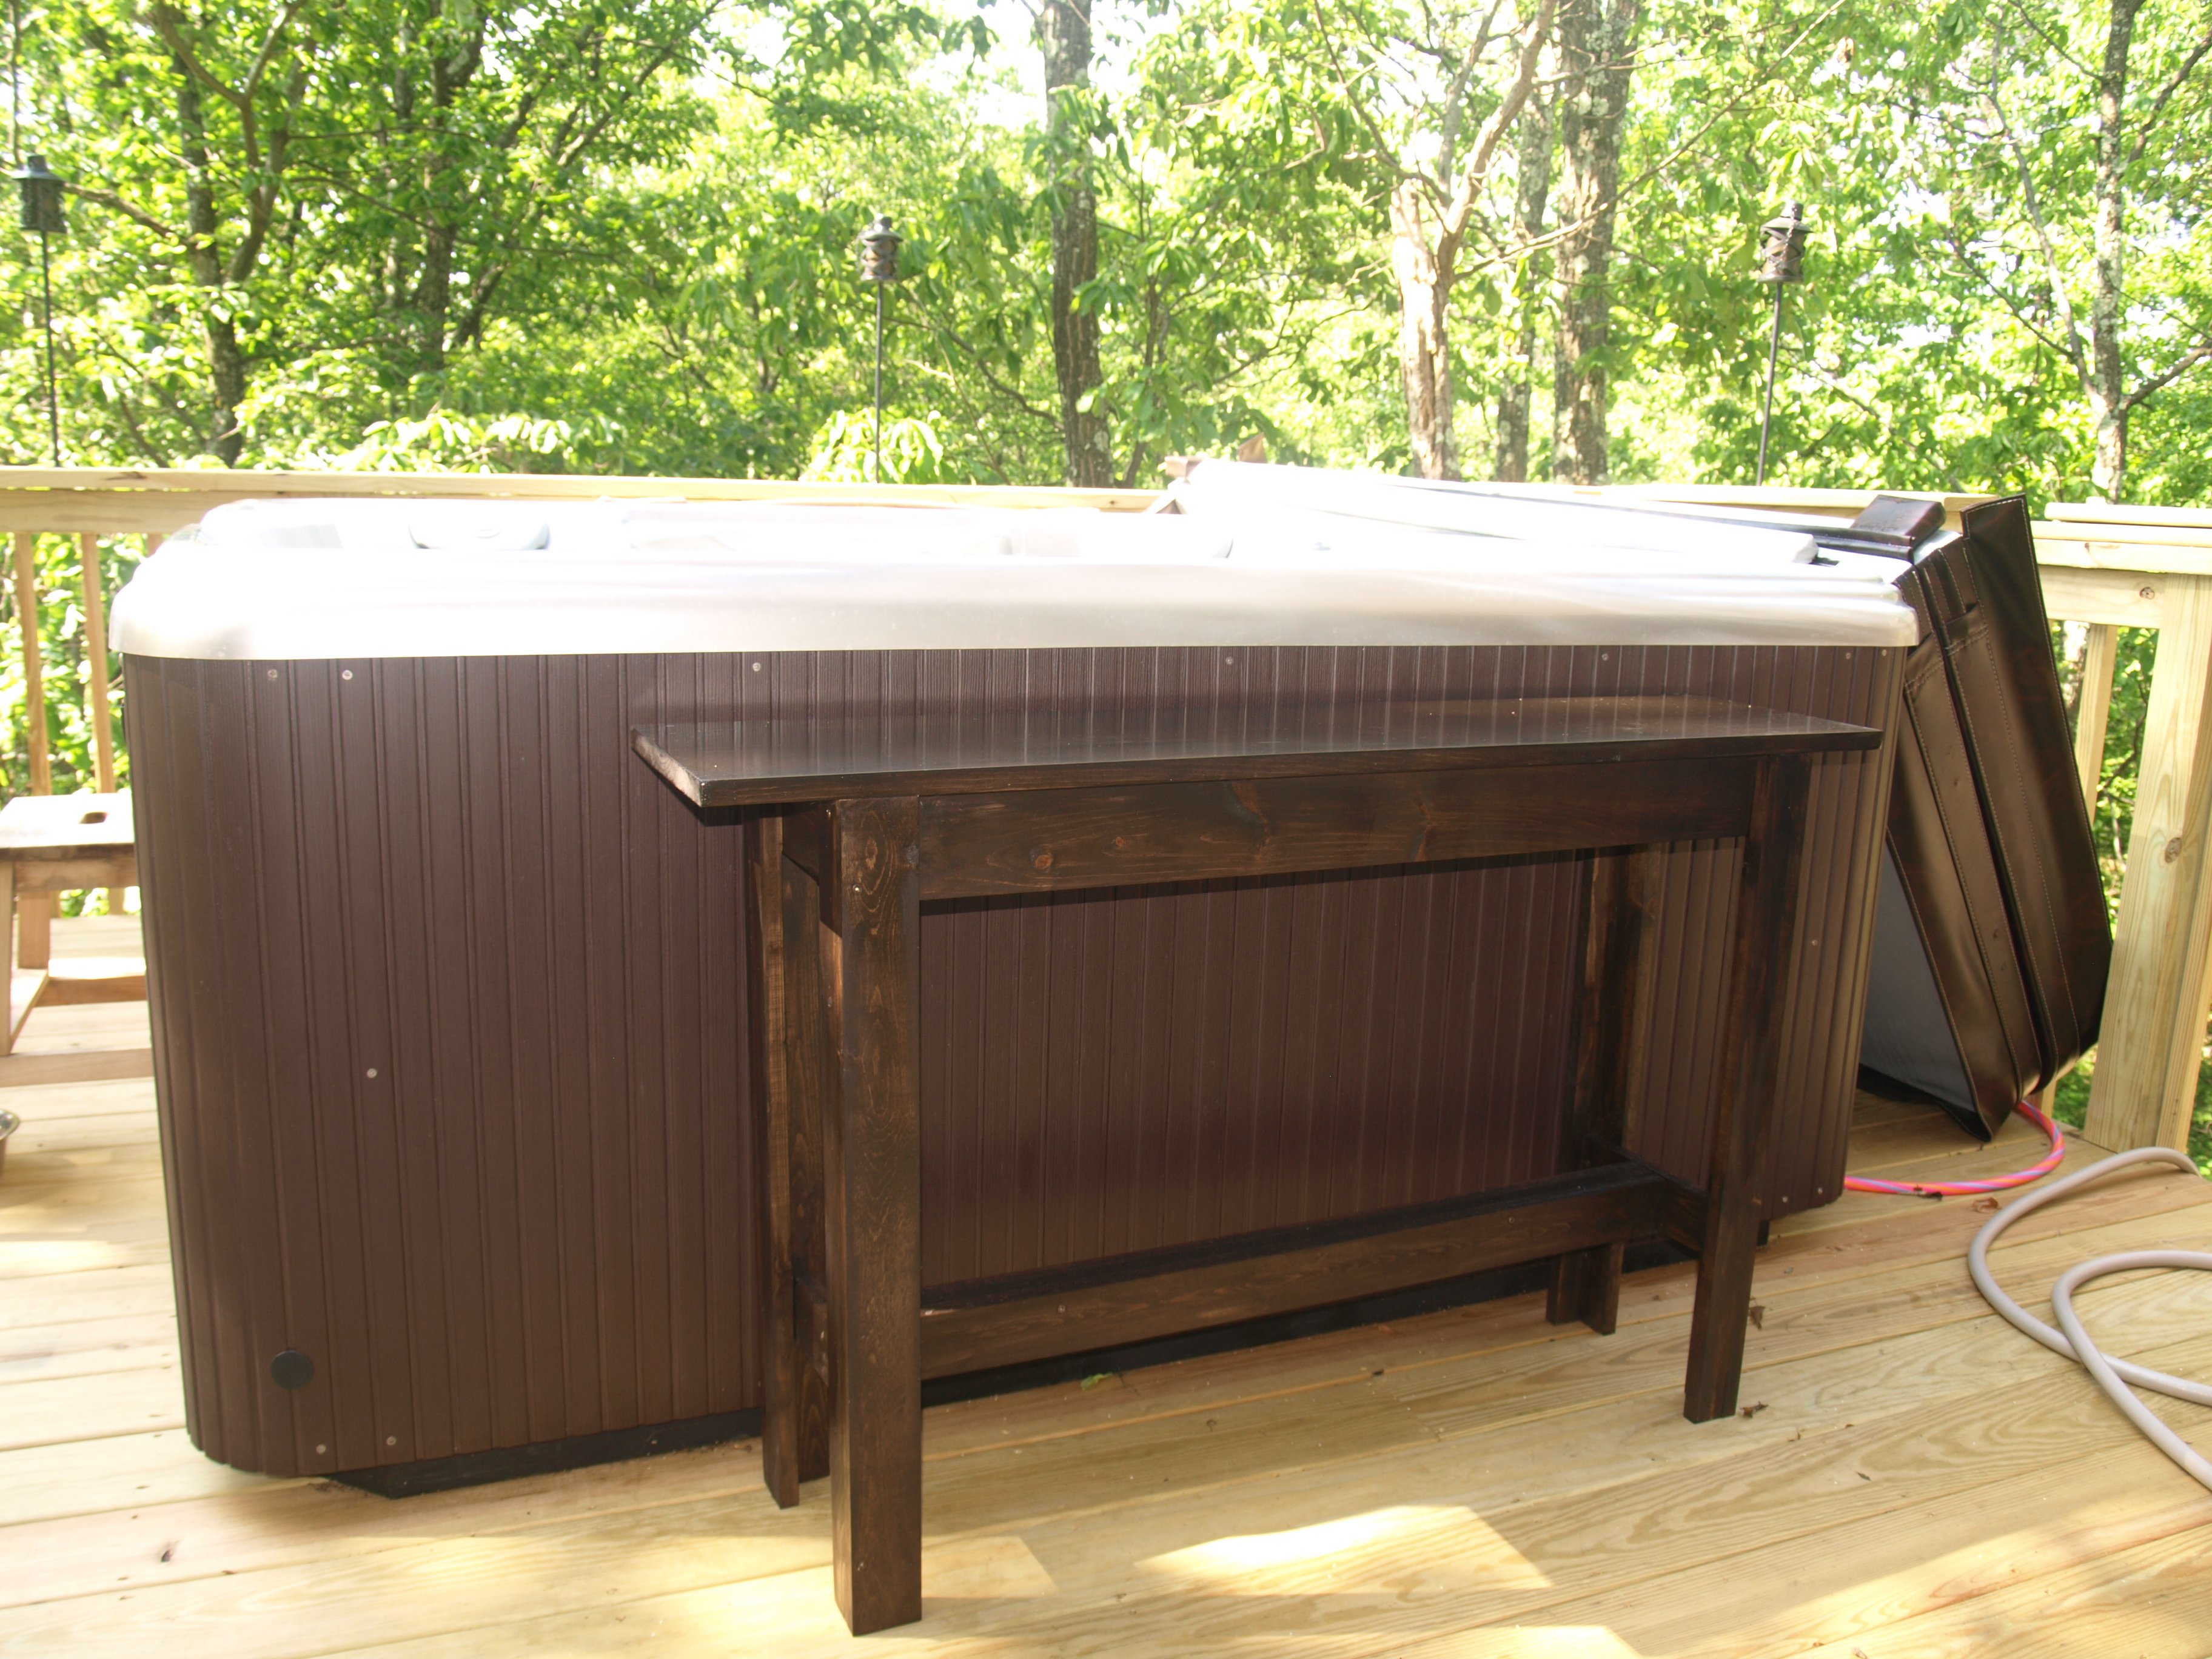
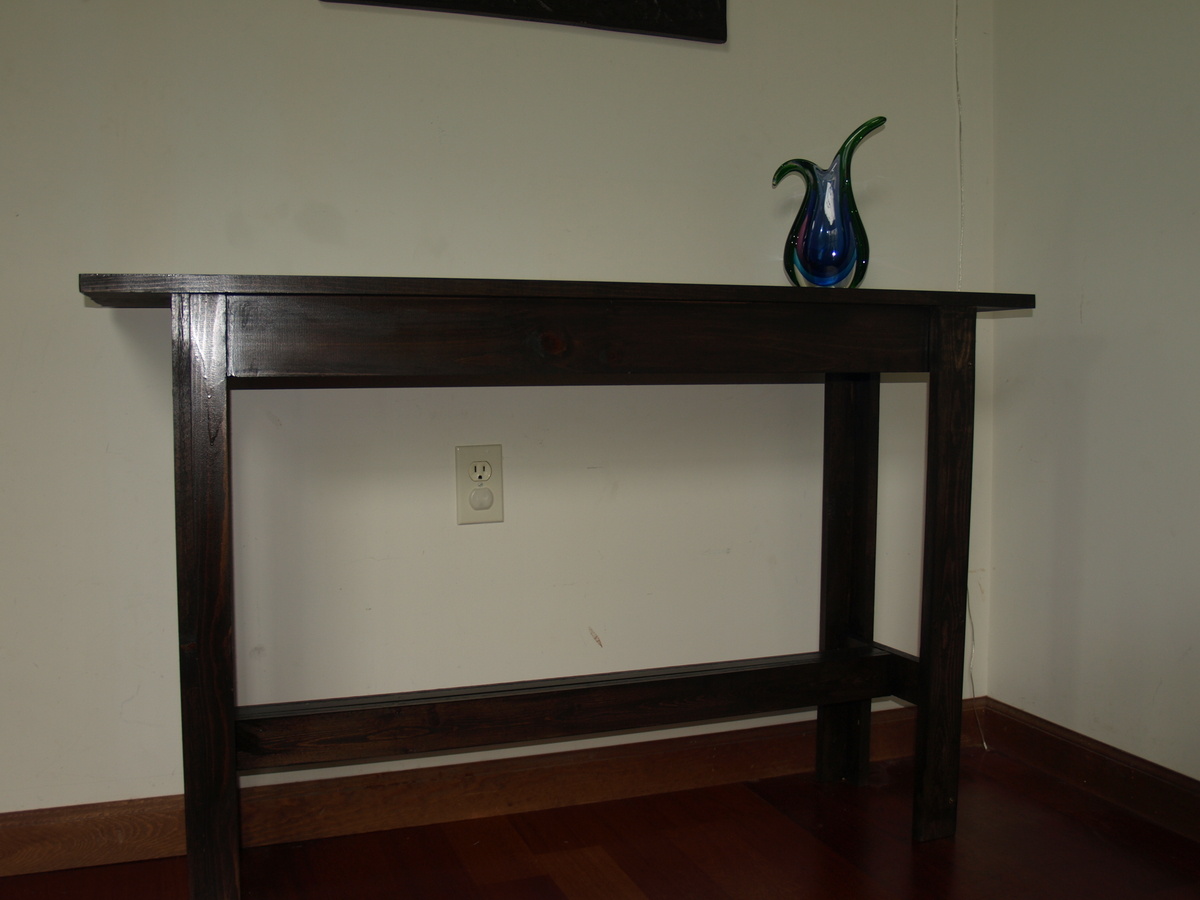
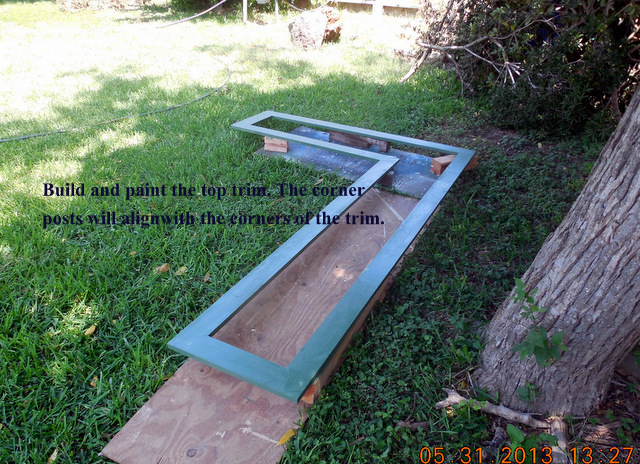
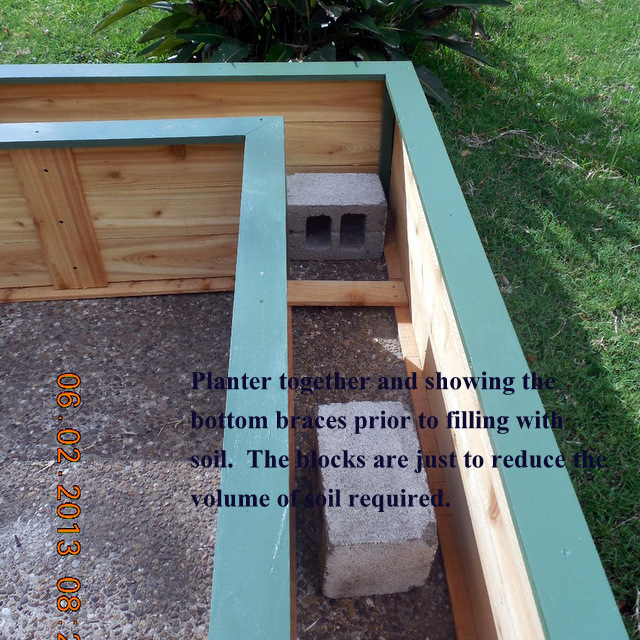
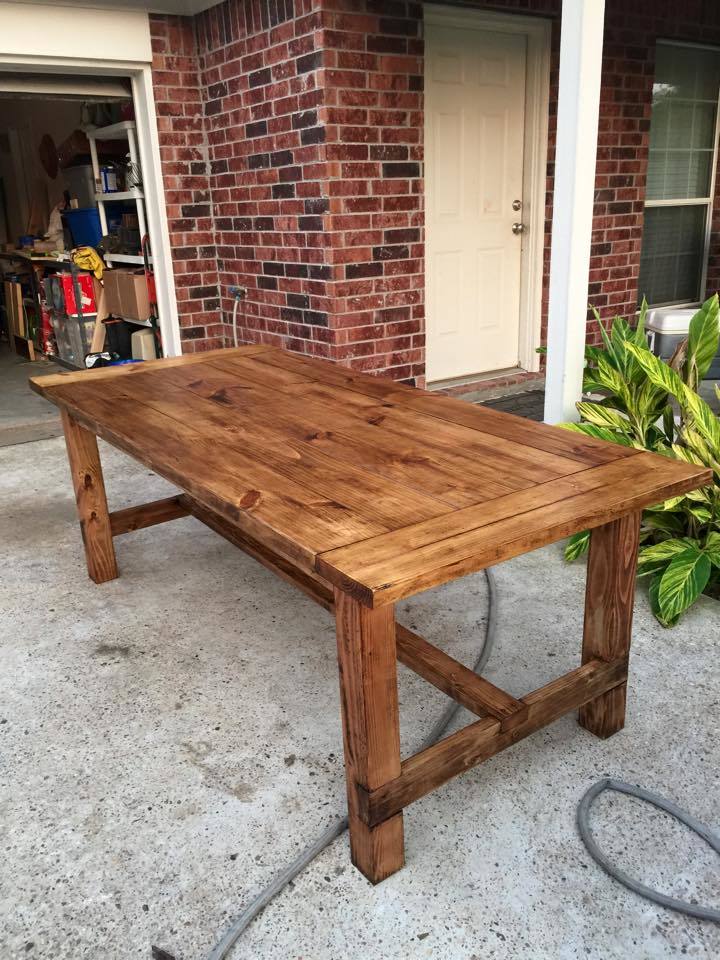
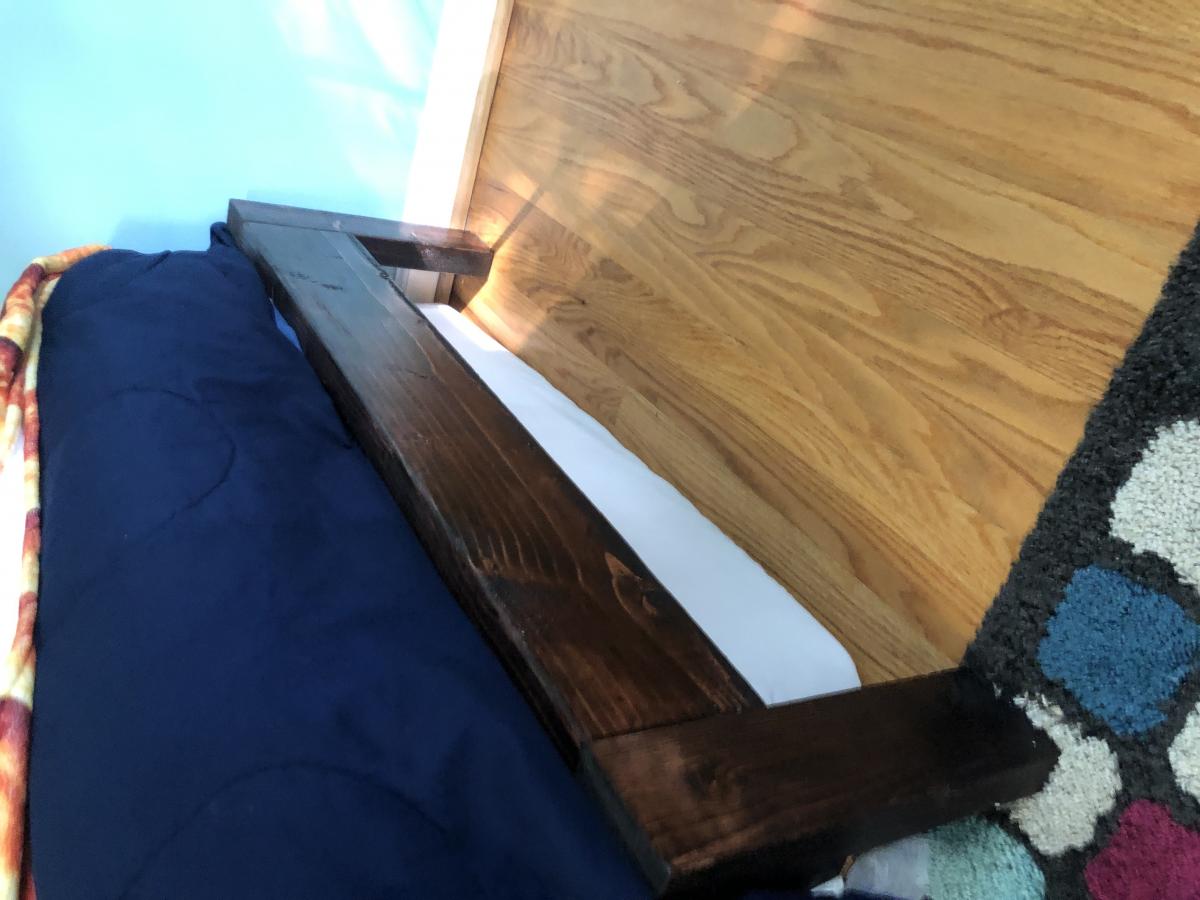
We wanted to build a reading nook in our cabin landing that would also function as extra sleeping space. This plan was modified to raise the height. We then built the frame and one side panel, since the bed length of the plan was EXACTLY the width of the landing space... It was meant to be! We love it!
Built from Plan(s)
Estimated Cost
$120
Estimated Time Investment
Weekend Project (10-20 Hours)
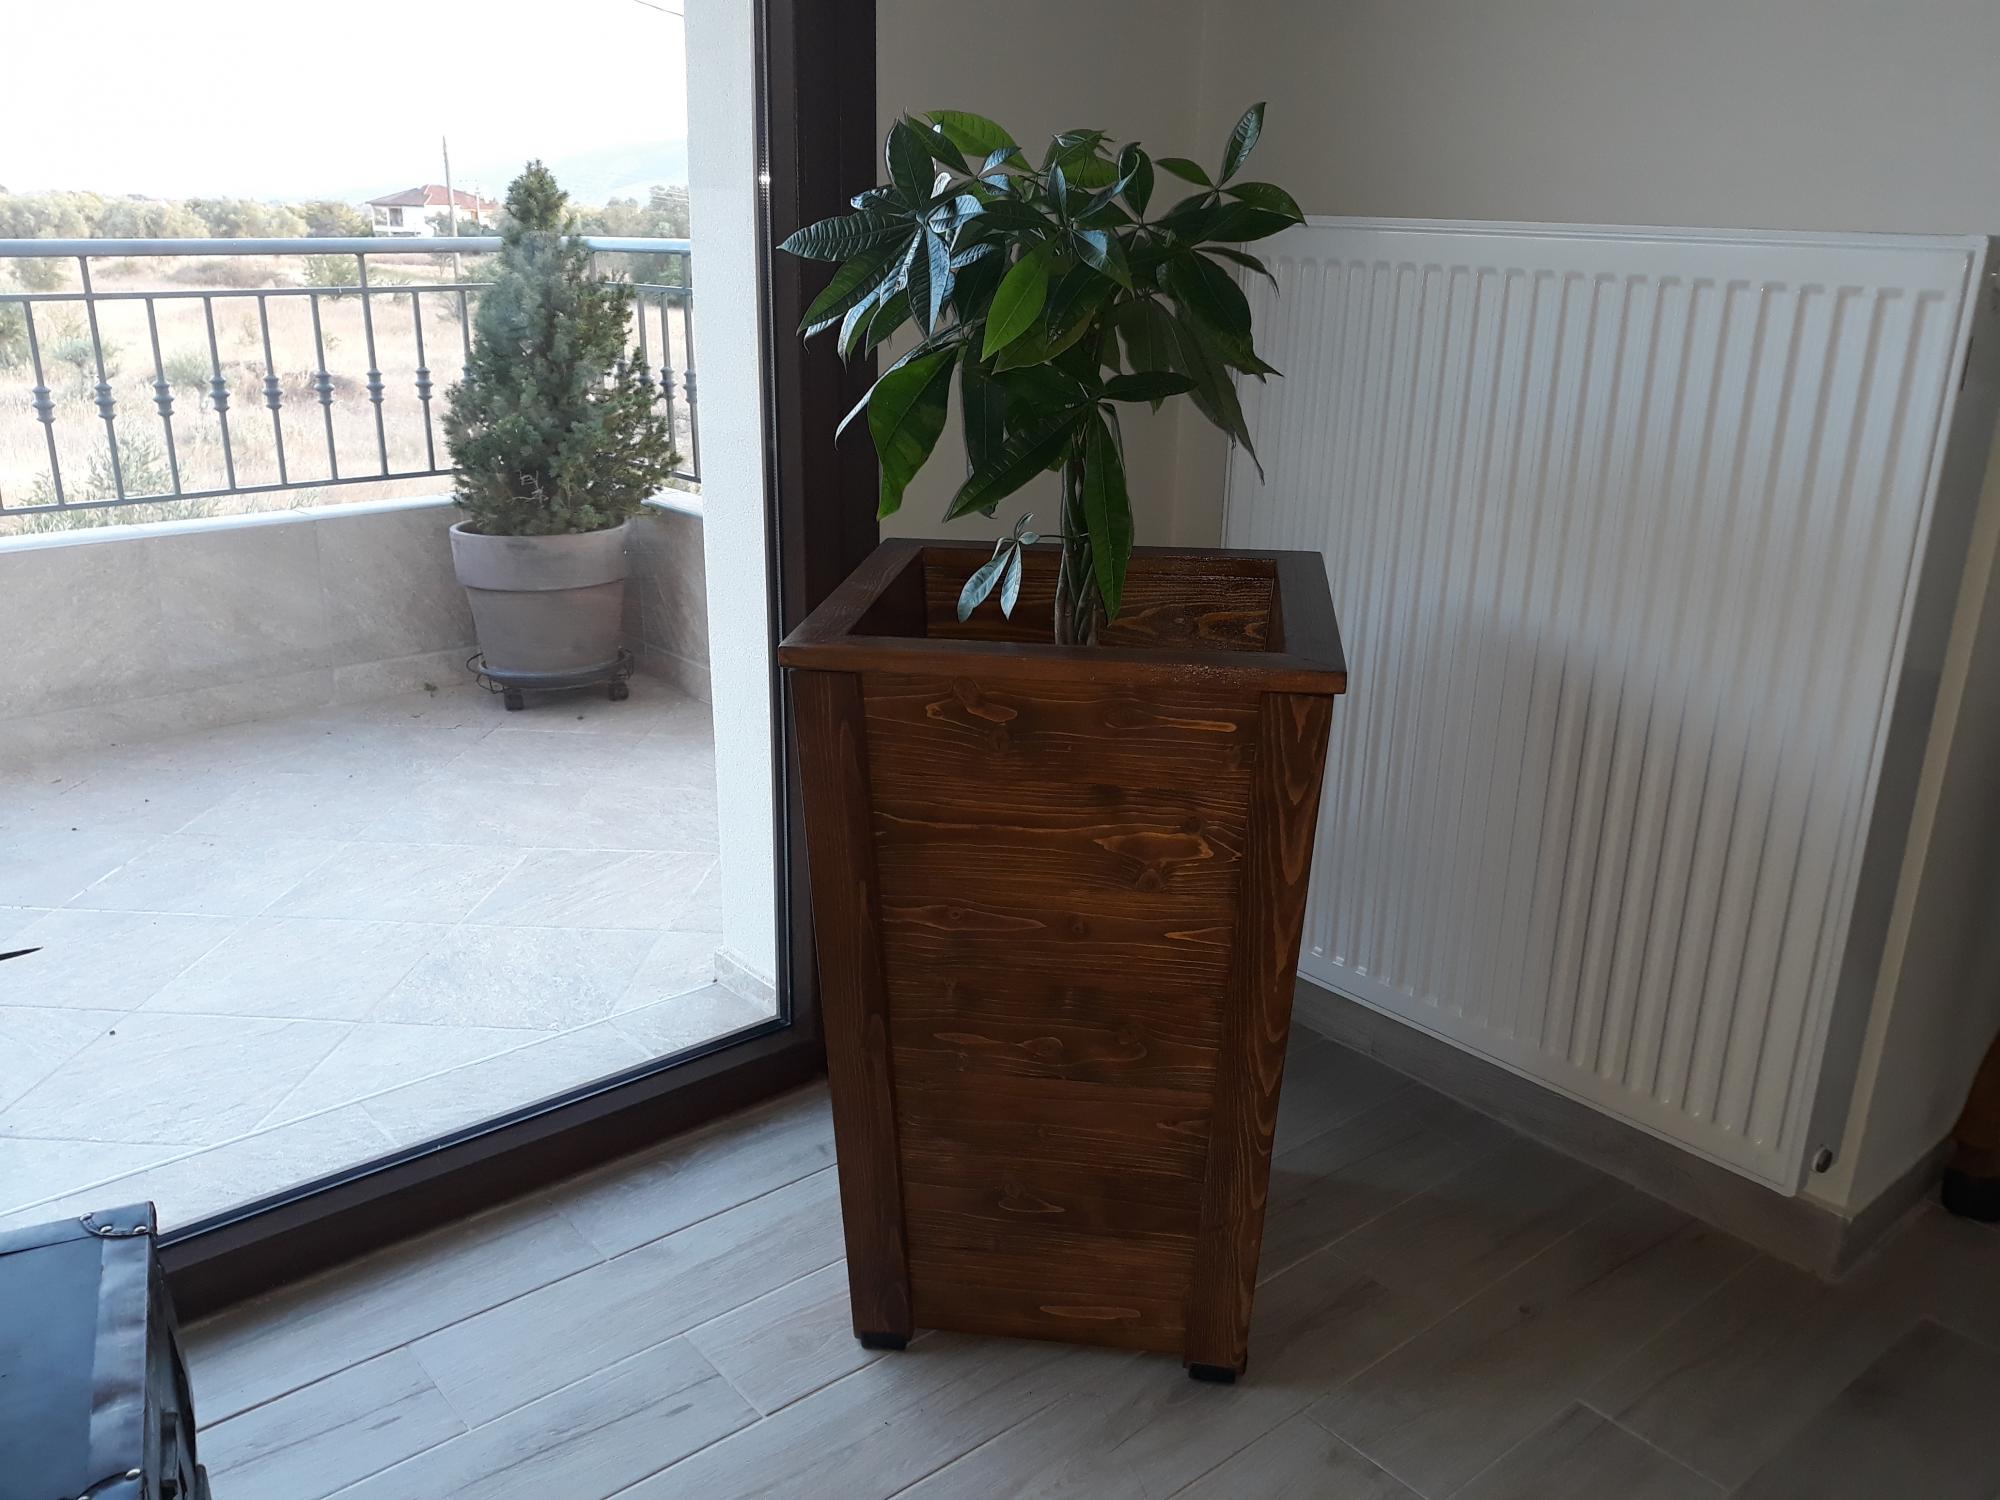
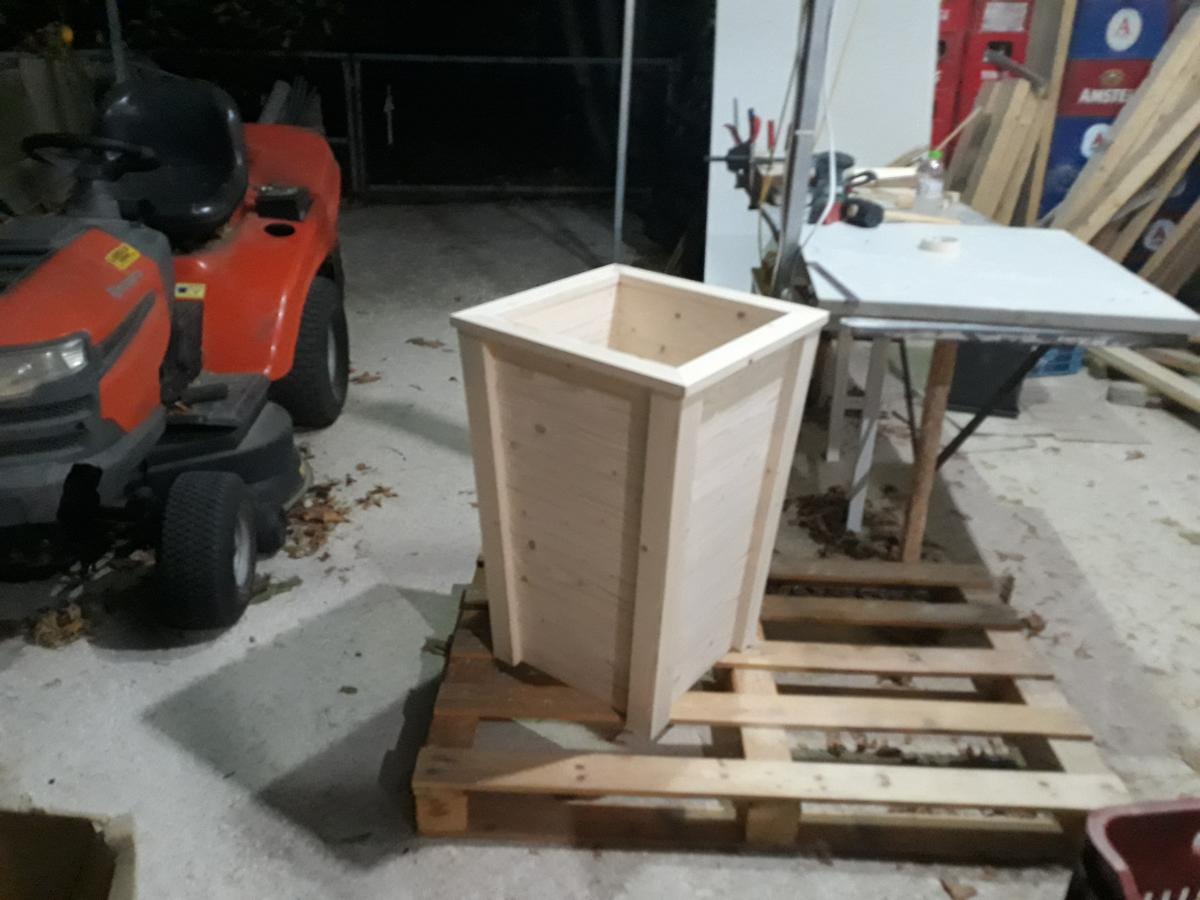
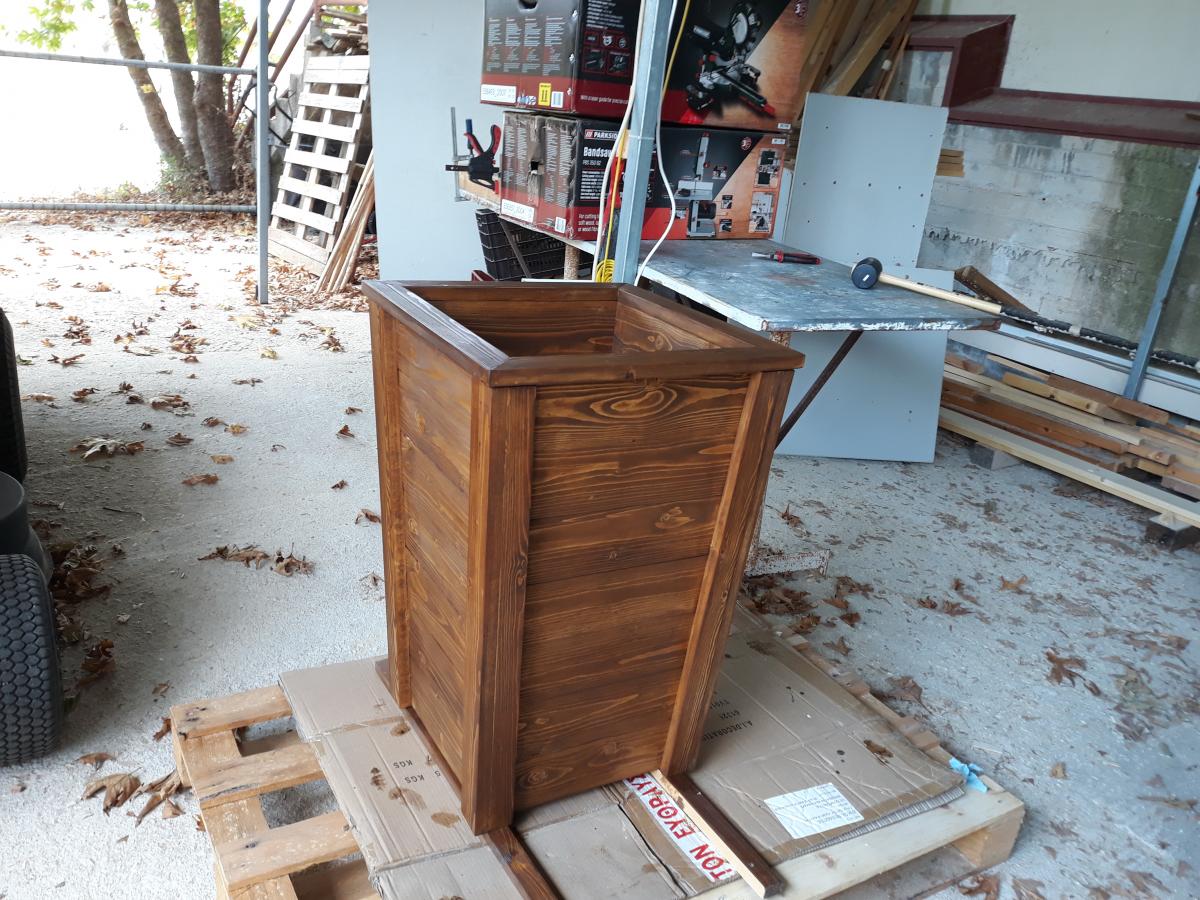
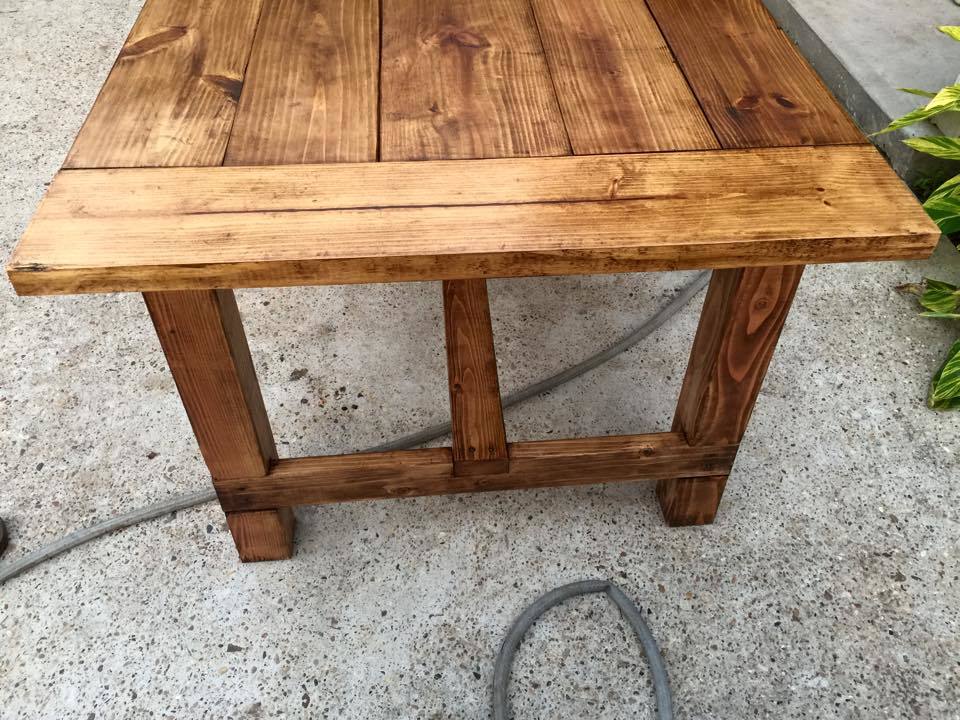
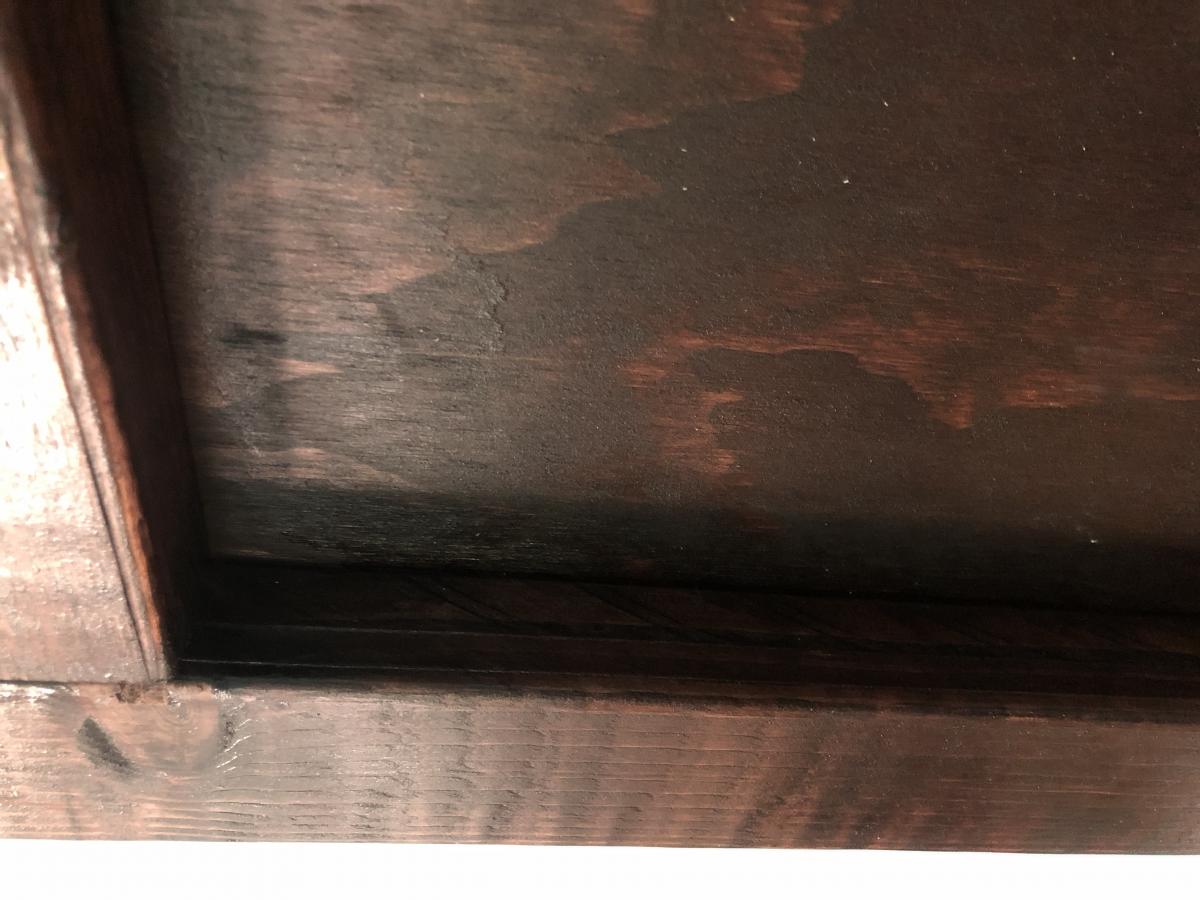
Finish Used
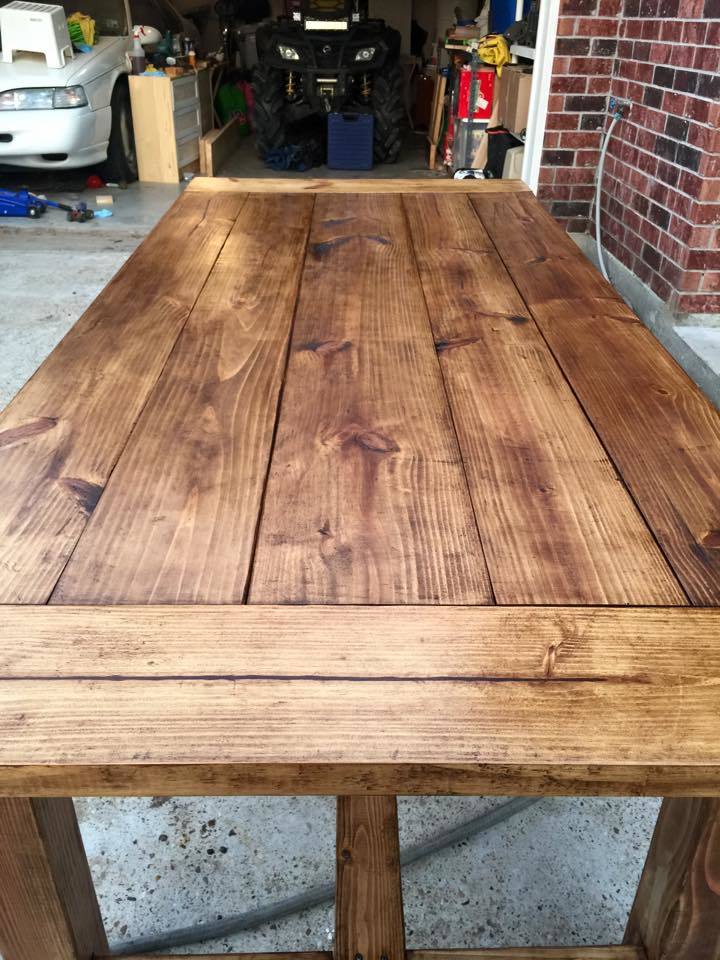
Minwax cherry stain, minwax polycryllic semi-gloss in three coats with light sanding between coats
Recommended Skill Level
Intermediate