Modern farmhouse bed with nightstands
I made this beautiful bed in just one (long) day (12h). The next day I made the nightstands with the scraps of wood from the bed.
I made this beautiful bed in just one (long) day (12h). The next day I made the nightstands with the scraps of wood from the bed.
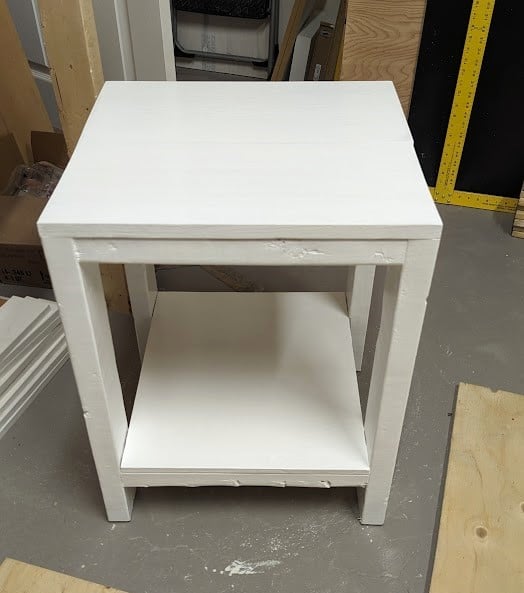
Adjusted a little from the plans to fit better the space available. Also I used some scrap plywood for the bottom.
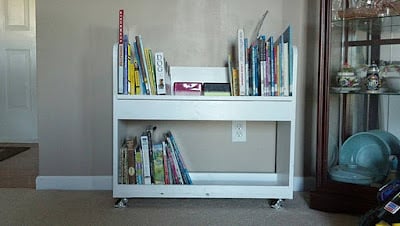
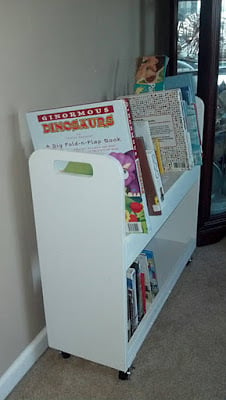
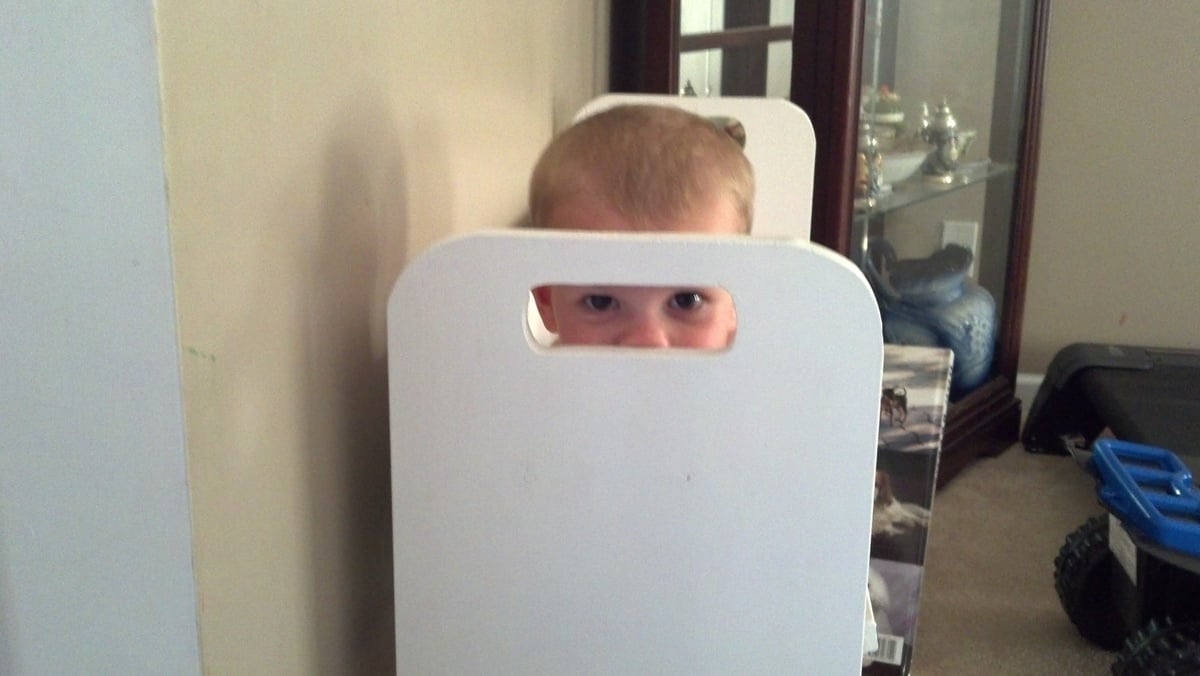
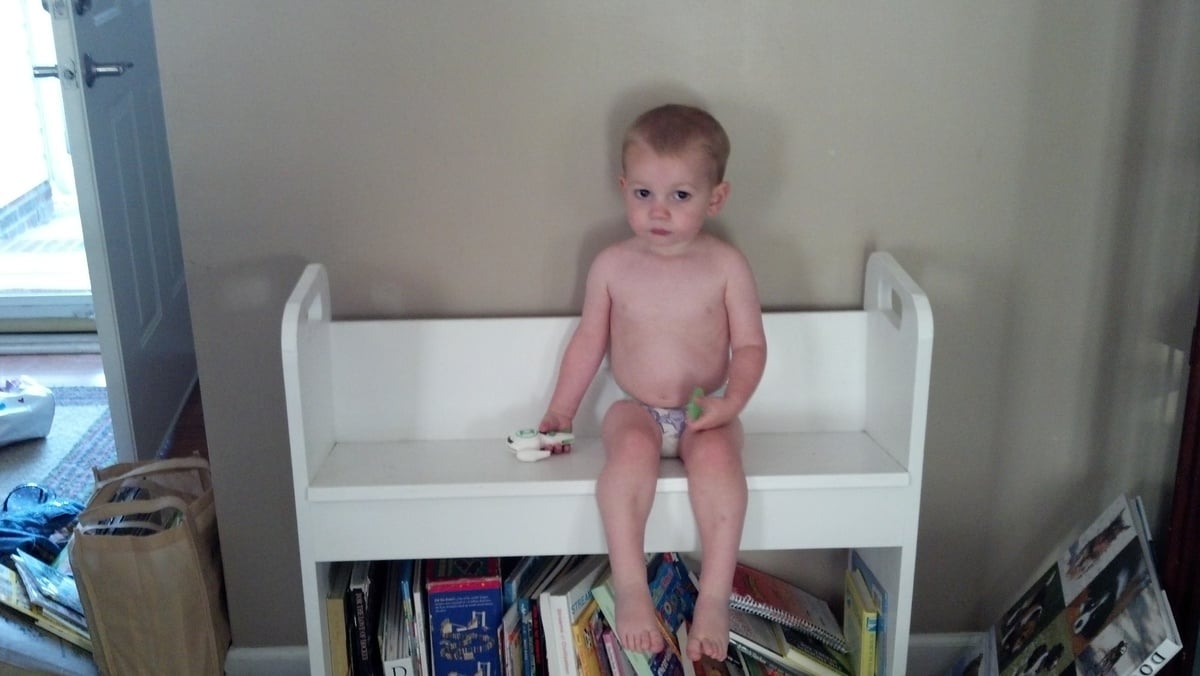
I was sick of all the books all over the front room. I needed to find something to store them on. Our kids had broken those cheap bookshelves from a big box store, so I need something sturdy. As you can tell by the pictures our youngest son loves to sit on it. I used the jig saw to cut the curves and it was super easy. I used a plate for the pattern on the curve. Great idea and plans!
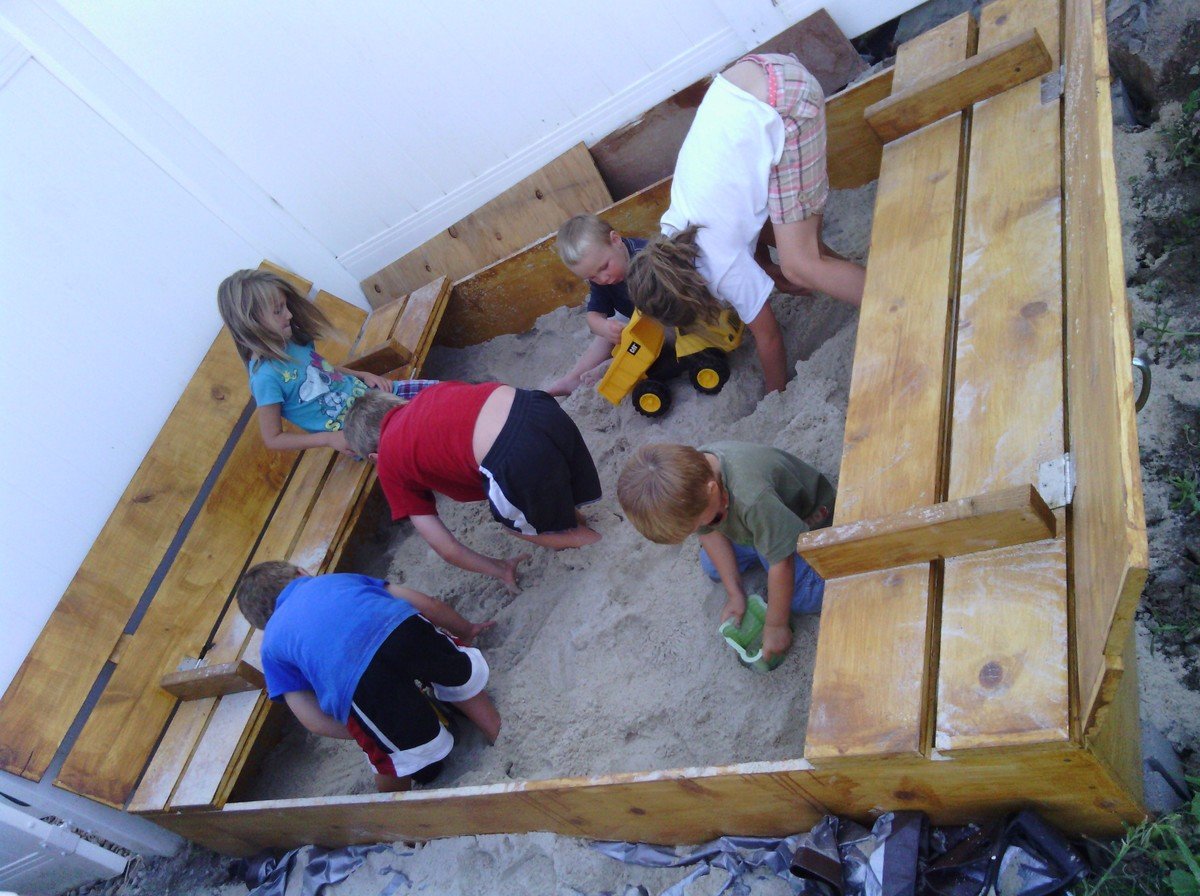
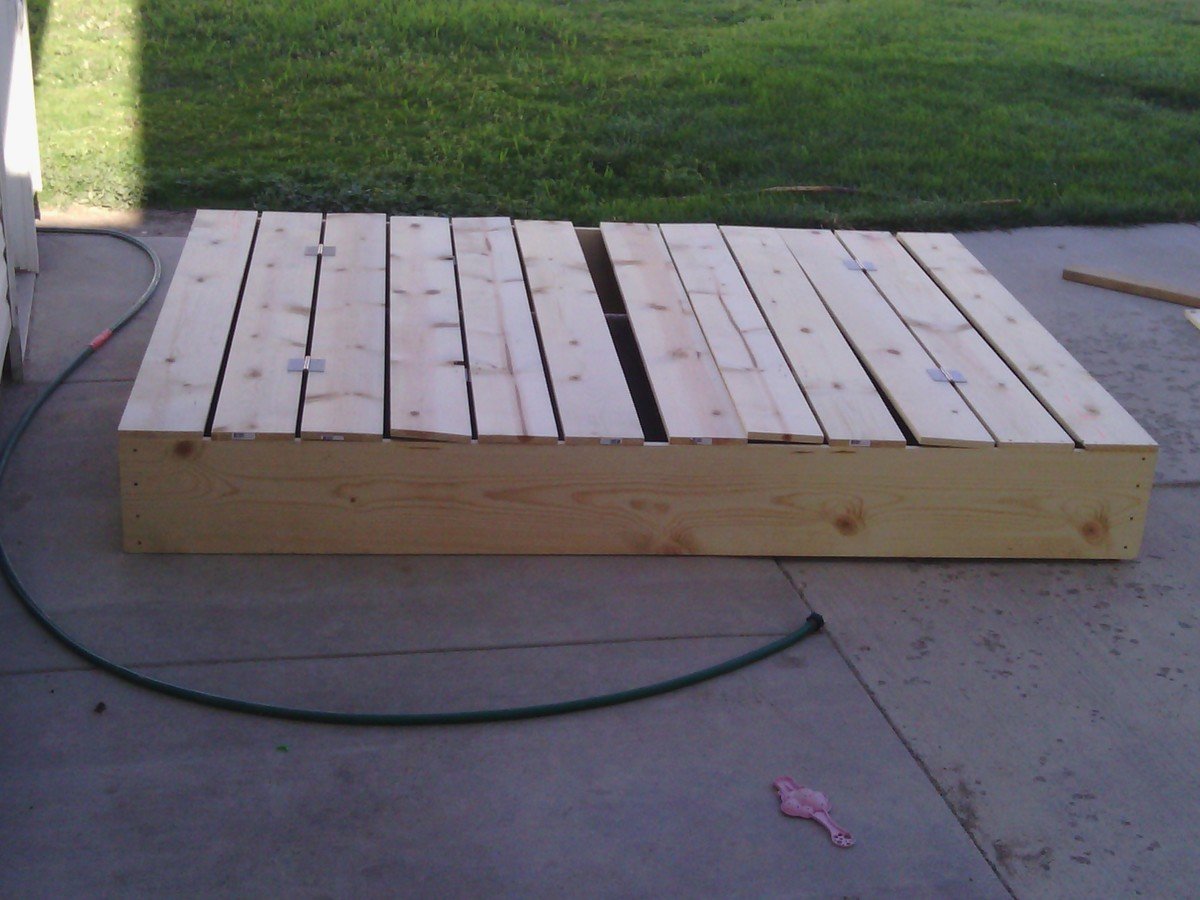
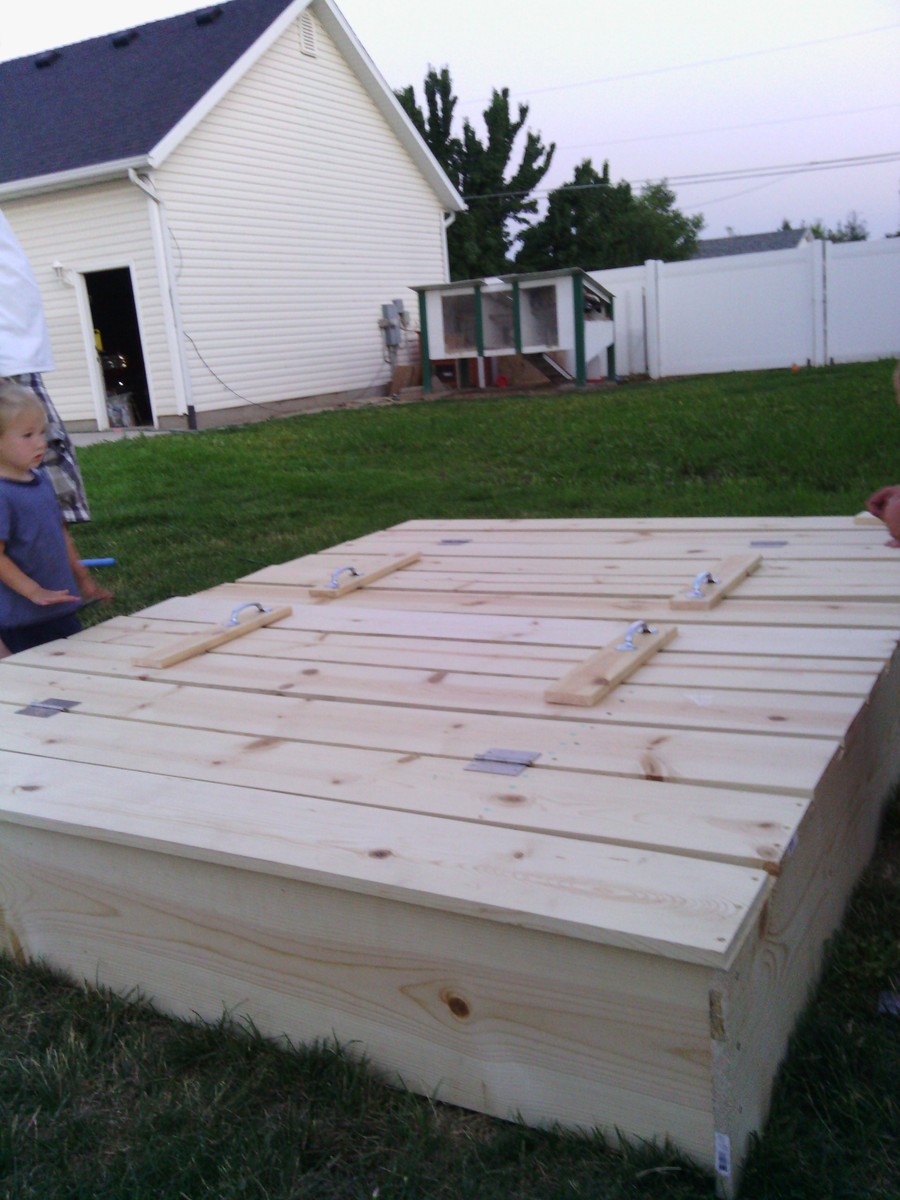
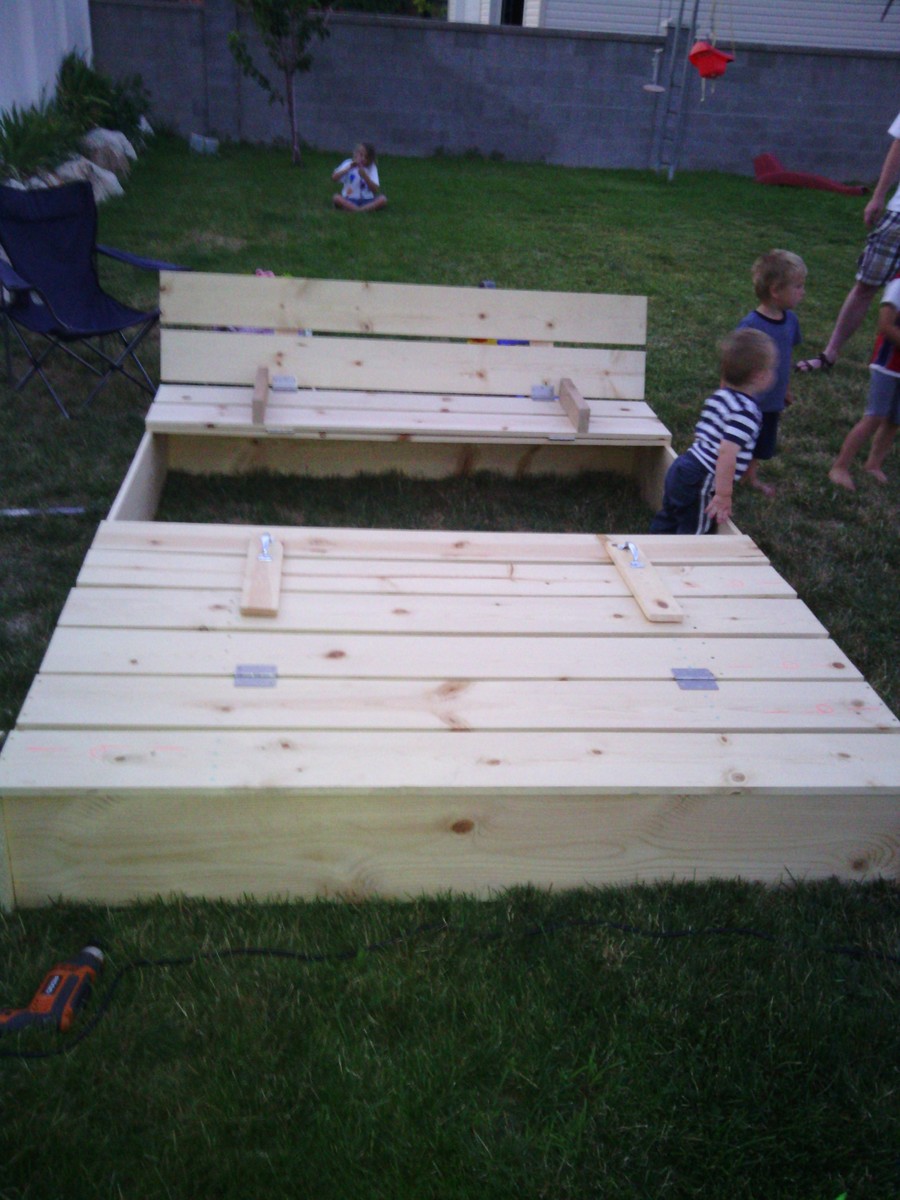
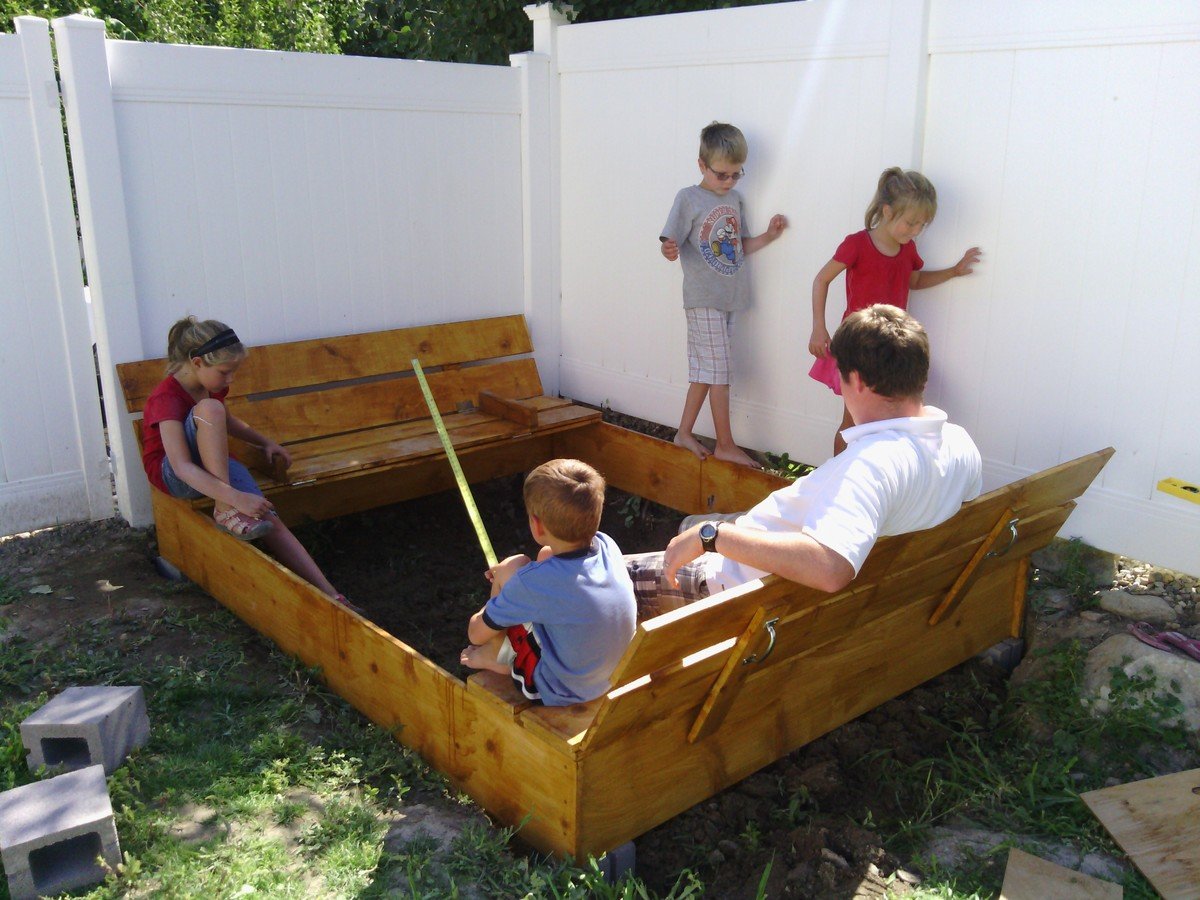
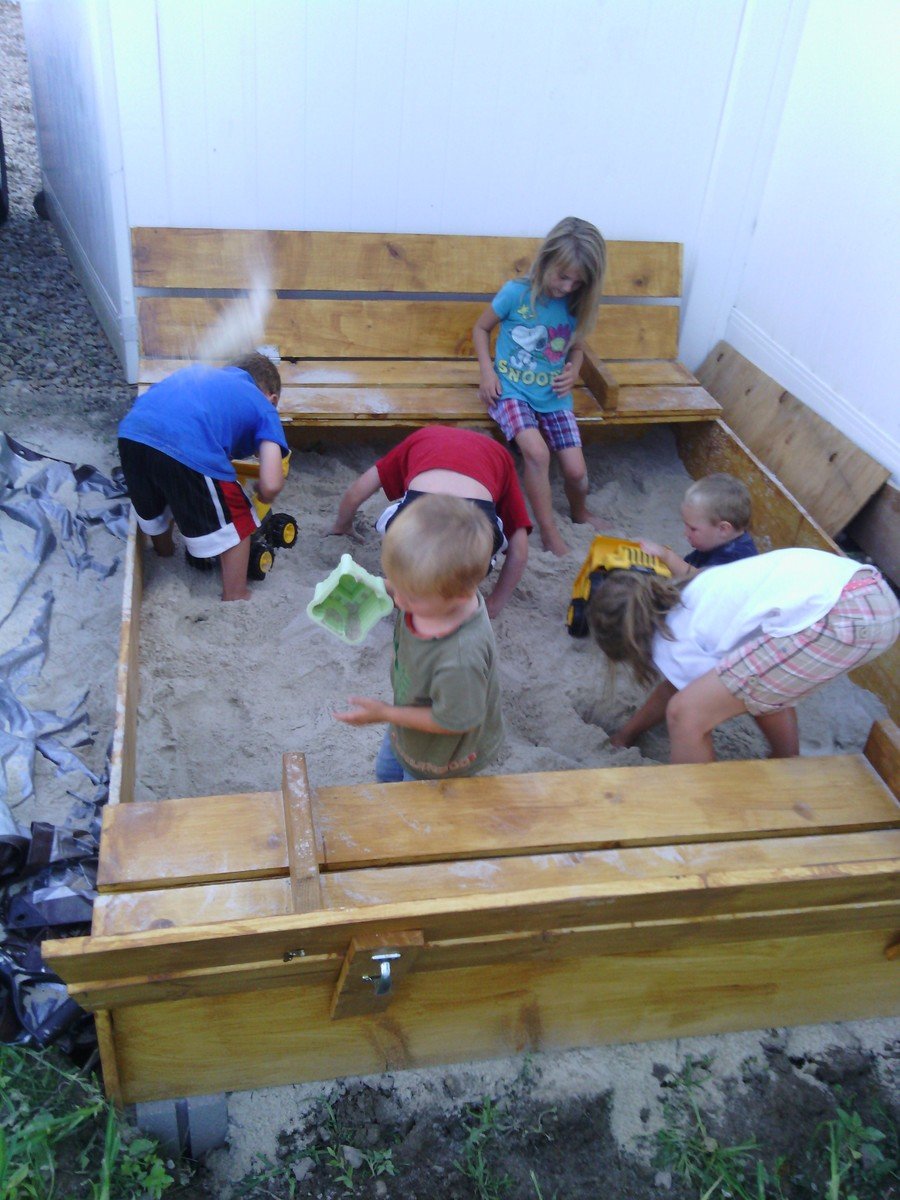
We wanted to make a large sandbox for lots of kids. We love that it has an easy cover and two large benches to sit.
Supplies and Steps are shared at http://myhomedonemyway.blogspot.com/2013/07/building-6-x-8-sandbox.html
Wed, 02/26/2014 - 13:37
I hope sharing this will inspire others of things that they can make. Check out my blog for other DIY projects: http://myhomedonemyway.blogspot.com
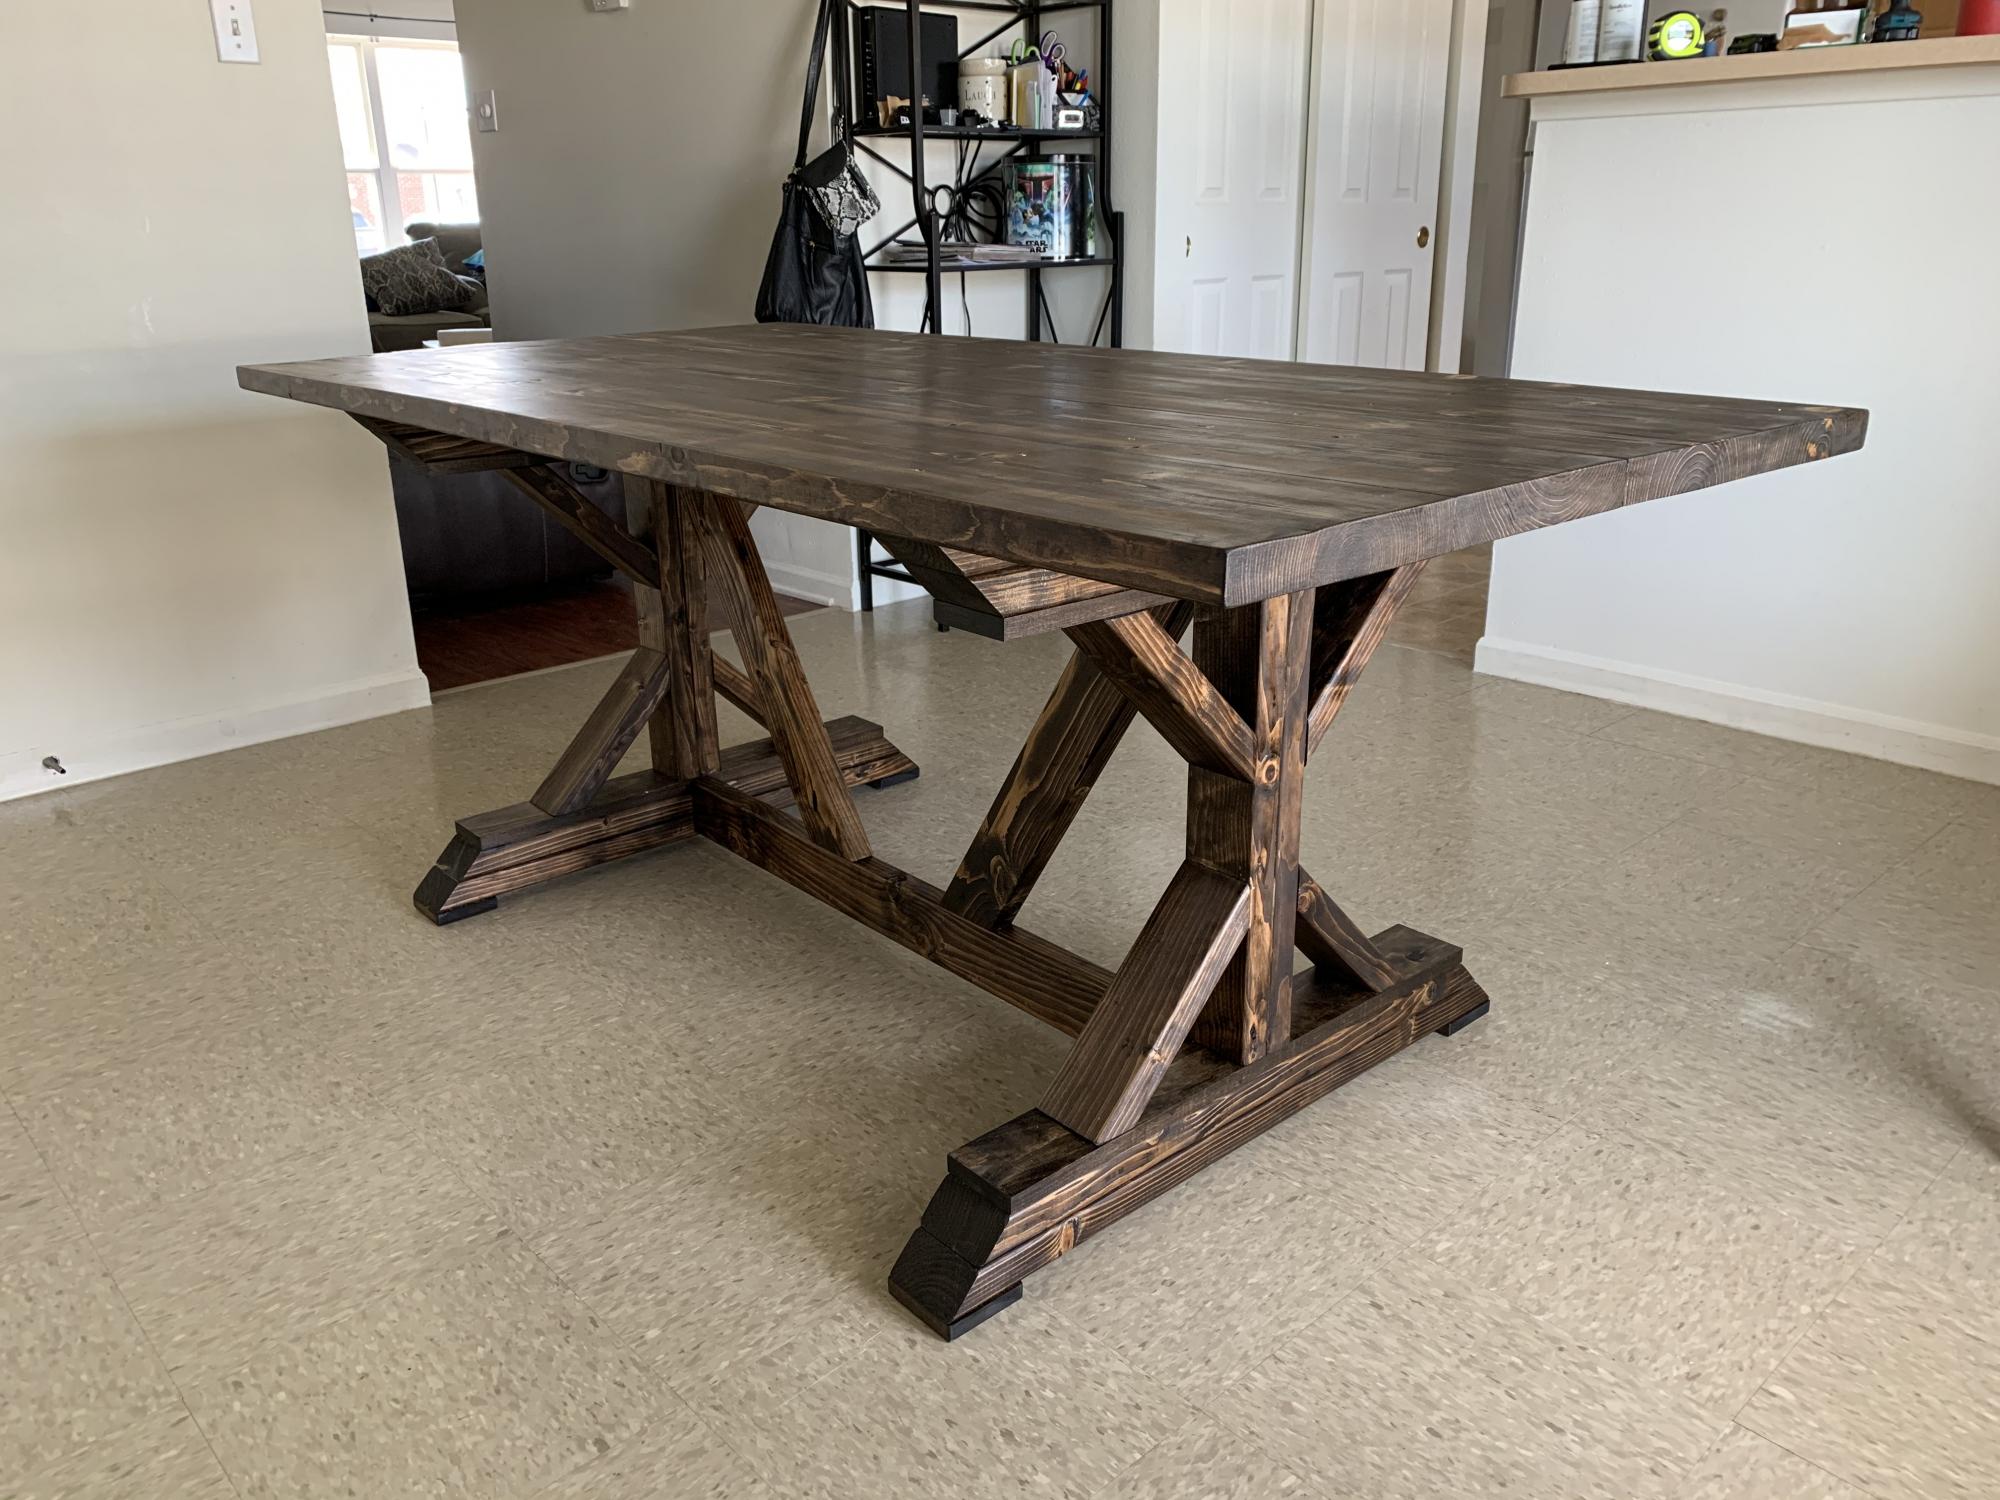
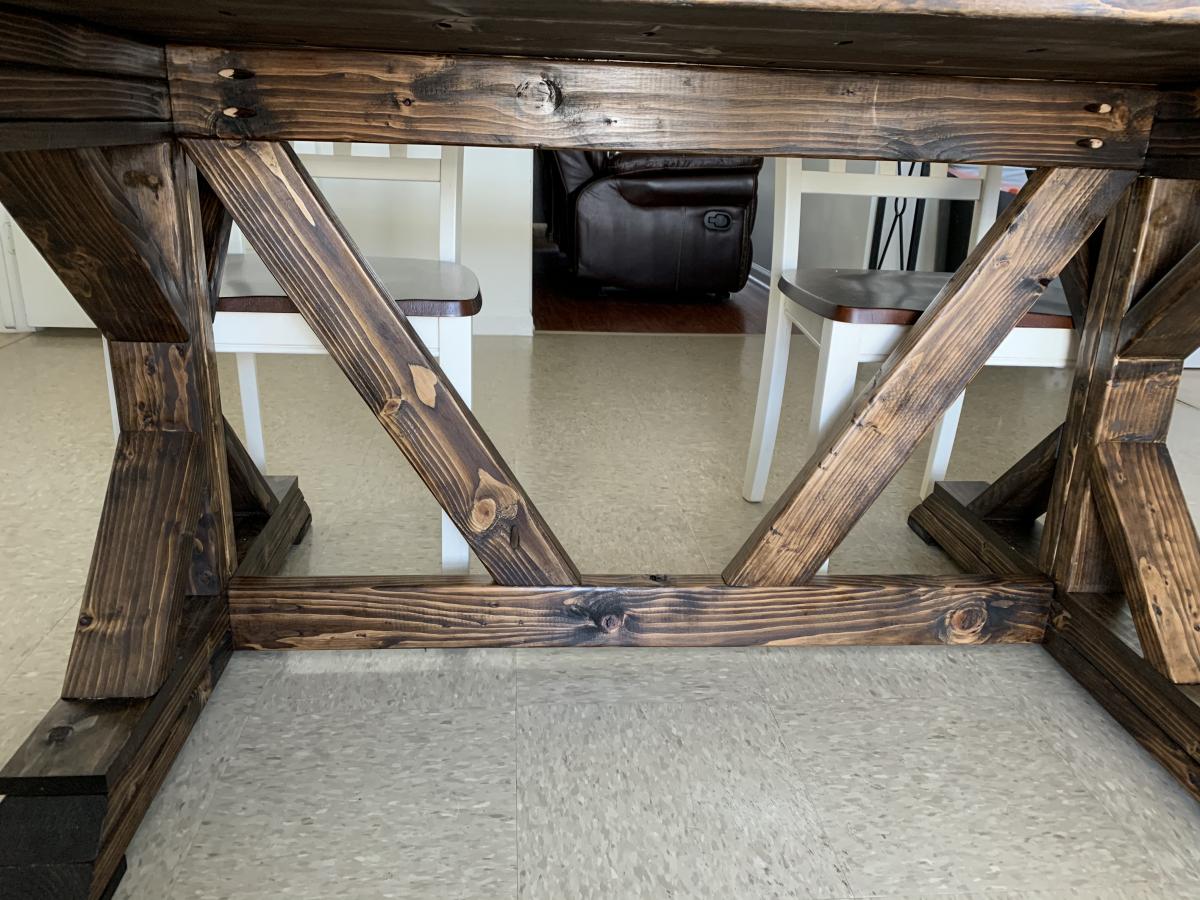
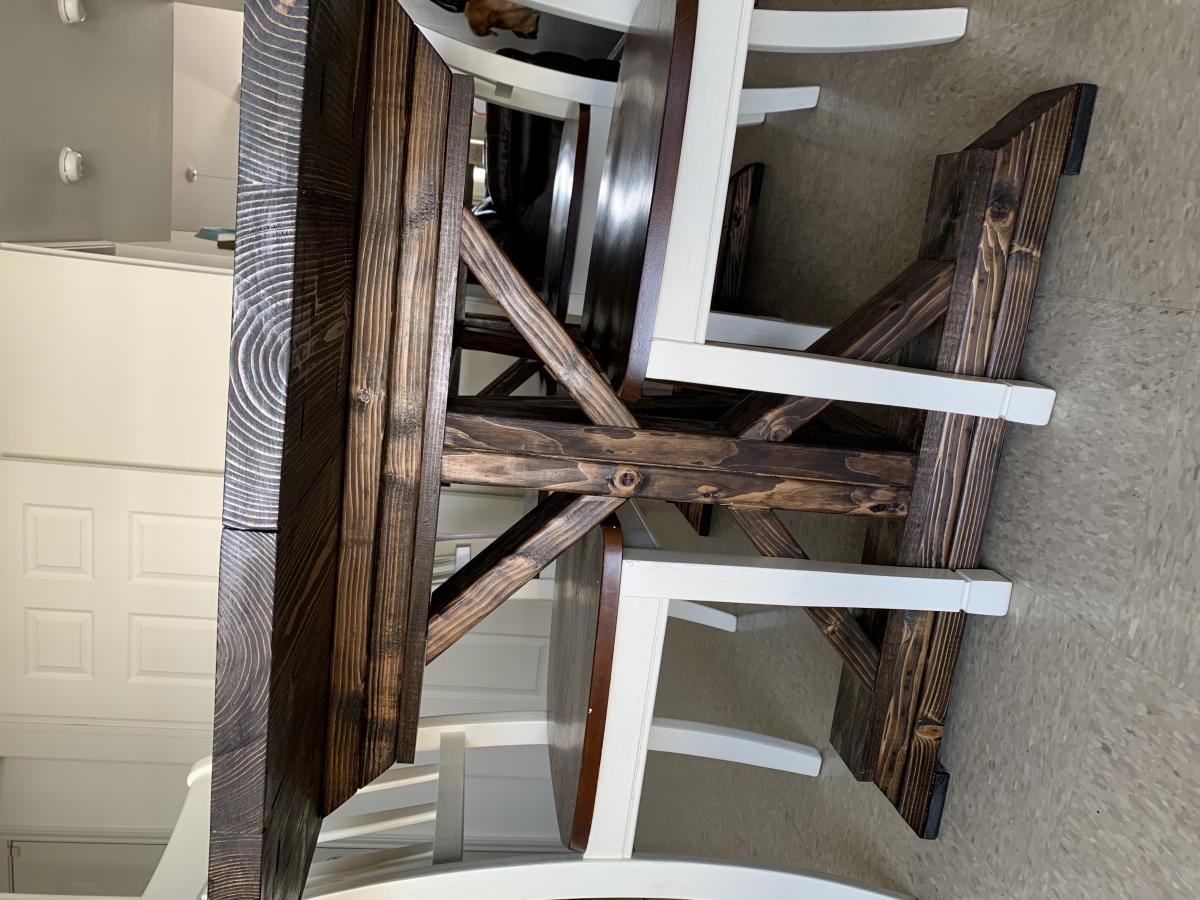
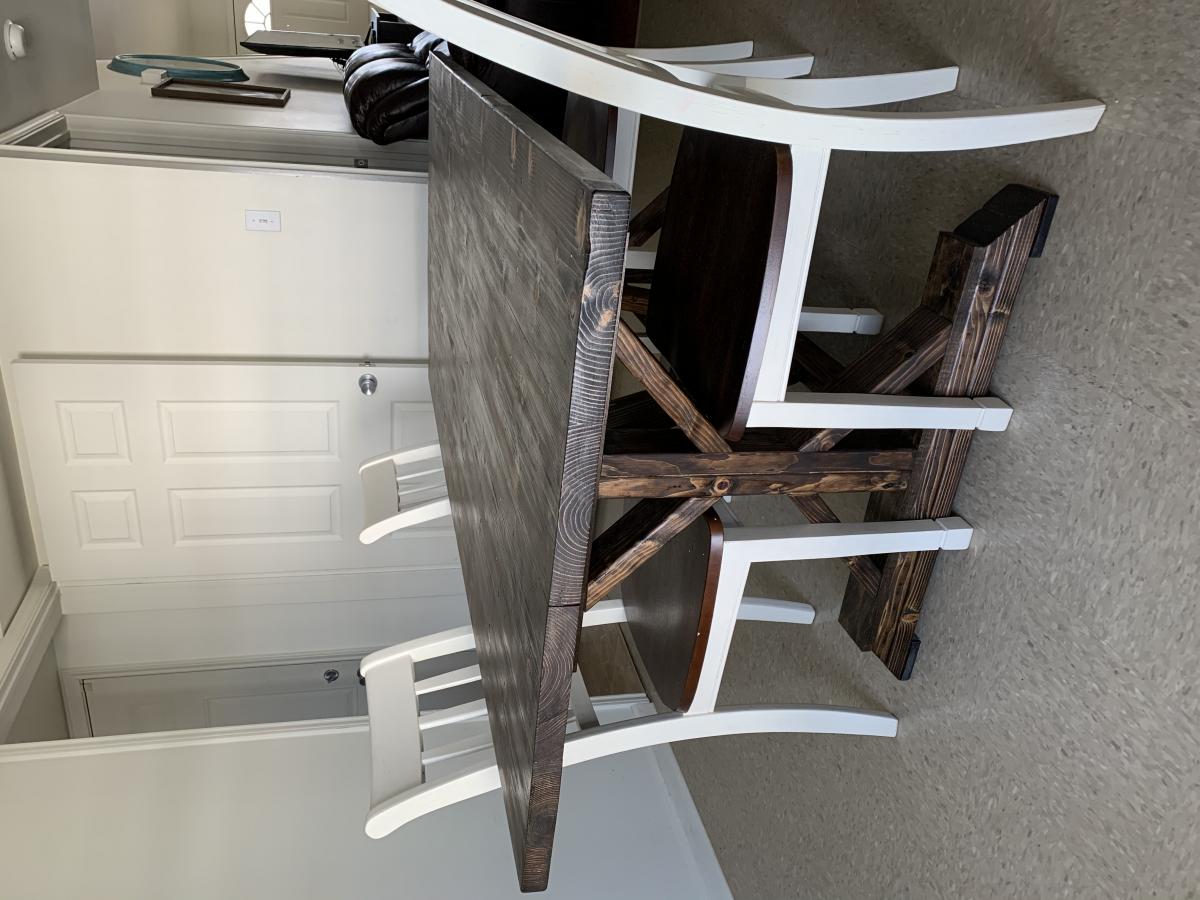
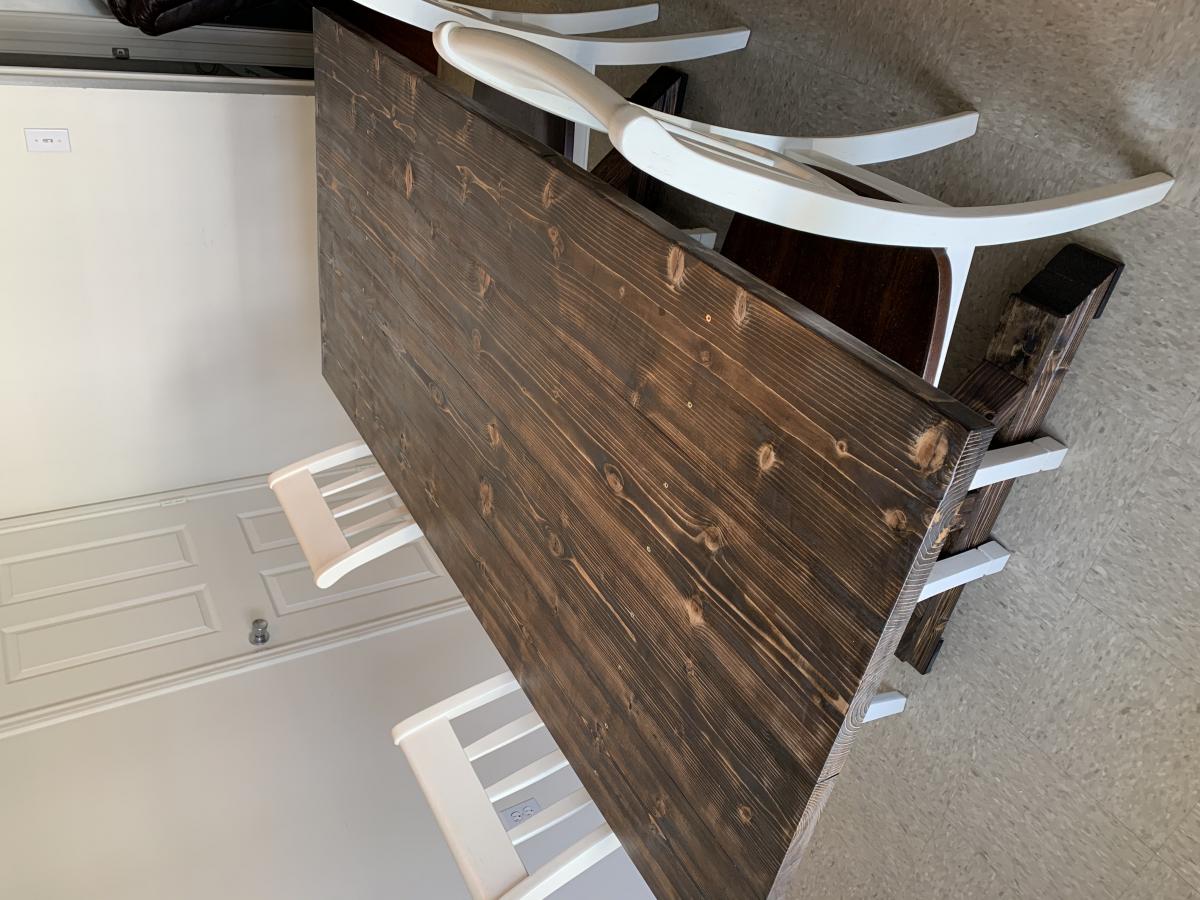
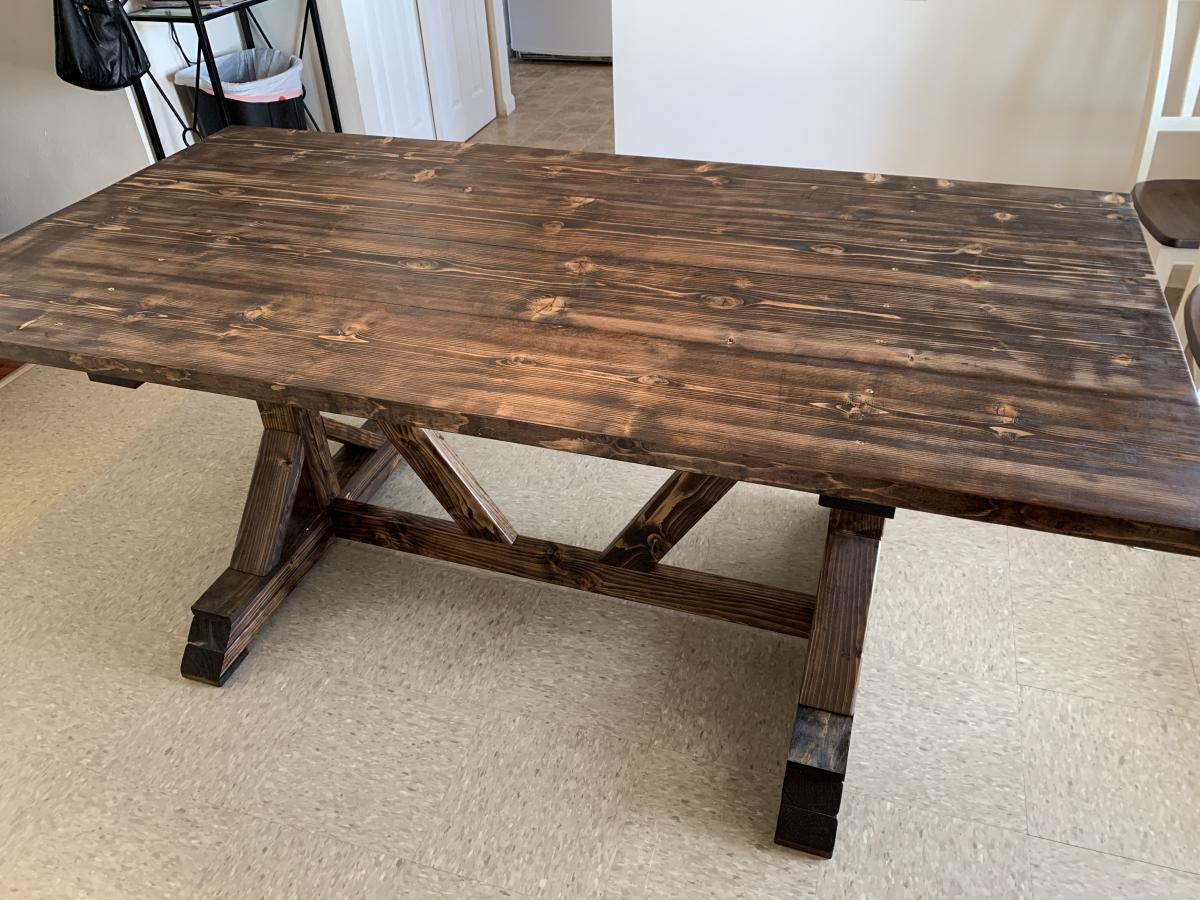
This is my first big project. It took about 5 days with the help of my 3 yr old little boy. I made a couple of modifications. I took the size down to 6 ft to fit our current dining room. Essentially I just took 24 inches off of the table top and the long cross braces. For the diagonal cross pieces, I just clamped the wood on the side and marked where the cut was needed. Somehow though, I ended up needing 8 2x4’s... It turned out a lot better than I expected. Although I wish it was explained how they attached the table top. I ended just screwing in from the top. Wish there was a way to avoid this, and the ensuing shown screws, but it will do for now!
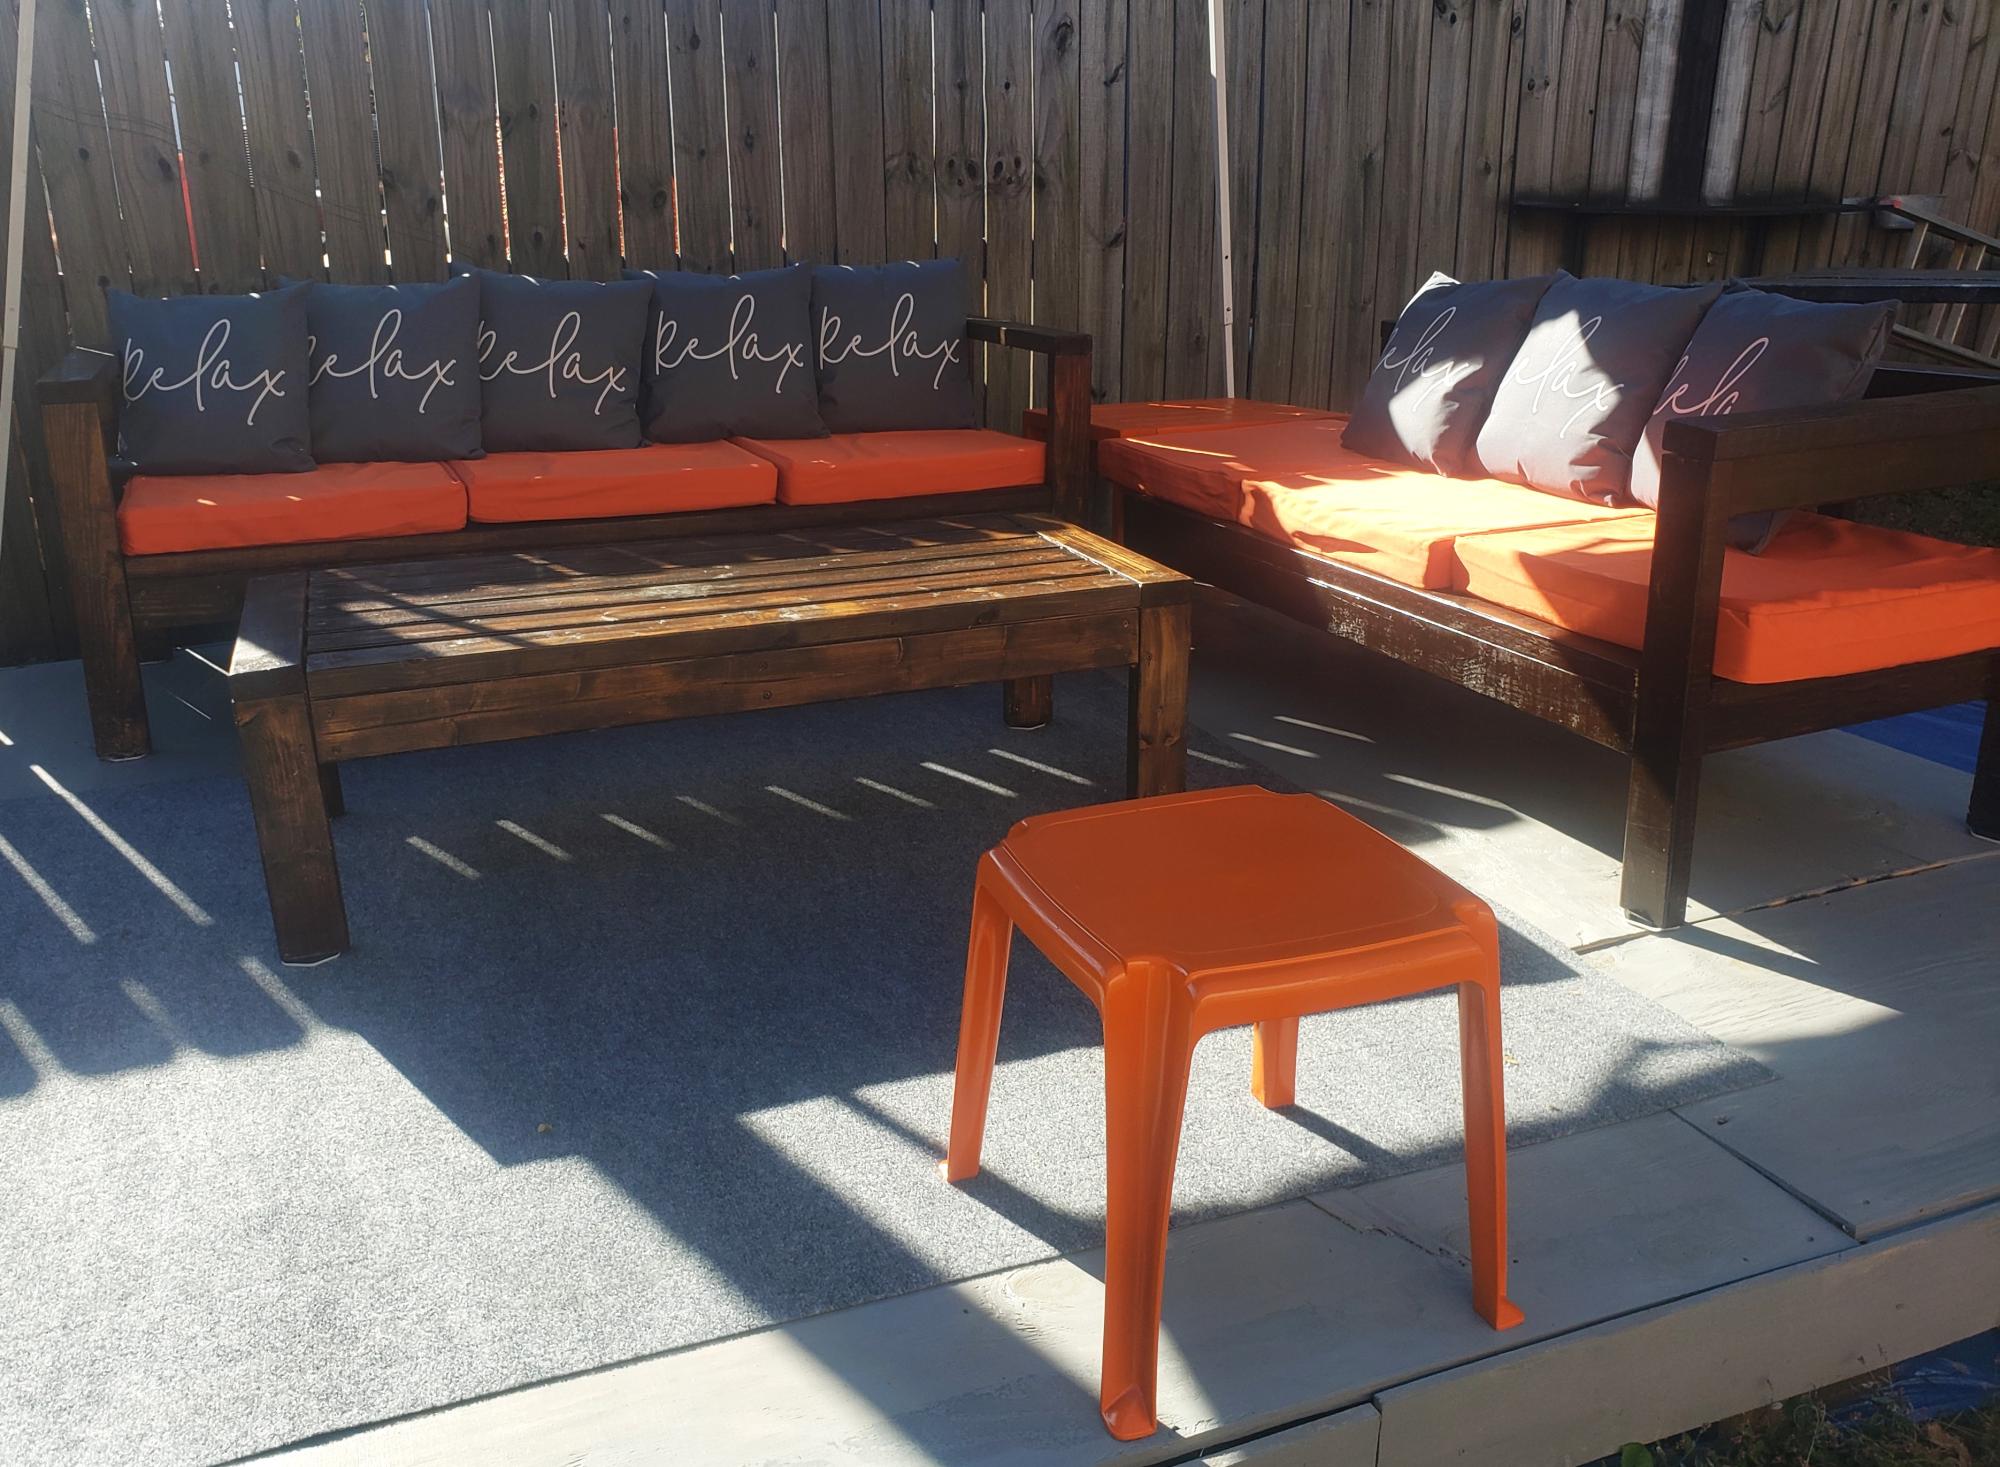
Had fun building this and and putting on the pillows and cushions.
Elite Motionz Buildz
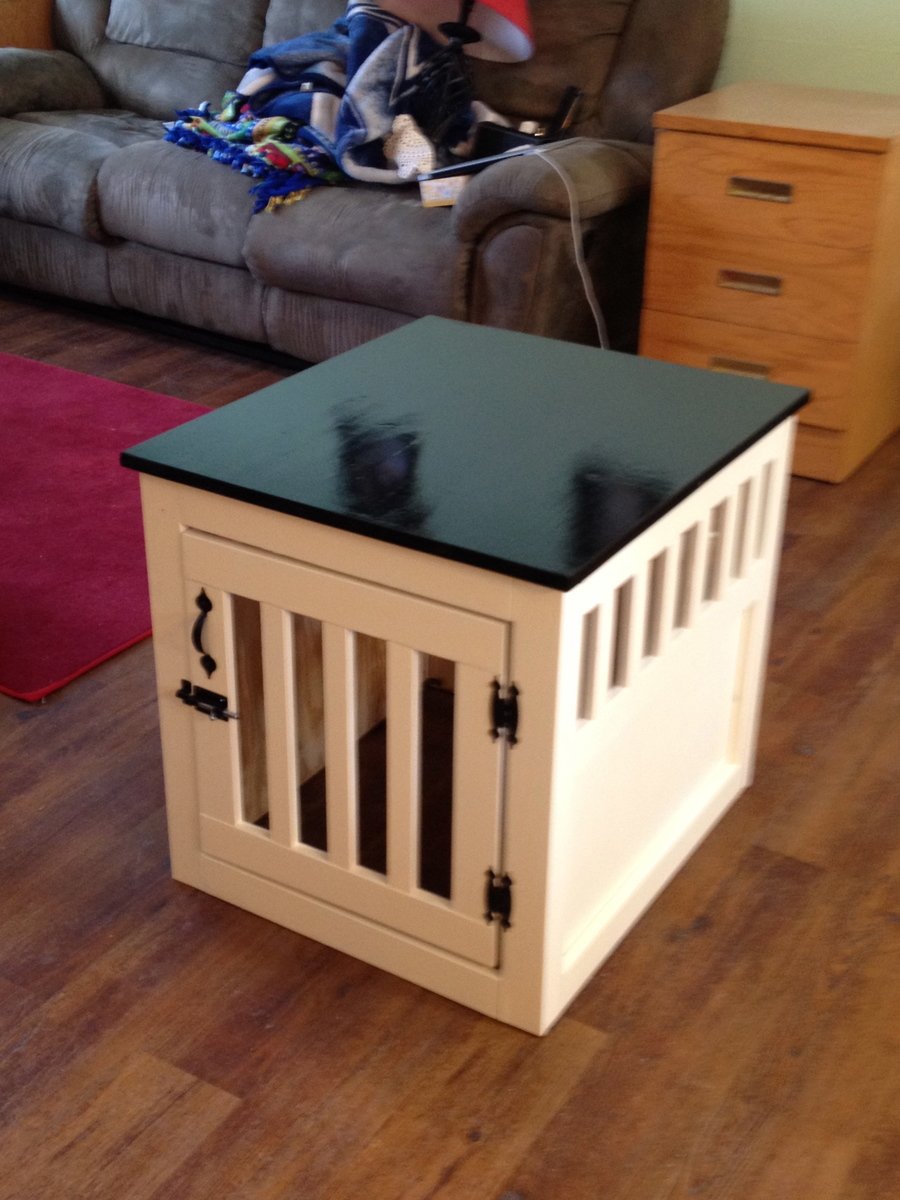
I just finished my first project with a Kreg Jig, I used the colors from another kennel project that we found on the site because we thought it would go well with our living room. I adjusted the plans to fit our furniture and dogs, so it is shorter and not as deep as the the original plans show.
Thu, 05/31/2012 - 18:35
This is a fabulous idea. We live in a small space and this is a two for one idea. I think we will be making this soon. Thanks so much for the idea. I would have never thought of this on my own.
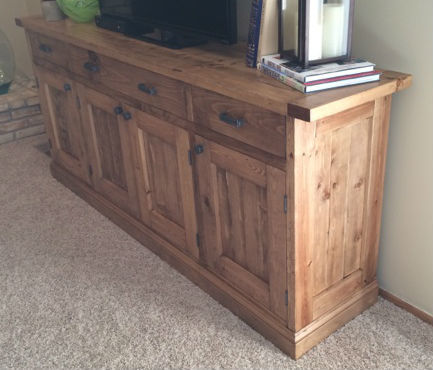
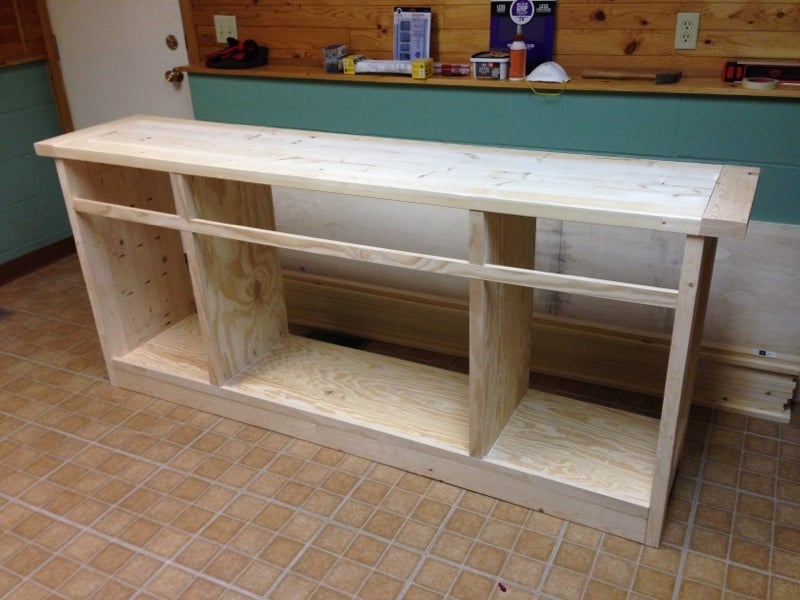
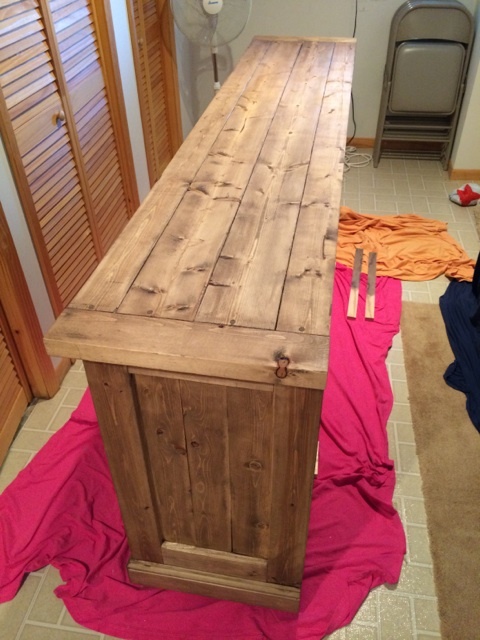
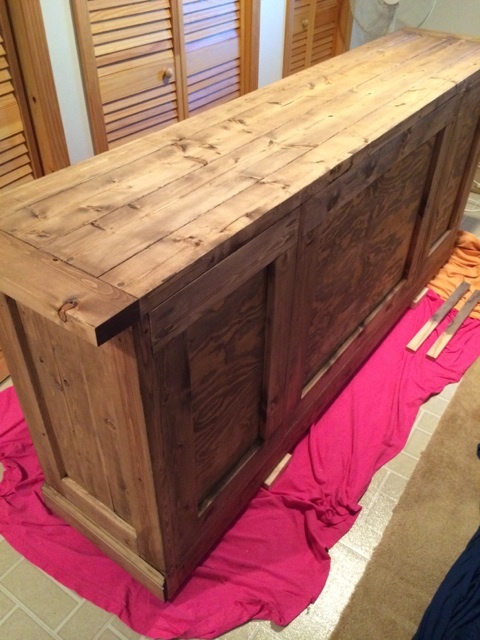
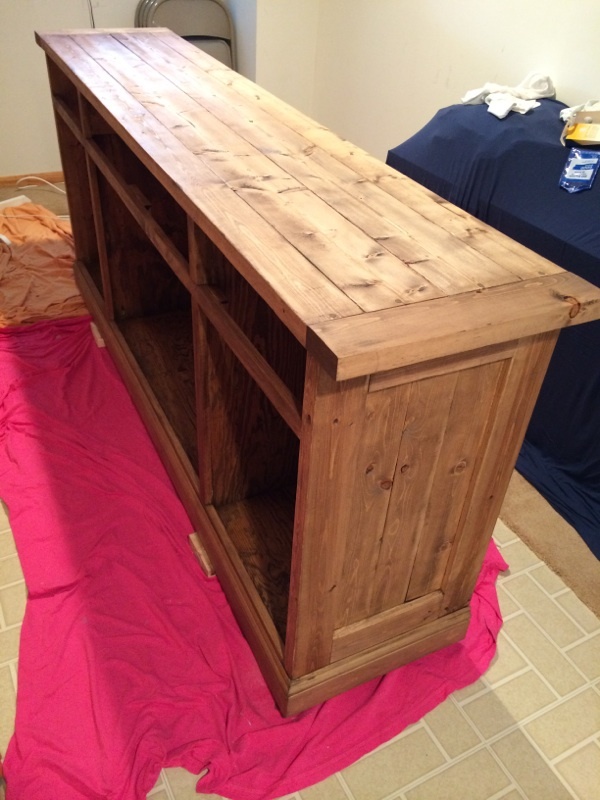
This was my first finished project using plans from Ana's site, and I am very pleased with the finished product. Every aspect of the finished sideboard is based on something from the site. I started with the plans for the Planked Wood Sideboard, and made no modifications as the dimensions were perfect for our basement family room. I decided to inset the back (http://www.friendly-home.net/2012/02/gigantic-rustic-sideboard.html) as Ana explained that Hillary had done, and love the final result. This will allow us to use this to potentially divide a room in an open concept space at some point in the future.
For the finishing process, I decided to follow the "Rustic Yet Refined" finish tutorial highlighted on both the Ana-White site (http://ana-white.com/2013/08/rustic-yet-refined-wood-finish) and Jen Woodhouse House of Wood (http://jenwoodhouse.com/blog/2013/06/07/diy-dining-table/). I fully intended to complete the 9 step process, but found that after we applied the Minwax pre-stain wood conditioner, followed by Minwax special walnut stain and wiped it off within 15-30 seconds, the finish mirrored the restoration hardware finish that we were going for. We decided not to proceed with layering on the weathered oak or applying the whitewash, and went straight to the spar urethane satin coats.
Overall, the project was a success, but was difficult to finish during the Minnesota winter as it was unbelievably cold and was forced to complete the finishing process in our basement/laundry room, which extended the length of the project. I am very excited to begin building other pieces from Ana's plans.

Mon, 03/03/2014 - 10:01
Absolutely beautiful! Thank you for all the details on how you did this!
In reply to Absolutely beautiful! Thank by moosmani
Thu, 03/13/2014 - 07:09
Thank you so much for your kind words. I am extremely impressed with your brag posts as well, and you may have been inspired to take on the picket storage shed project as soon as the snow melts.
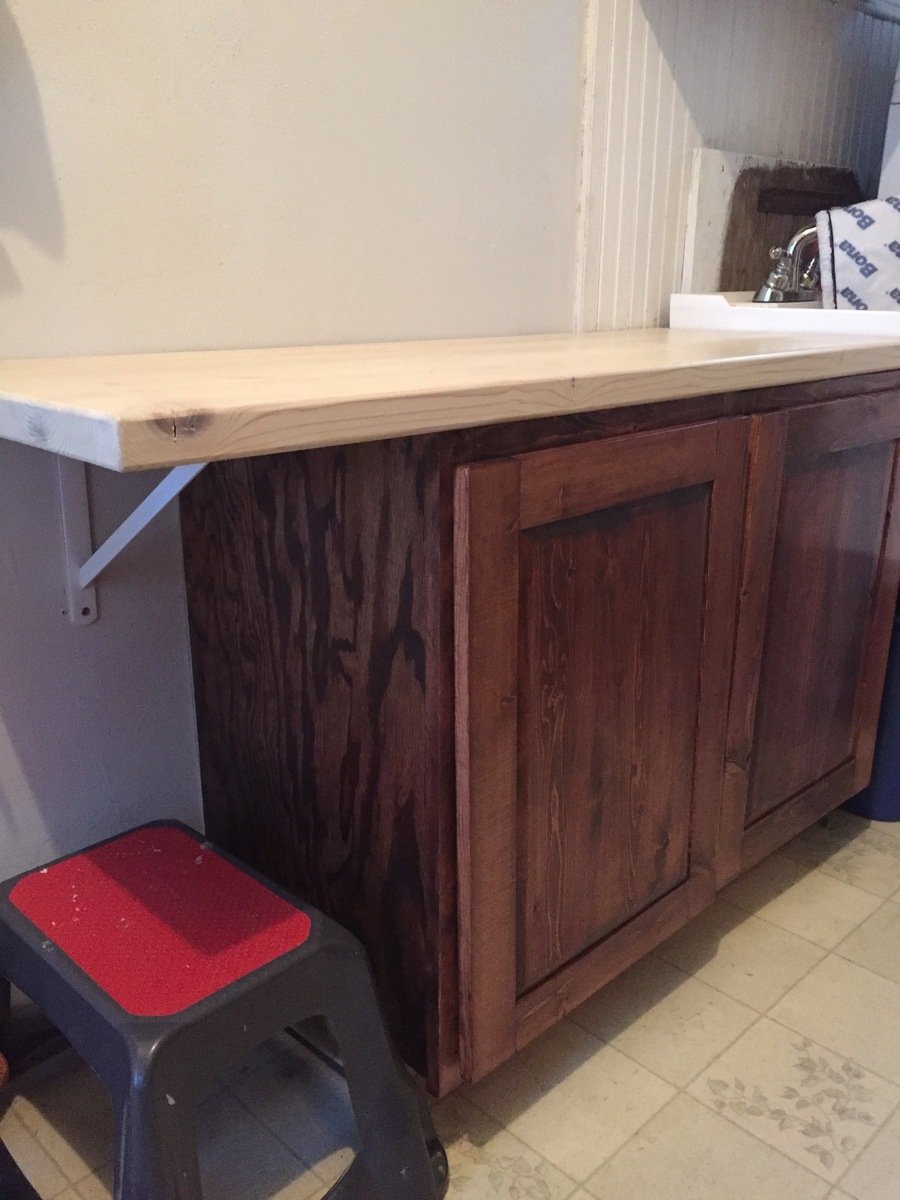
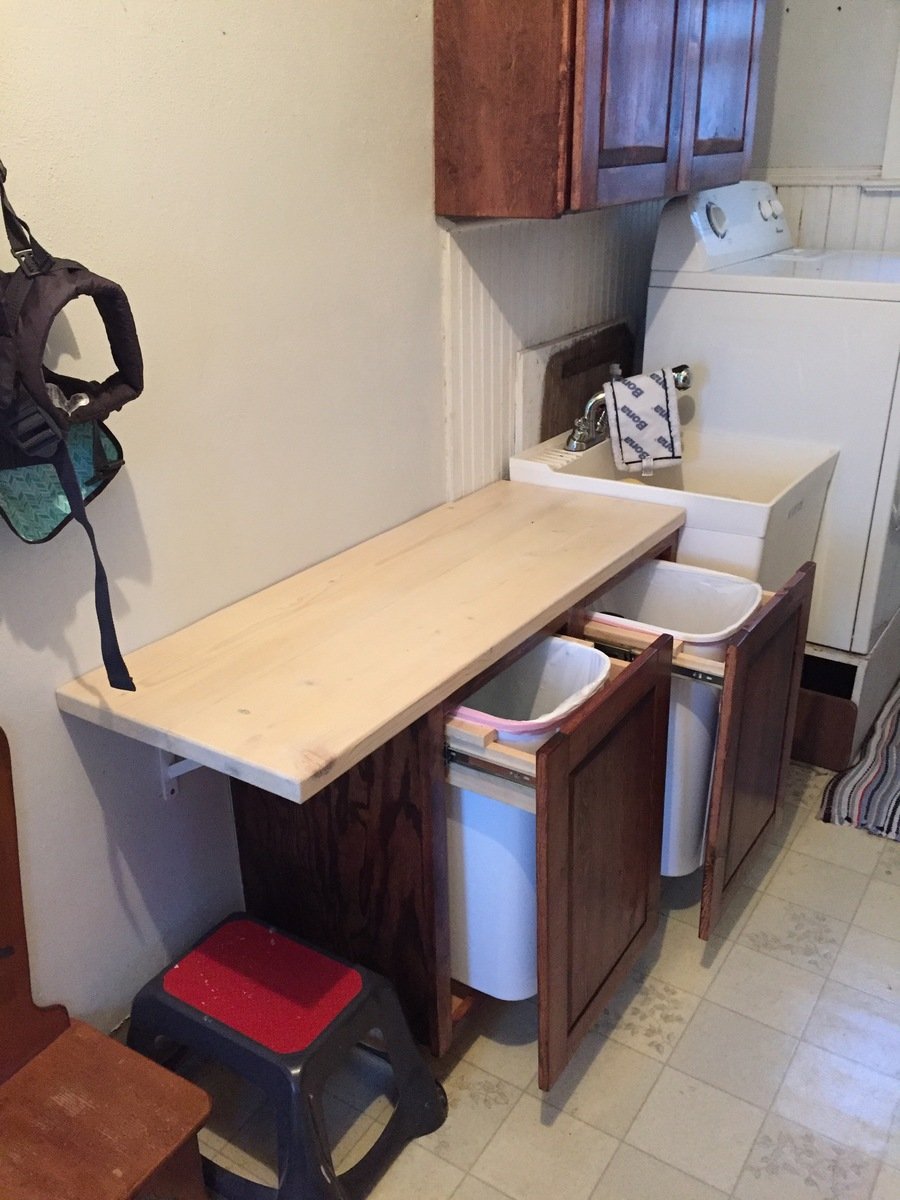
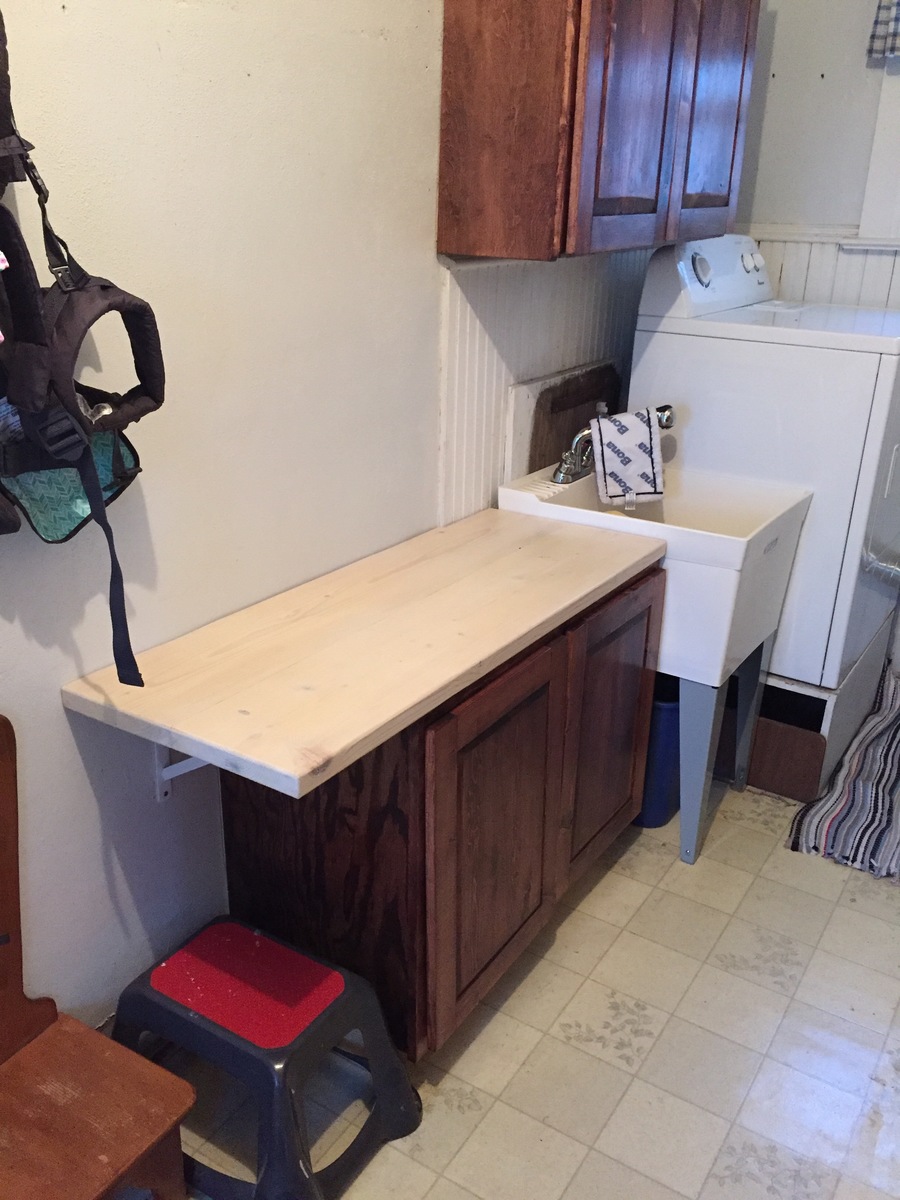
We are trying to tidy up our laundry/mud room and needed a place for the recyclables. I ran across Ana's plans for these pull out cabinets and raised panel doors, adjusted the measurements to fit our space, and had at it! It's kind of a tight fit in that room but these seem to help with the clutter. I also added that little table on top for folding laundry.
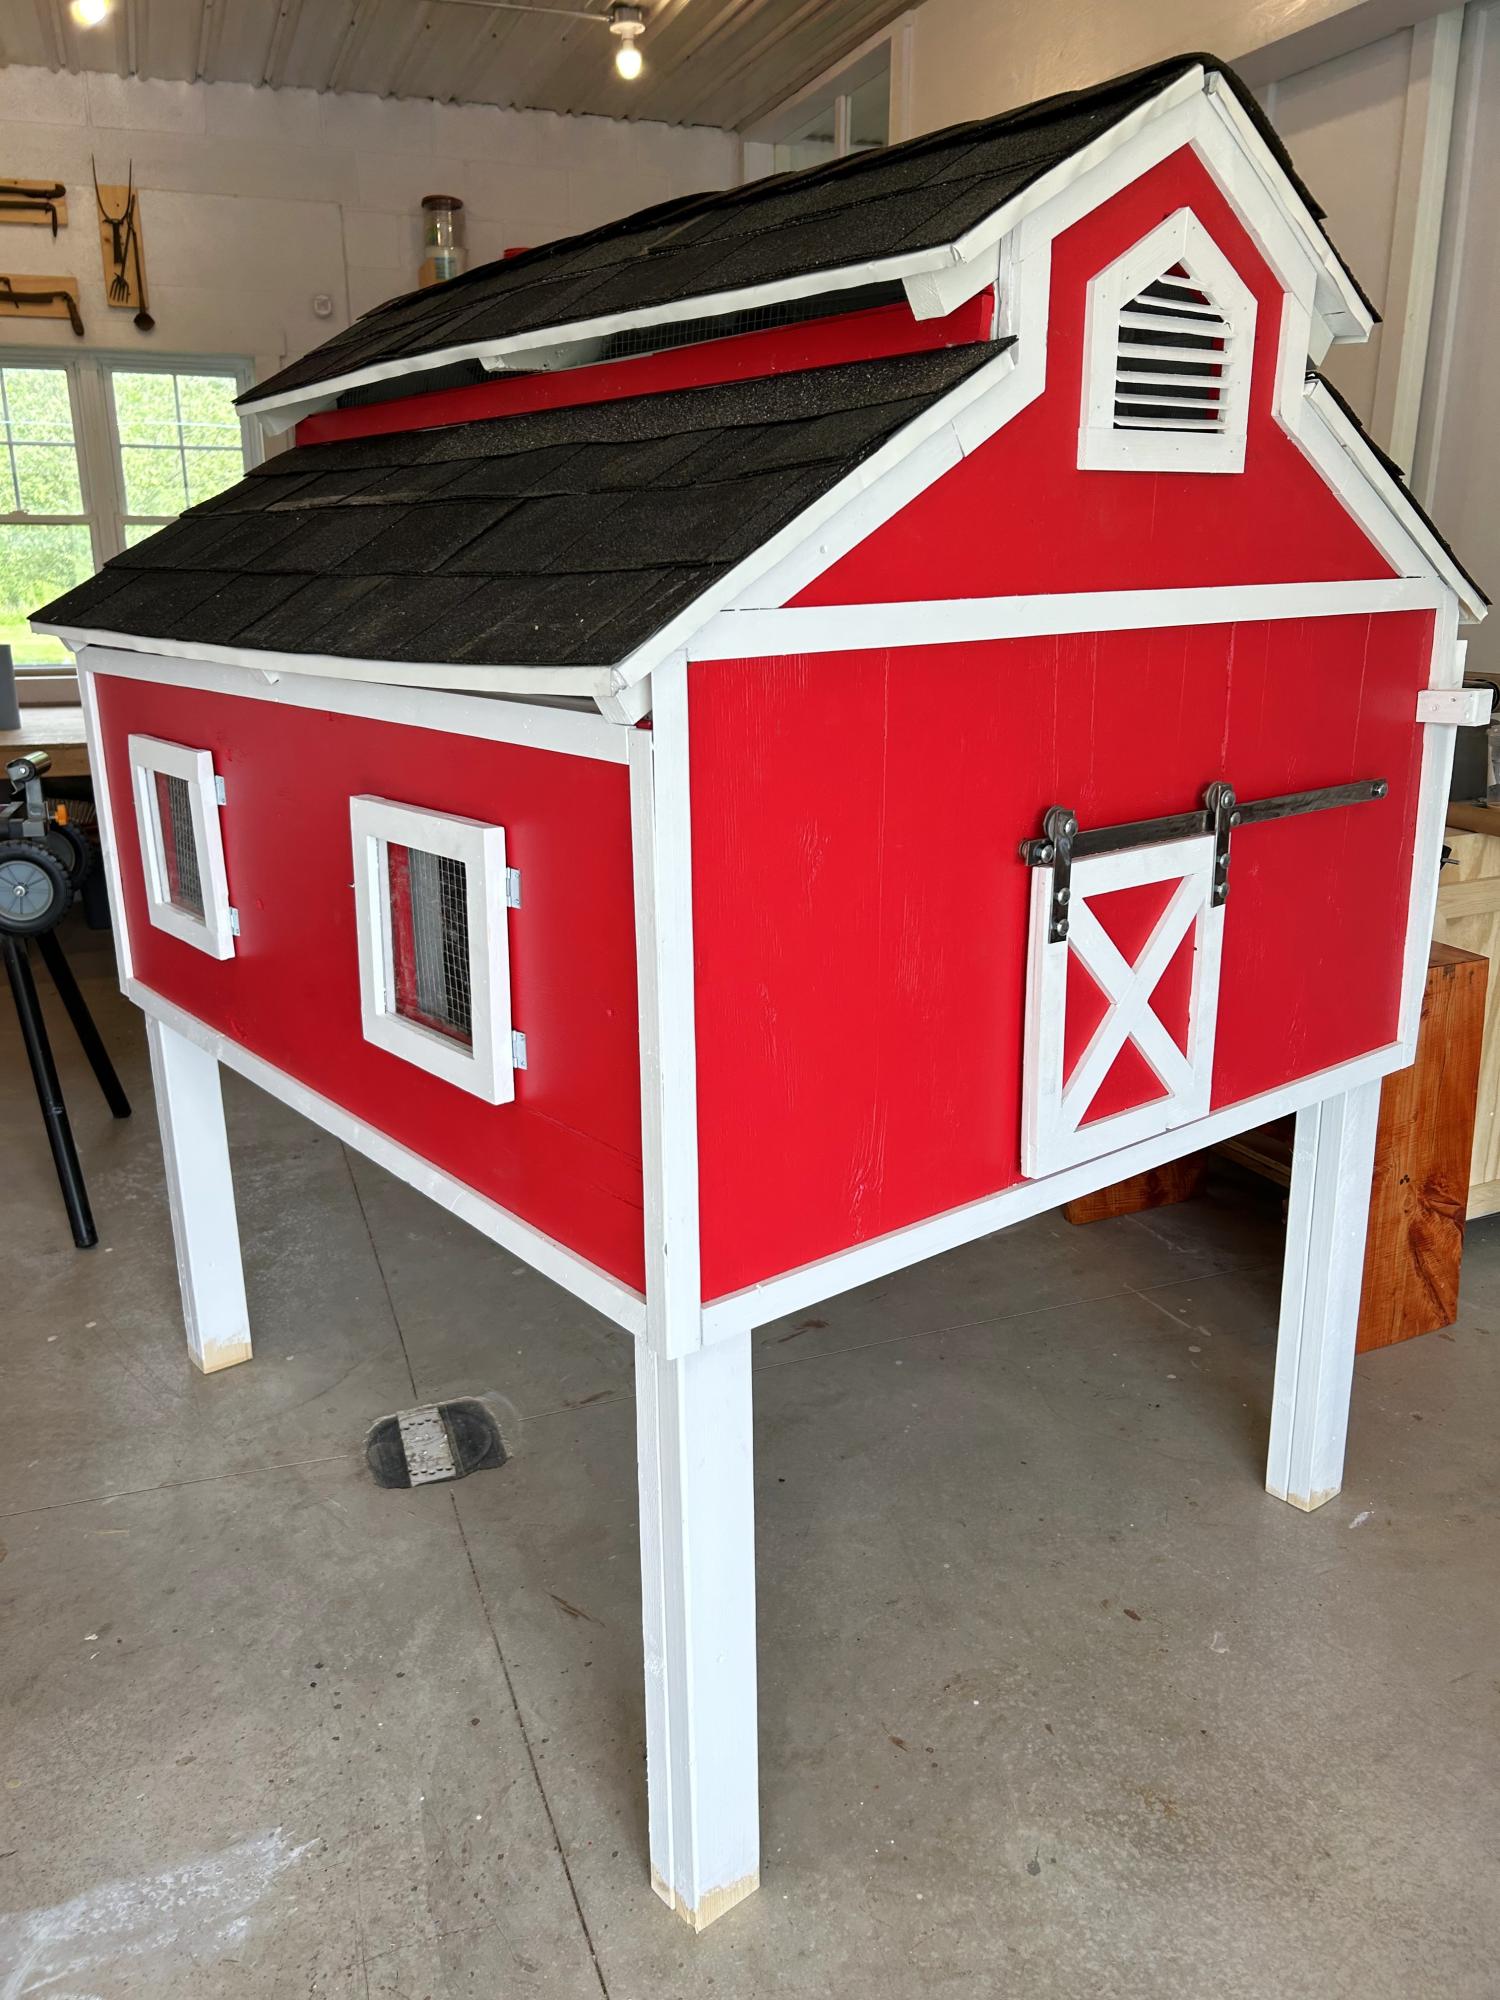
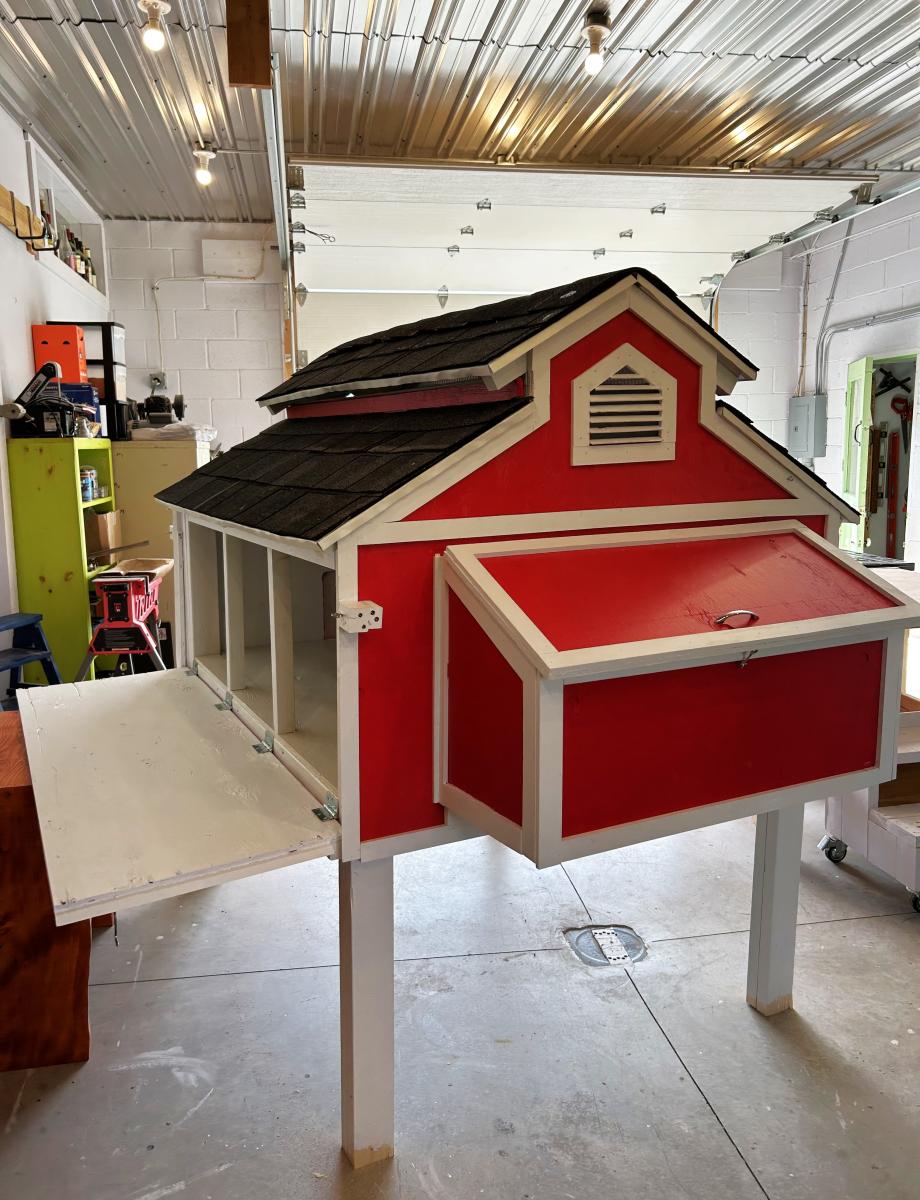
Chicken coop I made to look like a little red barn complete with a working barn door. We have seven girls and they love their lovely barn home.
Sue Laidacker
This is a smaller version of the easiest chalkboard shelf. We needed a smaller shelf to fit between the garage door and coat closet so this was it. It was also my first time using my Kreg Jig, which I love. Such a simple little project but I am excited.
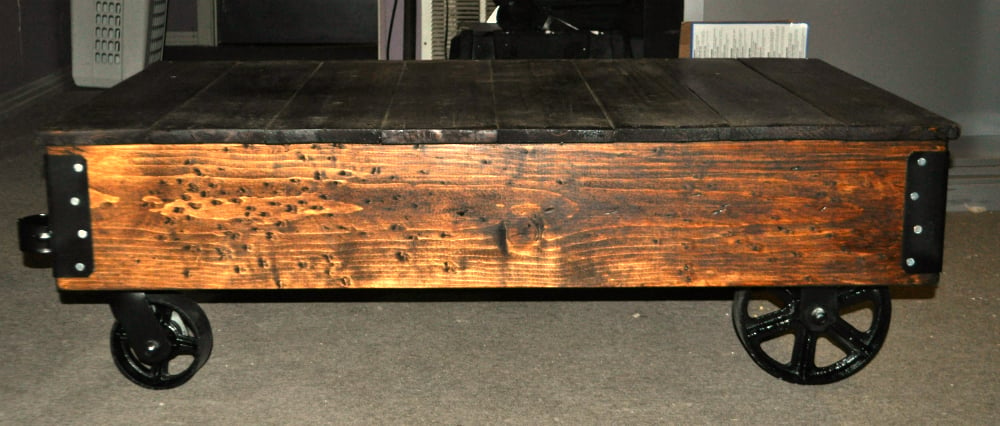
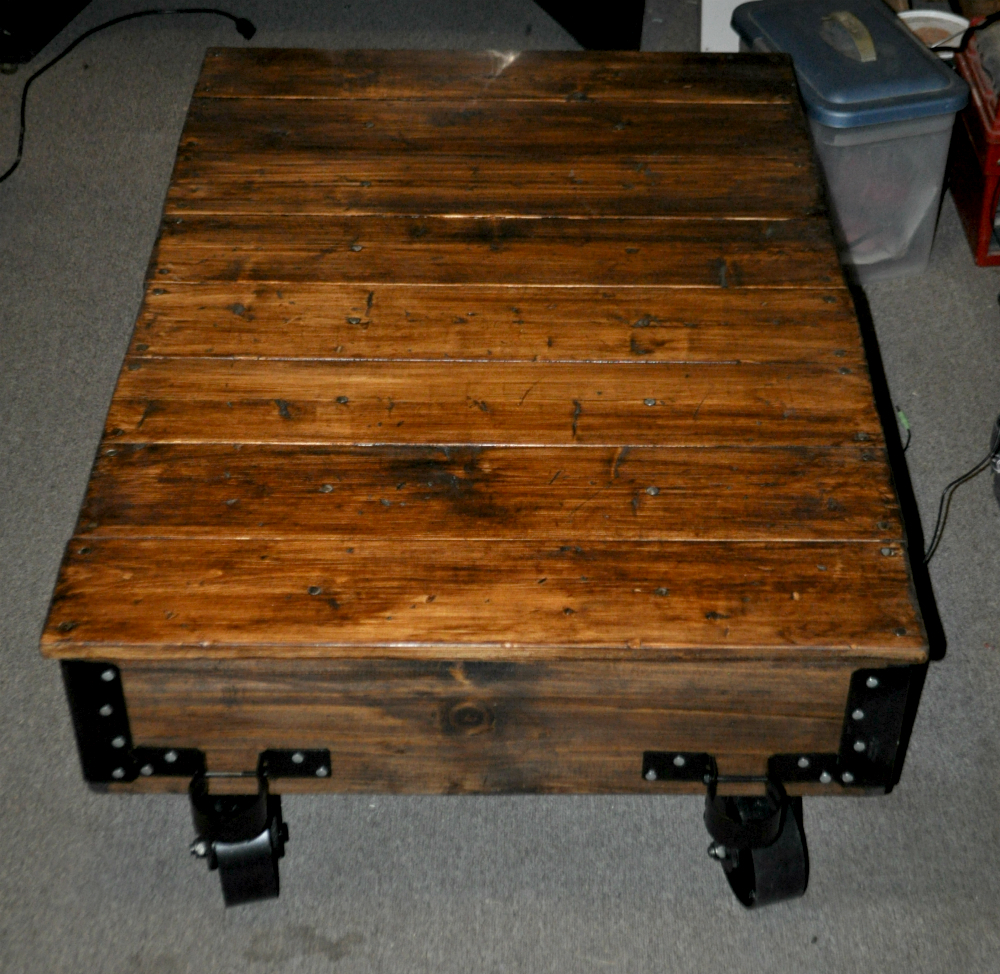
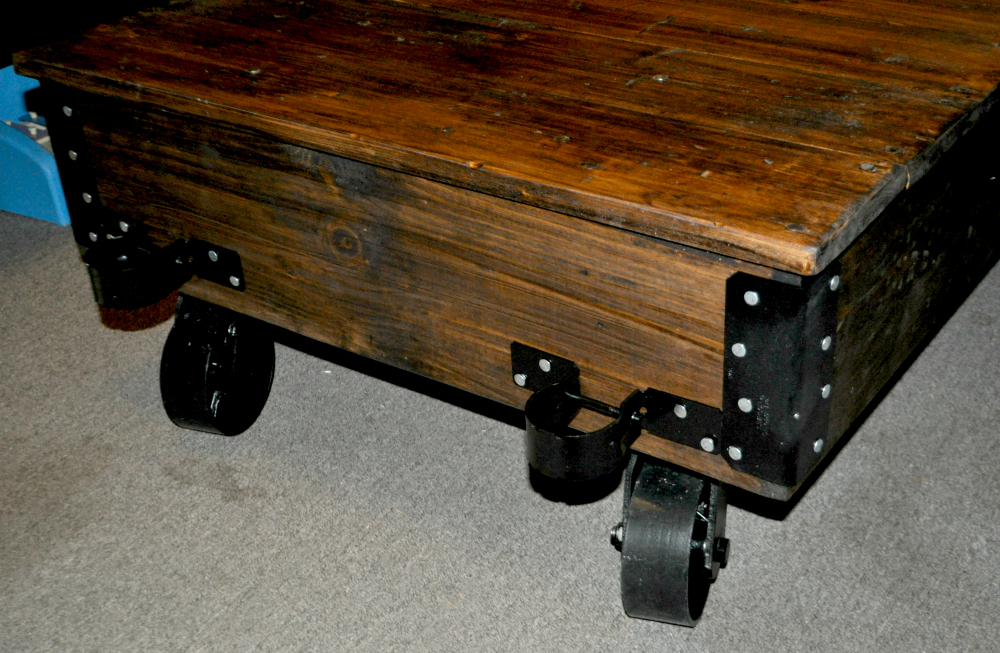
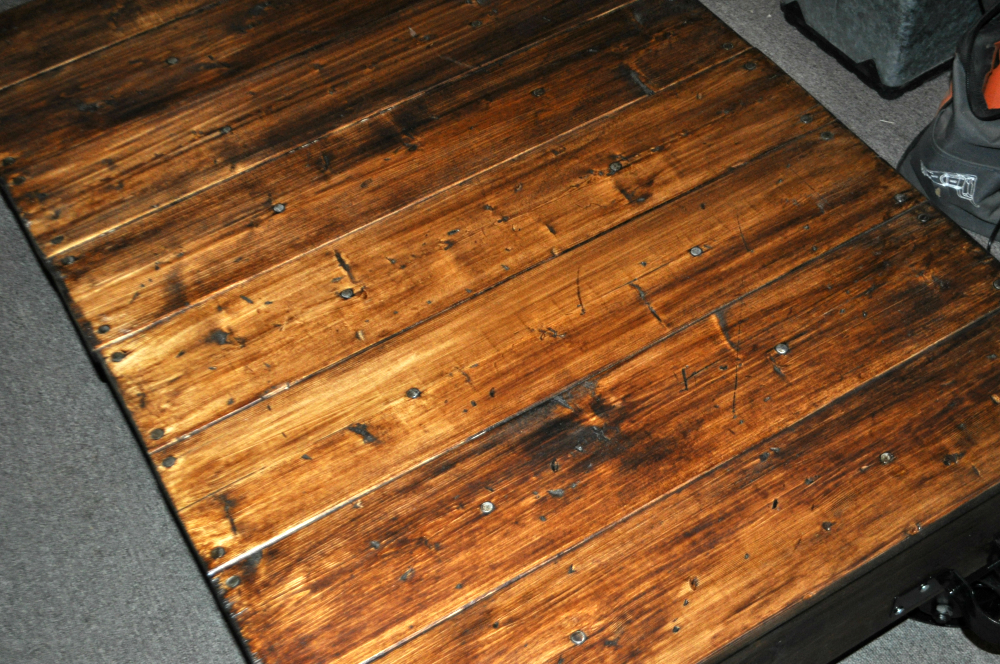
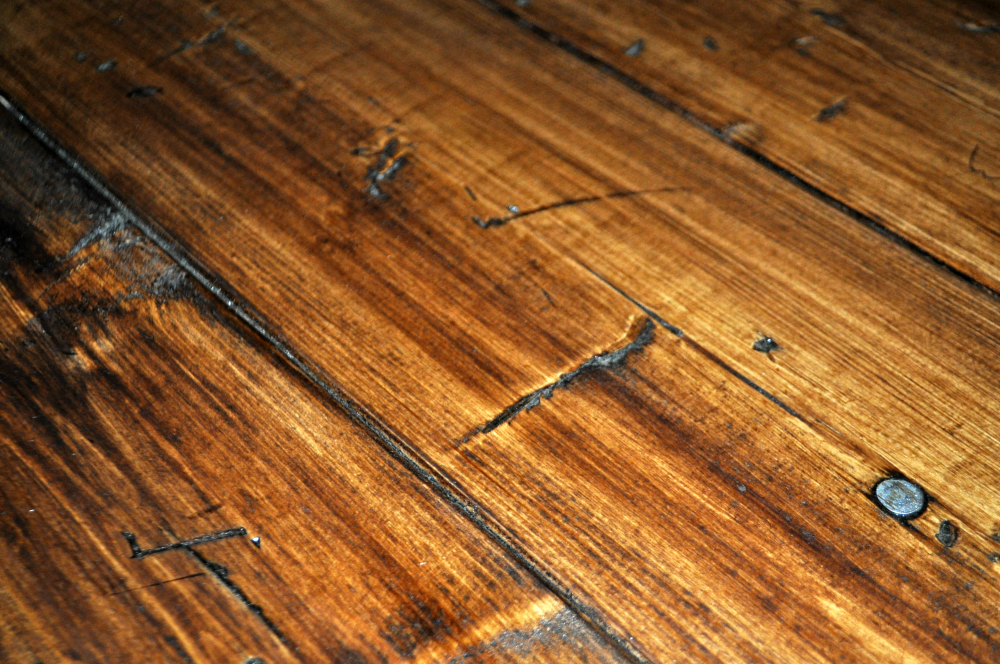
After seeing the plans for the Factory Cart Coffee Table on this site, I decided I should build one. I didn't actually follow the plans exactly...really just used them as "inspiration". I went with 5" swivel casters and 8" fixed casters, and the stain is Minwax hickory poly that has been sanded back a bit. I'm really happy with how it turned out.
Now on to the next project !
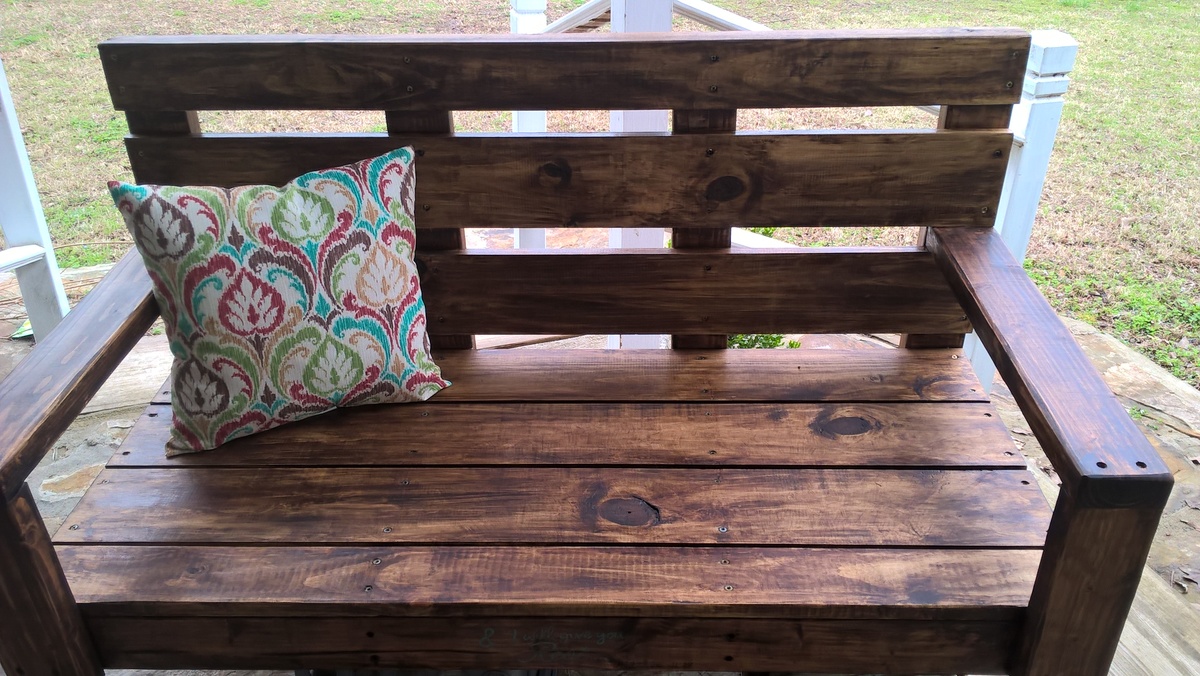
Very easy to read instructions... Excellent swing. You can build and stain in one evening. Love it.
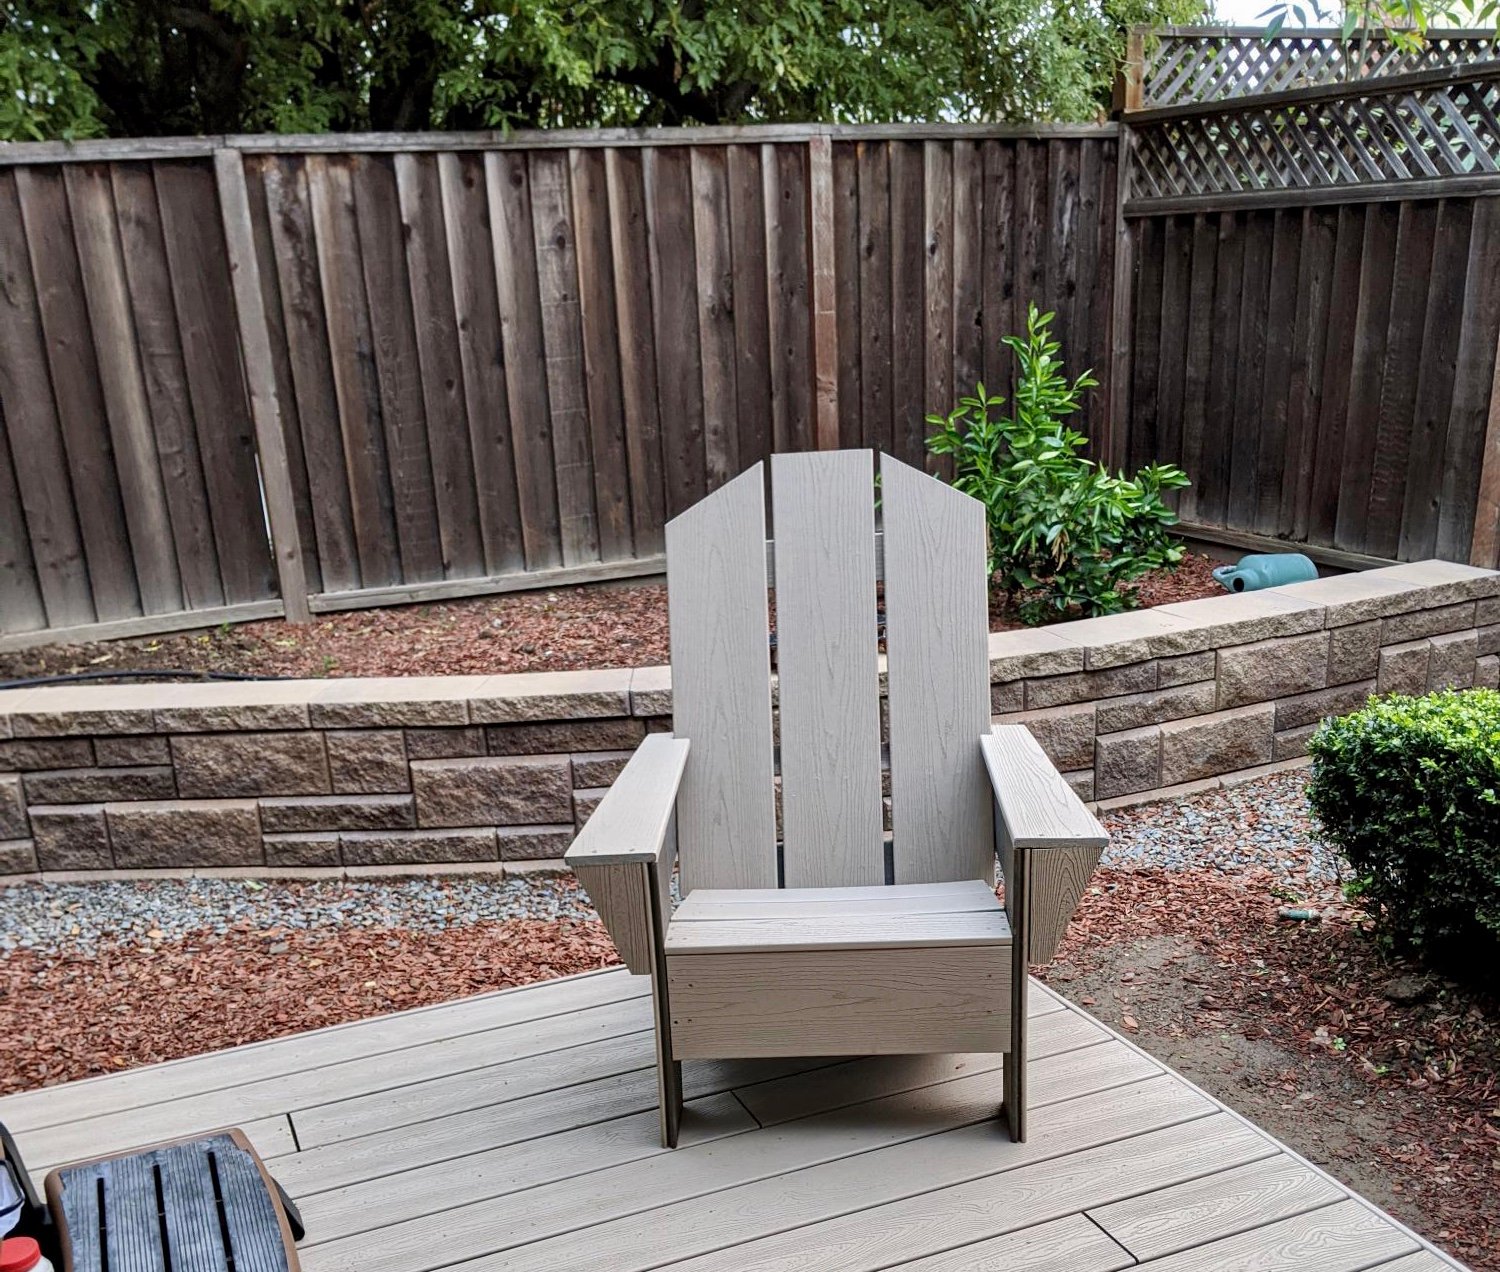
We are stuck at home for the Shelter-In-Place due to COVID-19 so we decided to use the scrap wood left over from our new deck. Because we didn't have the materials exactly meeting the specifications in the directions, we had to adapt the design significantly but we're really pleased with how it turned out. My 16-year-old daughter made it with me so it was a great to get her involved in building
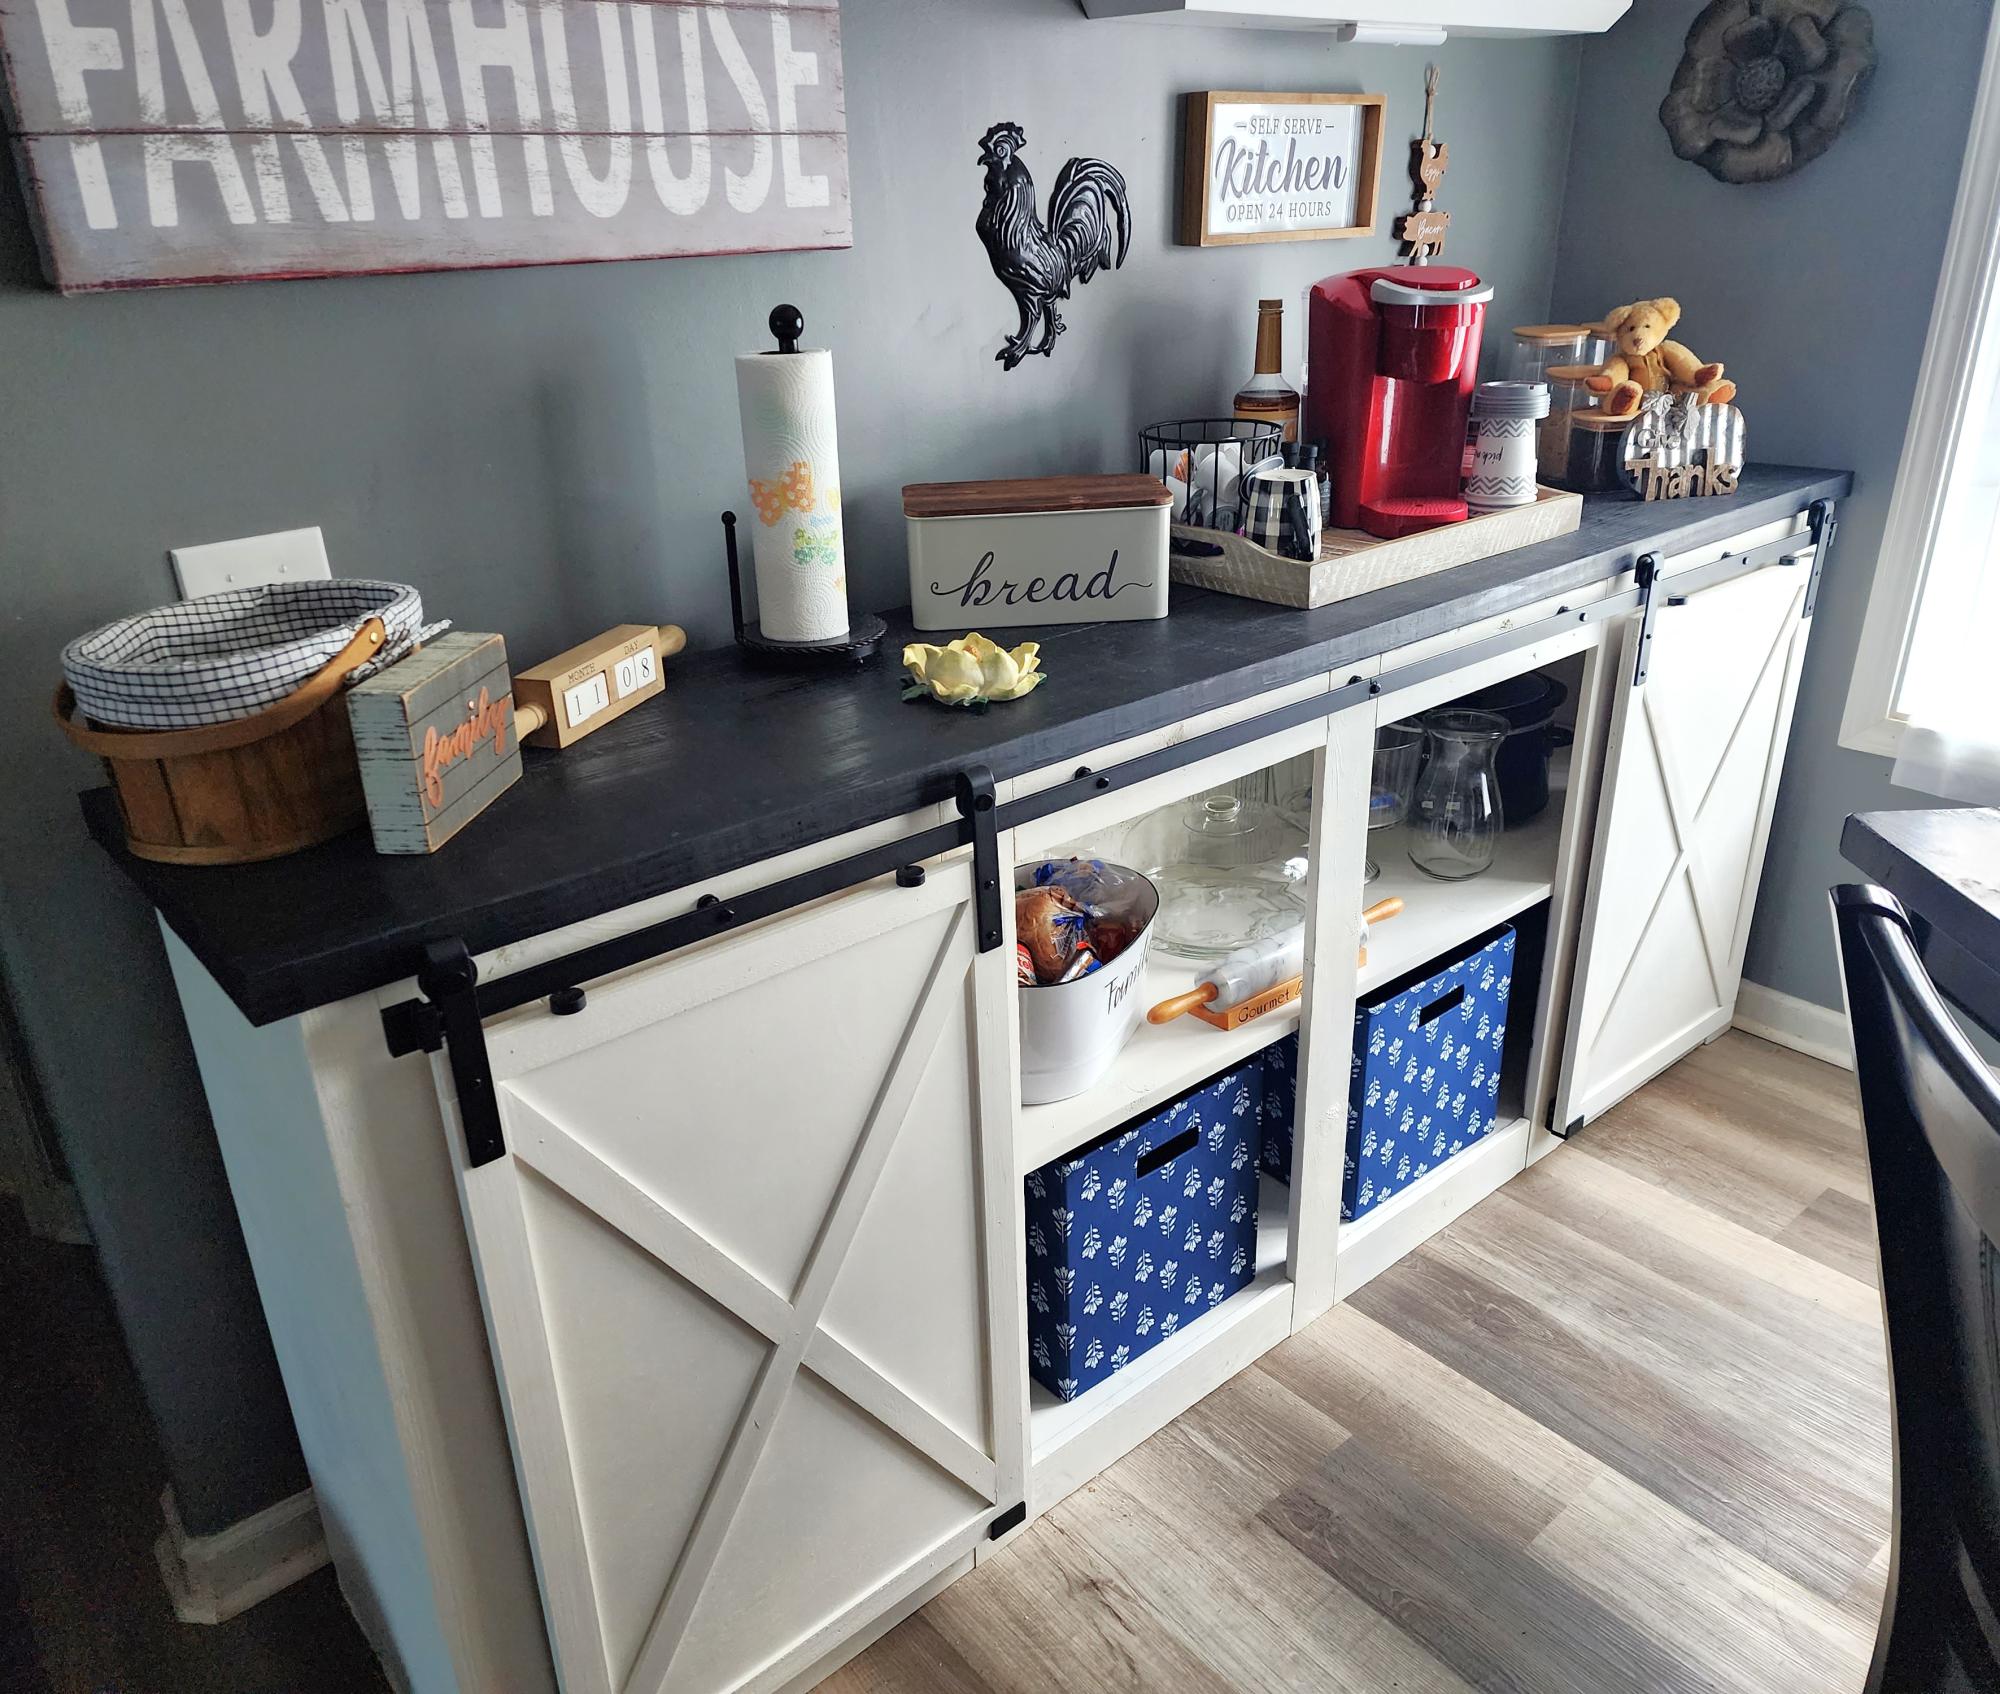
Barn door console I turned into a coffee bar. Great storage space. Love the way it turned out.
Dee
Thu, 11/09/2023 - 11:47
Fabulous build, so much storage and beautiful too!
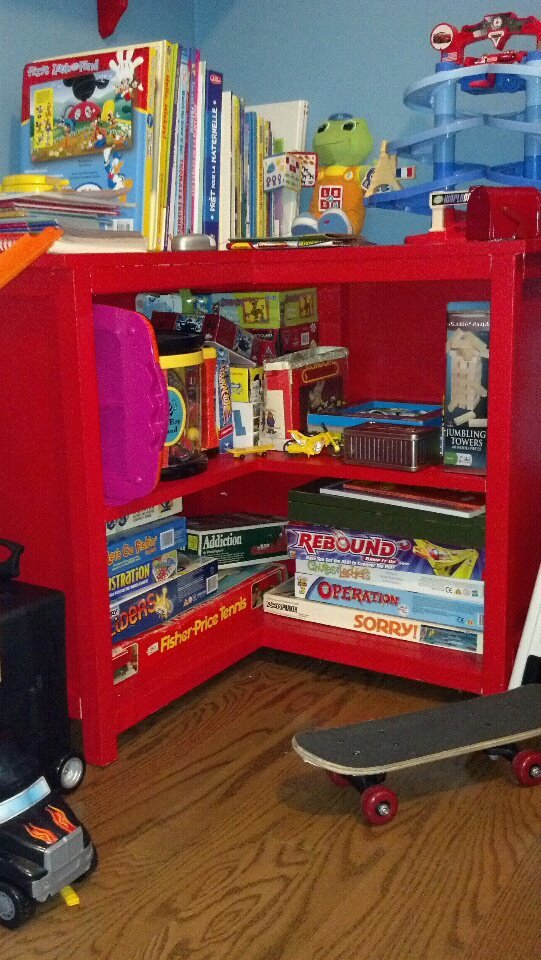
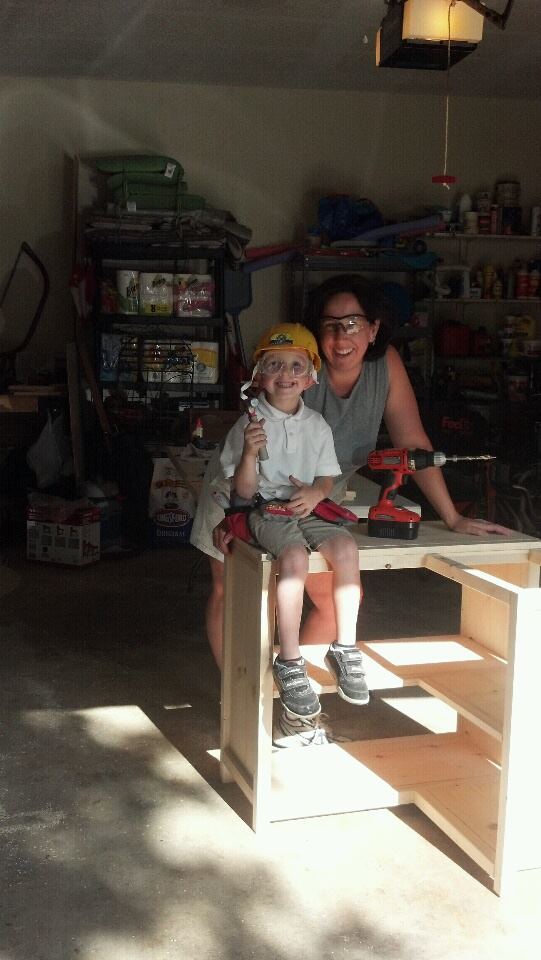
My son needed organization and of course instead of buying something I thought I could build one. I've been eyeballing Ana's site and found this project. This is my very first one. I only had a manual mitre saw so it took a long time to cut all the pieces but it did get done and in the process my hubby bought me a mitre saw! It wasn't hard to put together but the instructions are very detailed. As u can see from the photo, my little man helped me with it!
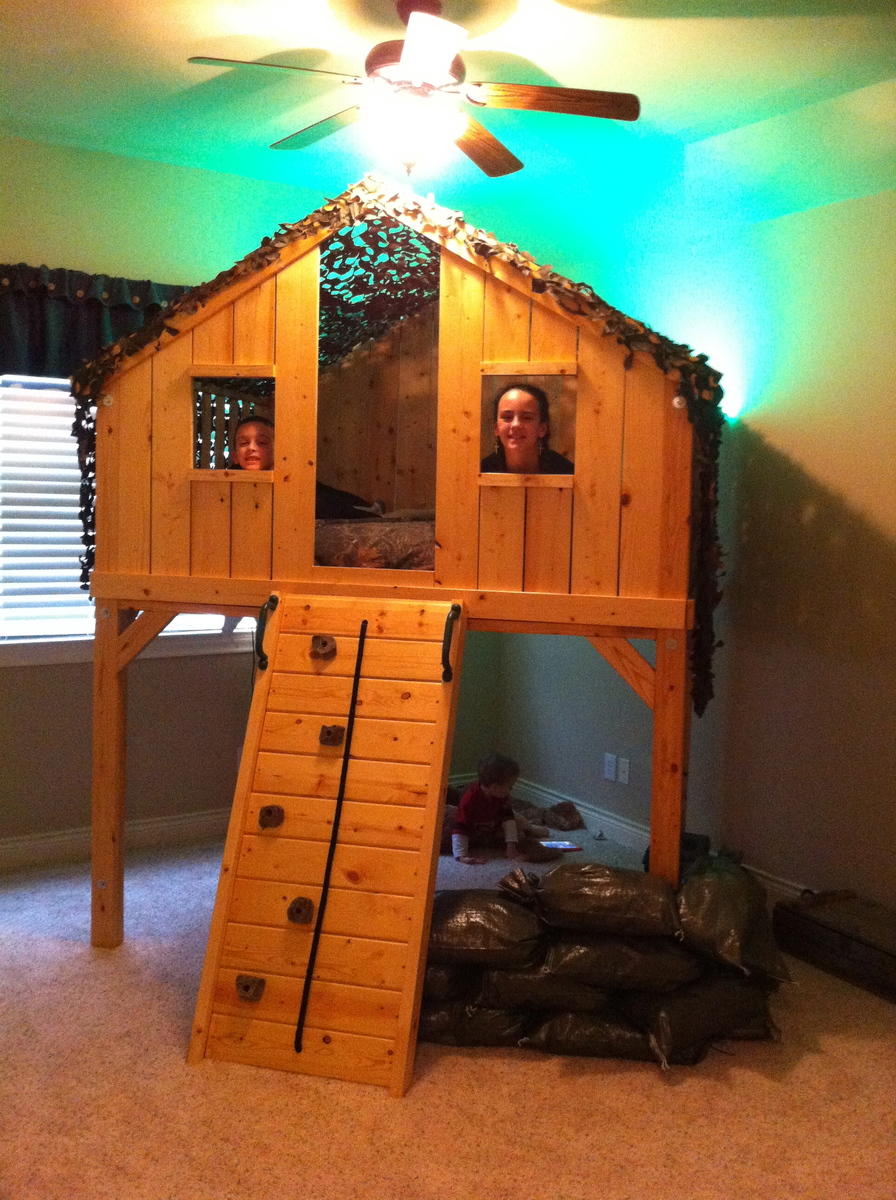
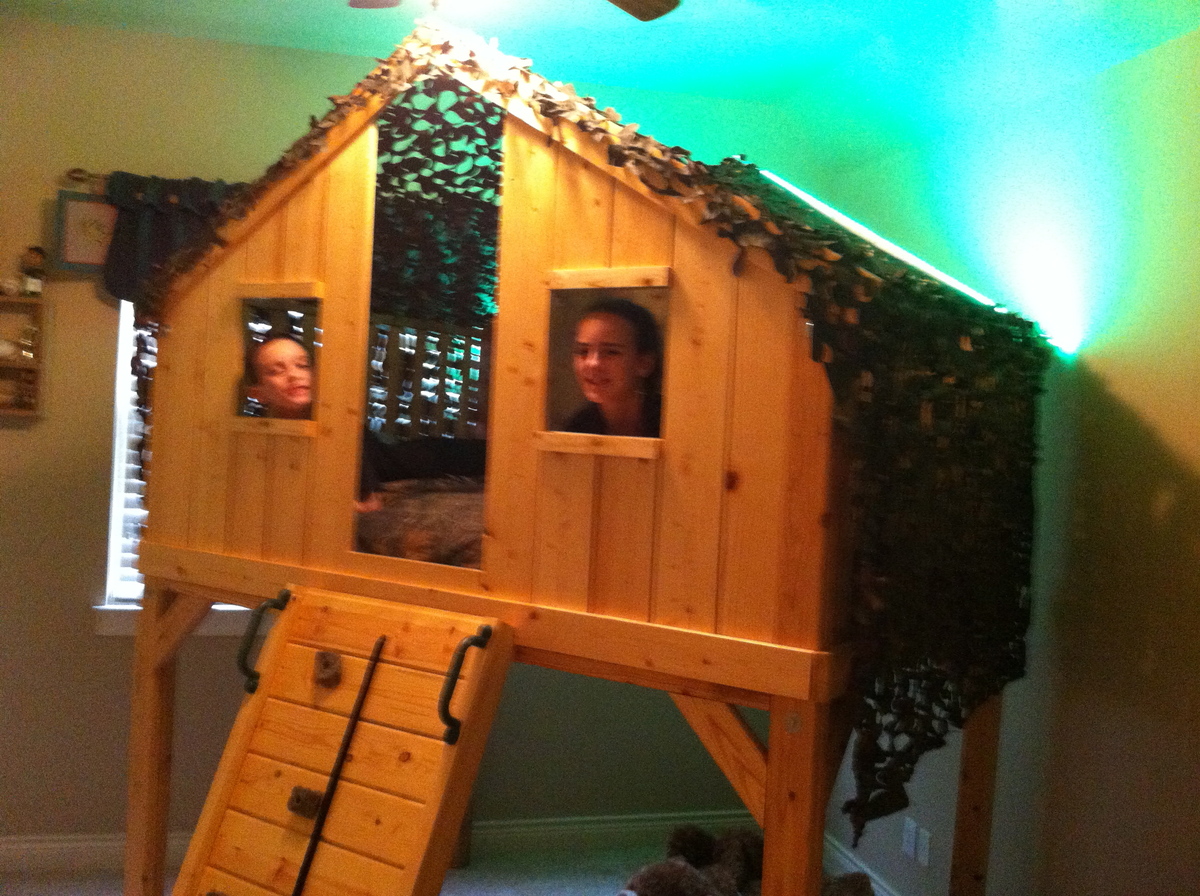
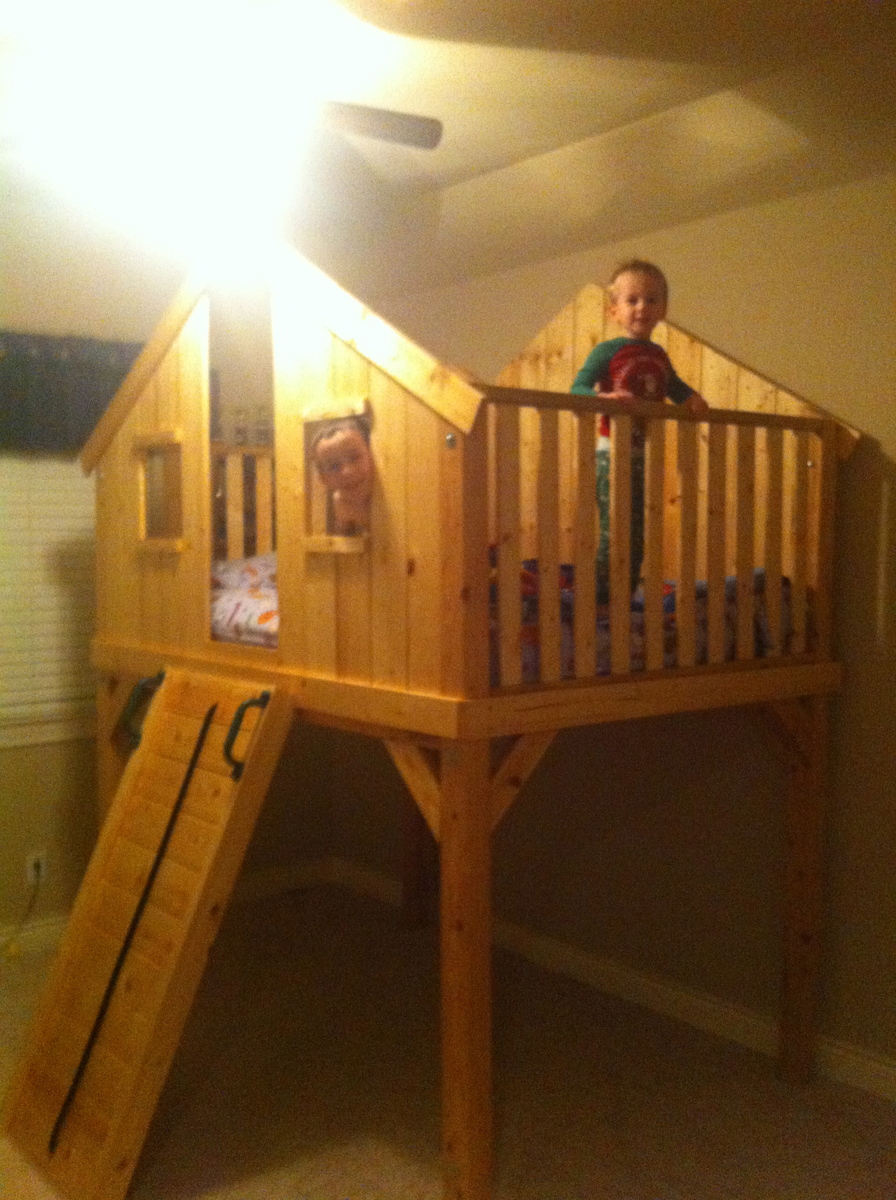
We decided to build this a bit bigger and taller. I will caution you to be careful as we came inches to not making it through our doorways. We expanded the depth 15" to make it a full bed and we extended the length of the legs to allow for 48" clearance underneath.
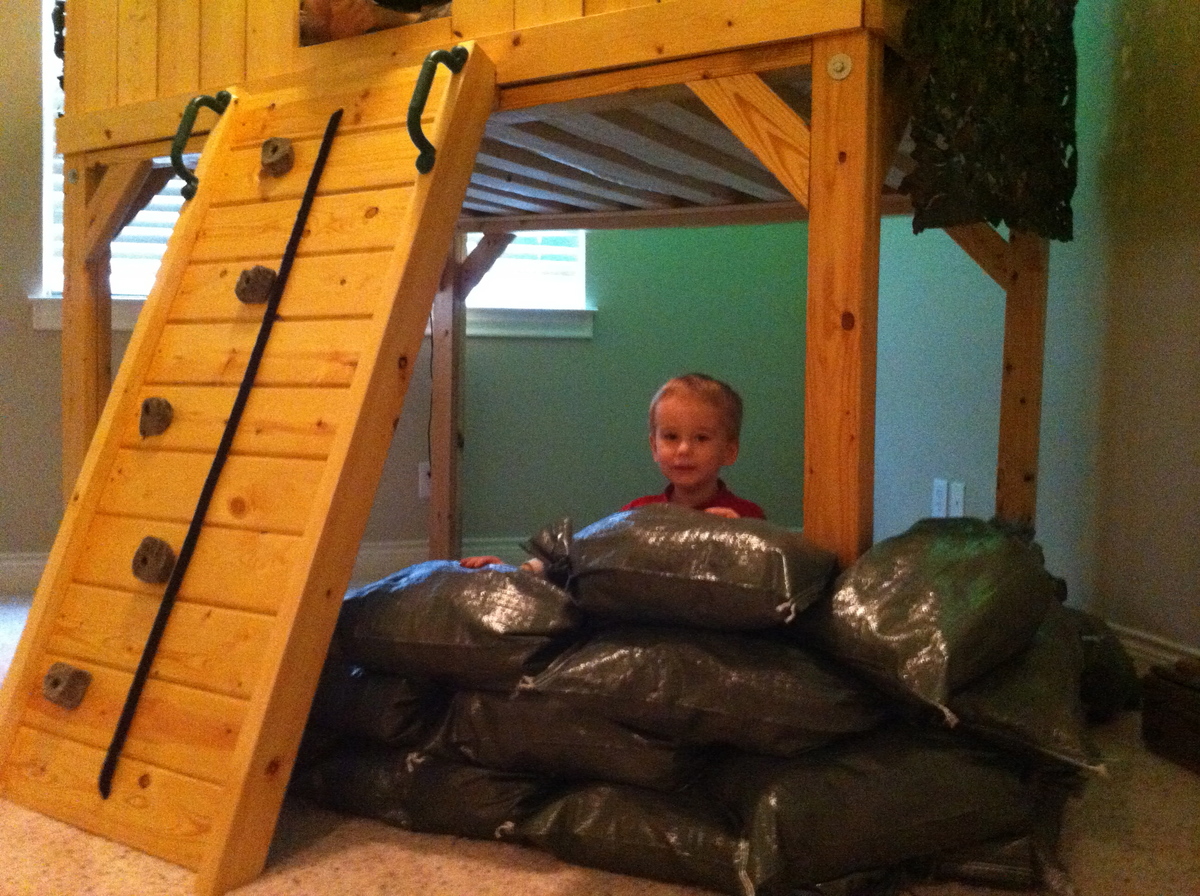
We also went with a rock wall instead of a ladder. I 1st built the angle too steep; recommend at least a 30 degree angle on a wall. Kid's love it; mom not so much when attempting to make the bed! :)
We went with military theme - green rope lights, camo netting for a roof, and sandbags filled with old clothes from my high school years for a bunker underneath.
Great project! Thanks for the idea!
Our house walls are still pretty bare, we wanted some artwork. We bought an old door at a flea marker last summer and decided to turn it into a large picture frame.
More details and photos on my blog:
http://www.woodworkingfourdummies.com/blog/door-picture-frame
Cheers,
Ian
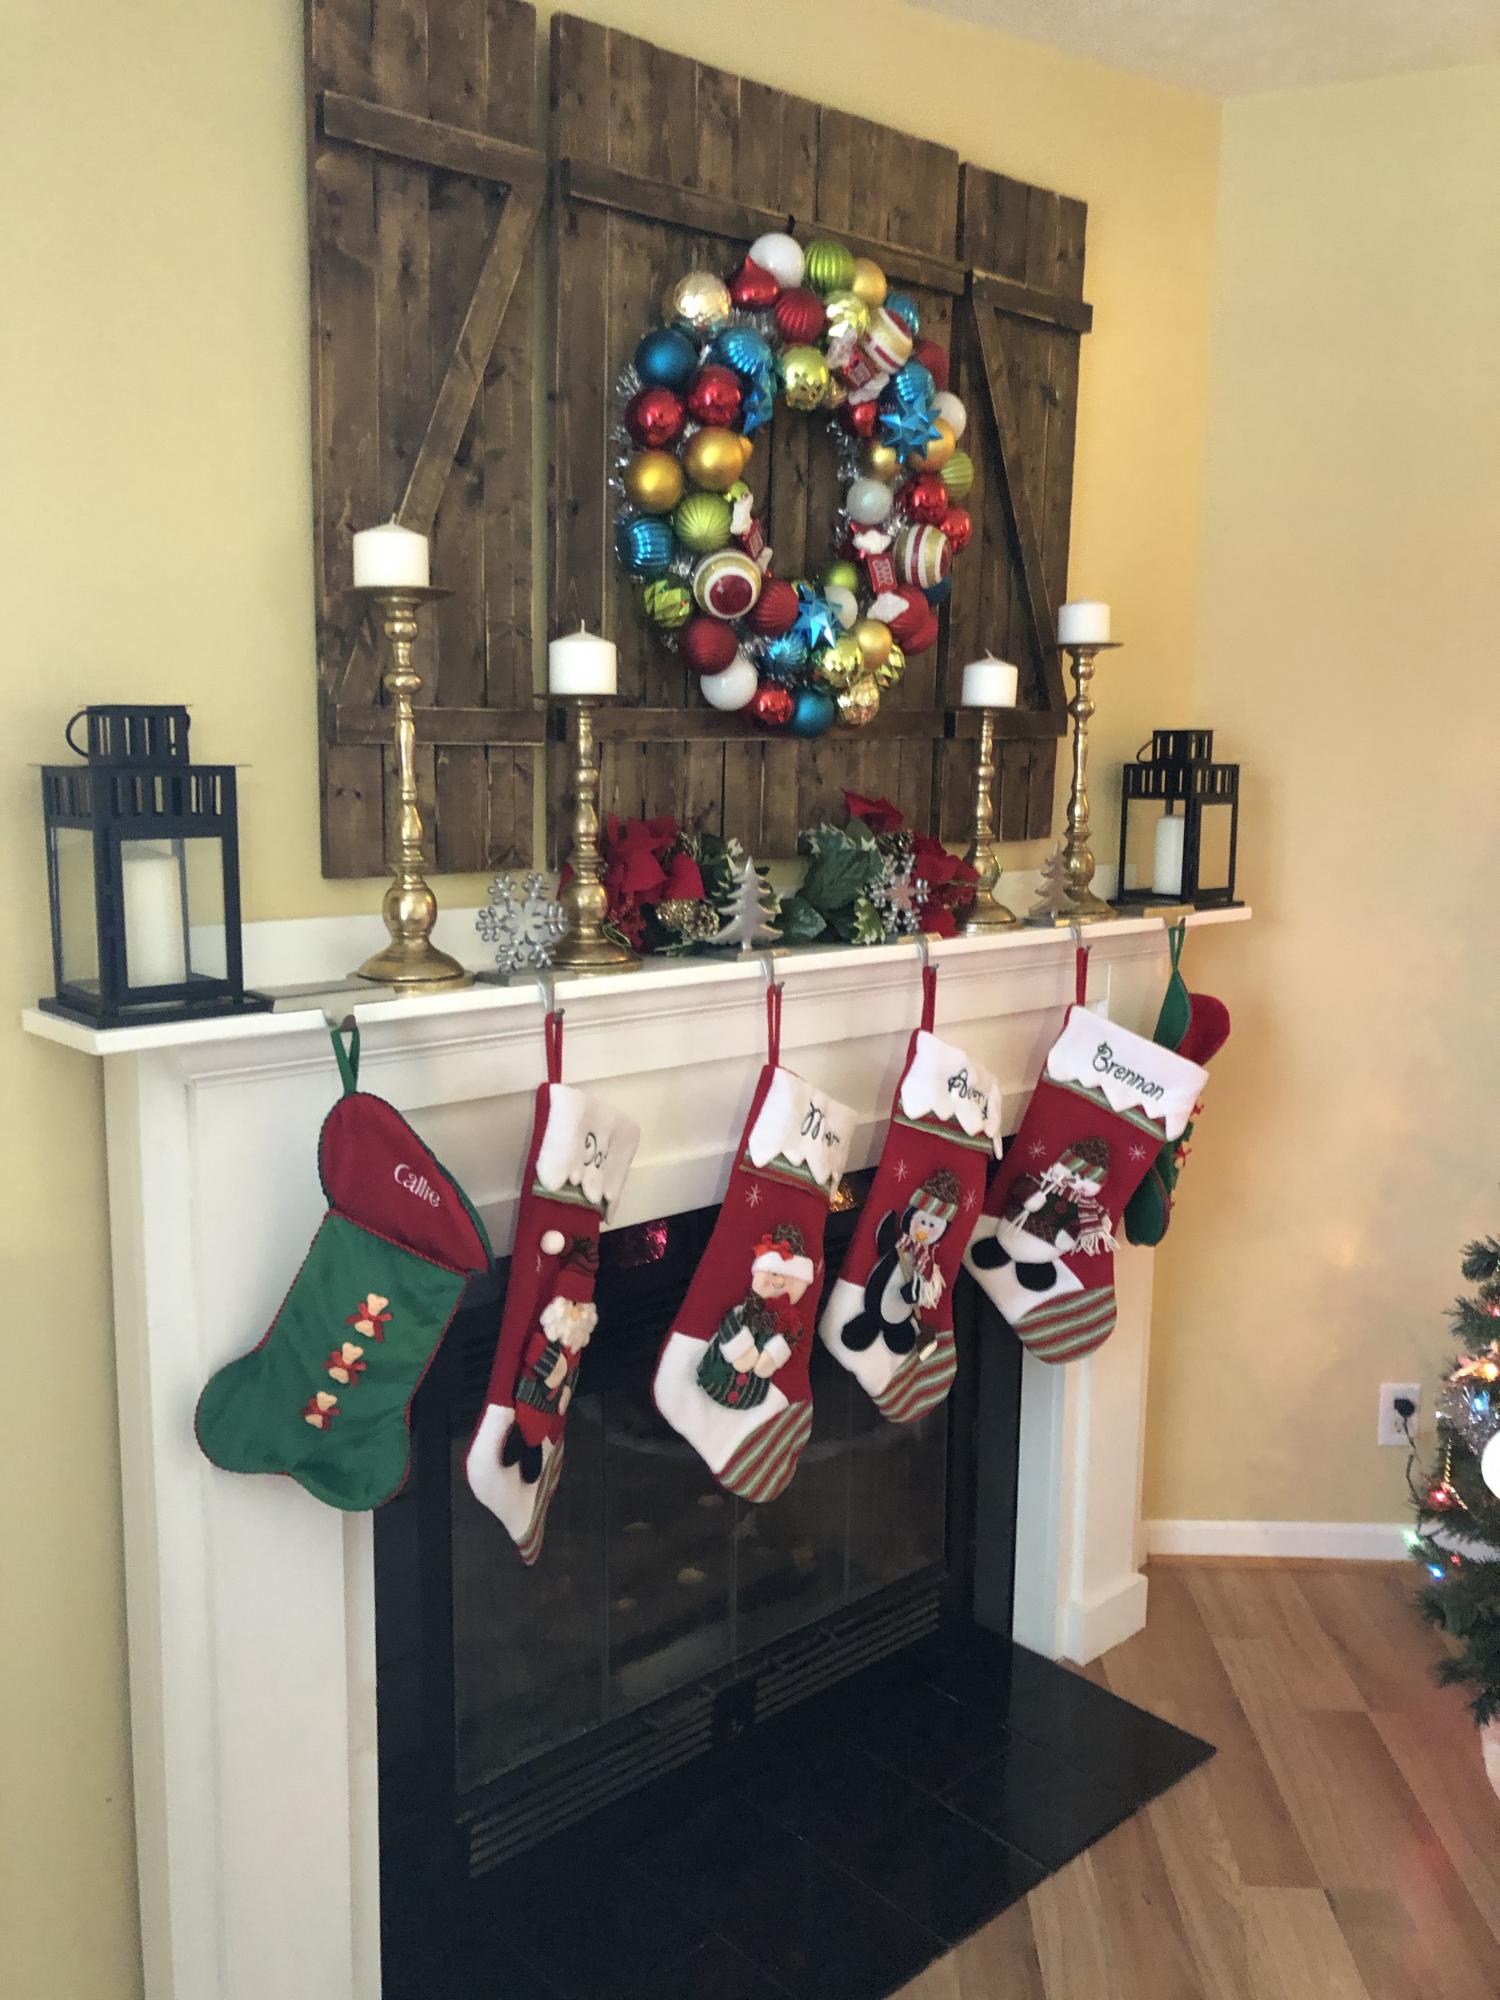
I really wanted a mantle to hang our stockings and to have some decorations. When we moved in there was just a shelf above the fireplace which was fine but I wanted to make more of a statement. This was a pretty easy project after all of the math was calculated. I made to follow guidelines for the fireplace as well. Thanks dad for that :)
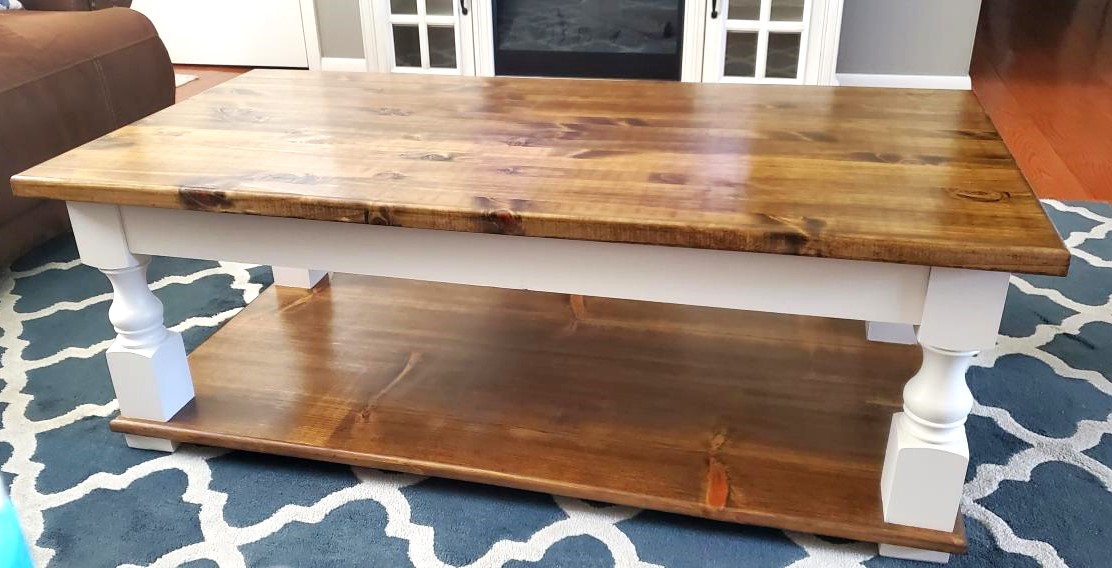
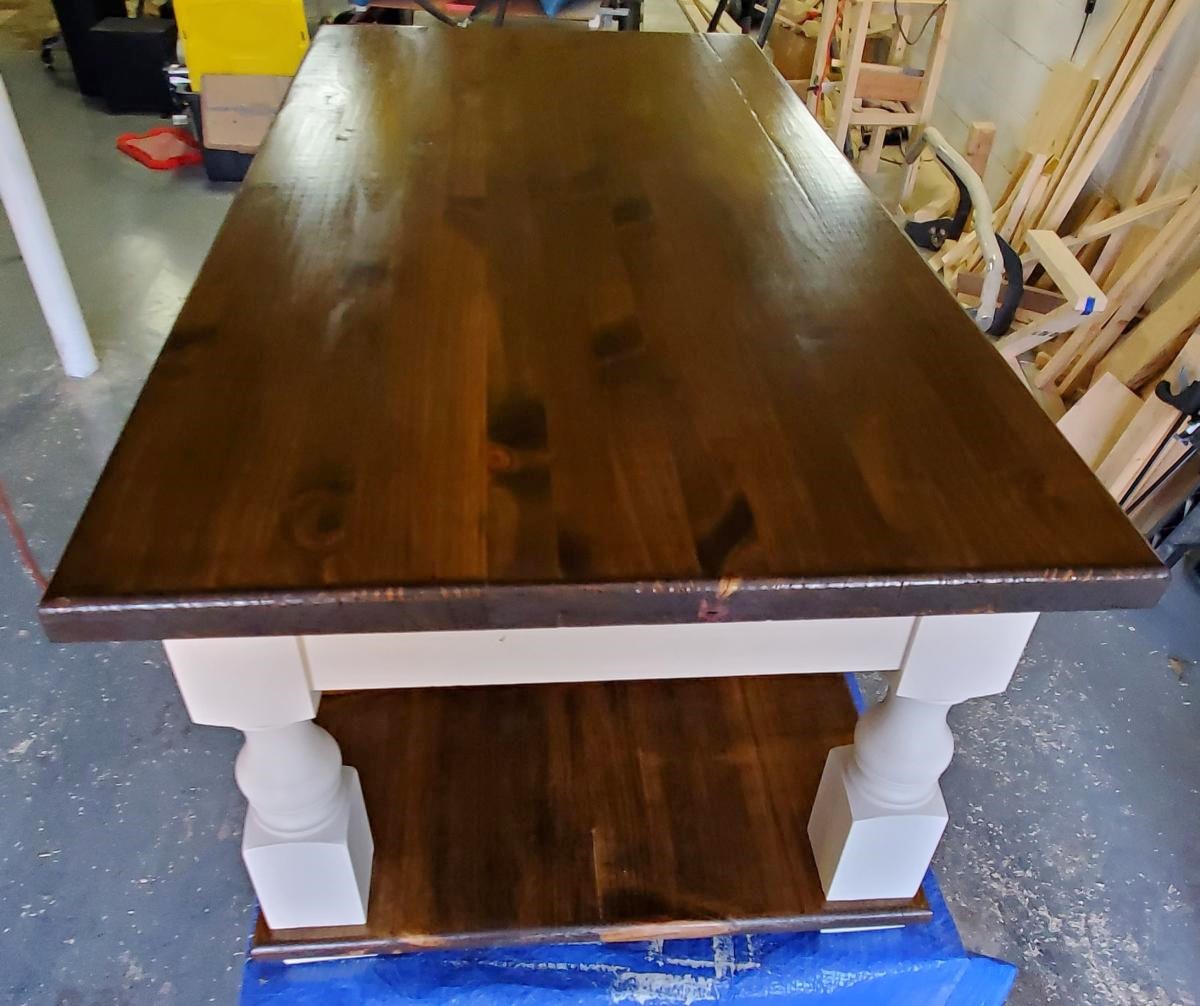
I have built several furniture pieces in my home several coming from you.
I have done quite a bit of wood working never being great at any of them . But I truly love furniture building.

Built this for our Daughters 4th birthday. Both our girls love it! If we had not painted it with outdoor paint we would have been done in a few hours. It took awhile for the paint to dry and we did multiple coats.
Sun, 05/27/2012 - 11:39
So awesome!!!!!!! I love the paint too! But nothing beats those smiles!