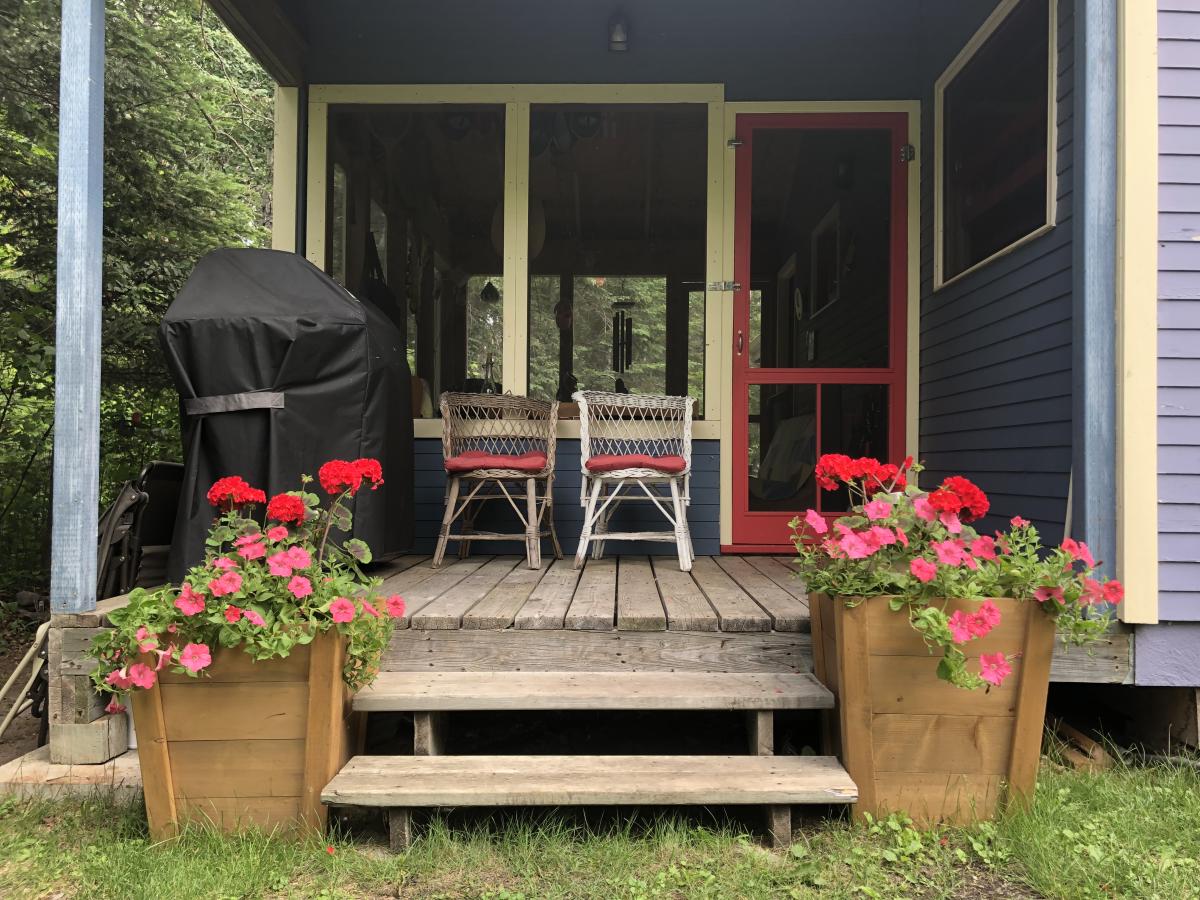
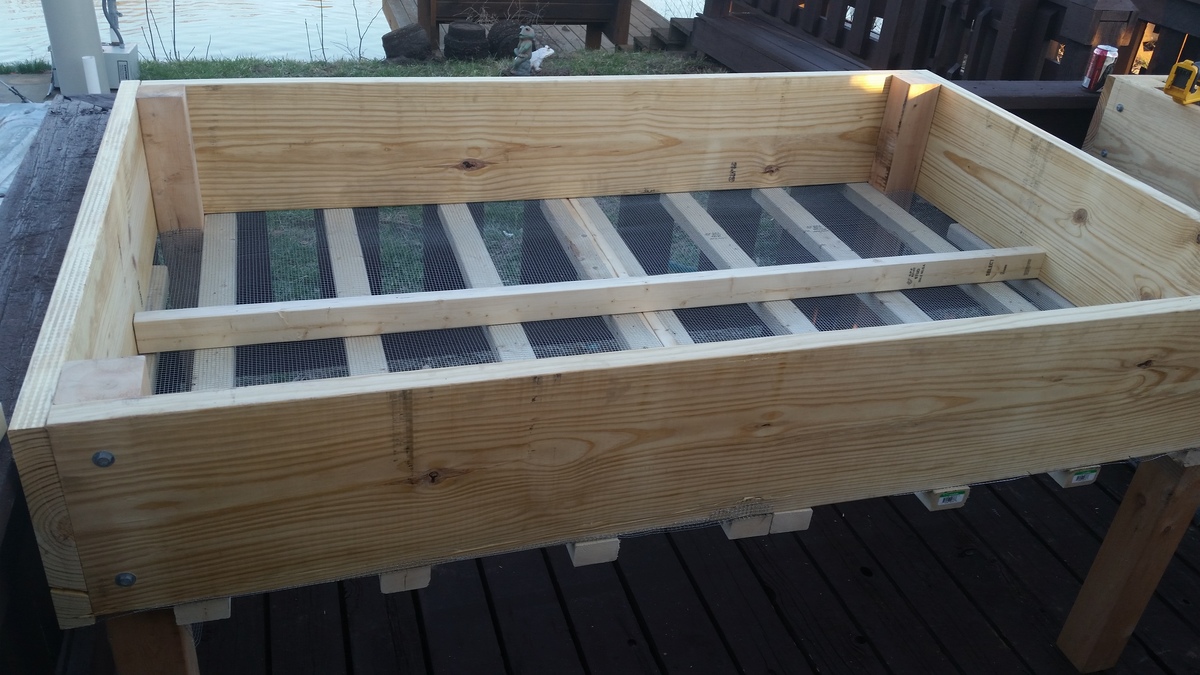
Planters for Steps
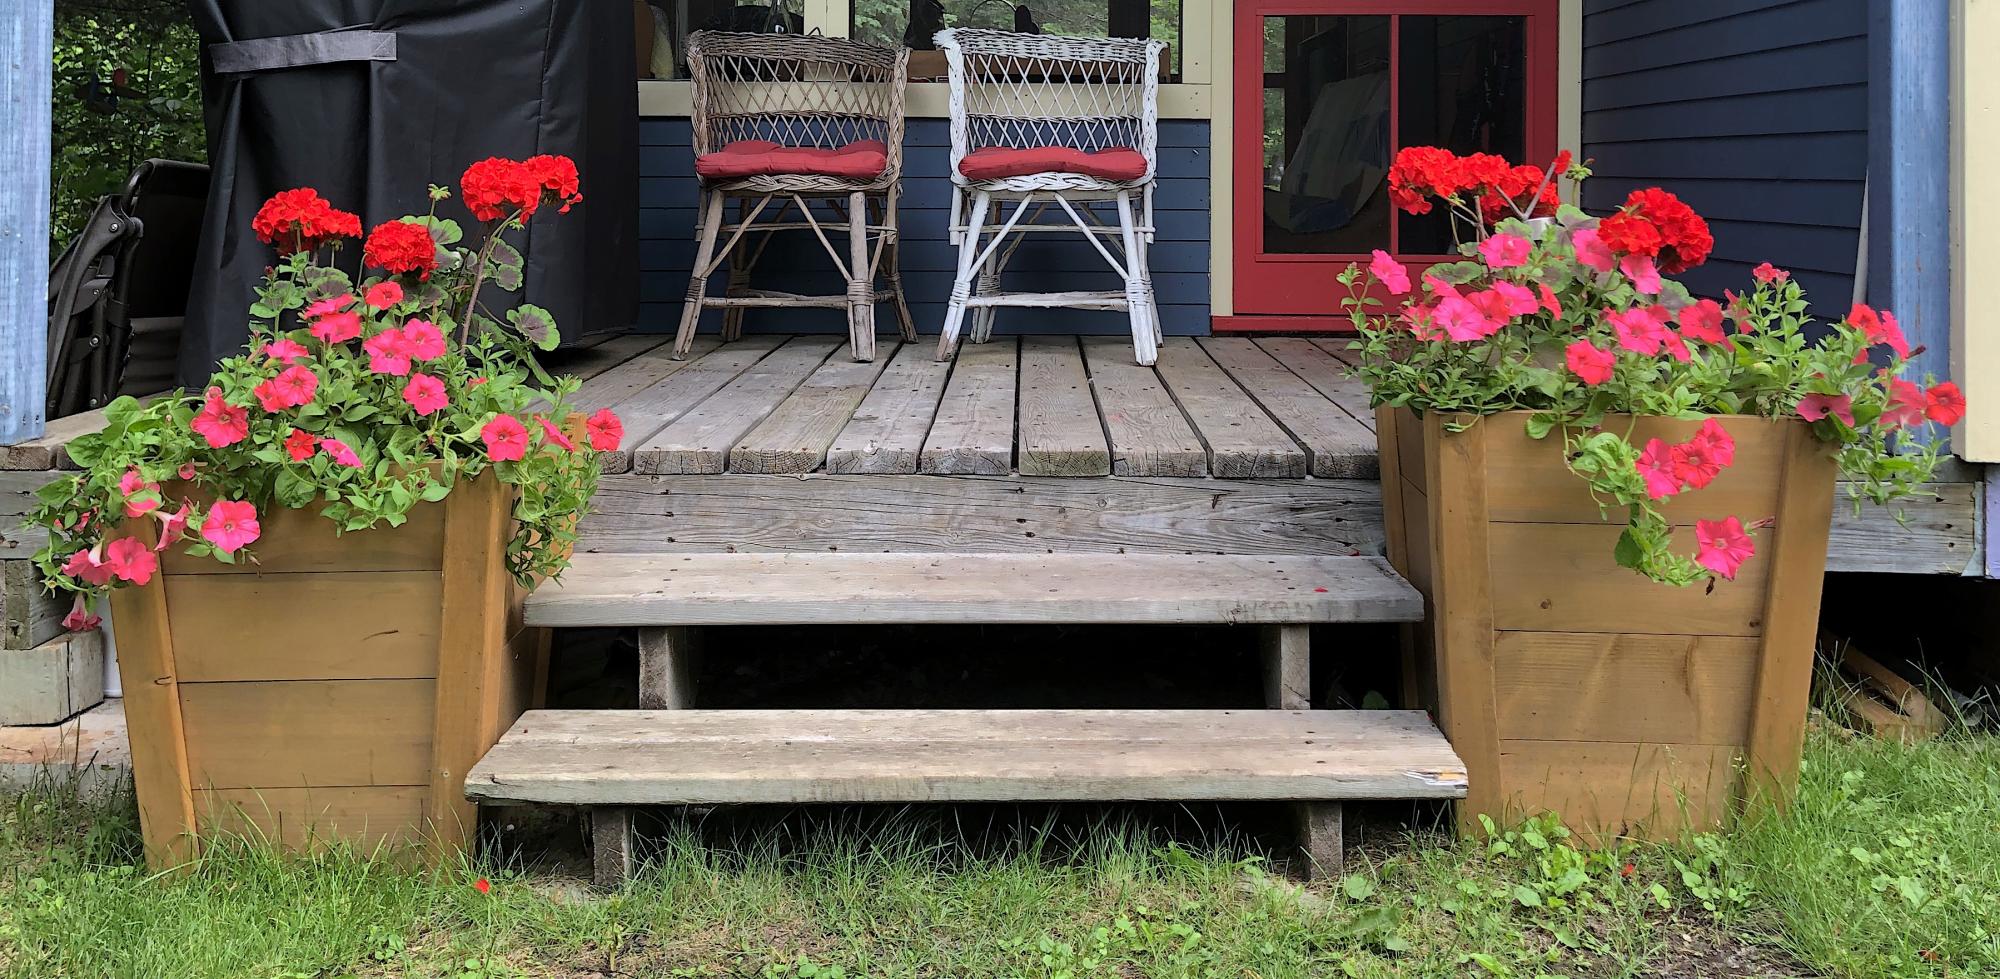
Very happy with how these planters turned out. Beautiful with red Geraniums and ping wave petunias.
Built by Dave
Built from Plan(s)
Very happy with how these planters turned out. Beautiful with red Geraniums and ping wave petunias.
Built by Dave
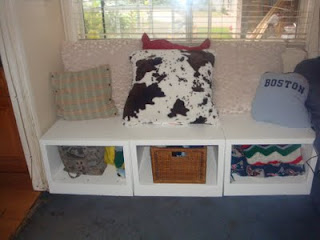
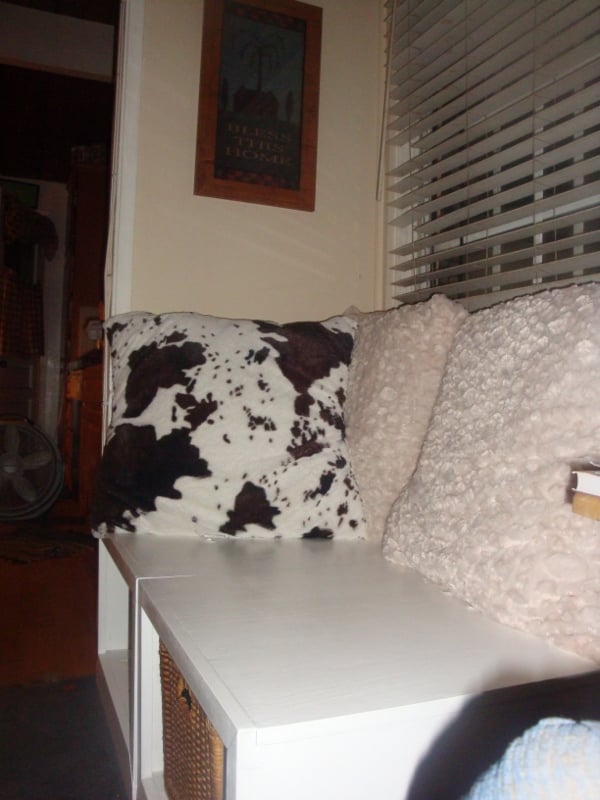
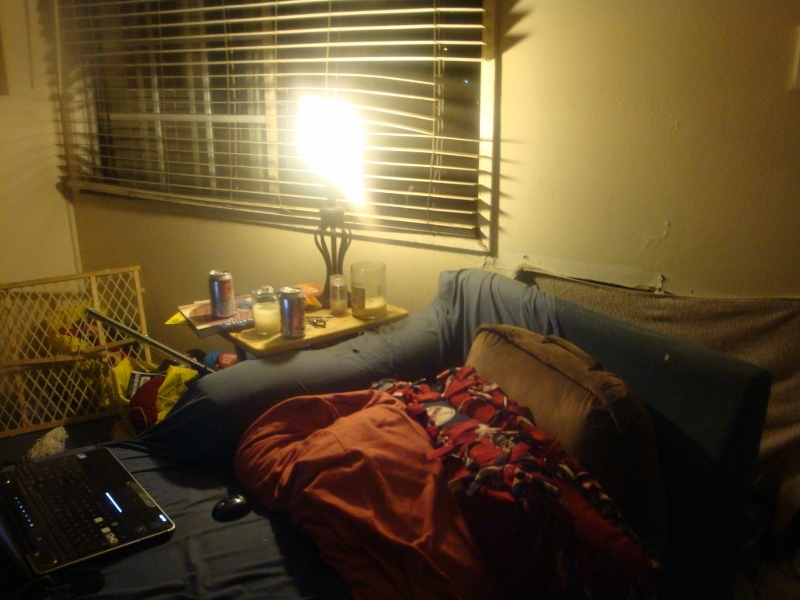
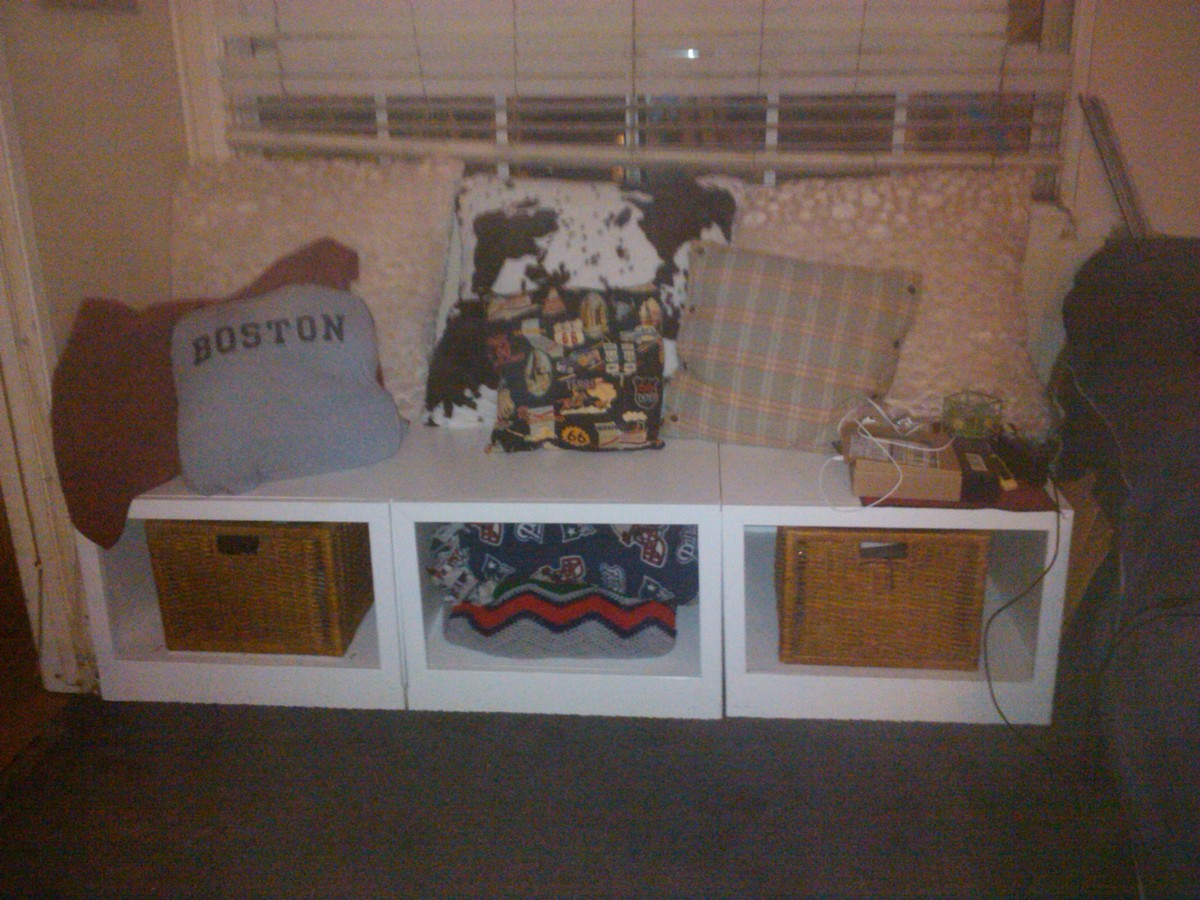
This was one of my first big projects, this site motivates you to get better. No, at first I couldn't build a box, now, I'm building outdoor bars! All of my skills, I learned from this site. The boxes are heavy, sturdy, they've had 5 golden retrievers on it, 4 adults at once, and the storage is incredible. The pics below show what an improvement a piece of furniture can do. This piece went into a dead space corner, a catchall. I'm not proud of the mess, :), but I am proud of the after. Extra room, light, airy, yeah!


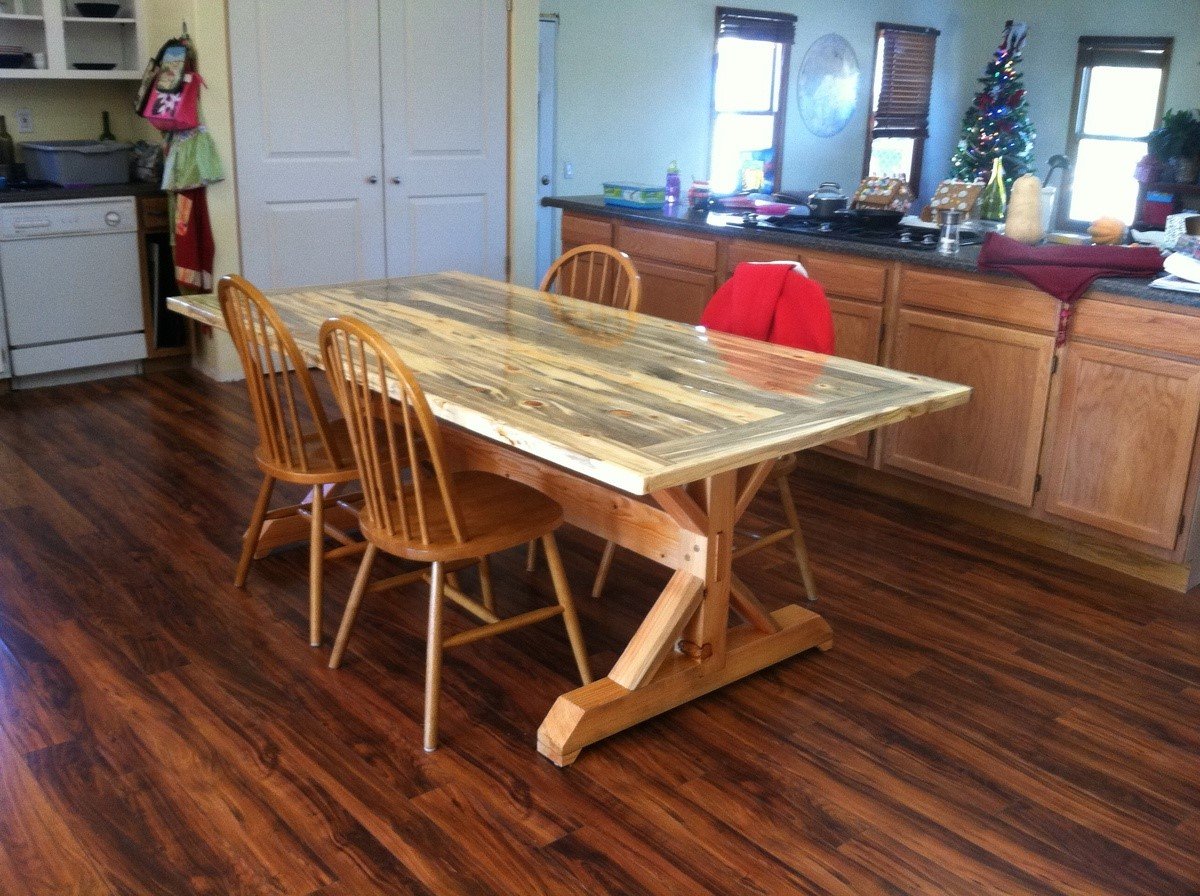
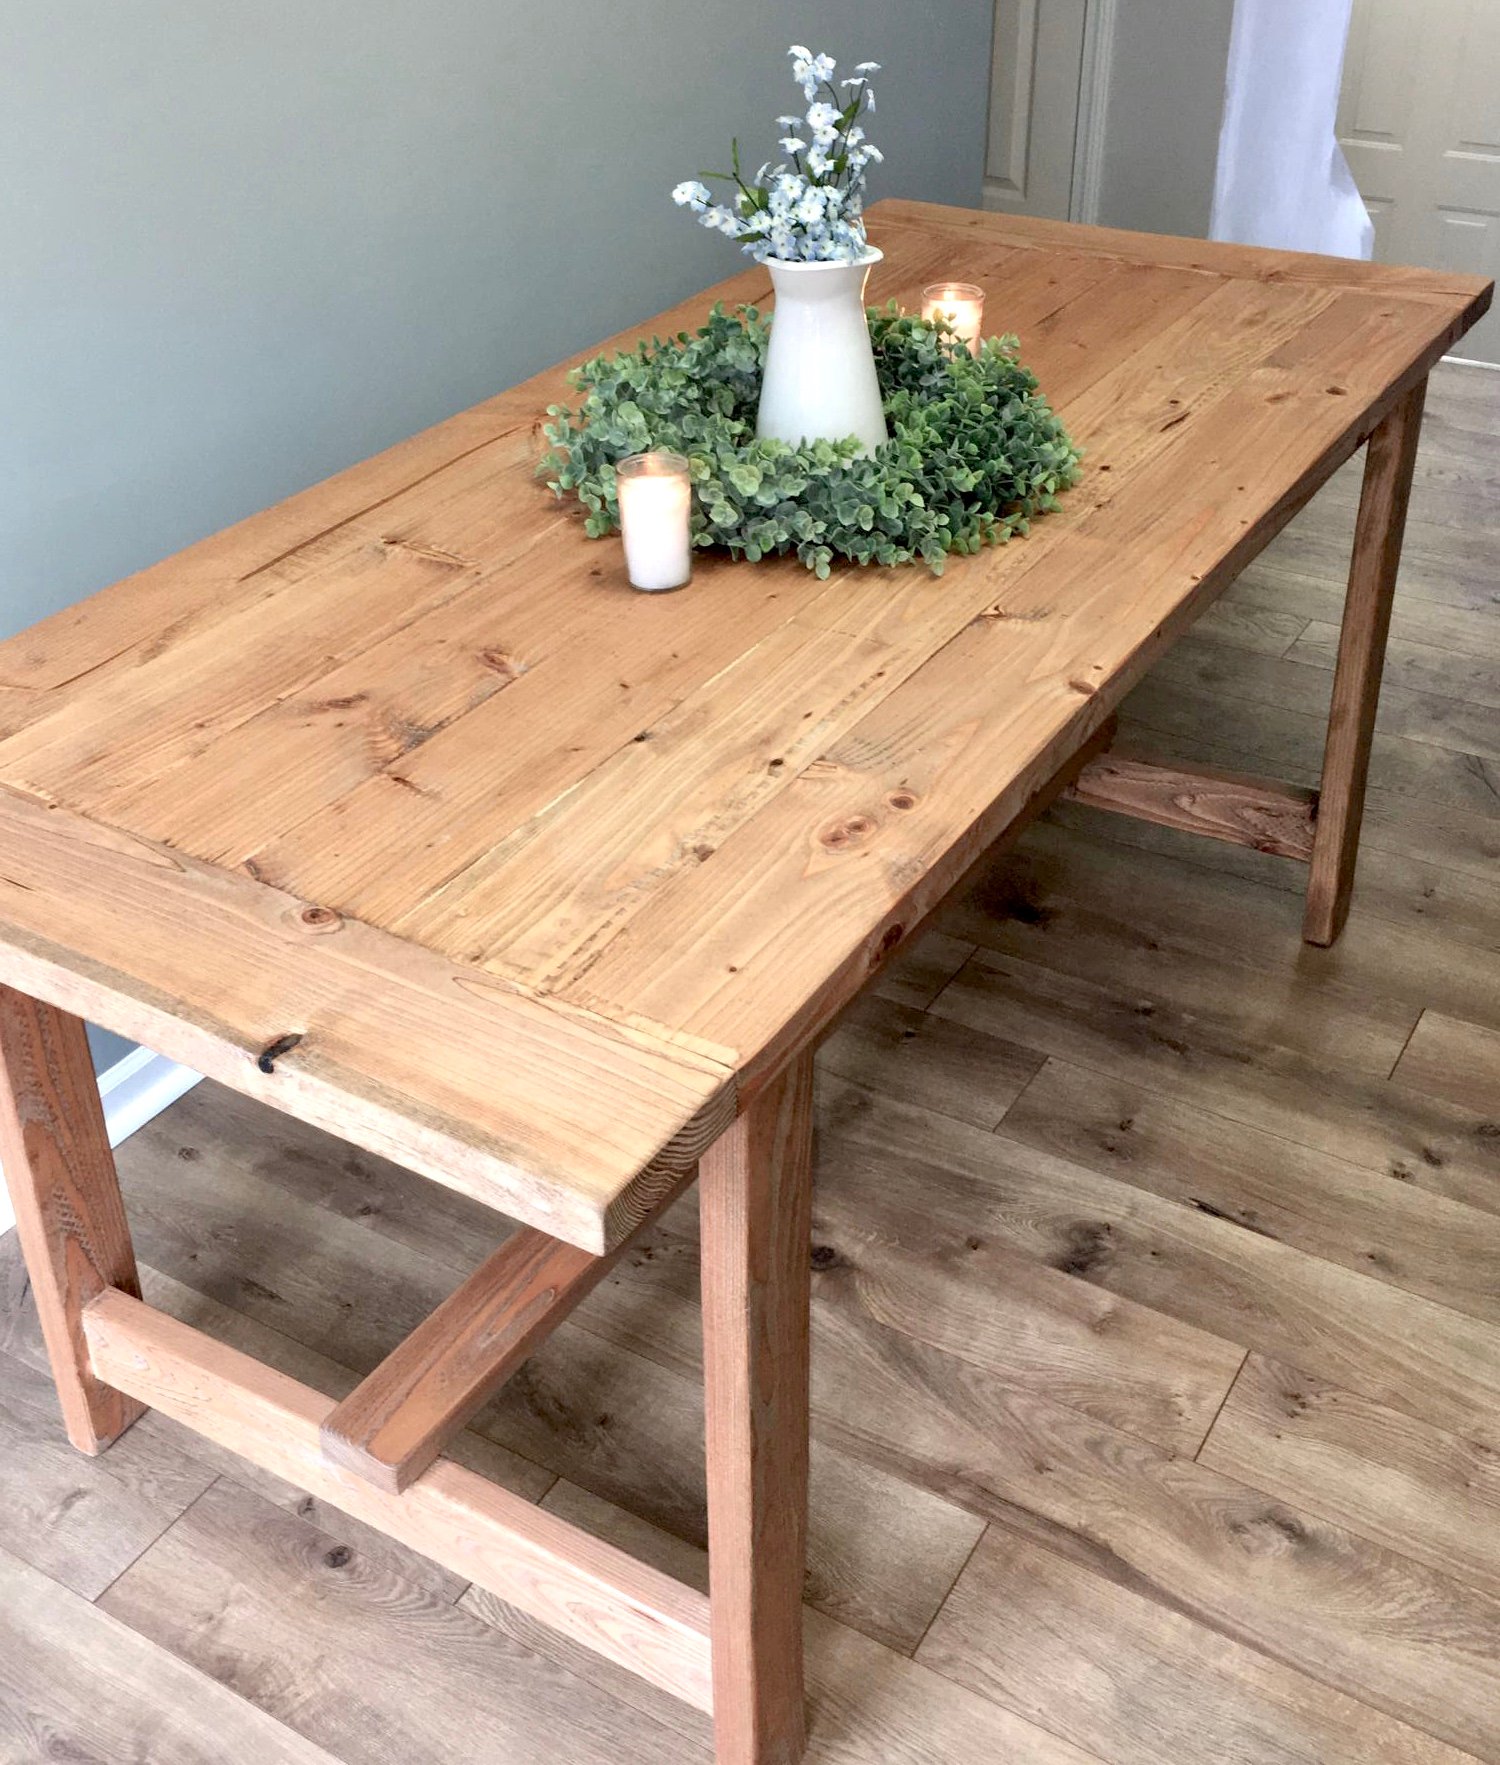
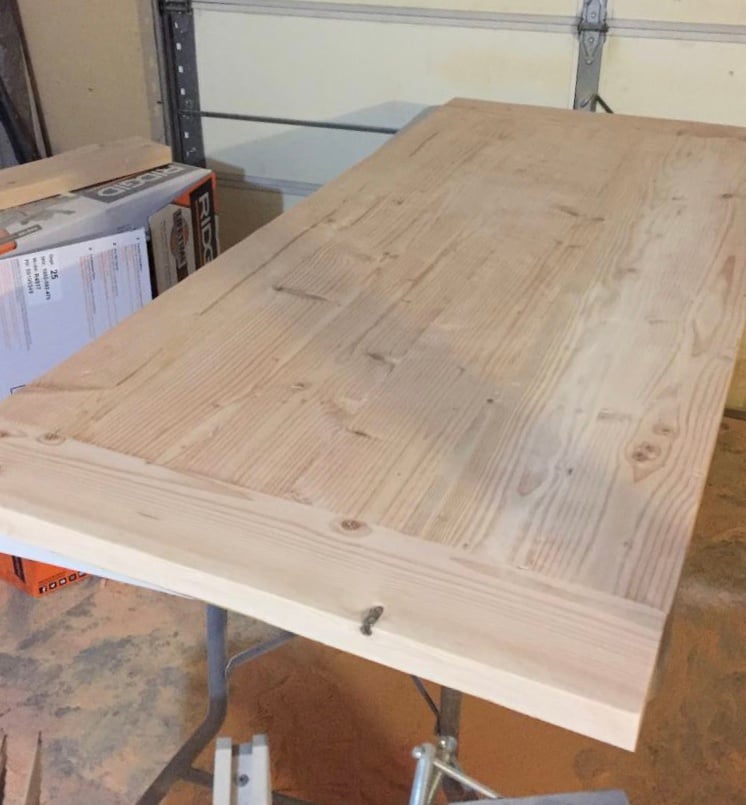
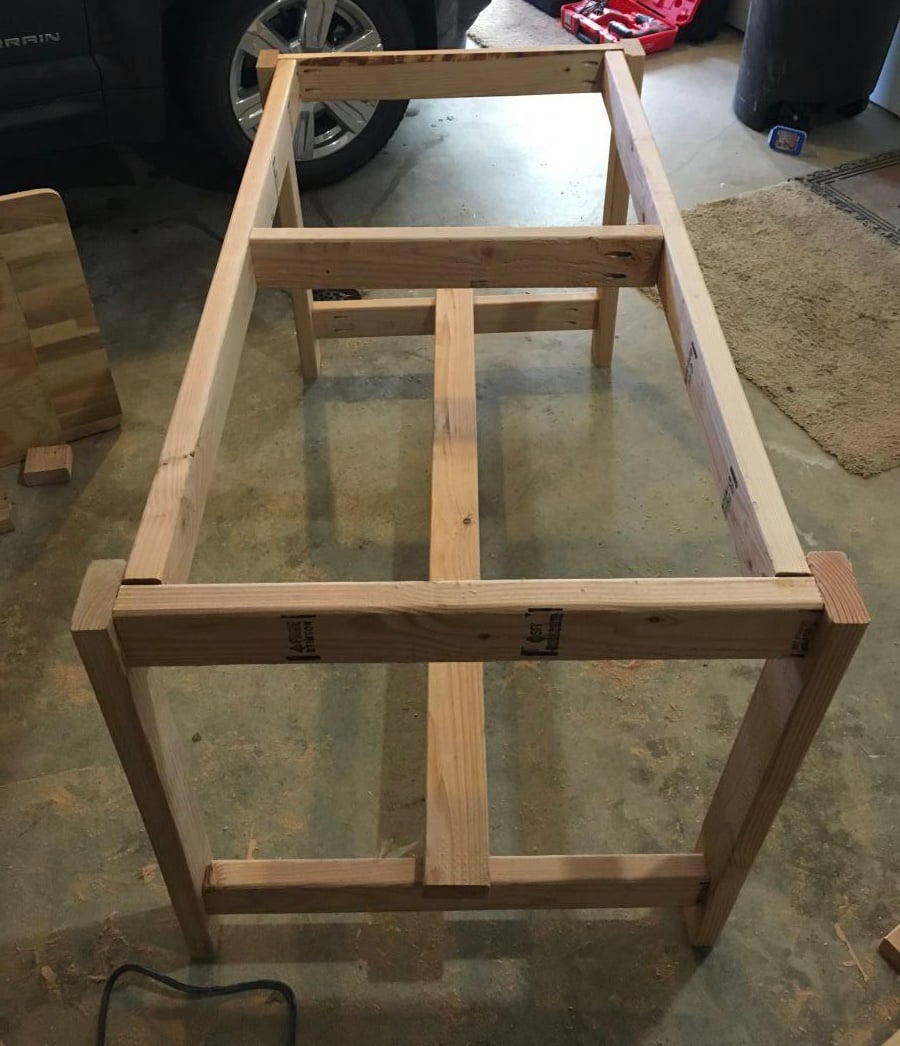
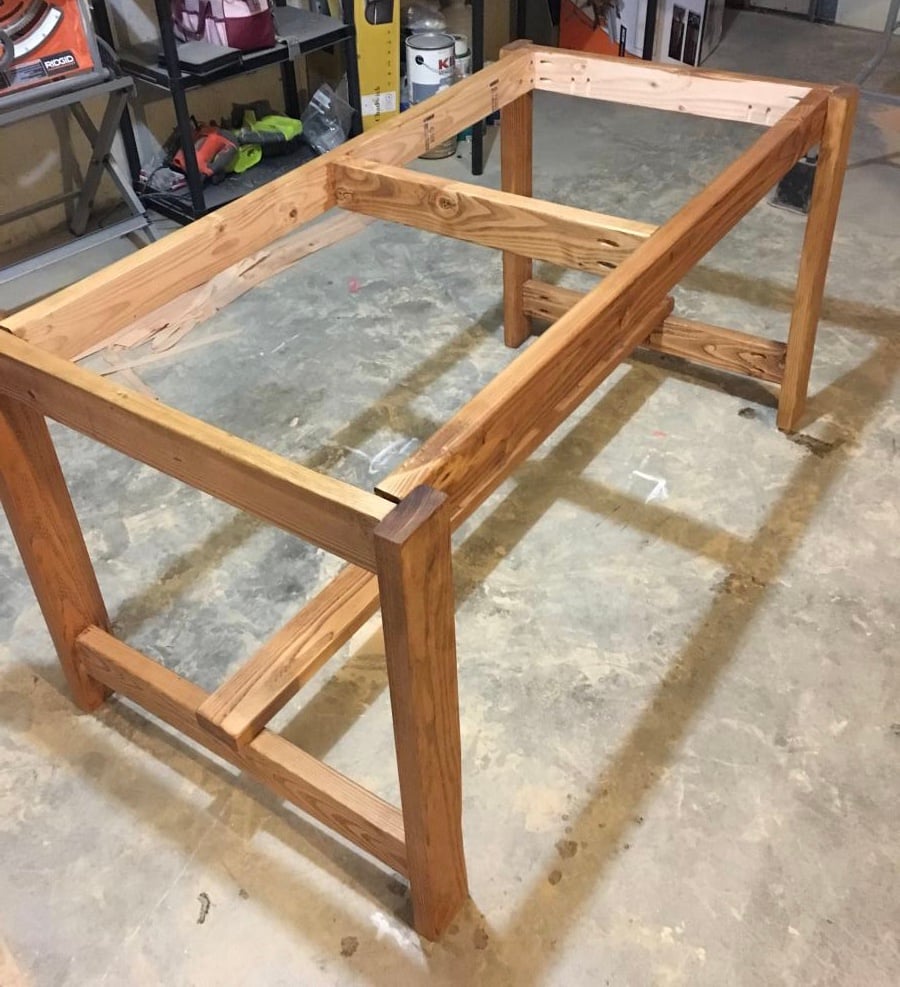
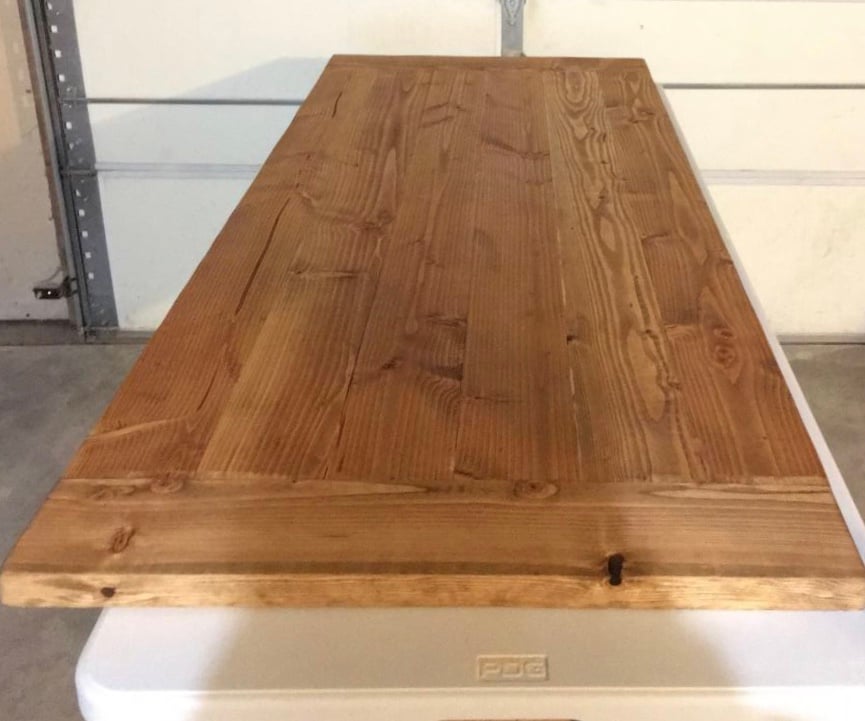
Beetle kill table. I chose to mortise the support and use pegs for effect. As such used 4x4 for leg uprights. Made the top removable because it's heavy!

Wed, 08/03/2016 - 09:59
That table looks awesome ! I am in the process of making one similar i went to a local mill and they had ambrosia maple to make the table topper and i am making the base. I was wondering how you went about making the table top removable did you use threaded inserts ? also how did you get the cross support cut out done? Last question i have is where did you find the 4x4 material i am in eastern north carolina and it seems it doesnt exist around here. thank you for sharing
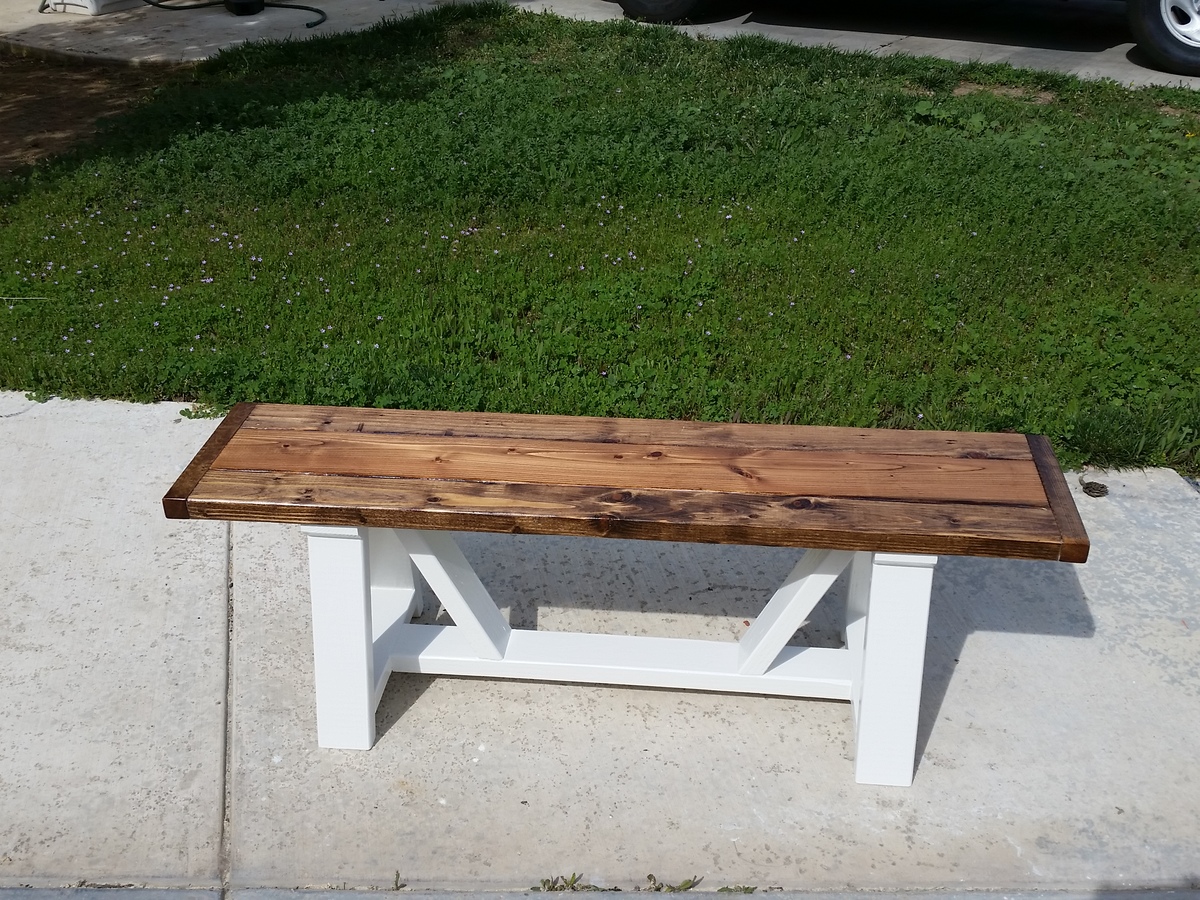
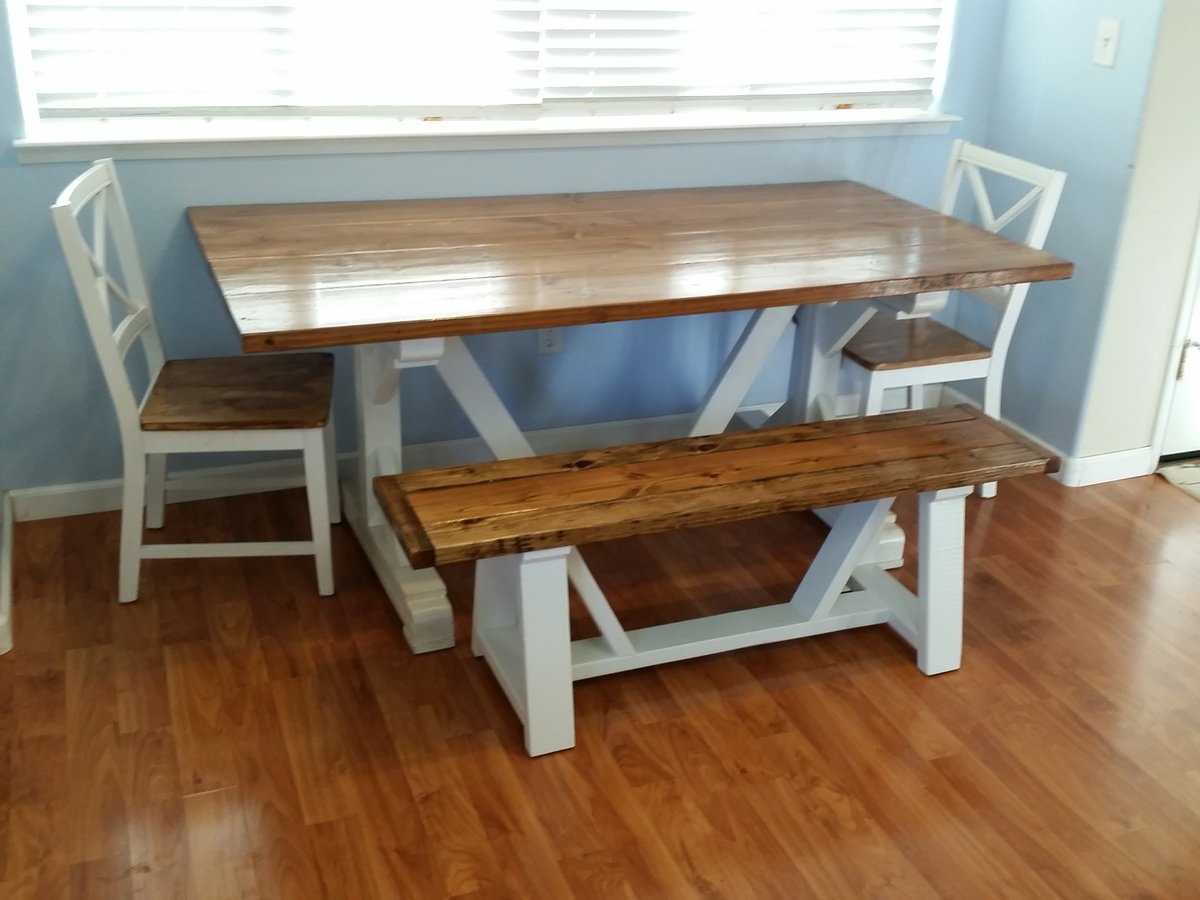
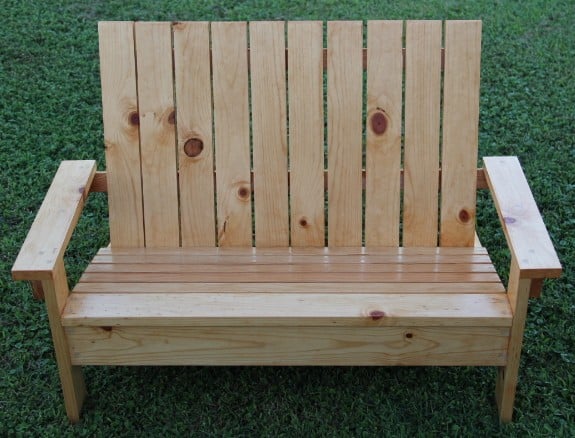
I made my bench a little shorter (54") and did not need the center support. I also cut the top and bottom of the leg horizontals 3/4" shorter so the legs tucked under the bench top more. It was a great bench and looks good with the Fancy X Farmhouse Table I also followed from Ana White.
Mon, 02/29/2016 - 19:11
In case there is any questions, this is my adaptation of the Alaska Bench.
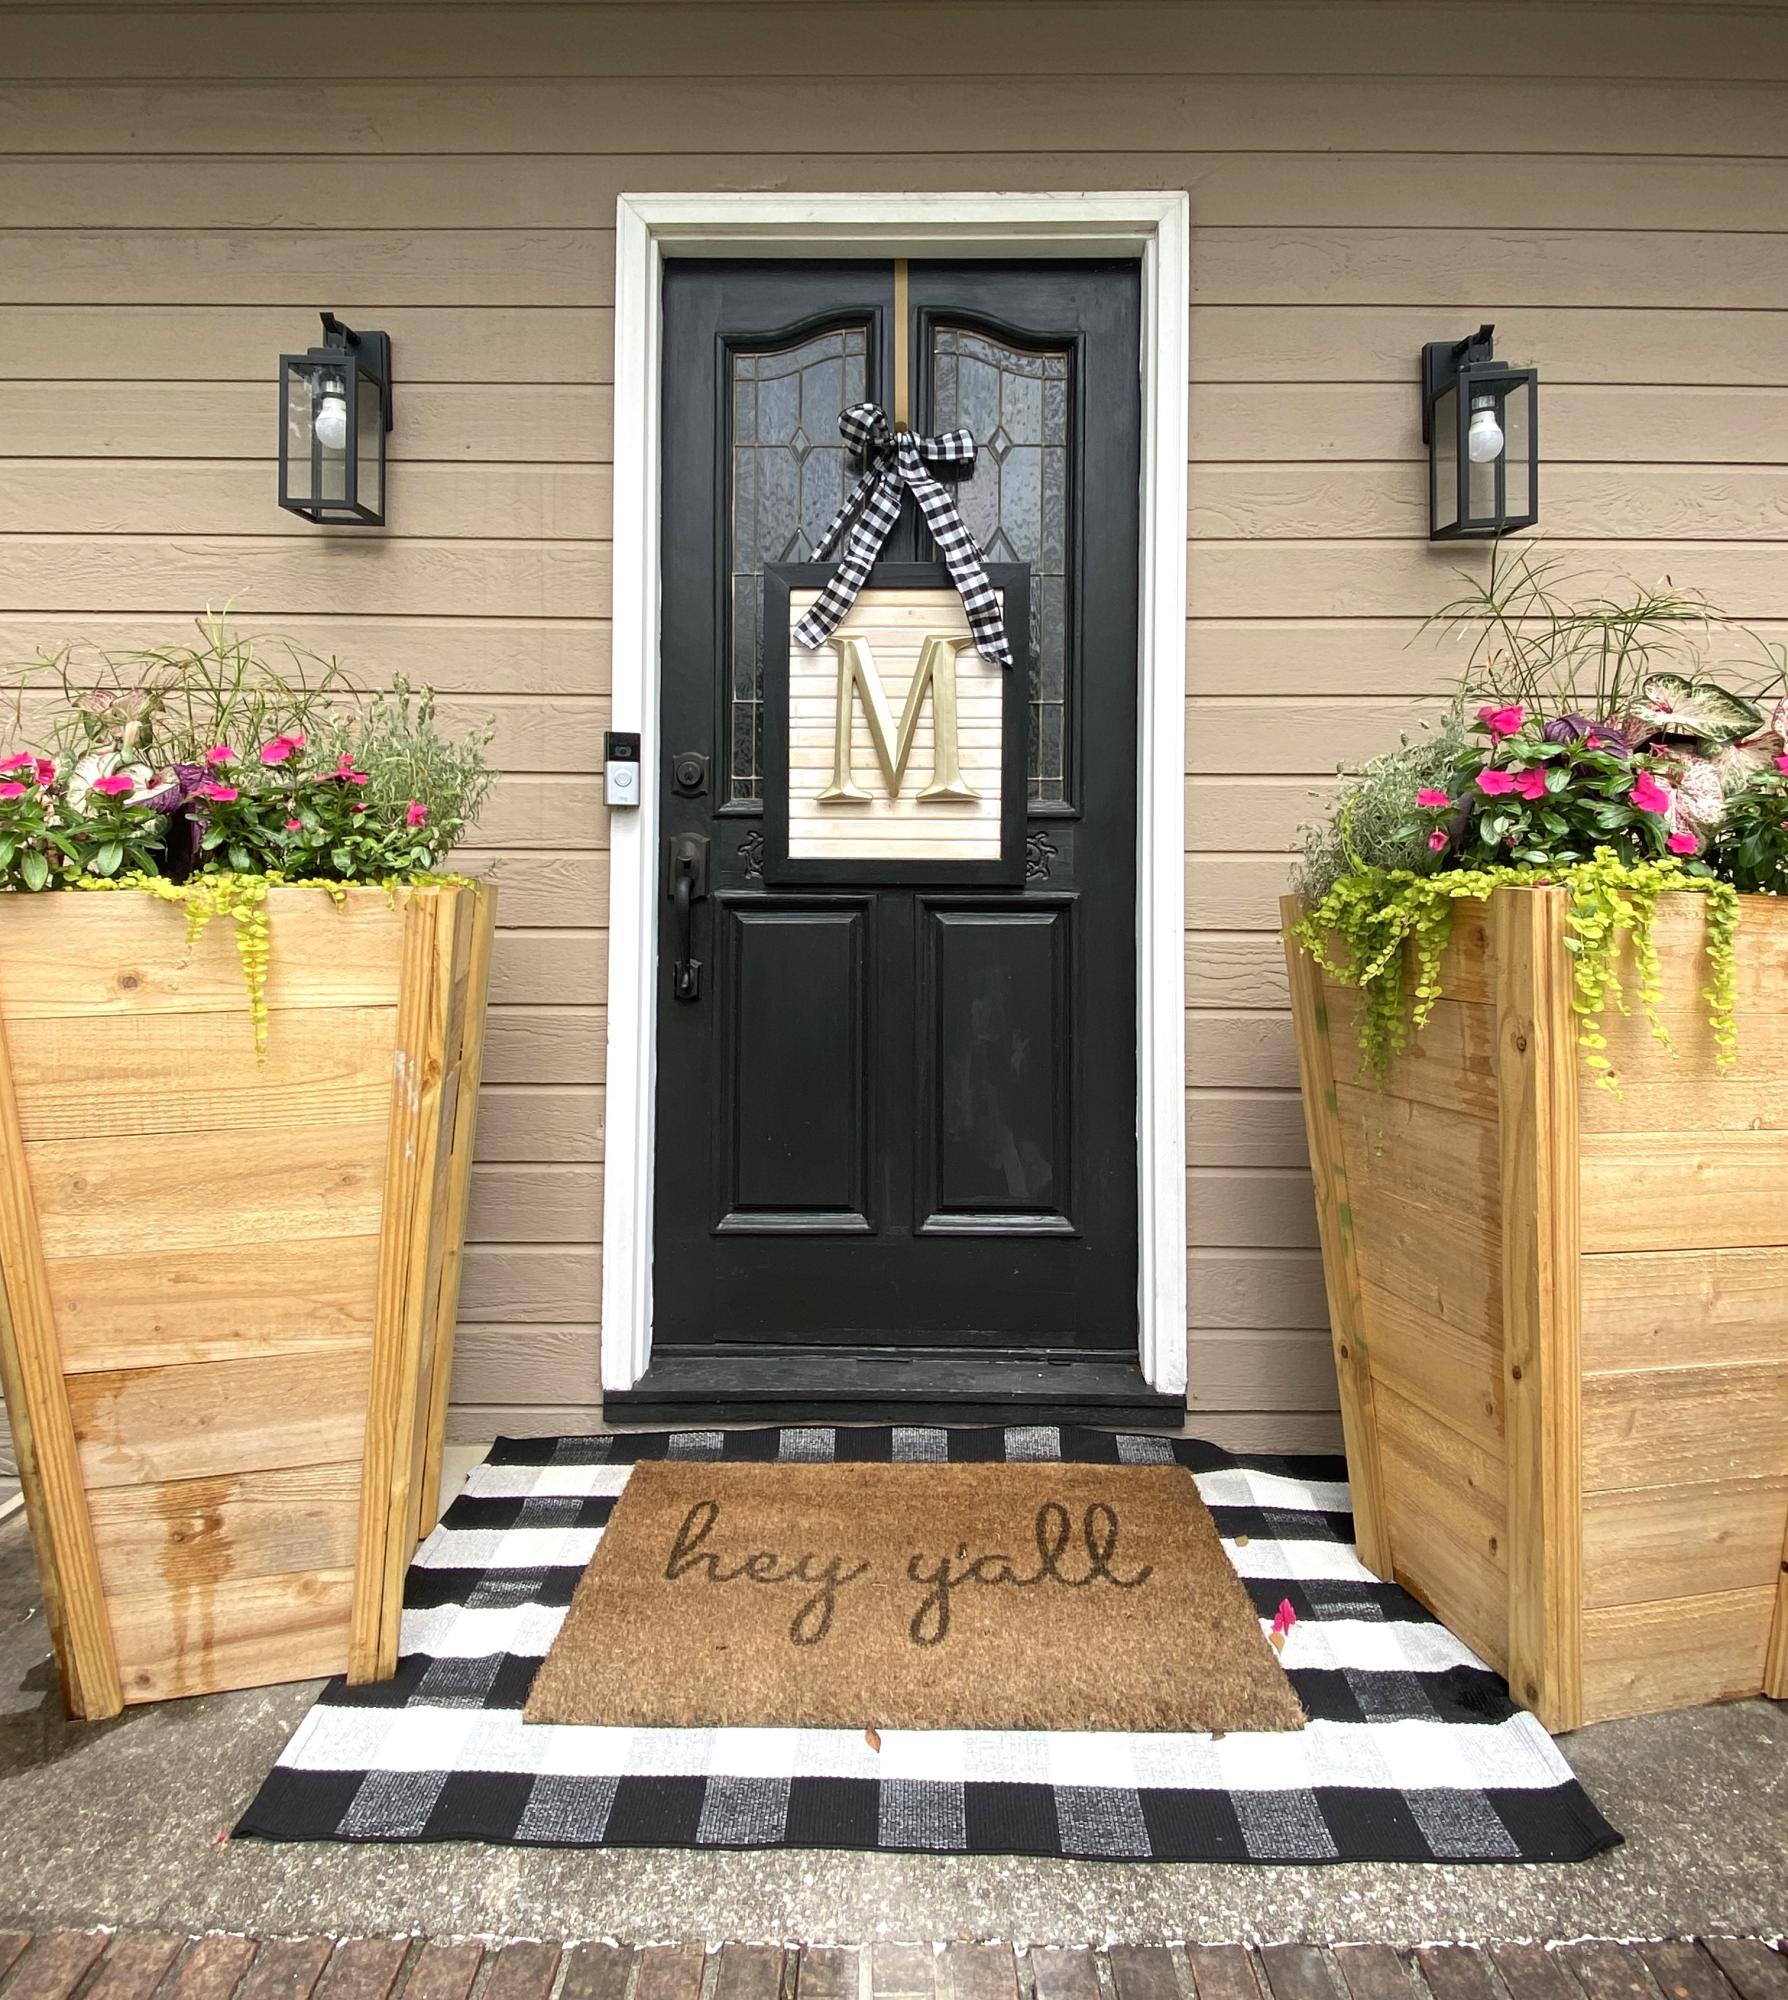
Two 7-plank cedar planters, unfinished. Thinking of charring….
Kim M
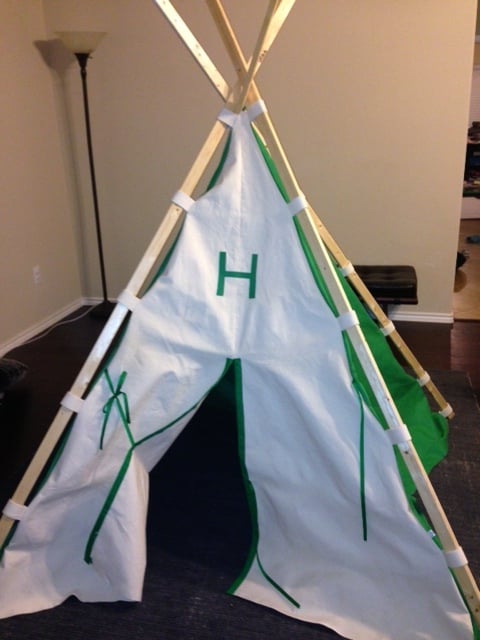
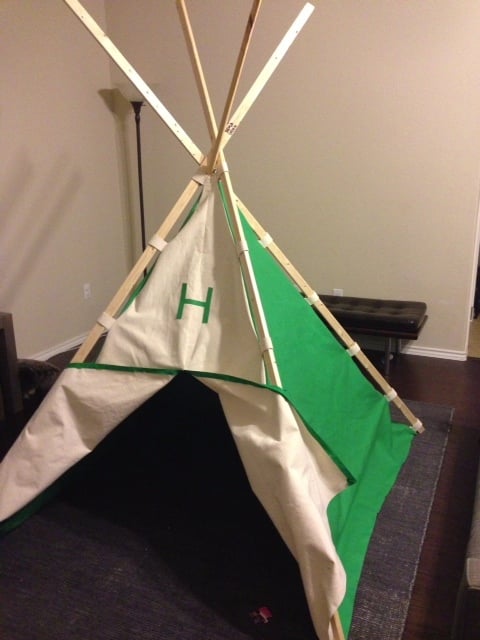
I just had to build these for my two kids. Thanks Ana!
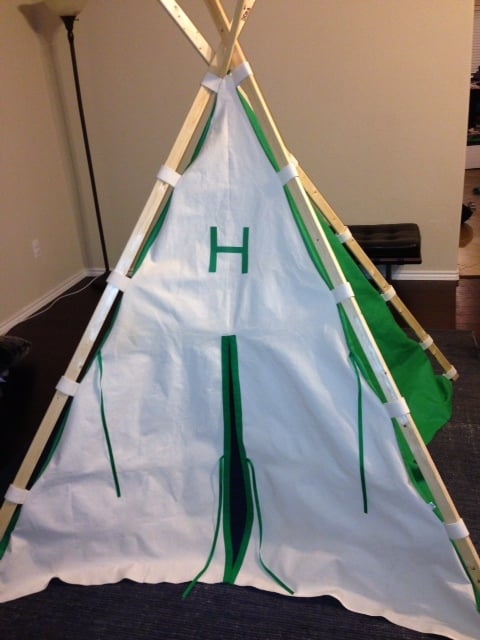
Play Teepee used 4 yds of fabrics, 2.5 yd of webbing, bias tape, ribbon, heat and bond double sided adhesive, and 4 1x2s at 8 ft.
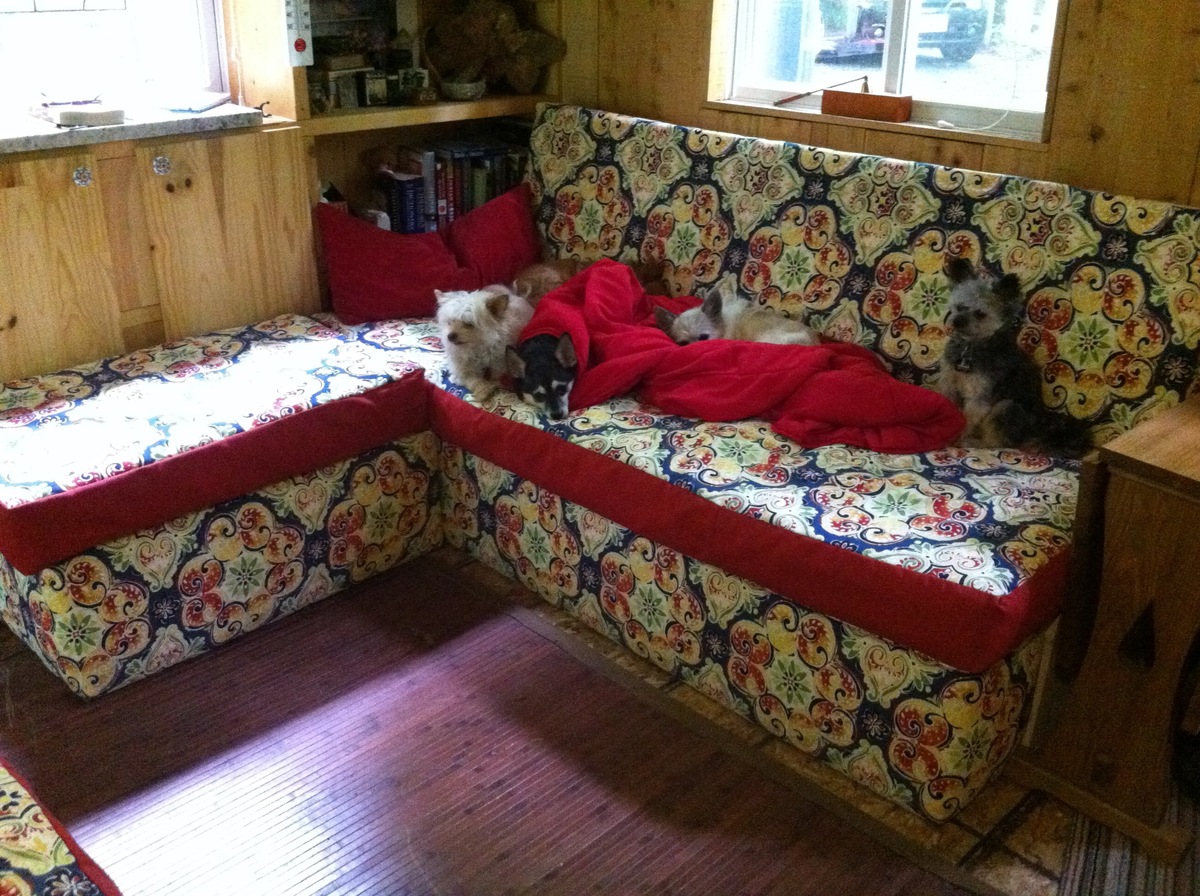
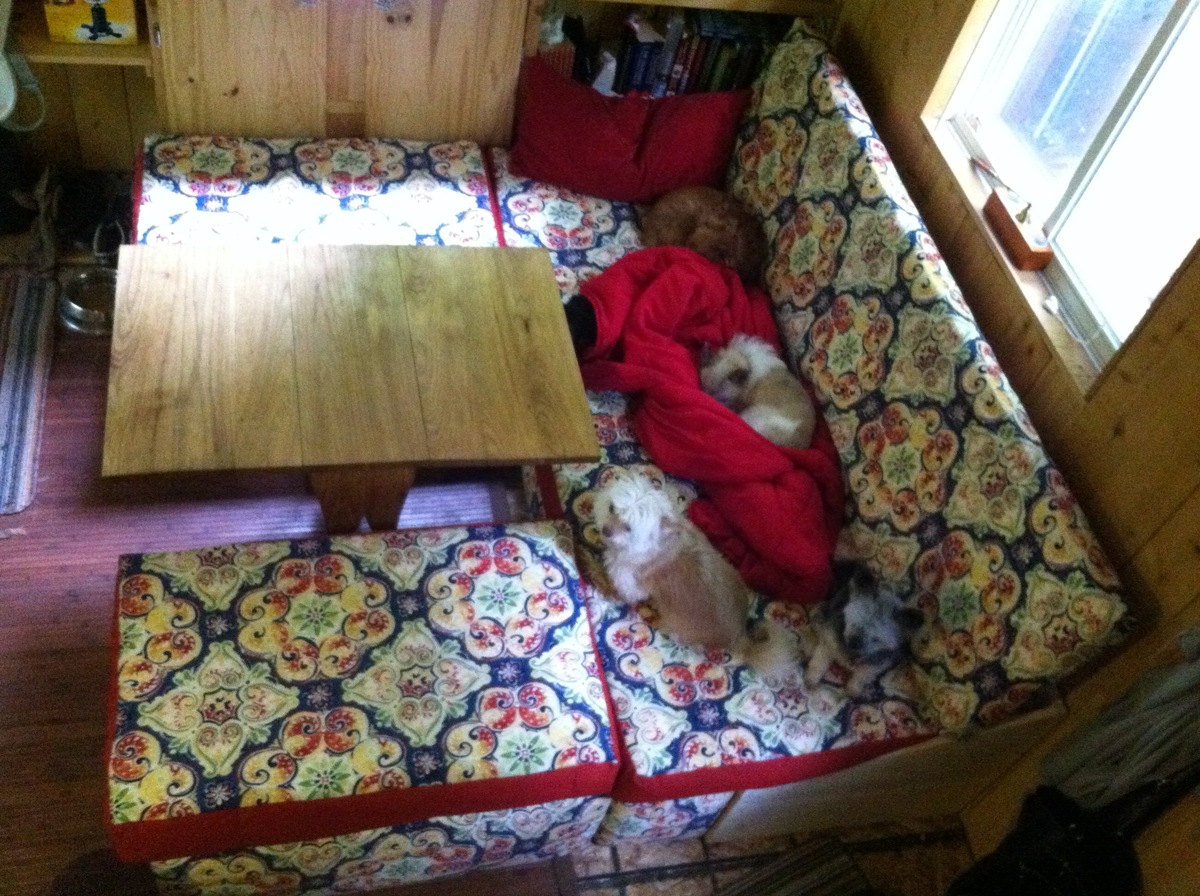
I looked at all the sofas that people built and took bits out of a lot of them to decide what I needed to fit my needs. I am in a tiny house and I wanted the sofa to be super versatile as well as being good for storage. I decided to build it the size of a double bed, but to divide this into three sections so that it can be used as a sectional, a seating area for meals and a bed for overnight guests. It was a lot easier than I thought it would be.
Thank you for this, I would not have known where to begin.
I decided on brightly printed outdoor fabric because the interior of my tiny house is all wood and I though the bright colours would be a nice addition. The outdoor fabric was chosen so that it would resist water and stains as well as pet hair.
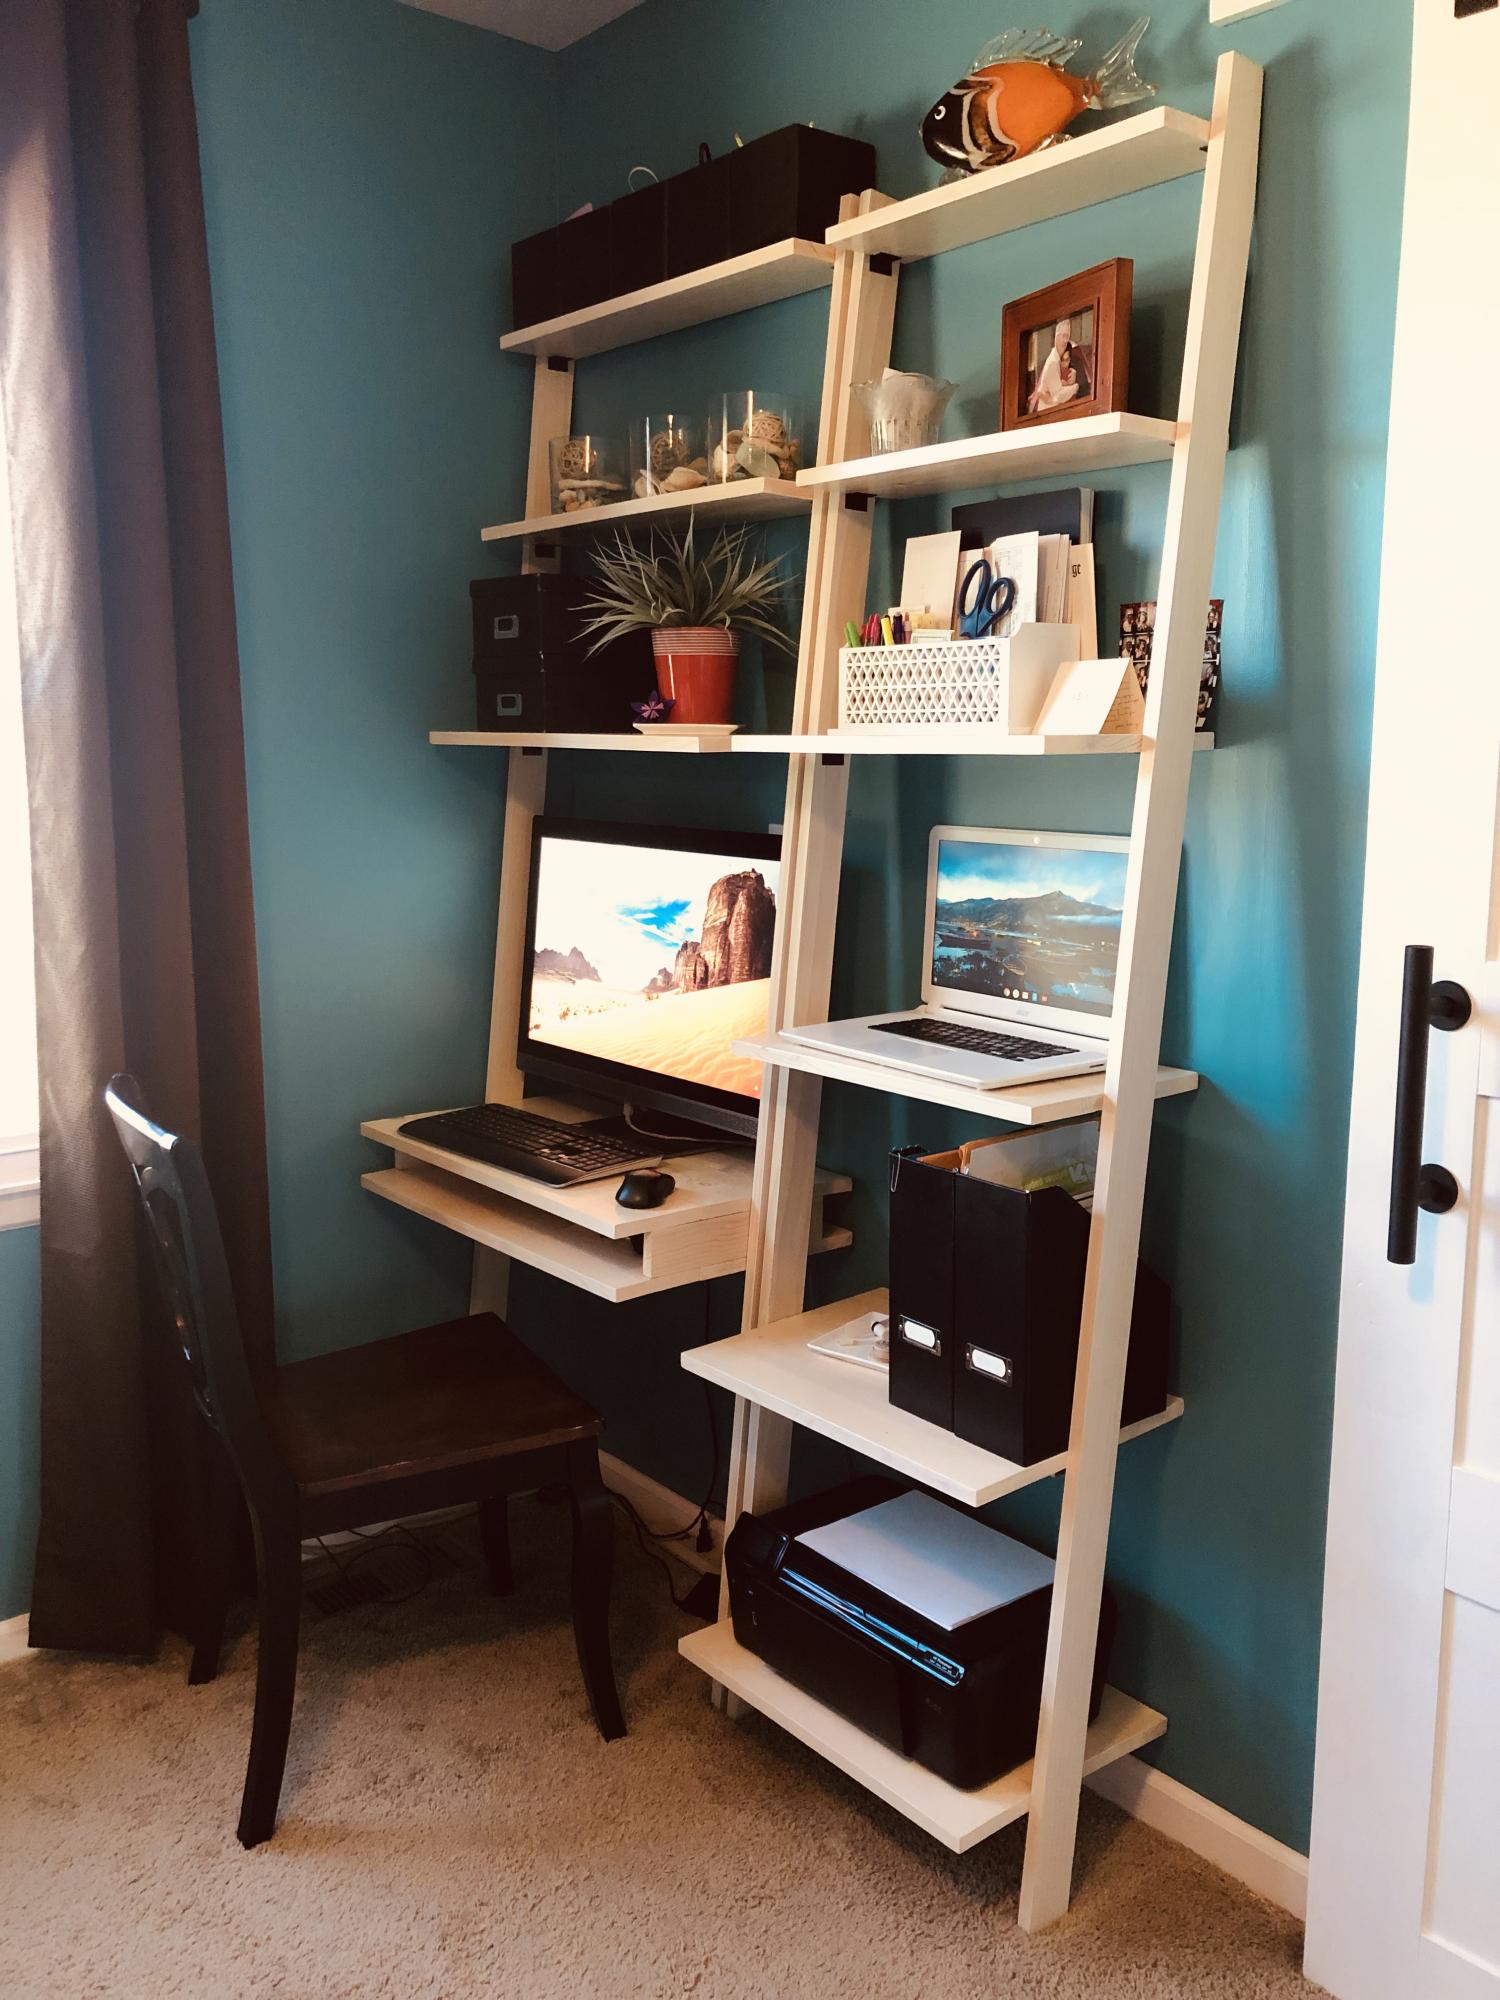
I needed a desk to get my computer off the kitchen table. After remodeling my bedroom and sealing a doorway to make the wall space, I needed something that would take up a little amount of floor space. Of course I couldn't find exactly what I wanted so I decided to build it. Found this little gem of a plan and modified it to my liking and needs. I’ve had it up for about a year and I love it.
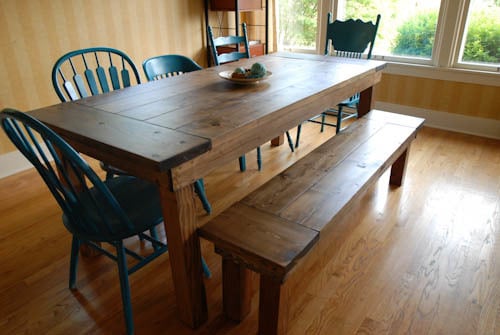
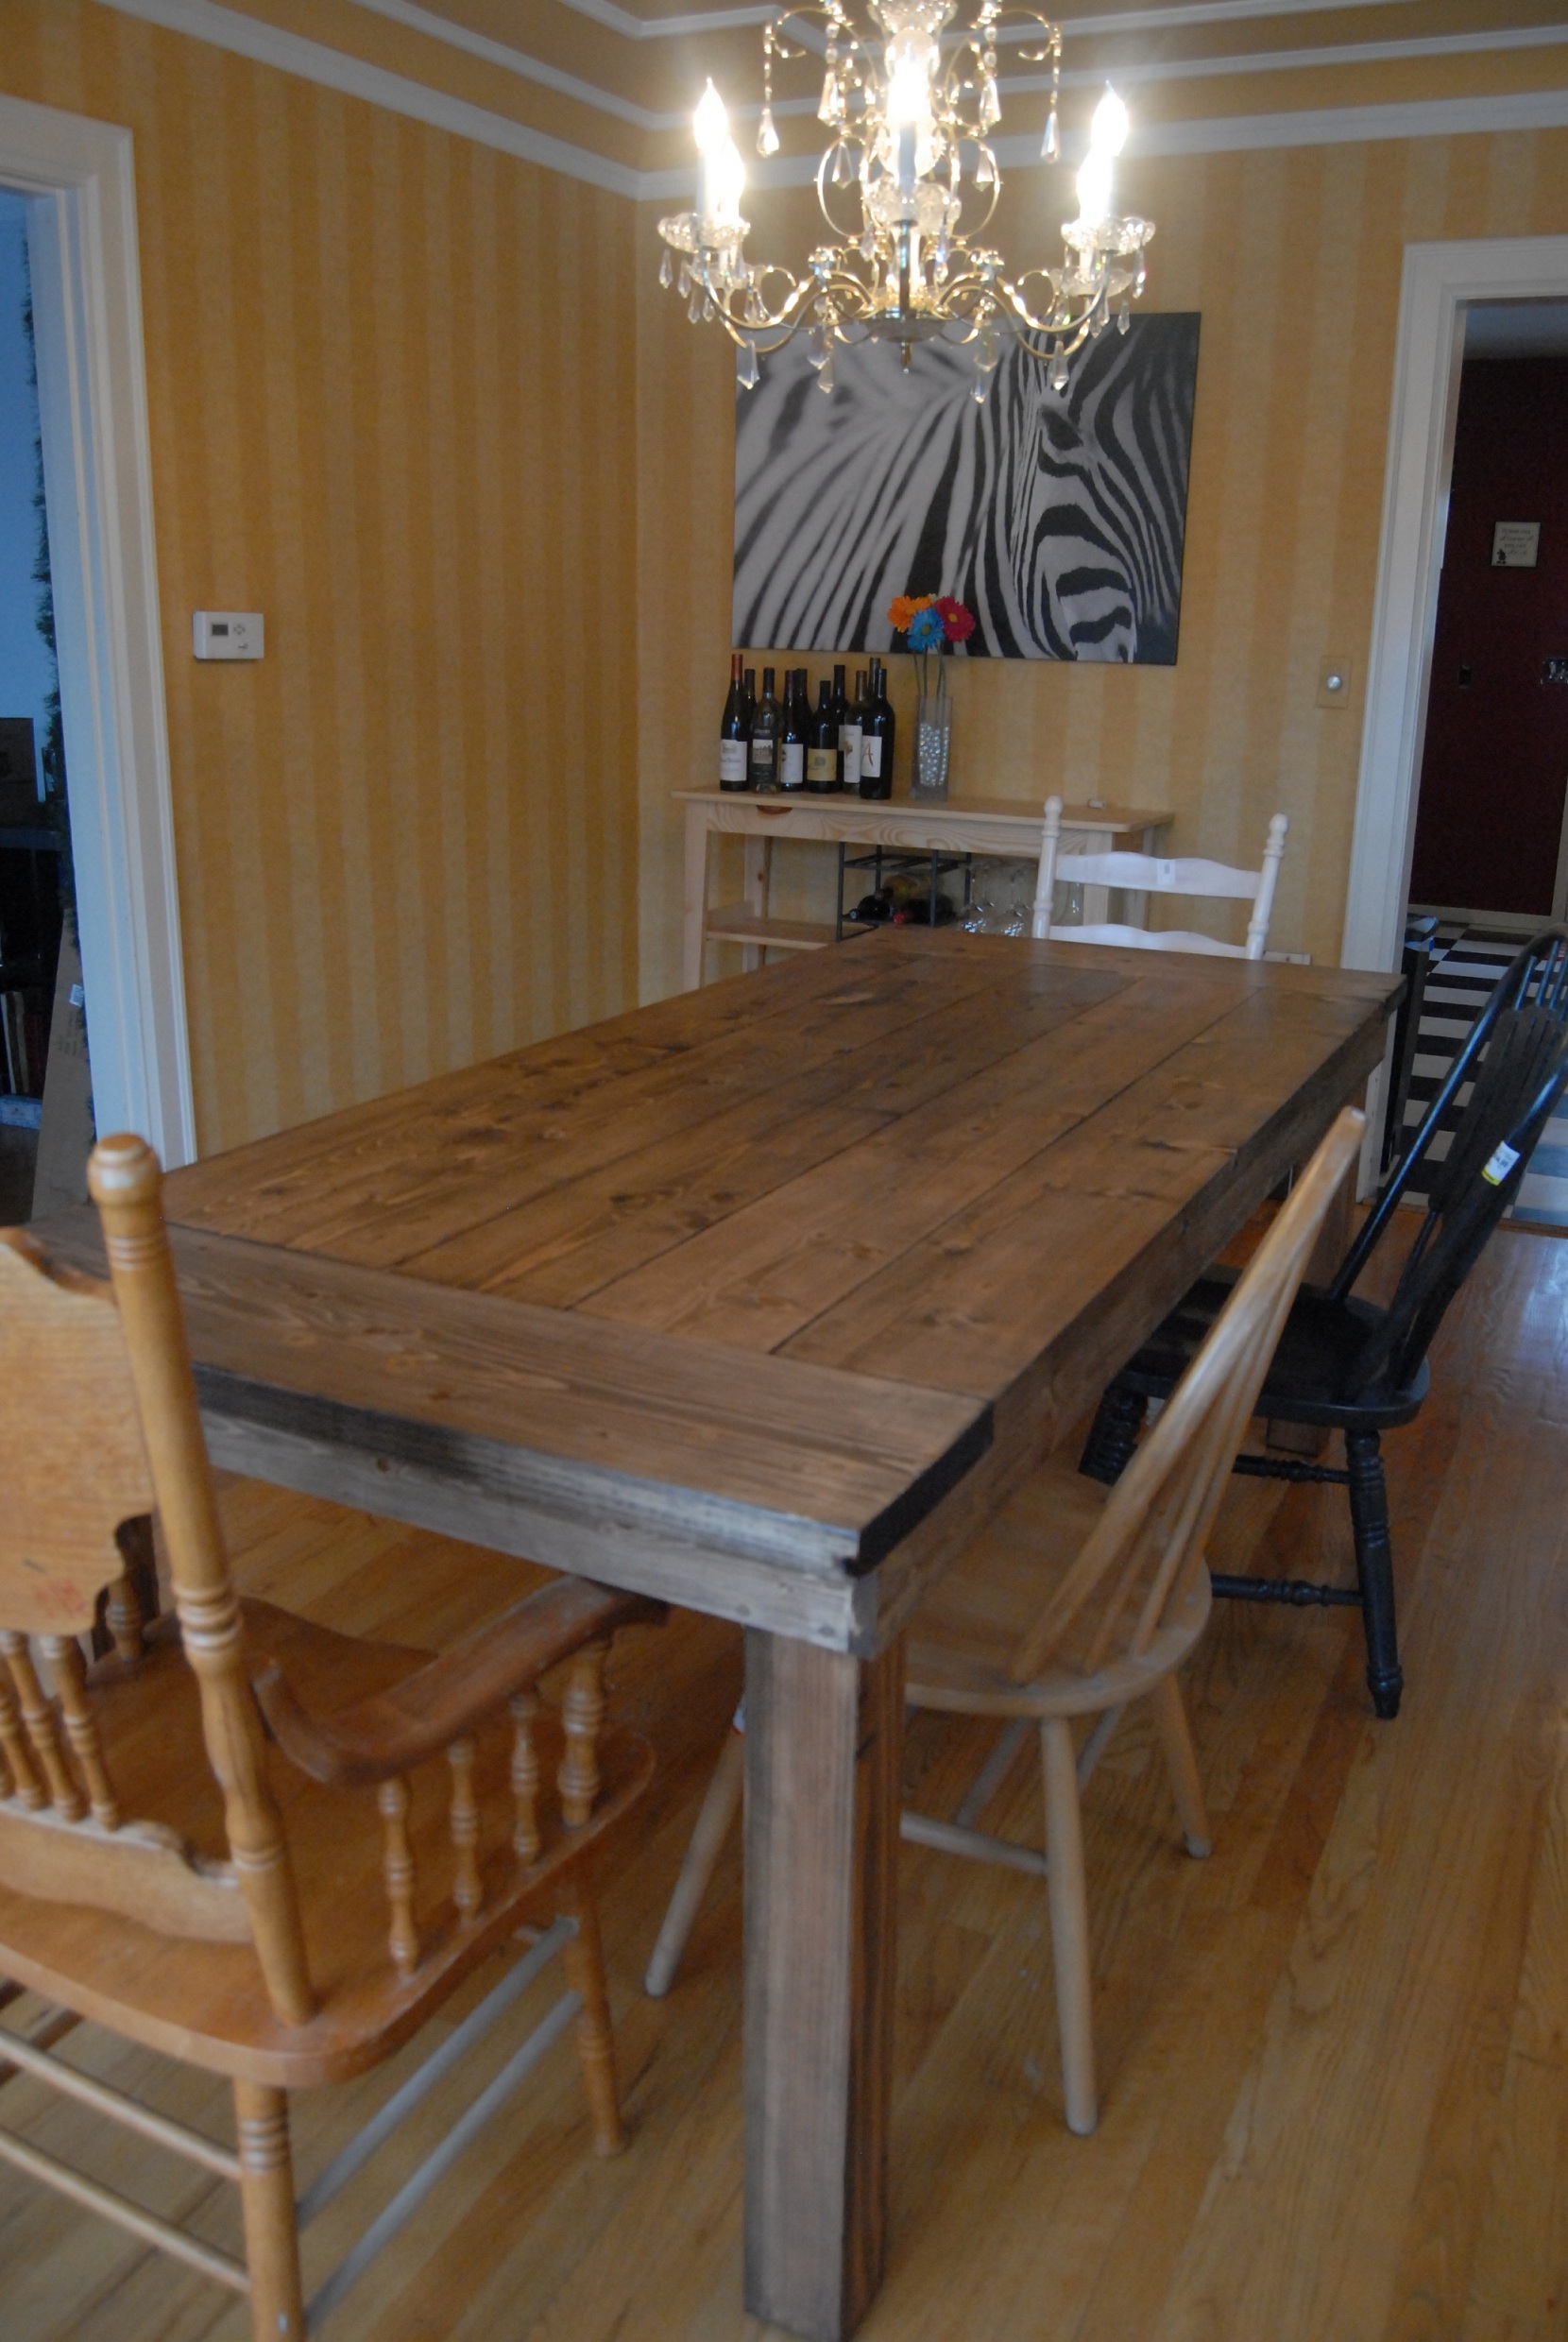
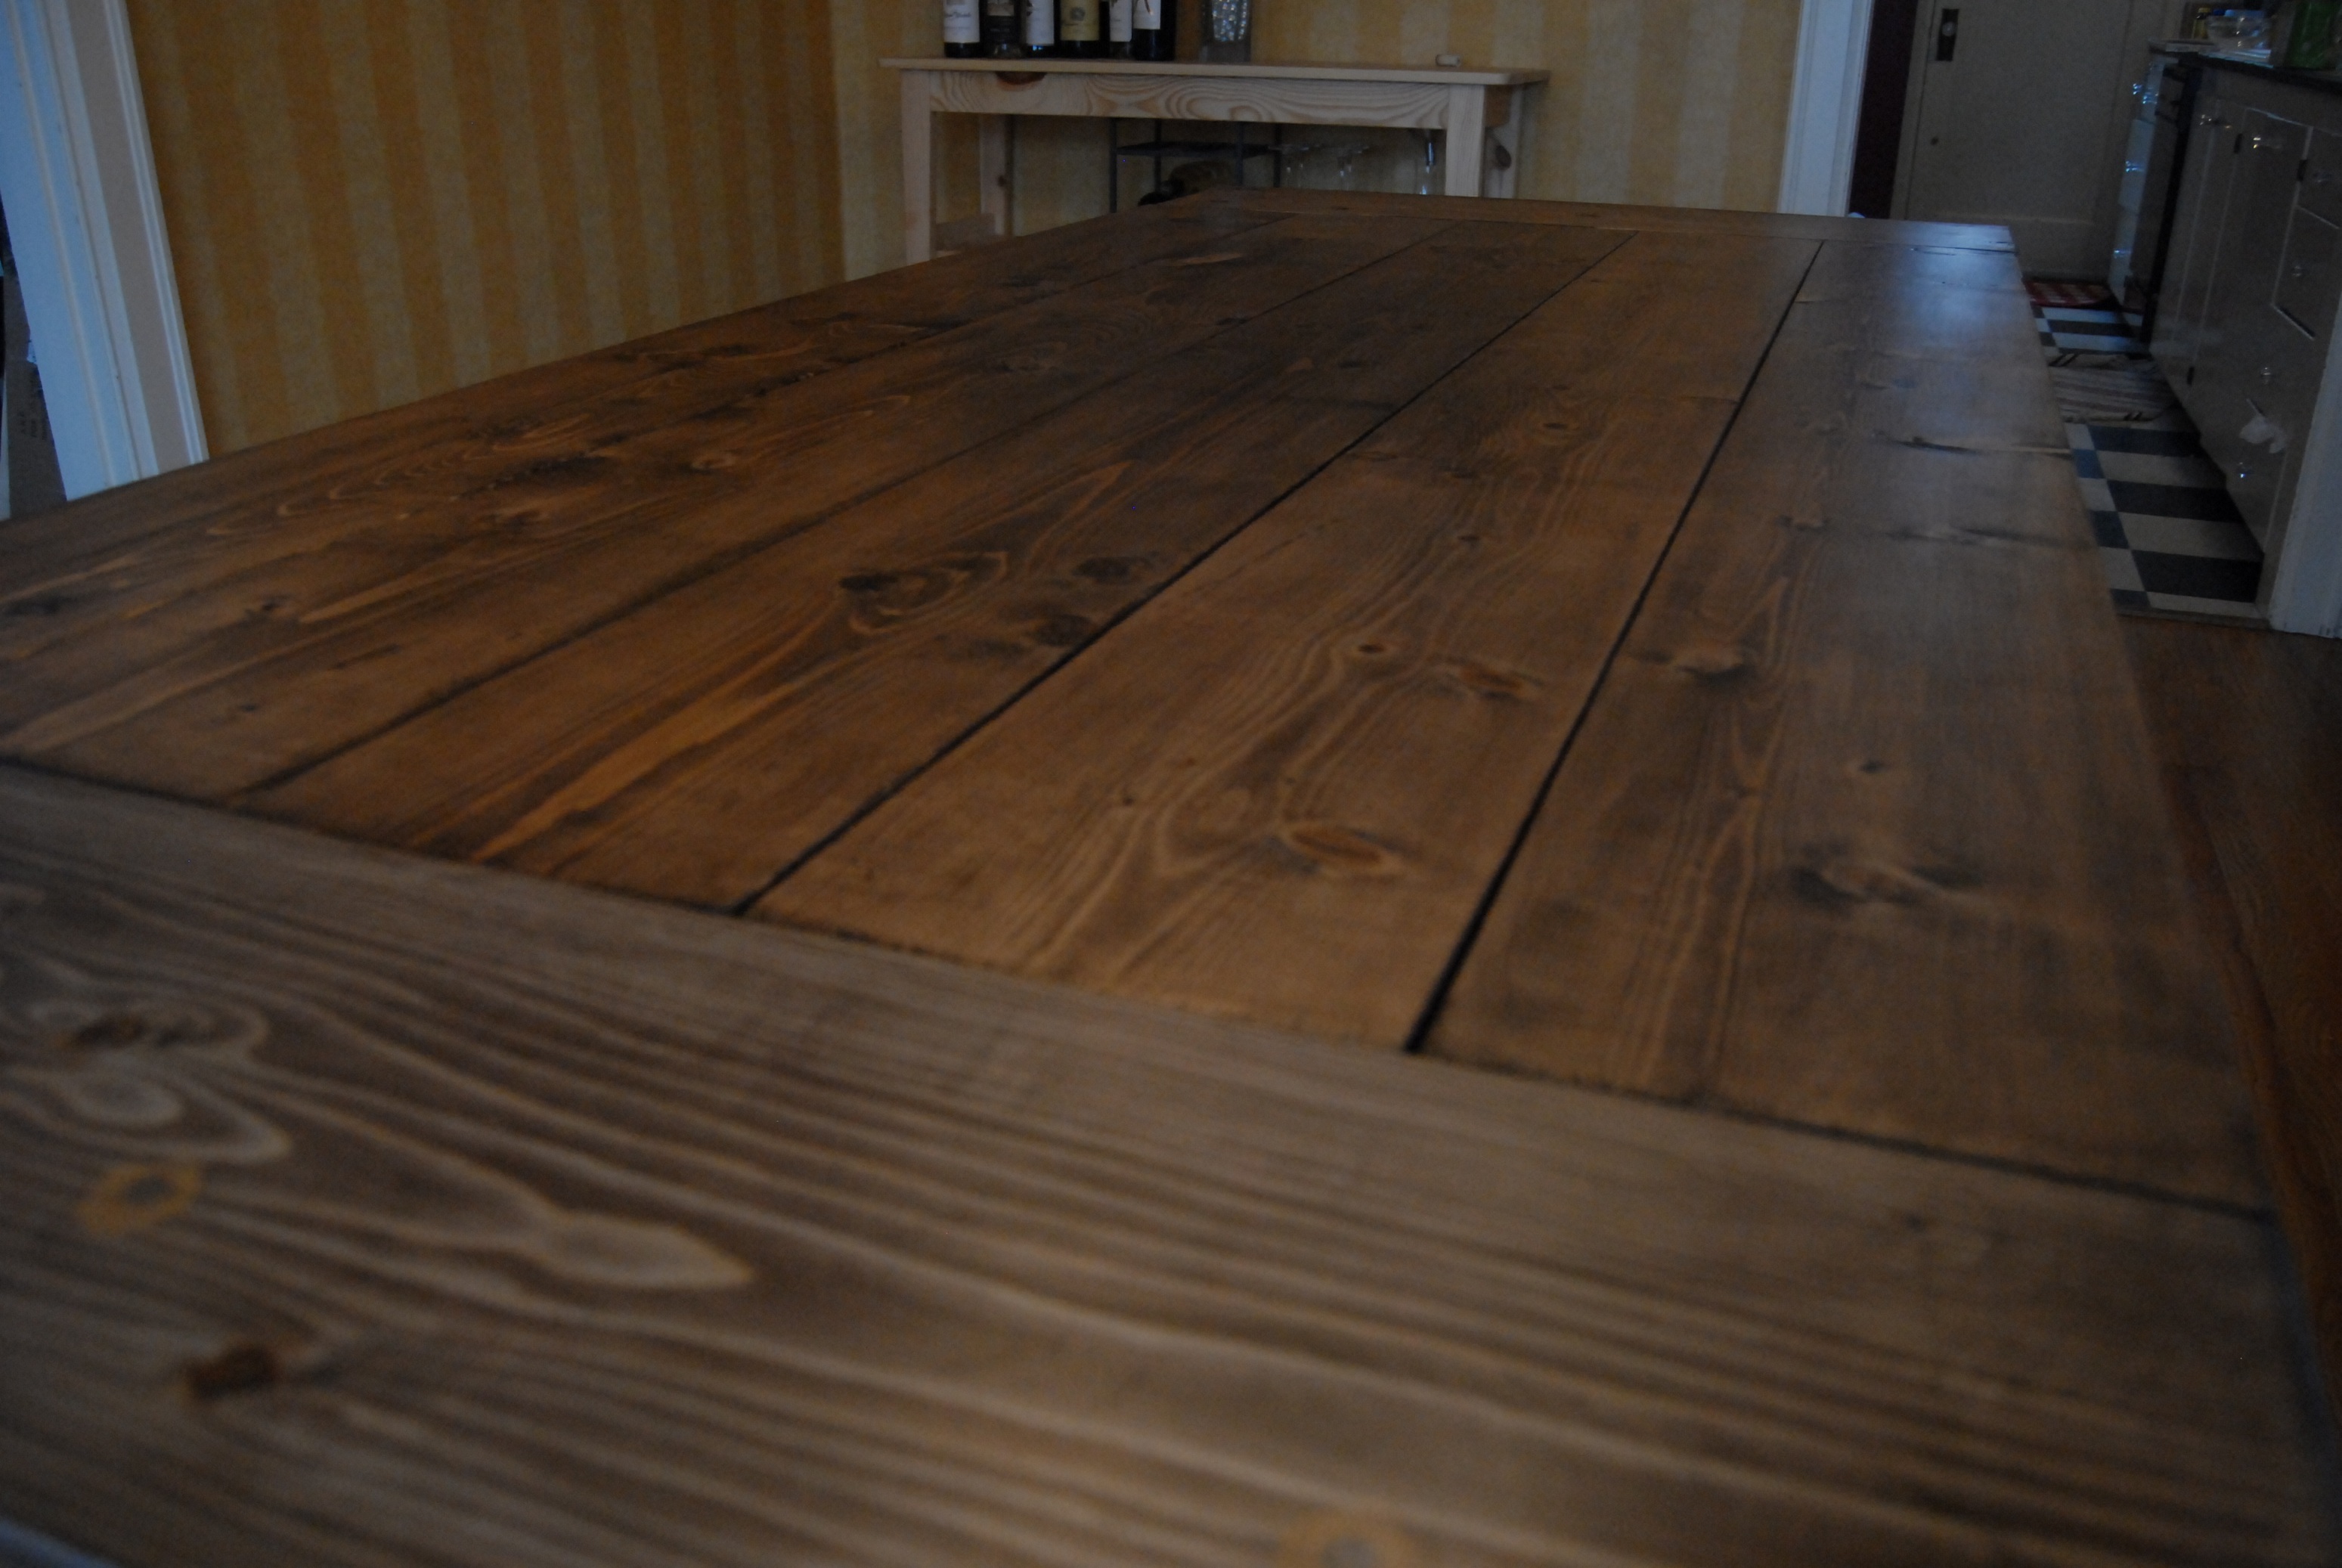
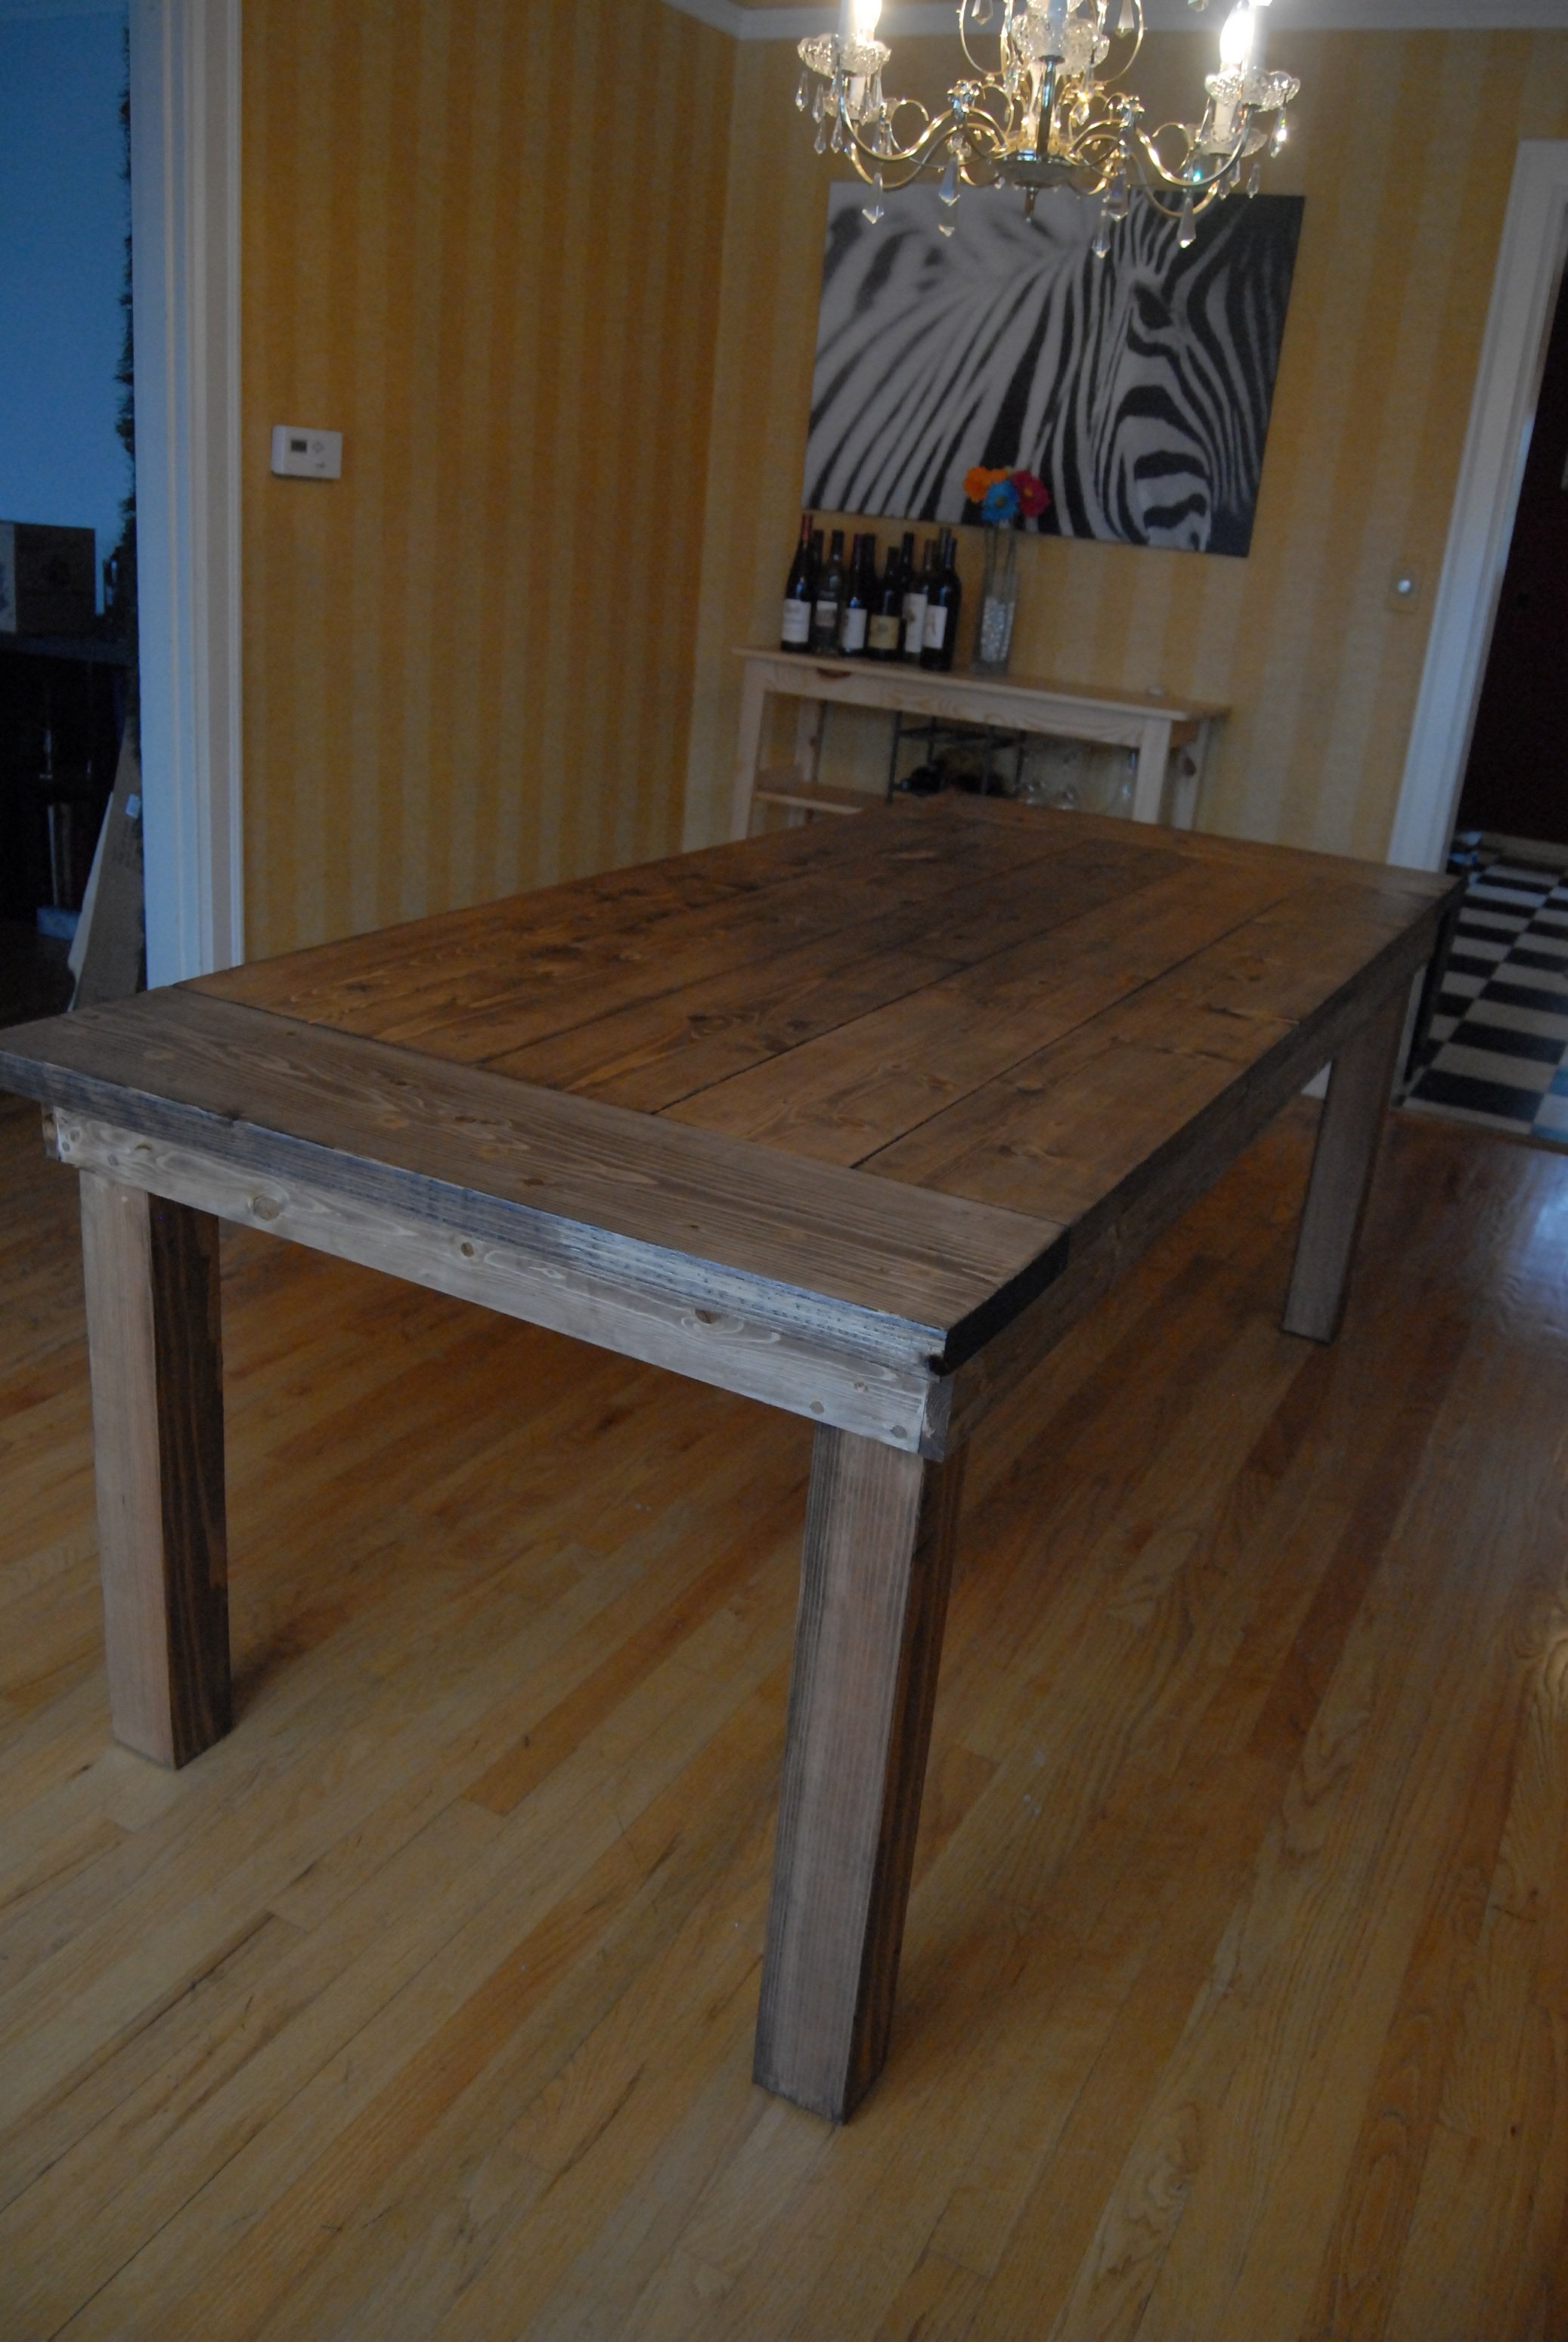
We made this table from the farmhouse table plan but used 4x4s for the legs and slightly wider (2x10) boards for the top.

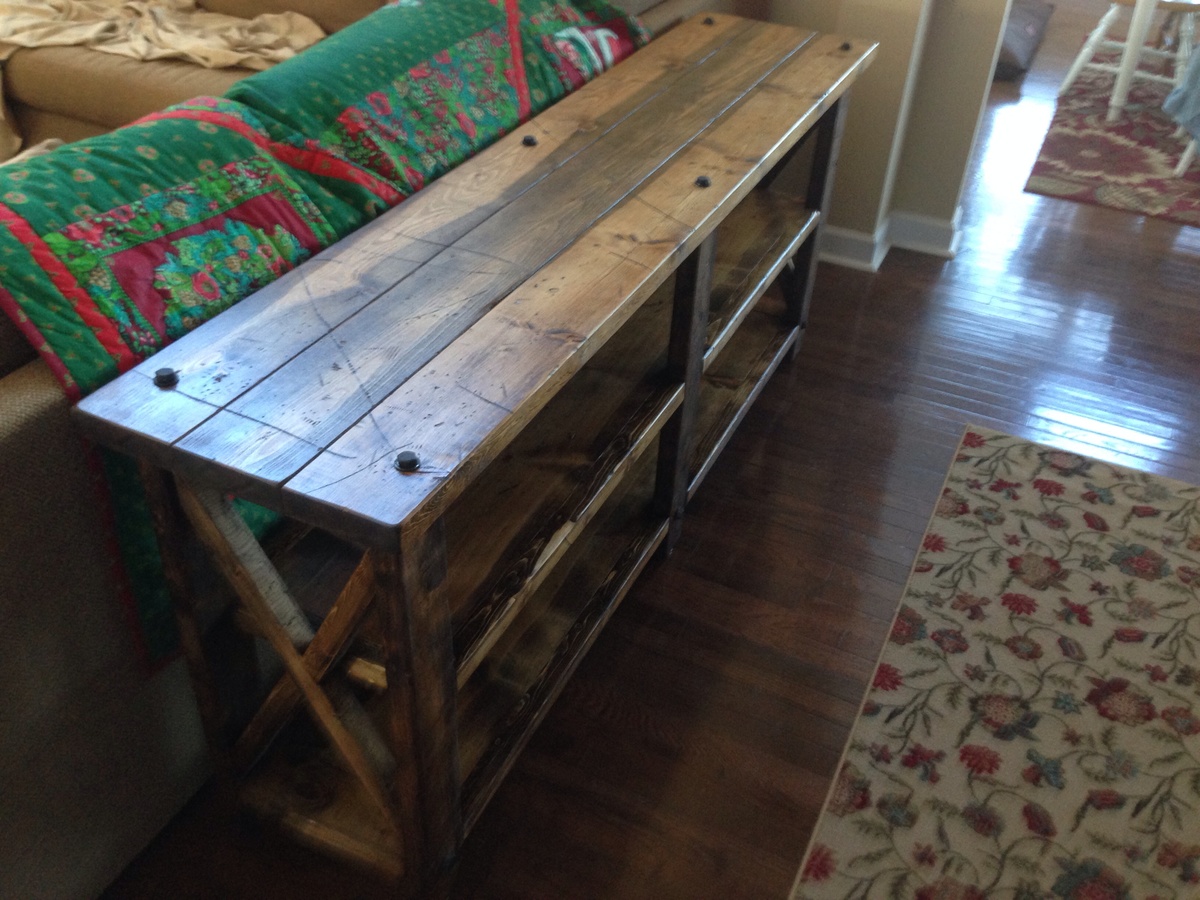
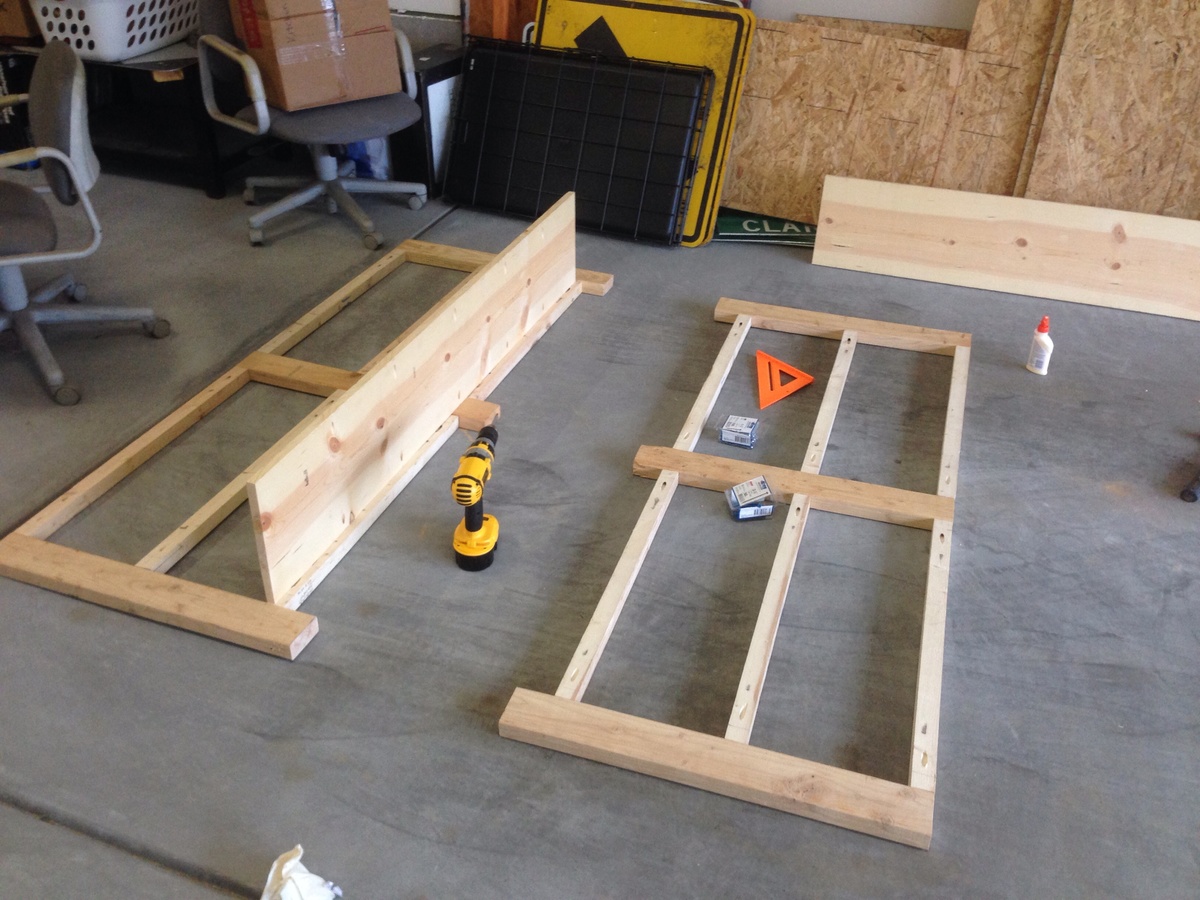
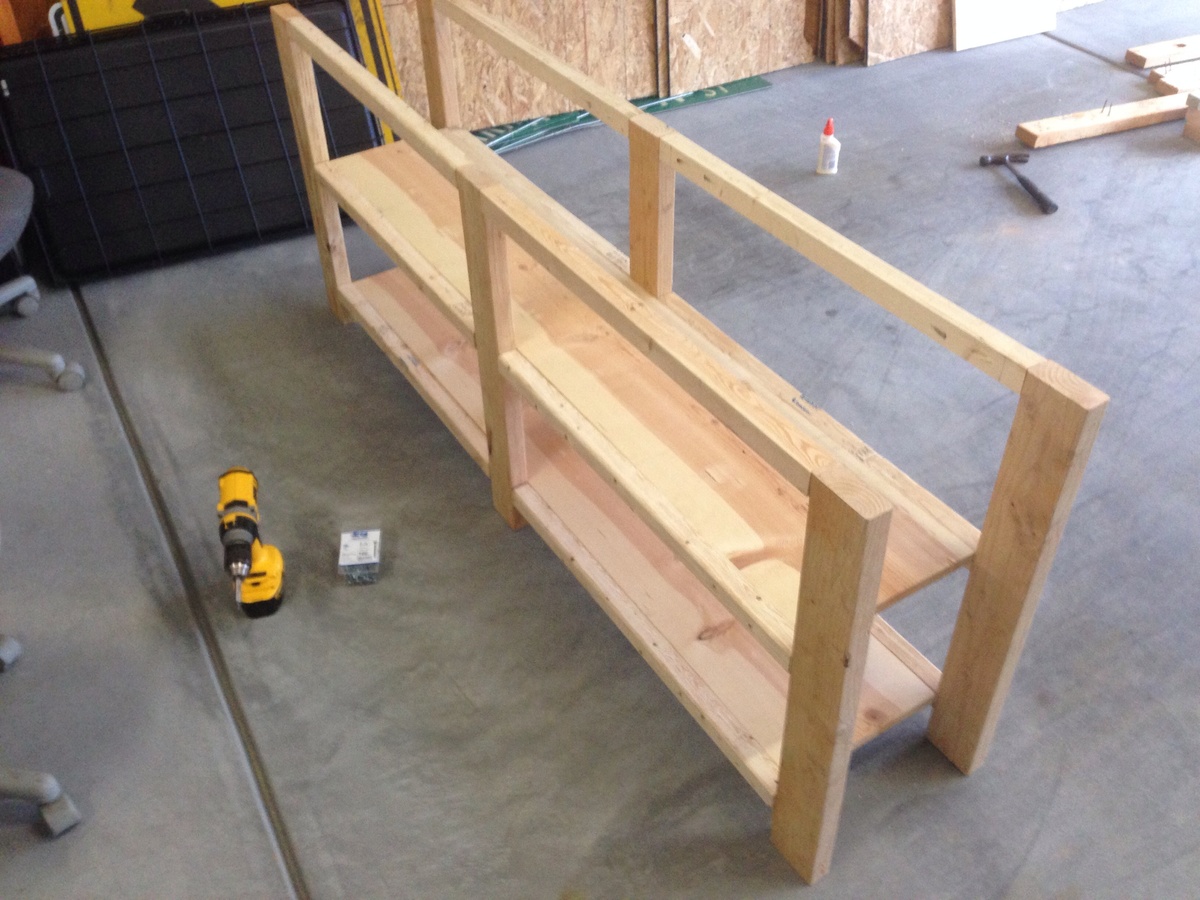
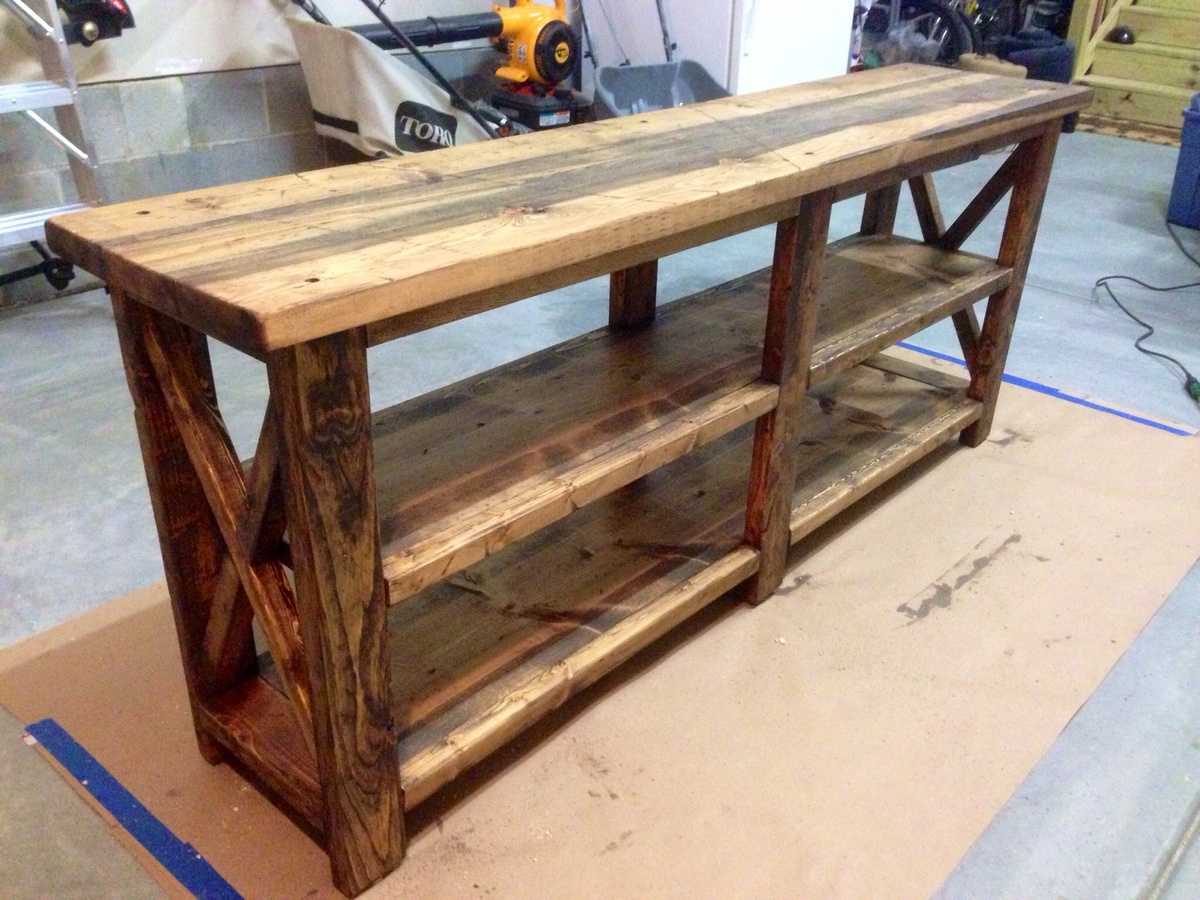
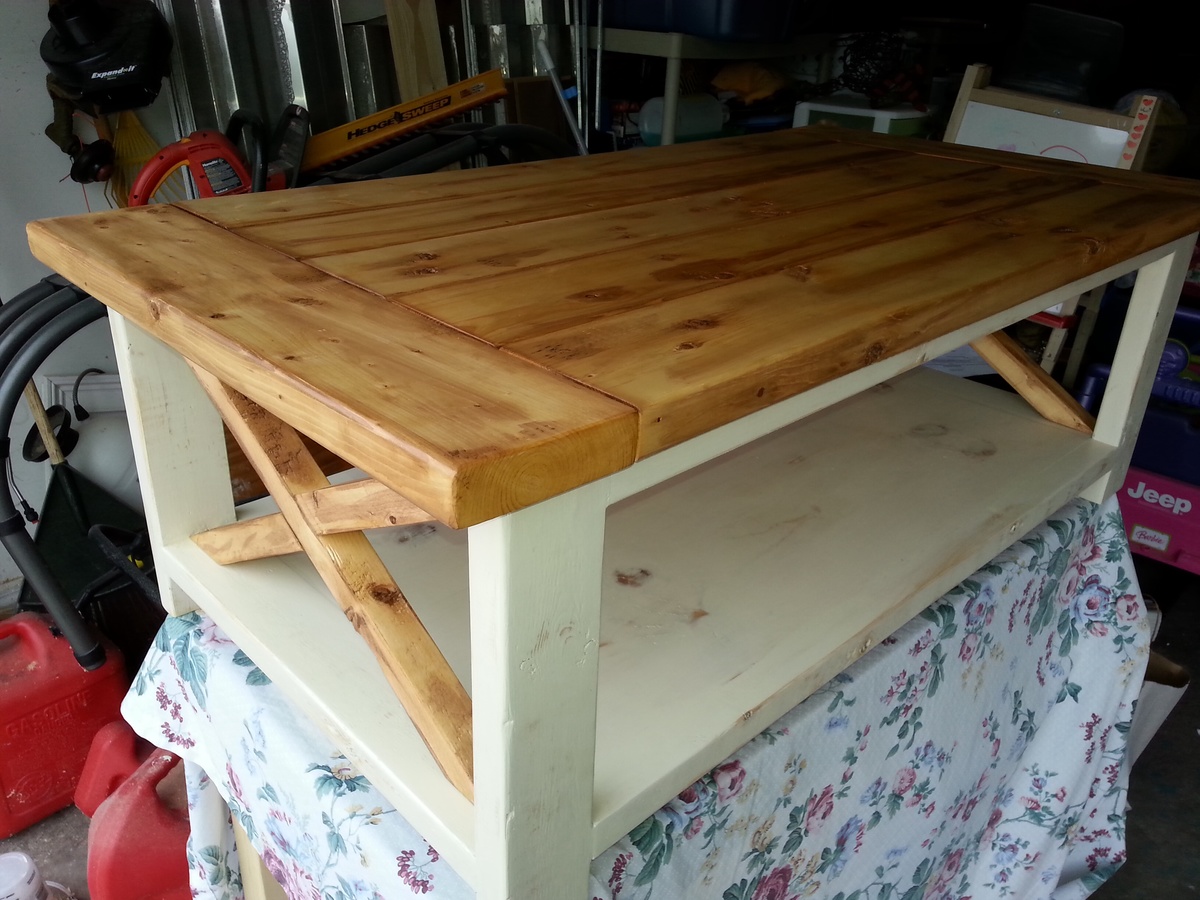
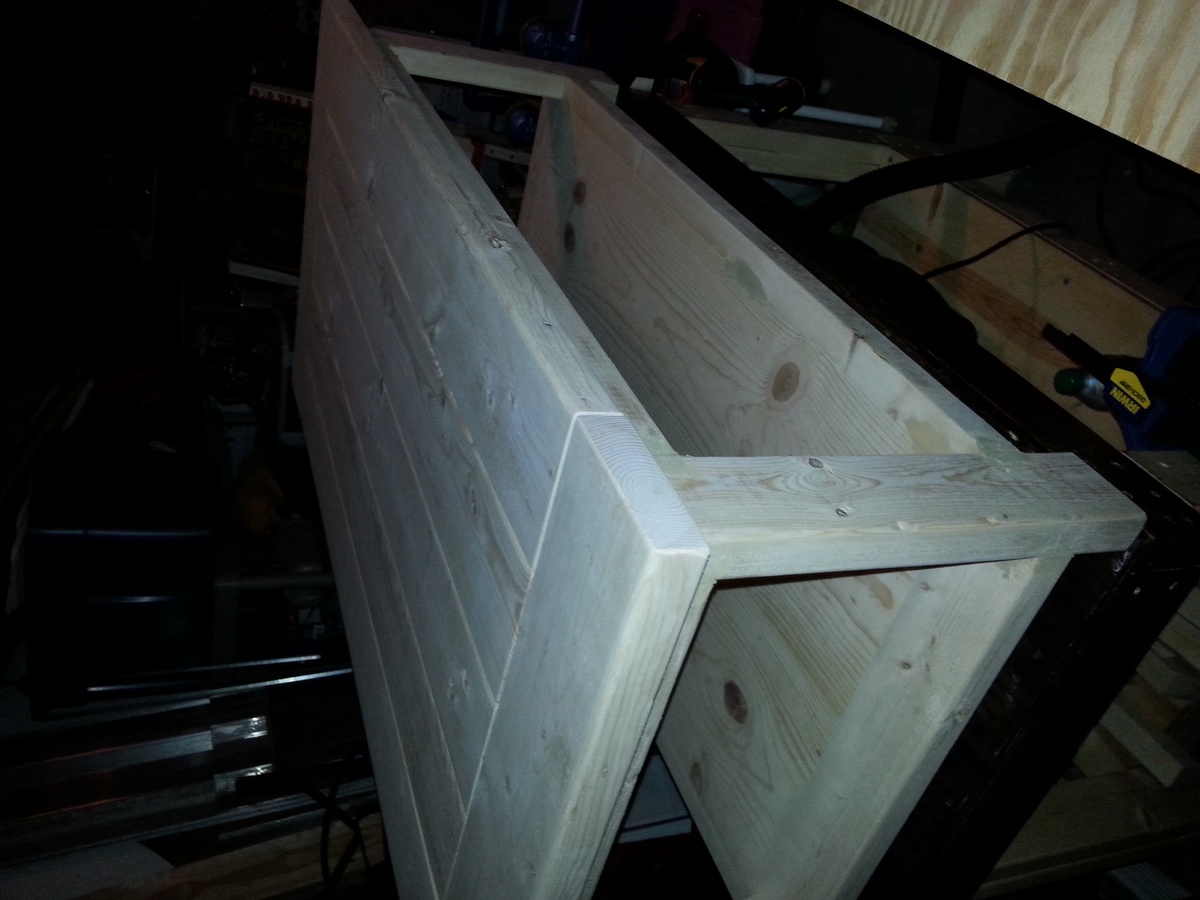
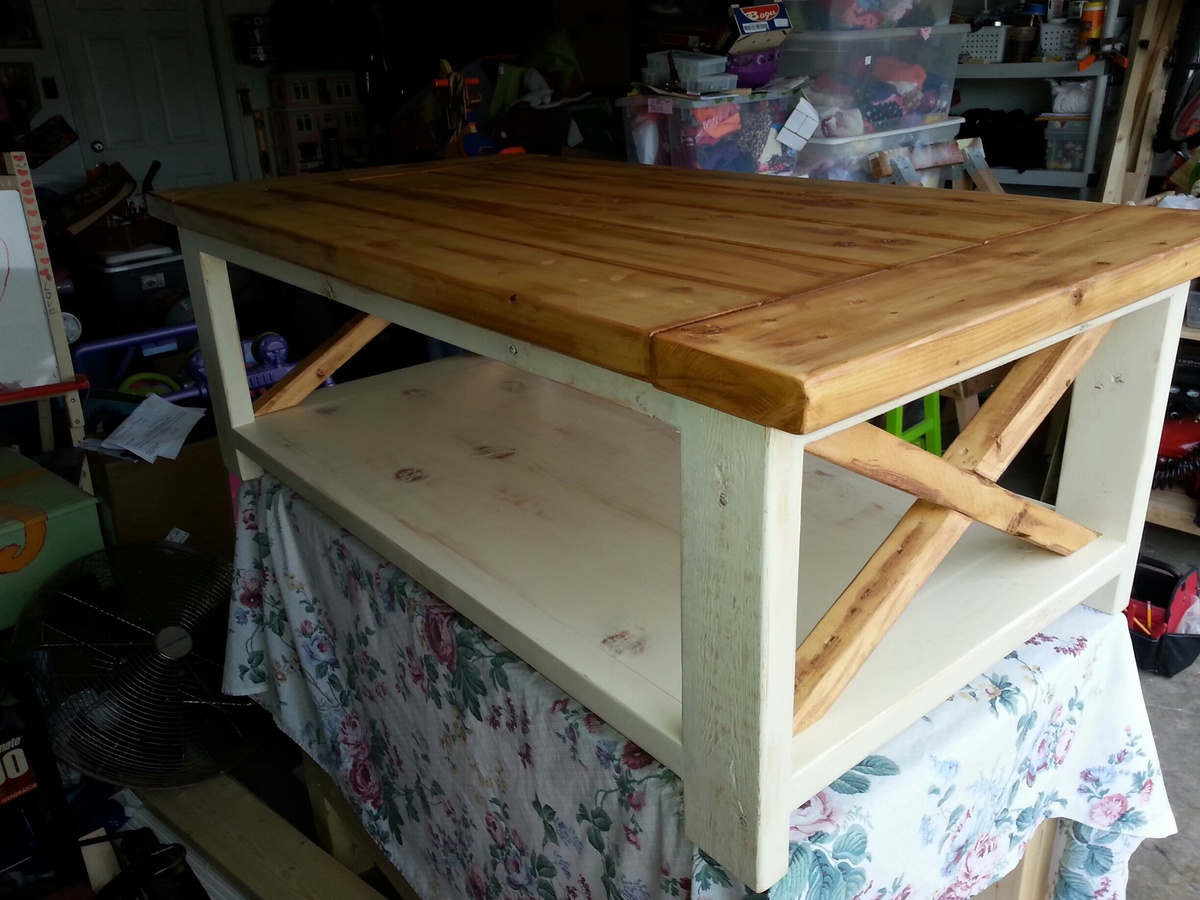
So my wife found this on Pinterest last month and loved it. We have been searching for something to go behind our sectional couch in our den. When she showed it to me I discreetly emailed it to myself as a plan was forming in my head. She was working nights for the month of December so I worked on it in the garage in the evenings and hid it in the crawl space so she wouldn't see it. She woke up Christmas morning to find it in place with a bow (clearly made by a man who is much better at carpentry than bow making) attached and was very surprised and excited.
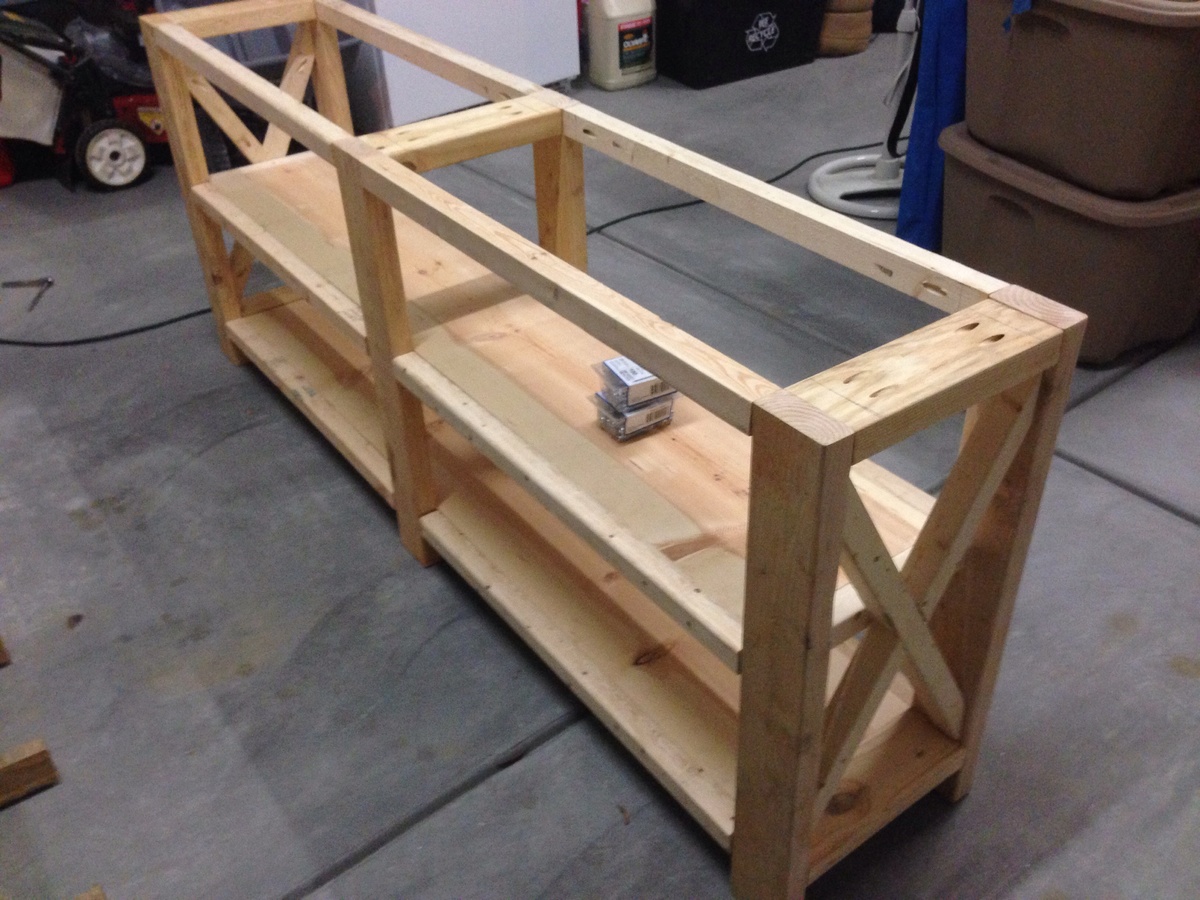
I distressed the wood using several highly complicated techniques such as hitting it with a hammer, dropping a bag of screws on it, and scratching it with a screwdriver. It was then sanded and stained with Minwax Provincial 211. I applied two coats of satin polyurethane for protection.
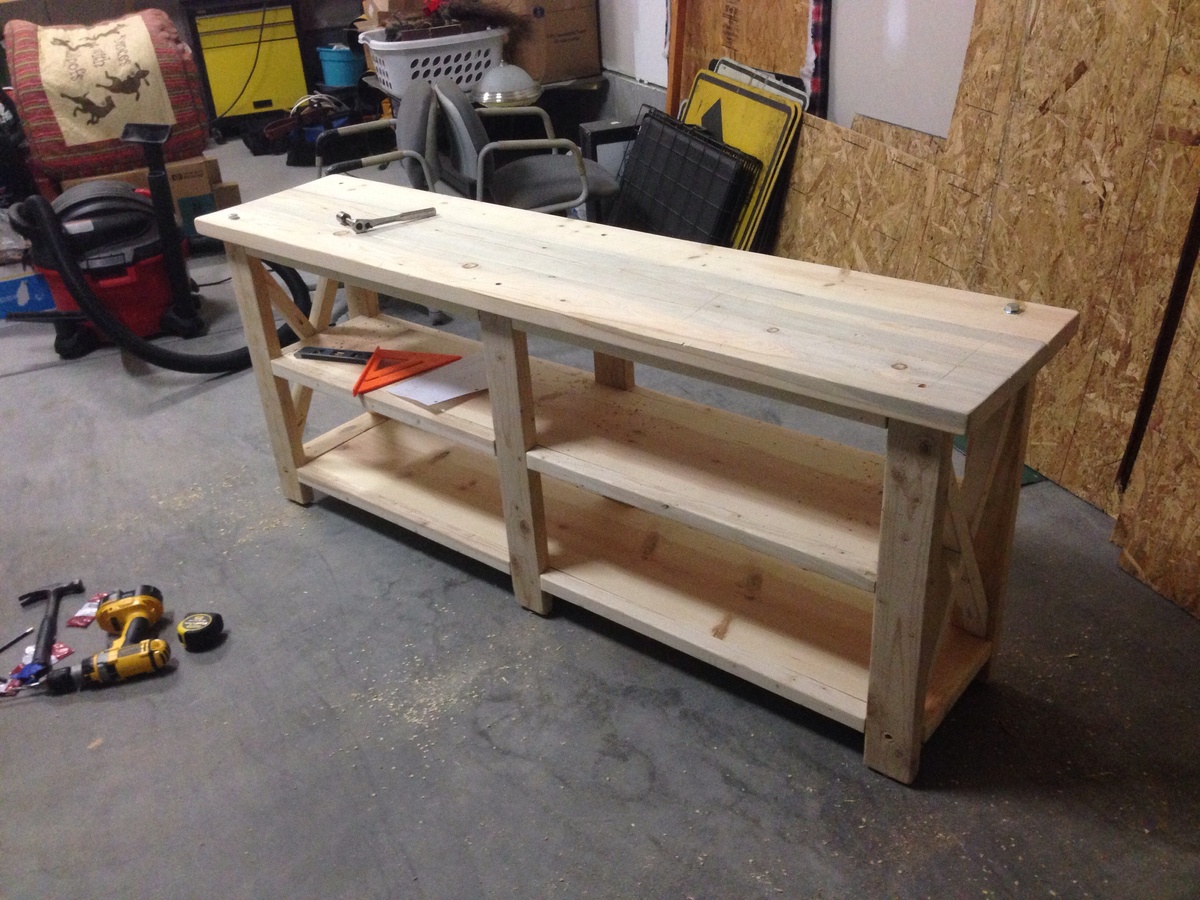
I liked the look of the hex head screws so after painting them flat black I actually used them to hold the top on.
2 - 2x12x8
2 - 2x3x8
2 - 4x4x8 (cedar, fur is cheaper and will work fine also)
16 - 5/16x4 lag screws
16 - 5/16 washers
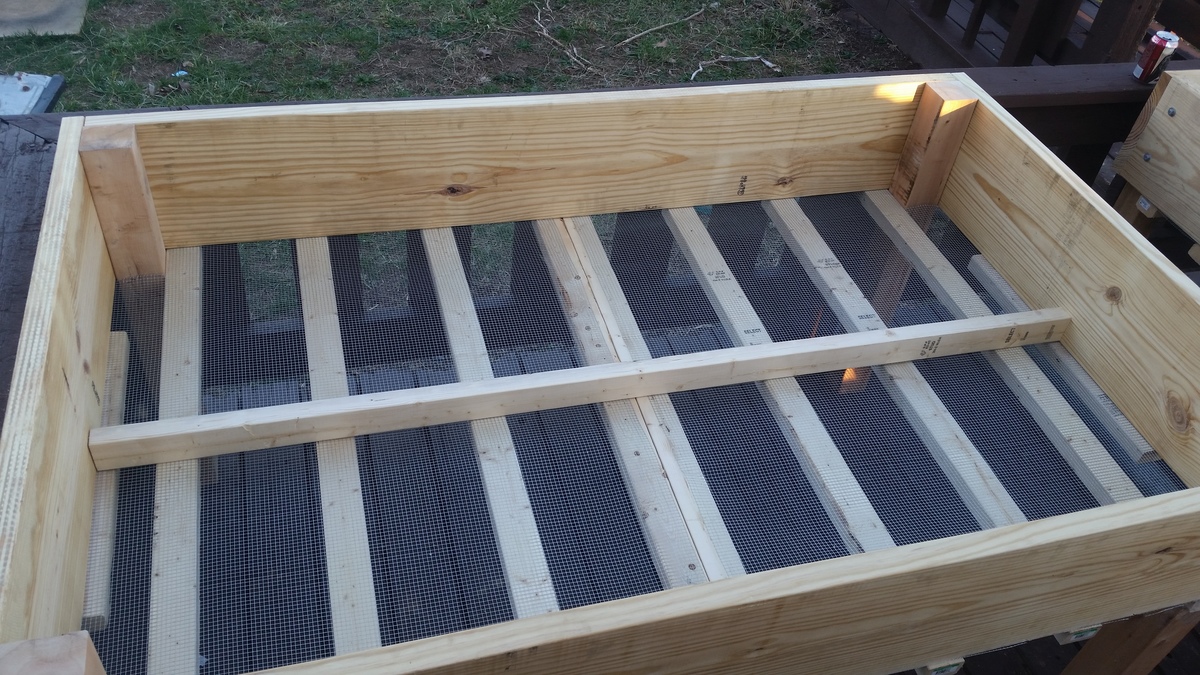
3x10 feet 1/4 hardware wire
20 - 3inch wood screws (outdoor rated, deck screws or the like)
you will have left overs if you buy extra lags you can make some other boxes depending on how high you want these, or set them on ground without legs. and use the wood screws
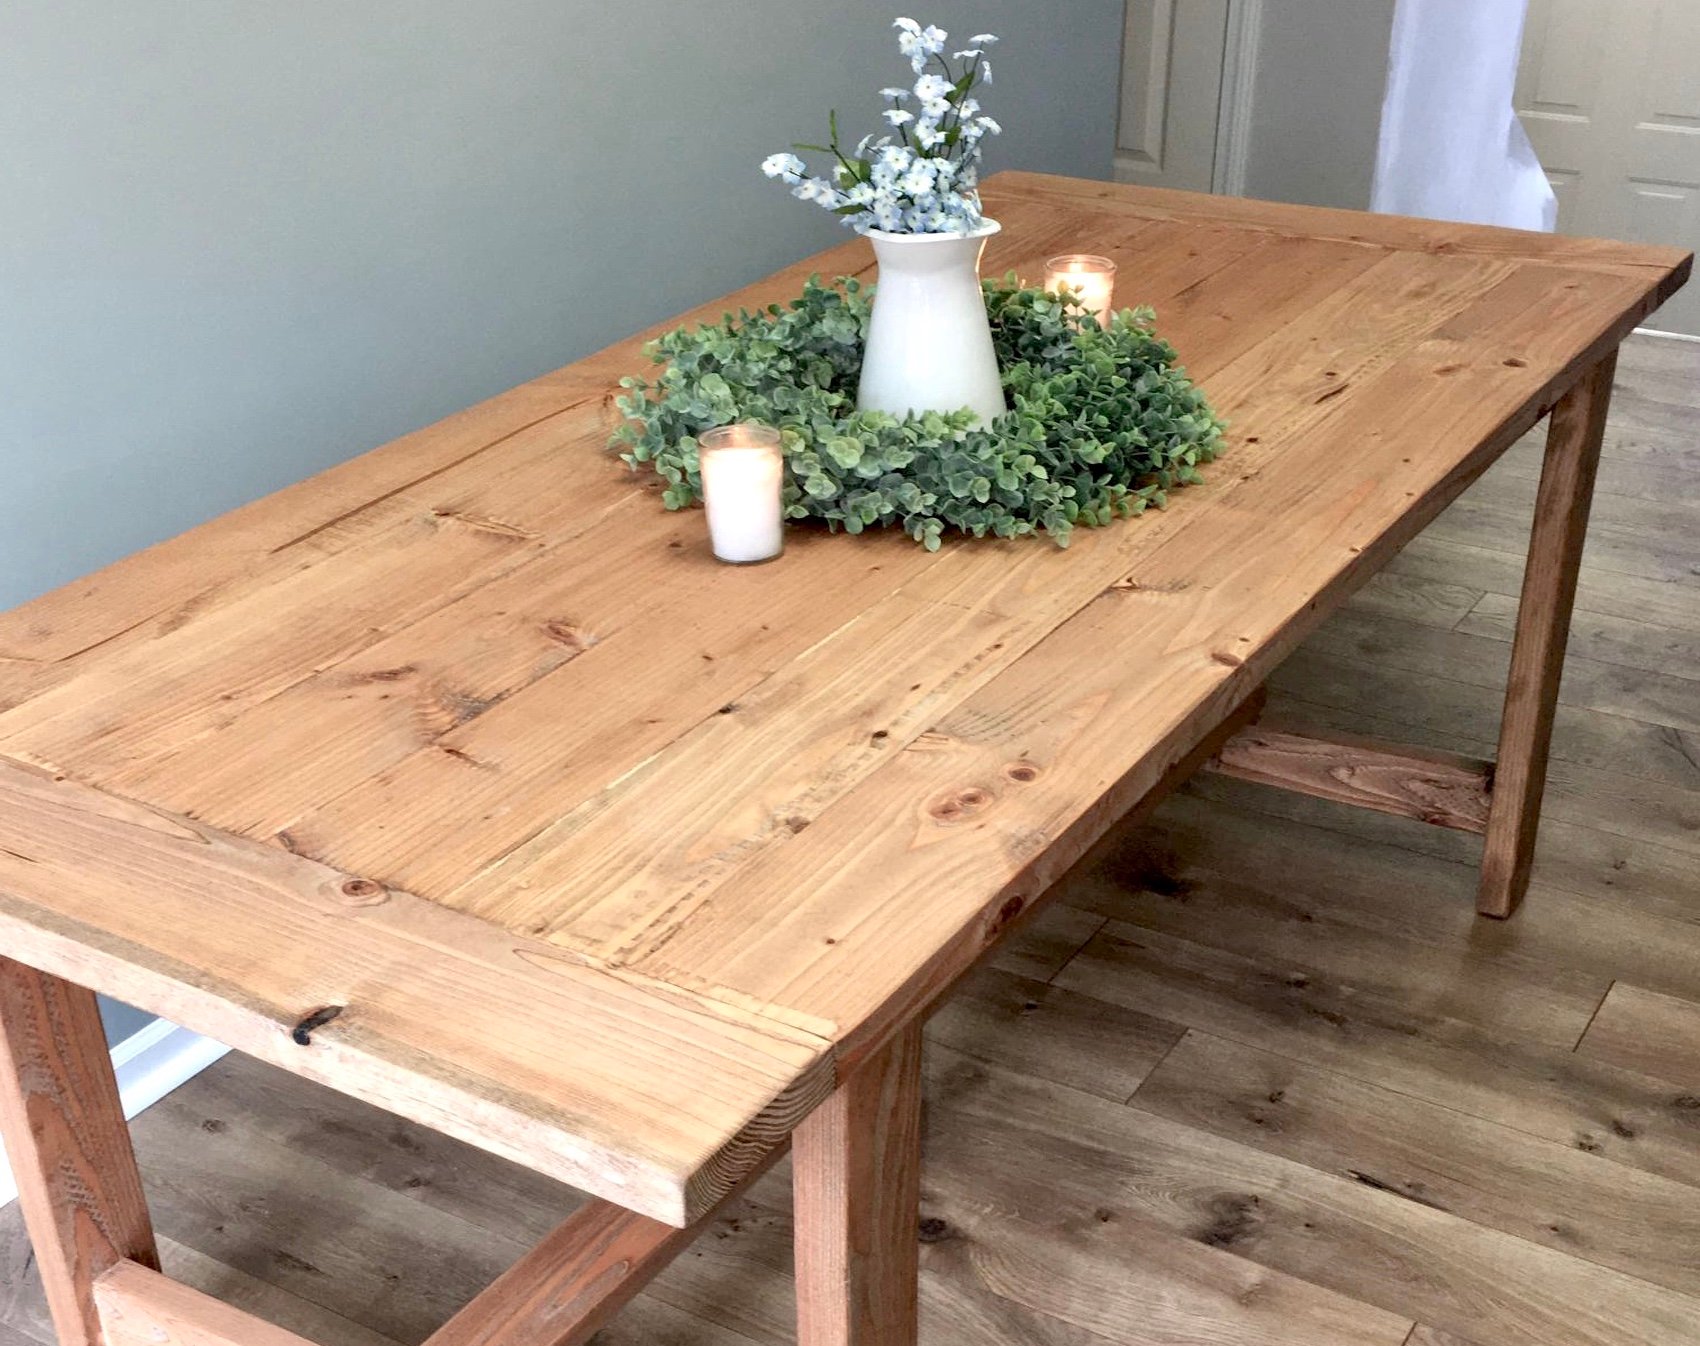
This project was actually my first build (besides a small blanket ladder). I used the Ana White plans every step of the way! Since this build I have created coffee tables, side tables, console tables, head boards and a bed frame. This table gave me the confidence to try an original project of my own. Although this table was fairly simple, it was the project that started it all. That is why I chose for this piece to be my brag post.

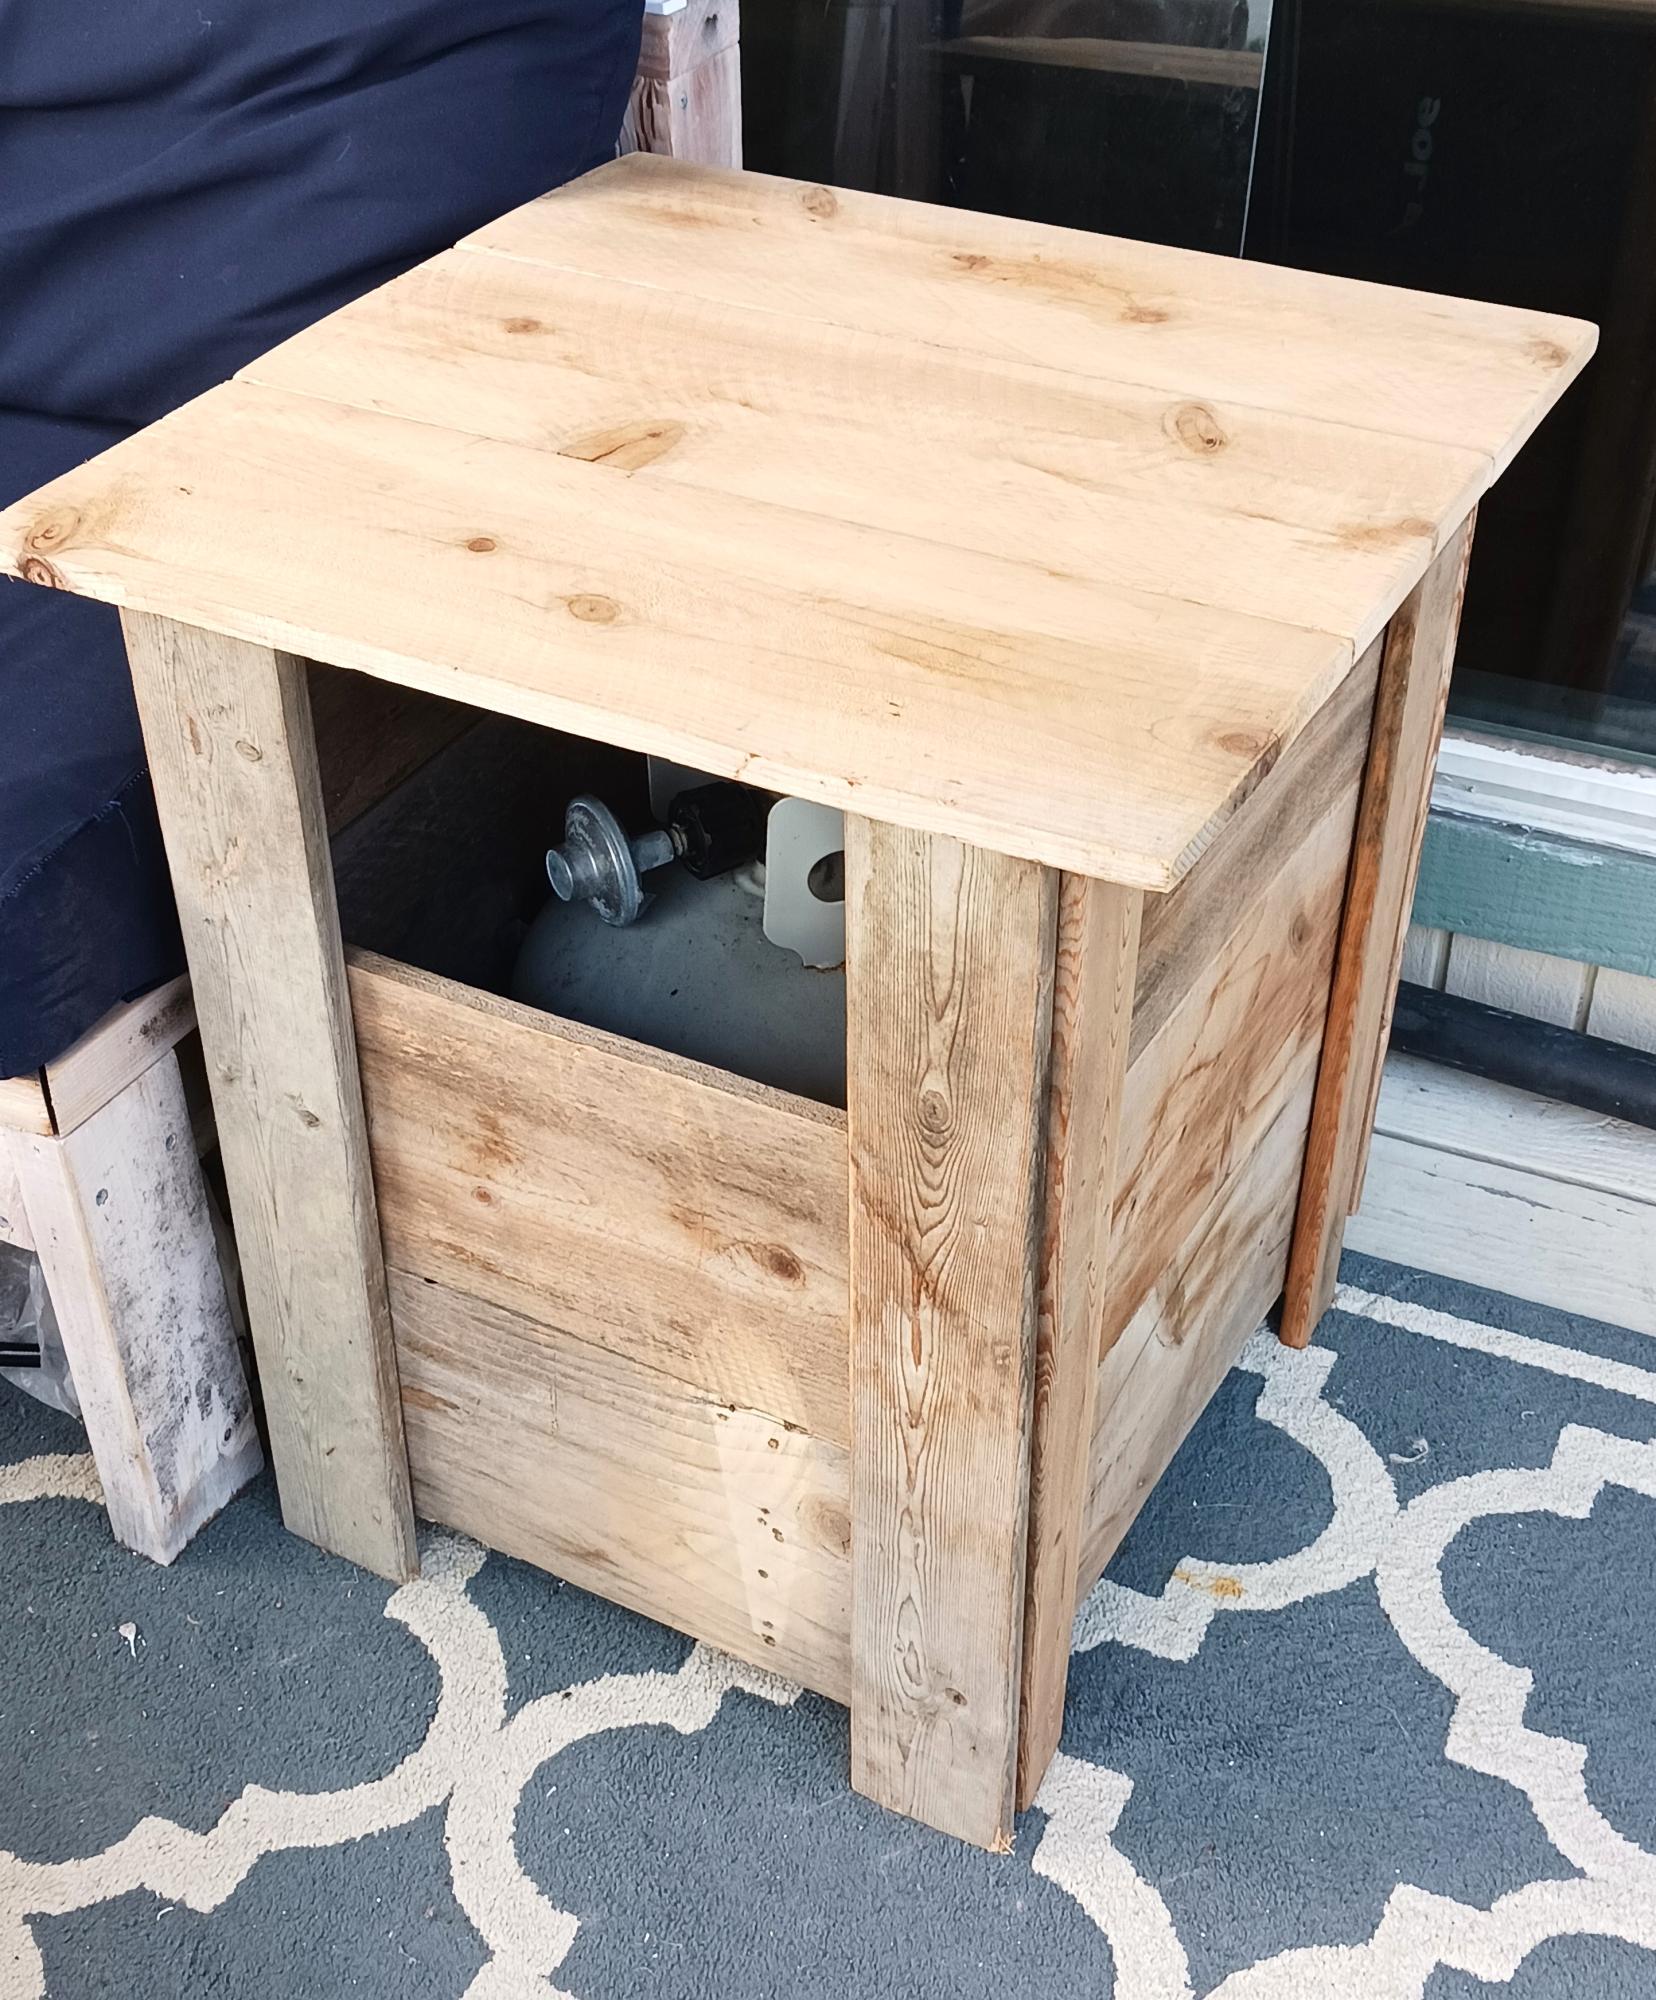
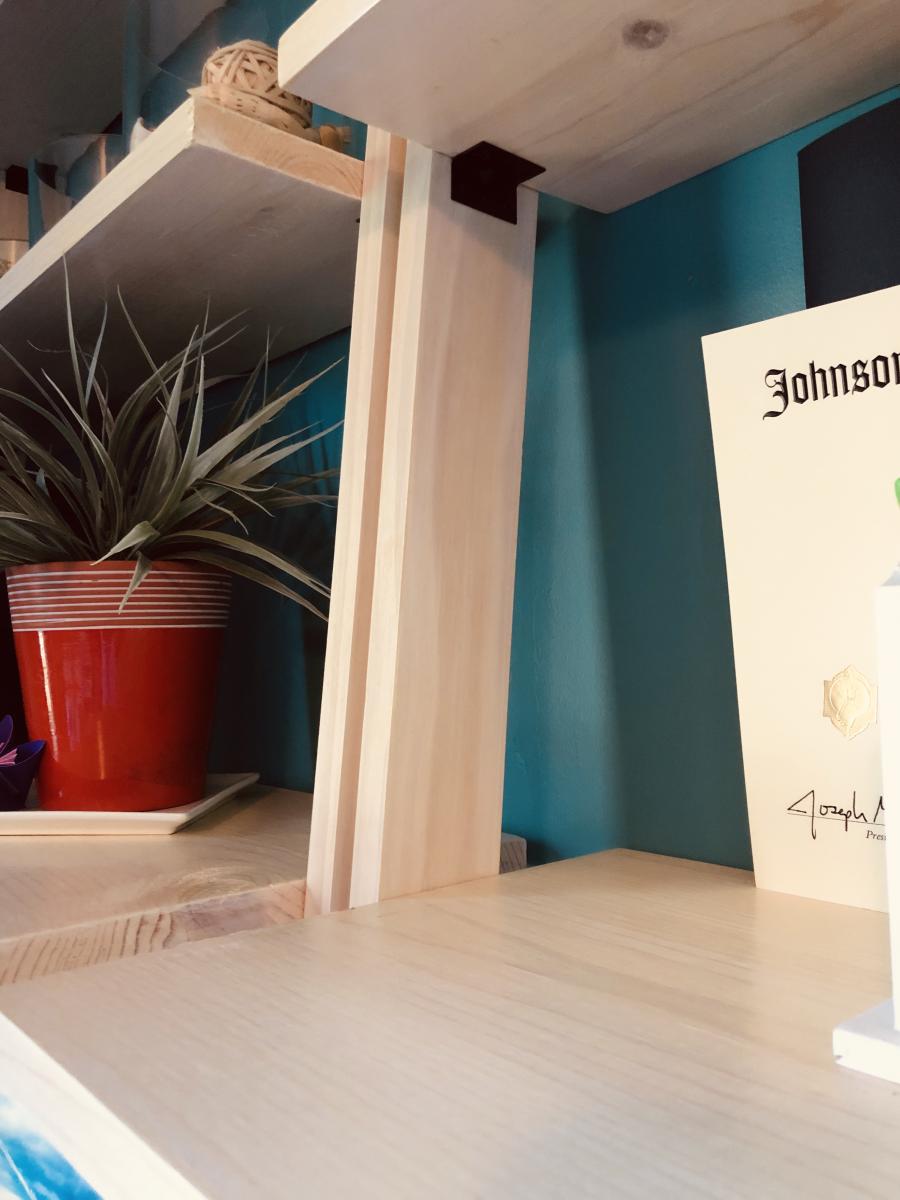
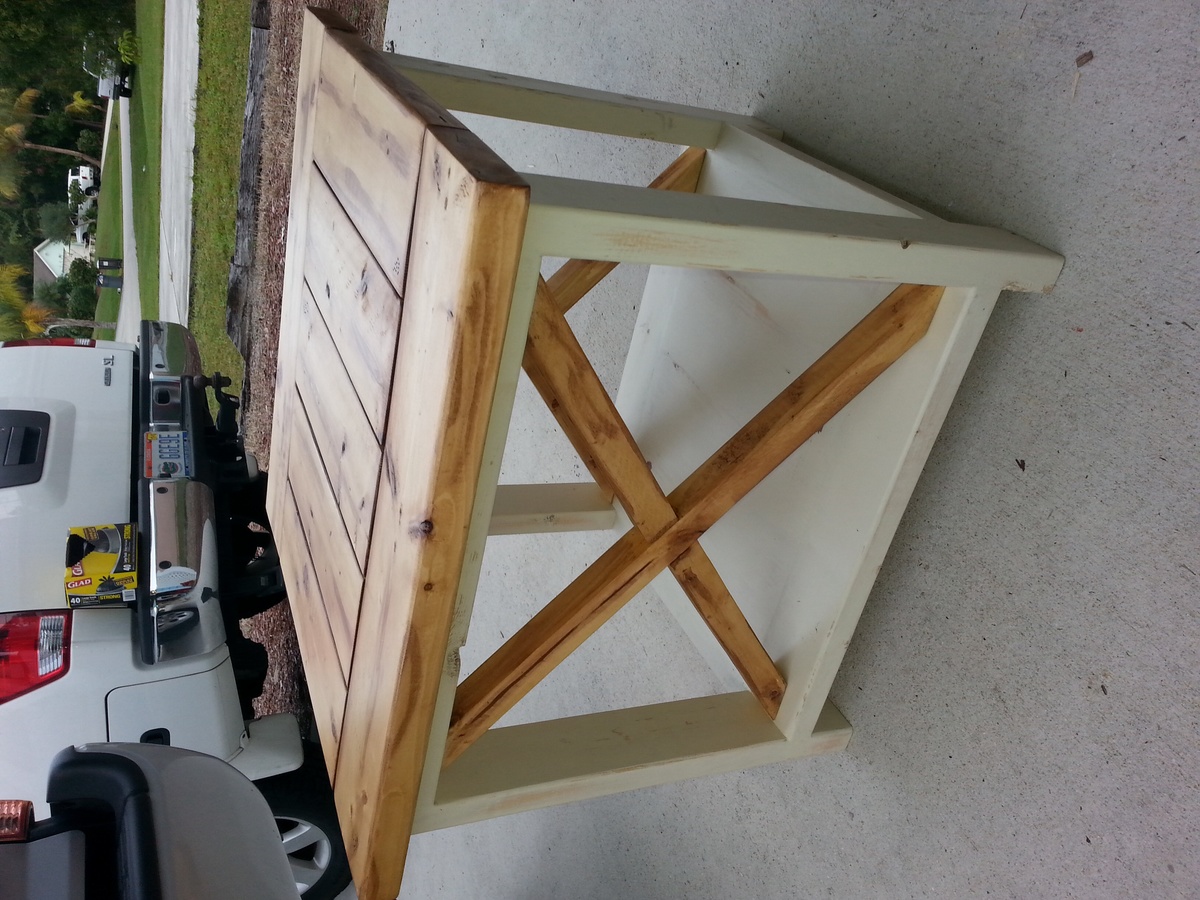
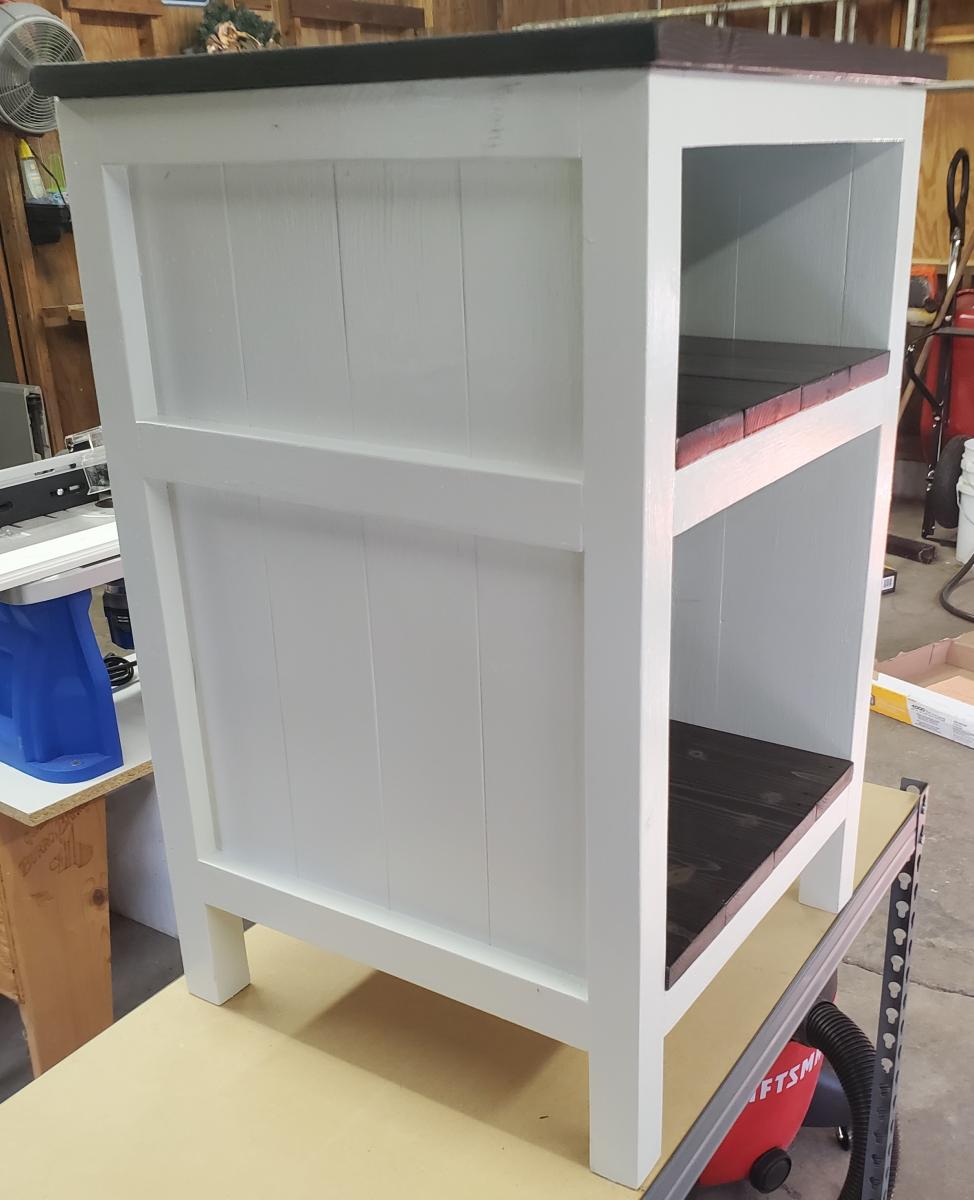
I had inquire on your Facebook about you making a new plan... i had wanted a side table to hide my propane tank. I used the planter plans as an inspiration for this table. It is regiment rough looking as I managed to build it using only scrap on hand. I did have one cedar board in my pile that was leftover from another project that I used for the top... pretty happy but know it would have been better with new wood that was the right size and not warped! The space at the top is on purpose to be able to teach in and turn the gas on and off.
Debbie Hertz

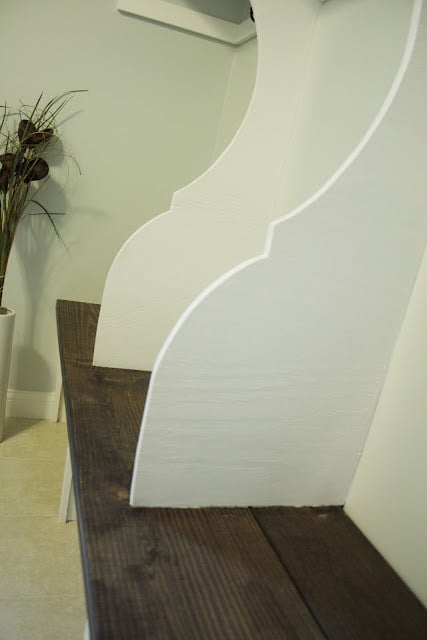
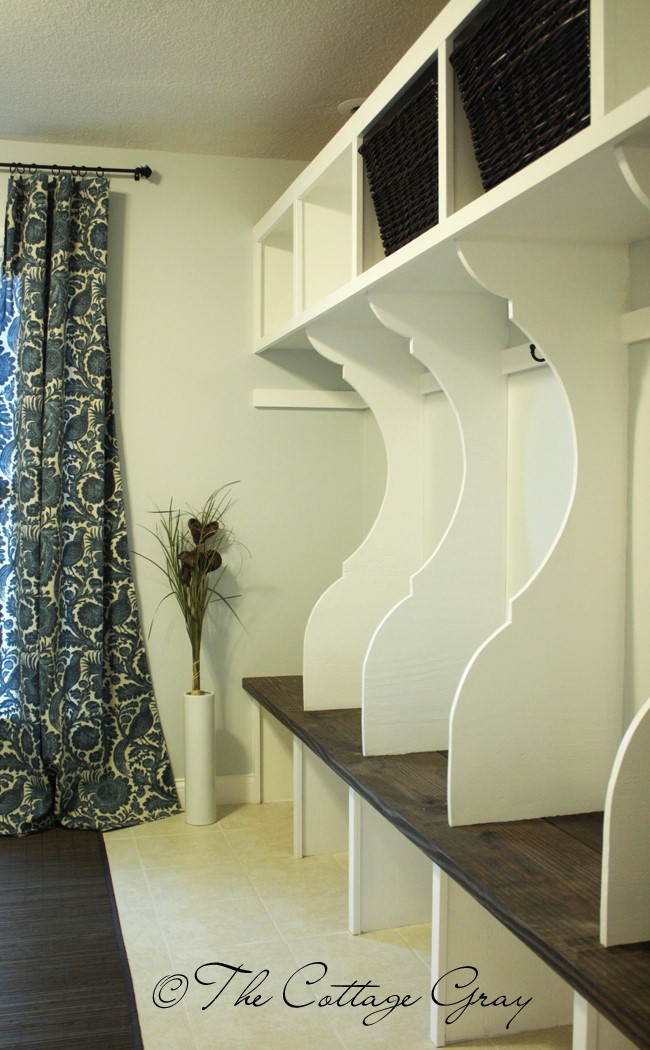
I fell in love with Ana's Smiling Mudroom plans and knew it was just a matter of time before I built it. I just made one tiny change, I substituted 10' deck boards (stained and sealed) for the seats instead of plywood, because I wanted a thicker surface. Check out my blog to follow along with the rest of the laundry room/mudroom renovation! www.thecottagegray.com
Thu, 03/01/2012 - 15:02
It looks great! I am hoping to get this made this spring and was going to do the same color combo you used. Like the idea of the thicker board for the seat that will work to stain. Thanks for the idea.
Thu, 03/08/2012 - 15:06
I just love this the two toned and I am thinking about doing this what stain color did you use for the bench part?
Fri, 03/30/2012 - 09:27
Wow! The "smiling mudroom" has been on our to do list for a couple of months. I love the look of the stain with painted wood. We have 5 children so a stained surface will hold up much better than a painted seat.
I'm just trying to decide on color...it's a laundry/mud room and I want the "Sausha's Washer/Dryer Pedestals" to be black. Black might be too dark for the mudroom cubbies and I'm not sure if it would clash to have black on one painted piece and white on another.
Your mudroom is gorgeous, too pretty to be associated with the word mud!
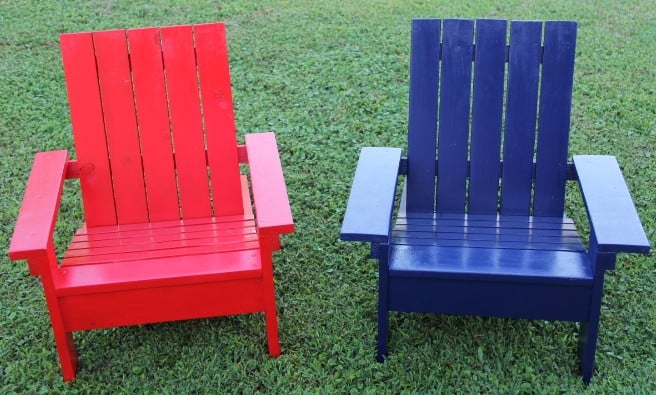
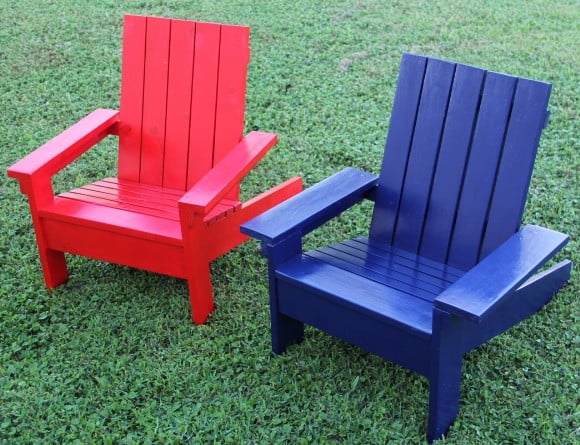
My sister n law and her family were moving and sold a lot of their furniture, so I built these as a Christmas gift. They came out great and I think they really appreciated it!
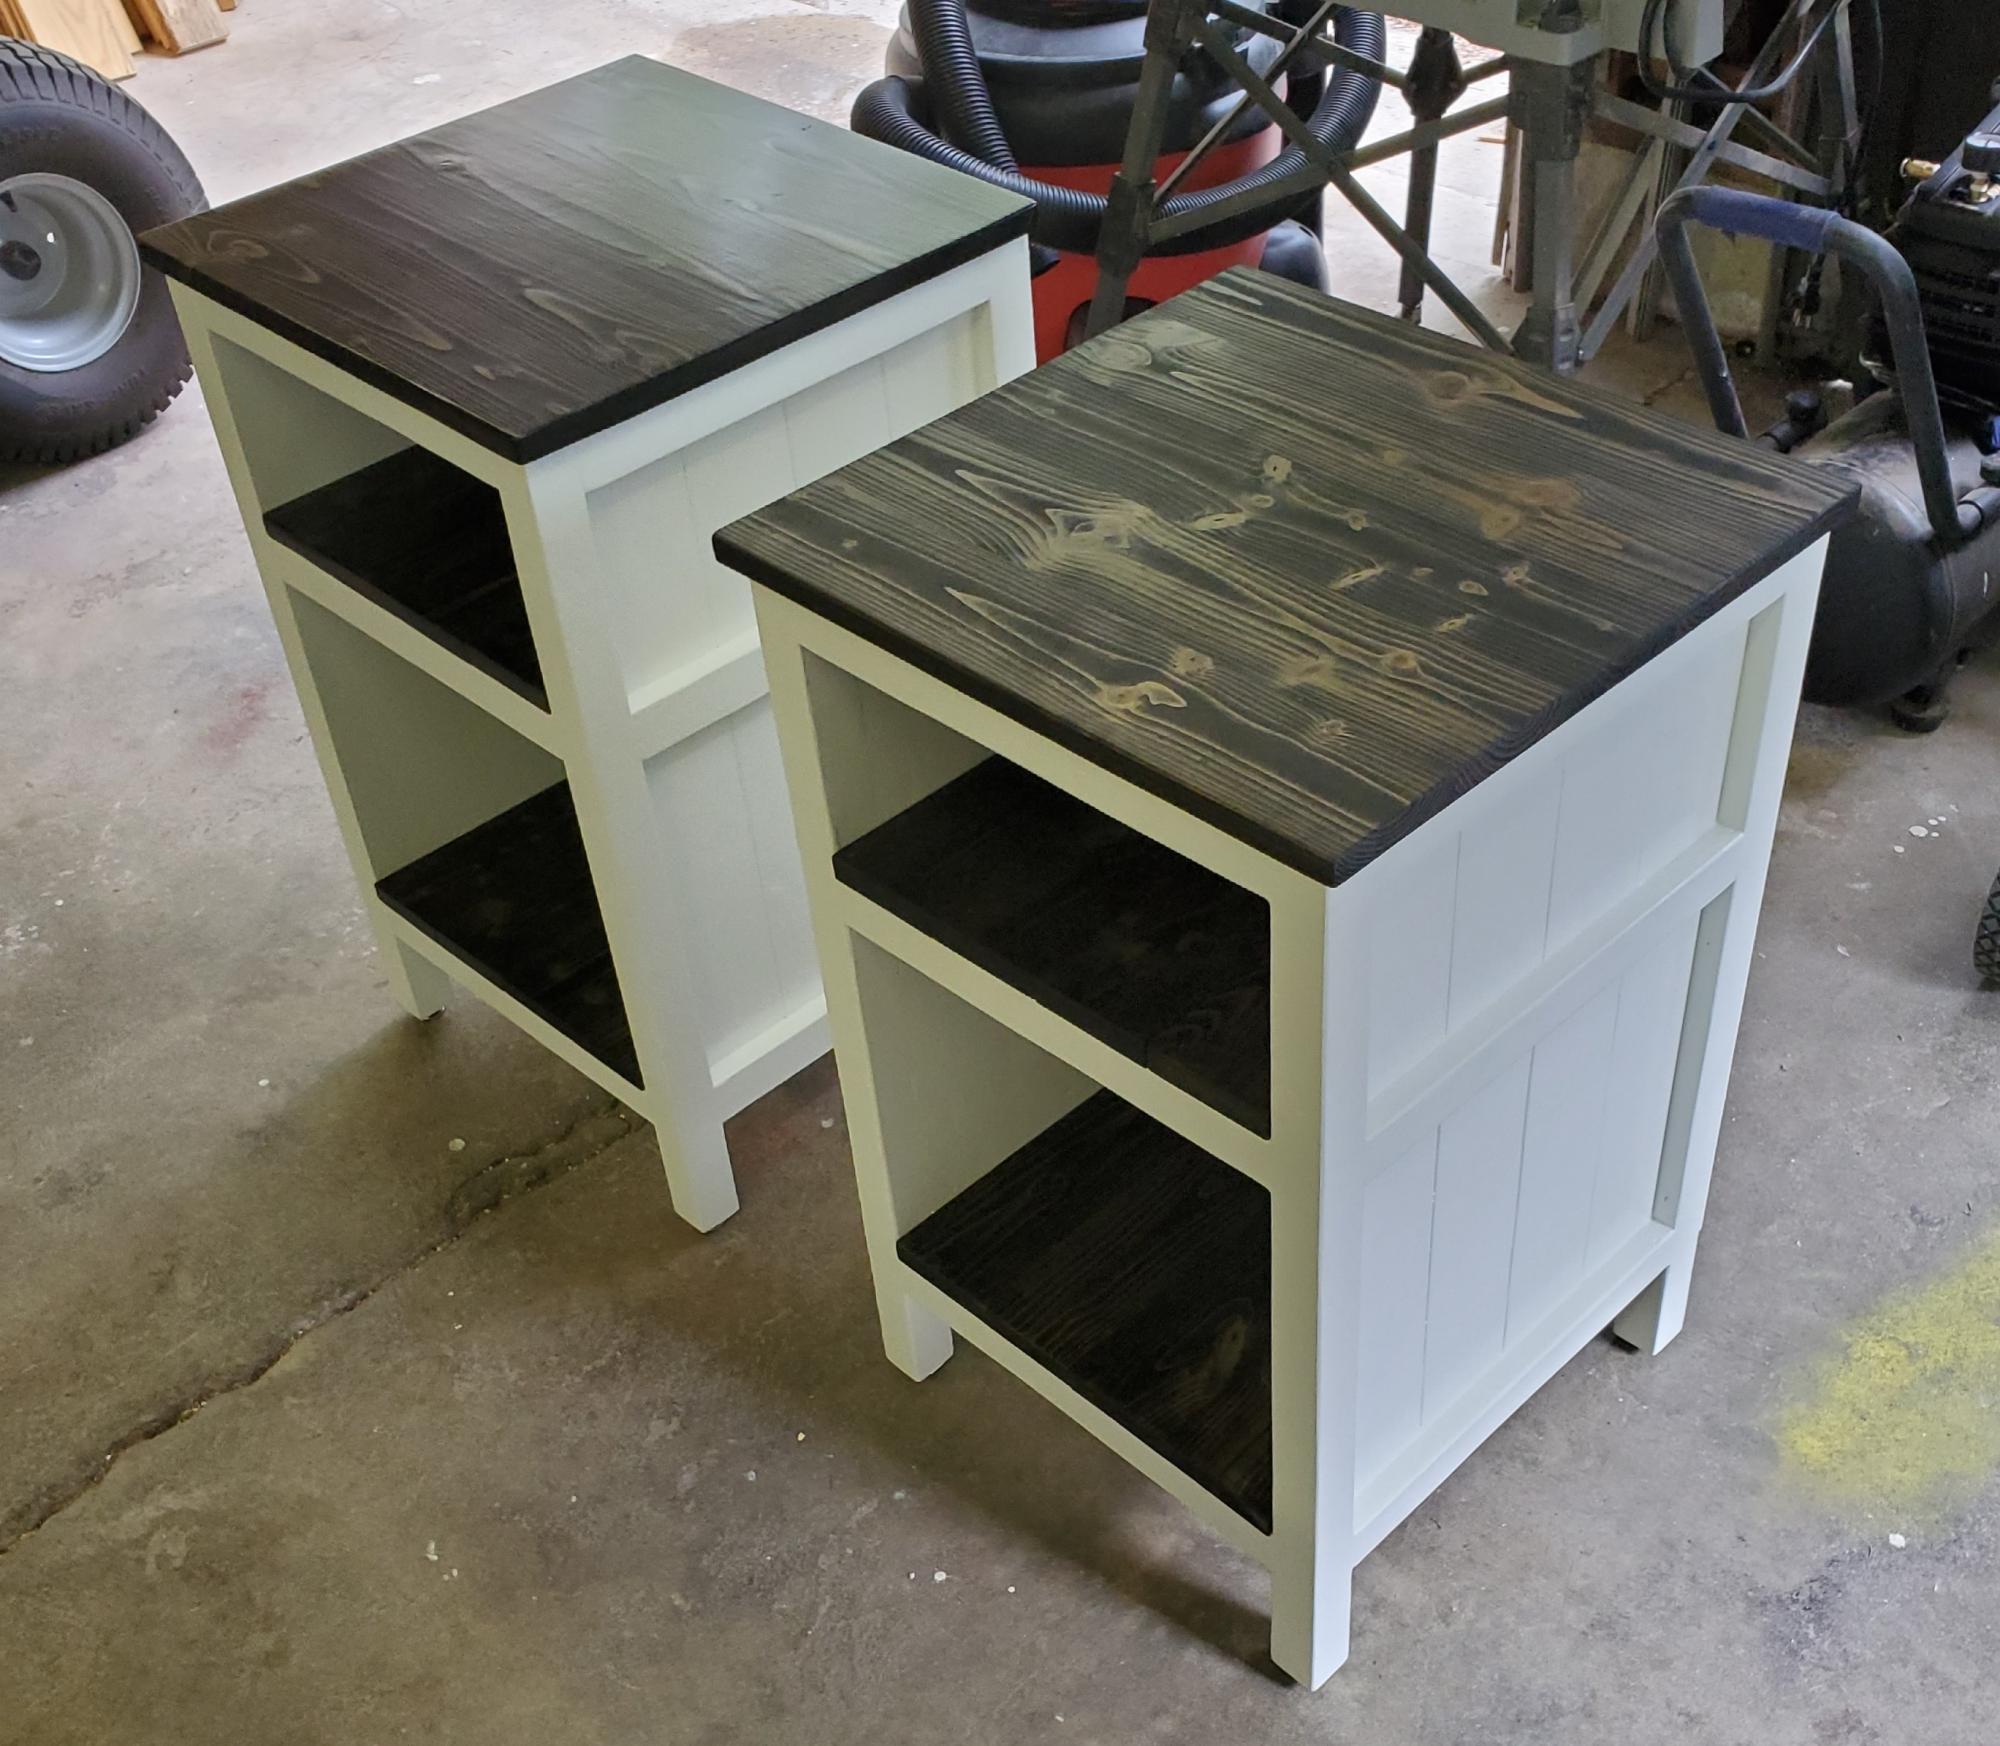
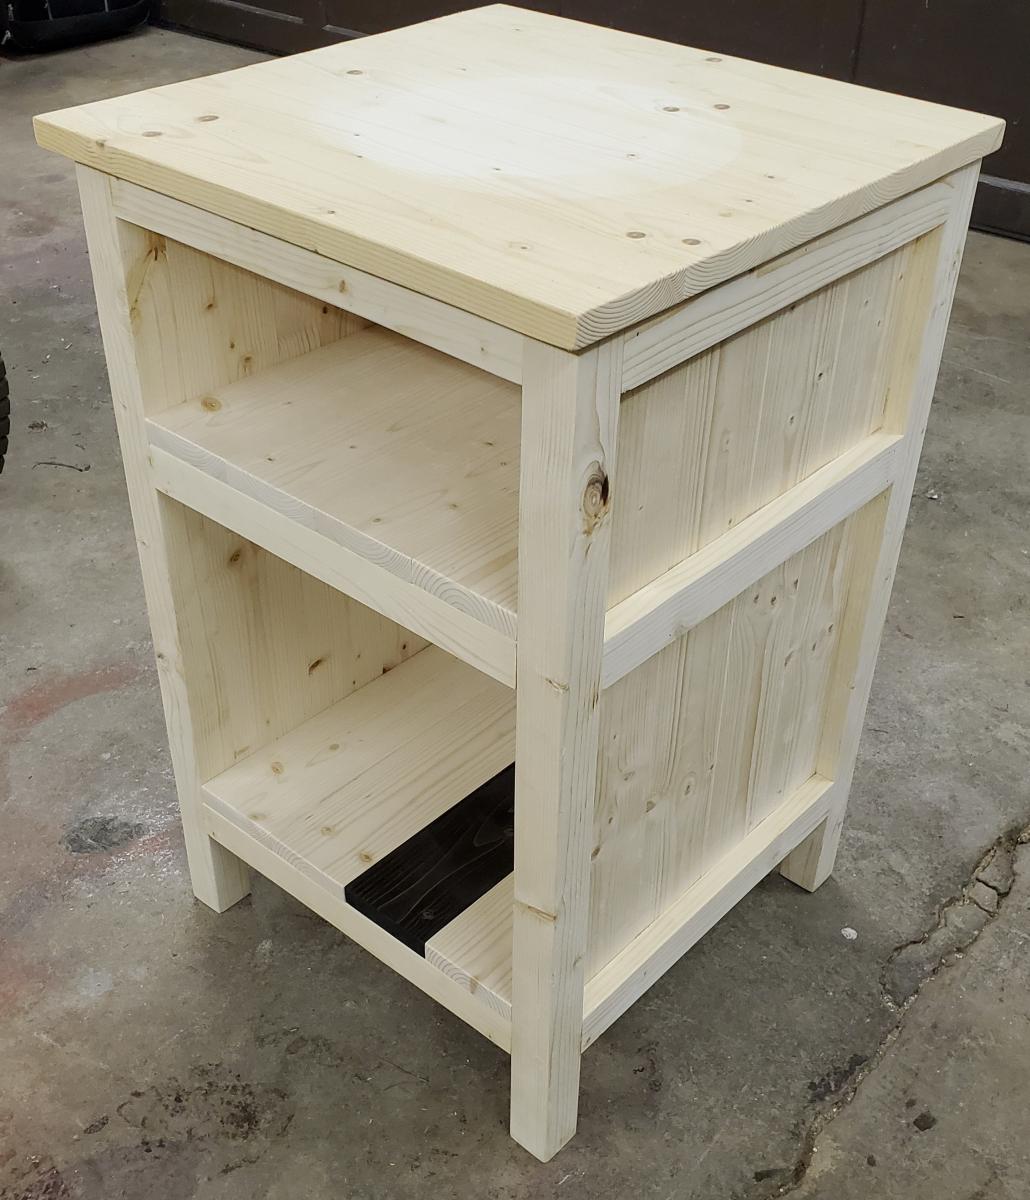
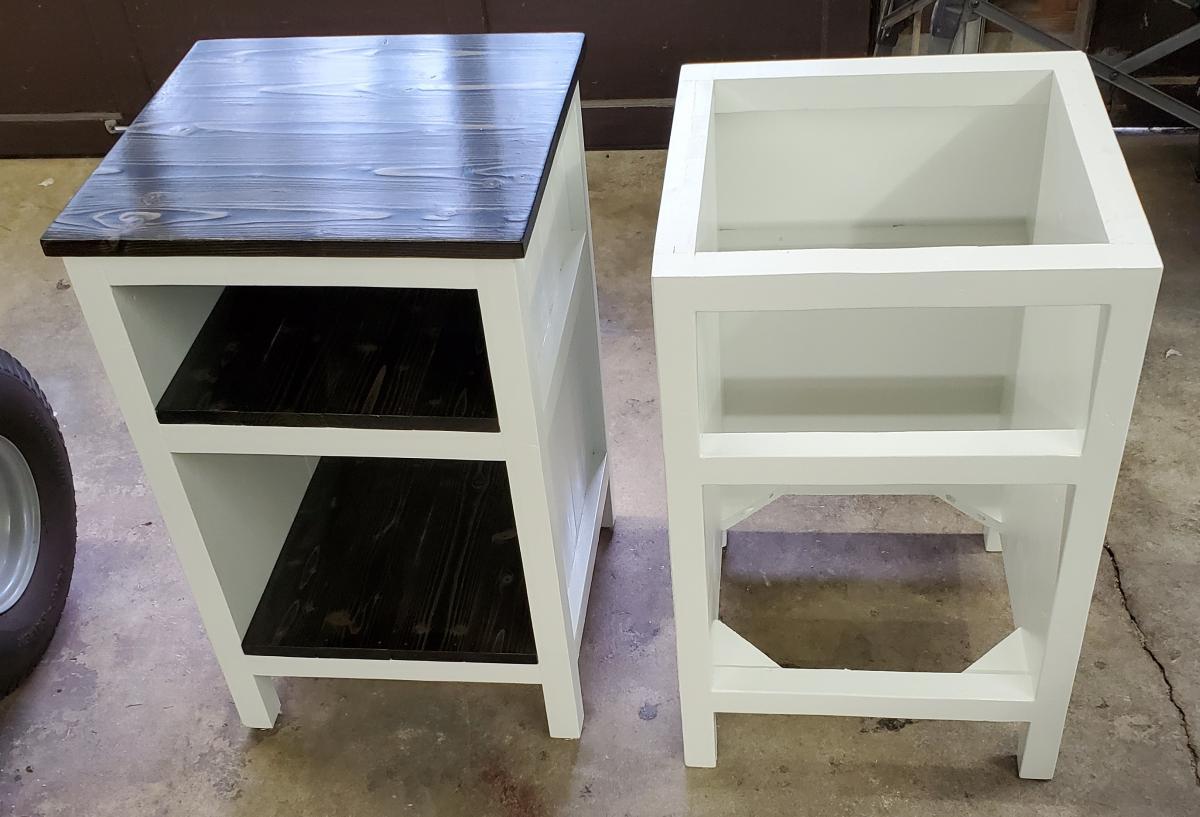
I built these for my daughter's 22nd birthday, after she showed me a set of night stands that resembled these from the site. They were my first furniture woodworking project I have ever done. I did add a set of gussets at the bottom, below the bottom shelf. I had to rip the 2x2's for this project, as I can't find any where around that sells them. I opted for a paint brush finish on the body to give it an antique look. I used 7 coats of polycrylic to give the shelves some depth. I just loved how the stain shows off the grain and knots in the wood.
My daughter loved them when I revealed them on her birthday.
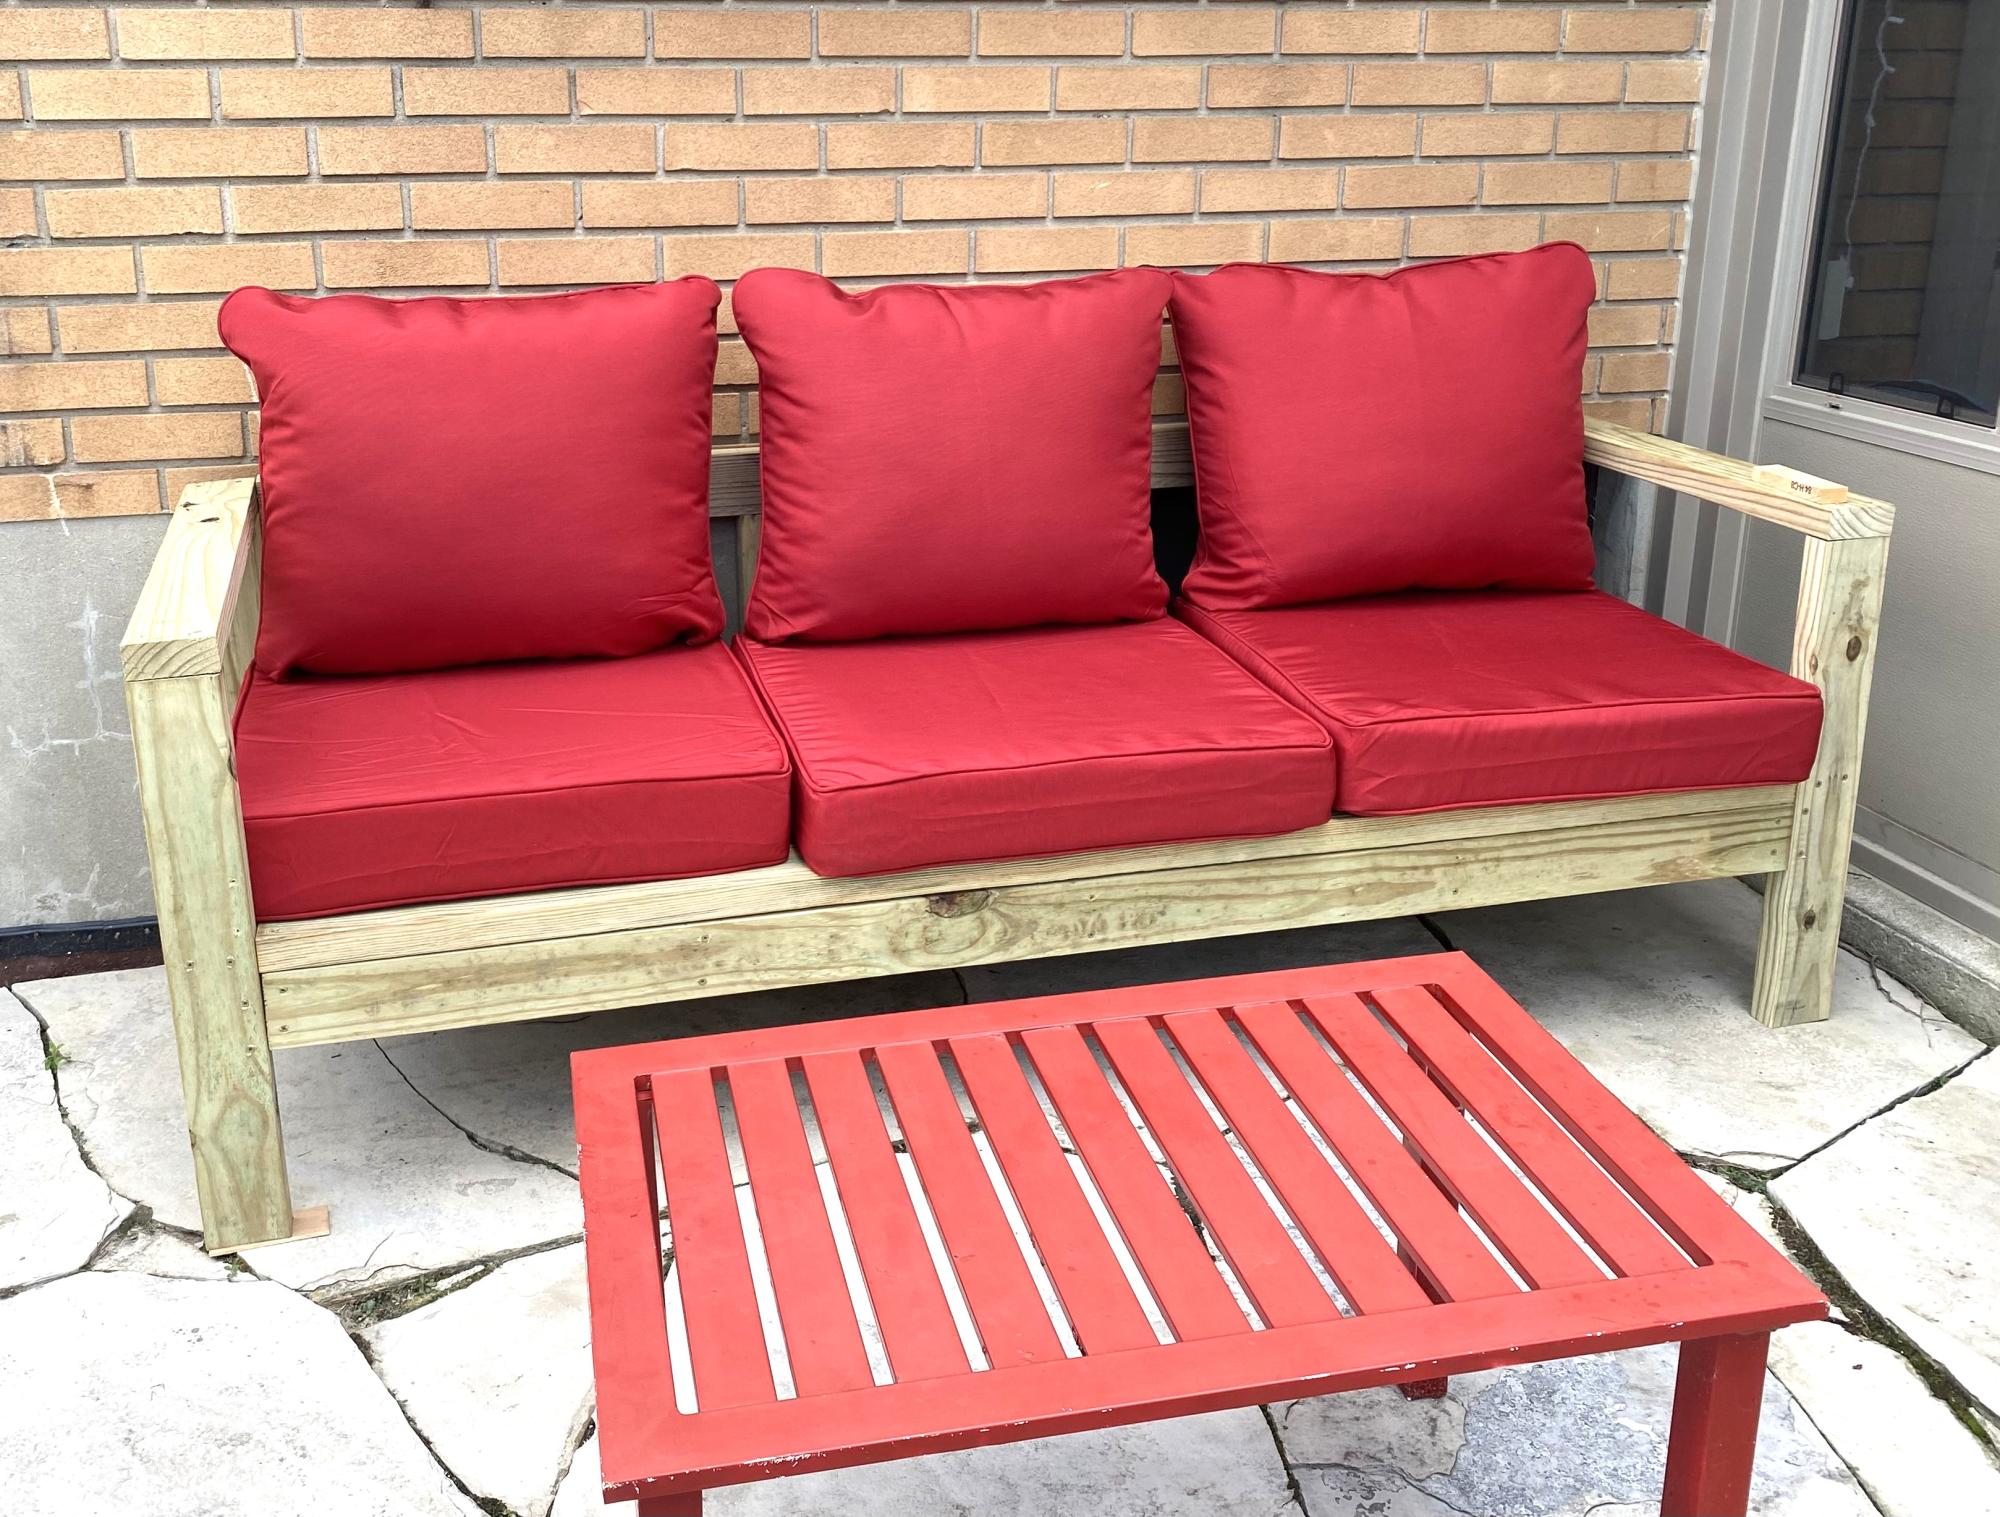
Outdoor couch excellent plans, easy to make and result is amazing.
This was our first woodworking project. I was not that hard to put together.
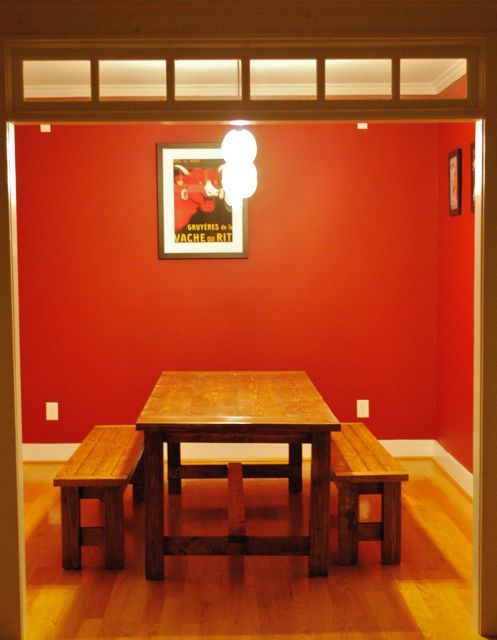
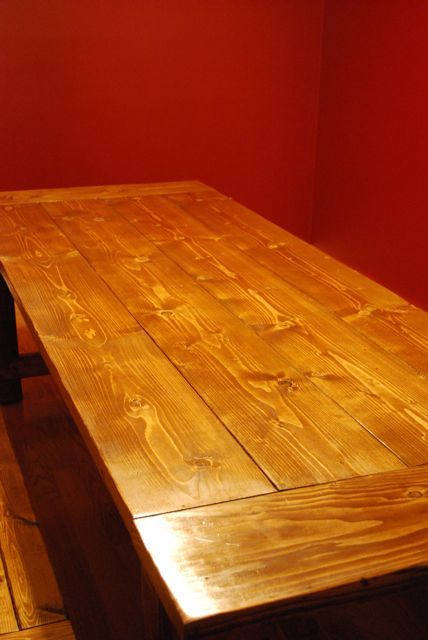
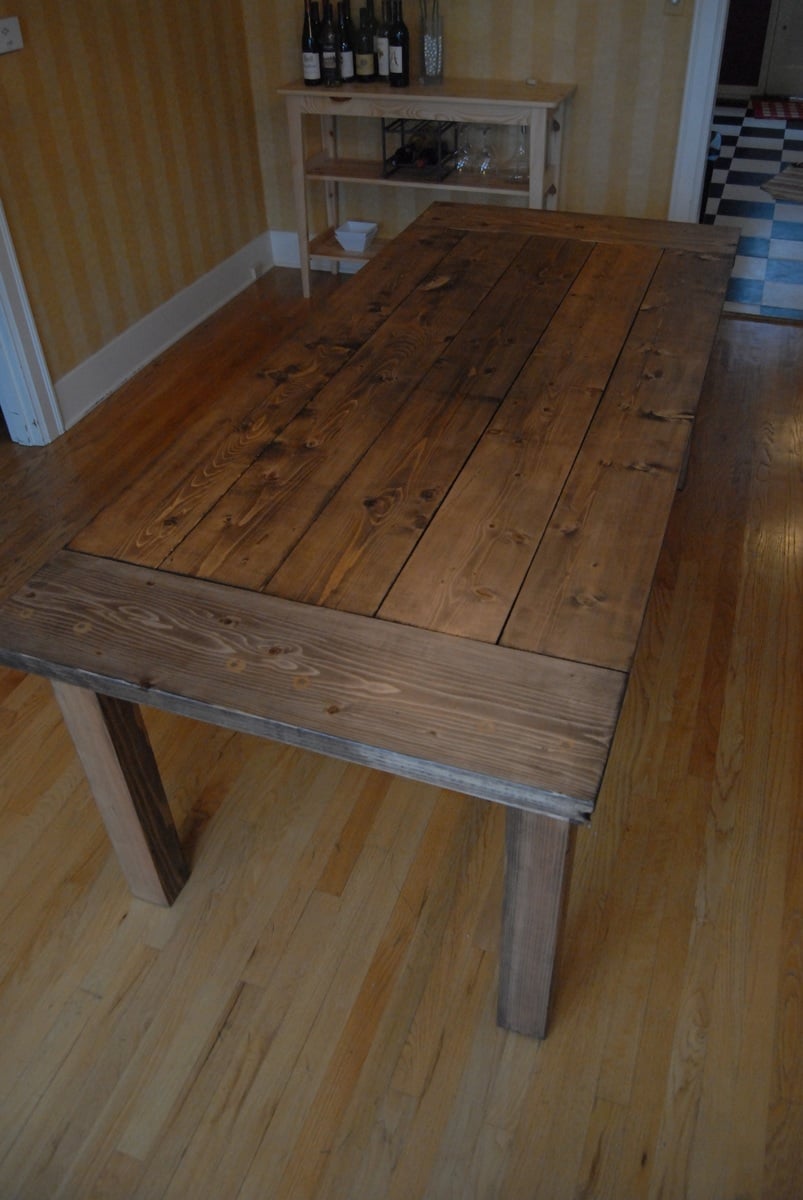
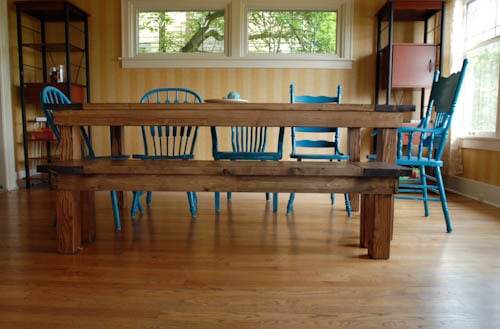
I made a couple of changes to the design. I used 4x4 for the legs. I also change up the board that were used ontop. I have a step by step on my blog.
The almost the same as the table. Check out the changes and the cut list here: http://www.domesticated-engineer.com/1/post/2012/05/bench-for-farmhouse…
Tue, 02/28/2012 - 05:13
Can you post a link to your blog with the instructions? Did you make your table a little shorter than the original plans?
Tue, 02/28/2012 - 08:43
Yes, the table is a little shorter. I made mine 7 feet long to fit our space. The blog link is http://www.domesticated-engineer.com/1/post/2012/02/farmhouse-table-par…
Thanks!
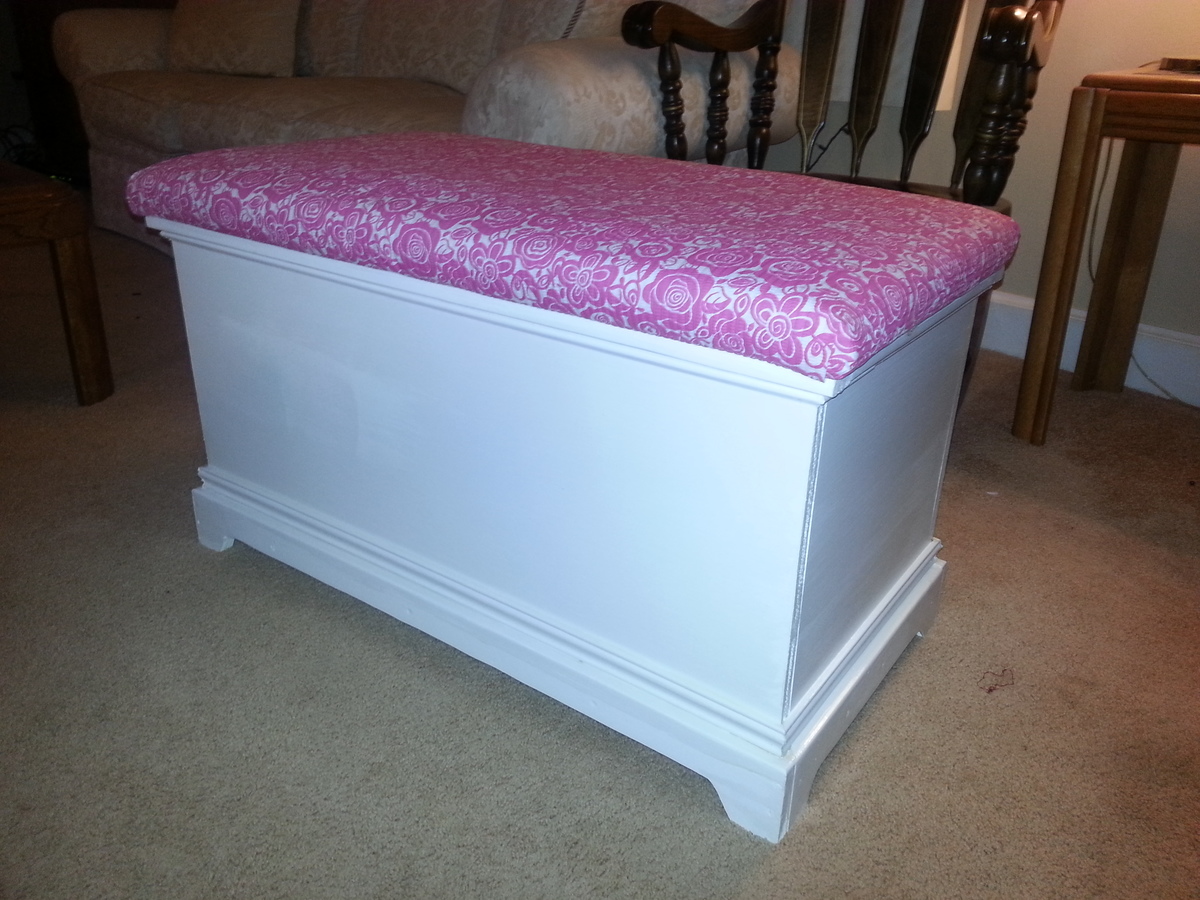
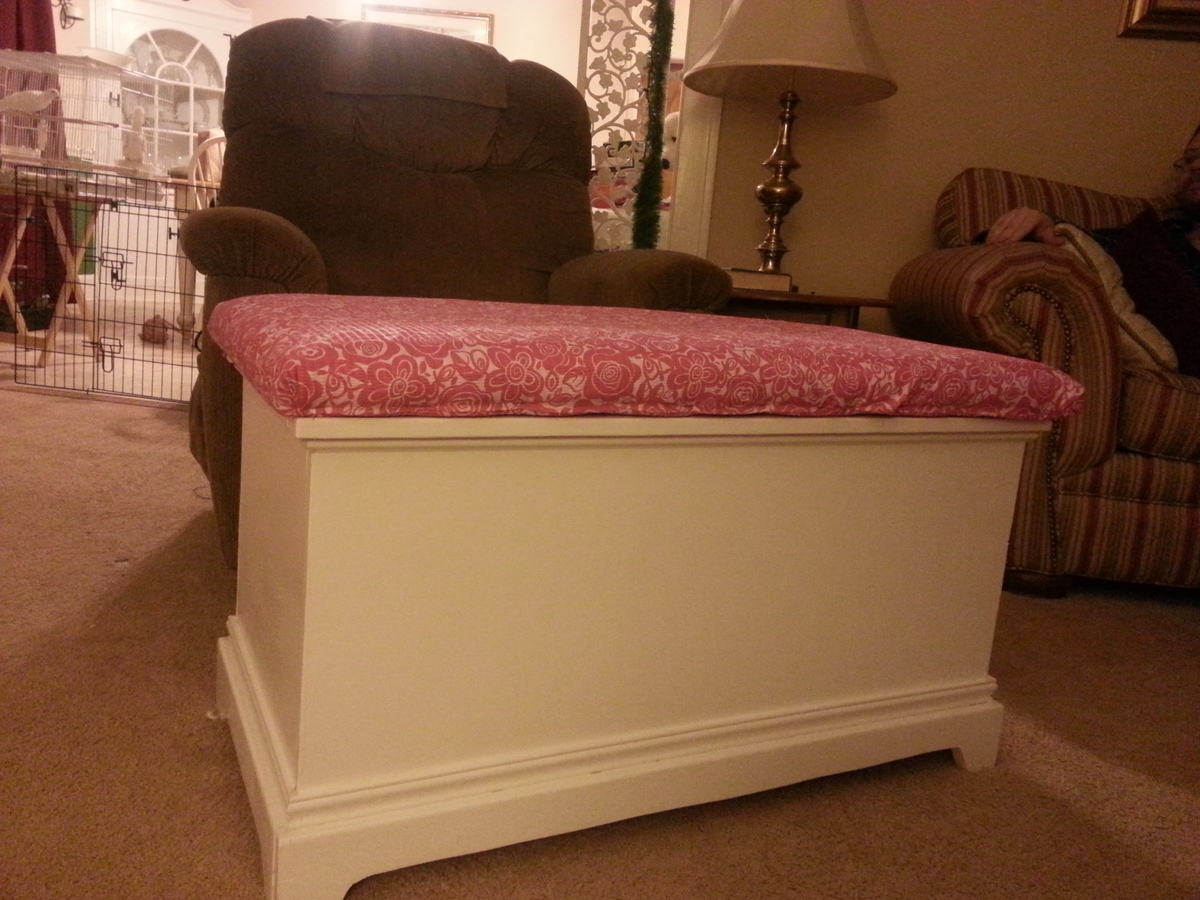
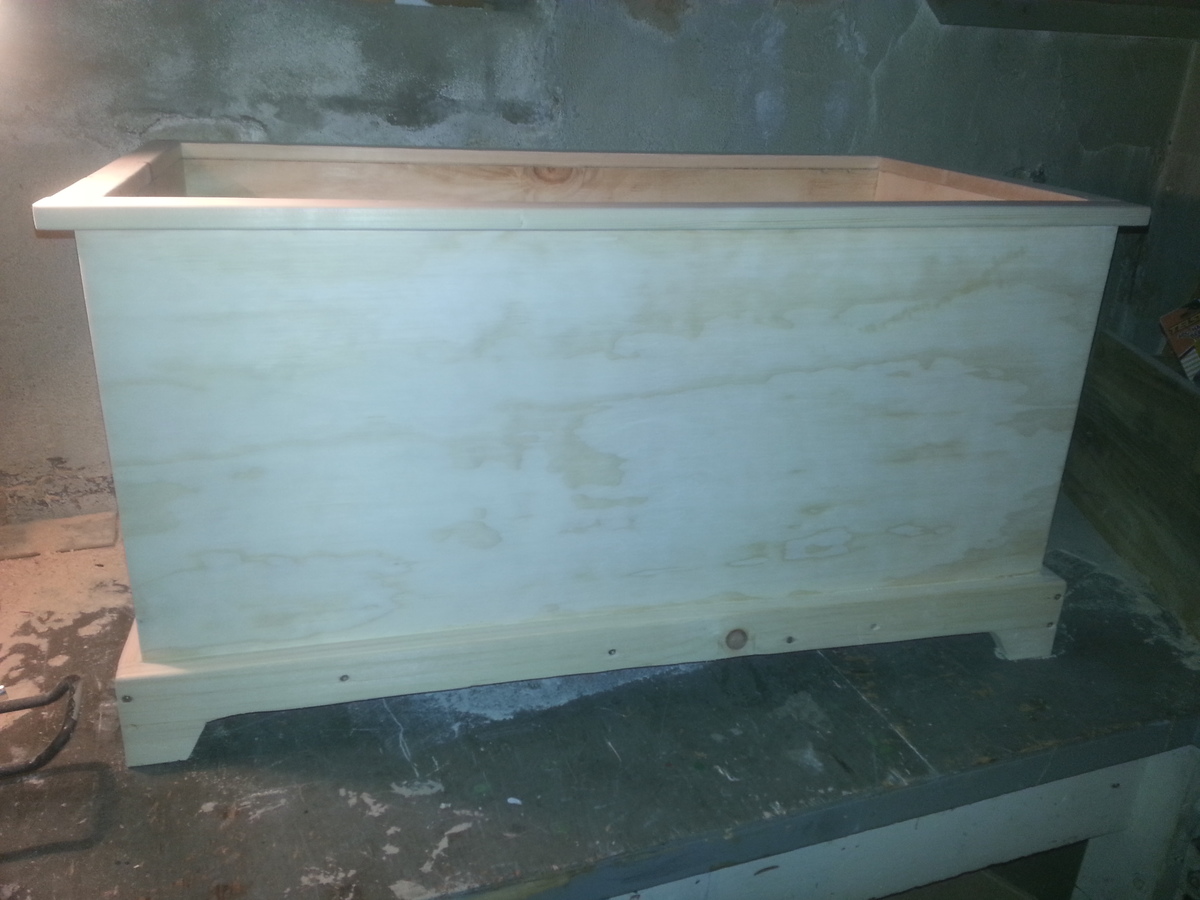
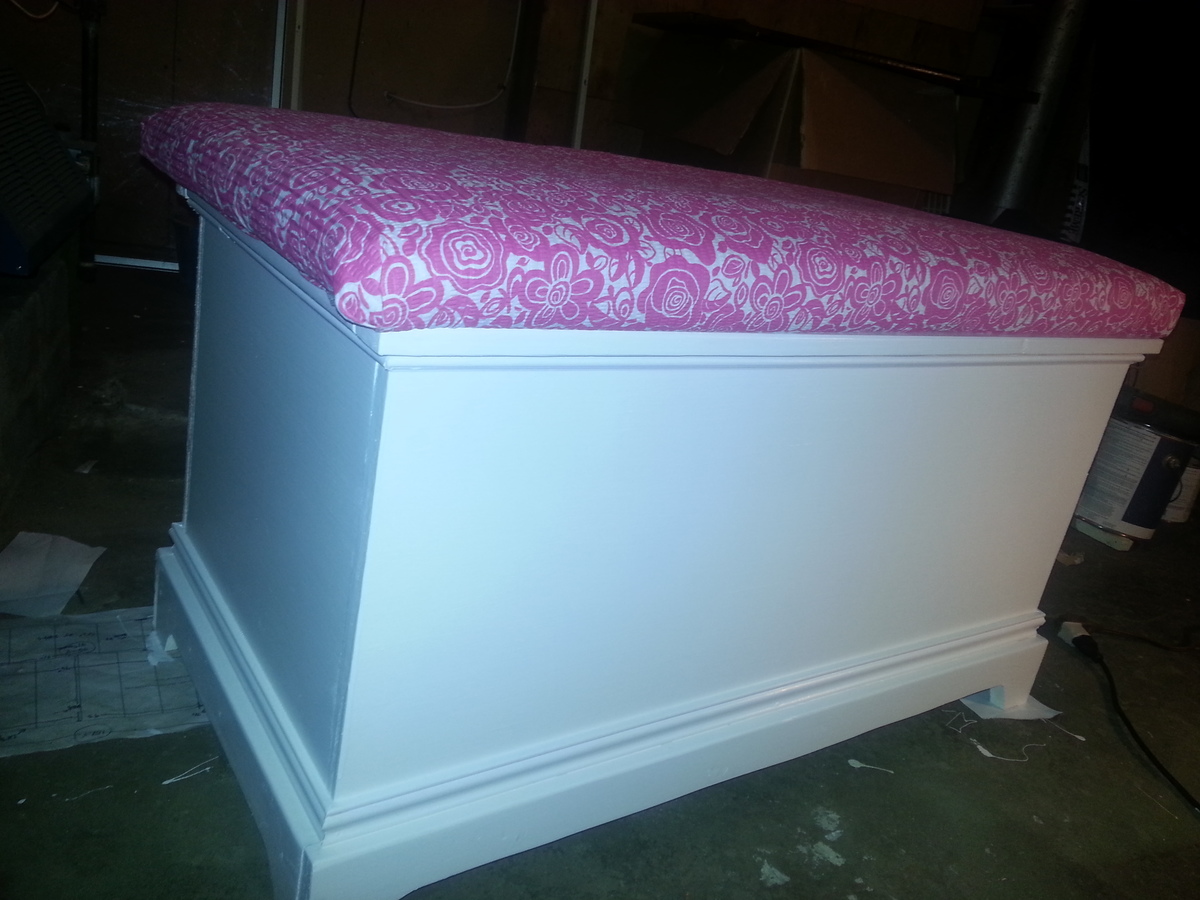
This is my first fully finished build. My very good friend was about to have her first child and I wanted to do something special for her so I embarked on this project. I had HD cut my wood to size. After I came home and started building I found that my wood was not exactly cut to size. One side was one quarter inch too short. I did some improvising and some trimming with my jig saw (only saw I had) and was able to eventually create a rectangle.
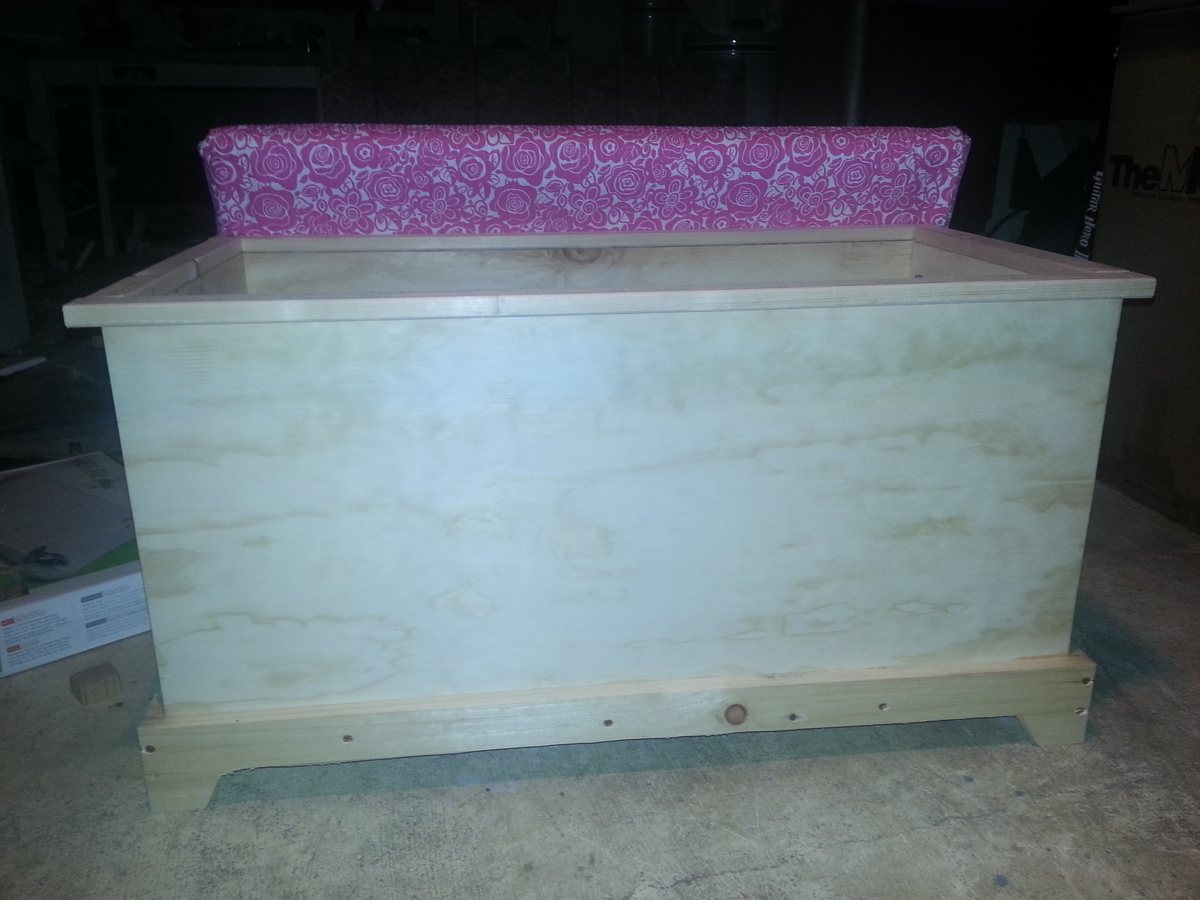
This is also my first mitered trim project. The edges are NOT perfect but what I could I filled in with wood filler. That helped hide where the edges did not quite meet.
I then sanded and sanded and sanded. Don't want little fingers to come into contact with bad splinters. I finished with a bright white paint.
I wanted the toy box to also be a seat so I got some fabric and did just that. I was going to add hinges to it but then thought again and decided not to. Wanted to prevent any accidents.
I built it over many months spending maybe 20 hours or so. Many many mistakes and many hours thinking about how to fix them.
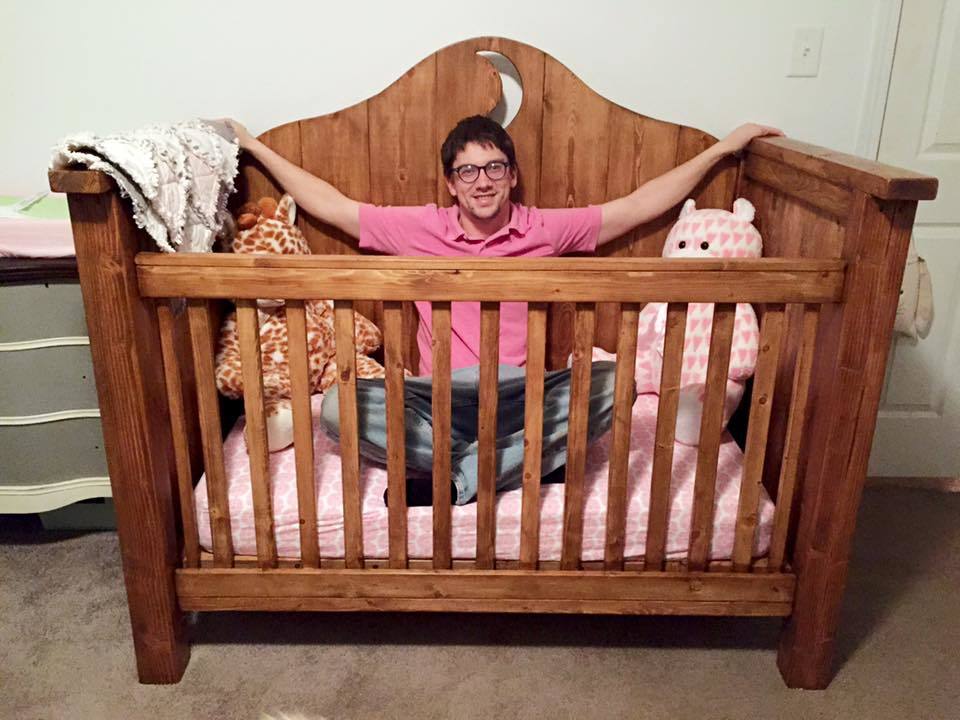
I took a crib plan I saw on here from DIYstinctly Made, but I wanted to have a crescent moon, so I altered the plans to a solid back with a crescent moon in the center!


Comments
Ana White Admin
Tue, 06/27/2023 - 13:15
Beautiful addition to your porch!
Thank you for sharing your wonderful planters!