Mikey's Clubhouse Bed

Finished project for Mikey's bed.

Finished project for Mikey's bed.
Full timelapse and thoughts in the imgur album.
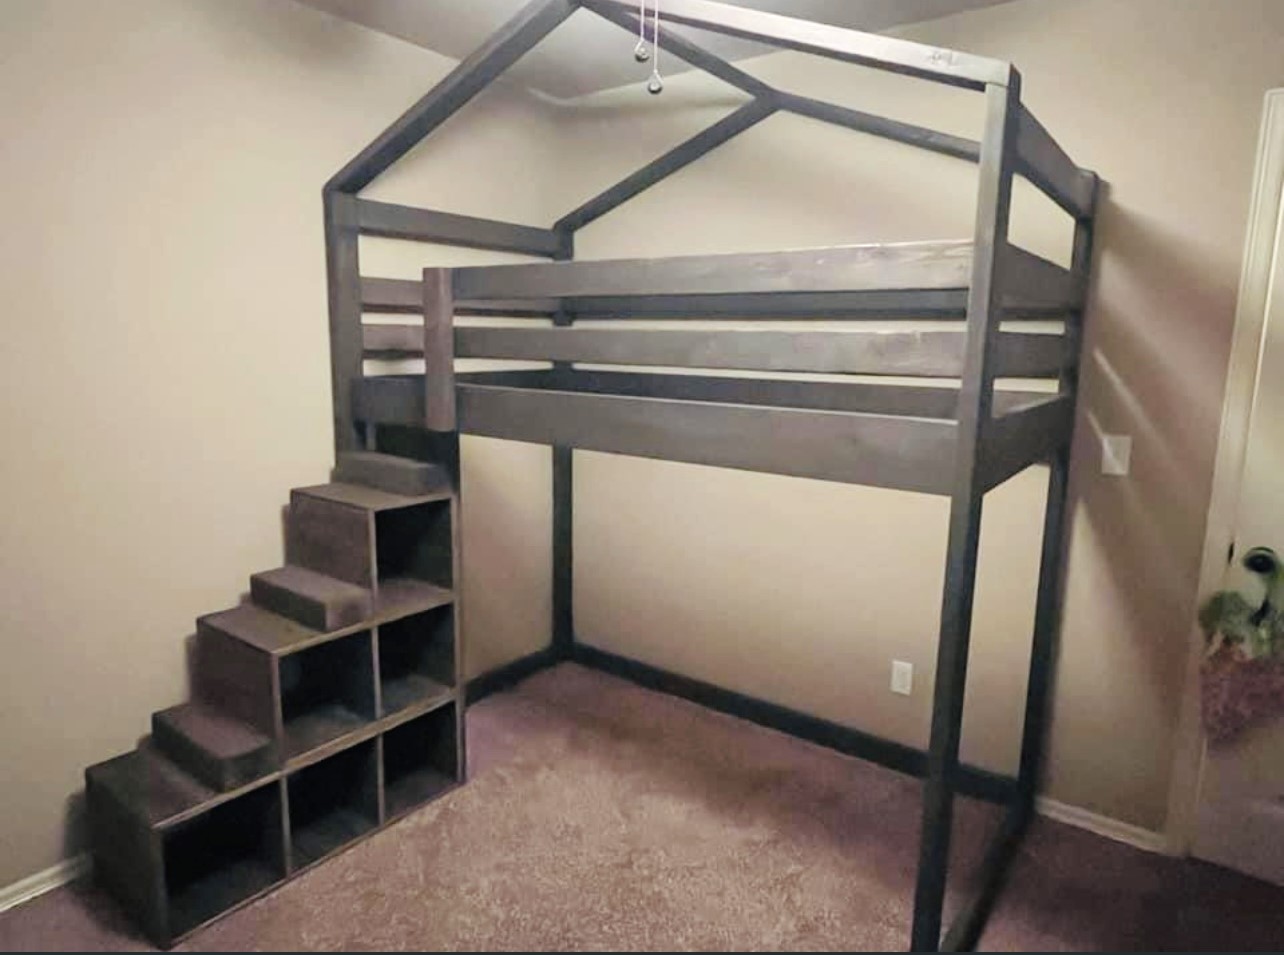
Modified the junior loft plan to add a house design element and storage stairs, by Amy Mott
We used Ana's farmhouse table plans. Everyone compliments us on it; even thought that we purchased it at Restoration Hardware.
Fri, 10/28/2011 - 06:20
I like the table, but how do you attach the breadboard ends to allow for expansion and contraction of the wood? How did you flatten such a large tabletop with all those knots? Did you use a super-industrial flatbed sander or did you just use hand planes?
Fri, 10/28/2011 - 10:36
Gorgeous table!
It turned out really nice. I have some of the same questions as above (for all types of projects large expanses of joined up wood).
Does wood expansion and contraction cause any problems with wood attached with the Kreg Jig?
How do you get things smooth when joining up several pieces of wood? Are you using a belt sander? Just letting things end up where they may? Hand planes?
A big industrial planer is out for us. We don't have the room and I don't have the expertise. I'm hoping the planing/sanding is simple and easy, since I am way new to all this!
I'm not sure, but I *think* there is going to be a Kreg Jig and some wood coming my way for my birthday next month! I am so excited I could just scream (but I'll still act surprised LOL).
OK, sorry to just go crazy with a long post here. Your table looks wonderful! You guys did a great job!
Fri, 10/28/2011 - 18:48
There are no wood movement problems along the long pieces, Those will expand and contract together. You can get problems with the cross piece on the ends.
As far as leveling the pieces, it's generally not done with this kind of furniture. But if you decided that it did need to be level, hand planes are the only good solution. I just did a table top, and it was moderately strenuous, but it didn't kill me, and it's very nice now.
If you want to learn how to do it, there are good books and videos on hand tools that discuss it. I grabbed Hand Tool Essentials as well as looking at a couple of good online videos from Chris Schwarz.
Fri, 10/28/2011 - 19:38
Hey Clay,
Thanks for the information. I will go do some research to see what I can learn about hand planing for when the project demands it. I'll also go look for some Chris Schwarz vids, too.
I appreciate the input!
Sun, 10/30/2011 - 13:52
Thank you for the kudos!
To answer some of the questions - there is a small gap at each end where the breadboards are attached that should allow for some expanding and contracting. As for finishing the top, we did not use a planer, just a palm sander. We were going for the rustic look, so the small imperfections give it some of that character we were trying for. After sanding we just put a couple coats of poly - the color of the natural wood with poly perfectly matched the chairs we had, which made it easy!
Sun, 10/30/2011 - 14:54
Thanks, Nicole!
Your table really turned out beautifully. I love a bit of a rustic/cottage-y vibe, so I'm glad to hear that a palm sander did the trick. I'm not too intimidated by a palm sander, so that's another bonus.
You guys did a great job!
In reply to Thanks, Nicole! by Cindy from Indiana (not verified)
Tue, 06/19/2012 - 20:01
I was recently diagnosed with Vibration Induced White Finger (yes it is a real malady) caused by over use of vibrating tools. I think the culprit was the palm sander. If you are concerned choose a rotating sander that has vibration control. I got one for Father's Day and it is great. I have not had any problems sanding surfaces down to smooth and level with 60 grit paper even with knots. Then I just go to 100 grit and then 150 grit and the surface is great.
Fri, 12/20/2013 - 07:20
First of all, this looks great! I am going to attempt to build one. Two questions at least for now....
1) How long is your table? Unless you have narrow chairs, I don't see how 4 chairs would fit comfortably on the sides.
2) Where did you get your chairs? They also look great with the table.
Again, Great Job!!
TC
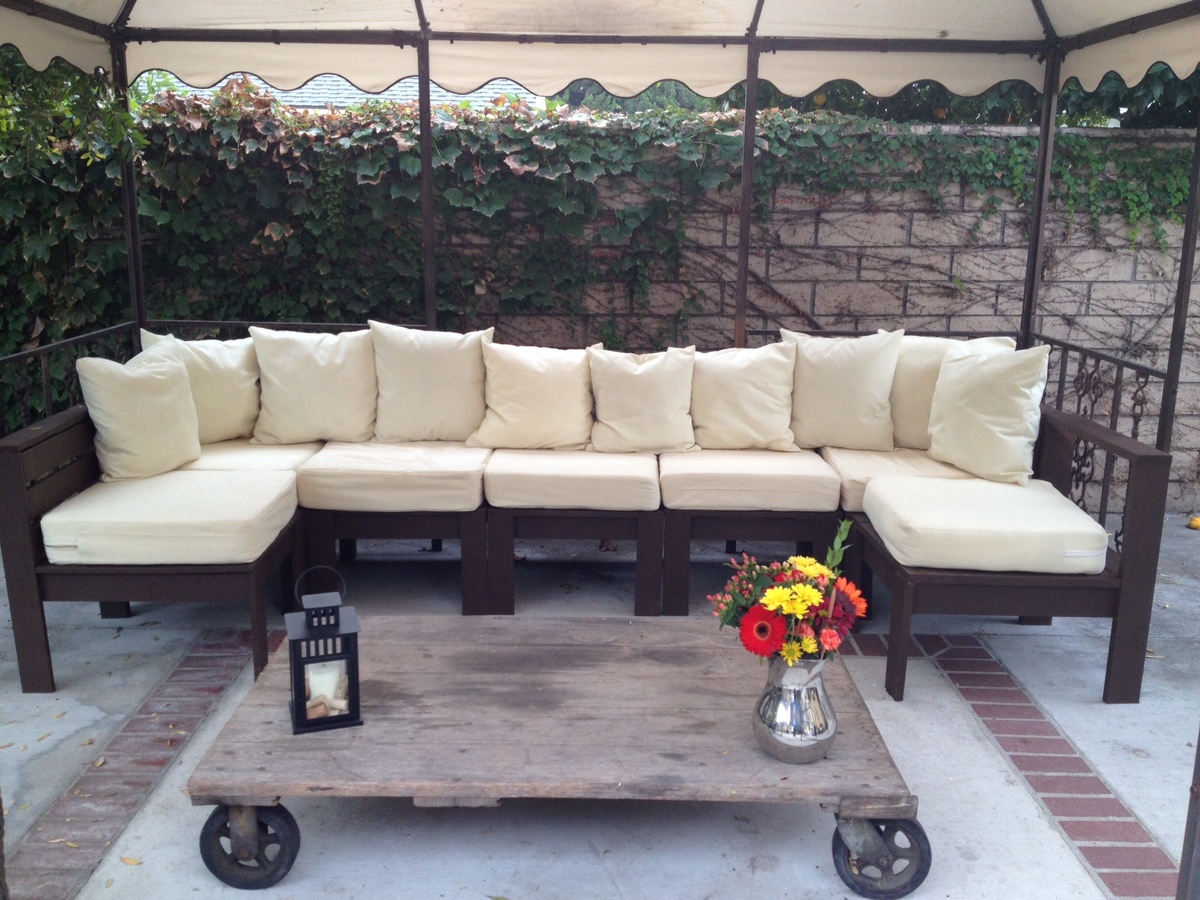
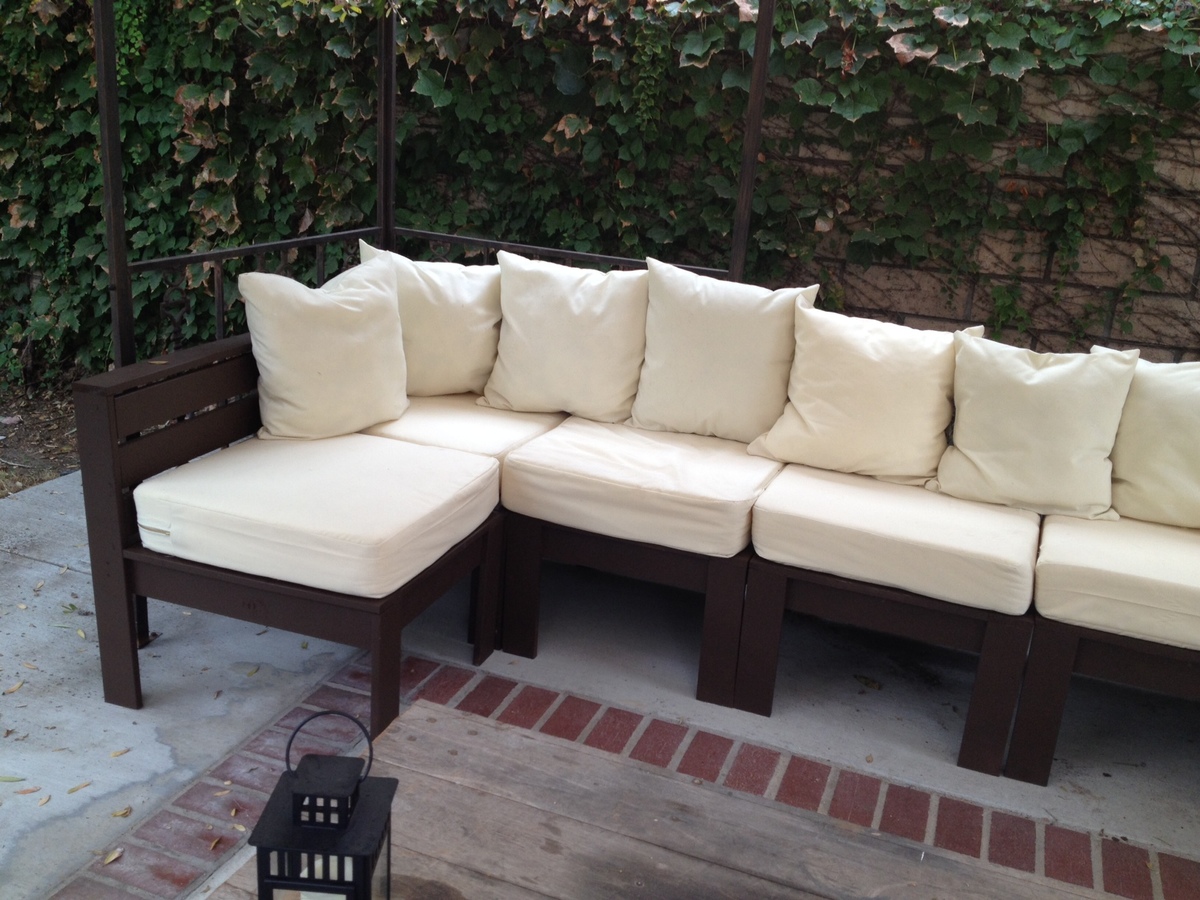
This is the first wood working project I took on. My husband thought I should start with, like a birdhouse or something, but I'm a "go big or go home" kind of person (plus I hate birds), so I thought a seven piece sectional was the way to go. After a few lessons from him on the miter saw, I got the clear to work on the project solo. (My husband builds a lot of our furniture but I insisted I wanted to do this 100% myself...and he surprisingly agreed).
The first section took a really long time for me to do (maybe 4 hours), but considering I've never even so much as drilled a hole for a screw, I considered it a success. After that (and after I decided to go out and buy a Kreg Jig - best invention ever - and ditch the "knock off" I tried to buy/use), it was pretty smooth sailing from then on out. Aside from being time consuming, I was surprised at how easy the plans were to follow. Ana it truly amazing for publishing these.
From start to finish, it probably took me a month to complete (and THANK GOD we bought a paint sprayer in anticipation for painting the outside of our house, or I think it would've taken at least another week to finish). But that's also because I stupidly decided to sew all of the cushions/pillows myself. I just couldn't justify ordering pre-made ones for seven individual pieces (the price quote I was getting for that and what I wanted was close to $1,000 in itself).
Overall, I'm VERY excited/please with how it turned out. I priced out the West Elm sectional of this size and it would've cost us about six times what it cost us to build from scratch. I can't wait to take on the next project (after a much needed break...)
Mon, 10/21/2013 - 10:40
I am so impressed, what a beautiful space you created!Thanks for sharing!
Mon, 10/21/2013 - 15:02
I stumbled upon your site a couple of months ago, and I'm a bit obsessed. I have a laundry list of projects I want to do now...more to come!
- Nicole
Wed, 10/23/2013 - 10:04
Looks awesome! To bad cushions are so flippin expensive.
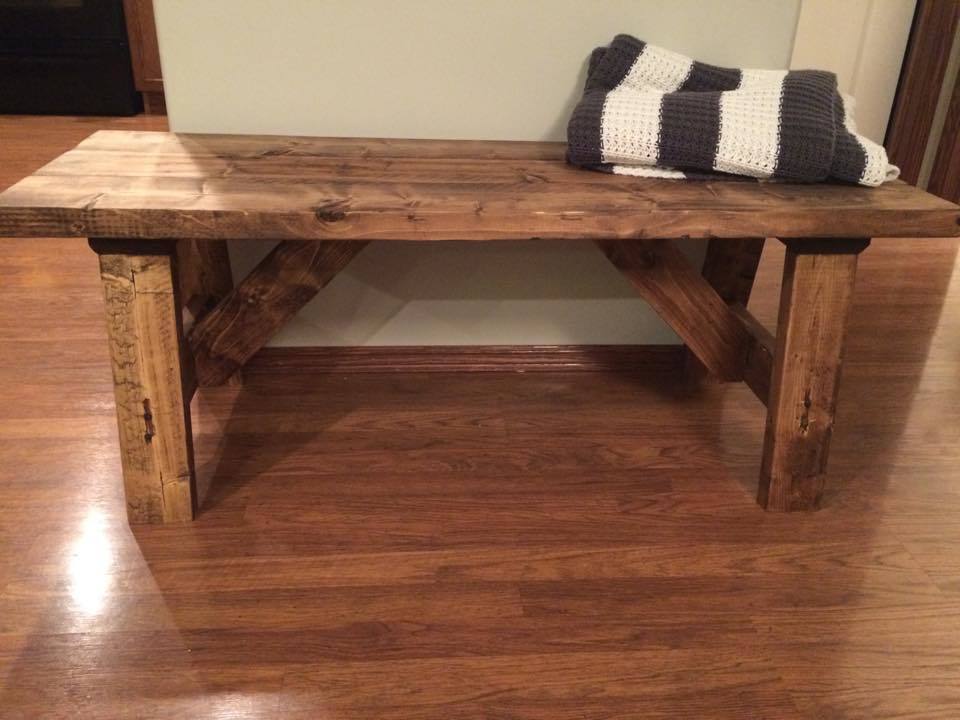
I LOVE this bench. It's simple and rustic, yet absolutely beautiful. I modified the plans slightly to exclude the long support board along the bottom of the bench and found that the bench is still very sturdy and stable. I love that this bench is a relatively easy and quick to complete project, with such a gorgeous end product!
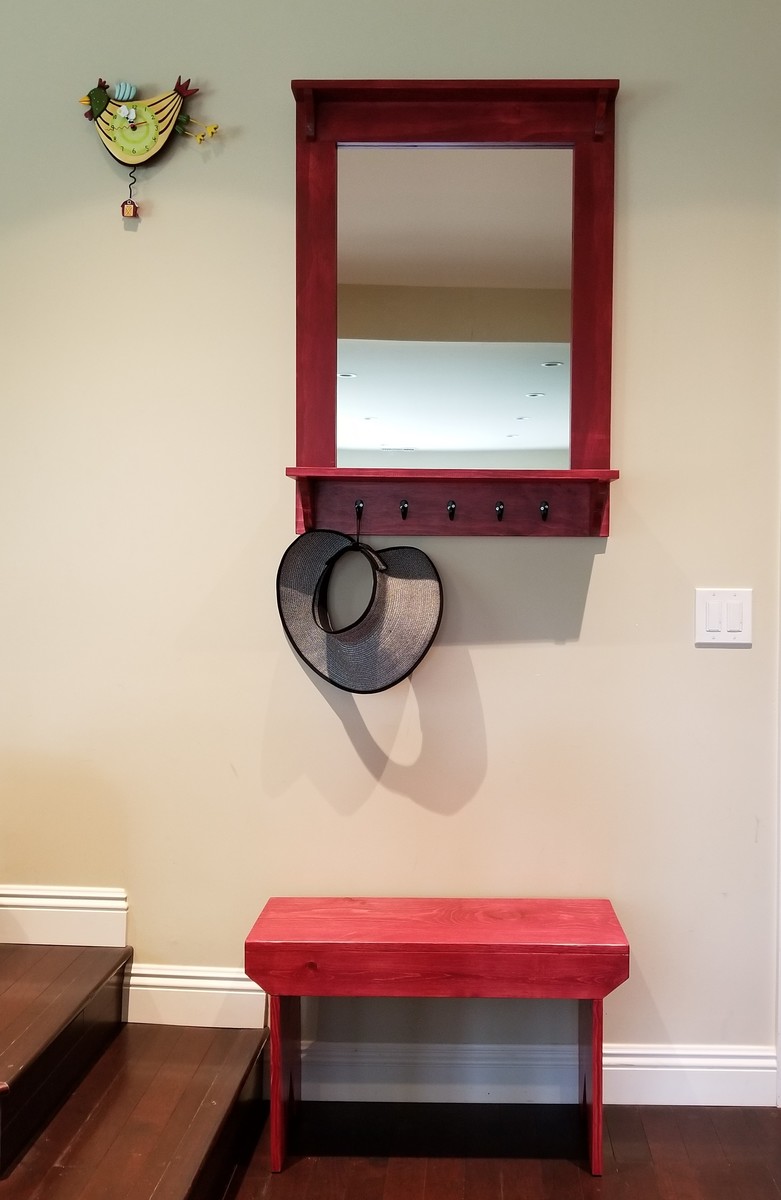
This is the 5-board bench and project #2 mirror from Ana's "The Handbuilt Home" book. The bench was shortened to fit the space that I wanted it for.
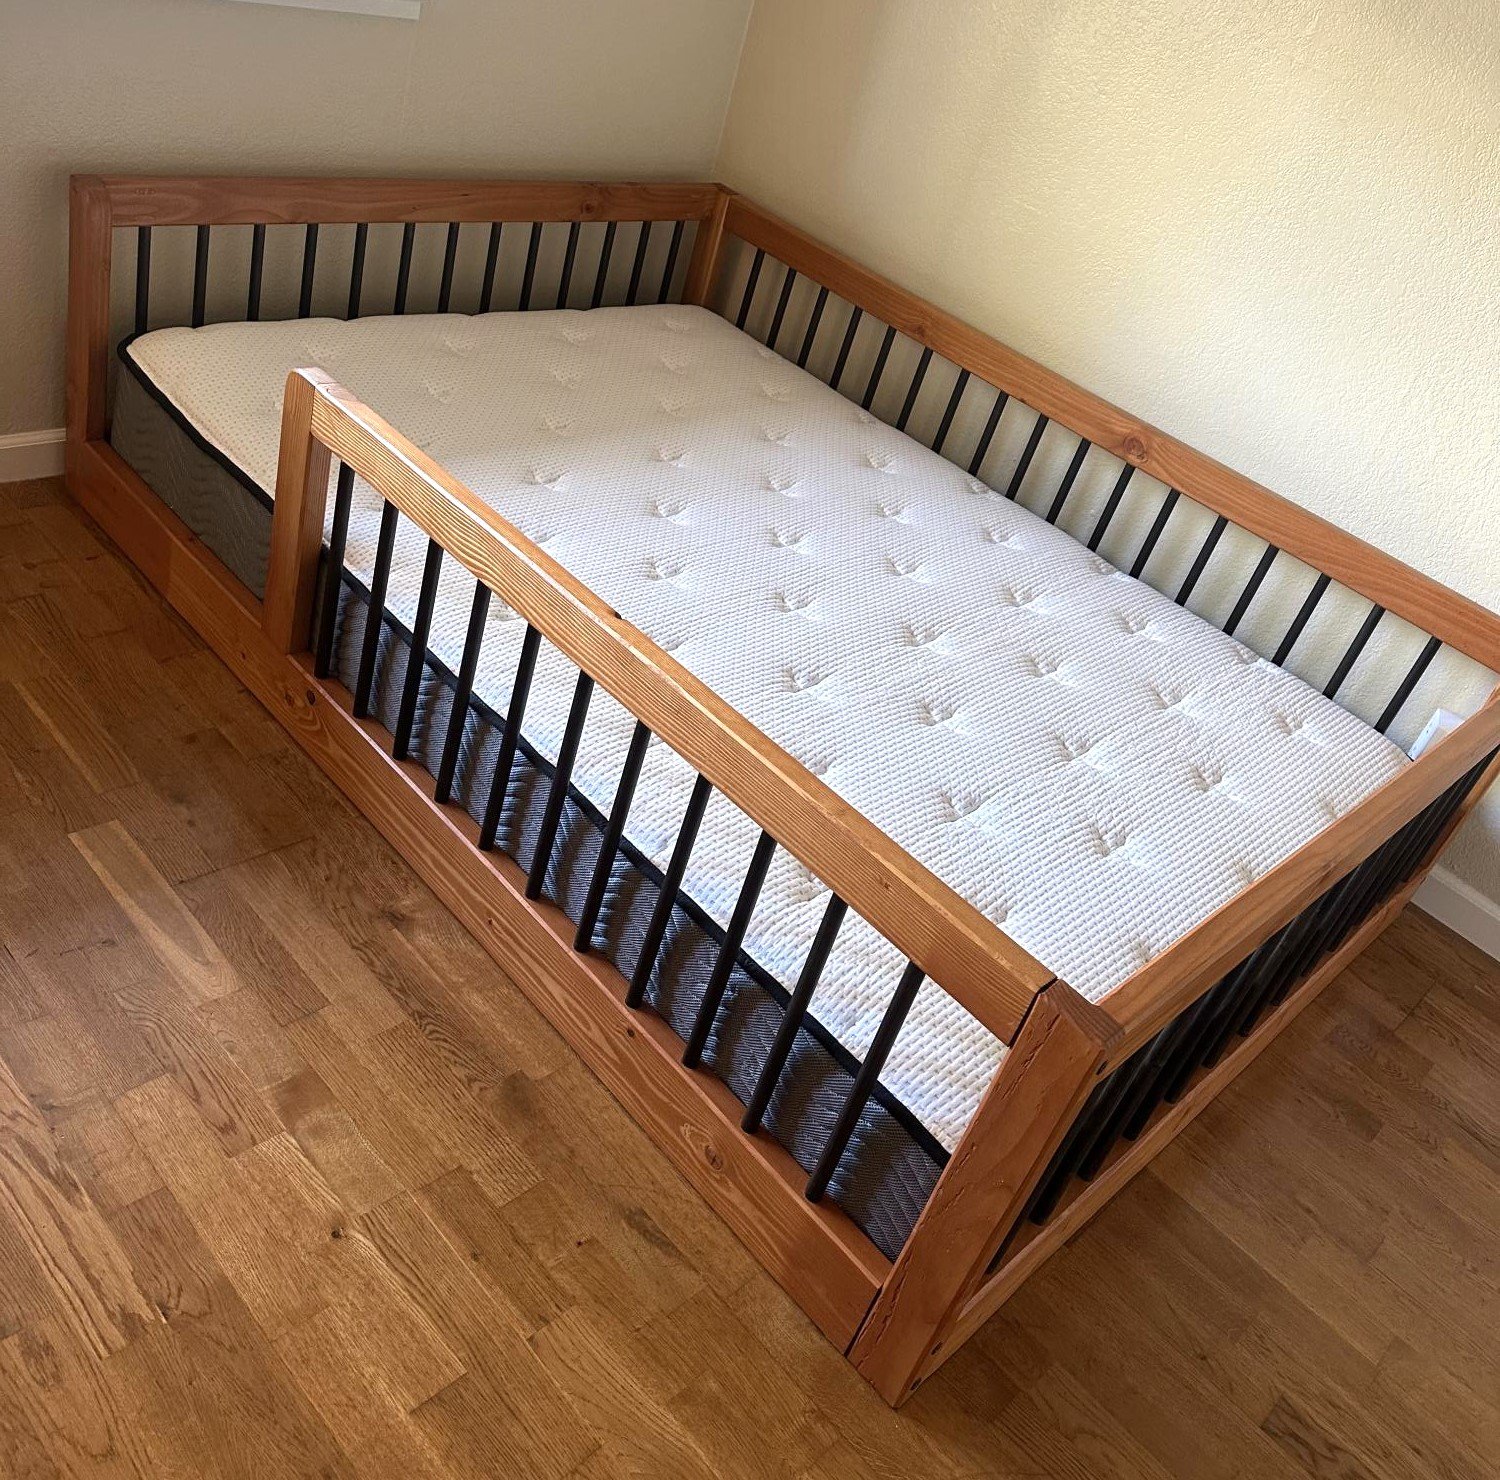
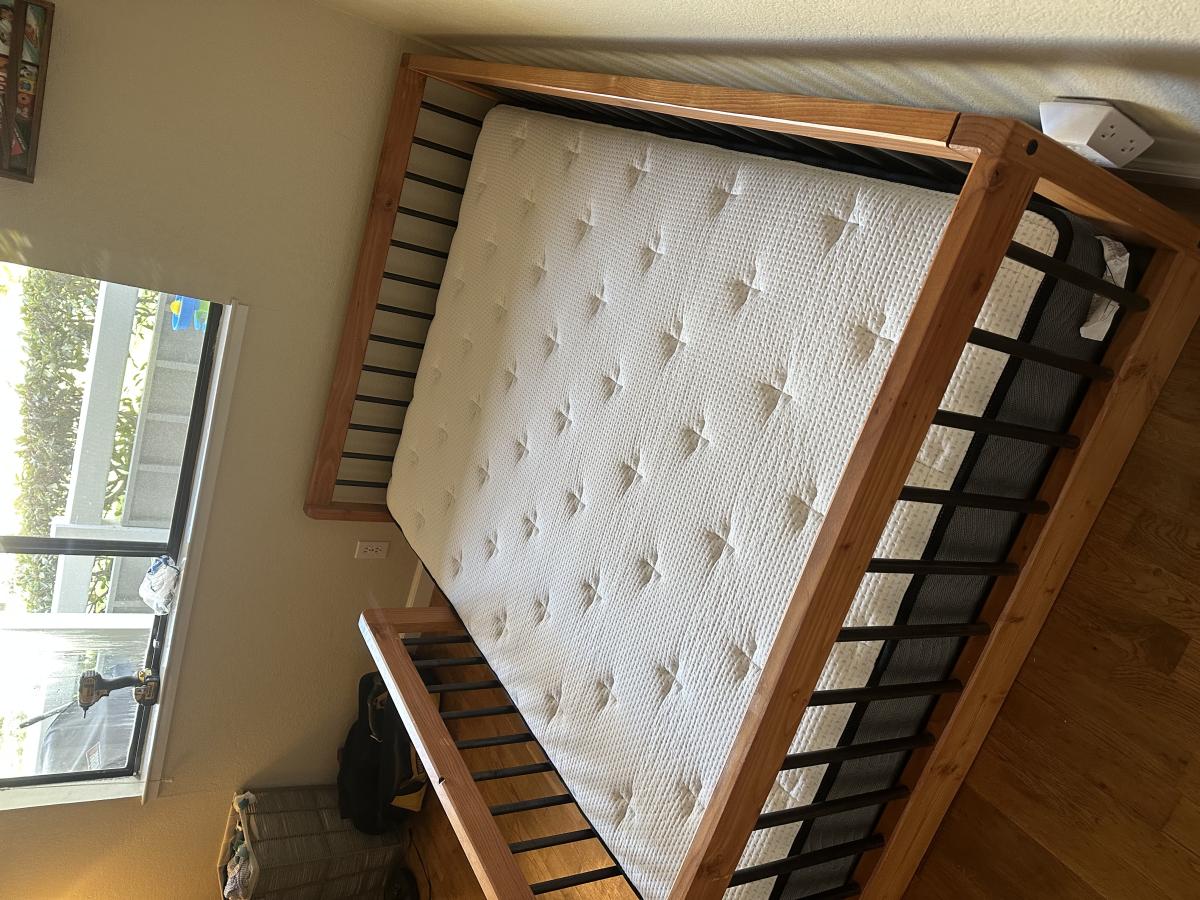
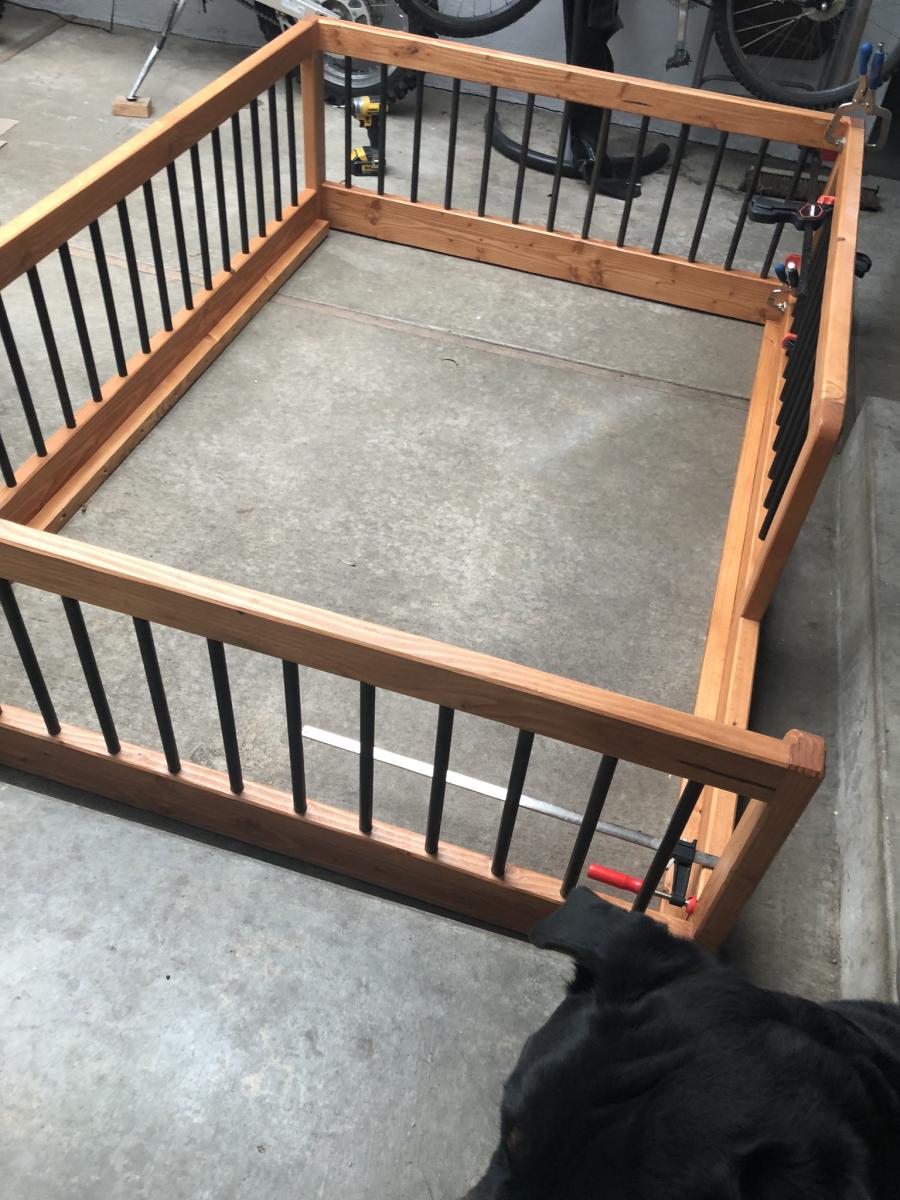
A Montessori (full size) bed made for my grandson Jack’s 1st Birthday.
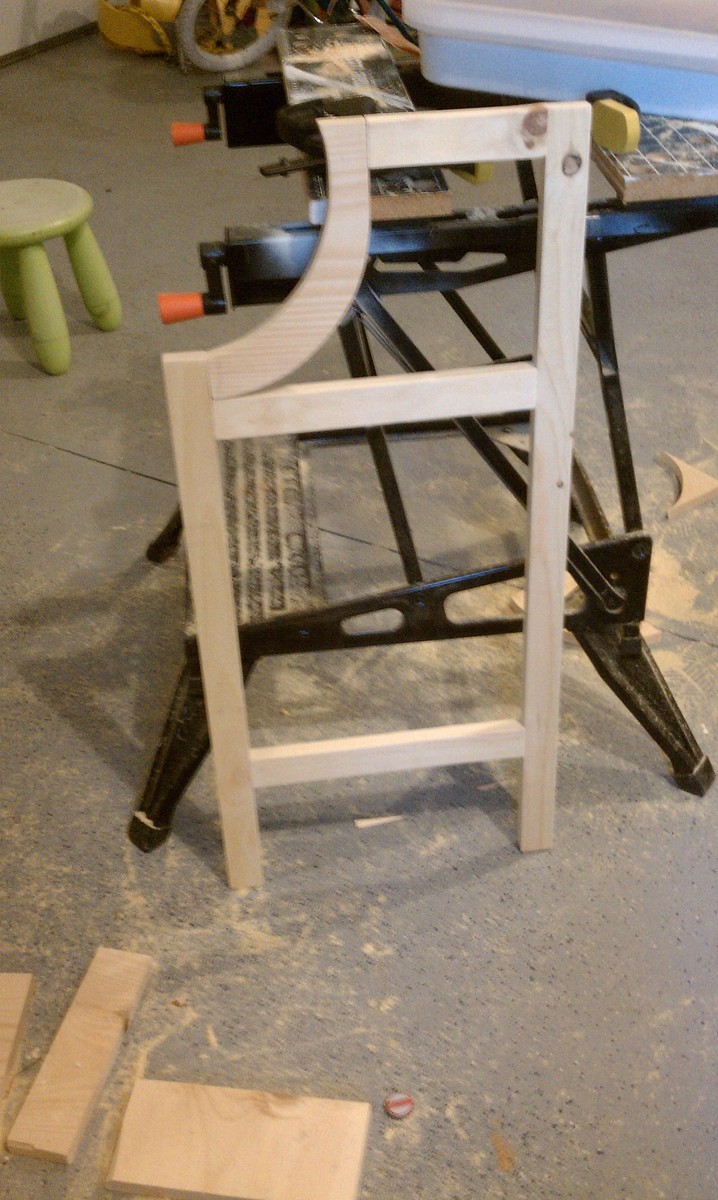
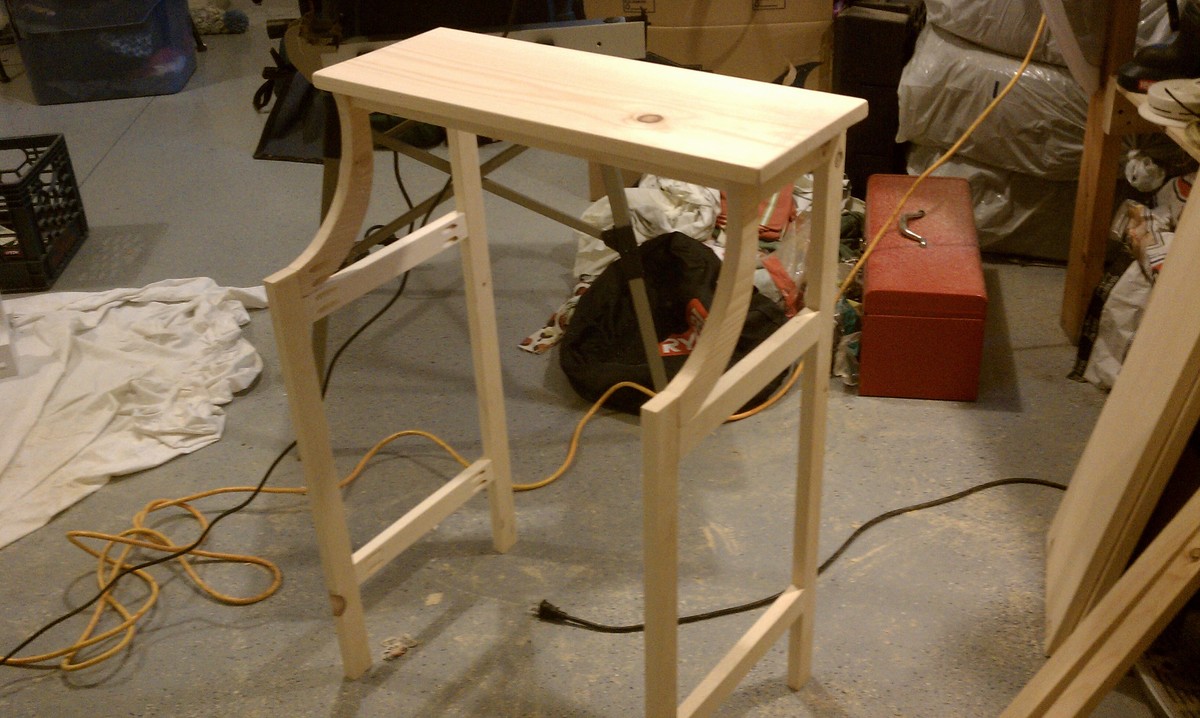
A bookshelf to help with the everyday clutter in our kitchen.
Sat, 11/05/2011 - 12:07
Glad to see someone build this plan--have been considering it, but wanted to see a finished photo. Thanks!
Sun, 05/26/2013 - 11:04
The plan shows a total width of 39" but that's a bit too much for me (I'm mostly just wanting to store reference books next to my desk and don't need that much space). I like the proportions on your build, can you say how wide it is? (I'm assuming it's not 39", unless you have some massive countertops!)
Thanks.
Fri, 06/21/2019 - 13:44
Love this in the kitchen! Great job! So glad you sent in a brag post! Thank you!
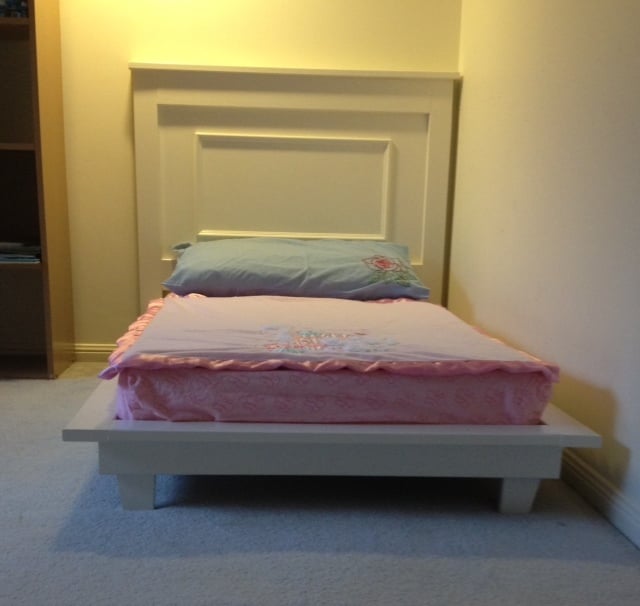
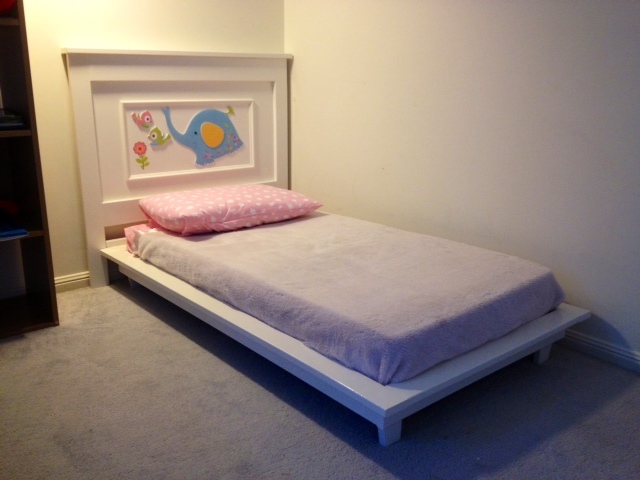
First build and totally happy with result . The excitement and smiles of our 18 months old grand-daughter was worth every effort !
Thu, 10/24/2013 - 01:42
Thank you Ana for sharing your resources and providing the encouragement to try new things .
Thu, 10/24/2013 - 13:20
Love this bed! What a super cute room for your grand-daughter! Looks totally professional, would never guess this is a first build -- Great job!
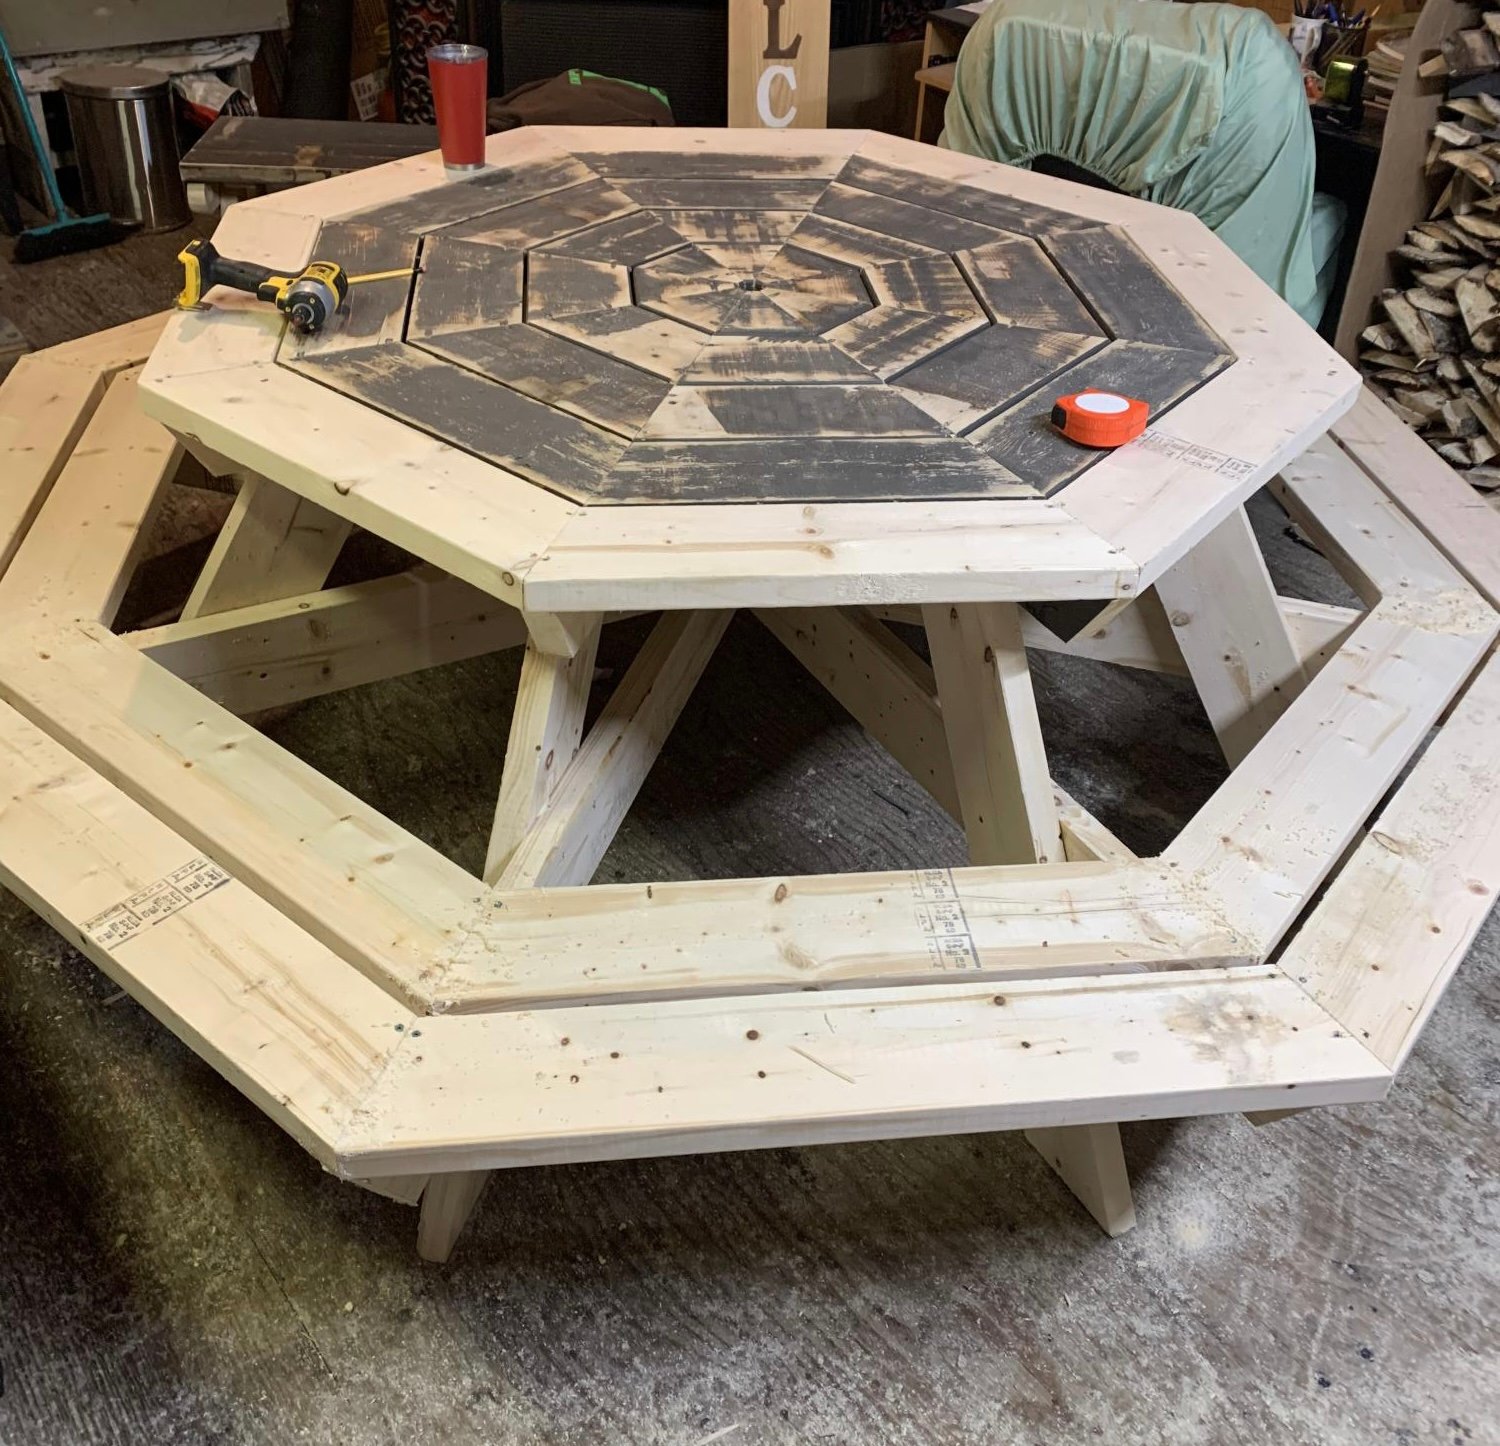
Great project . Easy plan to read .
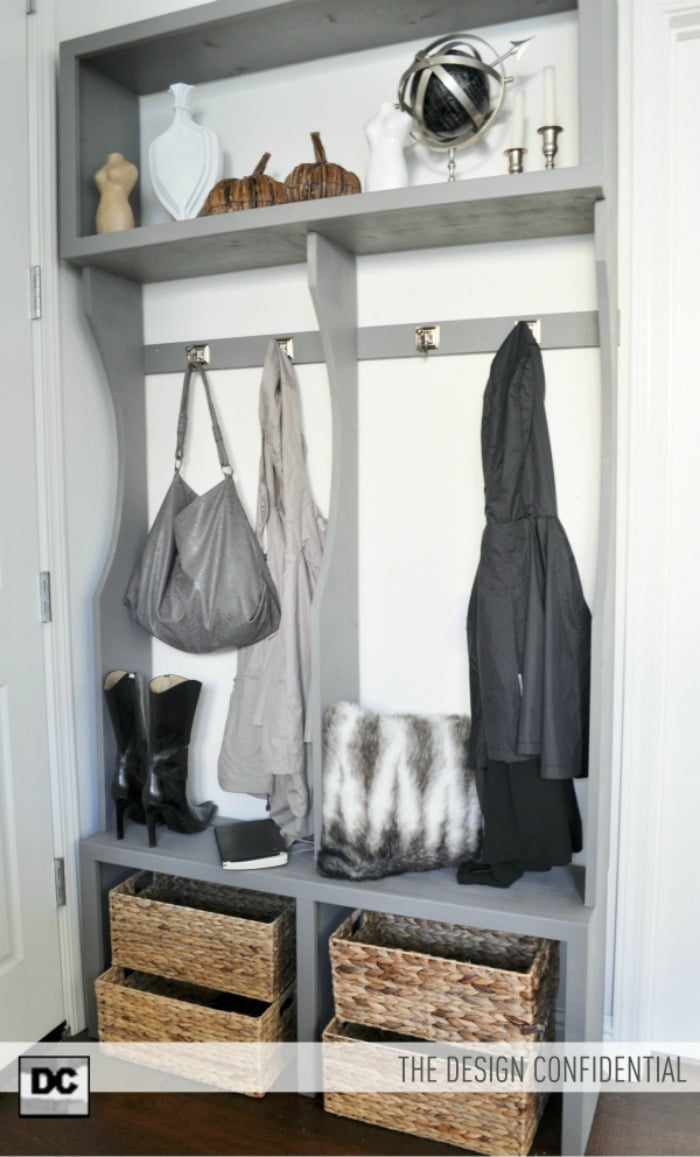
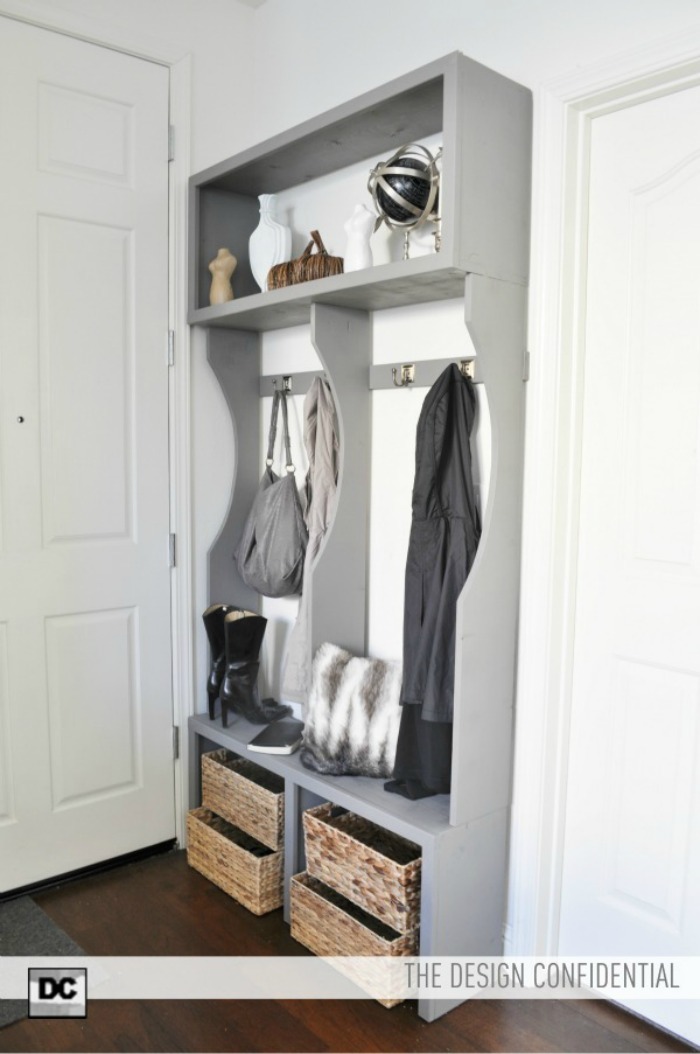
I fell head over heals in love with Ana's Smiling Mudroom Project... but alas I have no mudroom in my home and no available closet to transform. *Sad Face* I do however have exactly the depth of a 1x10 between my front door and entryway wall. *Happy Face*
I modified her plans to fit a more narrow profile... (much more narrow) and also shortened it to about half the width.
I couldn't be happier with the finished product and I'm happy to share the modified plans with any of you who also lack a mudroom or any sort of entryway organization whatsoever!
Modified Mudroom Plans for an Entryway Locker System can be found here! Yay
Wed, 11/09/2011 - 17:47
I just love it! Wish I had a spot for even THIS. BTW, Can I steal your boots? PLEASE?! :-)
Mon, 11/14/2011 - 05:37
It looks amazing! I love the shelves on the bottom for the smaller baskets. I'm still working up the courage to build this one!
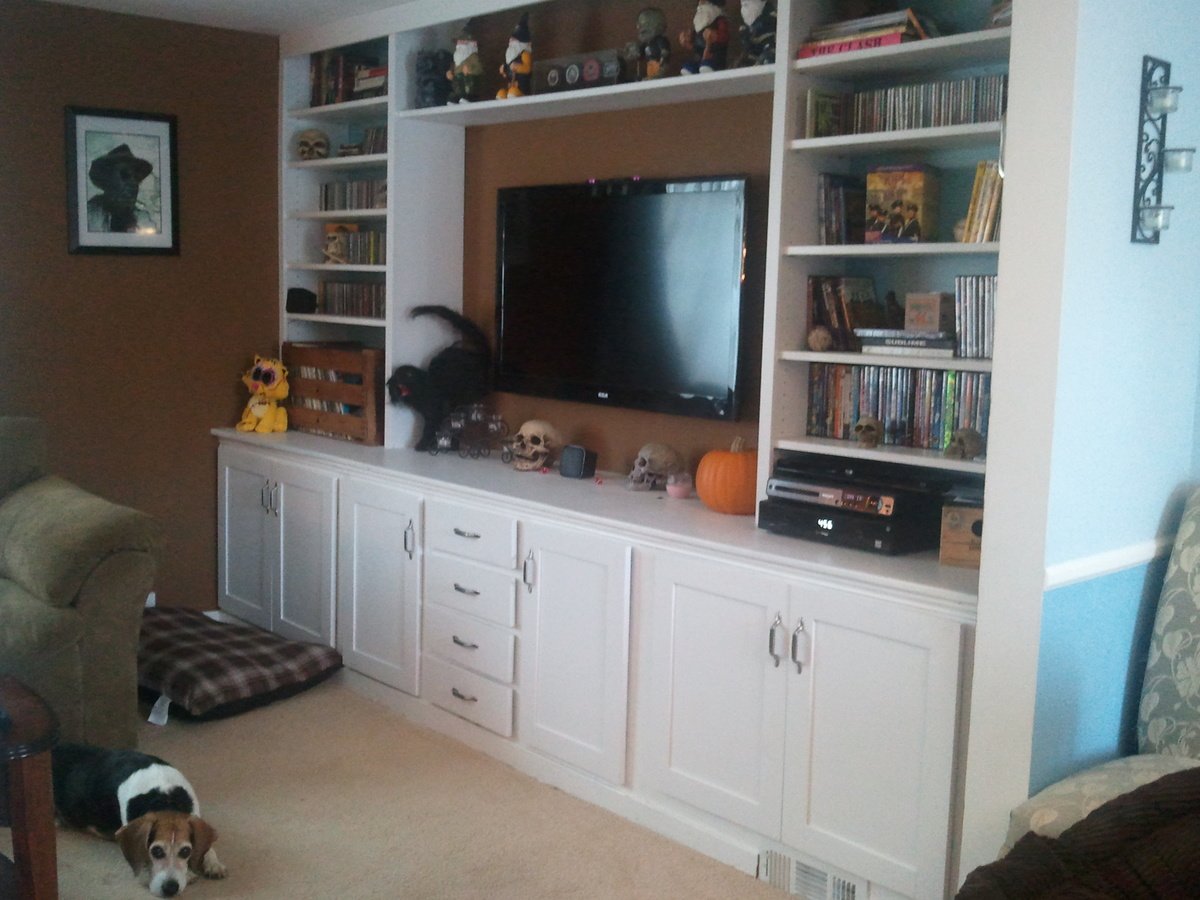
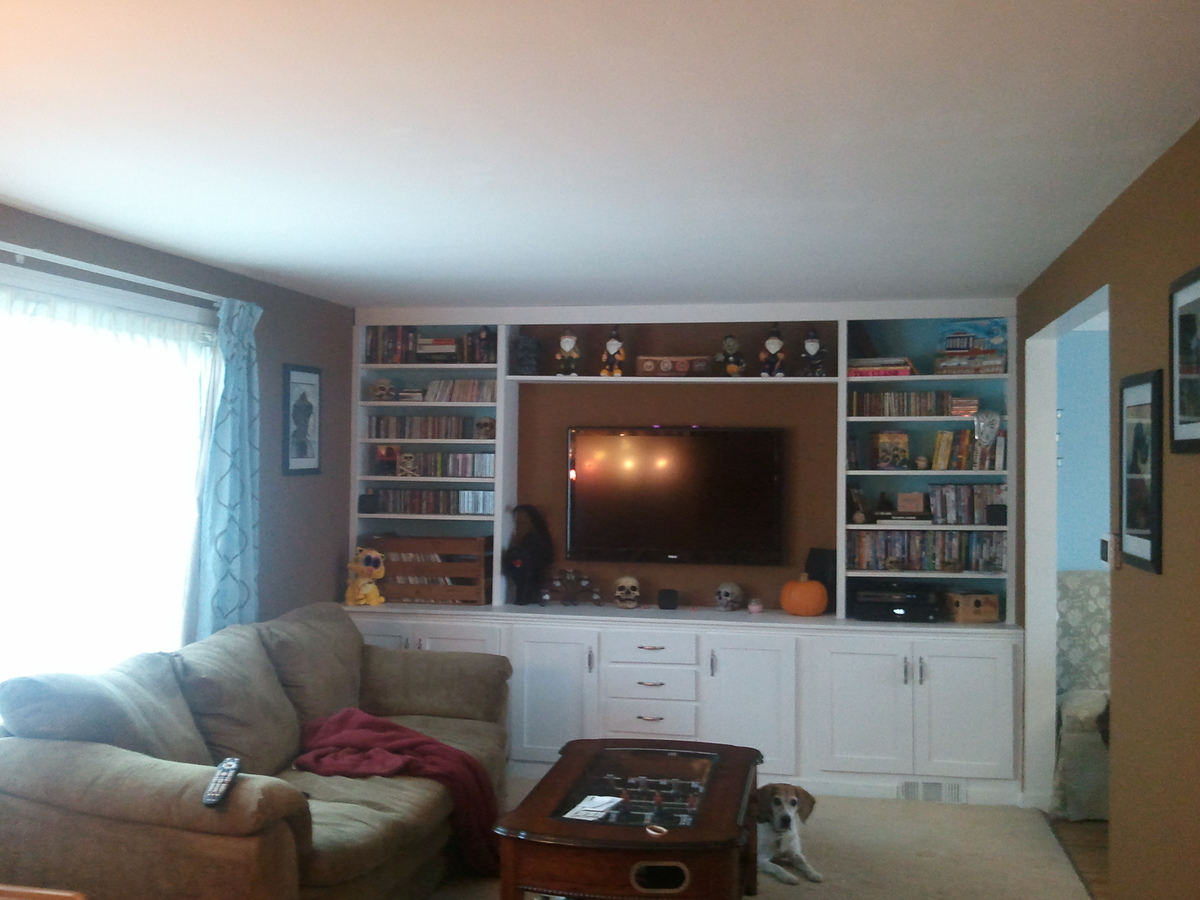
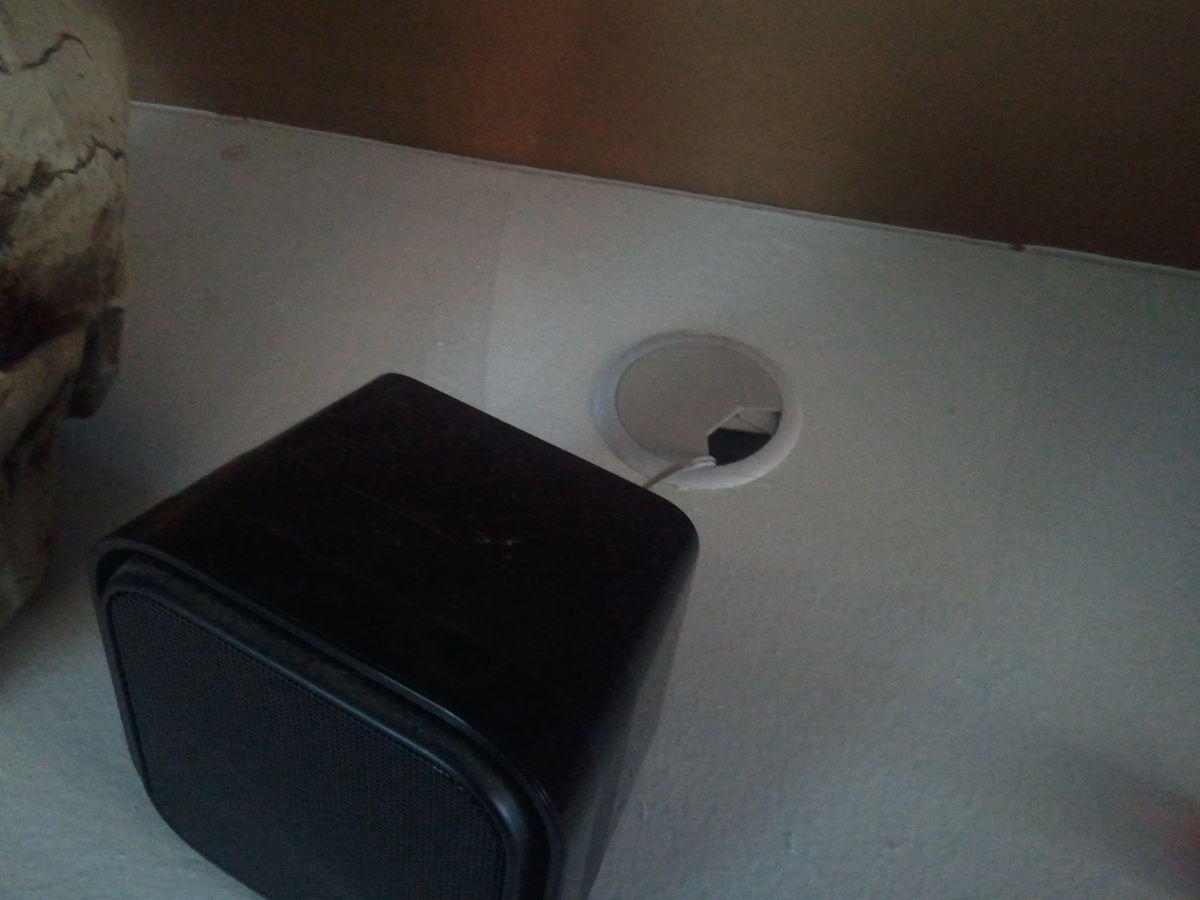
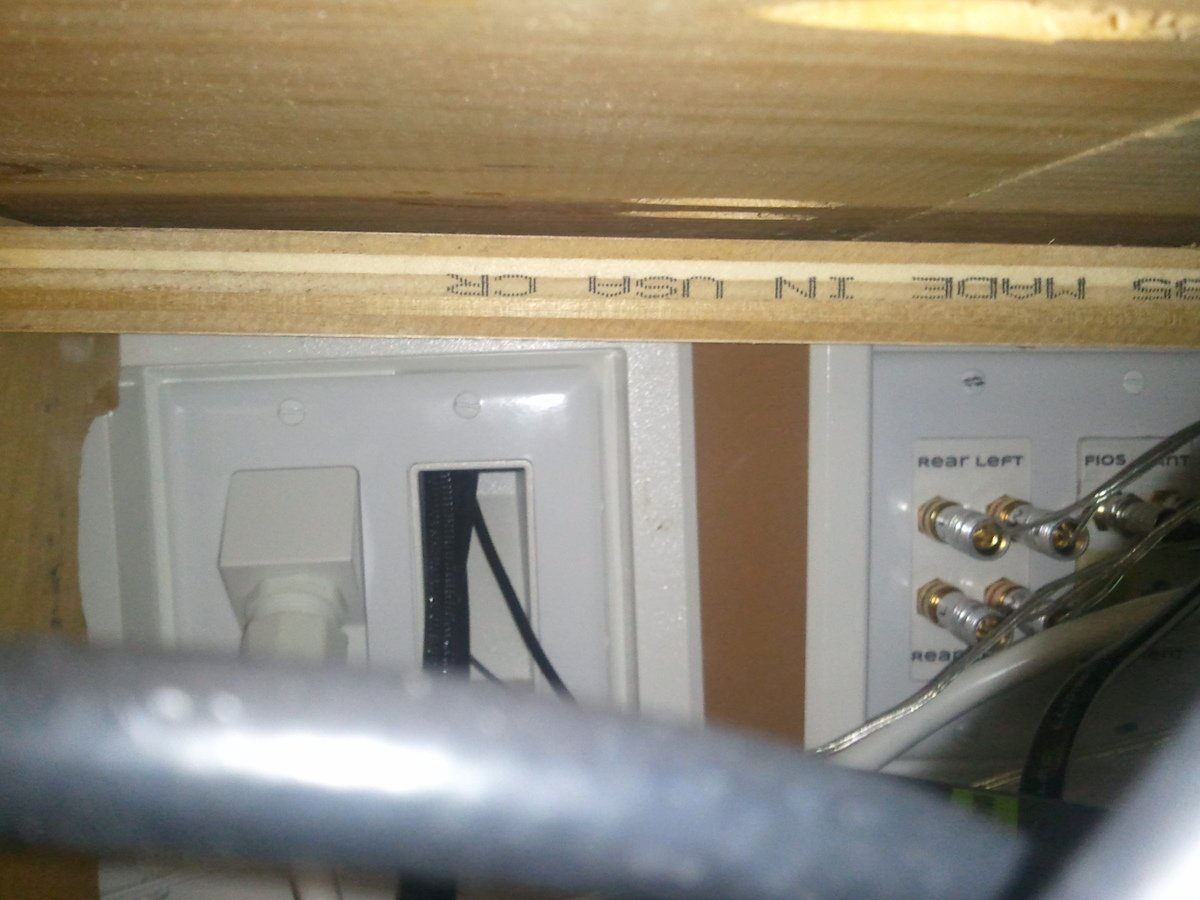
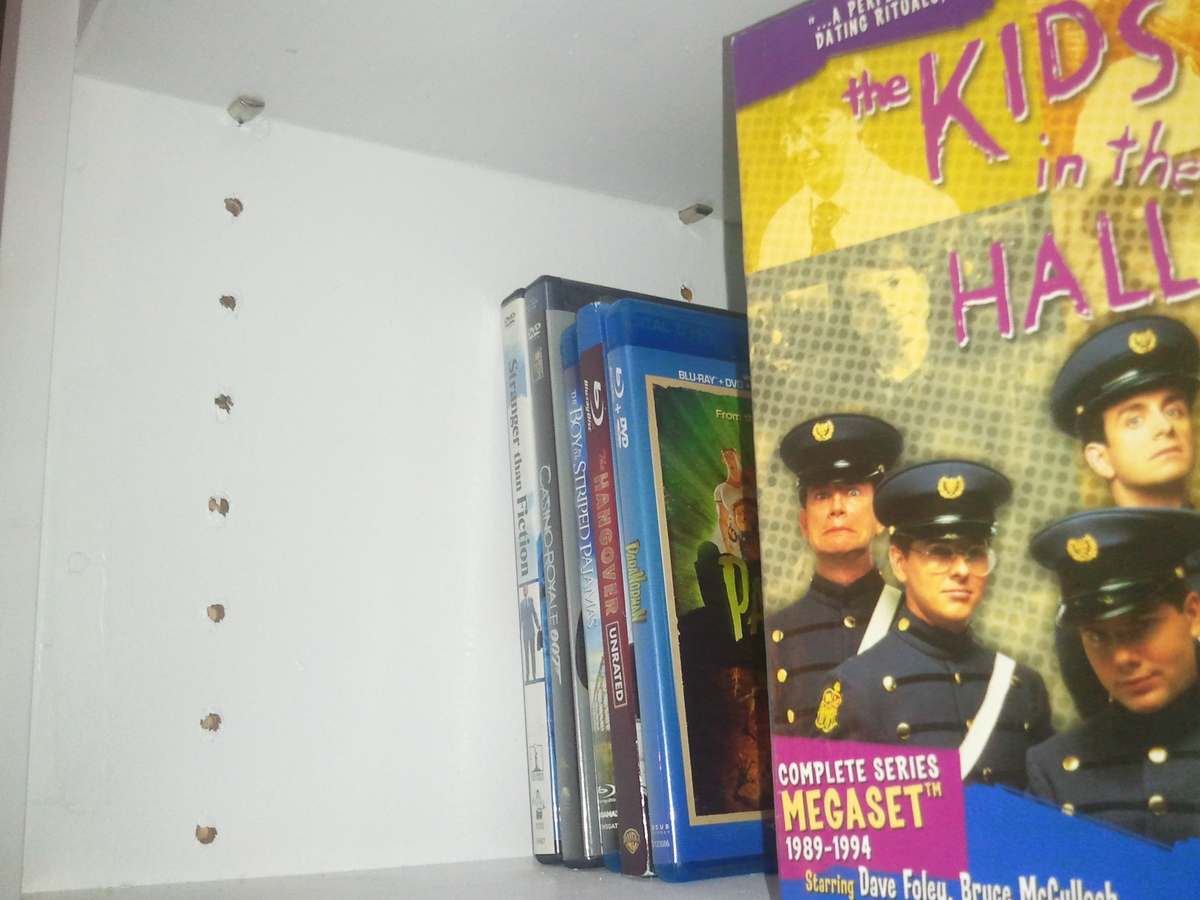
This took me about a year to complete, start to finish, but there was a lot of downtime. I started by running the wires through the wall and taking the opportunity to add a ground to the outlet on this wall.
The bottom cabinets are from Ana's kitchen cabinet base plans, but they are a little shorter, shallower and do not have a toekick cut out. My hope is that this will serve as good practice to do an entire kitchen!! I built these based on my modified plans, pulled back the carpet (there is hardwood under them that I intend to expose at some point), popped off the baseboard, and installed these as if they were kitchen cabinets. The top is 6 pieces of whitewood 1x12's "Kregged" together - I wish I had used plywood but an entire piece would still not be long enough, so that was awkward either way. There is a simple piece of molding under the edge of the "countertop". At that point, not much got done all summer and we just had base cabinets with no uppers and no doors.
More recently, I finally got more time to work on this and created the upper shelves. I just kinda winged these. A whole bunch of 1x12's, I cut 4 the height of what I needed (about 5', from the countertop to the ceiling) and I made a bunch of shelves cut to size. I wound up making more shelves than we needed, but I put shelf pin holes in the vertical pieces so all of the upper shelves are adjustable! I used a kreg shelf pin jig and it worked great. The middle shelf above the TV was cut and added after everything else since I knew it would've been more difficult to calculate the length than to just measure after everything was in. I added some molding to cover up some things that didn't quite line up perfectly and to beef up the vertical pieces (1x2's make 'em look a little wider and cover the edges of the shelves). We finally have storage for all of the cd's and dvd's!!
I was a little nervous to do the doors, but the post for how to do doors came out at a perfect time. Turns out the hardware I bought way at the beginning was pretty cool and let you adjust up/down, distance from the cabinet, and left/right a few mm each way just by turning a screw. I'm glad I went with the fancy self-close-soft-close ones! I'm also in love with the handles I found.
I had some issues with the drawers and they don't slide perfectly, I think it's mostly a squareness issue. I'm planning on getting the kreg drawer jigs before I do the kitchen. I got the fancy soft close ones to see how they'd work to see if I want to use them in the kitchen, if I can't do a better job then I might opt for the cheaper ones!
I have intentions of adding crown molding to this room and that will go across the front of this when I do. I added a 1x4 across the top that can act as a base when we finally get around to that.

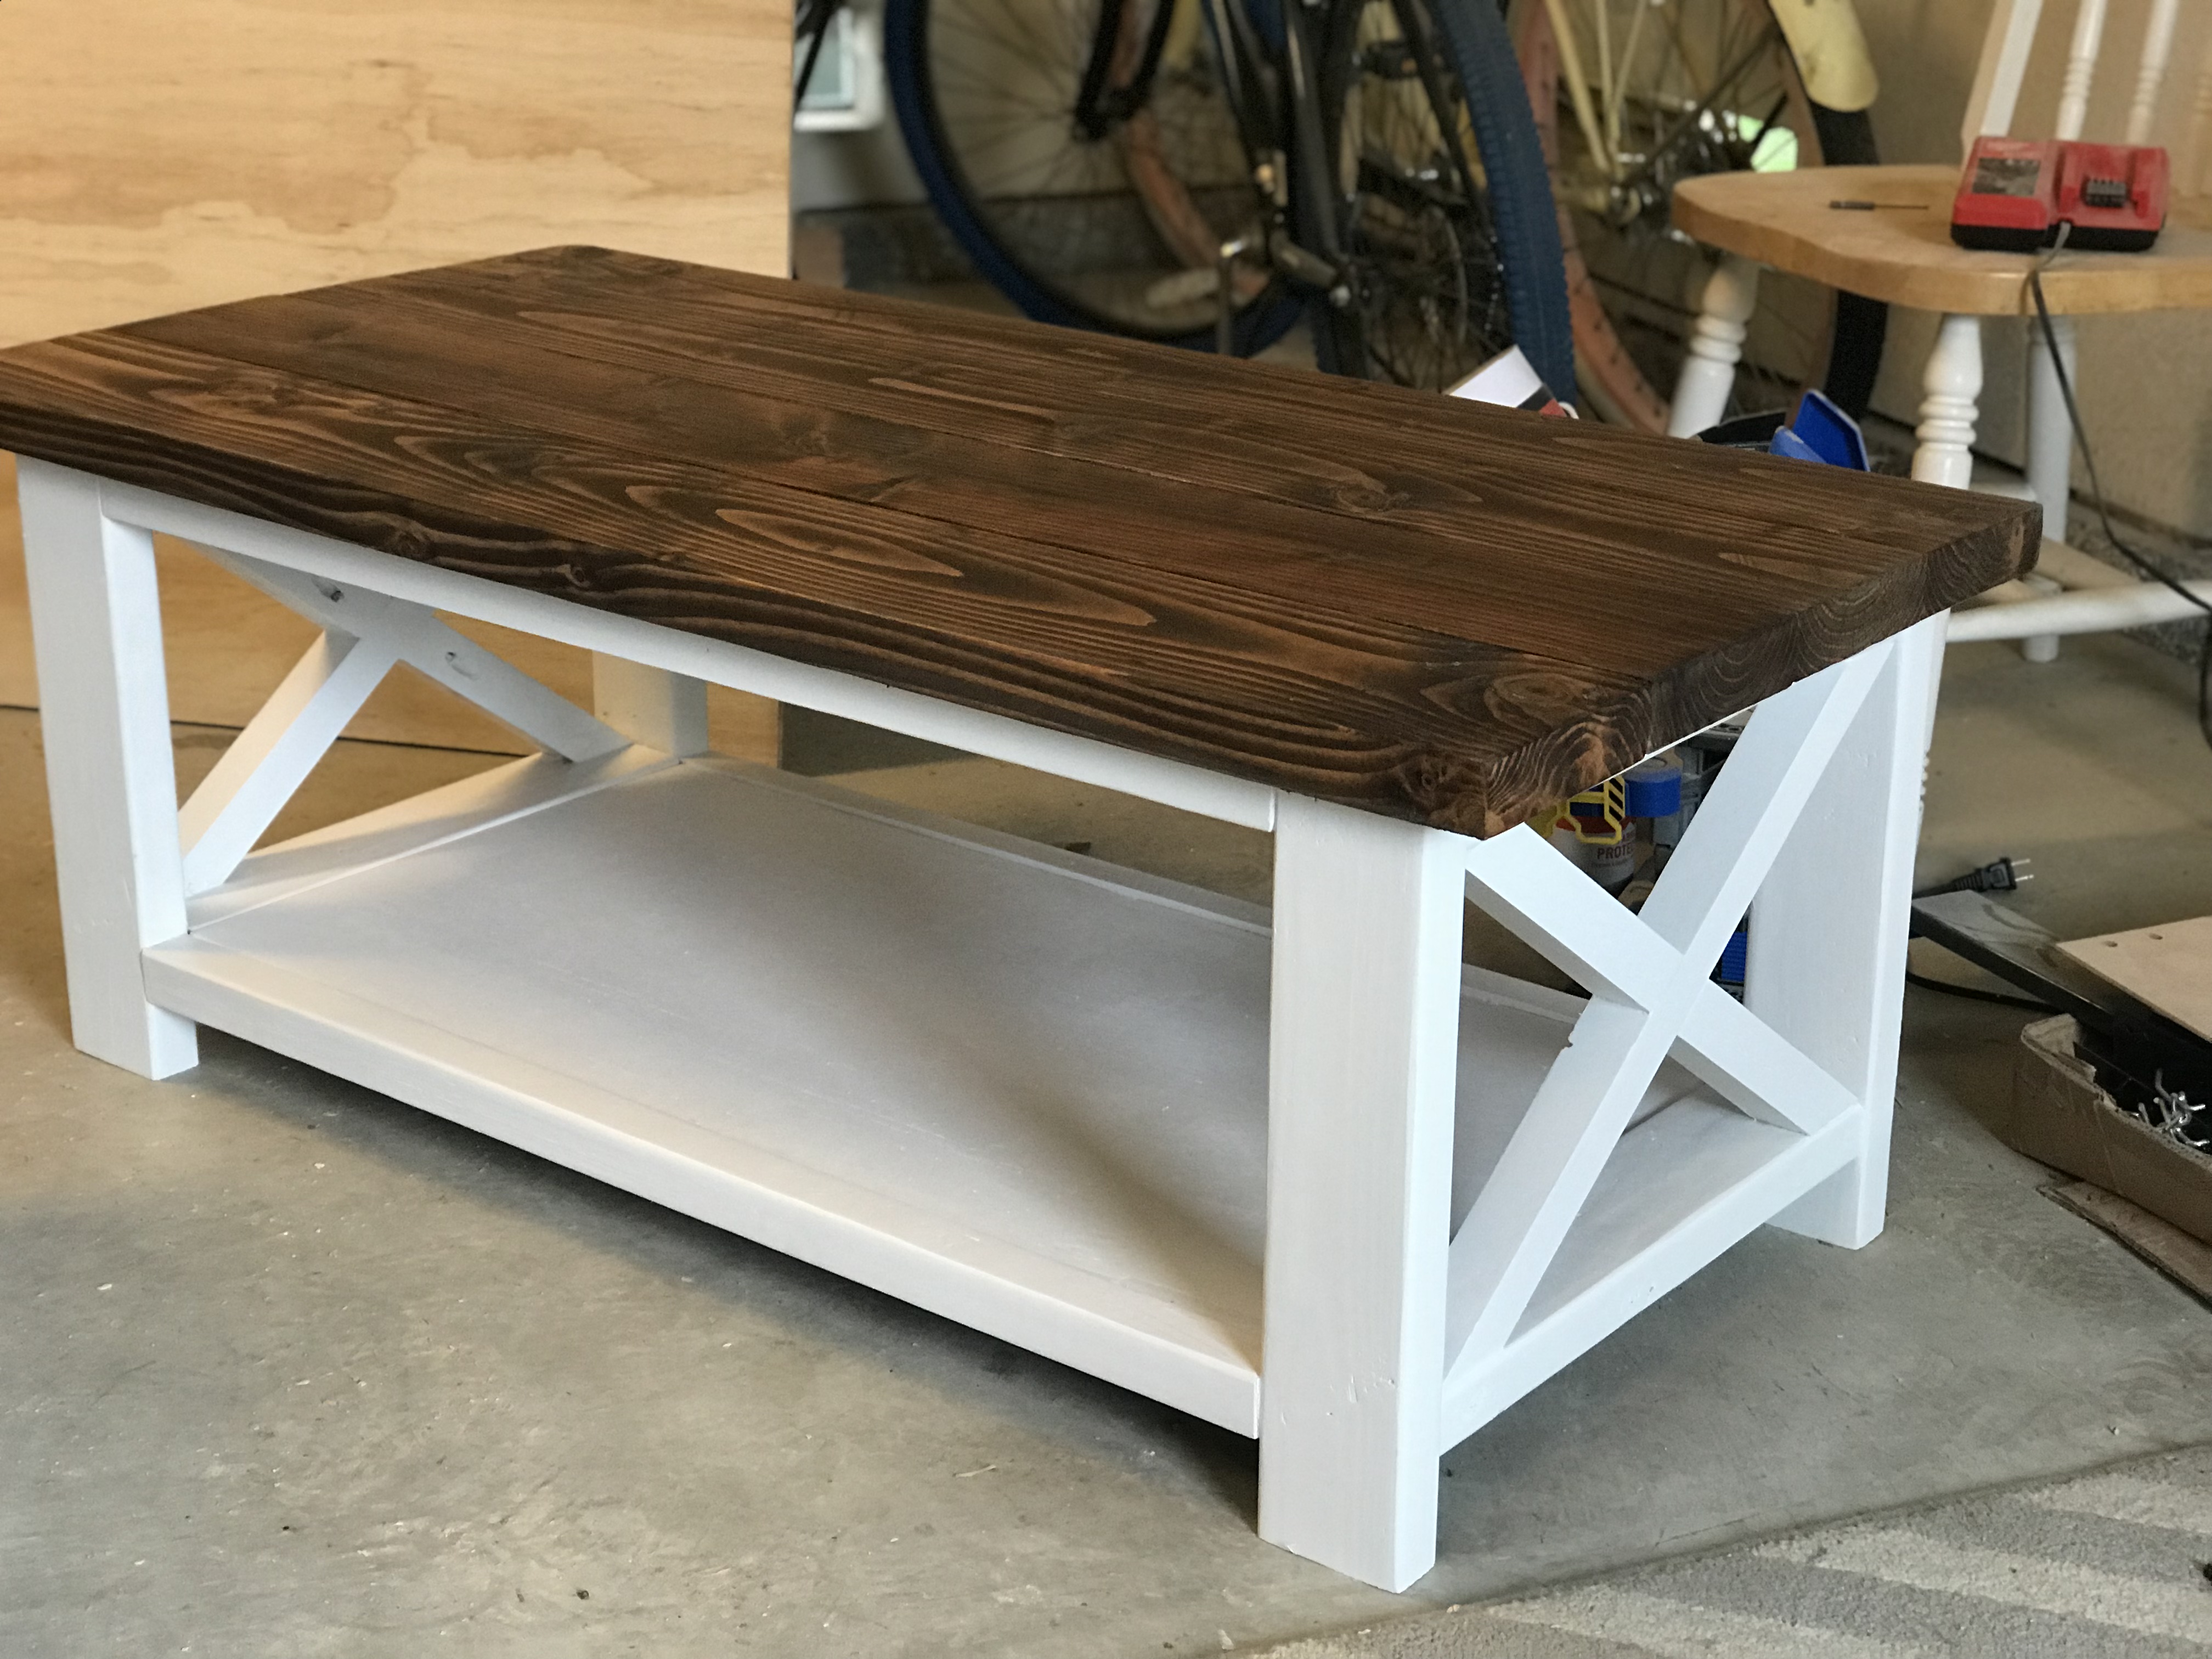
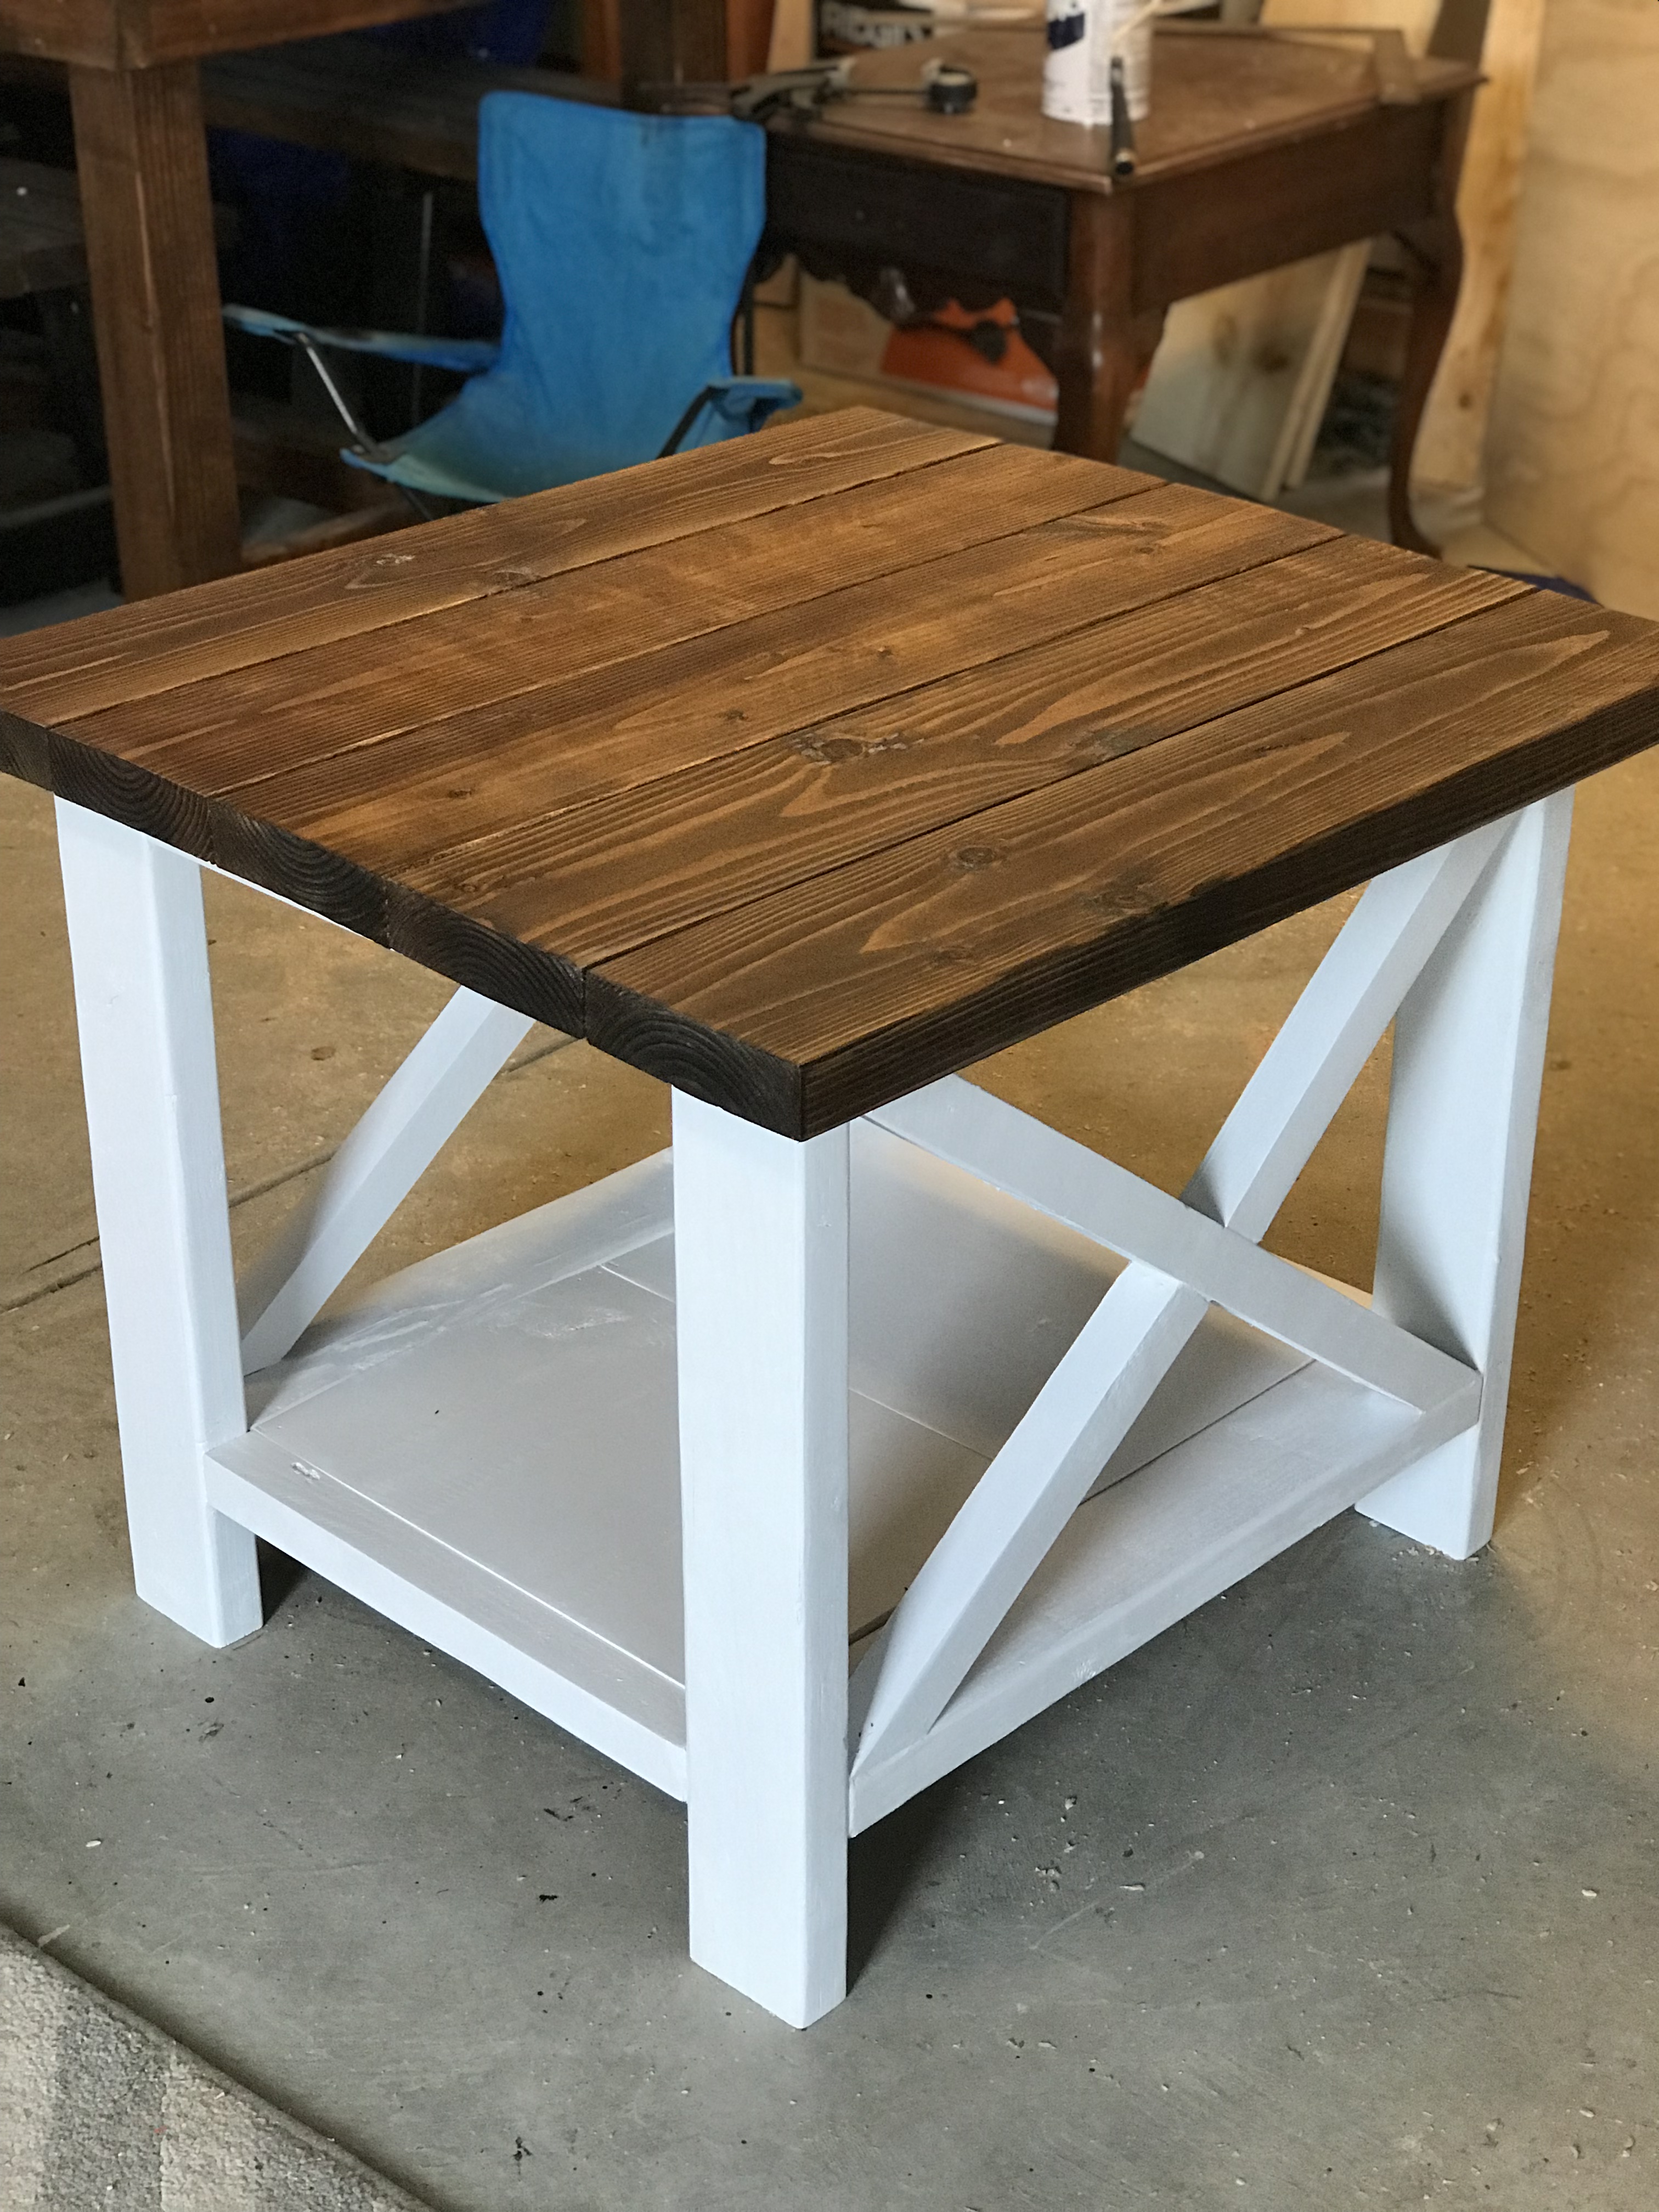
I made these tables from the Ana White plans but for the side table I made it a bit larger to fit the space it was going to be going in. Stained the top varathane Dark Walnut and the bottom I painted white.
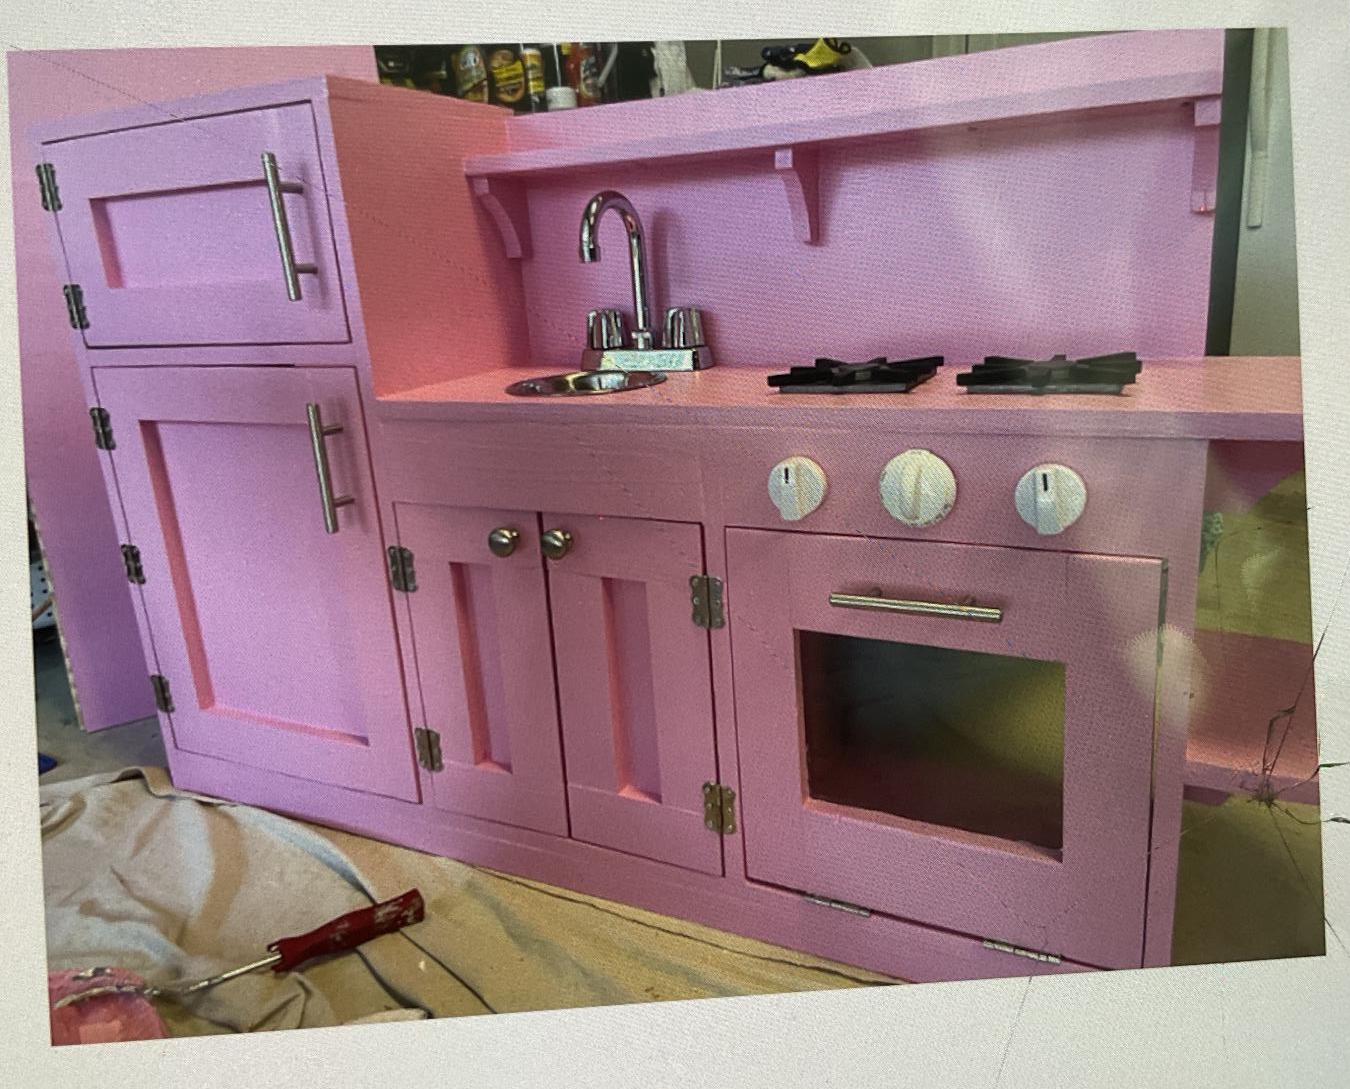
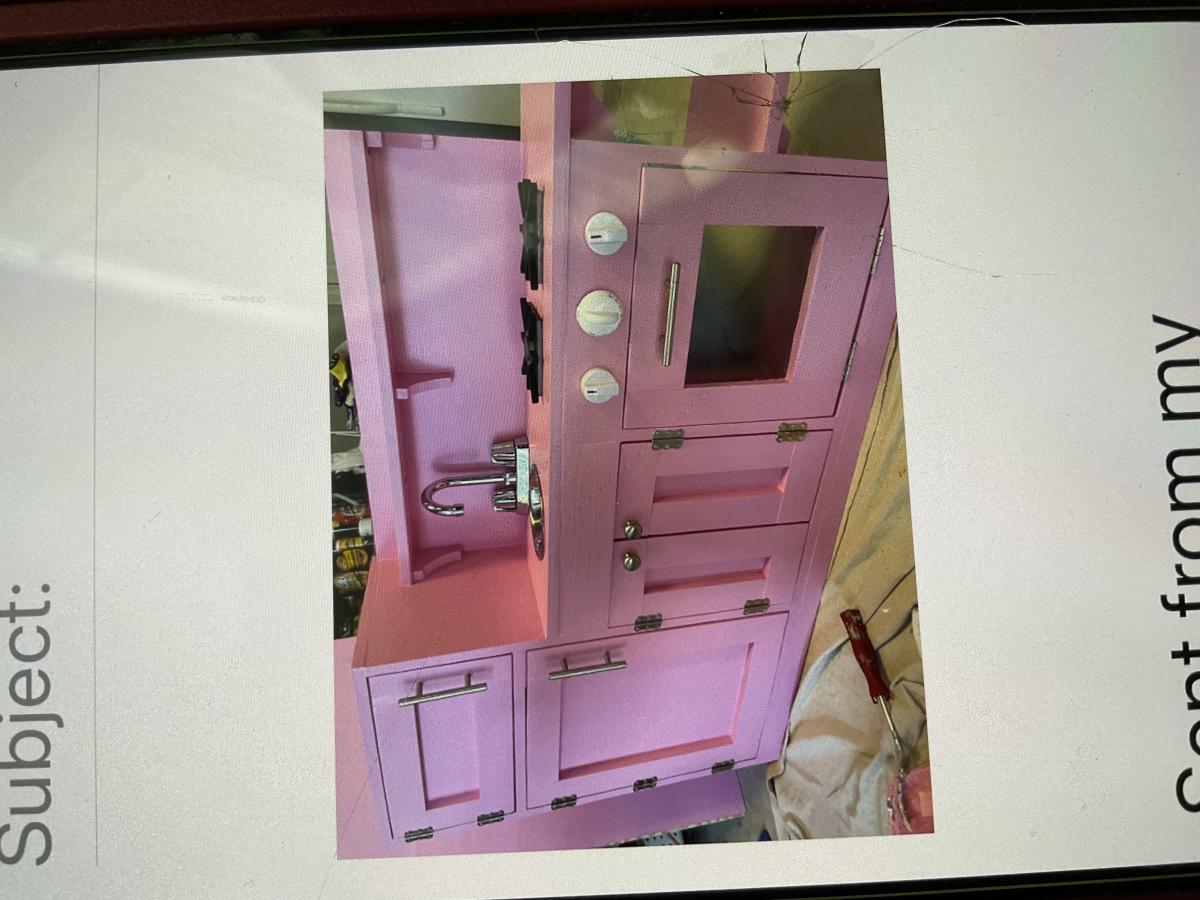
Granddaughter wanted a Pink kitchen for Christmas, so what does Meemaw do ?? She goes to your website and does her research. I completed this kitchen in probably less than 2 weeks.
She abstained loved it, and no one in the family could believe Meemaw built this…
Many thanks..
Fri, 03/10/2023 - 13:27
This is adorable, you are an amazing Meemaw, thank you for sharing!
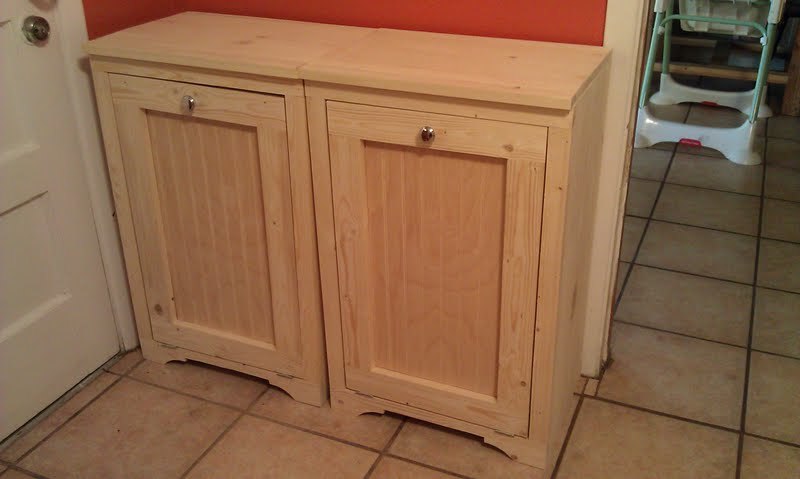
These two trash bins were very easy and fun to make. Plans were very easy to use and made the project very easy to build.
Mon, 11/21/2011 - 17:04
I can't find the plans for this project.Where do I click?
Mon, 11/21/2011 - 19:01
Click on where it says From Plans: Wood tilt out trash bins. its a link =)
Tue, 11/22/2011 - 07:26
This came out really beautiful! I'm thinking of building two like this for our hampers which we keep in our bedroom. We really don't have another place to put them and this is so much nicer looking! Of course, I'd have to modify it so the clothes can breathe. Certainly worth looking into...
Fri, 02/24/2012 - 08:31
Seeing these 2 sitting side by side gave me an idea for our trash & recyclables. My husband & I want to make one of these for our trash, but now I am thinking it would reduce the clutter from the recyclables. Thanks for posting. They look great!
Sat, 12/15/2012 - 10:54
This was a great project. Very easy to follow...until I got to the door. There are no instructions for the door and no link to a video. Now I have to try and "wing it" which I think is going to make my trash bin, which is a christmas present for my wife, look like trash. I only have this weekend to do this but maybe someone else will be saved by adding the directions for the door. otherwise, thanks for the great step by step.
Tue, 06/16/2015 - 18:29
Does anyone make and sell these? I am looking for a dual trash cabinet.
Tue, 06/16/2015 - 18:29
Does anyone make and sell these? I am looking for a dual trash cabinet.
I love this site. We needed new furniture in are house and didn't want to spend a bunch of money. Finding the Rustic x plans was a life saver.
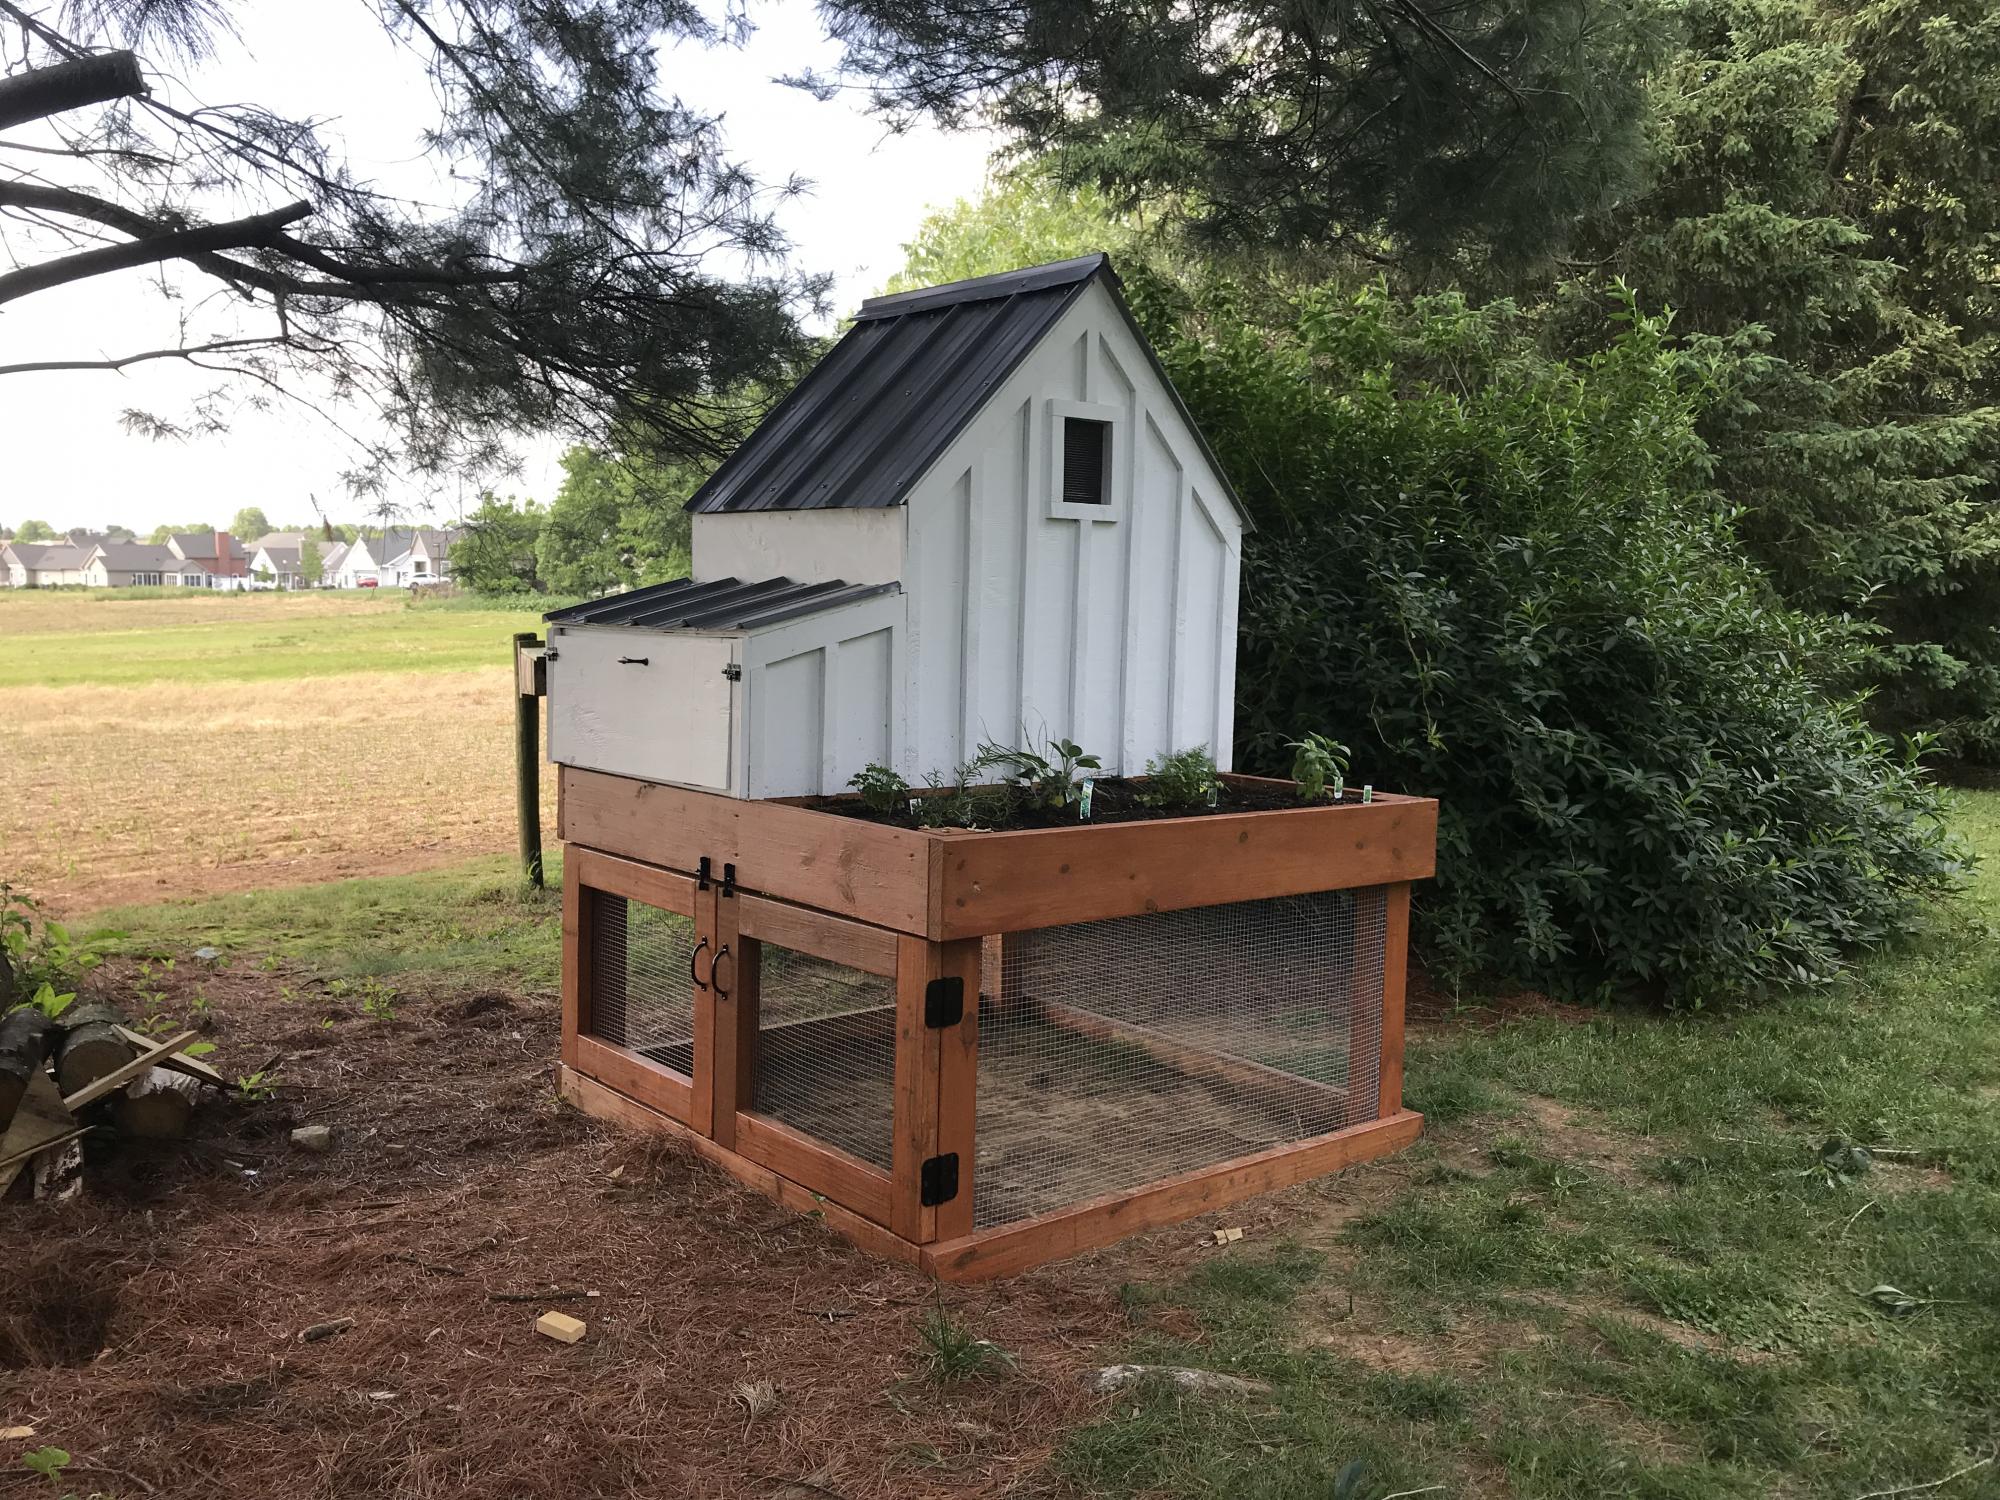
Great plans! Fun project
Sat, 05/25/2019 - 19:34
Your chicken coop is beautiful! I love the farmhouse feel of it! Thank you so much for sharing a picture! Ana
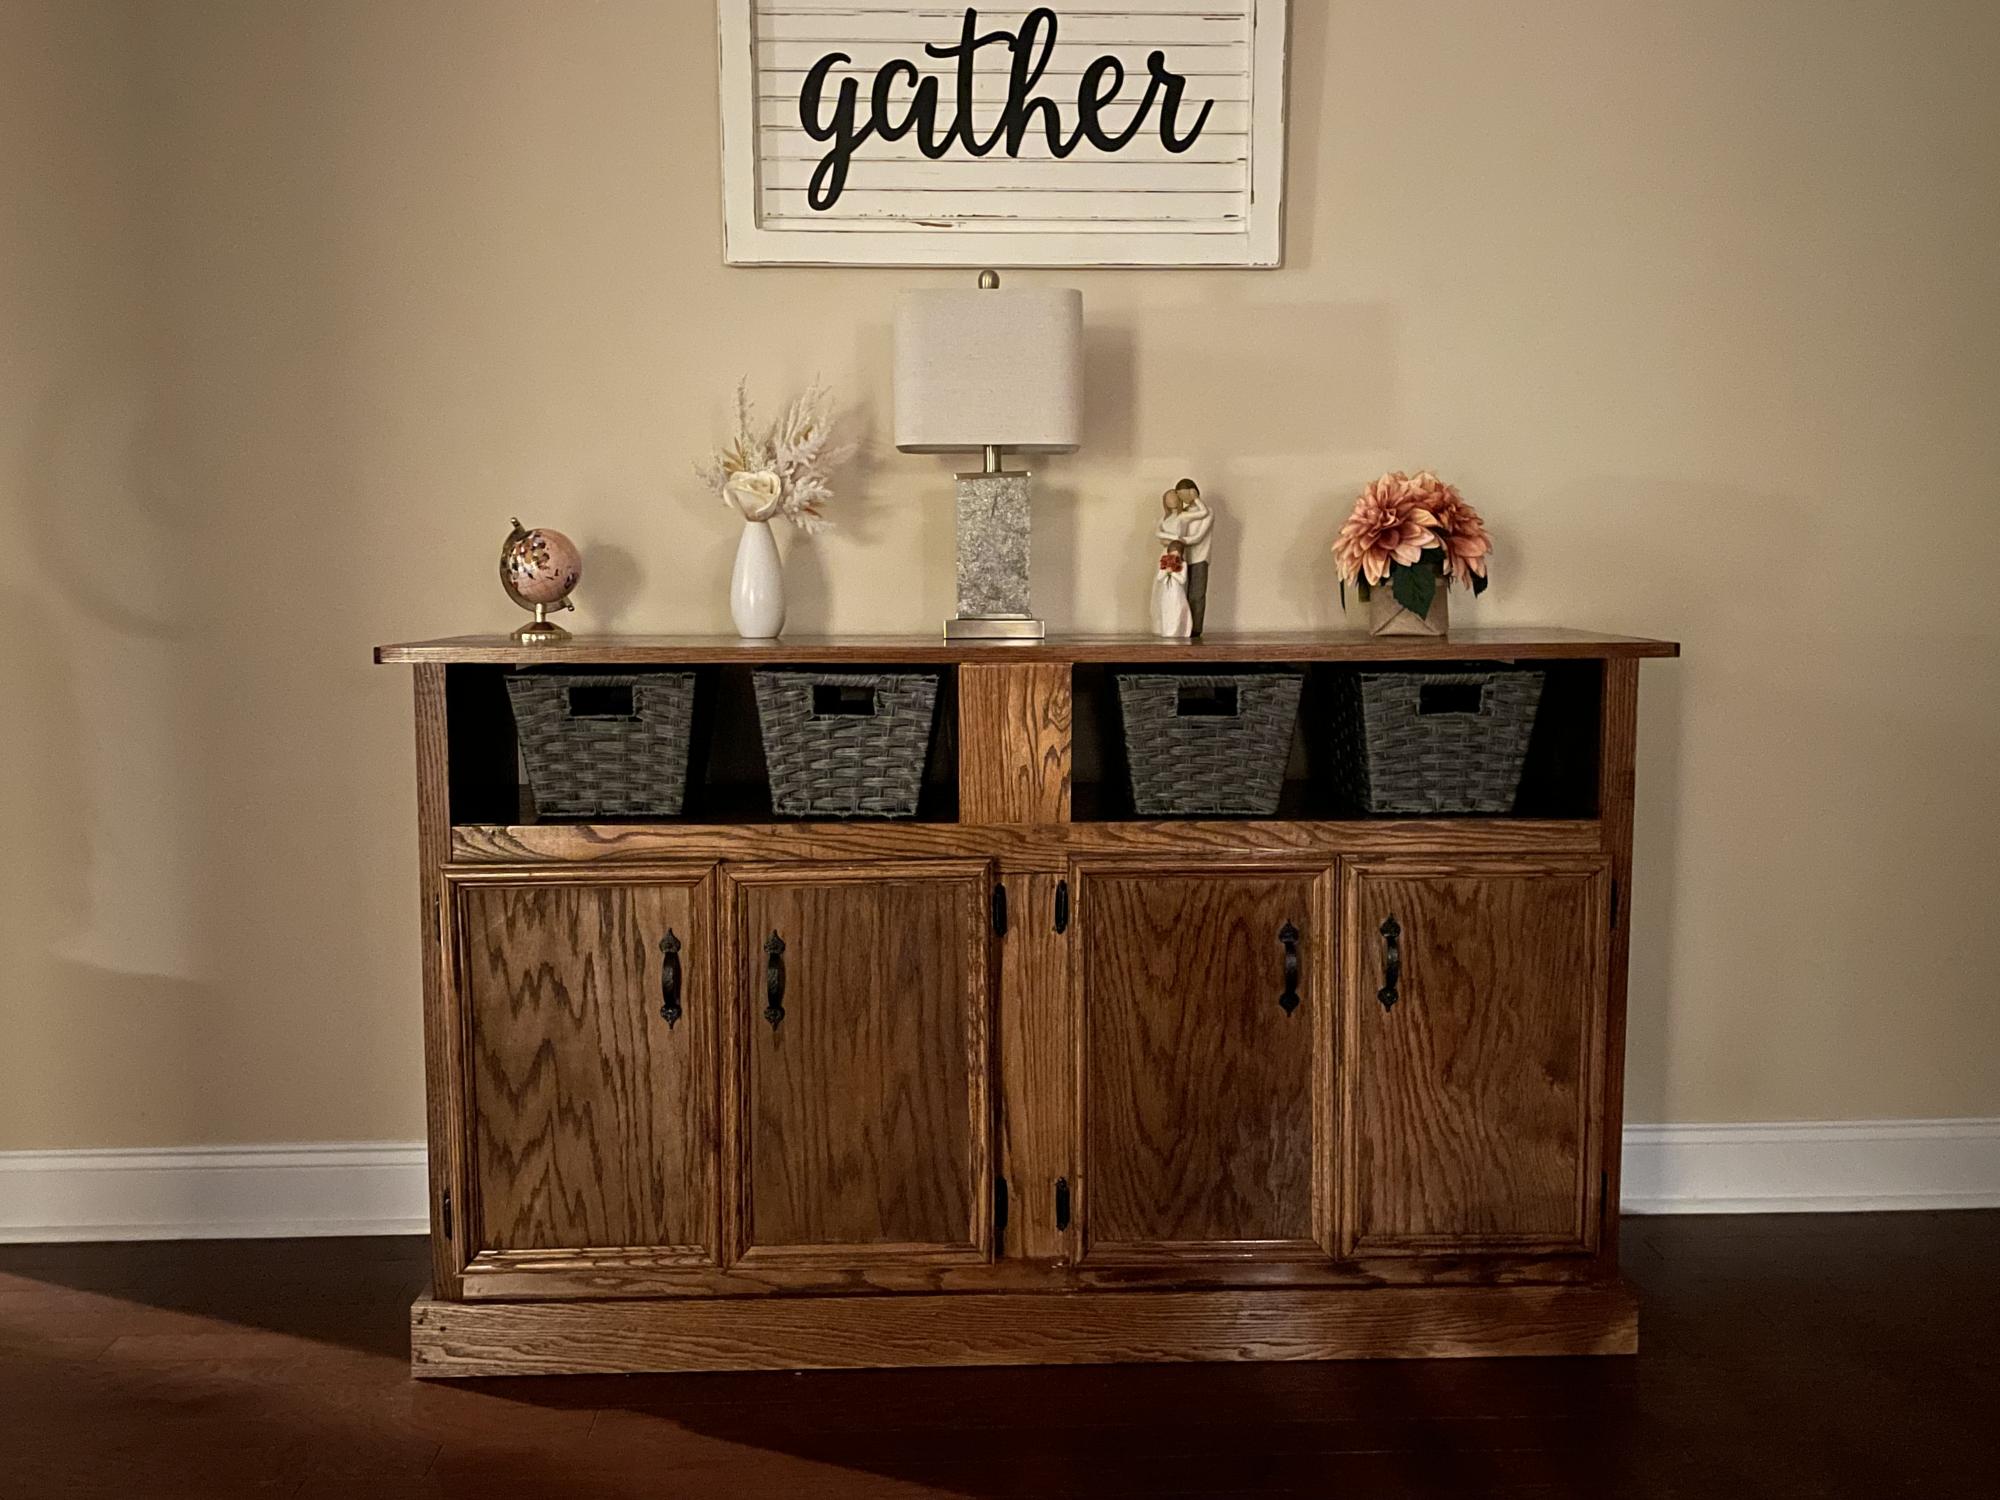
I saw these plans several months ago and finally got the time I wanted to make it. I chose oak because it’s the best and prettiest stained. I love the way it turned out!
Fri, 03/17/2023 - 19:49
Absolutely beautiful, love the finish! Thank you for sharing.
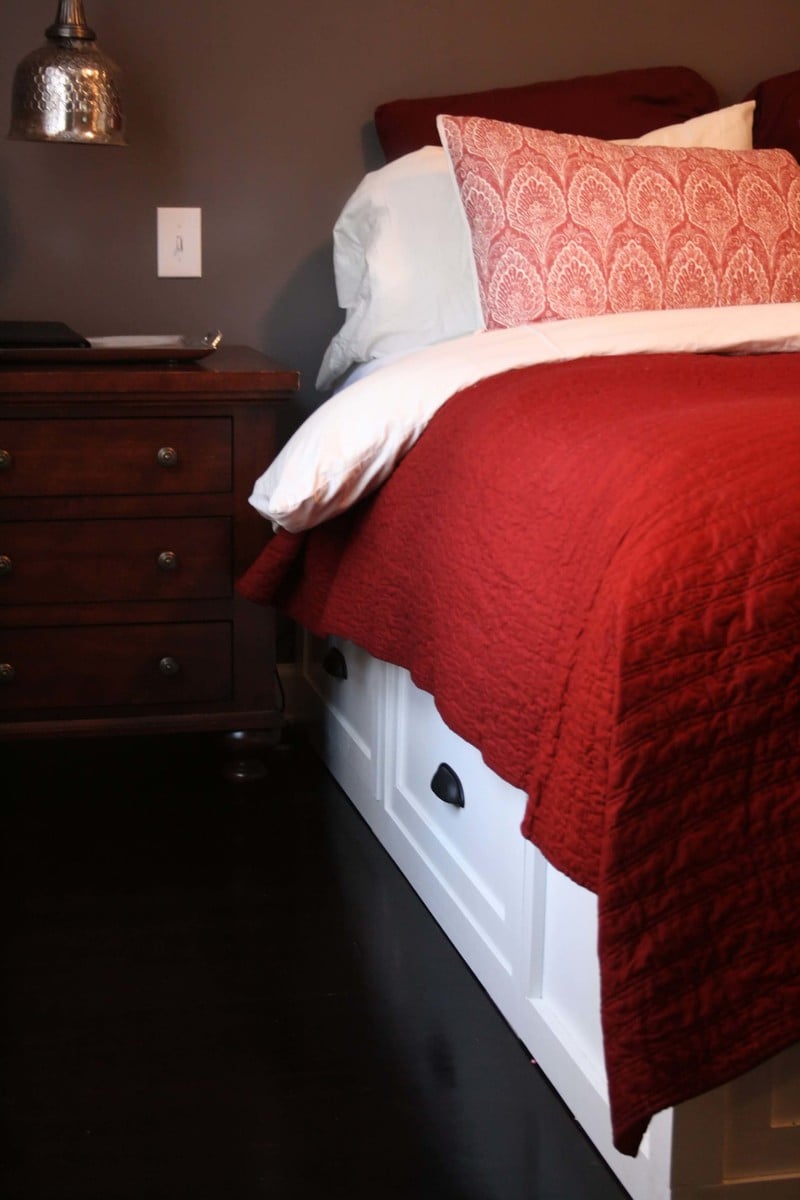
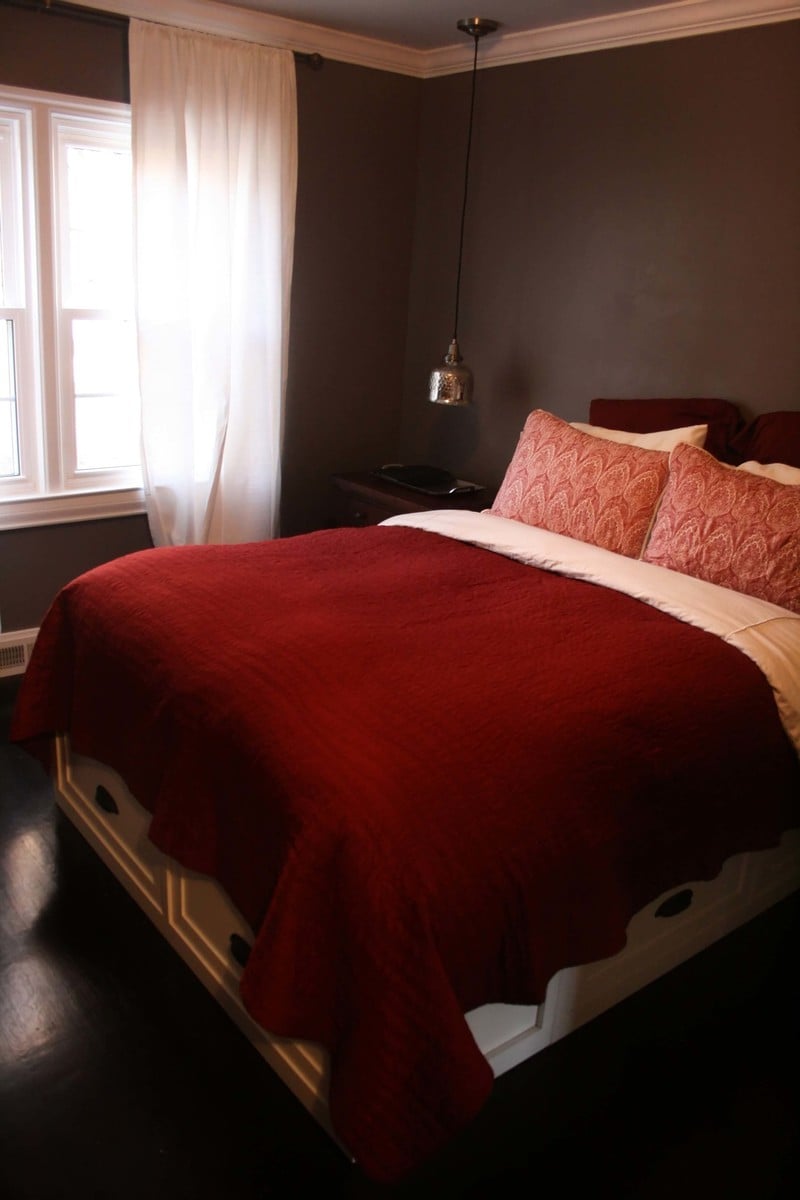
While doing some renovations on our house we gave our kids the largest bedrooms while my husband and I took the smallest. We desperately needed extra storage in the Master bedroom since not even a dresser would fit. The Queen Sized Storage Bed plans were the perfect solution and the bed looks gorgeous! More details on my blog...
Fri, 12/02/2011 - 08:26
WOW, we've been trying to find the time to complete these same plans and seeing your results make me want to put it on the top of our list. Your bed is BEAUTIFUL!!!!
But the hanging lights next to your bed and your flooring also add to the beauty. Would you mind sharing where you got these two items? Thanks!
Fri, 12/02/2011 - 13:28
engineer2mommaof2: Thanks for your kind words about our bed. We love it too! The lights are mercury glass pendants from Pottery Barn. Our hardwood floors are red oak that were original to our home (built in 1939). A couple months ago we sanded them down and stained them a dark walnut. The dark color is gorgeous...but pretty hard to keep clean with young kids around since they show every speck of dirt. Good luck on making your bed. Go for it! You won't regret it!