Patrick's Beach Cottage Media Center
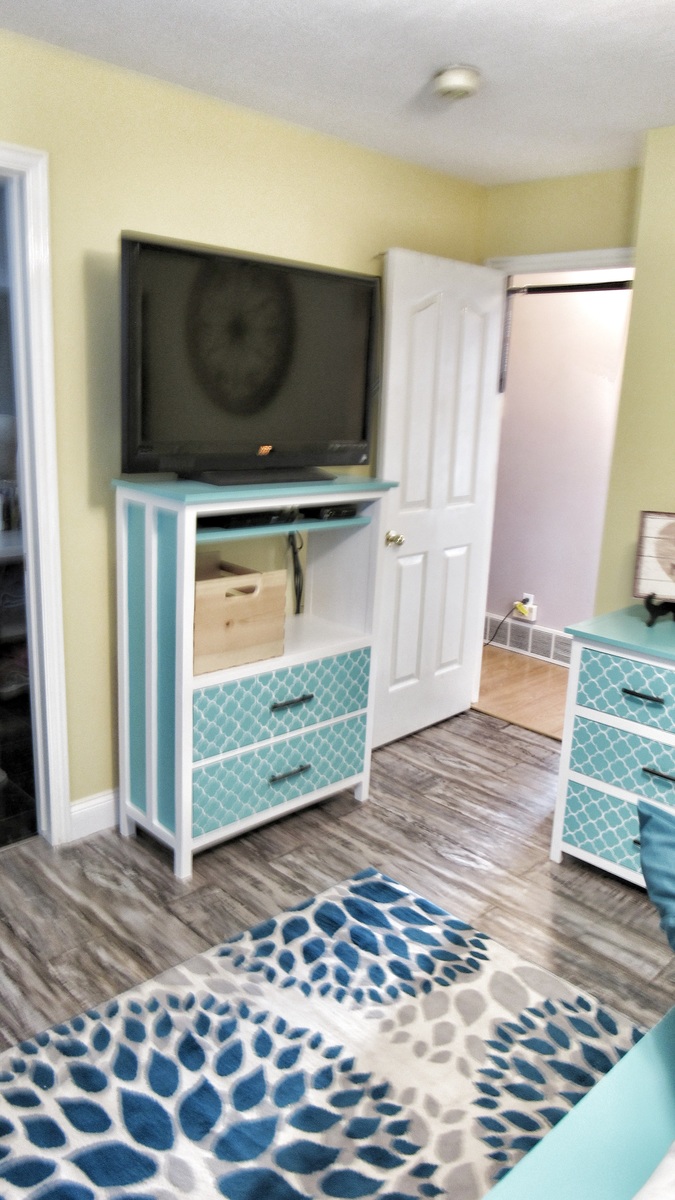
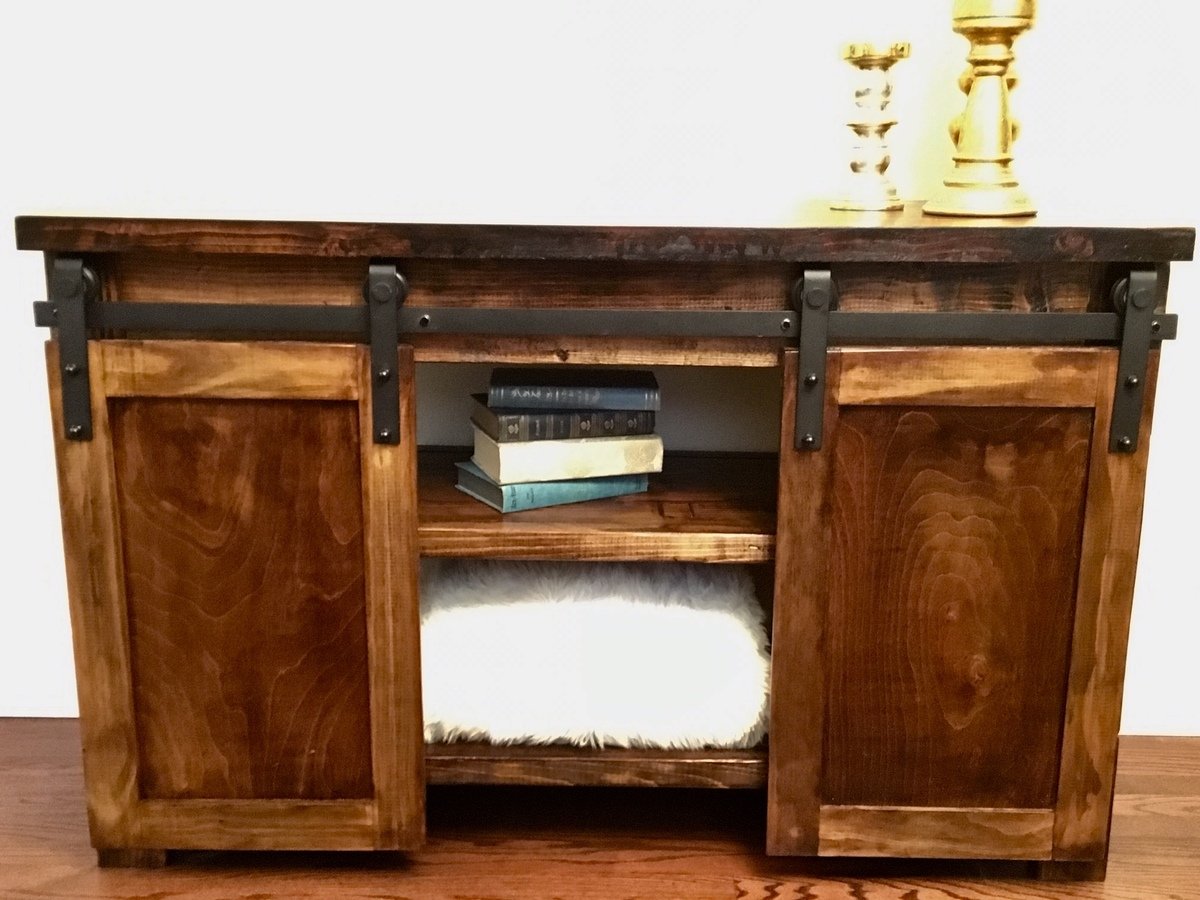
Modified the plans to have sides like the wide cabin dresser, and took out top two drawers for media center
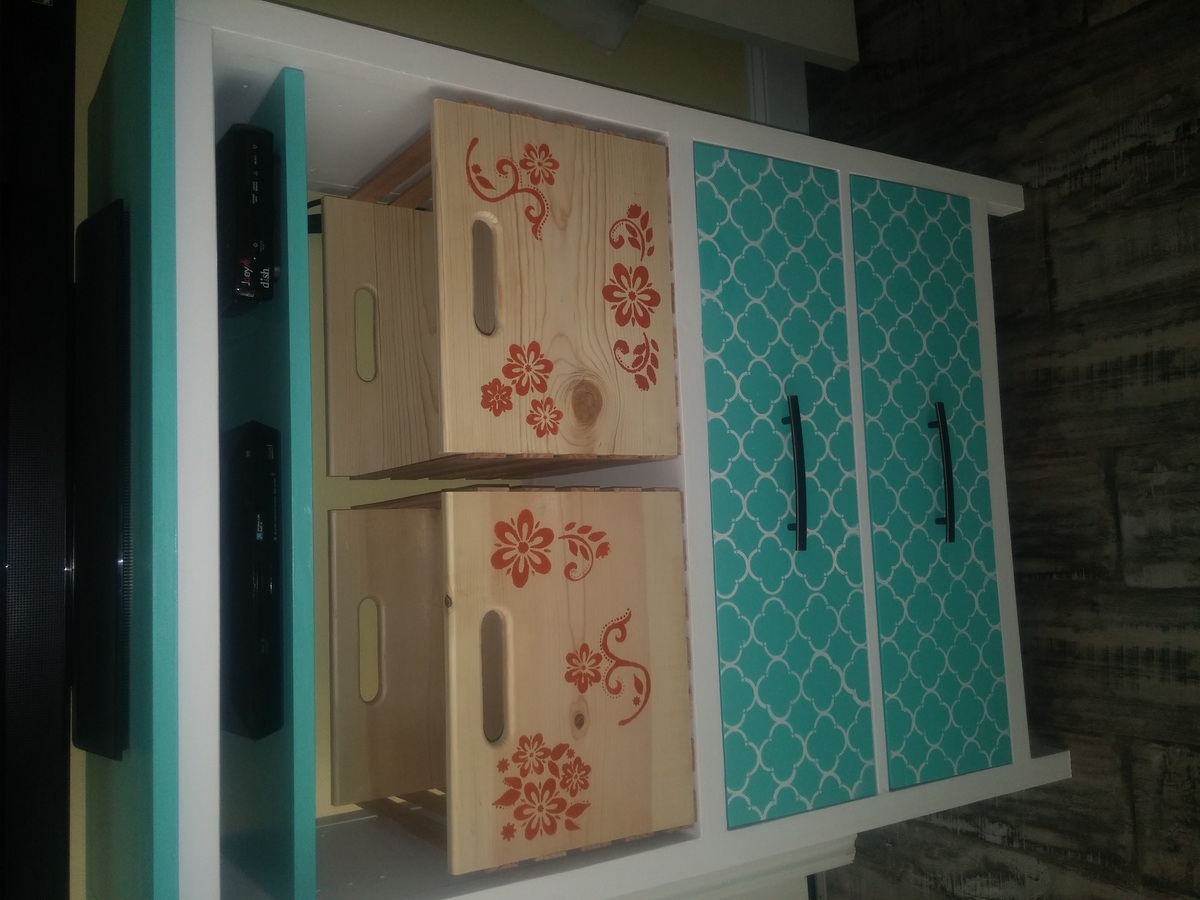

Modified the plans to have sides like the wide cabin dresser, and took out top two drawers for media center

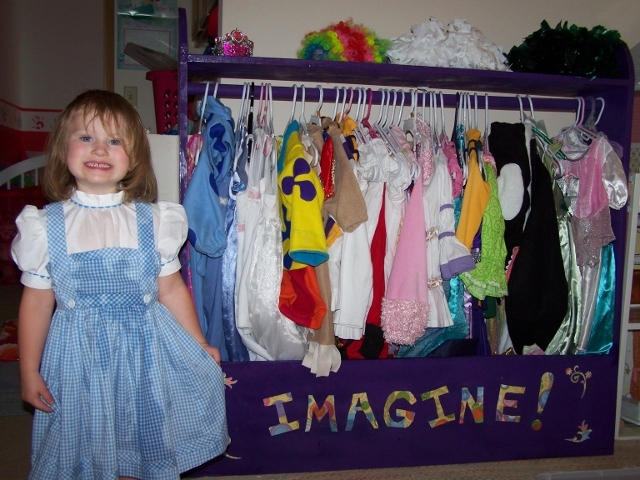
I made this for my girls' huge collection of dress-up clothes. I had to modify the plans a little to fit more costumes, and also to try to fit the longer length. I was hoping the longer dresses would hang without filling the bottom quite so much, but to make it tall enough for that the little one wouldn't have been able to reach the hanger bar.
I ended up with 4 foot boards all around - 6 pieces of 1x12 cut to 4 feet long, including the shelf at the top.
The eight year old cut the letters out of scrapbook paper and we glued them on with elmers glue then varnished over it.
All in all it looks great and holds 4 big plastic totes worth of dress-up (11 Halloweens/4 little girls/5 flower girl dresses and miscellaneous other outfits).
Now I'm just hoping they'll learn to use hangers and it will stay neat and tidy!
Construction was very easy and went well - took us longer to shop than it did to build!
Painting on the other hand took a long time, mostly just to wait between coats. I used spray paint and some polyurethane to gloss it up.
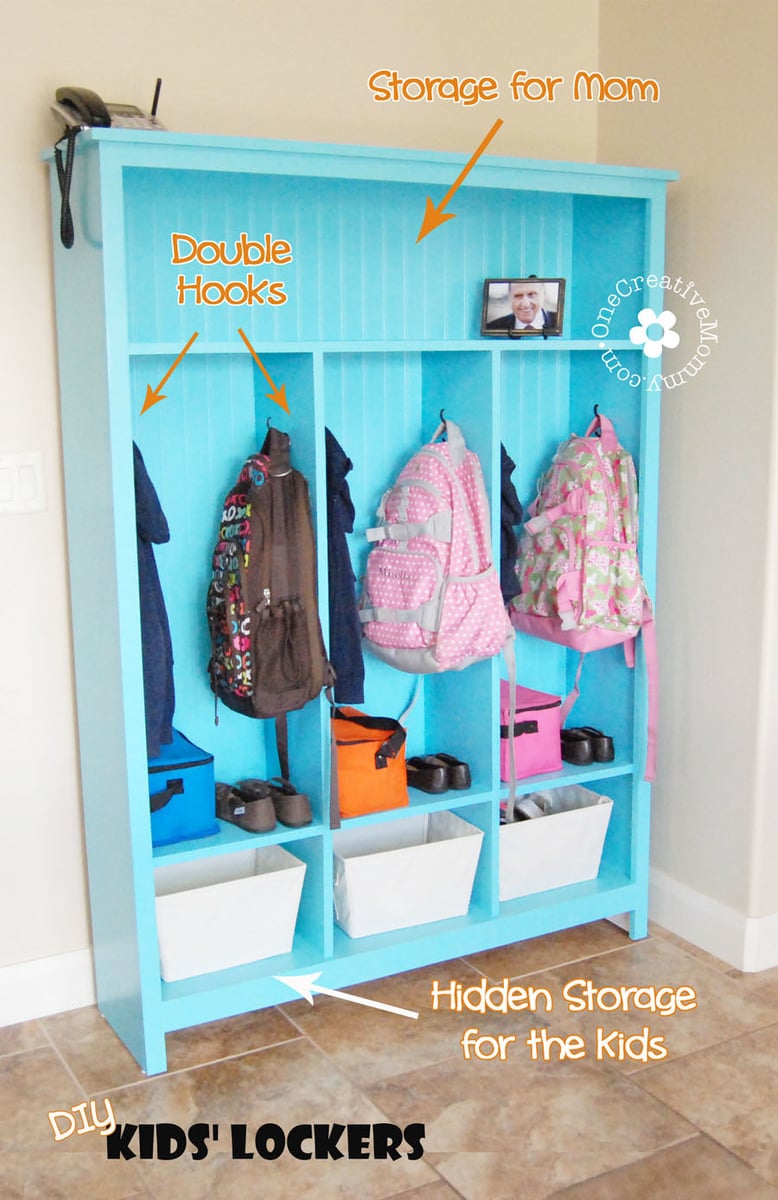
I love my new lockers, and I am in love with building! I think the Kreg Pocket Jig is my new best friend!
This is my first project, and I made a couple of changes to Ana's awesome plans. I used bead board for the backing instead of ply wood, and I added divider shelves on the bottom shelf. I also added hooks on both sides of each locker so that my kids can hang lots of stuff.
Since I am a total beginner builder, I made a few mistakes as I built these lockers. If you are a beginner, too, please check out my post on OneCreativeMommy.com so that you don't have to make the same mistakes! I included a chart that shows the order I used to put everything together and added instructions for the extra dividers.
I am loving my organized space (and so are my kids)!
See the project now: http://bit.ly/lockers-kids
Pin it for later: http://bit.ly/14FpeHD
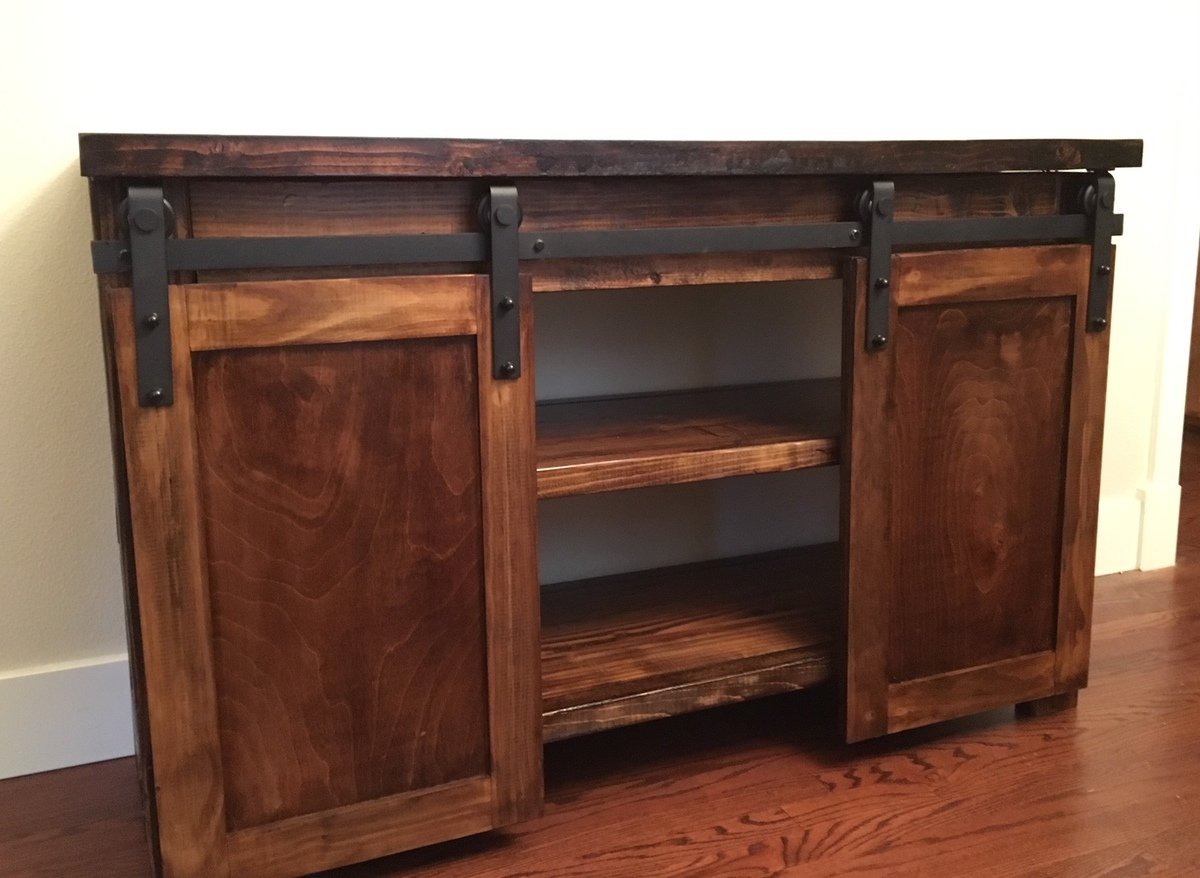
Although it looks like a console now, the eventual use of this project will be as a vanity with a top-mount sink!
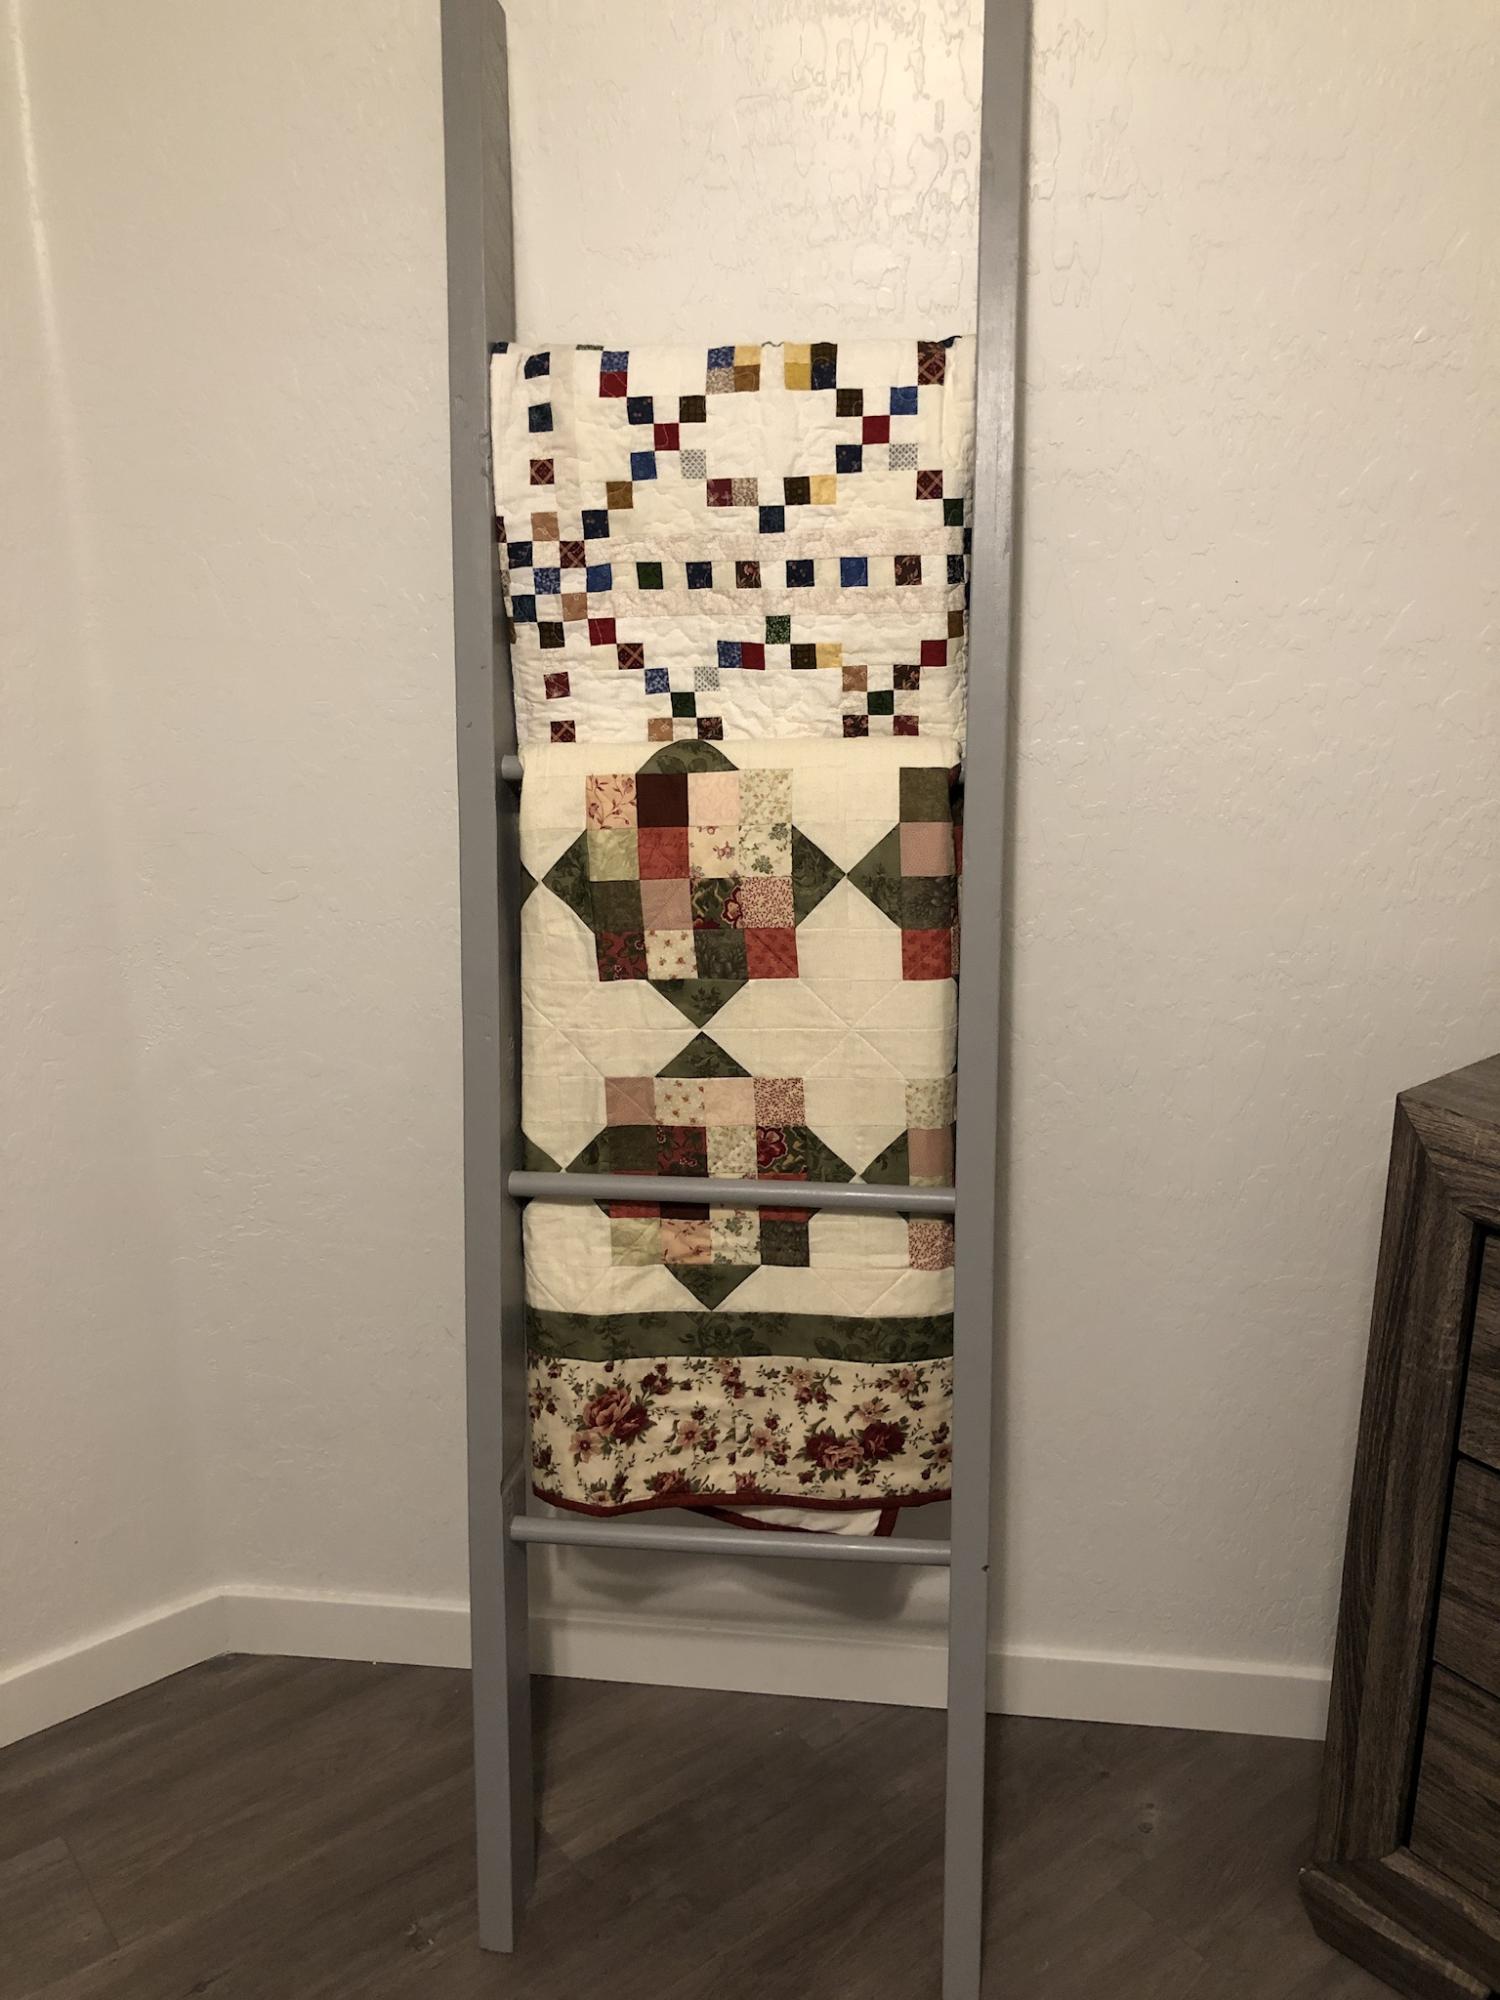
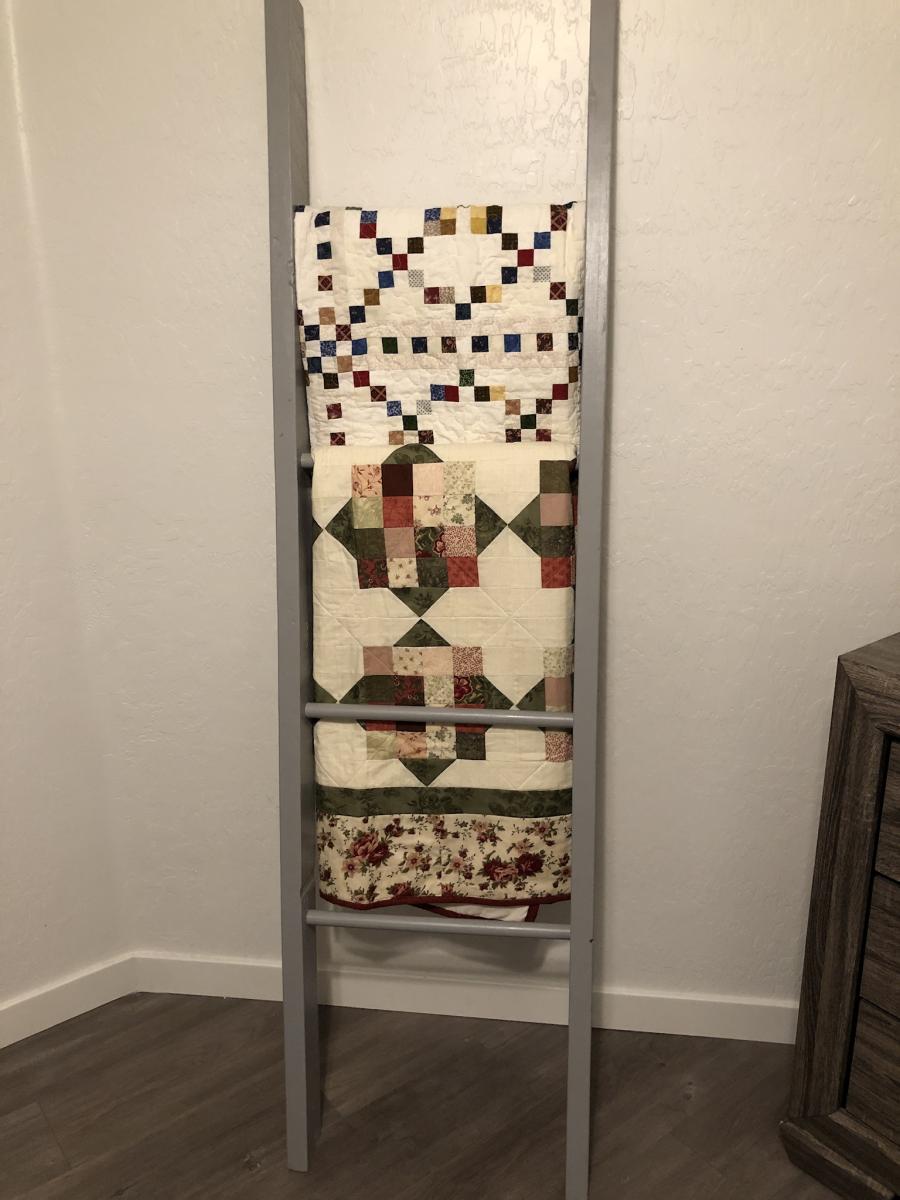
My husband was an amazing woodworker and when he passed away he left me a wood shop full of tools. No skills but with amazing directions, I was able to make a blanket ladder to hold the quilts that I so dearly loved. I think my husband would be very pleased!
Fri, 08/05/2022 - 12:06
This is fantastic, great job indeed, thank you for sharing.
My wife first saw these in Pottery Barn one day listed for over $2,000.00, we then stumbled upon Ana White's Website and noticed she had plans. I printed them out and went to lowes to buy the material. I didnt own a saw so I had them cut the MDF for me. They ended up cutting it way off from the measurments so I ended up buying a skil saw and some stain grade pine and went to work. I get frustrated following measurements, so I ended up just looking at a picture and making it custom. Took me a few months working on it every few days, sometimes a week at a time. Thanks for looking!
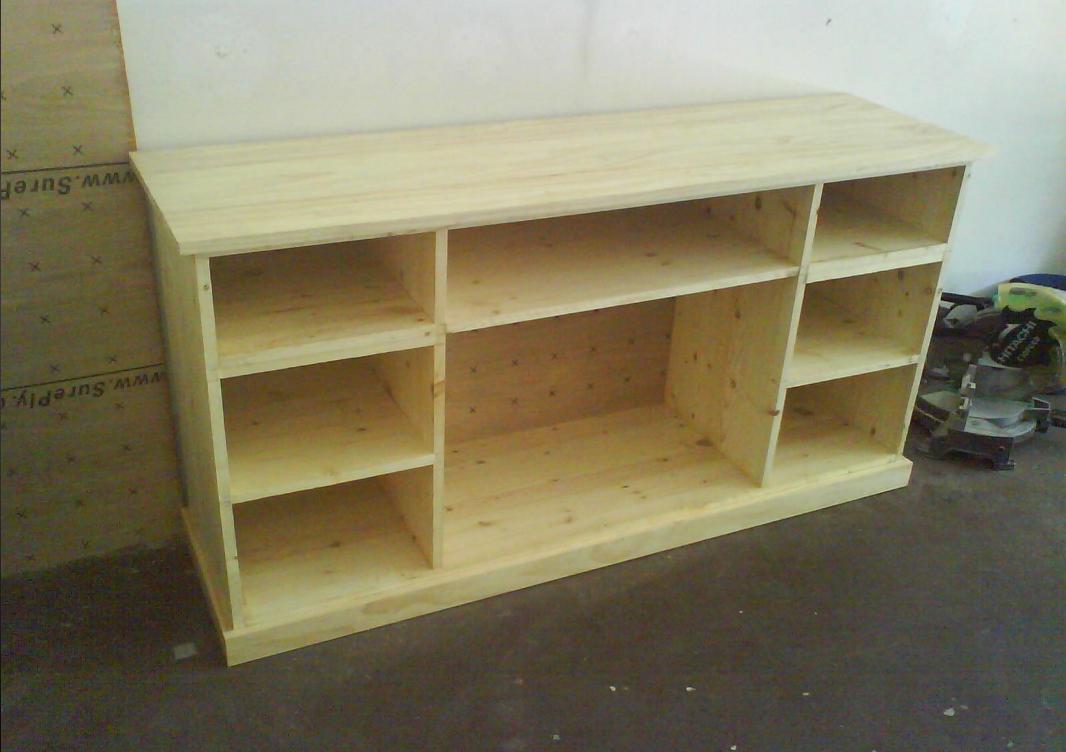
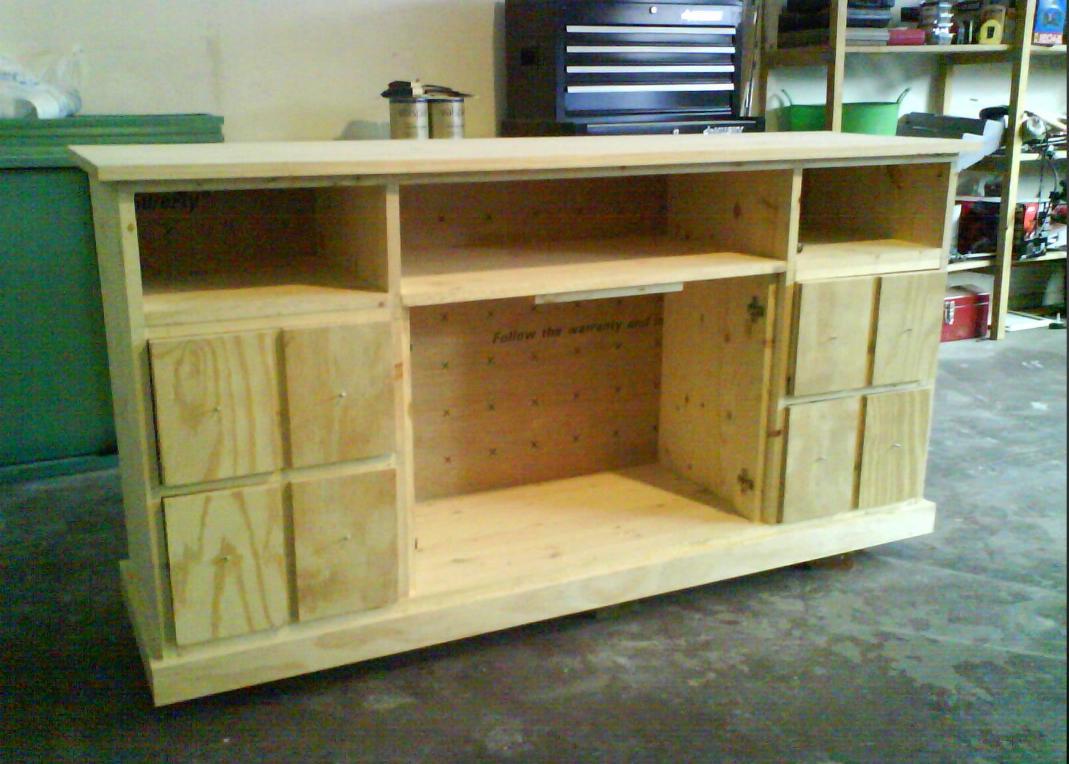
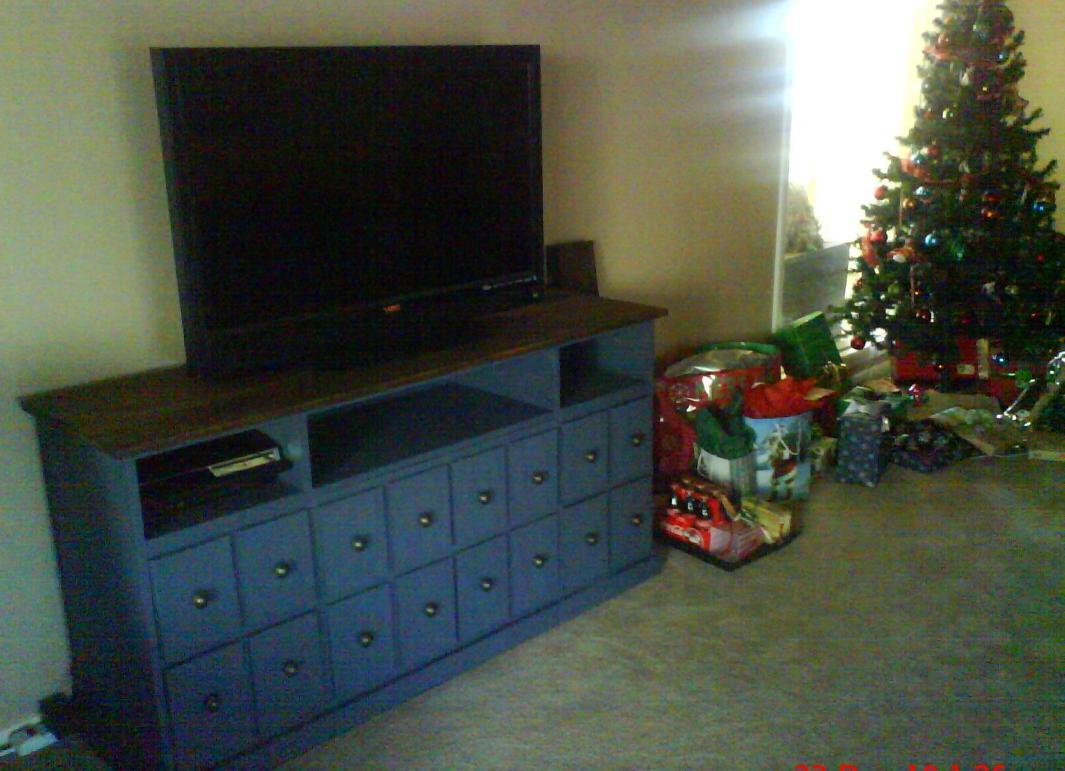
Mon, 08/08/2011 - 08:04
Nice job! Thanks for including the progression pics. I'll have to attempt this soon.
Wed, 08/31/2011 - 07:39
Looks like you built 3 boxes and joined them together ? You said you used pine for this. Did you just go with 1x12's or did you join boards together with a kreg jig to make it deeper ? Awesome job this is my next project.
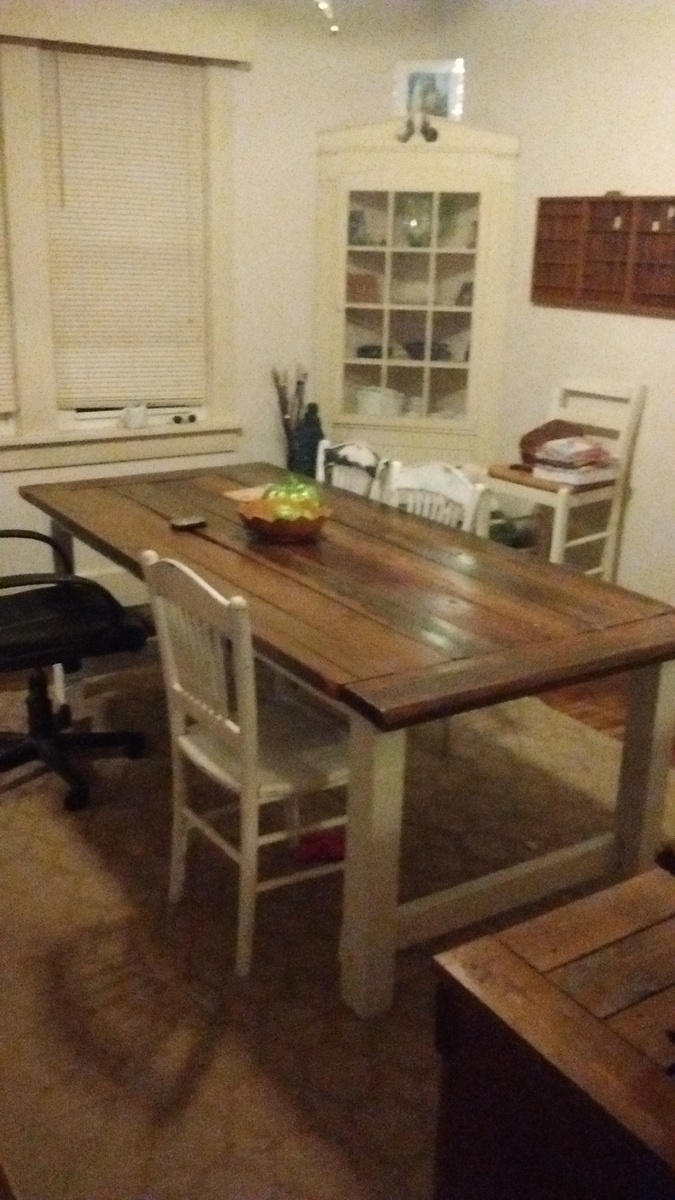
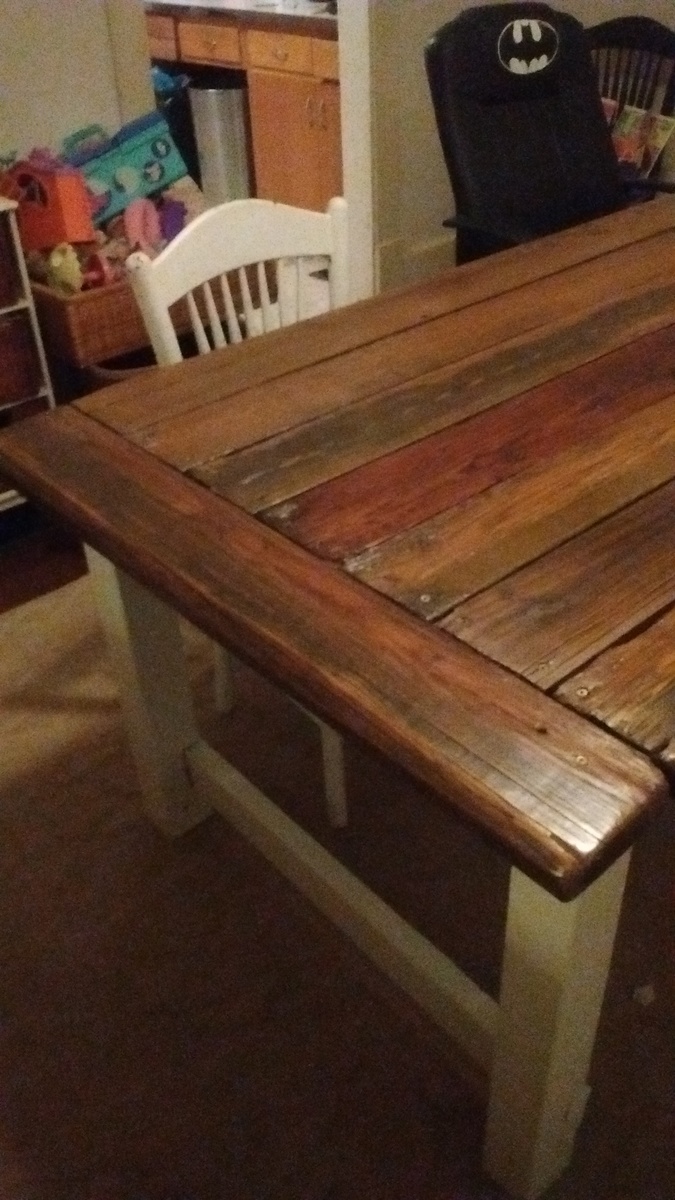
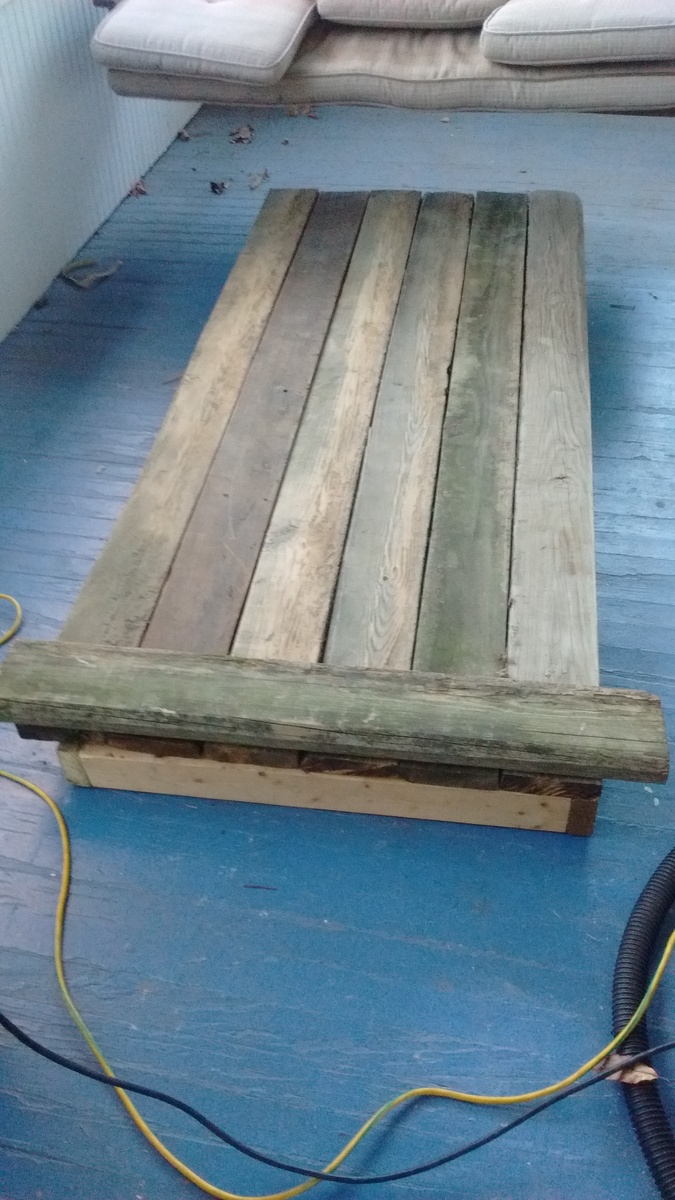
All wood used was reclaimed. Some tabletop pieces were warped, but added character to the table. Took about four 6-hour days with interruptions in between. I bought the stain from the Habitat store for $1.50 and the poly was left at the house we recently moved into. The stain was brushed on then rubbed in with a rag. I originally used about six coats of oil-based poly and when that didn't seem to work, I applied 2 coats of Polycrylic.
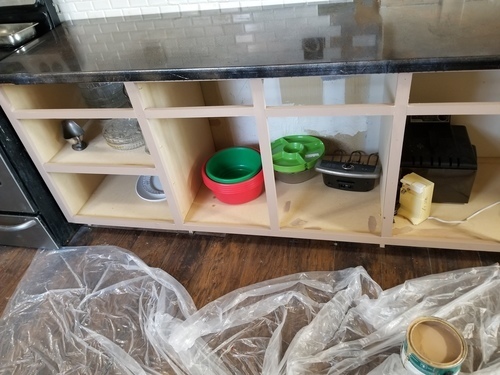
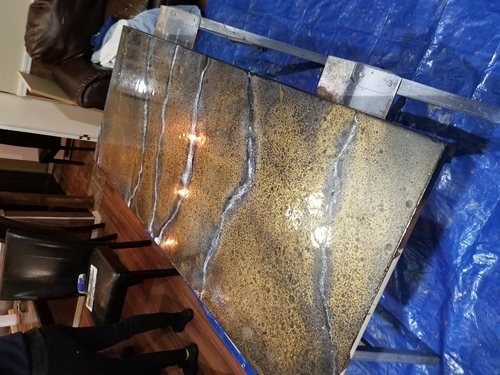
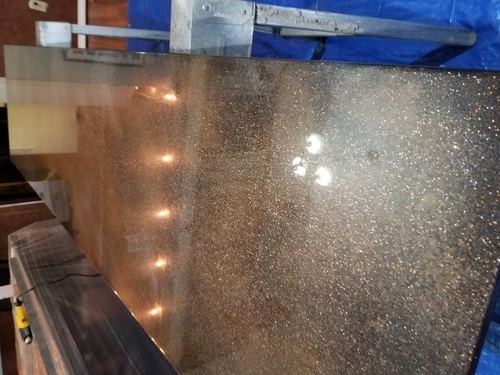
I would like to thank www.stonecoatcountertops.com for the ideas on the countertops,
first off I used 3/4 MDF for this project, Ana White's momplex cabinet plans and just extended the plans to the size i needed, i created the doors out of MDF cut to size and used a router to create the design on the edge and the countertops are made with MDF, expoxy,spray paint, and metallic powder in 91% alcohol. this plan was so eazy, and my kids had a blast doing it, Thanks Ana for the cabinet plans
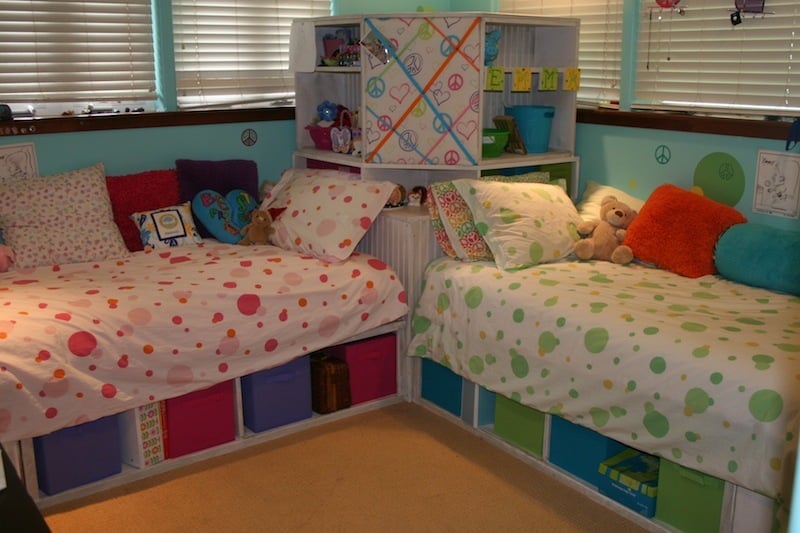
I made this bed for my 2 girls who share a room. It was my first real attempt at building anything substantial. They are thrilled. The plans were so easy to follow. The only thing I did different was use 3 inch screws in the hutch base because I felt it made it more sturdy. I used bead board for the outside of the hutch and the back of the book cases. Thanks Ana for such great plans.
Tue, 12/25/2012 - 04:39
I really want to do this for our twins who are about to move to big girl beds. However, I do not see the plans for this. Do you have a pdf to show how to build them? I especially love the hutch!
In reply to I really want to do this for by Rachel Stacy (not verified)
Wed, 01/16/2013 - 18:16
It's from the twin storage bed plans, and the storage hutch plans too. I don't have a pdf myself, but all the plans are from Ana's site. Good Luck!
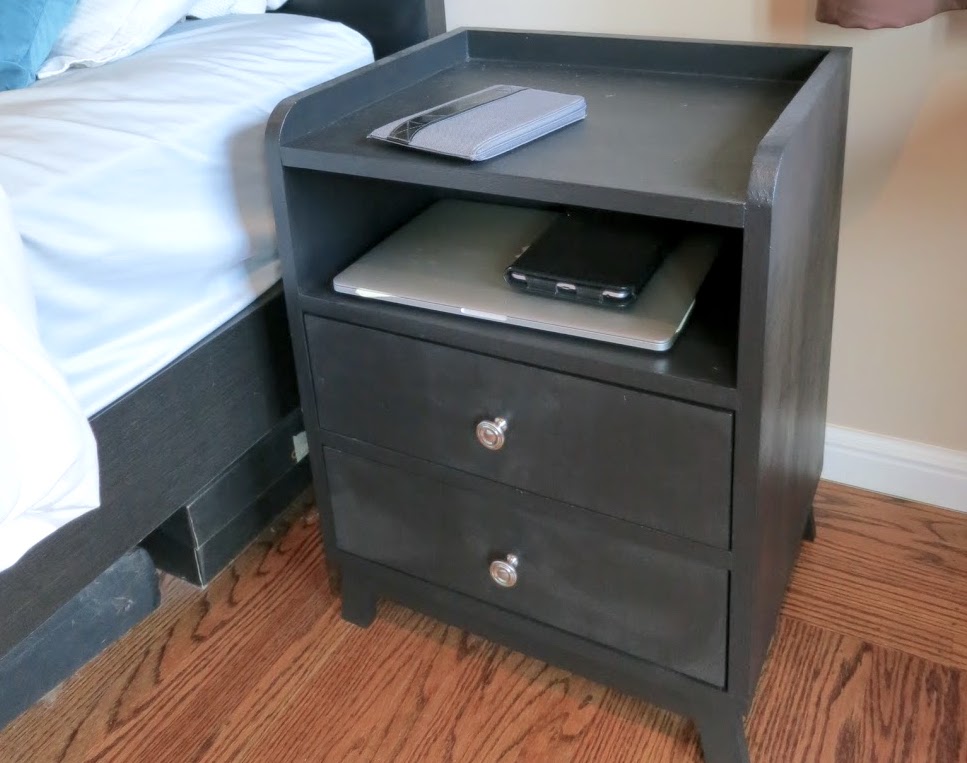
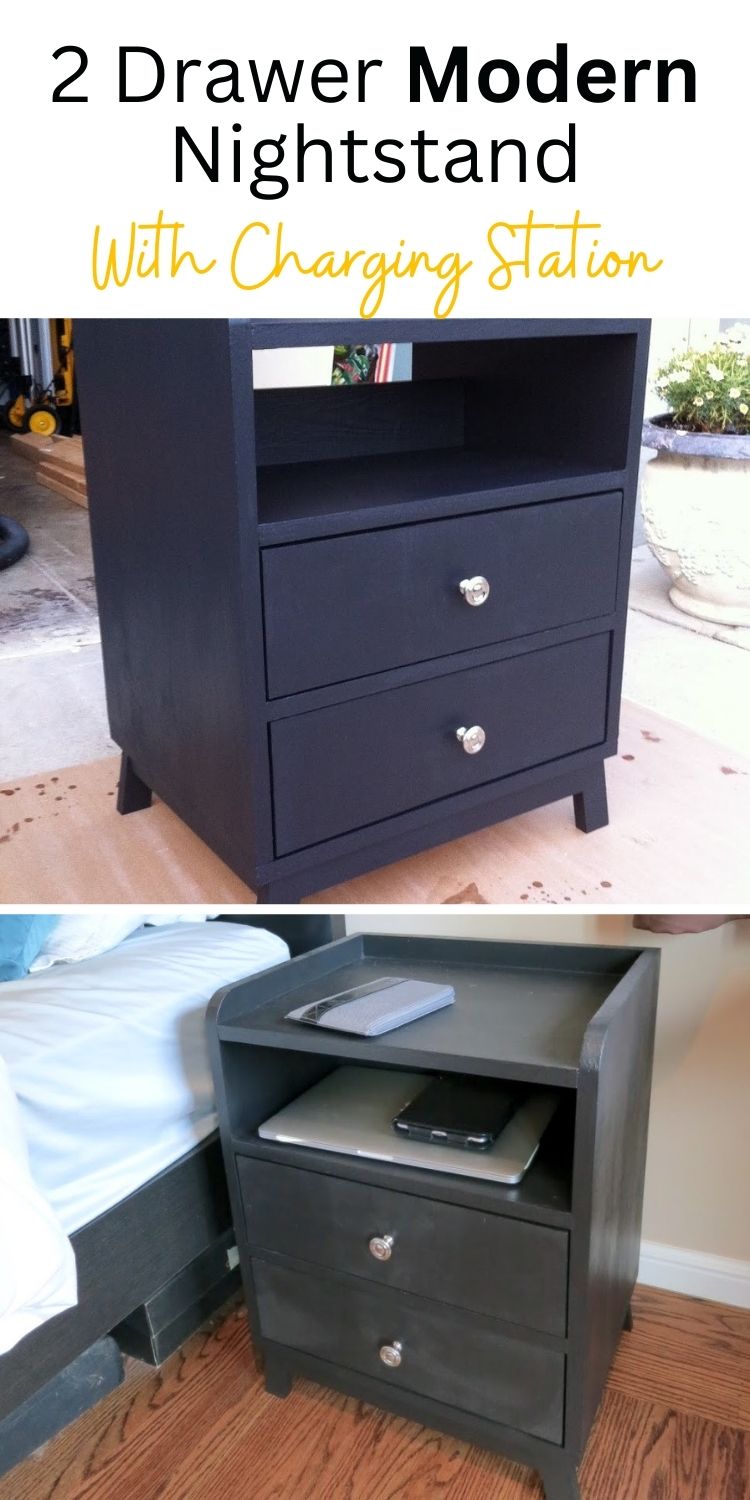
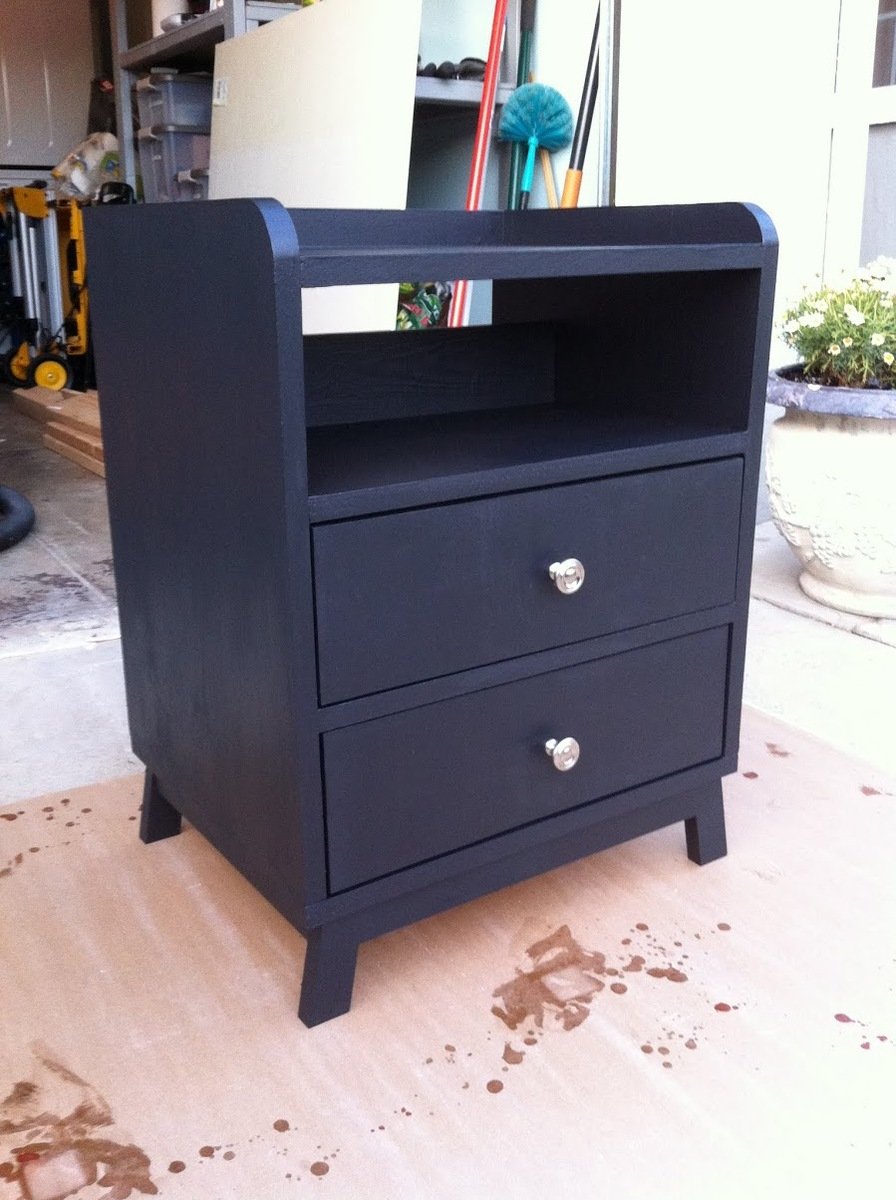
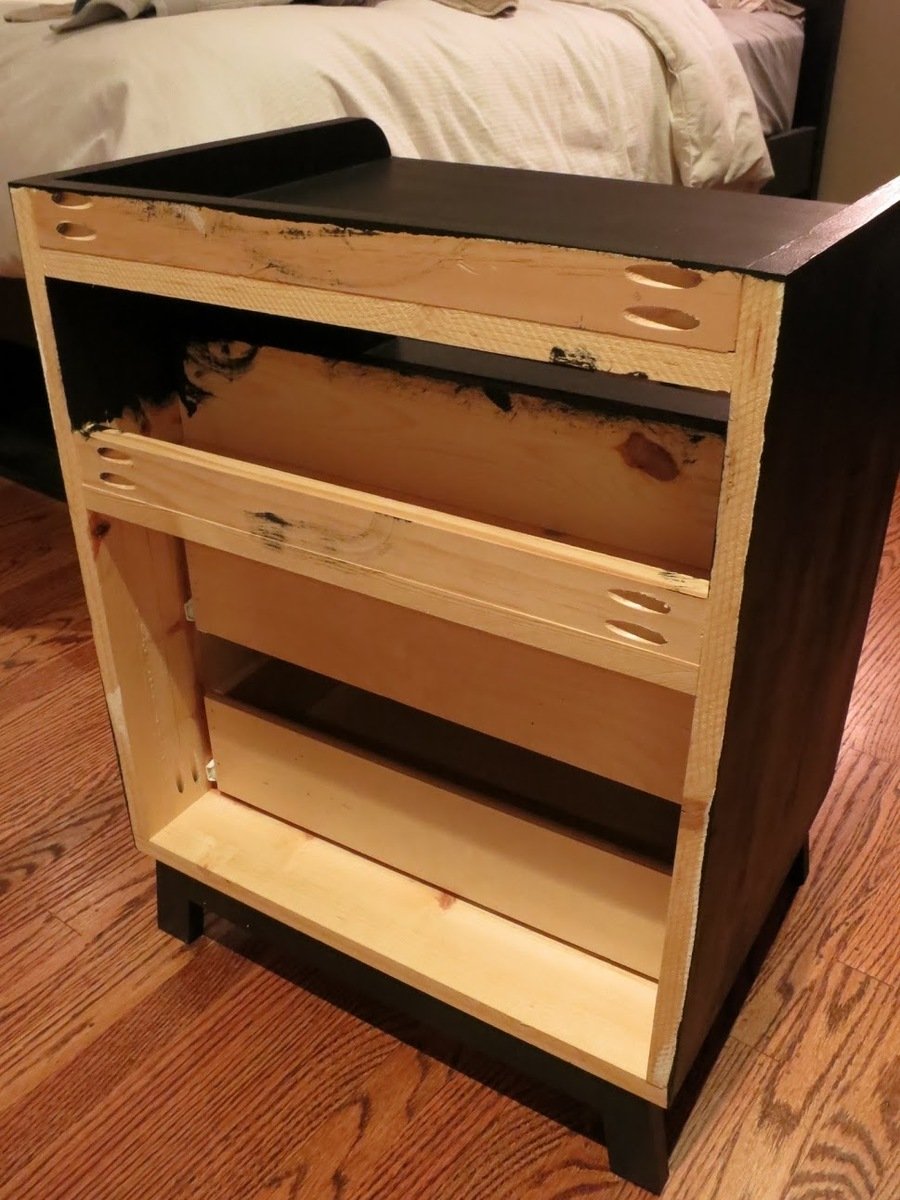
I really liked the look of the 2 Drawer Modern Nightstand but I wanted to add a twist to it. Since I can't live without my devices (laptop and phone), I decided to add an open slot to the middle shelf of the nightstand for power cables. It also has a space that I added in the back that can hold a power strip. Embarrassed that I did not paint the back of the nightstand but I was really done at that point after a long weekend's worth of work!
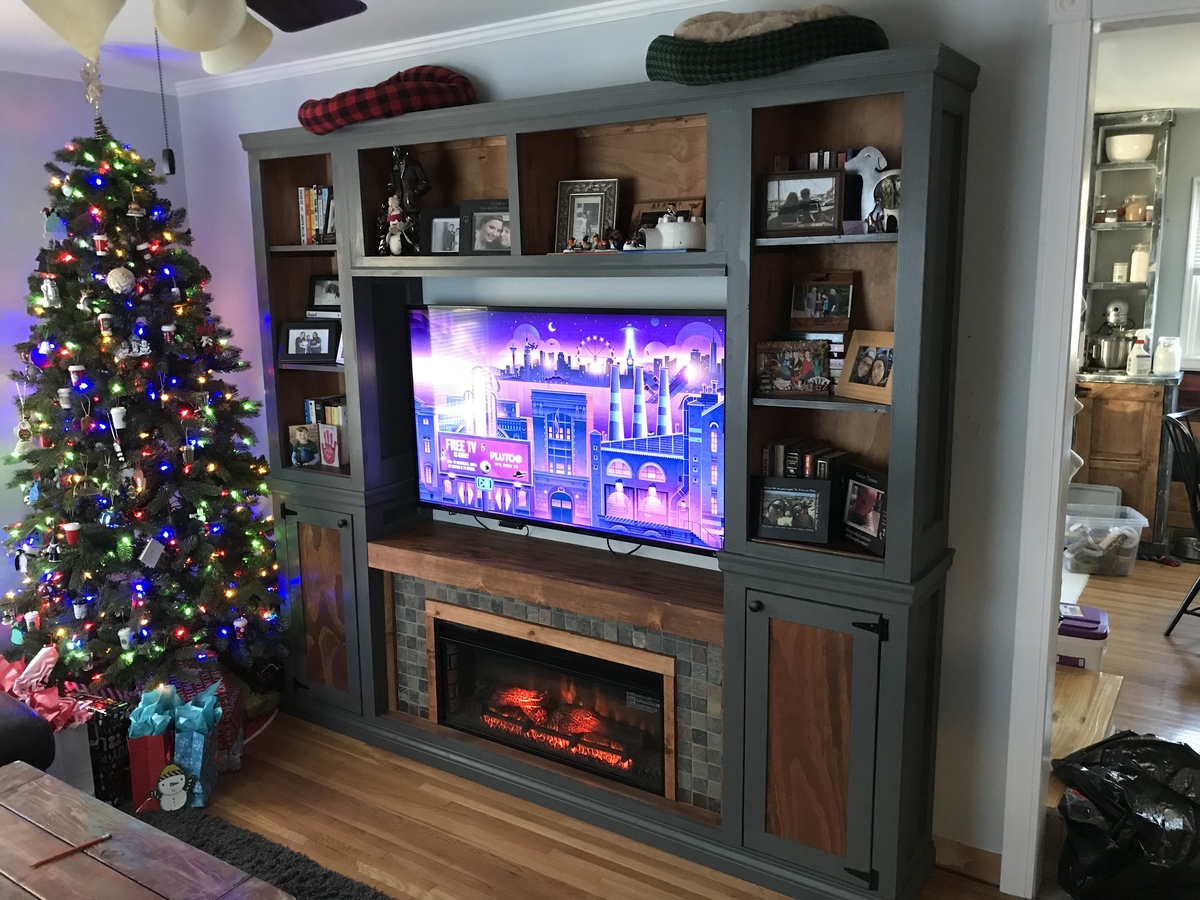
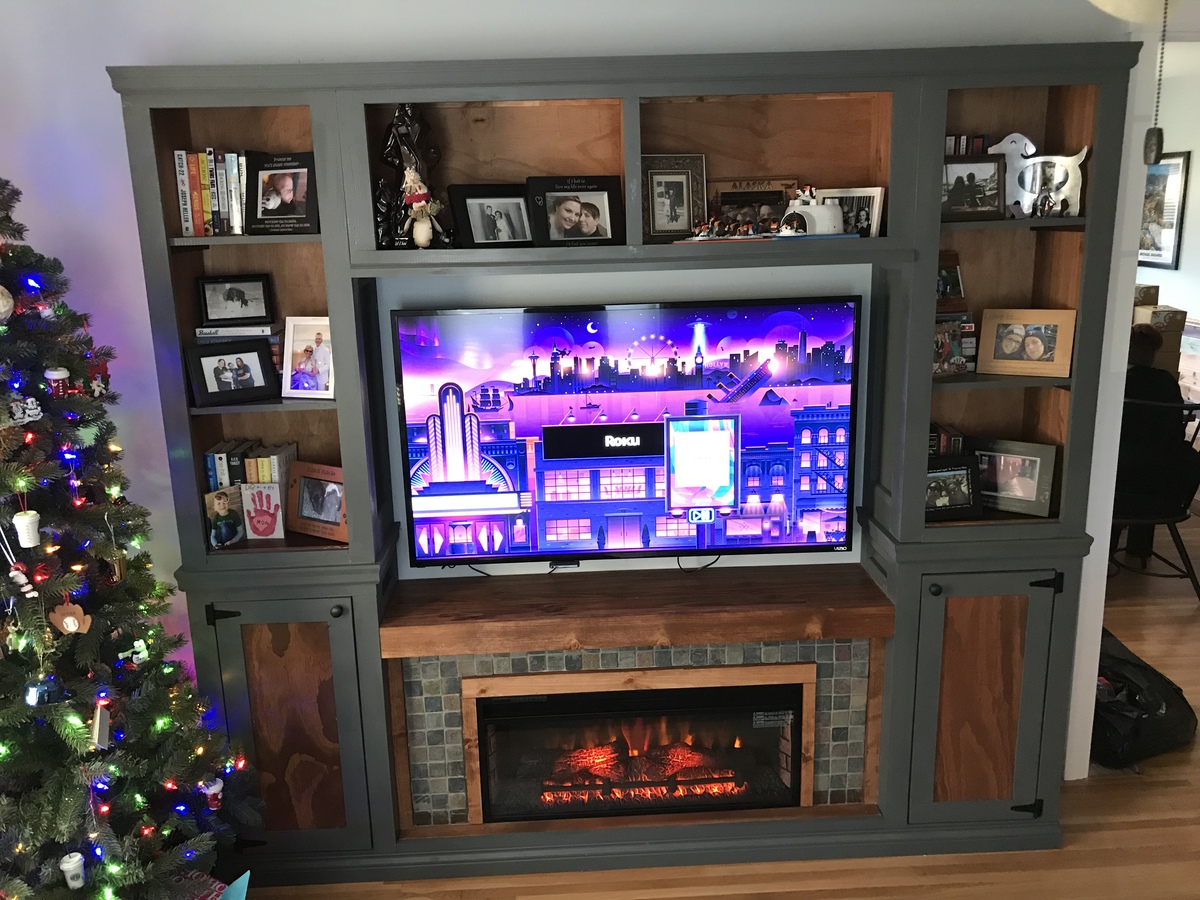
We needed a surround for the TV and really wanted to have a fireplace underneath. I took the Shanty Hutch/Sideboard plans and made some modifications. Took about 2 weeks to complete.
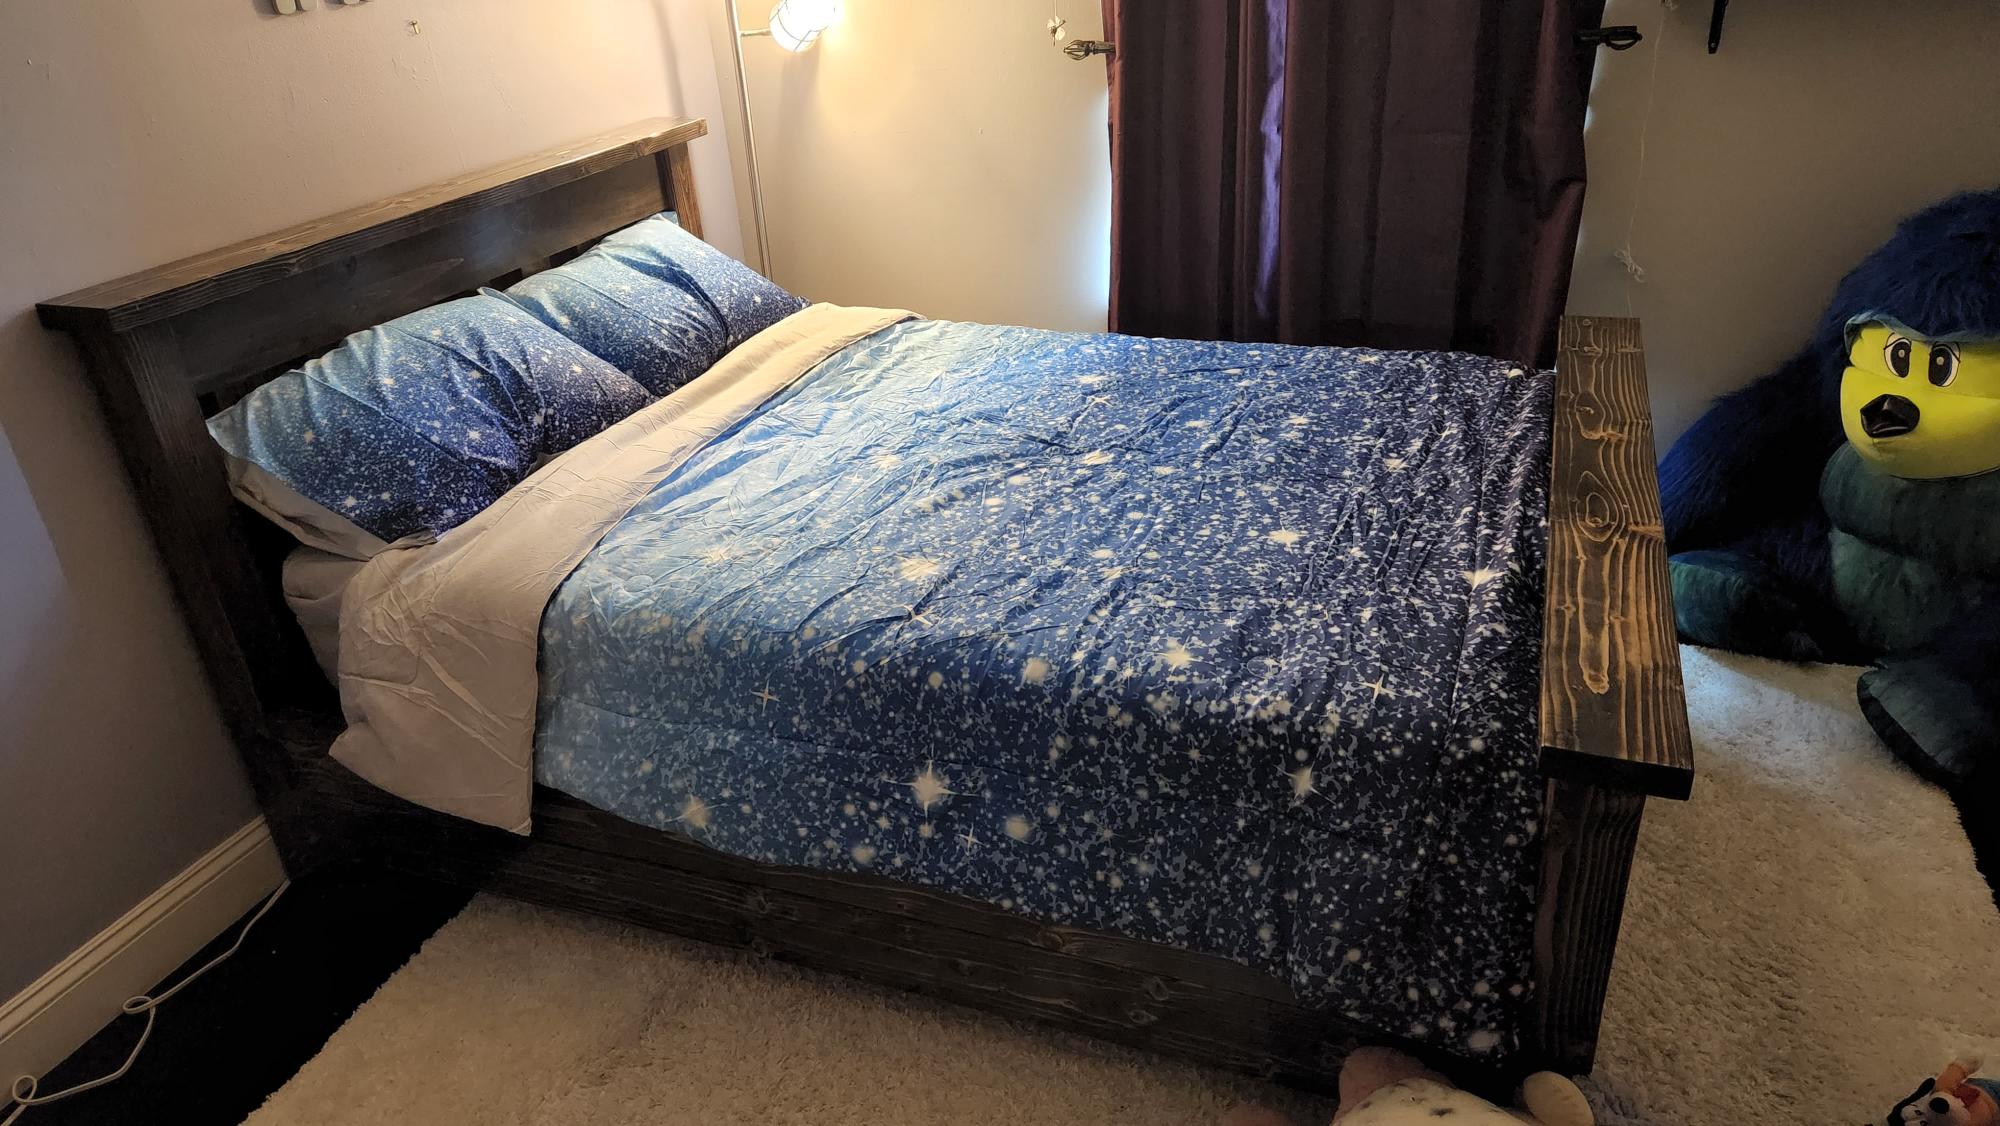
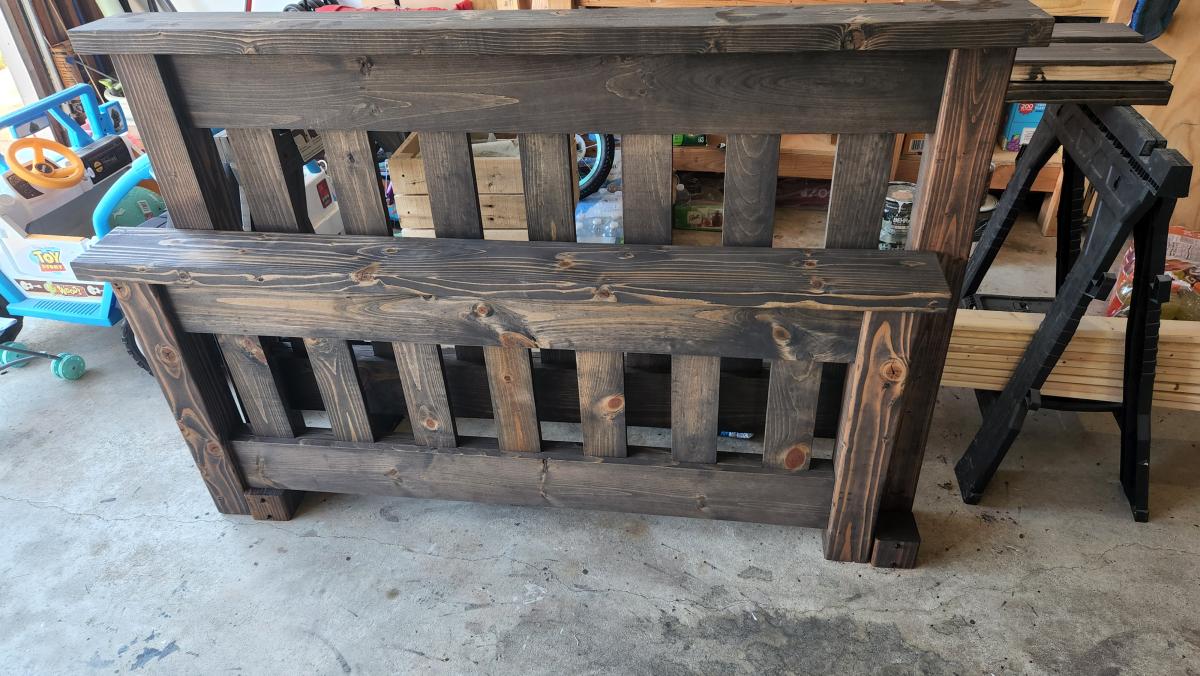
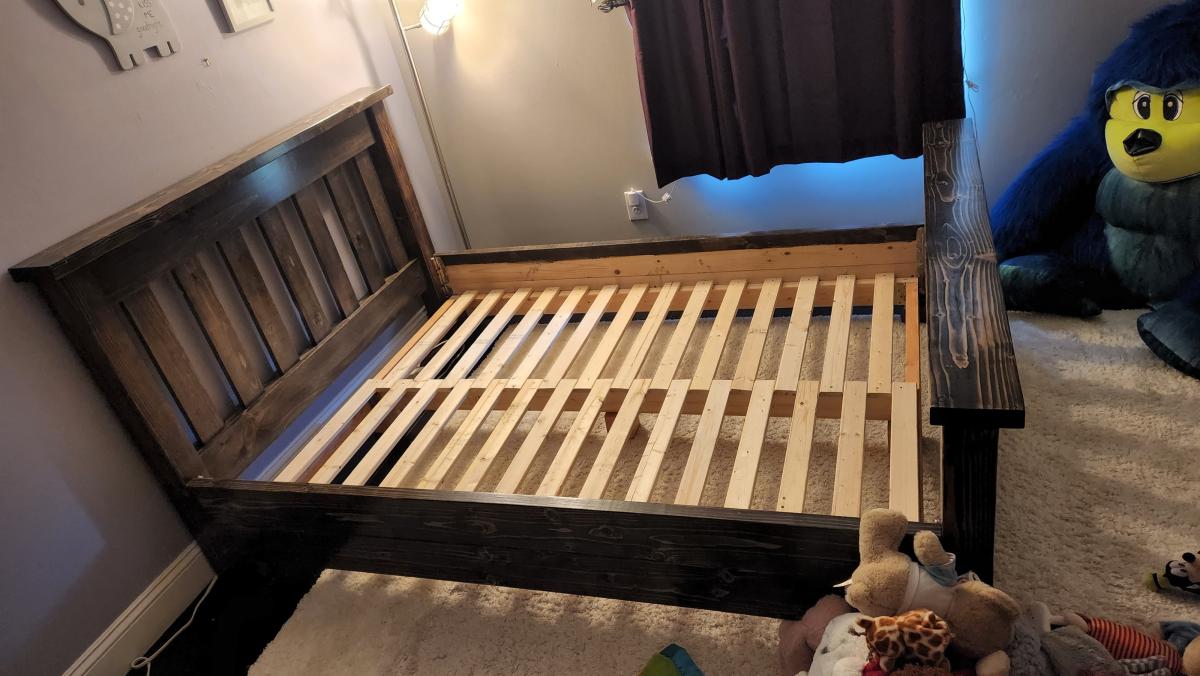
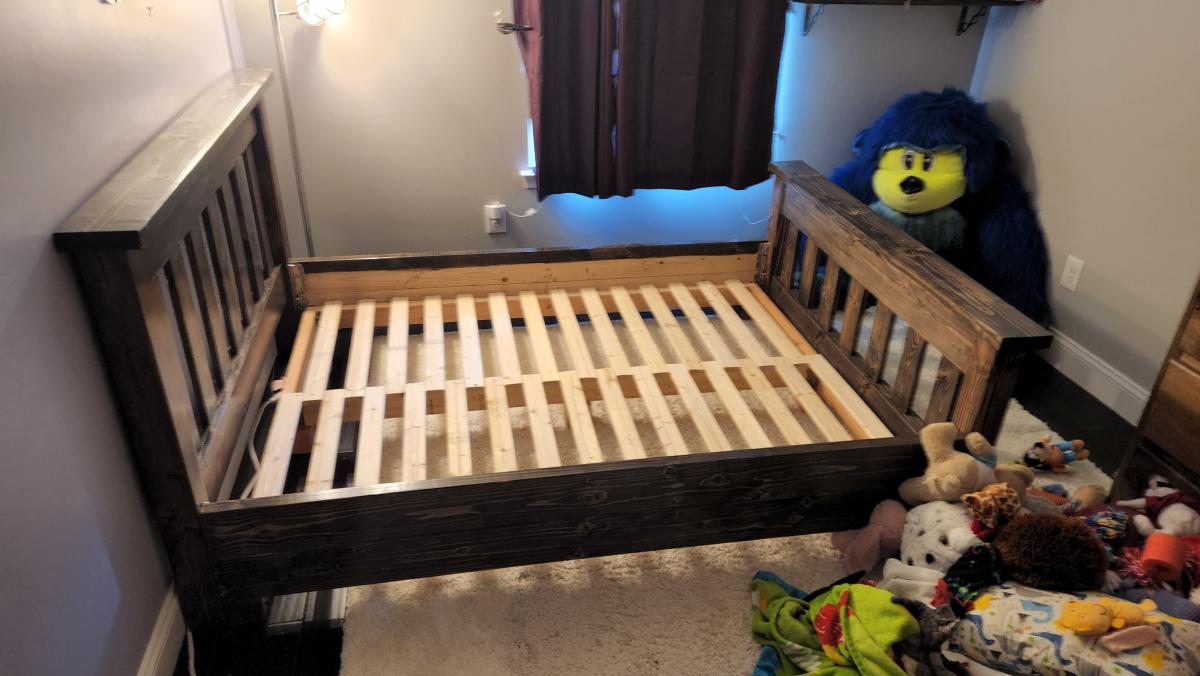
My daughter needed to get out of her Toddler Bed so I built this quickly. Used 2 2x6 for each rail, and cut down the height of the headboard and footboard. Also as always I use Rocklers 5" Surface Mounted Brackets for all beds. I have the rails also sitting on 3 inch blocks to support the extra jumping this bed will endure by a 4 yr old.
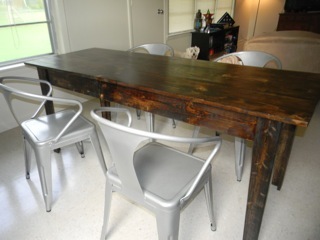
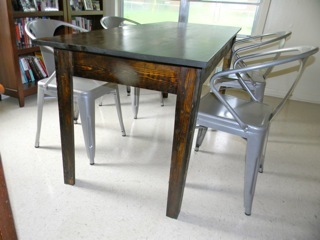
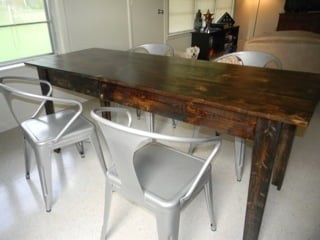
After discovering Ana White over a year ago, we knew that we wanted to build ourselves a dining room table. It was just a matter of finding the right plan for our house and family. The Narrow Farmhouse table was just perfect! We shortened the length to 6' to fit into our combined living dining area. I would love to have the 8' version some day, maybe when we have 2 separate eating areas?!
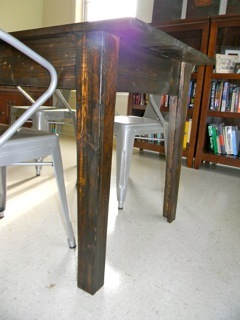
A note on our wood choices, I would try hard to use pine in lieu of whitewood for ALL the table components. The pine did a much better job with the stain and poly then the whitewood. As I have seen the one other time I tried to work with whitewood, it's CRAZY soft and I suppose I'm just not a big fan. I would take the trade off of more sanding with pine to insane finish silliness, any day!
Fri, 08/12/2011 - 13:25
LOVE! This is seriously, down to the exact chairs, what I am planning in our dining room. You have great taste!
Tue, 08/23/2011 - 16:49
Looks good!
I've found that if you put a conditioner on first, the soft woods take the stains more evenly and don't soak up the stain so readily. Minwax makes one for both oil and water-based stains.
In reply to Looks good! I've found that by Guest (not verified)
Tue, 08/23/2011 - 16:58
I actually used a wood conditioner from Minwax and yet the stain still had a struggle. I did not use the wood conditioner on the pine on the legs and they had no problem. Thanks for the tip though!
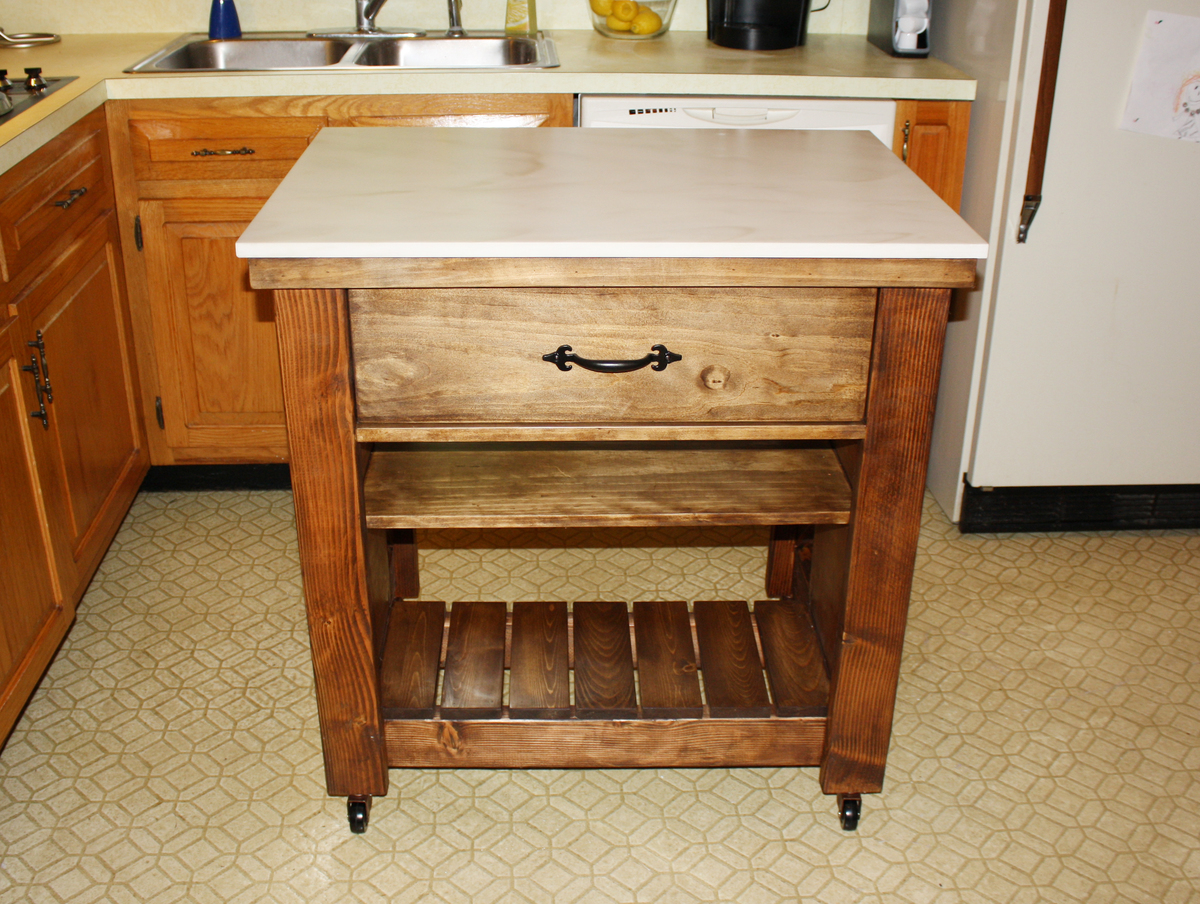
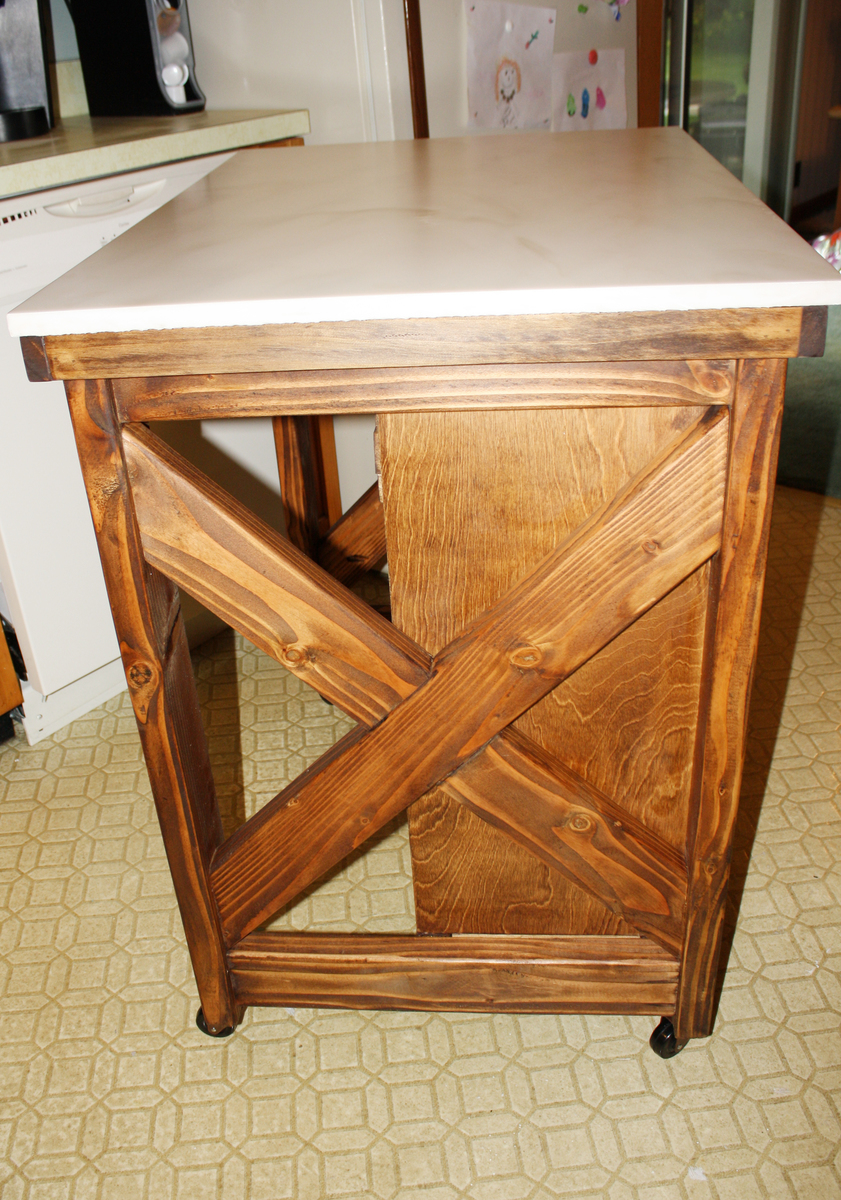
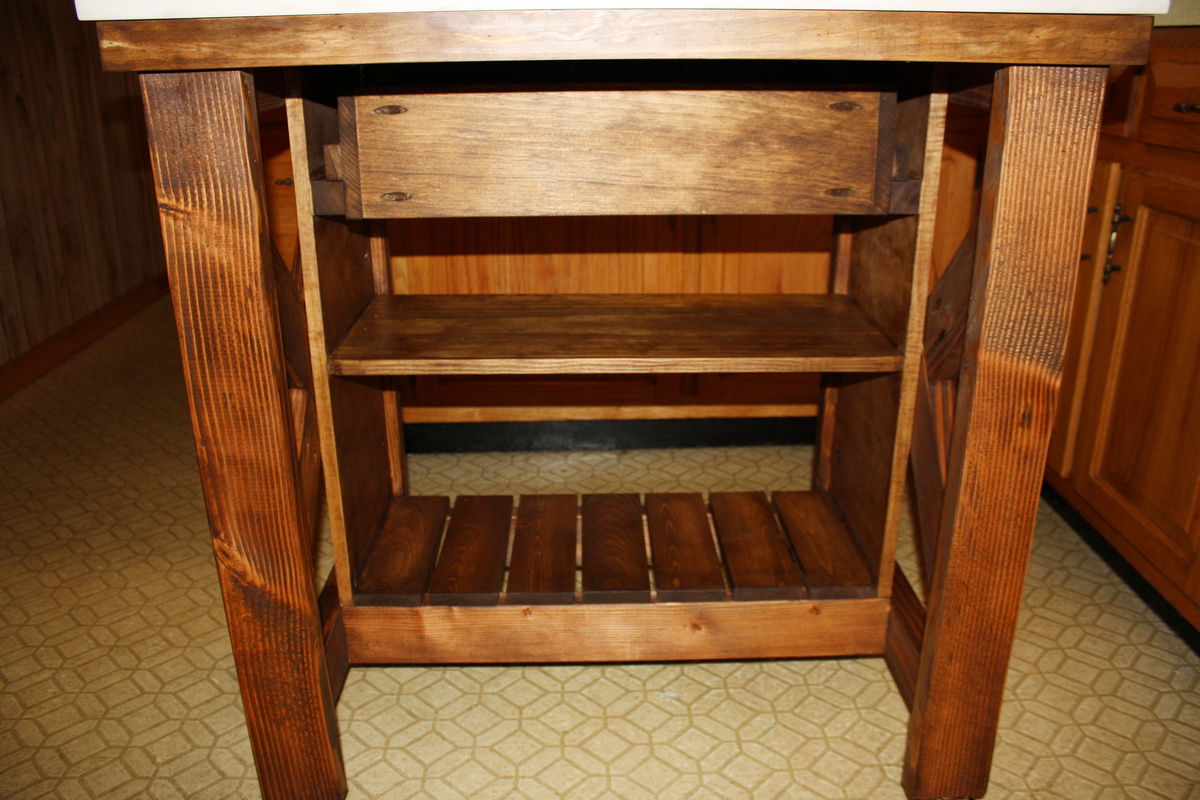
Is this kitchen island with its beautiful marble top:-) I really hate my kitchen because it is so ridiculously from the 80's and small... but it's a rental so it's not forever. The only counter space I had to cook is right there to the right of the sink by the coffee maker. I started building this the night Ana put the plans up. A friend of mine just remodeled her bathroom; and gave me the top since it was just sitting in her garage. I had to modify the plans only slightly to accommodate the top. It's 3 inches wider than the plans and I beefed up the top frame with 2x2's to support the 29 pound slab of stone. I spent less than $20 on the project because I had leftover wood from another project and a whole bunch of 2 x 4's from a project that got trumped for this one:-) I also ripped a piece of plywood to 11 1/4 to use as the sides and added edge banding on the back. I used paste wax for the very first time instead of polyurethane and I'm not sure how I like it yet.
Wed, 09/04/2013 - 17:21
This is so lovely! Love the finishes, and the marble is very glamorous. You did a fabulous job!
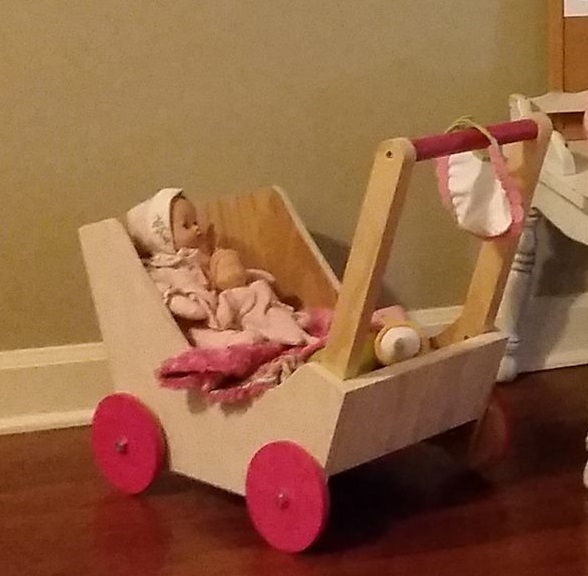
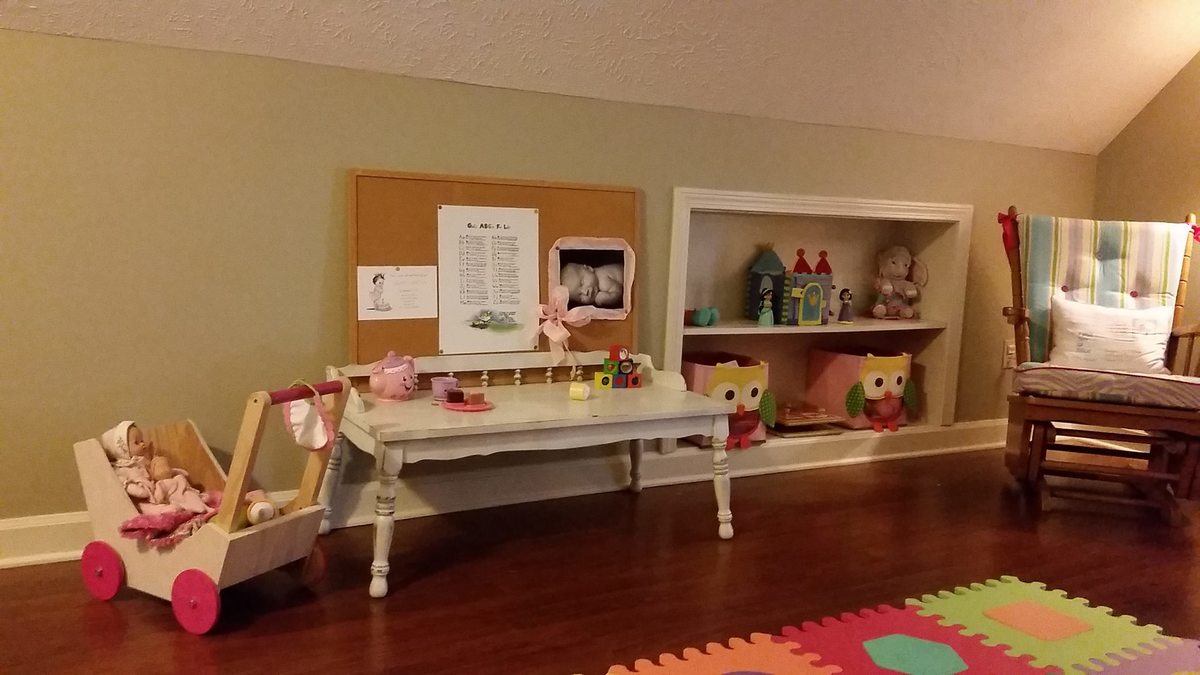
This is a fun a straight-forward project. I built it for our littlest one's first birthday as both a doll stroller and a walk-behind push toy. I used select pine for the stroller, a 1" oak dowel for the handle and some pre-made wheels / rounds. Wheels were from Michaels (I think) and the rest was from Lowes.
I want to find a way to better secure the wheels, but the plans' method works pretty well. The axle caps can sometimes fall off so I just check them for tightness every so often.
Best of all, Greta approves.
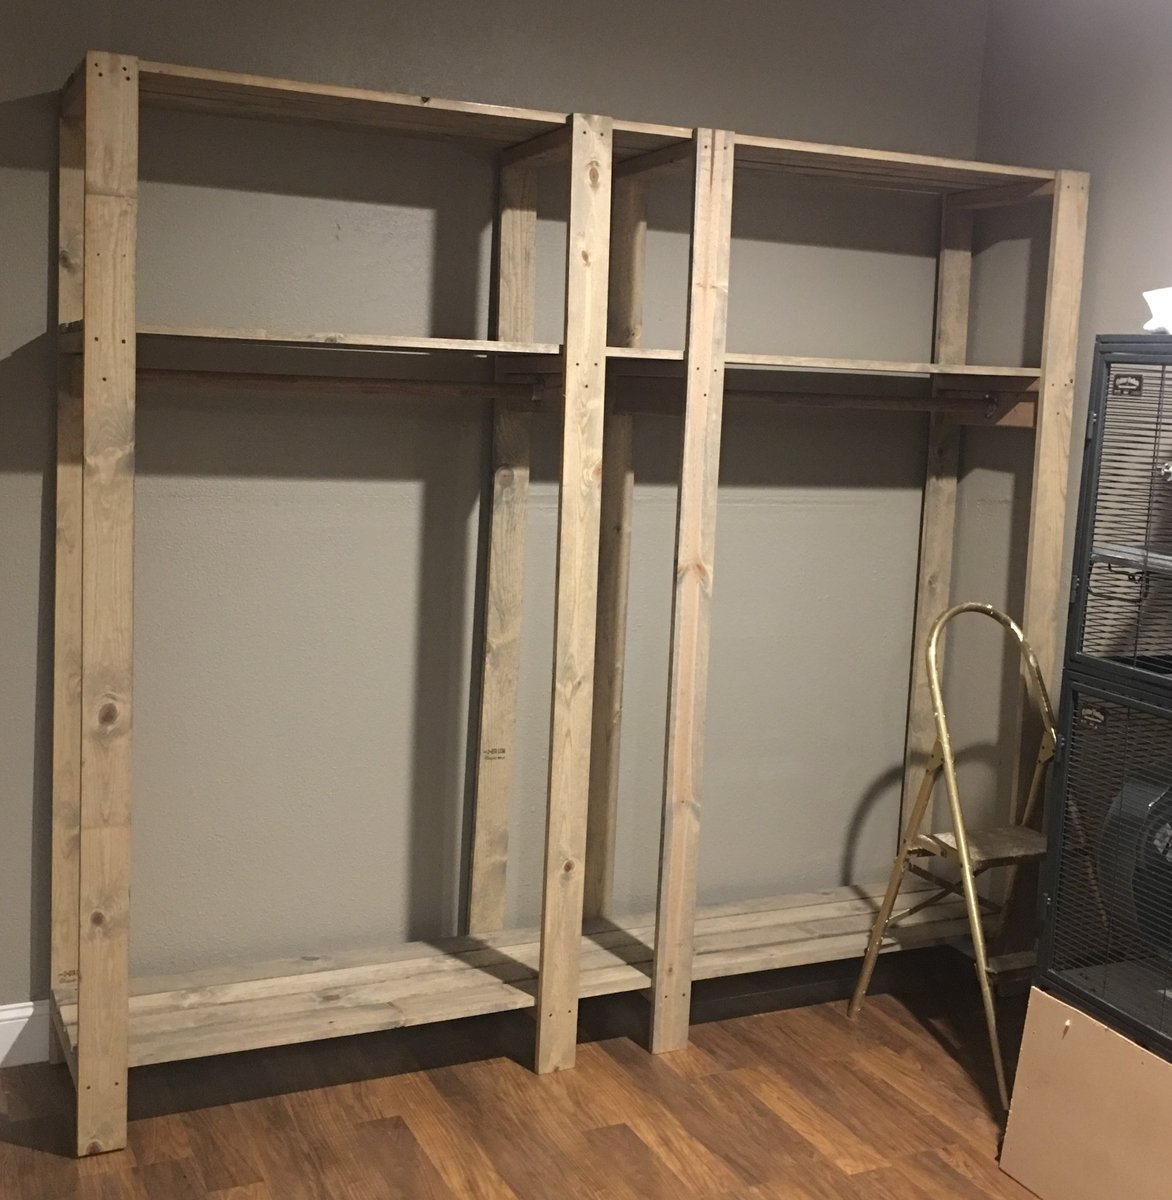
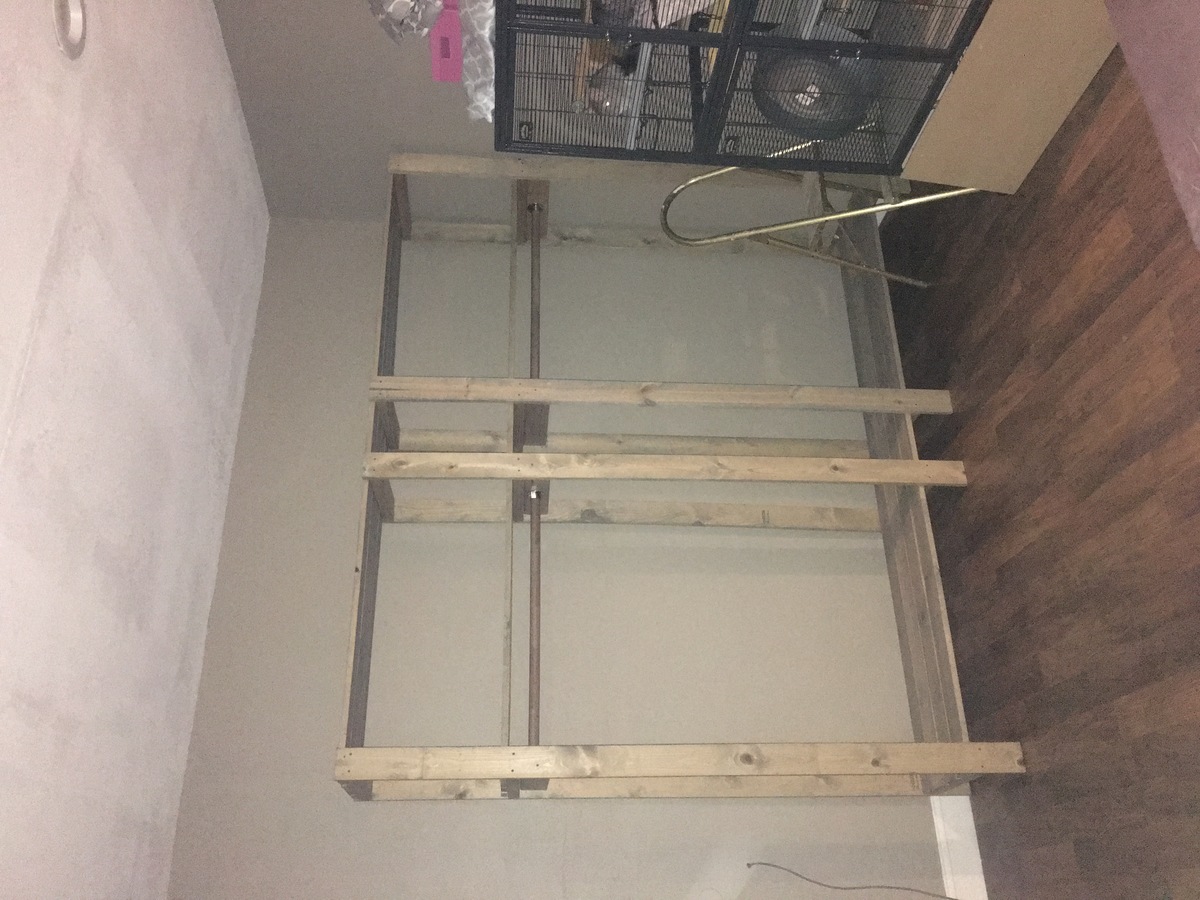
Instead of using galvanized pipes, to save money we opted for ready made closer rod & hardware from Lowe’s and added additional 2x4 pieces perpendicular to the shelf supports and screwed the closet rods into those.
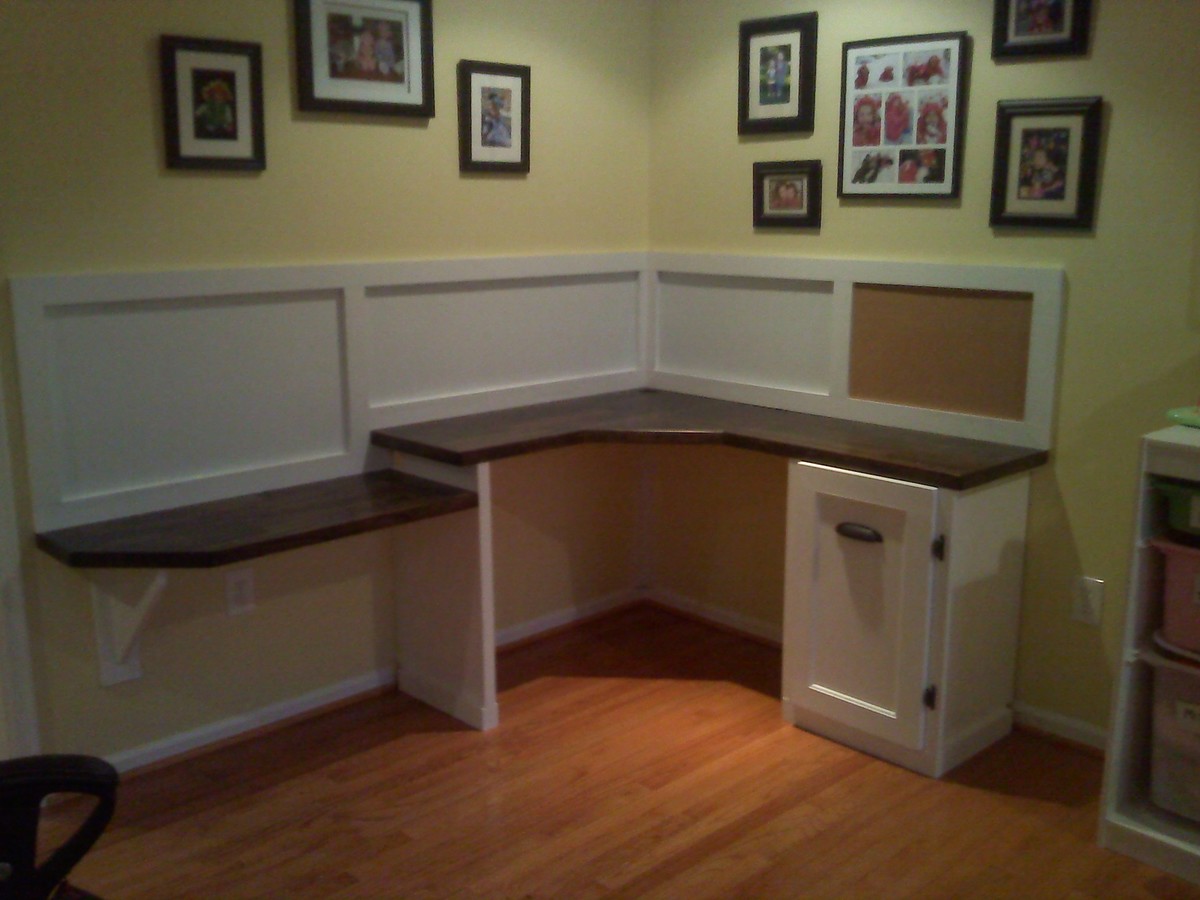
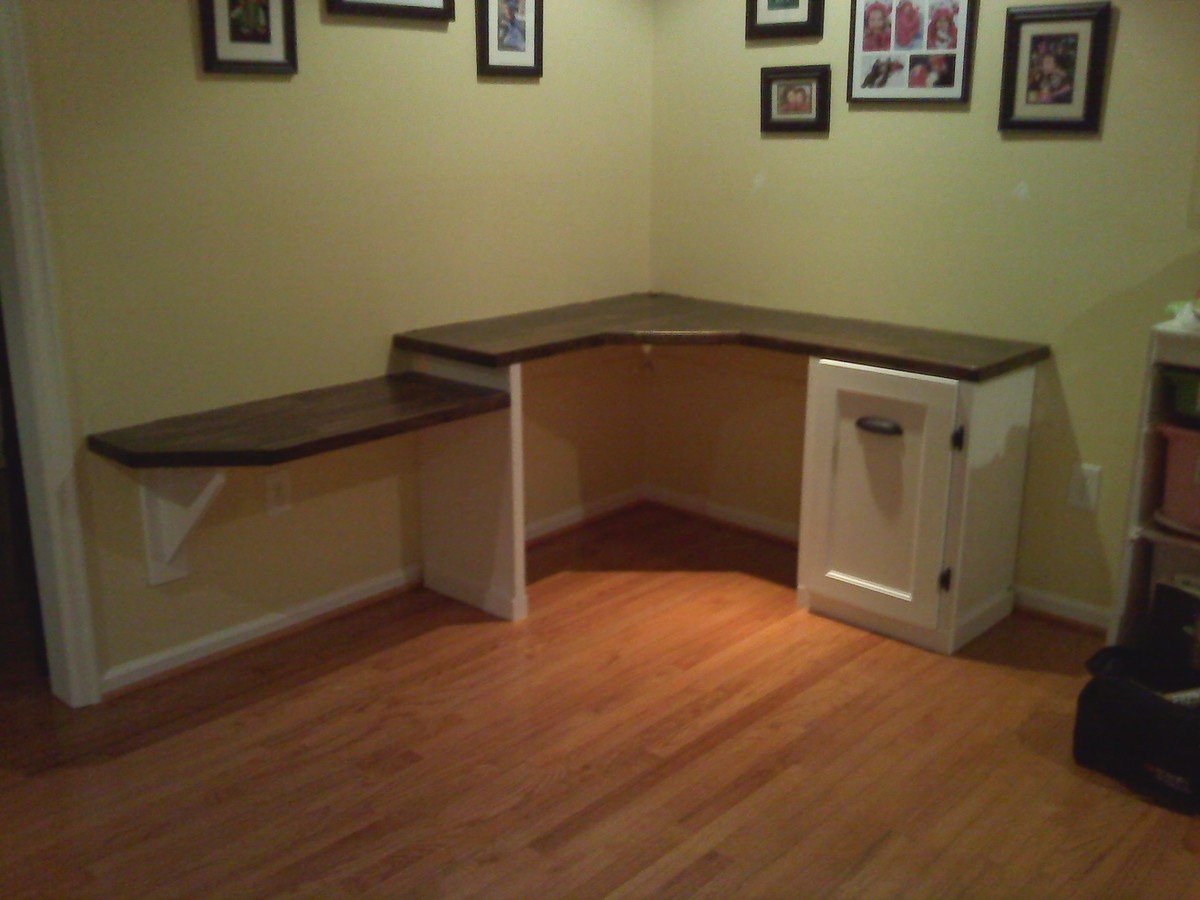
It was an unused corner of the playroom and I decided to put it to use with a computer station with an area for the kids. The desk top is stain grain ply, stained a satin dark walnut. Body is paint grade ply, painted white. On the walls I used whiteboard/dry-erase paint over a magnetic base so the kids can draw on the walls and hang pics with magnets, and added a cork board to the right. Built the cabinet for the computer and printer using same wood with a sliding shelf. This turned out to be one of the best things I've done in the house, the kids do their homework here and we use the desk all day long! A really cheap project that has very few parts. With paint, wood, stain and hardware its a $150 weekend project. I didn't use any plan here from this site but I've taken a lot of inspiration and tips!

Mon, 01/16/2012 - 19:47
Could you mind providing the dimensions of your desk? It looks like the perfect size to fit our needs!
Wed, 01/30/2013 - 18:04
L.O.V.E. This!! If I had a little more room in my house, I'd be building this for sure! Alas I don't so I must find another solution!
Thu, 01/31/2013 - 05:41
Looks great, you can paint and stain prior to putting together saves on taping everything off and possibility of bleedthru of tape. Amazing job and design.
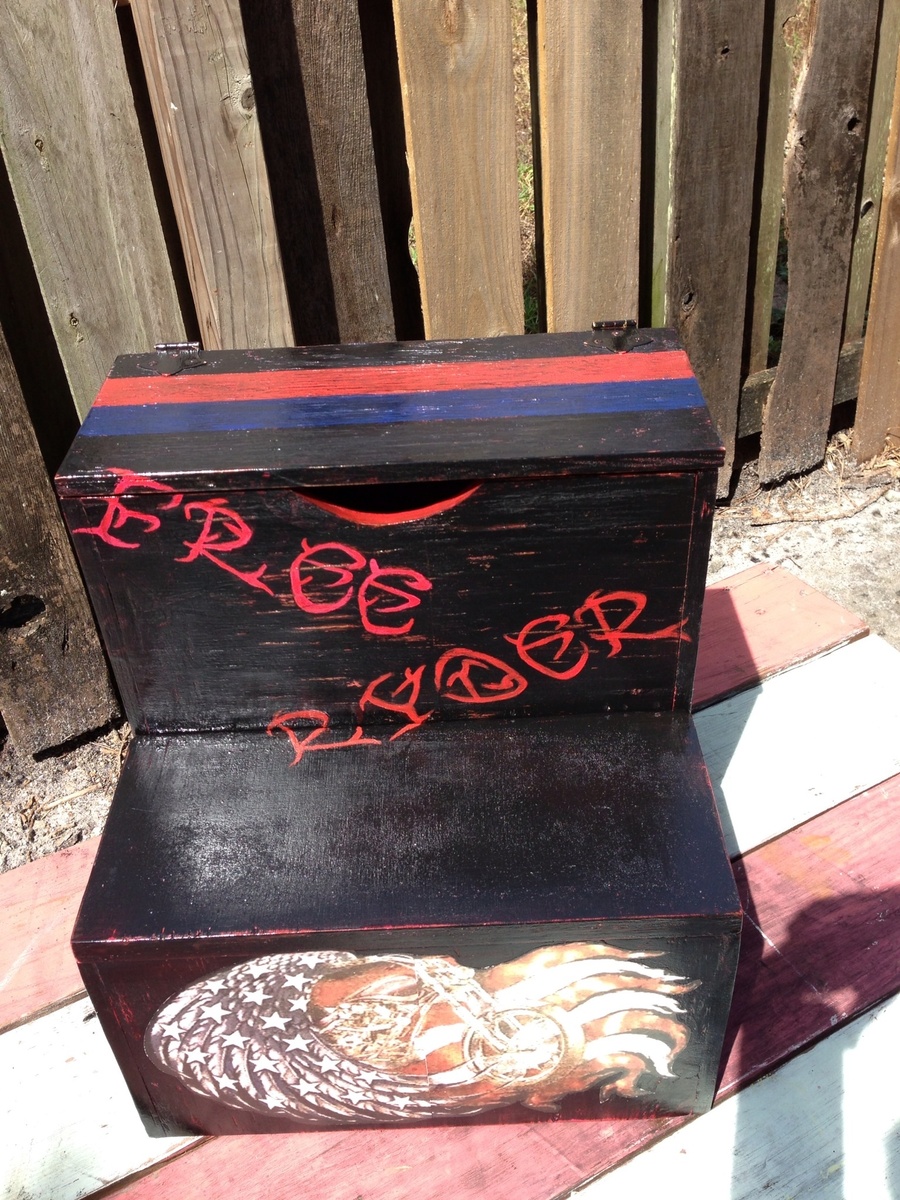
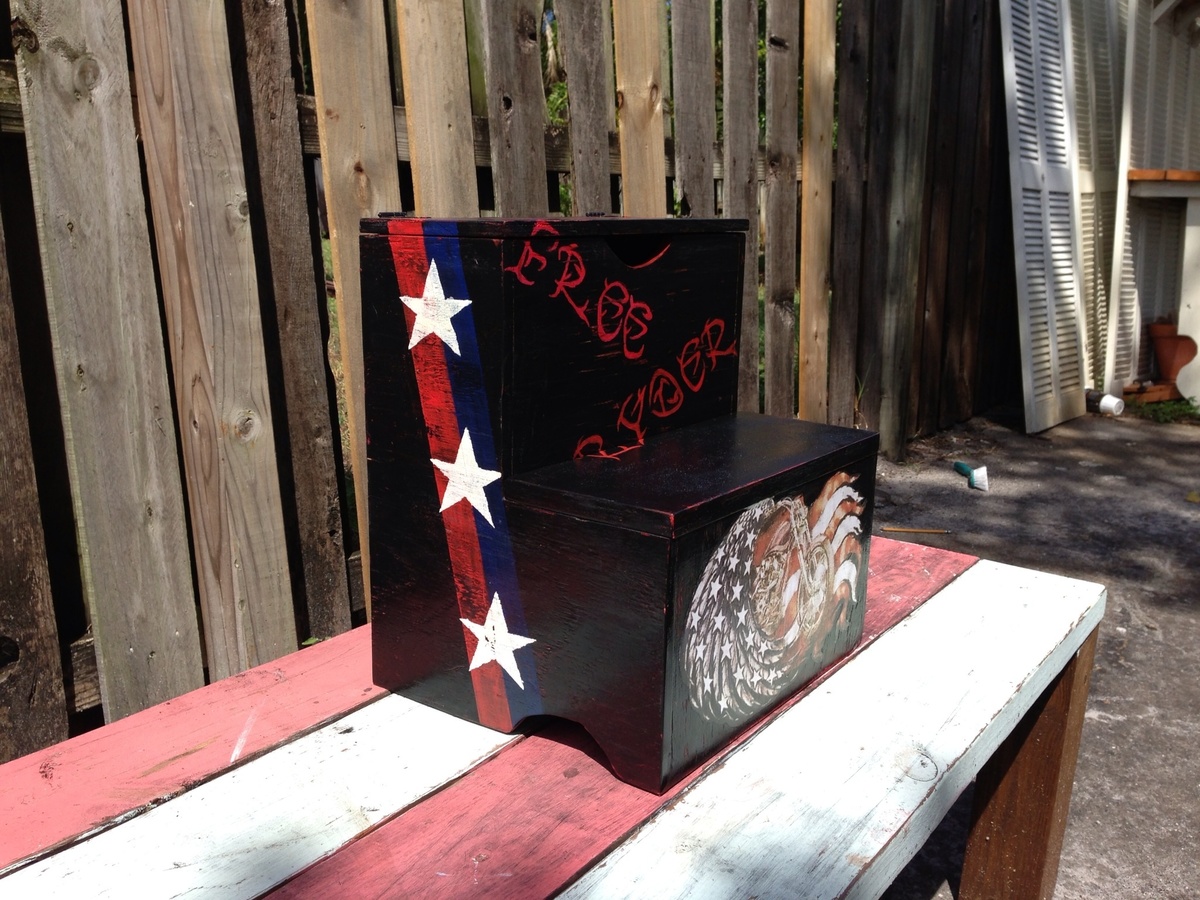
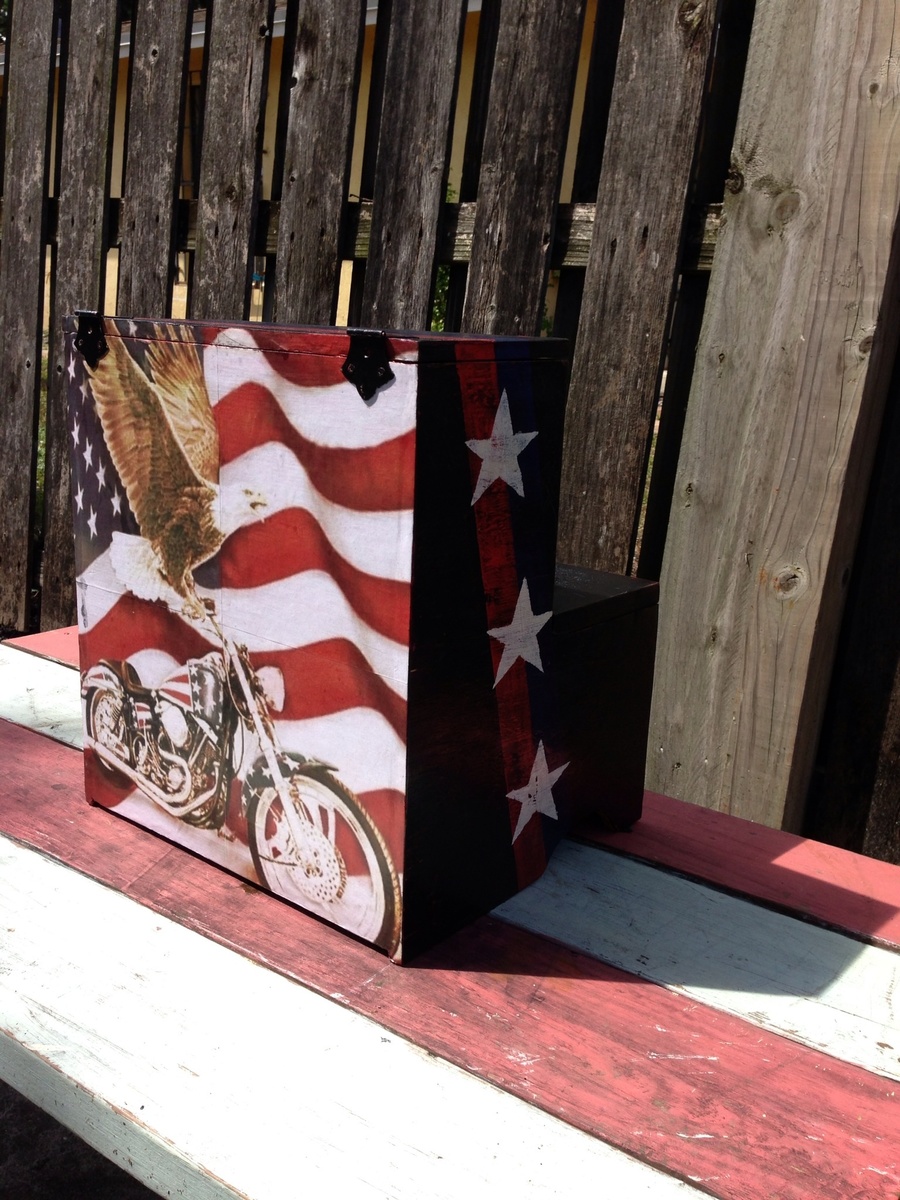
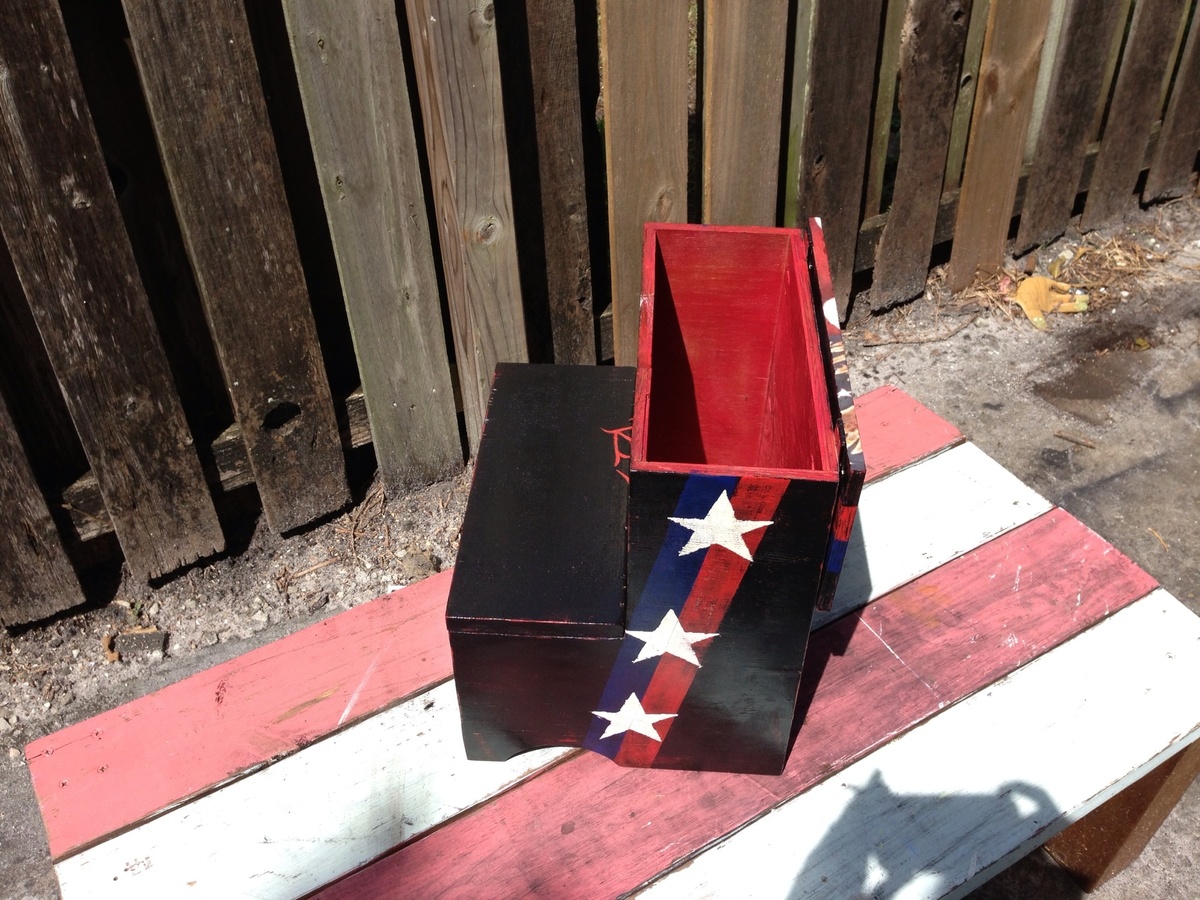
This stool was made as a b-day present for my nephew Ryder (hence the play on words "free Ryder") . His dad, an avid motorcycle enthusiast, is deployed w/ the army in Afghanistan so I went w/ a patriotic motorcycle theme. Ryder just turned 2 so he is about to start the adventure of potty training si I figured this would be perfect for that and double as bath toy storage. To keep the wood from getting damaged by the humidity of the bathroom, I used pressure treated plywood and further protected it w/ tompsons wood waterproofer. I also drilled 3 rows of drainage holes in the bottom so water wouldn't be sitting in there.
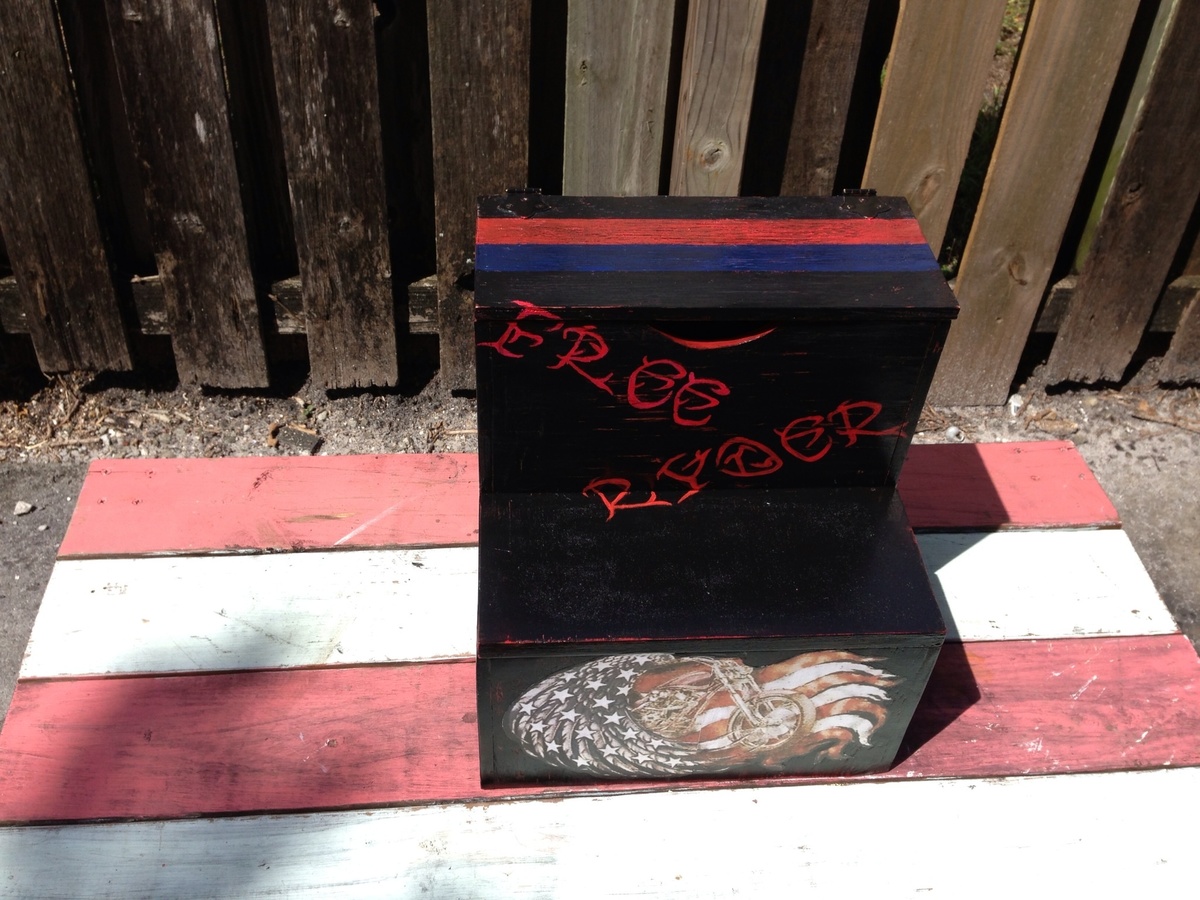
So Worth It!
This project was possibly beyond my expertise however persistance, reading and asking for help worked. This table was a 5 month project with a start, a quit, a re-buy and finally a full steam forward to the finish line.
Although difficult, I learned so much during this build-how to use a biscuit joiner (then reverted back to my Kreg Jig), how to clamp pieces so that they remain even, how to properly finish a table, how important measuring and squaring are, etc...
I have a large sectional so I had to revise the size of this table. Ours is a 3' x 5' table. The most difficult part of building where we live is finding good lumber. There were 3 different types of wood used on the project but thankfully I was able to stain to match.
Off to start my next project-our son's headboard. Should be a piece of cake. I'll let you know and it WILL be sooner than 5 months! Happy Building! Karla
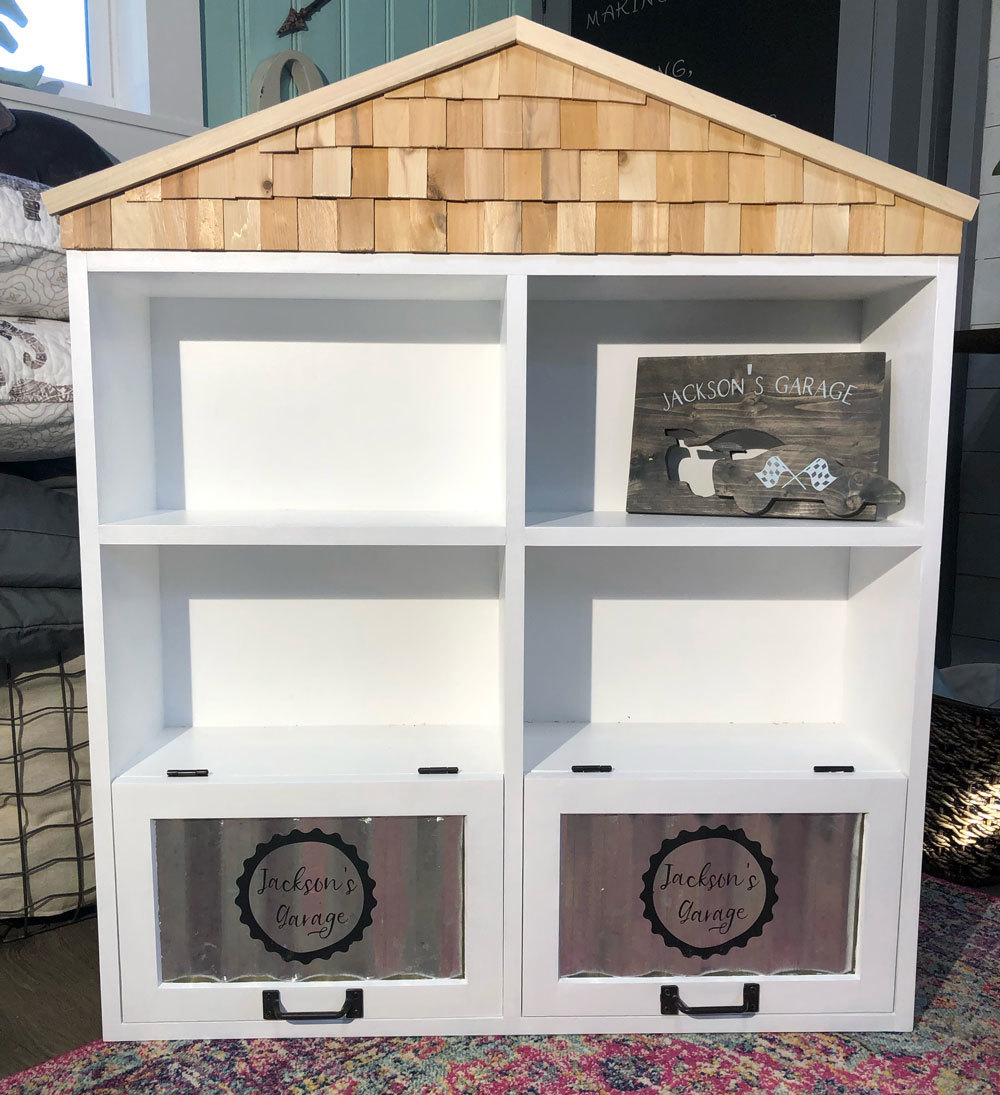
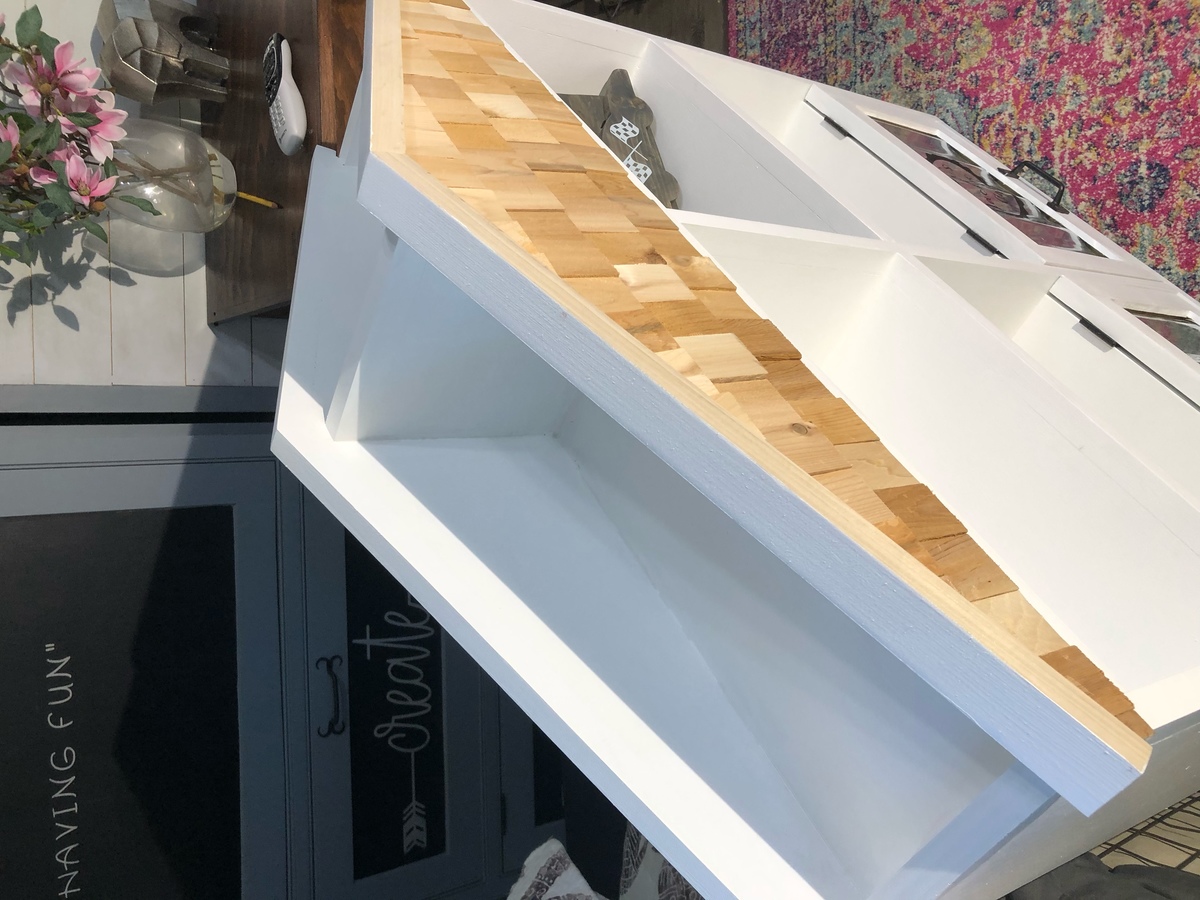
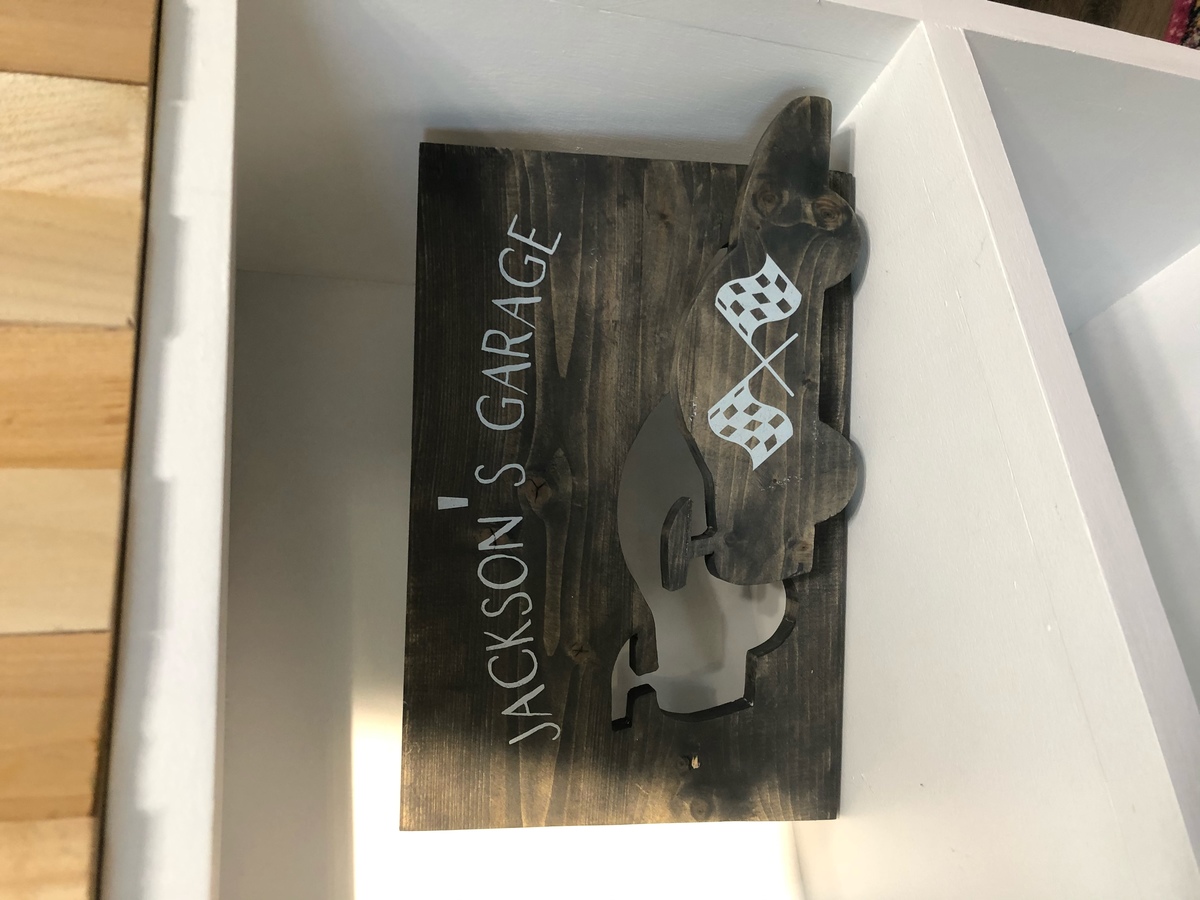
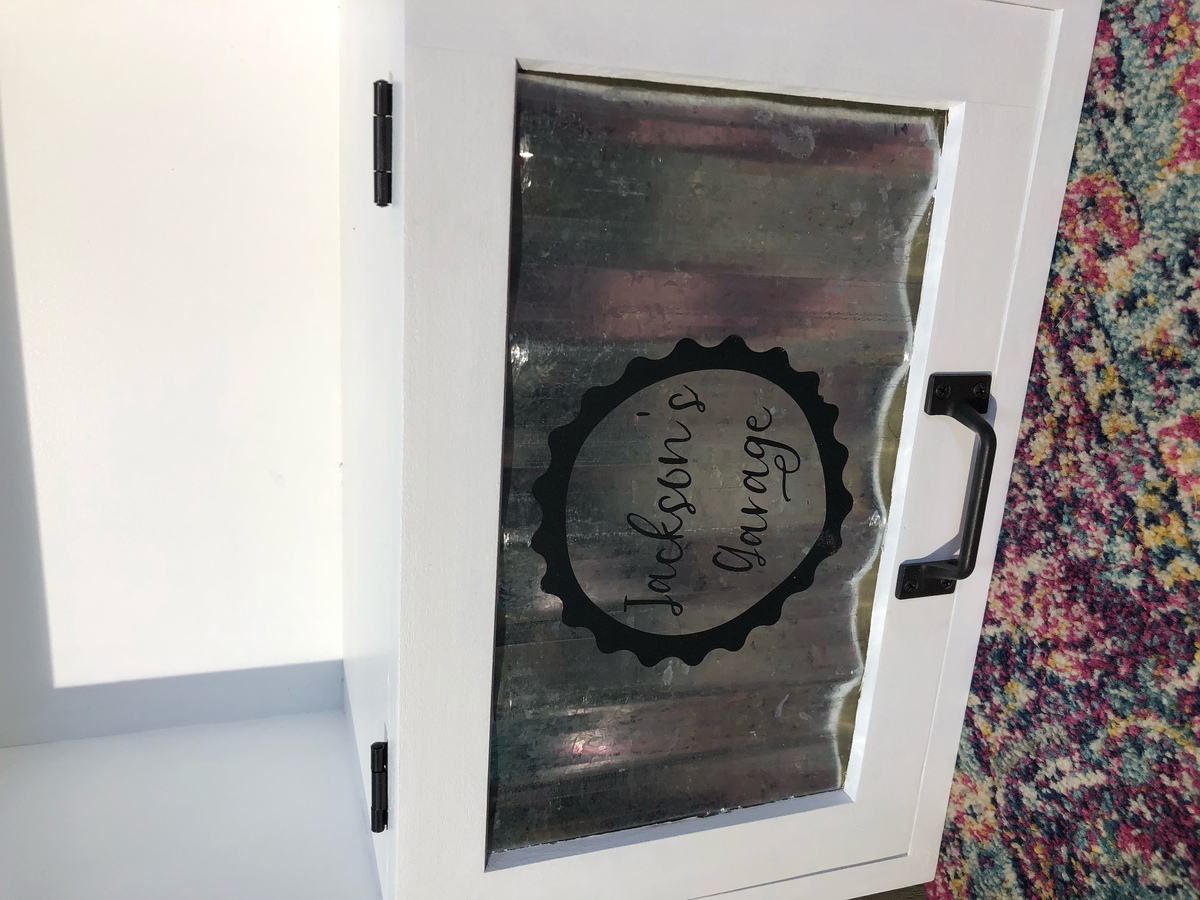
I built this bookcase for a friends son for Christmas. She sent me a sketch of what she wanted and I drew up the plans in sketch up. I built it out of plywood and capped plywood with poplar strips. I made the Cedar shingles out of Cedar shims that I cut down to 2 inches, I used corrugated metal for door panels to give garage look.
Comments
Ana White
Tue, 10/30/2018 - 11:02
Wow!!! What a creative and
Wow!!! What a creative and beautiful finish!
bcarter_1
Wed, 11/14/2018 - 05:54
Thanks, the stenciling about
Thanks, the stenciling about killed me... Stupid OCD... lol