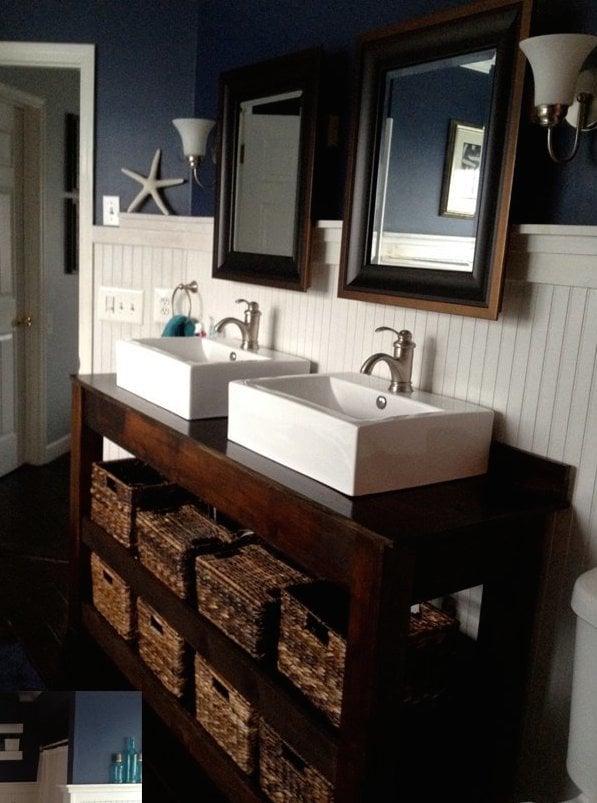
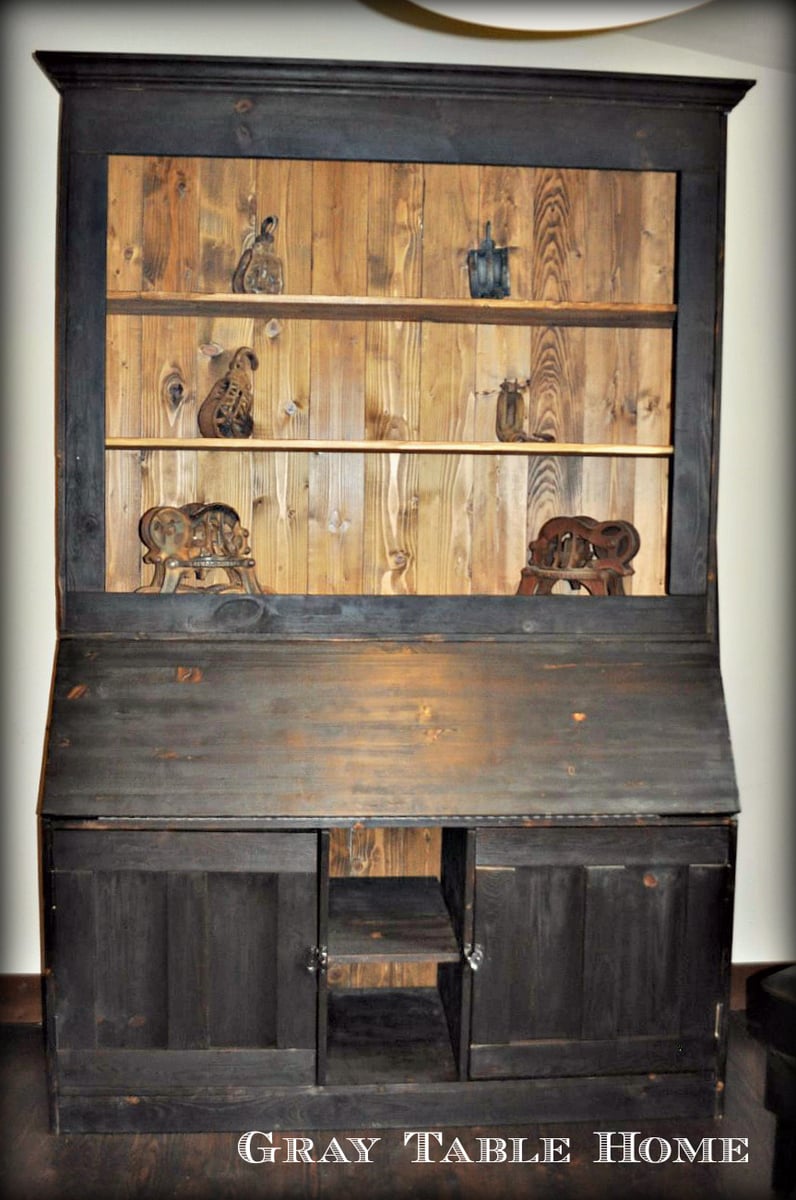
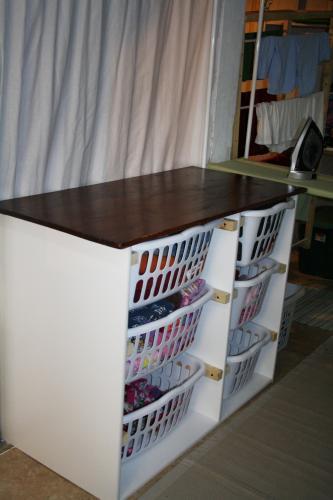
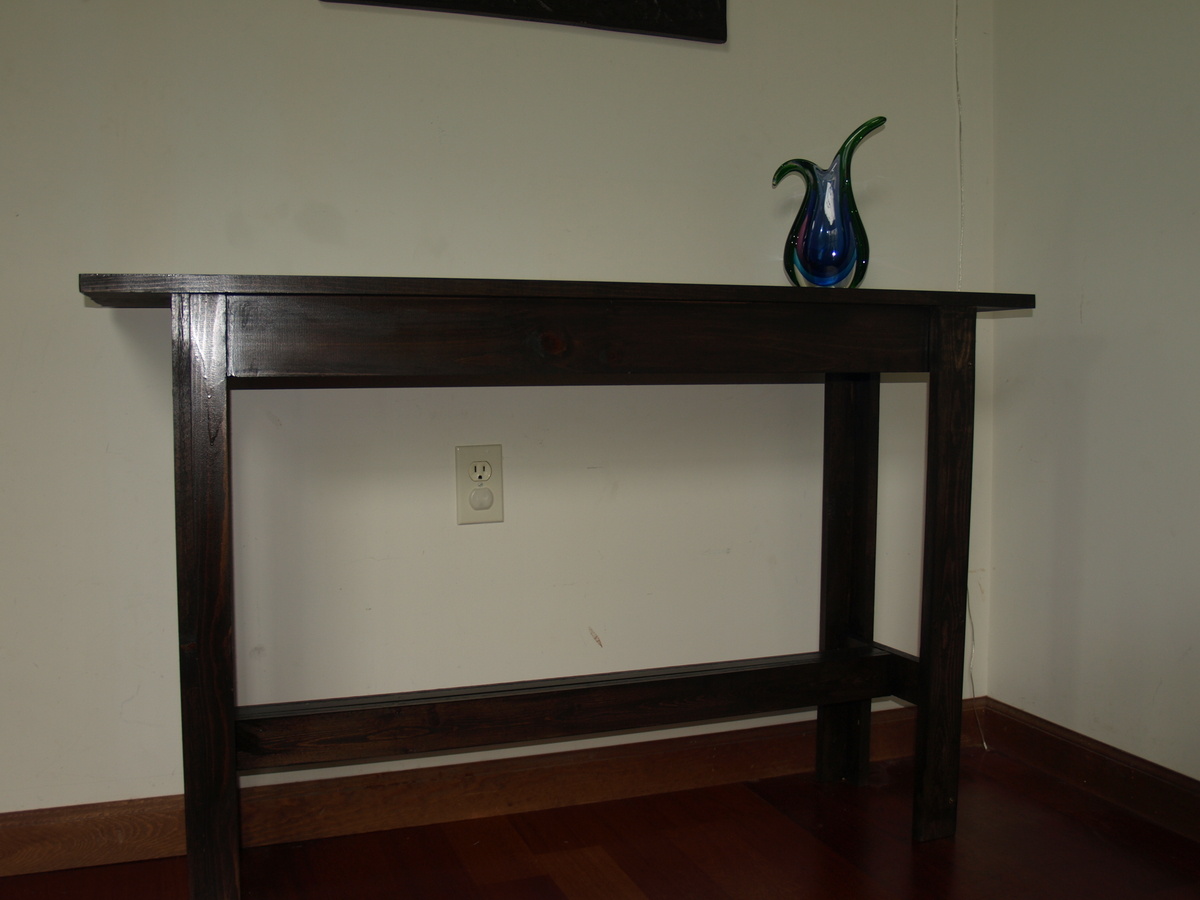
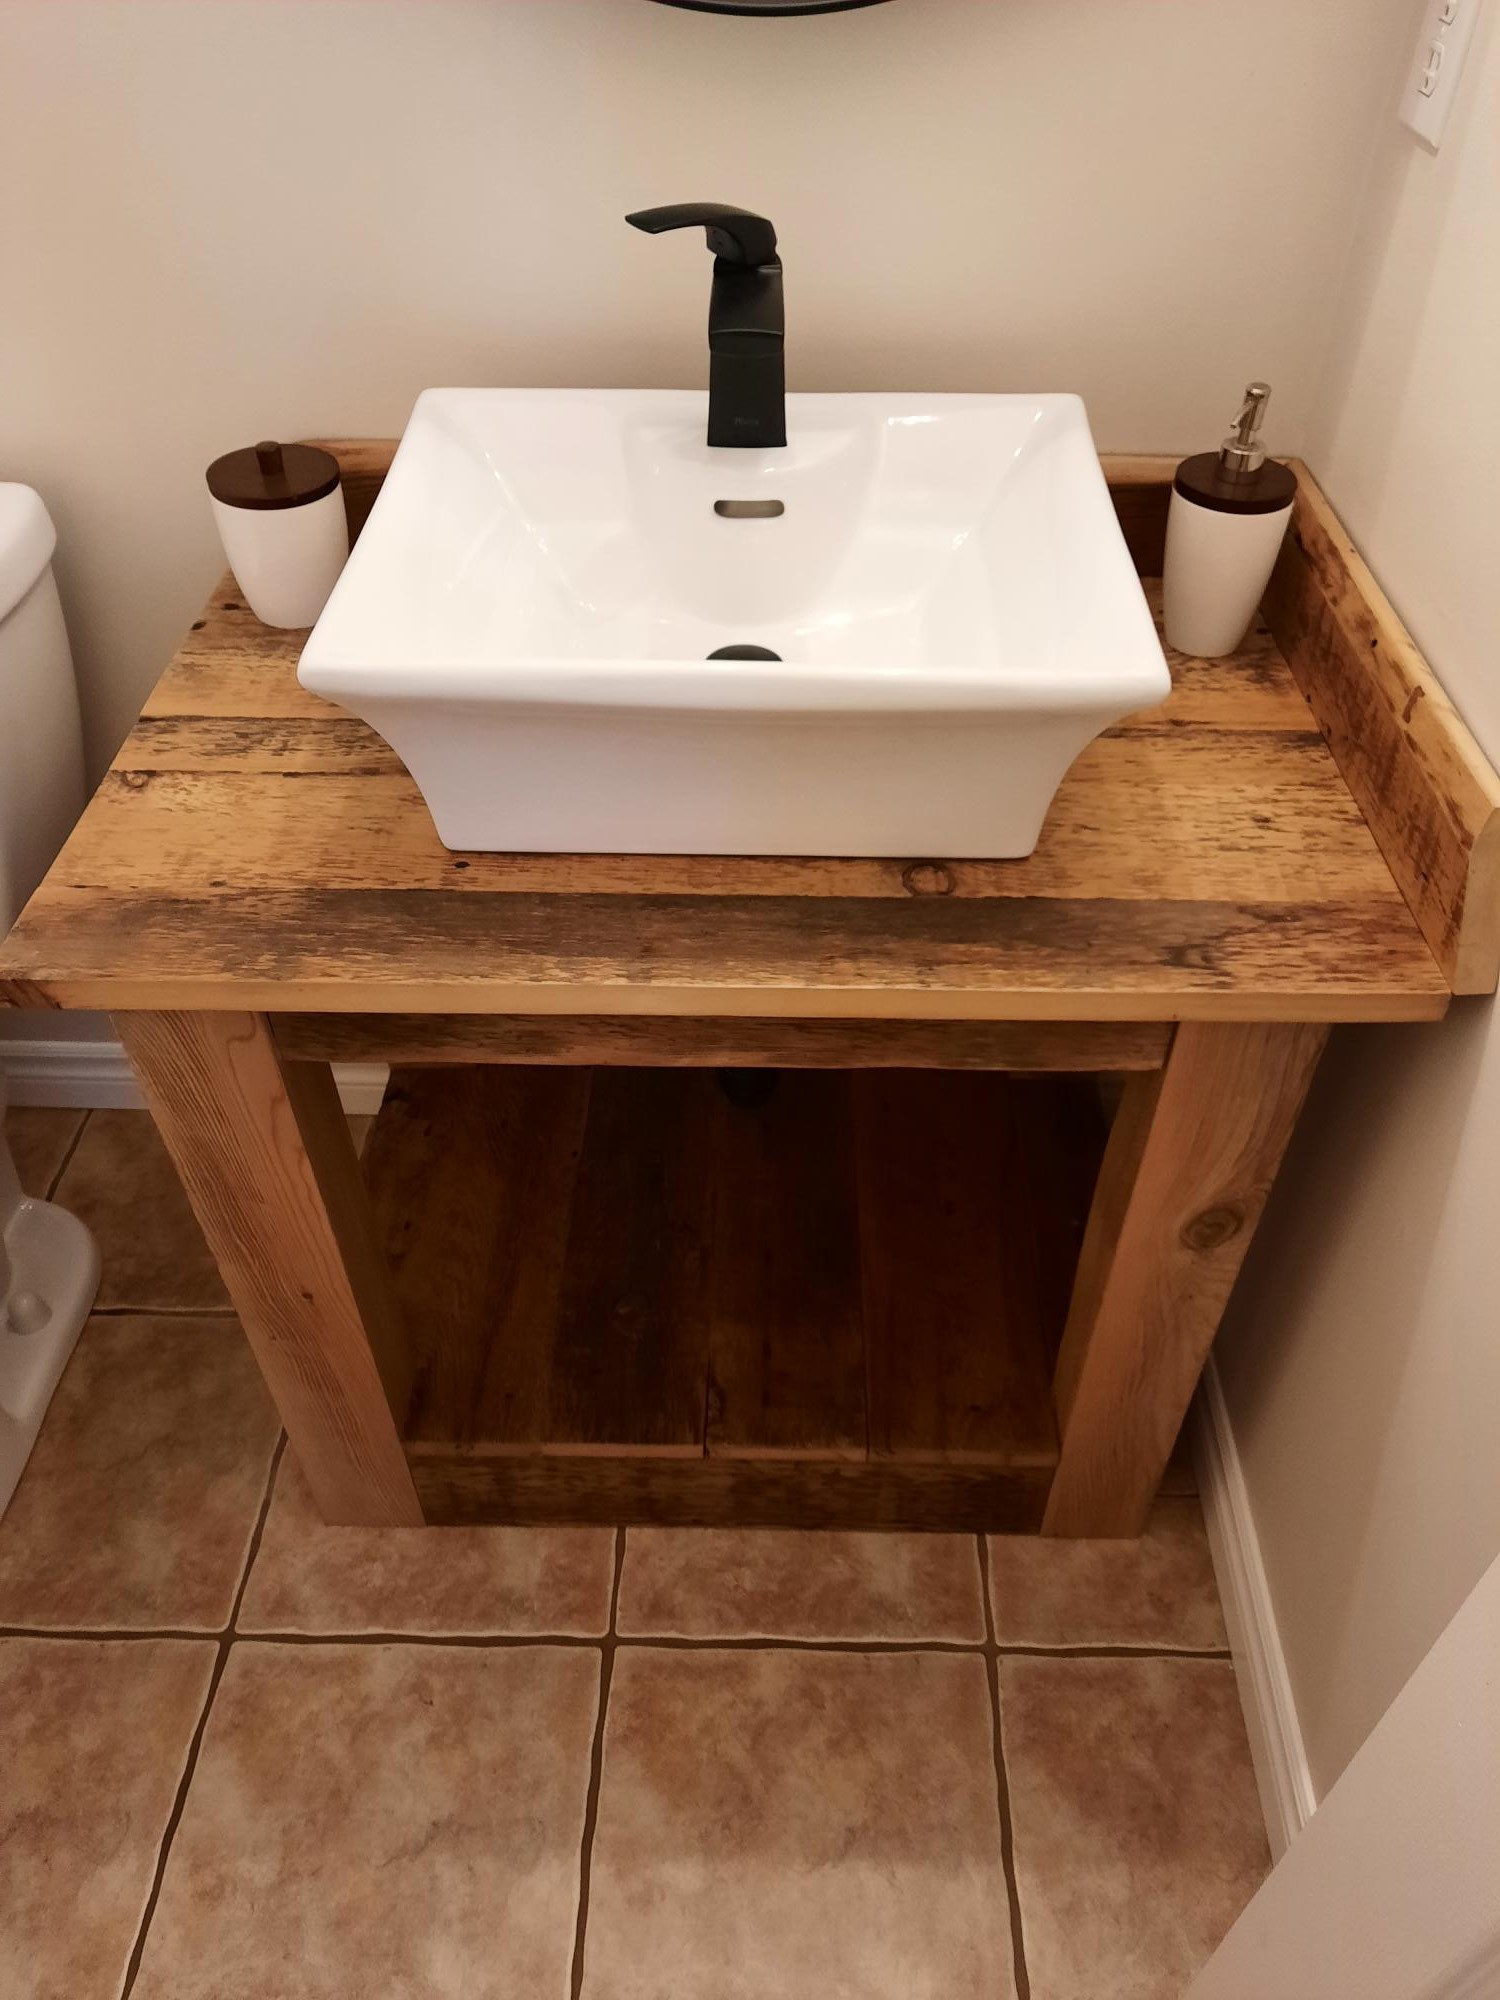
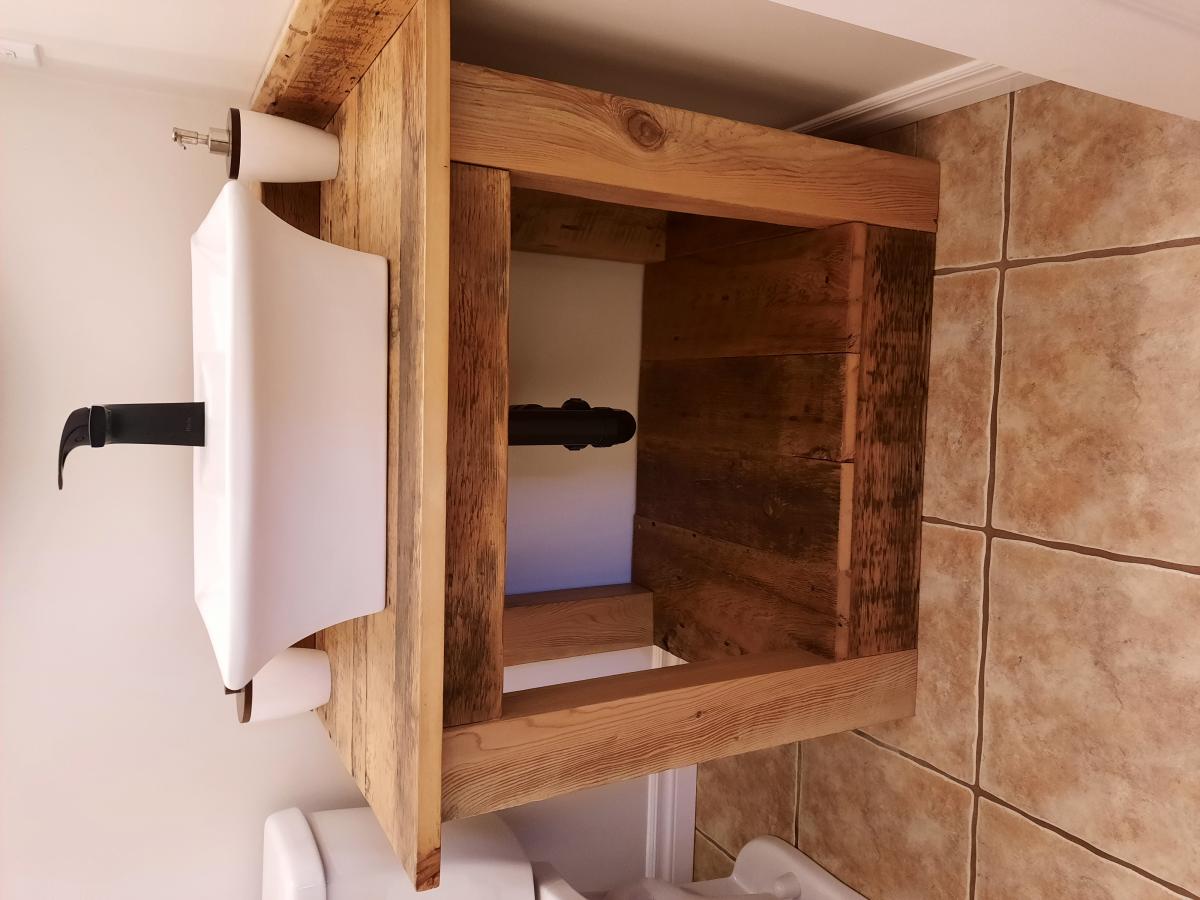
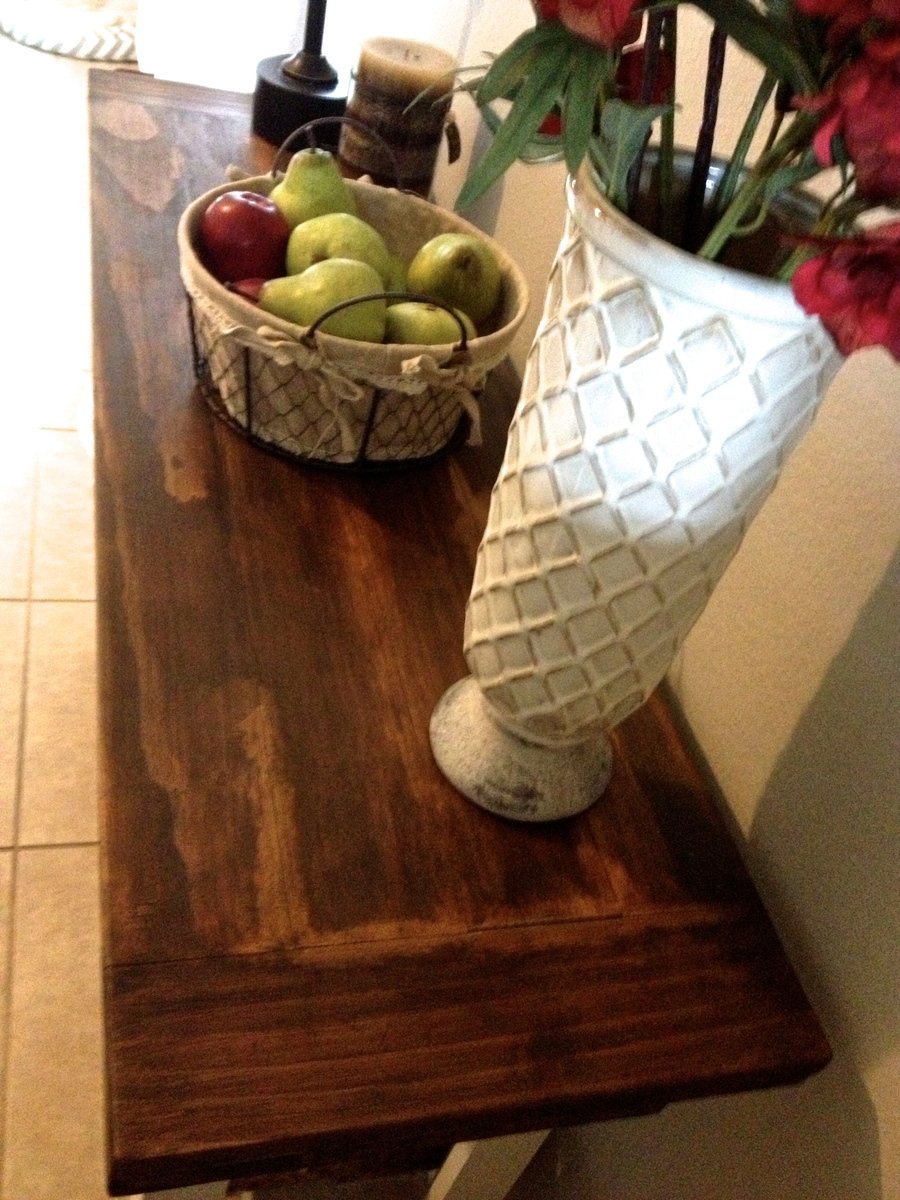
Spa-Slatted Double Vanity

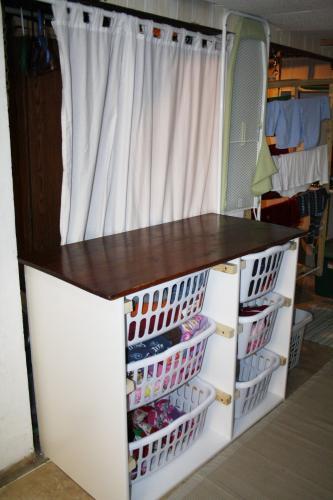
We redid our master bathroom - we ripped out a soffit, a closet, the old vanity, and we ripped off the HORRID old wallpaper, put up 5' tall beadboard, designed our own trim, designed and built some heavy-duty floating shelves (see pic below) and decided we wanted an open-concept vanity, too. I fell in love with these rectangle porcelain white sinks and with all the white beadboard, and soon-to-be dark walnut stain hardwood floors in there, I thought the vanity should be dark brown stain too.
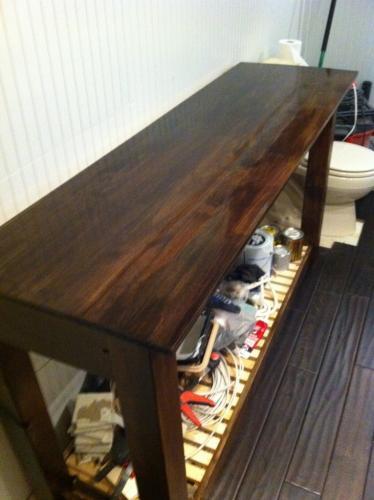
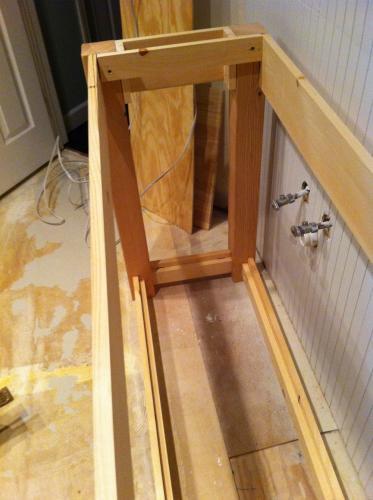
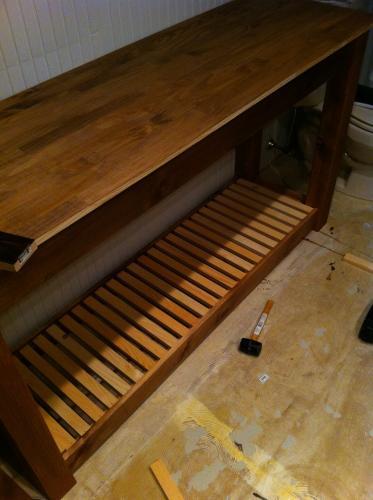
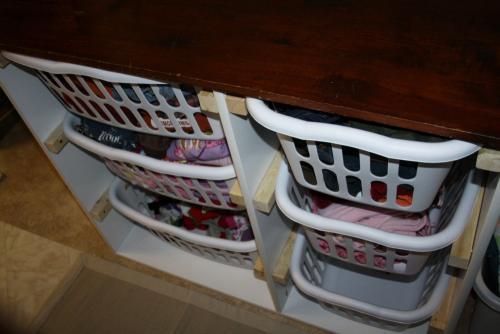
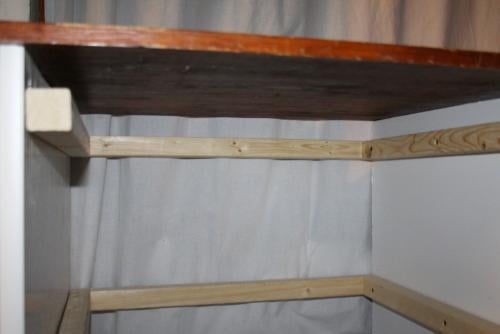
I used the farmhouse vanity plans to build the frame of the vanity, but i had to design the shelves on my own - I chose to do spa-style slatted shelves - they whole thing keeps the bathroom very open looking and not heavy and closed off. we LOVE it! :)