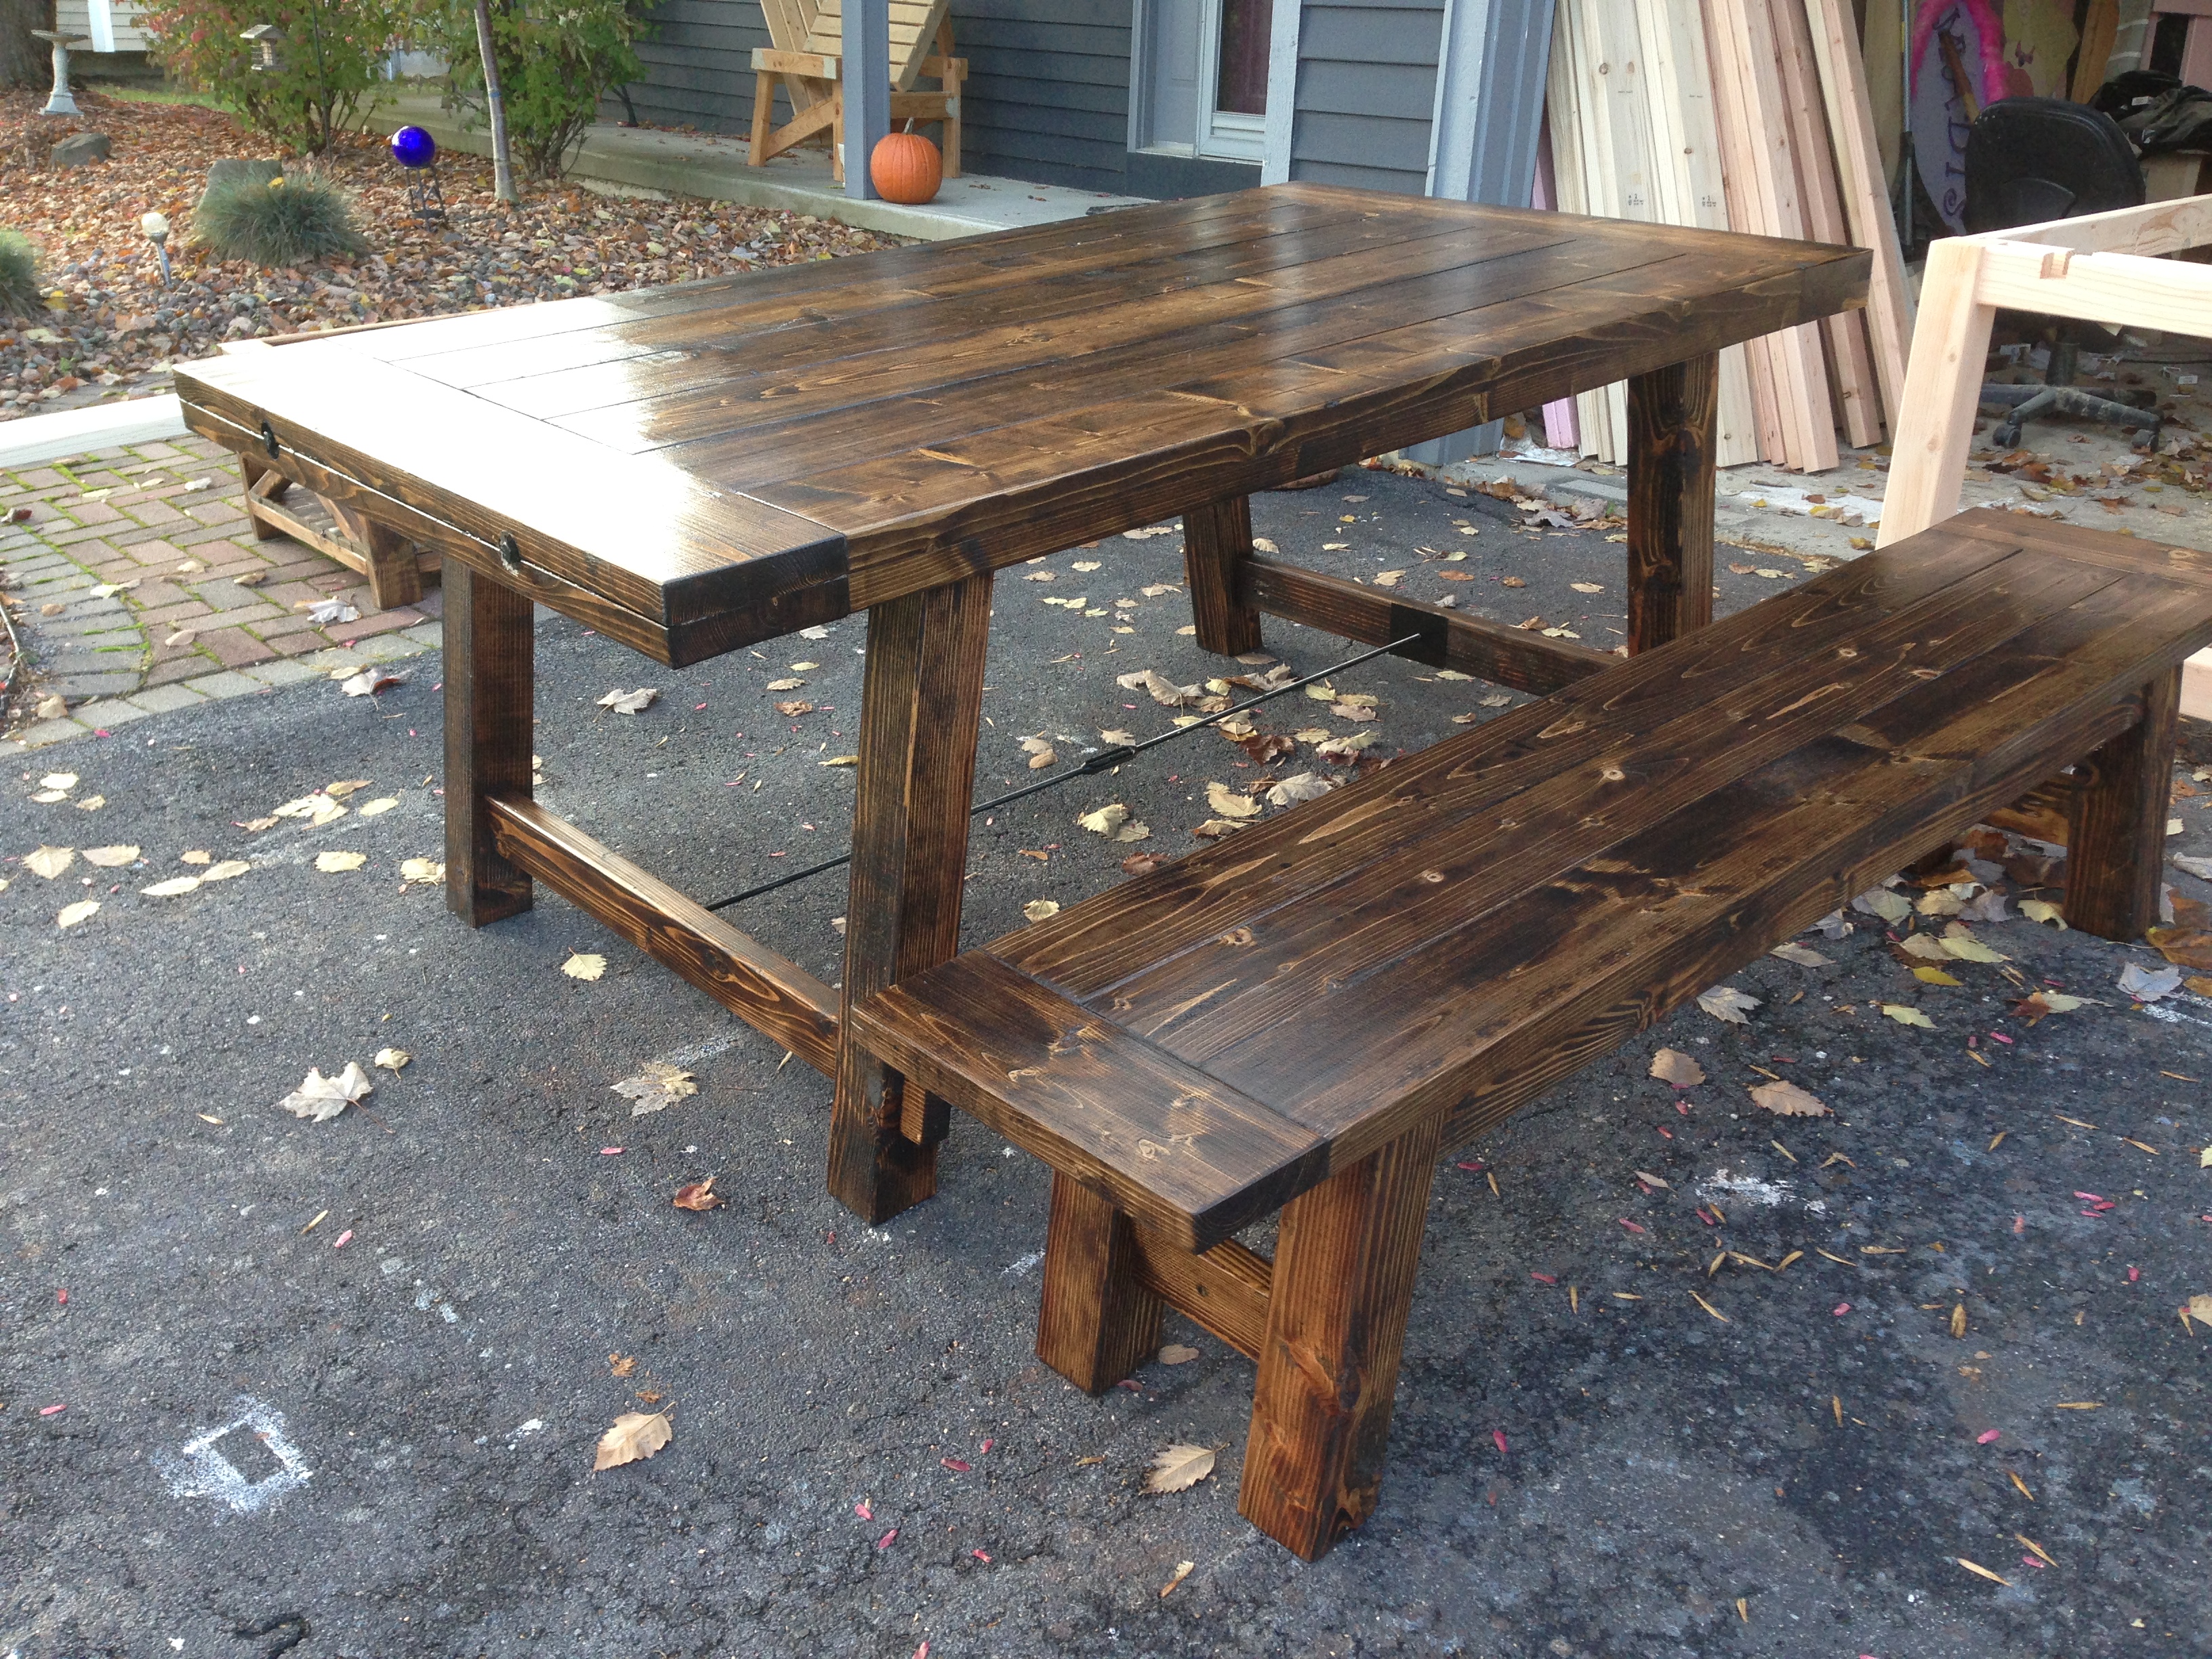
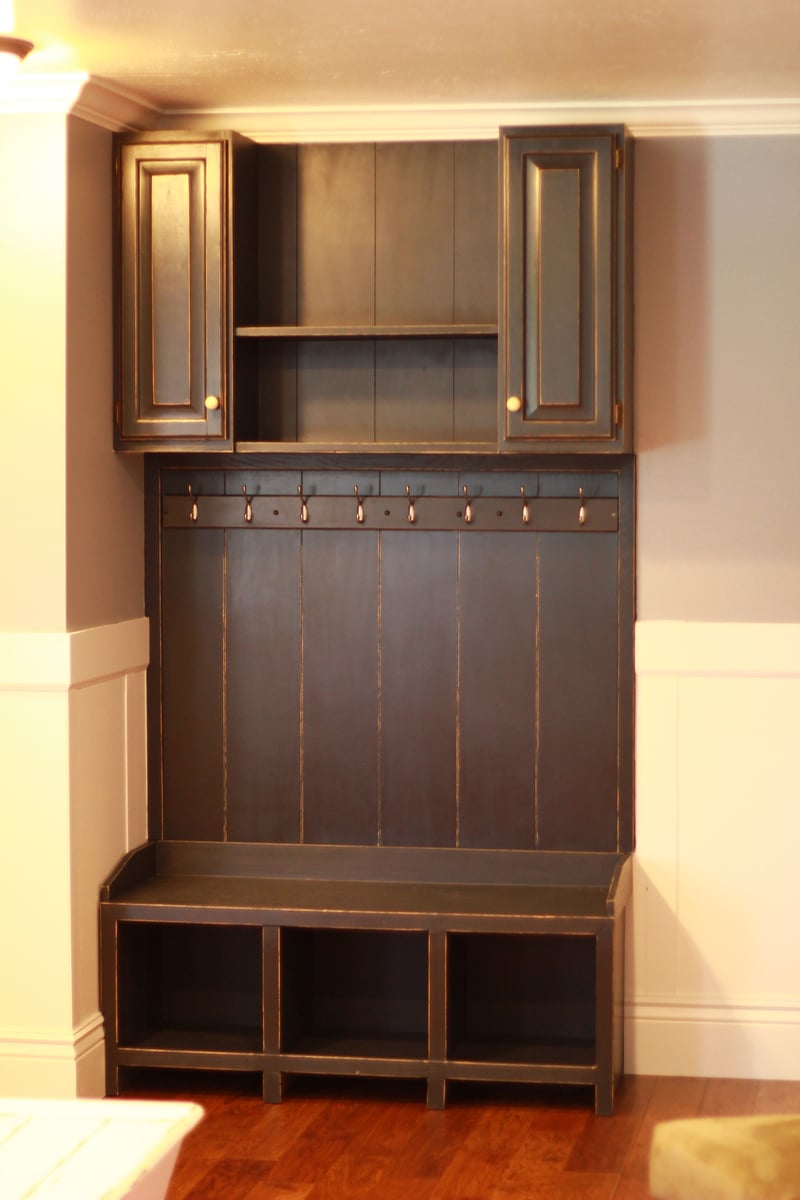
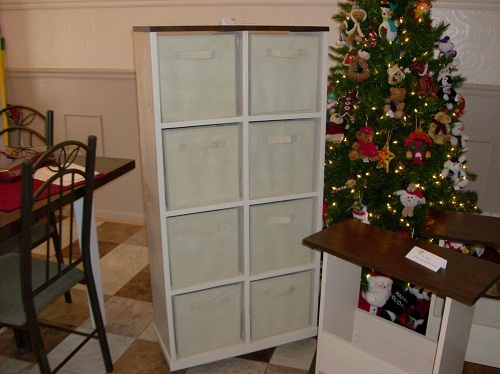
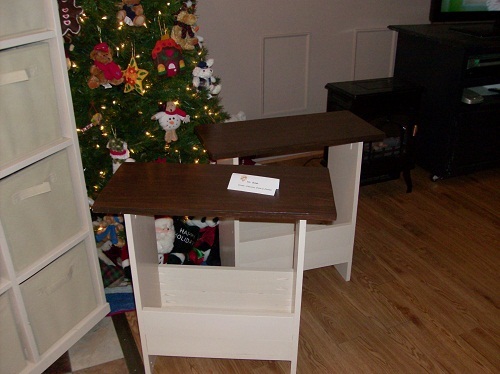
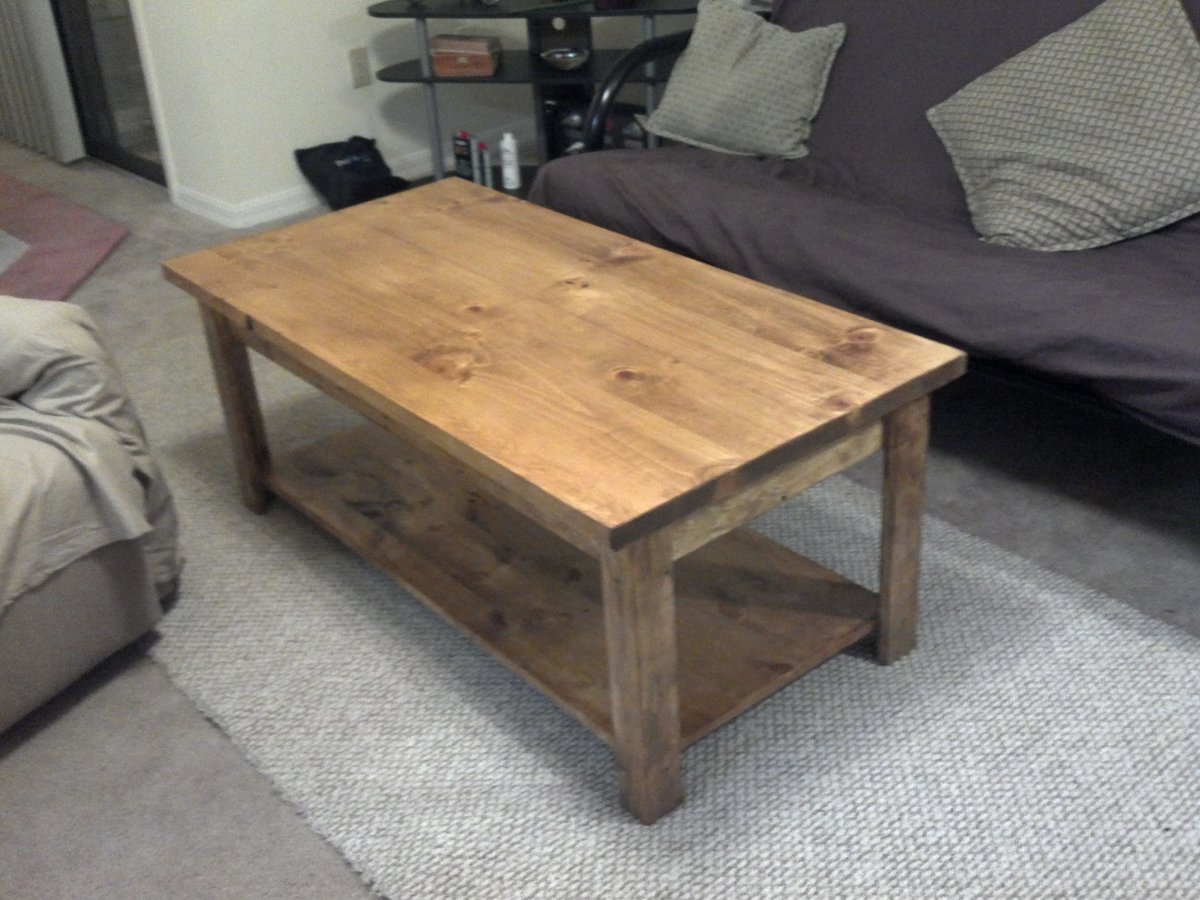
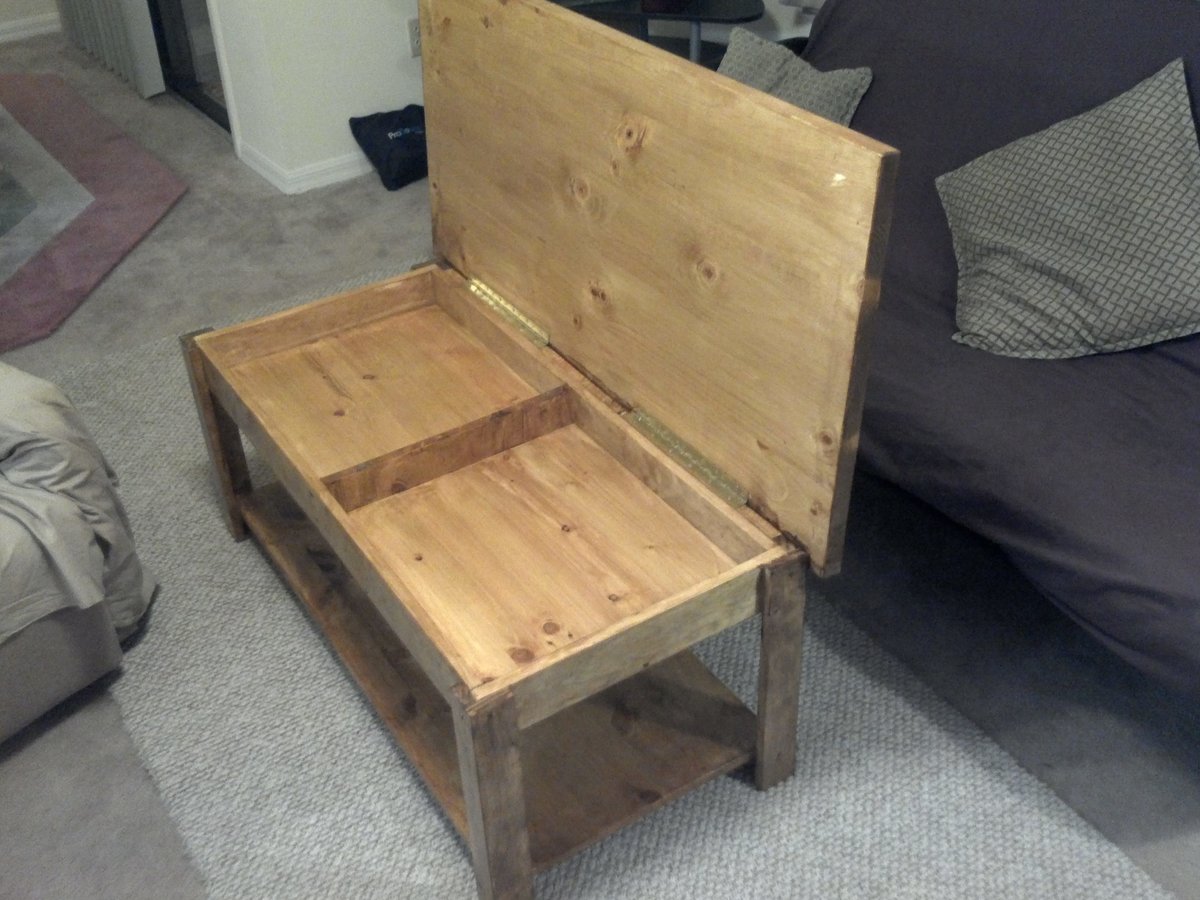
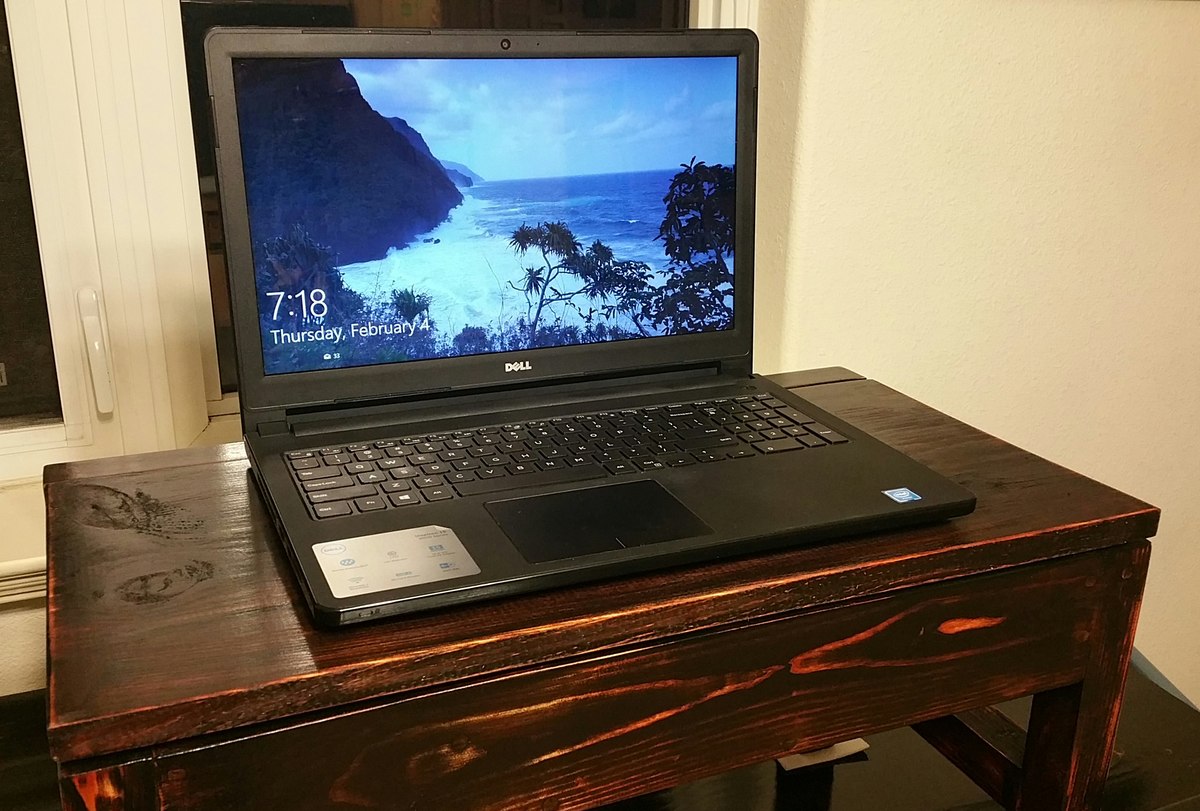
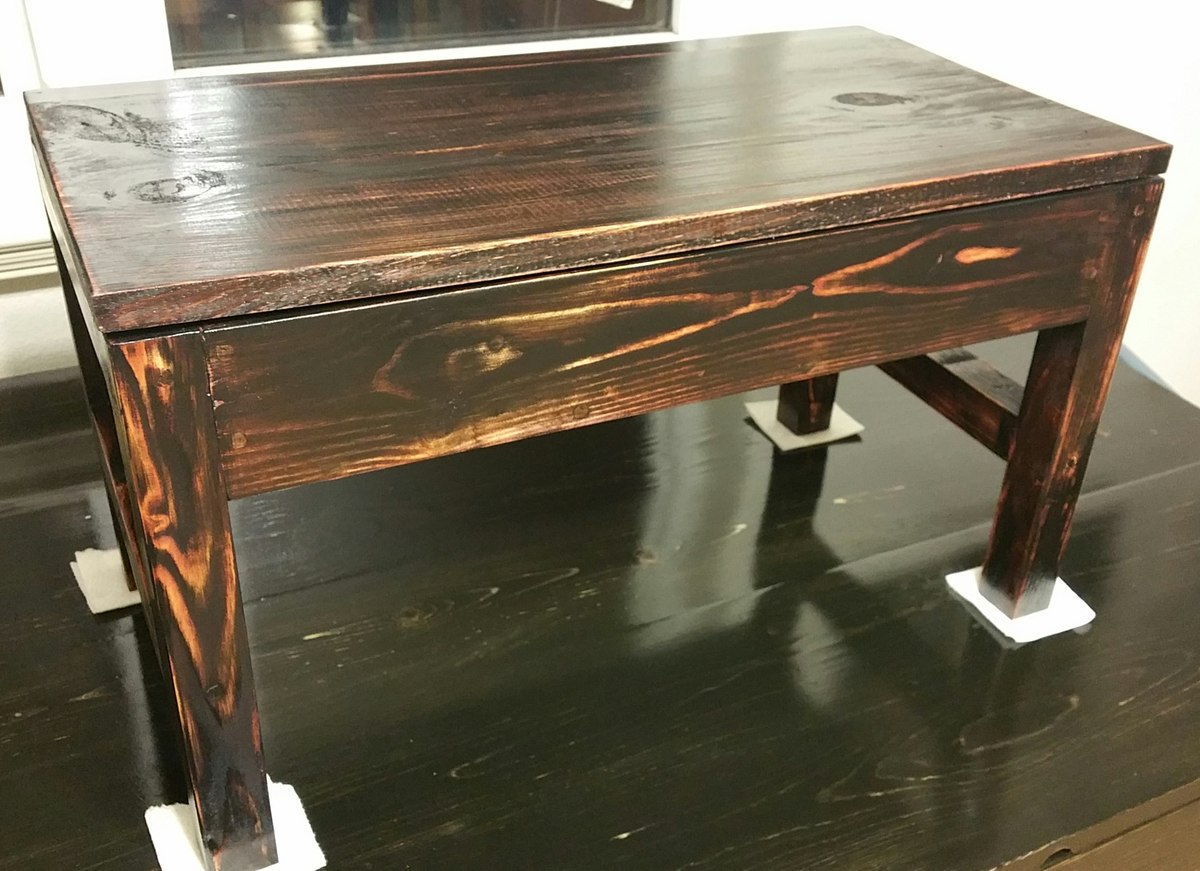
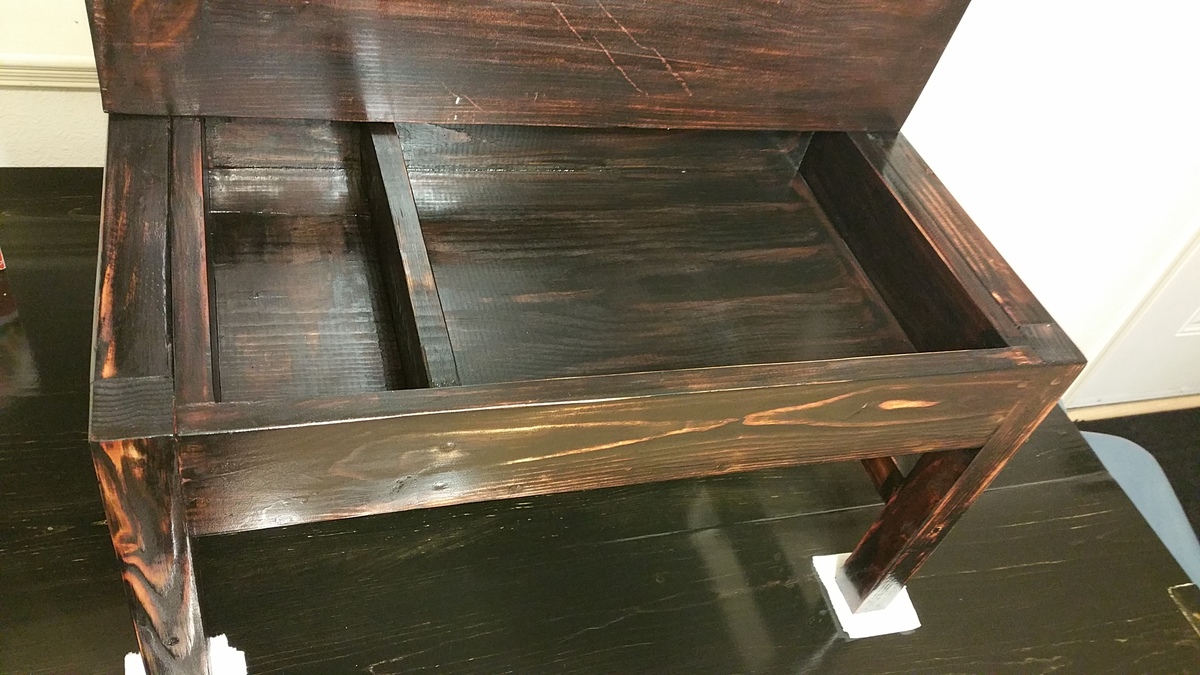
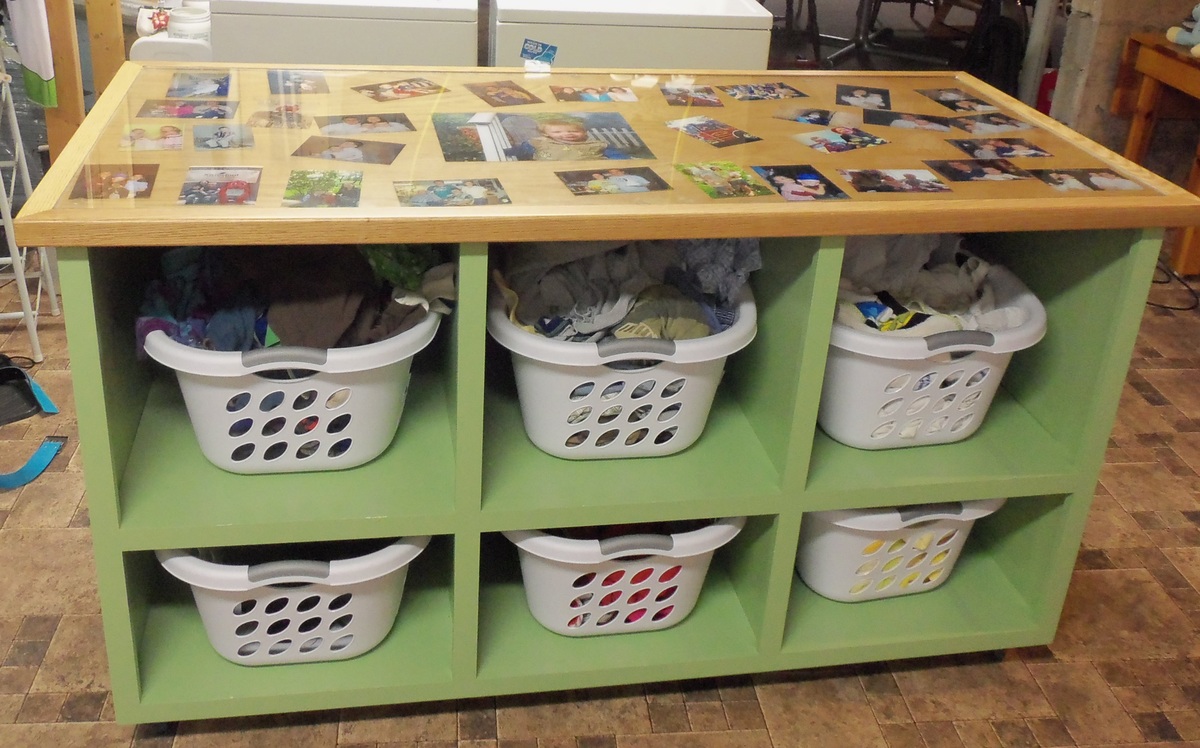
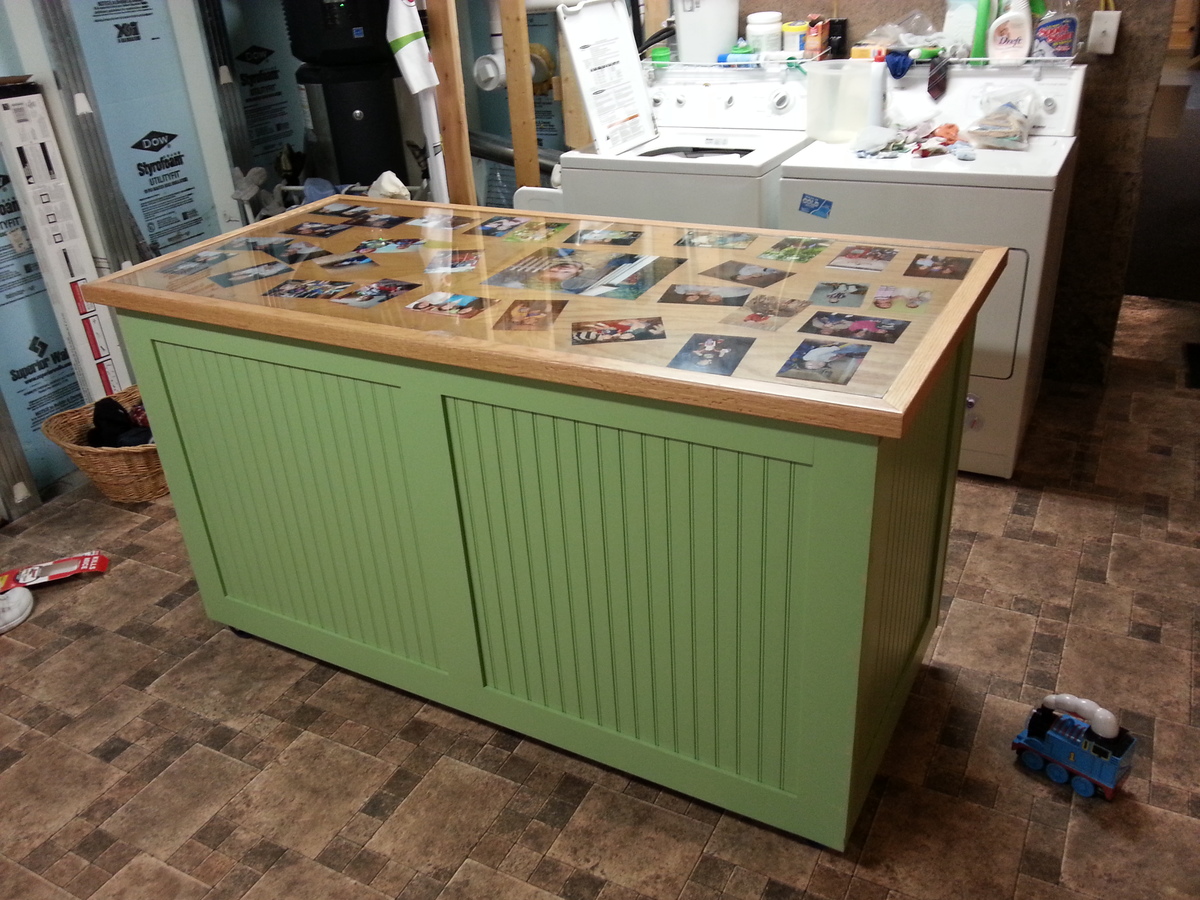
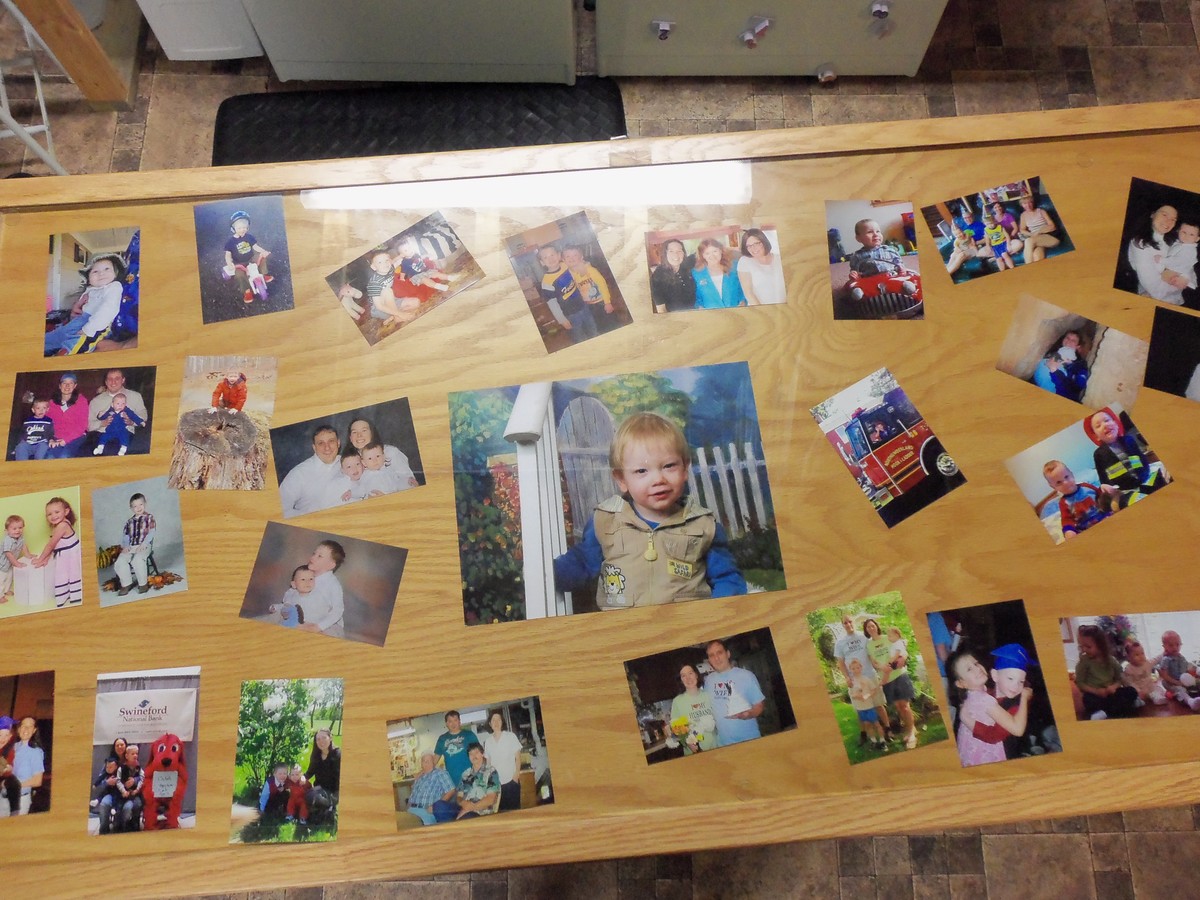
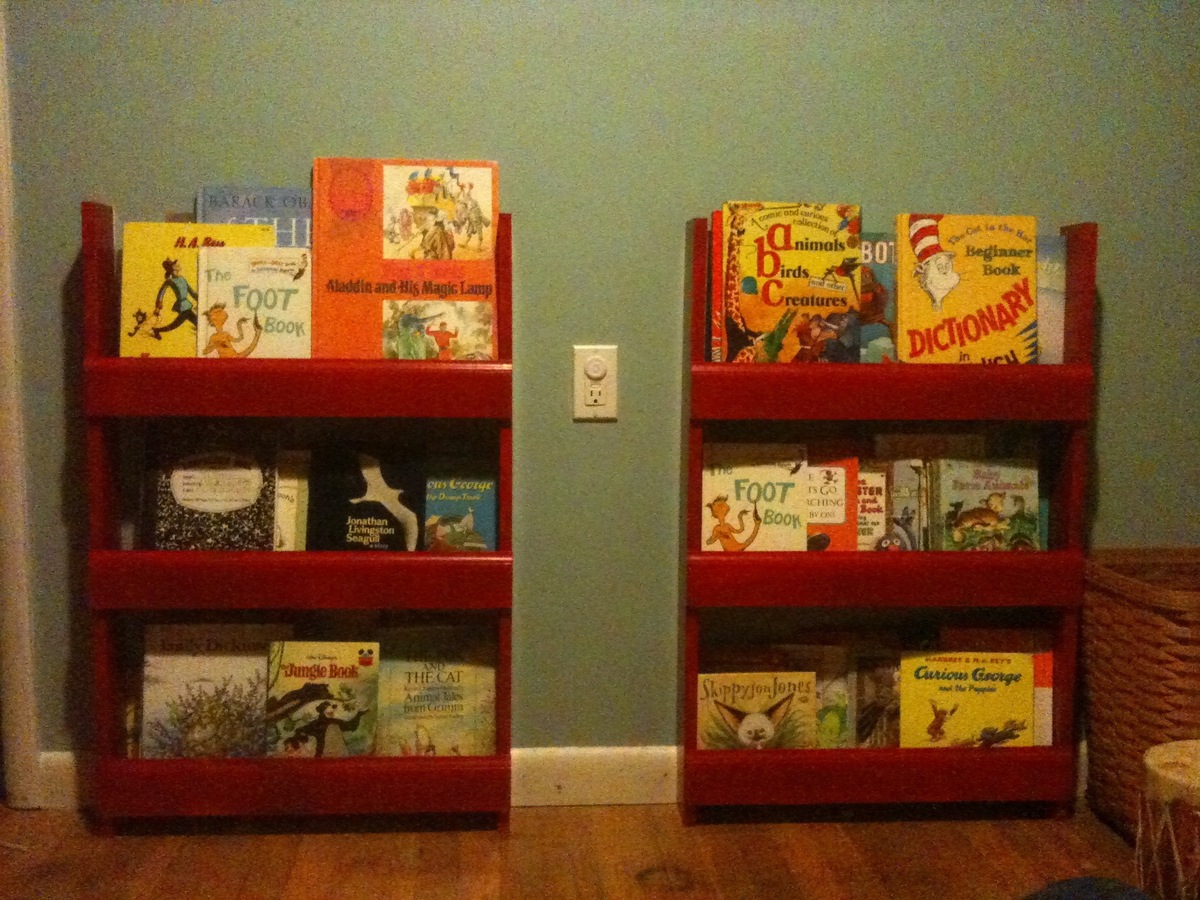
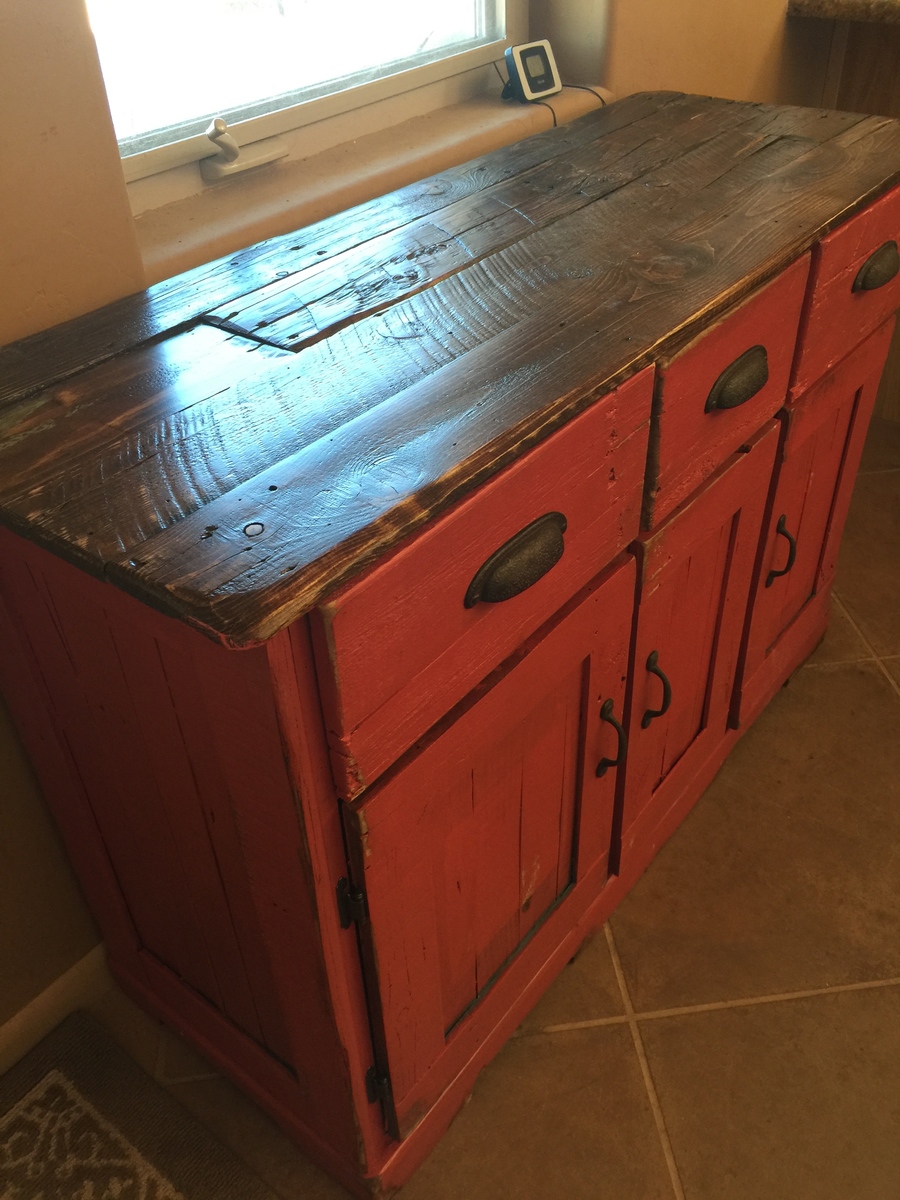
Community Brag Posts

Home Office Solution

Submitted by KevinJ on Wed, 03/25/2020 - 03:28

Both me and my partner work from home, where we share an office. It’s nice to be together all day, but not always. Sometimes we get on each other’s nerves, and sometimes we can’t stand the sight of each other. We’re a happy couple - it’s just that working from home together takes its toll from time to time. 

First, I considered renting an office together with a friend. That idea did not last for long, unfortunately. The overall expense, as well as the ins and outs of council permits, forced me to scrap the idea. 

In the end, I decided to go for a backyard office in the form of a log cabin. I put two and two together - these things are perfect garden offices and both me and my husband have some of that DIY enthusiasm in us. Why shouldn’t we give it a try? 

Once we found the right backyard cabin company, everything went pretty smoothly. It took them six hours to build the whole thing. Granted, it’s a 4 x 3 sqm cabin, which I chose for three reasons.

Firstly, I thought it was big enough to give me the needed space. Secondly, a cabin of that size doesn’t dominate the garden. Finally, the guys from the company assured me that it doesn’t need council approval.

The cabin came fully installed. I got it with an insulated roof, fitted windows and doors, light sockets, and a deck. All that I needed was some furniture for a home office. Which is when I decided to check out the plan catalog on Ana White. 

We decided to go for two projects - a simple office desk and a file cabinet. These were the only two things I really needed. As we’re both handy with tools, it took us two afternoons to complete the projects.

Once I got the furniture I needed, I started organizing everything. Here, I realized that setting up a functioning home office is a bit more complicated. Here’s a list of things I had to take into account: 

A View 

One of the first things I remembered was how important it is to have a view. Just like in the office in our home, I needed to have some natural daylight while I’m working. Moreover, I like opening the windows for fresh air in good weather. I put the newly-built desk close to the window. 

Lighting 

Having good natural light inside your home office is one thing. Having a good lighting solution is another. The lighting in our shared office was pretty good, so I wanted the same in my cabin. 

Since it’s pretty small, we solved the issue with a ceiling LED lamp and a brass lamp for the desk. 

Plants and Decorations

I love plants! I have a bunch of them in and around the house. Naturally, I decided to bring some into my new home office. I also brought in a couple of paintings, and I intend to start using essential oils, too. All of this makes for an atmosphere of a stimulating office, which I think is really important. 

A Second Monitor 

With new space that’s only my own, I decided to upgrade some of my techs. The first and most important thing was to purchase a second monitor. I always wanted some extra screen real estate, as I hate juggling windows. 

I advise buying the same model as the one you already have. You’ll get the same screen fidelity and user experience. 

A Sound System 

Some people find music to be too distracting when they’re working. I’m not one of those people. My husband always nagged me about this. I finally managed to shut him up by finding out that work plus music equals productivity

For that matter, I’ve decided to invest in a good sound system. I’ve set the speakers at the strategic spots around the desk. It’s a bit weird without my hubby around, so music also helps me feel less lonely while working. 

The Right Chair 

If you’re someone who works from home, do not underestimate the convenience of a good chair. It should be the core of your productive home office. Make sure to choose comfort over style.

I decided to avoid buying the chair online and went to a store. After testing nearly a dozen of them, I found one that provides the right arm, thigh, and back support. 

Wire Management 

Since my computer setup includes a lot of wires and cables, I was worried about them getting tangled up in such a small space. Clearing up this mess was pretty easy - I only needed a couple of zip ties and clamps. 

Estimated Time Investment
Weekend Project (10-20 Hours)
Recommended Skill Level
Intermediate

Comments

Retro Style Wall Hanging

Submitted by Joni on Mon, 05/21/2012 - 14:40

This piece began with finding a unique piece of walnut that had been discarded by a custom cabinet manufacturer. When I saw it, I thought I could make a beautiful wall hanging out of it. The walnut wood is absolutely beautiful; pictures don't do it justice. The majority of the piece is not stained; the natural color is enhanced with a clear polyurethane designed to give a hand-rubbed finish. The darker walnut section was lightly stained for contrast. The frame is made of pine 2x2s. I built a platform in the grooves with shims, and embedded earth-toned glass and stone tiles (as well as river rocks) in the grooves around the "waves".

While this didn't come from any specific plan, most any inspiration and techniques come straight from what I've learned on ana-white. Ana's site has really changed my life and given me a passion for building.

Recommended Skill Level
Beginner

Comments

hammertime

Tue, 05/22/2012 - 10:15

Joni, I've been admiring your work all along, but this one takes the cake! You have such imagination and vision. I think this is an outstanding piece.

Cottage Side Table with Vintage Label Painting

I modified the plans just a tad bit, i.e., framed the top and used 1" x 4"s on the top and bottom horizontal planes... painted a vintage citrus label on the top and now I have a one-of-a-kind side table for my porch.

Estimated Cost
$40
Estimated Time Investment
Weekend Project (10-20 Hours)
Finish Used
Ebony stain with a white milk paint dry brush on top of stain. Art work is done with acrylic then sanded and distressed. Finished the table with semi-gloss polyurethane.
Recommended Skill Level
Intermediate

Comments

Farmhouse Bed - Standard King Size

Submitted by jusgre on Wed, 03/25/2020 - 19:47

Really loved these plans and they produced a beautiful product.  The only minor change I'd make is to double the number of support slats.  Our Casper mattress requires gaps less than 3" between each slat.  Thank you for the plans!

Estimated Cost
$430
Estimated Time Investment
Weekend Project (10-20 Hours)
Finish Used
Minwax Honey Stain + Minwax Wipe-On Poly
Recommended Skill Level
Beginner

Rustic Hall Tree

Submitted by Anonymous (not verified) on Wed, 11/08/2023 - 10:21

I used the Rustic X Hall Tree plans and slightly modified them. I'm very happy with how it turned out. I used black pipe for the hooks as I have a lot of this style of decor in my home. The stain color is Dark Bourbon from Varathane. The back is luan with screen bead across the front to hide the cut panels (I have a Ford escape and had them cut the luan into panels). The back is secured with 1x2s so I had something to hold my 5/8 inch brad nails for the screen bead. I didn't use the X design; I can always add it later if necessary. The baskets are from Amazon sized 12x12x10. I also didn't add the 16 inch side pieces or the top piece. I used pocket holes on 95% or more of the piece.

Built from Plan(s)

Stacking cube

Submitted by Joleene24 on Thu, 05/24/2012 - 13:41

Hi all,
This is my second project I have build from plans I have found here. I'm a novice at woodworking and only get a couple hours on the weekend to work on projects. So it takes a while to finish one. My daughter loves her new toy shelf. The hardest part for me was to attach the doors straight. I'm sure there is a secret I just haven't figured it out yet.
I primed the whole piece, applied three thin coats of latex paint and sanded with 320 grit sandpaper in between coats. I applied two coats of finish after 48 hours and sanded with 400 grit sandpaper in between.

Built from Plan(s)
Estimated Cost
$40
Estimated Time Investment
Weekend Project (10-20 Hours)
Finish Used
2 coats of polycrylic
Recommended Skill Level
Beginner

Loft bed Black with monster high colours.

Submitted by moka58 on Sat, 03/08/2014 - 20:18

My wonderful hubby built this bed in a short amount of time and I did the sanding and staining. We made it for my 6 year old daughter for her 6th birthday surprise. Her reaction… a high pitched scream of excitement.

Estimated Time Investment
Weekend Project (10-20 Hours)
Finish Used
Minwax Polyshades. I don't recommend this since it's oil based and it took a long time for the smell to dissipate. Go with a water based product.
Recommended Skill Level
Intermediate

Door Picture Frame

Our house walls are still pretty bare, we wanted some artwork.  We bought an old door at a flea marker last summer and decided to turn it into a large picture frame.

More details and photos on my blog:

http://www.woodworkingfourdummies.com/blog/door-picture-frame


Cheers,

Ian

Estimated Cost
The expenses were the photos and mats and we had to get to pieces of the glass replaced on the door.
Estimated Time Investment
Day Project (6-9 Hours)
Finish Used
Polyurethane
Recommended Skill Level
Starter Project

Modified Laundry Basket Dresser

Both dressers were completed in one (long) day by my boyfriend and his father. Modifications were made to make it fit square Sterilite 1.5 Bu./ 53 L laundry baskets (serial/bar code # 073149121789).

I'm not sure what size pieces they purchased, however this is the cut list (for one dresser, 3 laundry baskets):
2 - 48" x 20" (sides) - could possibly be shorter, we had a little bit of extra space
1 - 20" x 20" (bottom)
1 - 21.5" x 20" (top)
1 - 48.5" x 21.5" (back)
6 - (2" x 2")'s cut into 20" pieces (or the metal angle option in the original design)

They did not distance the spaces perfectly for the (2" x 2")'s, but every 14-16 inches should be about right.

I'm sorry these instructions are void of a lot of information, but I hope they can help.
I think this project can take a shorter amount of time if no mistakes are made. They had to run to Lowe's 2 times in the middle of the project because they forgot to purchase a second size of screws and then they cut the back too thin.

Good luck, and have fun! It is a fabulous project and oh so very useful.

Built from Plan(s)
Estimated Cost
$50 - $100
Estimated Time Investment
Day Project (6-9 Hours)
Finish Used
Lowe's Creative Ideas for Color, "Dive In" CI 249
Recommended Skill Level
Beginner

Comments

Katie B. of Ho… (not verified)

Mon, 05/28/2012 - 09:53

This is a brilliant solution, particularly since most sorters don't have enough compartments to separate the whites, sheets and towels from each other. But we really don't want to wash them together, do we?

Love how cozy your kitty looks up there, too.

Little Helper Tower

Submitted by aoliaak on Wed, 03/12/2014 - 16:48

Loved building this for my son, much easier than I expected it to be.

Total build time was about 3 hours, and another 3 hours for finishing. We've had it only a few days and it's already a staple in the kitchen, used for everything from peeling potatoes to feeding his horse!

Thank you so much for making these plans freely available.

Built from Plan(s)
Estimated Time Investment
Day Project (6-9 Hours)
Finish Used
2 coats of Sico's Luster Gloss in Desert Sun + 1 coat of polyurethane spray.
Recommended Skill Level
Beginner

John's Washer/Dryer Pedestal

Submitted by coveyjt on Sun, 06/12/2016 - 10:59

The wife has a hard time bending down so she wanted pedestals for the washer and dryer.  The metal ones with a drawer were too tall.  I showed her Sausha's and she really loved that design.  I basically used the same construction plans idea from Sausha's project and some tips from Ryan's brag post.  But, I wanted to beef it up some.  I didn't like the L-bracket to attach the top and 4X4 legs.  It didn't seem sturdy enough for me.  I used my table saw to square the edges on the 4X4 posts and the 2X6 rails.  Then I used my Kreg jig and glued and screwed everything together.  I liked Ryan's trim ideas, so I used baseboard trim for the bottom and flipped it for the top trim.  I made a 1/2" lip so if it were to vibrate, the washer/dryer would not fall.  I put the trim on the bottom of the legs and was considering putting on the top but I put some different trim all the way around the bottom of the 2X6 rails.  The wife liked that.  I also added some carpet on the top to cut down on vibration and to help keep the units in place. I also put some 4X4 pieces of carpet on the bottom to keep the noise down and to help in moving it. I primed and used an gravity sprayer to paint it.  Then I put 3 coats of polyacrylic to help in cleaning and to cut down on scratches from the laundry baskets. 

laundry pedestals diy

Estimated Cost
150.00
Estimated Time Investment
Week Long Project (20 Hours or More)
Finish Used
Paint
Recommended Skill Level
Intermediate

Comments

zoolander

Wed, 06/29/2016 - 14:31

I think you could probably drive a truck on top of yours.  :)  I was a bit concerned about the strength of the construction when I first decided to build it, but I decided that since it would be stationary once I have it in place and the only force would be straight down, it would be fine.  Once I got it put together, it was actually sturdier than I thought it was going to be...from a horizontal force perspective.  Virtically, that thing could hold 100 washer/dryer pairs...the plywould would give out before the 2x4s and 4x4s would even budge.

Anyway, nice work!  I love the Kreg Jig...I need one of those. 

Rustic X End Table

Submitted by B.W.Martin on Thu, 04/16/2020 - 20:35

I used the rustic X end table plan to make a set, went a different route on the color and stain. I also used plywood on the bottom instead of 1" by 12".

Built from Plan(s)
Estimated Cost
$20
Estimated Time Investment
Day Project (6-9 Hours)
Finish Used
Eggshell antique white was used for the paint. I used minwax pre-stain, one cost of minwax honey stain, and two coats of minwax polyurethane.
Recommended Skill Level
Intermediate

Coffee Table with Drawers

Submitted by Anonymous (not verified) on Sat, 11/18/2023 - 12:14

This was inspired by a Potter Barn table that looked similar. It was one of my first projects. I couldn’t afford the 2000 plus from there so built it. Sanded very fine and used Dark Walnut stain. Sealed four times with polyurethane sanding between each. Rubbed last coat of polyurethane on with cloth and used 0000 steel wool to give it a very soft and smooth finish.

Lynn

Modified Hailey Platform Bed

Submitted by Jake on Wed, 05/30/2012 - 16:15

I took the Hailey Platform Bed plan and cut to a twin bed size. I used some old wood I found in the garage for the head and foot boards and the legs. Notice the legs are 4x4s. The grandkids had some old bed springs under their mattresses so I incorporated the spring into the build. That required that I lower the cleat a couple of inches and it meant I had a very complicated leg geometry in order to get it deep enough to support the bed. I built the frame with Kreg Jig pocket joints and they made the work very easy with such large and heavy timbers. Notice I attached the legs to the frame with 5/16" lag screws which allows easy removal of the legs if you need to make it easier to move. Came out very good but I think I will build the second bed without the springs and go for the slat method as shown in the plans.The result is beautiful. My neighbor commented that it looked very Pottery Barnish!

The second bed I finished yesterday is made with slats. A very smart move. The legs are so much easier to attach to the frame. Both beds are beautiful and sturdy. One grandkid told me that when the hurricane comes he is going to get under his bed because it is so strong. He may be right but I will be in Laredo or San Antonio.

Built from Plan(s)
Estimated Cost
$70 for two beds and I also got free wood from the garage.
Estimated Time Investment
Weekend Project (10-20 Hours)
Finish Used
Red Oak stain on the legs and head and foot boards. The rest was primed then given two coats of a good satin paint called Benjamin Moore Impervo. It is expensive but I used it on repainting the kitchen cabinets and it was worth the cost. Best advice is good primer, sand with 150 grit, then two coats of final paint but light sanding with 320 grit between coats.
Recommended Skill Level
Beginner

Sissy's Toddler Farmhouse Bed

Submitted by Wifey on Sun, 03/16/2014 - 15:16

I'm so excited, this is my first furniture project. My husband was a little hesitant initially but is happy with the completed bed. This bed is so sturdy, I can easily sit on the edge and even lay down with my daughter. She loves her new bed and her brothers are a bit jealous. I told them to go through Ana's site and find something they like! Thank you so much for the projects you offer on here.

I altered the plans for a 28" wide crib mattress. Instead of a 1 x 3 on the ends of the head and footboard, I used 1 x 4s all the way across.

I also altered it to be 3" taller because I need a little extra storage space under my daughter's bed.

I did not use a nailer, just a hammer and nails. I found that it helped to use legs and shims on the bed rails frame and get to perfect level and then nail the footboard to the frame. Next, I screwed the frame into the footboard. This might be unnecessary info, but as a beginner, this part gave me a bit of trouble.

I used Behr Premium in Ultra Pure White with an Eggshell finish.

Built from Plan(s)
Estimated Cost
$60
Estimated Time Investment
Afternoon Project (3-6 Hours)
Finish Used
Behr Interior Premium Eggshell finish in Ultra Pure White.

Used a small roller on larger areas and a brush in all others.
Recommended Skill Level
Beginner

Counter Height Chunky X Table Long and Skinny

This is an adapted plan from the:

Chunky X Base Table

http://www.ana-white.com/2016/02/free_plans/chunky-x-base-table-featuri…


I made it counter height, made it skinnier at 27" depth and really long at 72" long.

Estimated Cost
$100-$150
Estimated Time Investment
Weekend Project (10-20 Hours)
Finish Used
Red Mahogany Oil Based Interior Stain. First using wood conditioner, stain than a semi-gloss polyeurathane
Recommended Skill Level
Intermediate