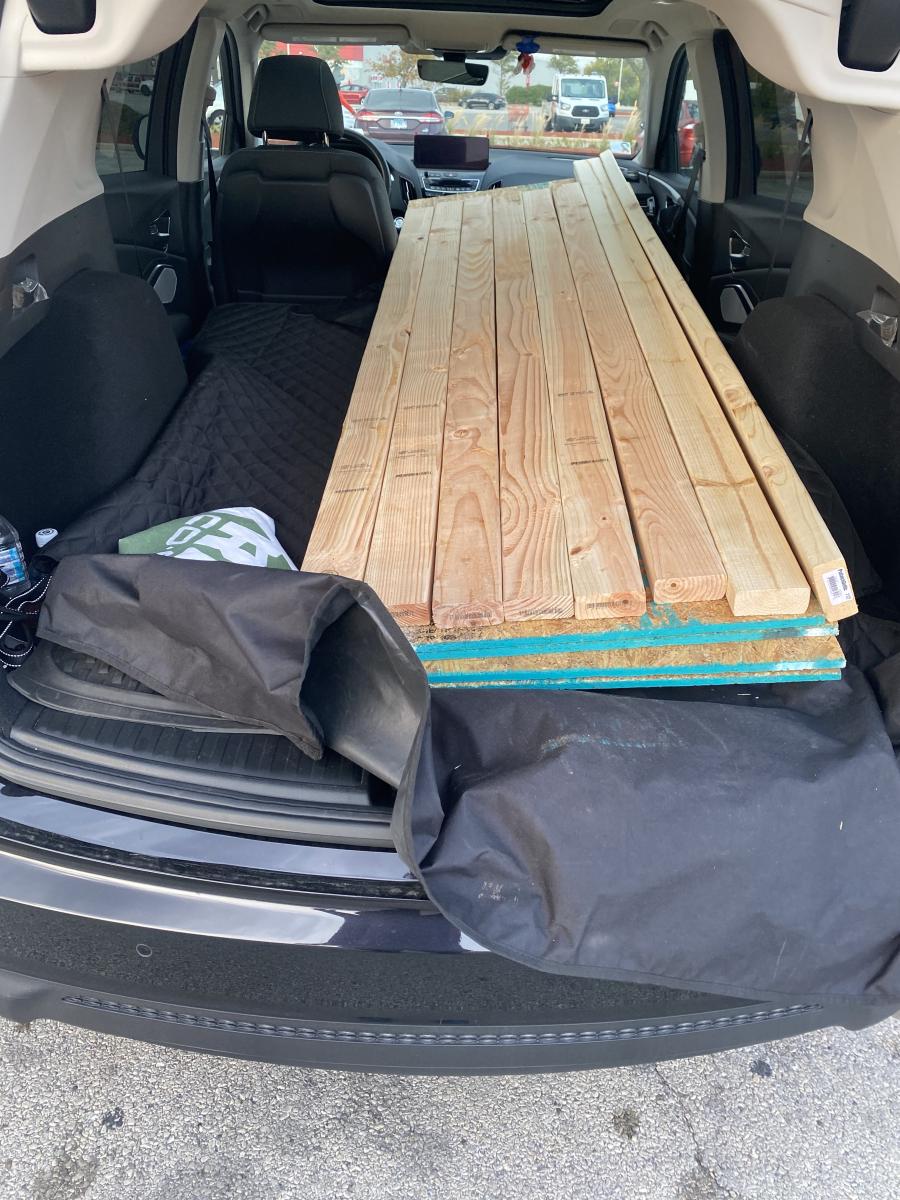
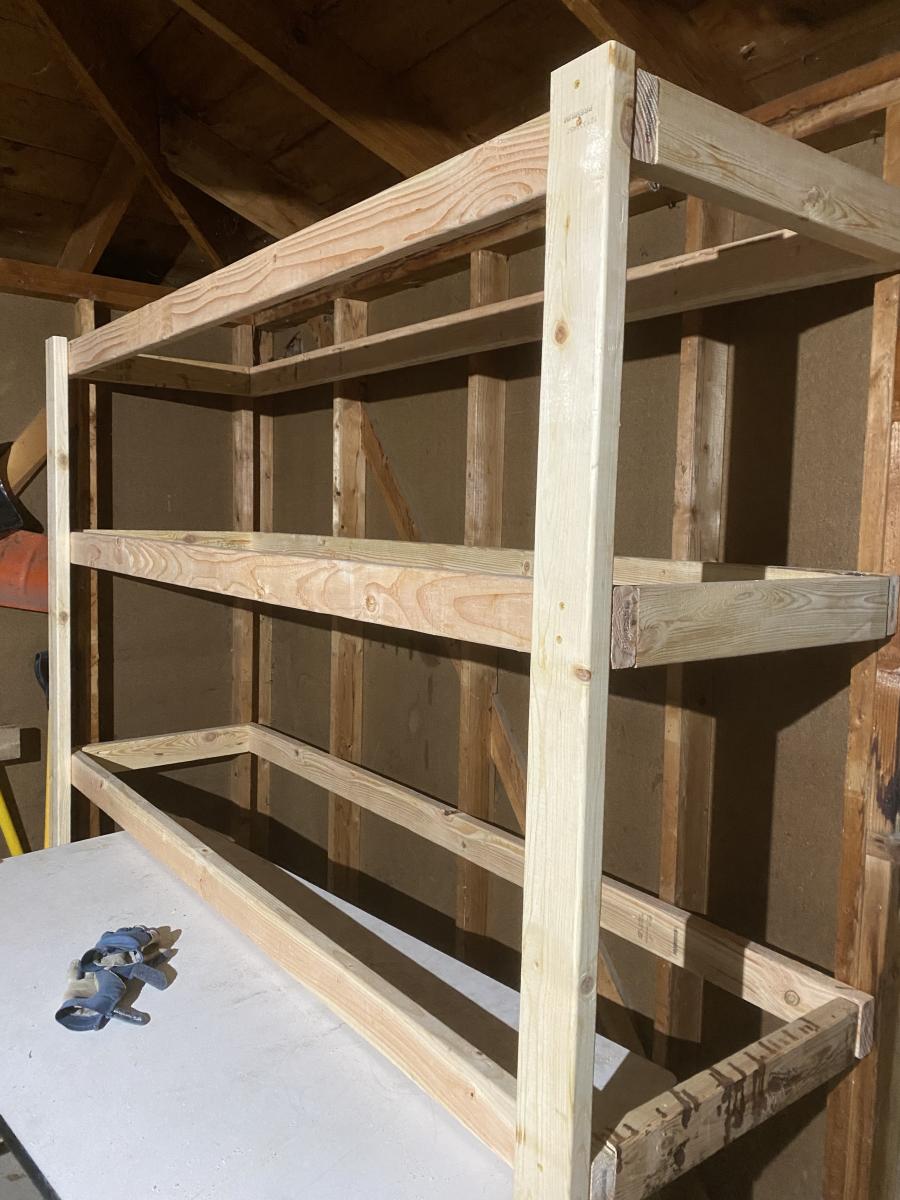
BEST DIY Garage Shelves (Attached to Walls)

Total cost $87. This project was very easy and did not take much time.


Built from Plan(s)
Total cost $87. This project was very easy and did not take much time.
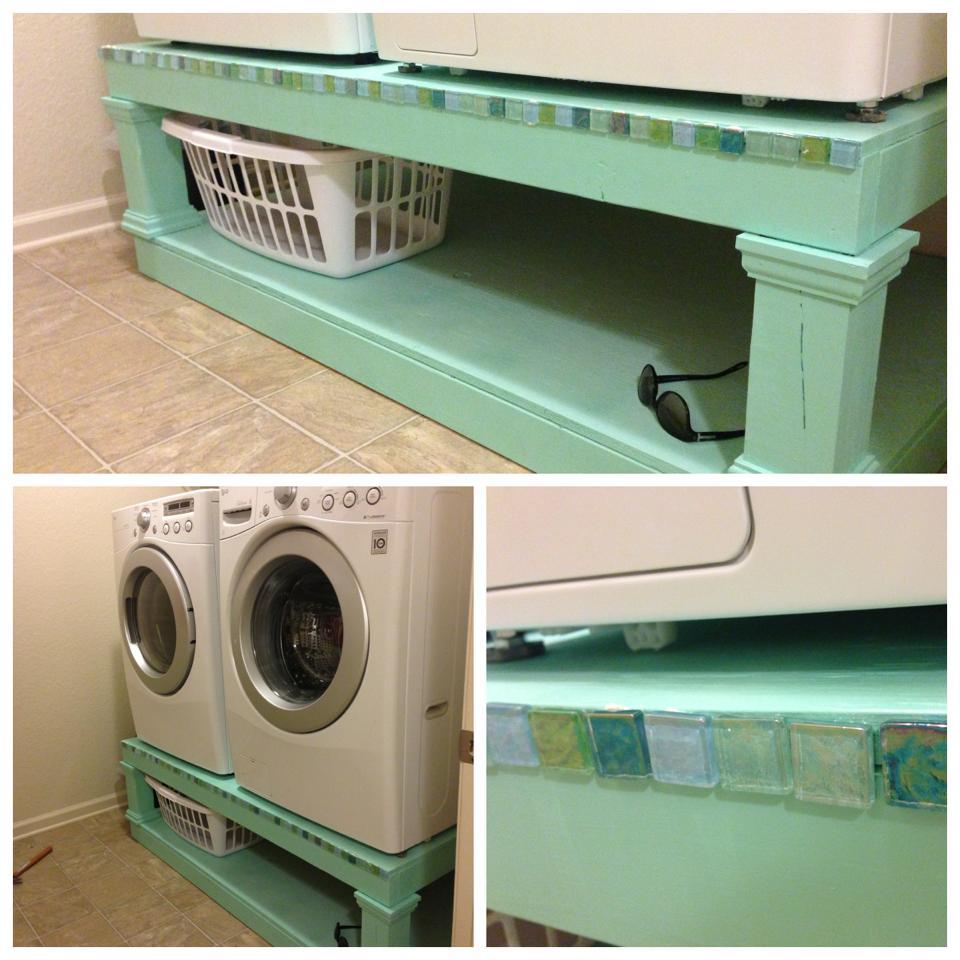
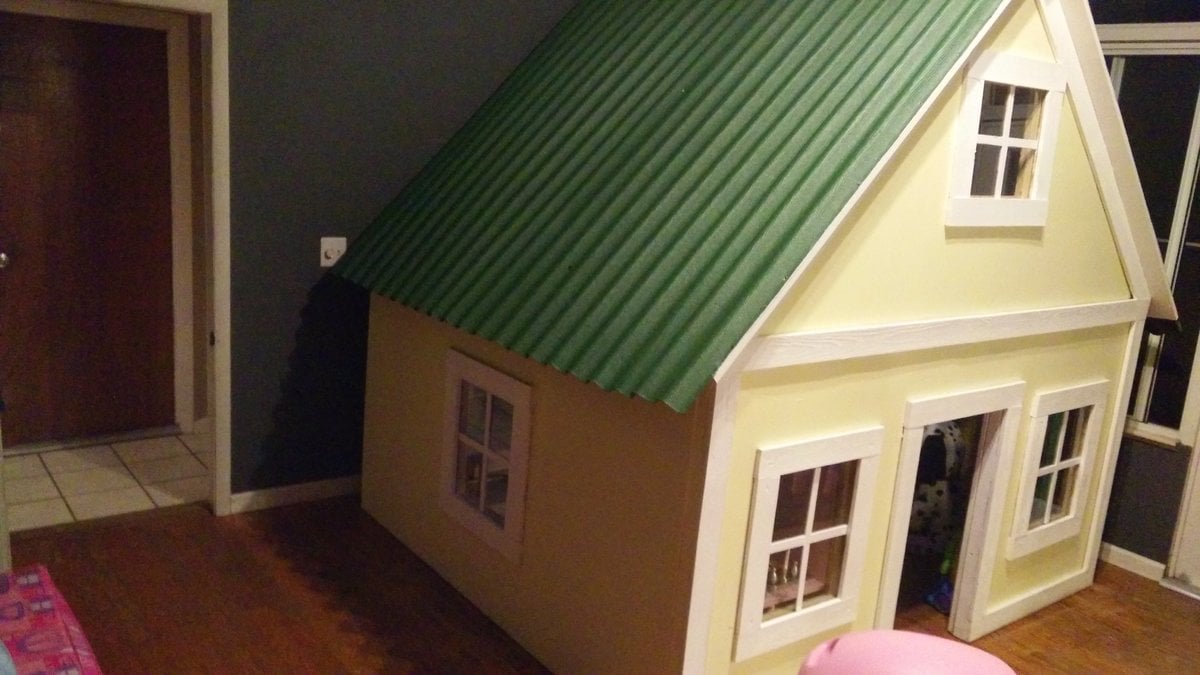
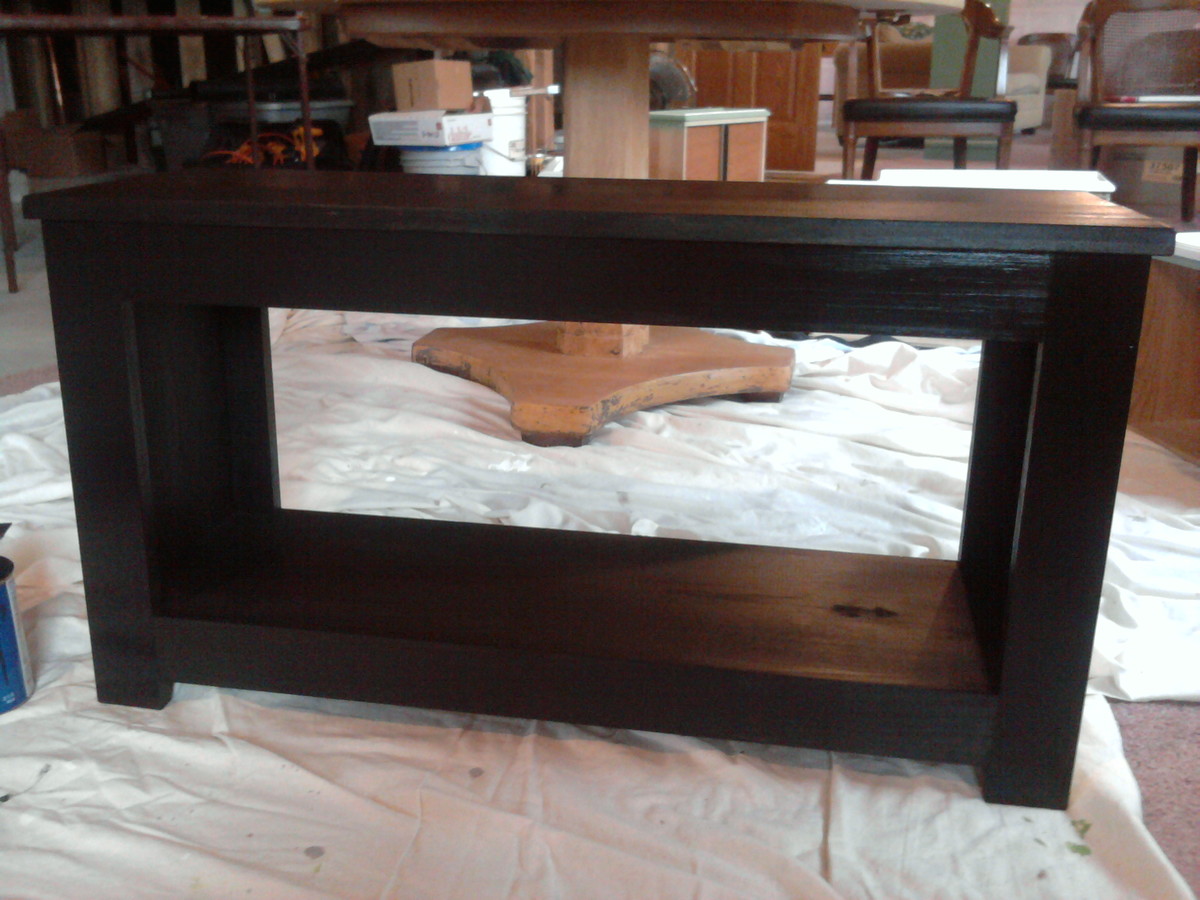
Built according to plan, adding embellishment to cover decking seam. Painted with three coats of paint and a sprayed clear coat.

Got some butternut from a friend and here it is.
Mon, 11/23/2015 - 13:01
Making this was a little bit of a headache maker,but got thru it.No plan from anywhere was used.
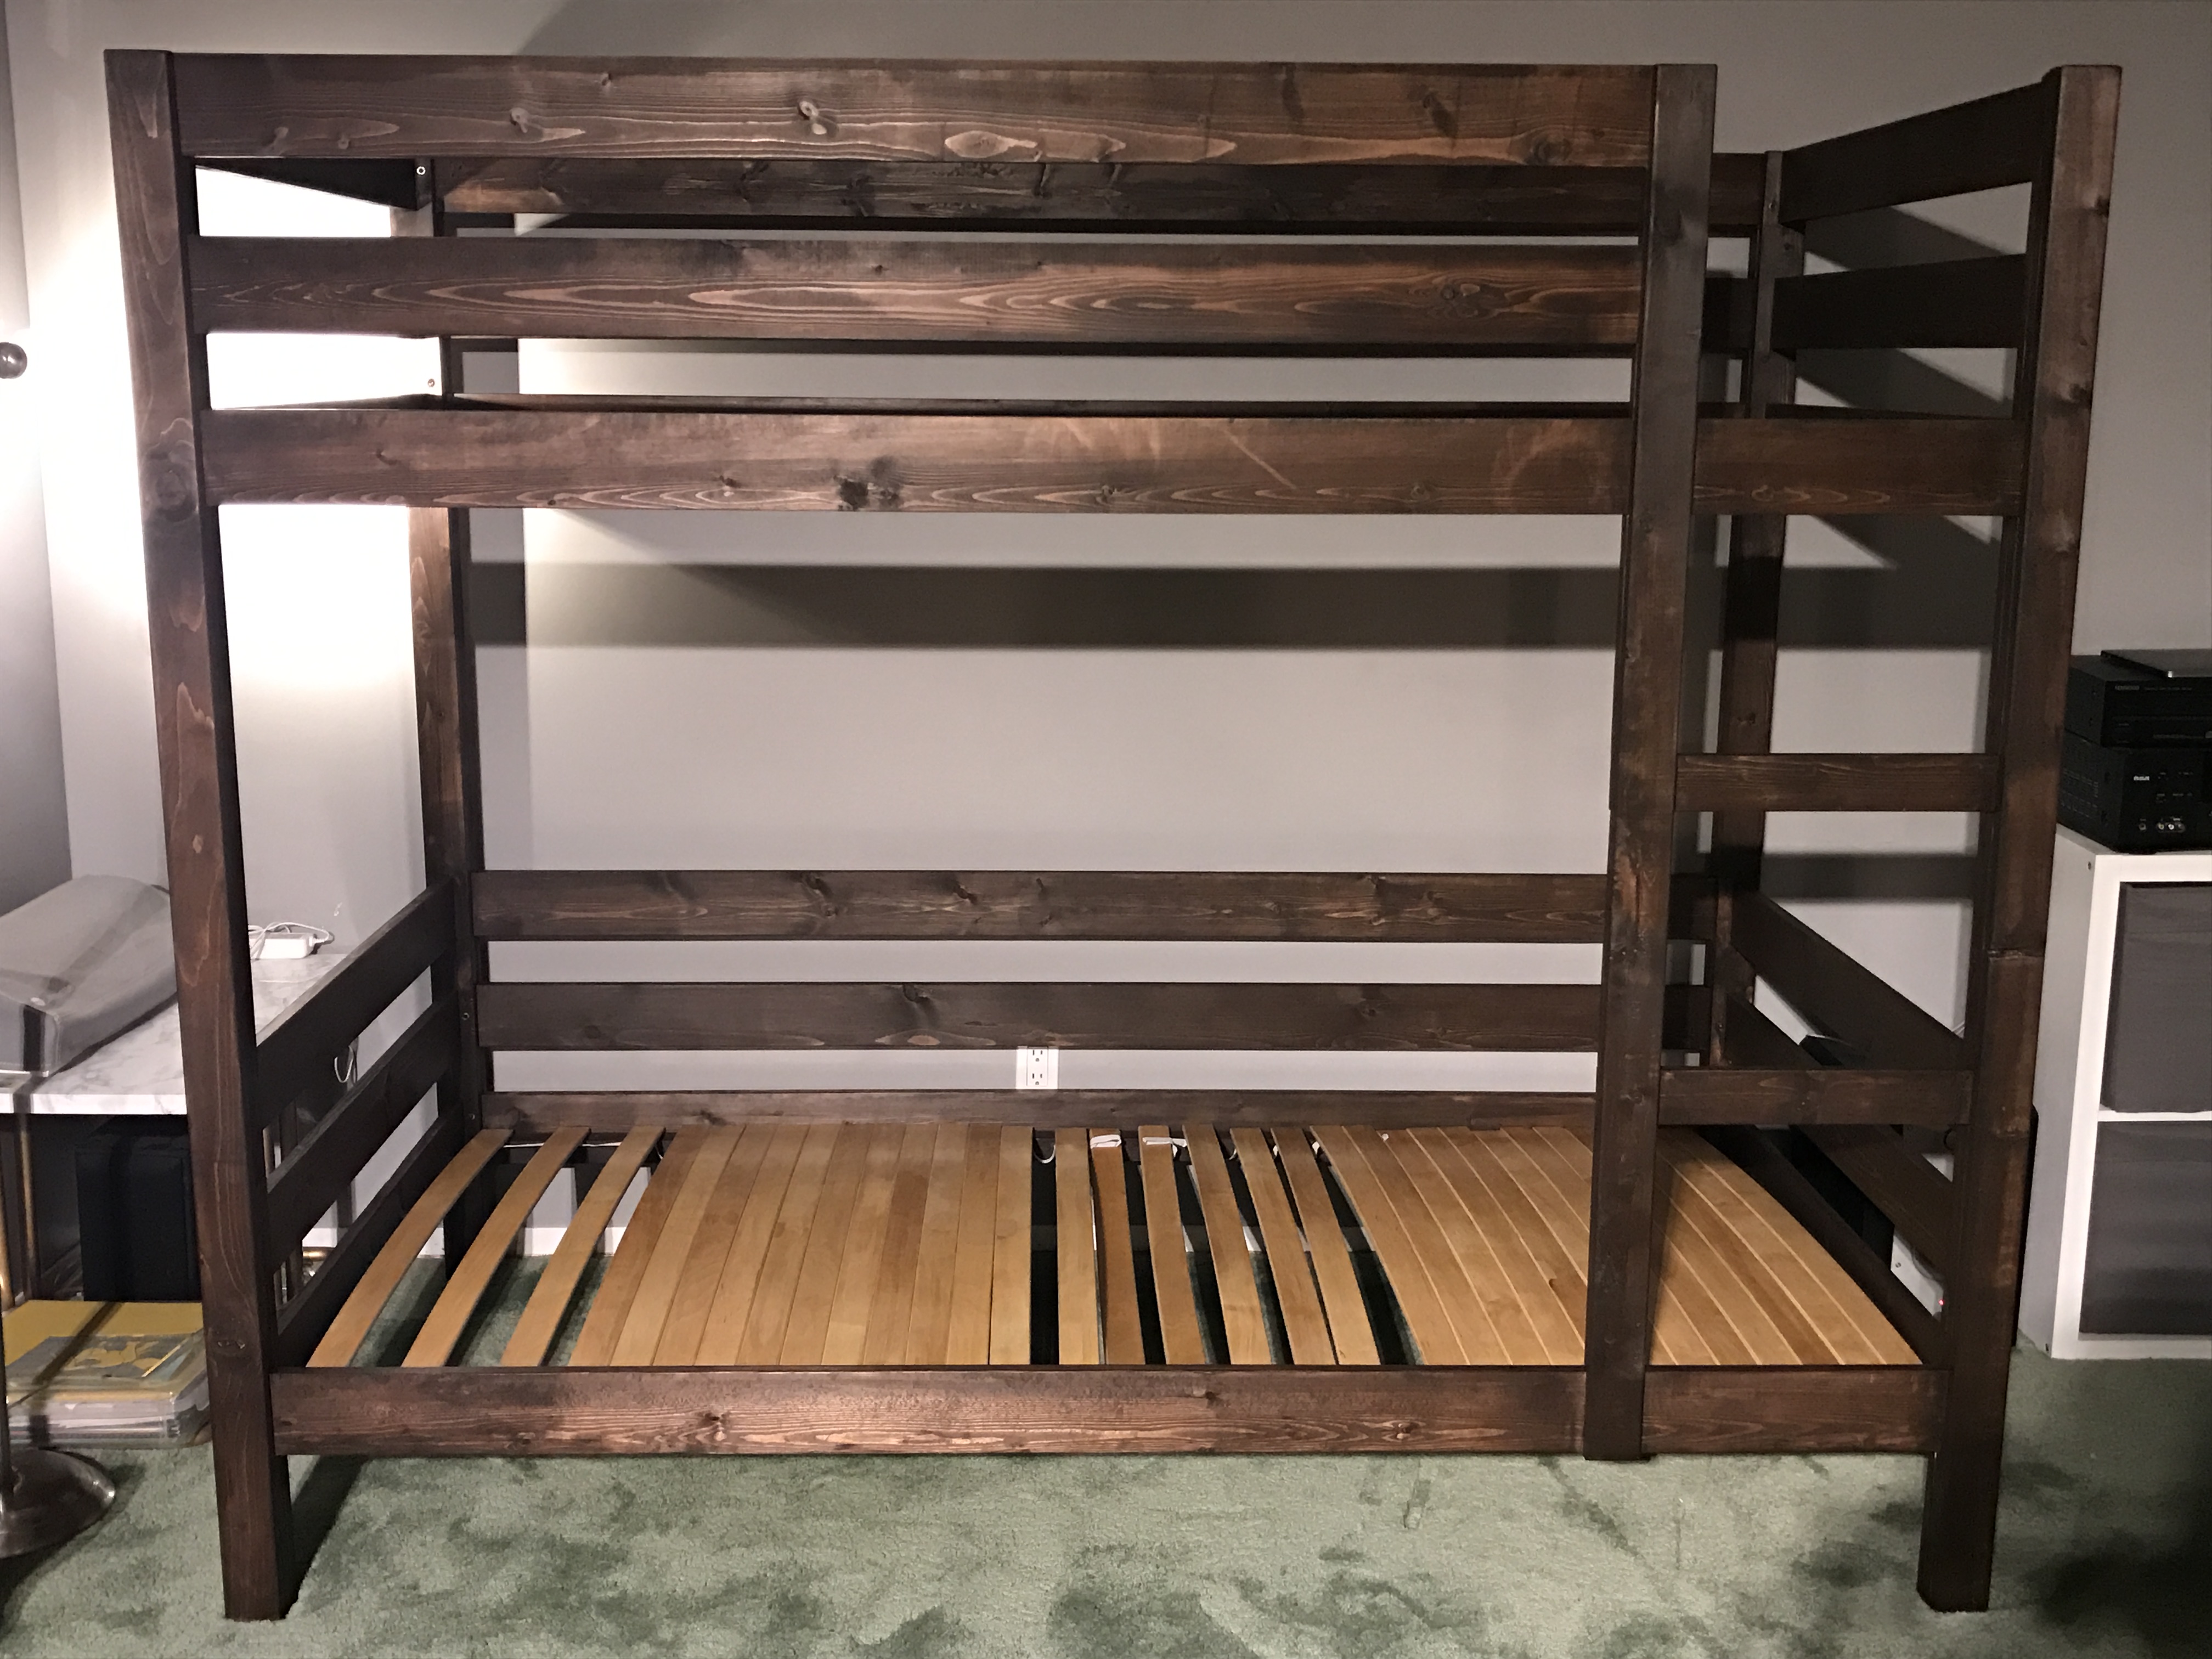
My husband and I enjoyed building this for our boys. Our wood supply store didn't have enough 1x4's so we purchased 1x6's and ripped them down to an even 4" instead of 3.5 as with a 1x4. We also increased the height by 5.5 inches. That gives us a little extra room to do nightly reading at the bottom bunk. The slats (2 sets) in the bottom are just from IKEA and at the time we just threw them down there and I forgot to set them up in place for a true final photo. Oh well. They've enjoyed the bed for over a month already

We modified the plans to be the height of our countertops, roll and to be the dimensions of a nice cutting board we have. We originally were going to have a custom butcher block made for the top, but after having a built in one in our old house (we just moved) we decided it would be nice to be able to take the cutting board on and off to cut. We only put two locking caster wheels in the back as we have small kids and wanted to be able to stop the kids from pushing it around as much. If I hadnt wanted the hinges to be flush and a wooden knob and metal handles on the side we could have built this out of pallet boards, scraps and things we allready have! We also put small L brackets on three sides to hold the cutting board in when we cut. The cost is just caster whees, the wood knob, and the side handles as we had all the wood and paint from other projects. Also things take us a lot longer with kids and no one to watch them (and I am 8 months preggo!) so I could have done this even with drying time in a day or two. As it was I think it took me 4 days working an hour or two every day


Sun, 08/28/2011 - 14:56
Sorry for the less than great photo! We are still unpacking and I havent found my good camera. This was a cell phone camera so I will try to post better ones later.
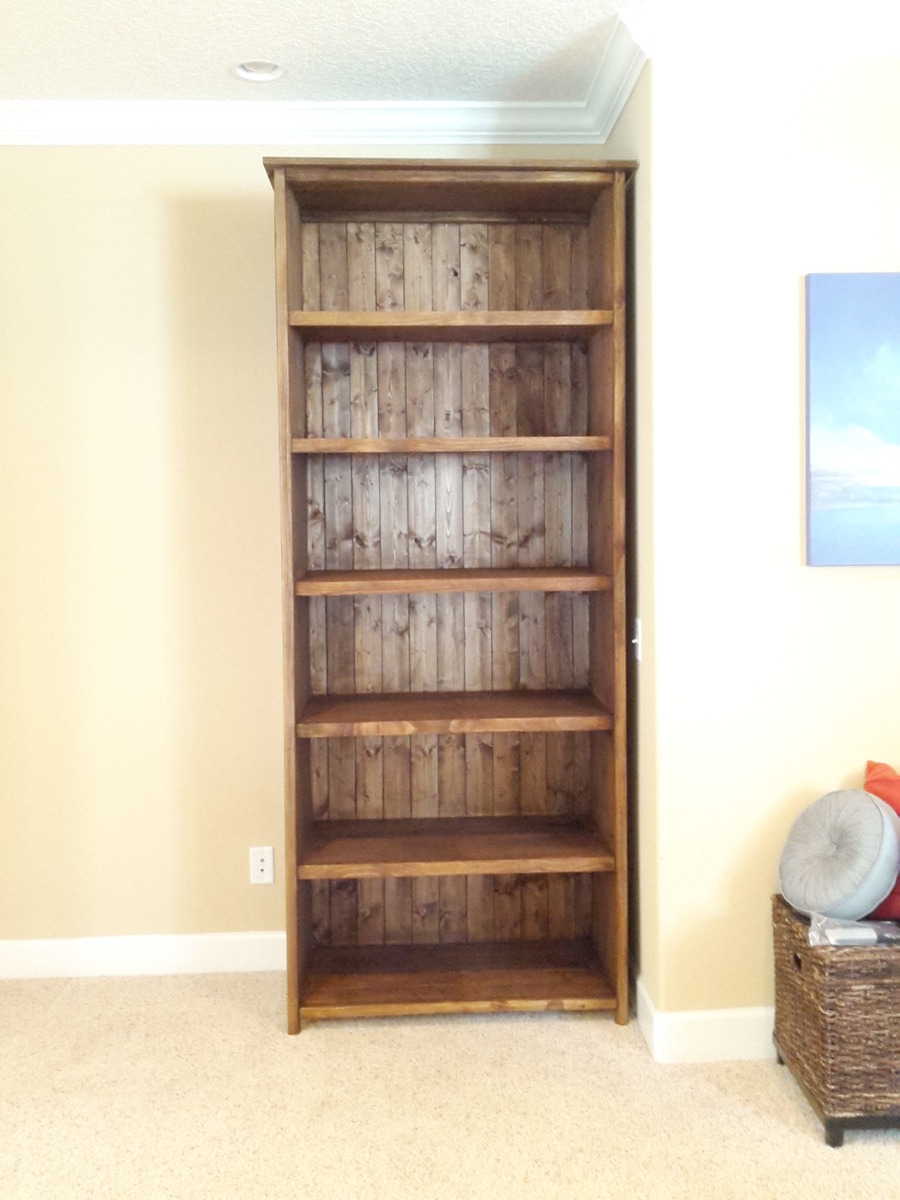
My wife loved the original kentwood plan, but wanted it....bigger. So it is 96 inches tall in total, and for the sides and shelves i used 1x16 project board from Lowes. This means that the shelves and sides are cedar, while the remainder is pine. Turned out fantastic and she loves it. I am currently building a second one to match.
Estimated time: 12 hours.
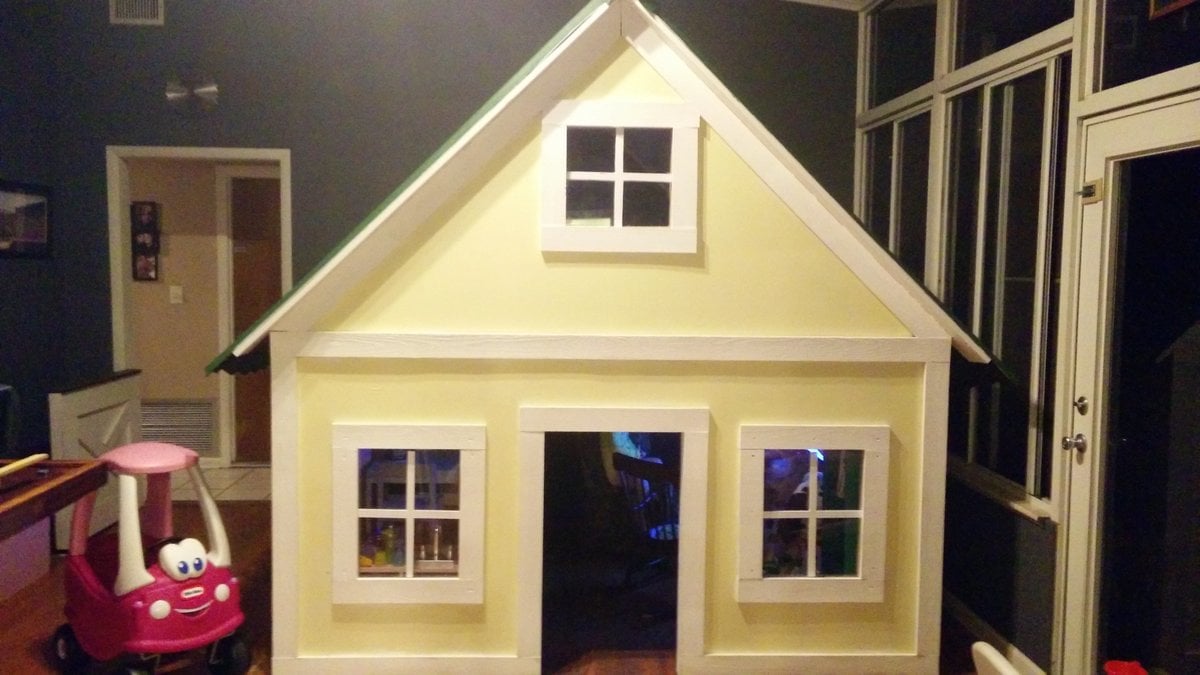
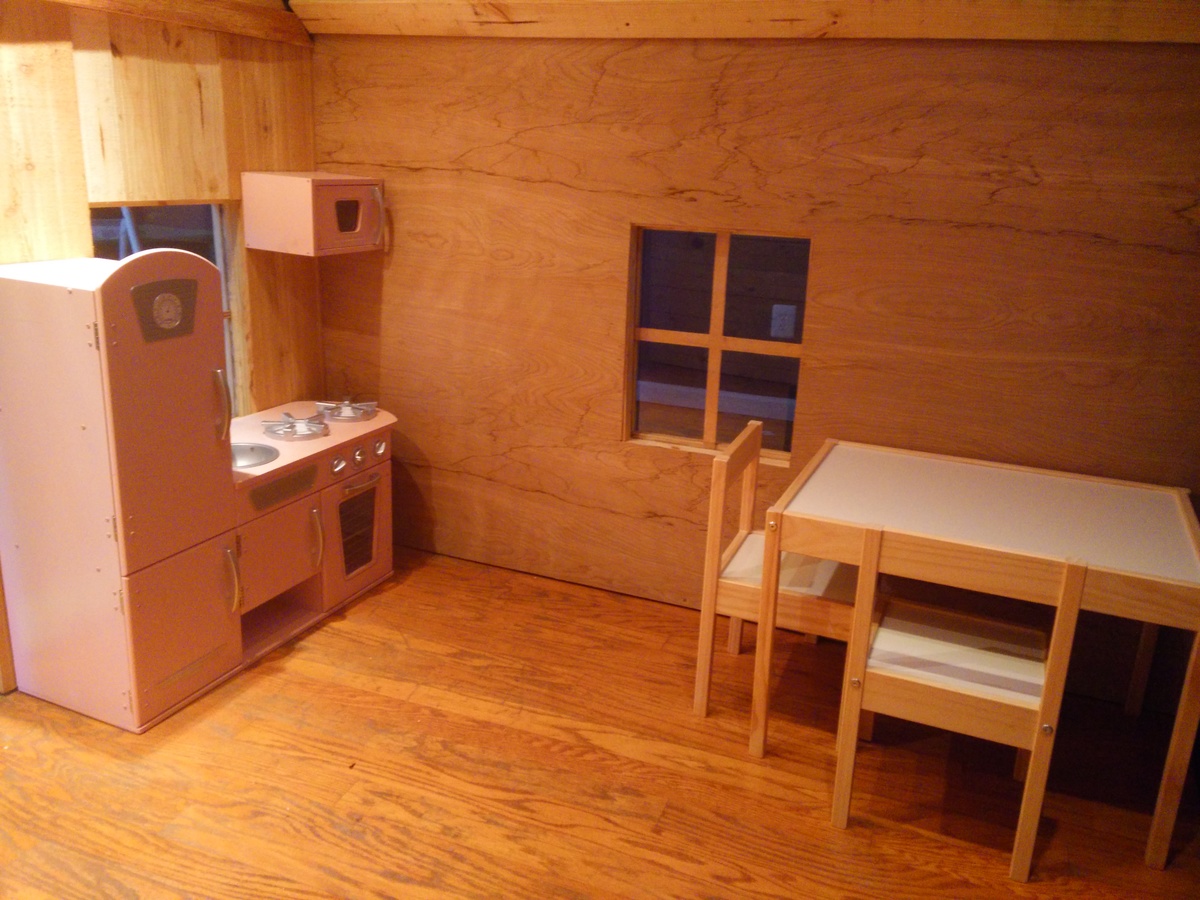
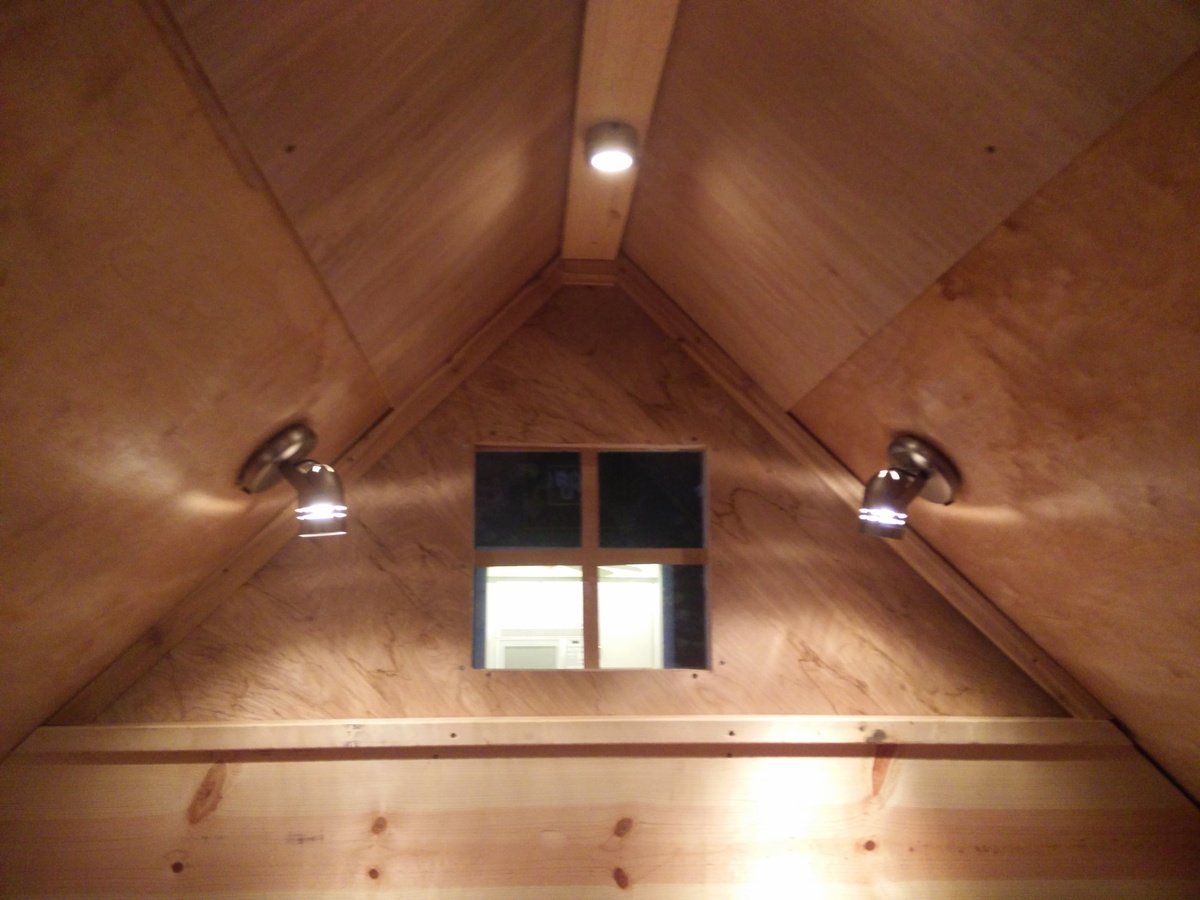
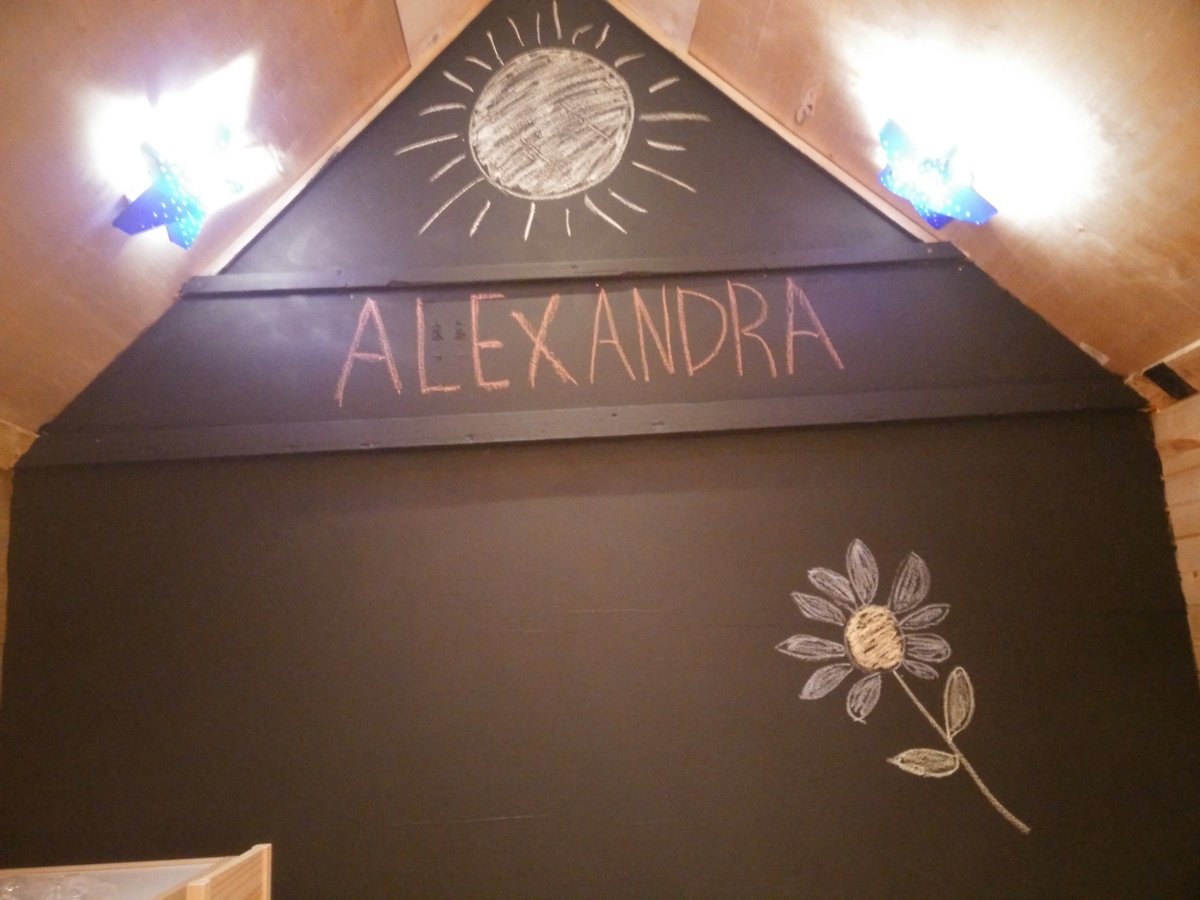
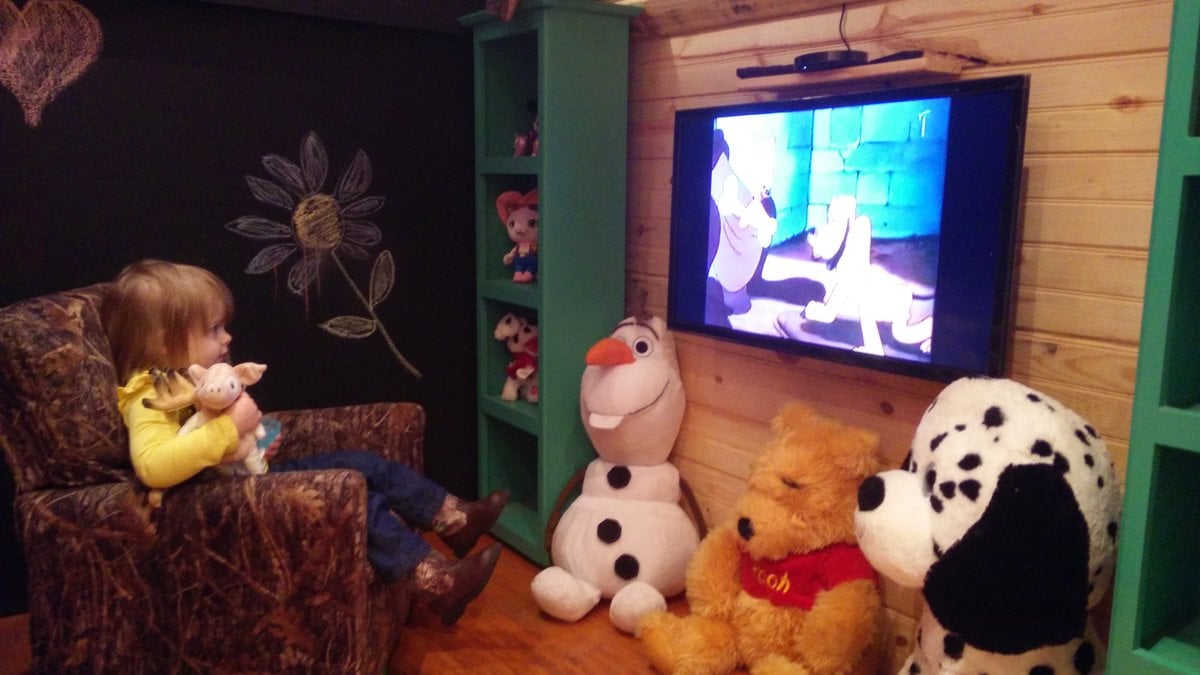
I built this indoor playhouse for my daughter who turned 2 in september. She loves to help mommy cook, loves to have little tea party's for her dolls and love to watch Chip n' Dale terriorize Donald Duck. So I thought I would give Alexandra her very own little house to do all those things. I hope you all like it and have just as much fun building one of these as I did.

Sun, 11/29/2015 - 19:02
Very impressive! I love this tiny house and all the nice attention to details.
Tue, 12/31/2019 - 10:08
Hi Ana -
Where can I find the plans for this house . Just too cute !
Sadhana .
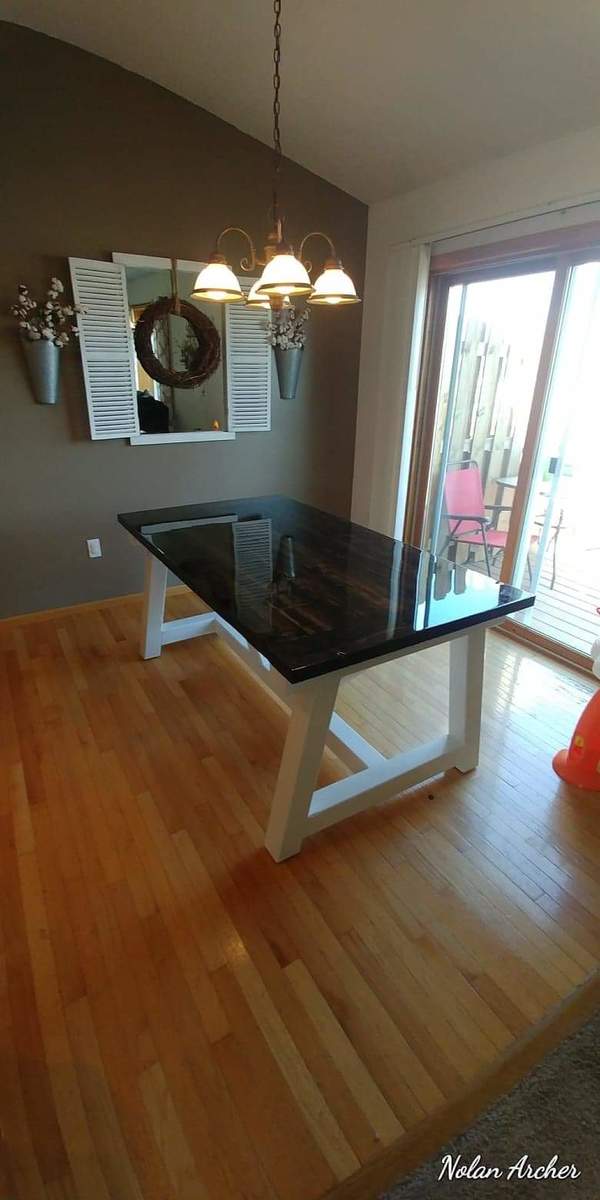
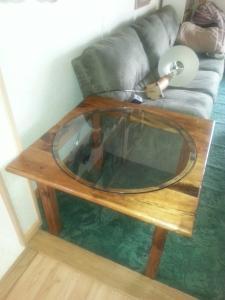
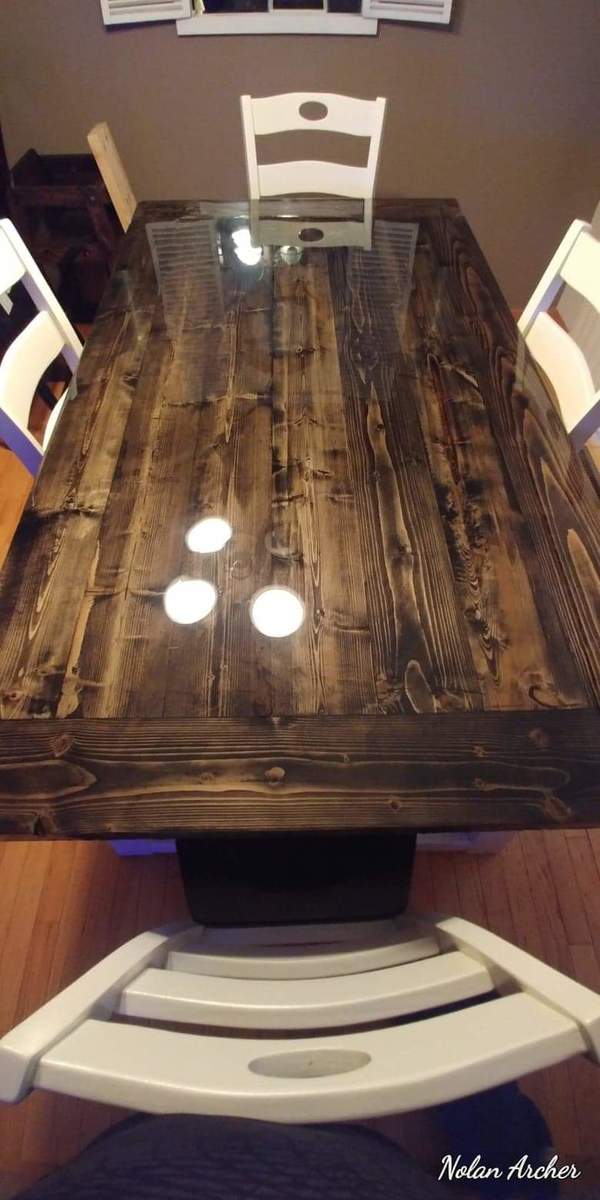
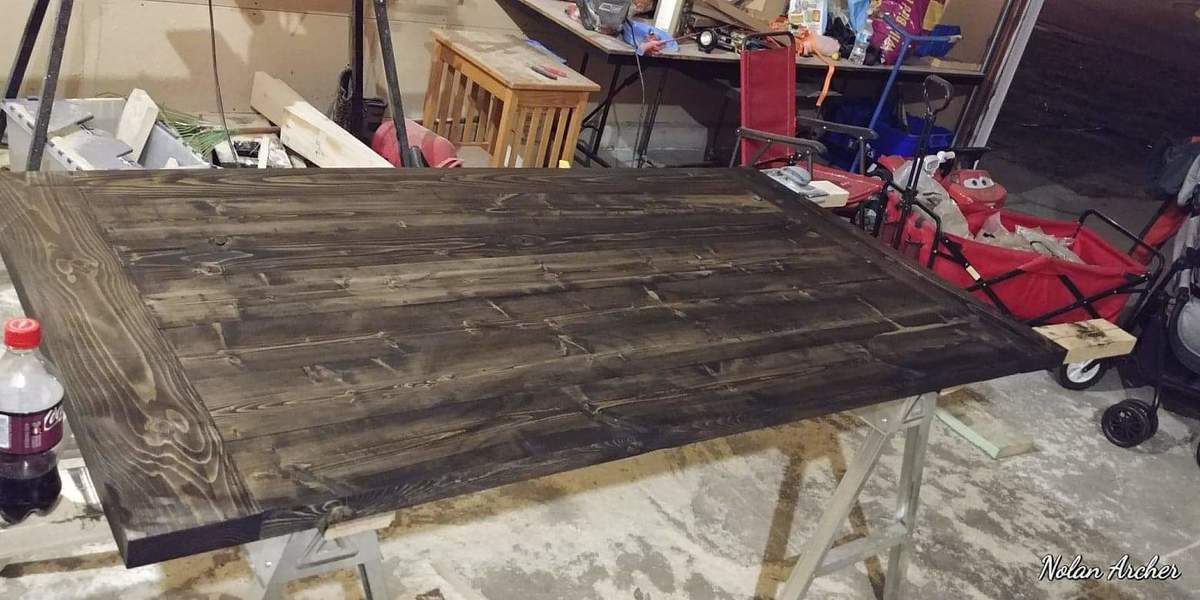
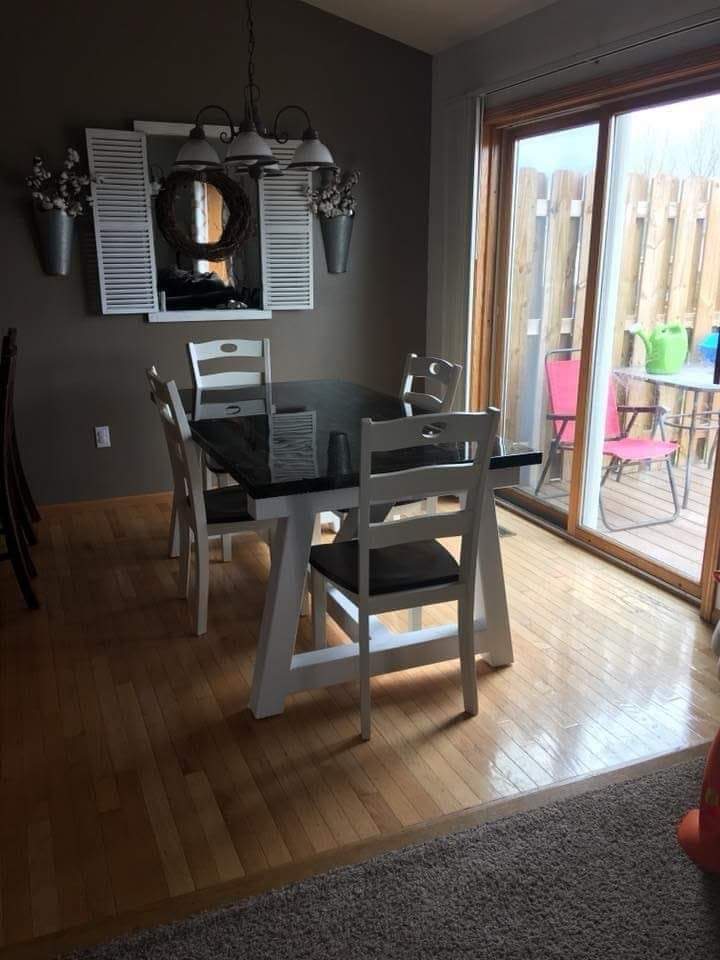
I have to shorten the design up a bit to fit my dinning room. I also did Epoxy Resin on top to give it the glass like appearance.
So ebony stain on white pedistole with an Epoxy Resin finish.
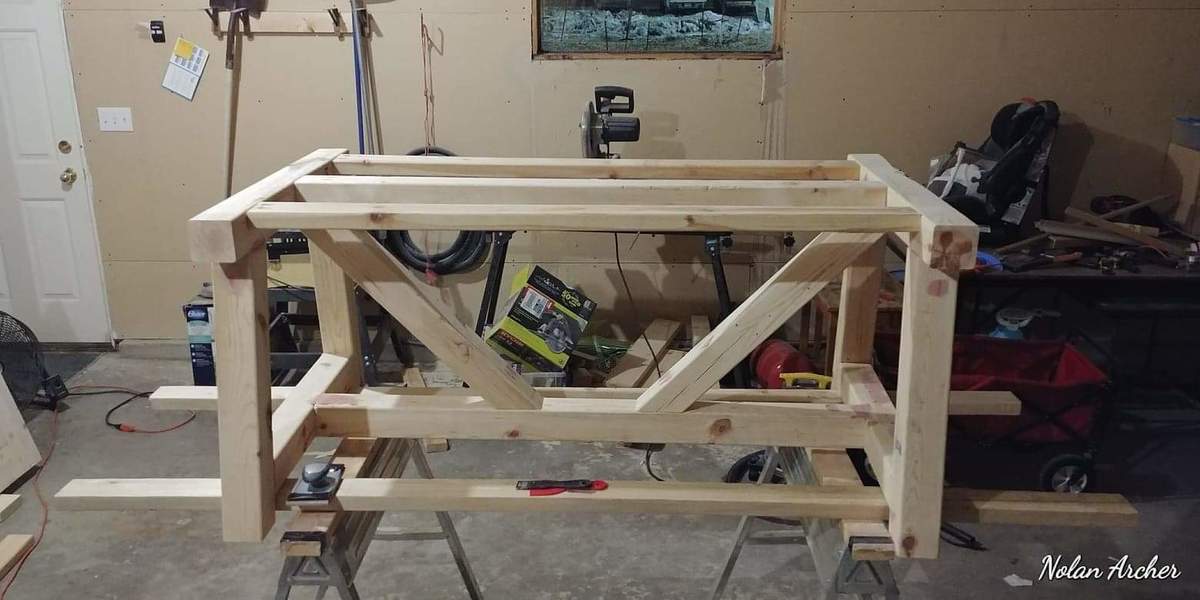
Was my first time building
So excited!~ I've got big projects in mind but I just wanted to test it out first with a simple one. So easy to follow and I can't wait to do more!
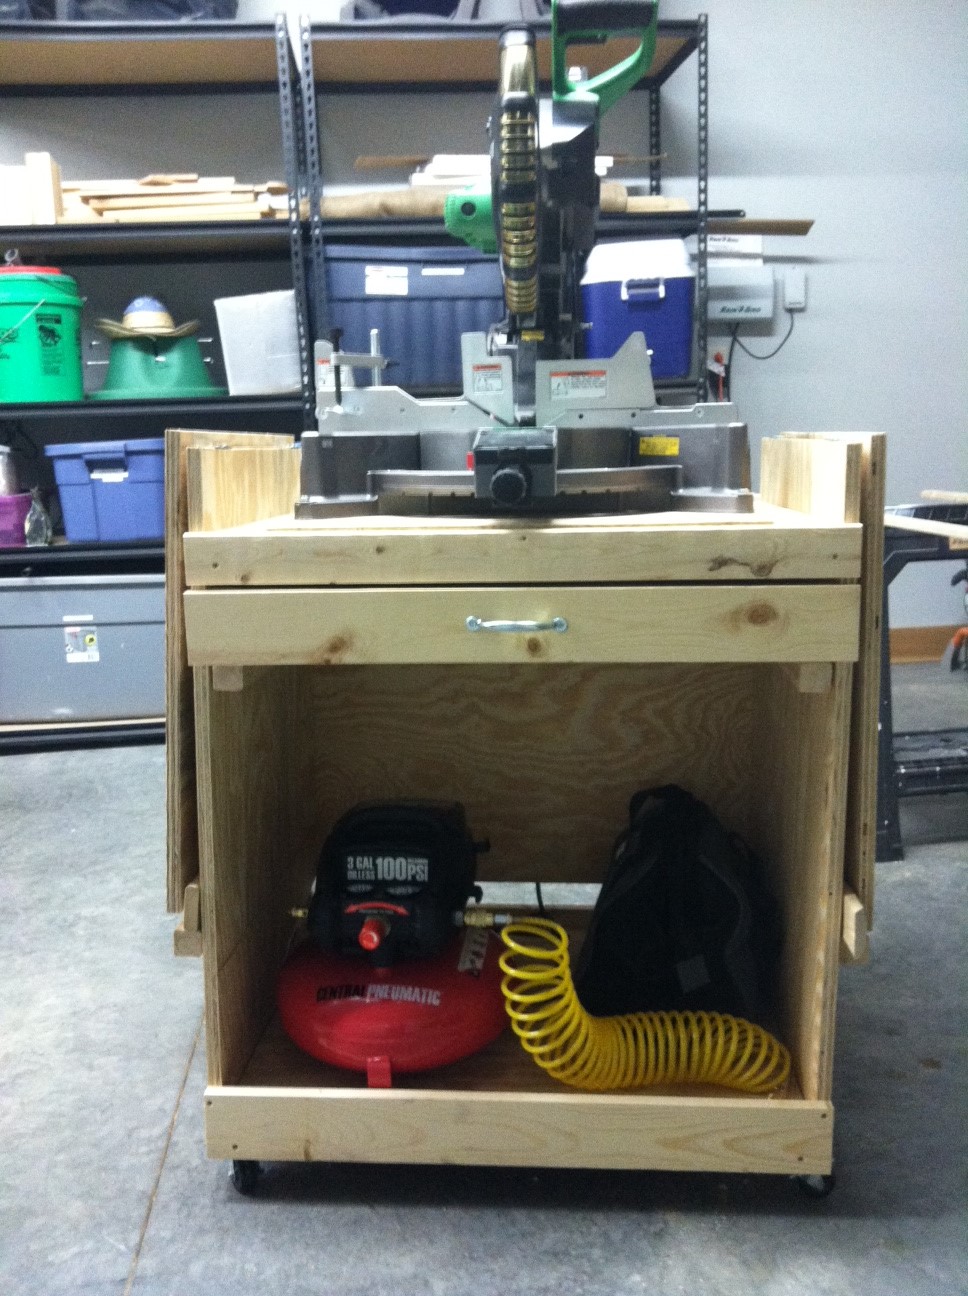
Great project - fun to build and helpful for wheeling my new miter saw around the garage.
I made a few modifications from the original plan:
- I used a 1x4 instead of a 1x3 for the bottom supports to add a bit more of a lip to keep things from rolling off of the shelf. The shelf is big enough to hold my small pancake compressor and ciruclar saw.
- Like others, I added a drawer (1X4 front/sides, 1/4" plywood bottom, 2x2 drawer guides).
- Like others, I went with simple strap hinges and then used some wood to support the wings when open. When closed the supports tuck neatly under the wings.
- I added some 1/4" plywood to make a back. I left enough of a gap at the bottom to be able to sneak my extension cords out to a power strip I mounted on the back.
- I made a fence extension out of a 1x4. I attached this to the left wing using wing nuts and hanger bolts so it is easy to remove if I need to. I spent time measuring carefully to make sure it lined up exactly with the saw's fence. It is nice for supporting longer boards and keeping them straight.


Sun, 09/22/2013 - 05:27
I love the way this came out. I believe I have your exact saw and I intend to use Ana's plan as well. Do you know how long you made the sides to accommodate the saw fence, or what your measurement was on the saw fence?
Sun, 09/22/2013 - 06:54
I followed Ana's plan for the main carcass. My flip-up sides are a bit shorter than the plan, but only because I failed to follow the directions carefully and cut both of my sides from the same 24" strip of plywood (instead of a 36" and 30" per the directions) and was a bit short on 3/4" plywood. My sides are 24" long.
I made my fence extension from a 1x4. You can cut it to length so that it will fit any side.
Sun, 09/22/2013 - 17:49
What I meant to write was saw deck, not saw fence. Lol whoops.
Mon, 09/23/2013 - 06:12
The deck is 3 3/4" from the top of the sides. That makes it level with the extensions when they are flipped up.
I have a 12" hitachi saw (not sliding), so if your saw is not the same then the measurements might be different.
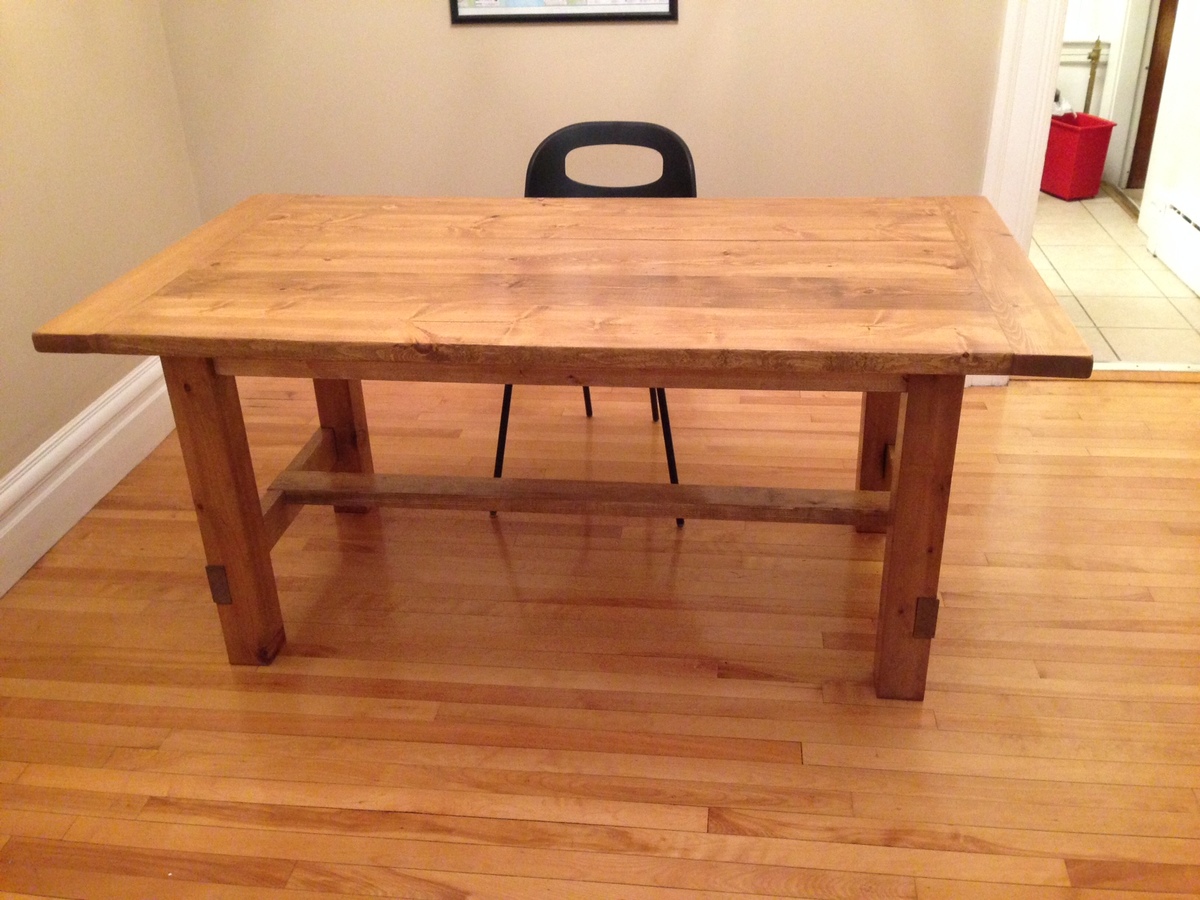
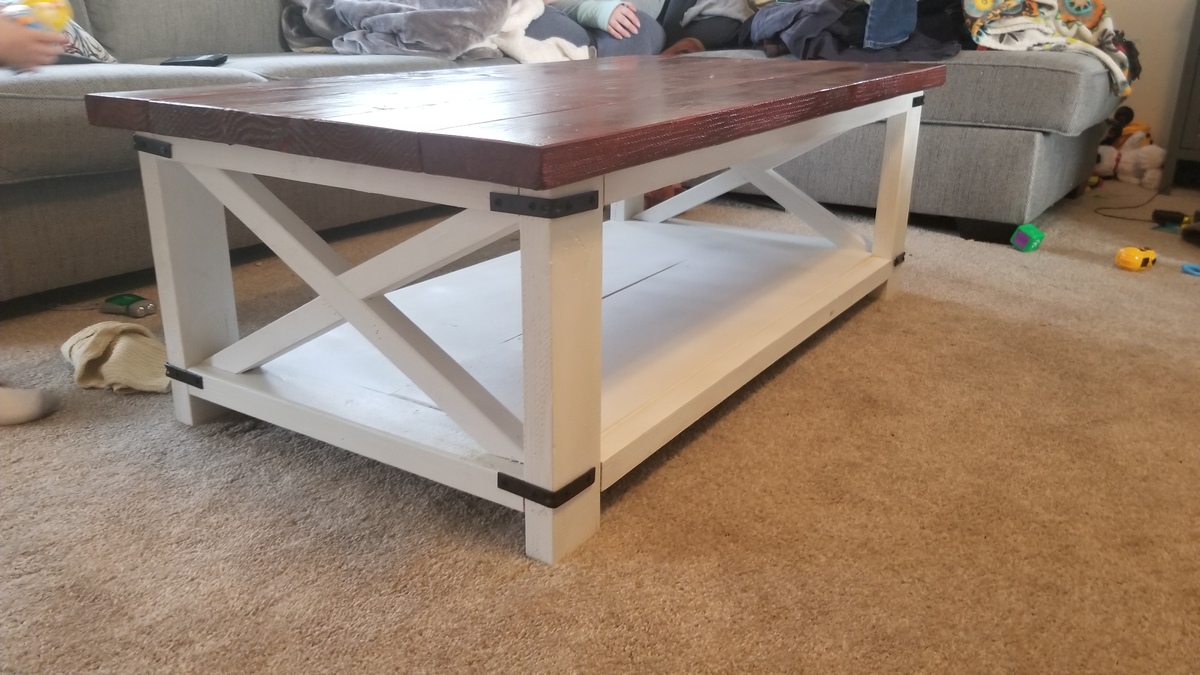
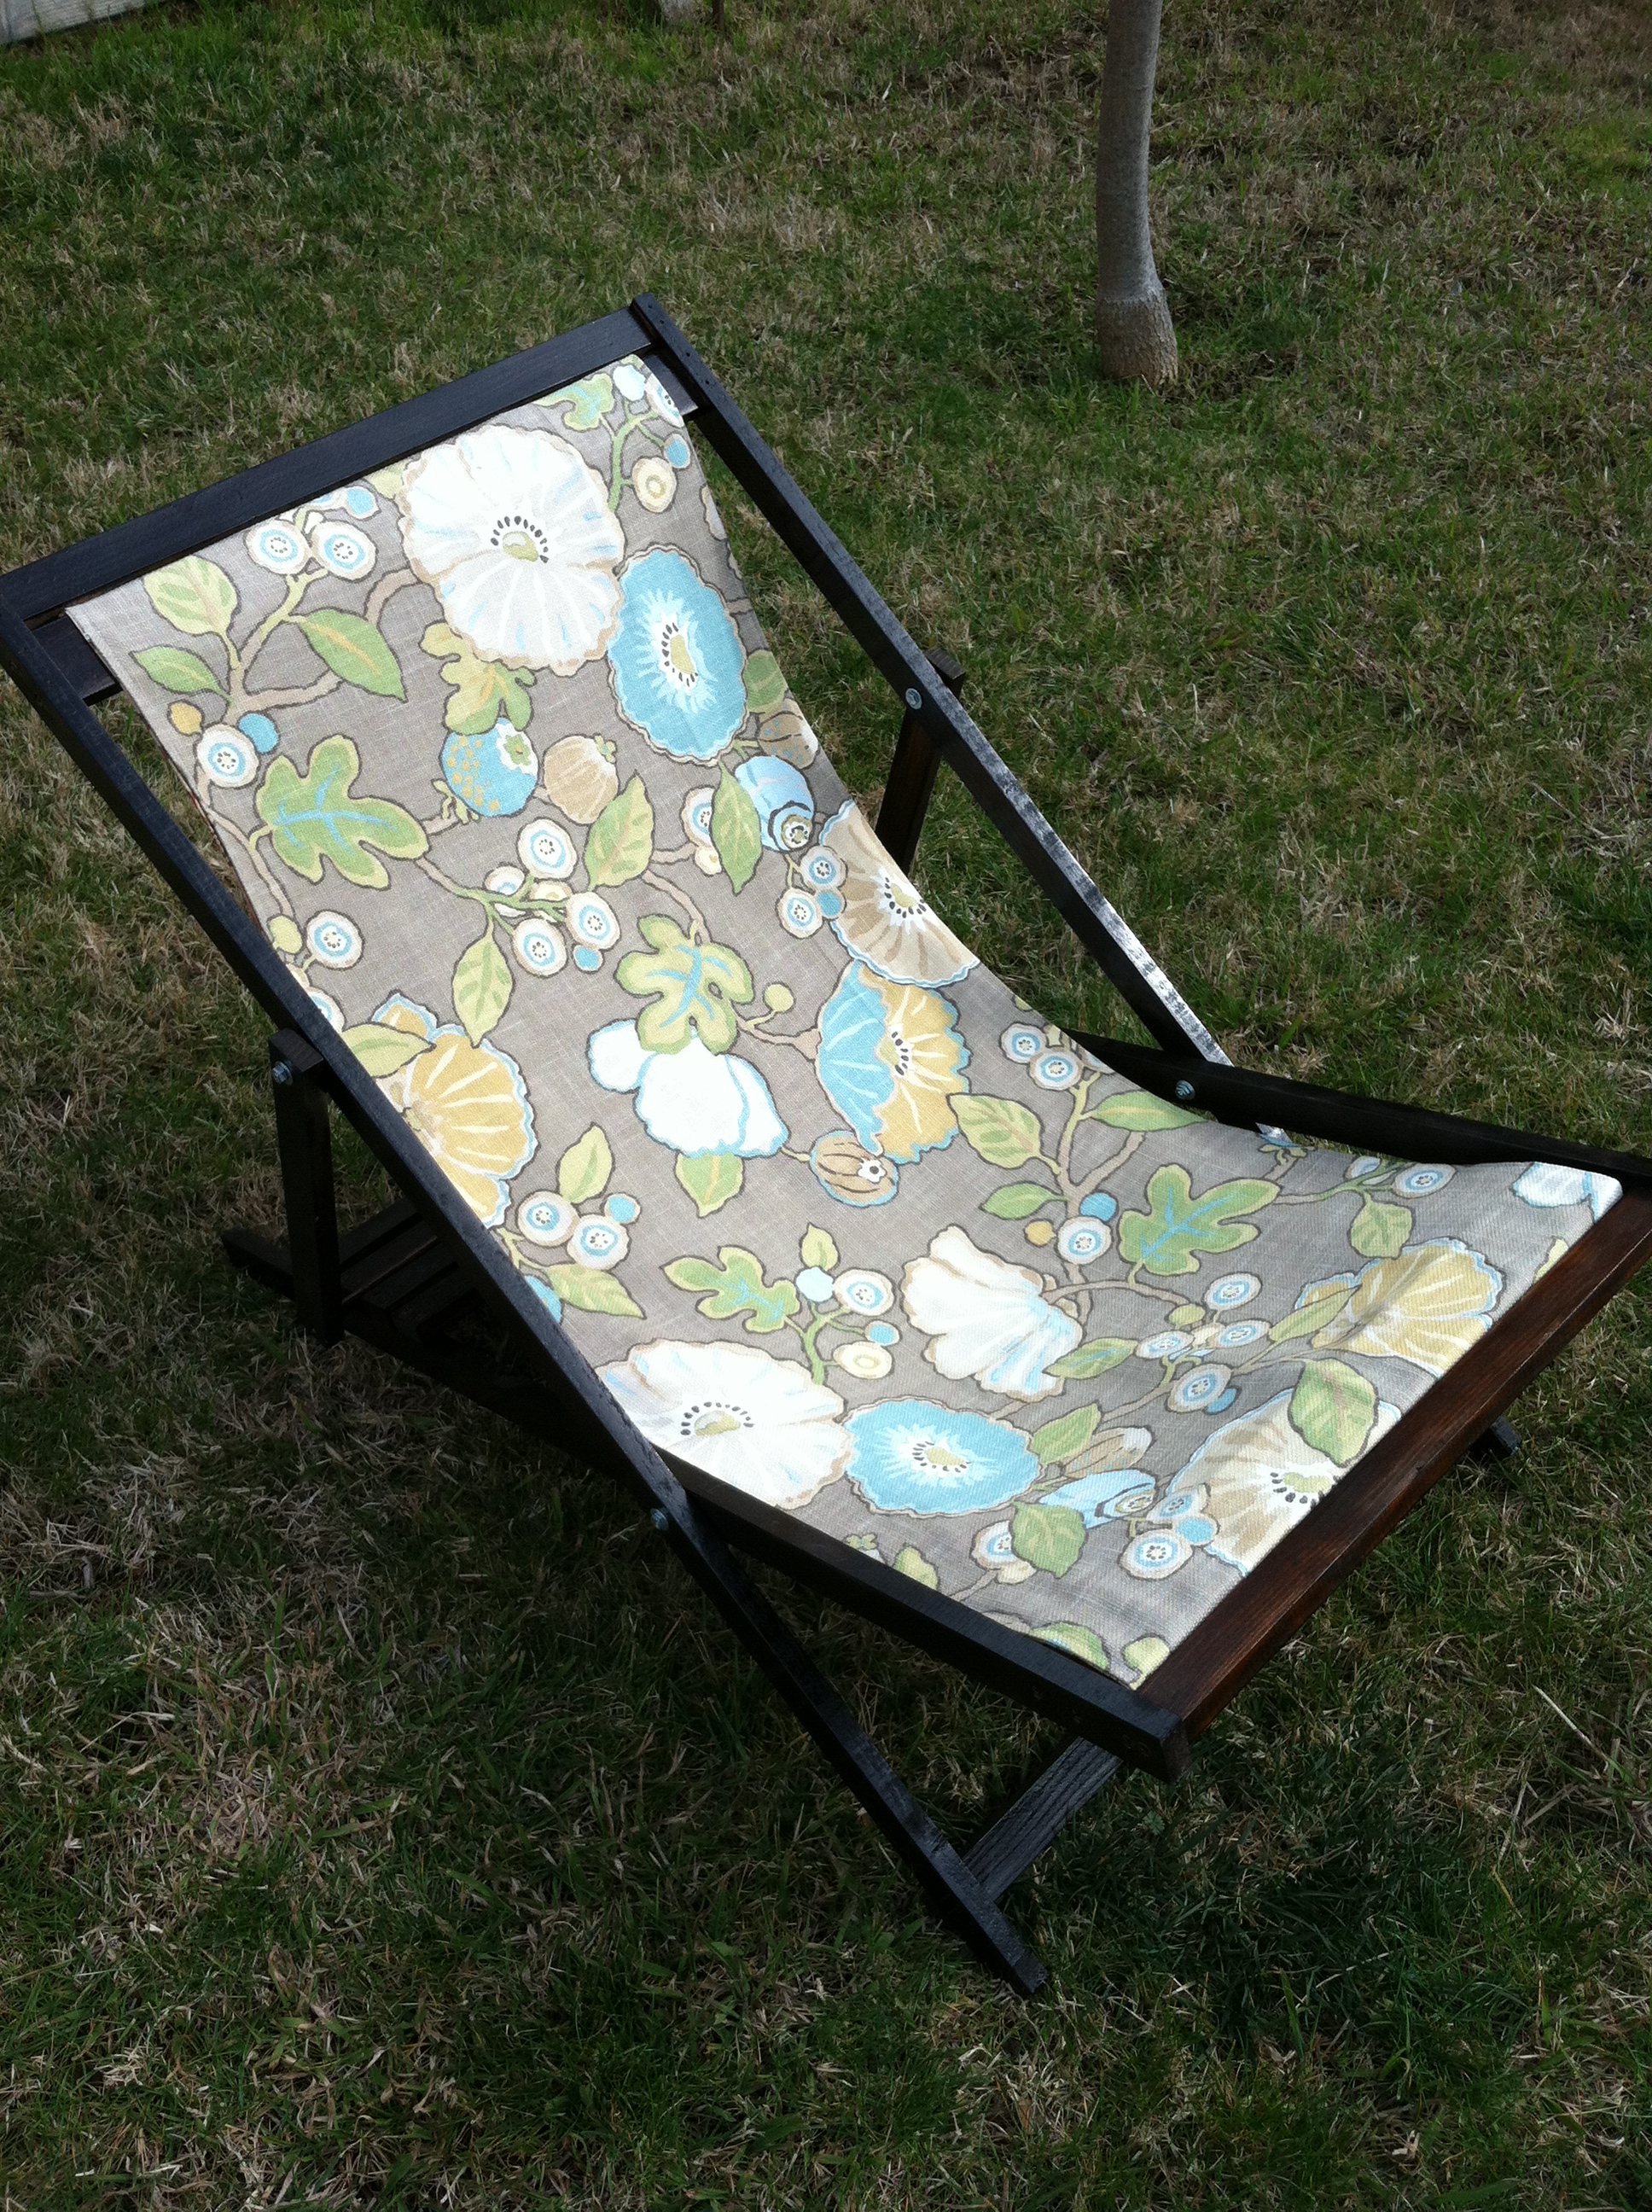
I built this table using modified pocket hole plans and a mix of pine, spruce and cedar lumber.
When I laminated the boards together to the table top I also applied four culls to try to keep it flat as possible. When I removed the culls the boards weren't as even as I had wanted so I used a belt sander with a 120 grit to take out the high spots. I filled the knot holes with some 5 minute epoxy and I really liked the look. I would use decent epoxy if I do another large lamination of knottty wood as the $5 microtube I bought was thick and hand to work into the small voids around the knots. After the epoxy cured for 12 hours I gently used the belt sander gentle to remove the excess and then gave the entire table top a little 220 grit action.
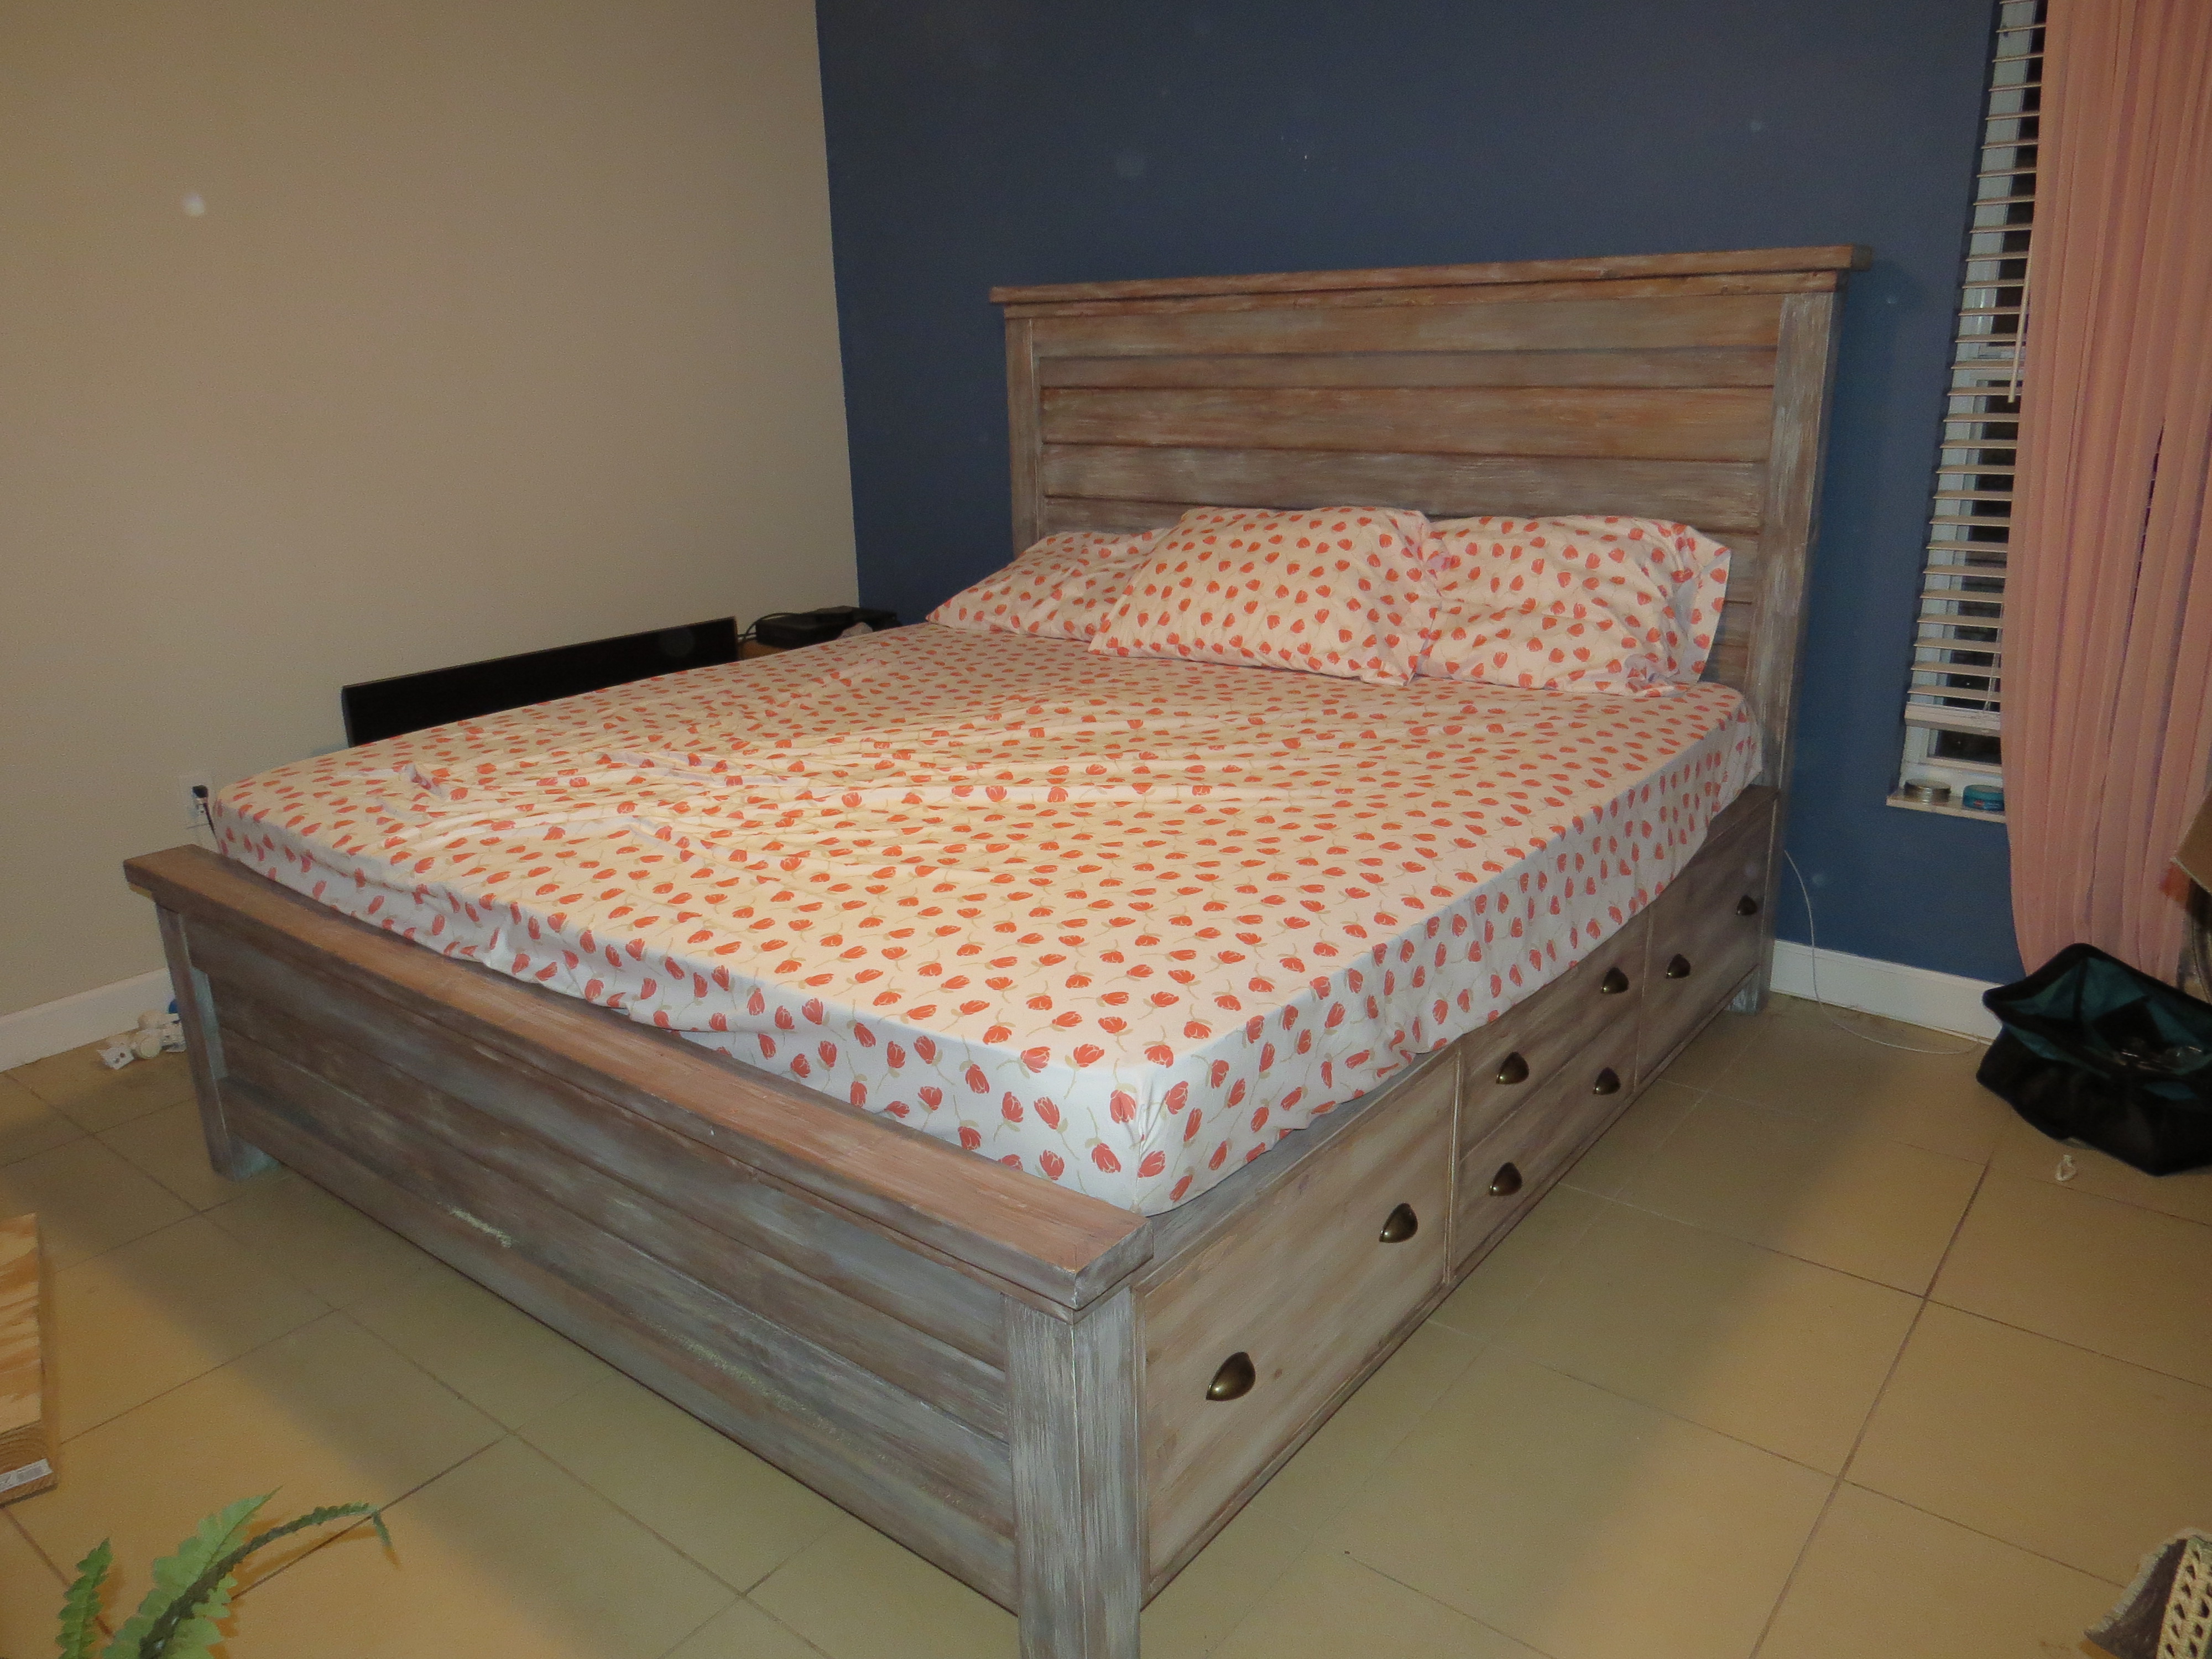
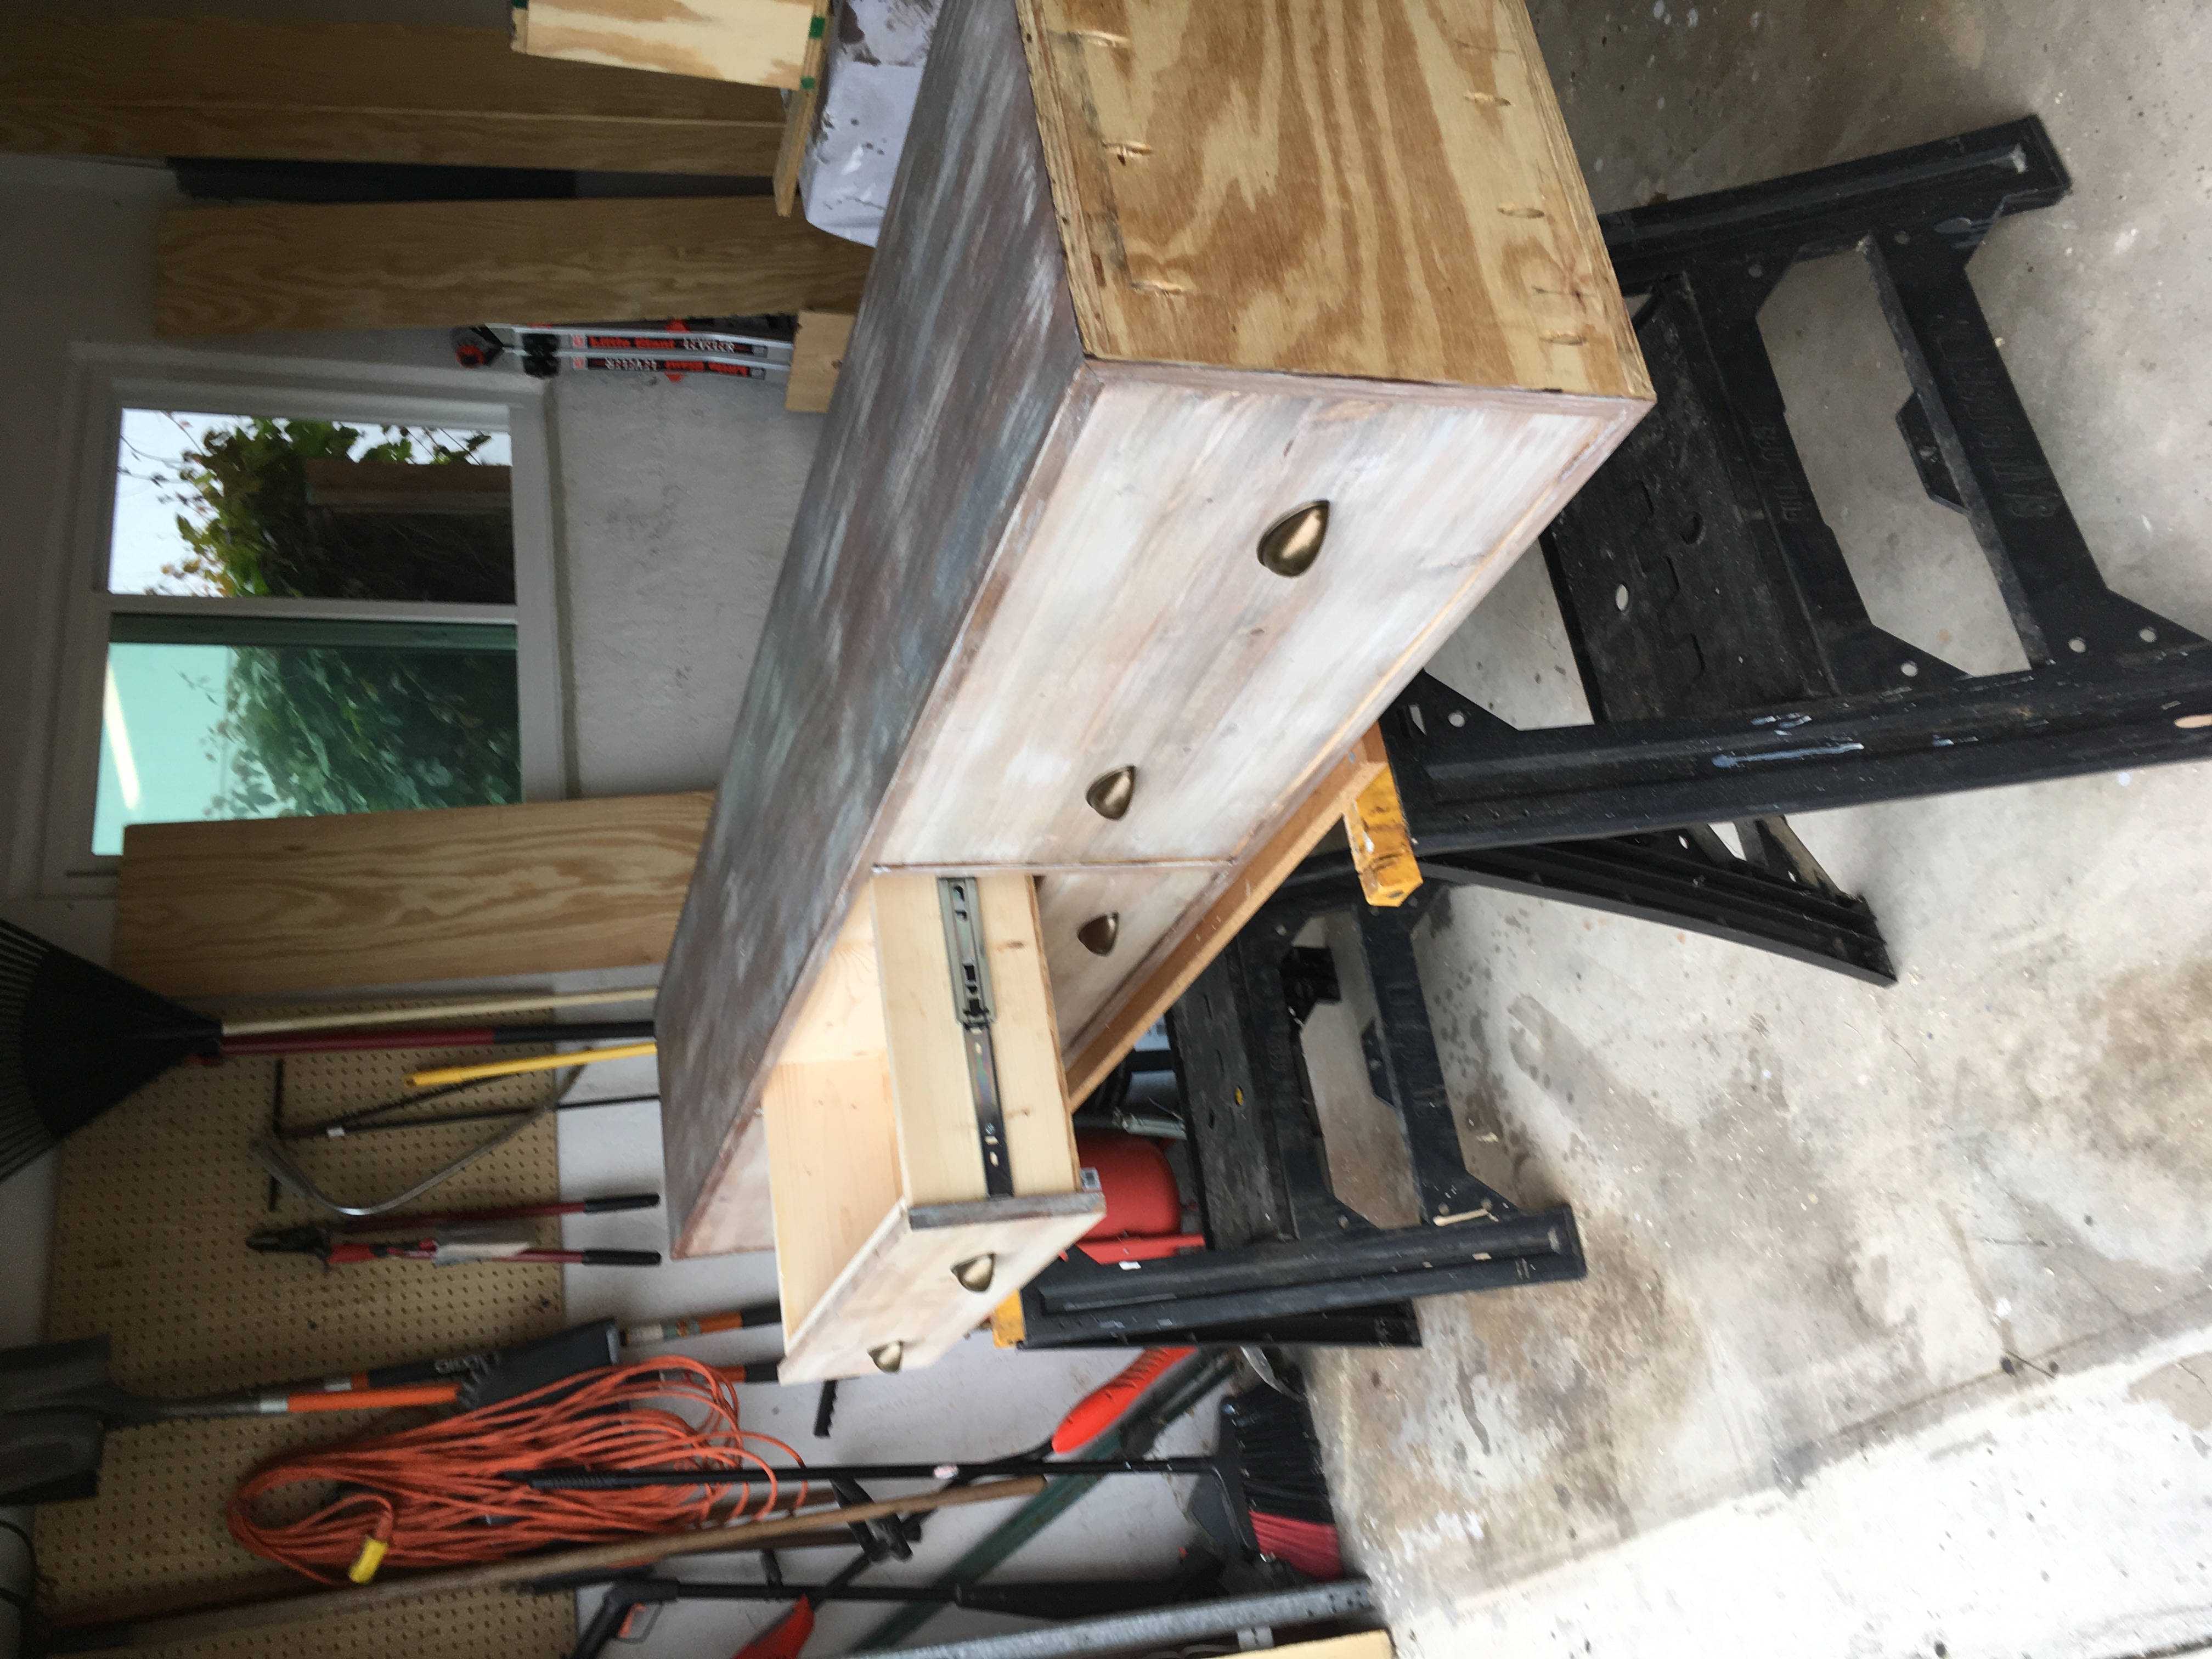
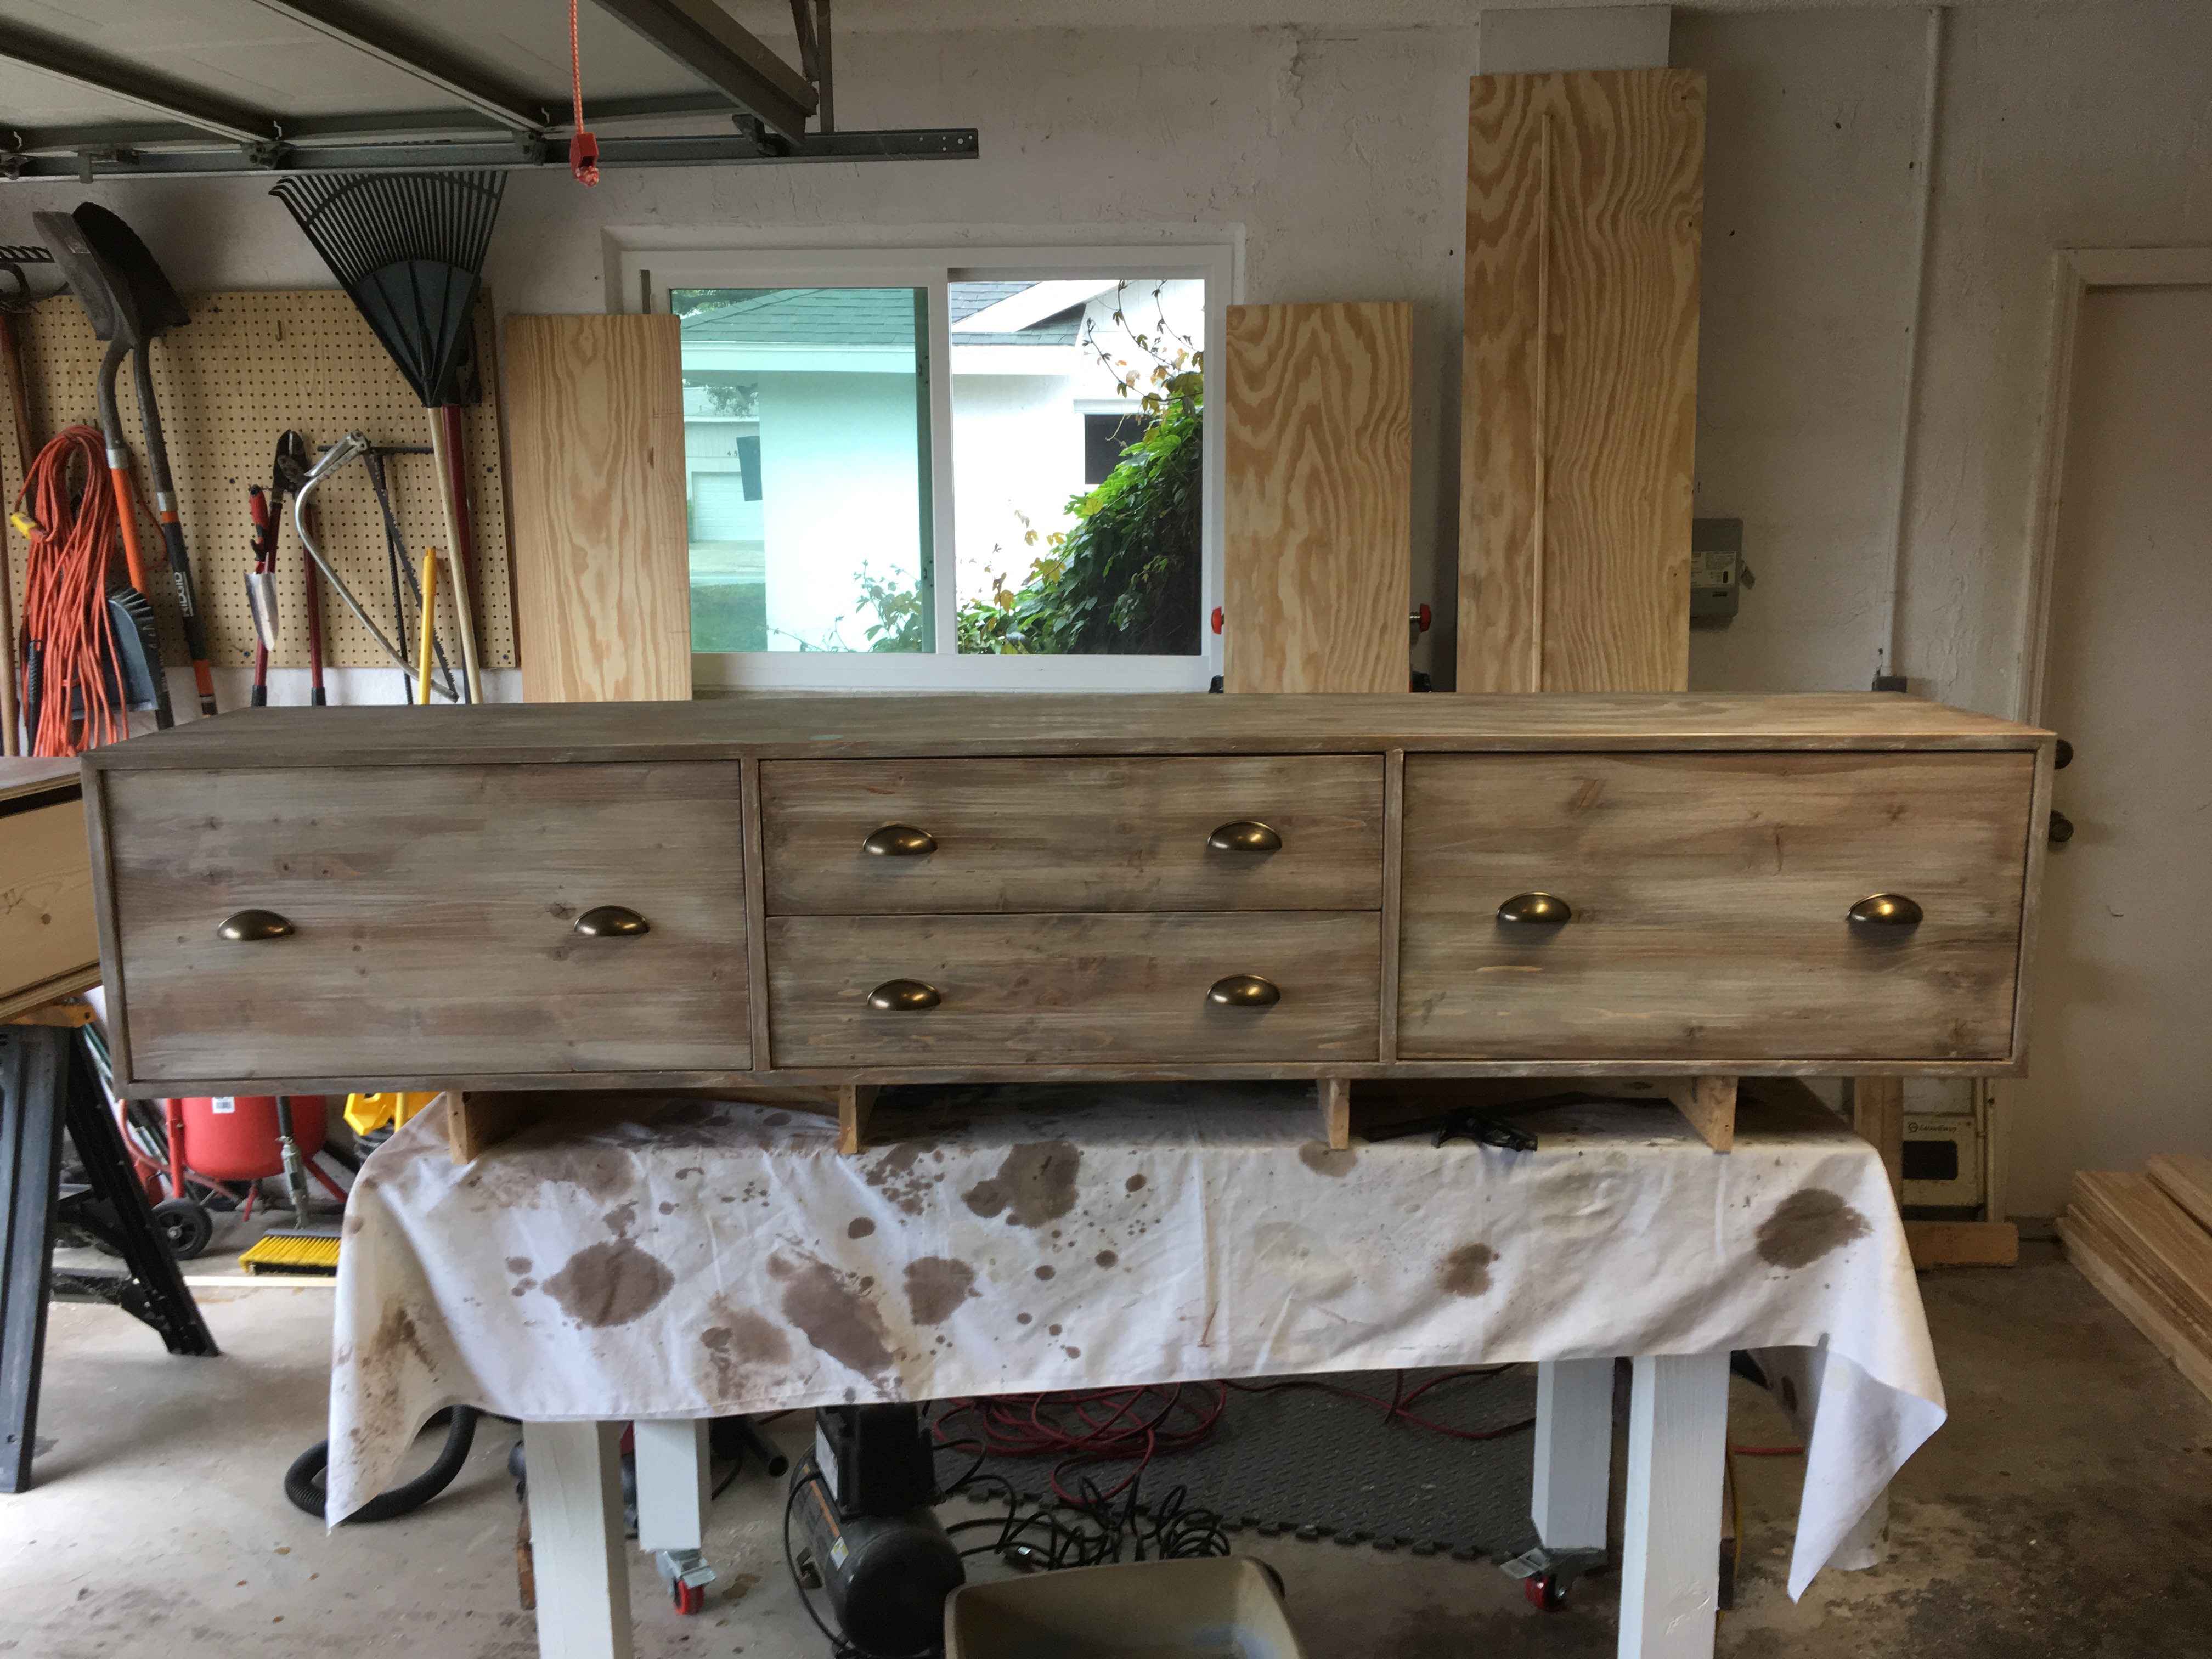
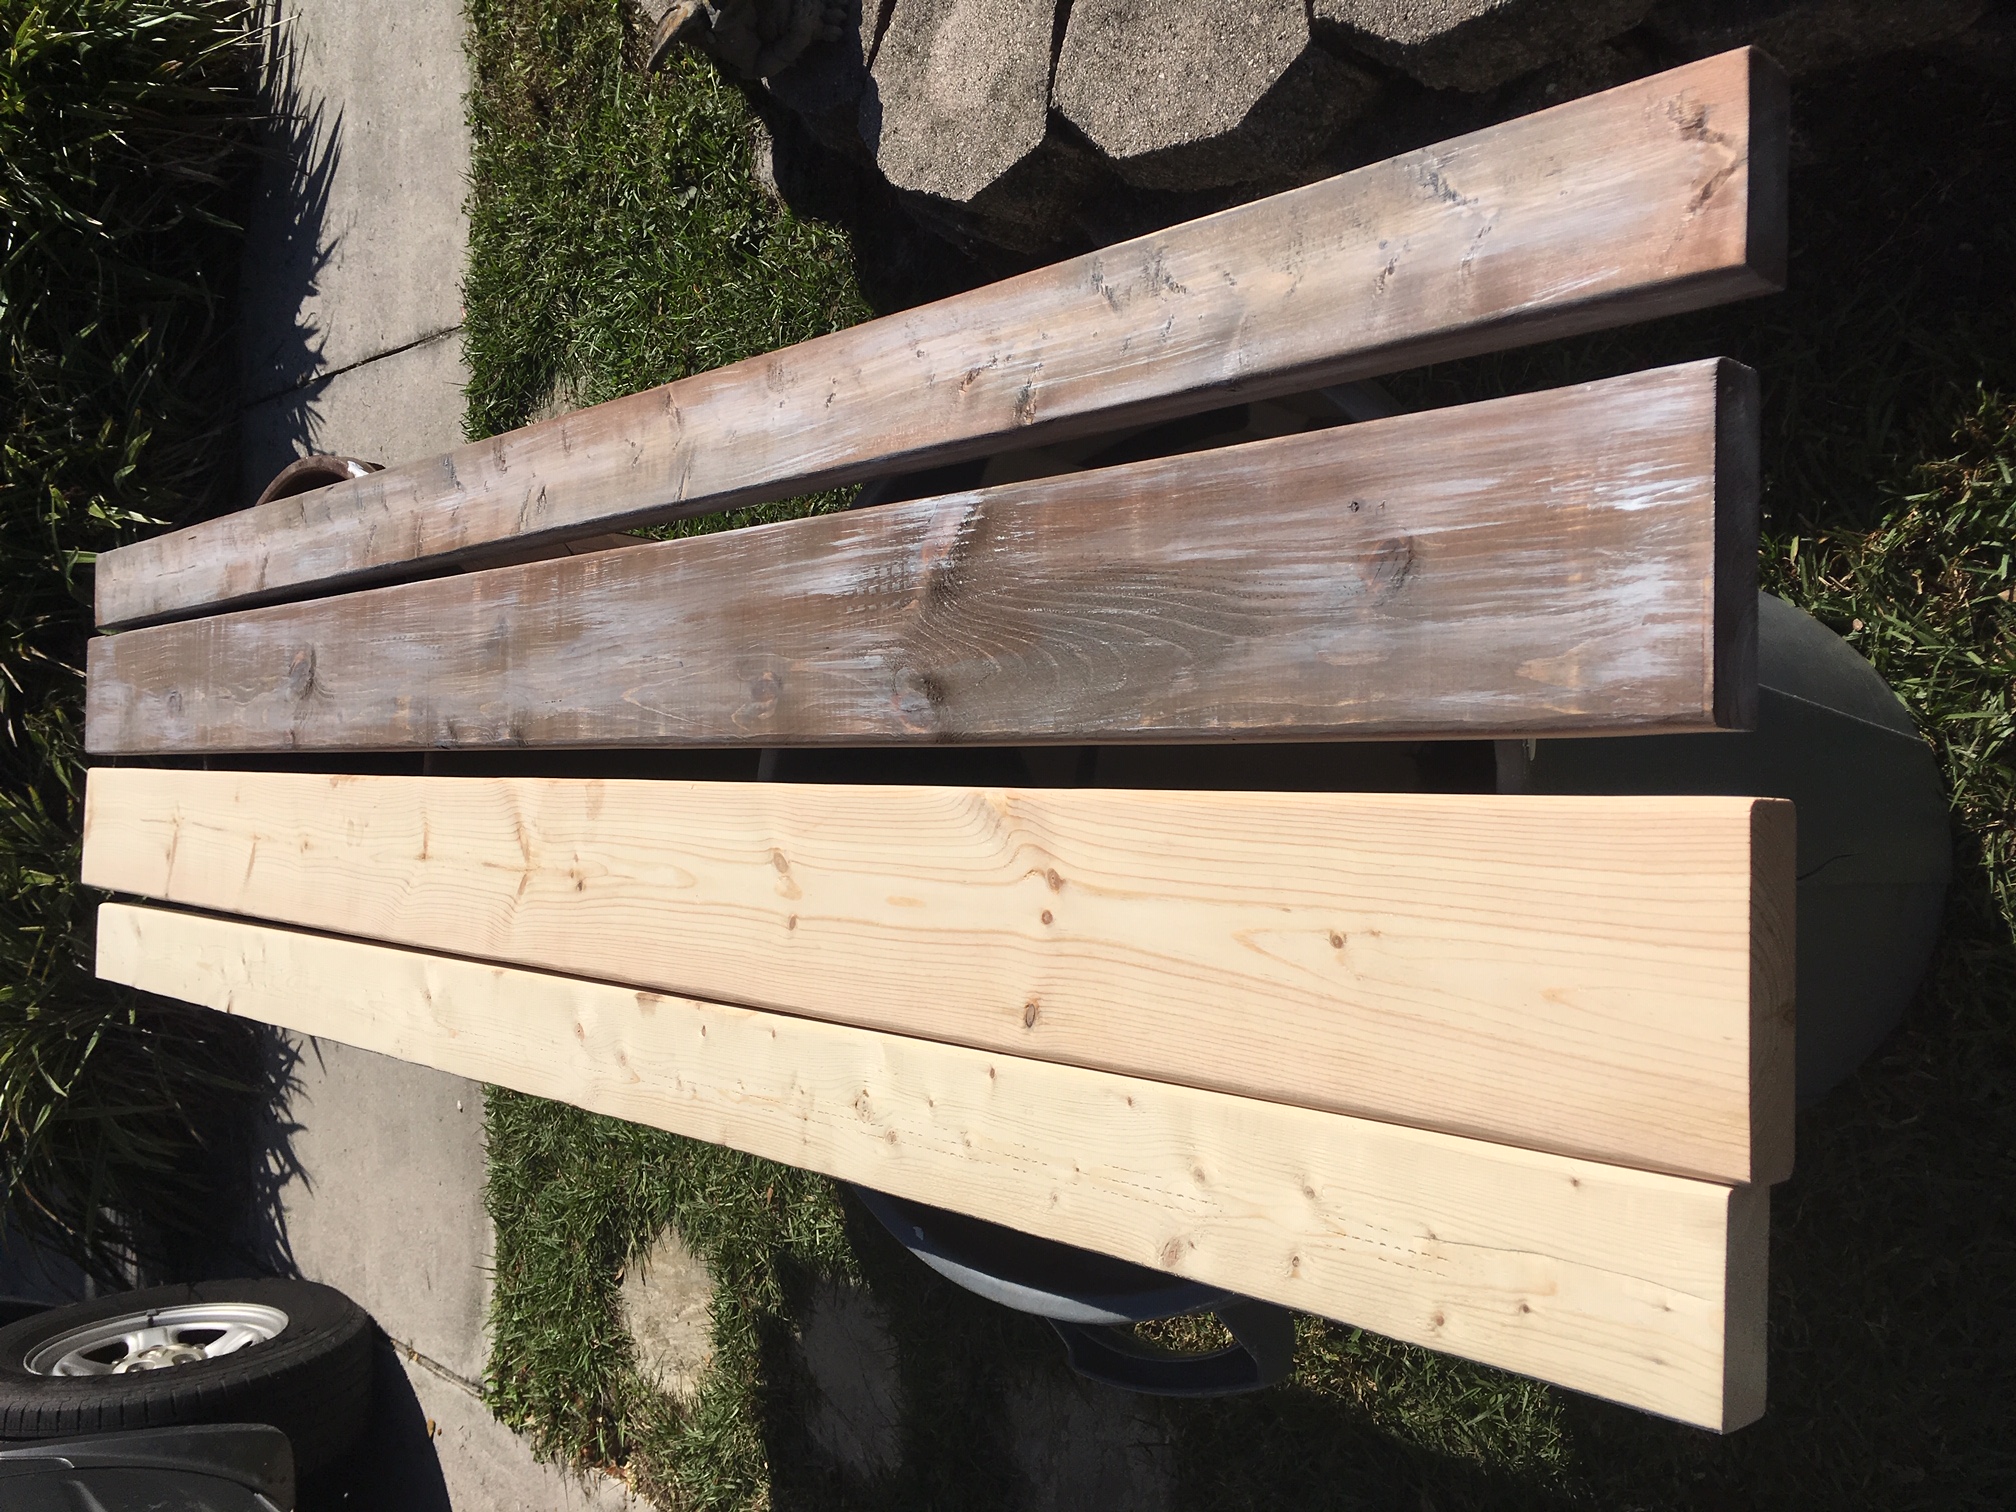
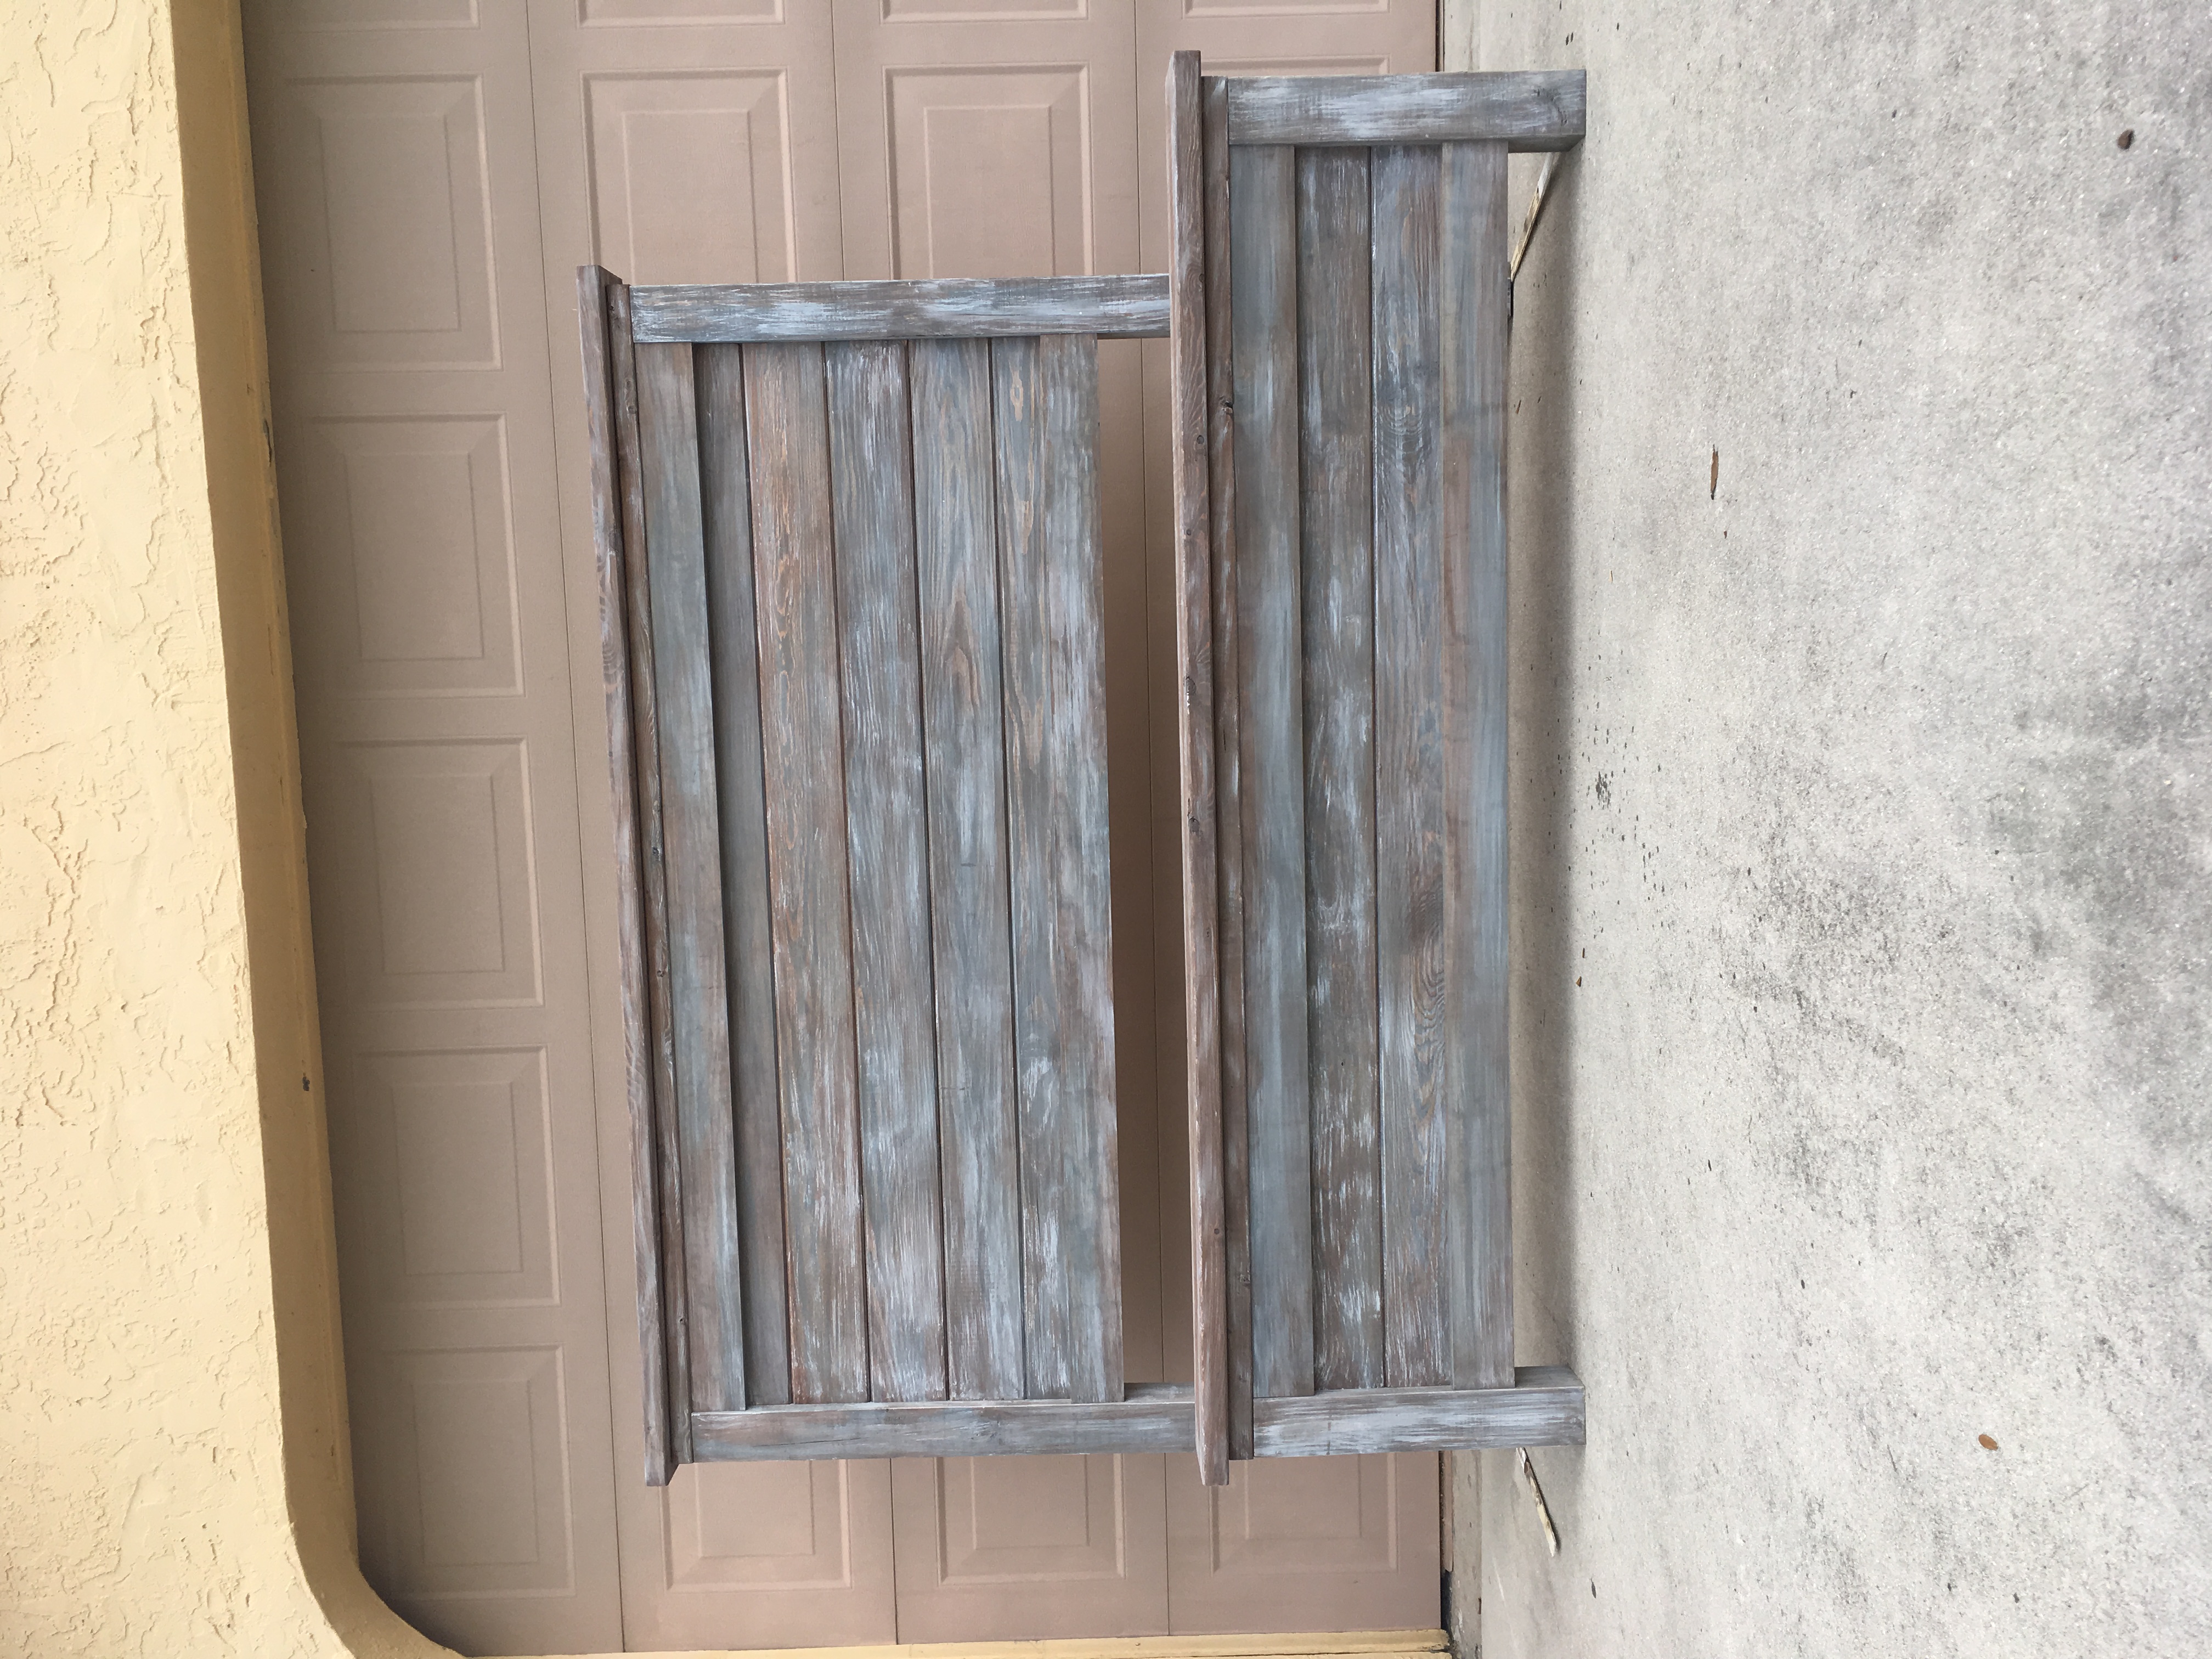
Used the farm house bed plans from here with a few modifications. Instead of plywood for the headboard and footboard, I used tongue and grove 1x6 planks. I used edge glued spruce planks from Lowes for the drawer fronts and I invested a bit more on the drawer slides and opted for the full opening type. Also, rather than 3 large drawers on either side, I opted to put 2 smaller drawers in the center. I felt the shallower drawers would be more useful for smaller items (socks and underwear). I also used a 3/4" molding to hid the ends of the plywood drawer boxes. The weathered finish was created using a video I found on YouTube (https://www.youtube.com/watch?v=k7Via9Lz4Pw). My upgrades increased the overall price, but it was still under $600 and should last a lifetime.
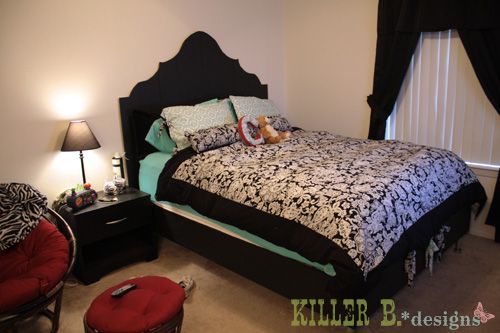
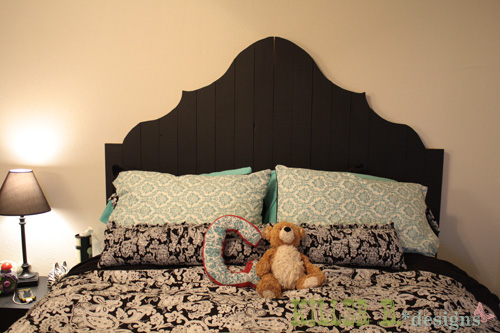
My best friend (and upstairs apartment neighbor) was looking for a "grown up" bed for her apartment. When she saw the Swedish Bed, she fell in love. We built the frame out of 1×10′s and the “guts” were reclaimed wood from my Dad’s barn (to cut down on costs). She painted it a flat black using mistint paint pints from McCoy’s that were $1 each. The pipe legs were from Lowe’s in the plumbing section, and they’re threaded for easy installation. You just thread them into a little square base that you can screw straight into the wood, and pop on a threaded endcap so it doesn't scratch your floor or rip your carpet. Her first choice of 10" proved to be much too tall after she plopped on her enormously tall pillow-top mattress. So we exchanged them for the 6" version for a much more balanced look. She loves it!
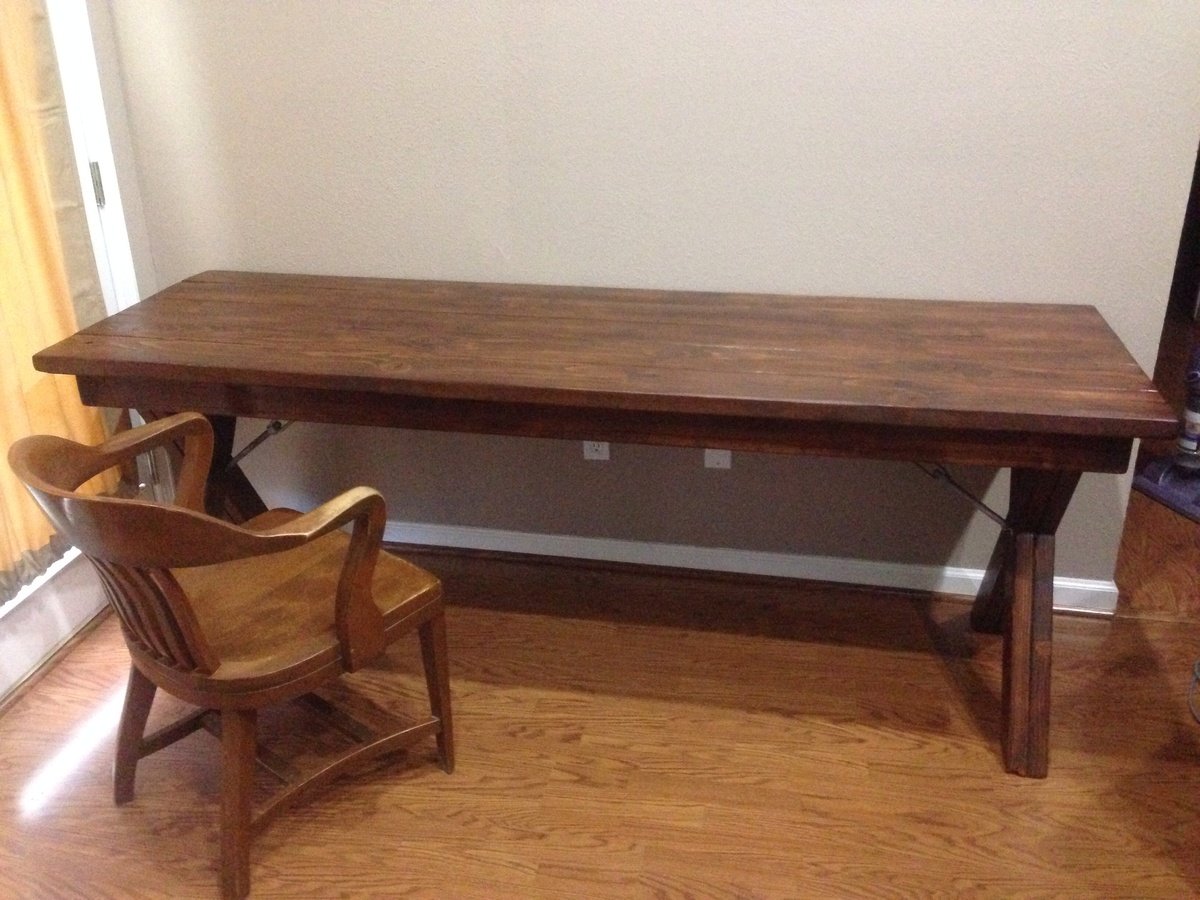
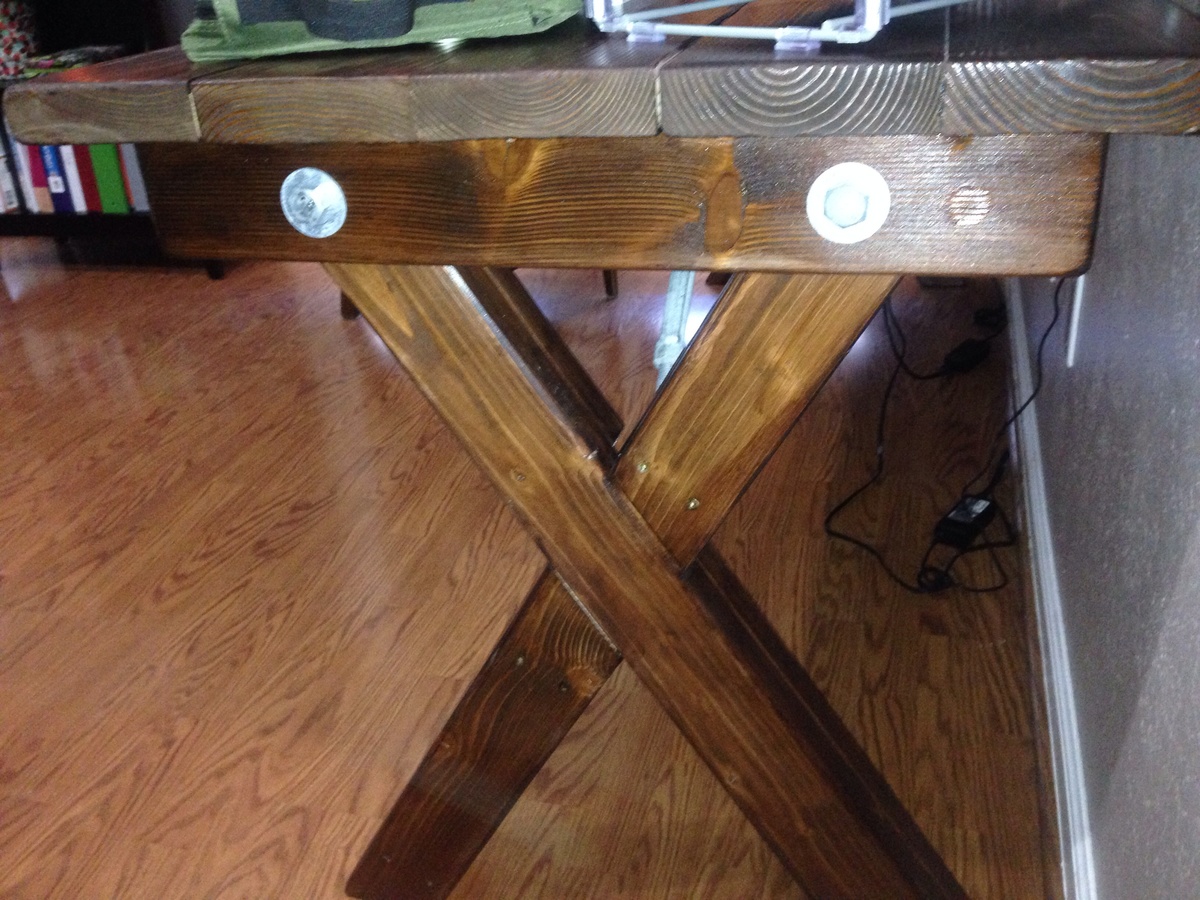
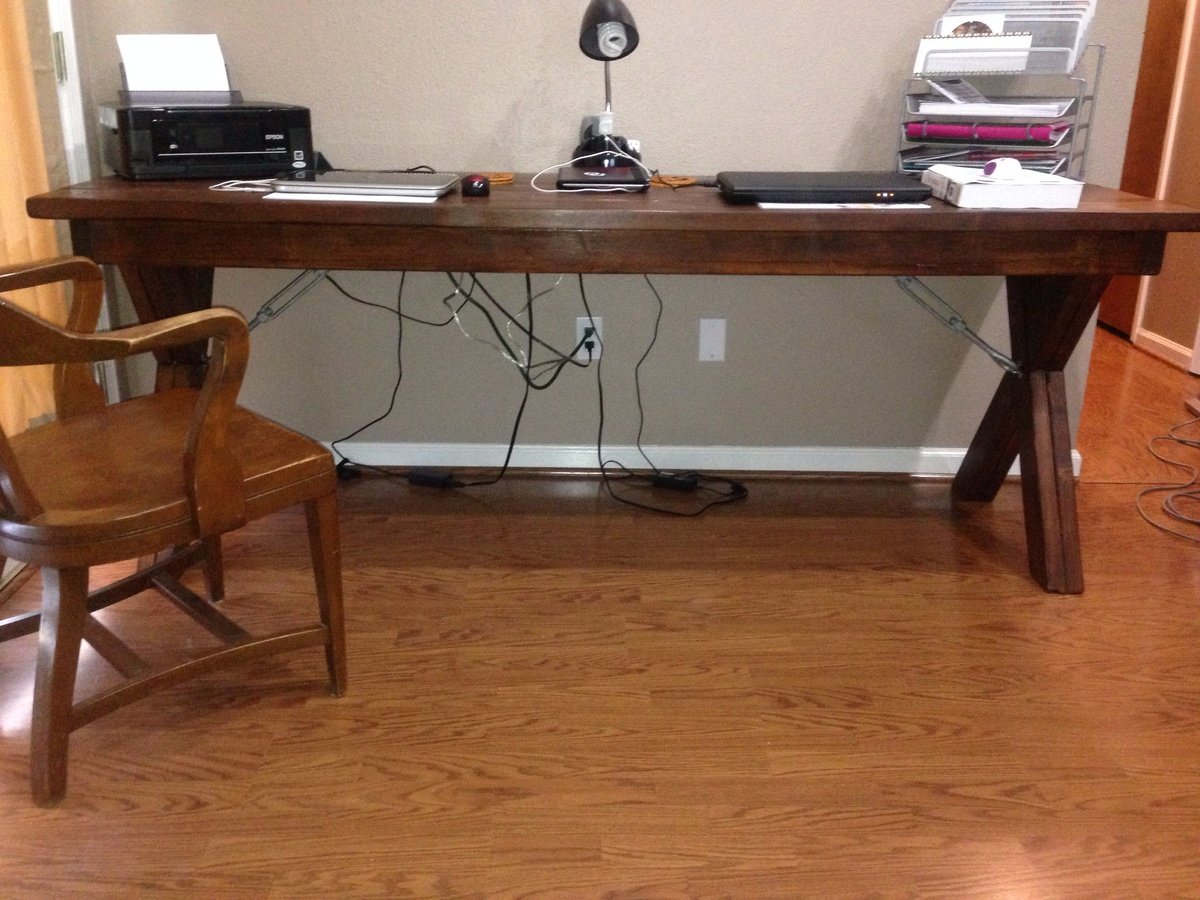
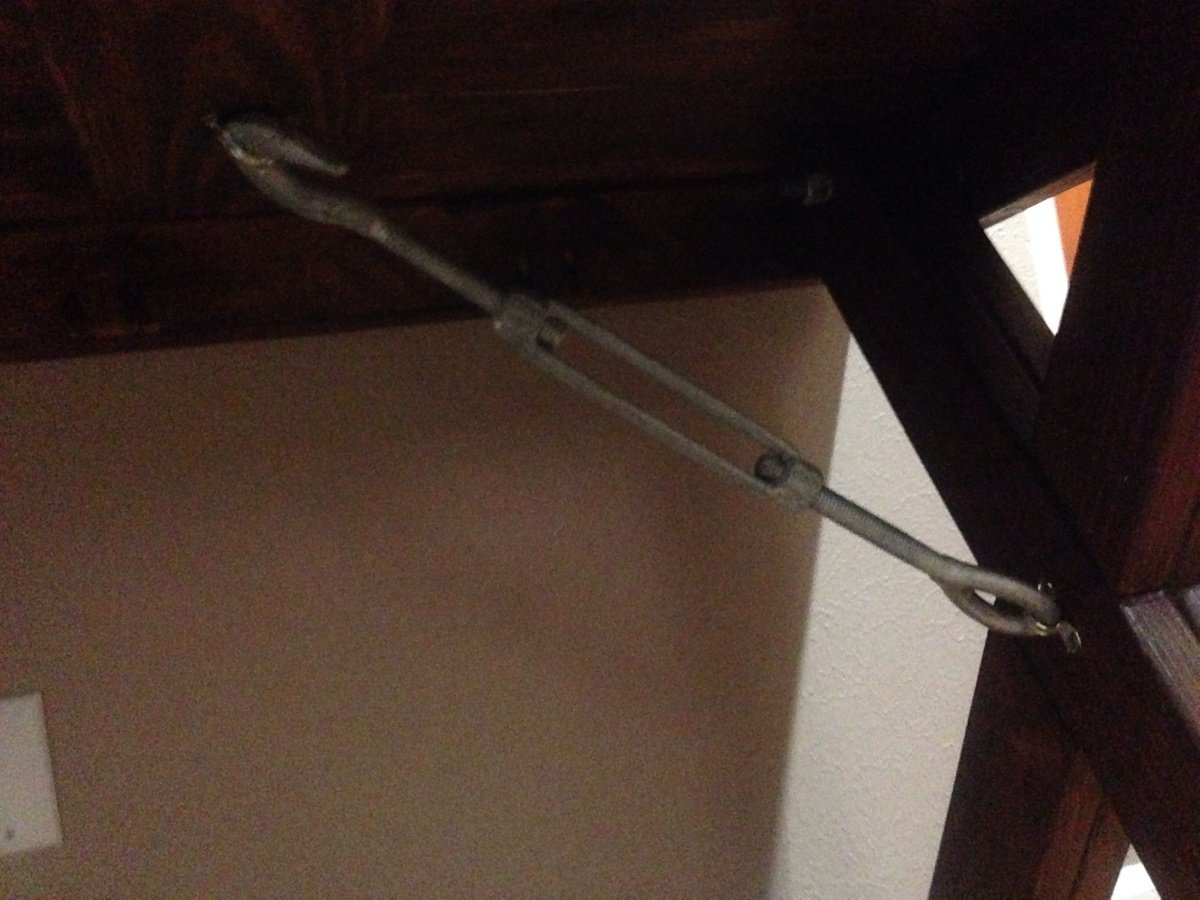
I was looking for a long desk for two people and wasn't able to find anything that wasn't custom. I decided to try and here it is! I now have a massive and sturdy desk I can be proud of.
Mon, 01/23/2017 - 13:47
I love your desk and would love to build it for my home office. Are there existing plans you worked from? Or was an original design of yours? In either case, can you forward the plans to me? [email protected].
Thanks!
Chaz
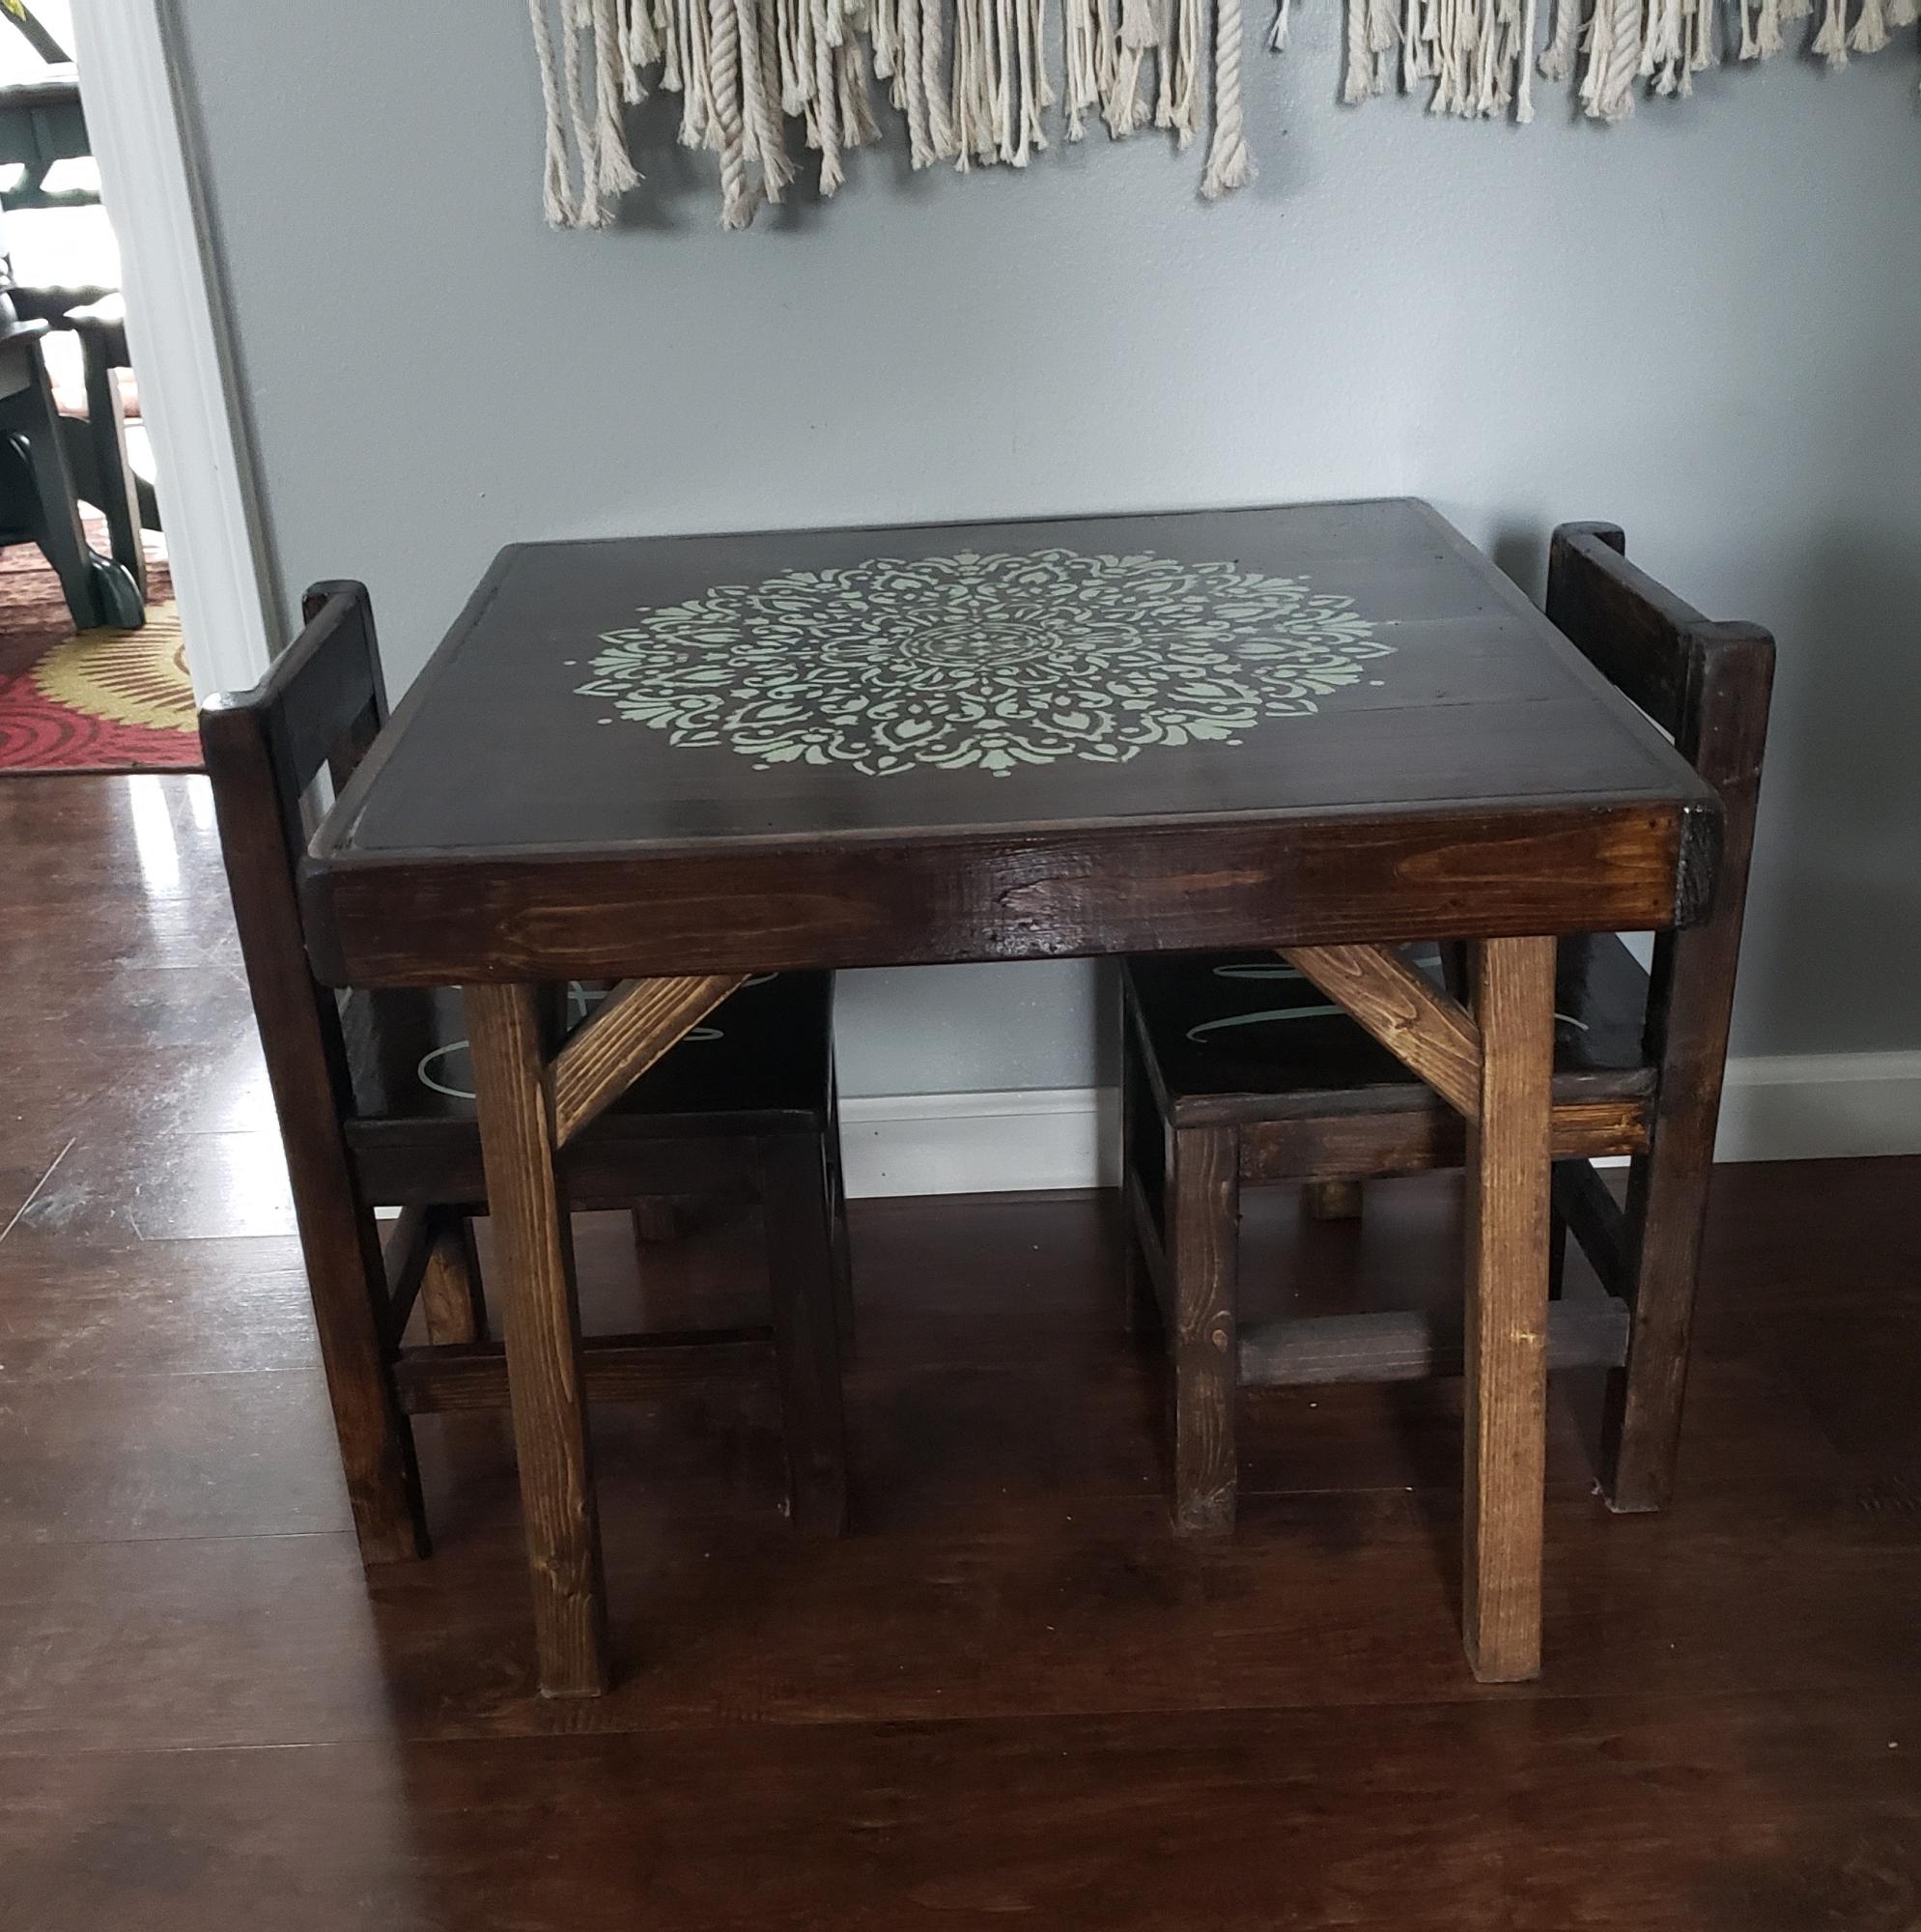
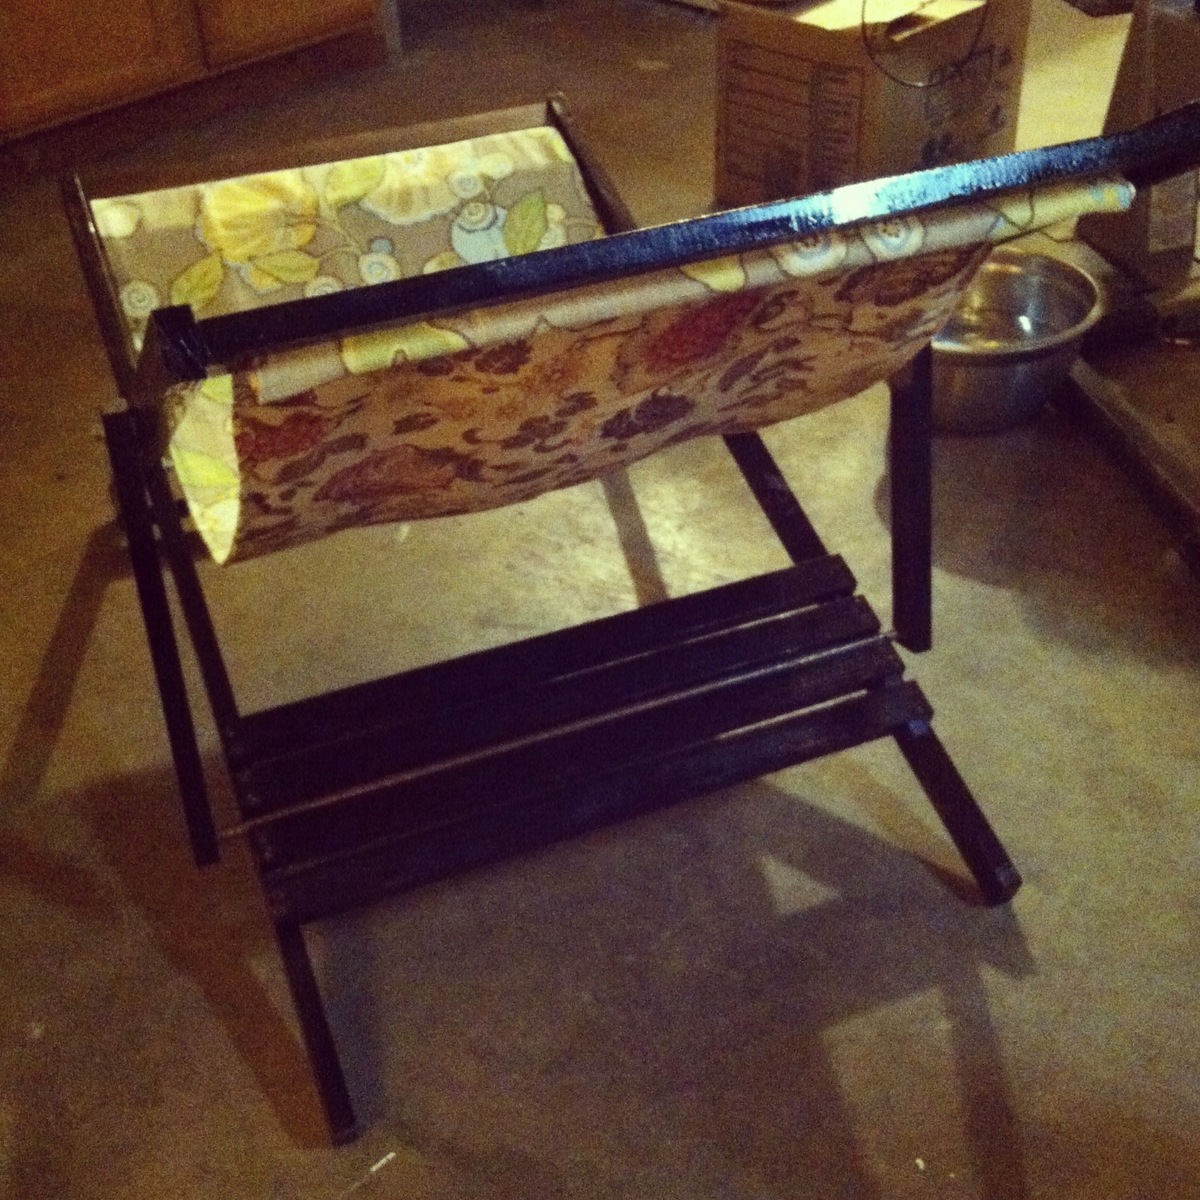
Sister asked me to make her a table. Since I am out or work right now I said yes and got this thing done in about 3 days!
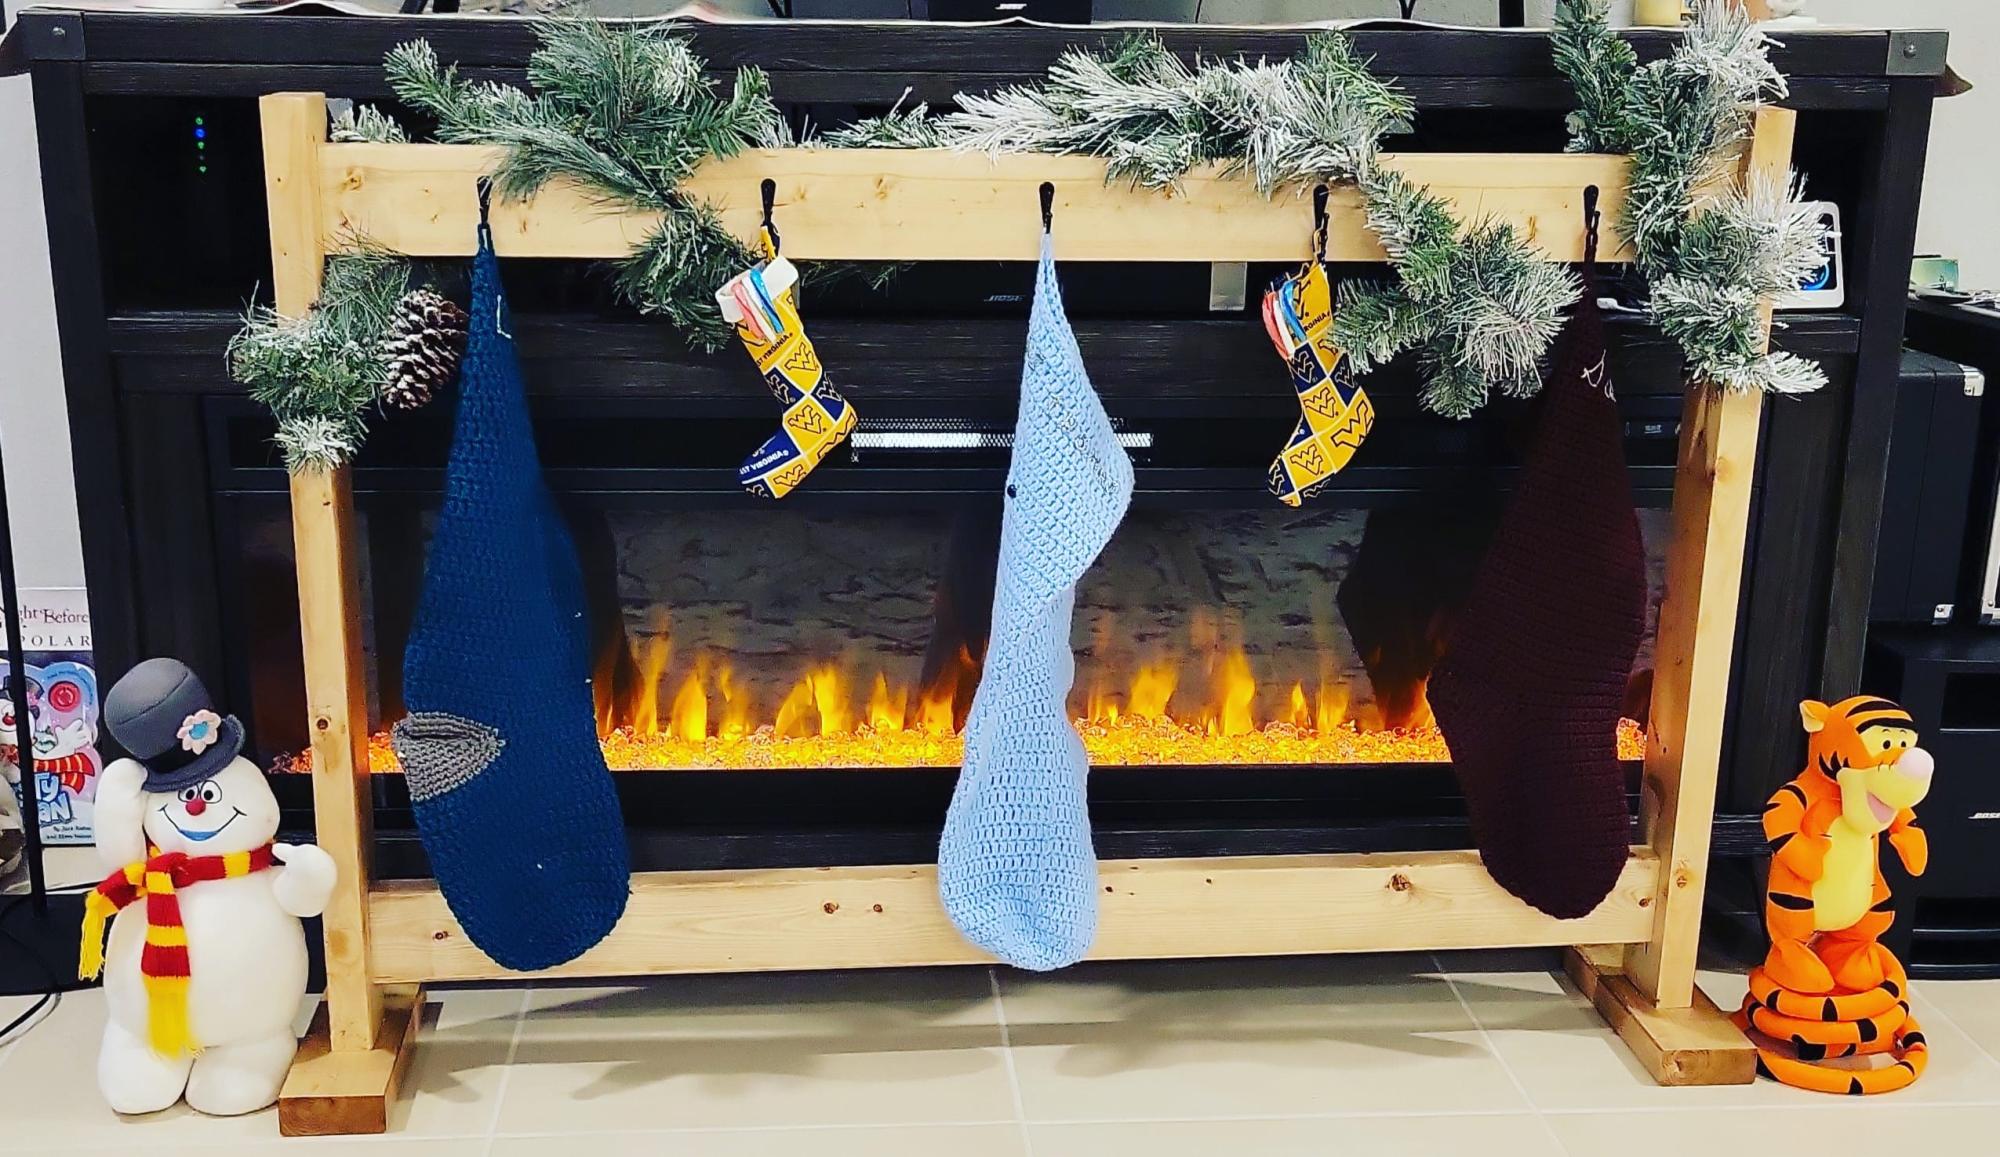
I enjoyed making this. The kids love it and it goes great in front of the fireplace.
#Todays_Spare_Time
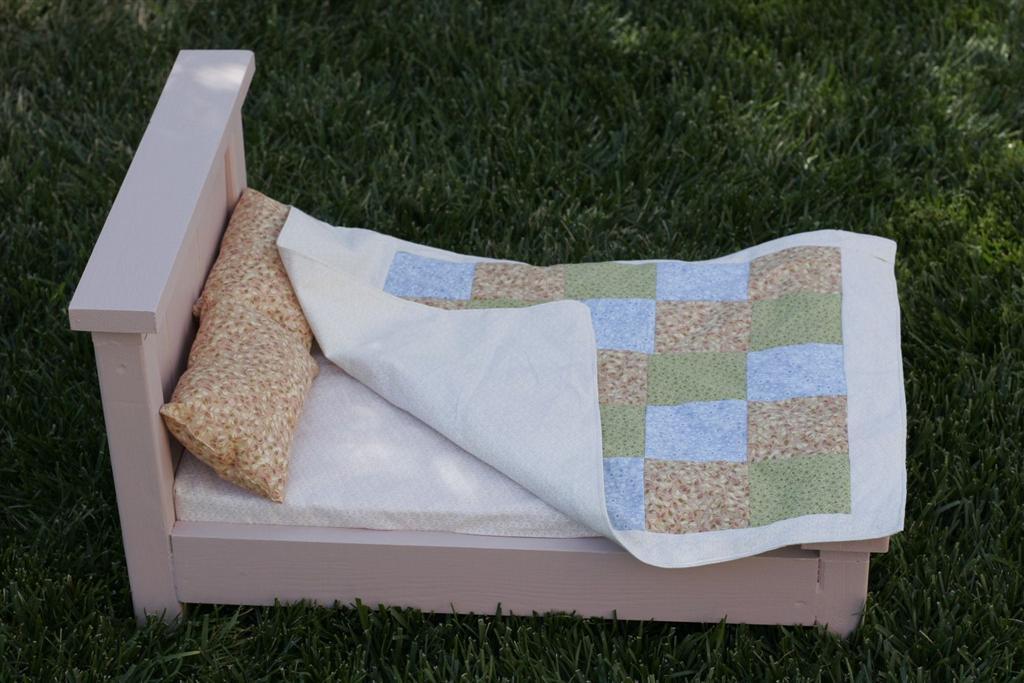
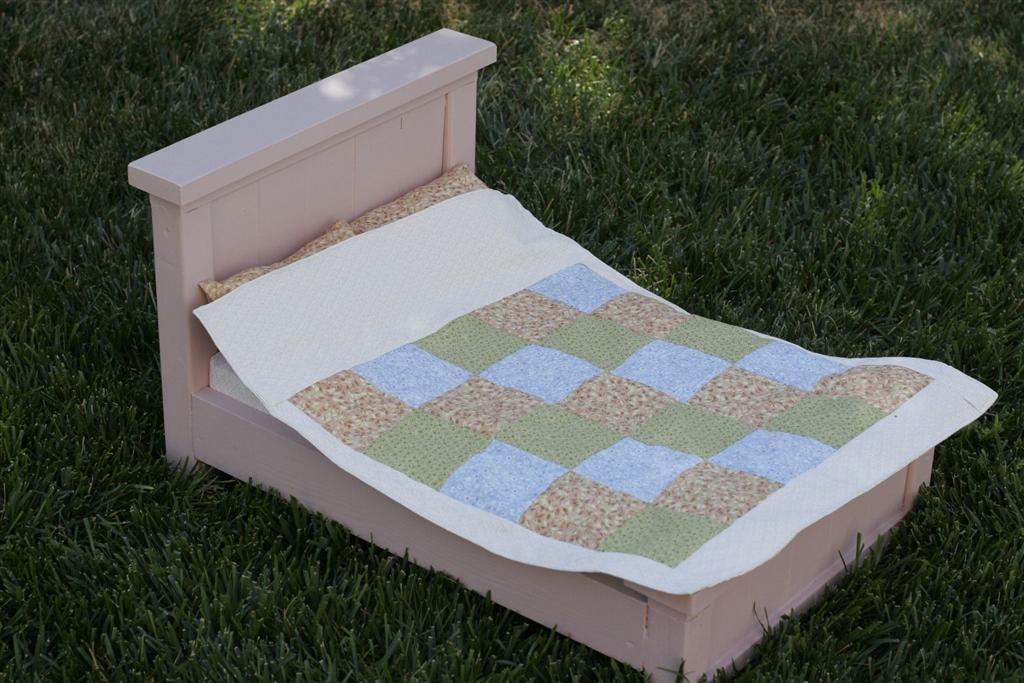
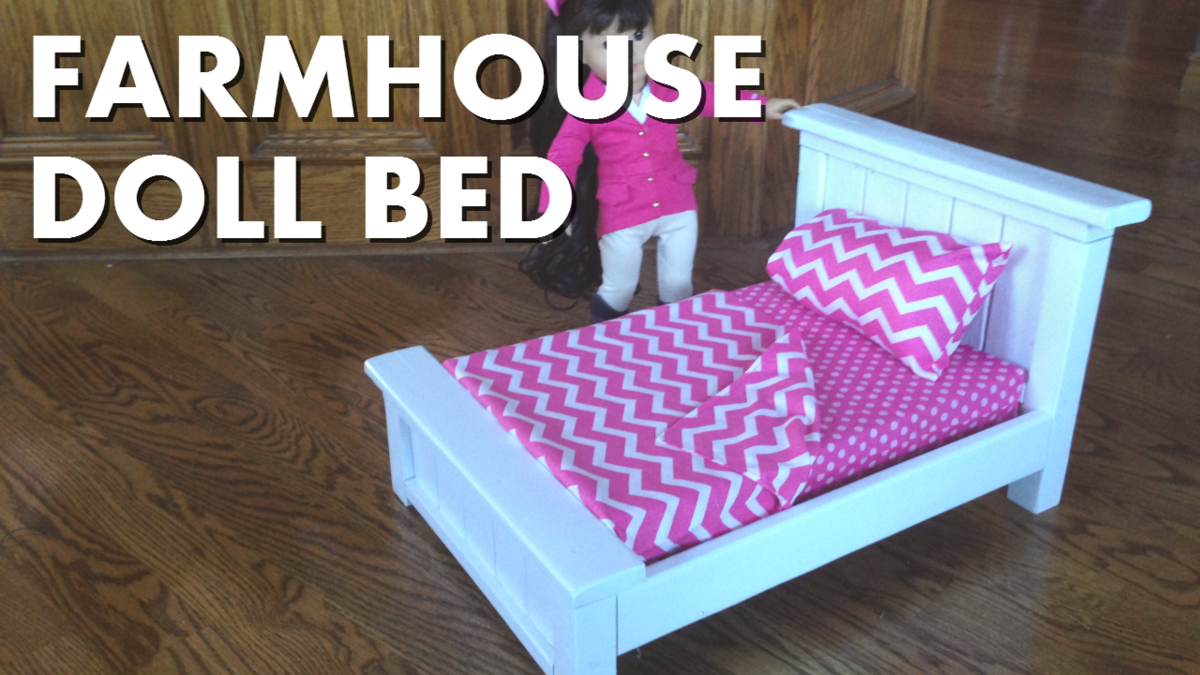
Built this cute doll bed for a friend's daughter's 3rd bday. I hear she loves it :)
The bedding (which took the longest) was made from my stash, followed loosely the plans at
http://fromanigloo.blogspot.com/2010/11/dolly-bed-fitted-sheet.html
and http://fromanigloo.blogspot.com/2010/11/dolly-pillows-and-pillowcases.h…
I wish I had a nailer; this project would have been faster with that. Predrilling etc took more than I care.
Mostly used left over 1x3s, and the rest was brand new pine.
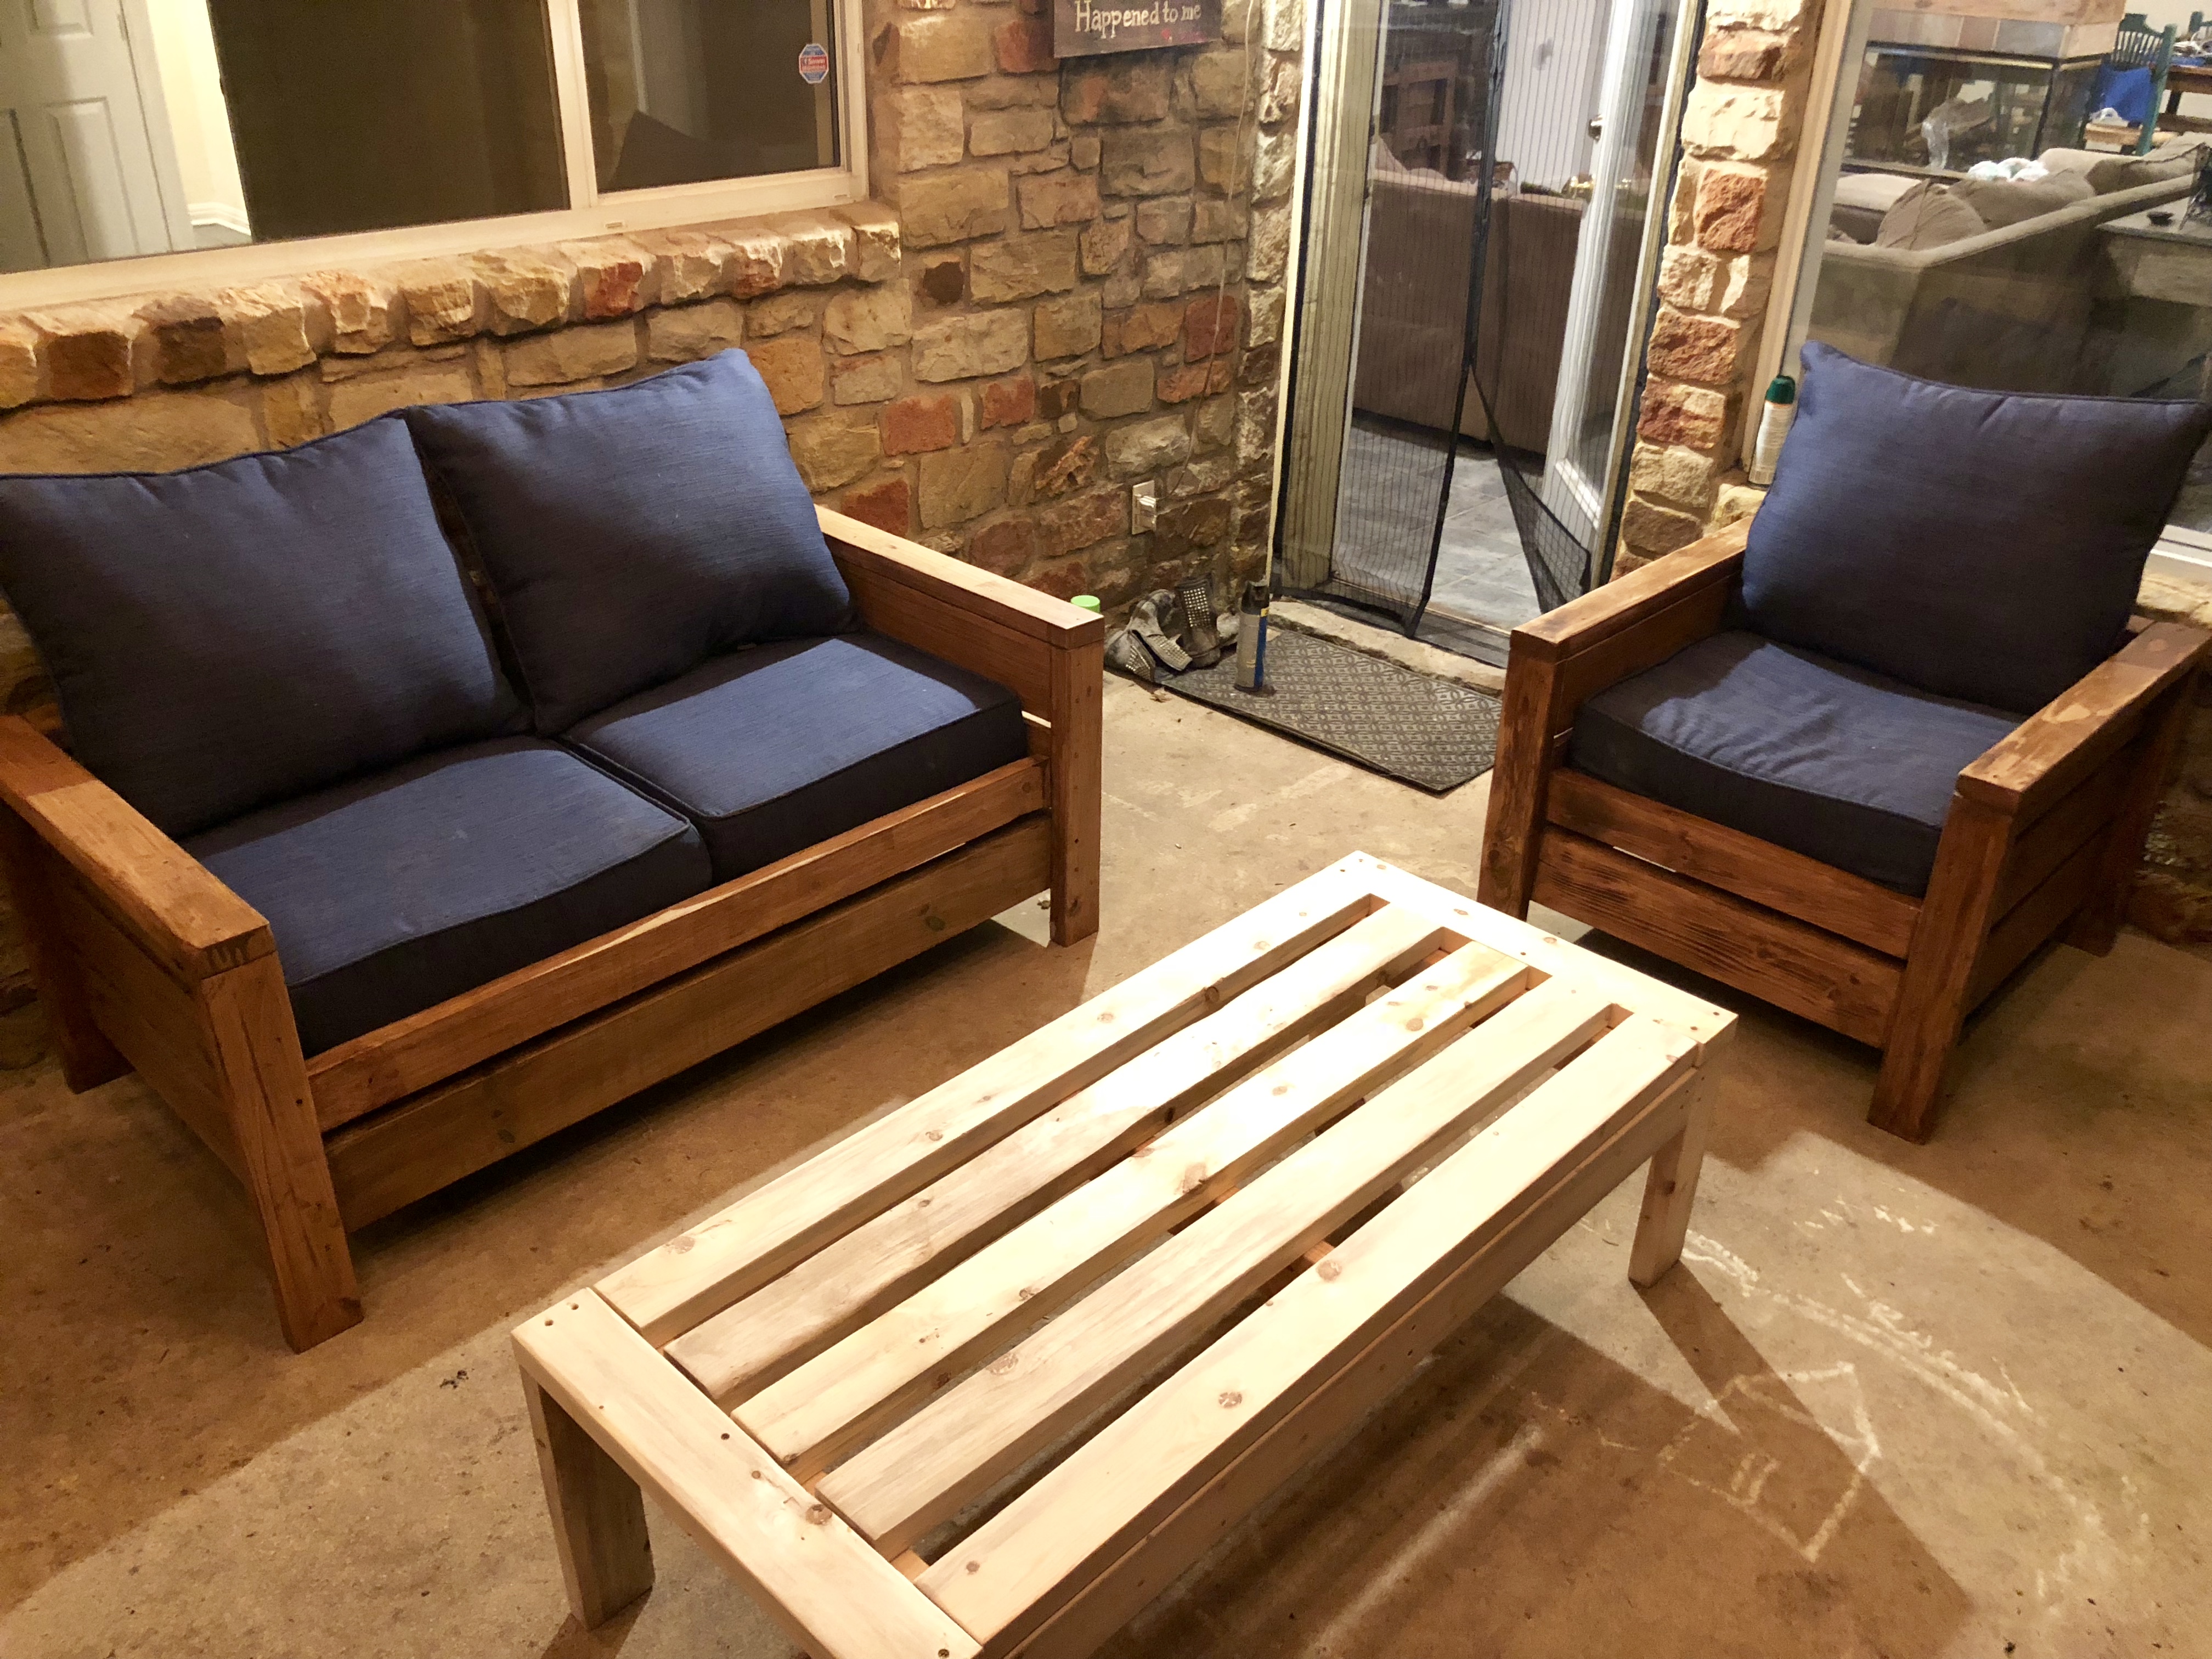
Note to self: don't sit in chair out back when you have a dog that likes to lick. This chair puts you right at licking height....
I also created a build video here: https://youtu.be/h_oEu908-iI
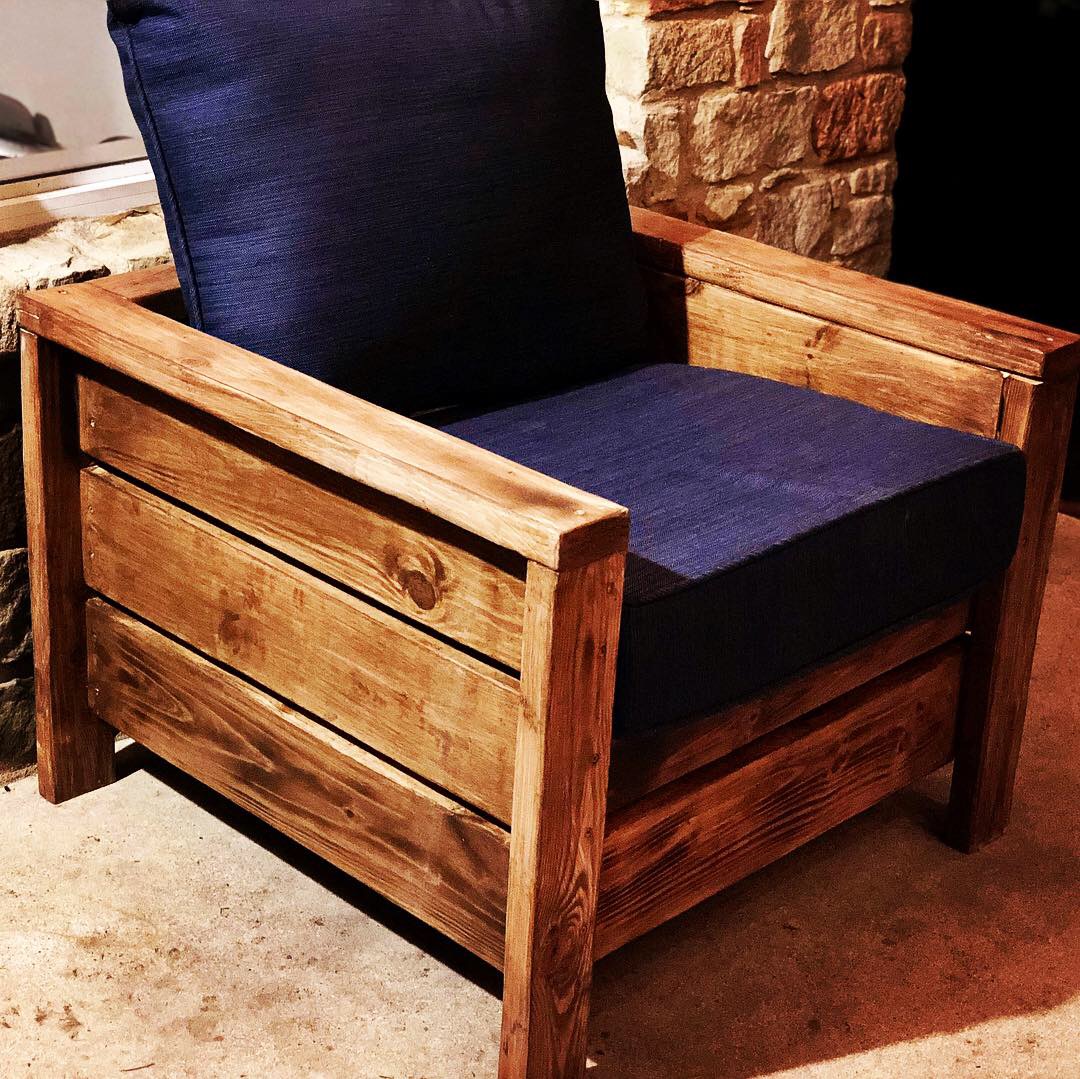
What a fast, fun, and FUNCTIONAL project! I did lower the seat height, as I think it allows you to sink into them a bit more -- especially with the cushions I had for them (which BTW, were on sale at Lowe's for $14.99/each.. normally like $60, I think). Thanks ANA, for making yet another project such a breeze!
Comments
Ana White Admin
Tue, 10/18/2022 - 09:31
Wonderful!
The shelves look great, thanks for sharing!