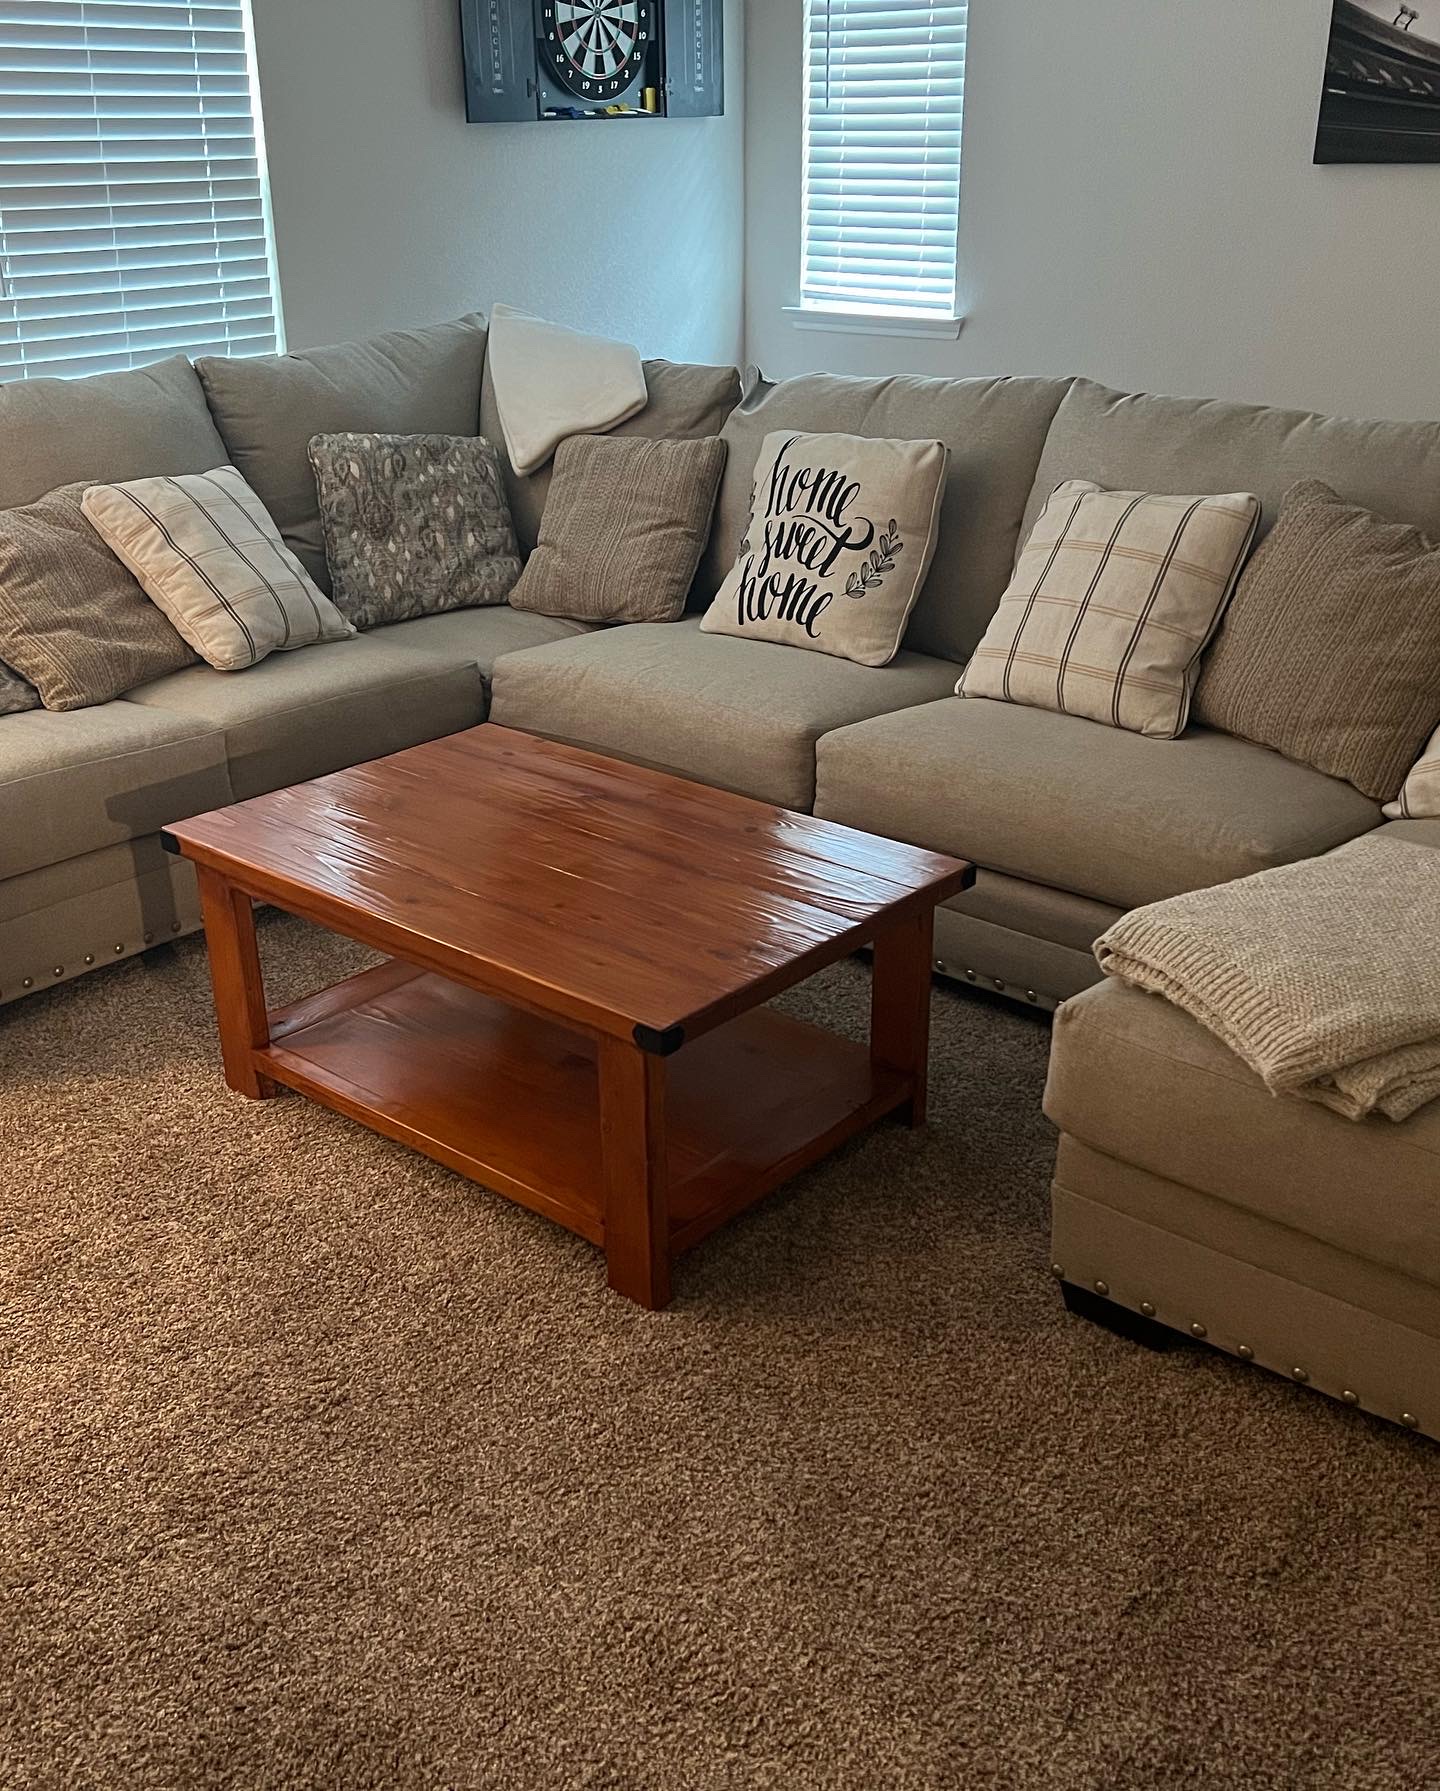
Pallet Crates as Halloween Decor
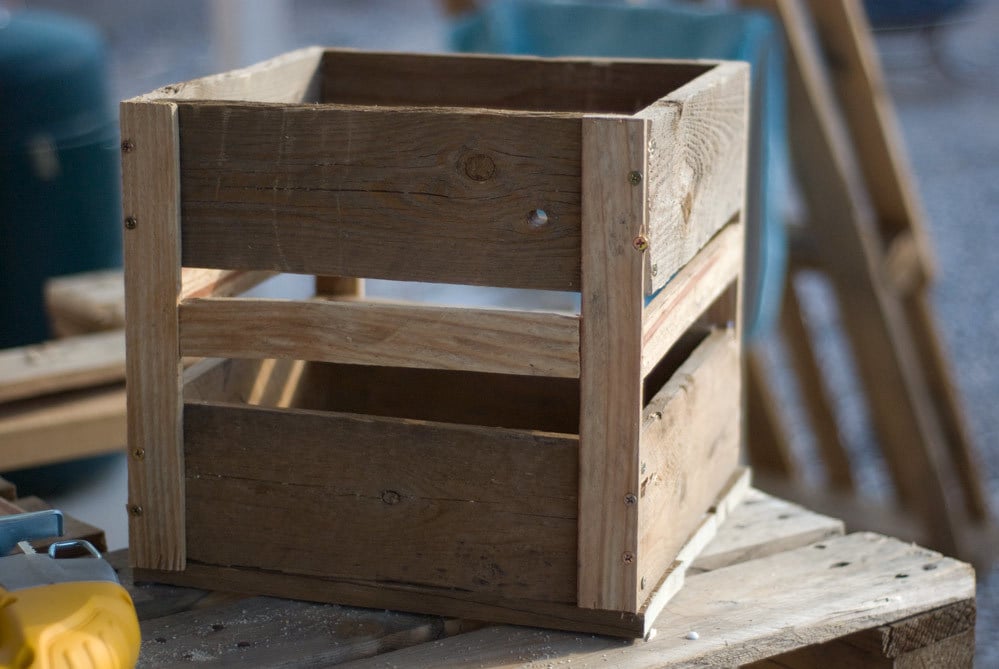
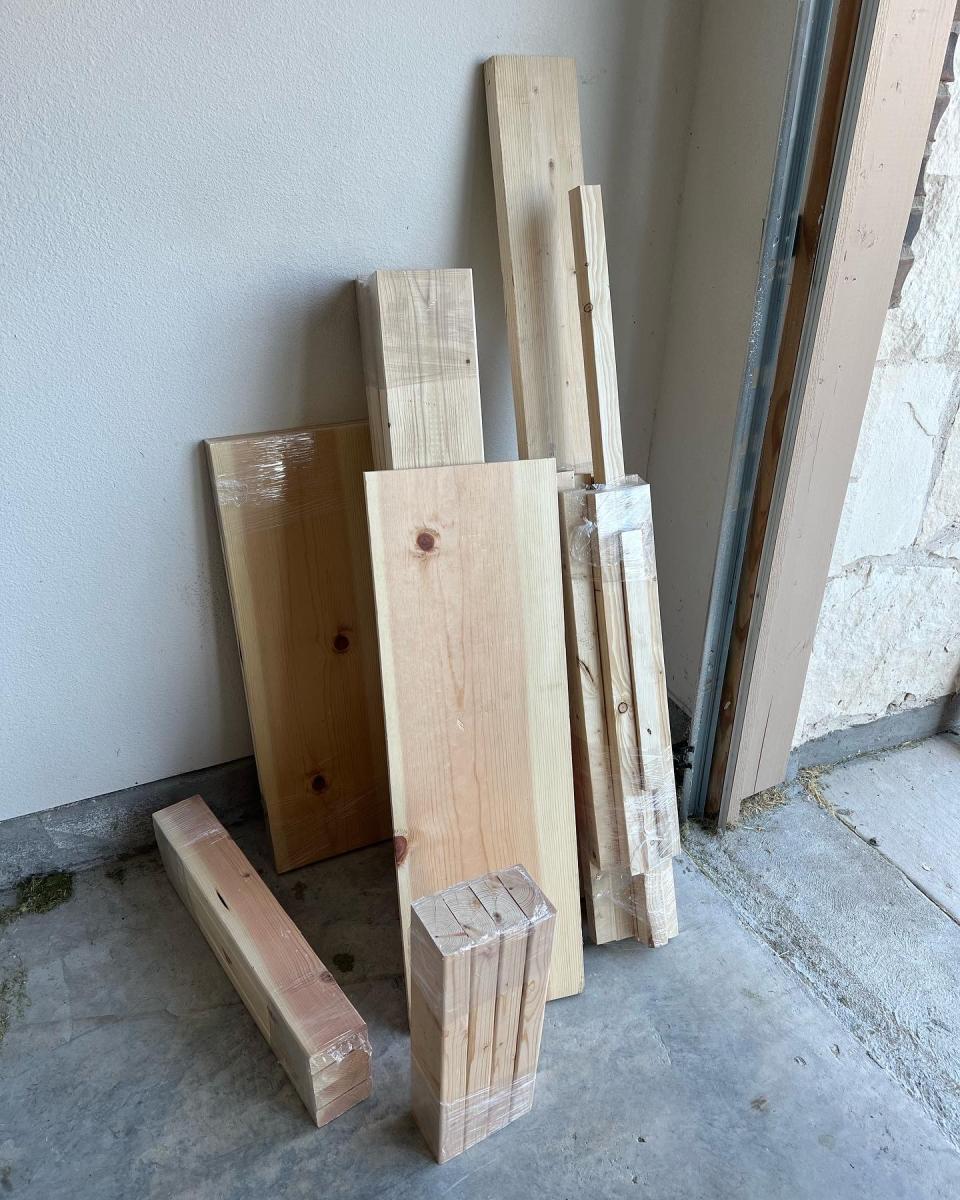
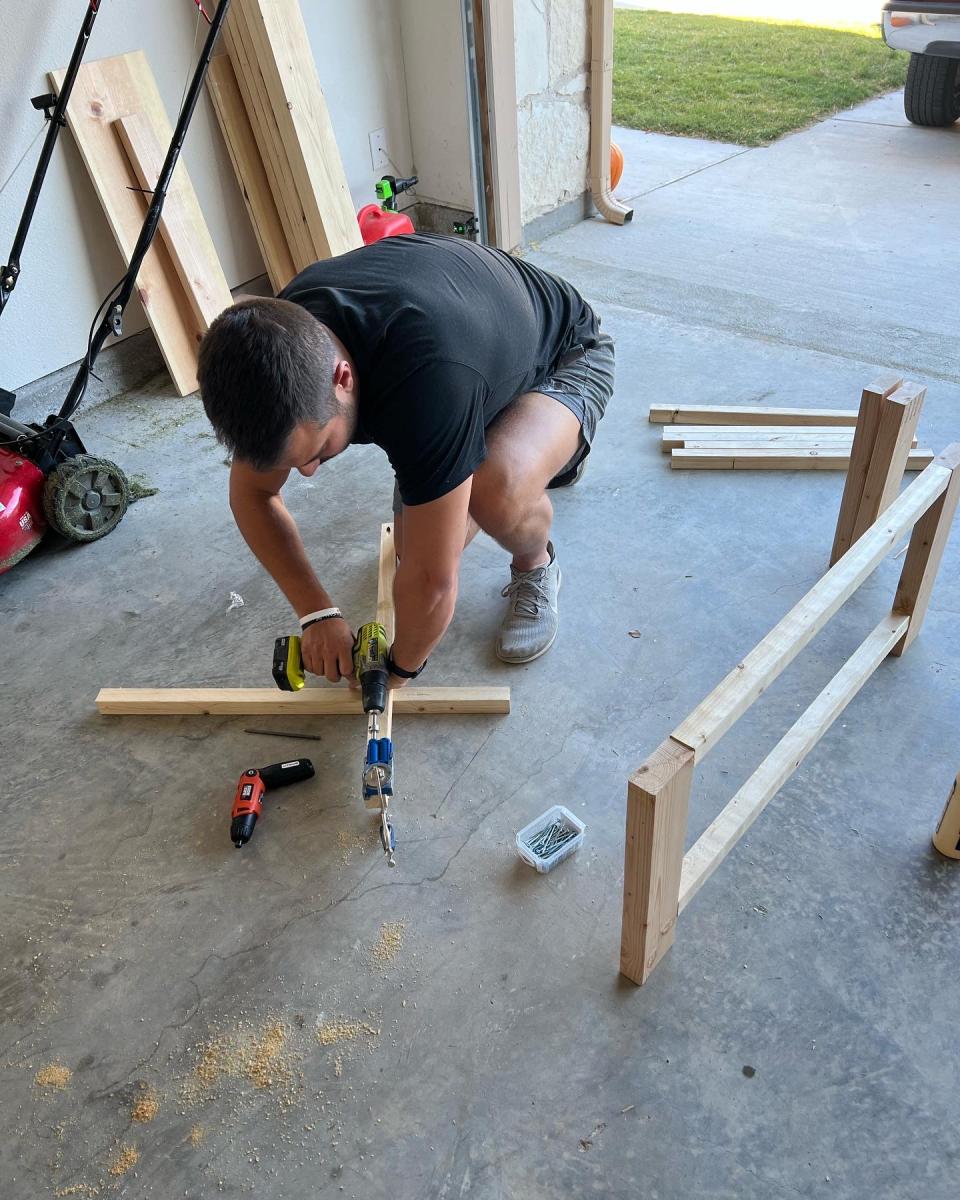
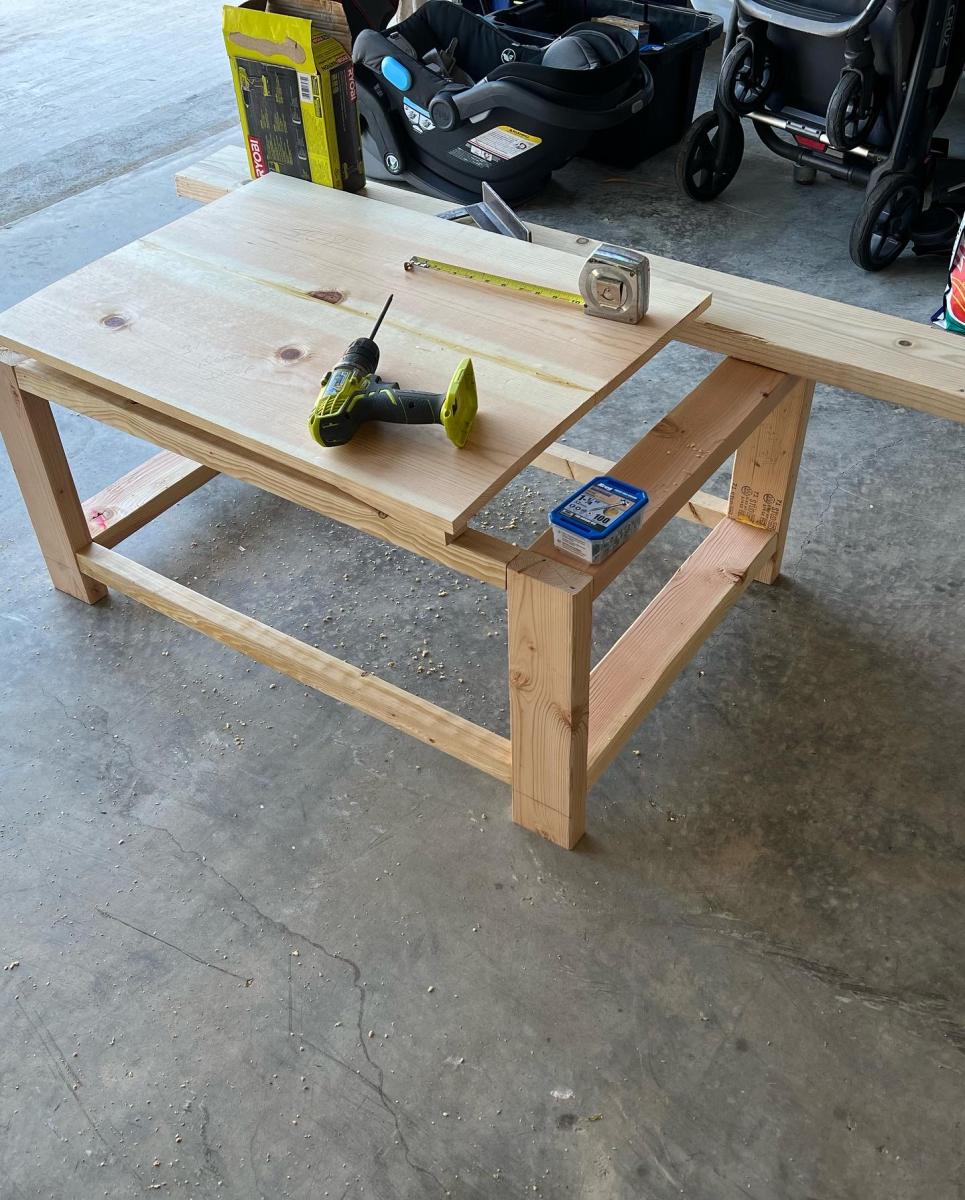
I started to build these crates as storage for my oldest daughter's room, but I never got around to finishing a second. Halloween was coming on fast and I had about 8 pallets in my backyard. I debated tearing them apart and building another crate, or using them to create a graveyard.....
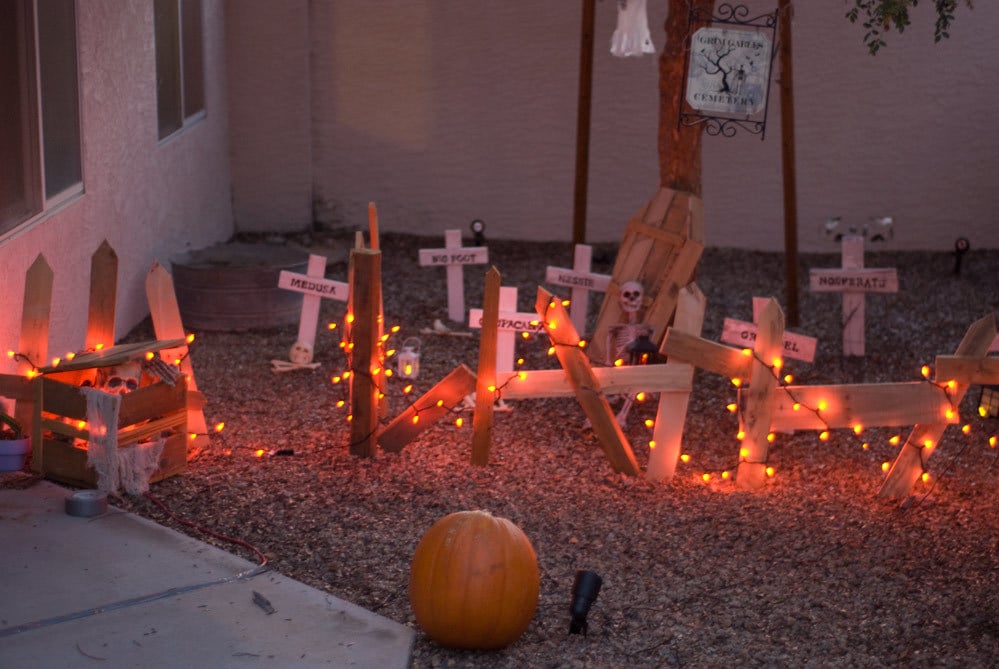
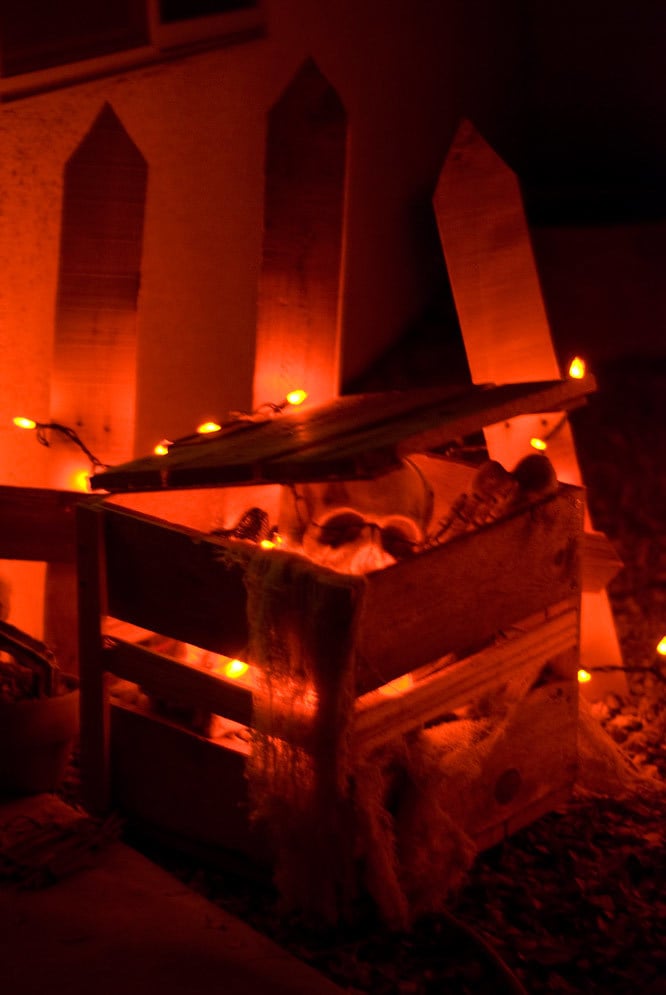
The graveyard won, and I ended up doing a picket fence, a casket and headstones with the pallet pieces. The crate fit right in to the decor, so it has now become a halloween decoration instead of a storage solution for my daughter's room. It even got a lid!

Built from Plan(s)
Estimated Cost
free
Estimated Time Investment
An Hour or Two (0-2 Hours)
Finish Used
absolutely... NONE!
Recommended Skill Level
Starter Project


Comments
perry22
Thu, 05/02/2013 - 20:47
Today starting from the left,
Today starting from the left, there is the gated entrance to flats, a new building (shop, garage & mini cab office) the flat roof building is still there but remodelled (chemist & ladies garments) the other buildings have been demolished and replaced by flats. The houses on the far corner of North Street are still there, with Prince Regent pub next door behind what was the island urinal in the middle of the road and tree. Water Damage Restoration Oceanside CA
perry22
Wed, 05/15/2013 - 21:06
I dont think Blue will be a
I dont think Blue will be a good option as it will make the room look dull. You anyways have a brown toned sofa and a brown floor. So do not go for blue. I suggest if you want to add color to your room add a rug, change your sofa upholstery and that should work. You may not need to paint the wall. Infact add some posters and paintings. All this will add color to your room. carpet cleaning Downers Grove IL