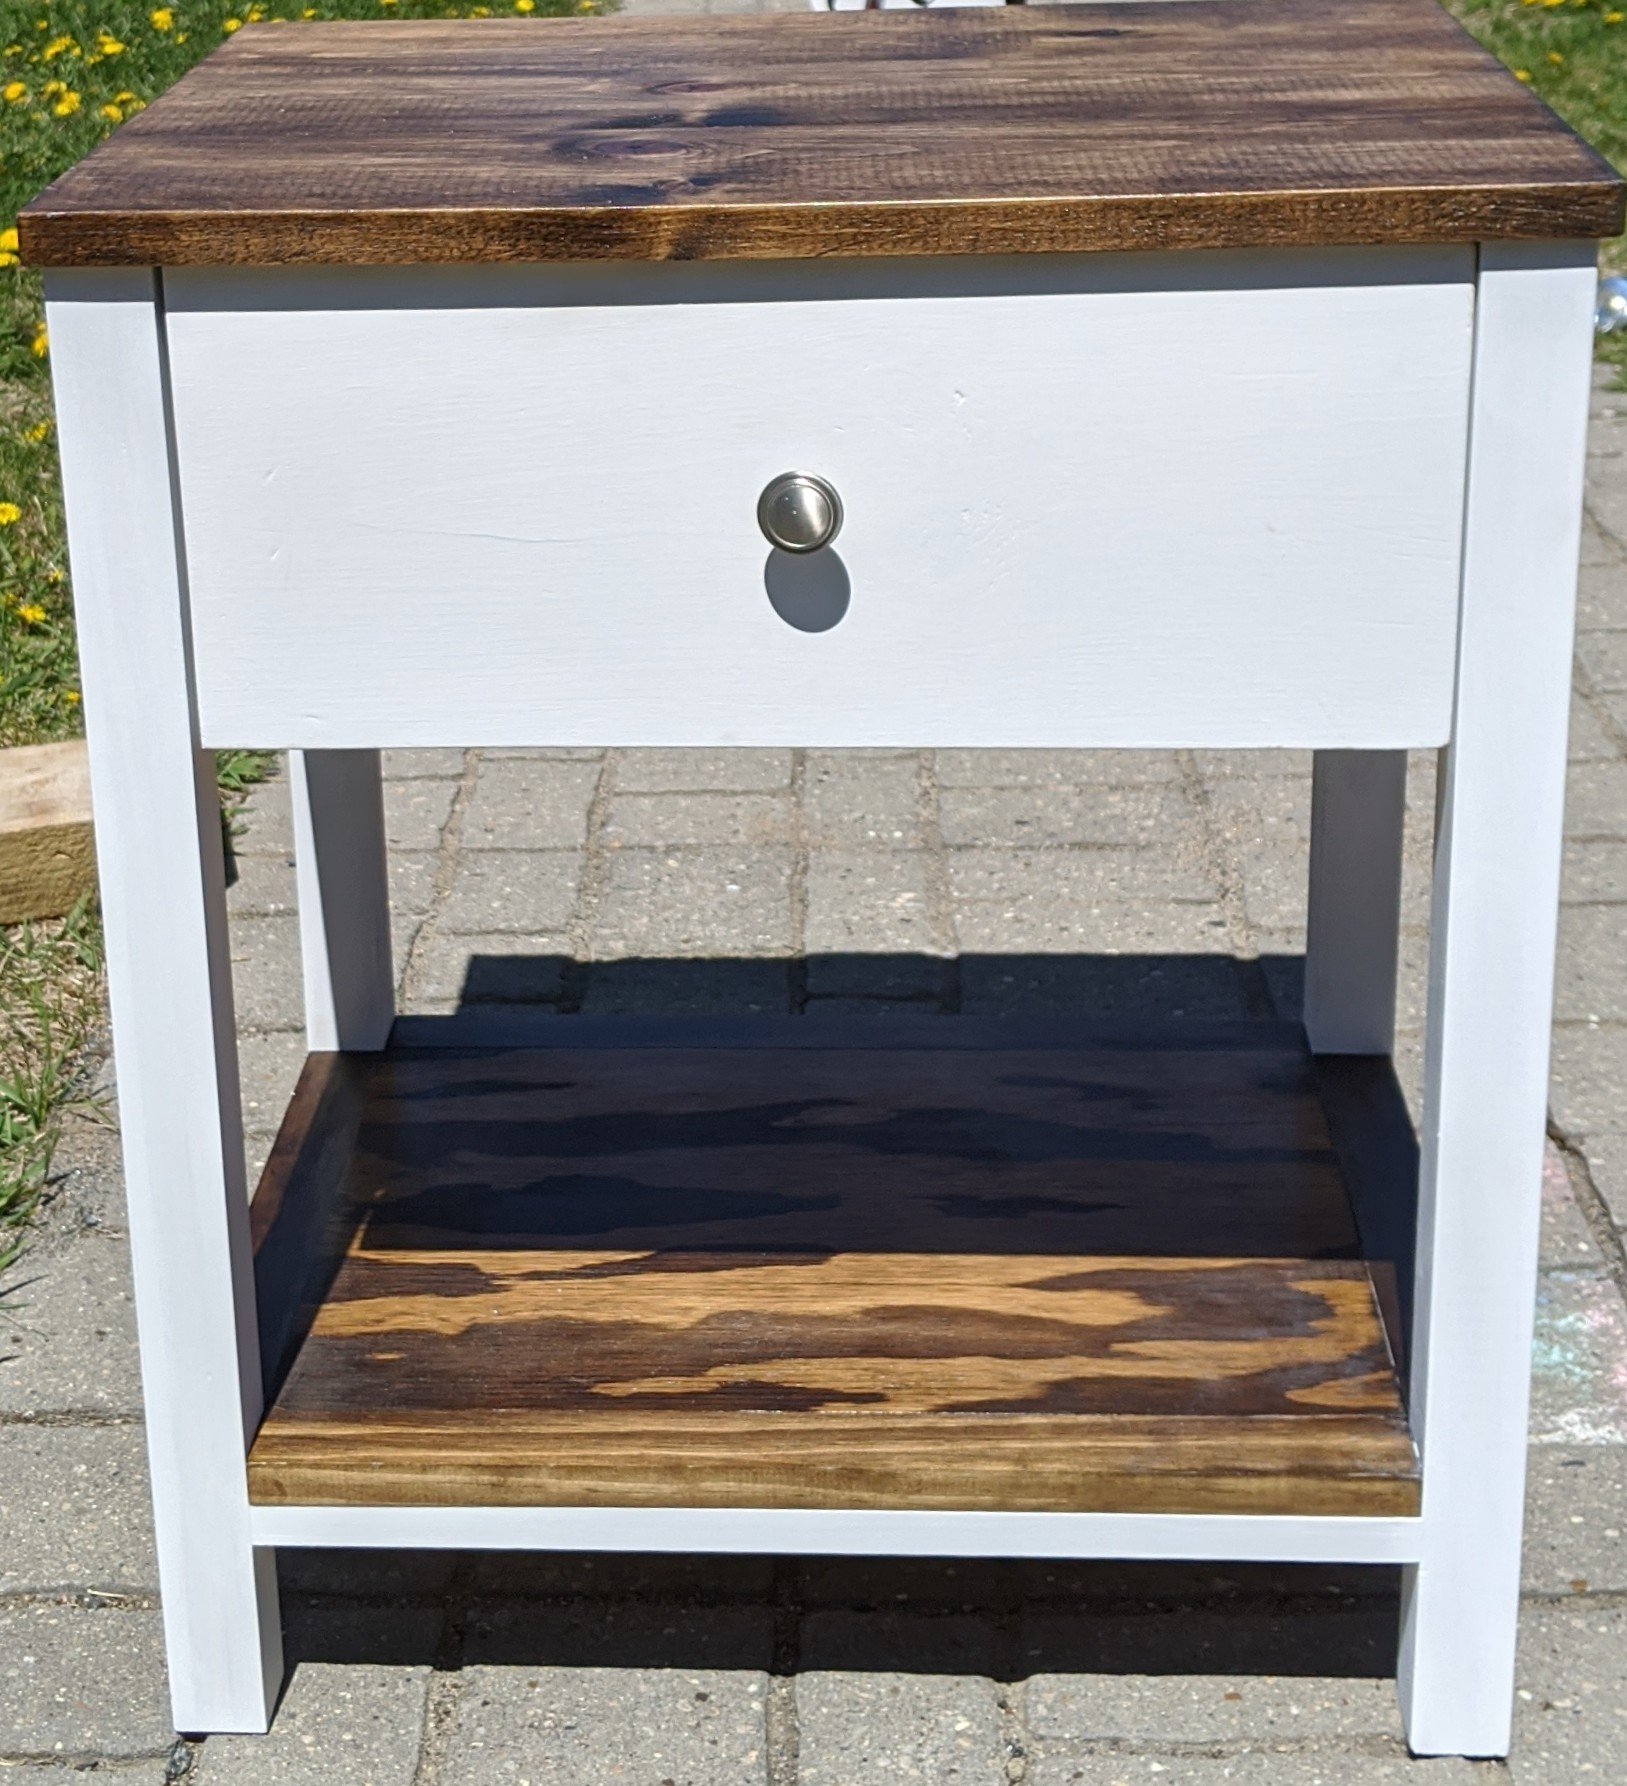
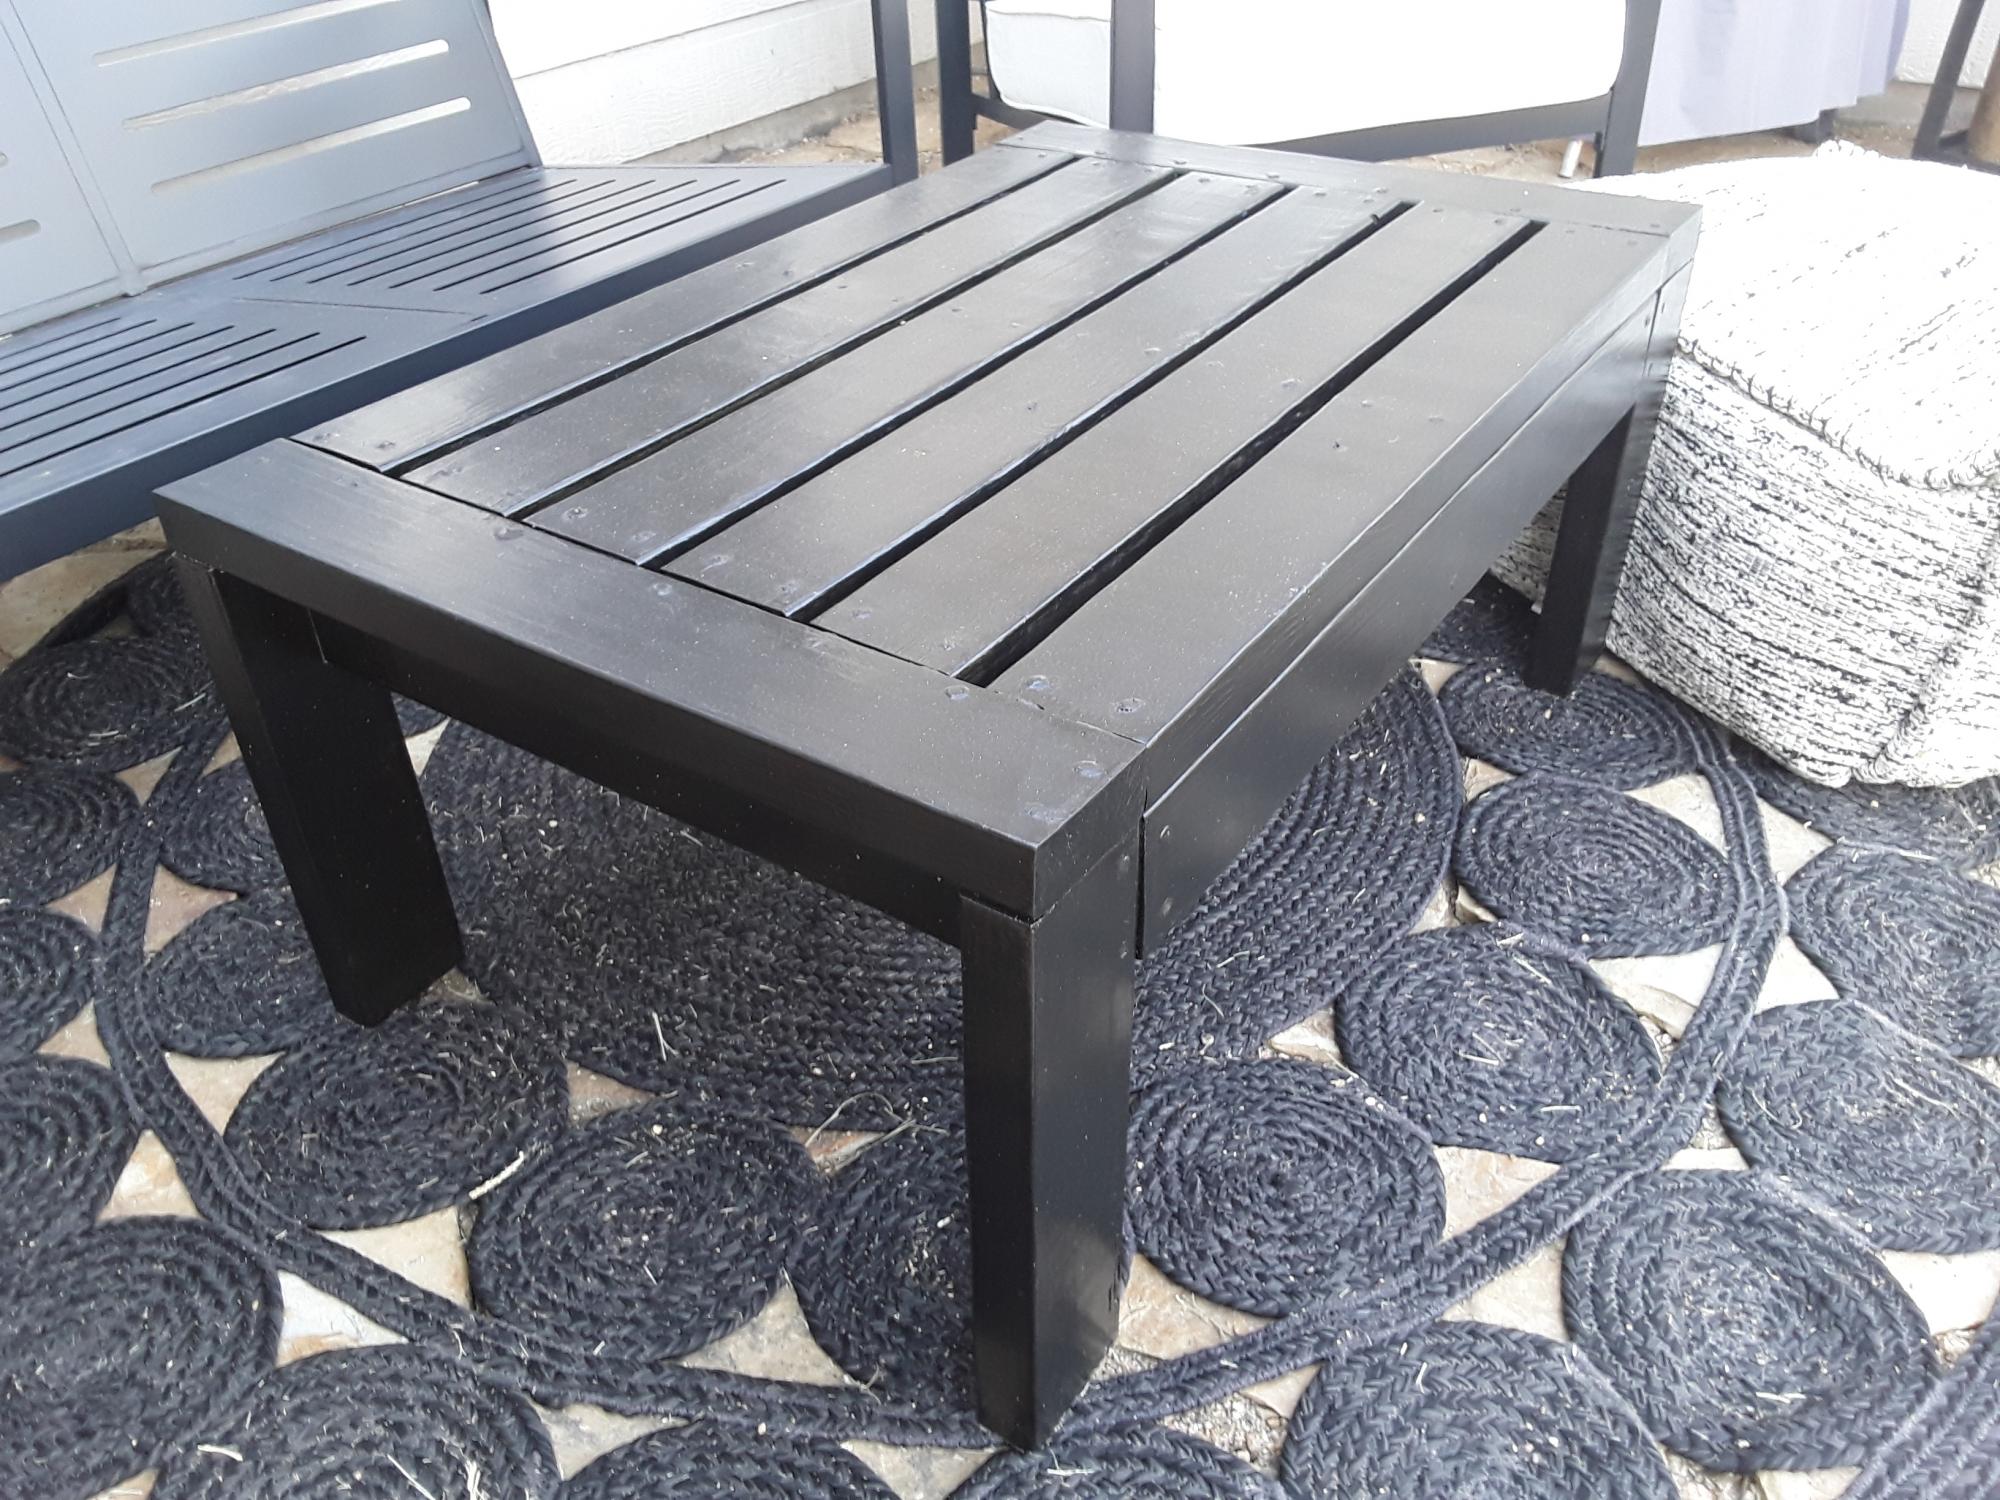
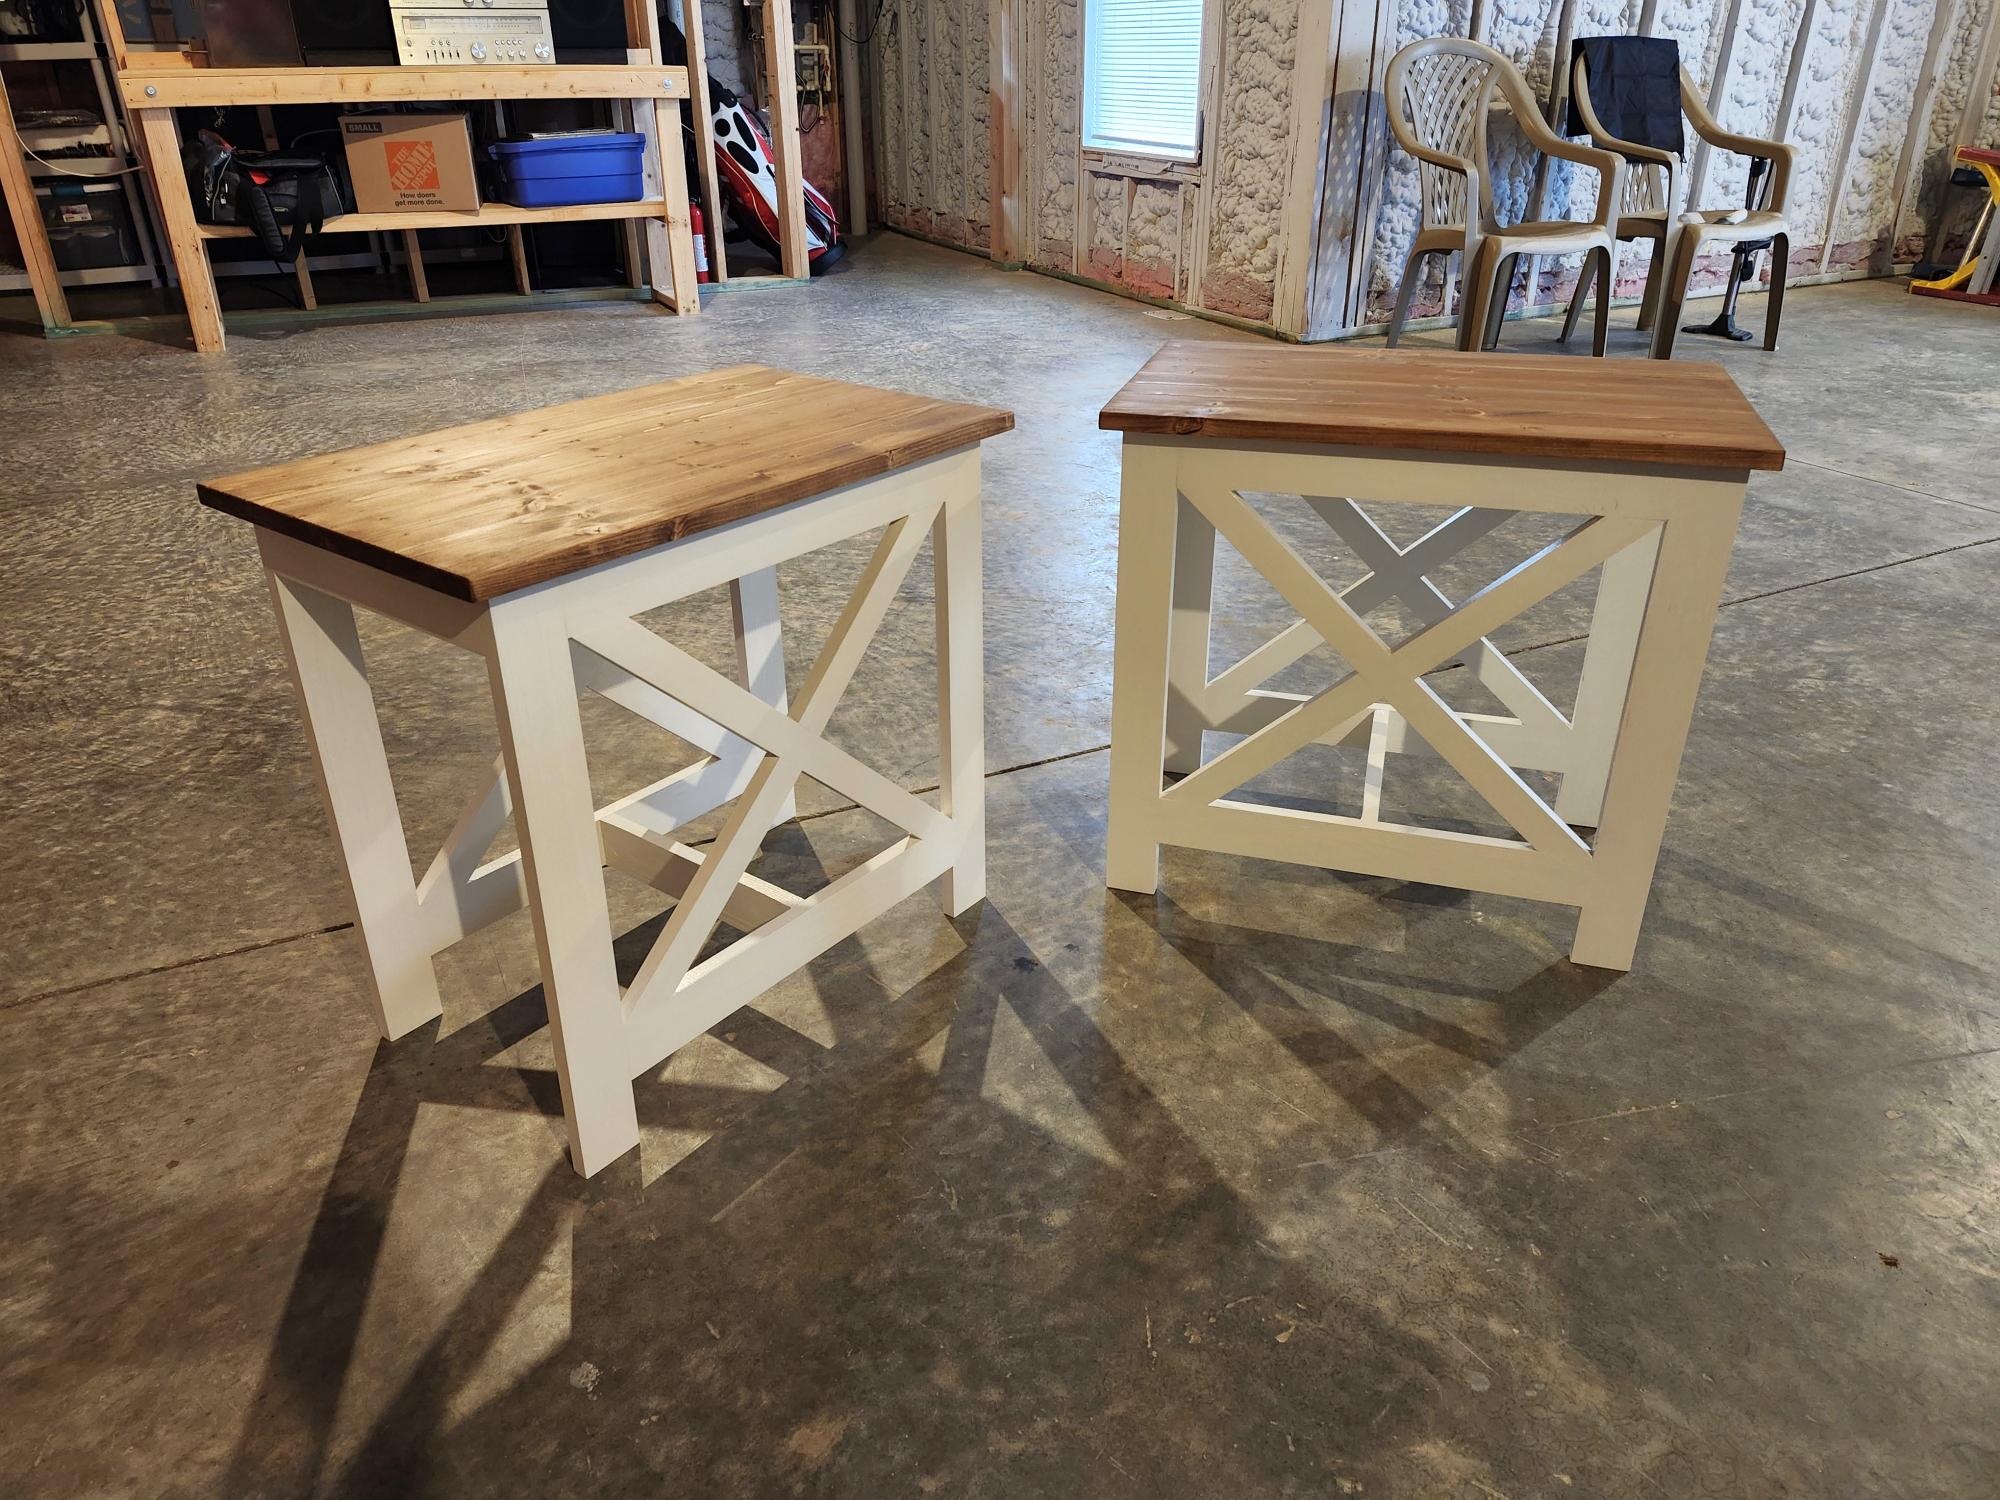
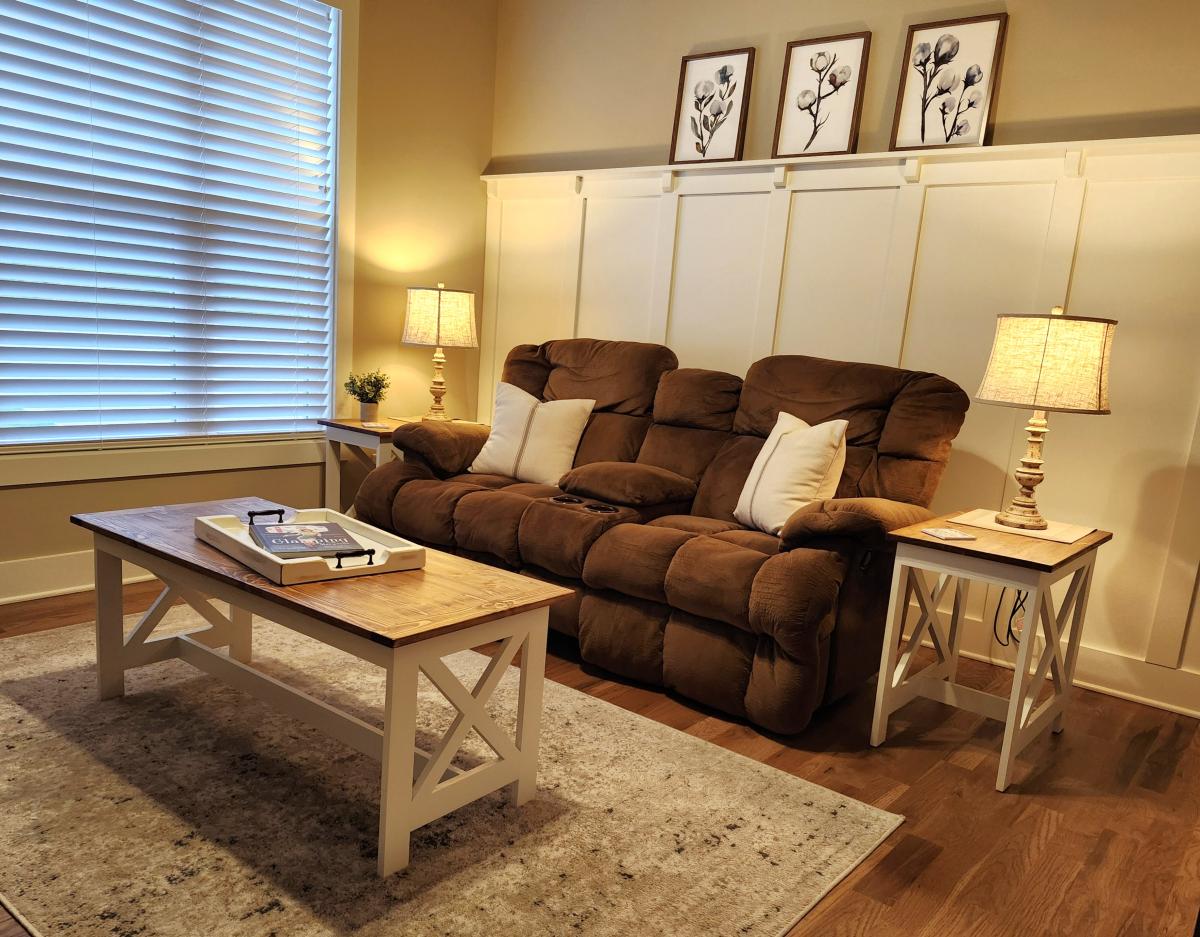
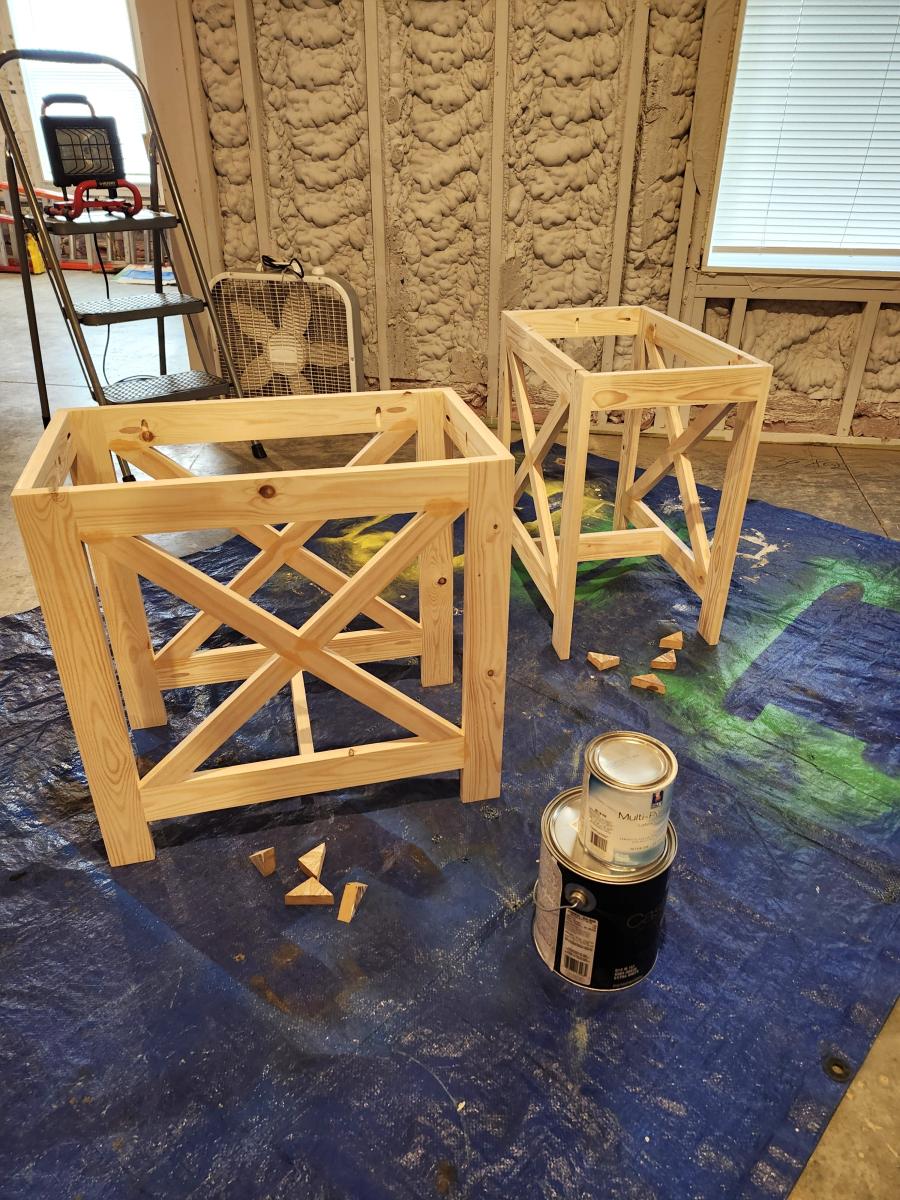
Tryed end table
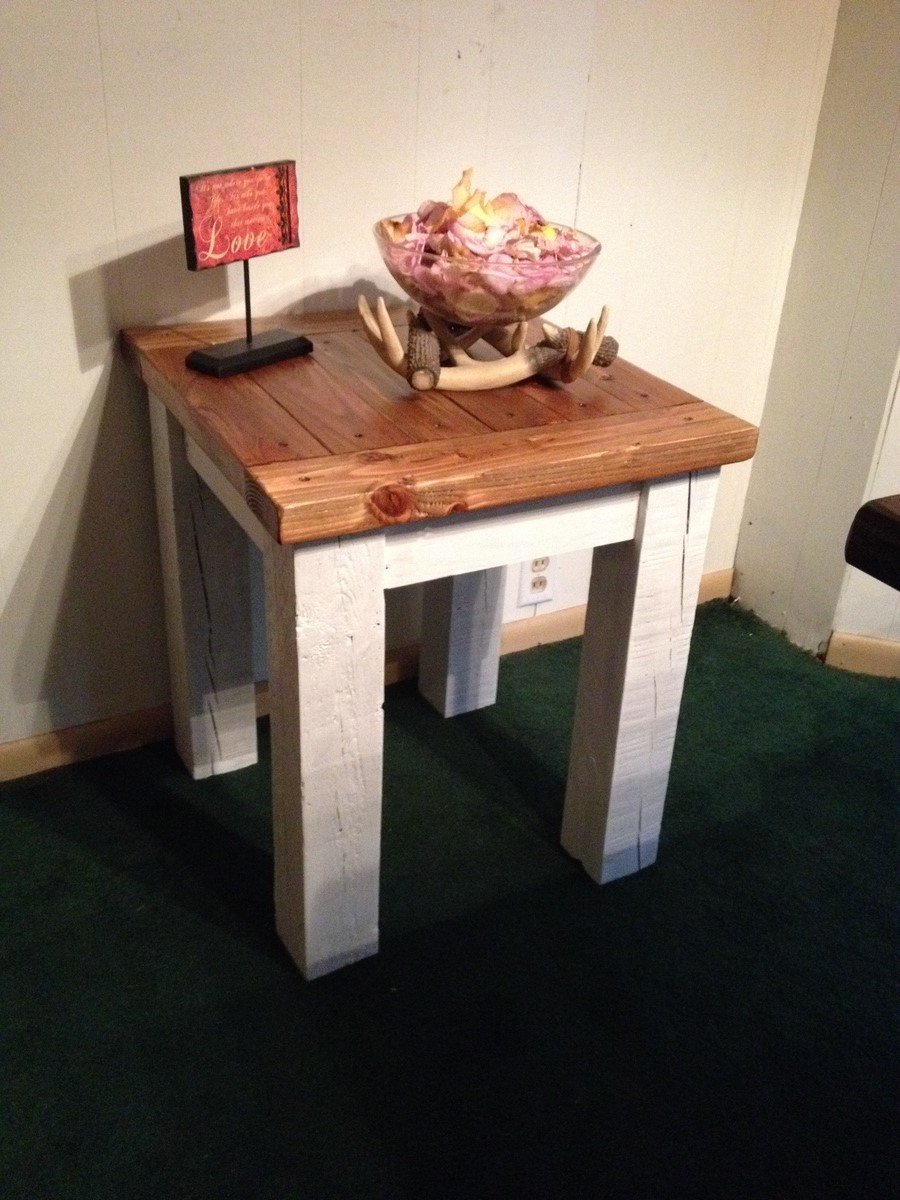
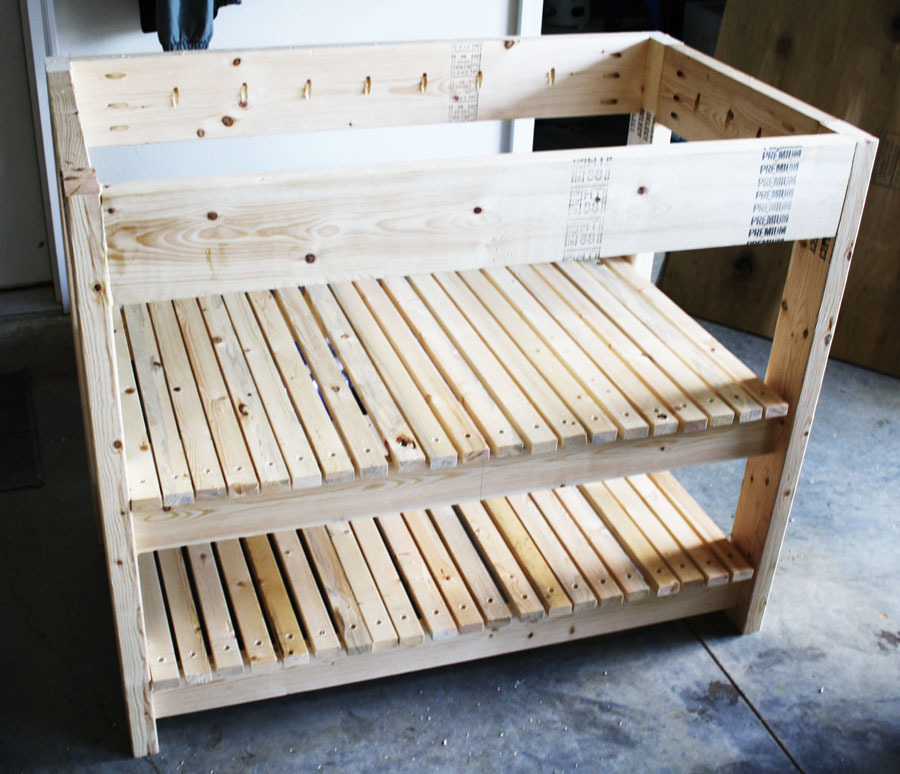
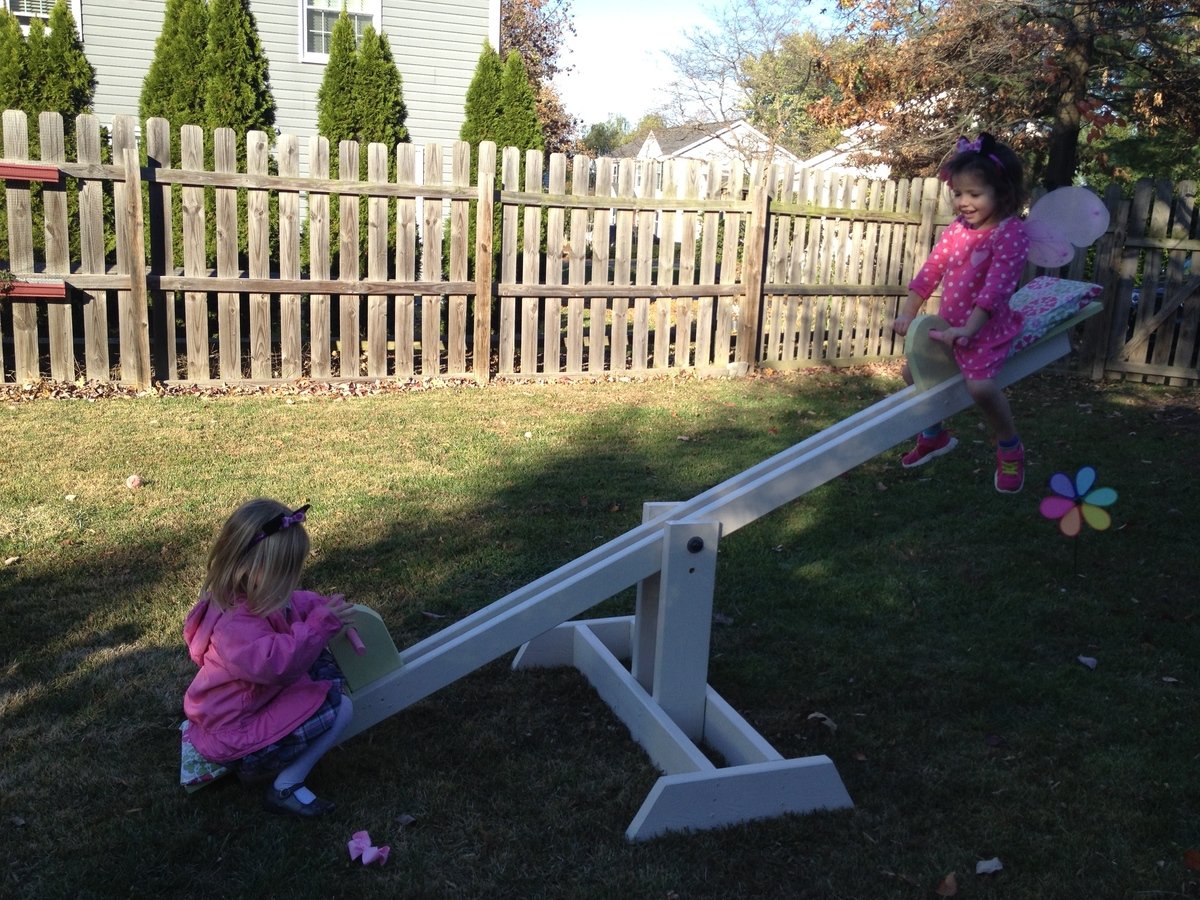
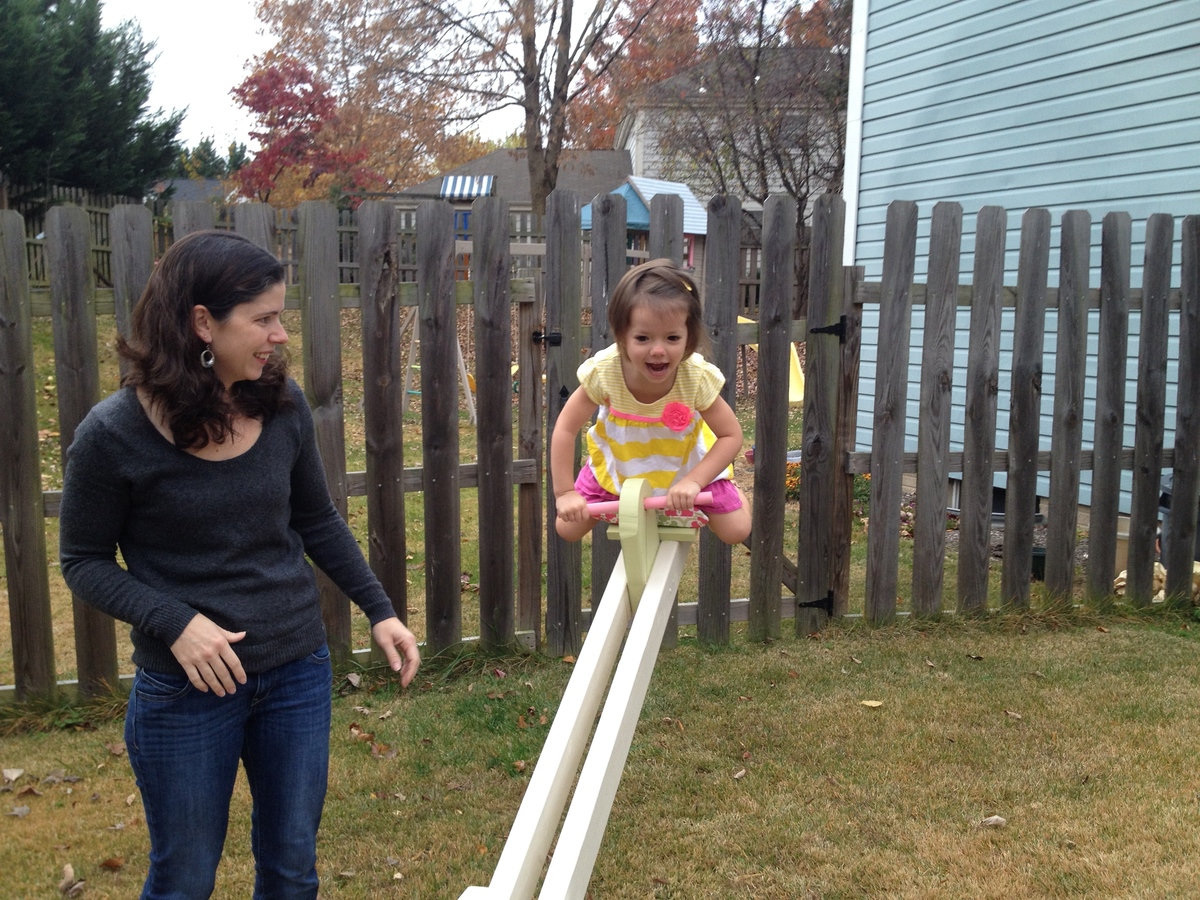
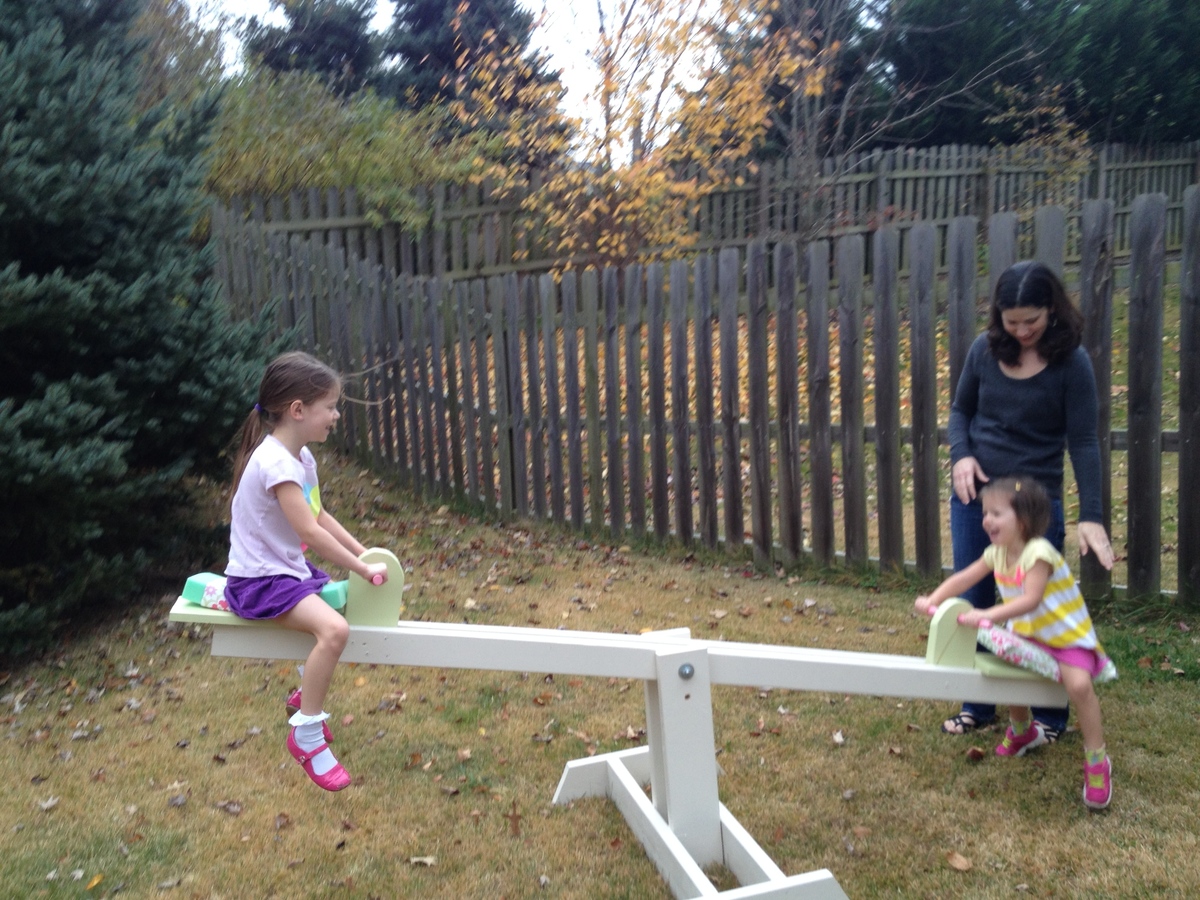
I had some really old (30+ years) 4X4's laying around the backyard that I found in a brick pile at my grandmothers house sometime back. I saw the plans for the really easy Tryed Side Tables, so I made a few of them, and people jumped on these really fast. This may be the simplest tables I have ever made, time and skill-wise. Just need a few 4x4 legs, 2x4 top, and 1x4 trim and support. THAT'S IT. Then about an hour of your time plus paint and stain time. Very cool and very easy.
Built from Plan(s)
Estimated Cost
$12
Estimated Time Investment
An Hour or Two (0-2 Hours)
Finish Used
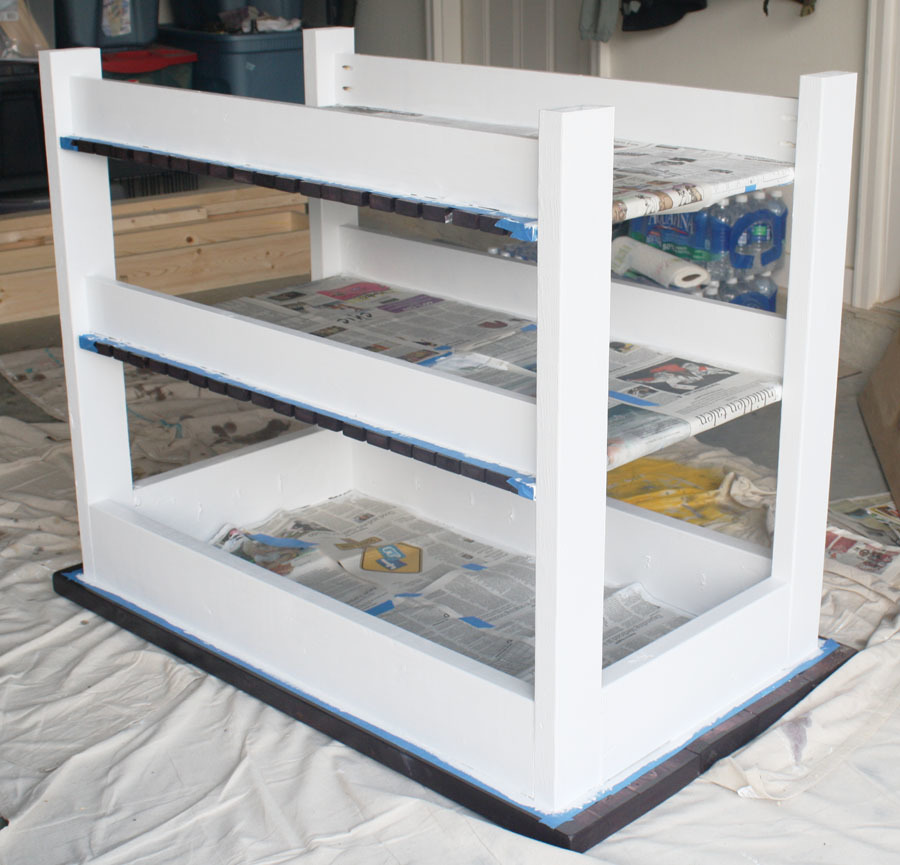
Legs and support trim are painted Vanilla White
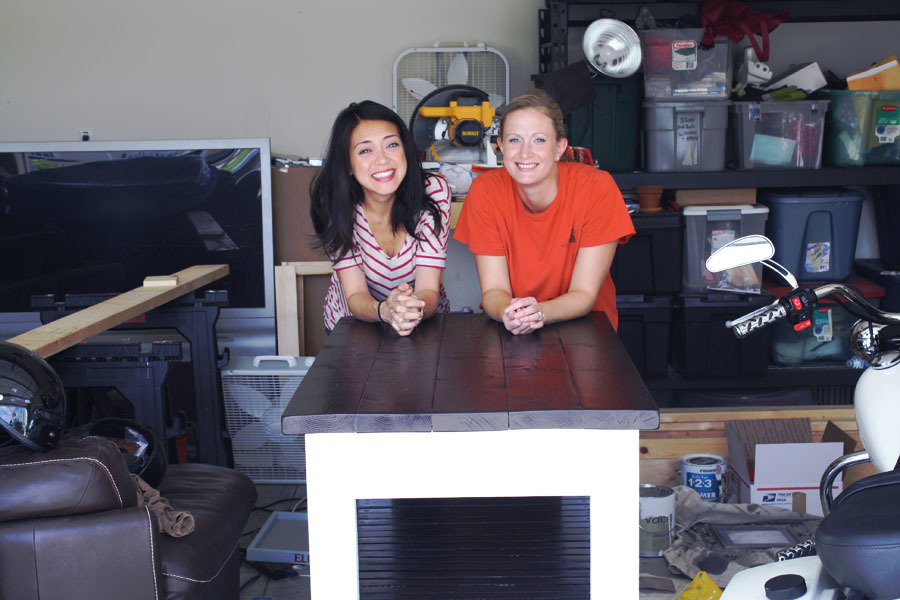
Top is stained Golden Oak.
Minwax Poly applied to top.
Top is stained Golden Oak.
Minwax Poly applied to top.
Recommended Skill Level
Beginner