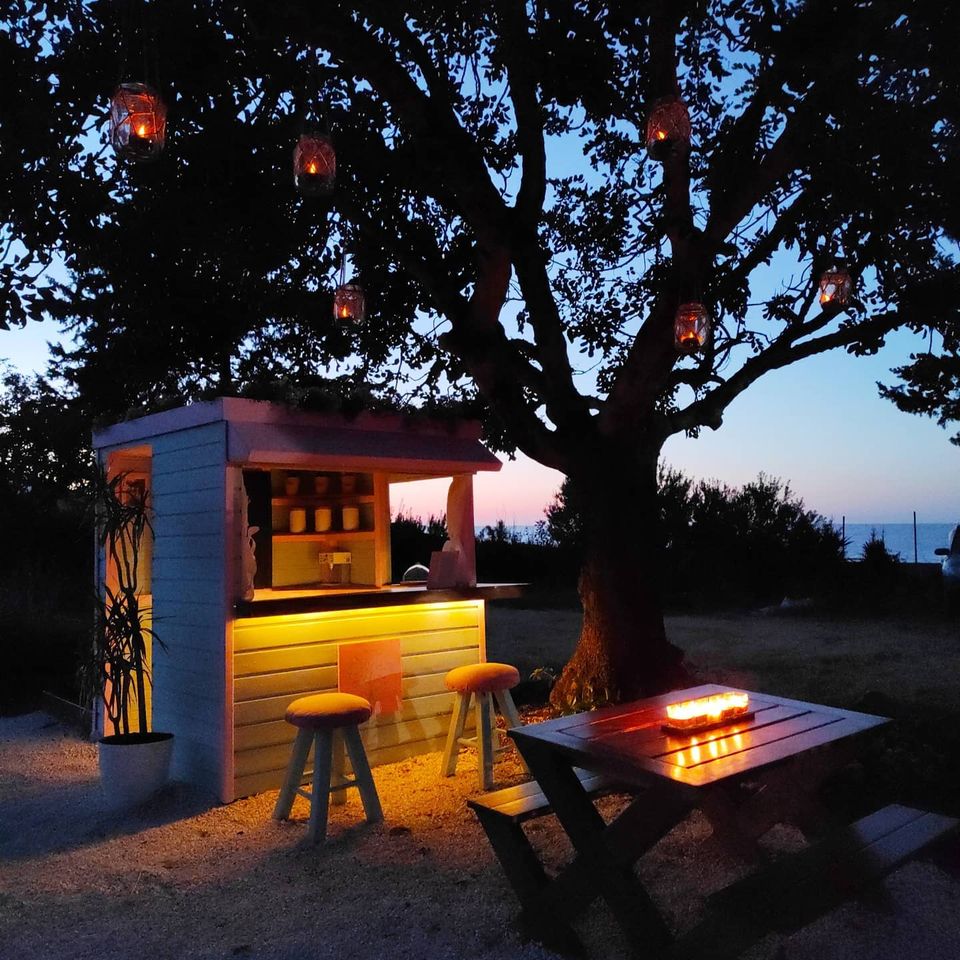
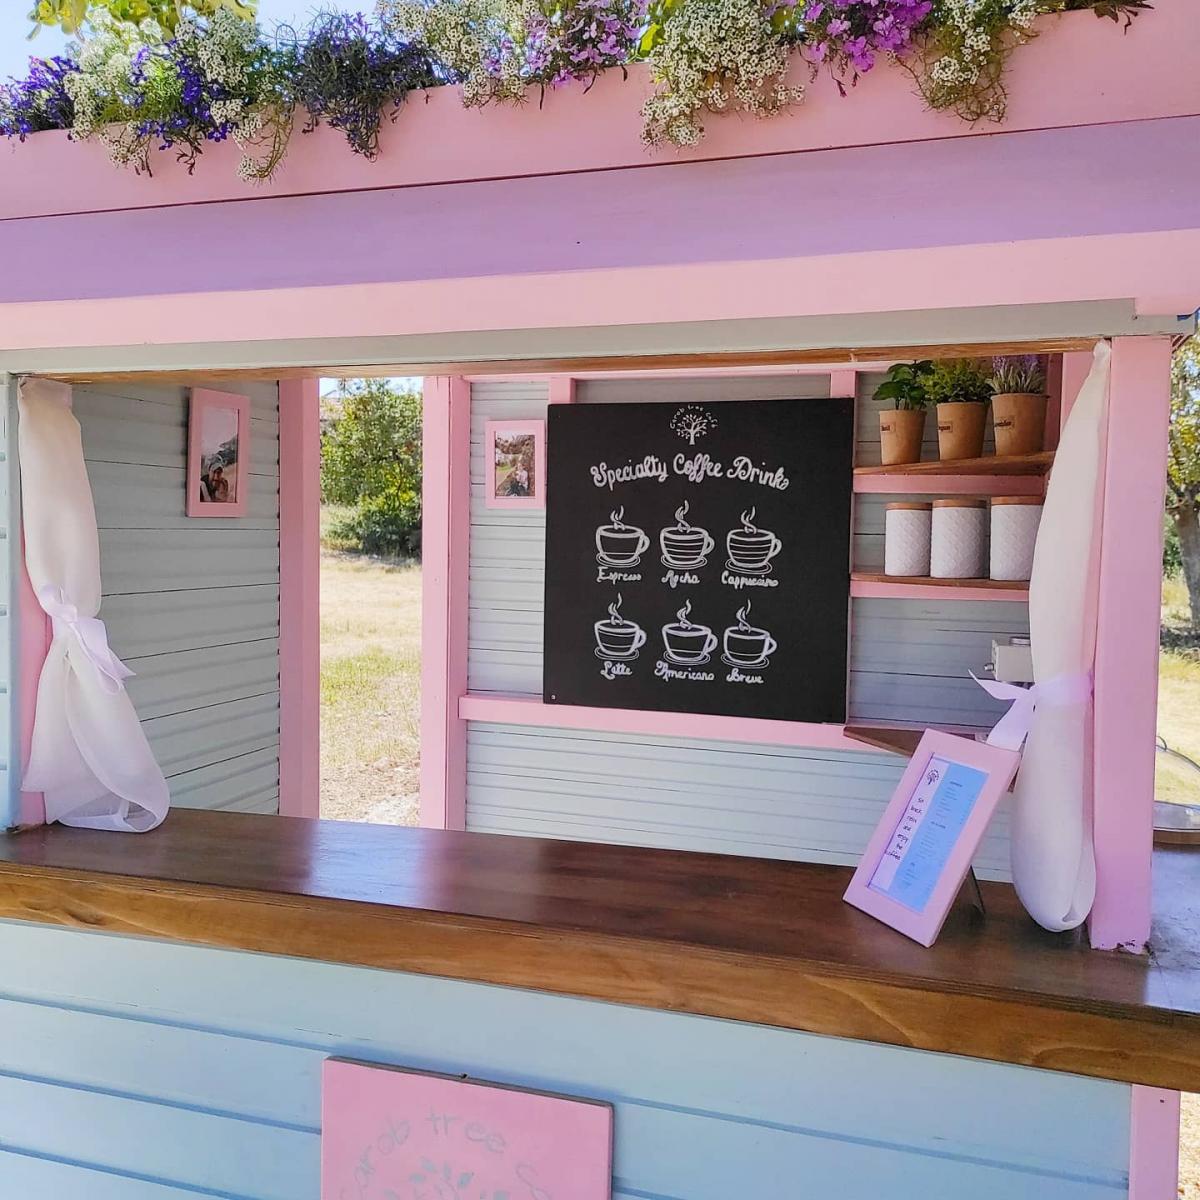
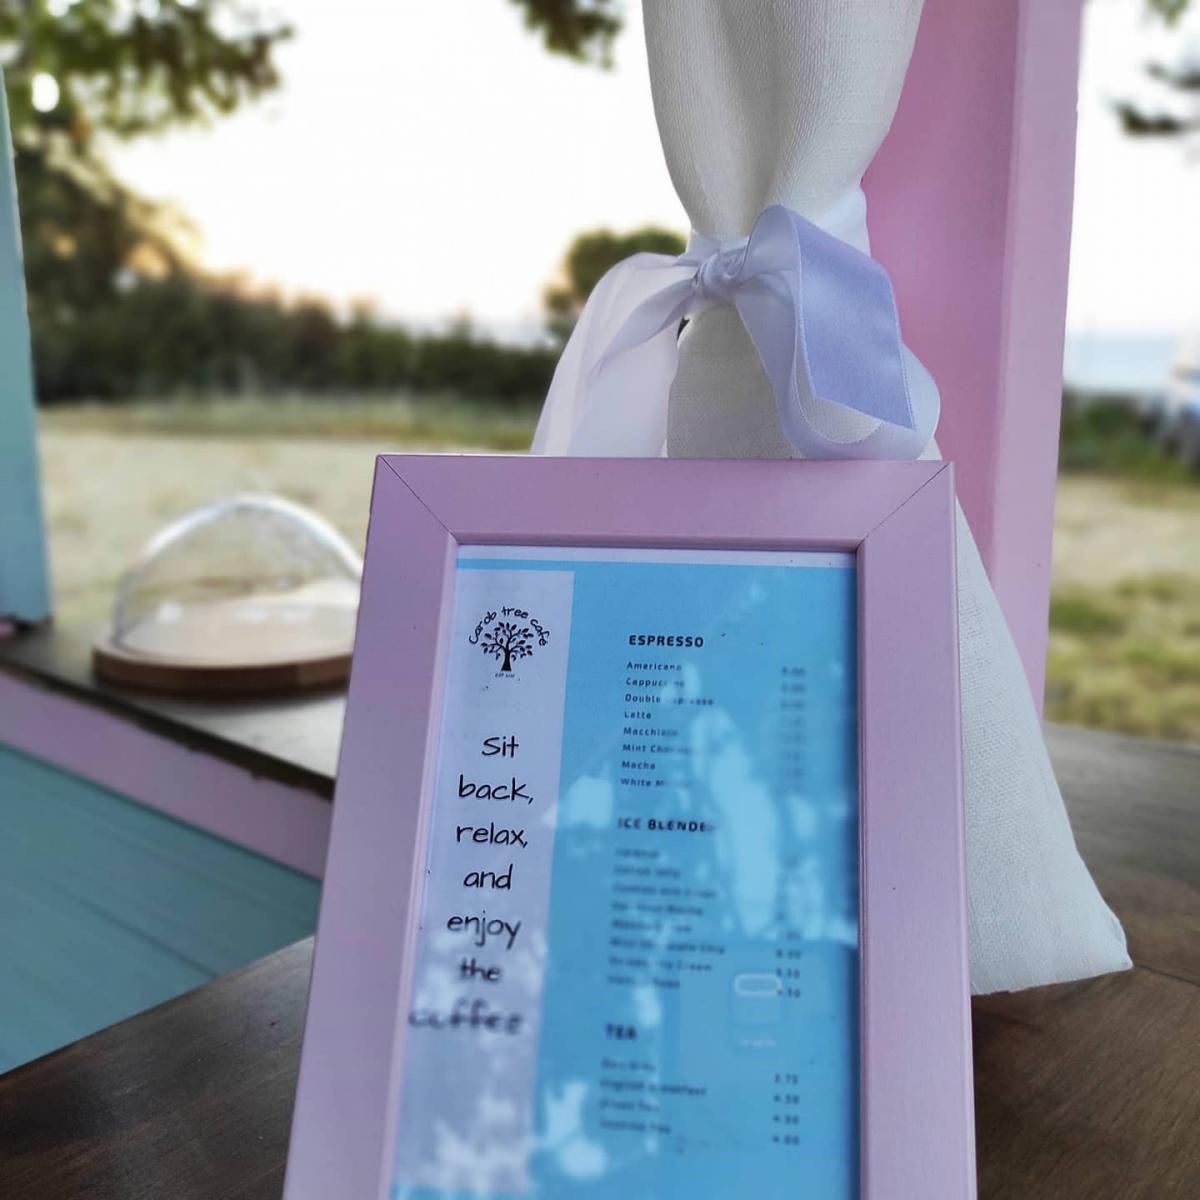
Children's play cafe
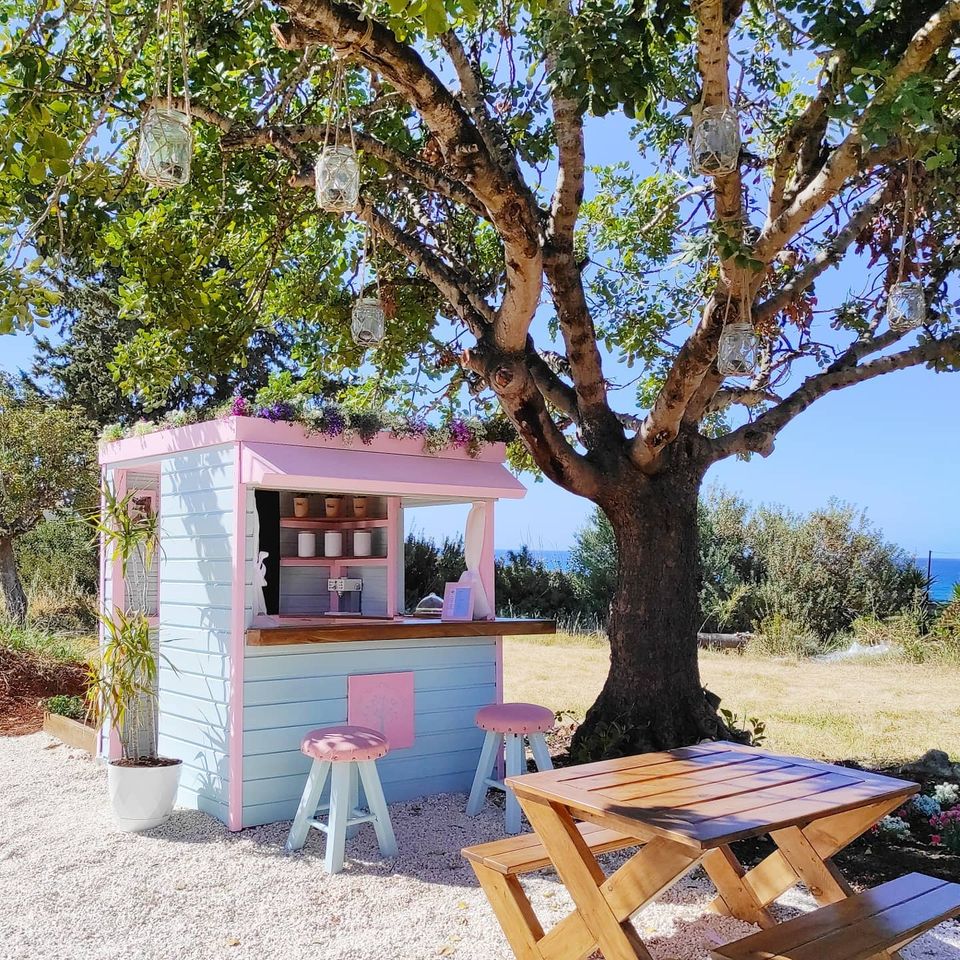
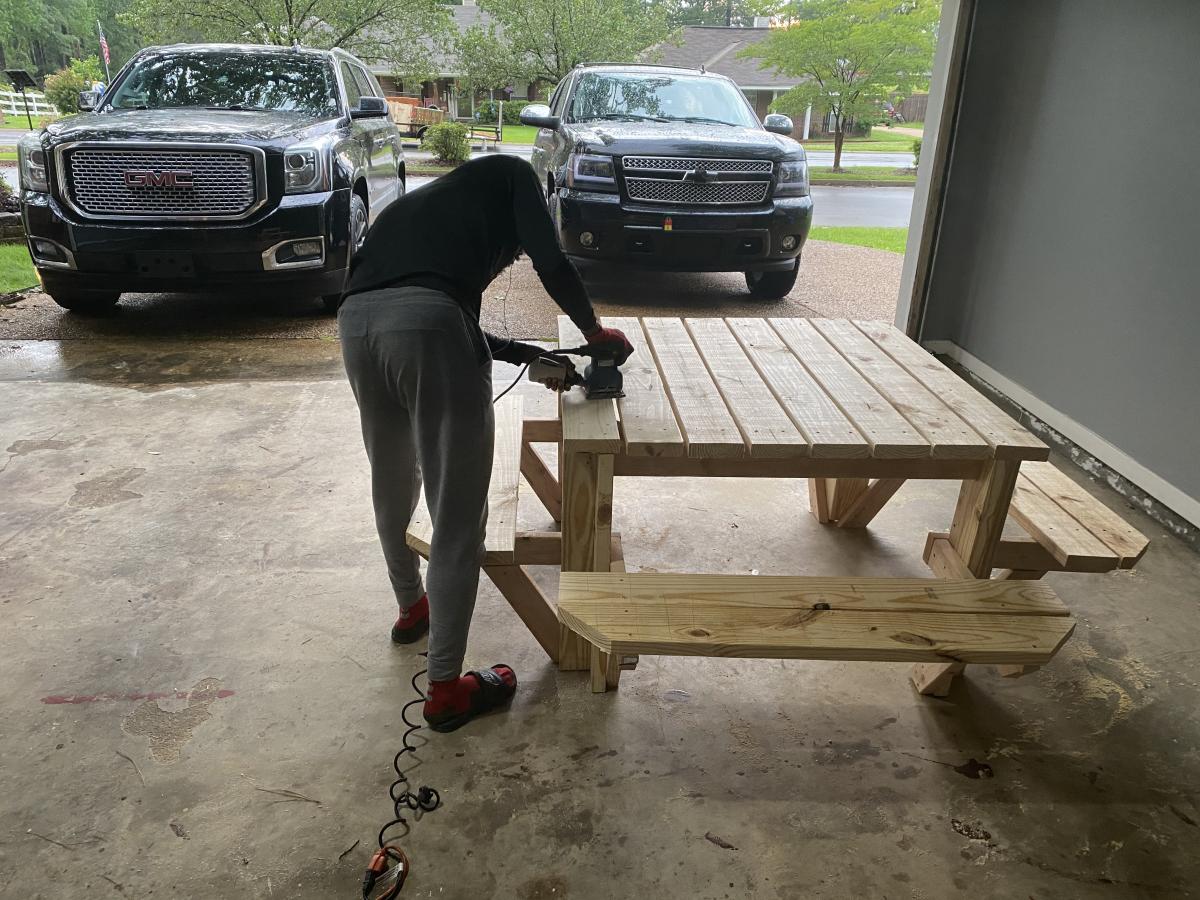
With another total lockdown happening here in Cyrpus, right at the same time as my Daughter will be on Easter holidays, I'm trying to knock up as much outdoor play kit as I can to keep her entertained and off the iPad.
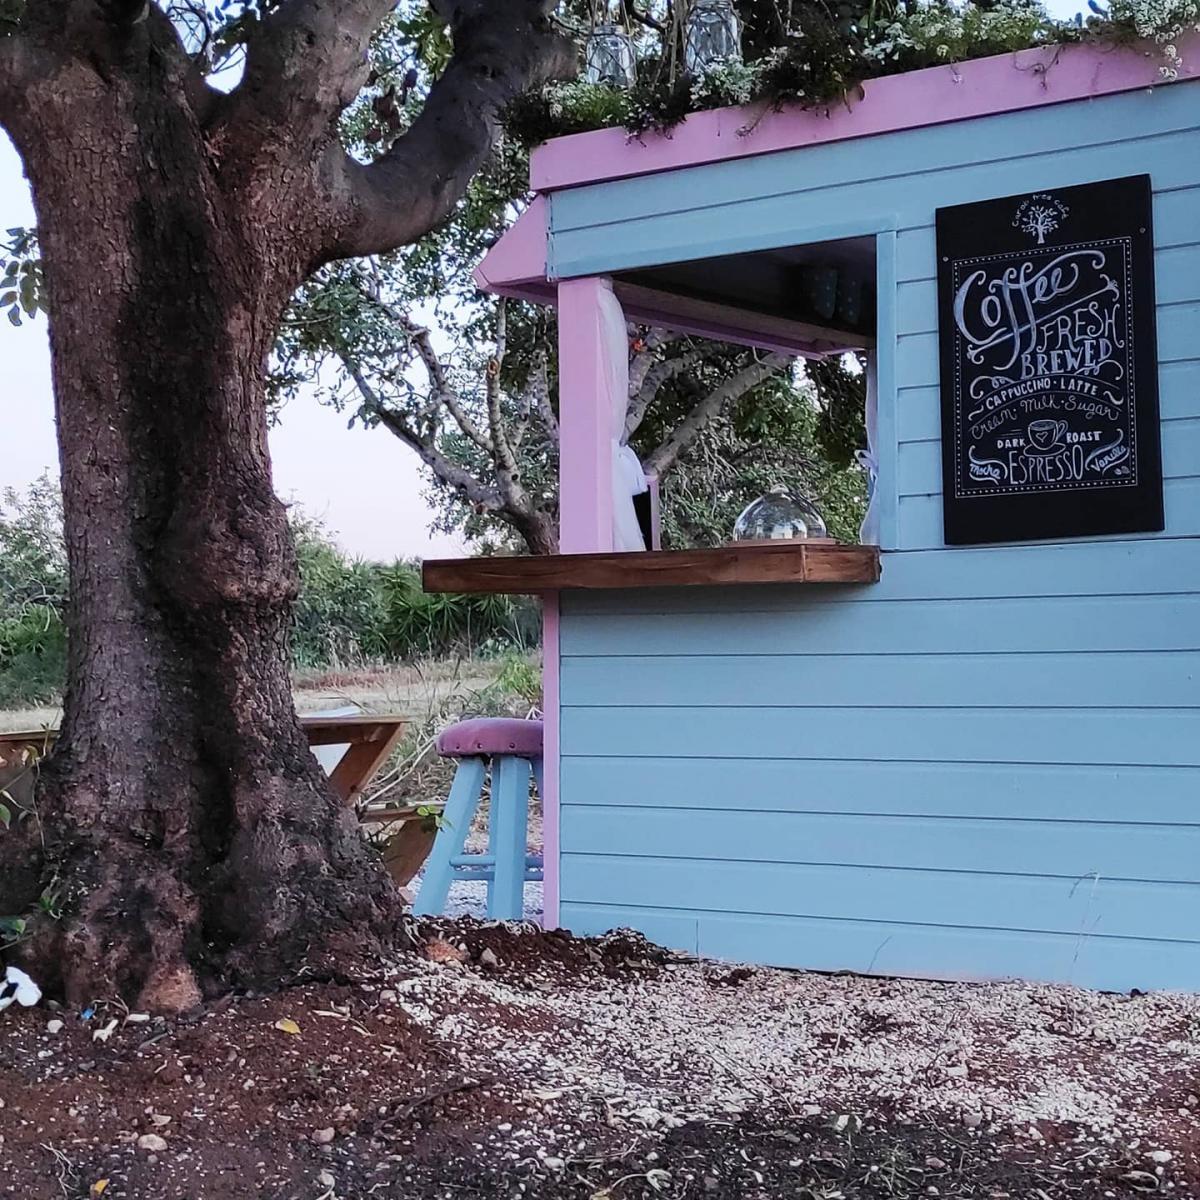
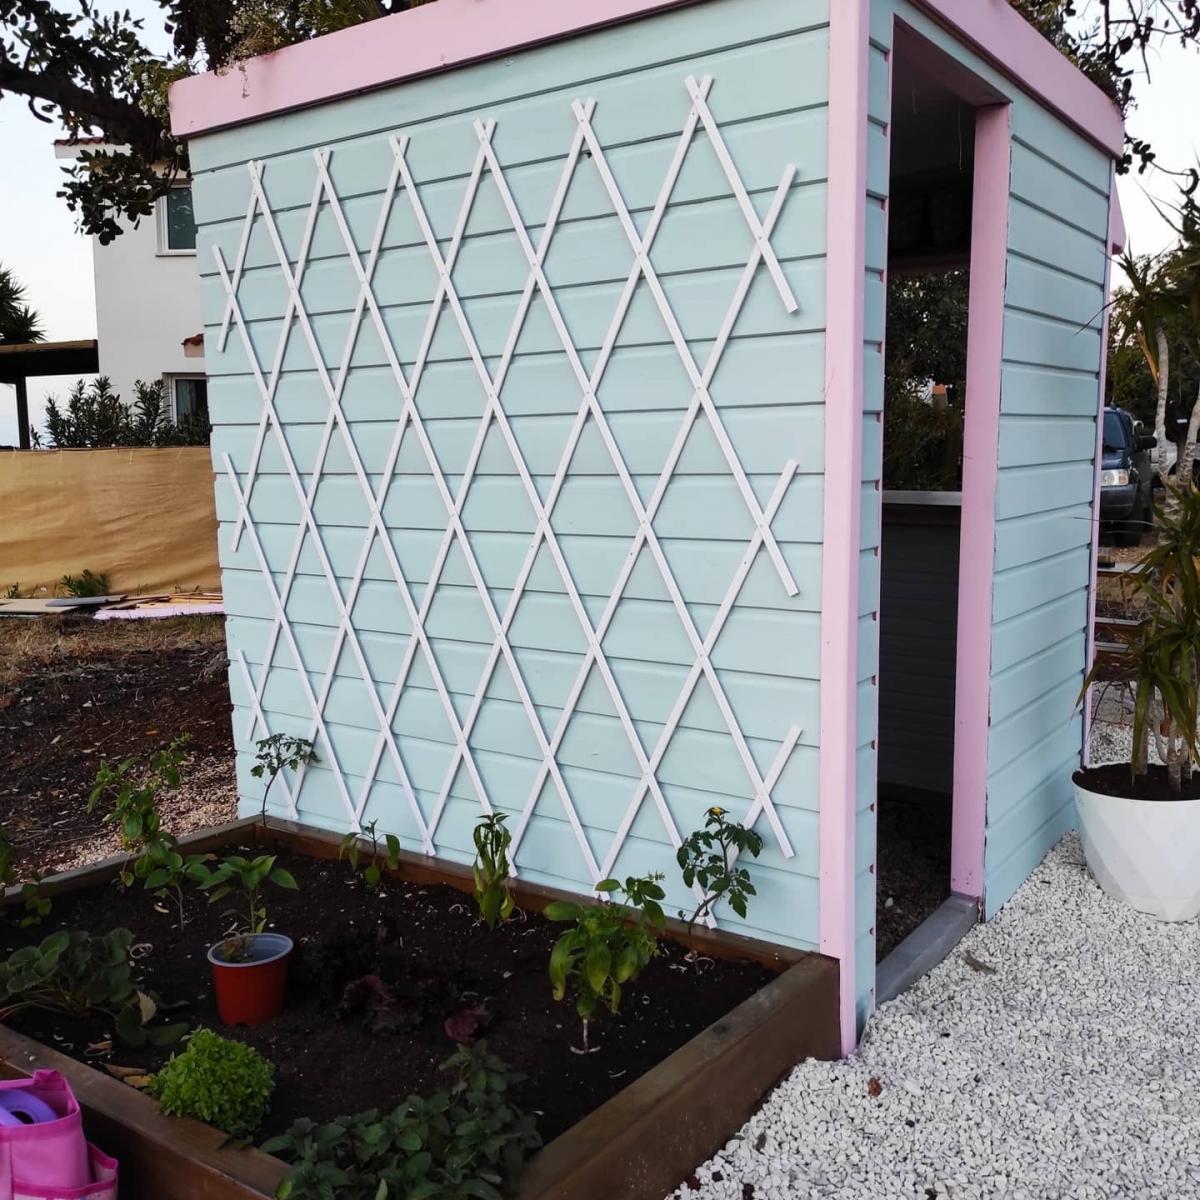
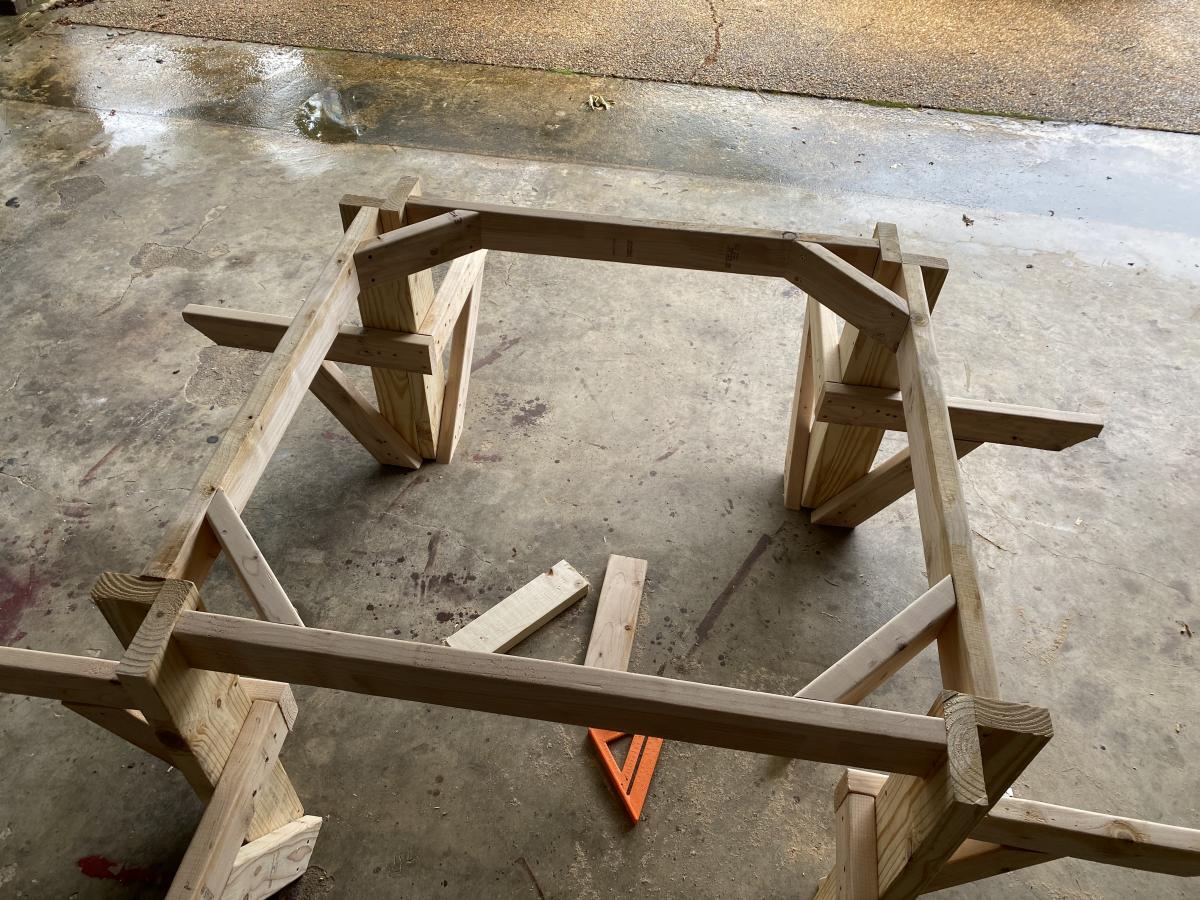
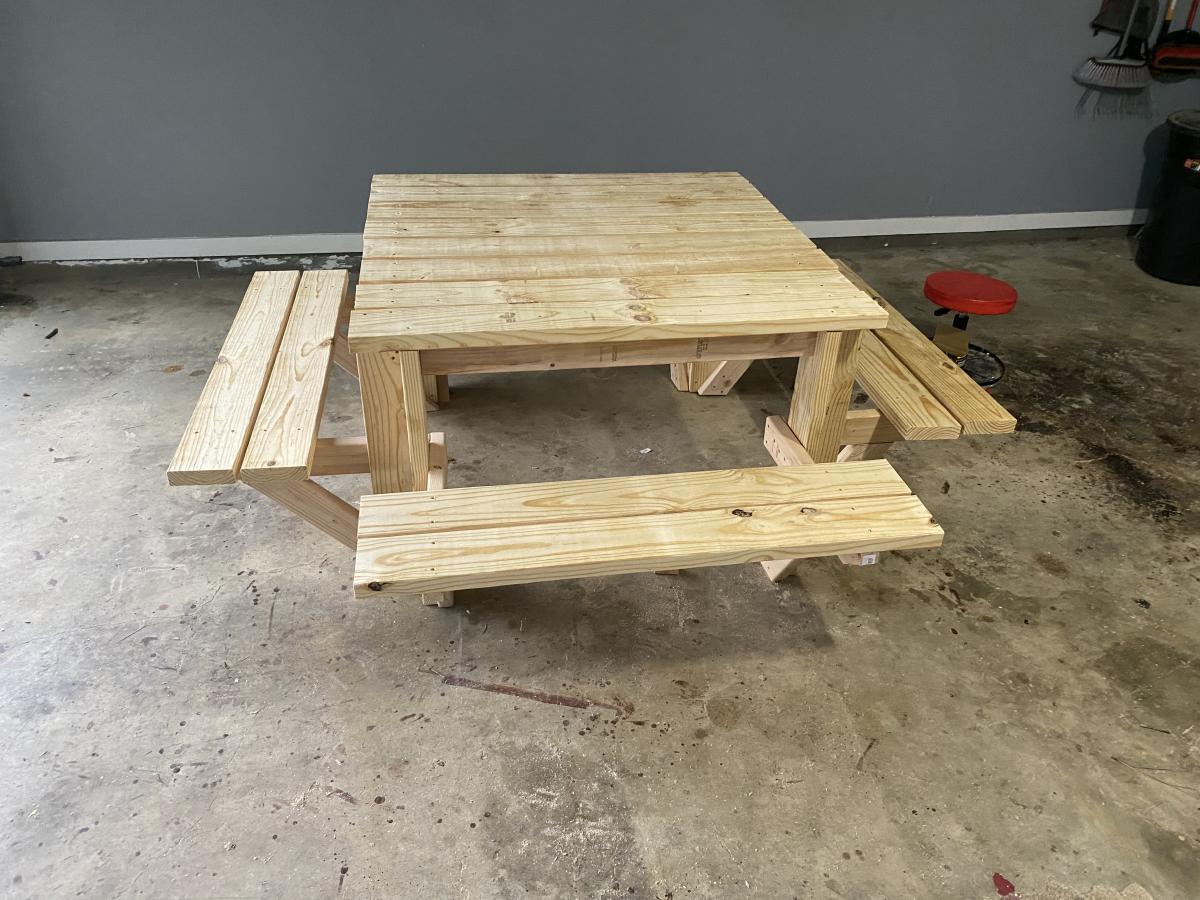
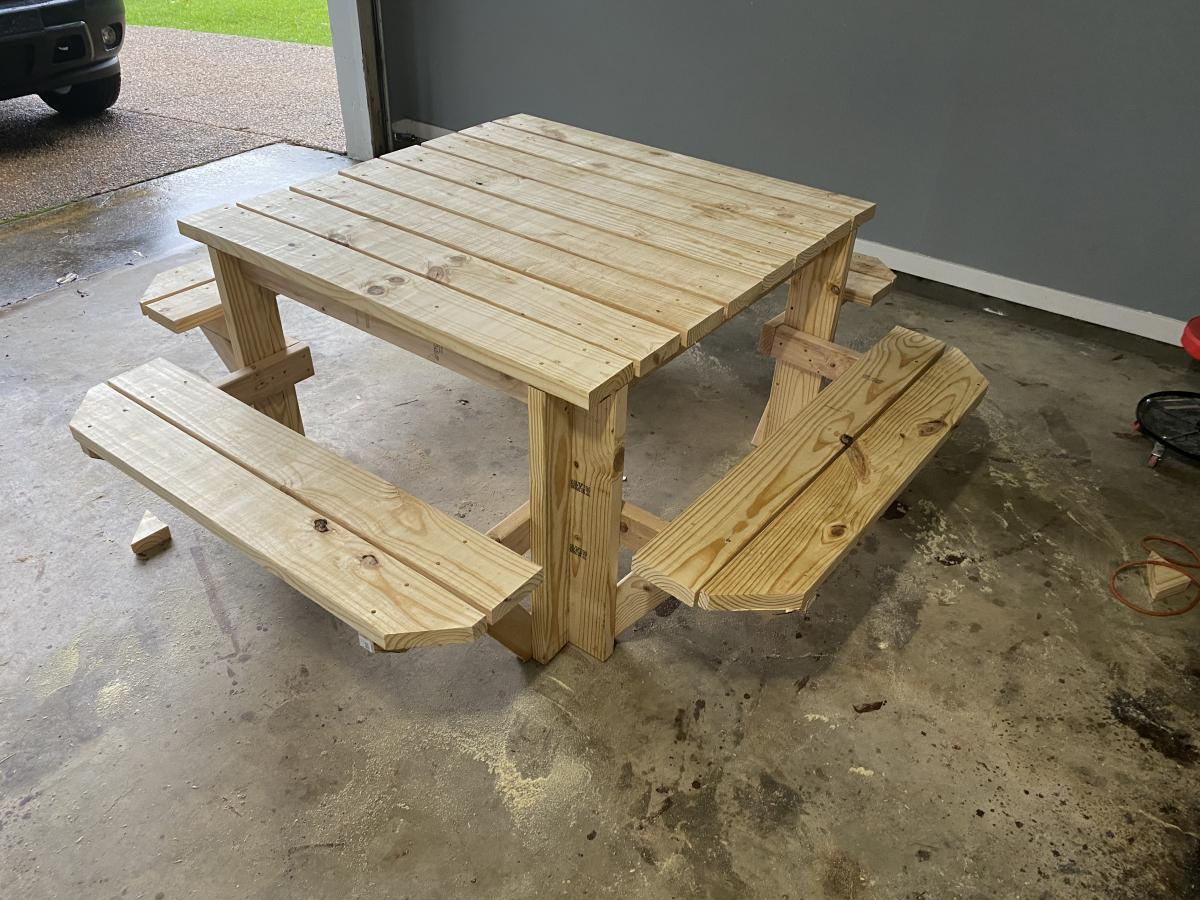
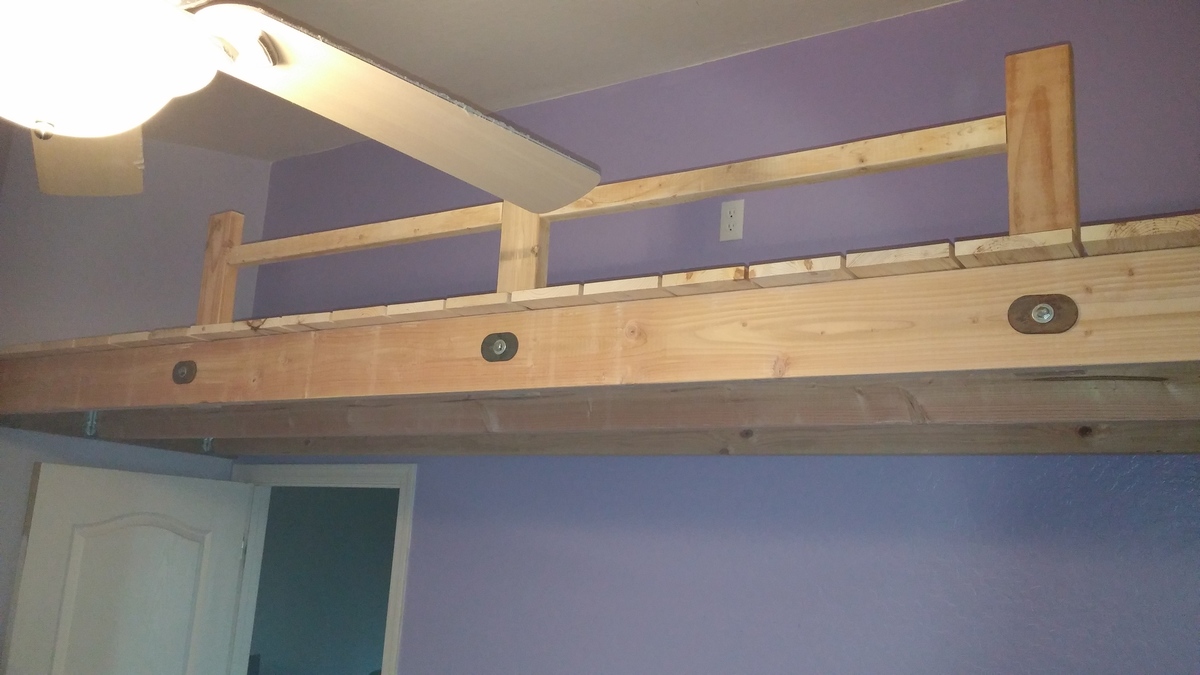
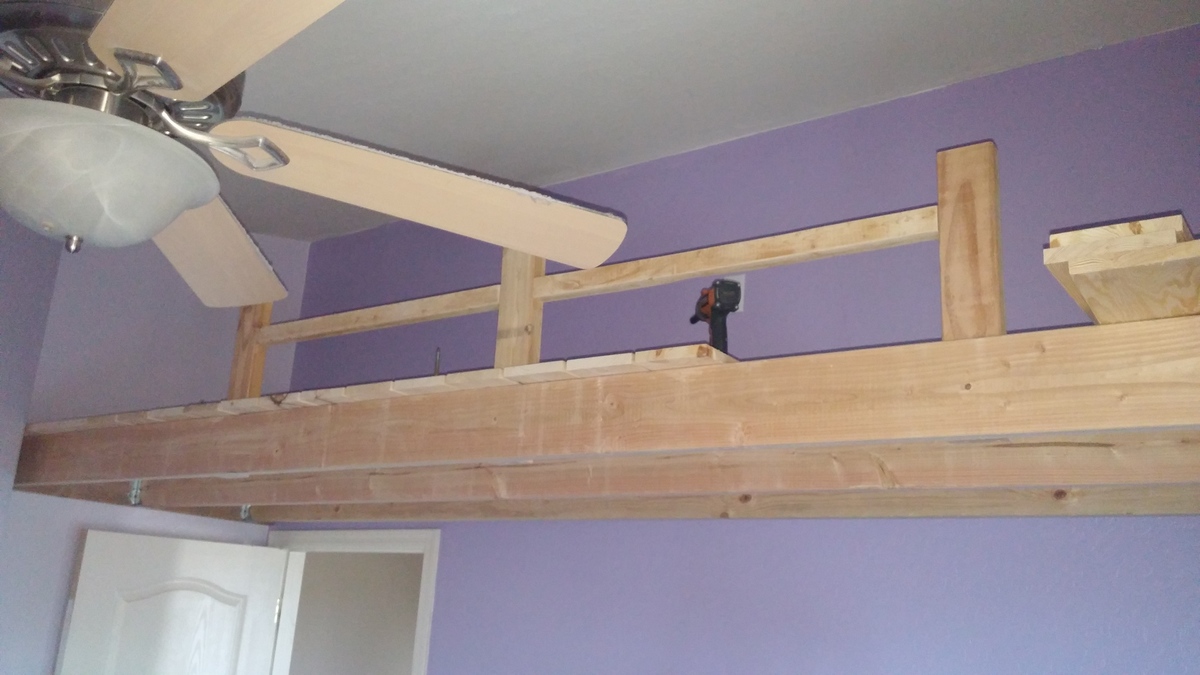
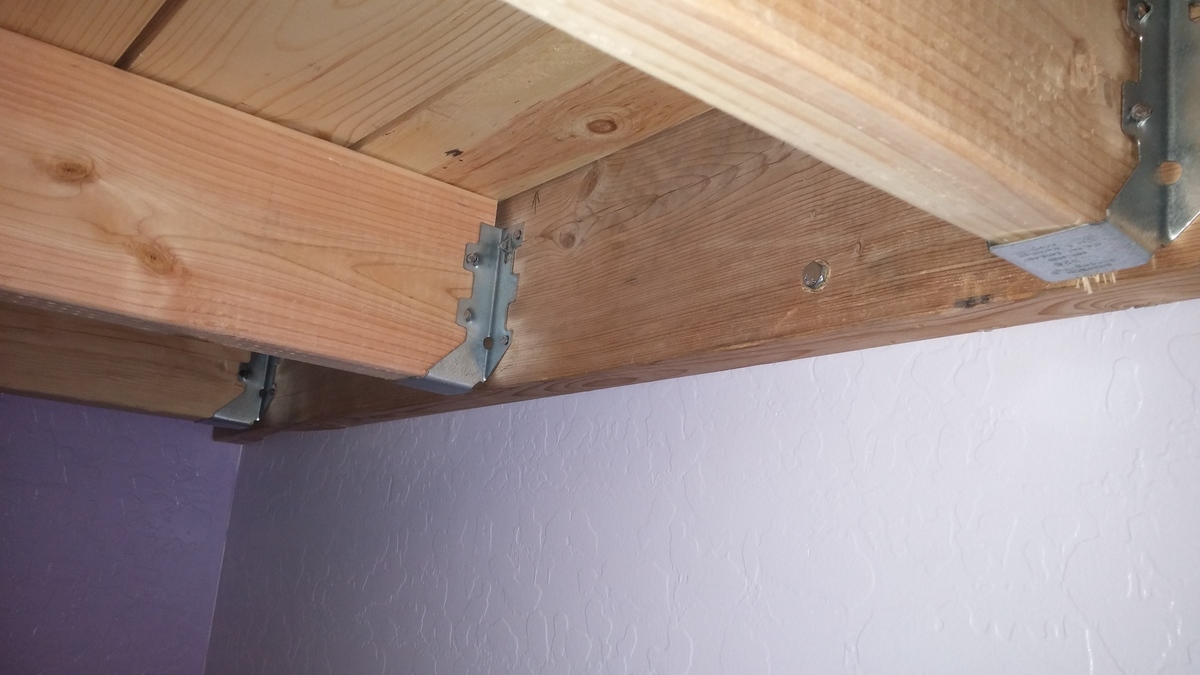
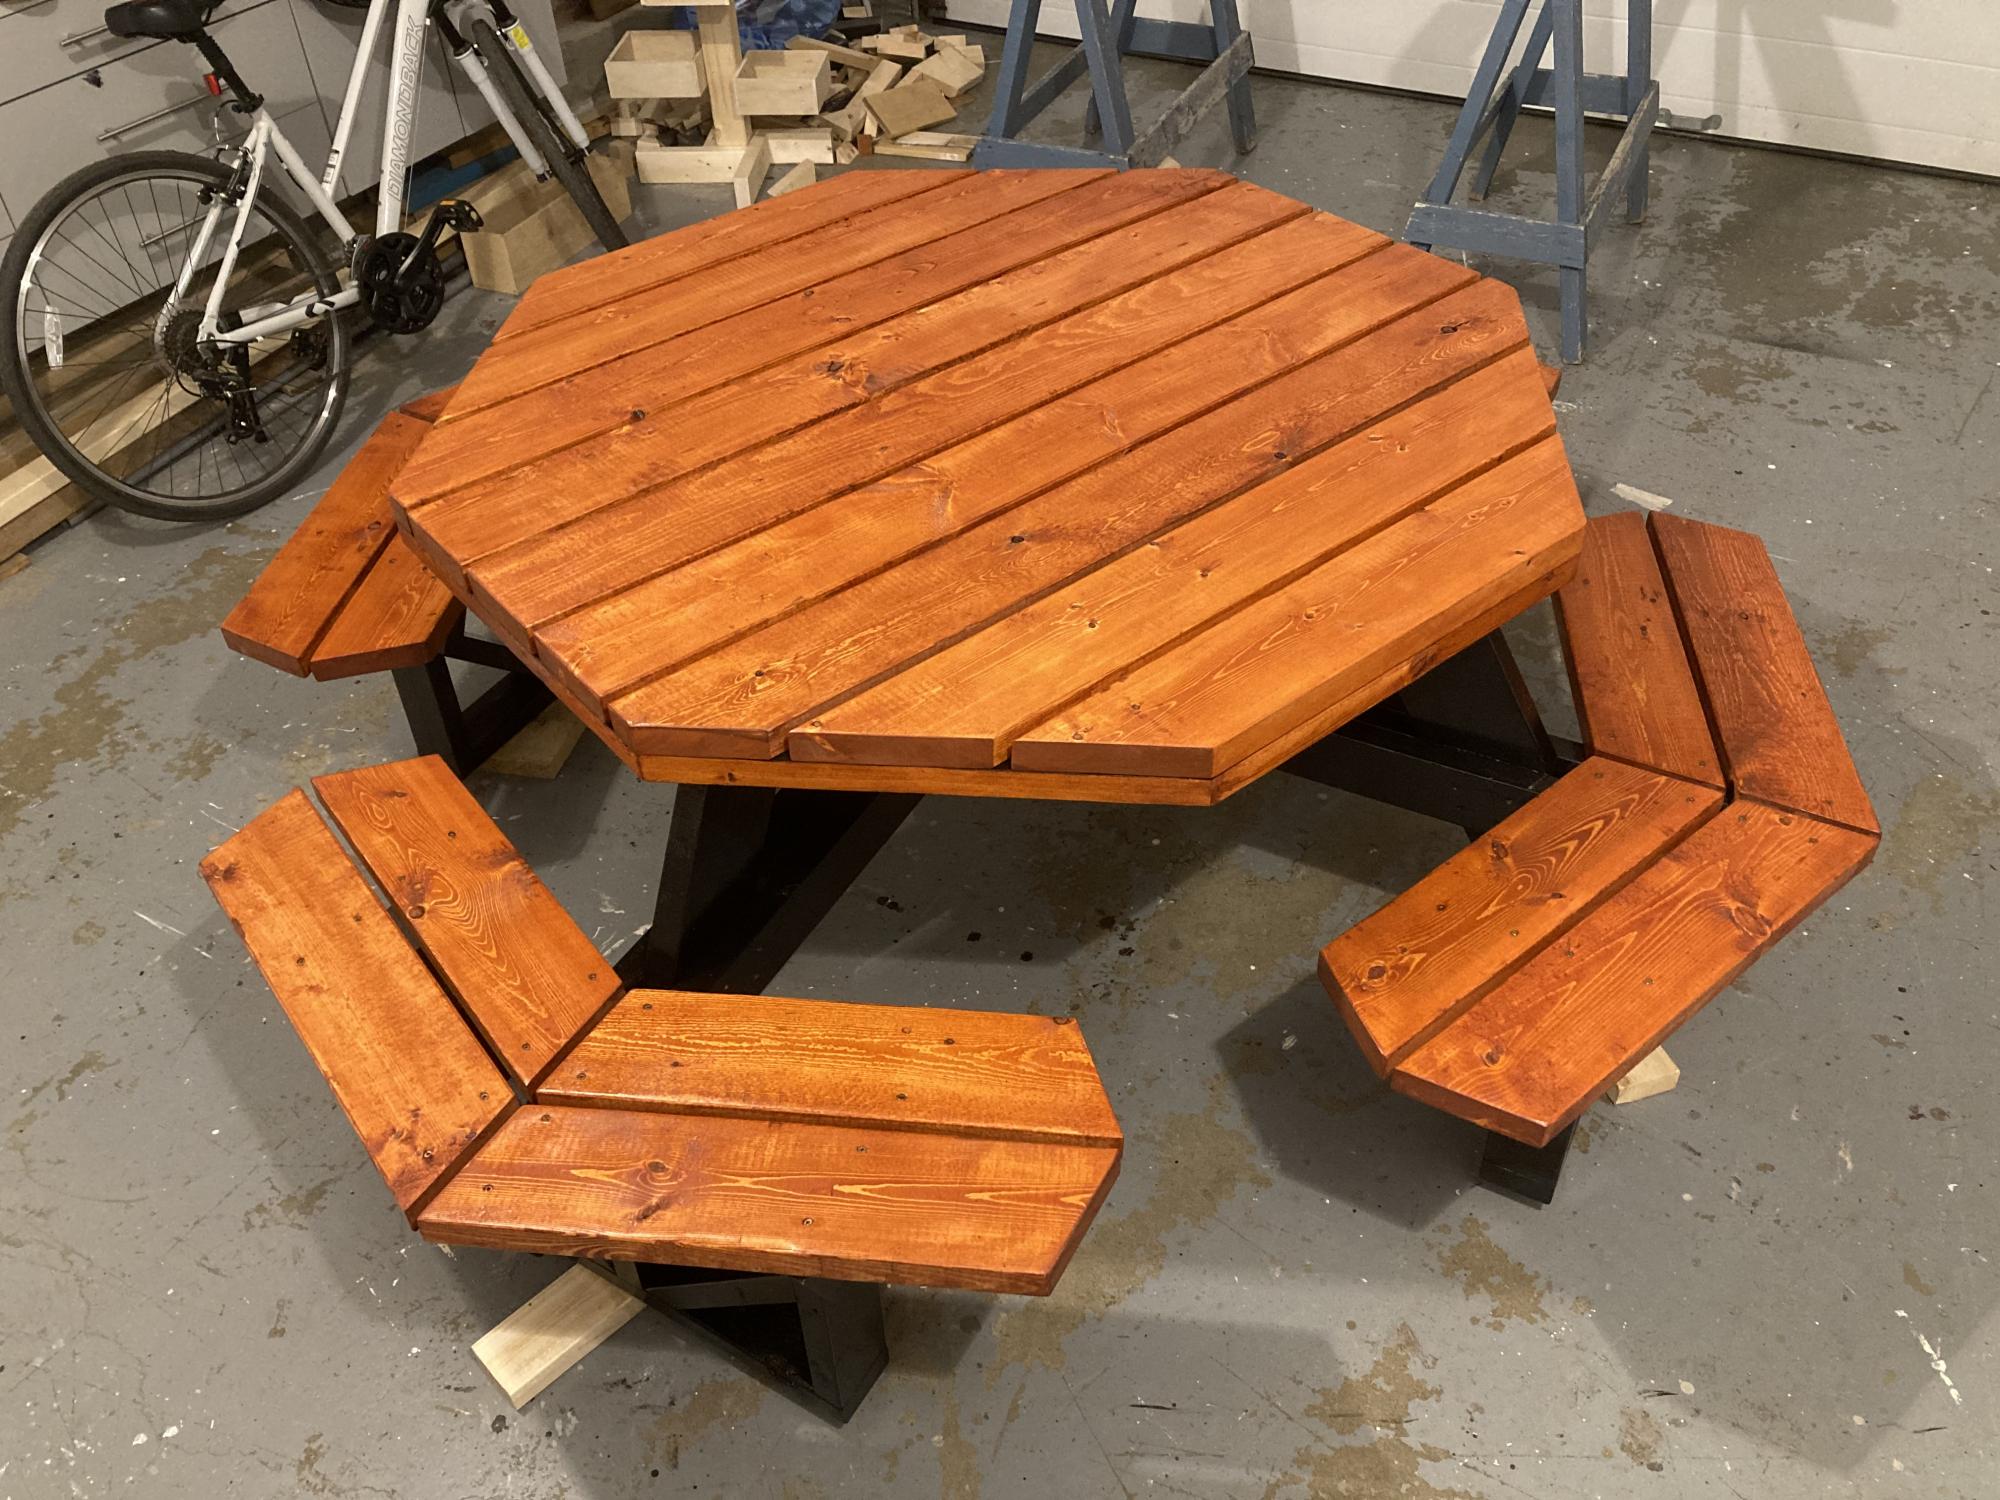
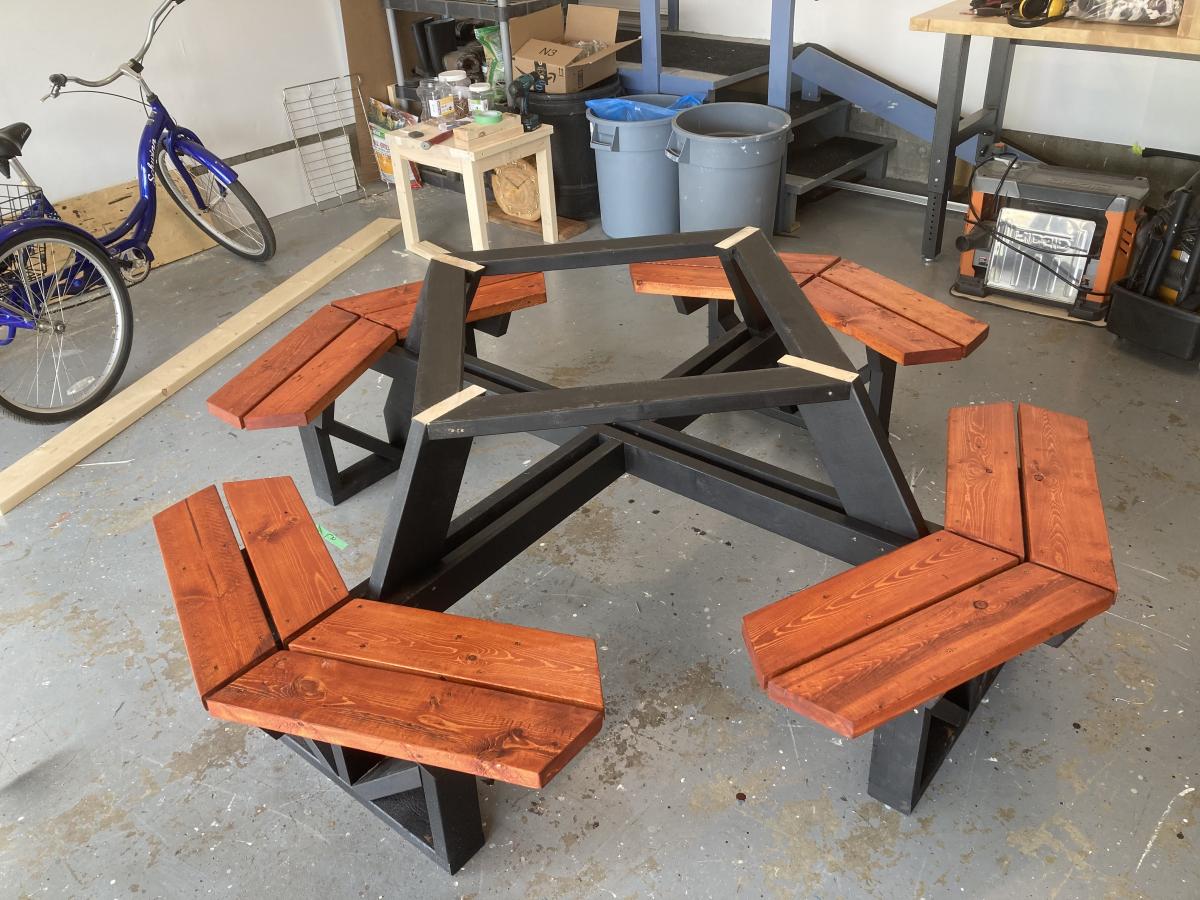
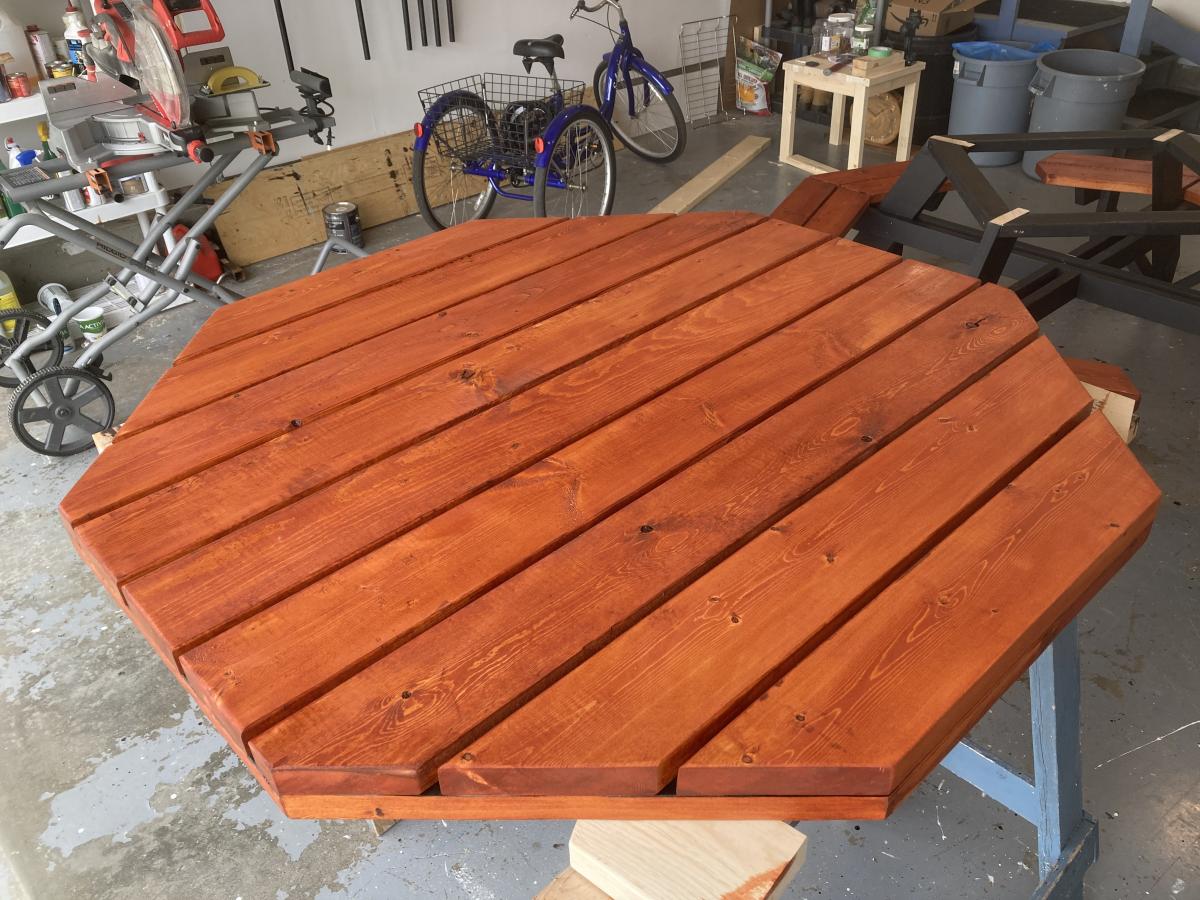
The design of this was very simple, a 2x2 frame clad with T&G; the countertop, shelves, and roof are from marine grade baltic birch (the roof also has additional levels of water prof membranes, root barriers, etc to support the living roof).
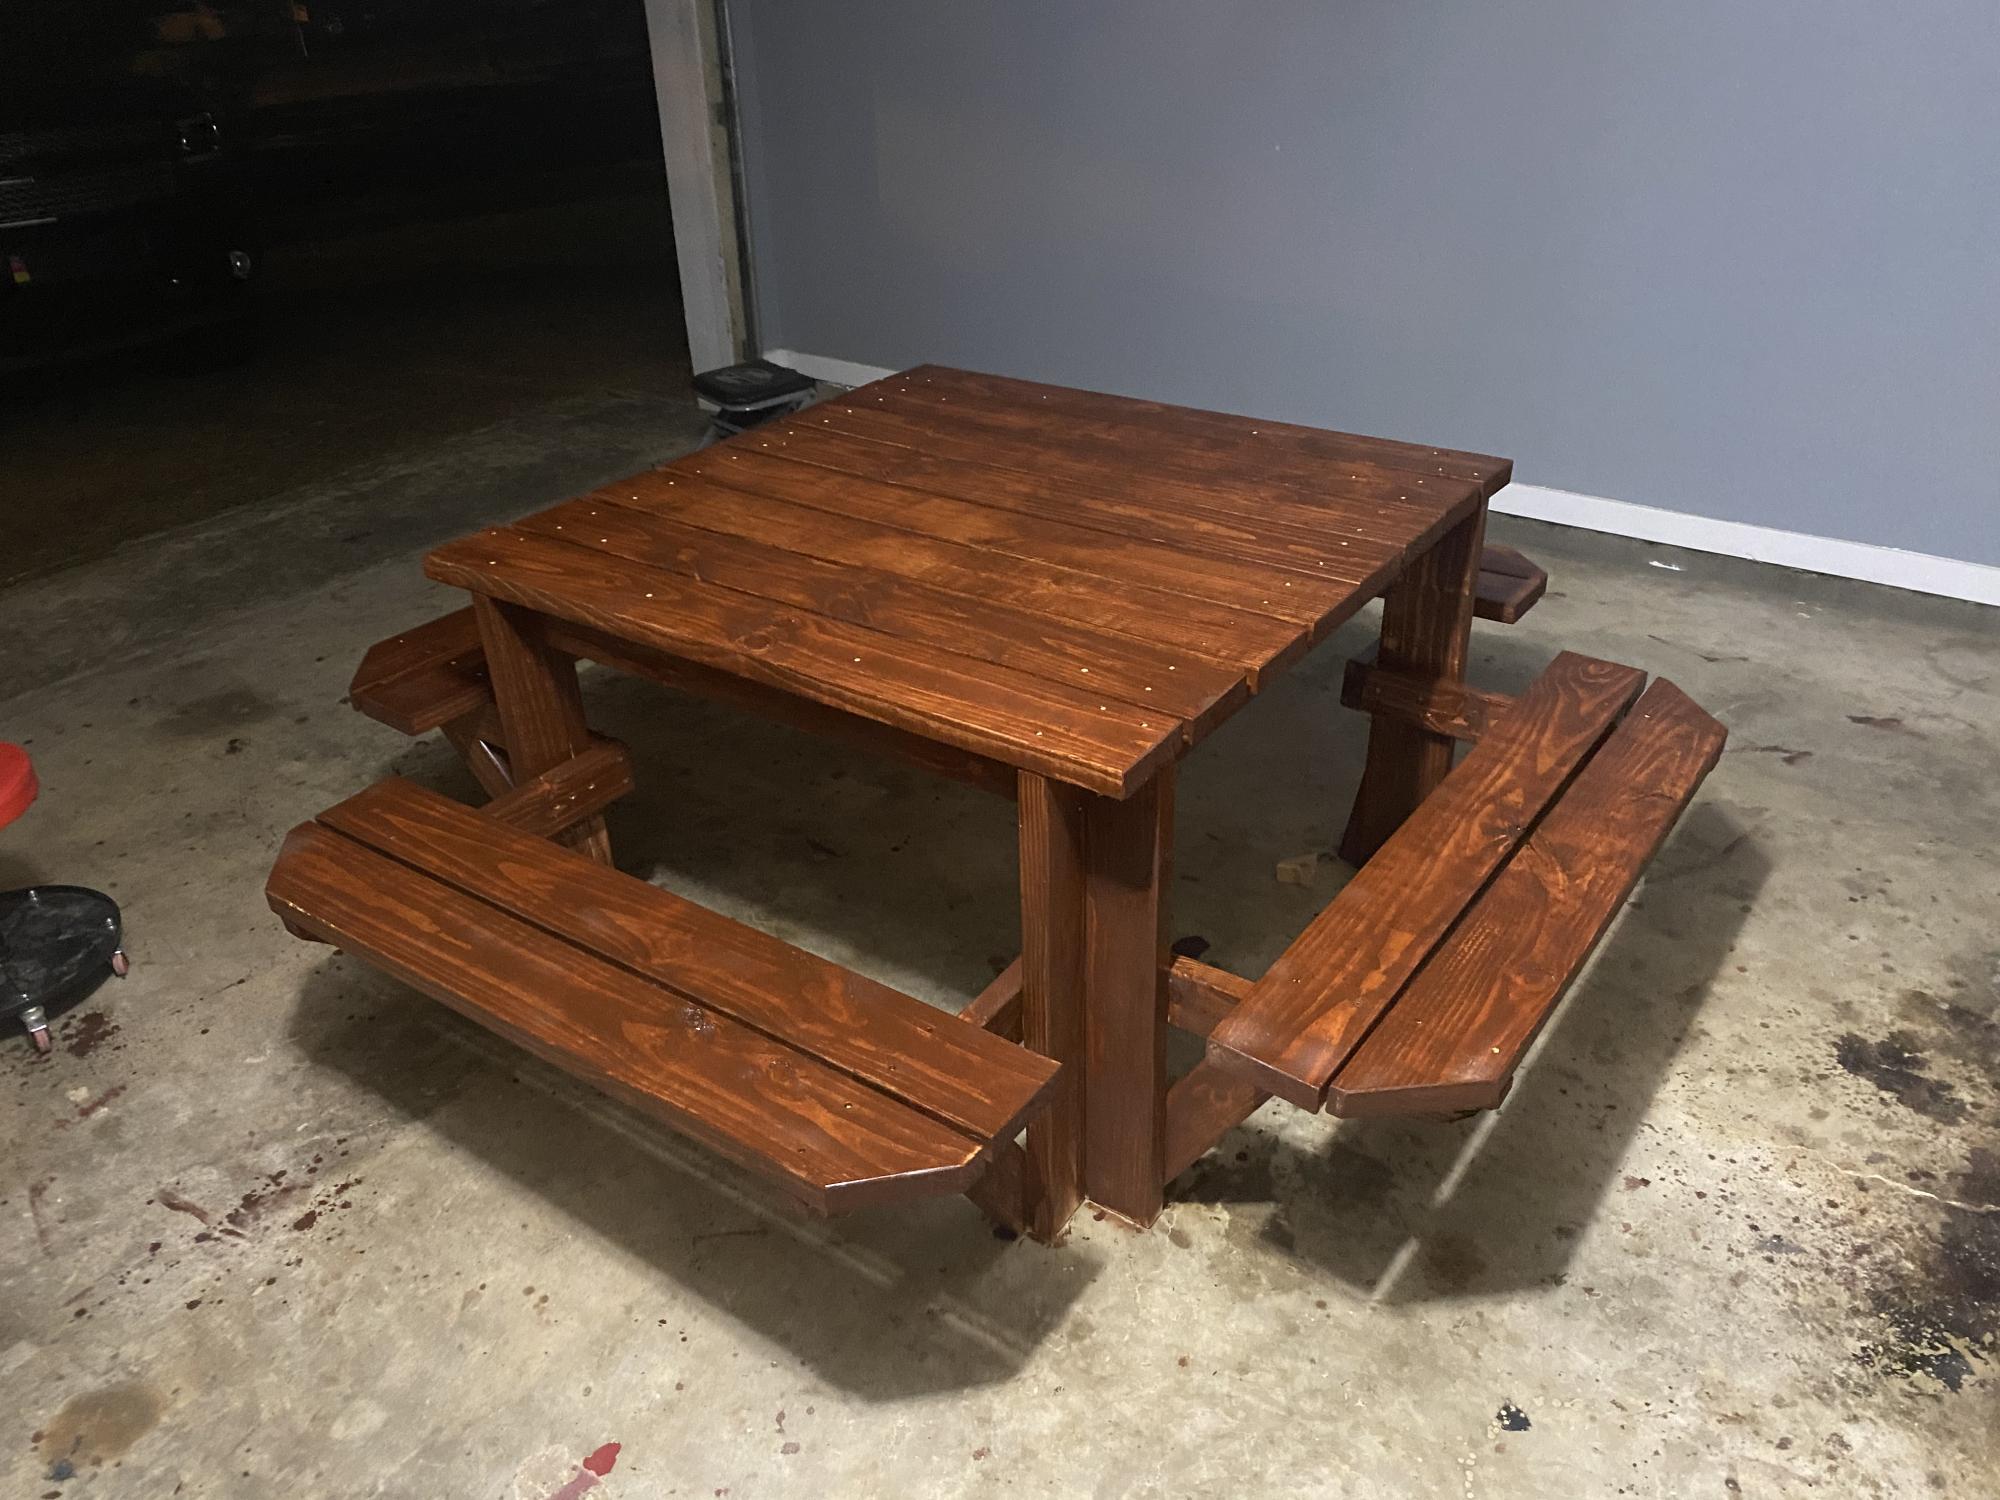
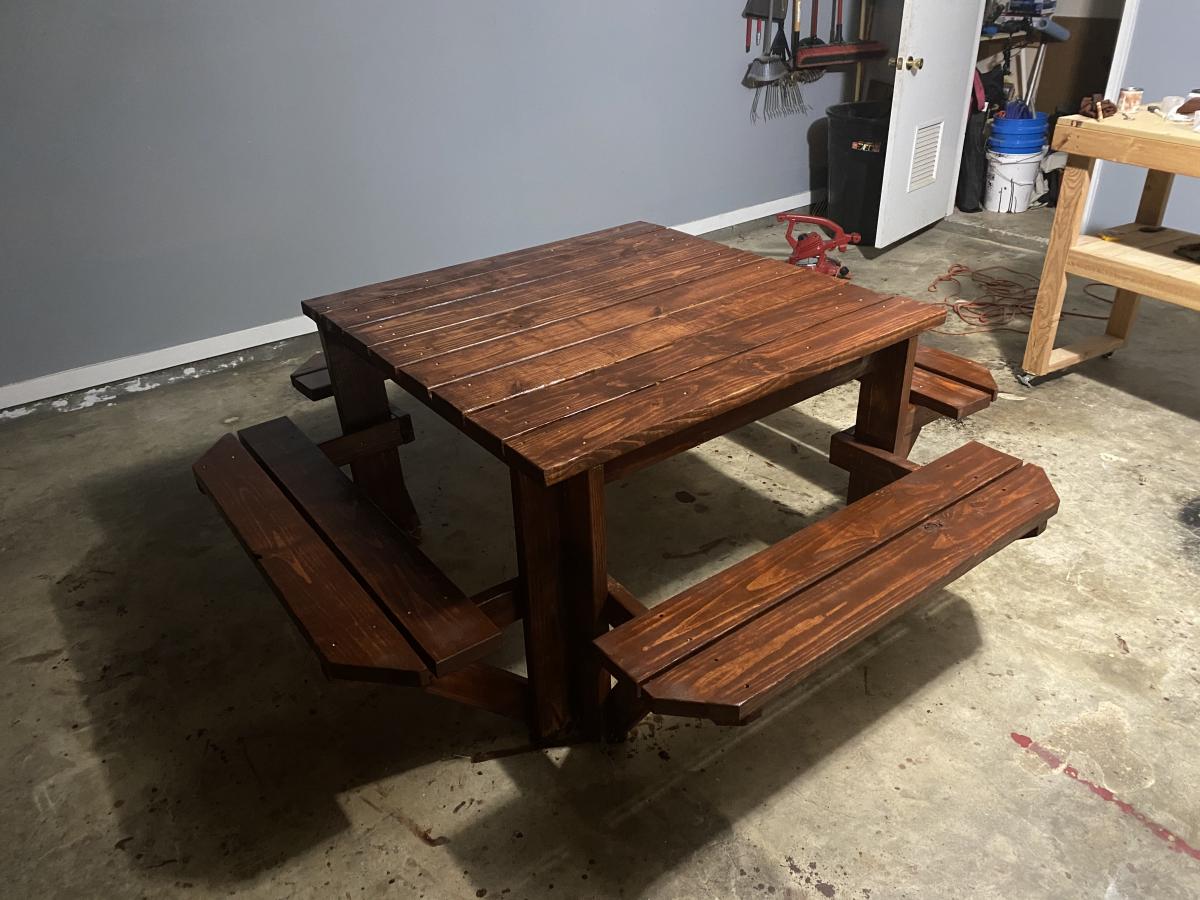
Finish-wise, for the pinks and blues, I've used wood aqua by Kraft paints, and for the counter, shelves, and picnic bench, high protection wood stain in walnut by V33.
Estimated Cost
500
Estimated Time Investment
Weekend Project (10-20 Hours)
Finish Used
wood aqua by Kraft paints and high protection wood stain by V33.
Recommended Skill Level
Beginner


Comments
Ana White Admin
Sat, 04/24/2021 - 06:54
AMAZING!
It's all in the details, looks like you're making a little girls dream come true! Thank you for sharing!