Farmhouse Coffee Table
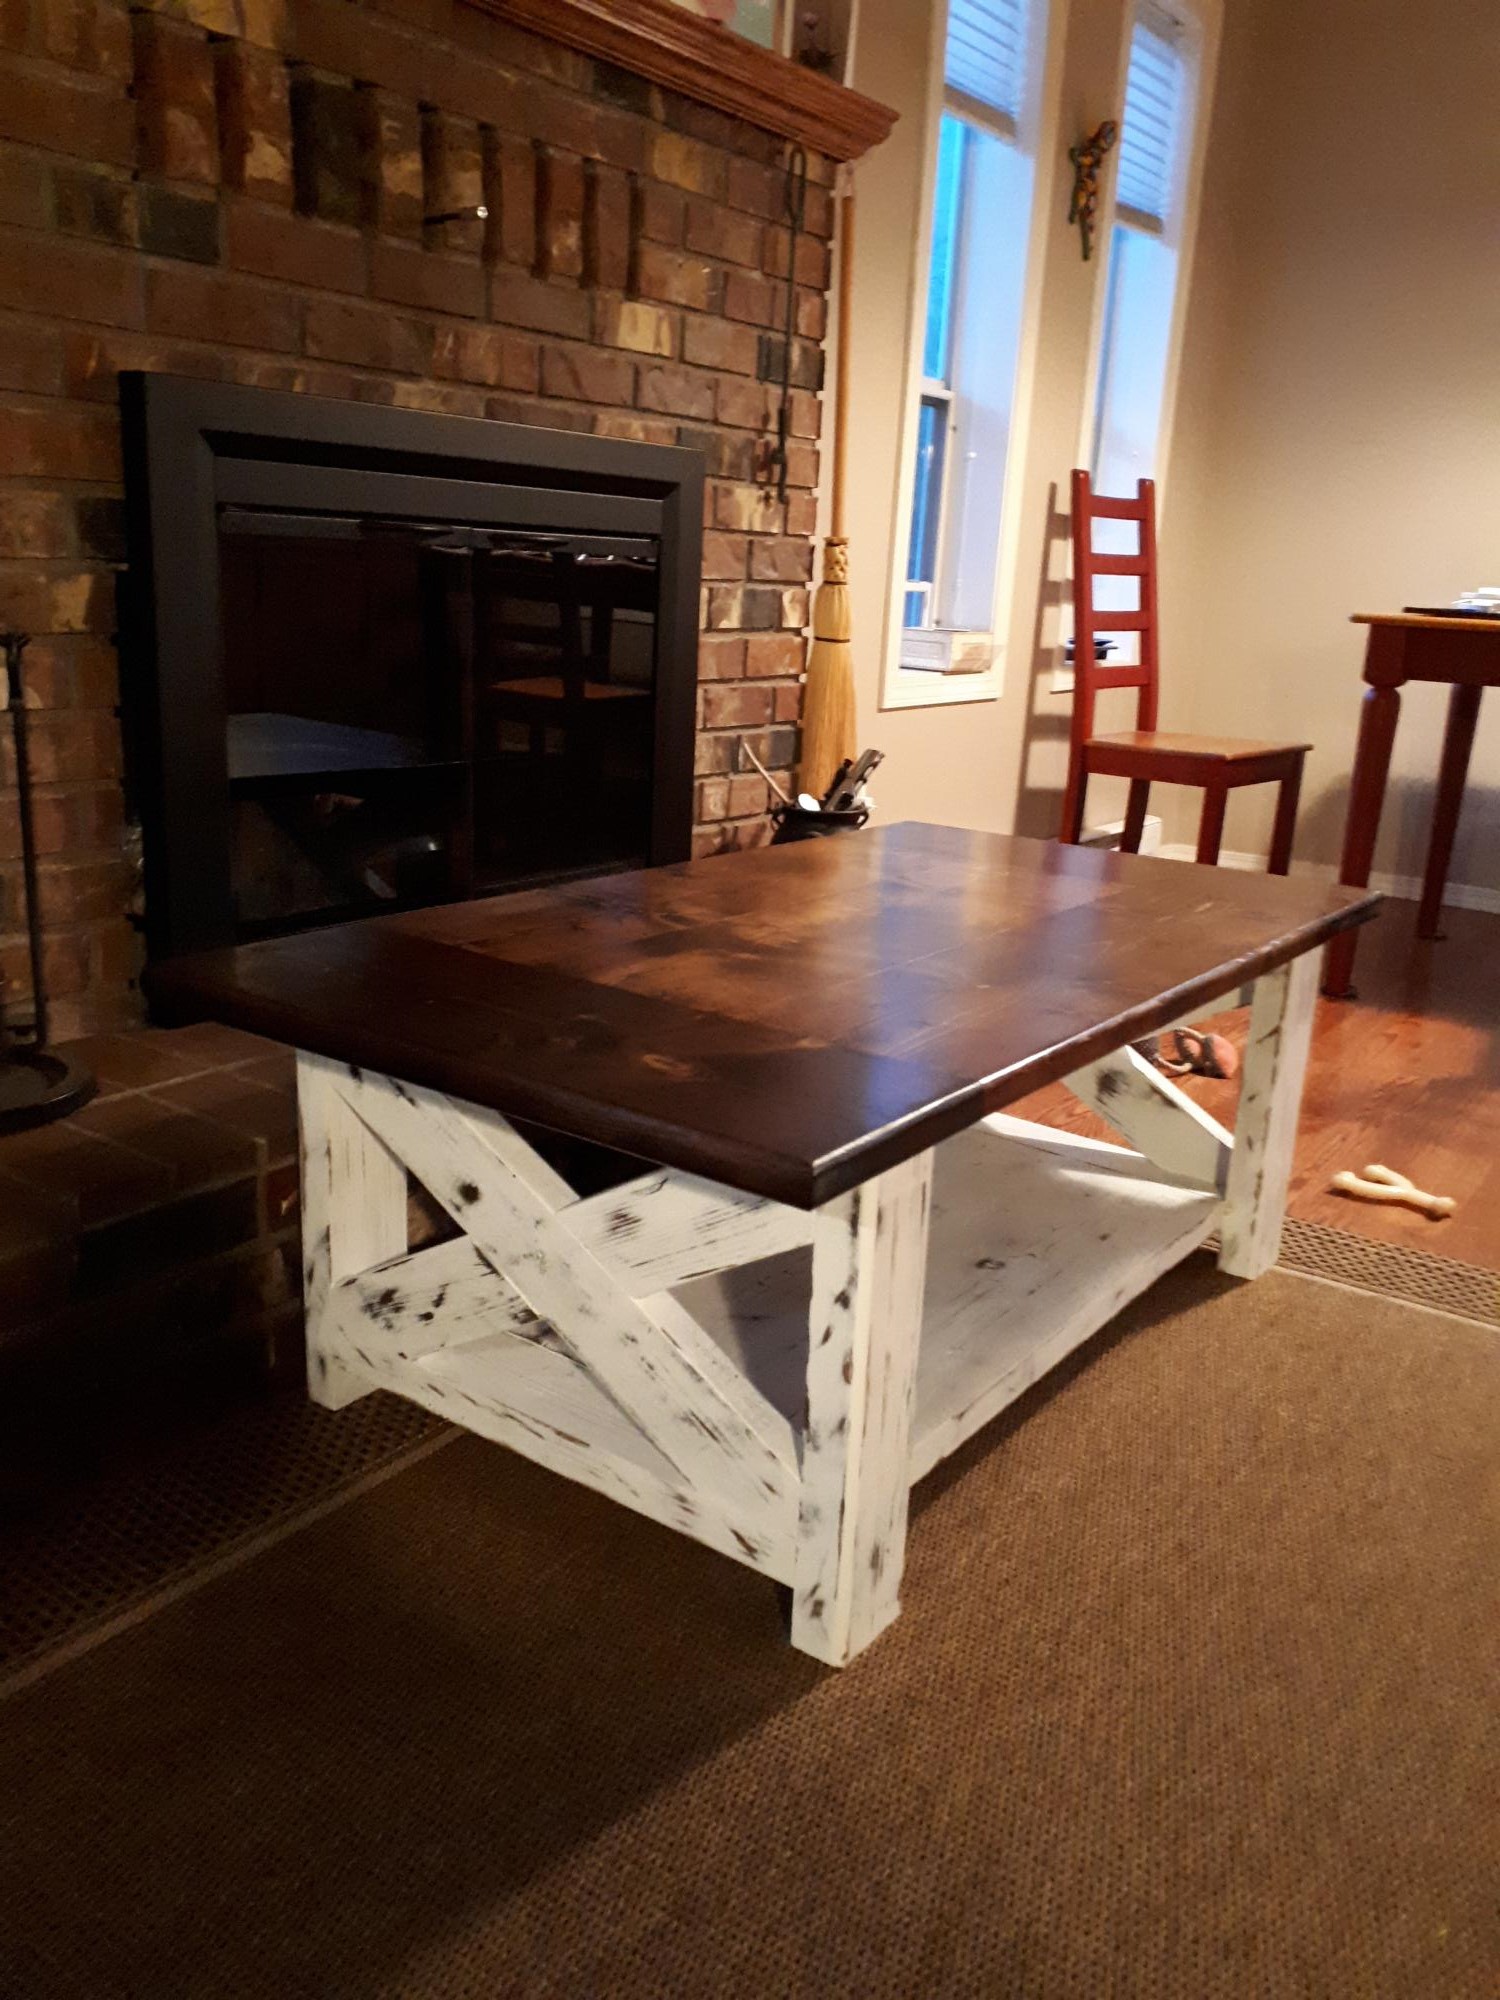
Chunky farmhouse coffee table made for Christmas Gift.
Built from Plan(s)
Chunky farmhouse coffee table made for Christmas Gift.
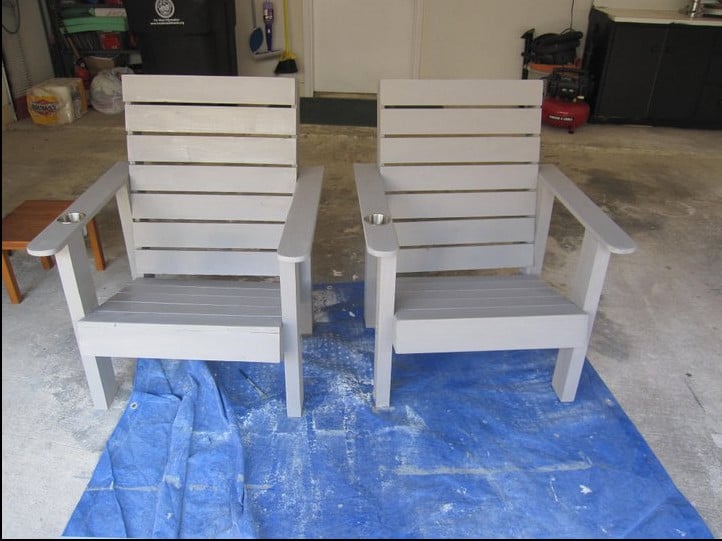
Made these chairs from plans found on the Kerig Jig website. I added the cup holders for convenience and lowered the seats by 2 inches to account for our short legs. Chairs were stained with an outdoor fence treatment that was tinted with a light grey color.

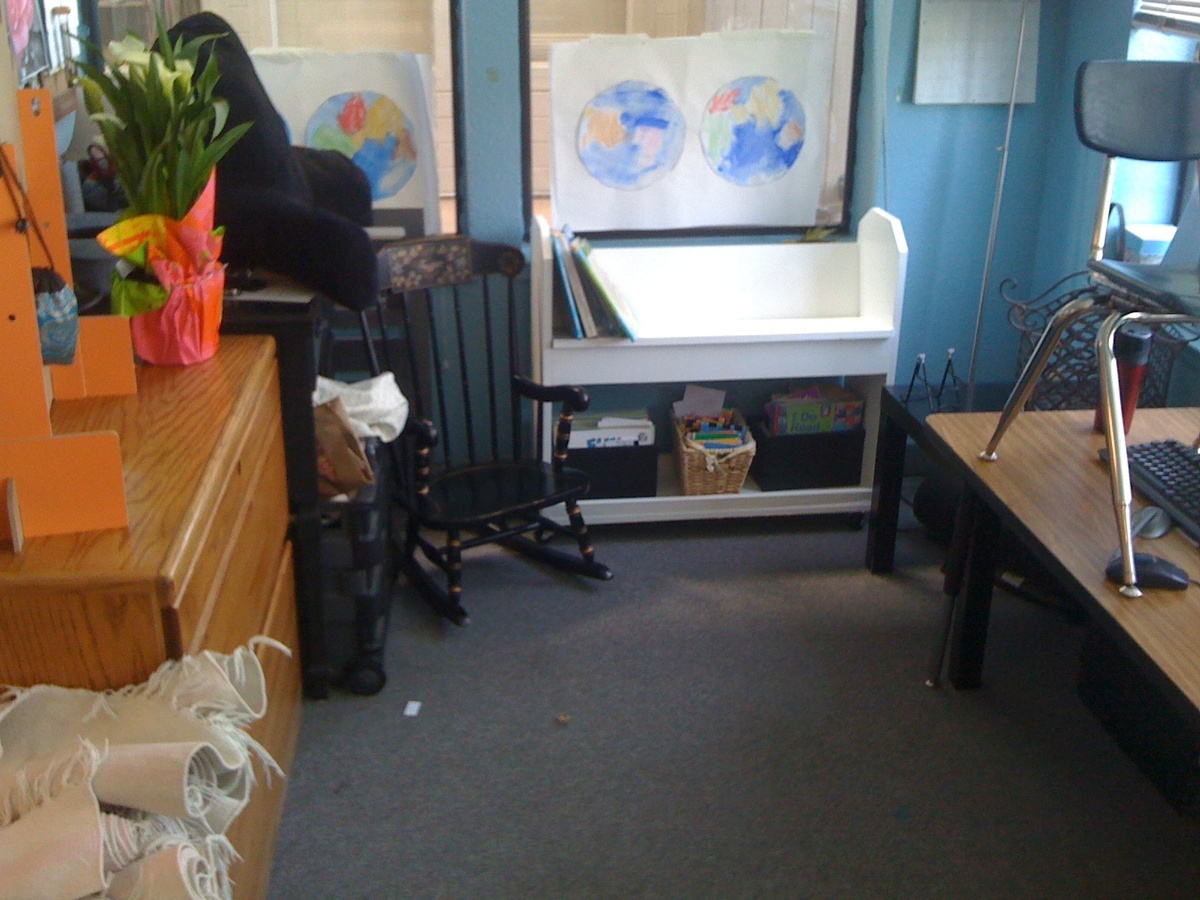
I've been looking for a storage solution for the area next to the driveway we use as our main entrance. The area opens to the kitchen, dining, and living rooms. We had a computer desk here, but it just ended up piled with junk all the time and backpacks and jackets ended up on the floor.
I fell in love with the smiling mud room plans as soon as I saw them, but it took a while to convince my husband we should try to build it. I used the Smiling Mud Room plans and modified to add the computer desk section since we couldn't move our internet cable. It didn't have to be really big since we don't use the desktop computer very often.
I still need to find baskets for the shelves and I'm planning to make a fabric skirt to cover the computer and cords. My kids already got out their old backpacks to test it out, so hopefully they'll use it!
We bought the Kreg jig as recommended and now my husband is planning lots of new projects just so he can use it.
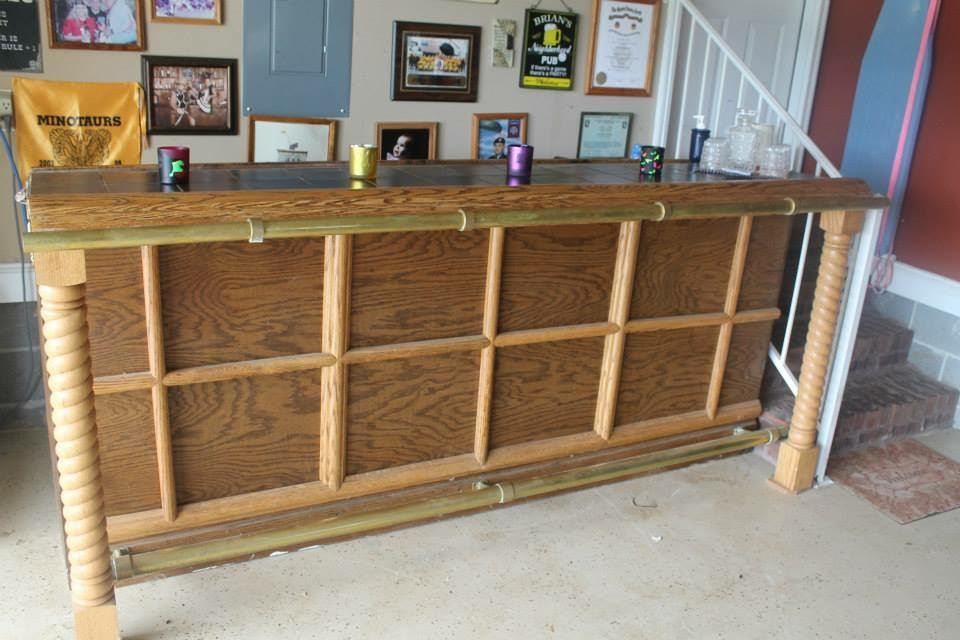
I made this bar several years ago after returning from a deployment to Iraq. I used the spillway as a convenient location for some of my military award coins. At this point I had little in the way of skill so it is rough but everything else being equal, it turned out just fine for the garage man cave.

Thank you so much for the plans! My wife is extremely happy with the results and so am I. I am in the process of adapting these plans to make a matching end table. Once again, thank you!

Had all my motorcycle gear throughout the garage and wanted to pull it all together. The single locker plan was a perfect blueprint with just some adjustments to height and width. Thank you!
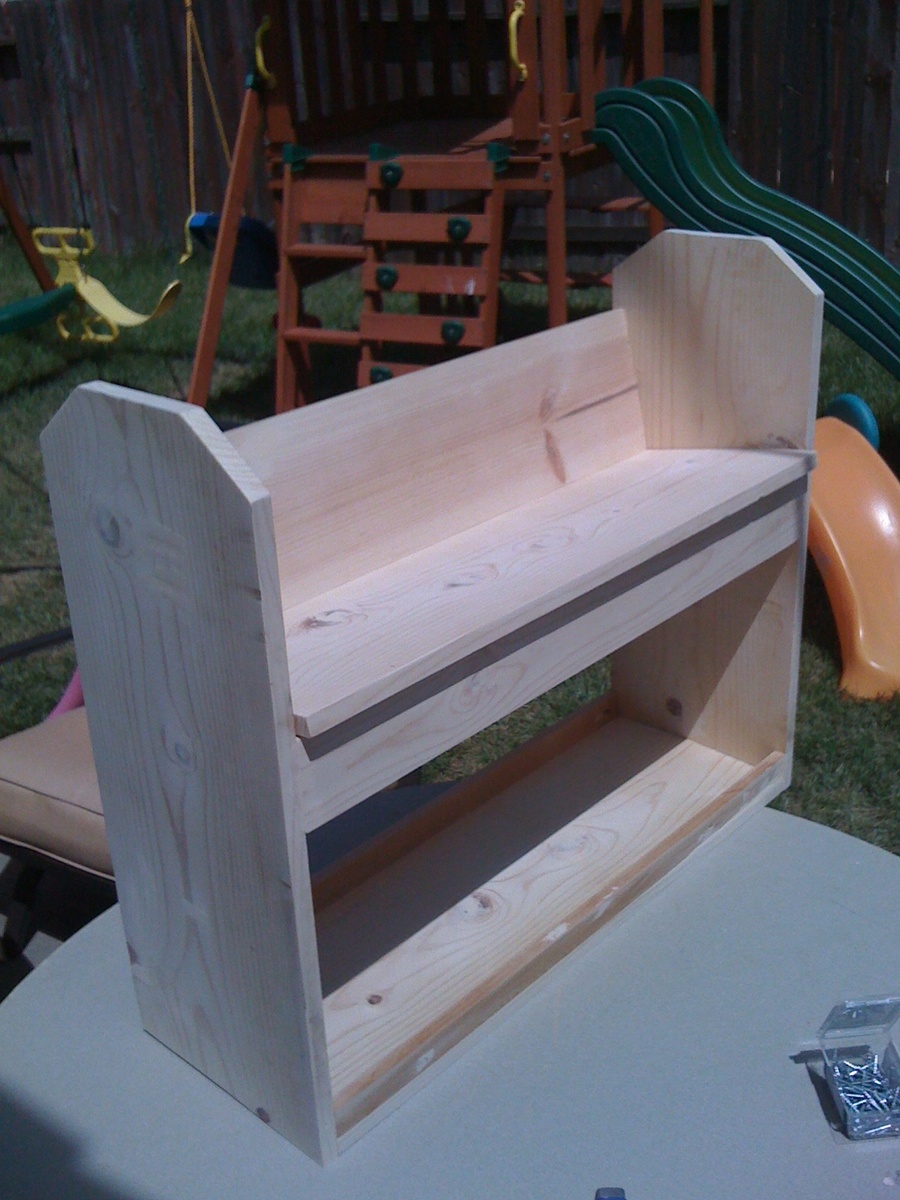
The moment I saw this I knew it would be a perfect teachers gift for my daughters teacher. She loved it.
This was only my second project, the first being the 10 dollar ledges. I'm glad I tried a smaller project before tackling the farmhouse bed. I think it helped with just knowing how to assemble a project a bit better.
I used my Kreg Jig and it worked marvelous! Also I ended up not having a jigsaw so I just cut the top at a 35 degree angle with the miter saw and rounded the edges a bit with the sander. I was going to add handles but the top goes up enough that it's easy to manuever without. I also wanted her to be able to fit it in anywhere and was worried that the handles sticking out would just get in the way.
Overall I think it turned out great. Her teacher loves it. Thank you Anna for such wonderful plans!!
Krista
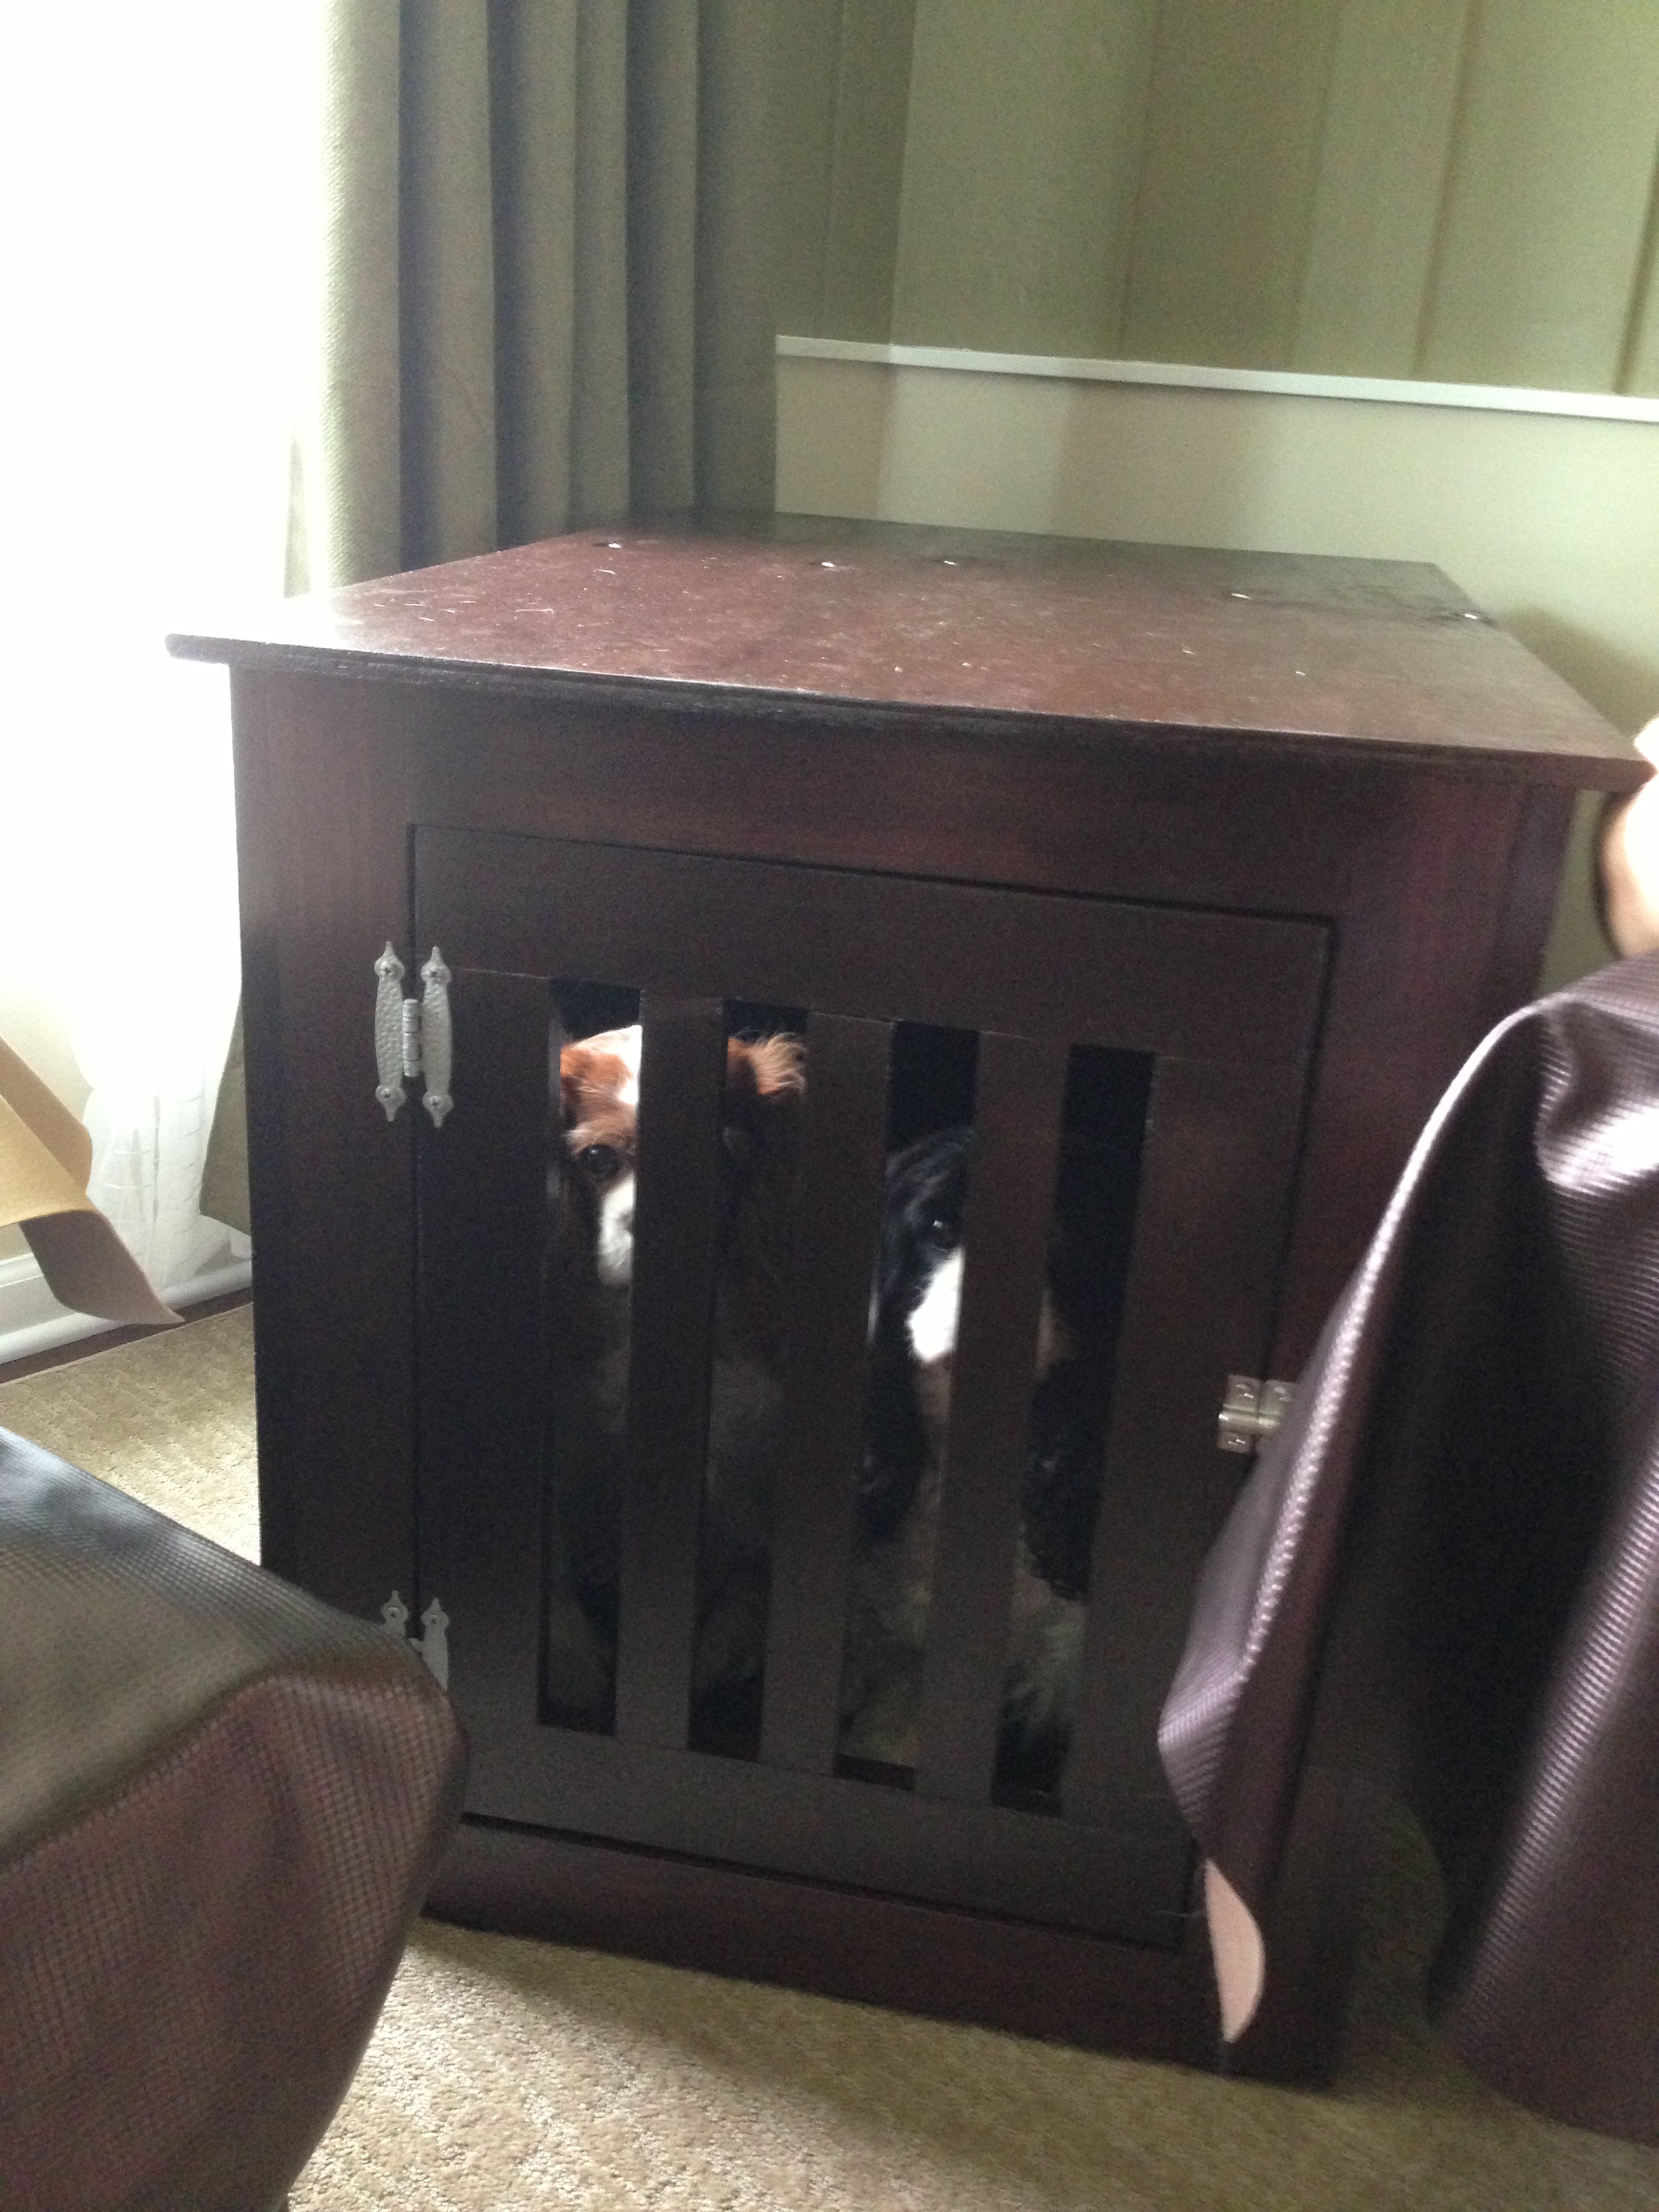
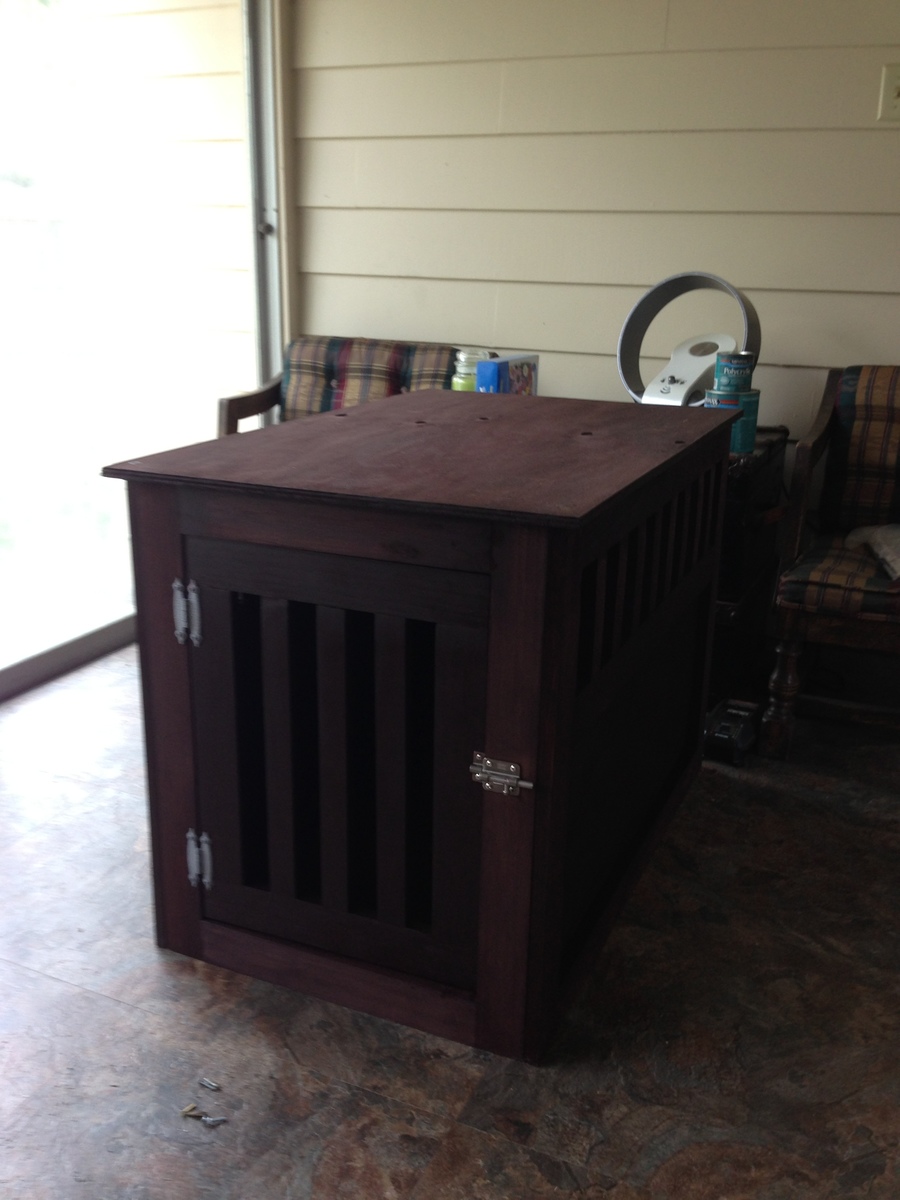
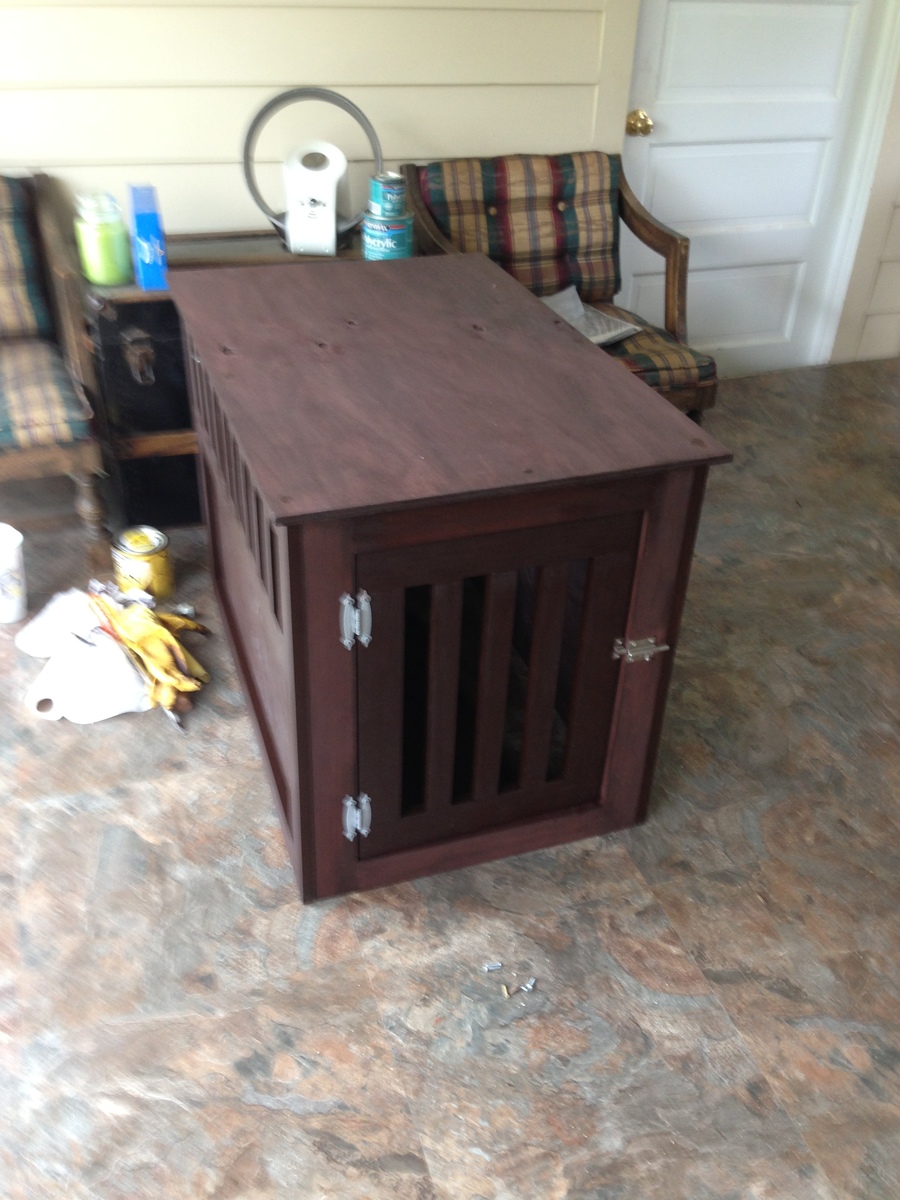
This projected turned out great! I admit, it was a bit of a stretch for me. This was the first project where I had to use the Kreg jig. Yikes! That takes some time getting used to! I chose to stain my Kennell/End Table with Minwax Red Elm. And that took the longest! Everyone always makes it look easy to stain something, I still haven't gotten the complete hang of it after project 50, and the waiting between coats is for the birds. But, I am happy with the overall end product! Thanks Mrs. Ana White!

Thu, 07/18/2013 - 08:48
Hi YankeeBelle,
I used the plans for the "Large Wood Pet Kennel End Table." If you chose to do this project, beware that the cut sheet does not include all of the plywood cuts. There should be two identical for the sides, and one additional one for the back.
Thanks again!
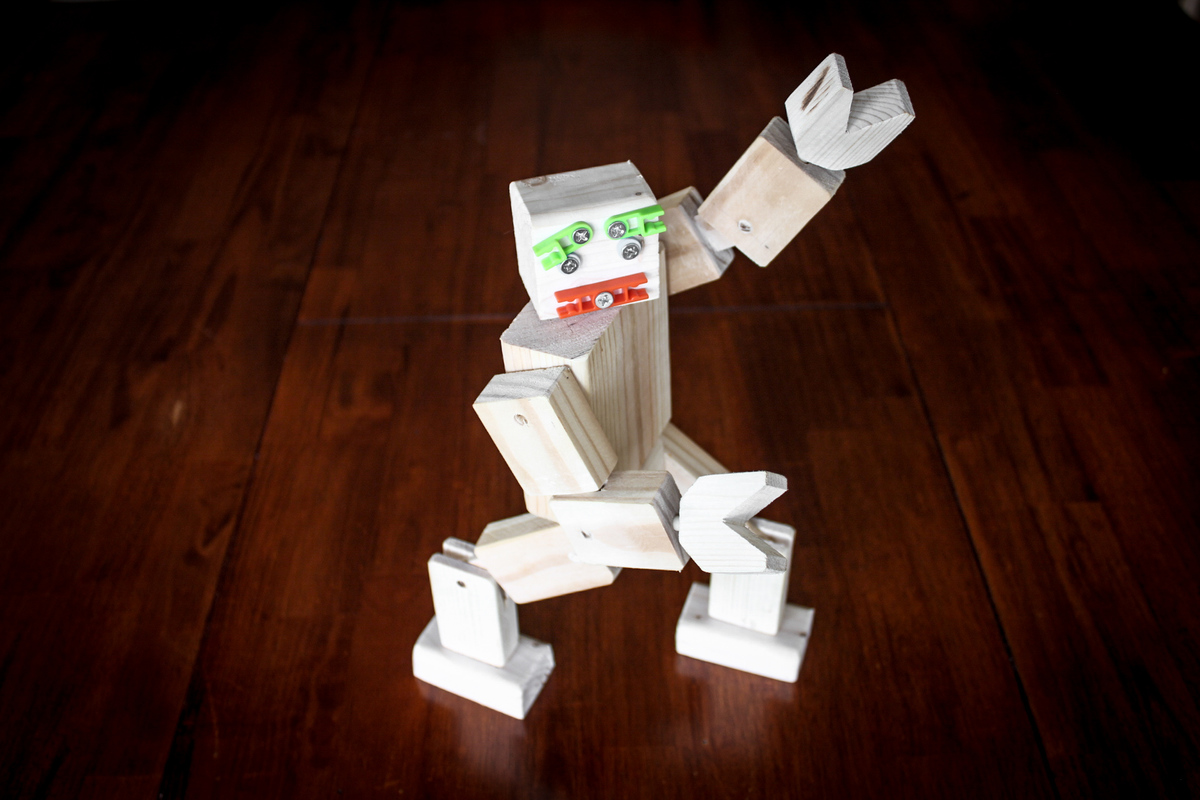
Simple project made from scrap wood.
See Build Instructions here:
http://www.instructables.com/id/Wood-Robot/
Robot Animation:


Adapted from the Harriet Chair found at ana-white.com, this simple and comfortable pine chair is equally at home in the kitchen and home office. Built to last, it can be custom designed for small or tall customers alike. The chair pictured here is finished with red mahogany stain and matte varnish.

Finished over 2 hrs with 2 more friends. All of us inexperienced :)
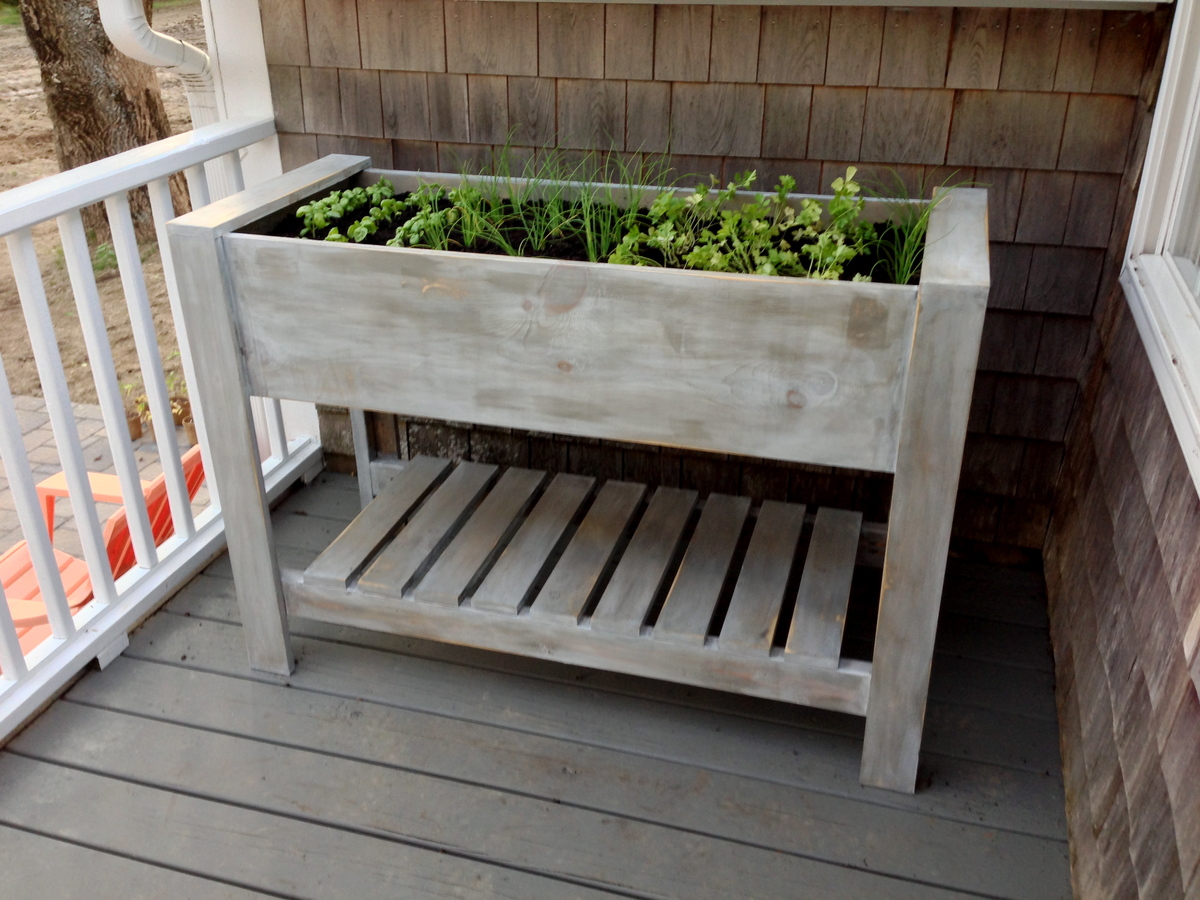
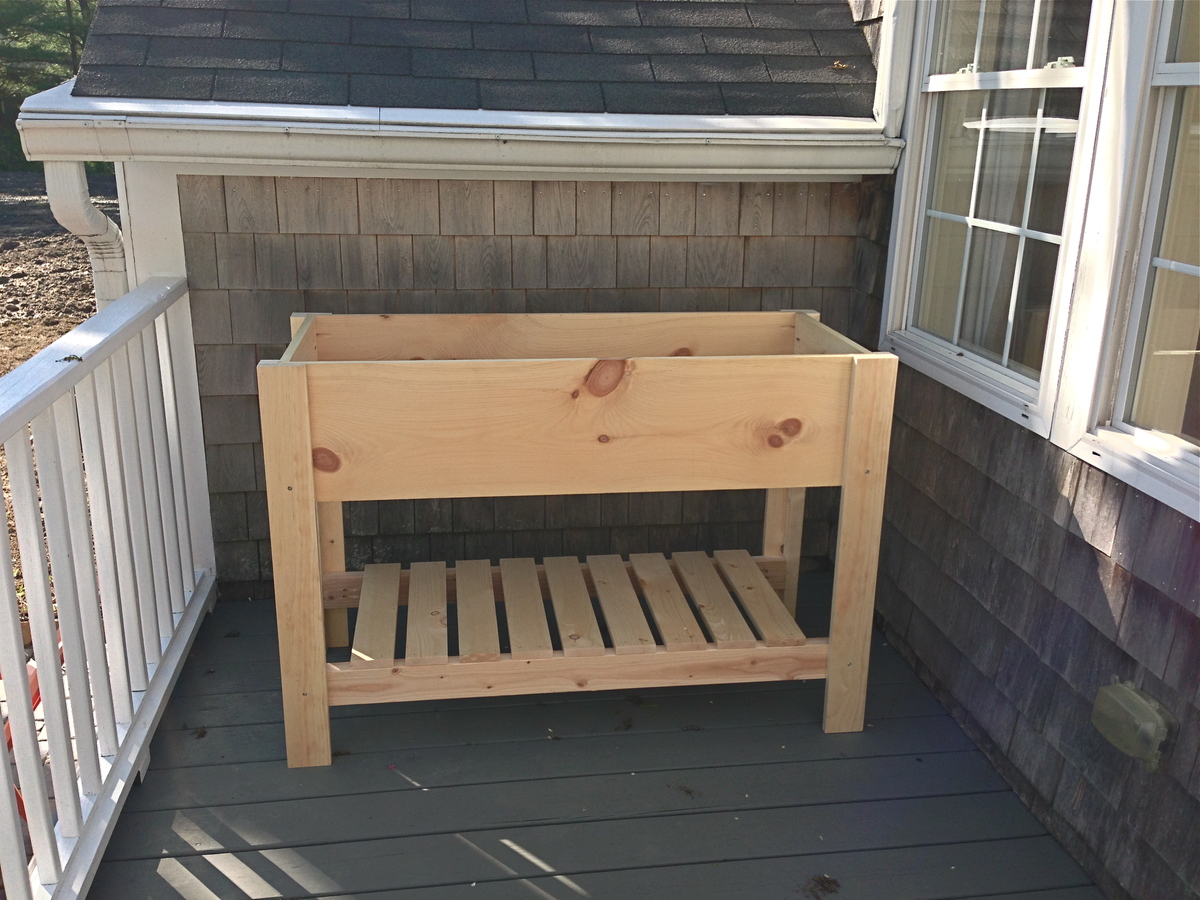
I followed Ana's Raised Planter Box plan exactly. We did purchase a Kreg Jig Jr. recently, which came in handy on this project for sure. It is a very sturdy piece and it only took a couple of hours to assemble.
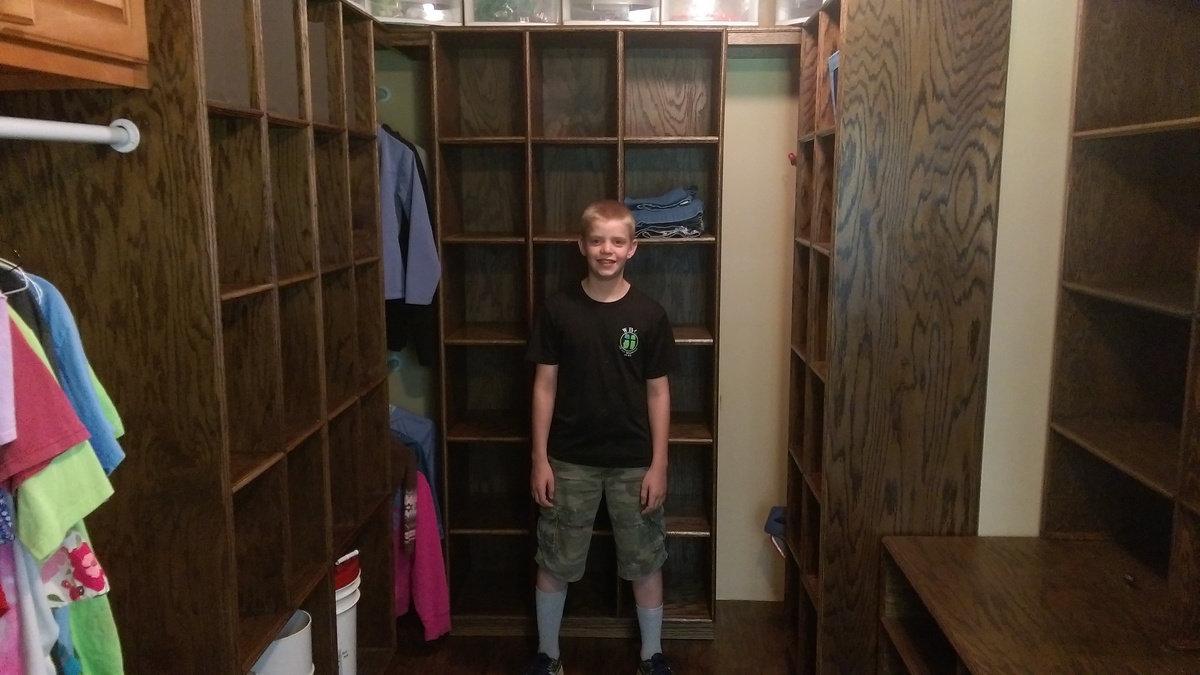
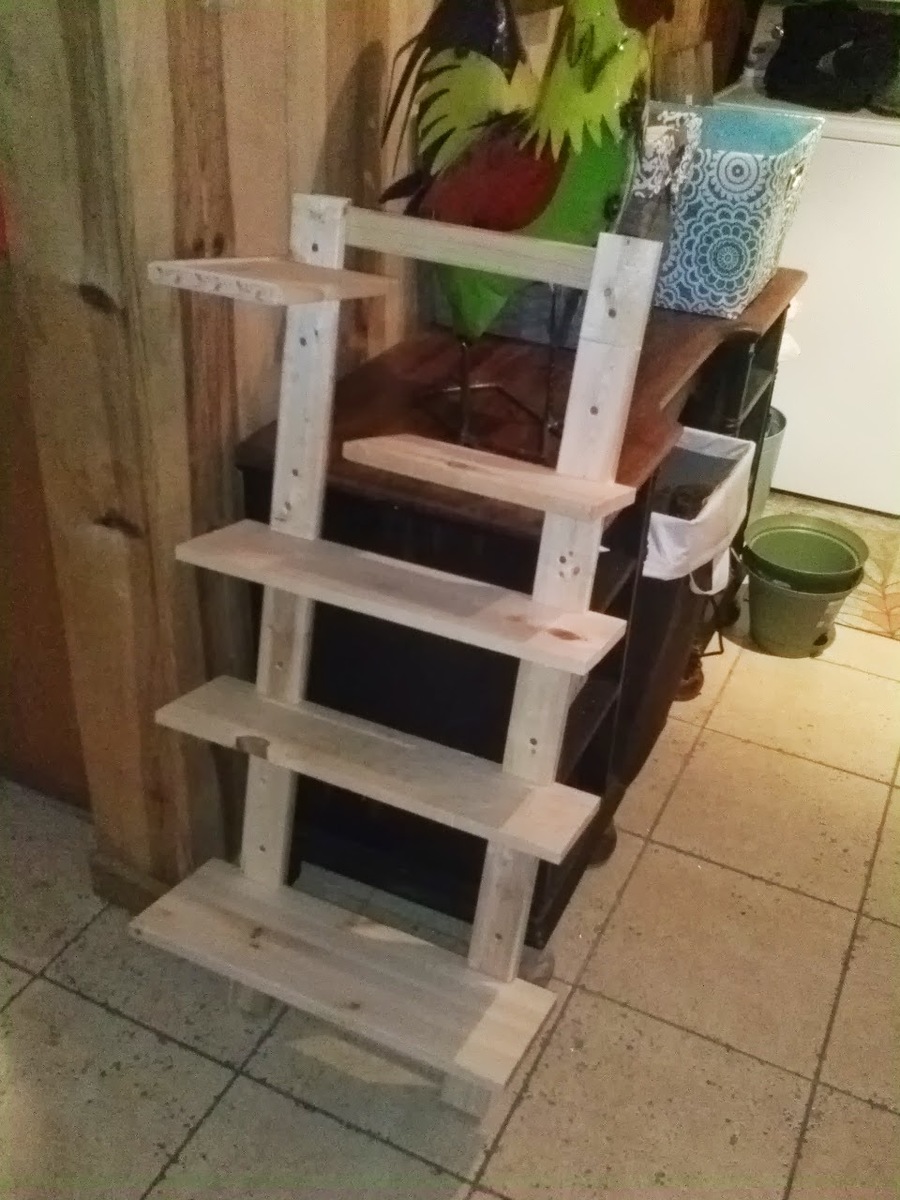
Our son built this based off of these plans. He had to make the corner hanging areas smaller to fit our area, but we were still able to use this space for hanging items.
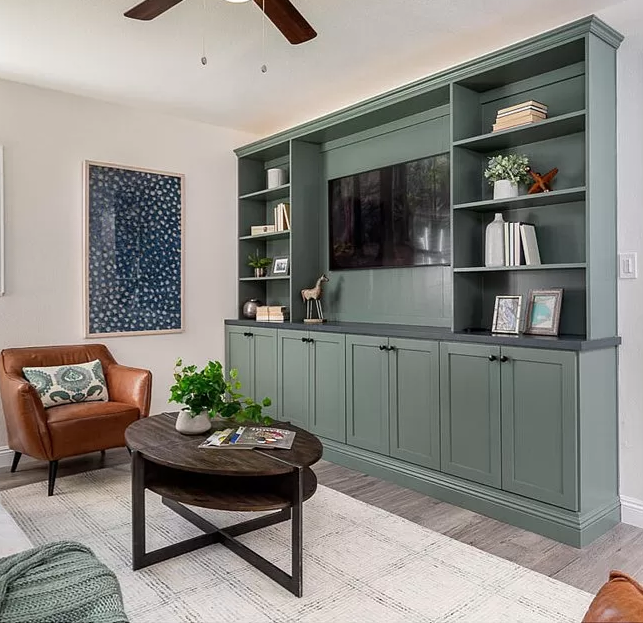
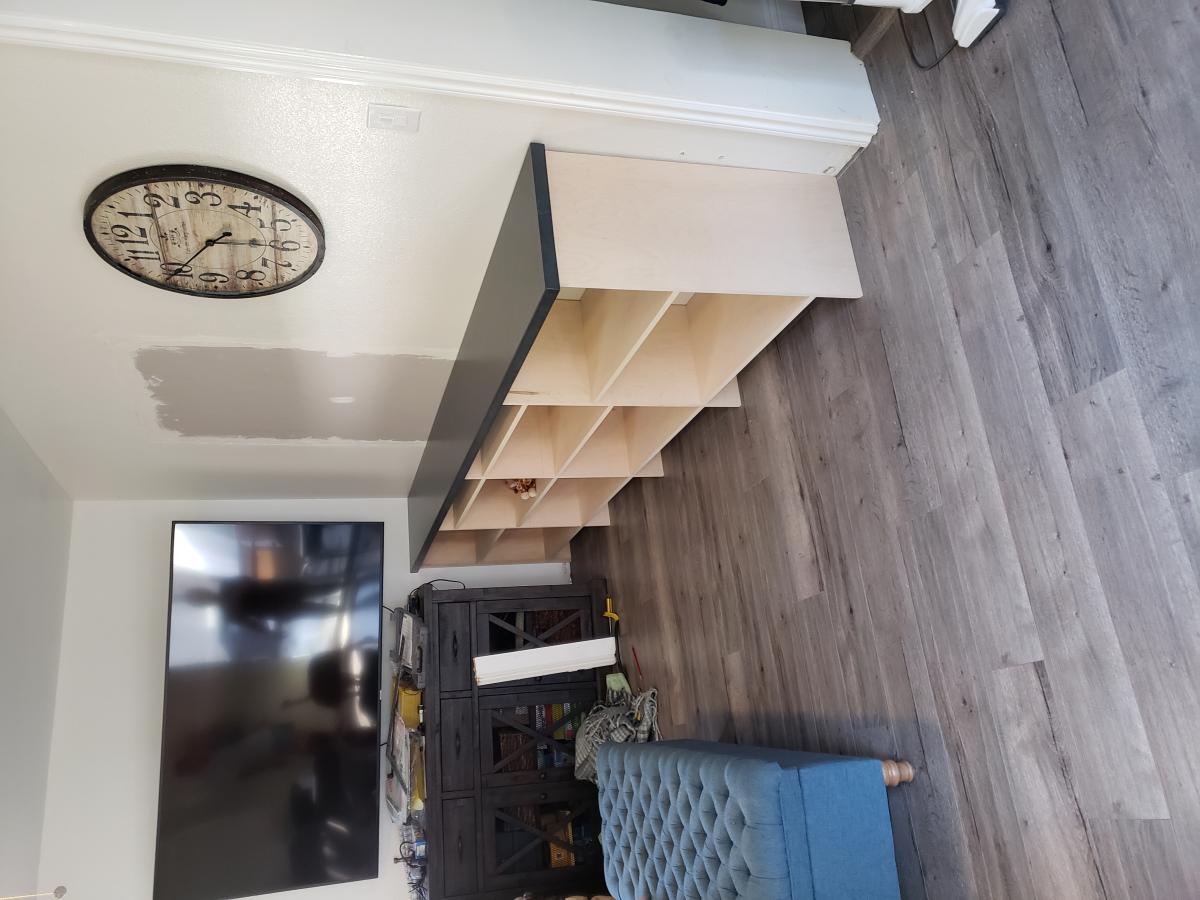
We had an awkward family room with a second front door which rendered the layout less functional than it could have been. My sister mused, "I wonder what would happen if you took out the second entry and added built ins?," and this project was born. With a 4 year old and a 2 year old and limited tools and workshop space, we were excited to find ShelfHelp, which allowed us to create custom built ins at a fraction of the cost and time they otherwise would have required (utilizing the "Frameless Built-Ins, All in One Method" plan) . Including the custom soapstone top that we had made from a local shop that was advertising remnants, the project came in under $1000, and we were thrilled with the results. SO MUCH TOY STORAGE, an unobtrusive TV, and a much more functional layout. Thank you, Ana White!
Wed, 04/06/2022 - 09:55
WOW, this is gorgeous, thank you so much for sharing and trusting us with your huge project!
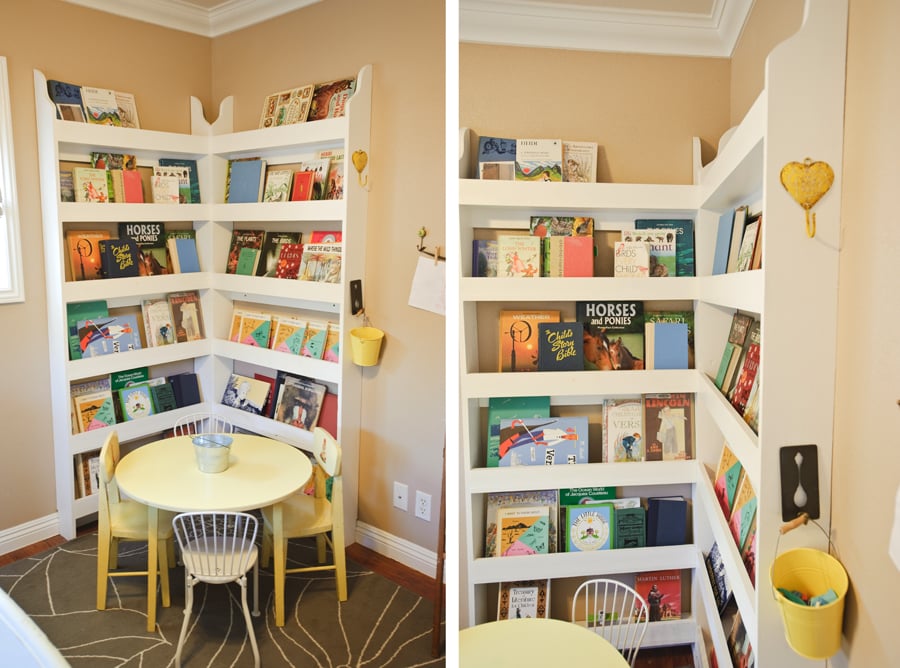
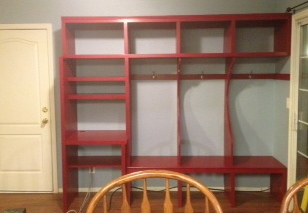
We were searching for the perfect bookshelves for our girls' room. We came across these bookshelves and decided to build them ourselves. In the end it worked out perfect! The book are easy enough for our 6 & 3 year old daughters to put away, they look amazing, and it was special building them with my husband as a gift to our daughters. You can find more info on the room and bookshelves on my blog www.brebuskey.blogspot.com


Made these shelves for my mom.
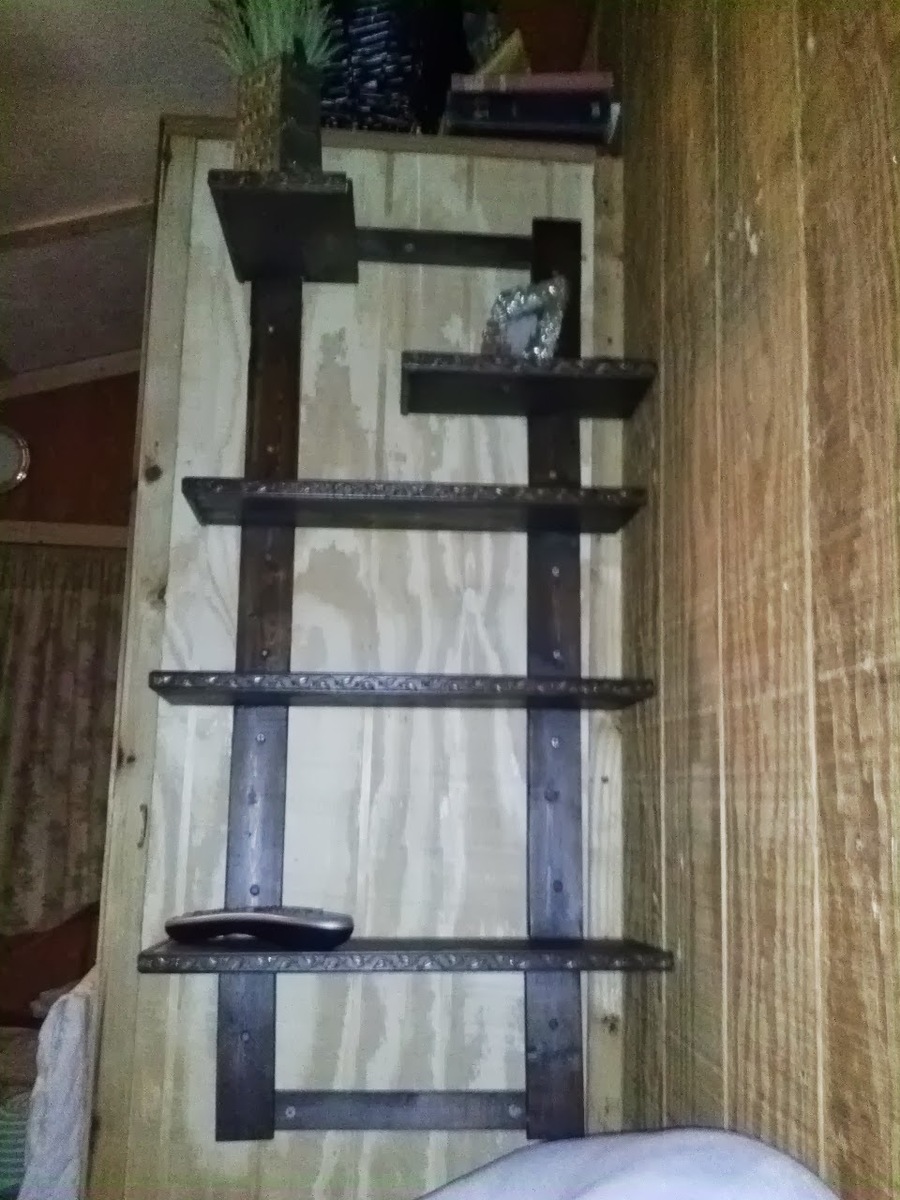
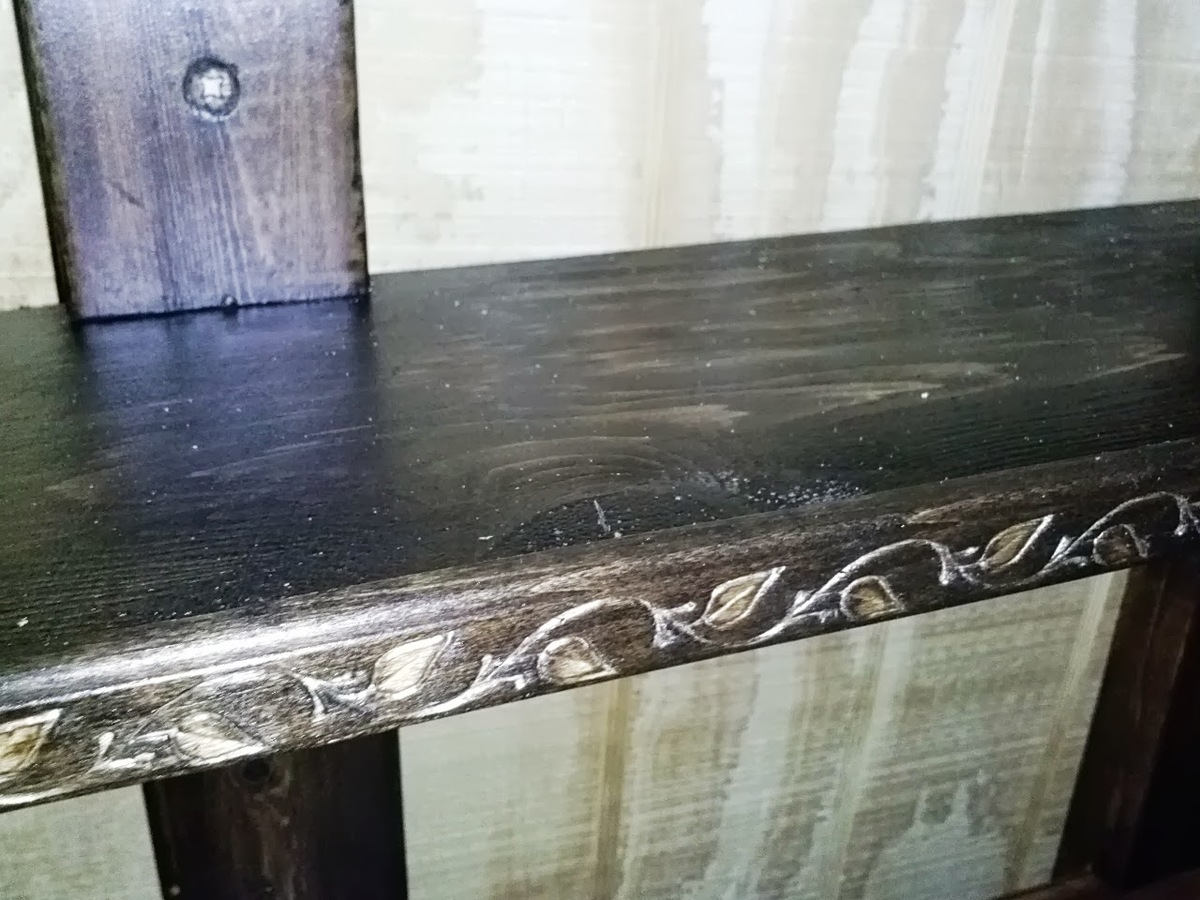
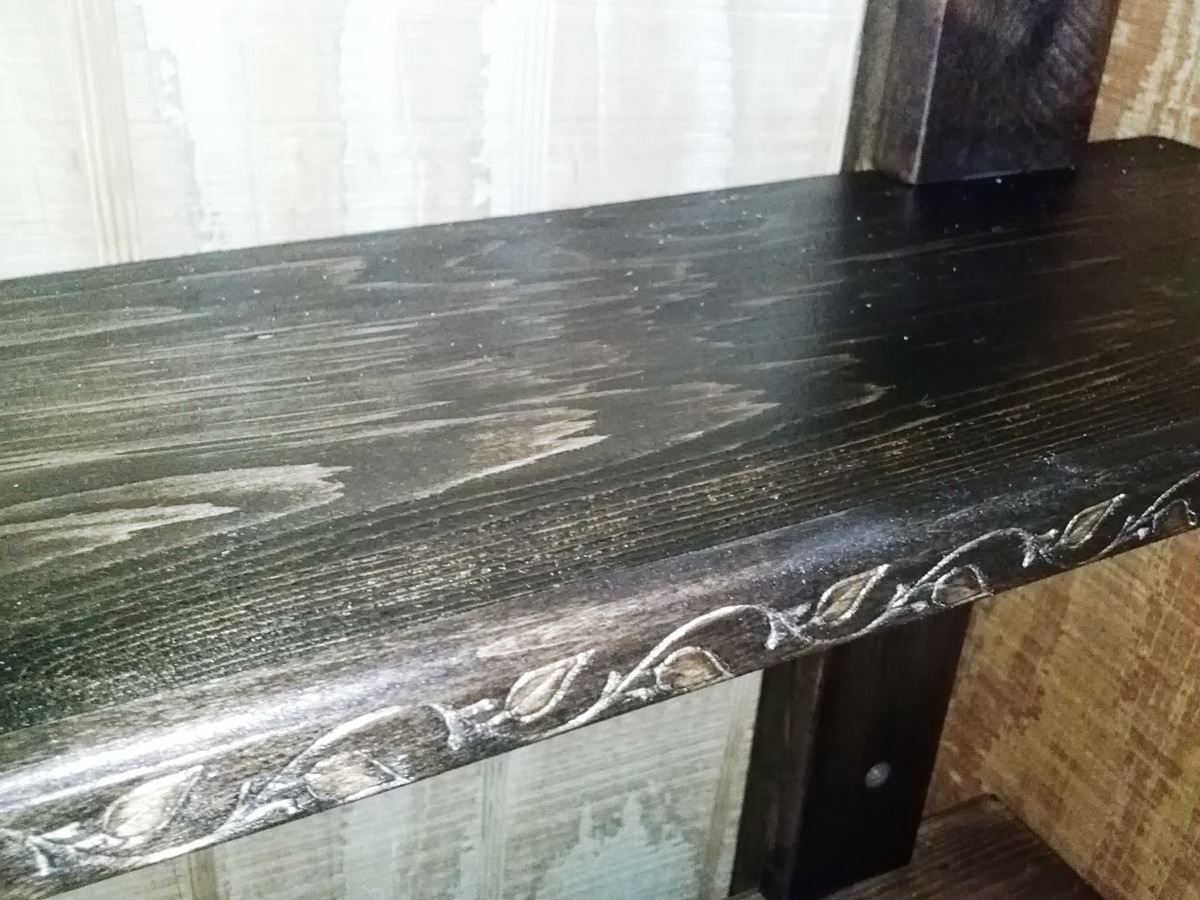
Used a vinegar and steel wool solution. Also put some six inch 1x6 3 inches from the bottom as a bracket to mount to a full bed frame. If I later upgrade to a queen I will but the wood bracket flush and reattach

Wed, 08/05/2015 - 05:44
Your finish really compliments the wood. Very impressive.

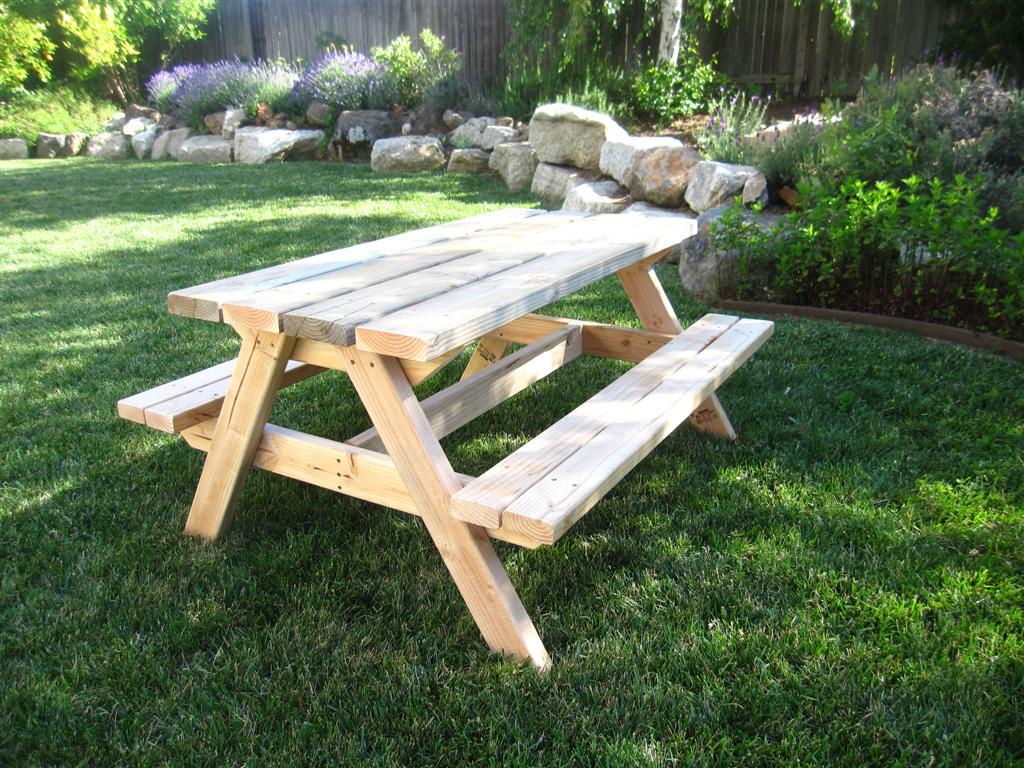
Very sturdy table and benches!

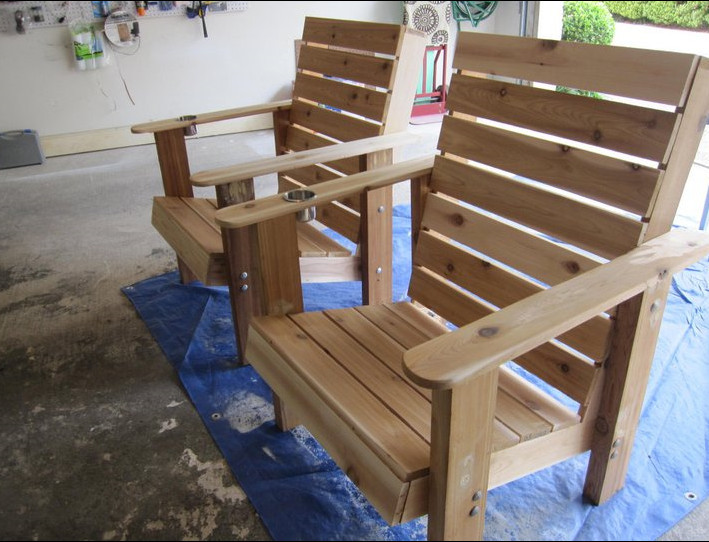
Starting the slow process of creating a backyard oasis. Was looking at Adirondack chairs, and plastic ones seemed to have issues with breaking, and don’t want to spend $150 per chair or more for wood. Found this post, and just completed my first chair. I used some of my wood decking that I just replaced, so probably $30 per chair, so really happy. Very comfortable as well, so thank you for the time to figure out things.
Mon, 04/11/2022 - 10:43
Great use of material and it looks fantastic too, thanks for sharing!
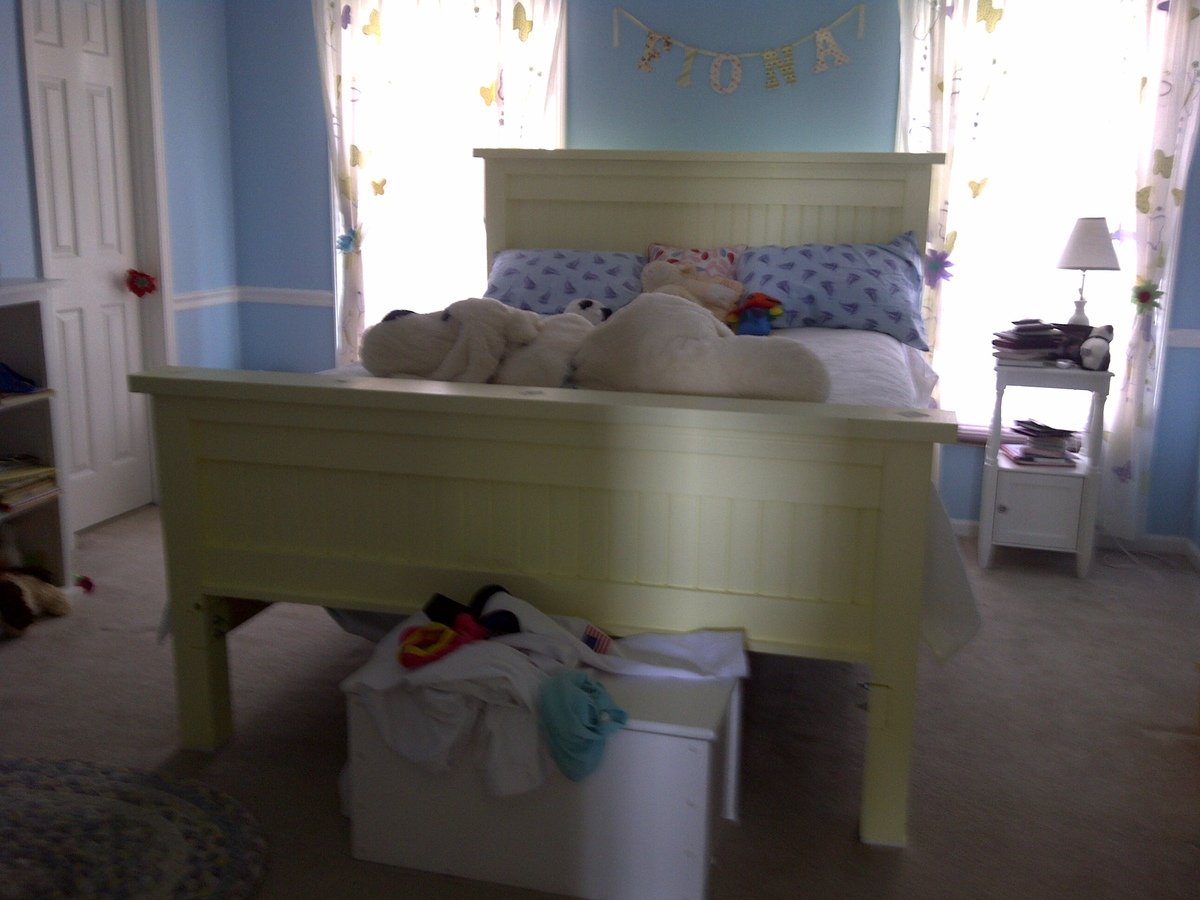
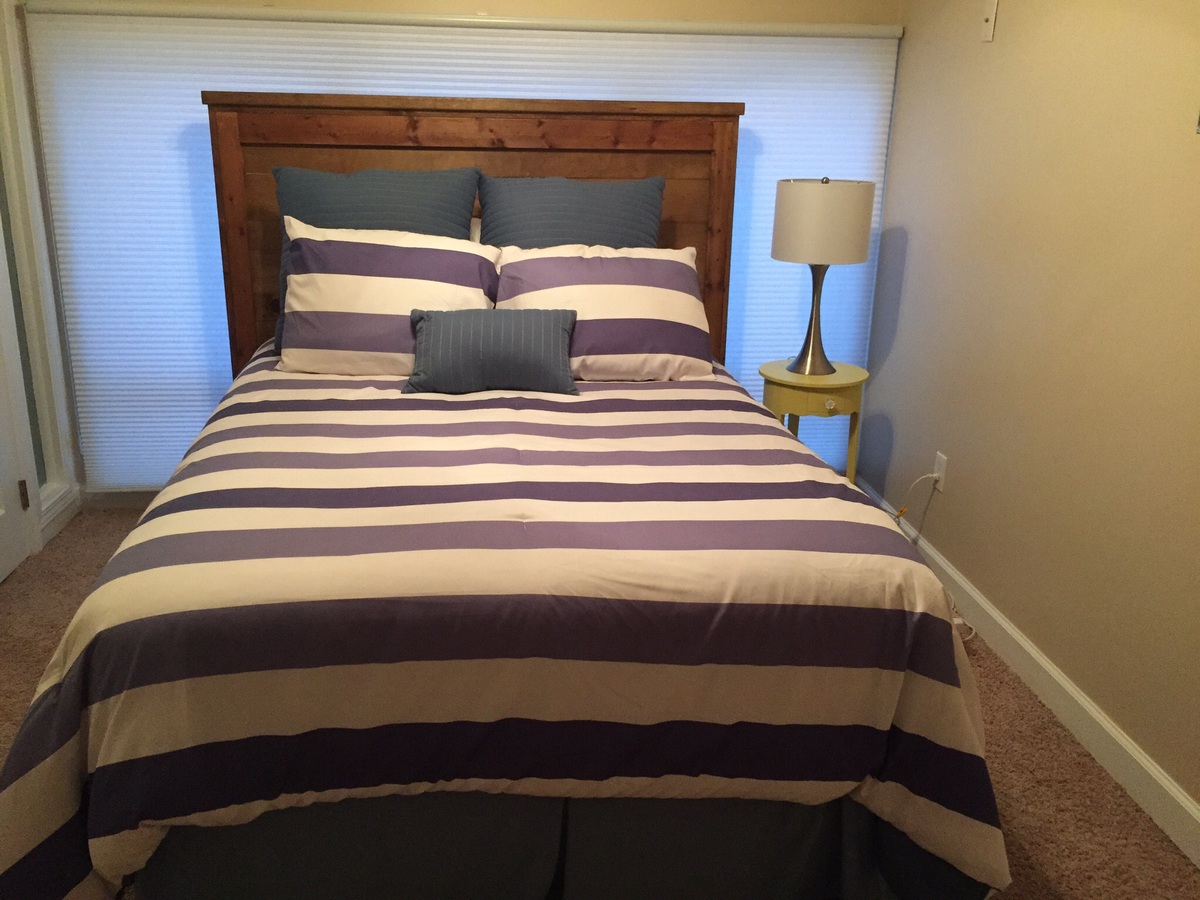
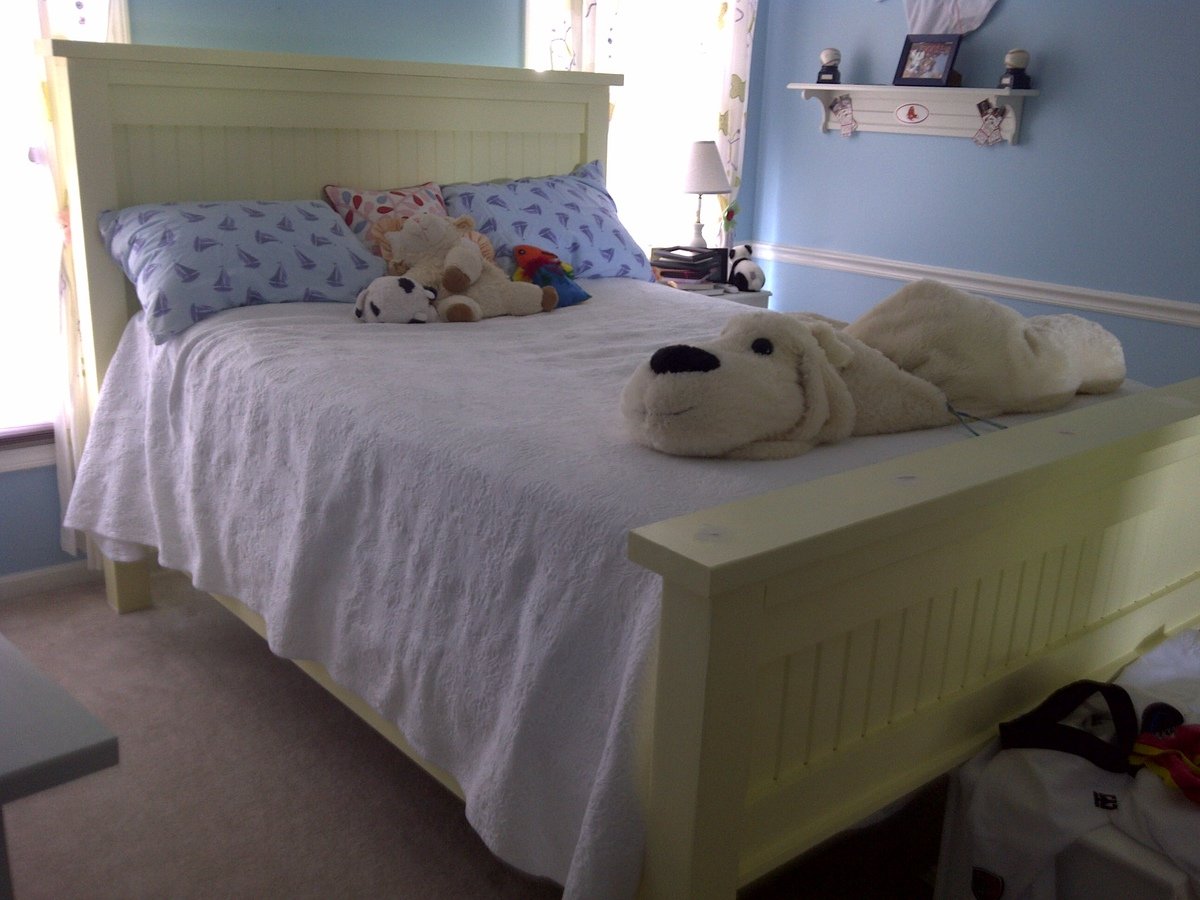
This took about 10 hours, including prime and paint. I raised the side rails 3 1/2 inches to dado the posts to accept a 2x4 siderail on the inside of the post, with 1x8 covering it at the center of the post. The siderails are bolted with 4x5/16" bolts, washers and nuts. We chose to leave it more rustic, showing the siderails at the ends and the bolt holes. It is all pine, bought new and along with a 1" forstner bit to recess the bolts, cost $198. It can be repainted at any time. Tools I used were a compound saw for ease of cutting straight cuts, a cordless and corded drill, 1/2" socket and box wrench, easy square and a circular saw for the 1x8's. We painted it with left over paint. Because its pine, we primed with BIN,
Sun, 06/05/2011 - 20:23
It is 1x5 bead board (pine). Some places call it match board. It is v-groove, tongue and groove and has a smooth (flat) side and a two inch flat, bead, two inch flat side. The plans called for a 61" wide panel but I made it 58" with the dadoed posts (1 1/2 inch each cut).
If you want to do the panel using the T&G bead board, make sure to lay your 1x4's out the distance of what ever height you want your panels and center the first piece of T&G bead board on both the top and bottom panel. Then you work your way out fitting the T&G and screwing in each piece. When you come to the two end pieces, they are going to ned to be ripped but by starting at center, they will be even at the end when ripped.
Another tip is when screwing the panel, you will want to get at least halfway into the 3 1/2" post. measure the distance you want to cut on the drill bit and put a piece of tape on the bit. Then drill until you get to the tape.
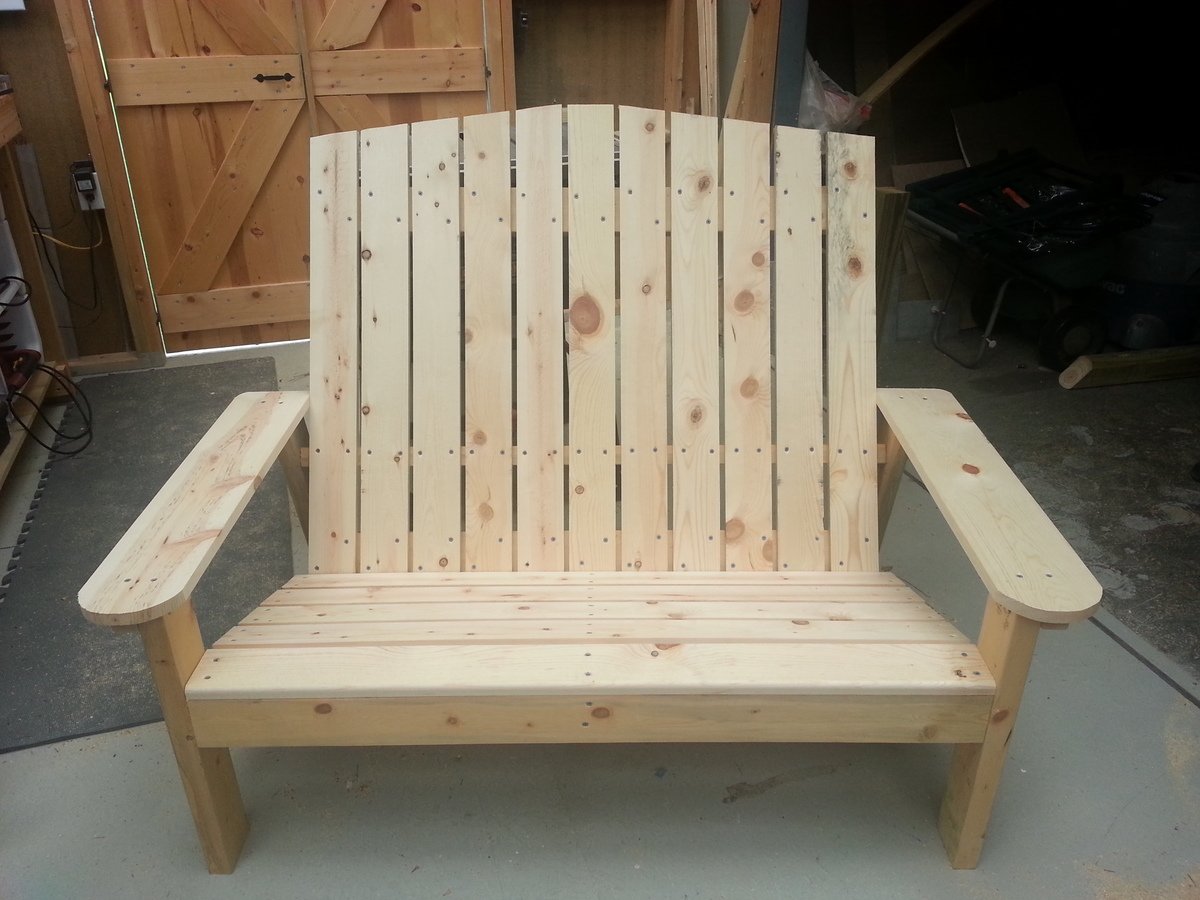
Modified from Ana's Home Depot DIY, using all pine lumber w/1x6 for the arms.
Sat, 05/03/2014 - 19:40
Actual plans for this loveseat/bench are not showing unfortunately :(


Comments
Ana White Admin
Wed, 02/09/2022 - 07:07
Love it!
WOW this looks awesome, thanks for sharing!