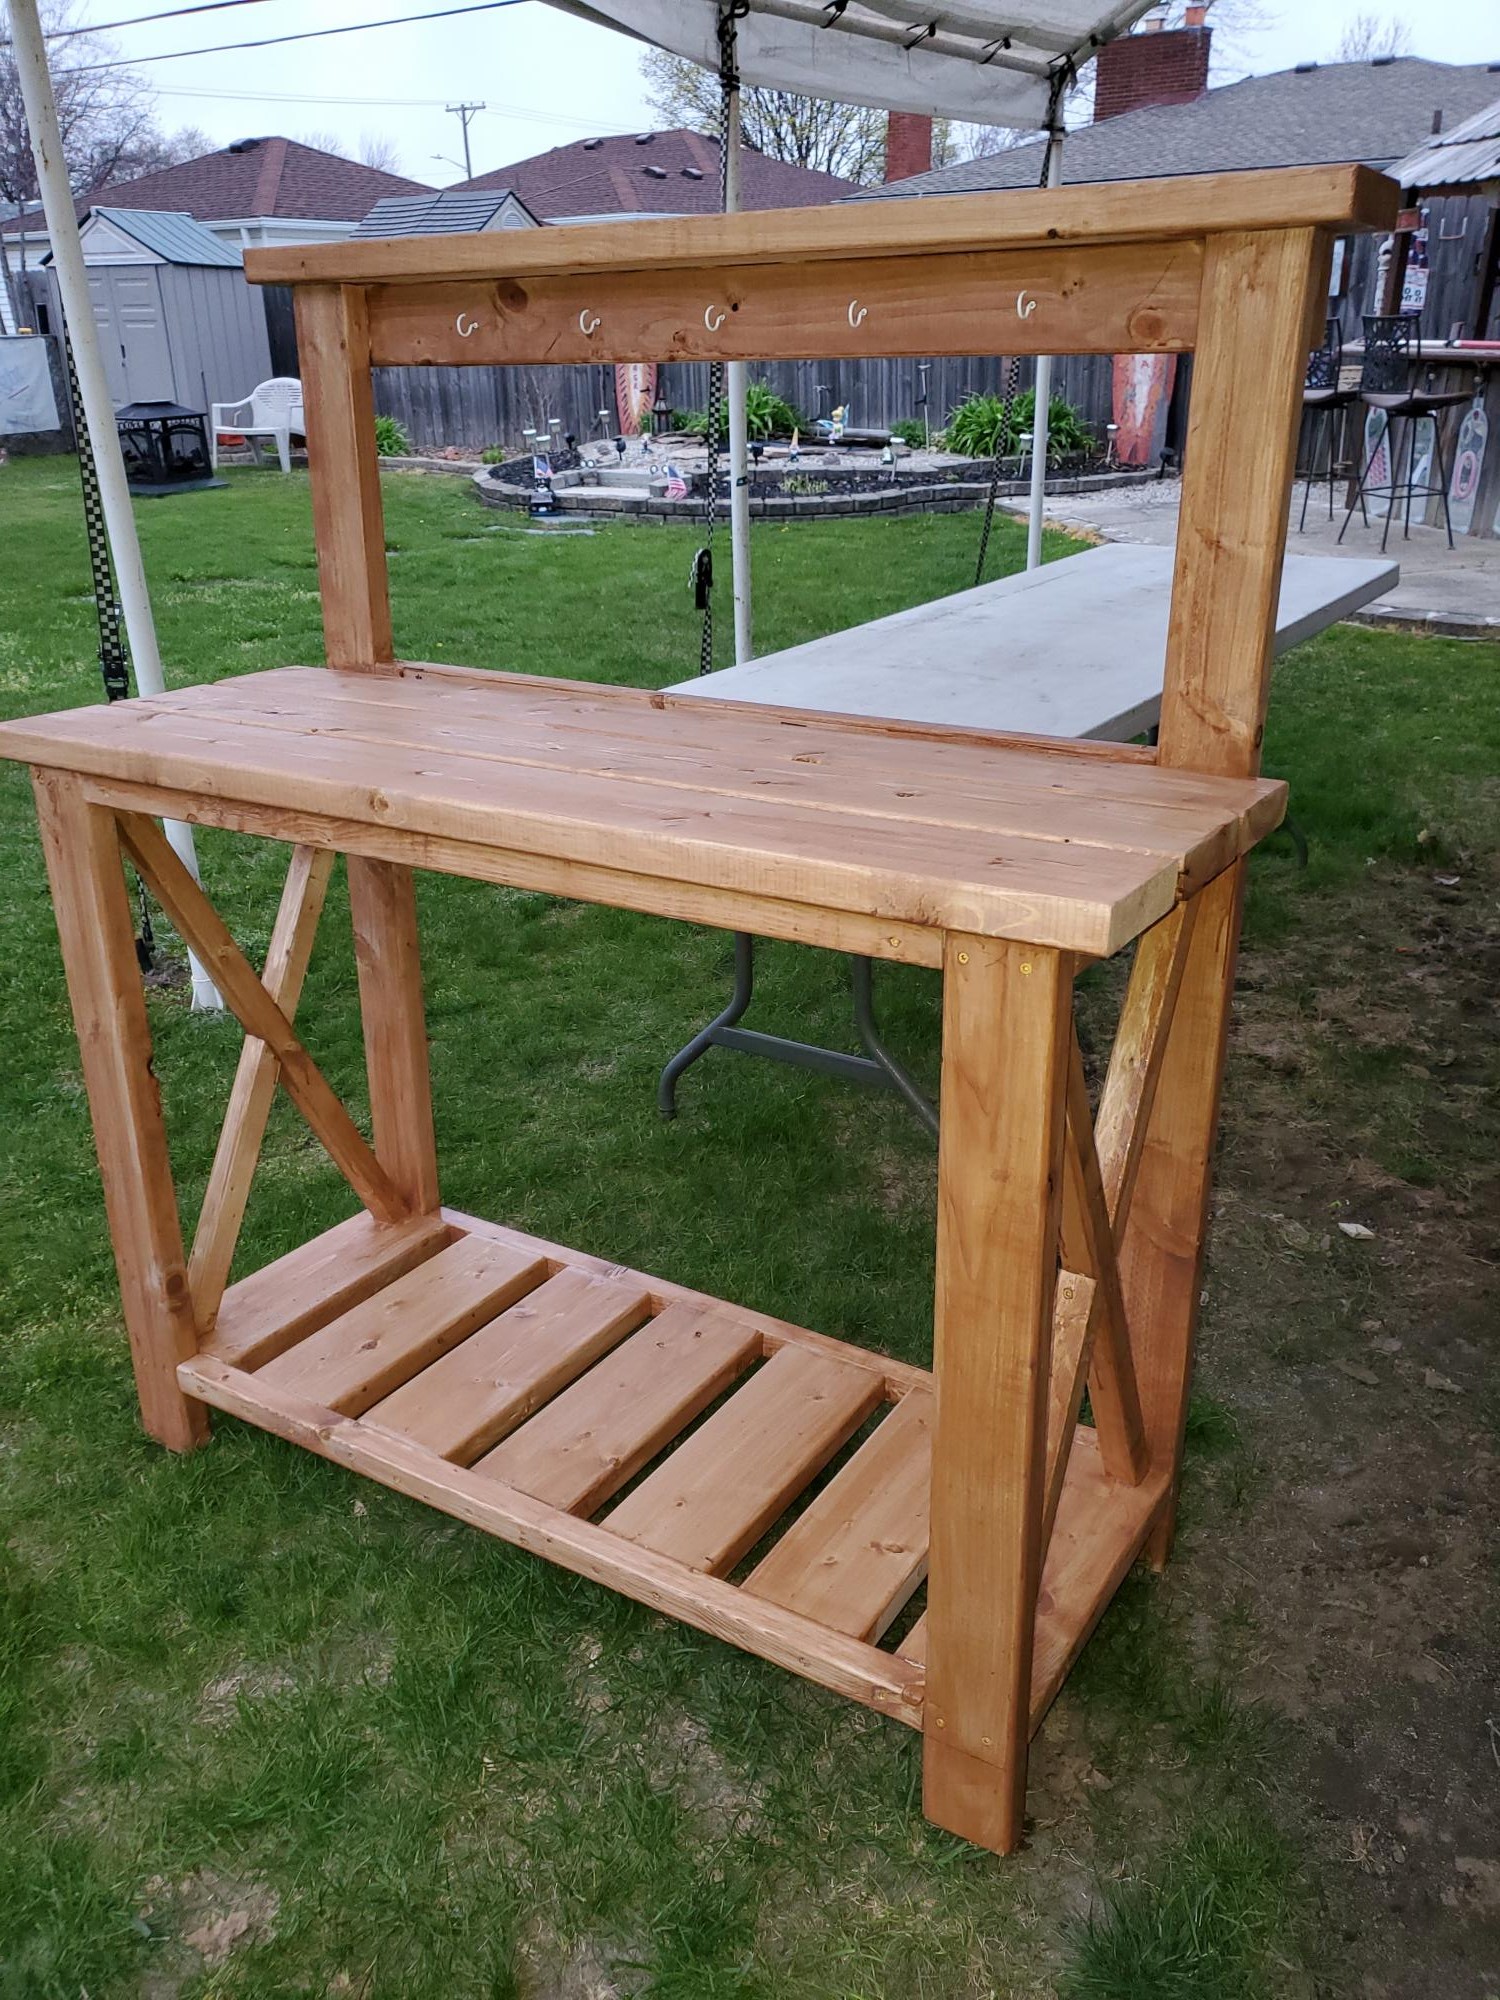
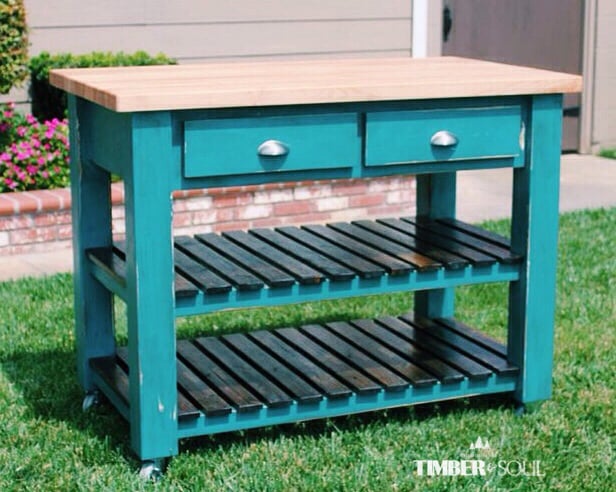
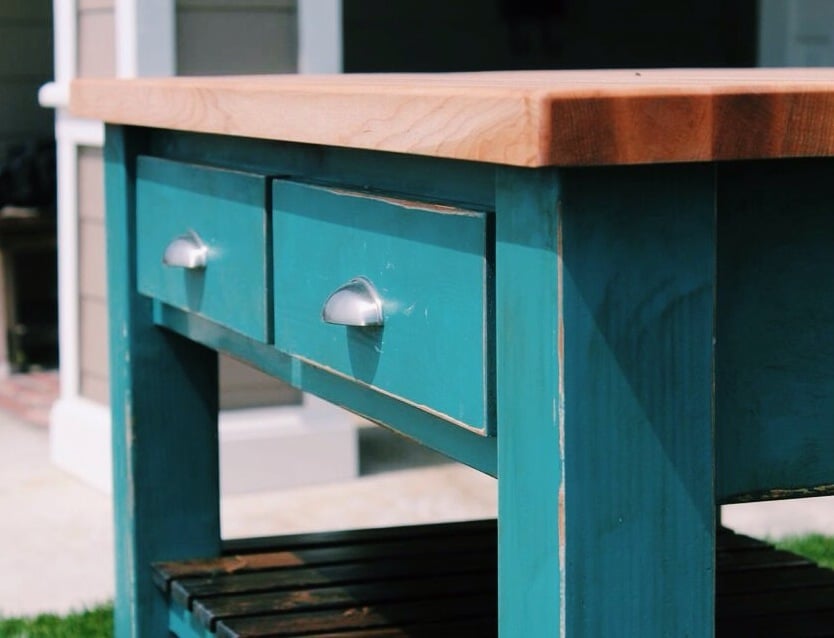
Workbench Console and Rustic Hutch
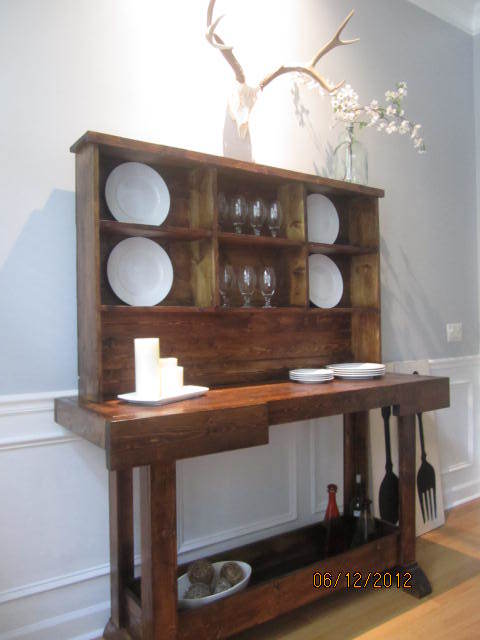
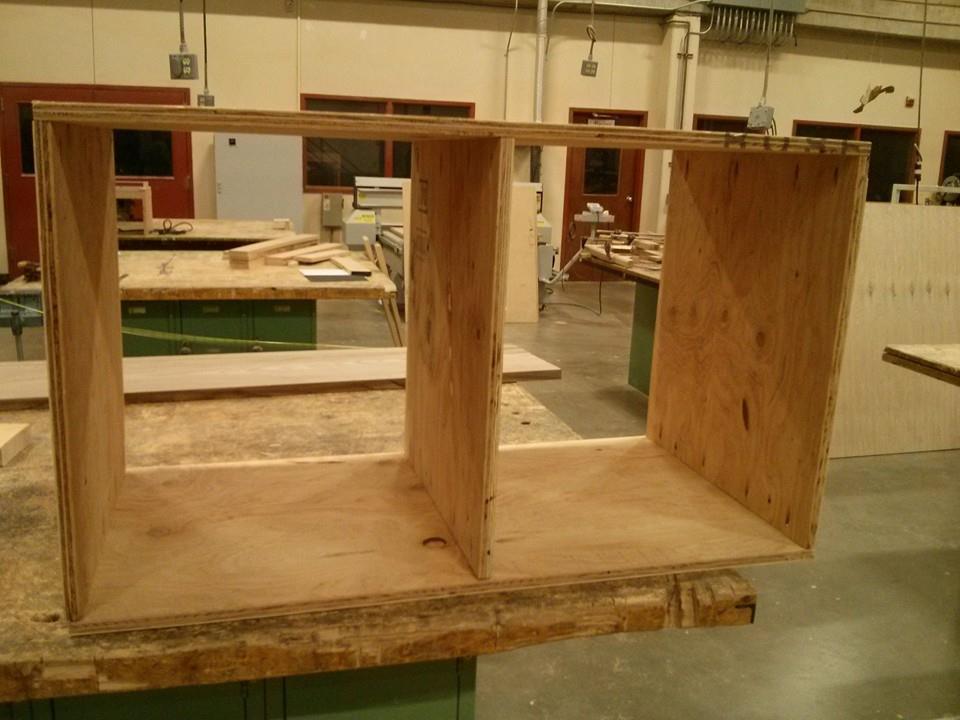
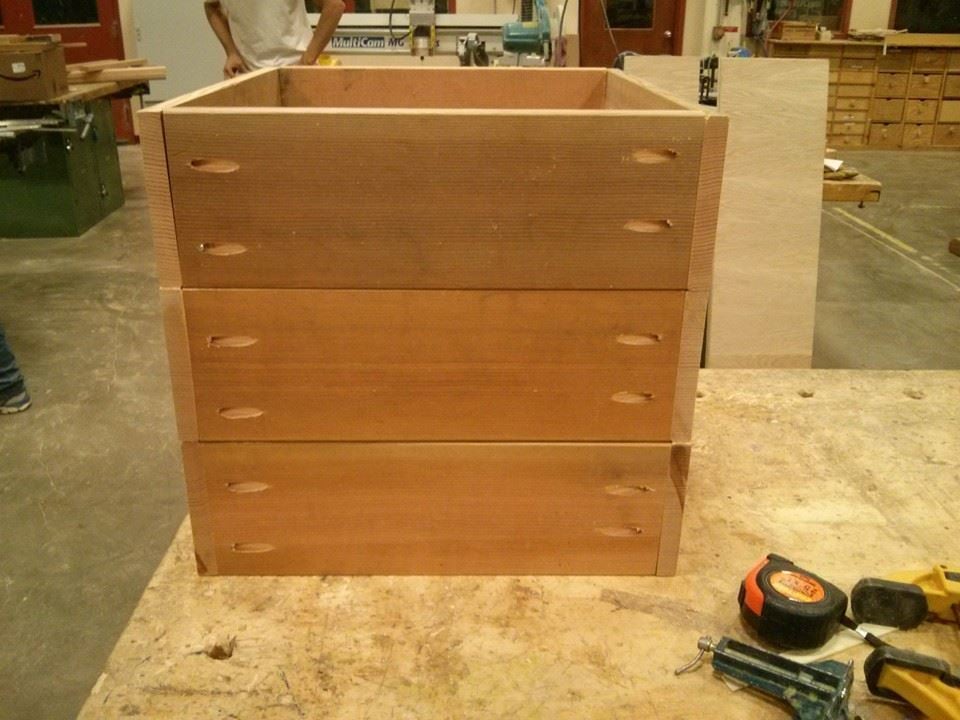
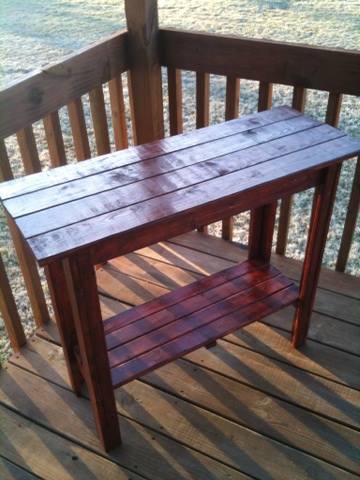
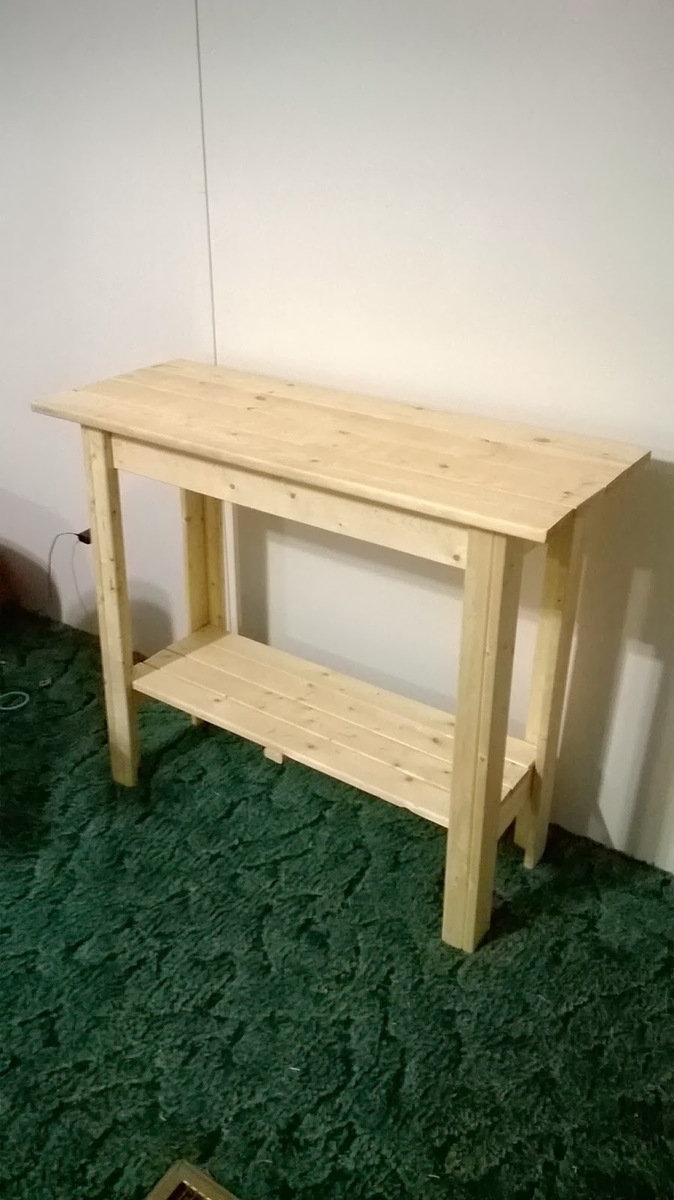
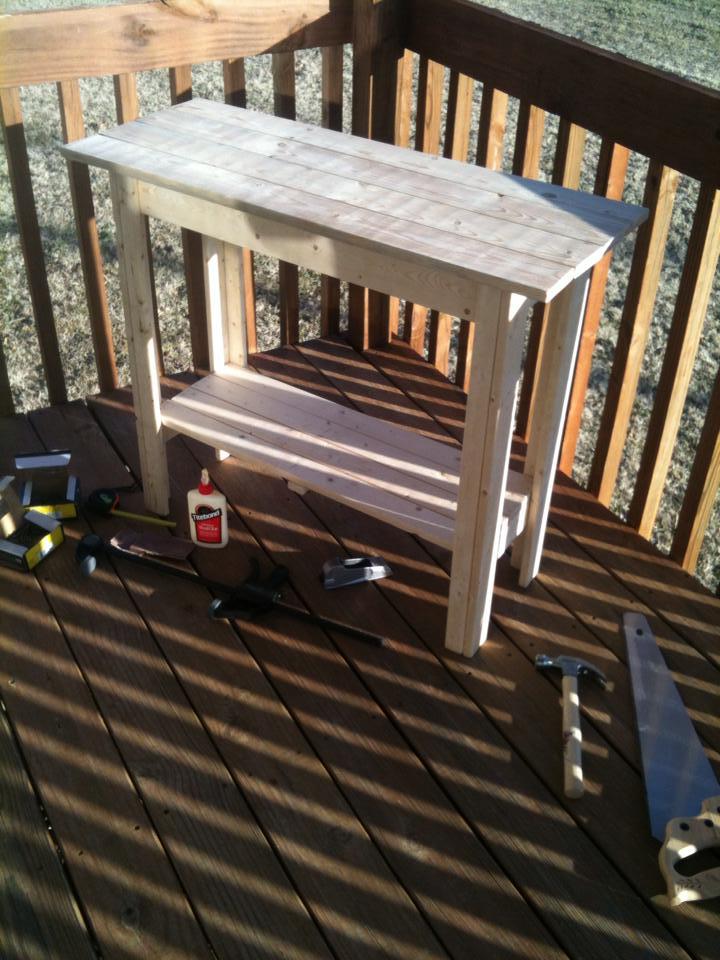
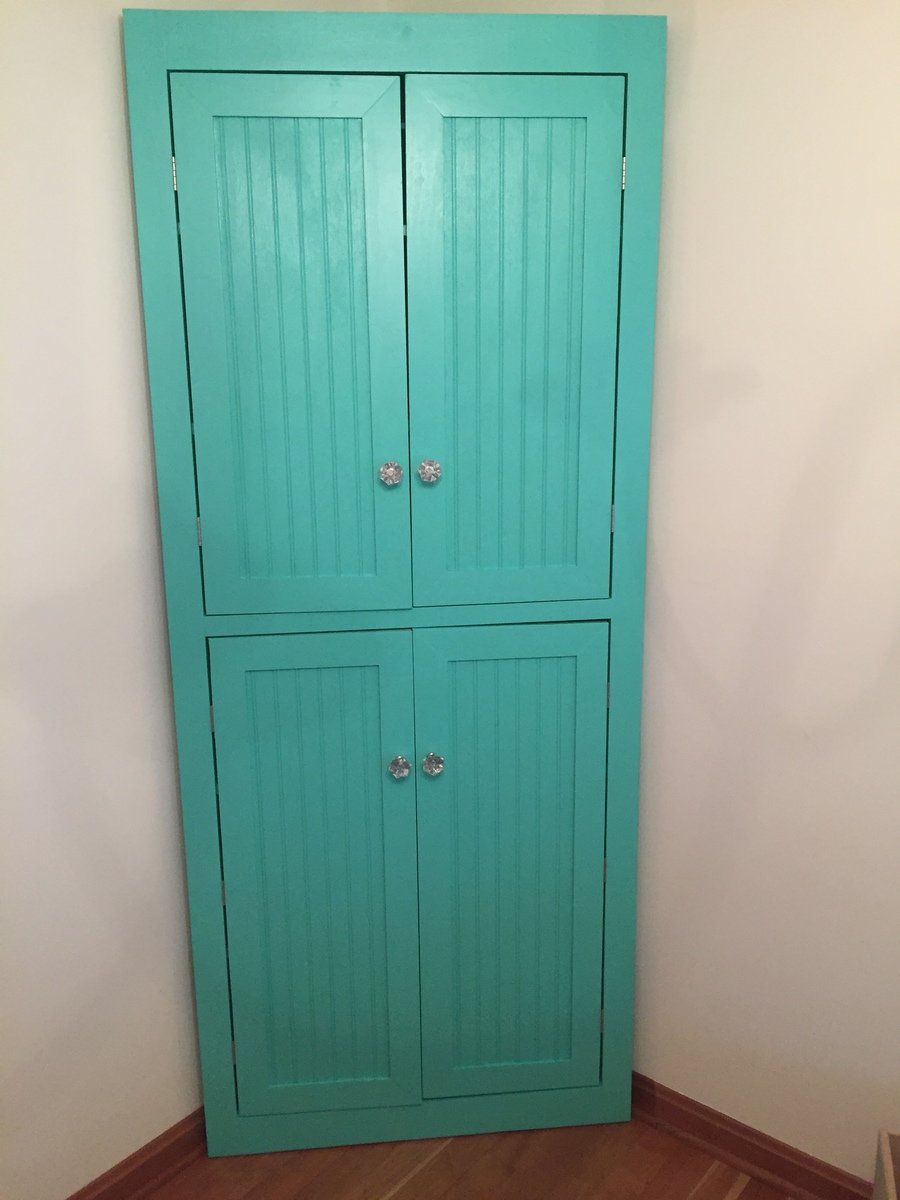
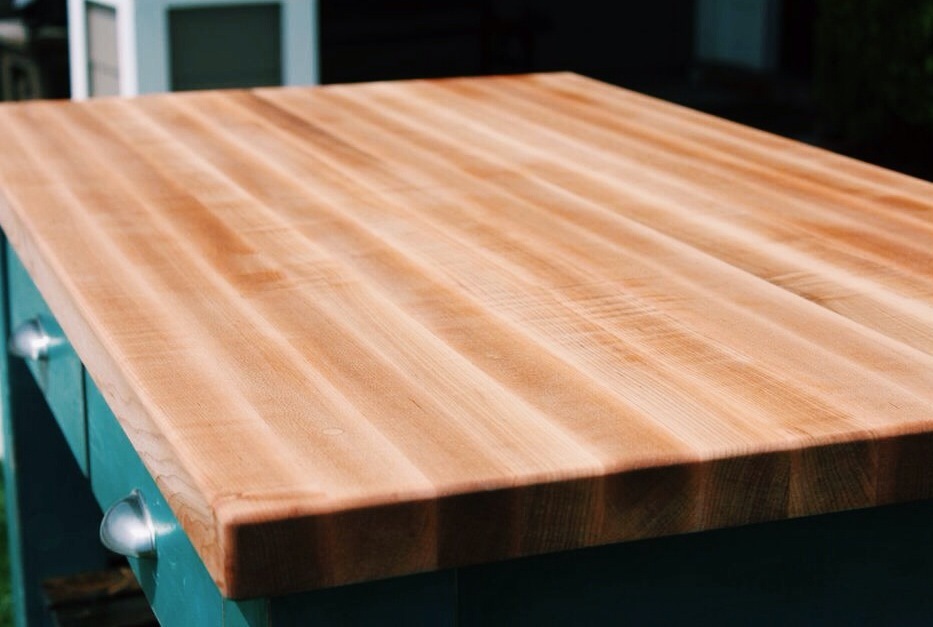
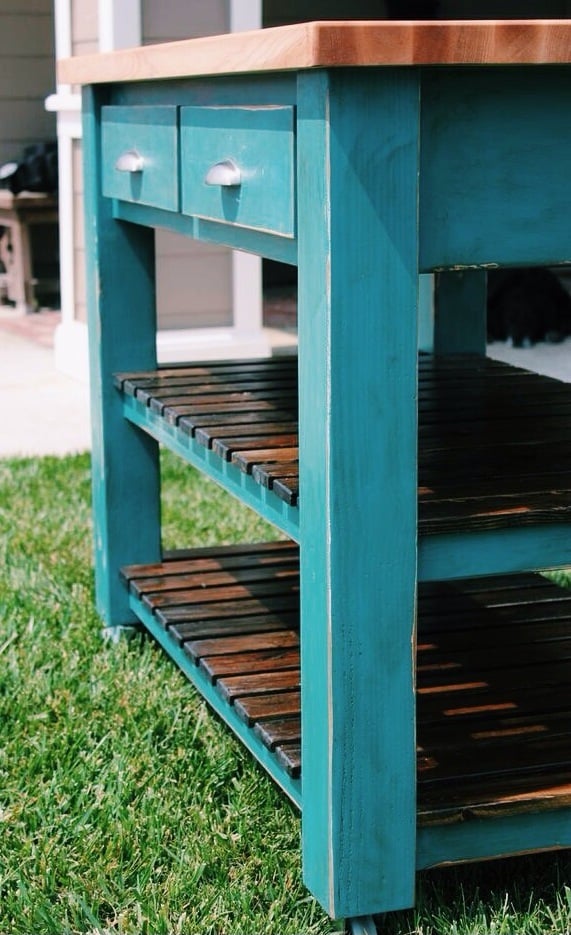
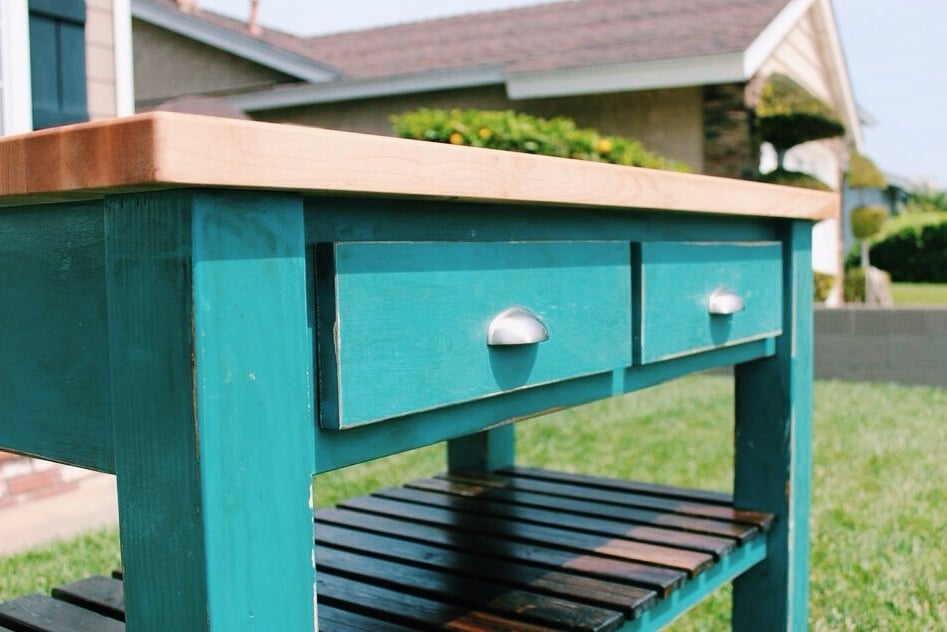
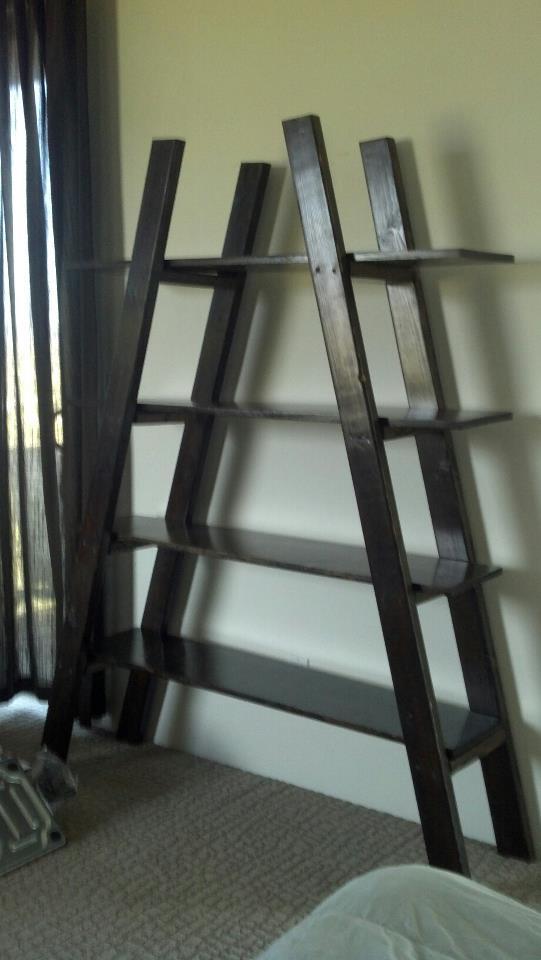
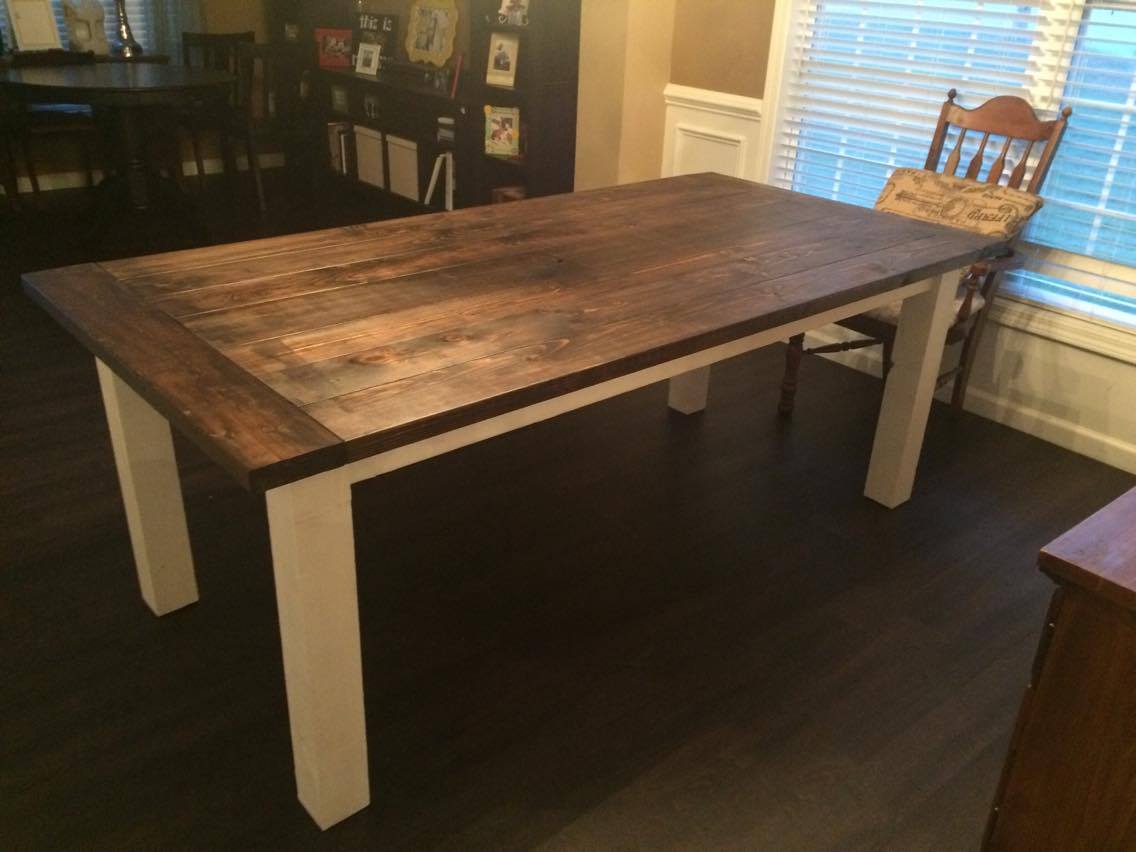
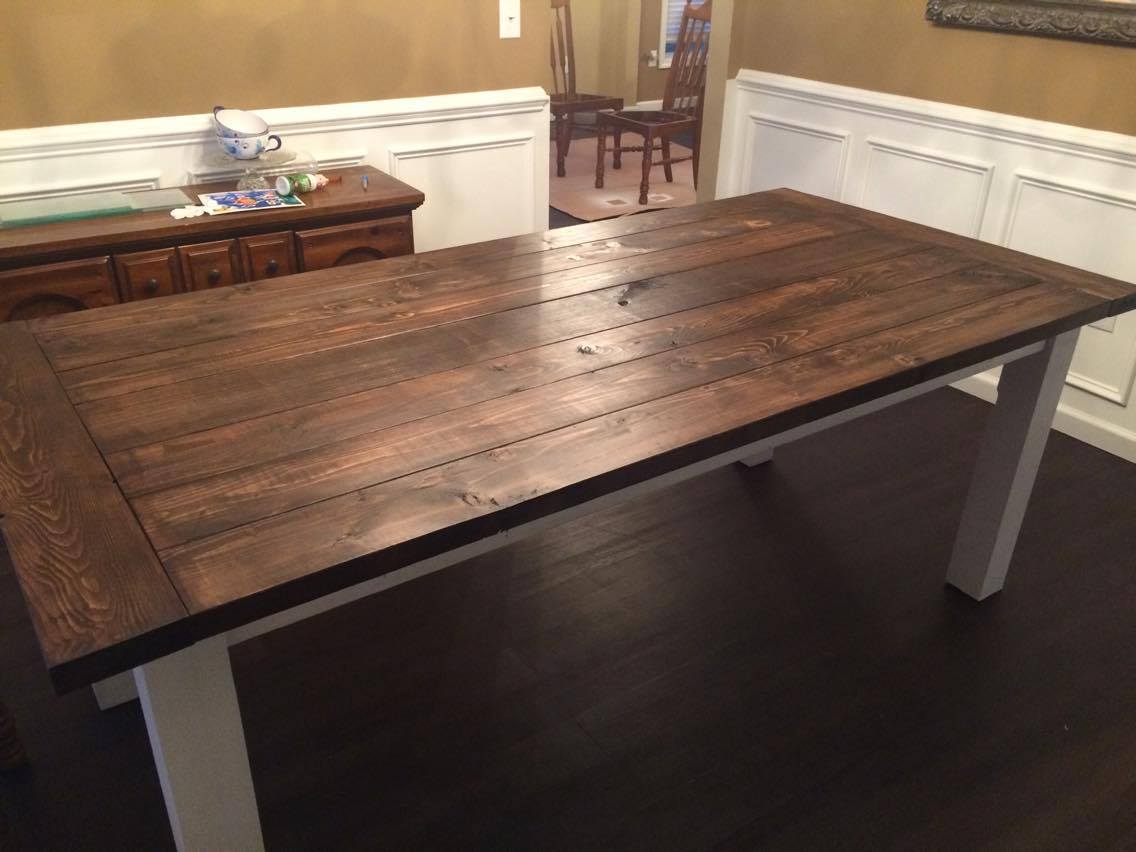
I love this antique workbench console b/c it's the perfect mix between my desire for beautiful and my husband's desire for rustic hunting lodge. (Southern girl meets Minnesota hunter - LOL). It's just a gorgeous antique look, but for far less money. I have haven't put the towel bar on the front yet b/c I keep forgetting to buy it (it's amazing how shopping with toddlers can do that to you). And in my area, mounted bottle openers are only available online, so we need to order one. I used standard stud grade 2x4's for the console, and 1x6's for the planked backing of the hutch. I also dropped the bottom shelf to the natural resting place at the bottom of the legs/top of the feet. It was so much easier for me that way as a beginner, and I really think it still looks great. This was my first Kreg Jig project - and it was so so easy. Ana is totally telling you the truth when she says it's completely worth the money to buy one. My father-in-law is a very well seasoned carpenter and wanted one after he saw some of the furniture I've built with it as a beginner! (We bought him one, of course, b/c he's awesome.)


Comments
sgilly02 (not verified)
Mon, 07/02/2012 - 12:10
Just beautiful!
This is an awesome project. I love the finish. I can just imagine how wonderful it looks with your dining table! Great job.