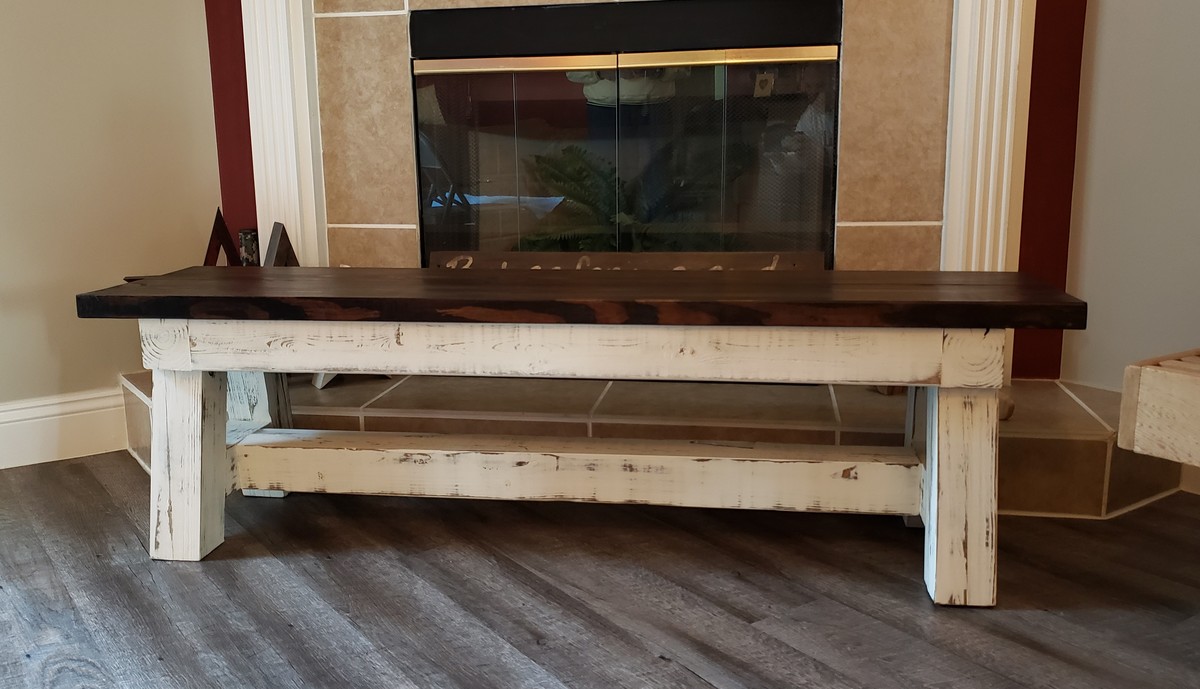
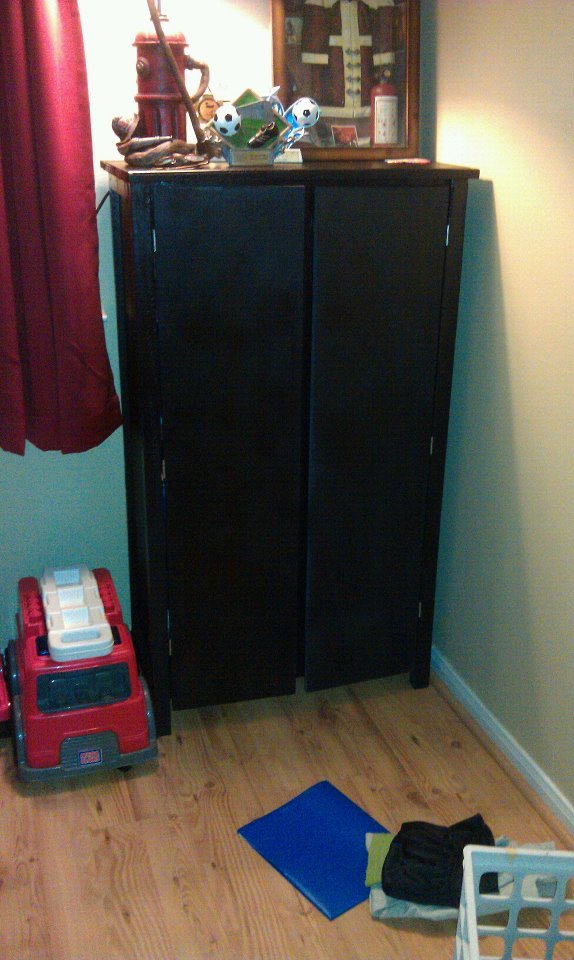
"Fireplace"
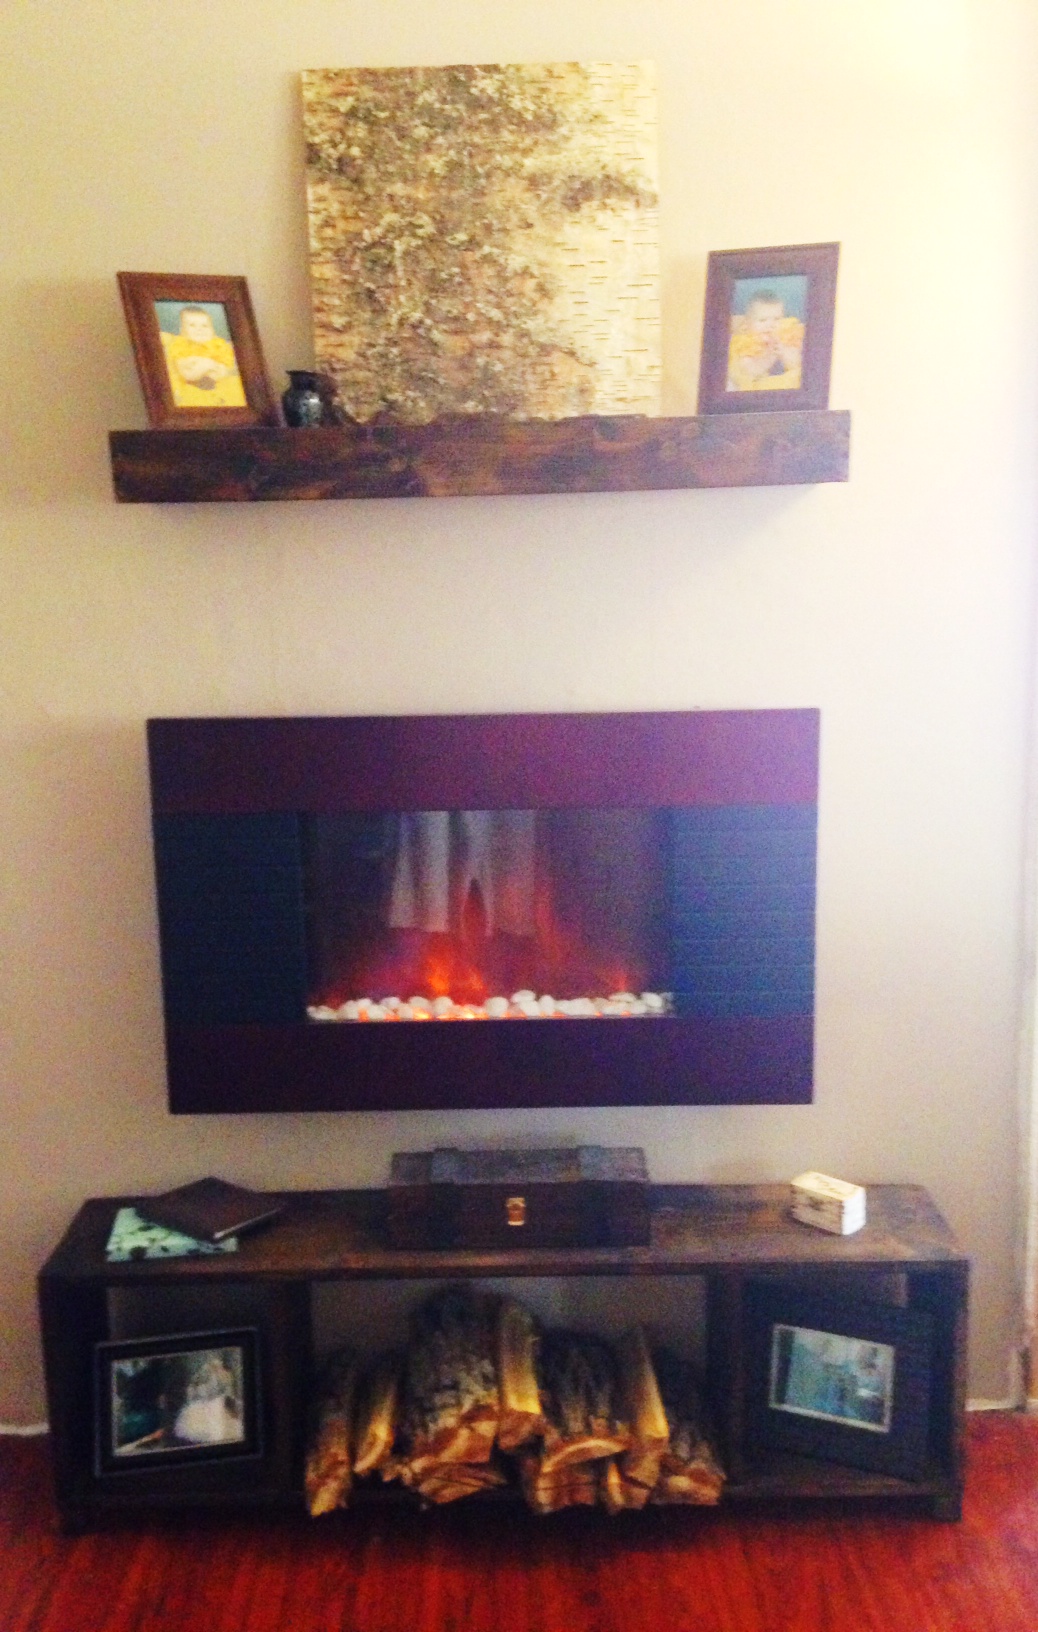
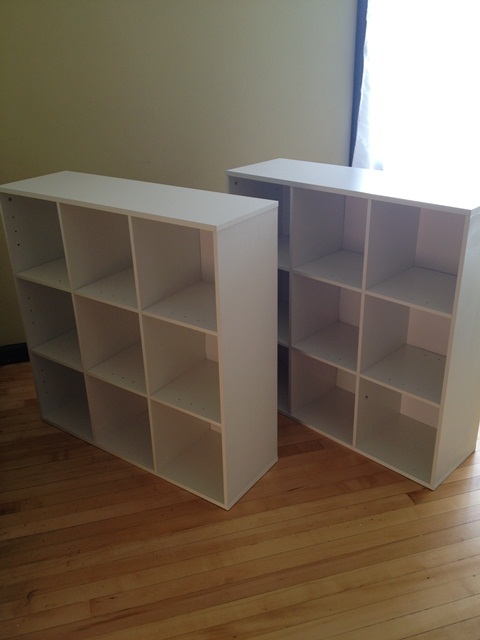
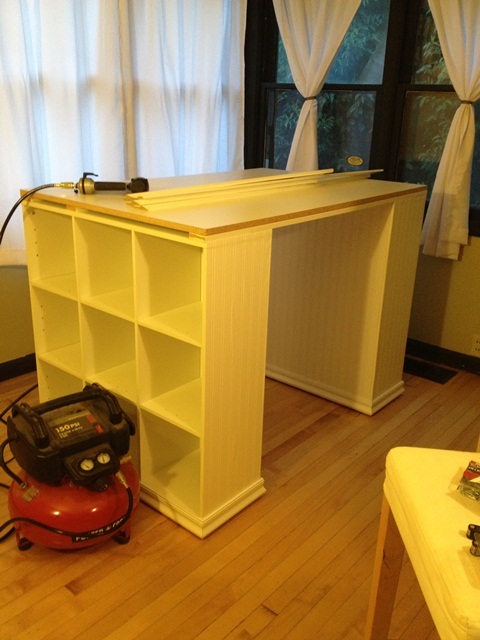
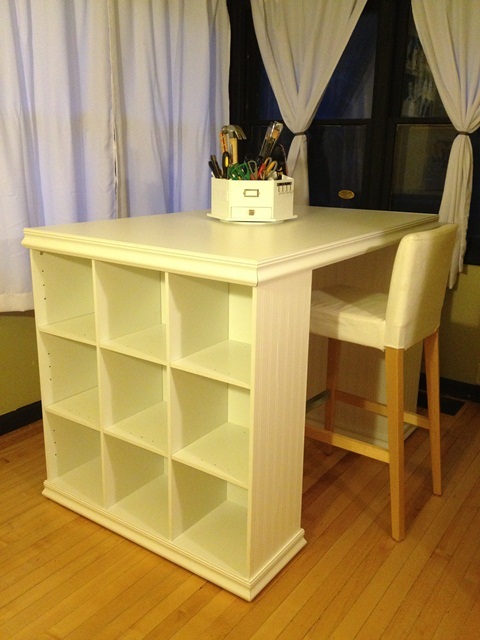
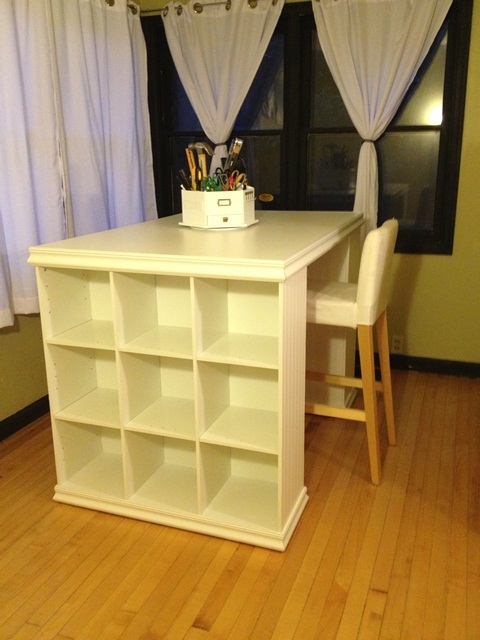
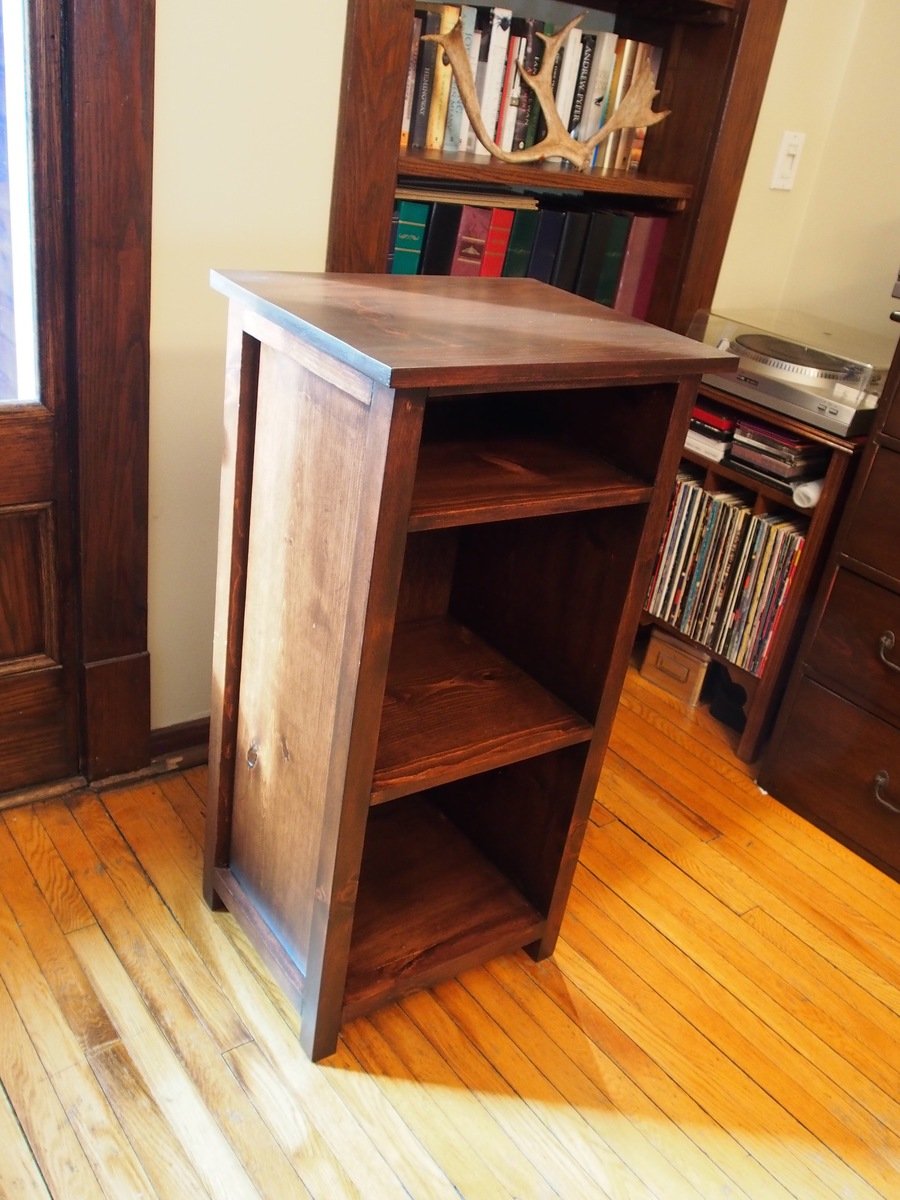
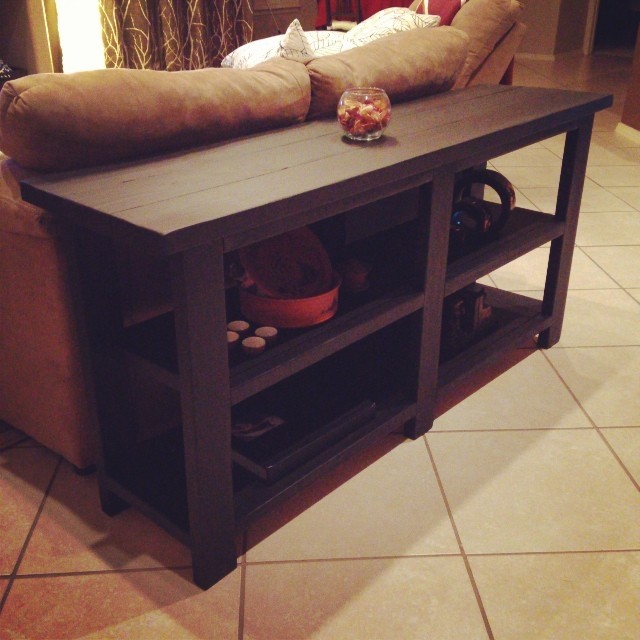
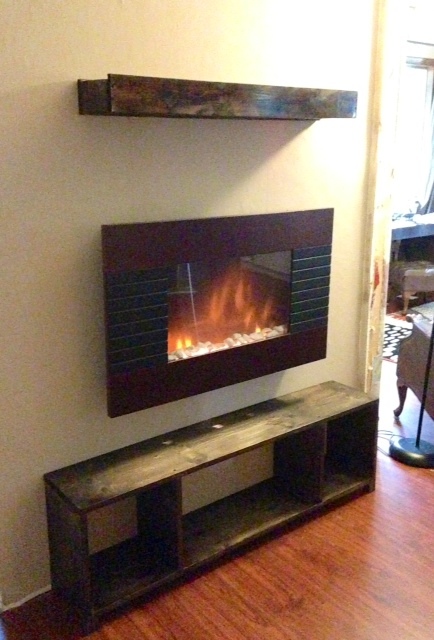
Only heating source for our house have been wood stove and some mornings we don't feel like starting a fire even if it is chilly, so we bought electric fire place. As our house is Scandinavian country romantic style, I wanted to make modern fireplace a bit more rustic.
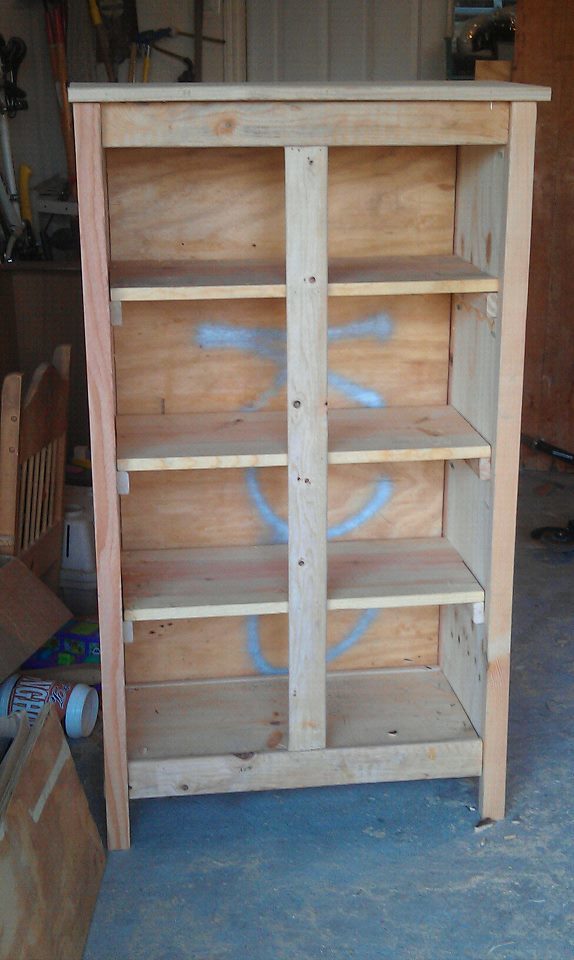
We are missing some beams and moldings, so it looks a bit "naked" now.
More about this project you can read in my blog:
http://ourleaningtree.wordpress.com/diy/fireplace/
Built from Plan(s)
Estimated Cost
left over lumber
Estimated Time Investment
An Hour or Two (0-2 Hours)
Finish Used
Minwax Dark walnut
Recommended Skill Level
Beginner