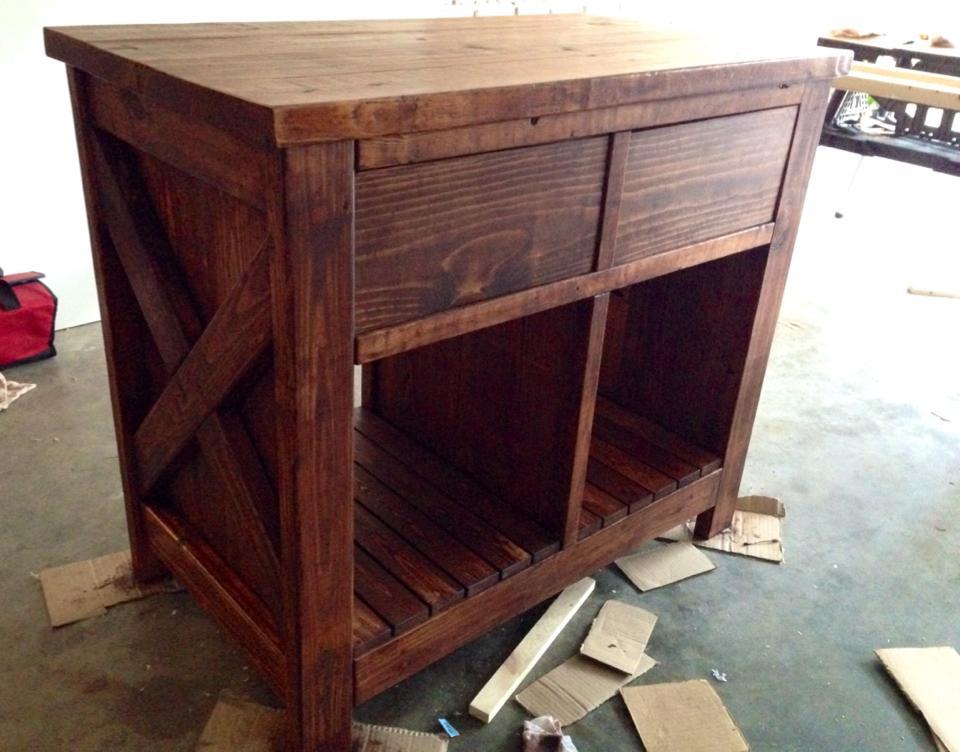
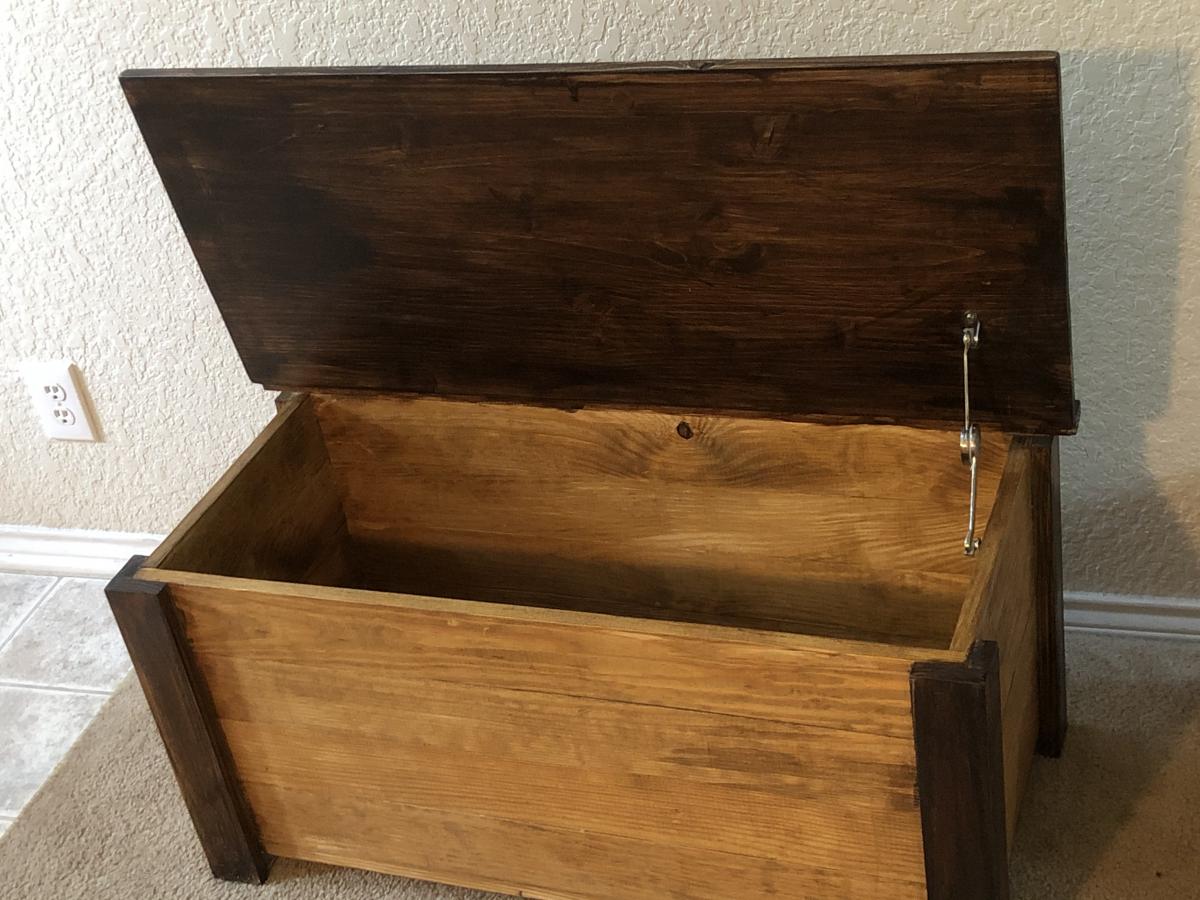
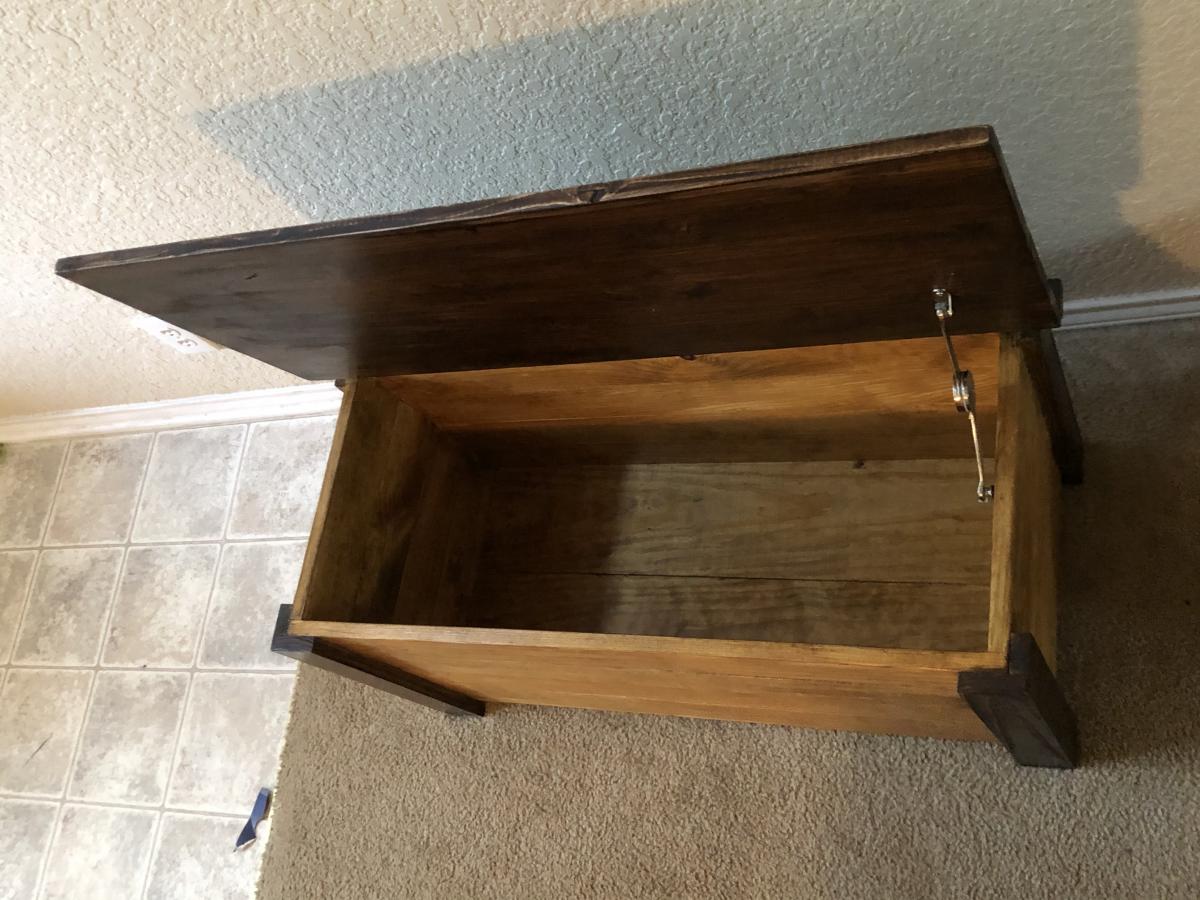
Modified Rustic X Kitchen Island
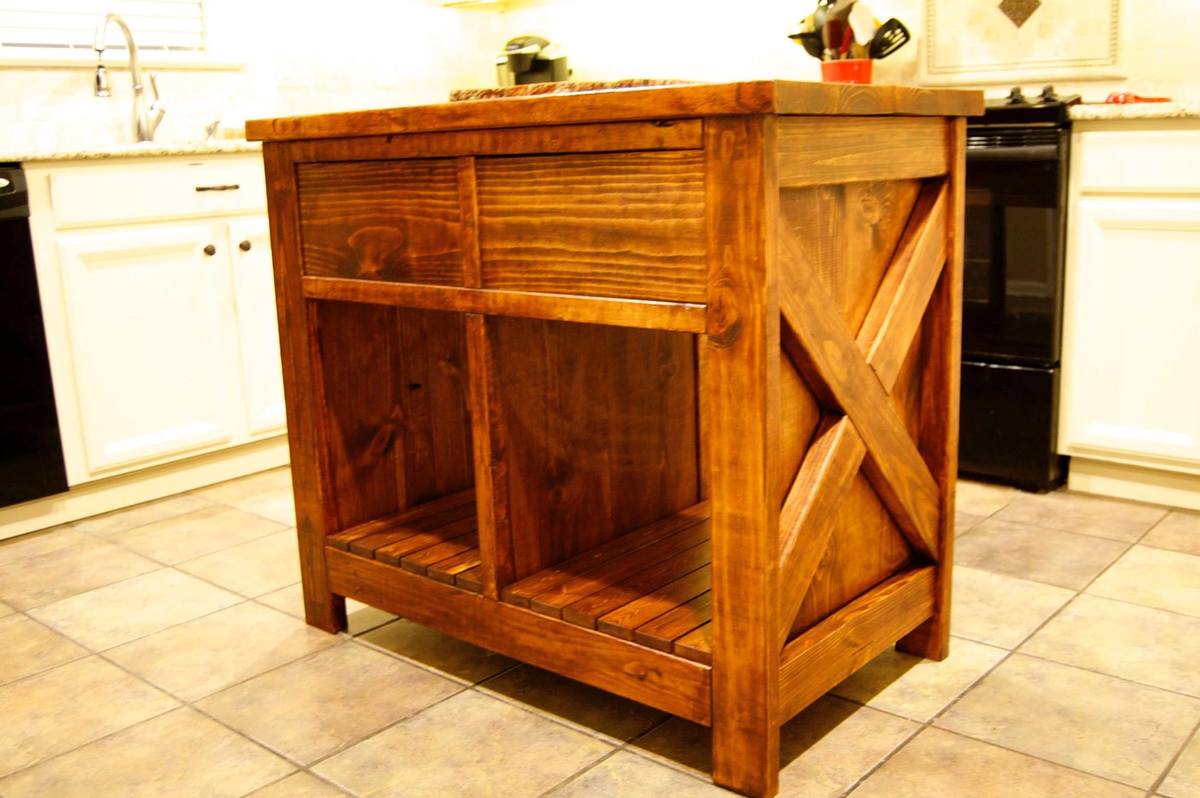
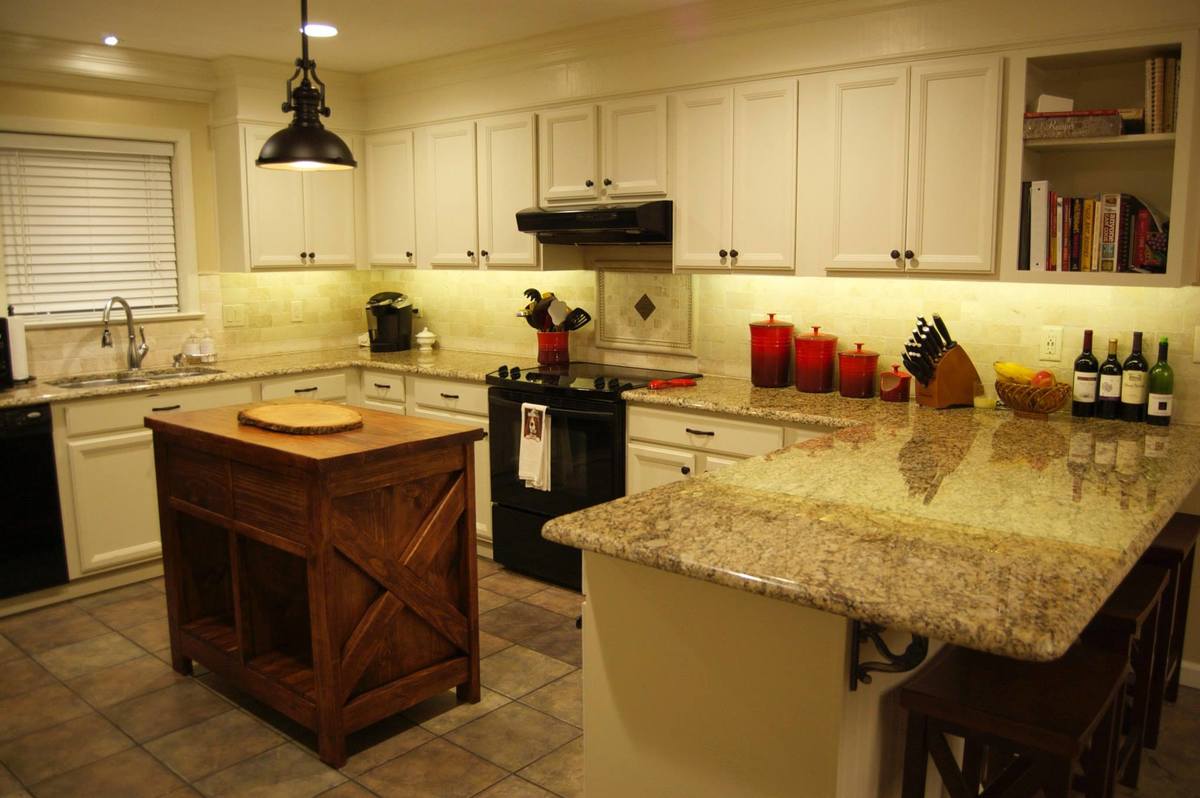
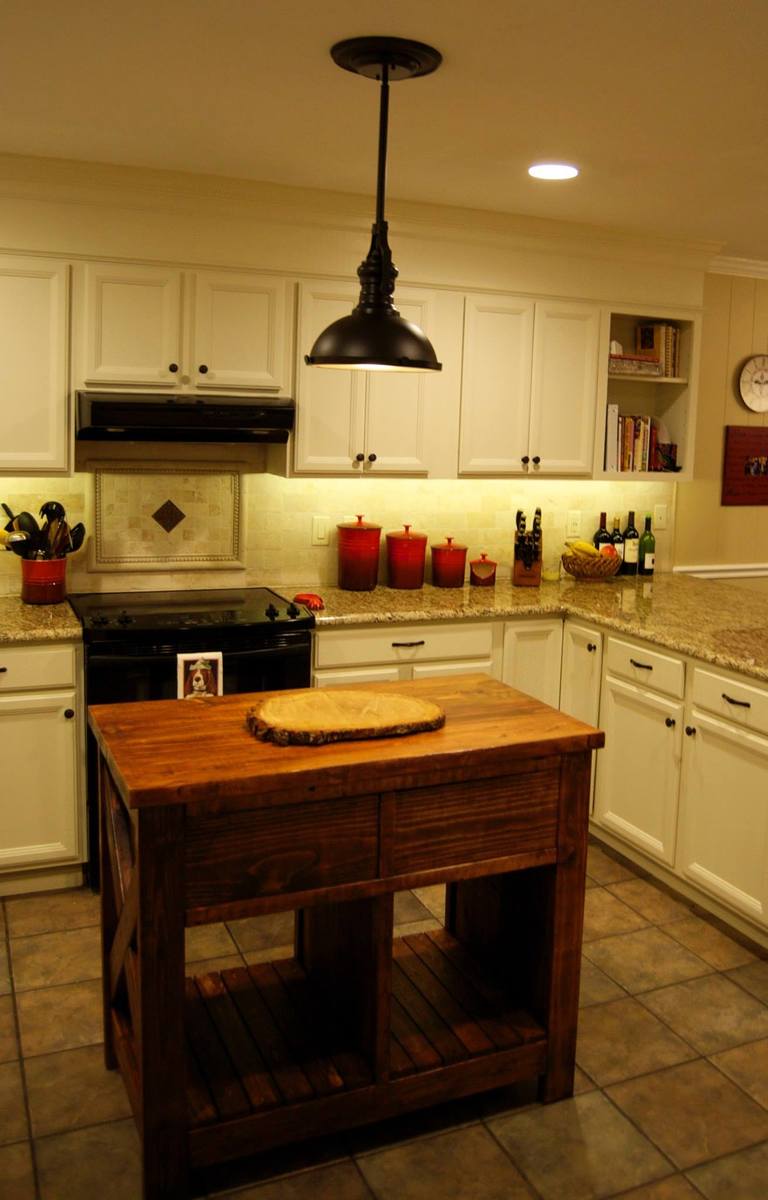
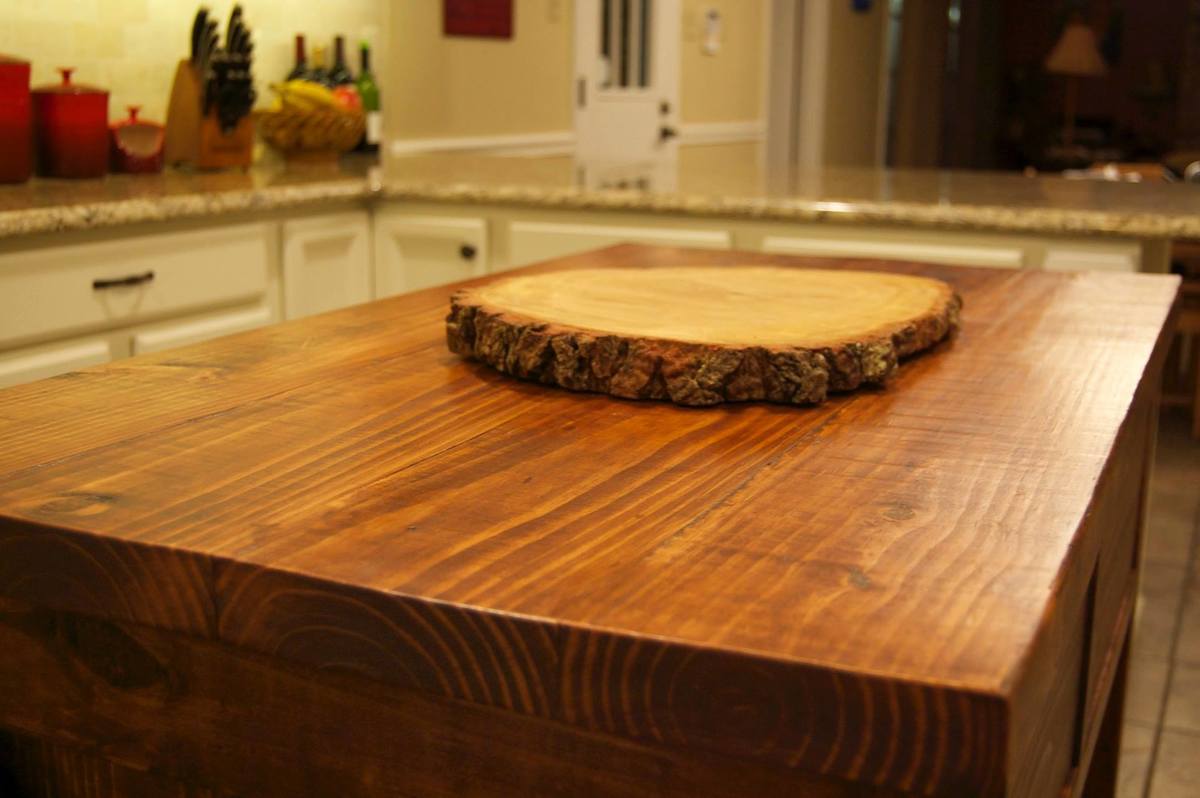
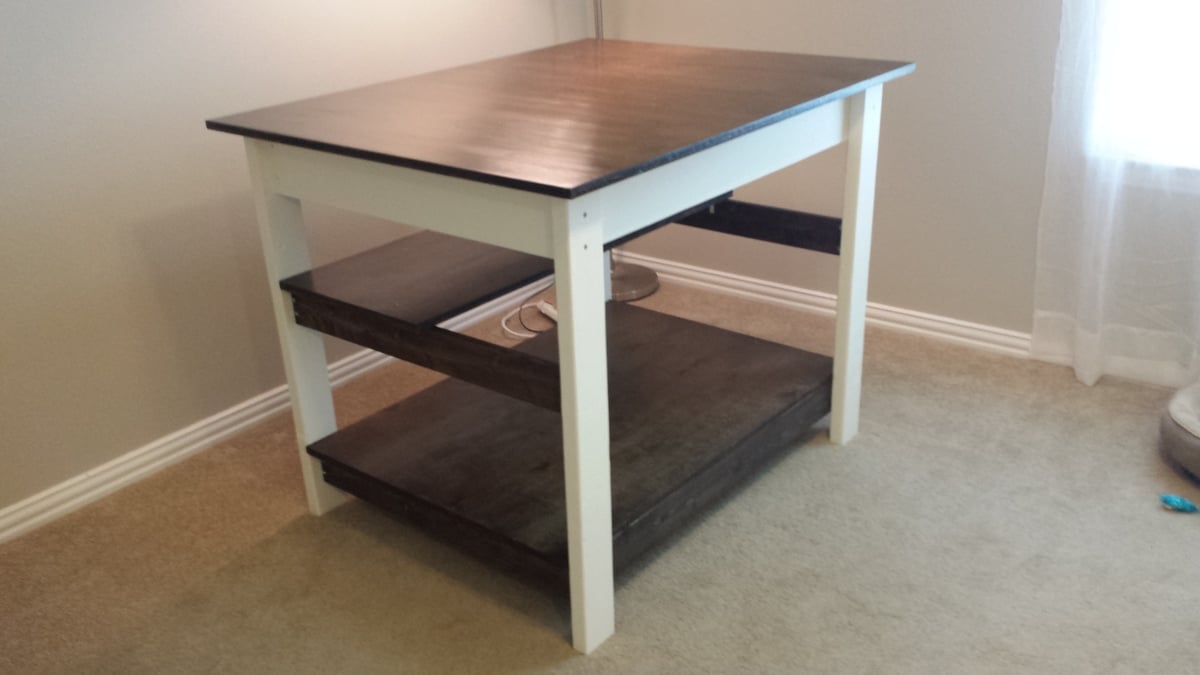
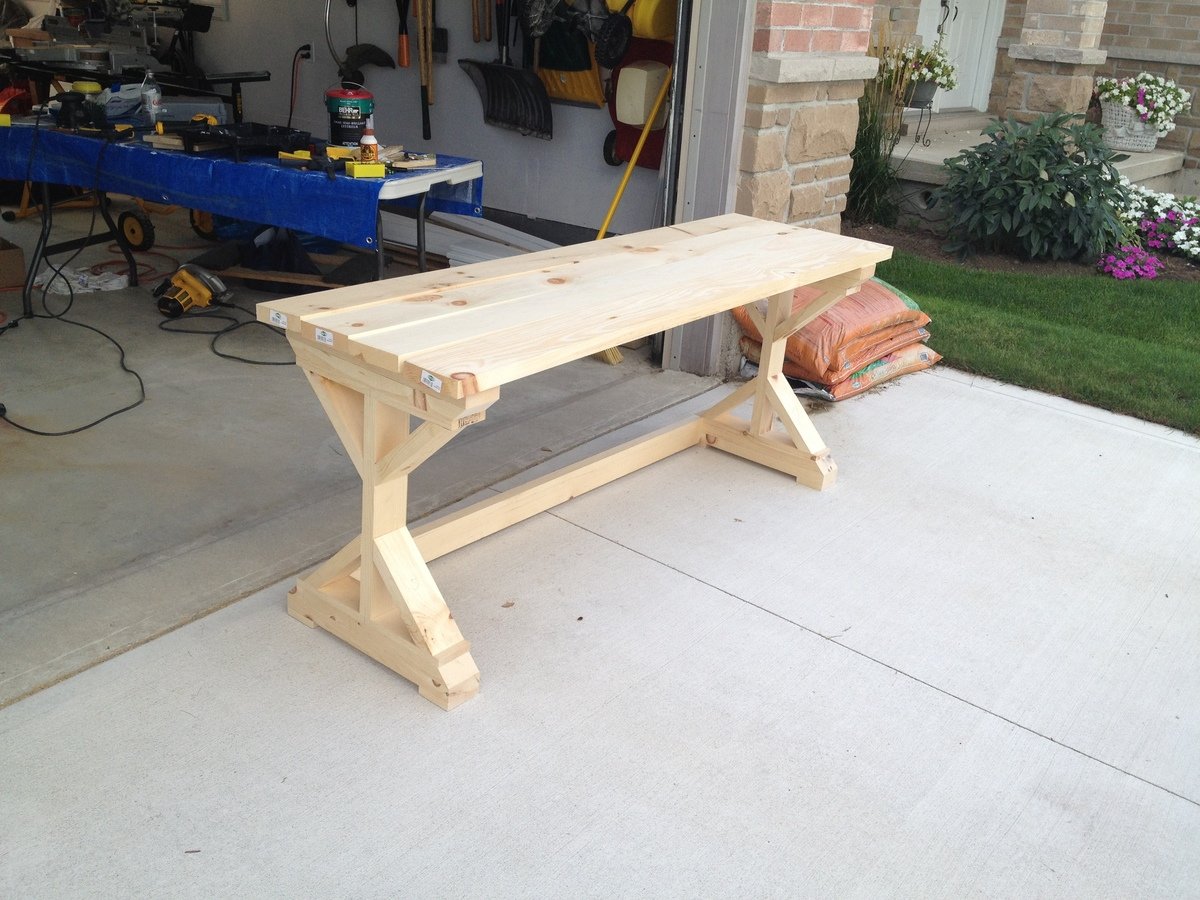
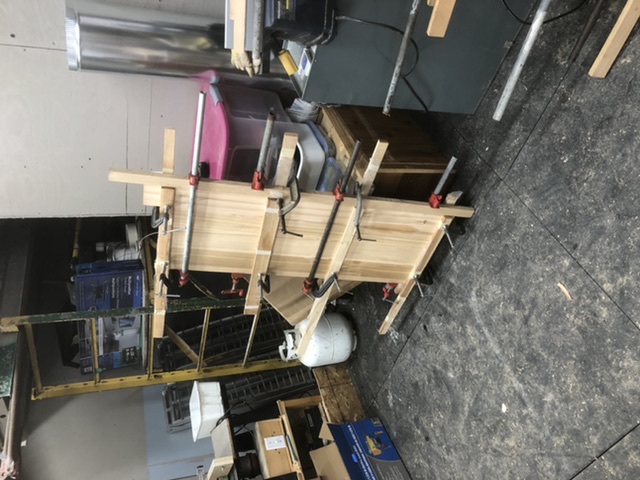
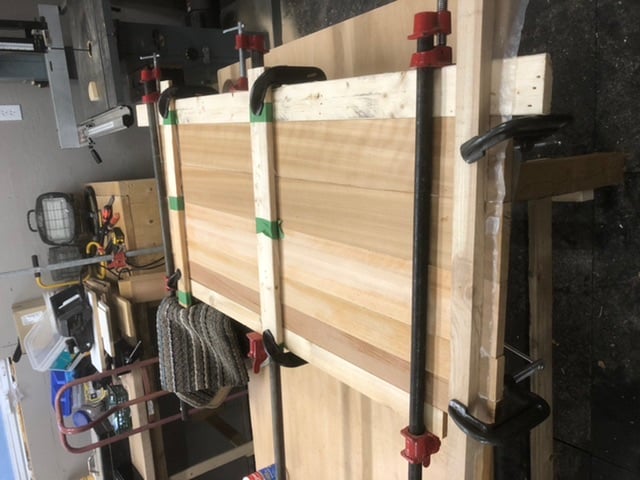
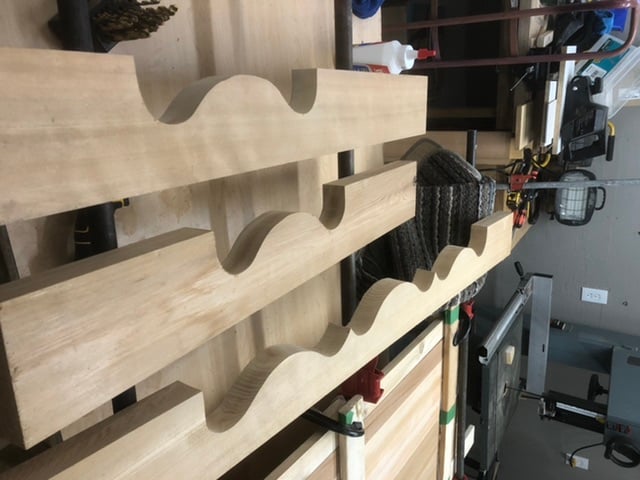
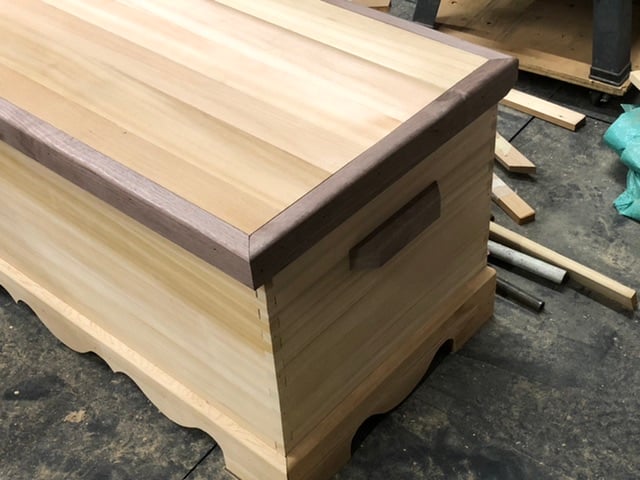
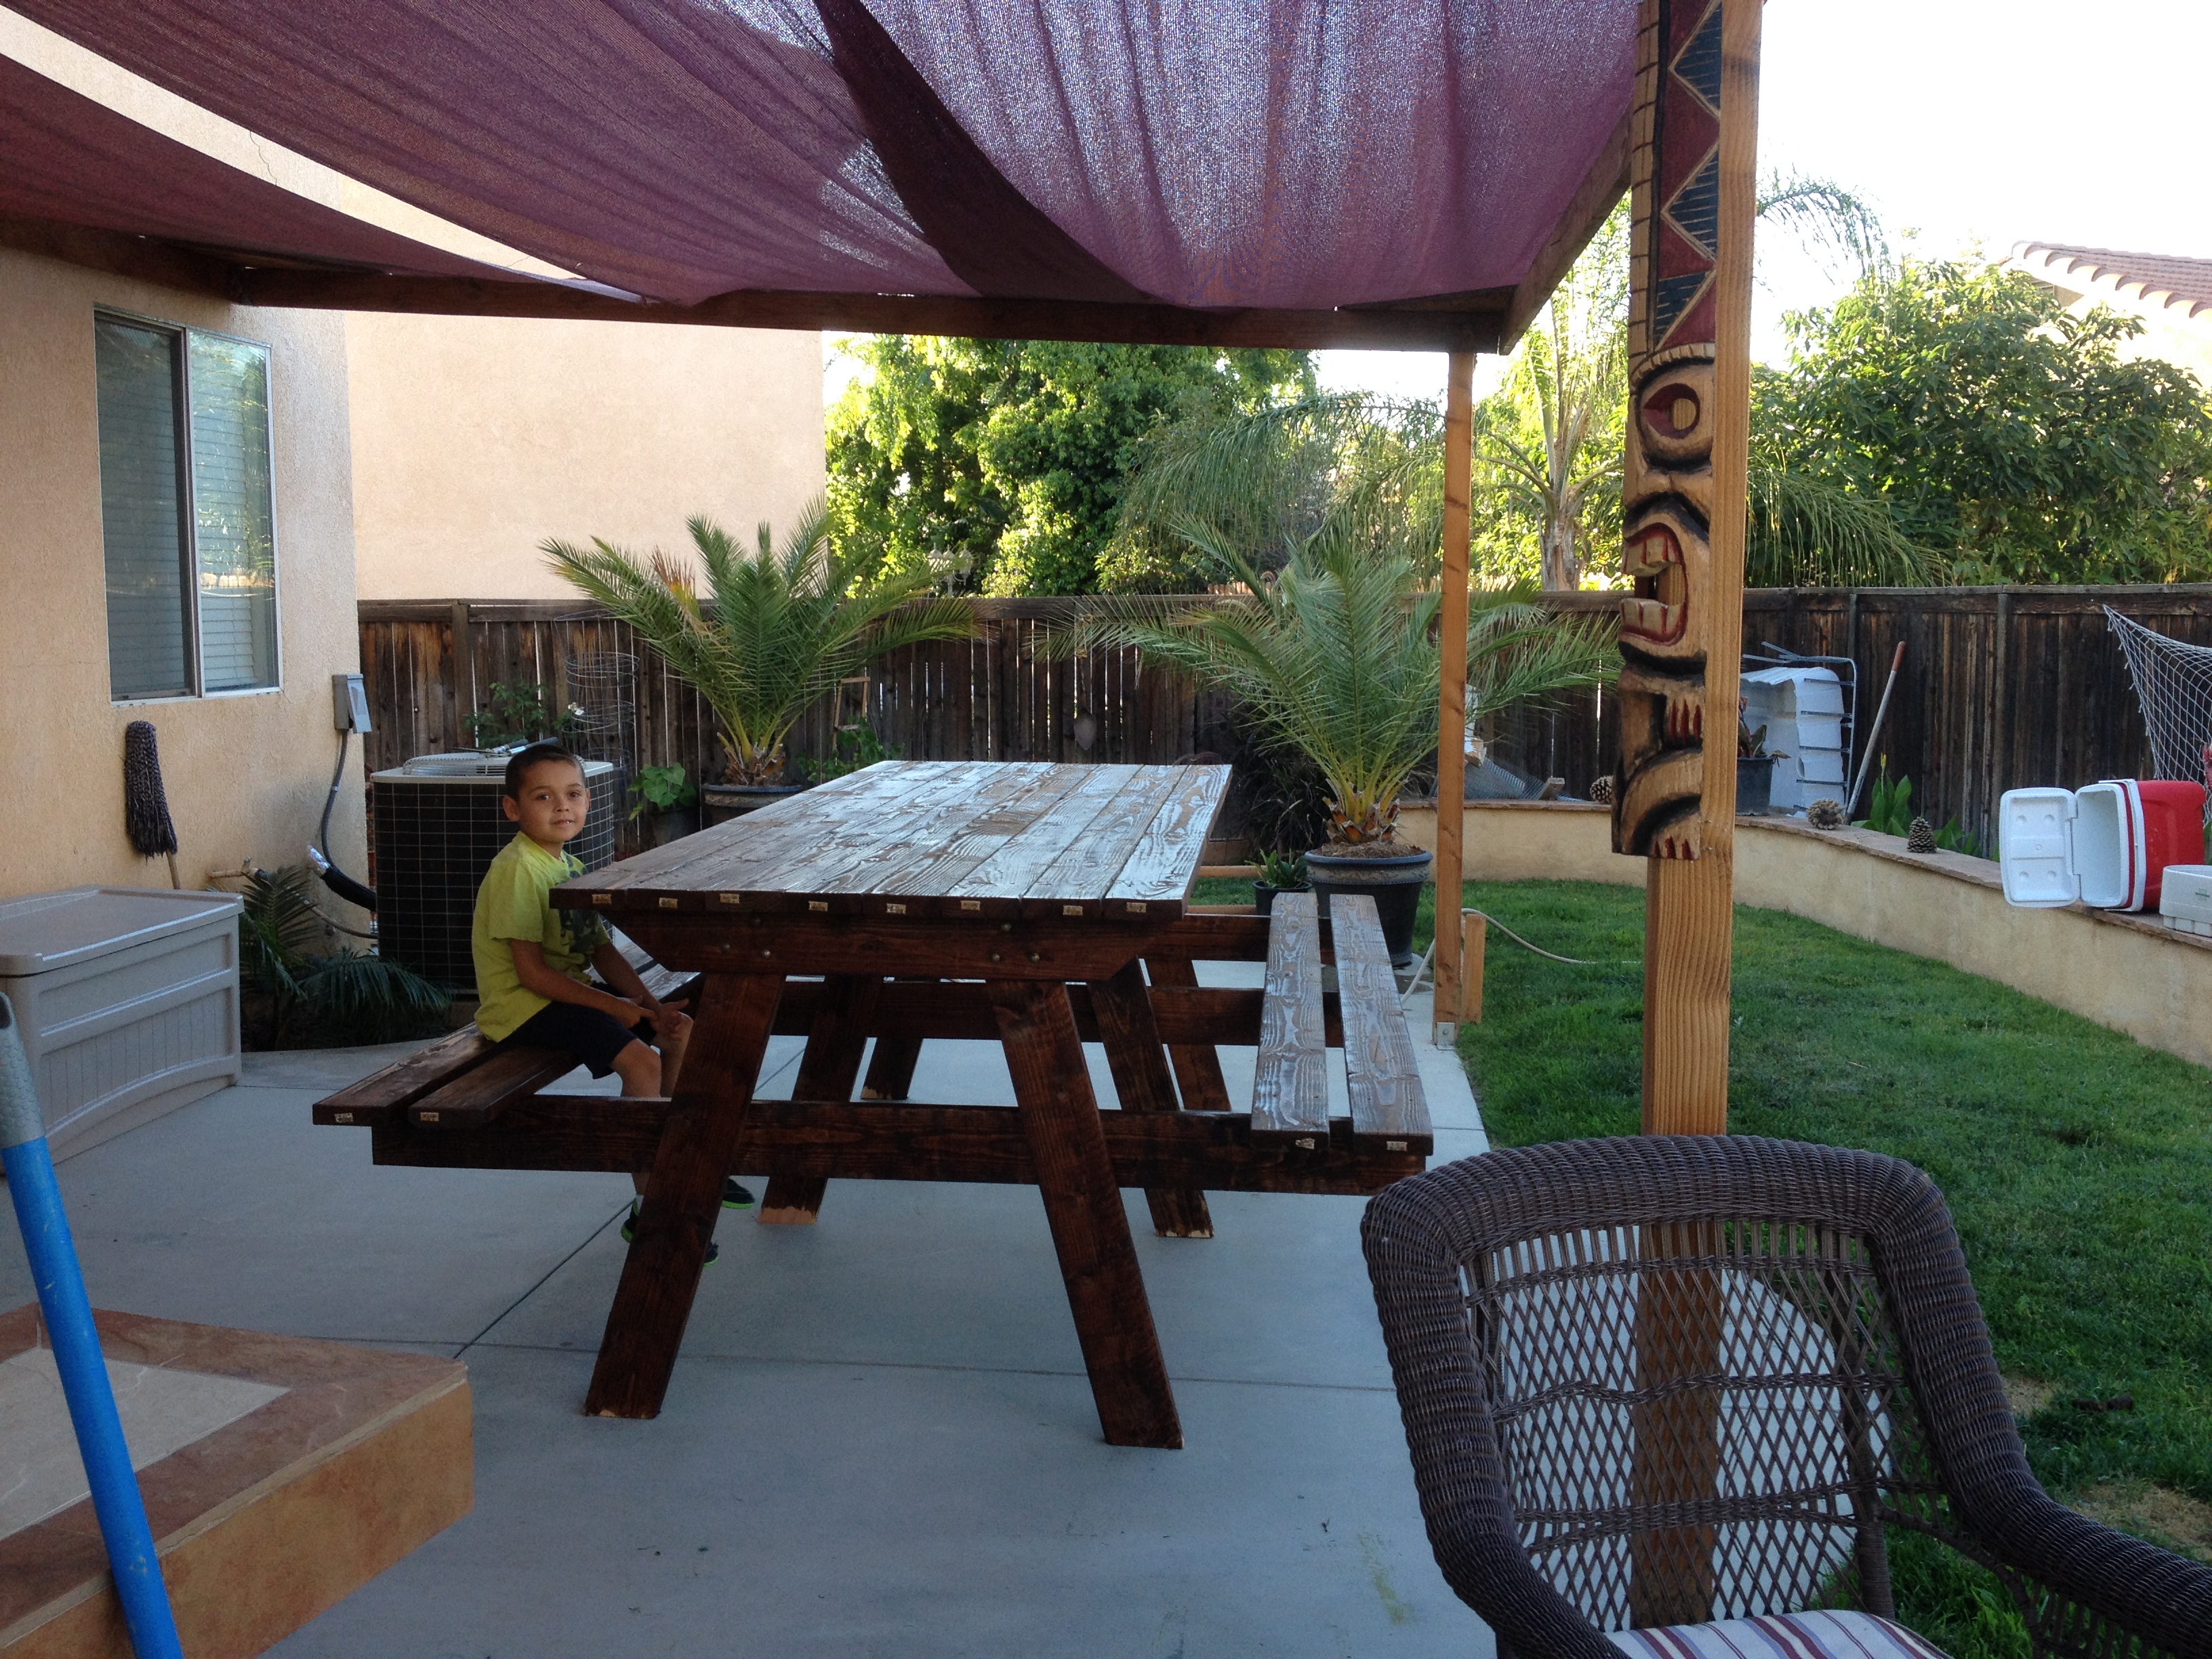
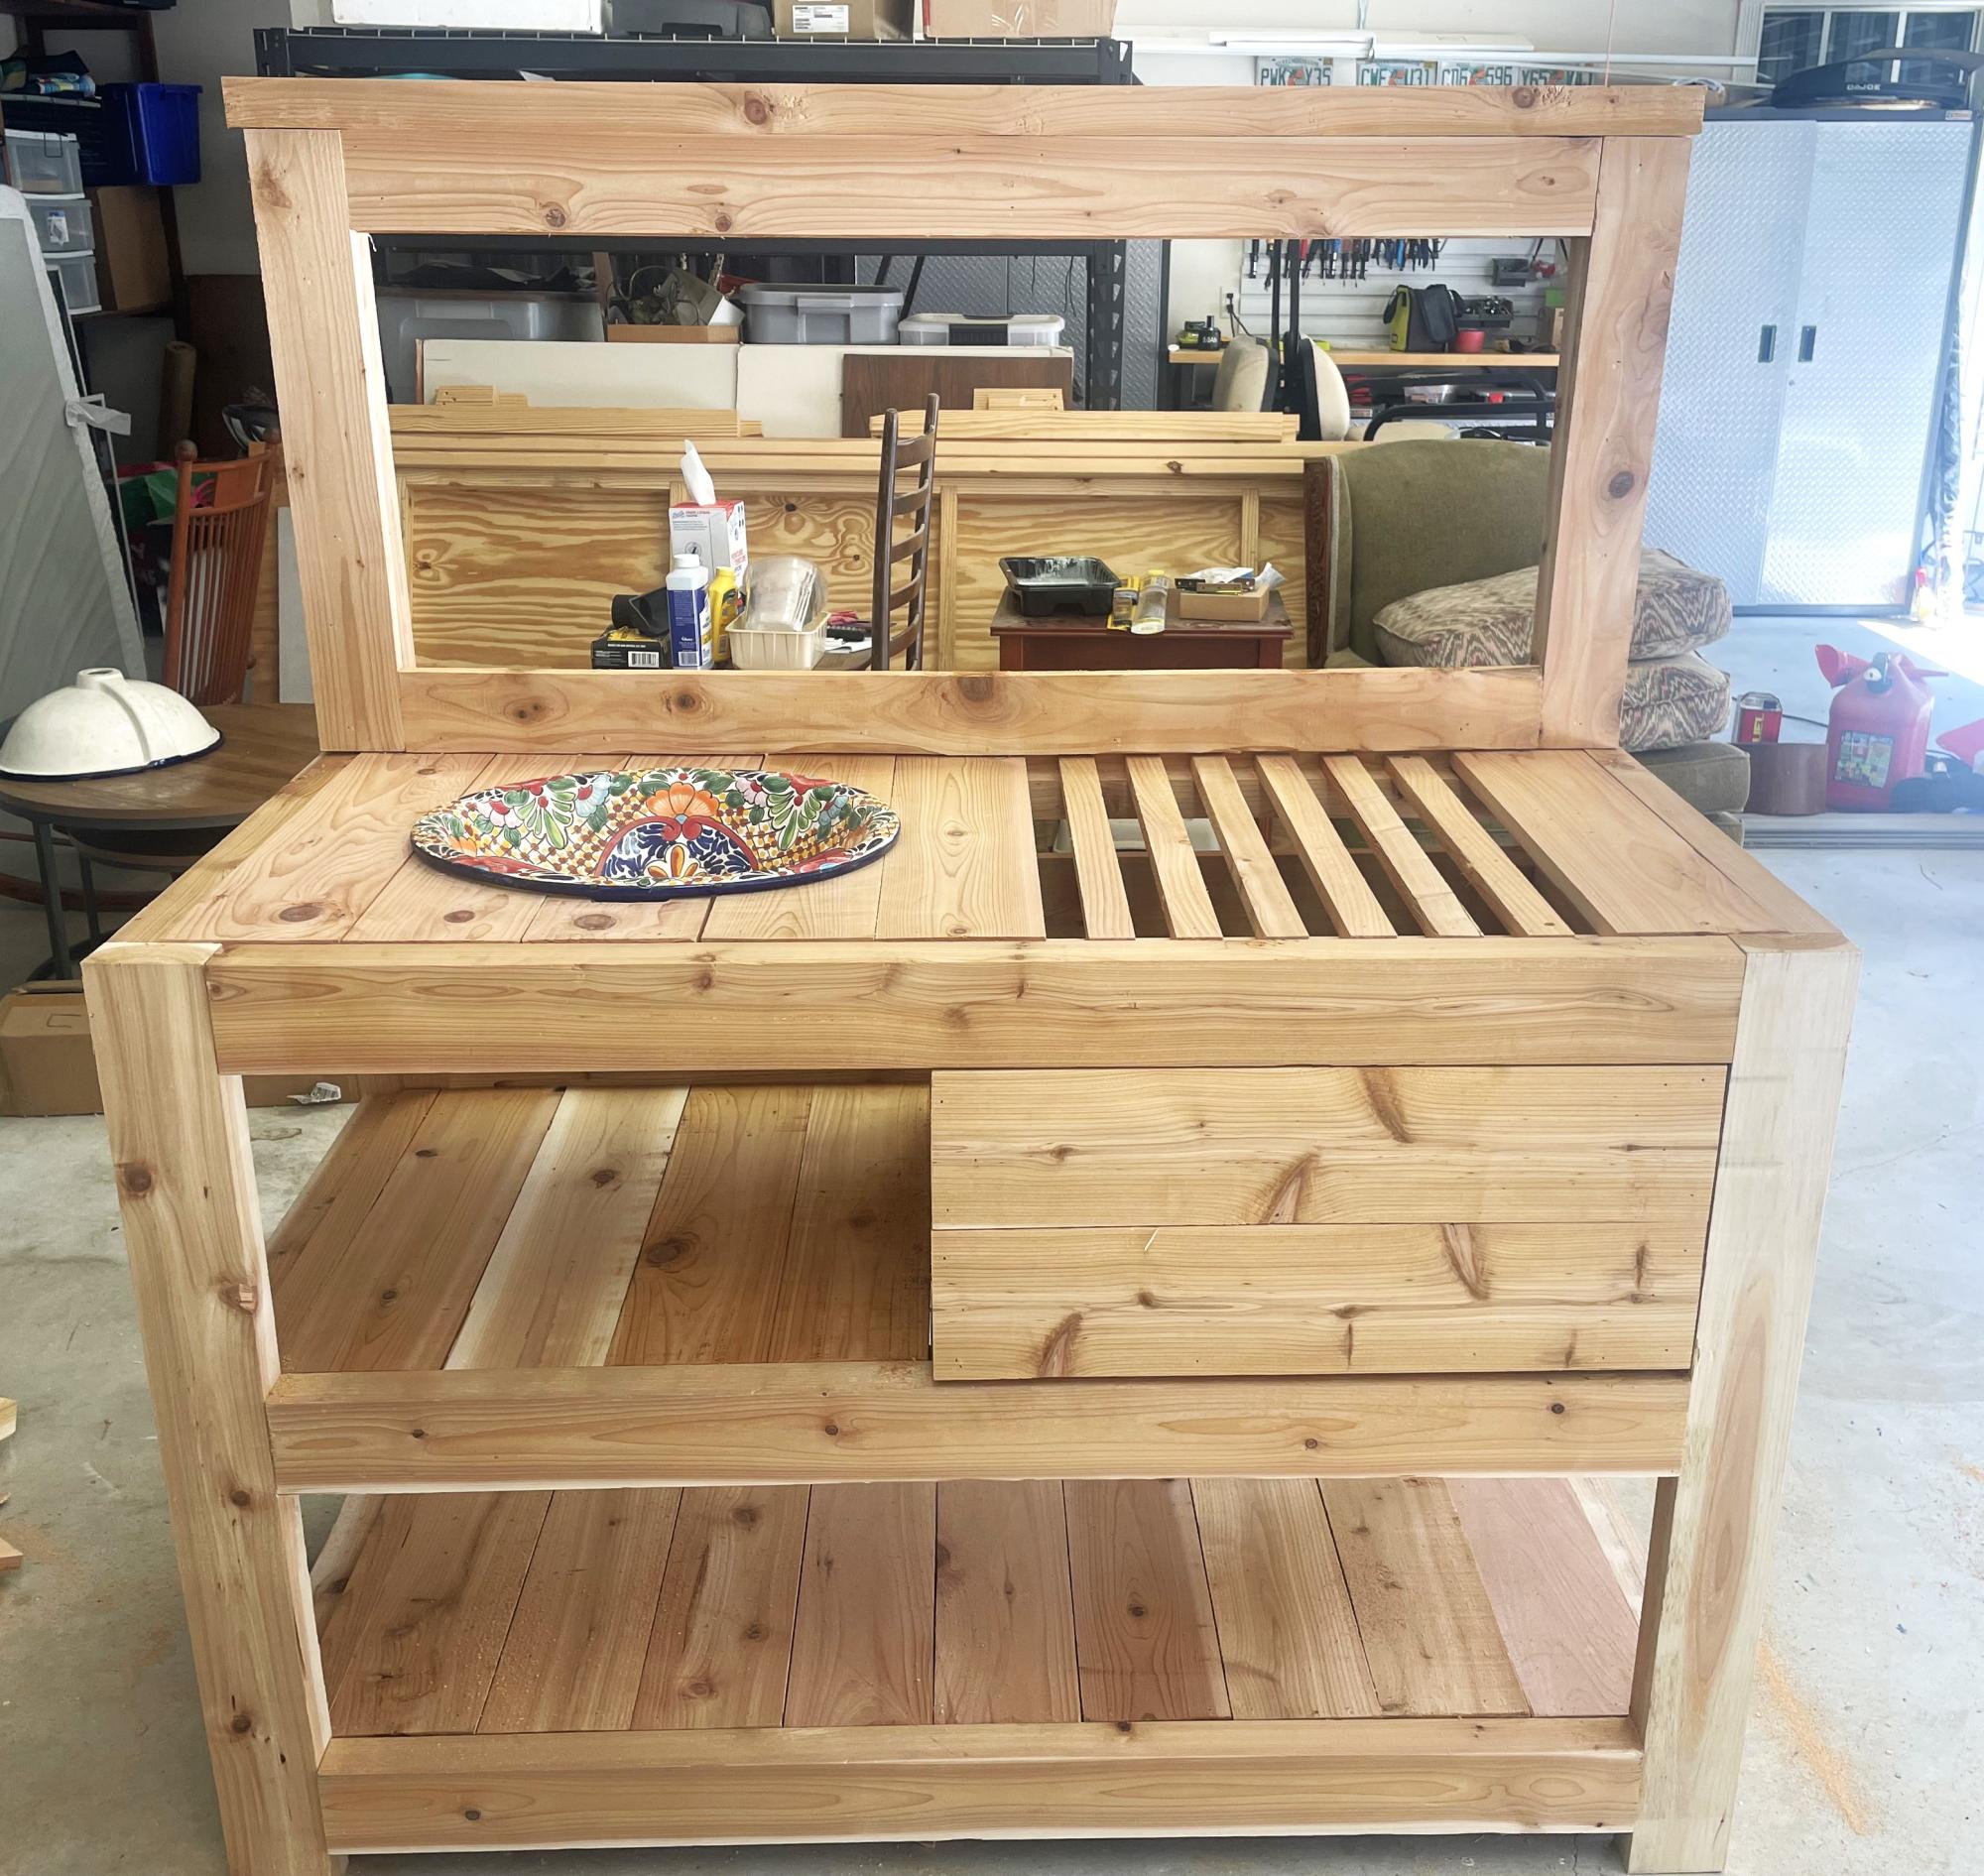
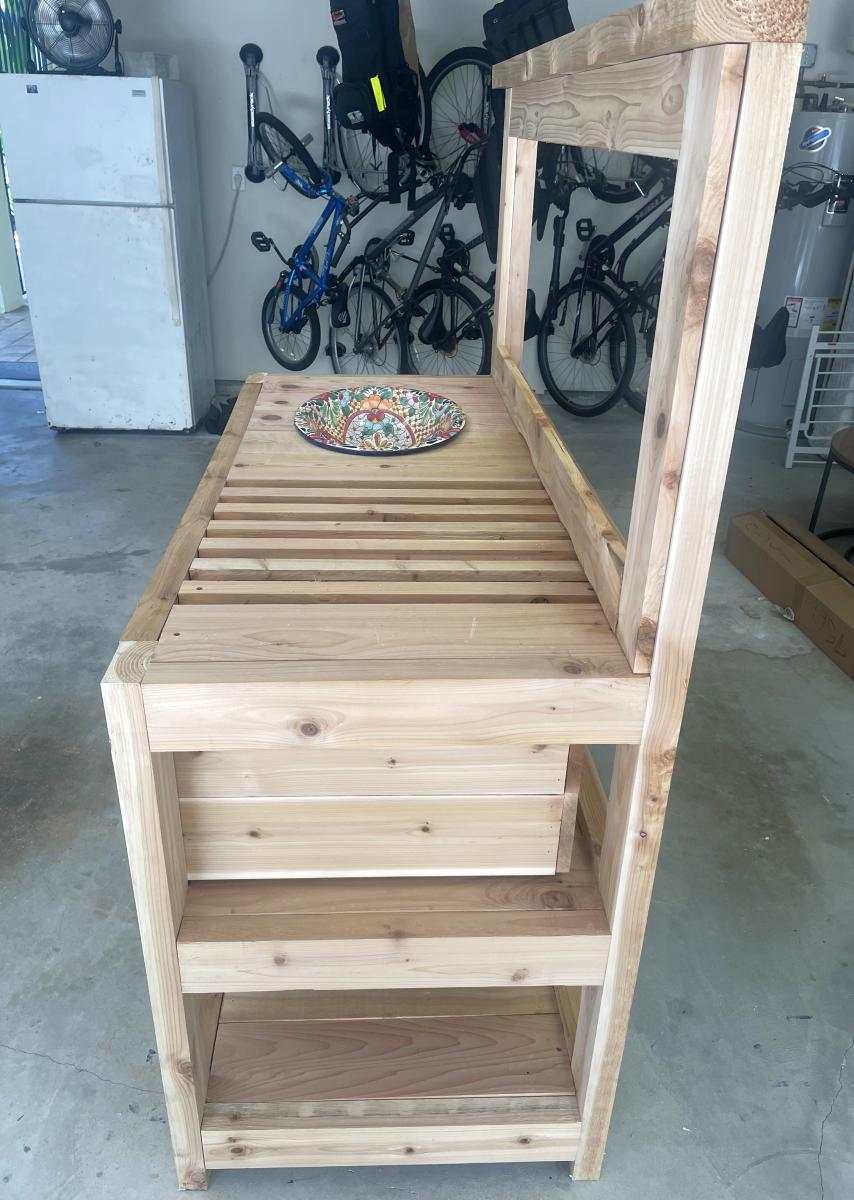
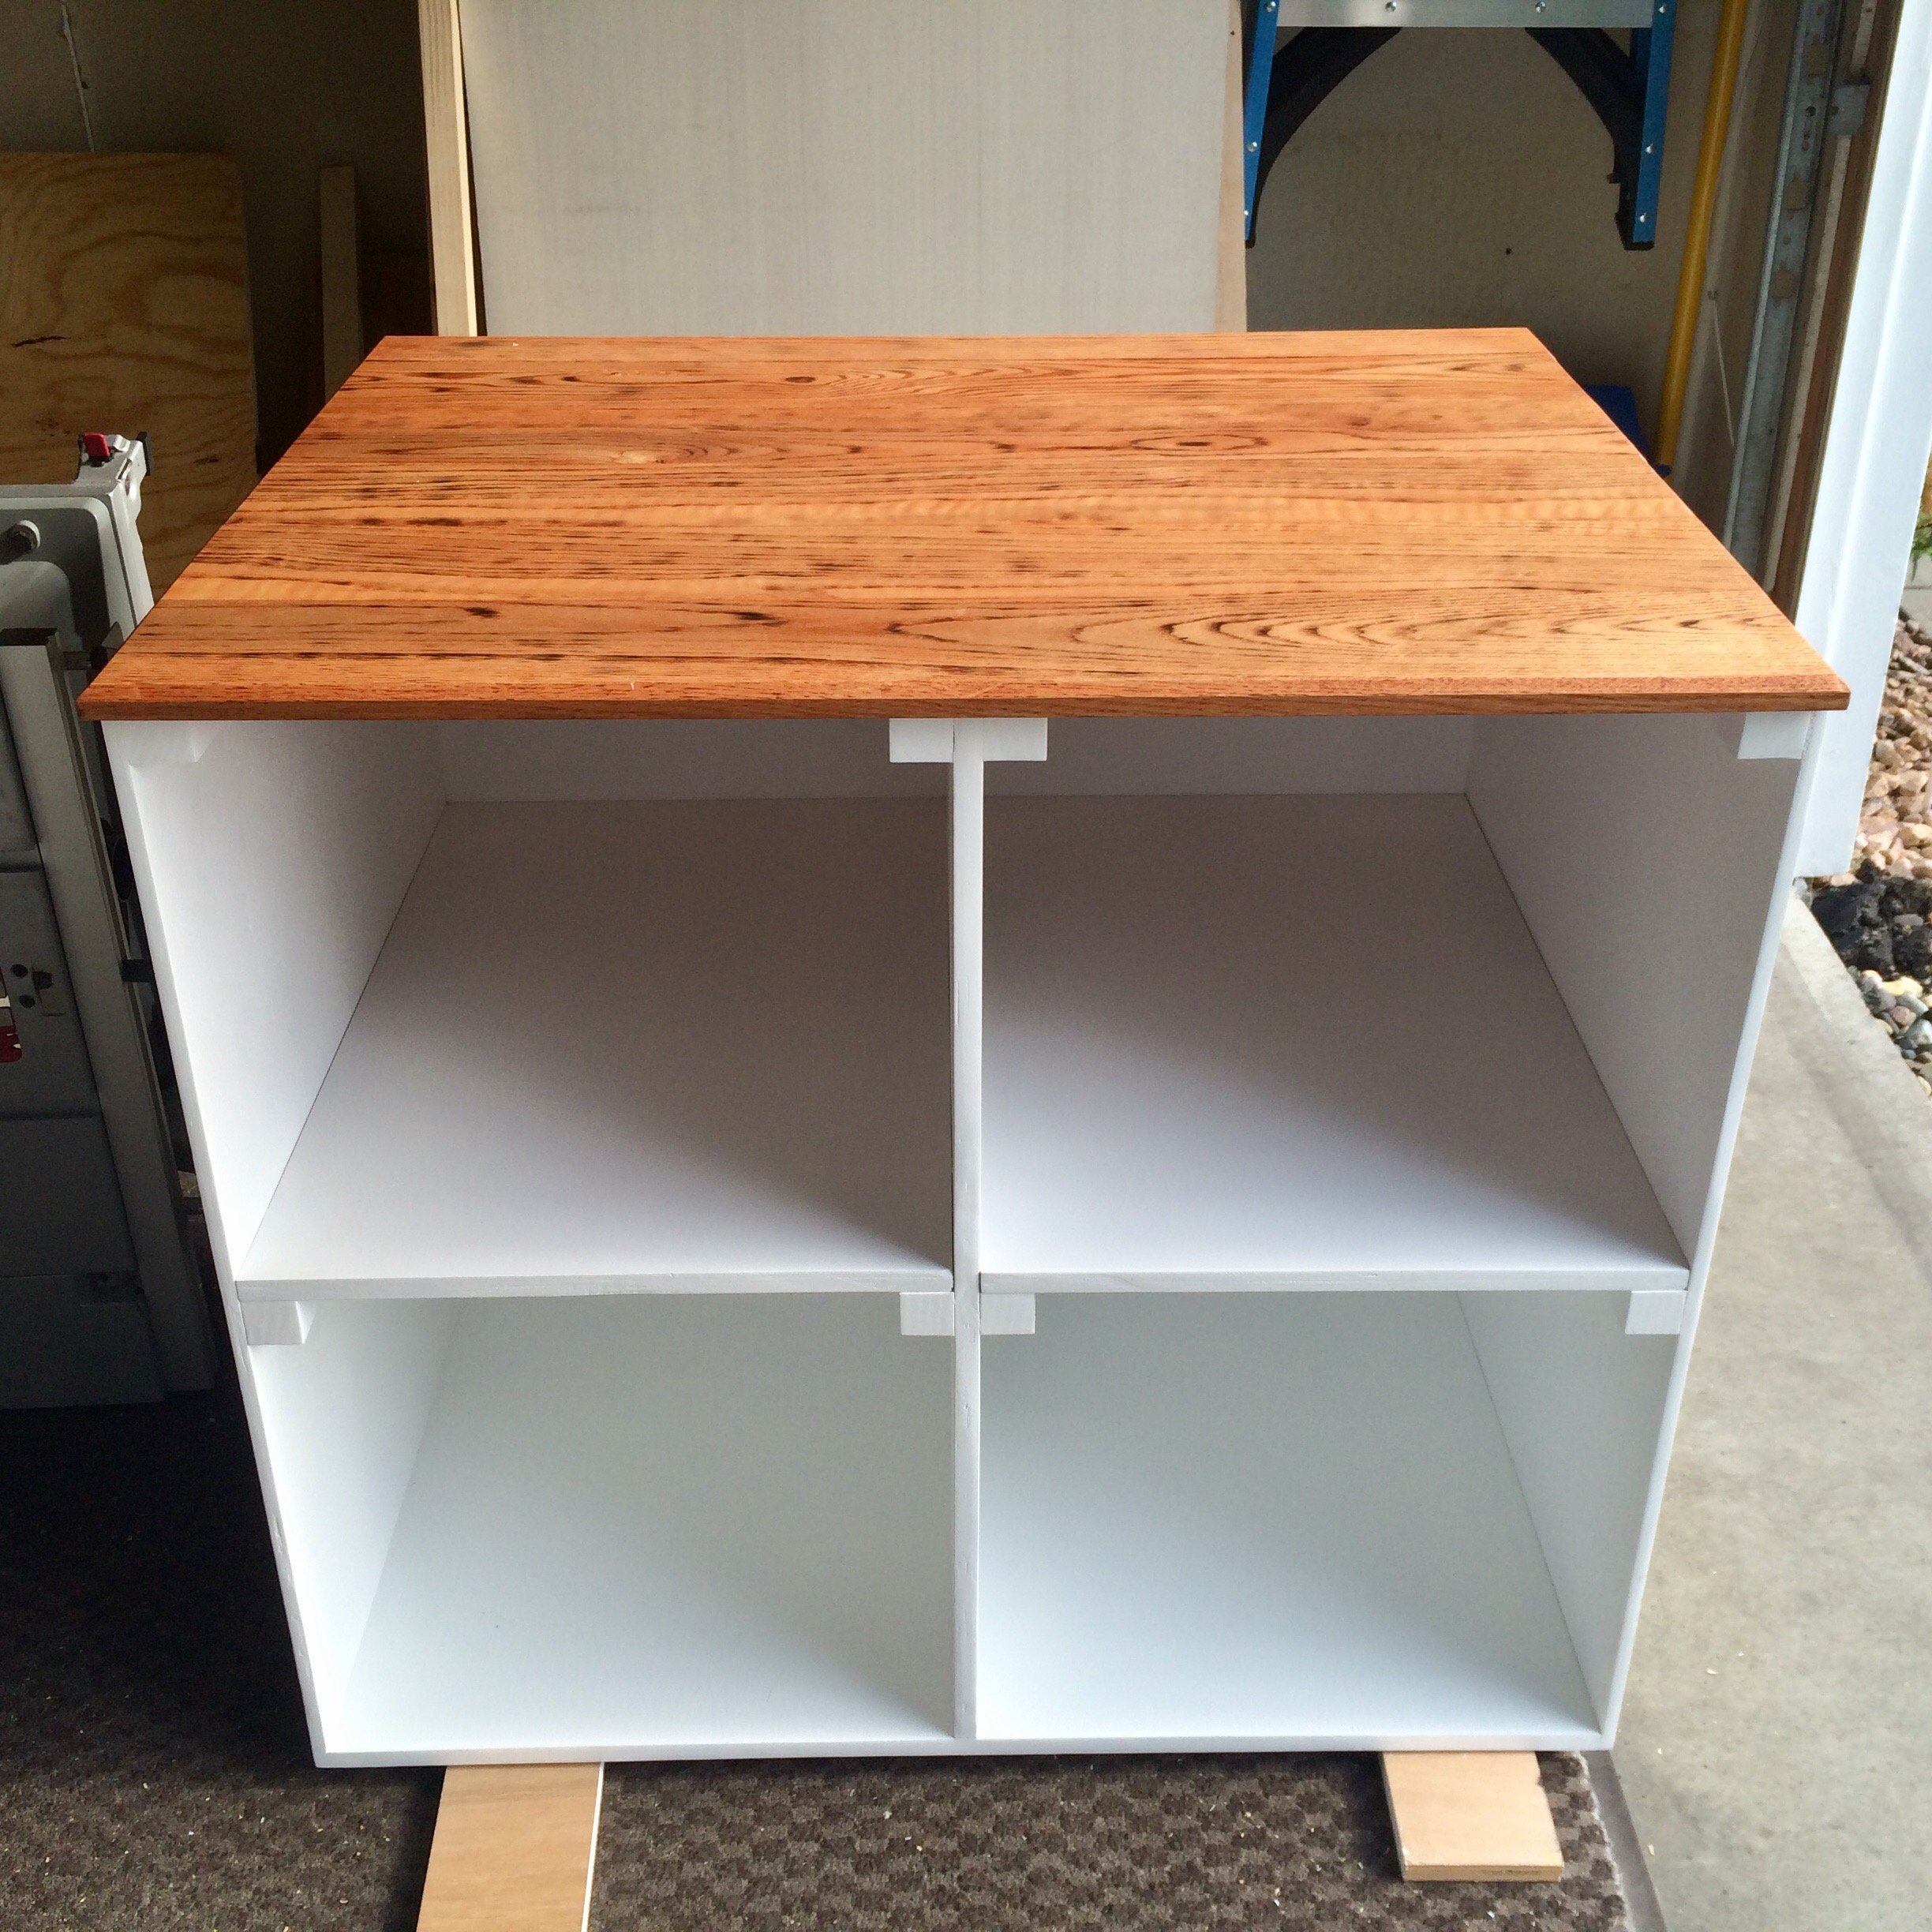
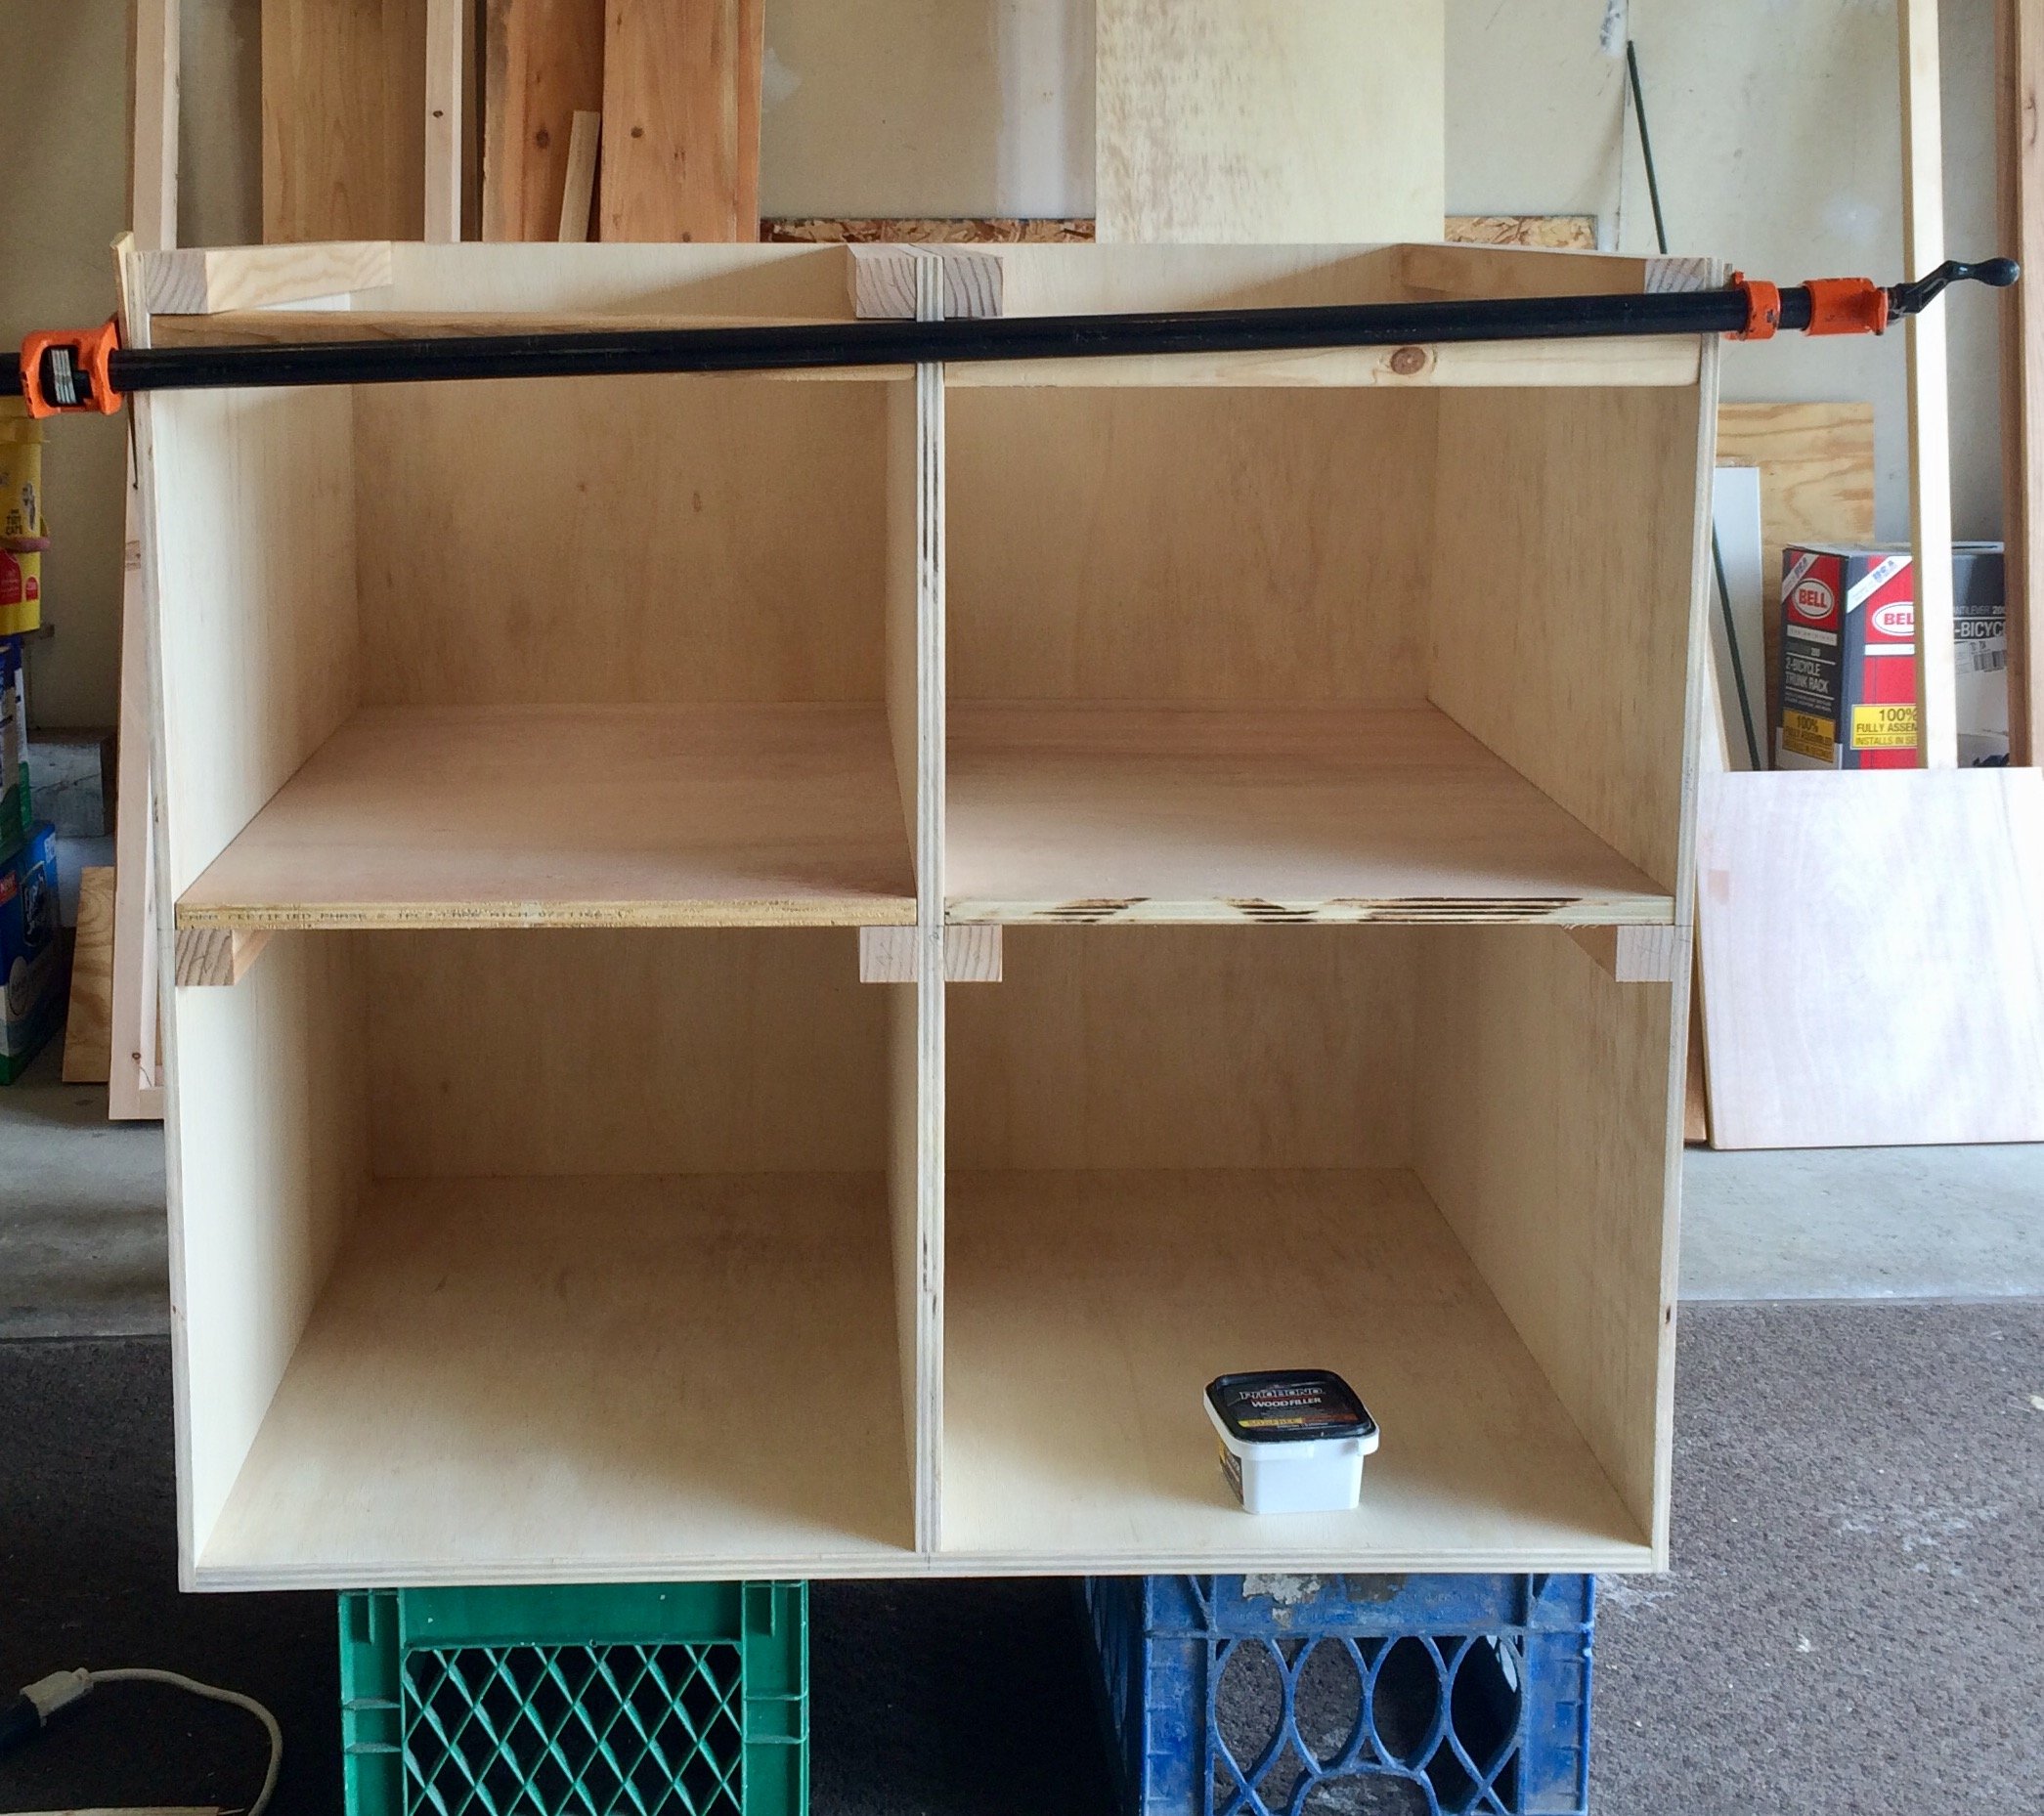
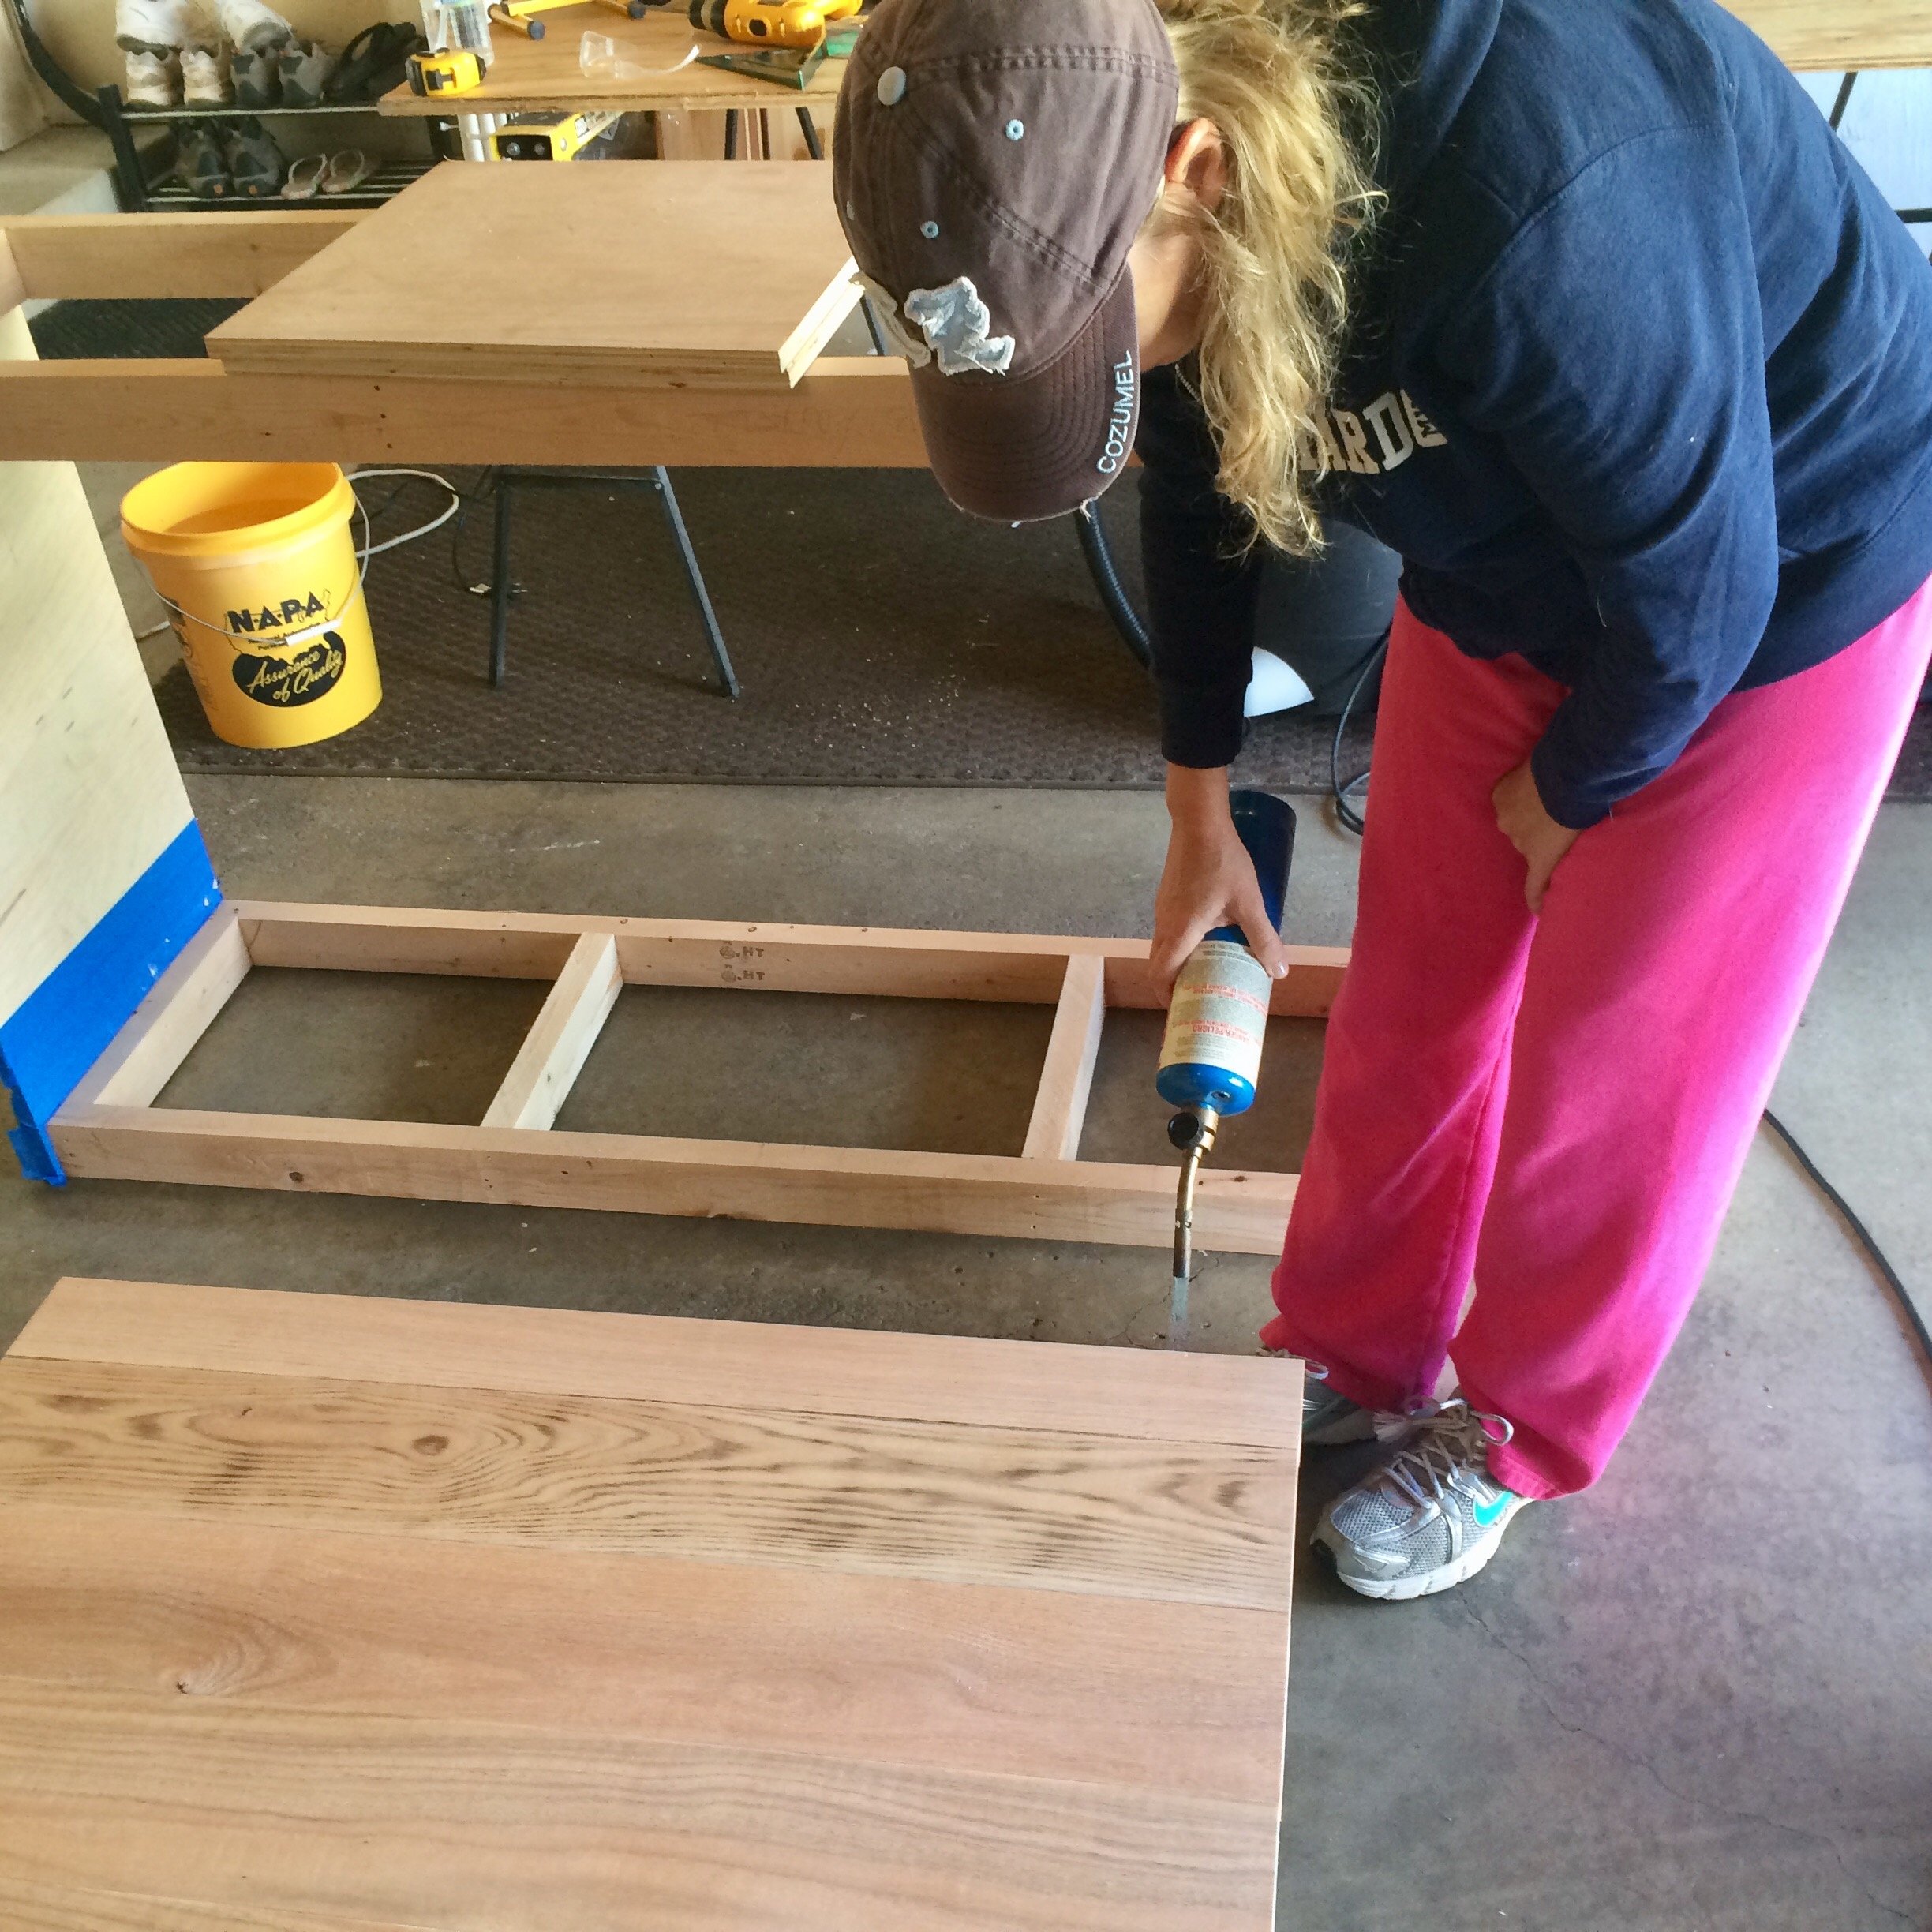
This is a my take on the Rustic X Kitchen Island. I couldn't find an island that was the right size for my space, so I modified this plan to fit. It is 24x42. I built the slat shelves, drawers, and side boards to go the full width of the piece. I also made the top by ripping 2x8's, and joining them with Kreg pocket holes and wood glue. Instead of using casters, I just cut the legs a little bit longer. This thing is pretty heavy and does not move. After it was in use, I added some additional 12" deep shelves. I finished it by hand rubbing with General Finishes Gel Stain in Brown Mahogany and their Gel Topcoat.

Built from Plan(s)
Estimated Cost
$150 ($50 of that for the General Finishes products)
Estimated Time Investment
Weekend Project (10-20 Hours)
Finish Used
General Finishes Brown Mahogany and Gel Topcoat.
Recommended Skill Level
Beginner


Comments
Ana White Admin
Sat, 06/21/2014 - 11:53
Beautiful!
Great build and finish! Thanks for sharing!