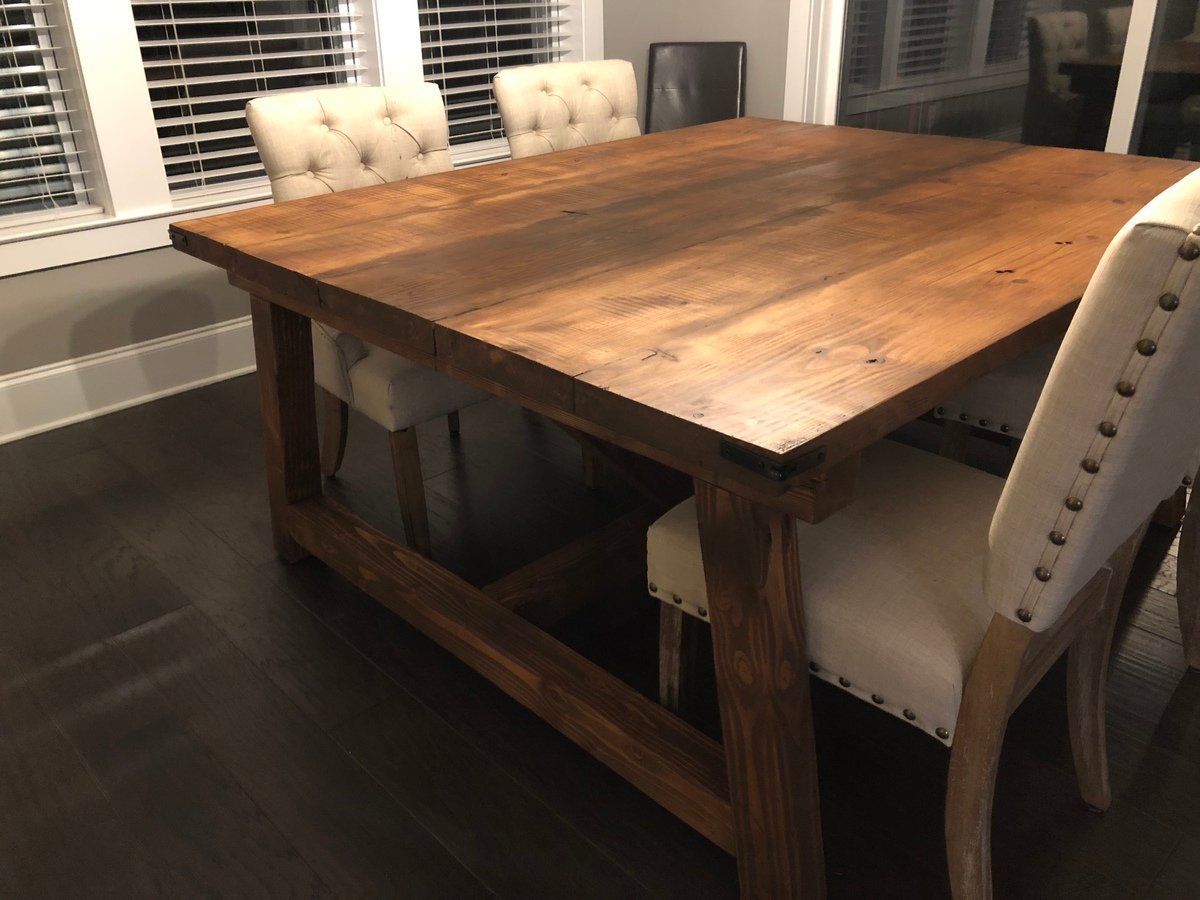
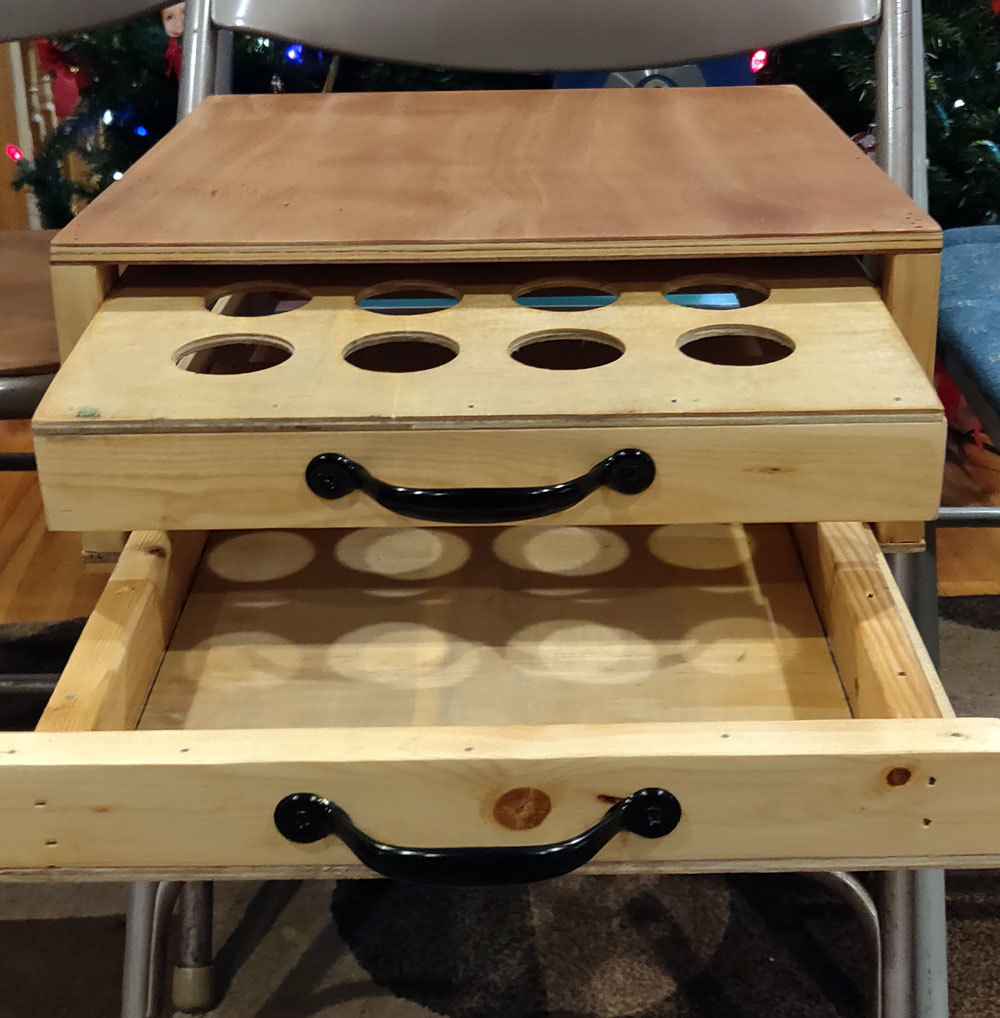
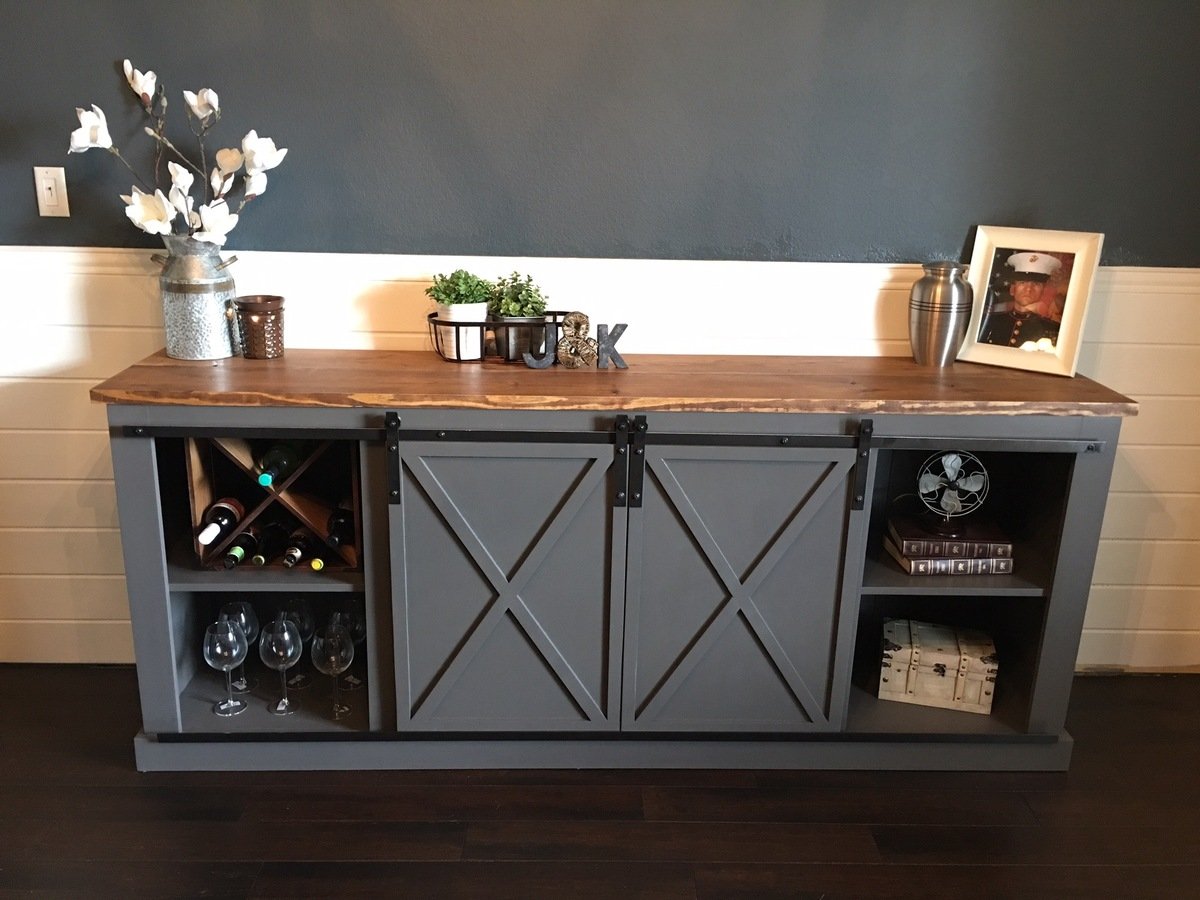
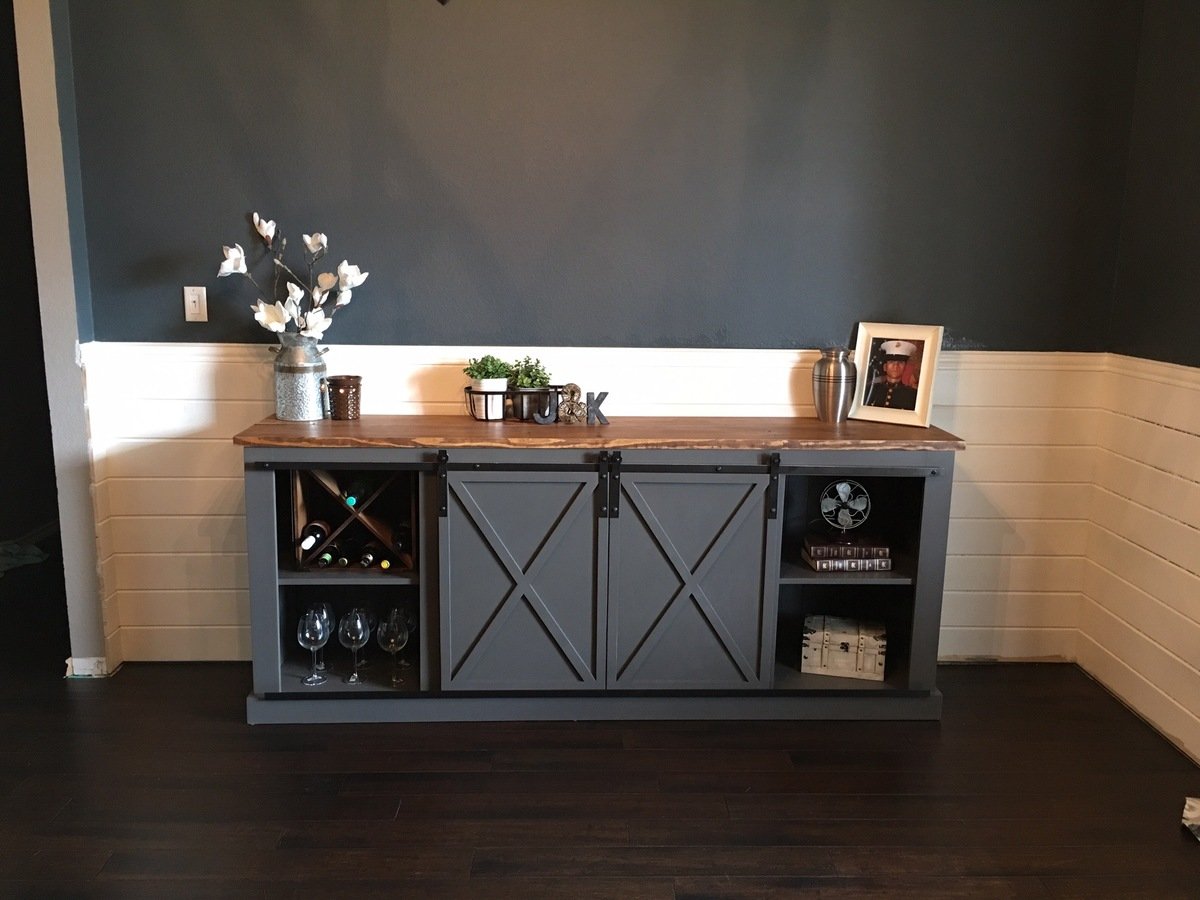
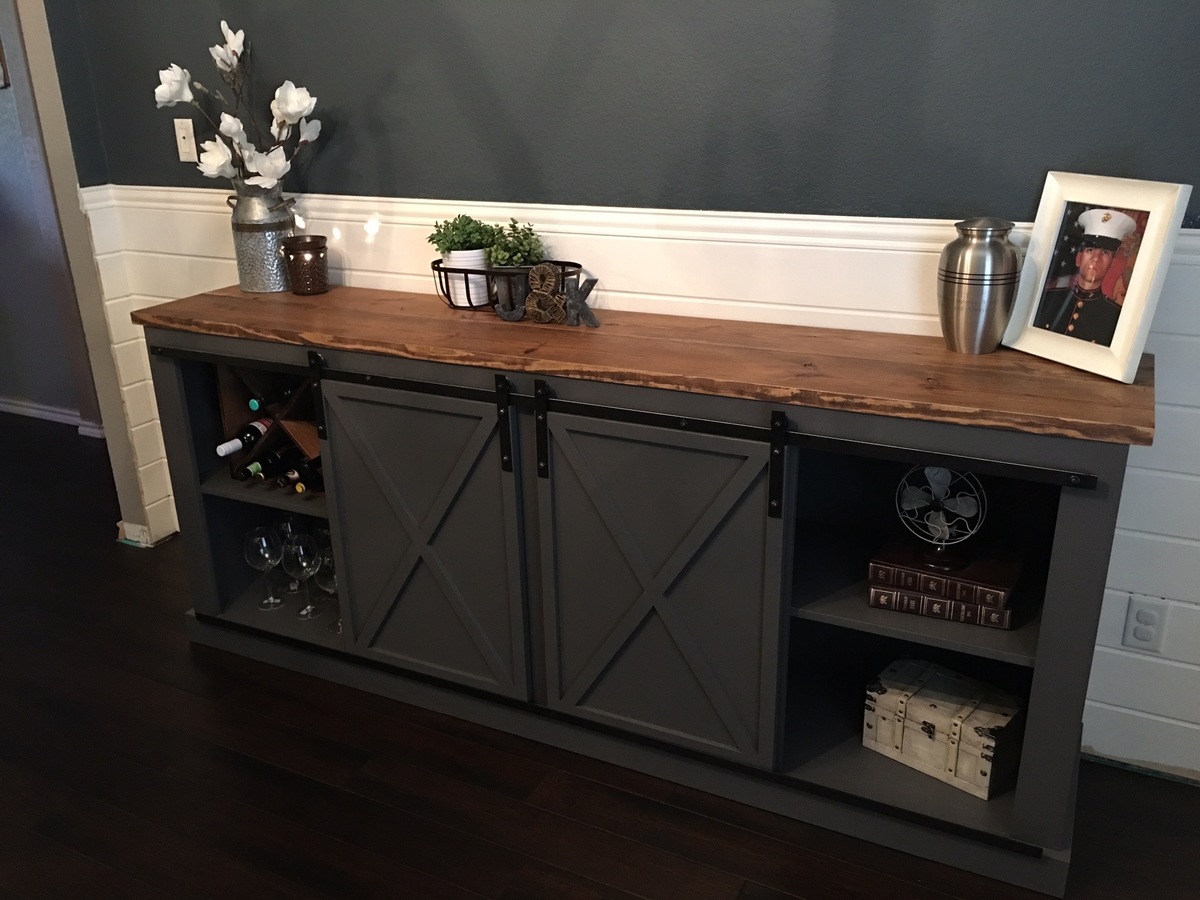
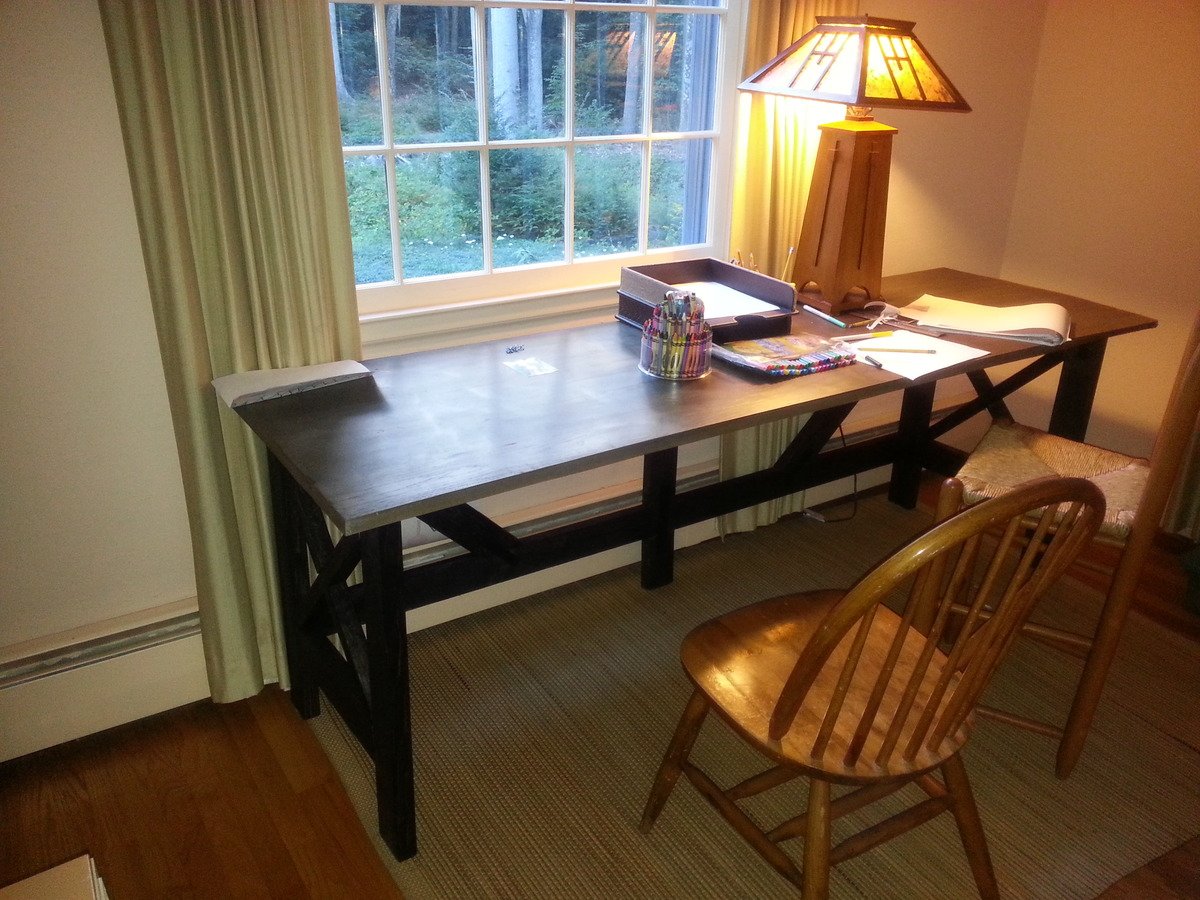
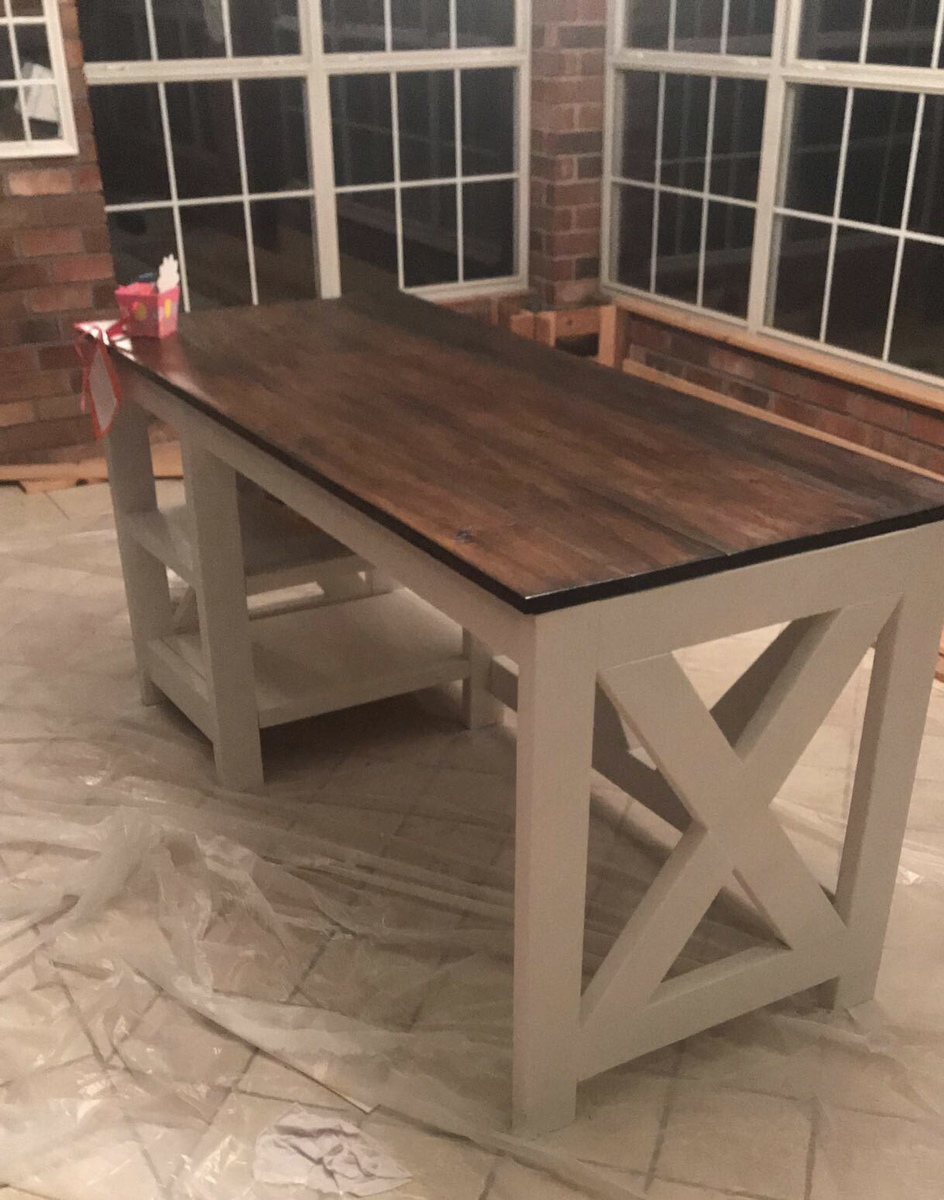
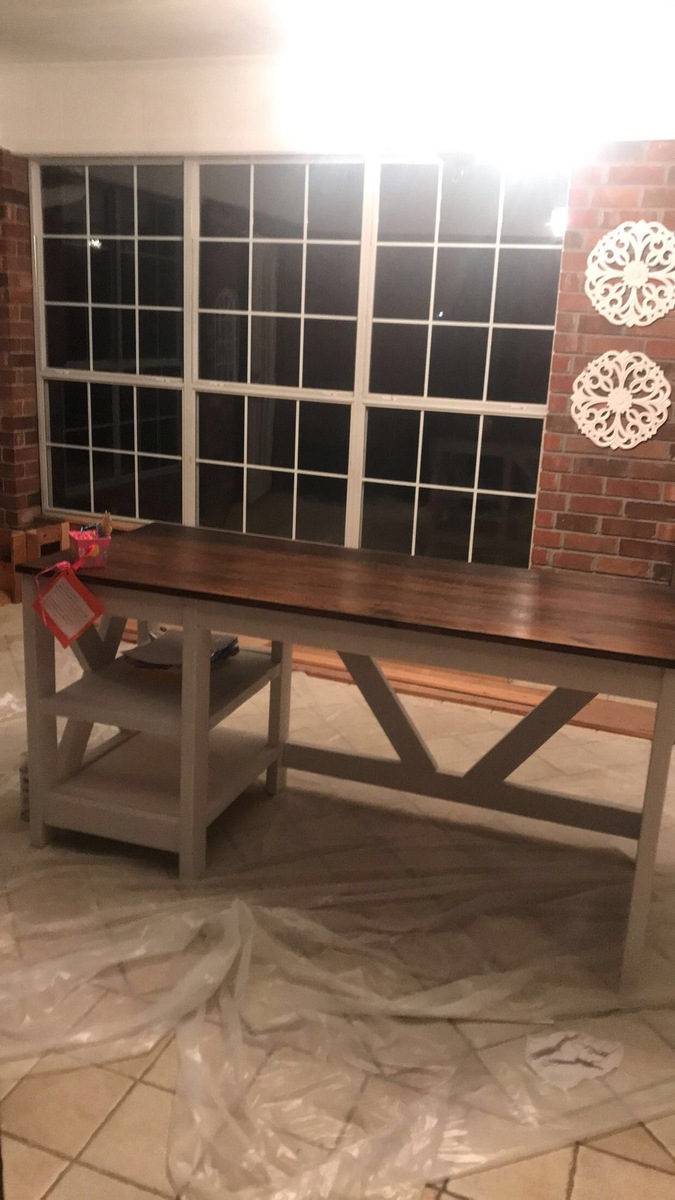
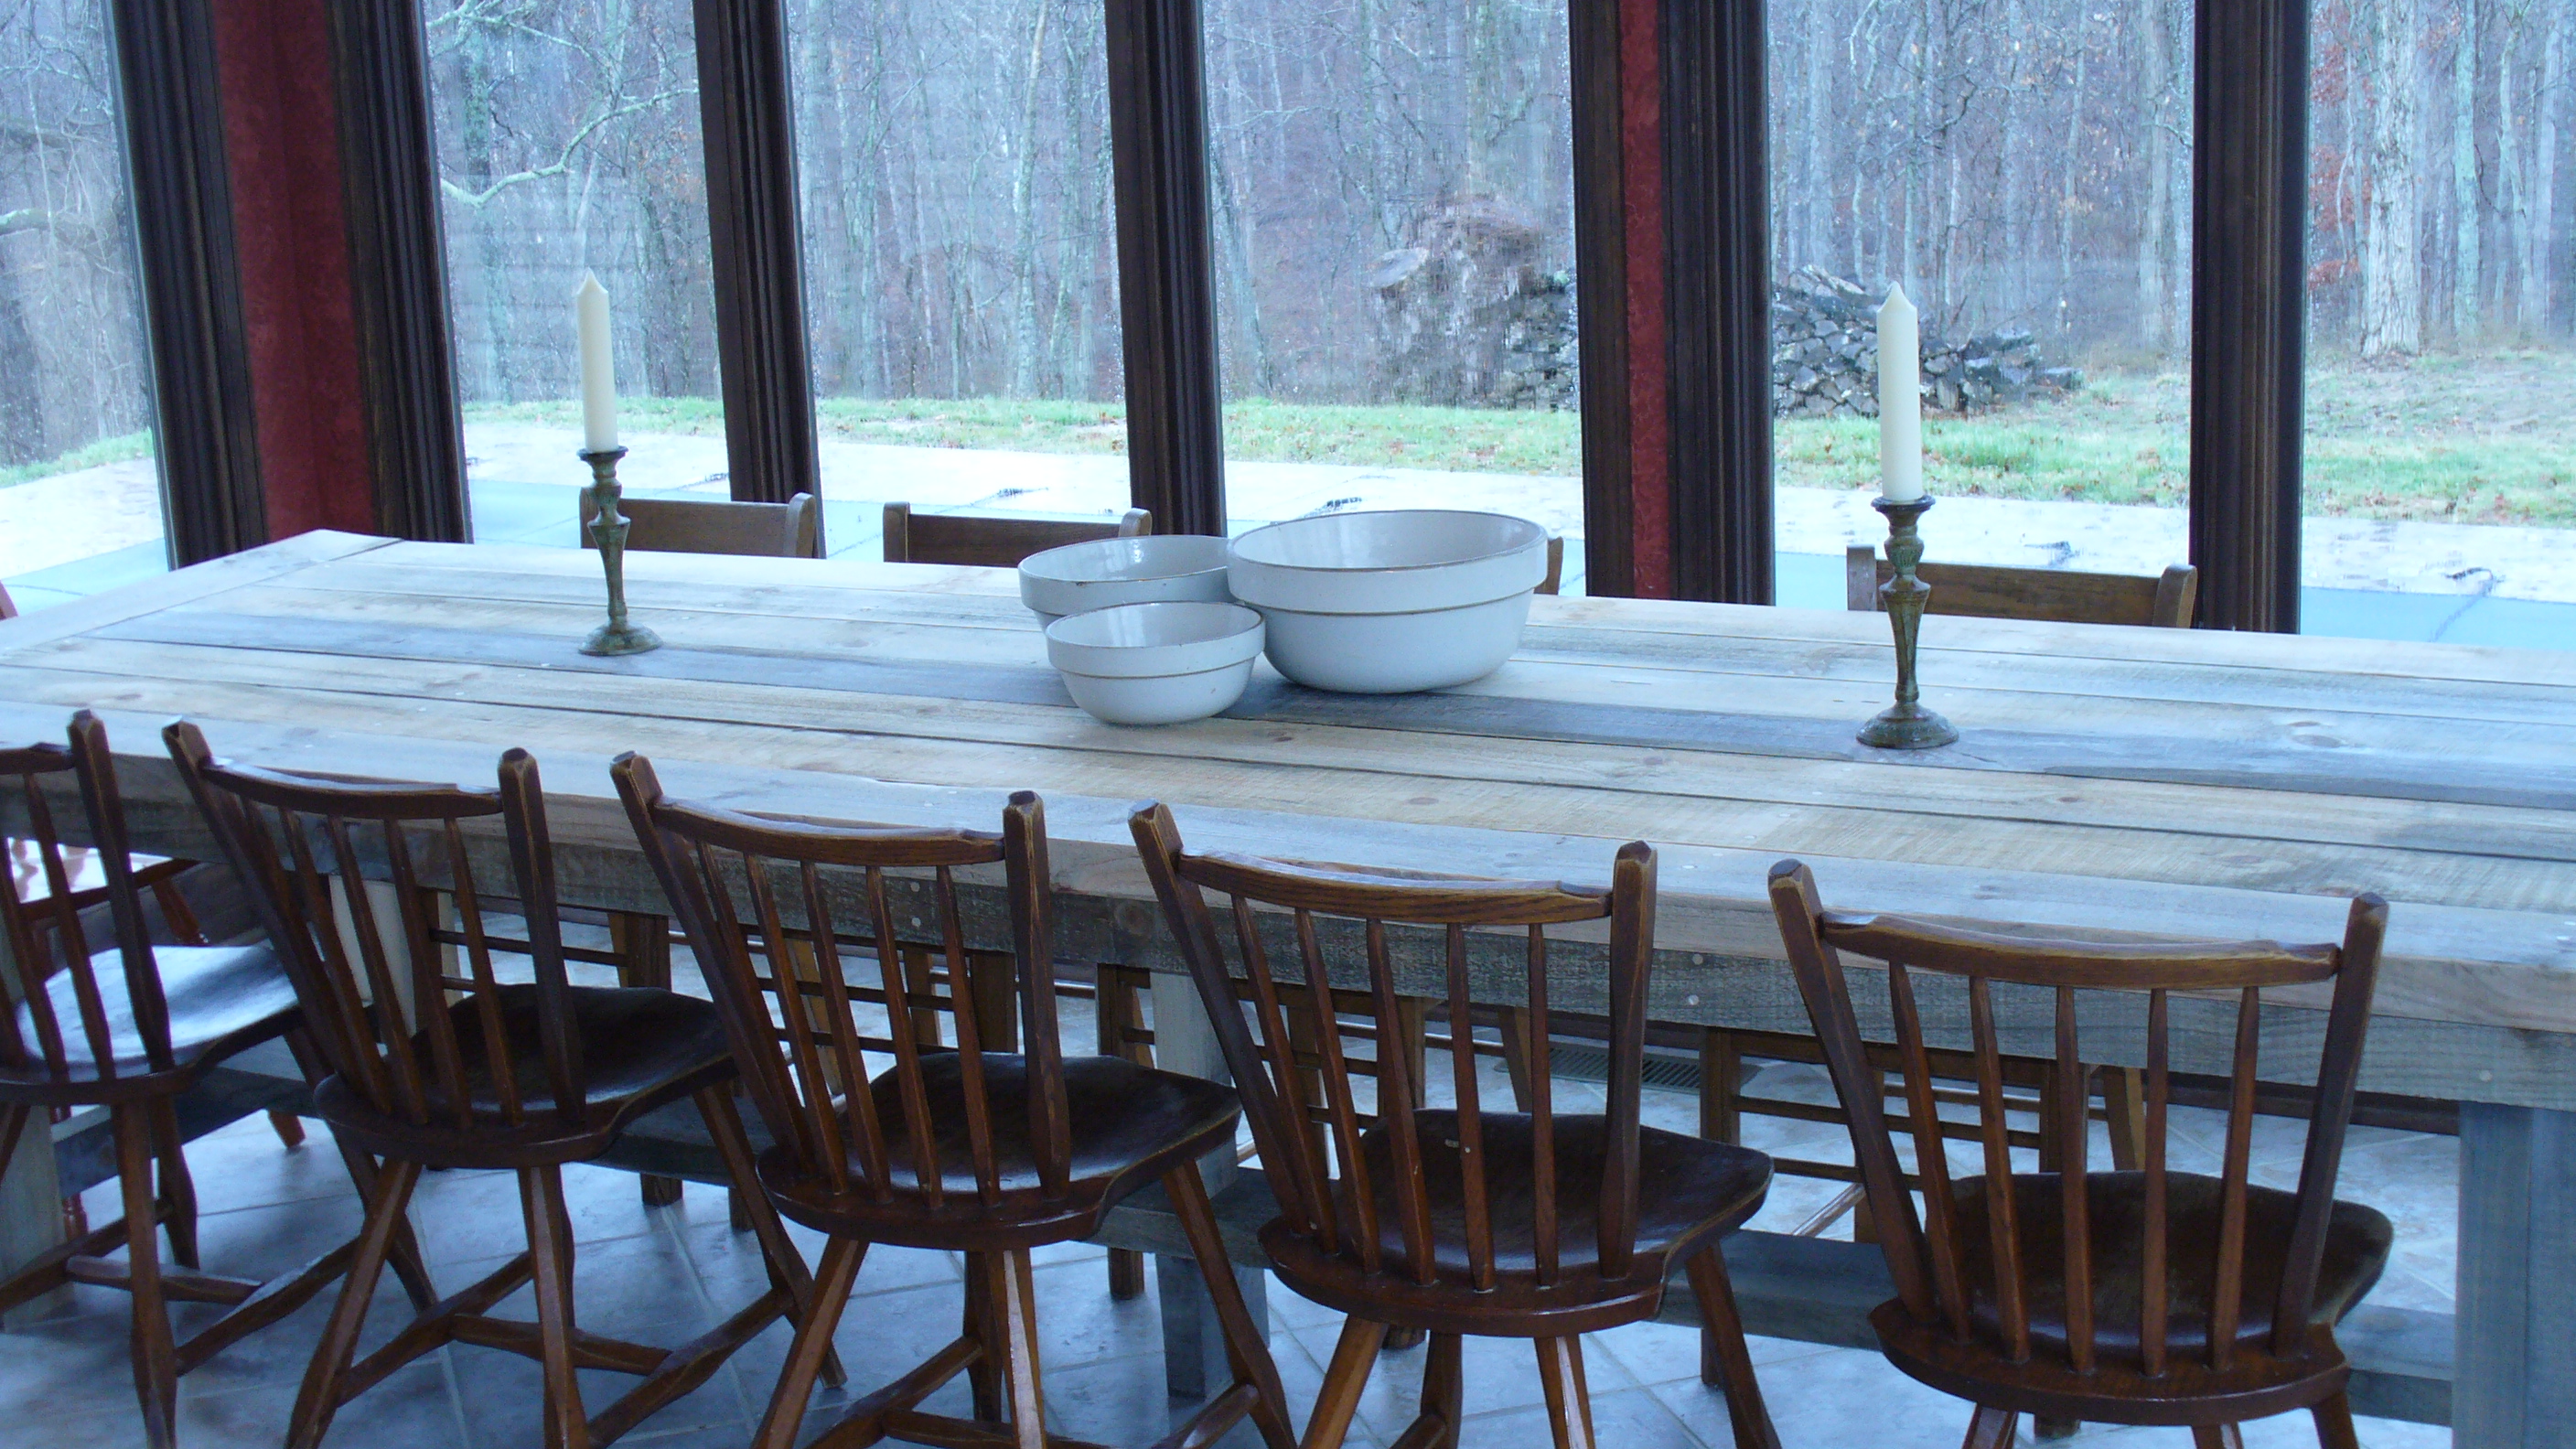
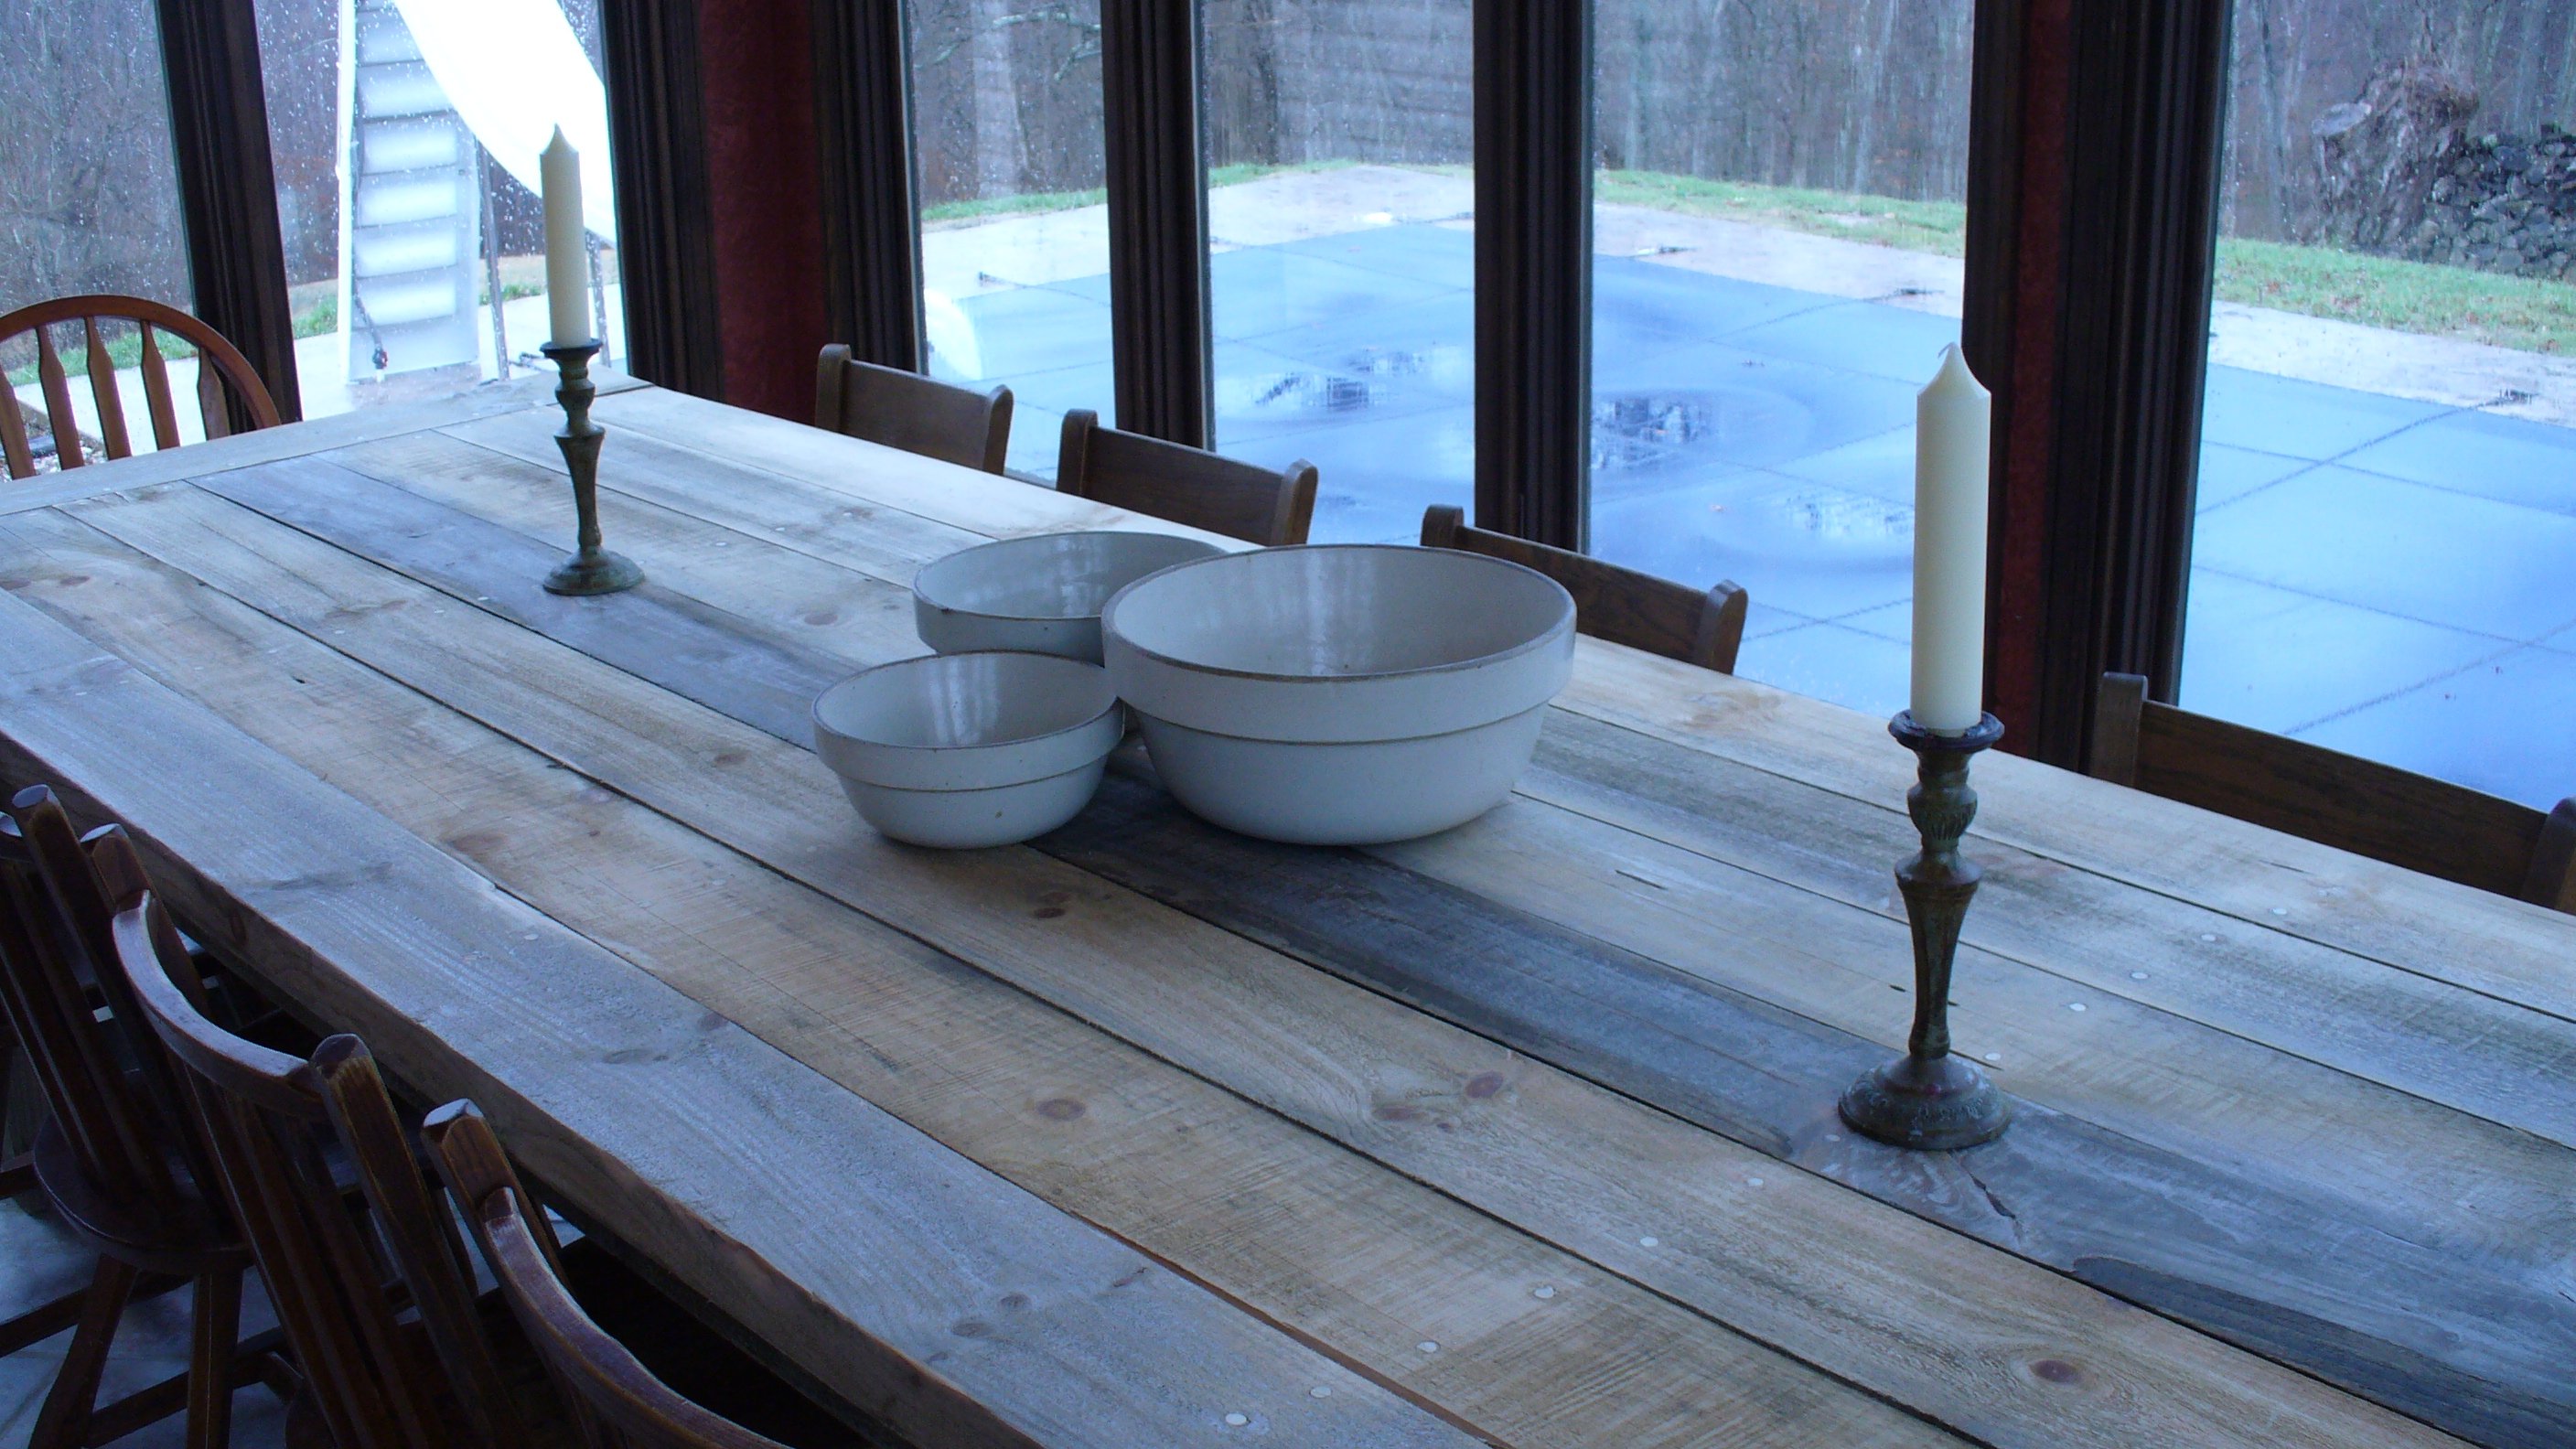
Coffee table with a massive drawer!!
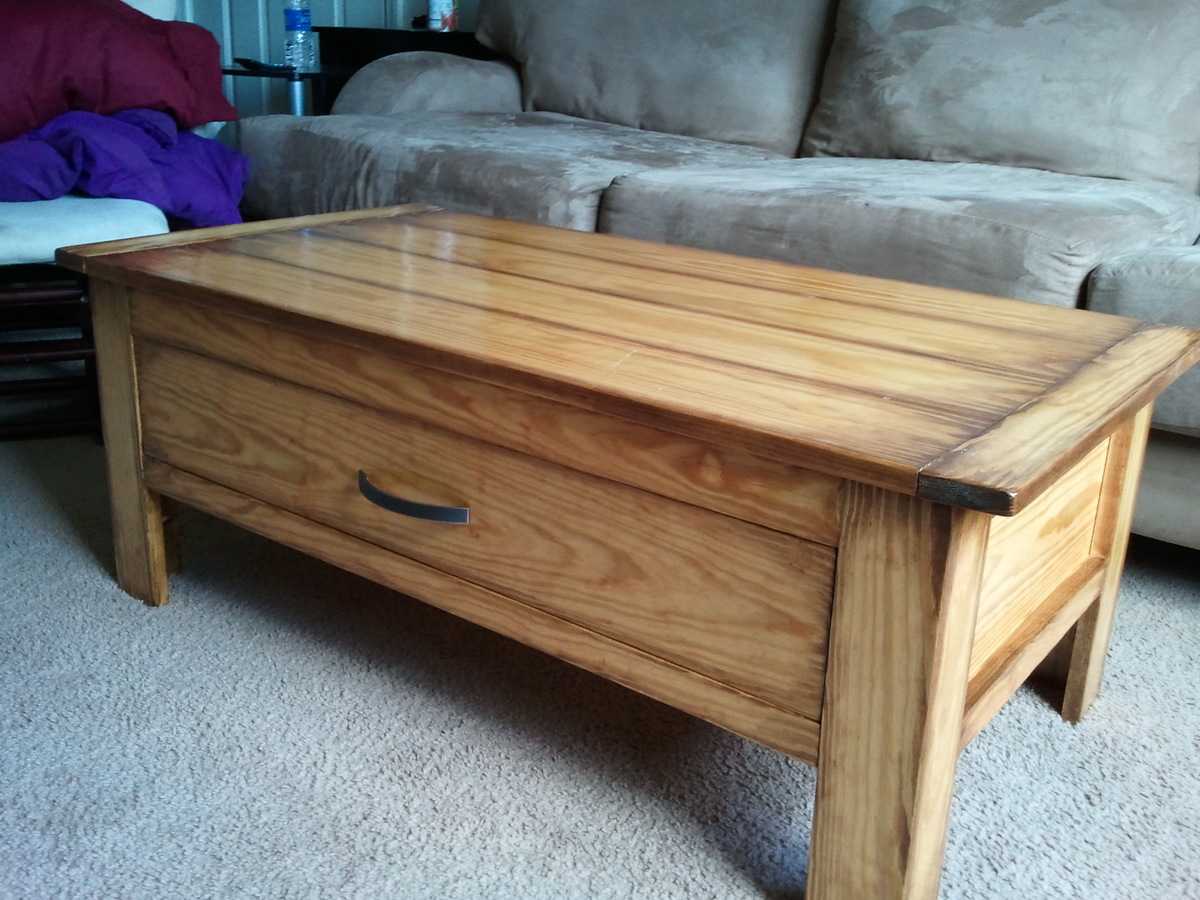
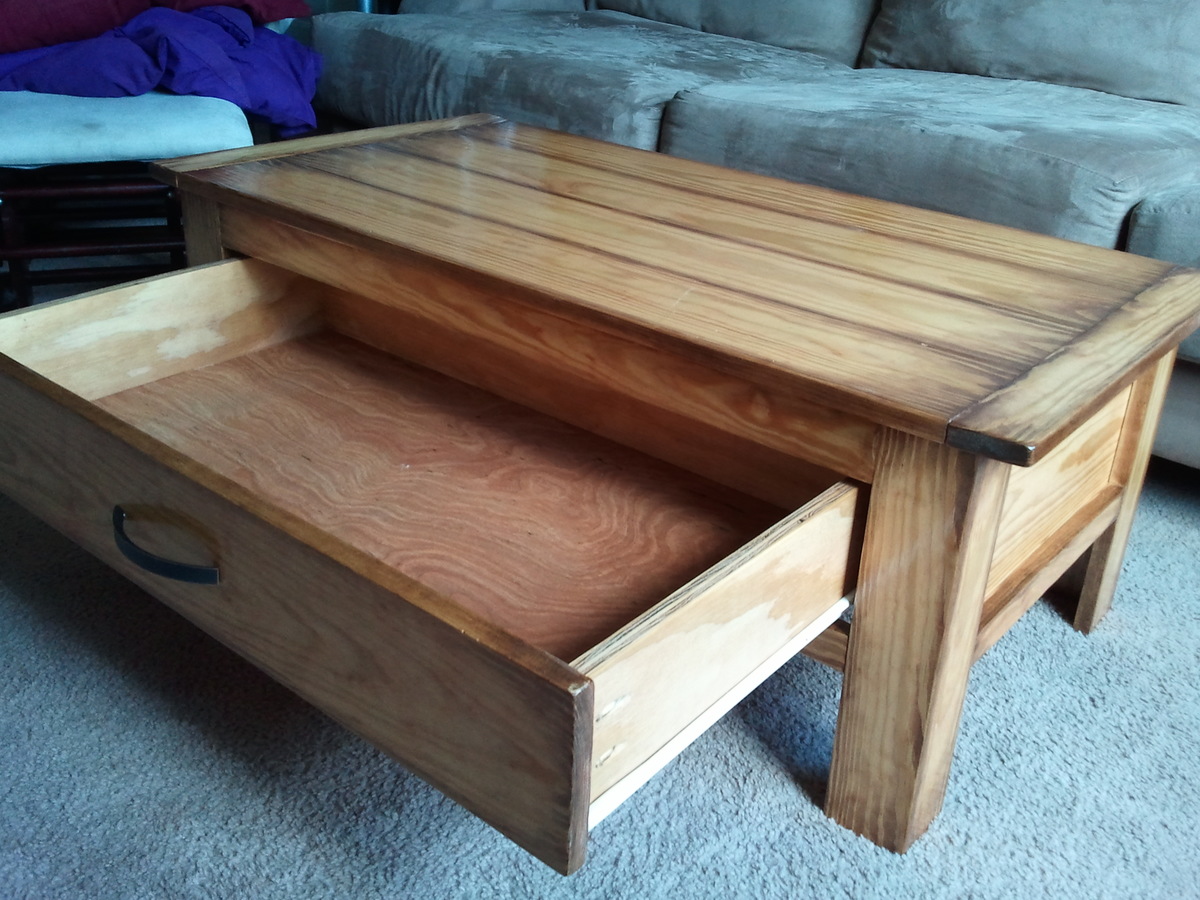
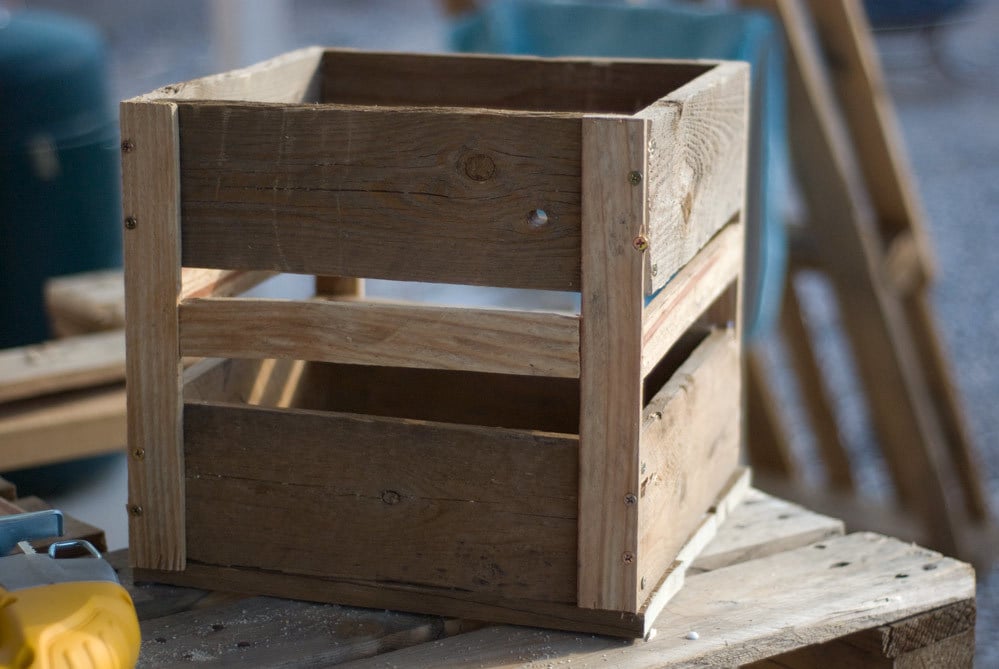
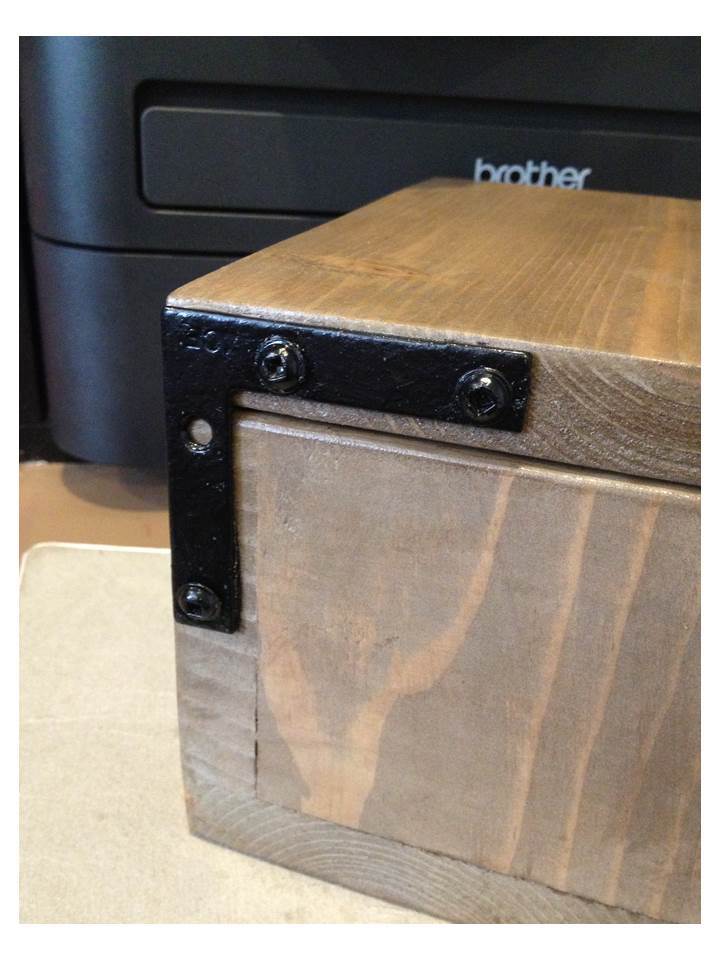
This was my second coffee table. Anticipating that the hardest part would of course be the drawer, I actually started with the drawer and built the rest of the table around that! Made a big difference too. It was much easier.
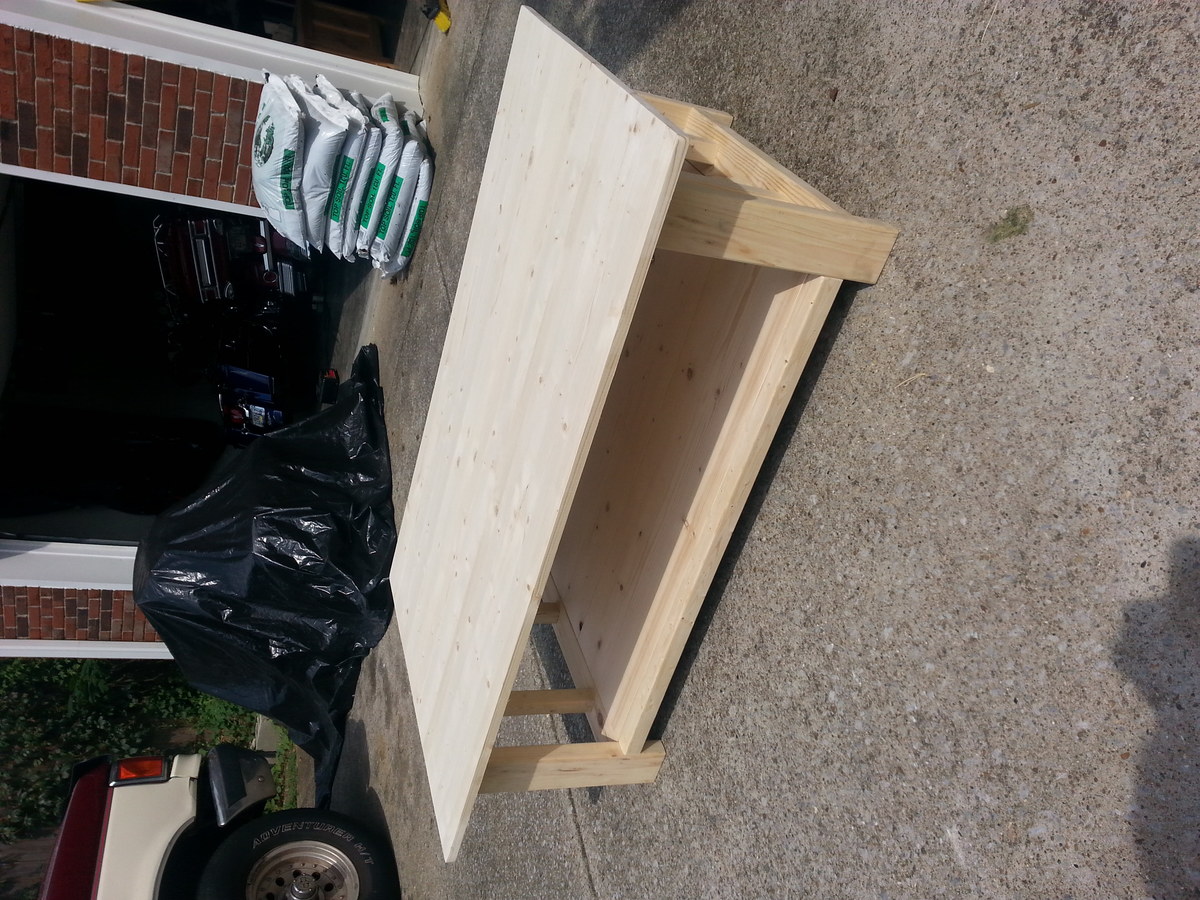
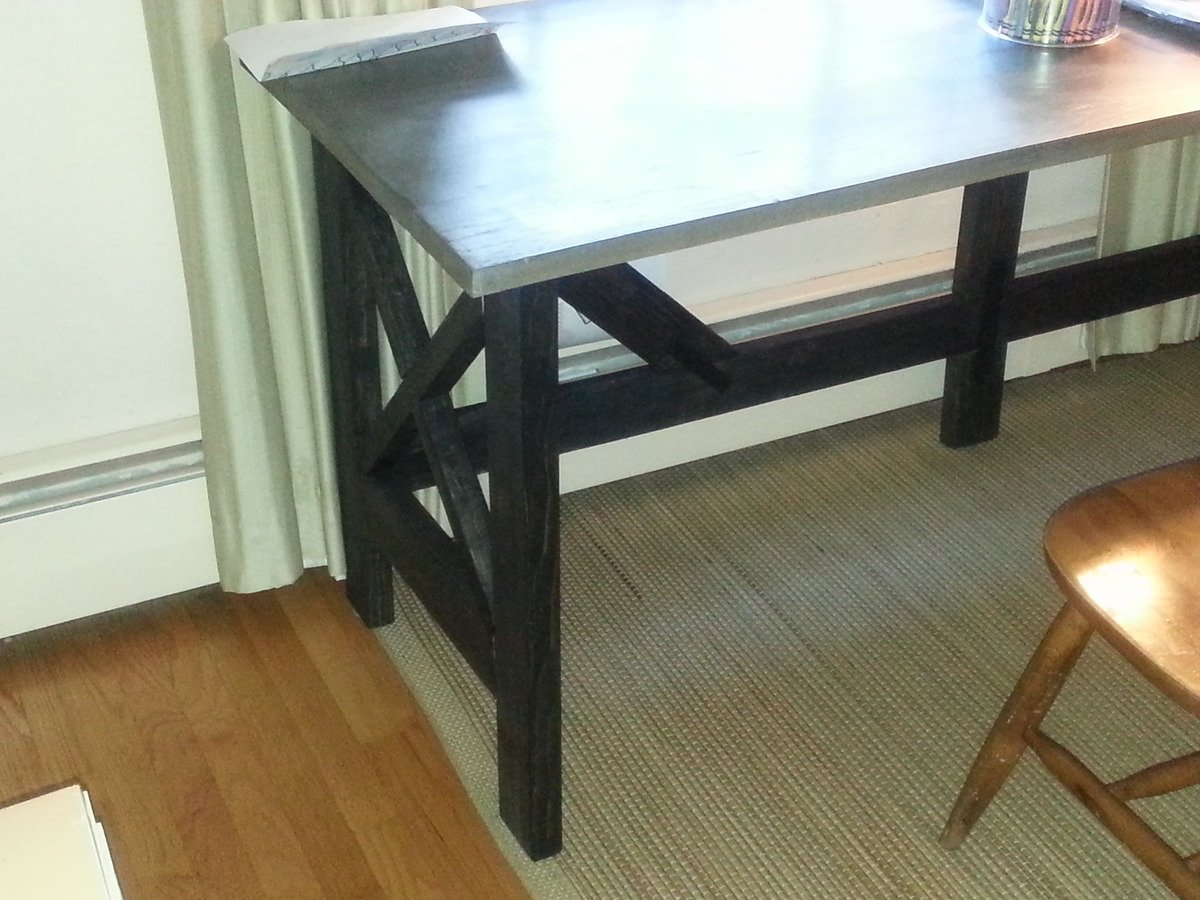
I took my time with this project with things that I had rushed through before, sanding parts before assembly, dry fitting with lots of clamps at each step, and I took extra care on cutting pieces square.
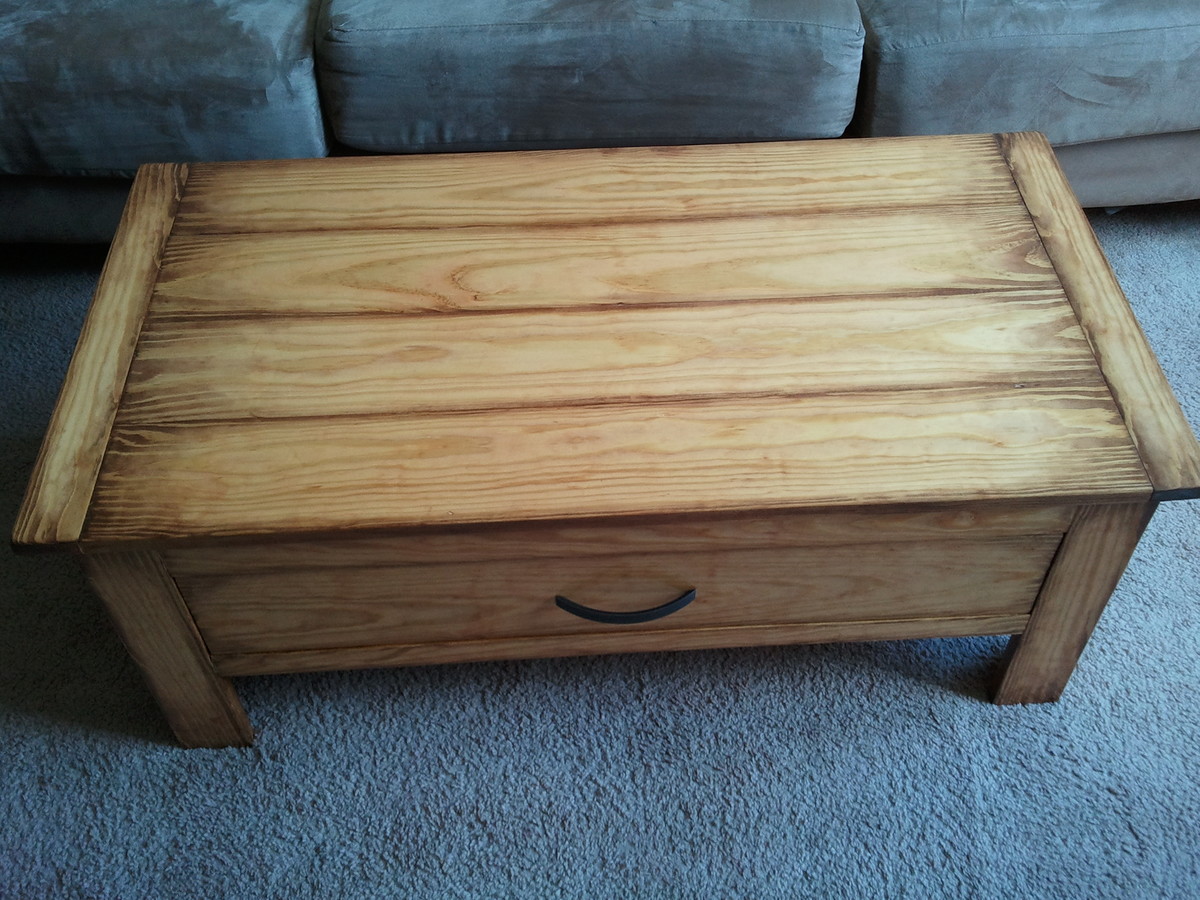
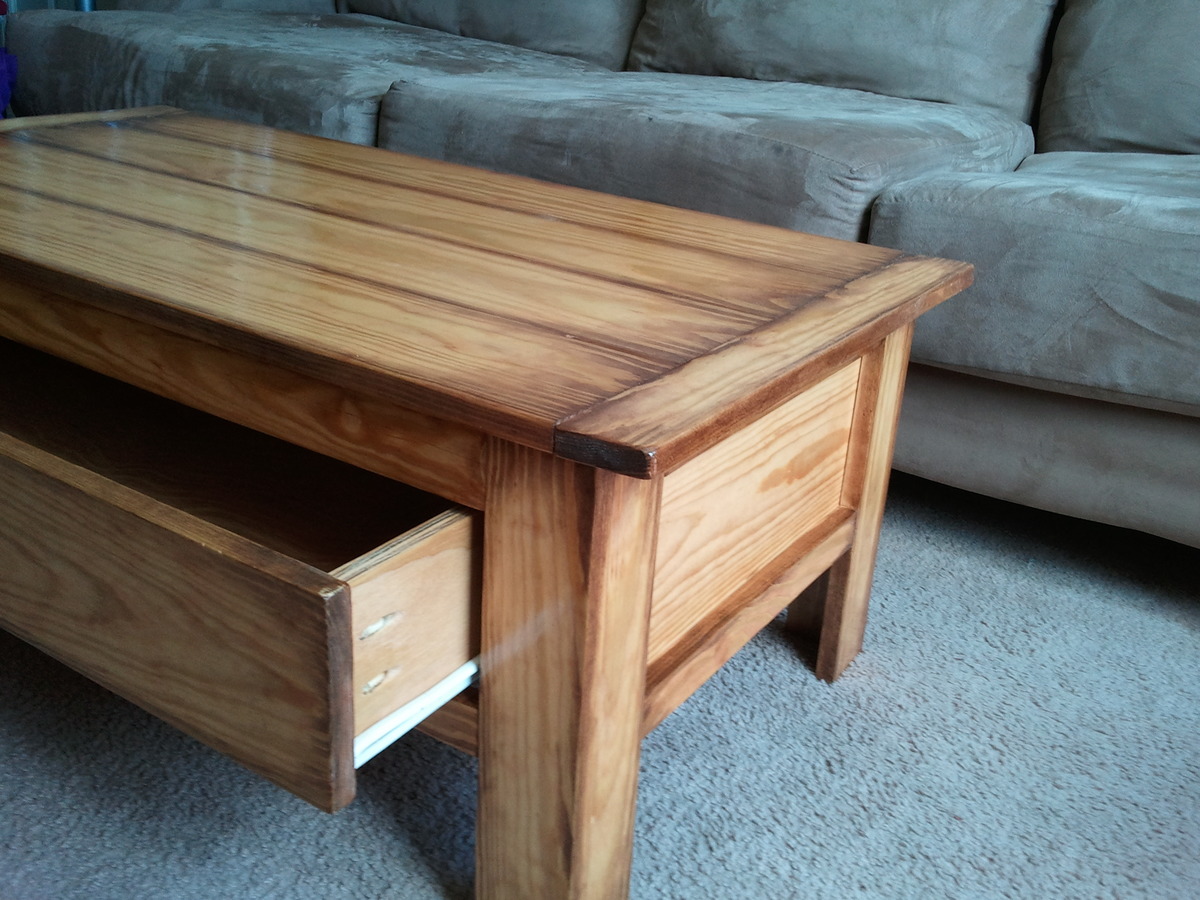
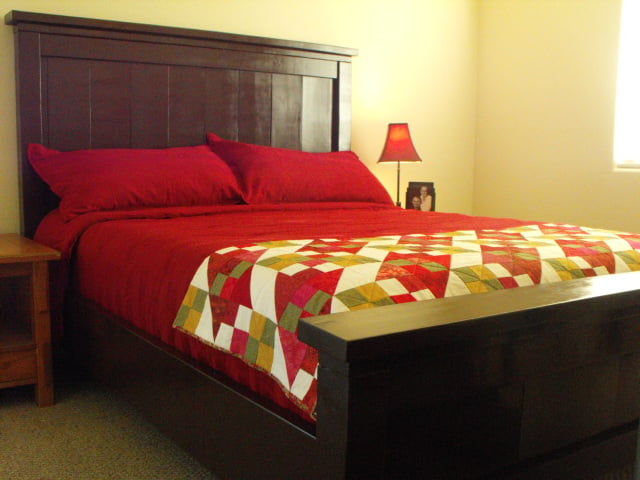
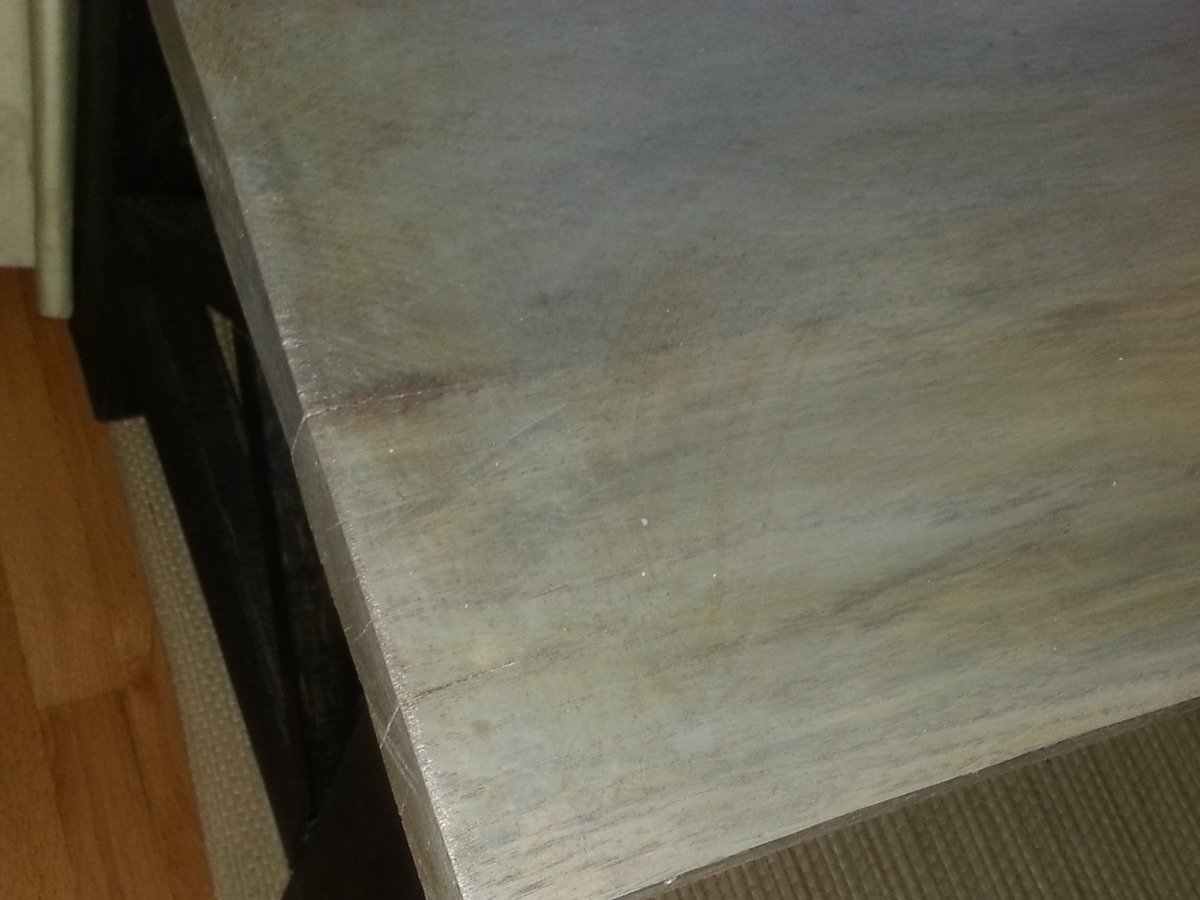
Since I was able to get the drawer done so much easier this time, the hardest part was the top. I hate how the ends turn up slightly... does anyone know how to stop that from happening?
I spent about a week and a half on this table, working on it for a few hours a day while my son was in school.
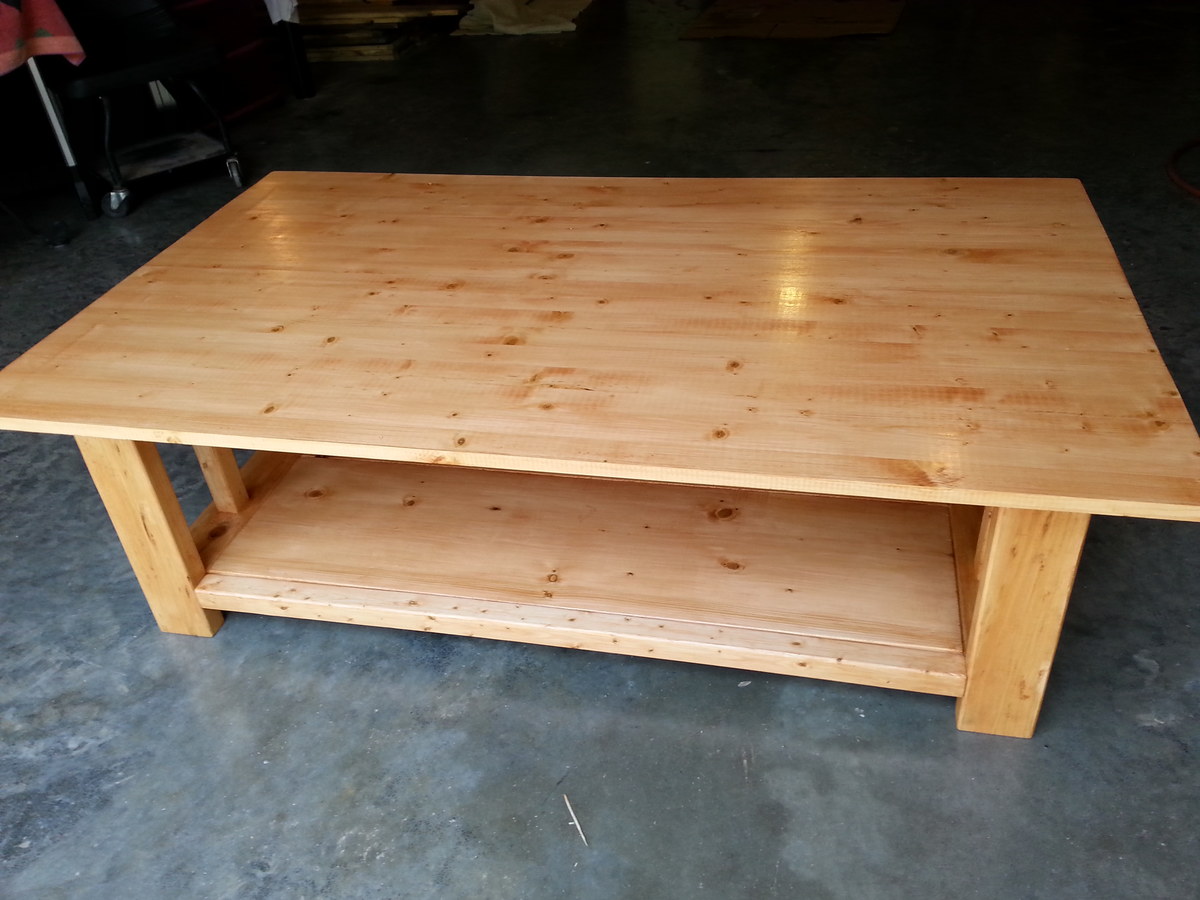
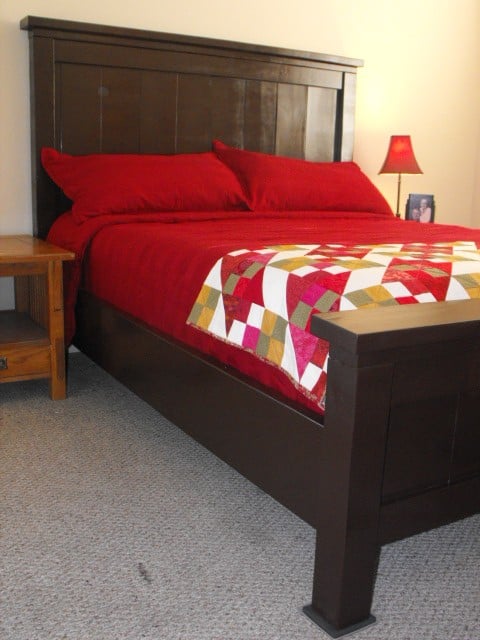
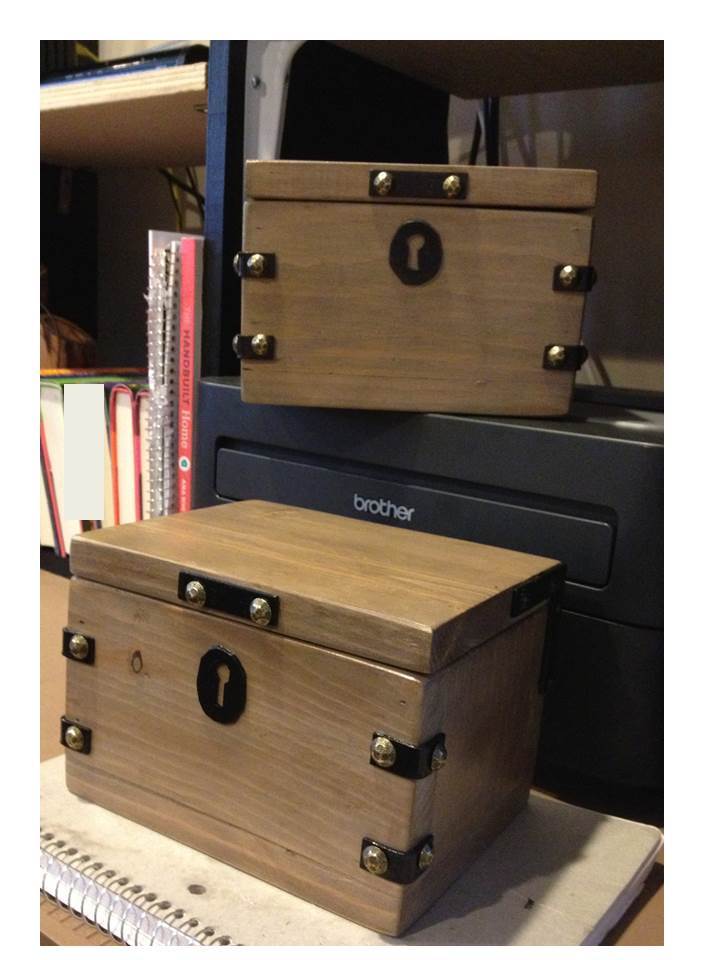
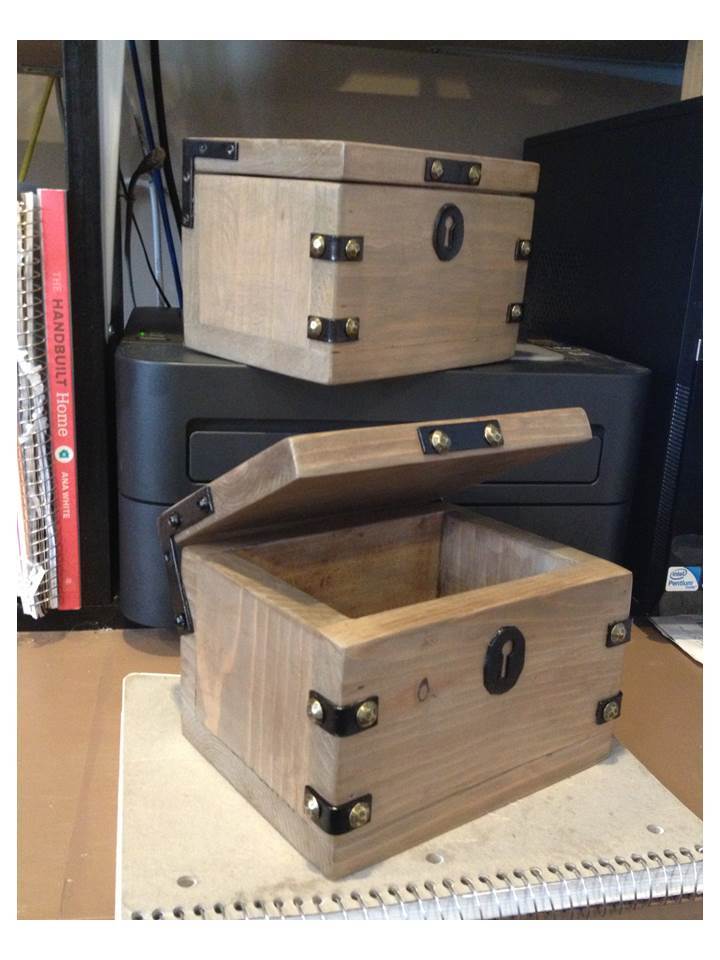
I am SO SO SO happy with how it turned out. The drawer was really tight in the shop (no air conditioning) but when I got it home, it has loosened up a bit, and its still just a little sticky, but not bad at all. I just love this finish. It's by far my favorite finish of any that I have tried.
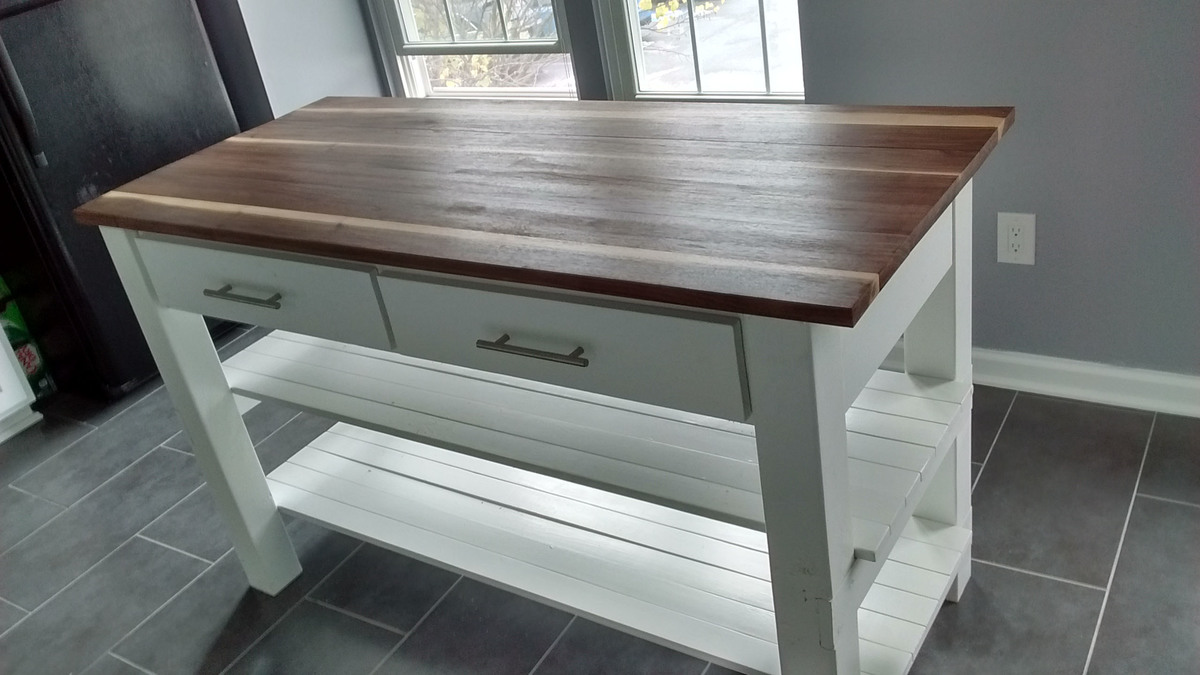
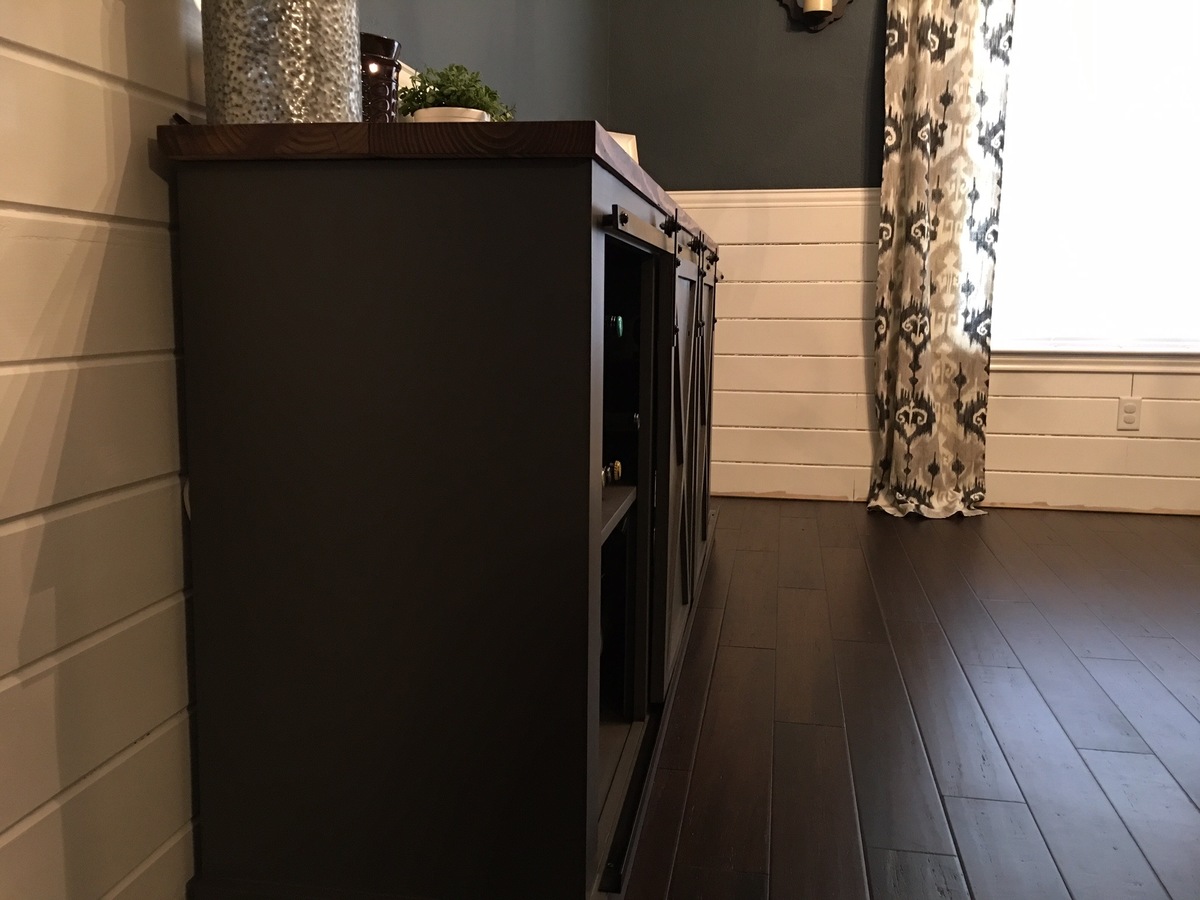
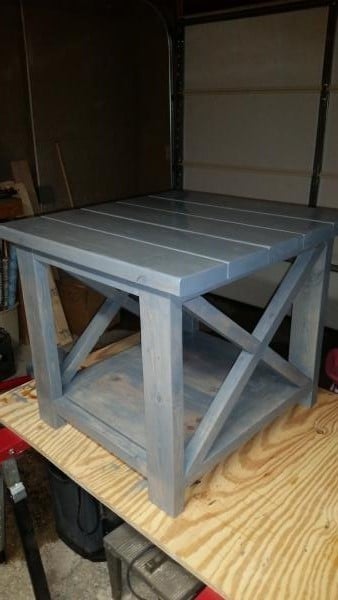
I am trying to sell this coffee table, and my next project is going to be a console that coordinates, but will have the base part painted and the panel top stained. I really need a good job in the near future so I don't have to keep selling these things that I build and fall in love with!!
** On a side note, this coffee table got me a marriage proposal from a near stranger. Who would have thought that making sawdust would be so attractive to guys? LOL.


Comments
brookifer86
Wed, 09/04/2013 - 20:47
Sticking
You can get silicone in a spray can and it will keep the drawer sliding slick and not catch. I had to use it on my apothecary console table. I believe beeswax or candle wax can also help if you'd like a more natural solution. Great table!
Bunnie1978
Thu, 09/05/2013 - 20:44
thanks
actually since I have it home and it's so much cooler, it doesn't stick at all anymore. It is completely perfect. It took a couple days for the wood to adjust, but I'm so happy because there are NO "obviously handmade" flaws. You know what I mean?