Man cave

We made these chairs following easy instructions from AnaWhite!
Built from Plan(s)
We made these chairs following easy instructions from AnaWhite!
This was my third project so far. I am having so much fun with your designs! I bought your book and also got a copy for my friend. Thank you so much for all of your free posts and for being such an inspiration!
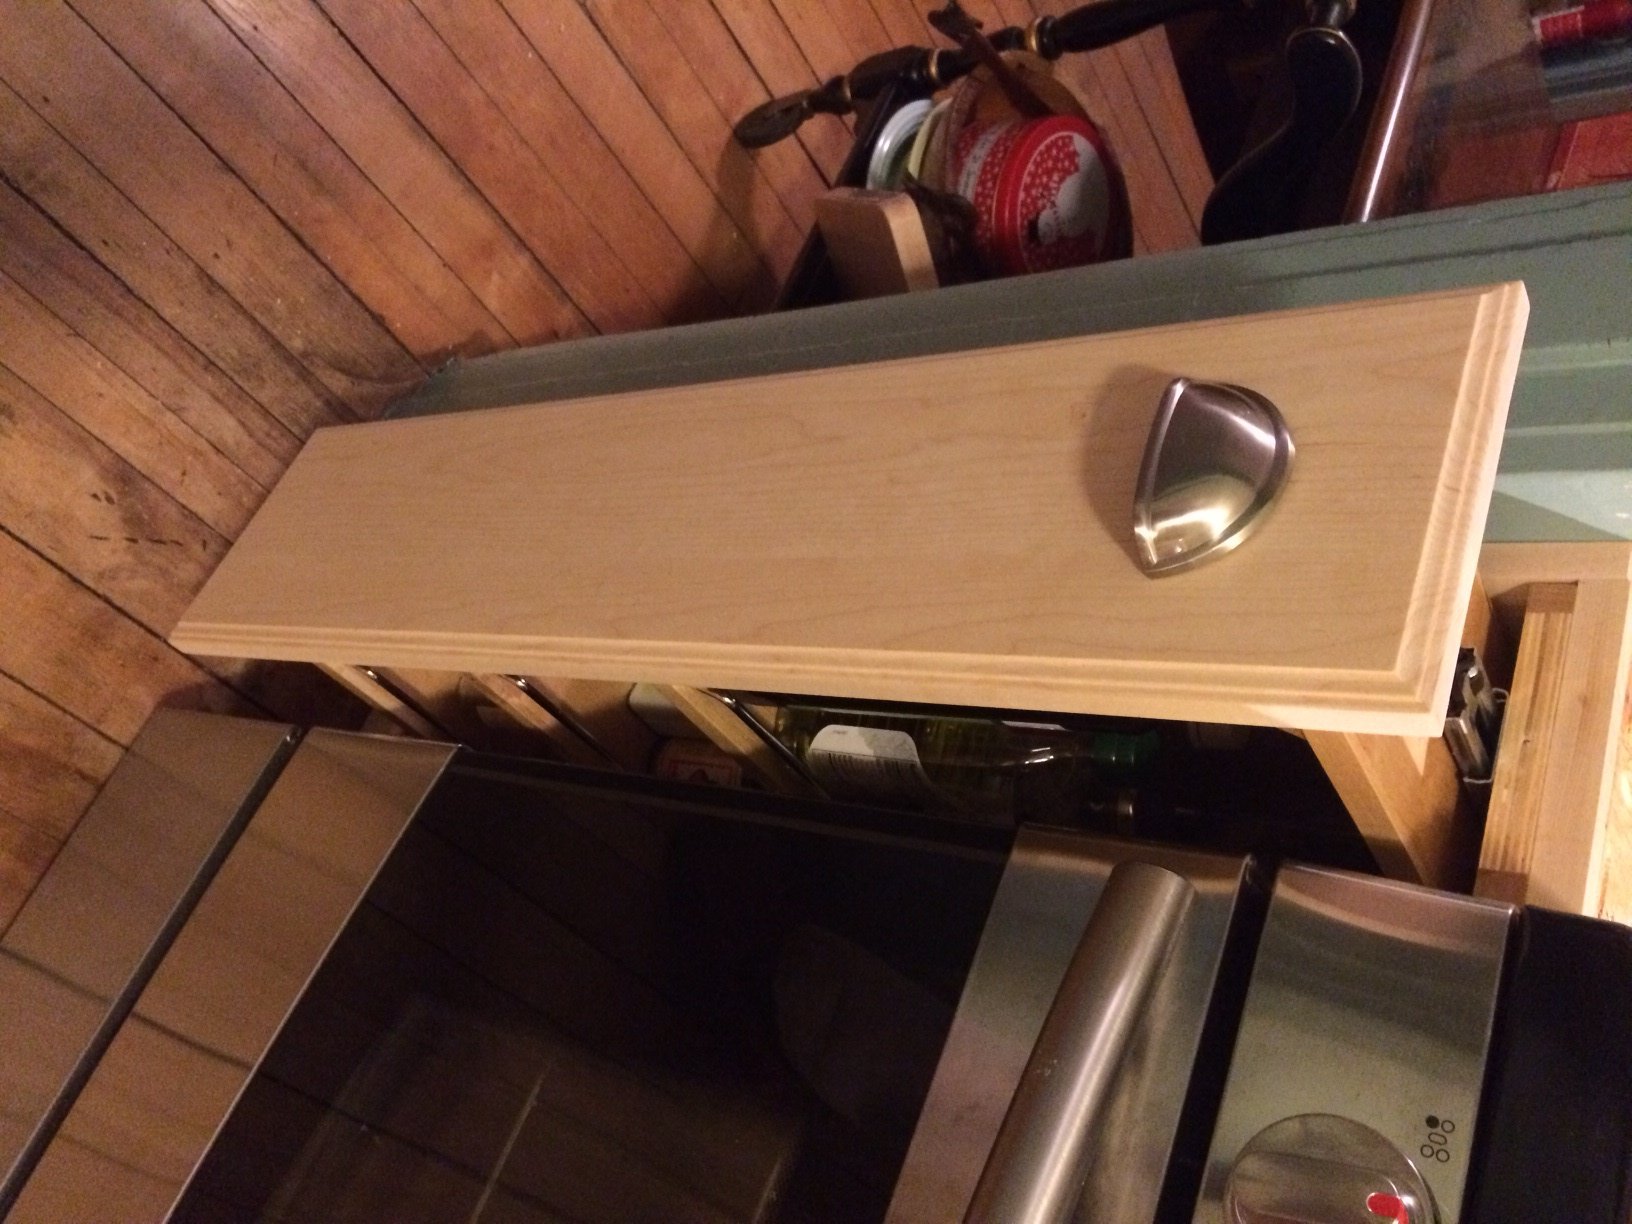
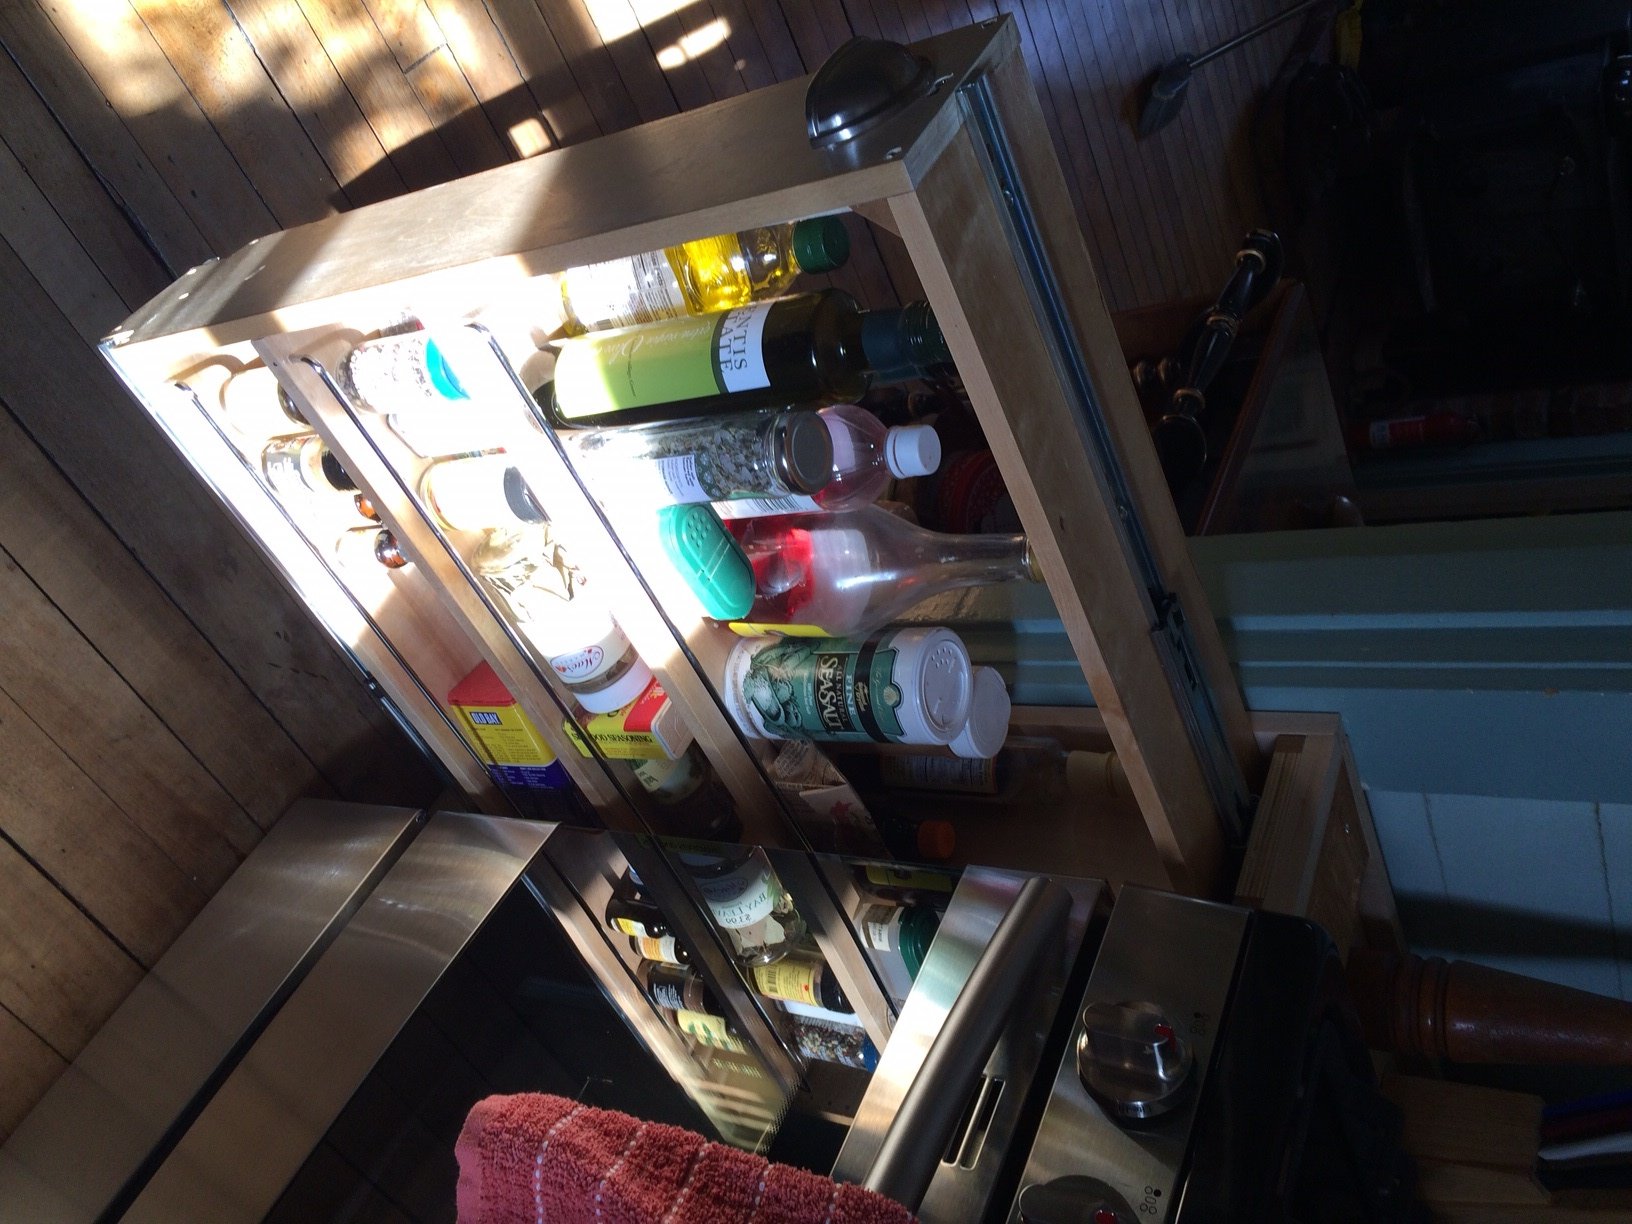
I replaced my gas stove, and could not find a 36" wide stove that was affordable, and had the features I wanted. I bought standard 30' stove, but had a gap to fill. Found this site; adapted the filler cabinet to 7 3/4 inches and found the pullout shelving unit. Added a drawer front with a pull, and it is great!

Mon, 02/08/2016 - 11:39
This is awesome! What a great use of space and amazing customization to your kitchen!
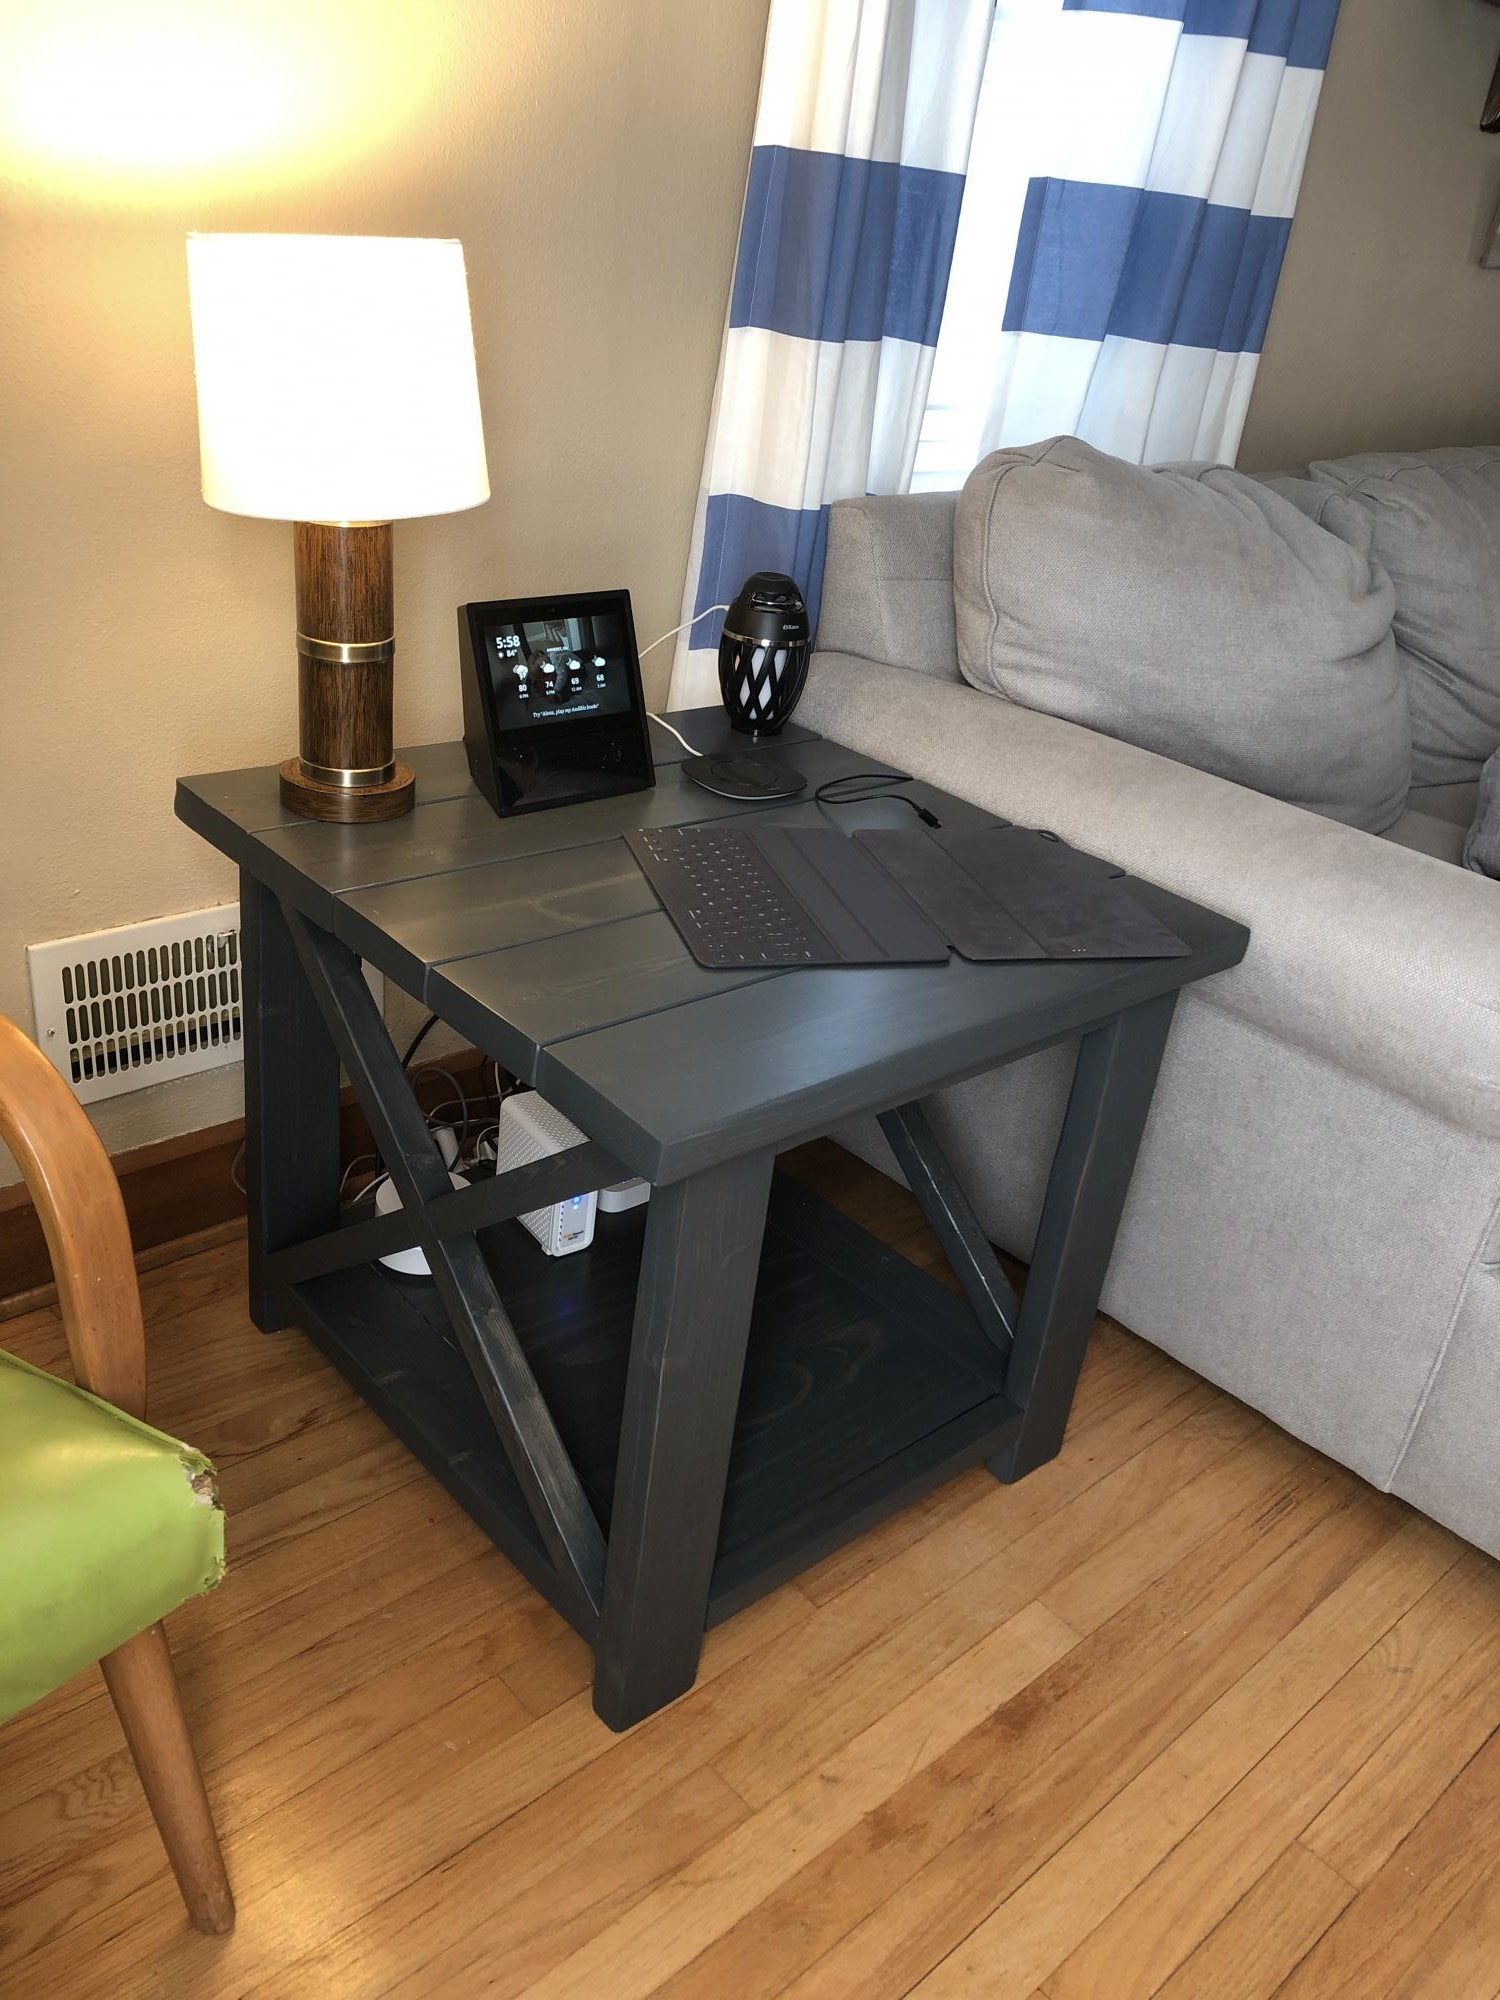
First thing my husband has ever attempted to build and I love it! Thanks Ana!!
Sat, 08/31/2019 - 11:20
What a beautiful first project. I love the dark stain or paint? It's gorgeous!
Can't wait to see more projects from you!
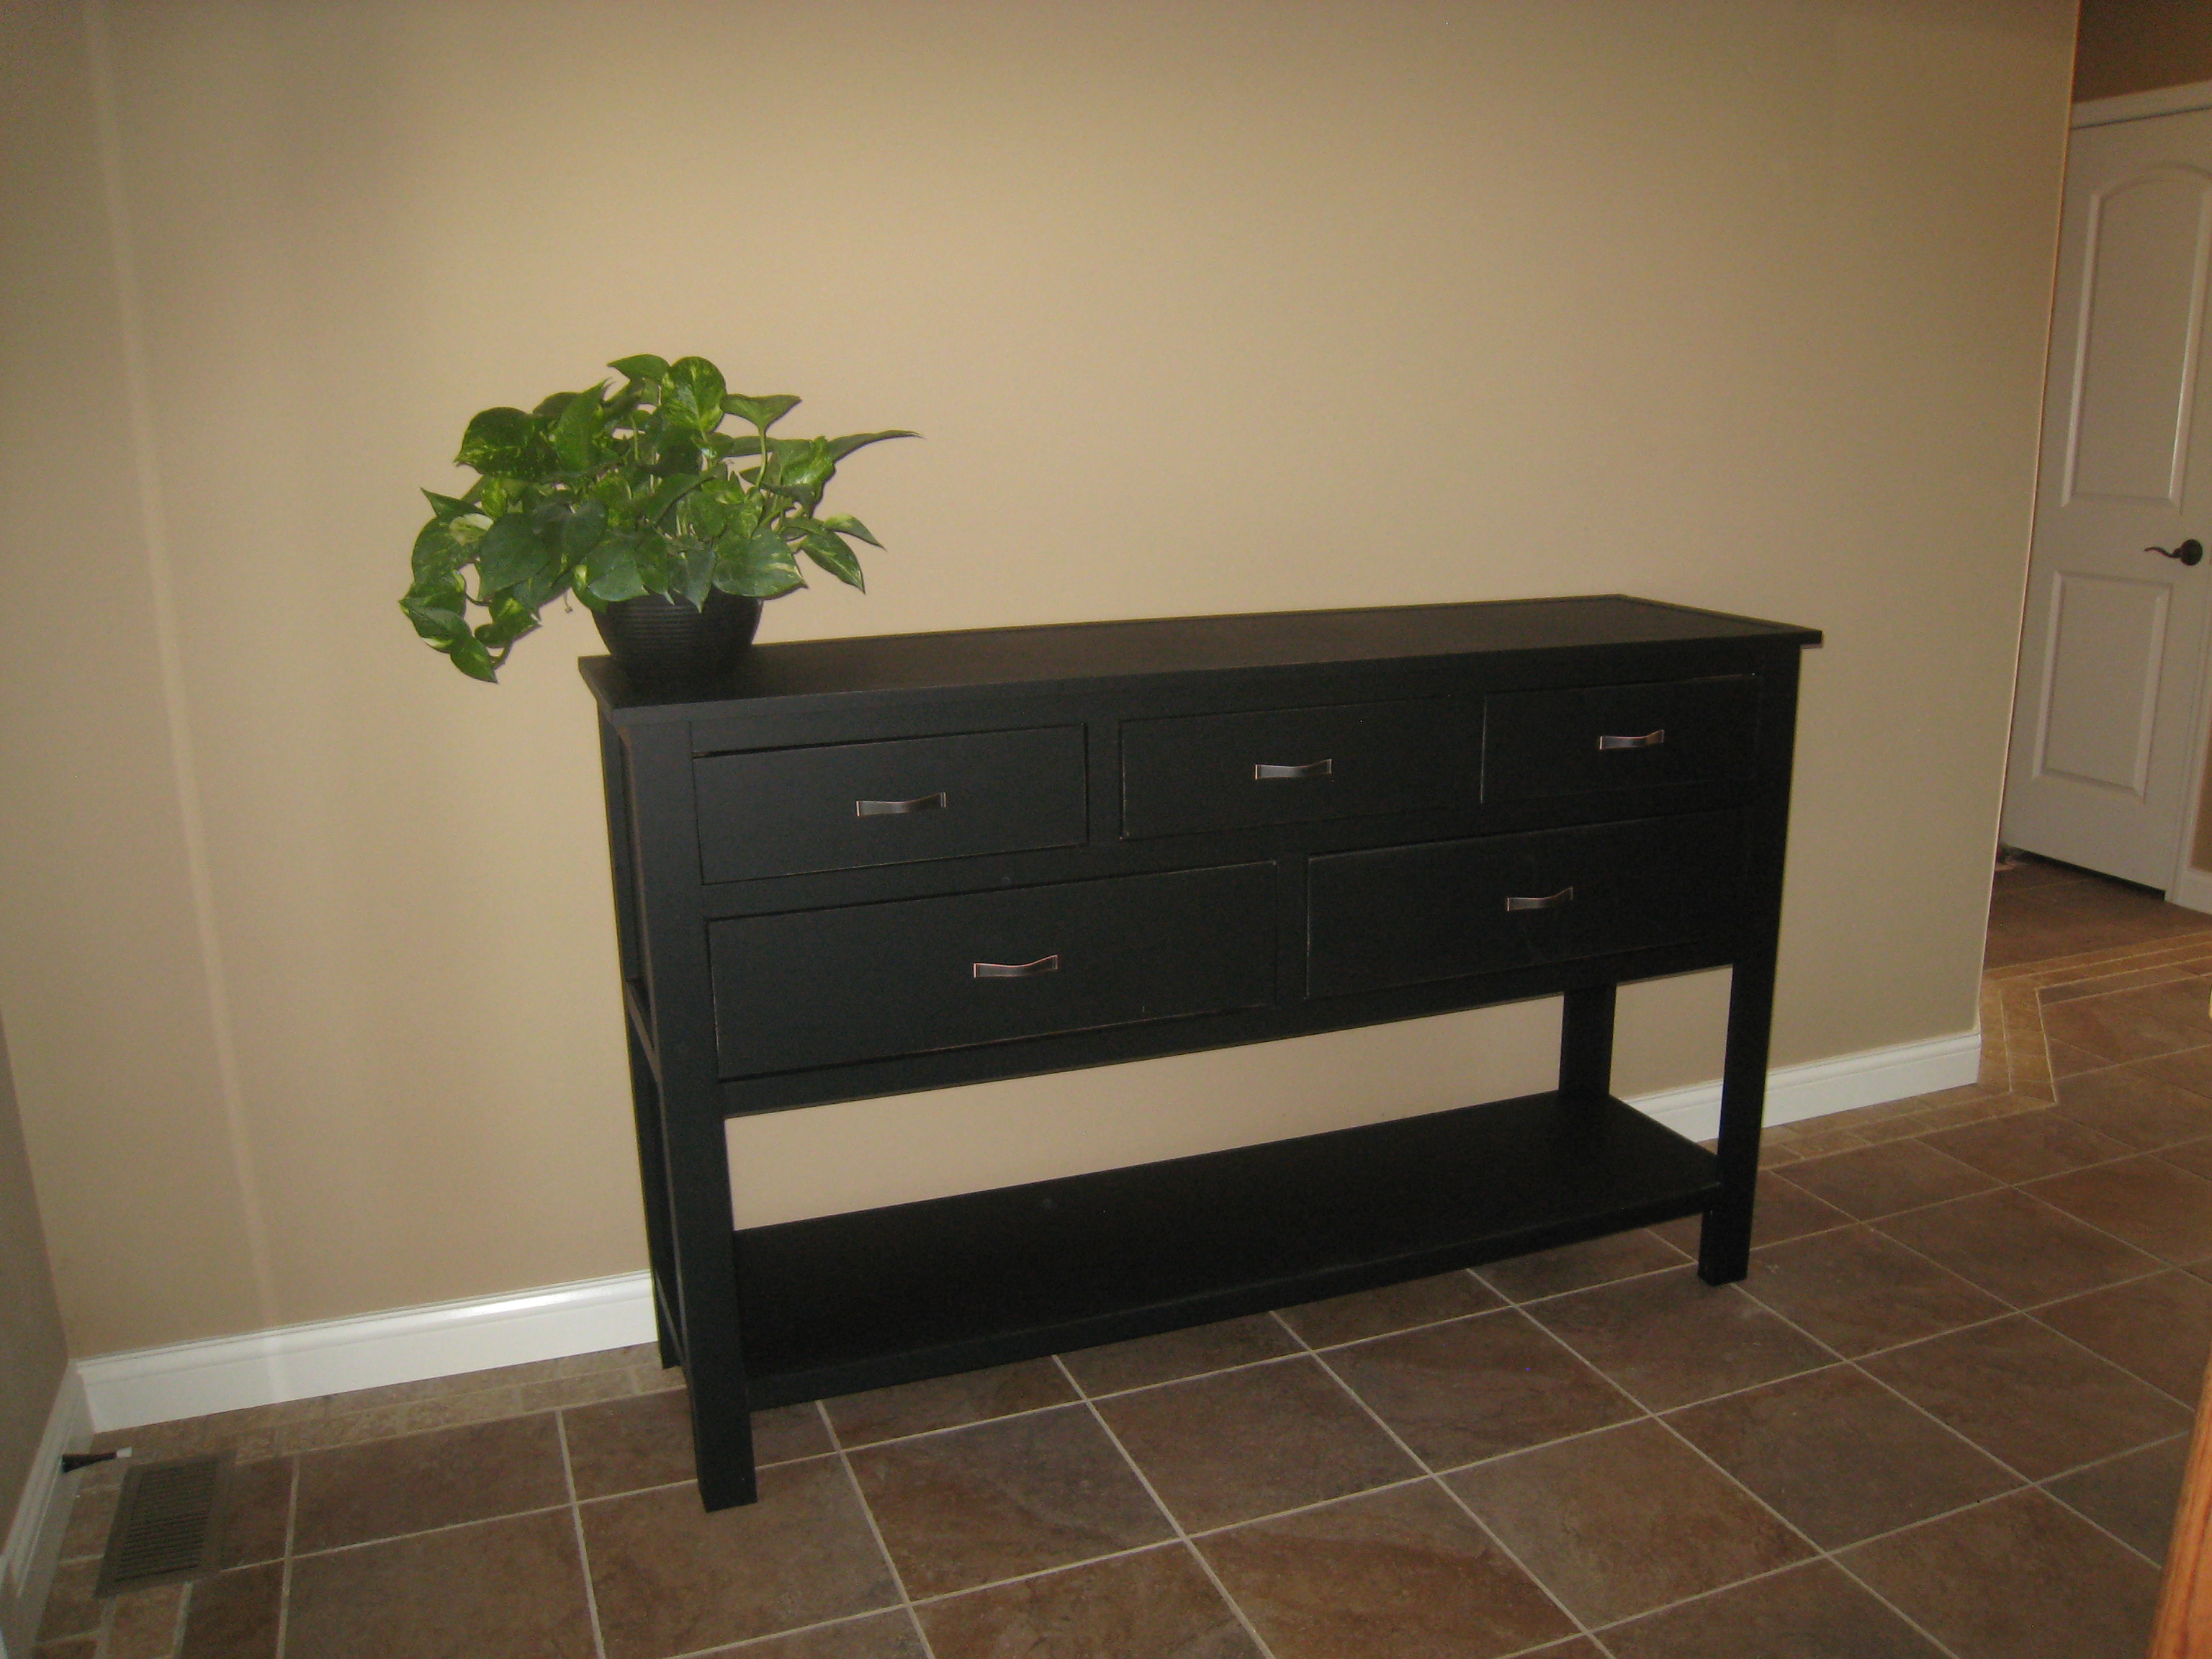
I needed some furniture for the entryway and made this dresser. All it needs now is a few accessories! Thanks Ana.

Fri, 01/06/2012 - 12:00
I love this. I would love to build this, but modify it to be more narrow. I am afraid to do both. I don't have the confidence yet to modify or tackle drawers. Yikes. Going to have to bit the bullet one of these days!
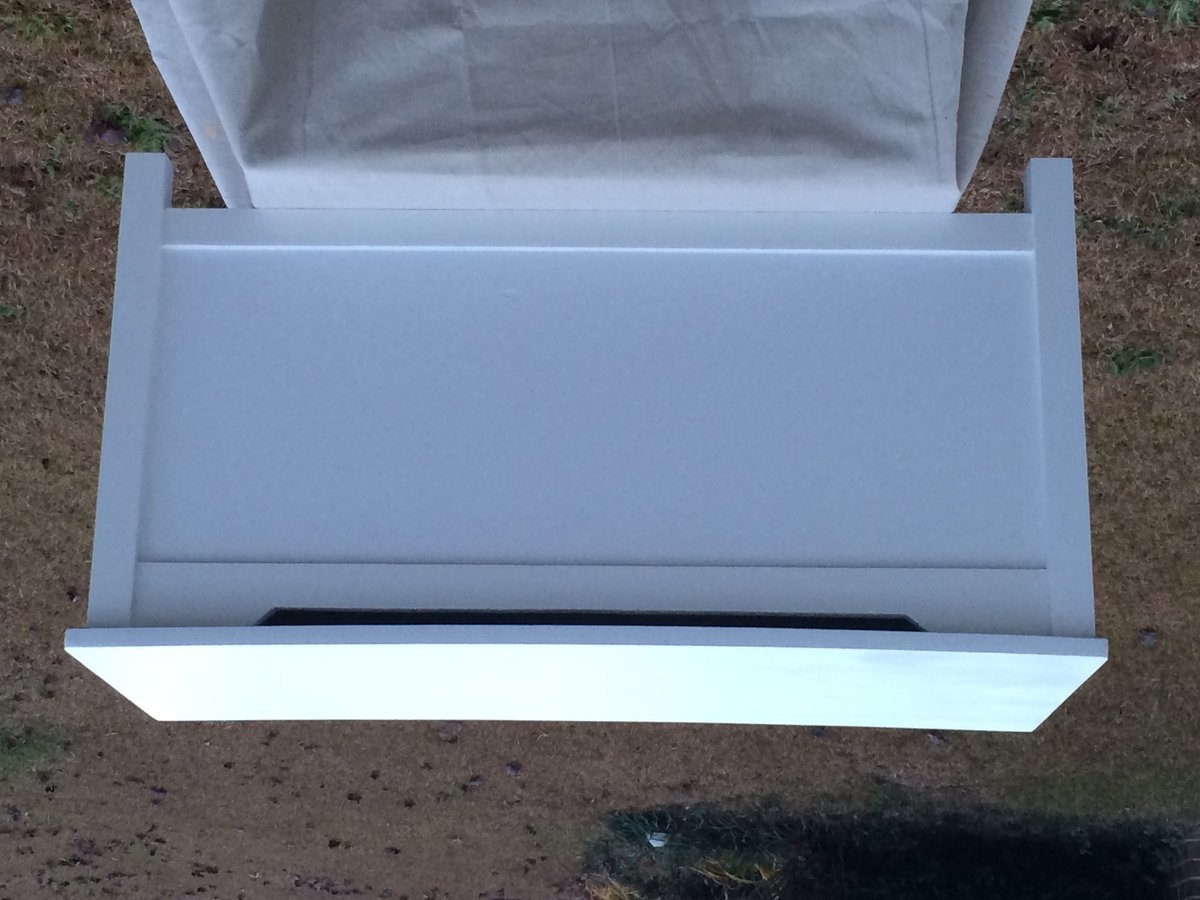
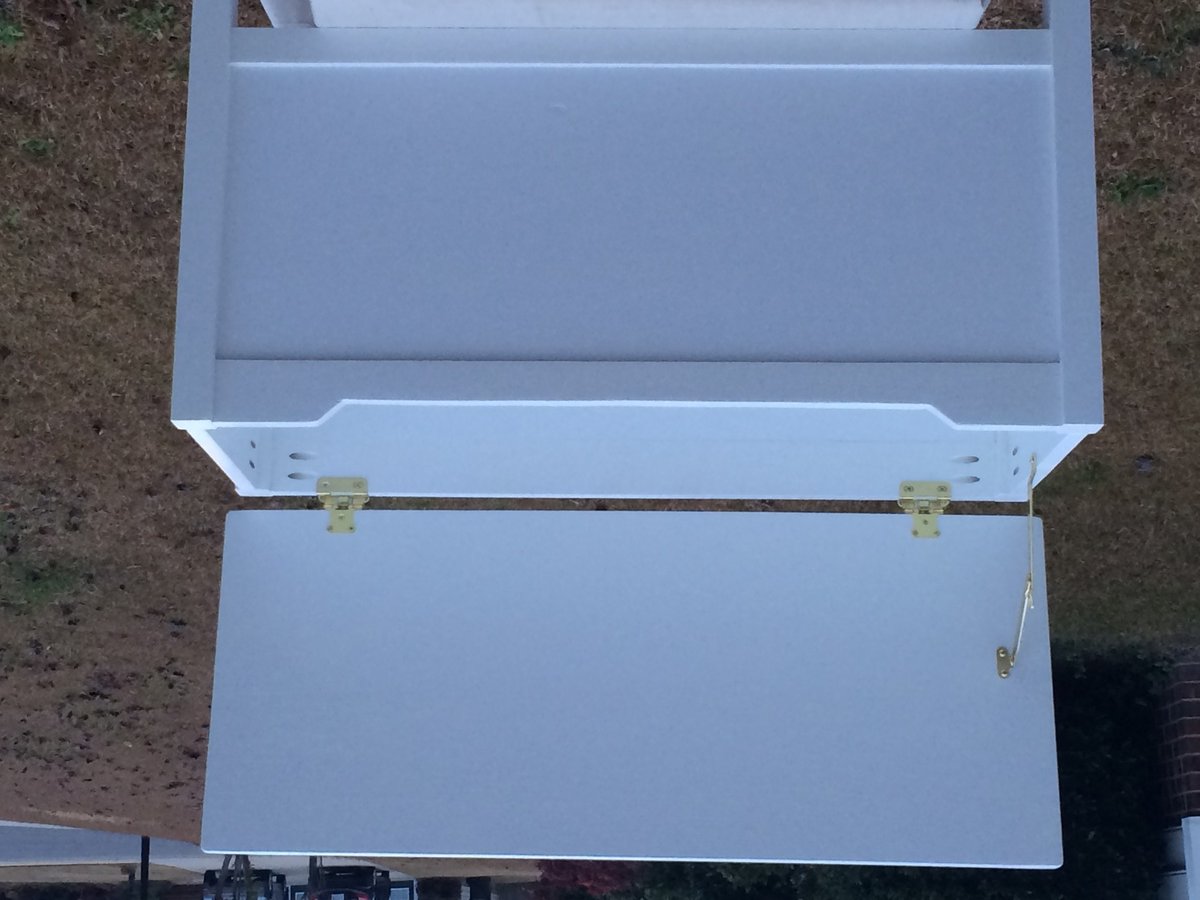
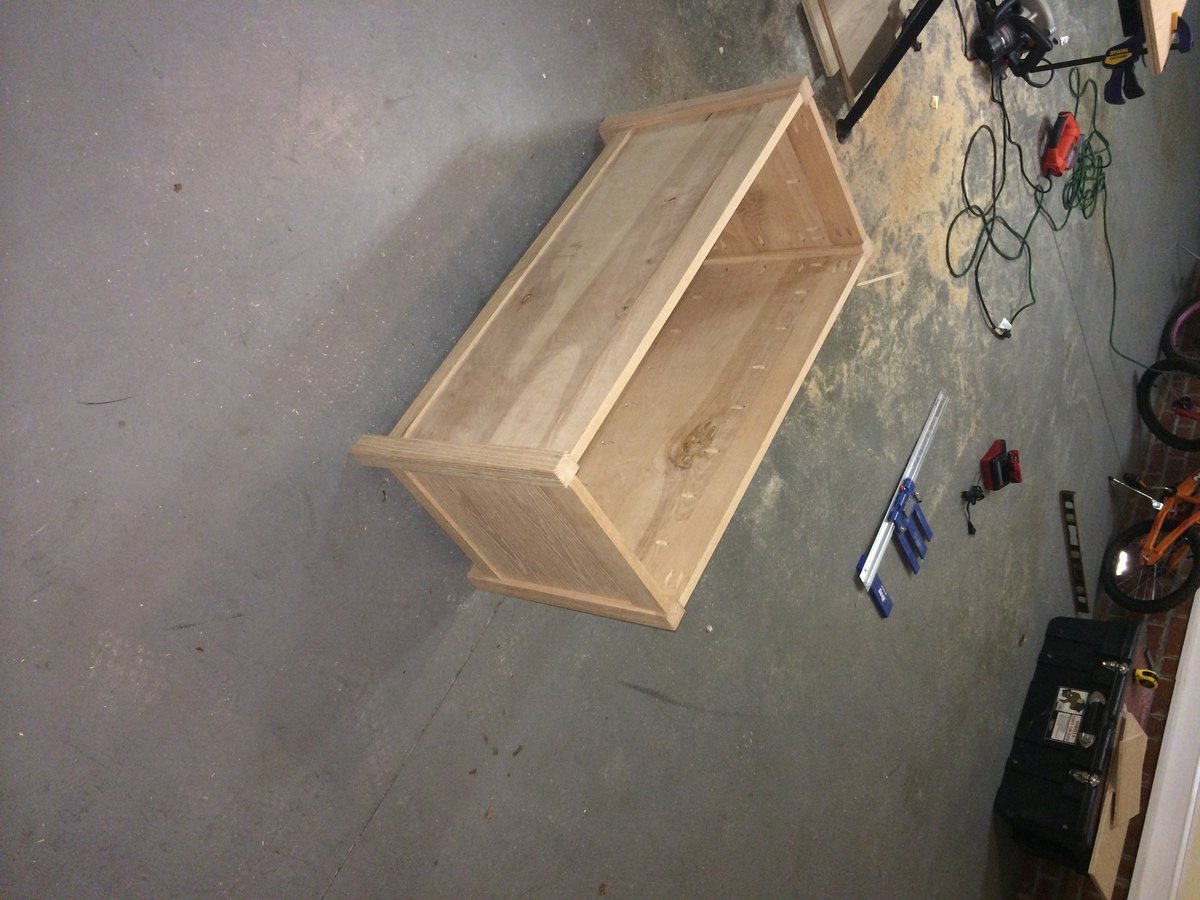
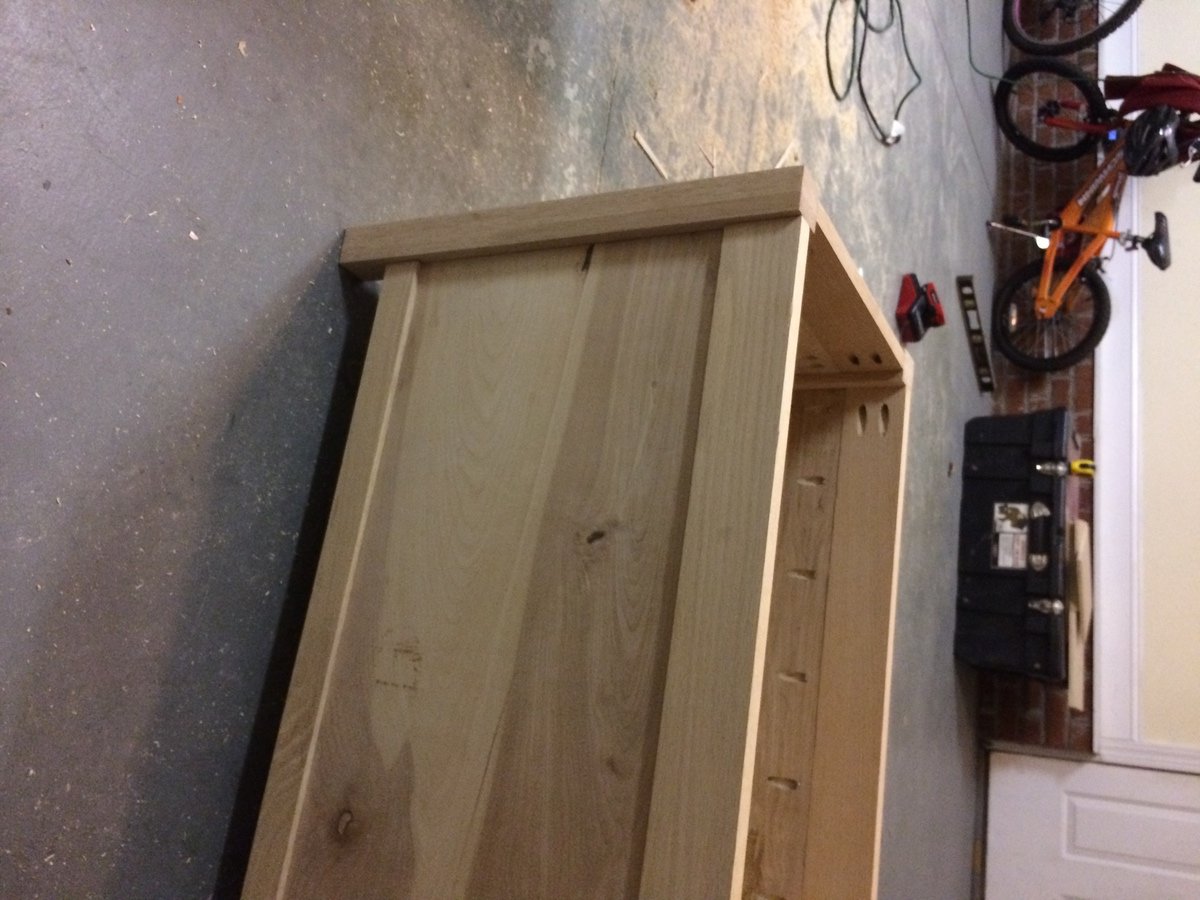
This is my first wood working project I've done. I am definitely a beginner, but feel that it turned out great. The project instructions were easy to follow and very descriptive. Some of the problems I ran into was my hardware store had a very limited selection of wood to choose from. I ended up buying a 2x4x1/2 sheet of plywood for the sides so when I made my cuts, I didn't take into account that the blade from the saw would eat up an 1/8" of wood which made my cuts off. Next when I was attaching the 1x2s and 1x3s to the plywood, I didn't realize I clamped the wood to hard which left a slight bend in my joined pieces. Overall I feel the project turned out great and my 3 year old loved it (which is the most important thing)!! I look forward to making more projects, to include another toy box.

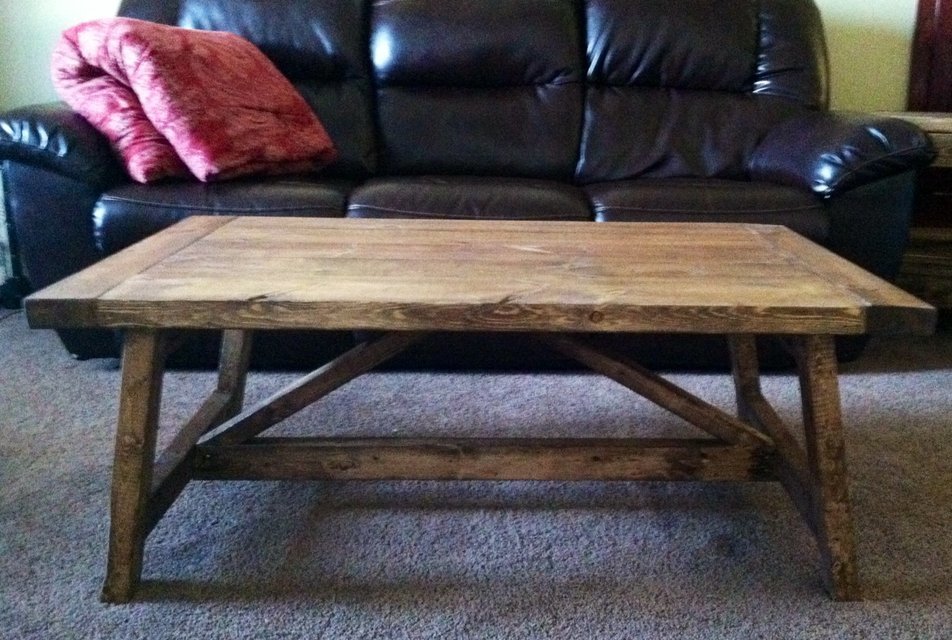
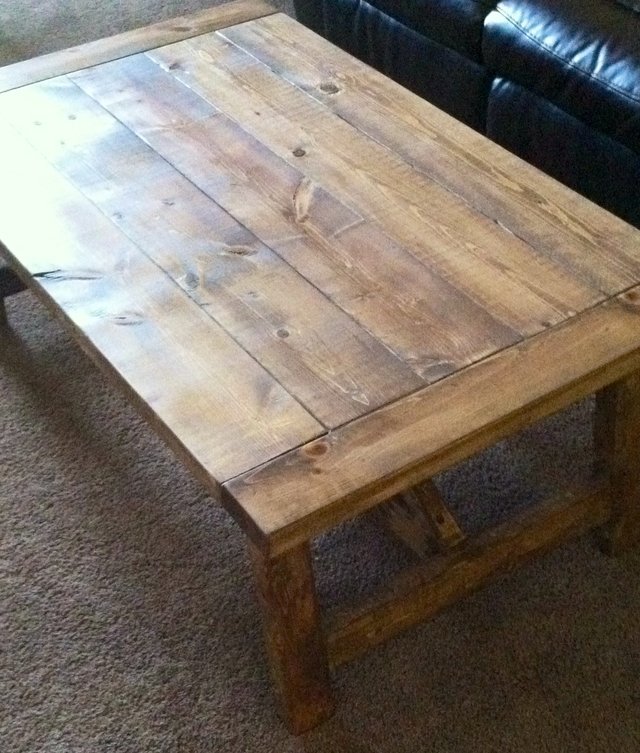
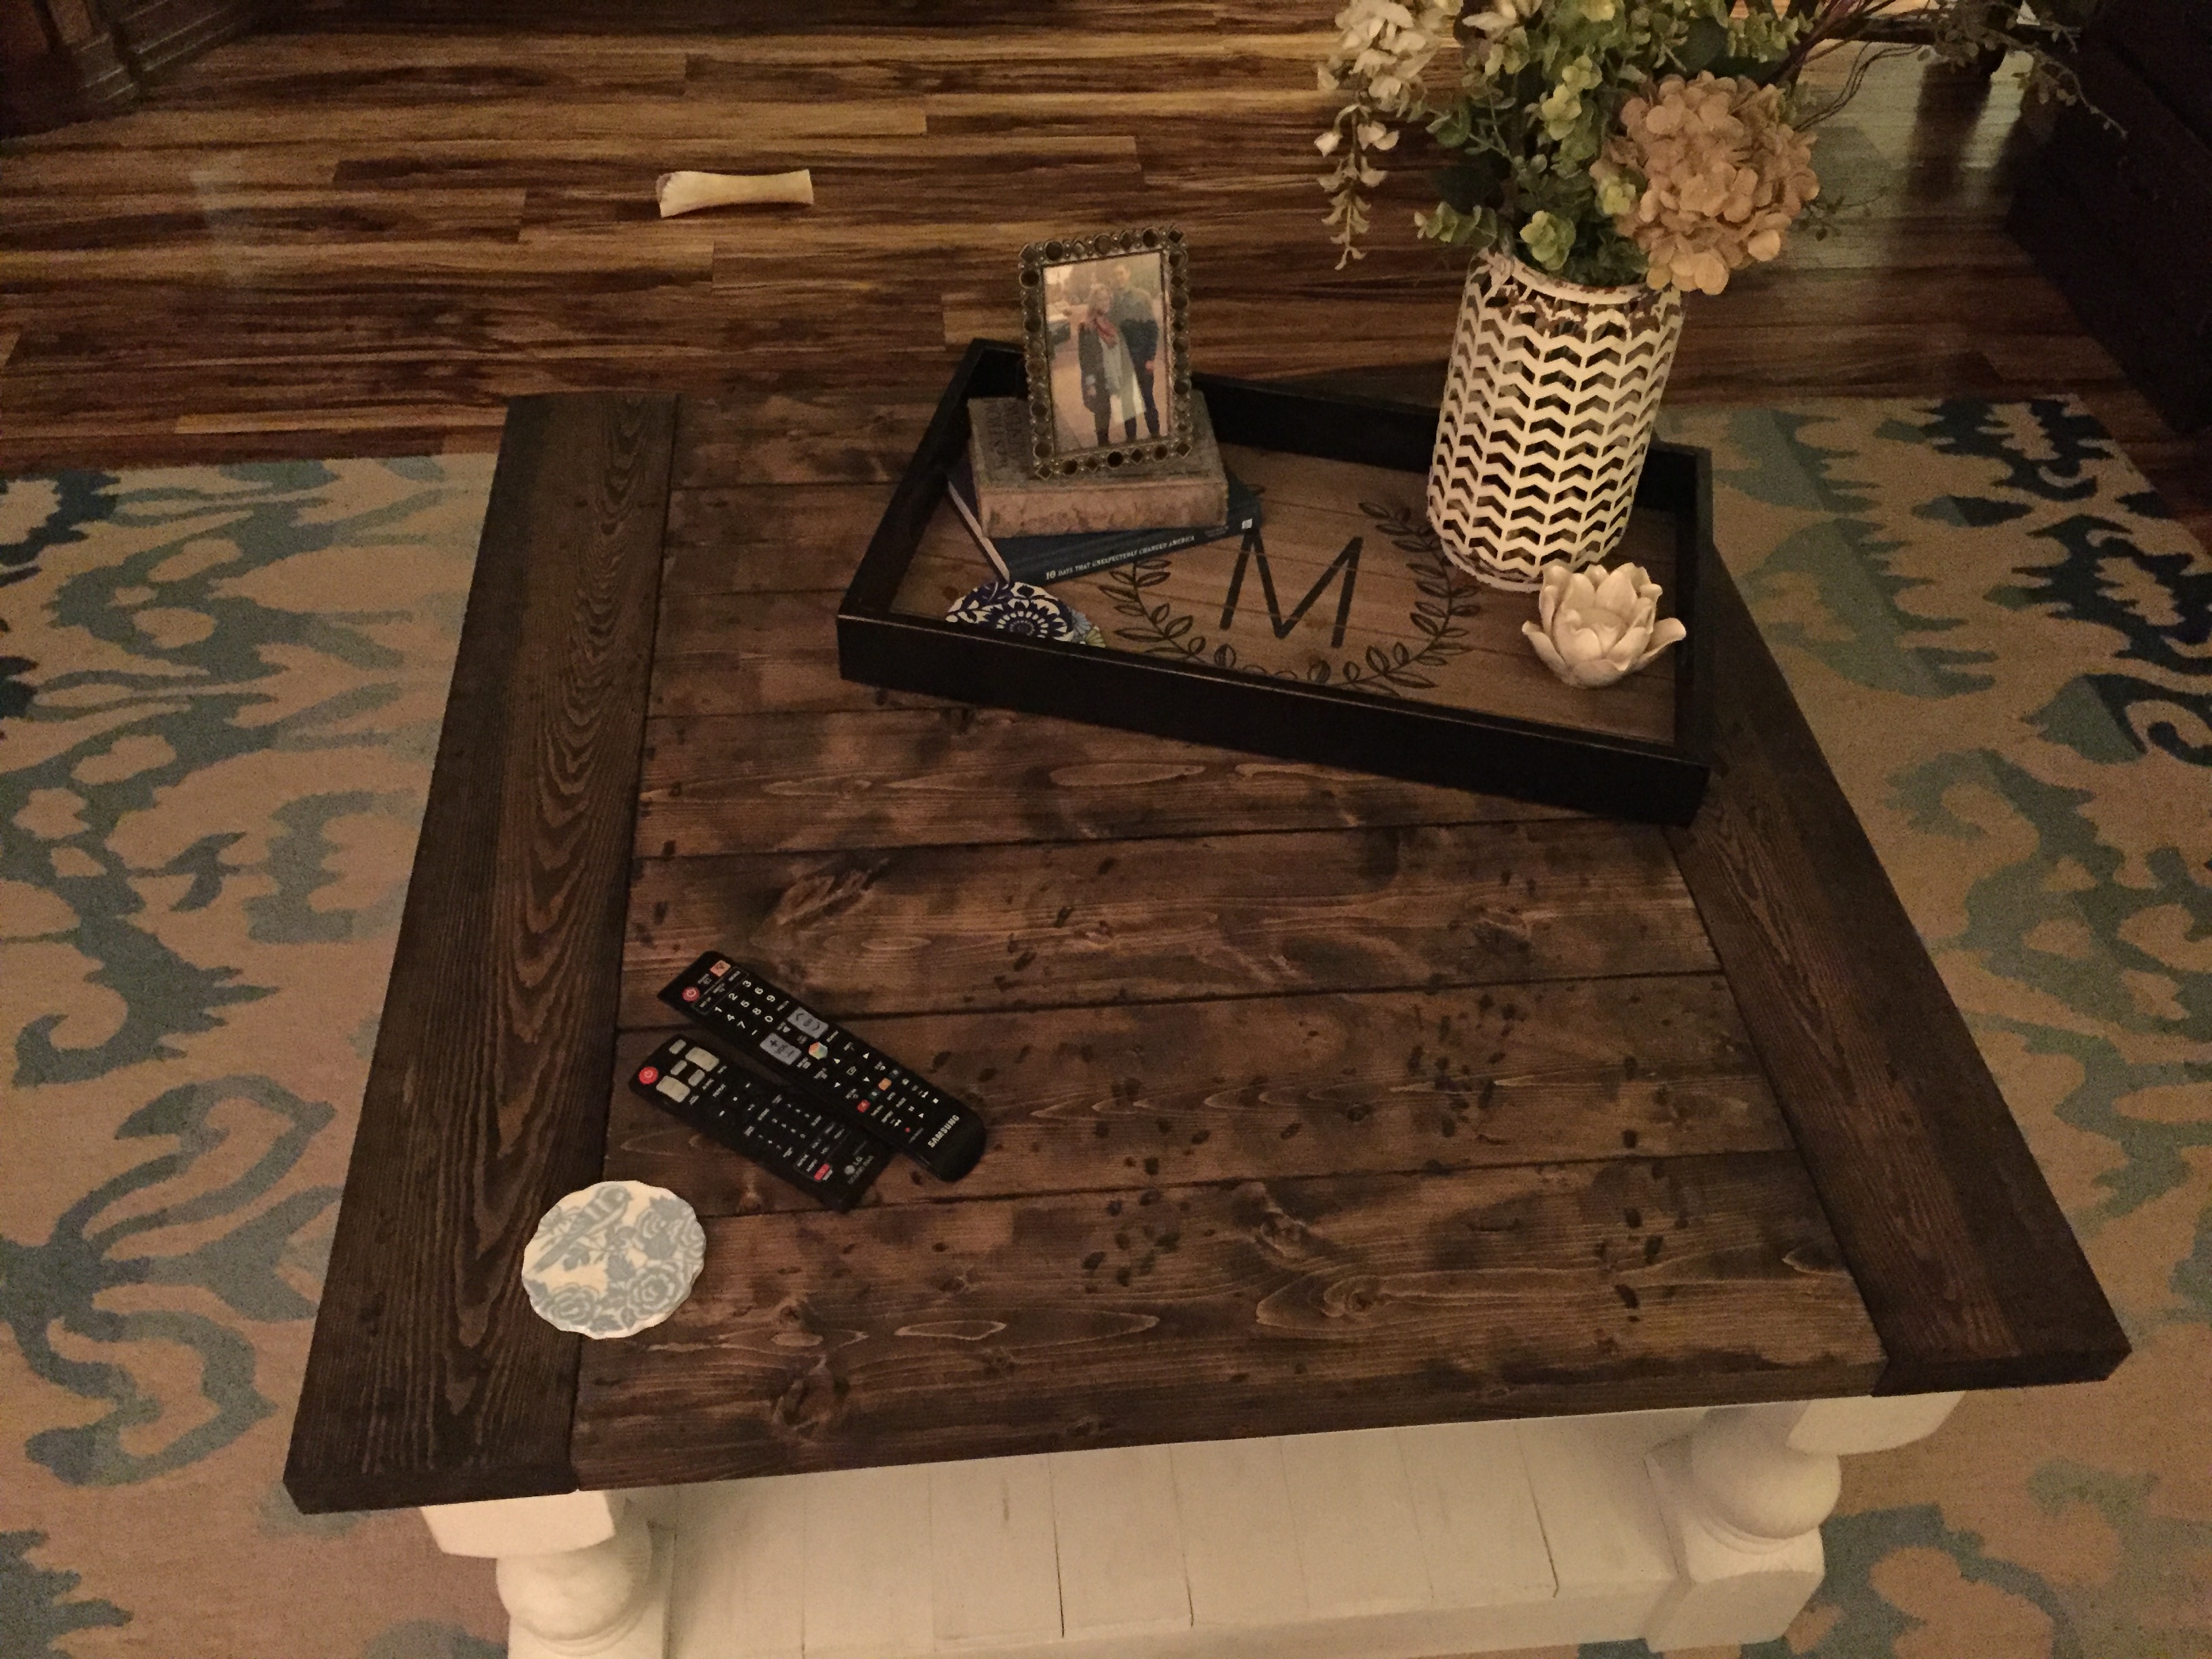
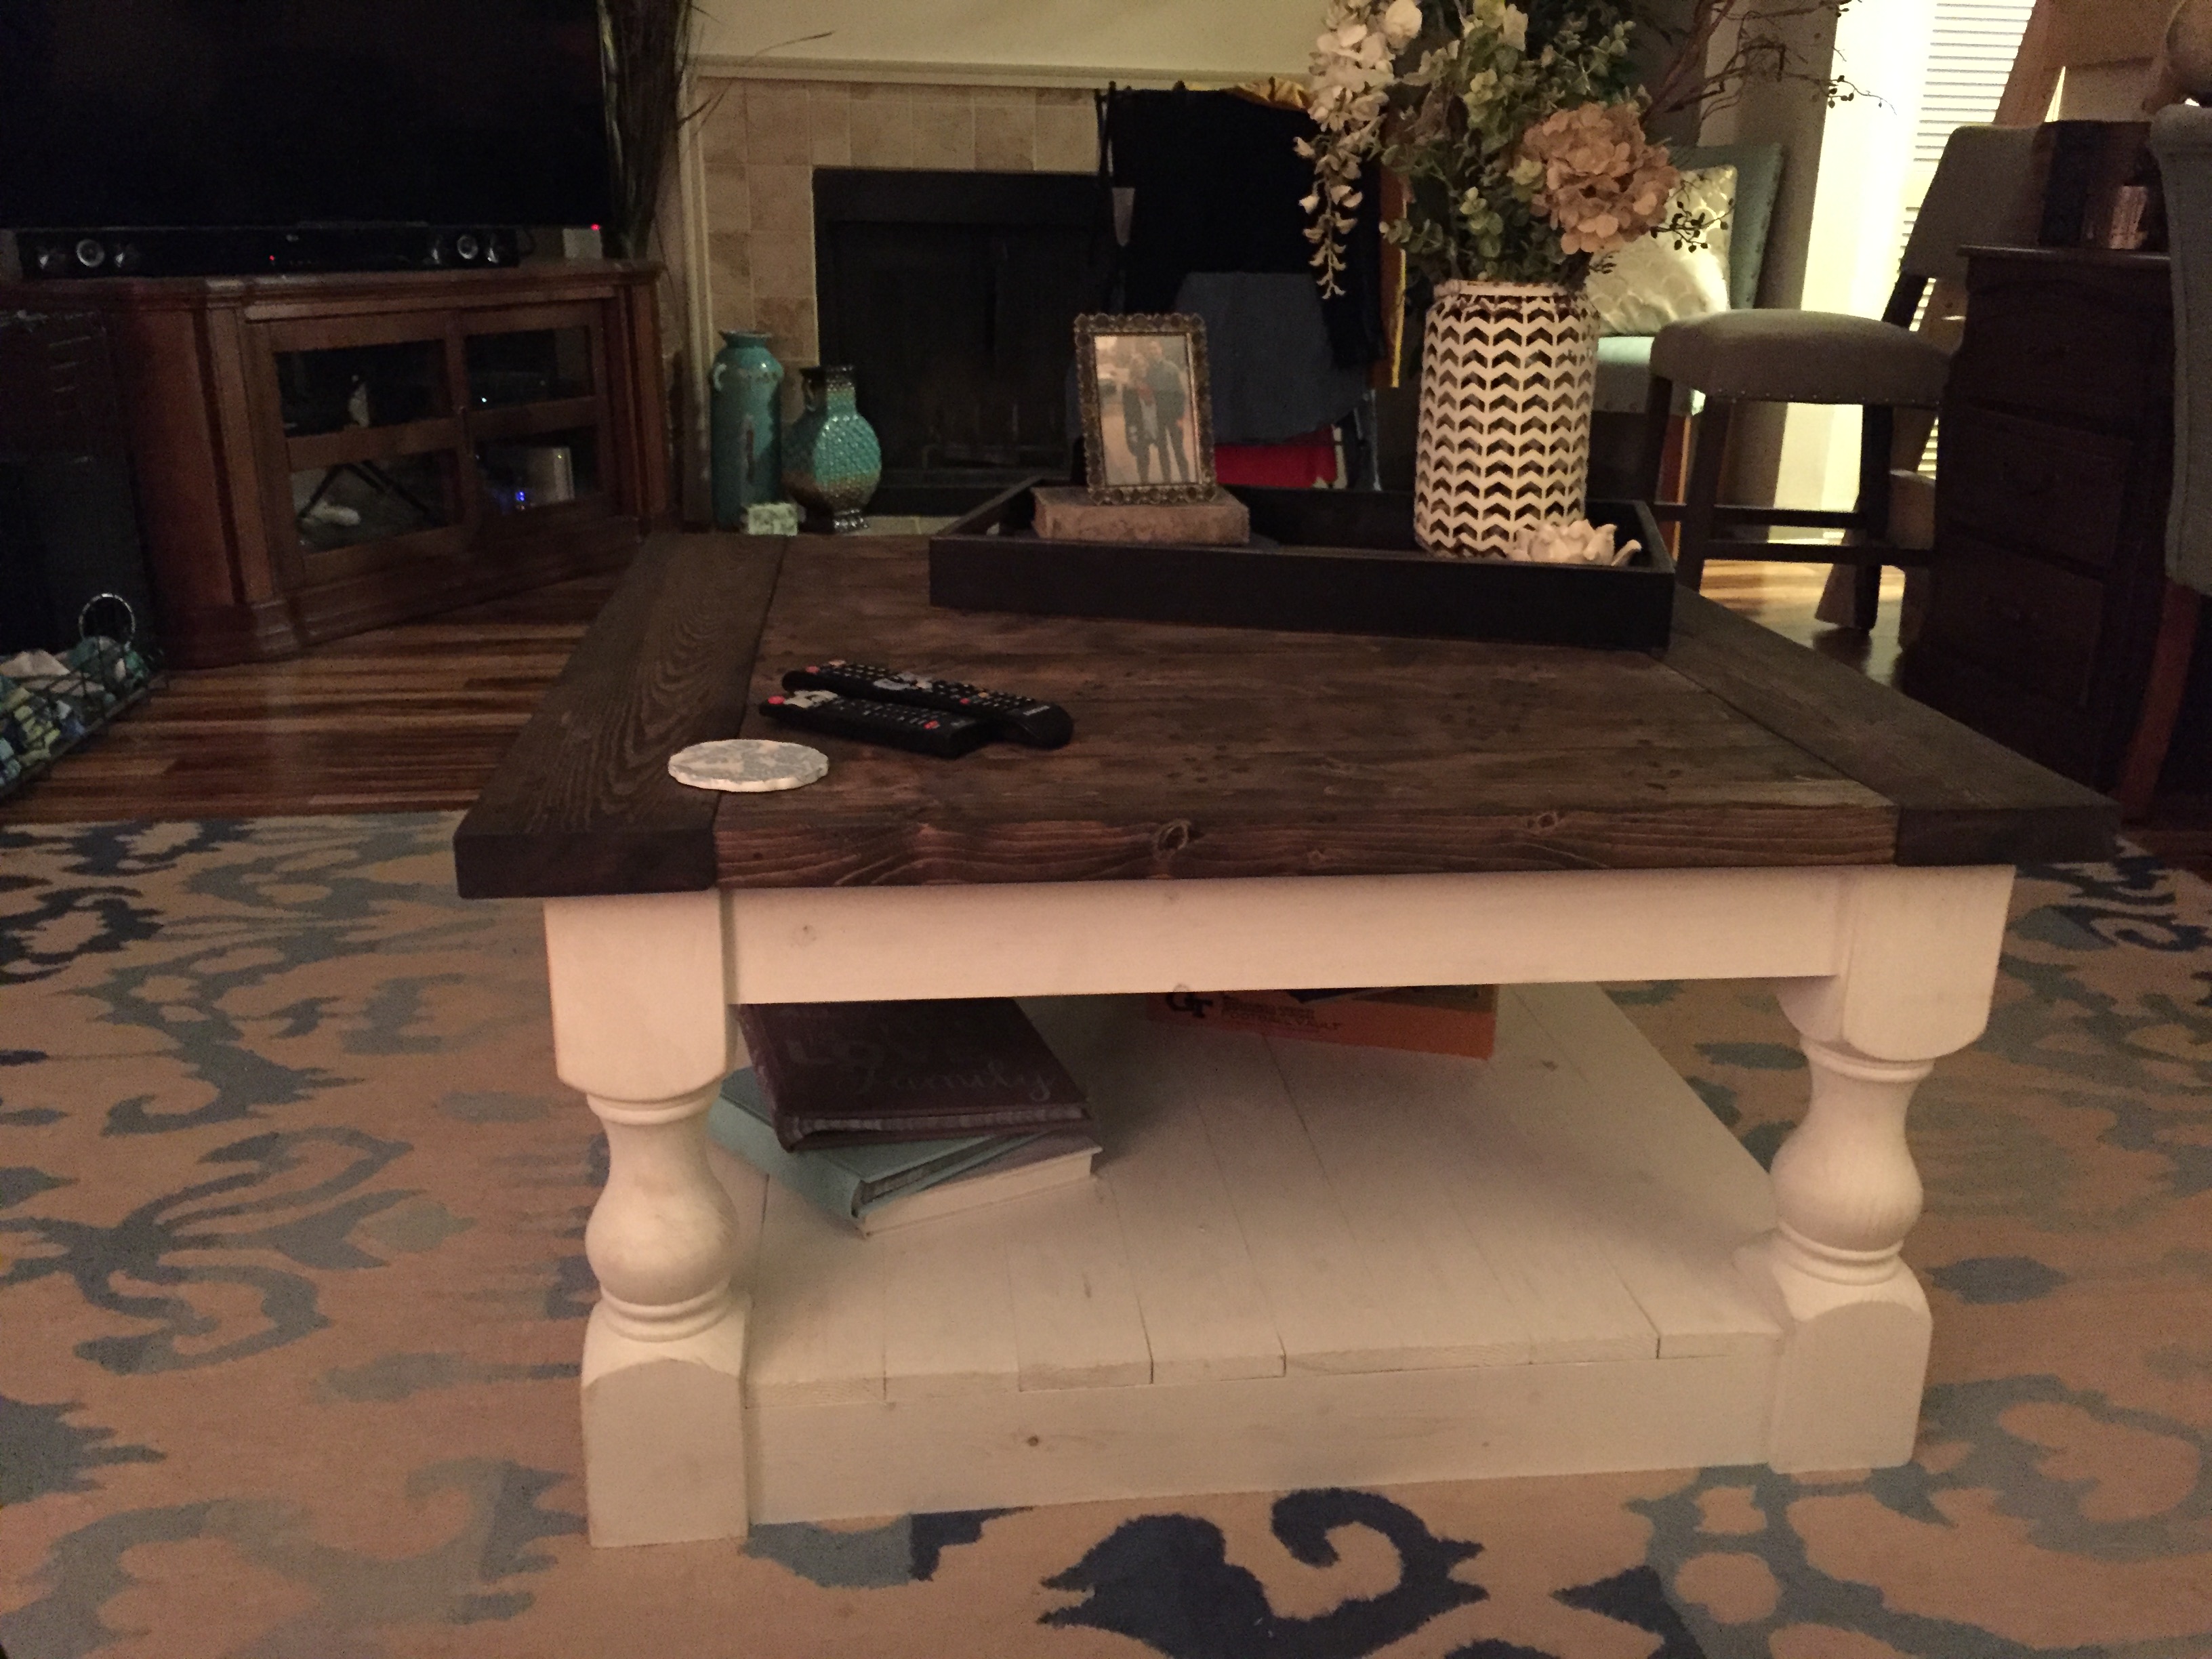
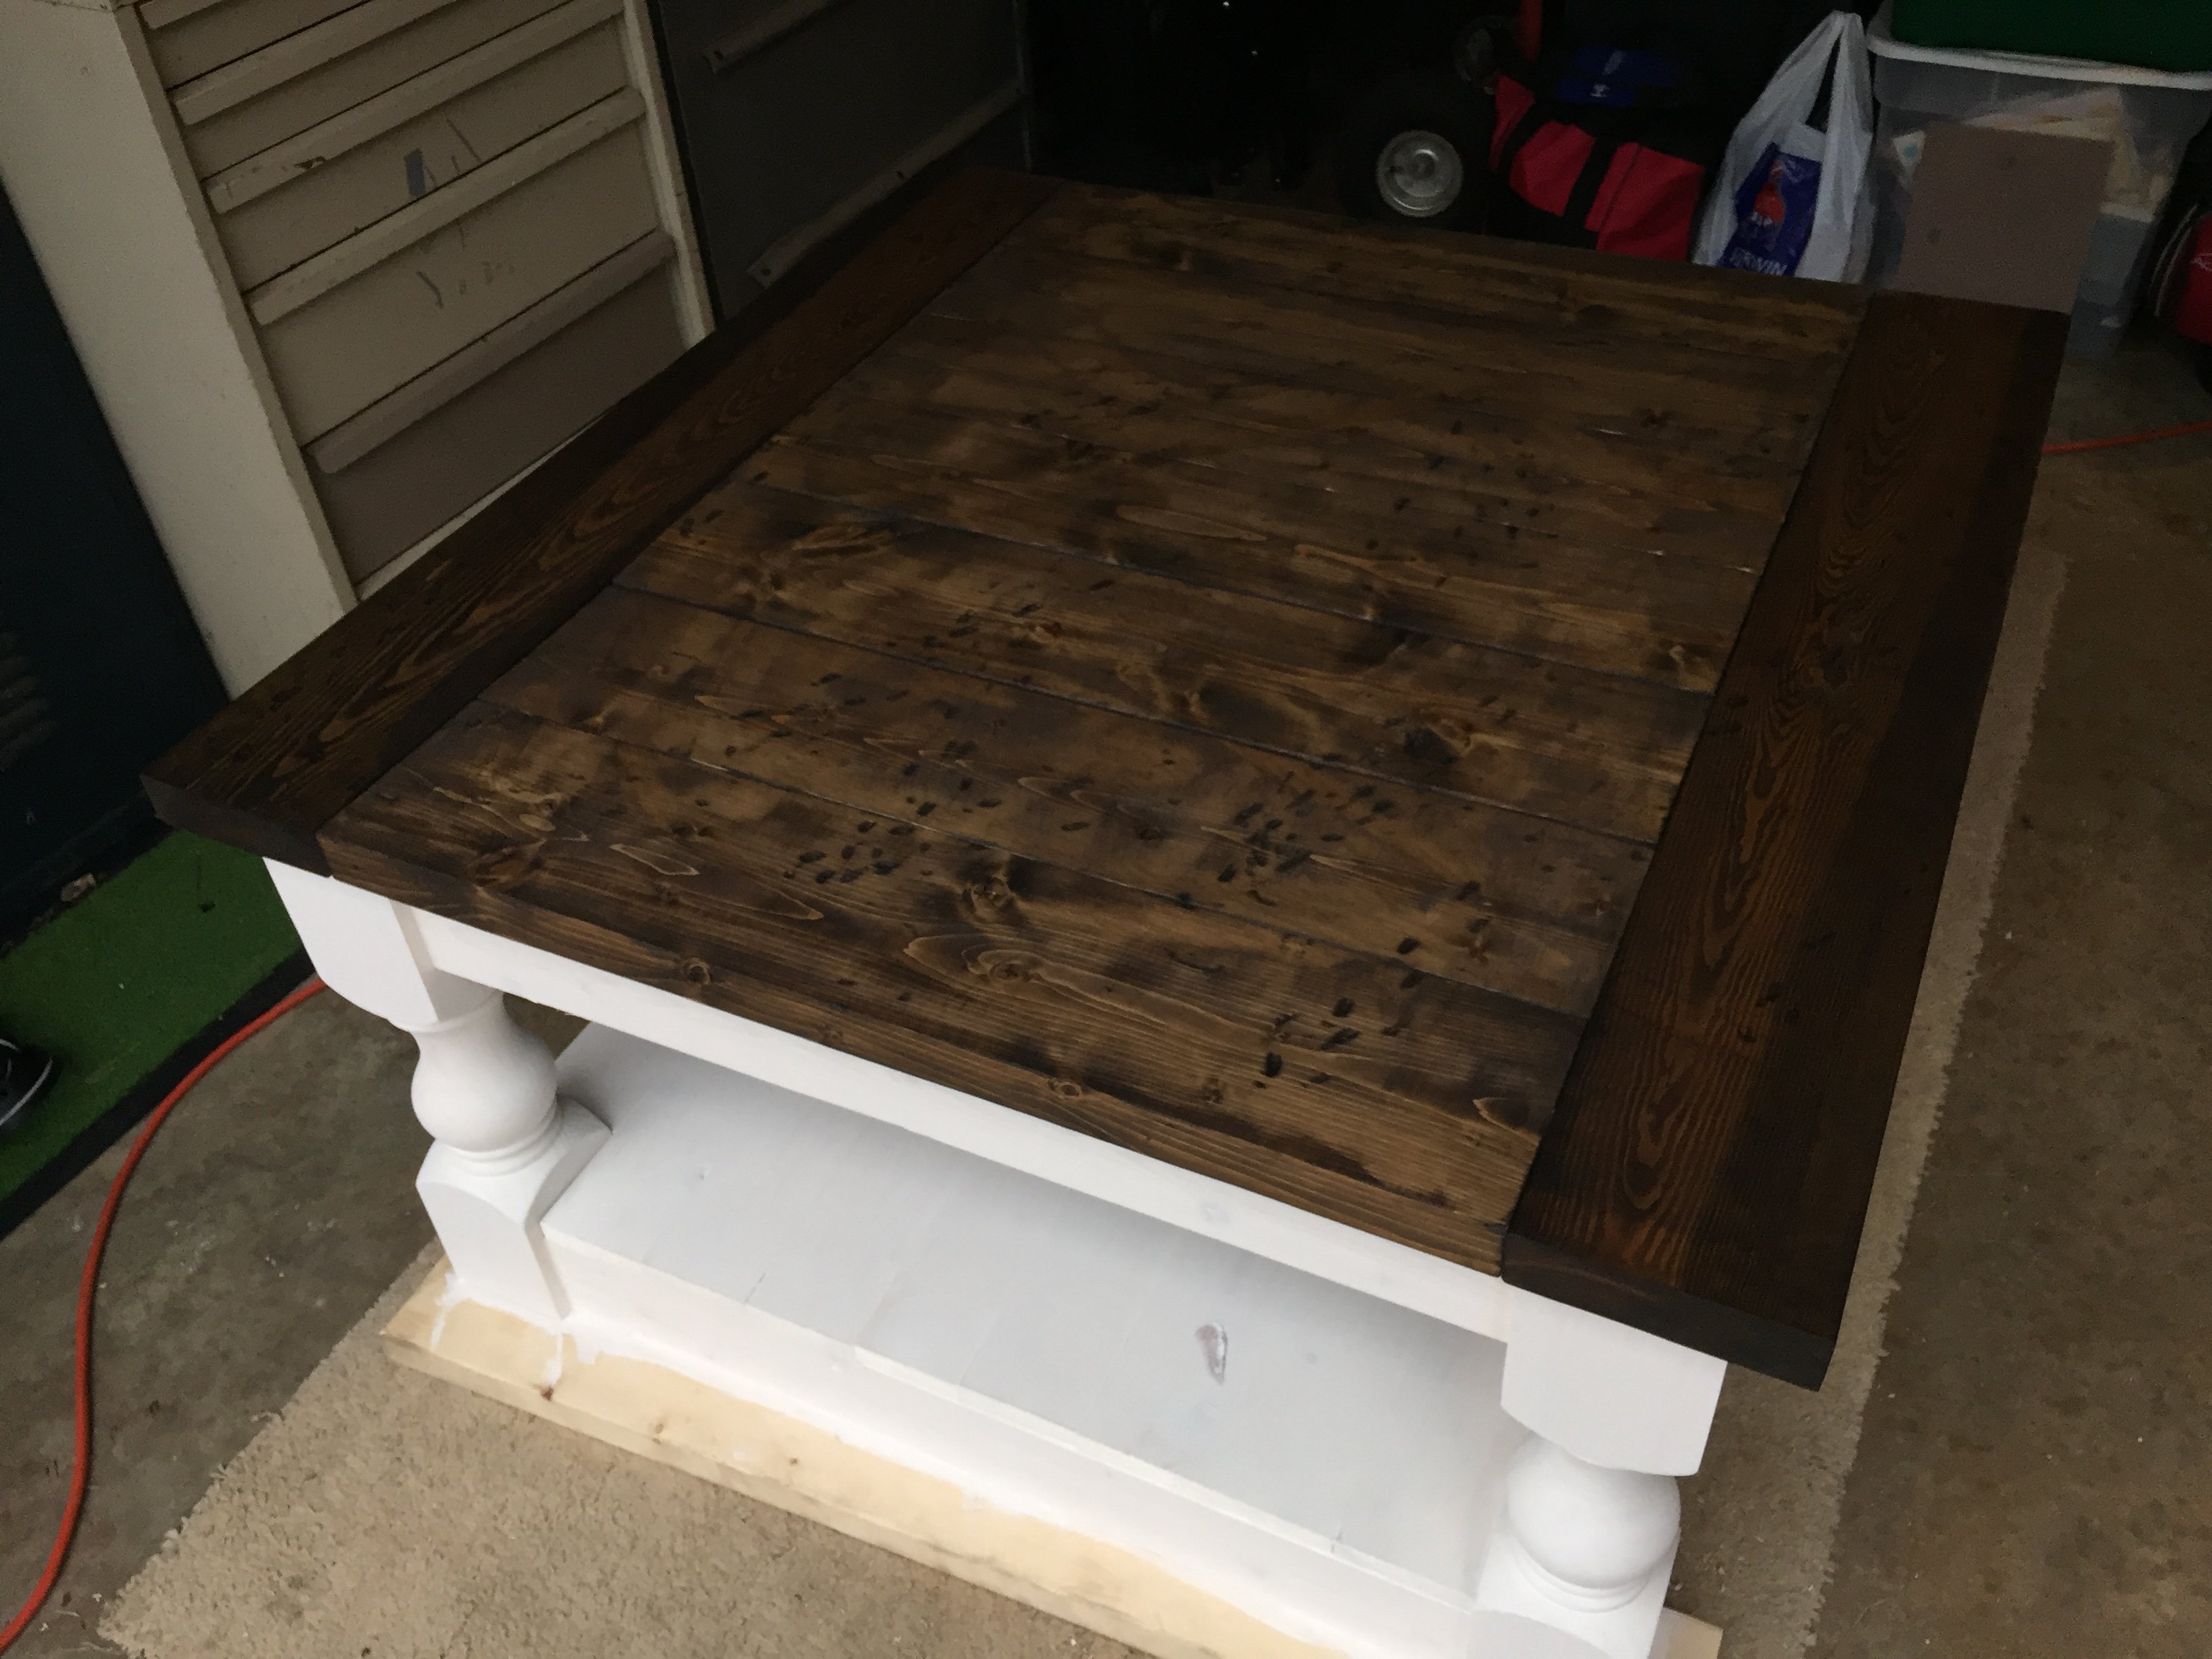
Handmade coffee table base on Corona plans. Bottom shelf was chagned to wooden slats instead of solid plywood.
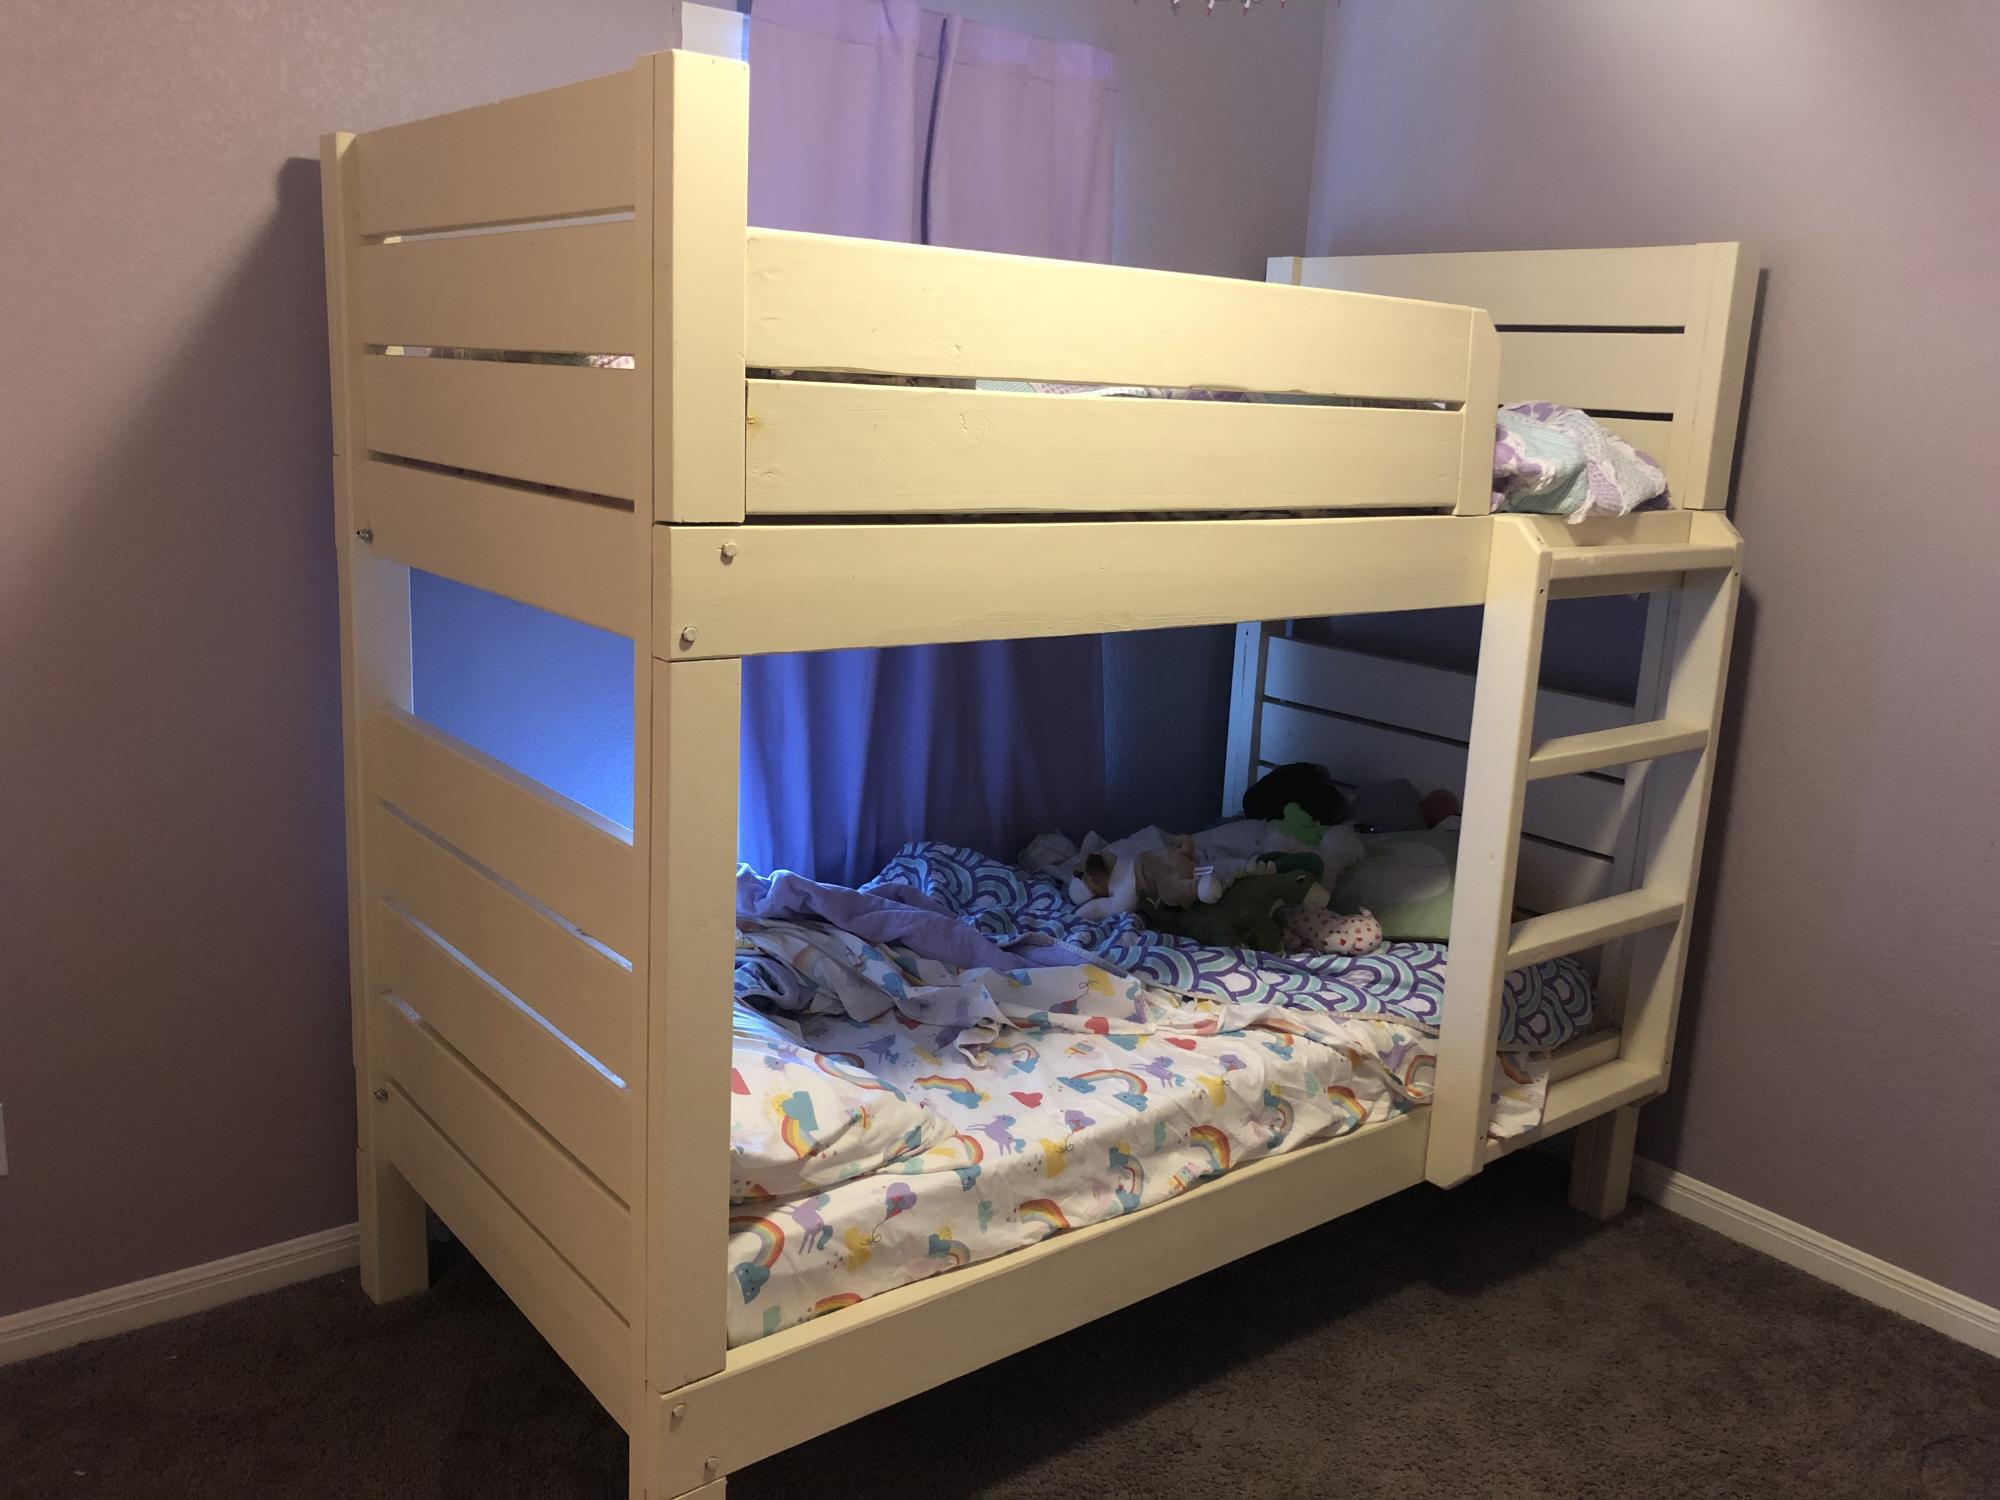
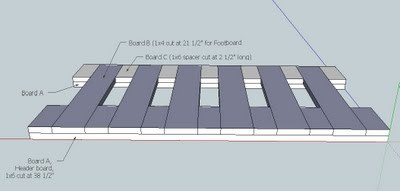
I used the overall dimensions from the plan for the beds. Some differences:
Tips:
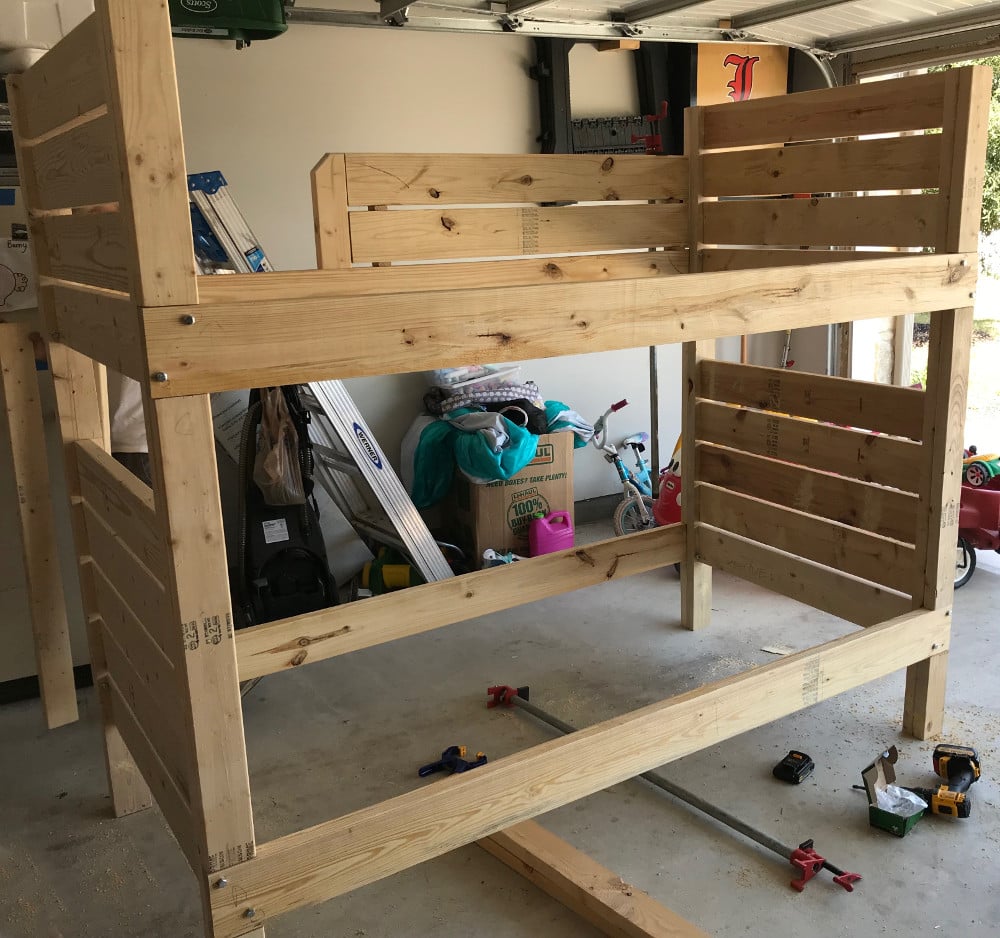
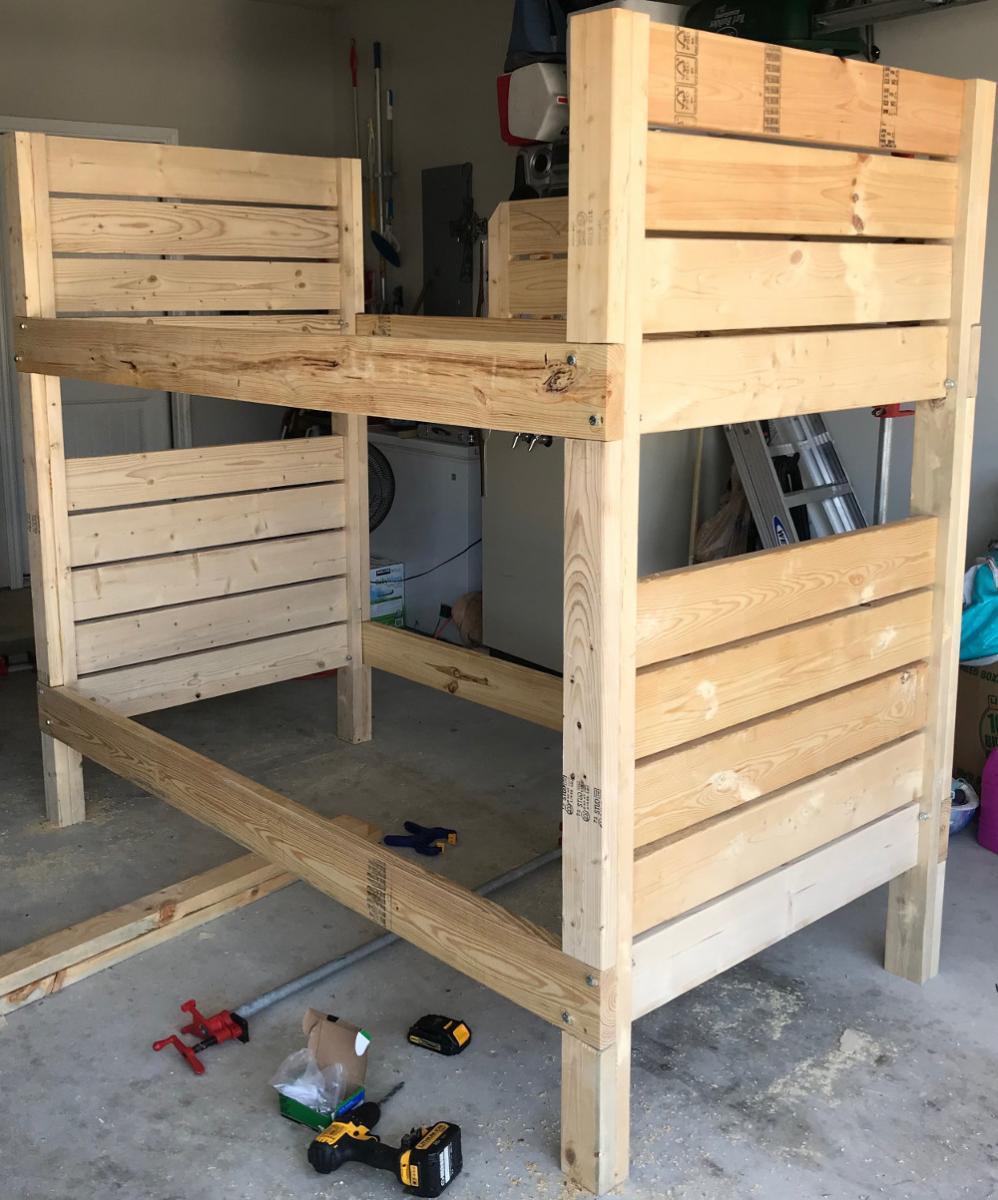
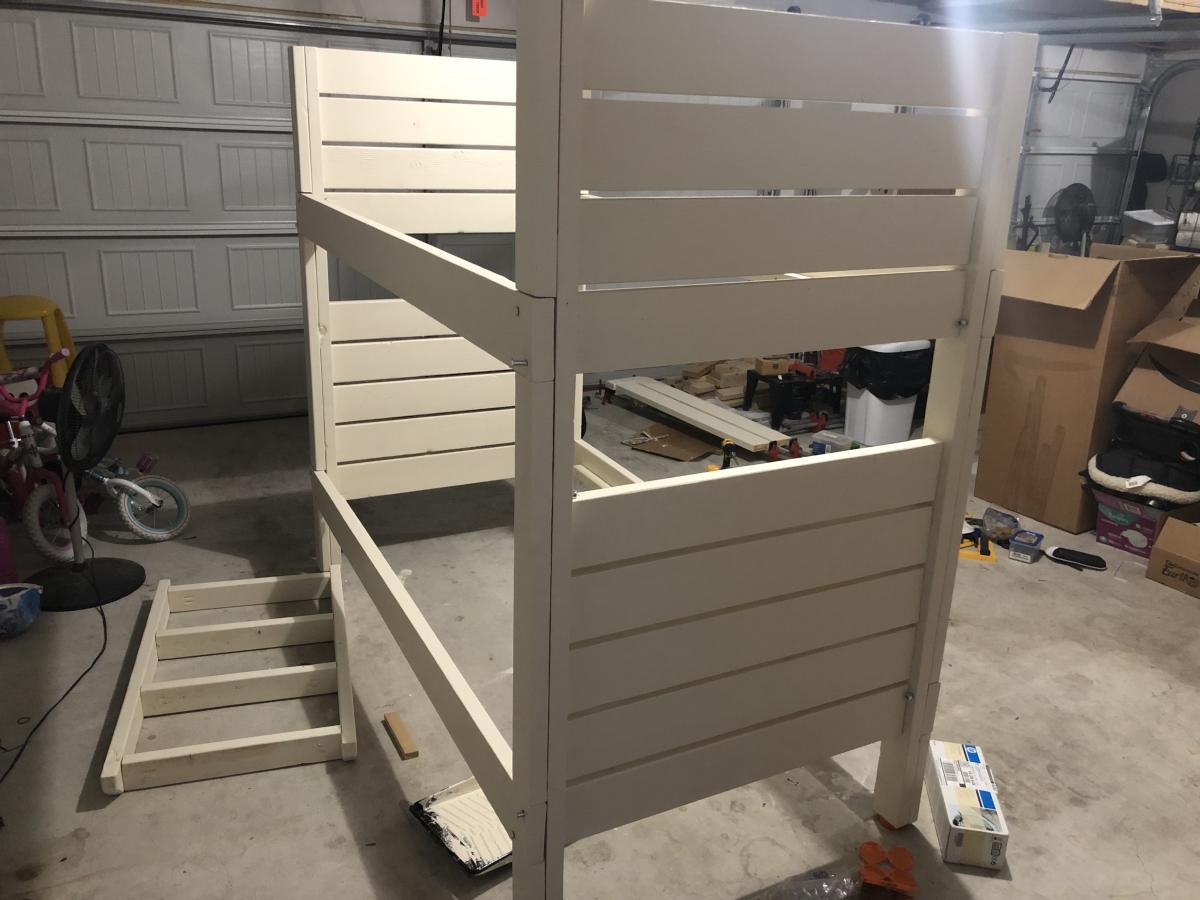
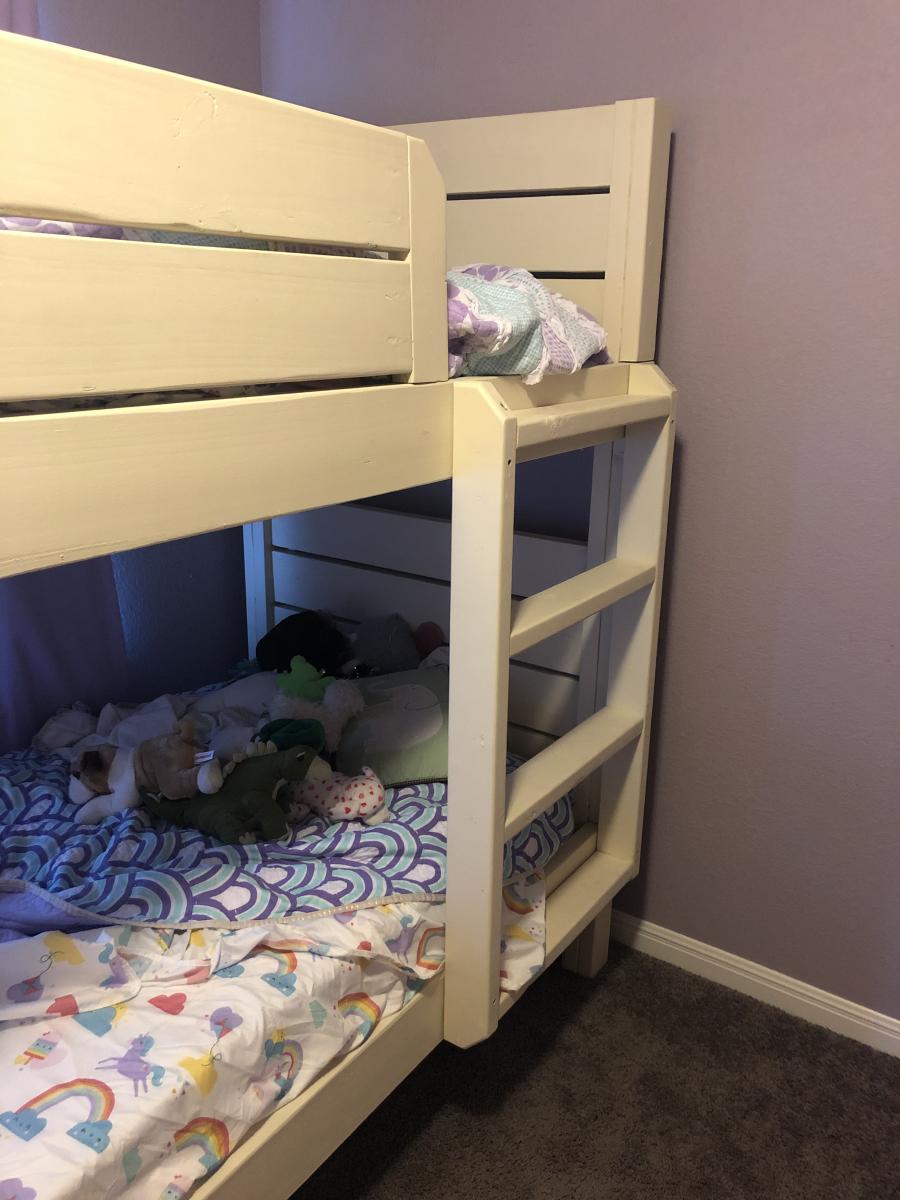
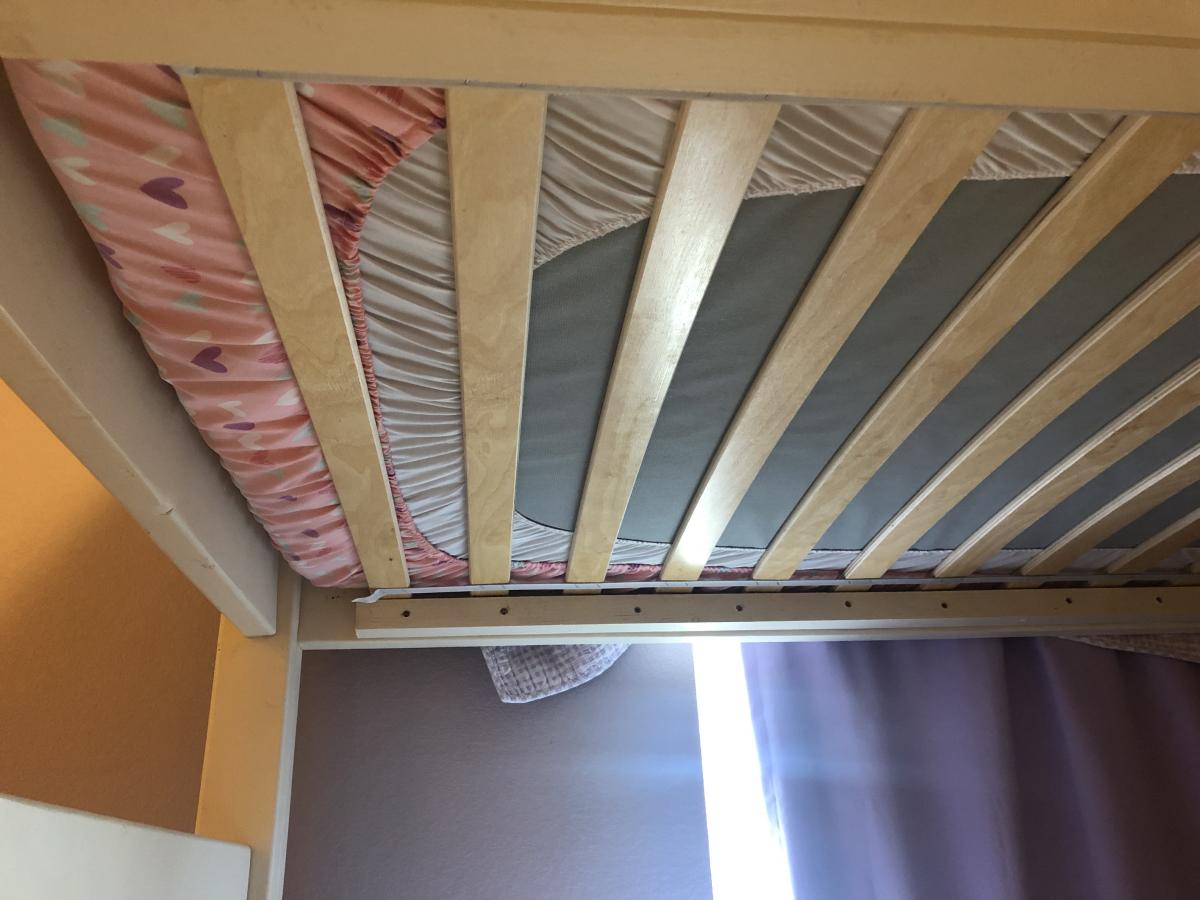
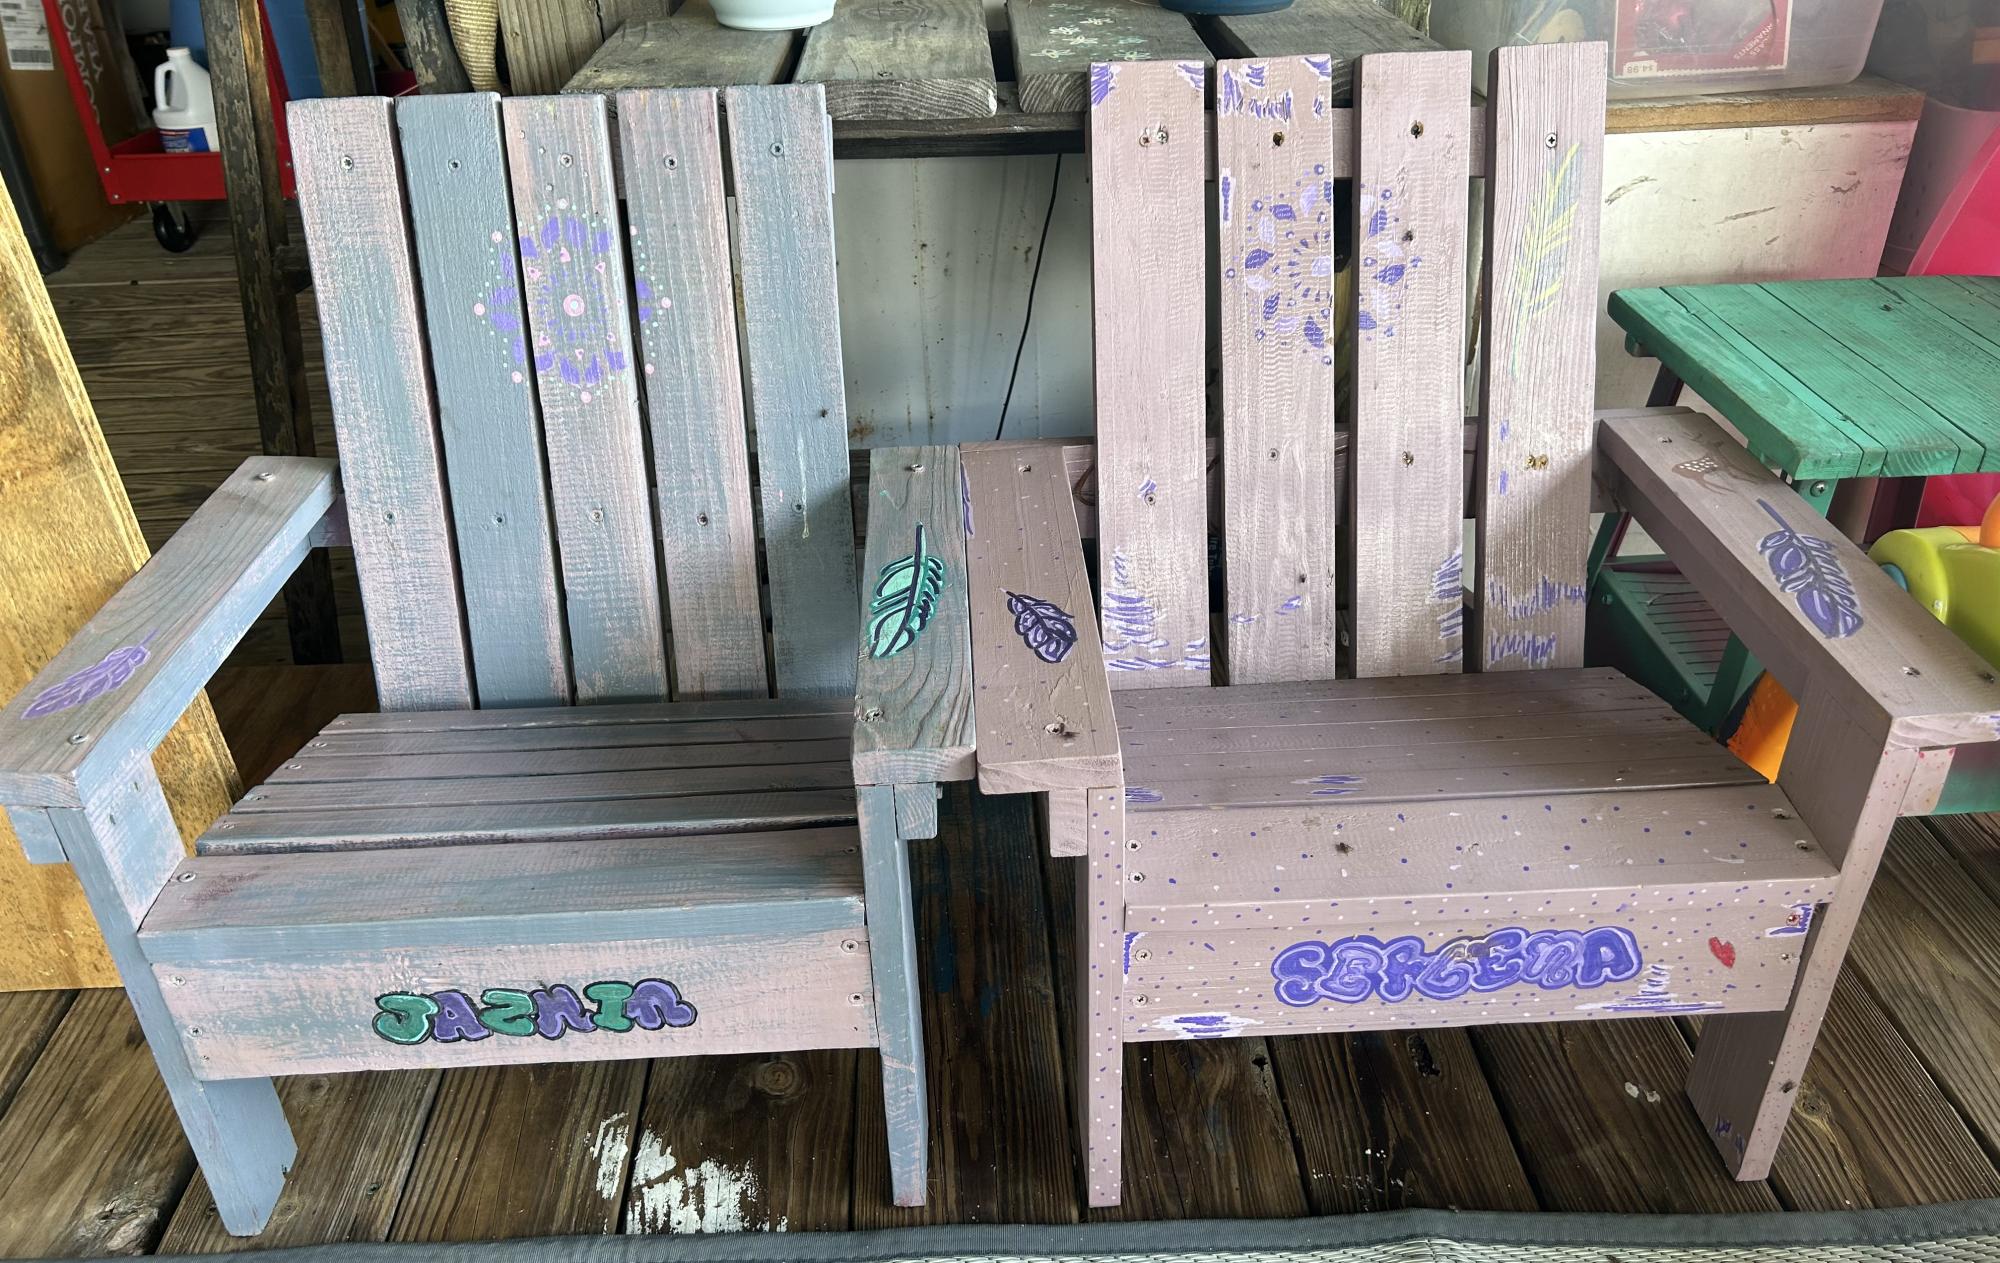
I made two. Somehow one turned out just a tad larger than the other. It works though, my kids are 2 and 9. Love all your plans. Thanks.
Wed, 05/17/2023 - 13:28
I bet your children love having their very own chair! Thanks for sharing.
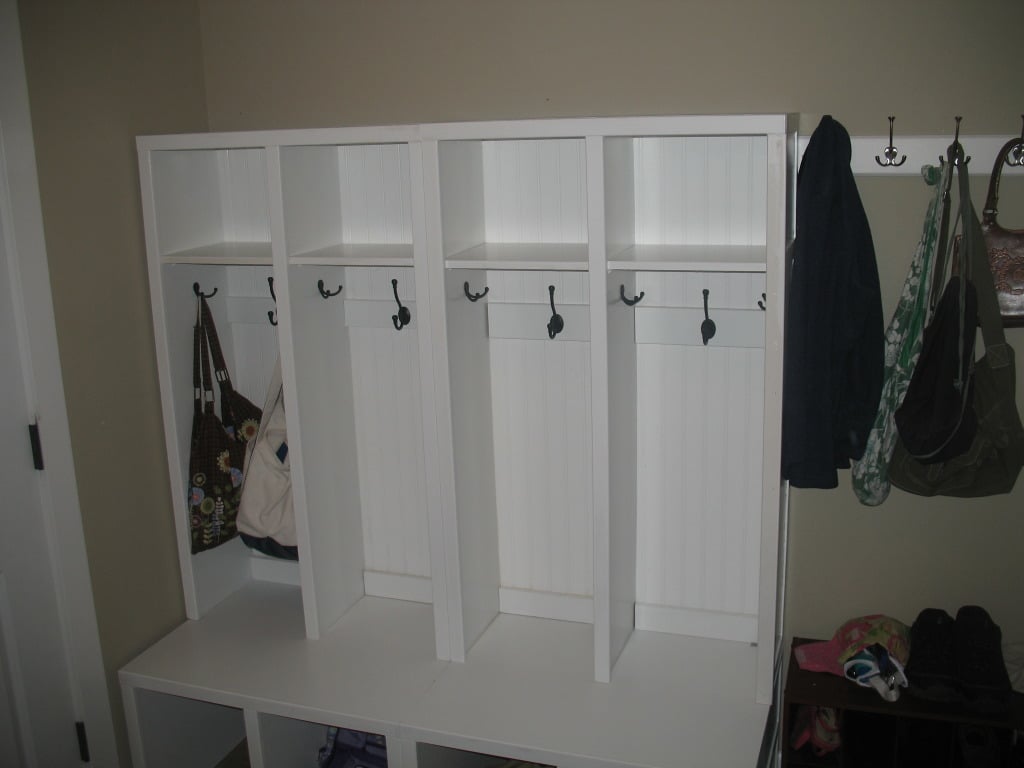
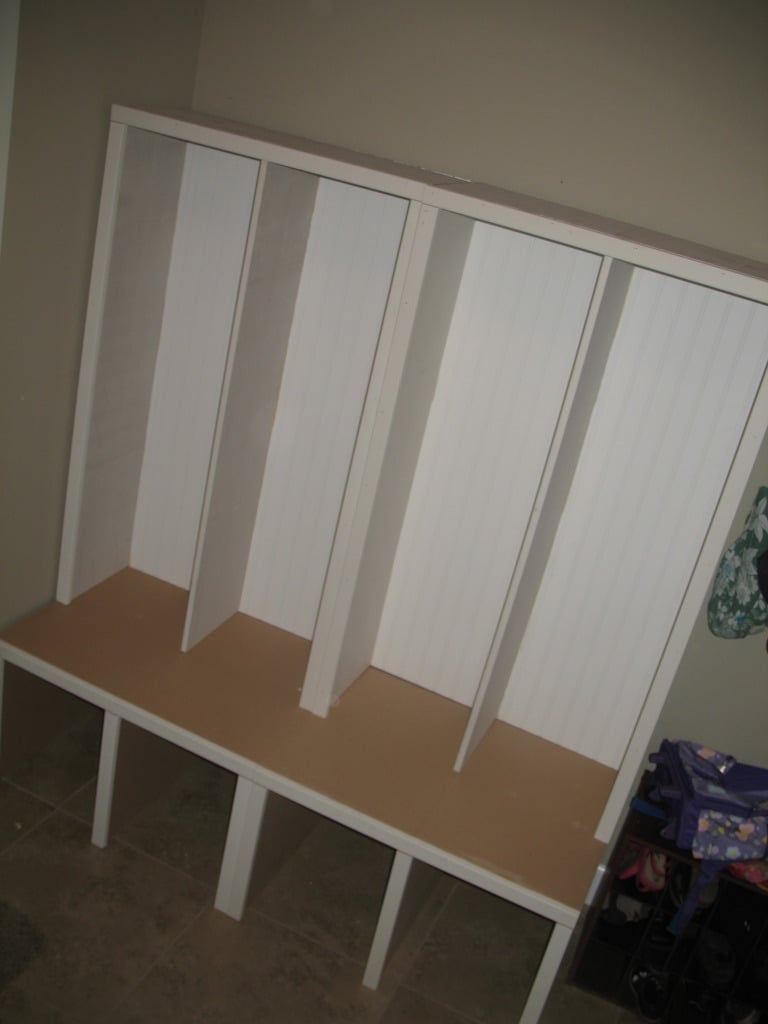
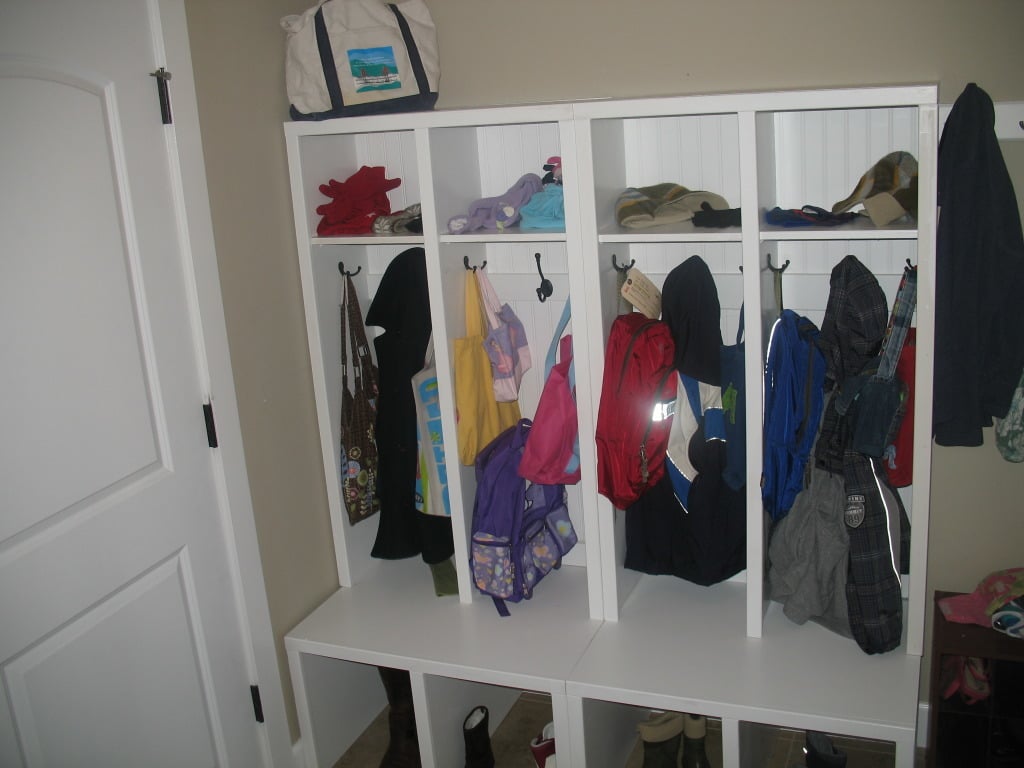
This was a much faster build than we anticipated, thanks to easy to work with MDF and pre-finished bead-board backing. Had all the wood pre-ordered on line from Lowe's made pick up super easy - and then they did all the cuts for us!
Sun, 01/08/2012 - 15:12
Looks great! I have a goofy question -- can you specify the cuts you want made when you order online, or do you get it at the store, take it back to the saw and have them cut it then?
In reply to Quick question -- by Margaret Kubiszyn (not verified)
Sun, 01/08/2012 - 17:07
No, you have to go back to the cutting area and do those. I wouldn't want to trust them to do them just right, though. I like to watch and help measure if need be. There's nothing worse than having your cuts off by a 1/4 inch or more!
Sun, 01/08/2012 - 17:08
I don't think that you can specify cuts in your online order, just the boards. But we picked it up with a sheet of paper specifying how each board should be cut.
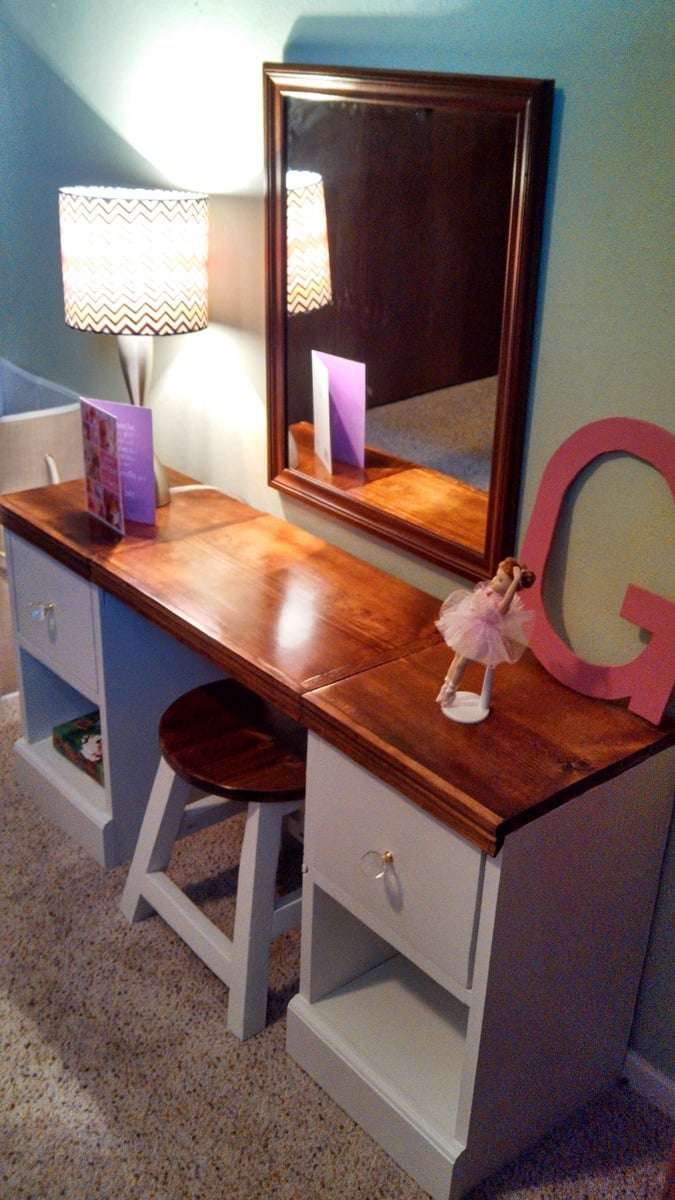
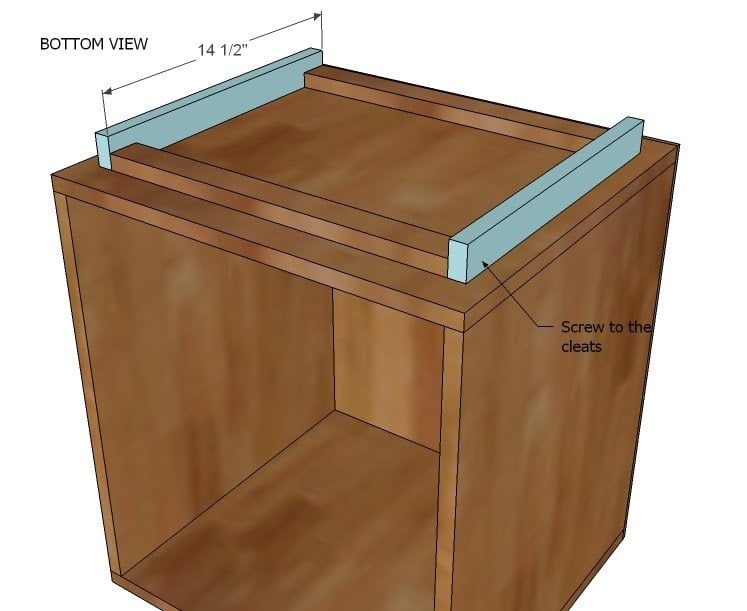
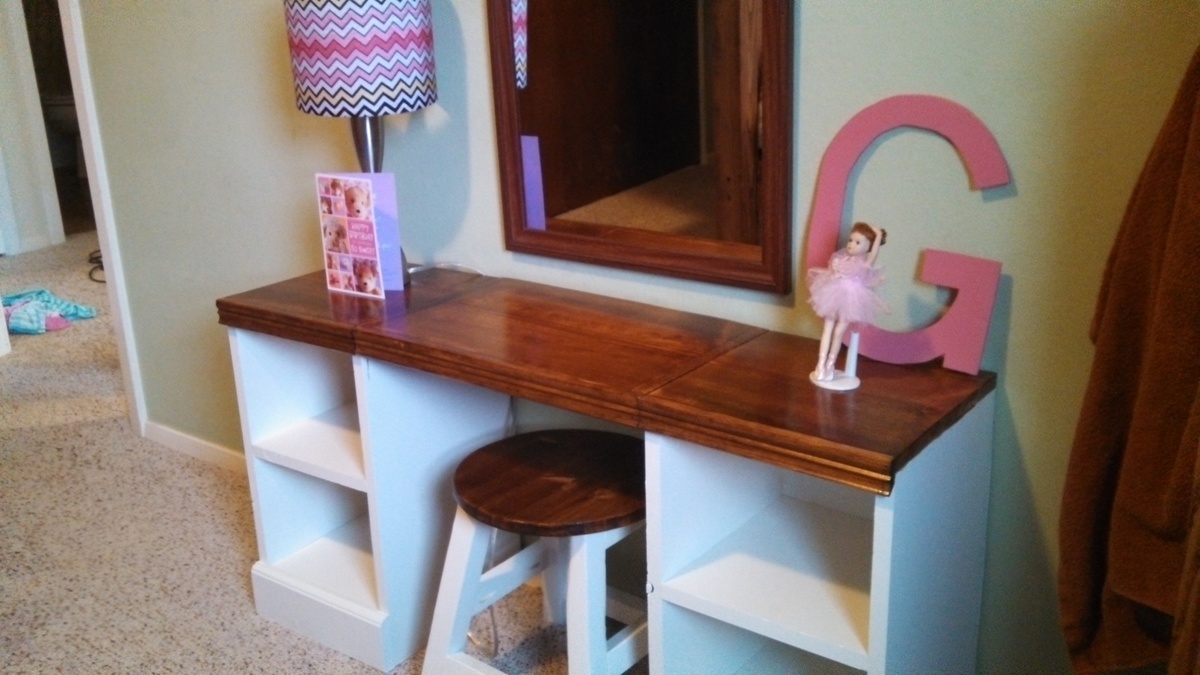
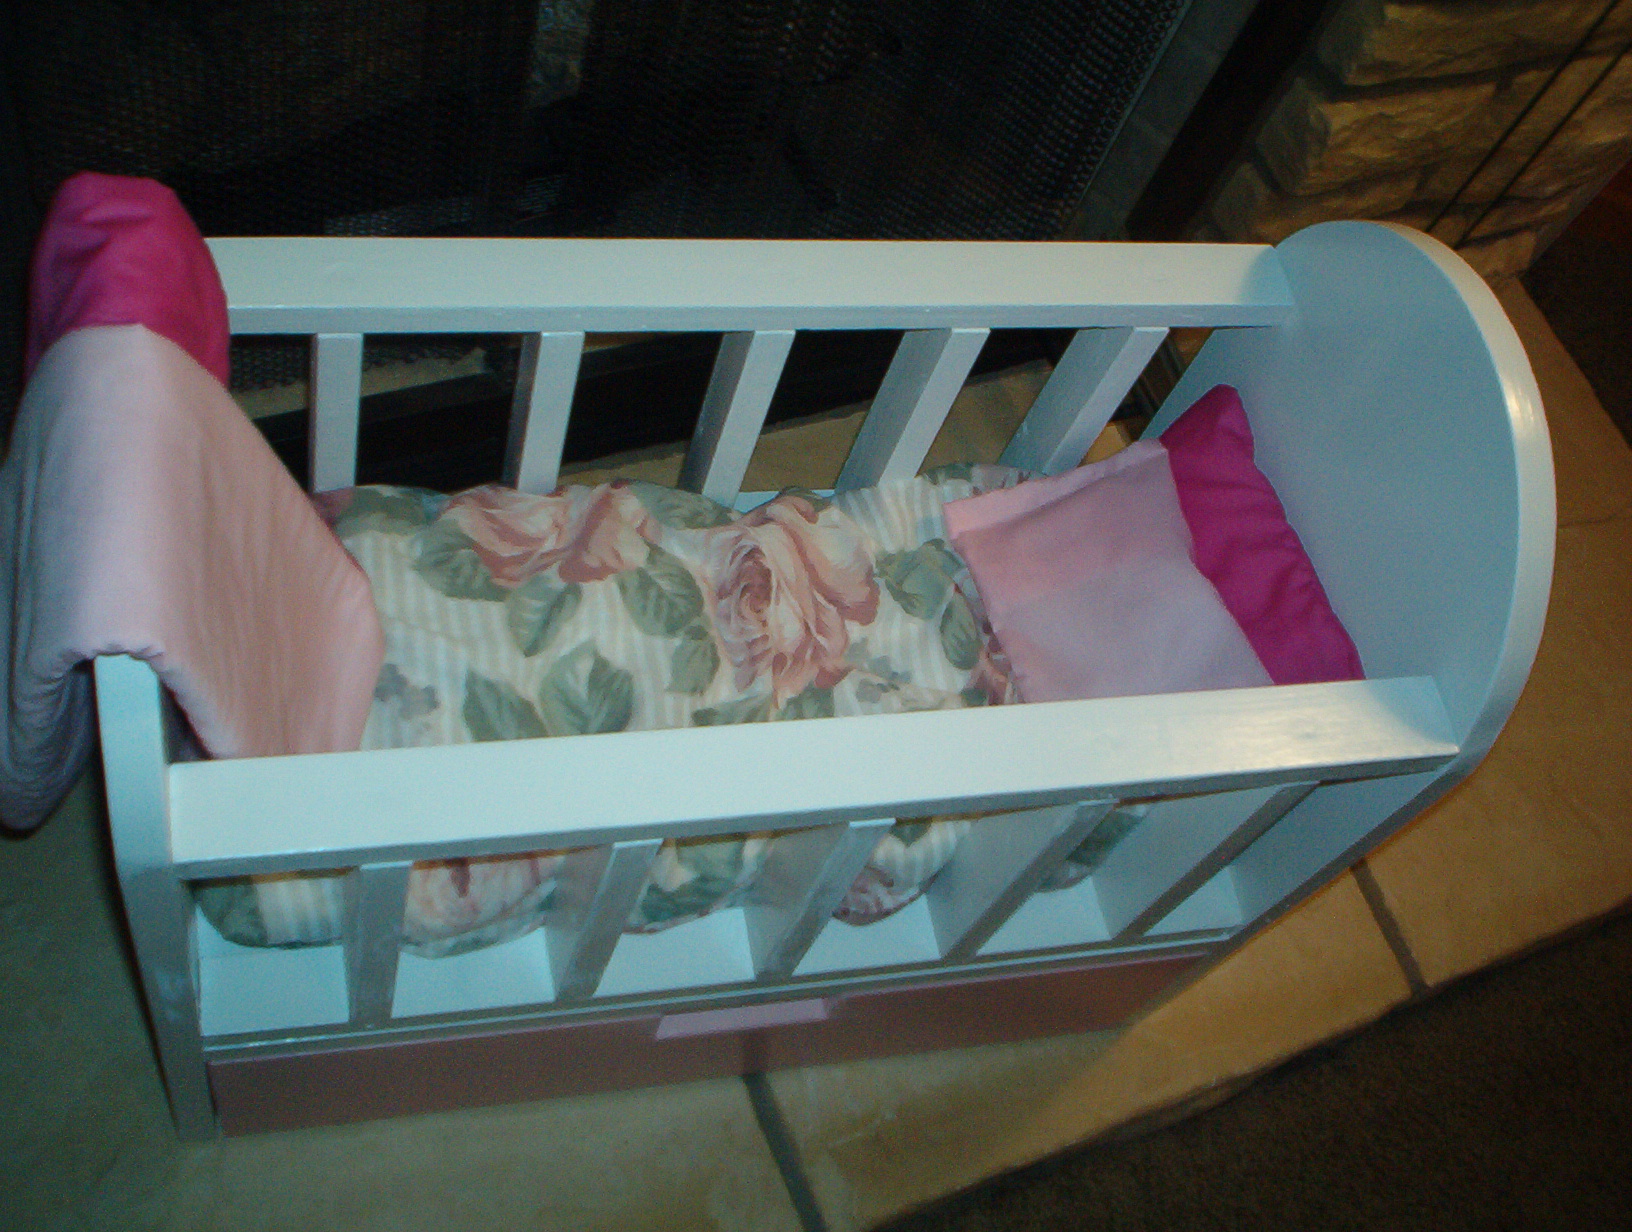
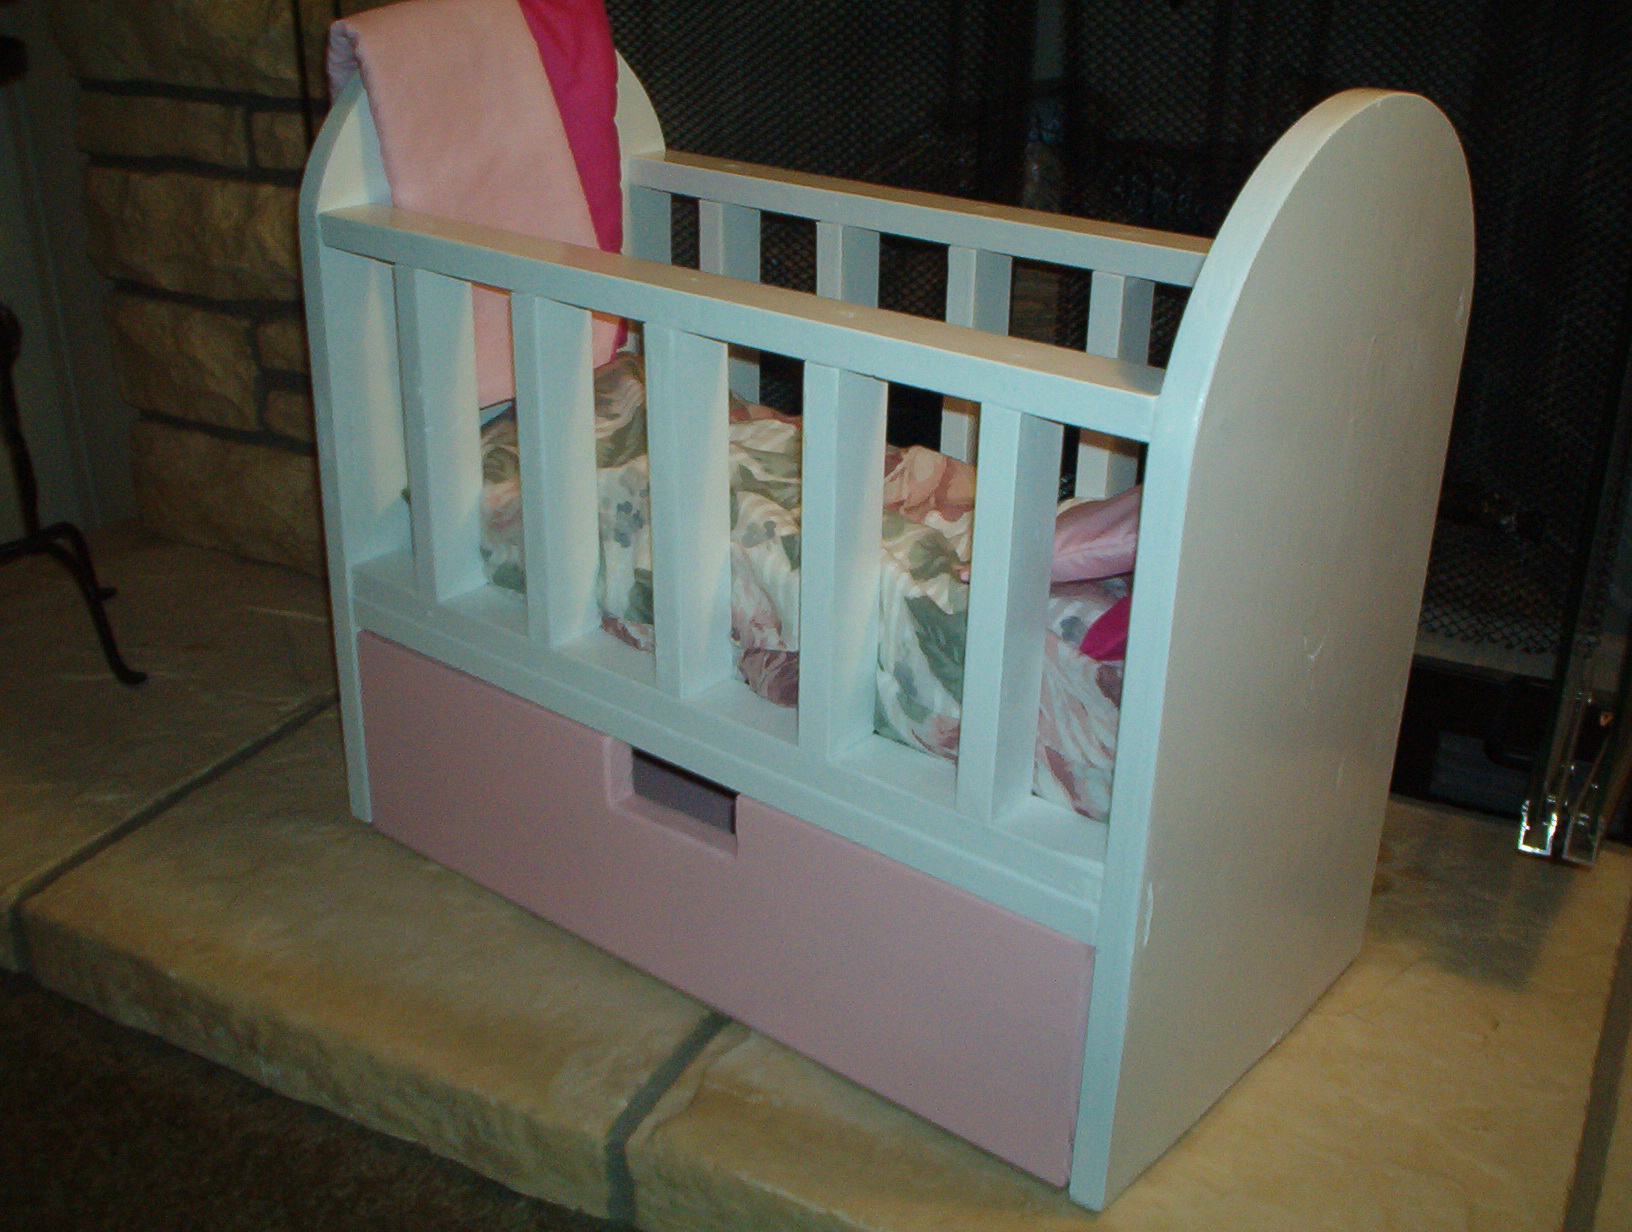
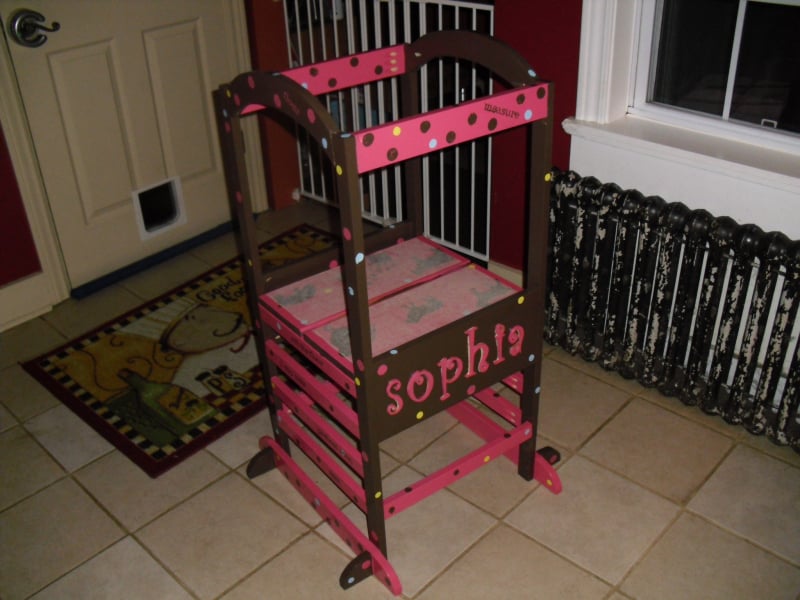
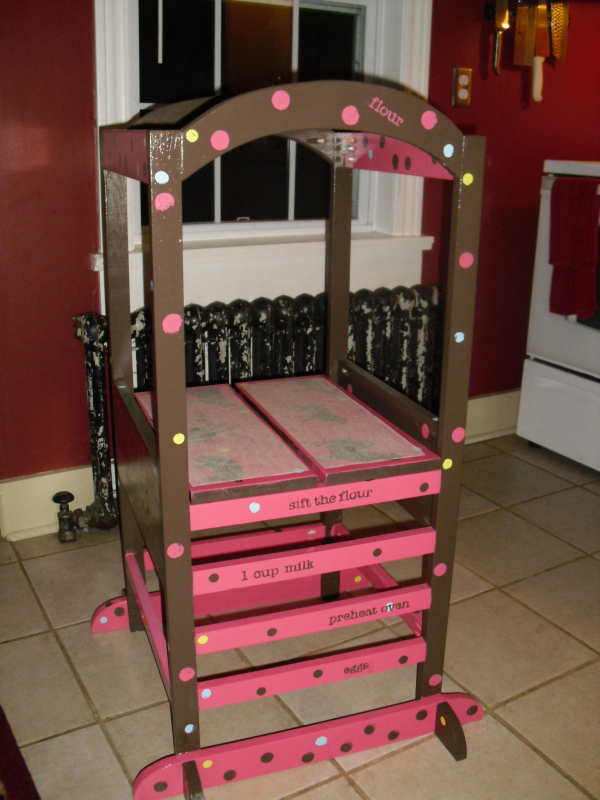
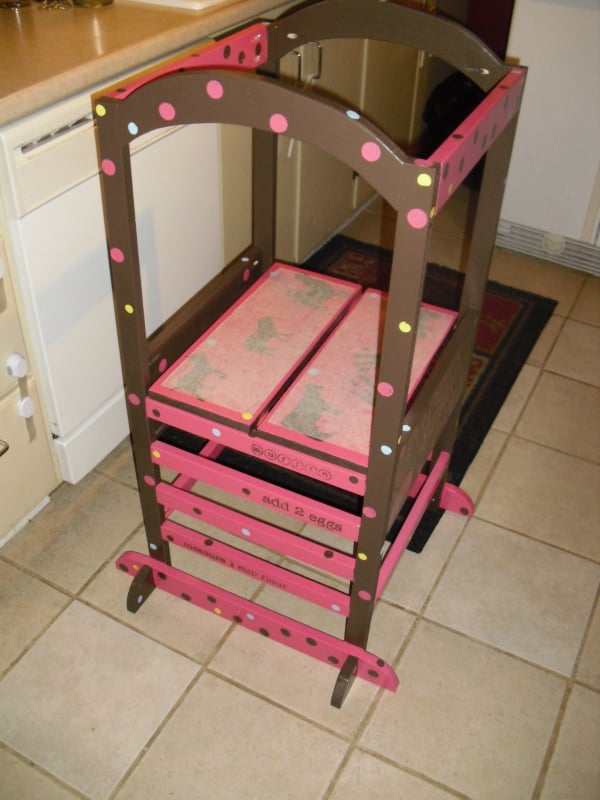
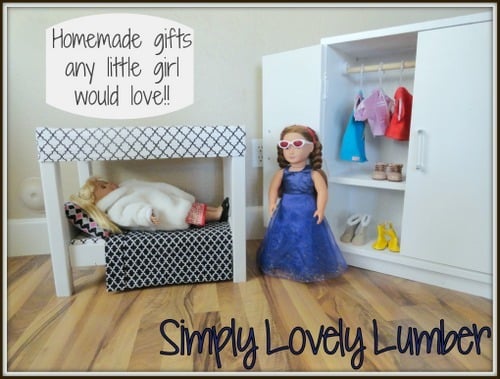
I wanted to surprise someone special with just the right gift on her 5th birthday. The size was just perfect for her and the space that was available.
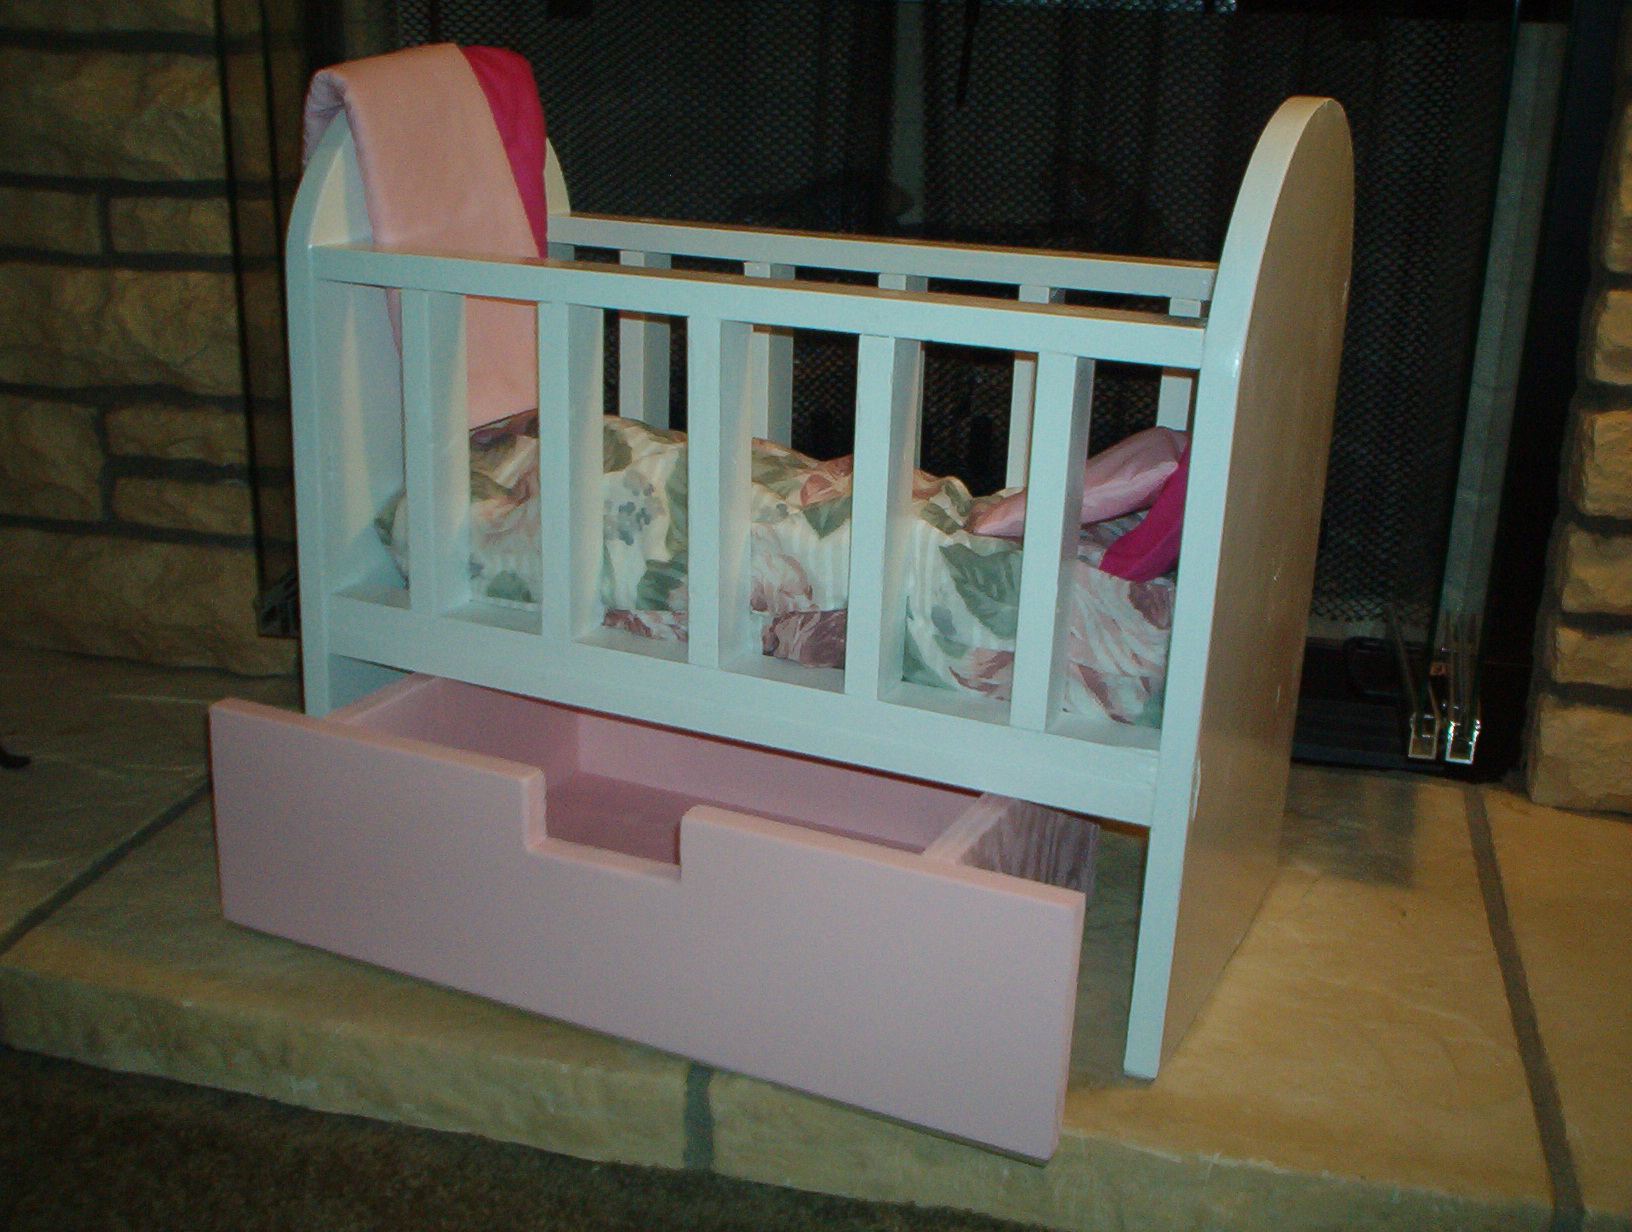
At the last minute I decided to add drawers to contain all those girly things and am glad that I did. To finish it off I added pretty crystal knobs to really glam it up.
I also built the play table stool to complete the set.
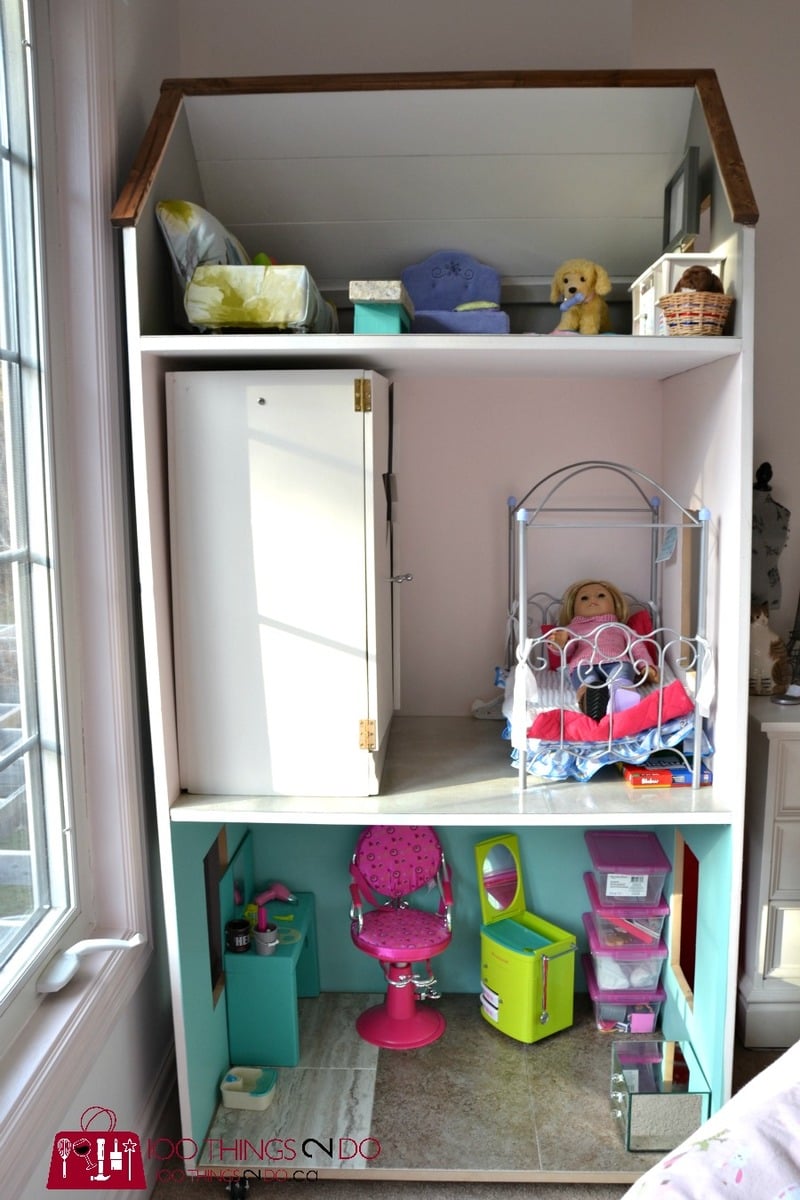
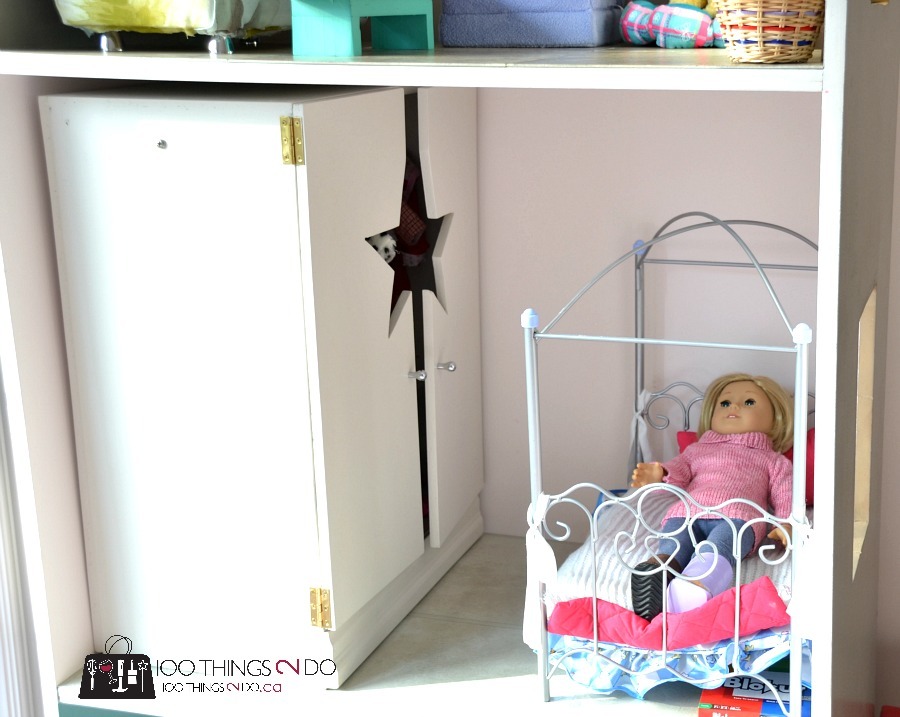
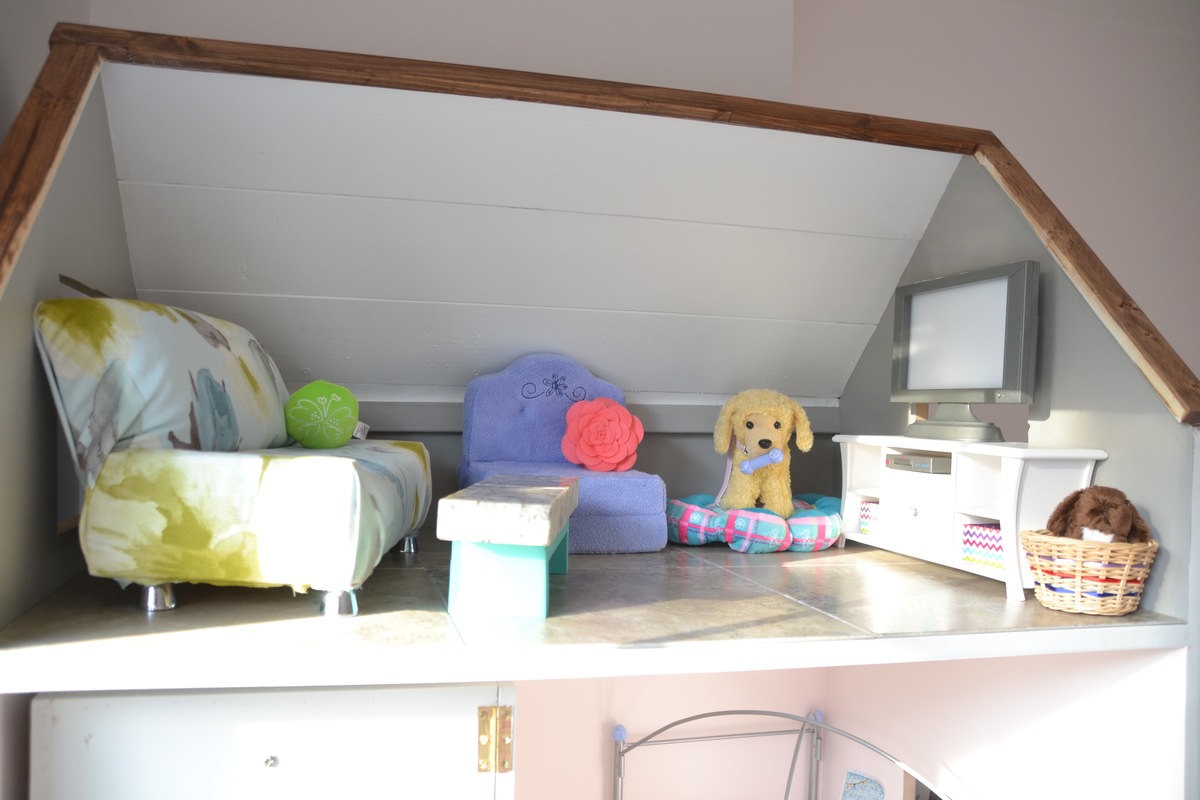
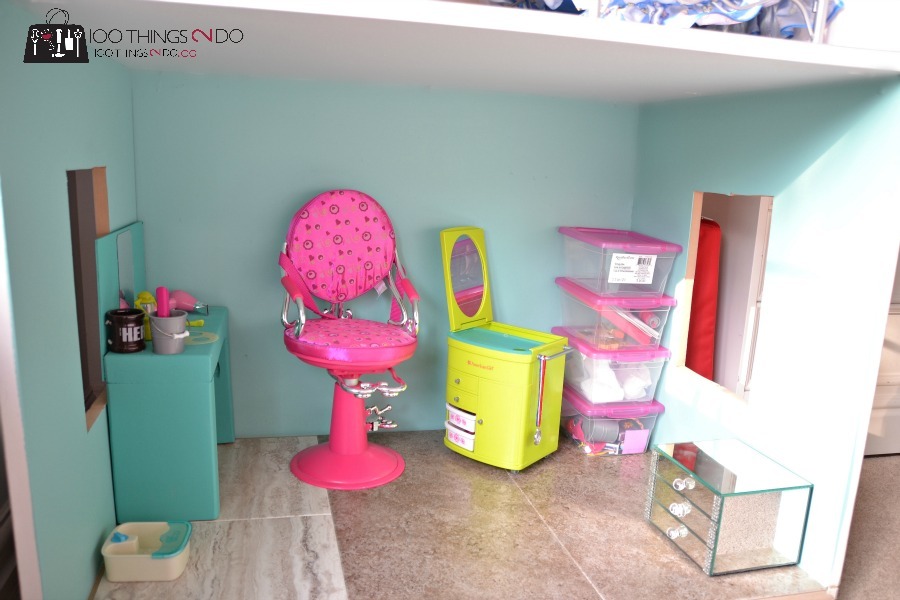
Using Ana's three-storey dollhouse as a foundation, I amended the measurements to create a narrower dollhouse (36" wide) to fit our space.
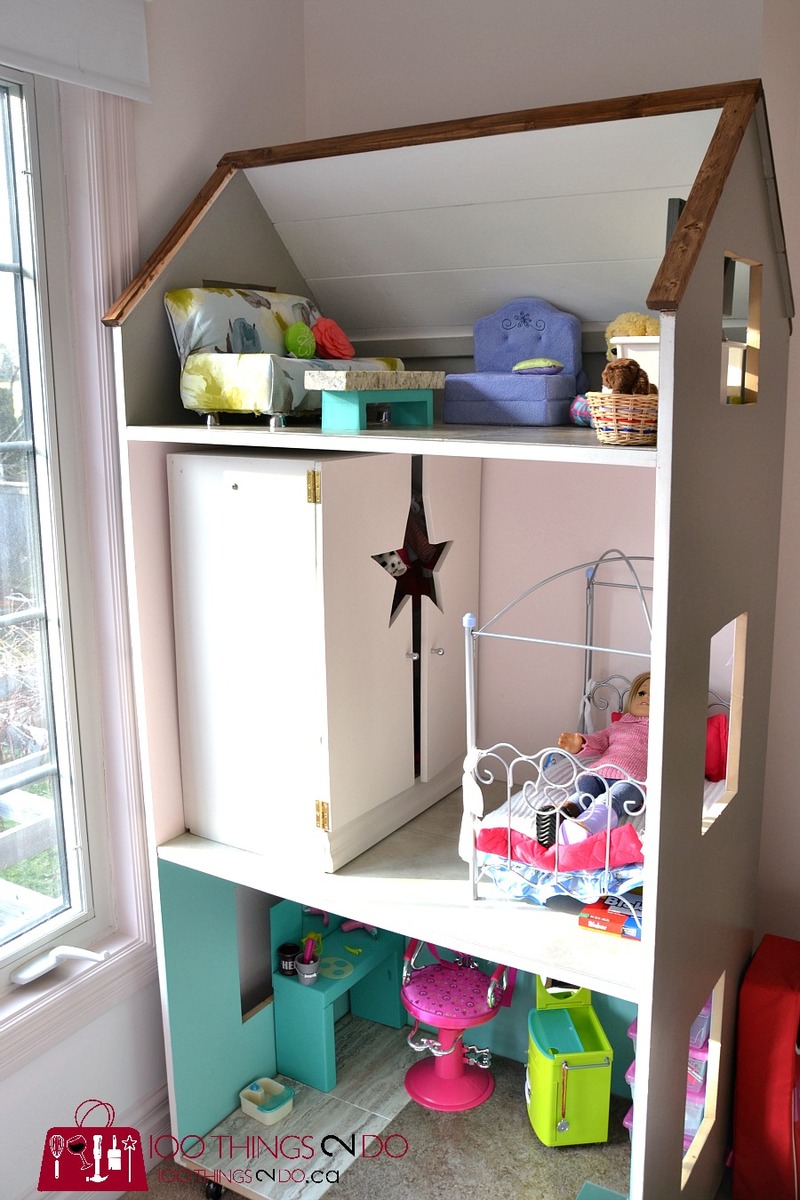
Put this baby together in 3 days and I just LOVE it! I cannot wait to pick my next project. Thank you, Ana White, for your inspiration!
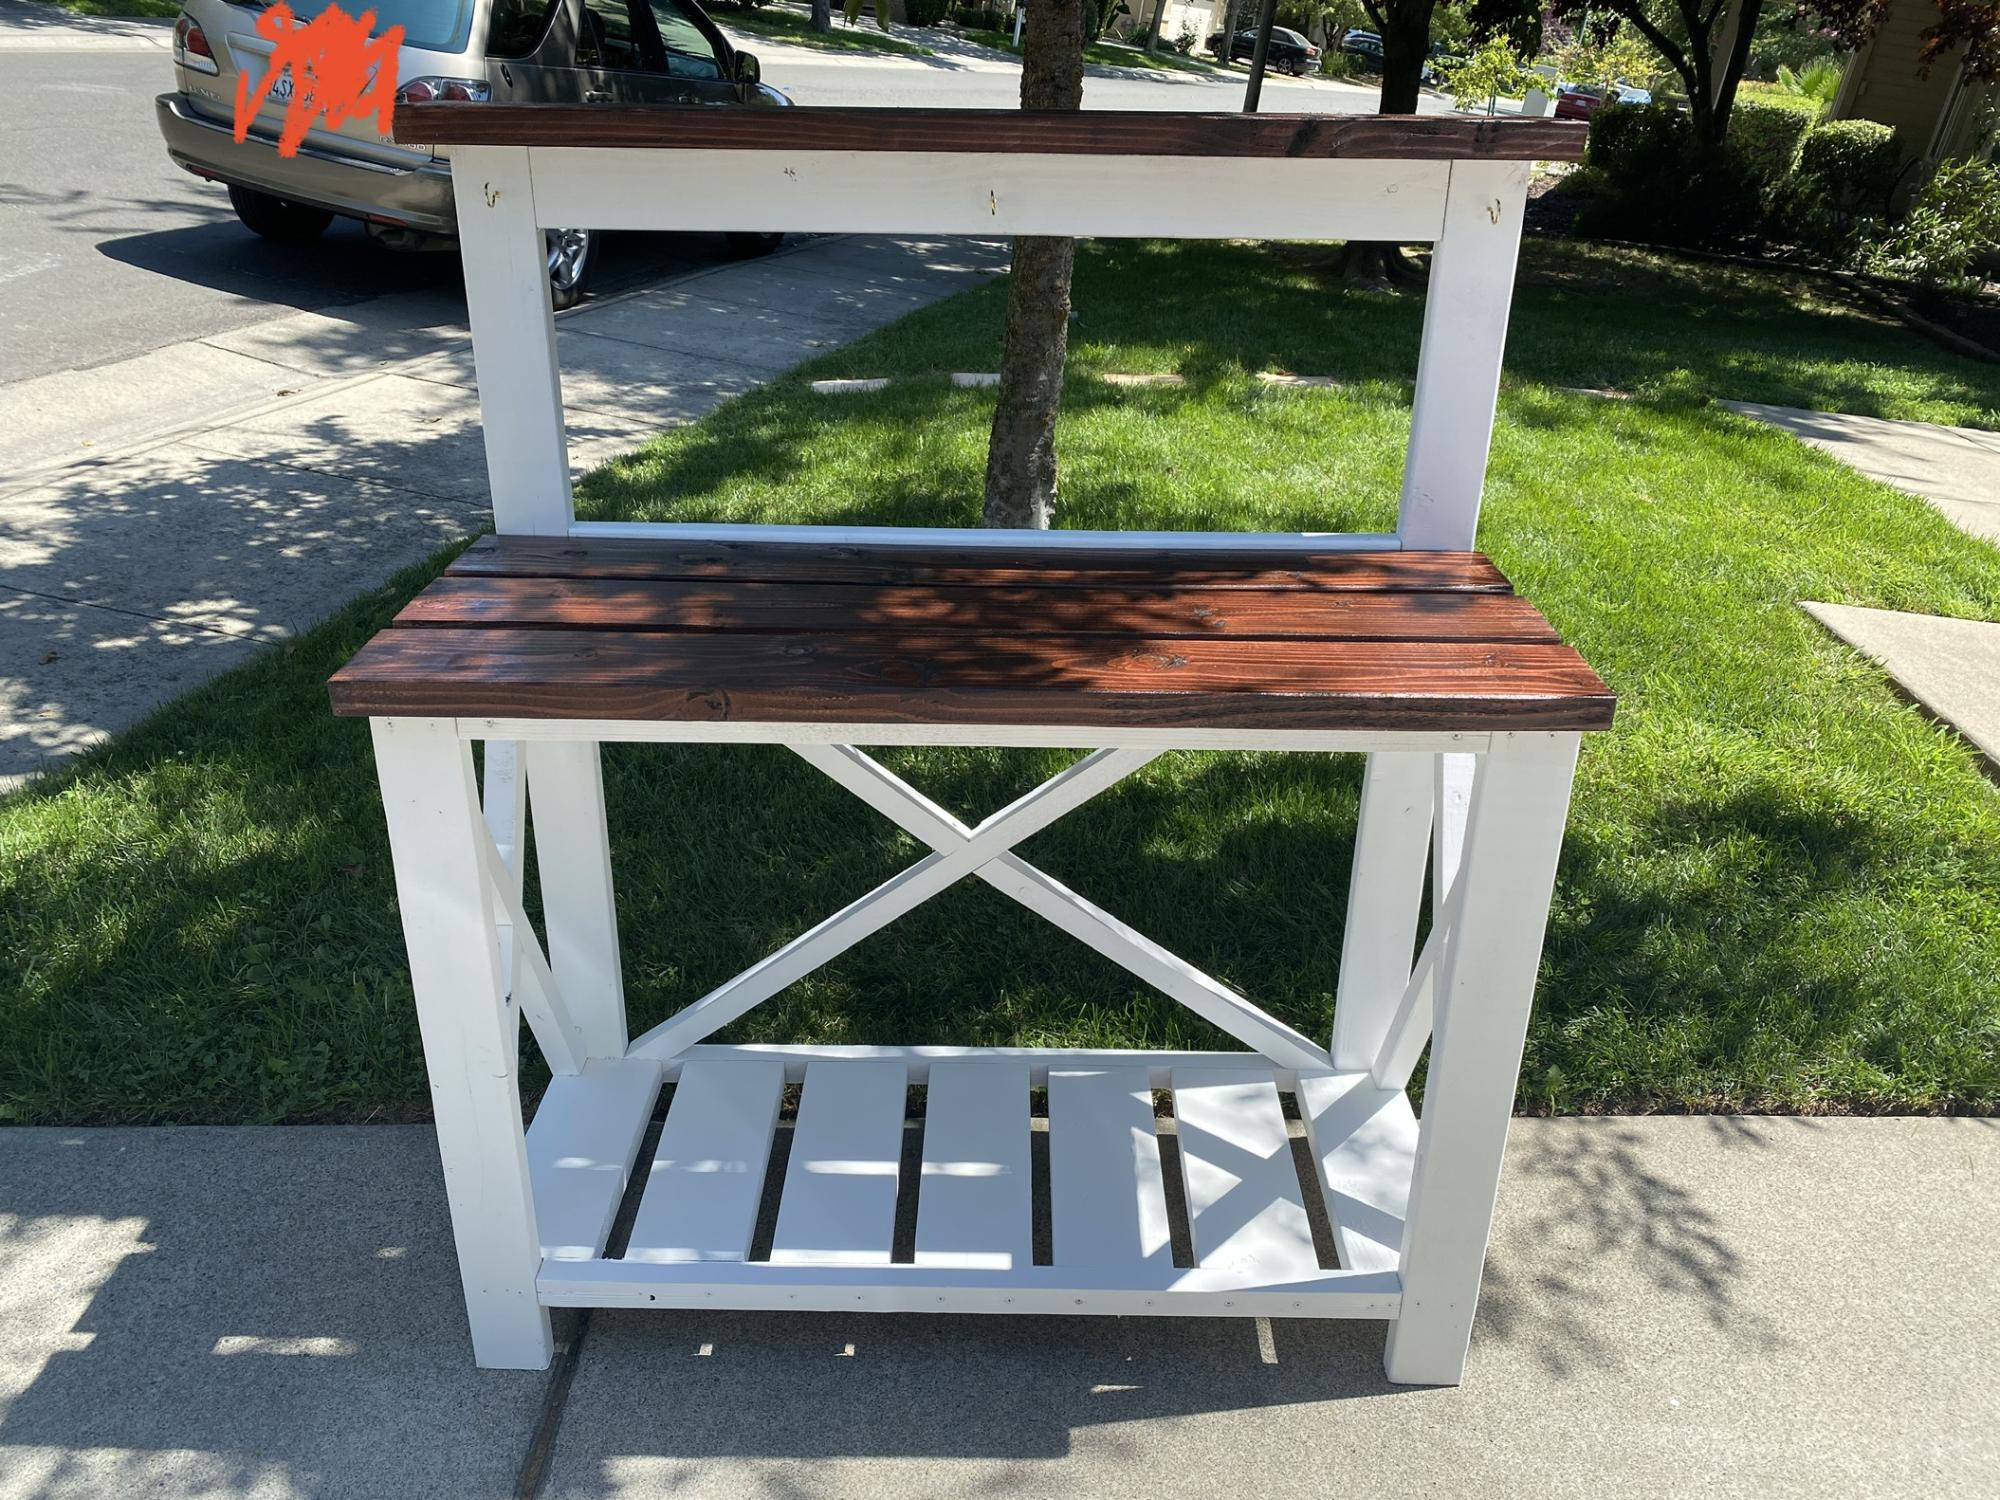
I really liked your design so I decided to make one for my mom for Mother’s Day and she loves it. Just painted it white before adding the 2x6’s and stained them a walnut Thank you ..!!!!
Tue, 05/23/2023 - 21:00
I bet your mother loves it! Thank you for sharing, love the finish and x detail.
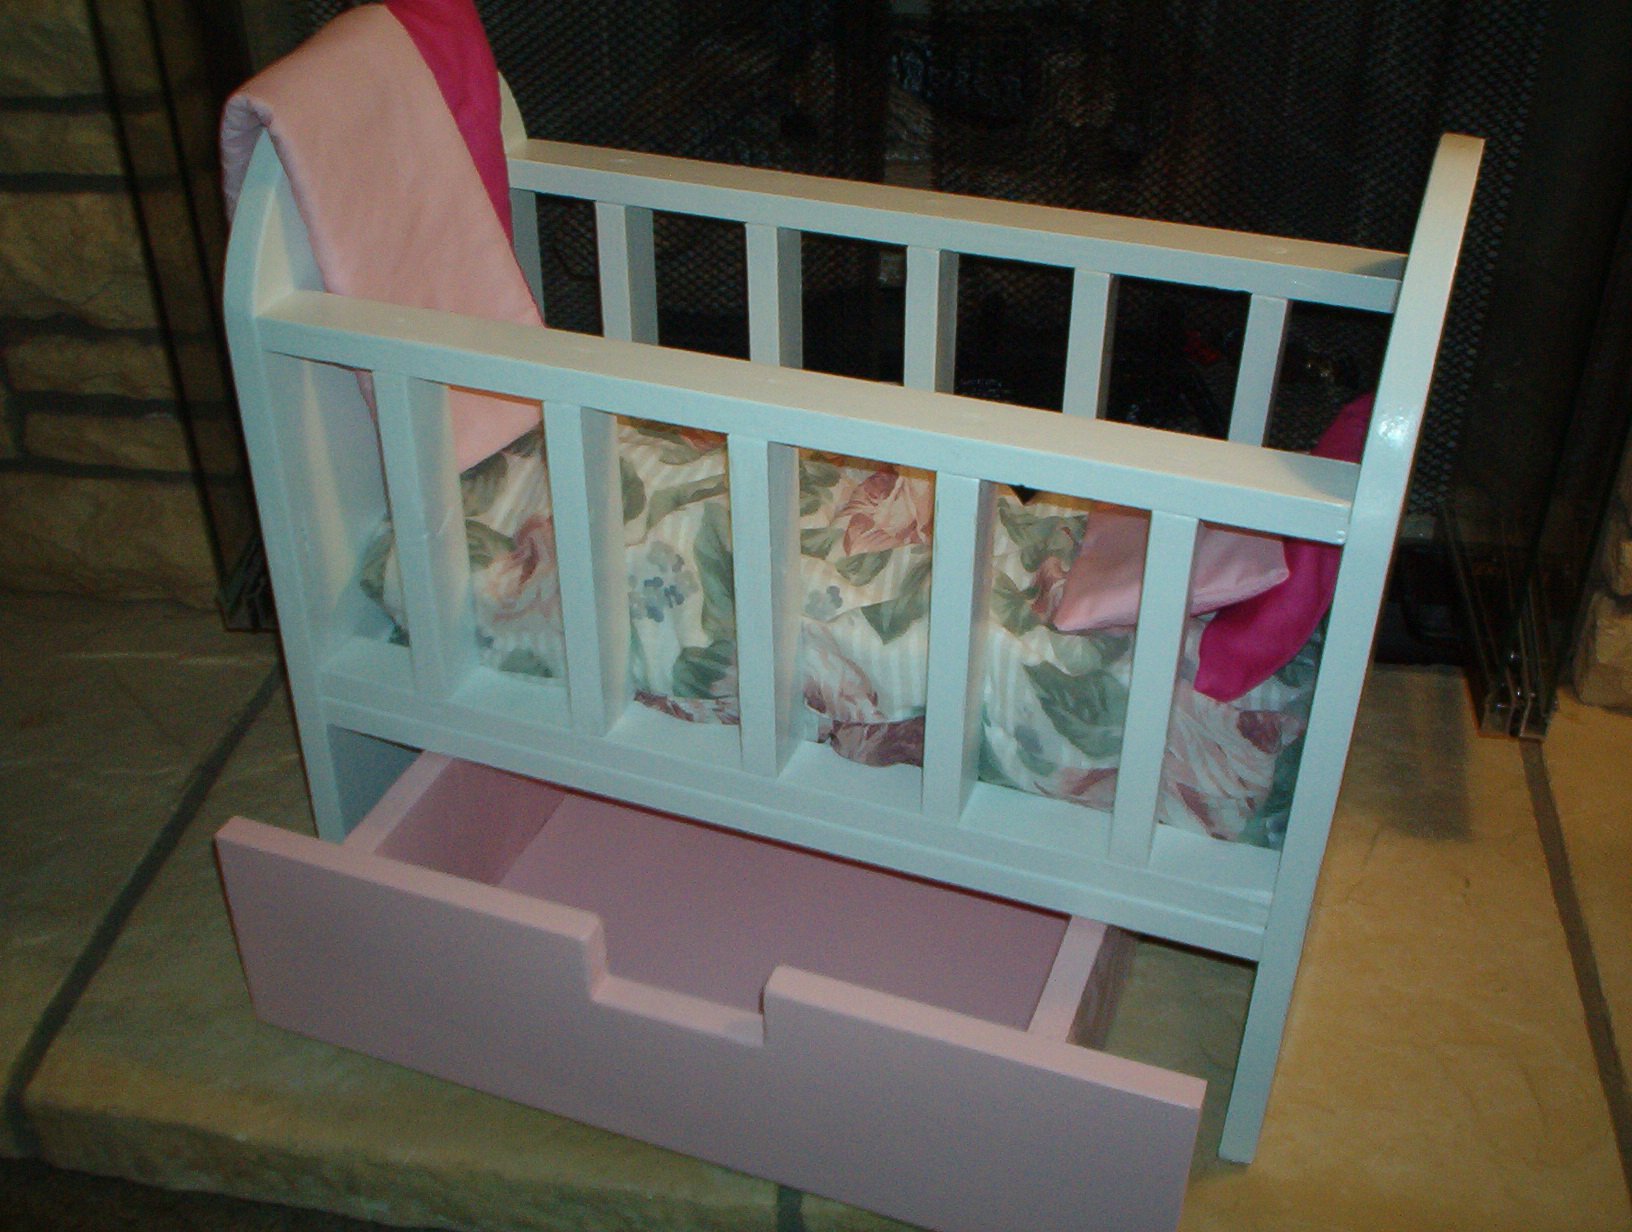
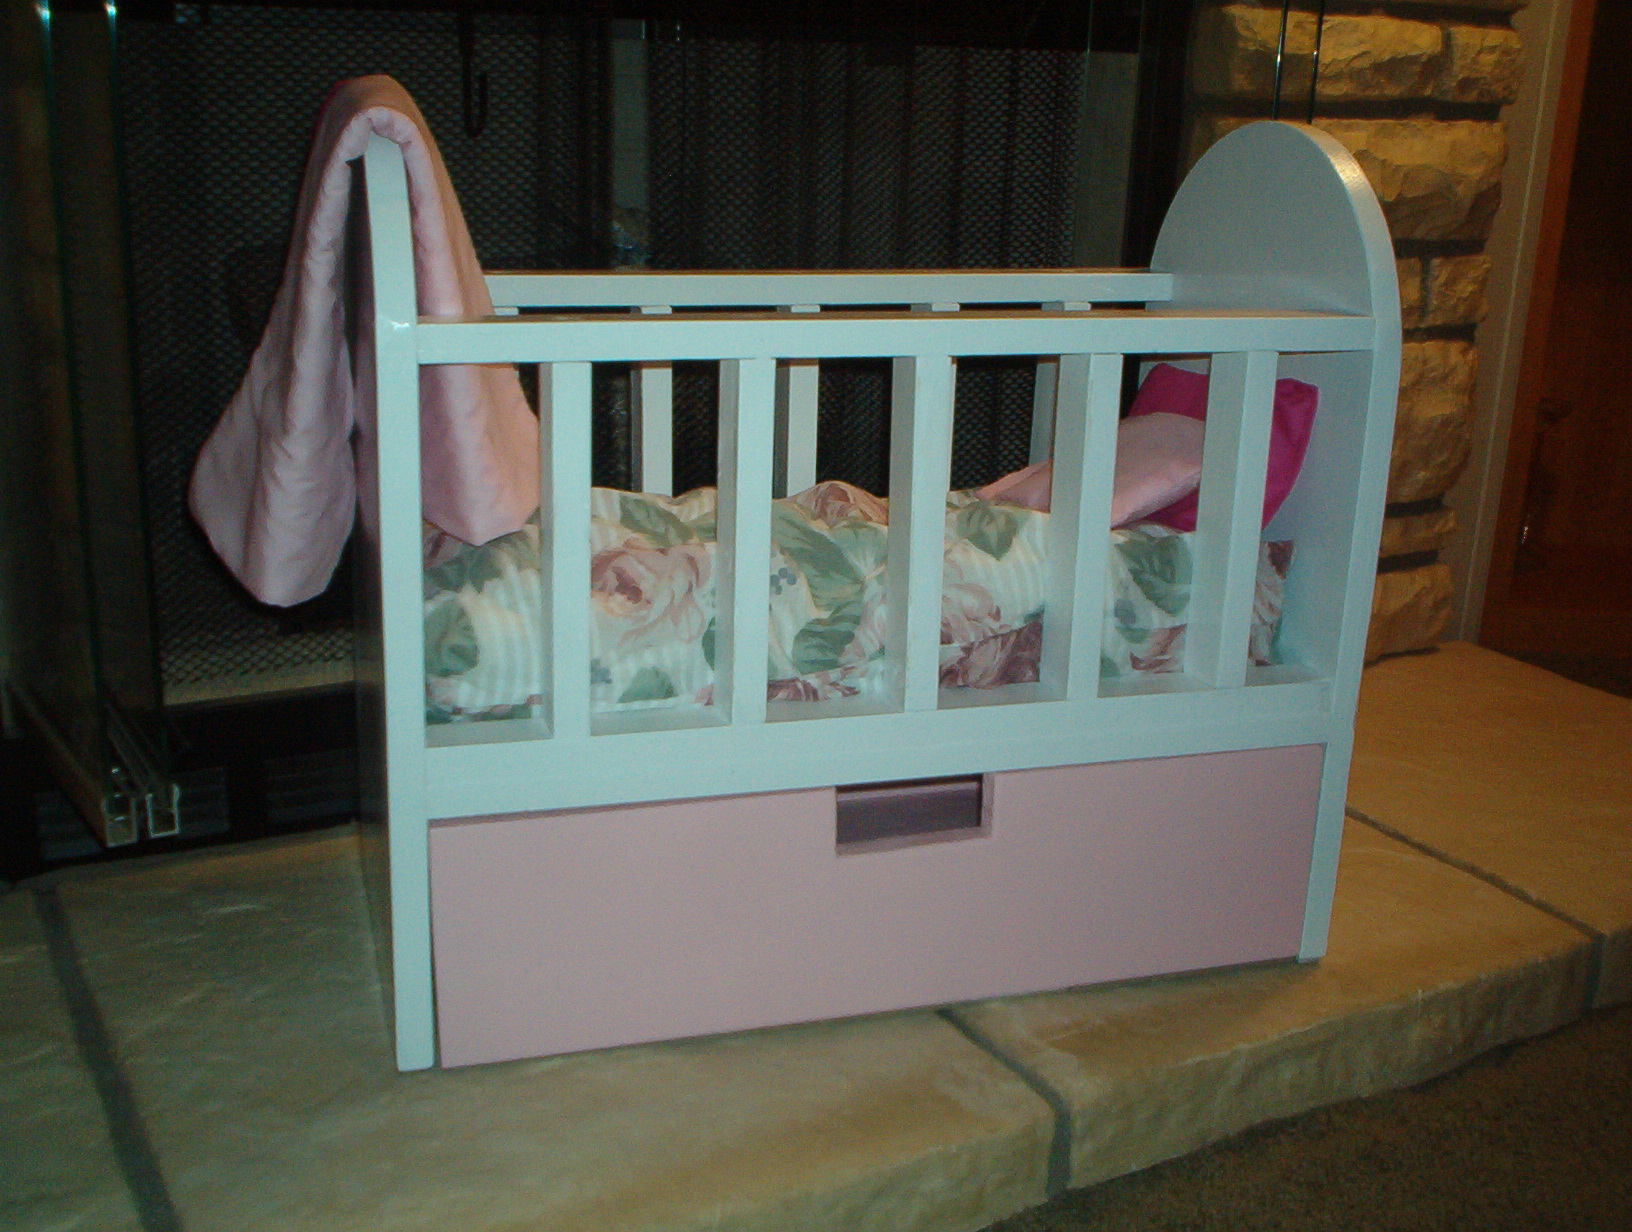
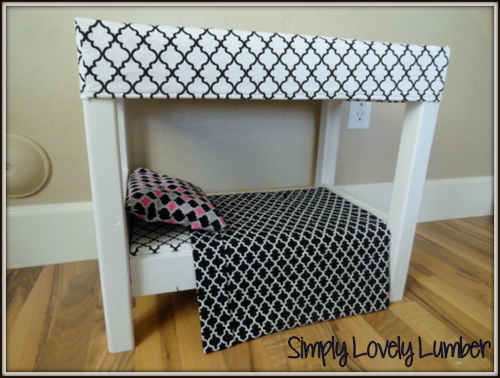
I did it! Using your plans I made the doll crib. I had to improvise on the drawer as the drawer in the plans was to tall to go under the bed and I had already put it together before checking. Oh well. I also made the mattress, reversible blanket and 2 pillows for the bed. As this was my first woodworking project I am so proud of how well it turned out. Thank you Ana for this site. It is amazing and I am HOOKED.
Tue, 01/10/2012 - 21:52
The drawer isn't out of line, it is just my hearth is uneven. LOL
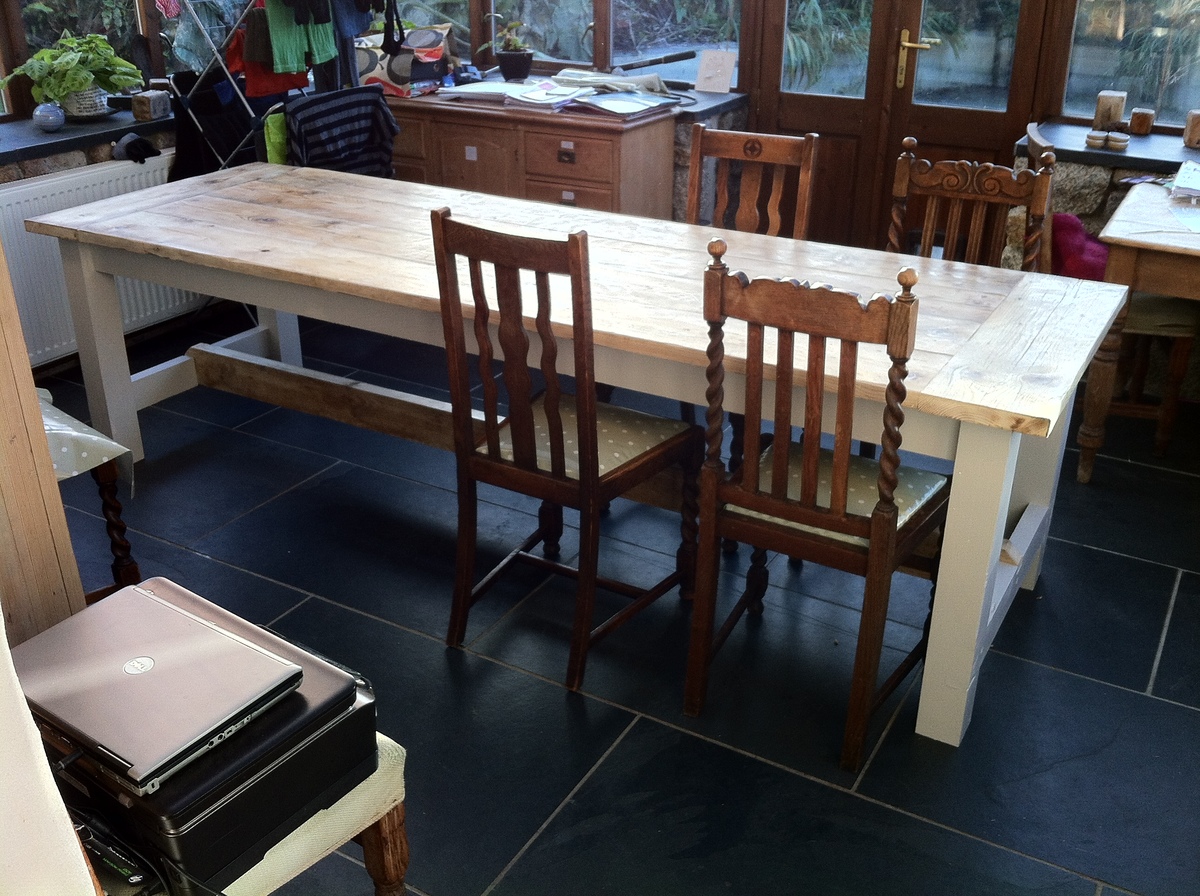
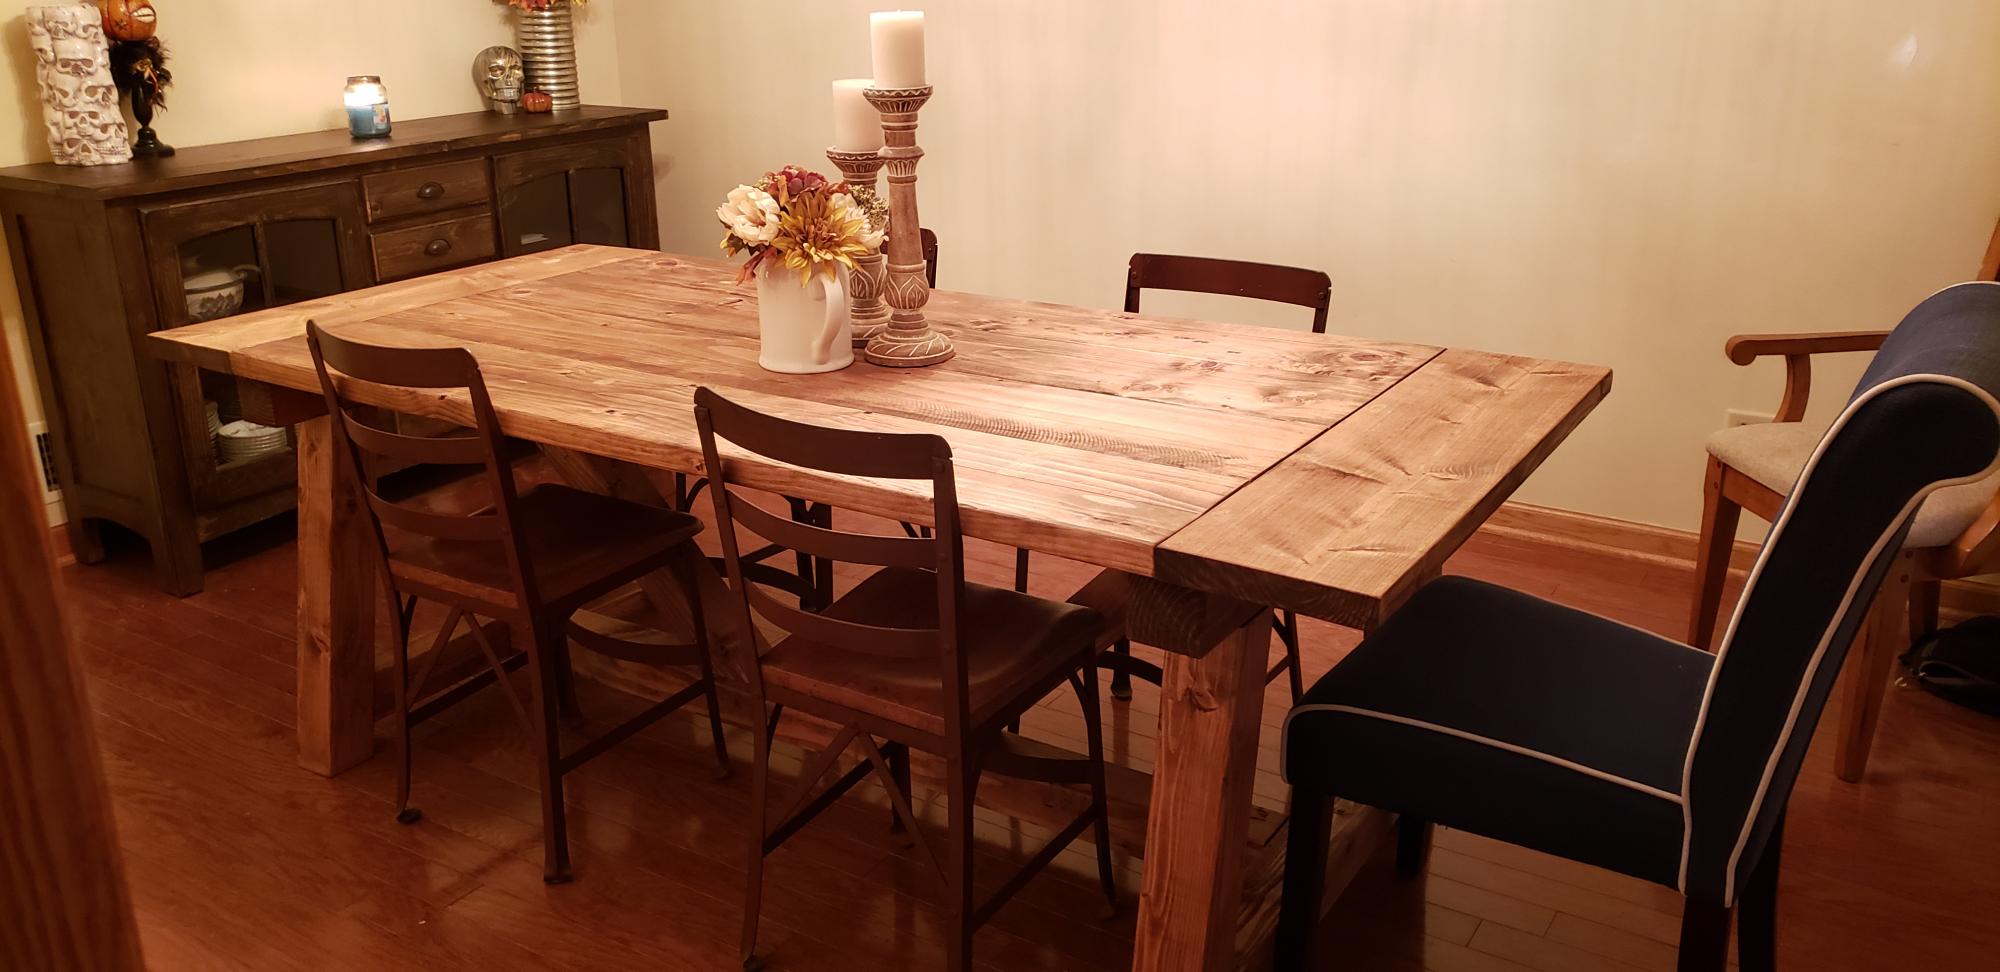
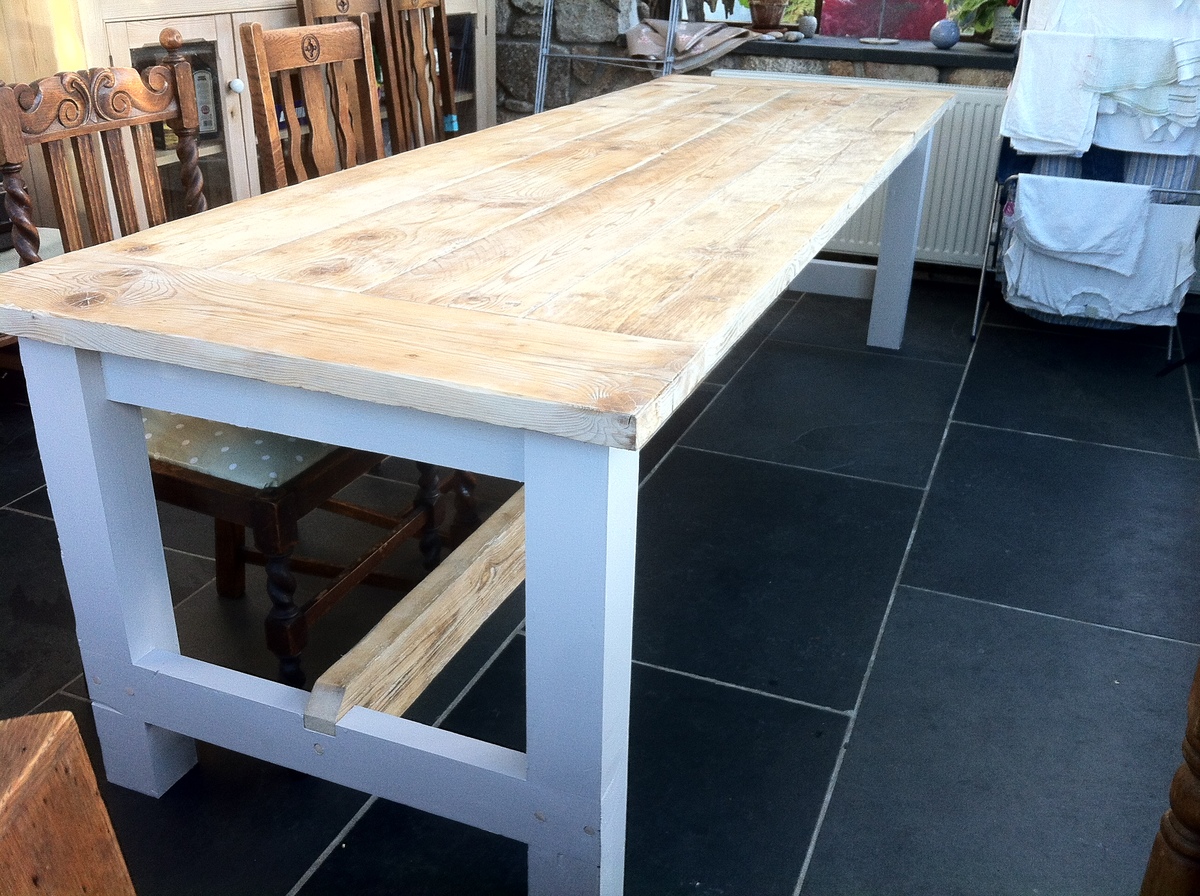
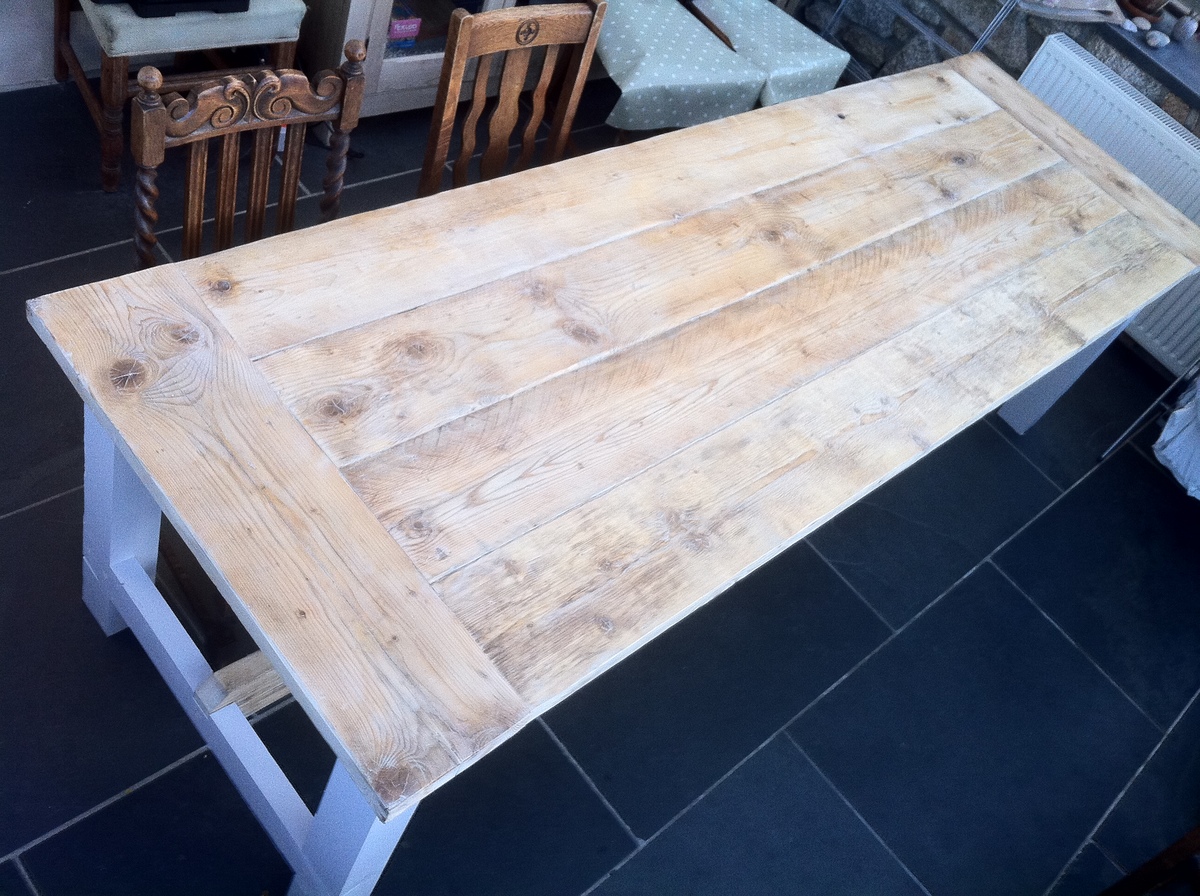
wanted a big table for christmas, this is over 8 foot, and we couldn't afford a table like that so having seen the site thought i'd try and build one. thanks for the plans absolutely great
first project, no real woodwork experience but competent diy-er
made mainly out of reclaimed wood, the top and side apron are made of old scaffold boards and the main brace a chunk of wood form my neighbours shed.
i did have to buy some 2x4s for the legs and the cross braces
sides painted and the top waxed, looks a bit patchy in the photos but the finish is good.
all in all cost about £70
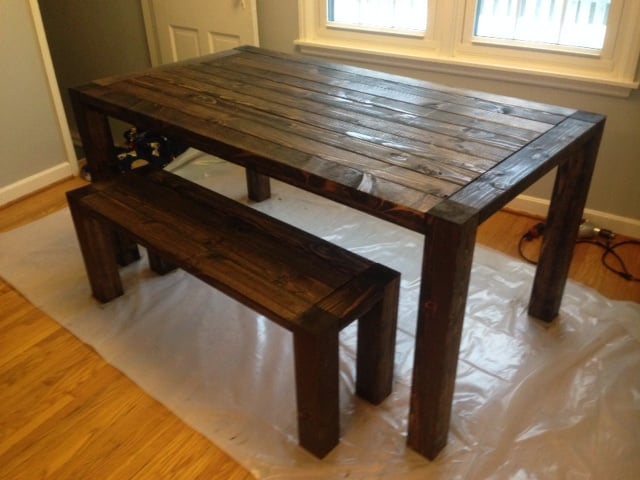
Here is our first stab at building funiture...not too shabby. We built 2 benches with the table!
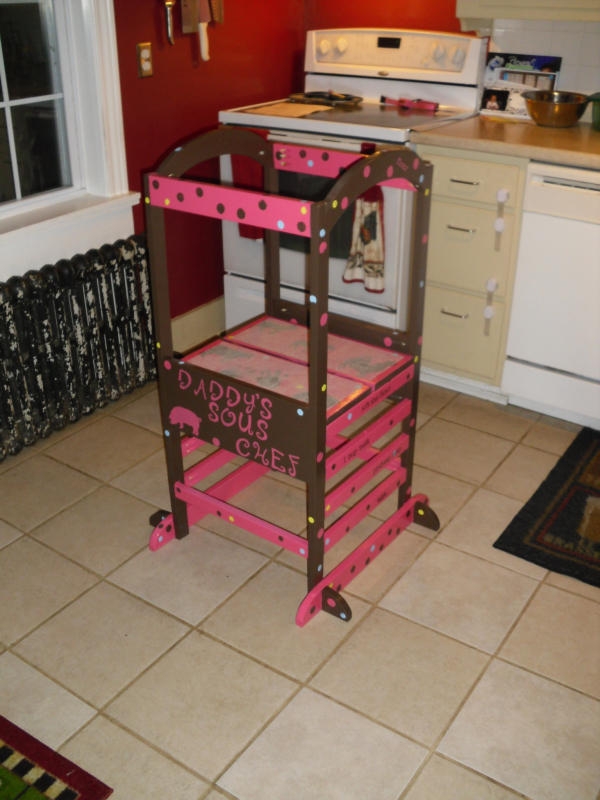
My first project build from Ana-white.com. My wife had been looking at these towers online for a while until we saw they were upwards of $200 online... So I was like, "I'm sure I could make one.". So I found Ana's website, and here it is... My 19 month old daughter loves it, she climbs in and out of it with no problems, she calls it "uppy". This is my first of many projects to come from this very helpful site. The plans are all so helpful and very detailed. Thanks Ana!


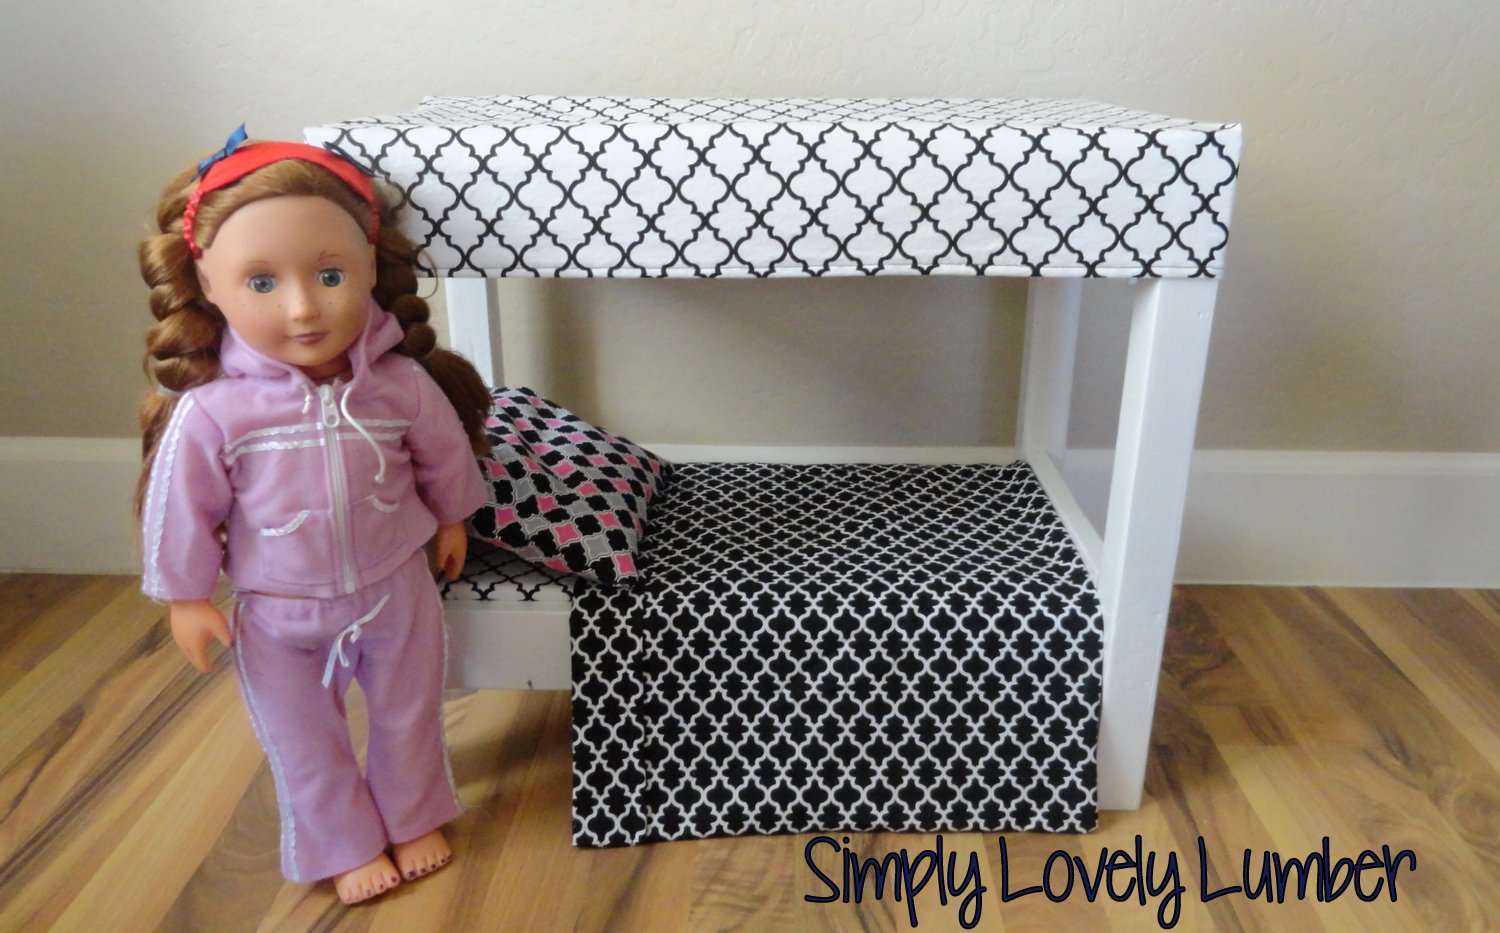
I built the American Girl canopy bed and closet for a family friend for Christmas. This plan was so much fun to make! I will definitely be making a few more for Christmas. I put a tutorial for the mattress I made and will be adding tutorials for the rest of the bedding on my blog tomorrow. Thanks so much!!
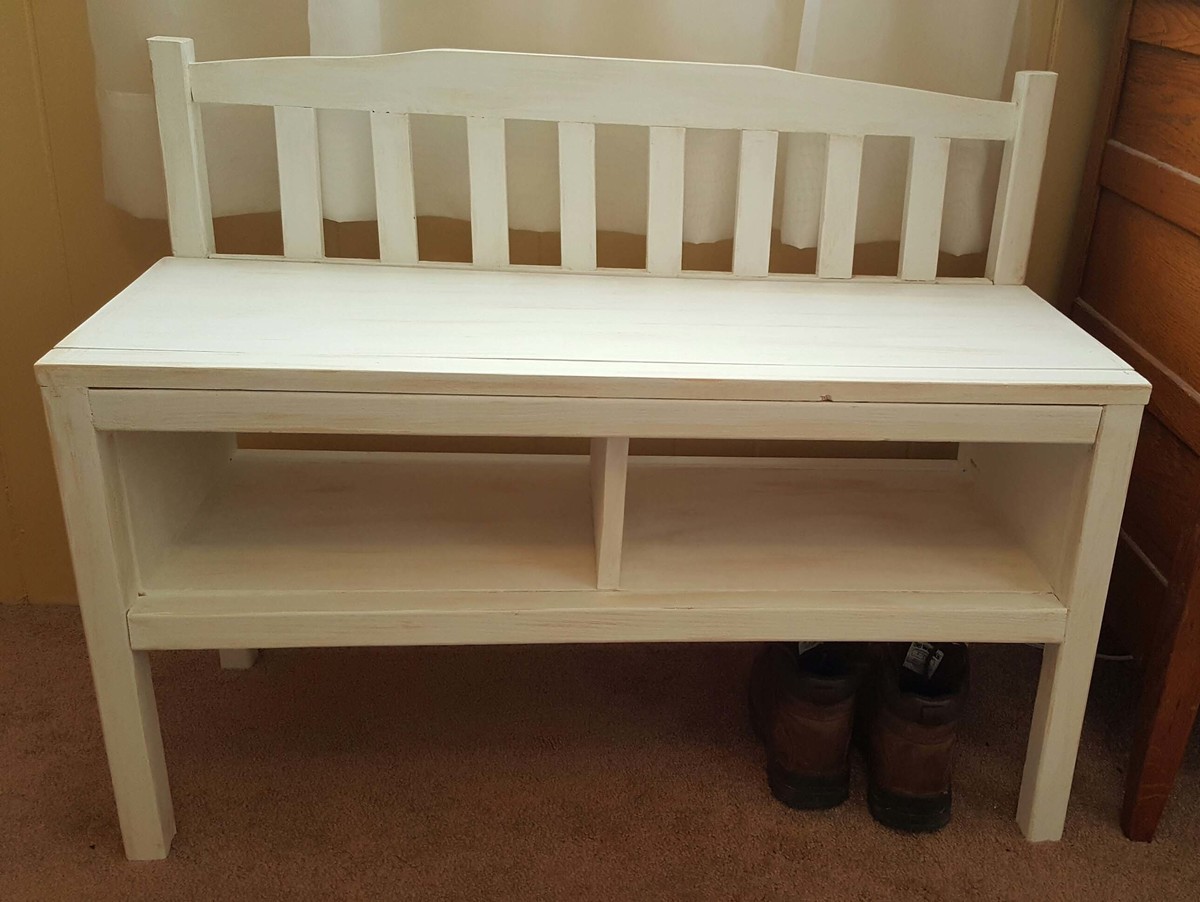
My first project using Ana White's plans. Love how easy the plans are and how great the bench turned out.
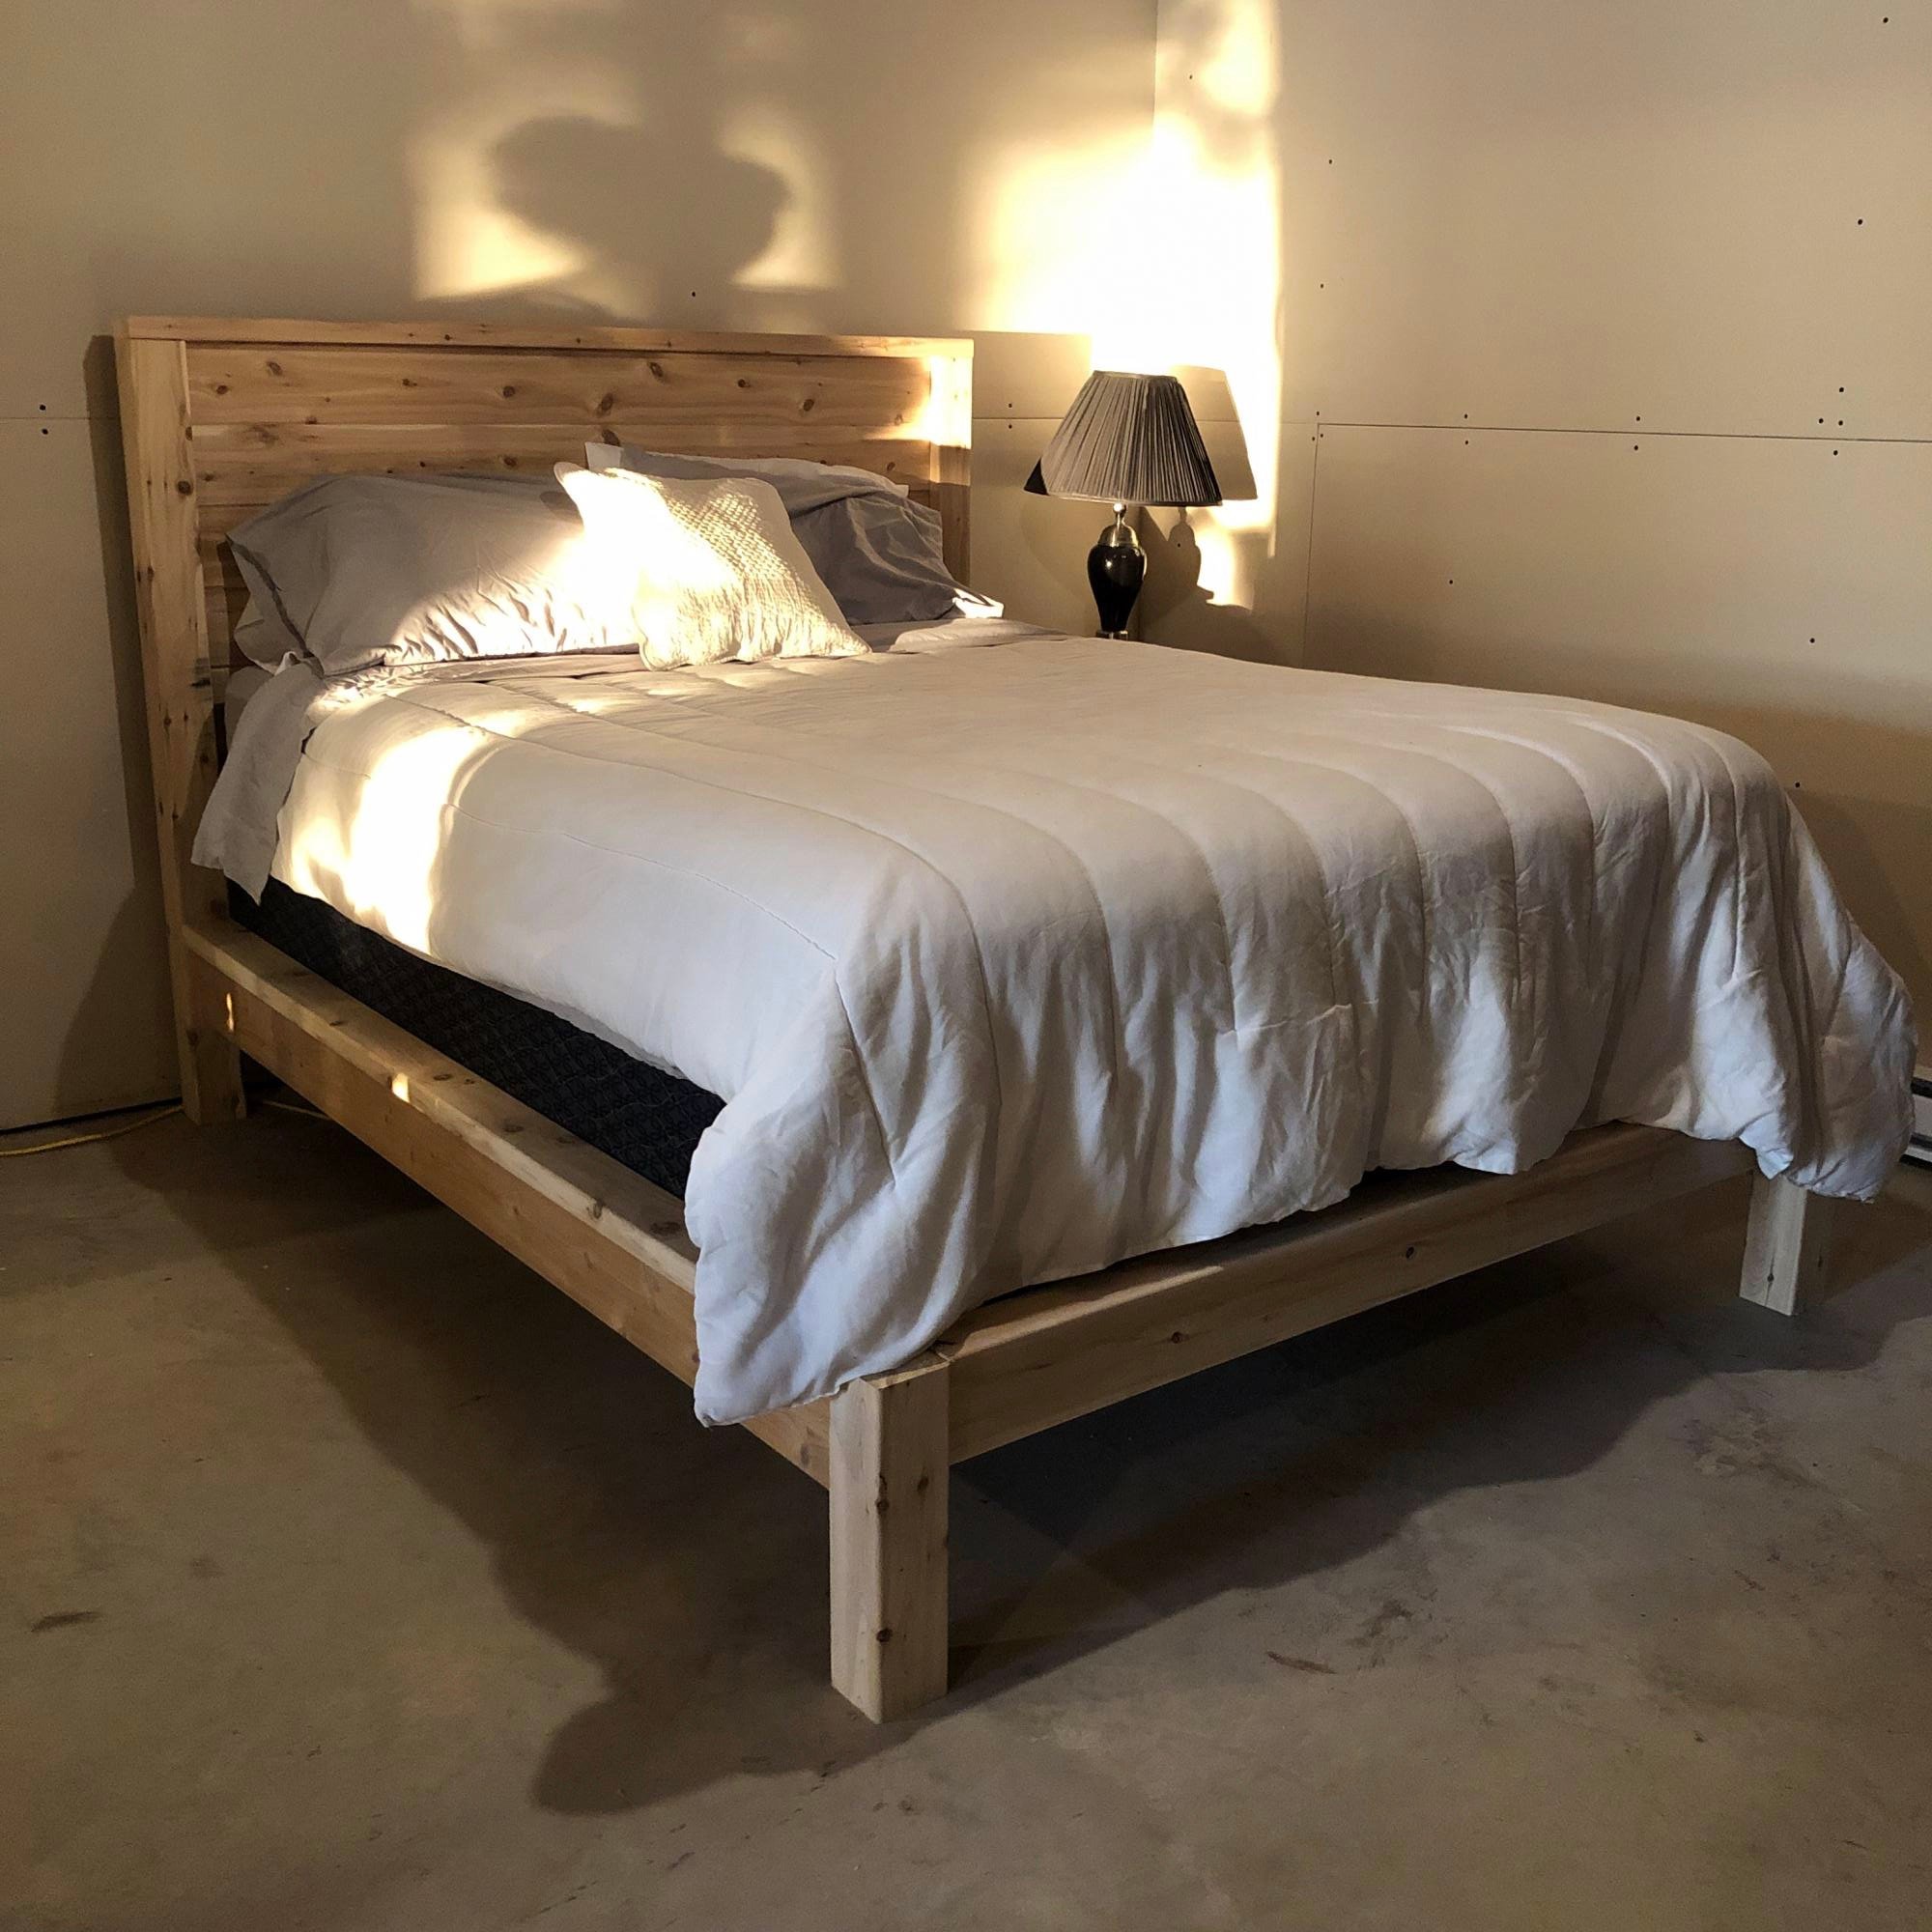
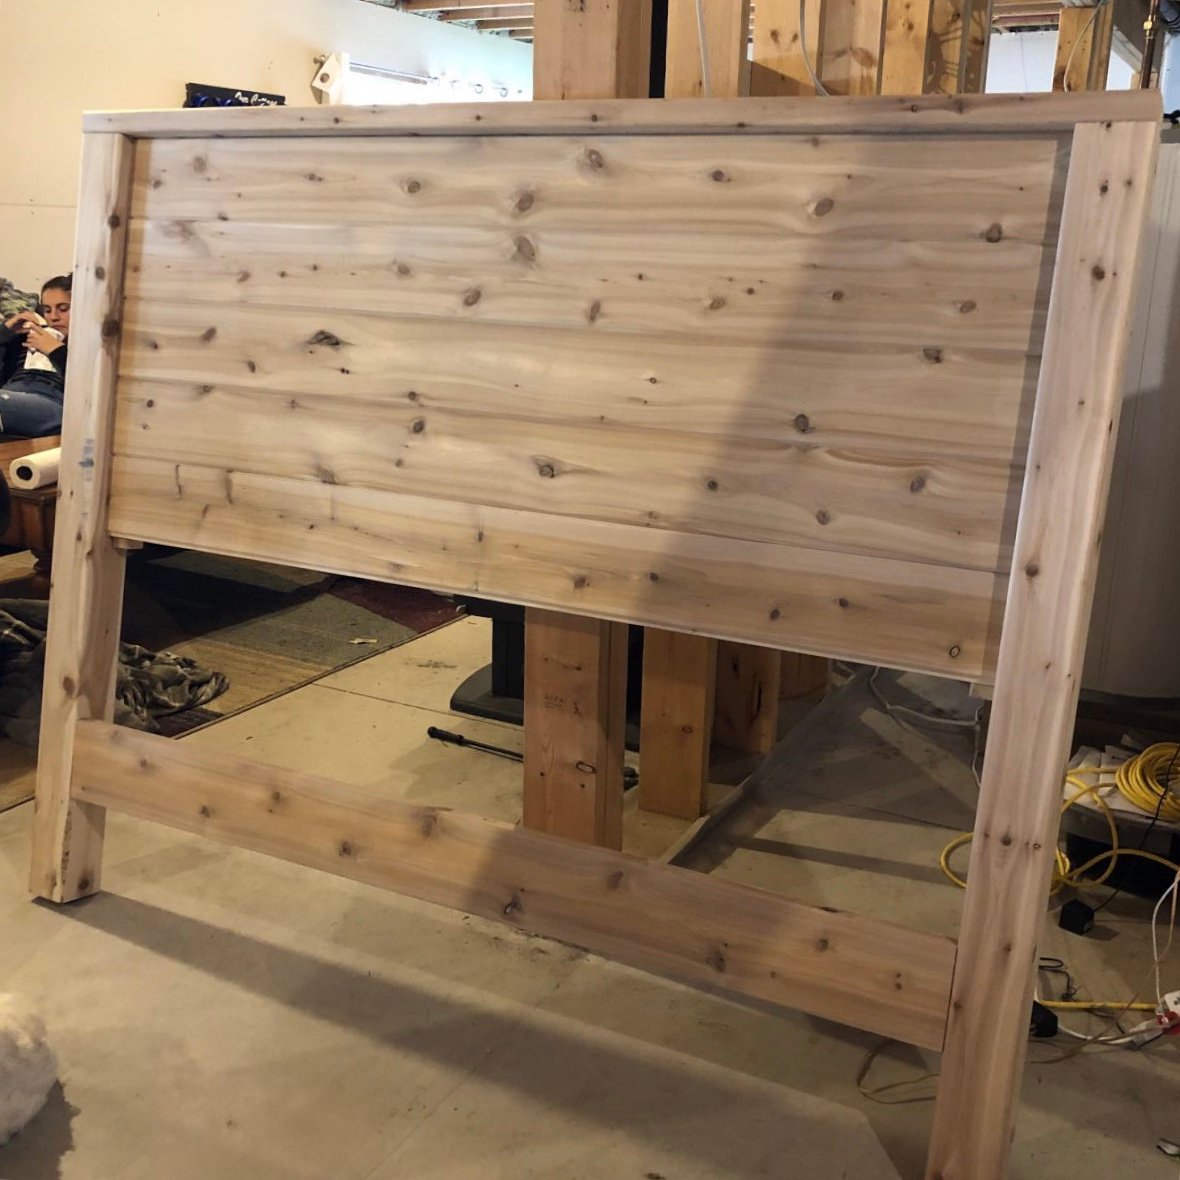
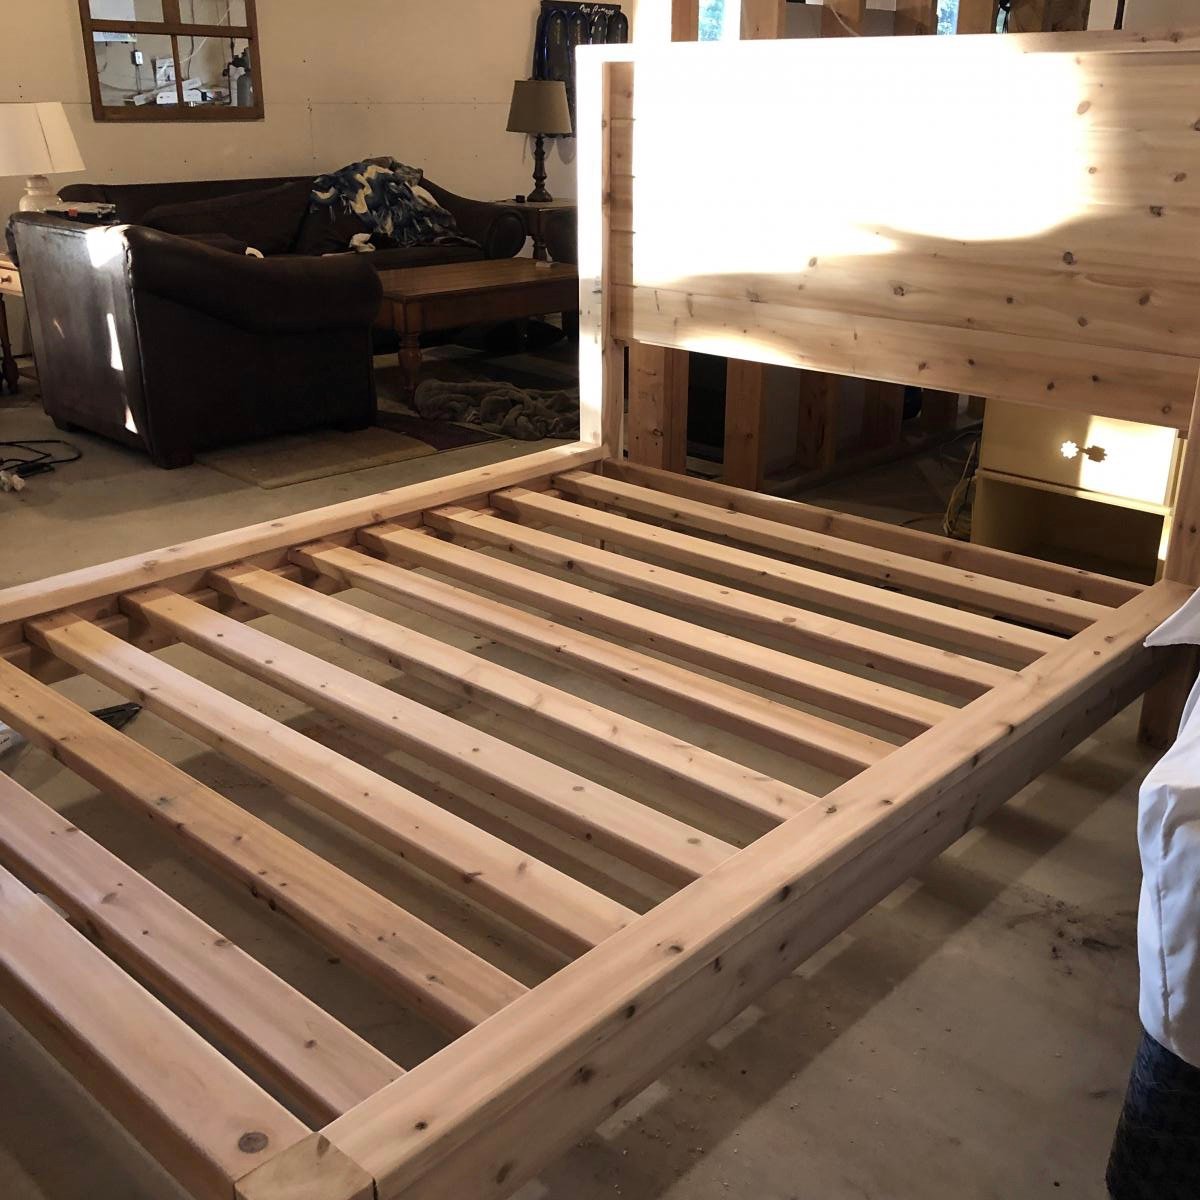
Love this bed so much, we plan to build another 3. Used local white cedar milled just down the road from our cottage.
http://www.ana-white.com/woodworking-projects/modern-farmhouse-bed-frame

Comments
Ana White Admin
Fri, 05/05/2023 - 11:42
Sweet mancave addition!
Thanks for sharing, it looks like a fun space!