This project started off as a way for me to get some much needed "me" time and create a sense of accomplishment. However, after purchasing the wood & cutting it into lengths, my "Lego Maniac" 17 year old son decided he wanted to take over! He begged me to let him assemble the units. Since he single-handedly assembled our IKEA kitchen remodel, I decided to let him have his way.
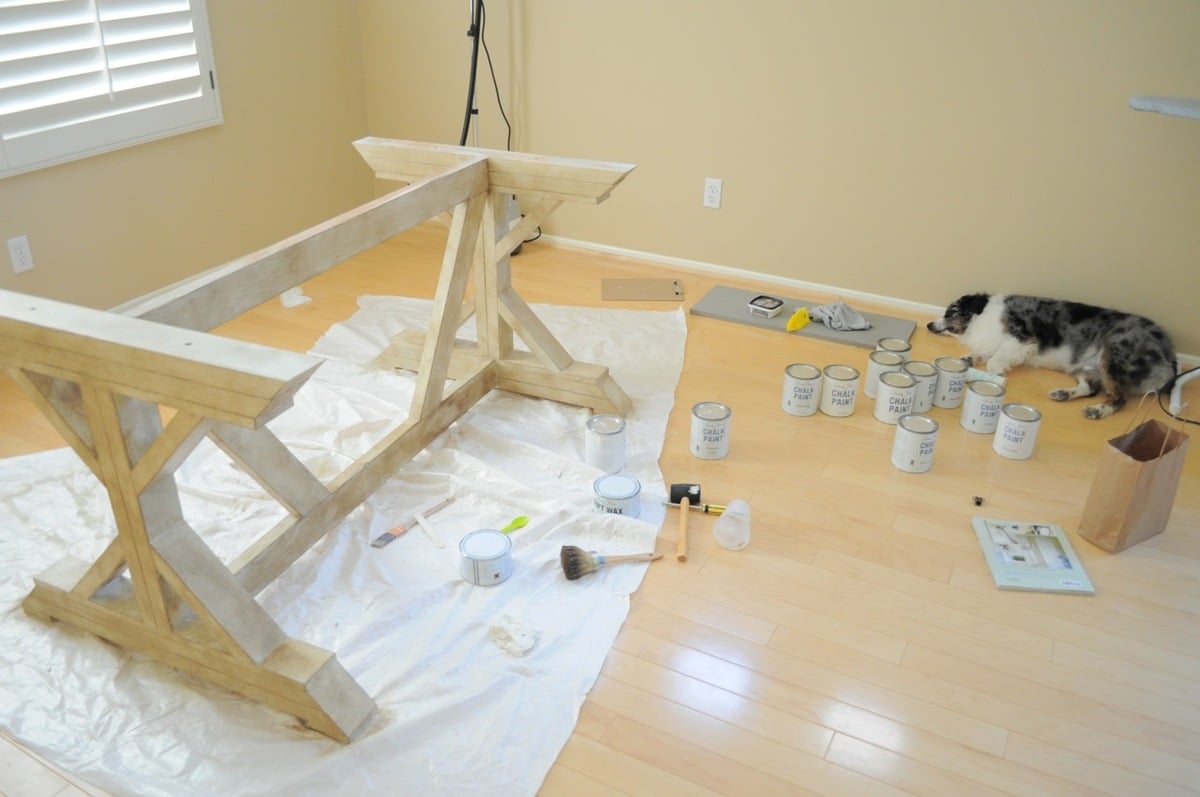
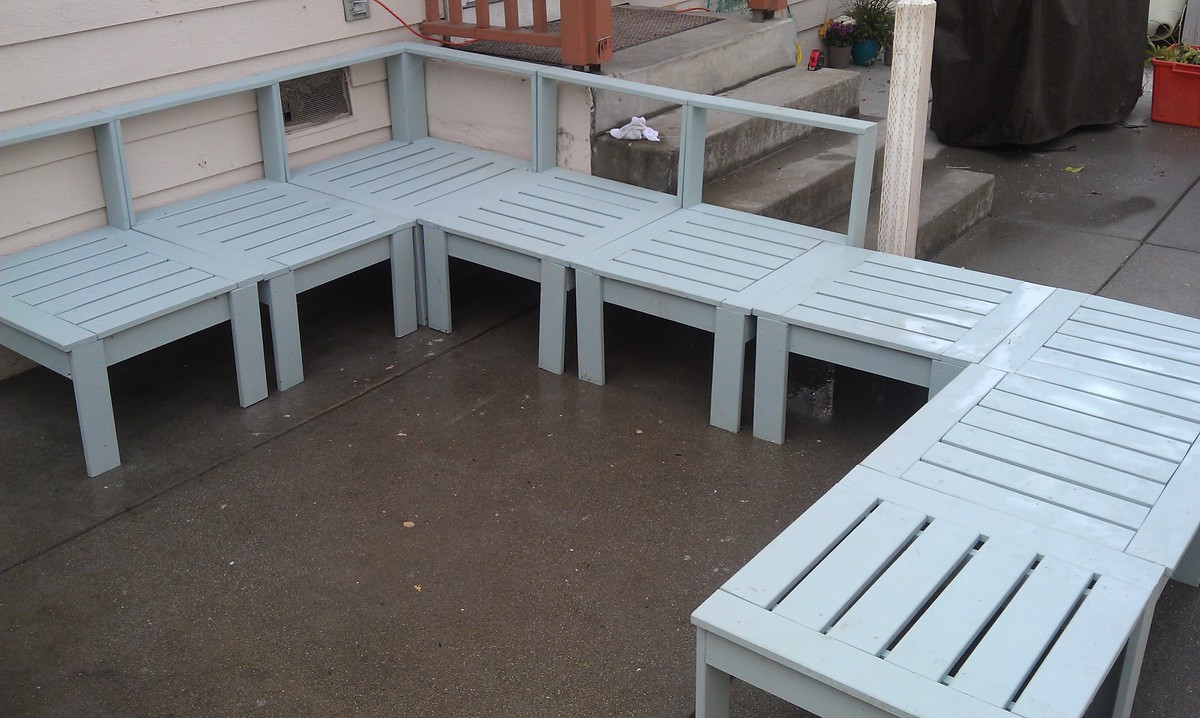
We spent one day painting the cut pieces. I think it looks nicer having them painted first and patching up holes, rather than deal with drips and such with the numerous spaces and sections. We had a wonderful time chatting the whole day and painting. O.K., this is just as good for the soul as "me" time.
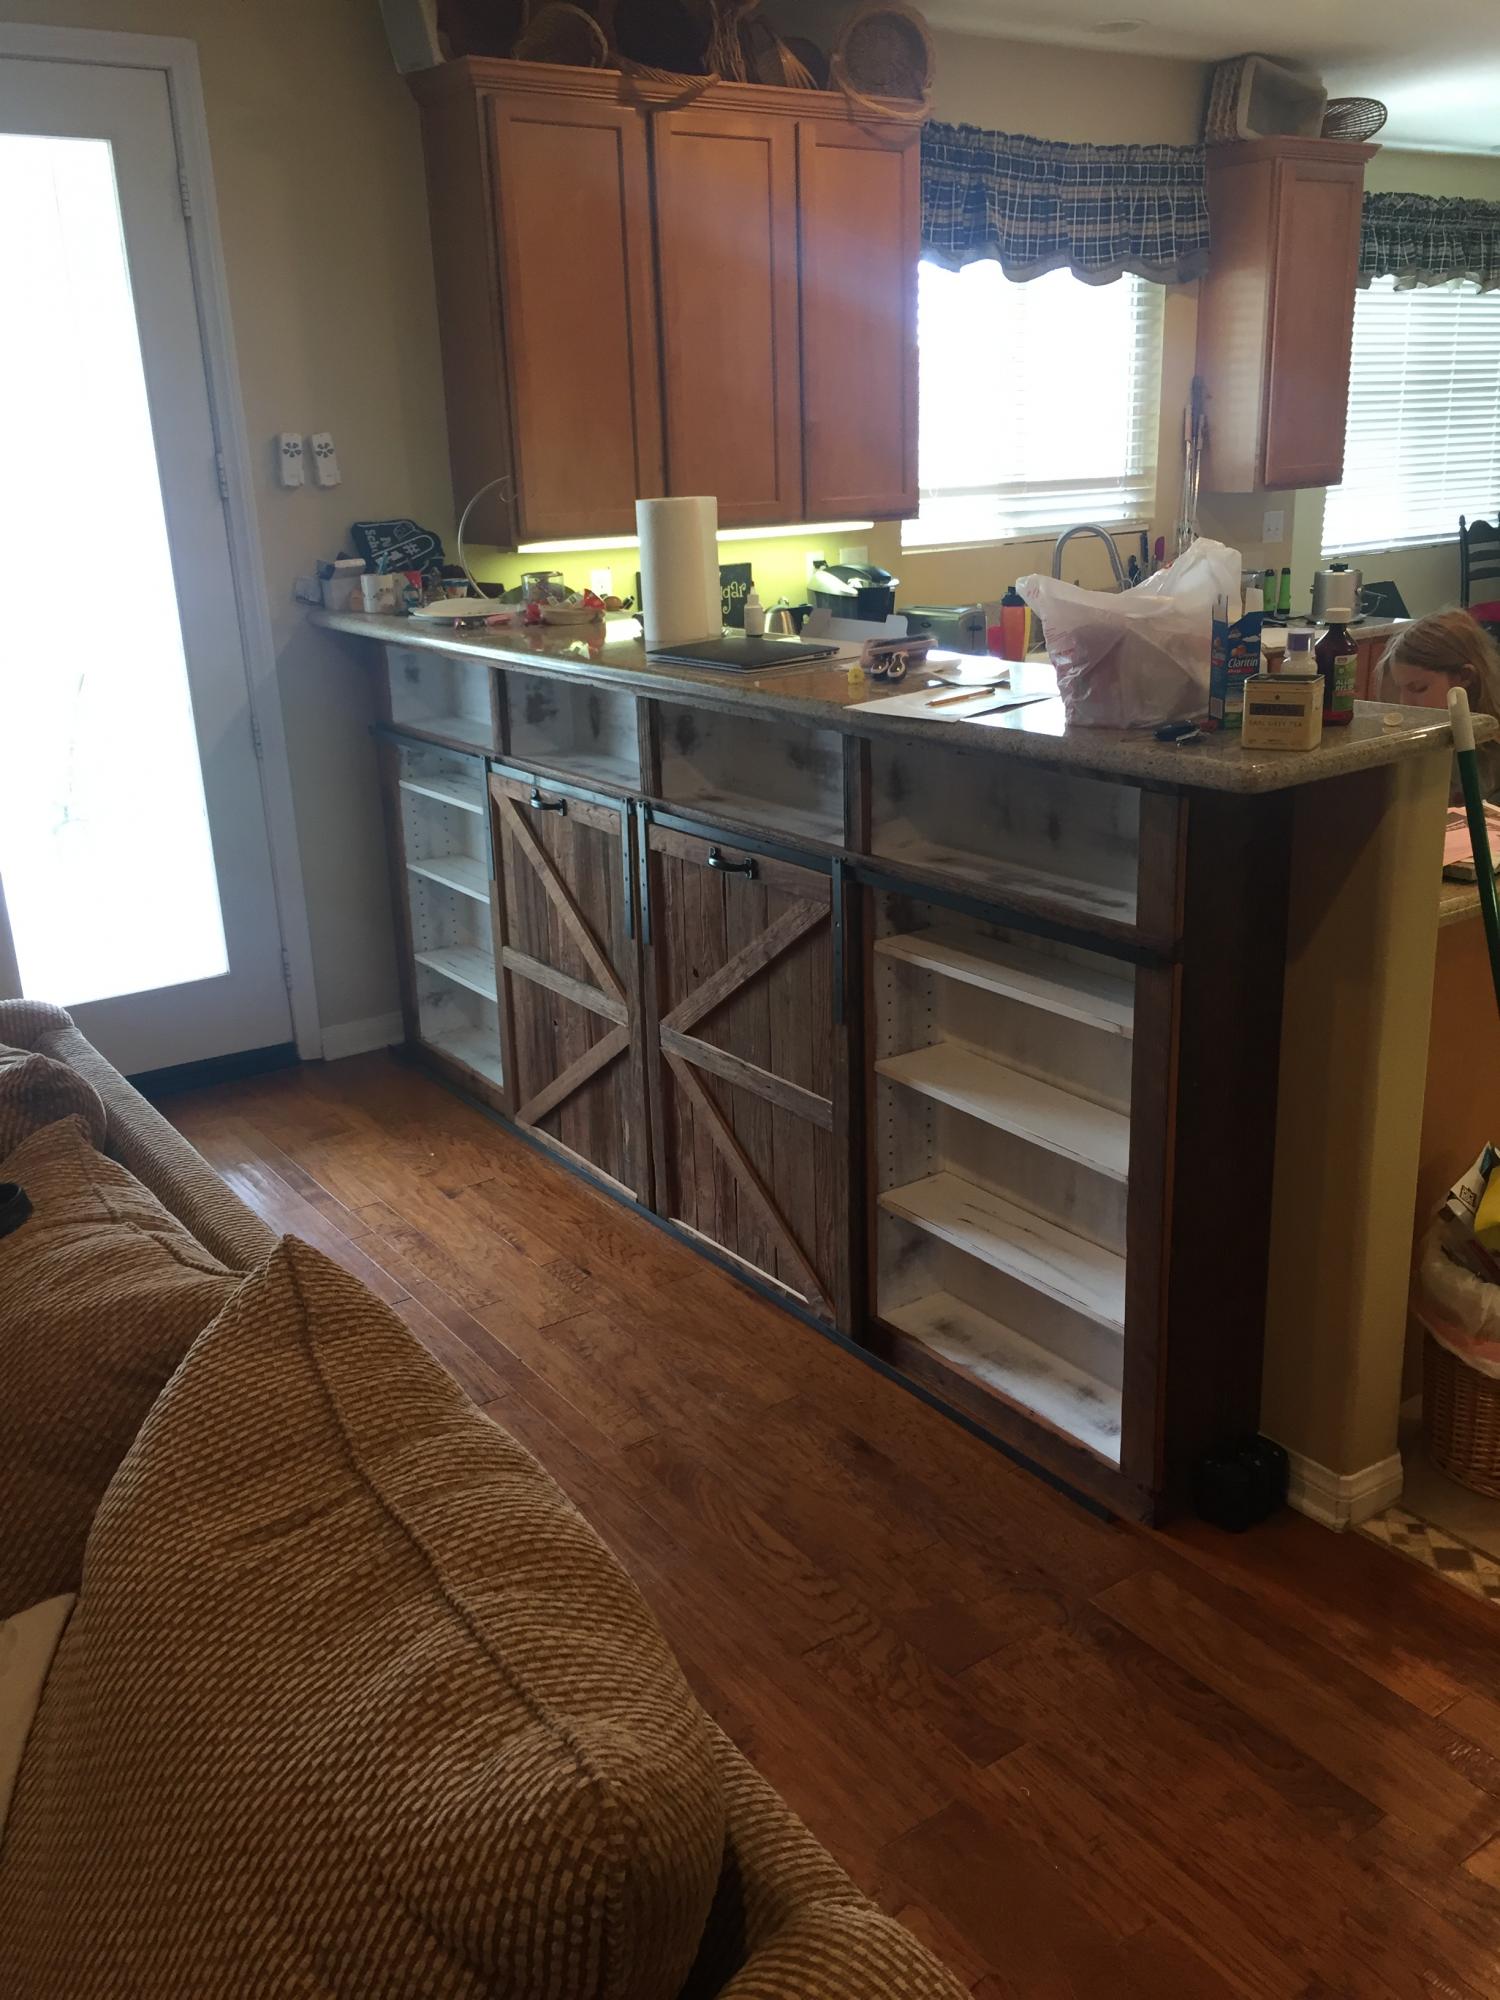
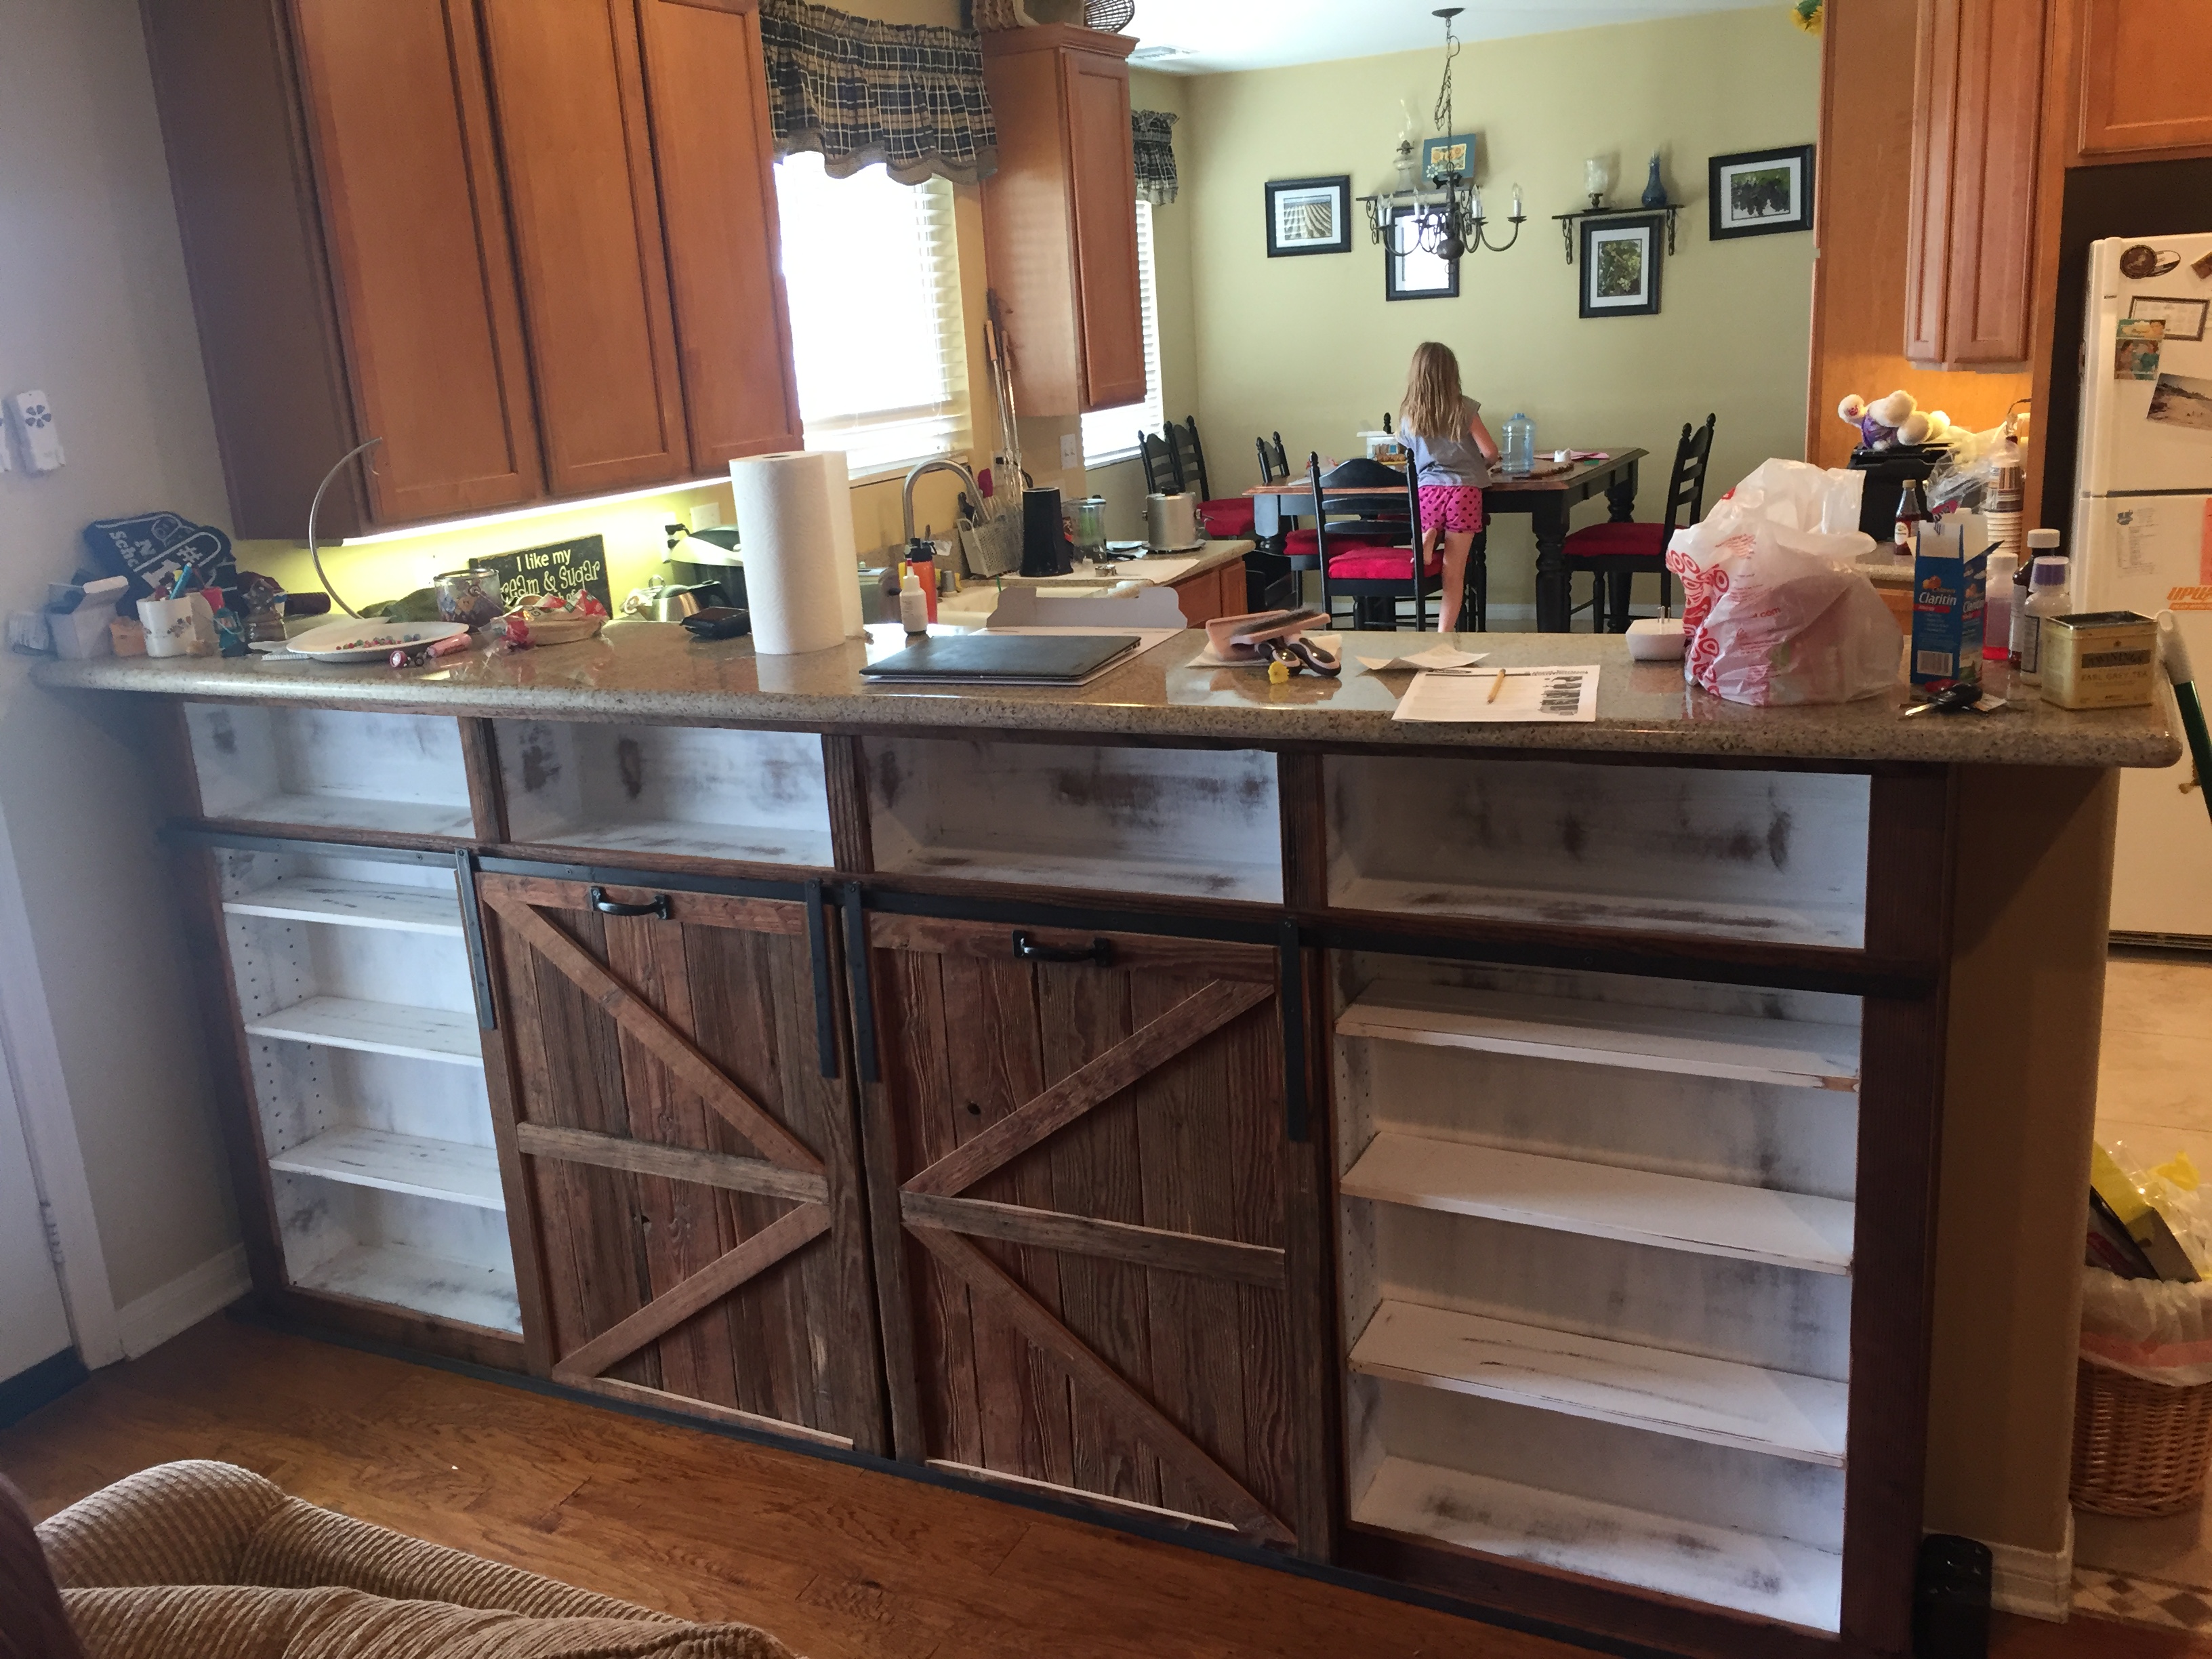
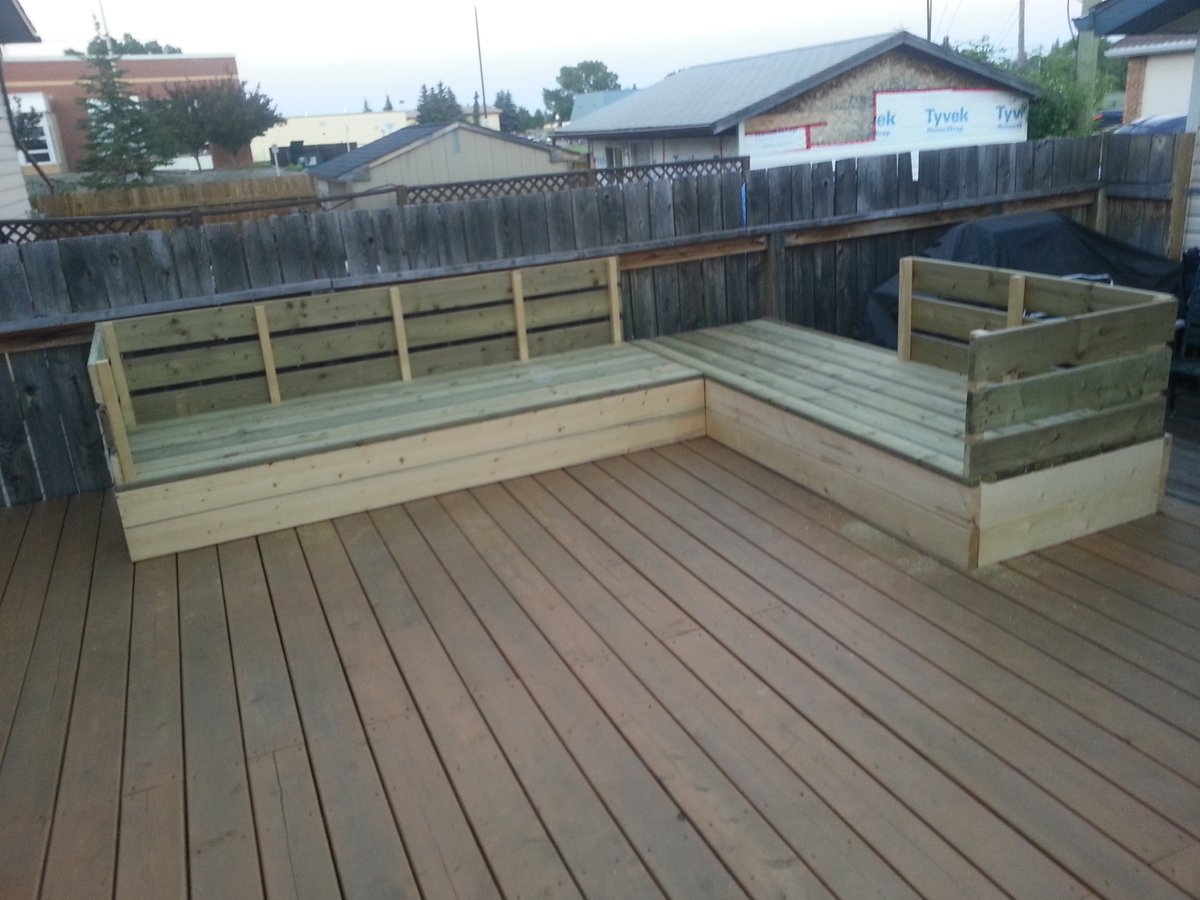
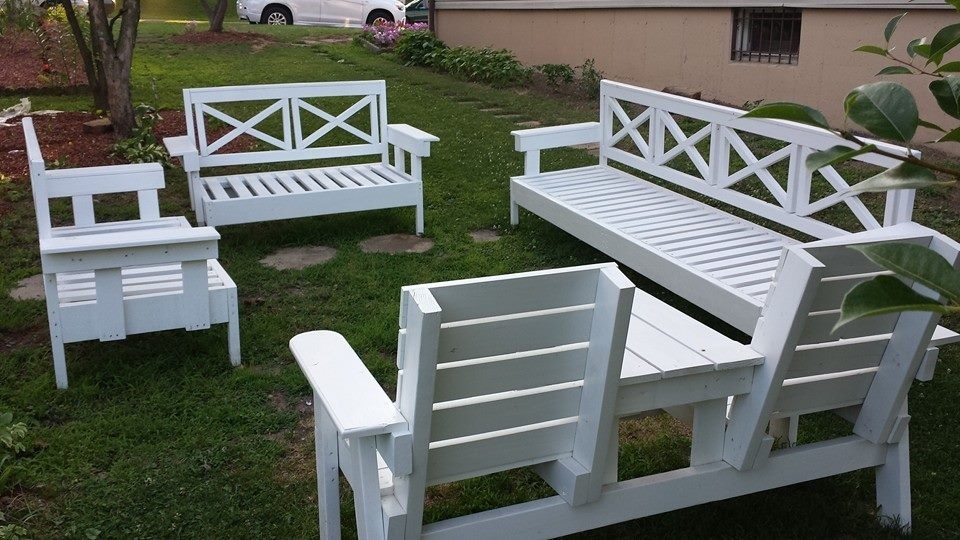
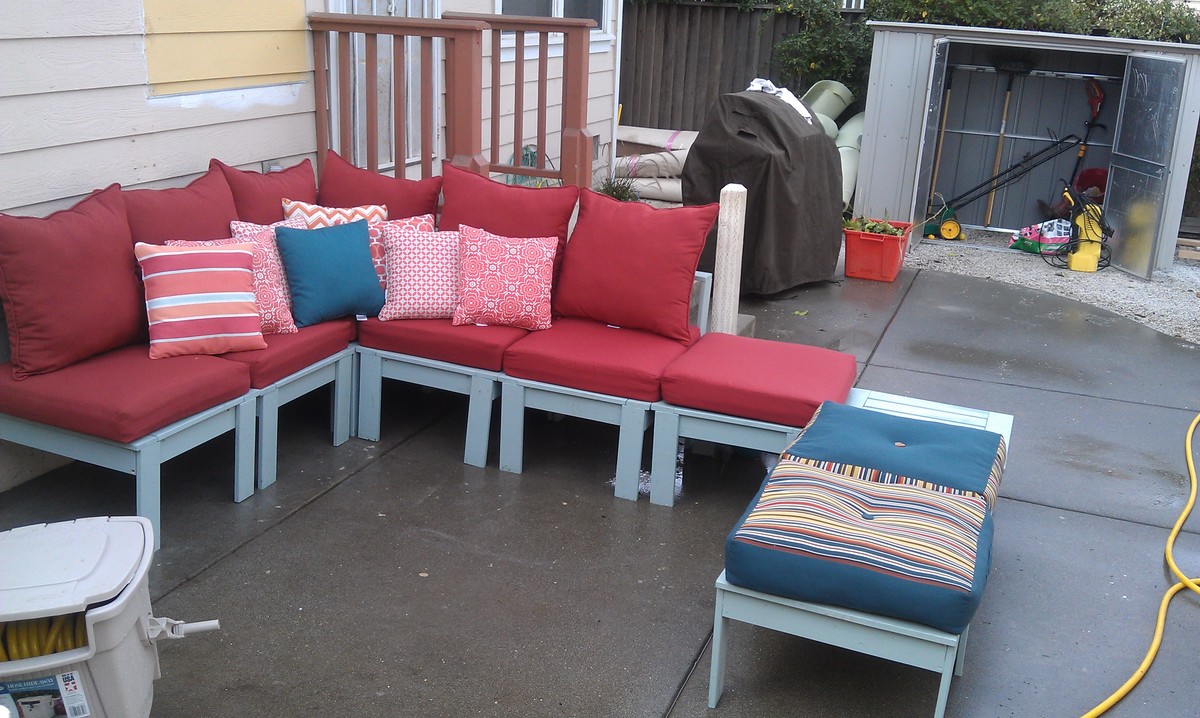
That evening, after the paint had dried, we couldn't help ourselves...we NEEDED to assemble one section. So we started with the corner unit. And after one major "re-do", we had it figured out. My son, Jacob, ran with it from there and he and his cousin finished it, wood patched, sanded, and re-painted.
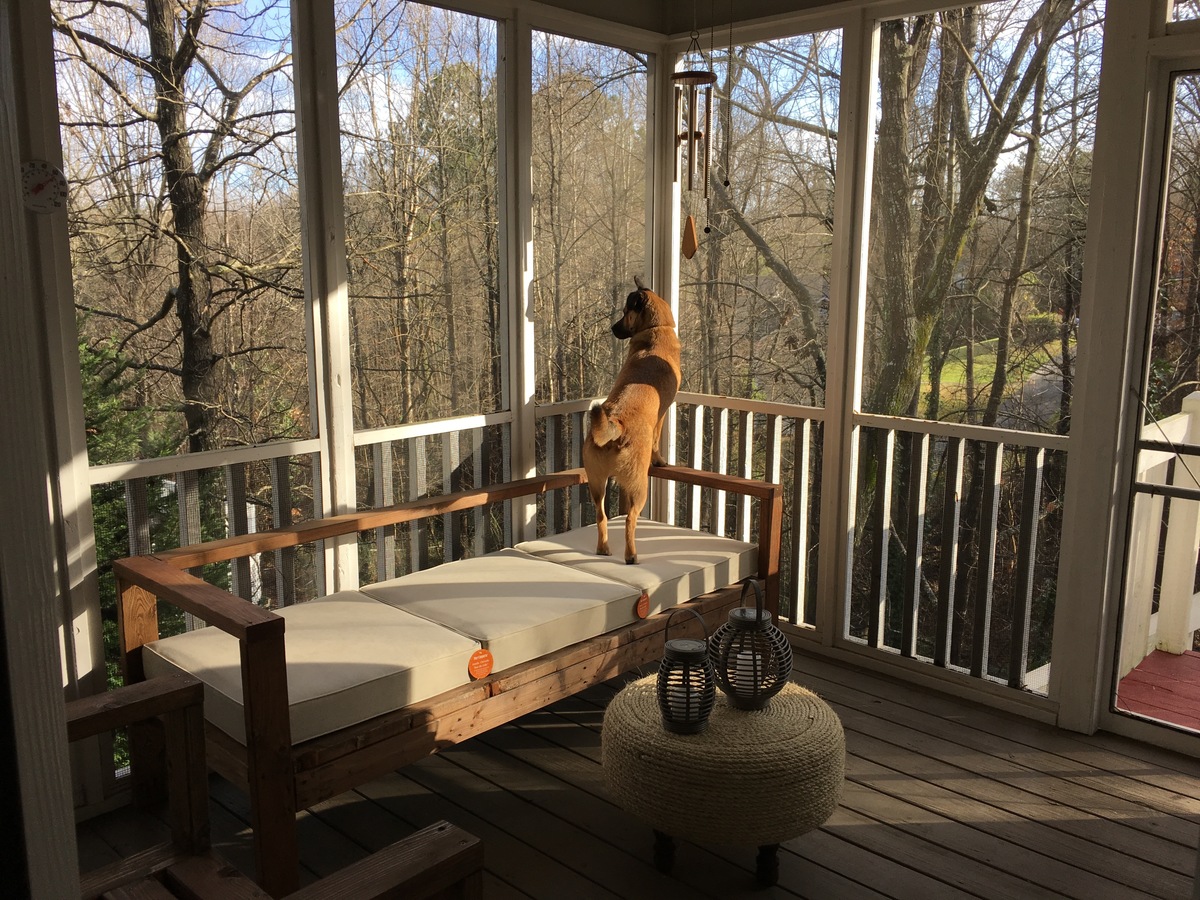
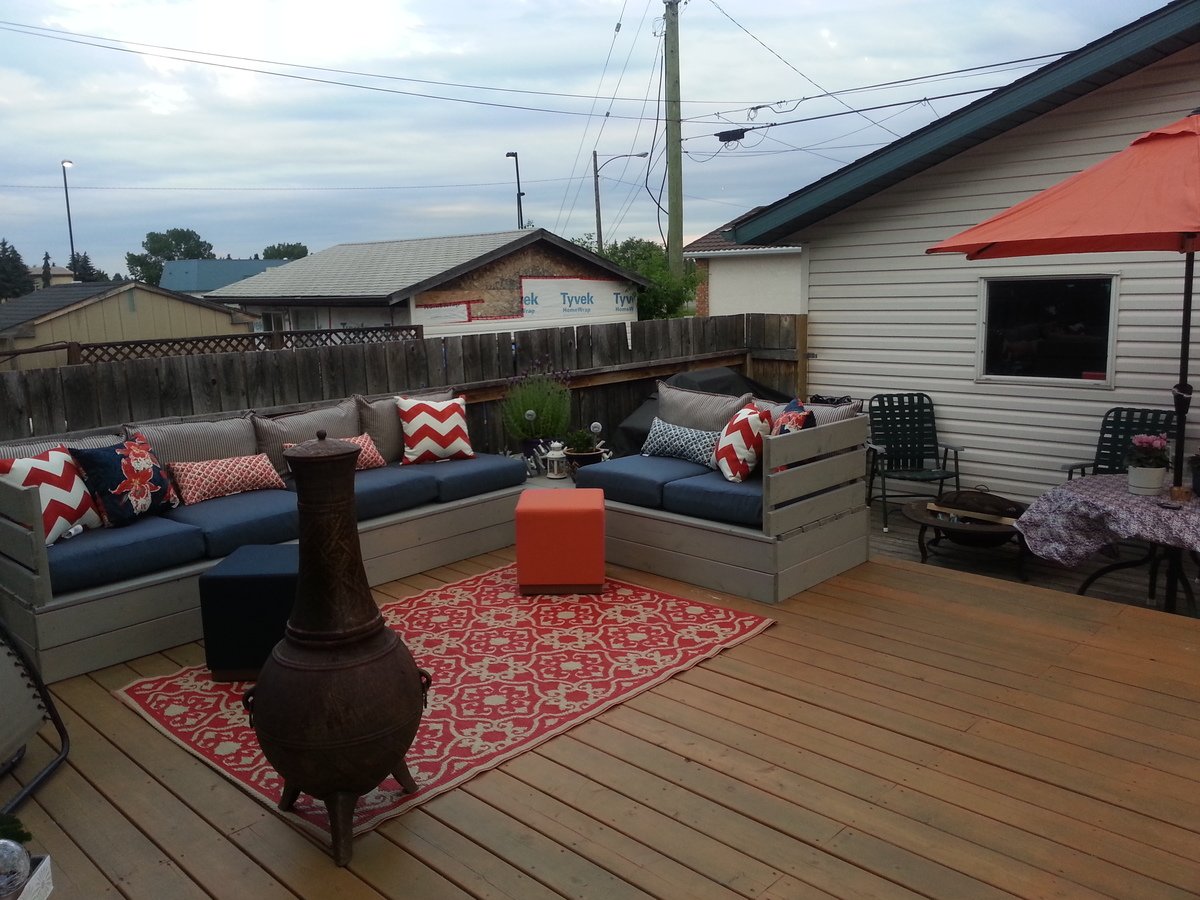
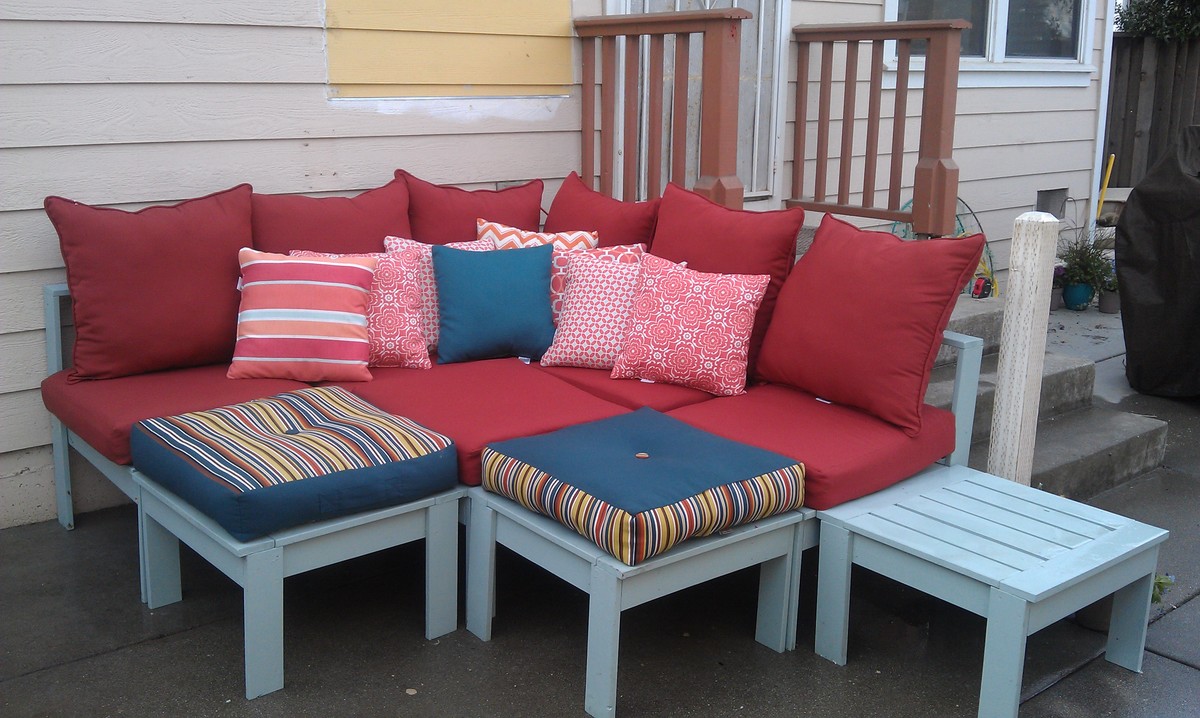
All told, it took him (us) about 3 days to complete. We found the cushions at Lowe's and the entire project cost us about $500.00! HUGE savings and some serious mother-son time!
Sense of accomplishment doubled!