Community Brag Posts

Table & Chairs for Kindergarten Co-Op

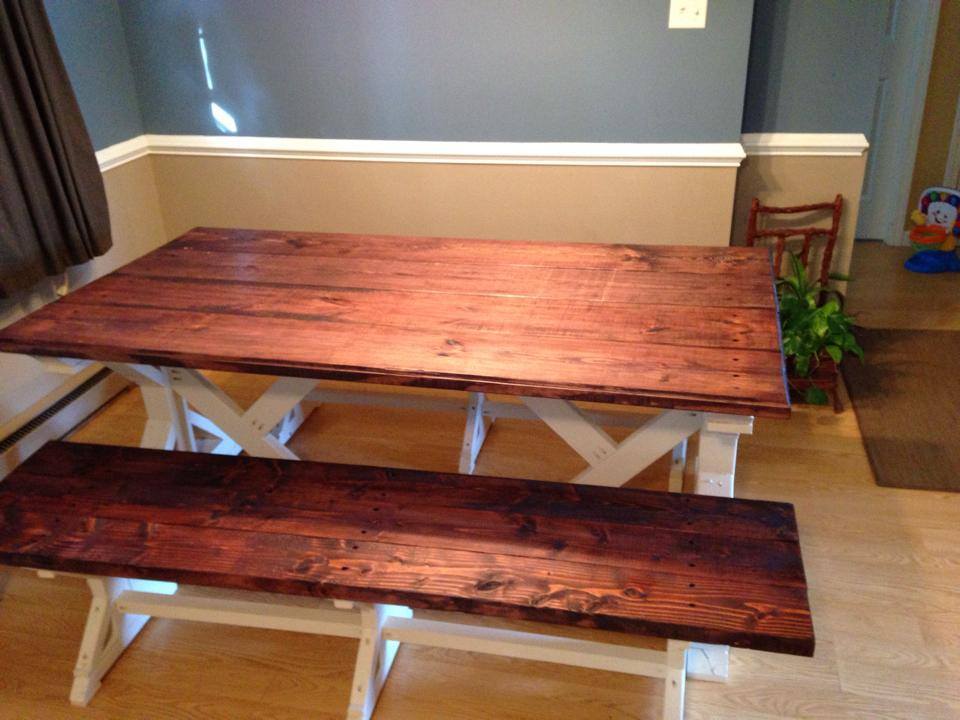
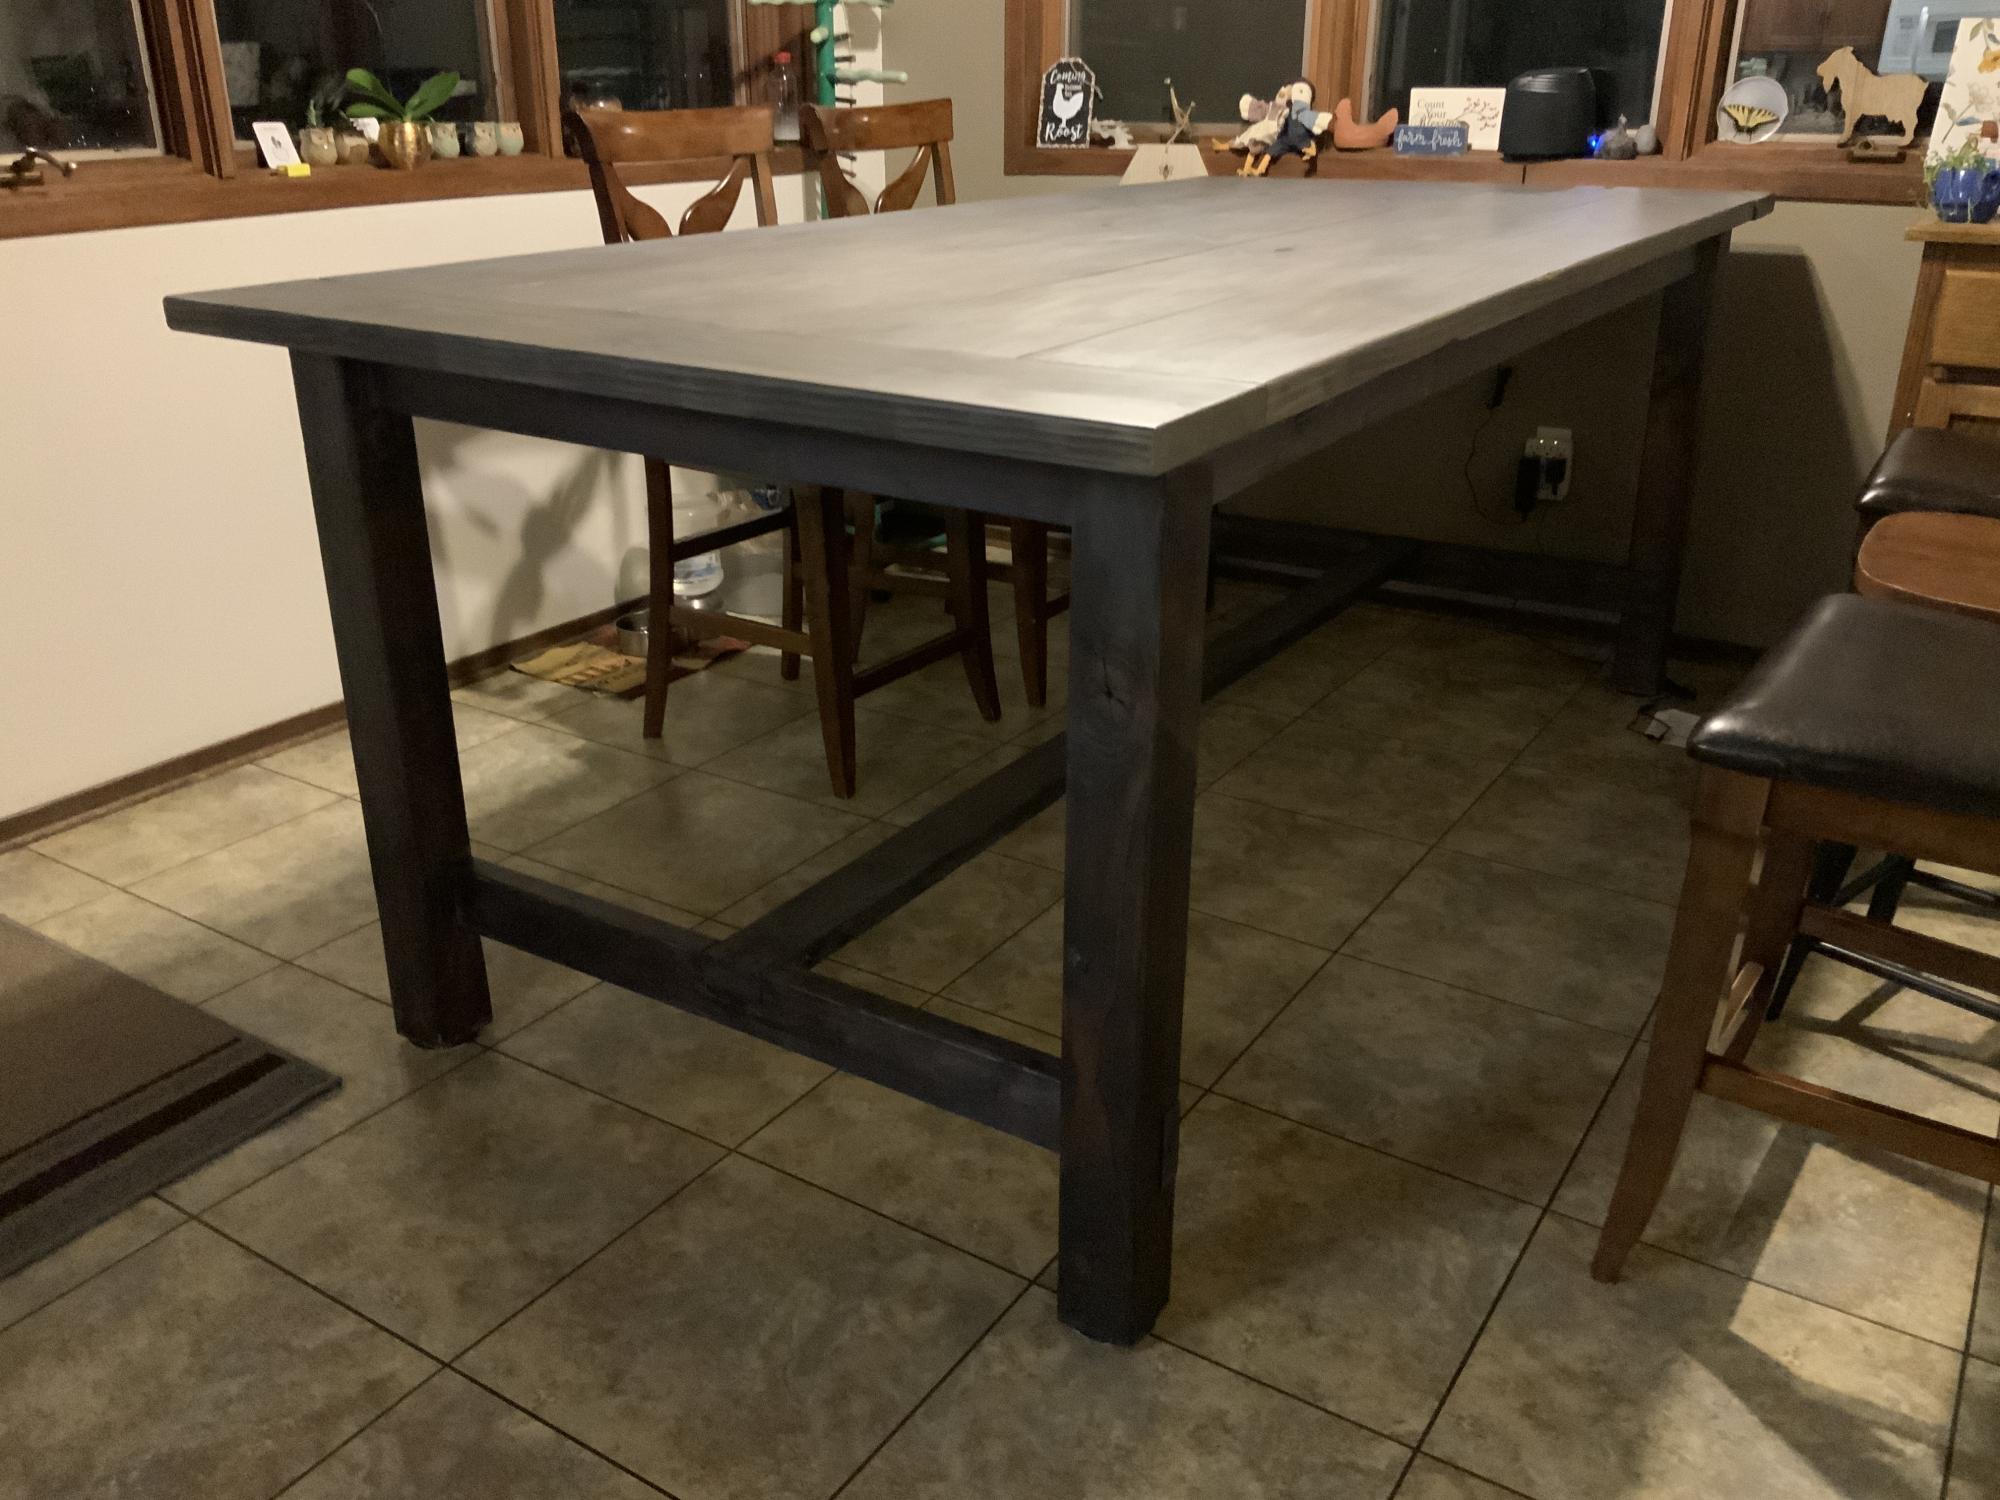
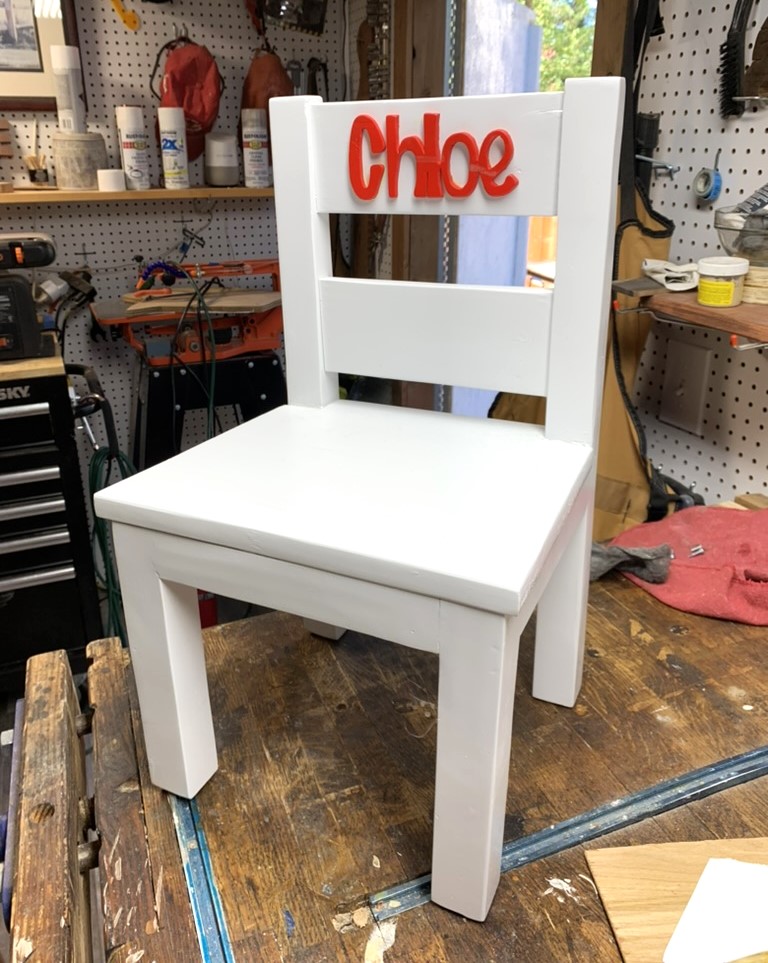
Simple table and chairs for a kindergarten homeschooling co-op. Perfect size for 4-6yr olds. Sturdy enough for older kids as well. We used a stair tread for the seat tops instead of 1x3 to make it more solid and to minimize little fingers getting caught between slats also the bull nose on the stair tread makes a nice edge for little legs to rest against.

Estimated Cost
$140
Estimated Time Investment
Week Long Project (20 Hours or More)
Finish Used

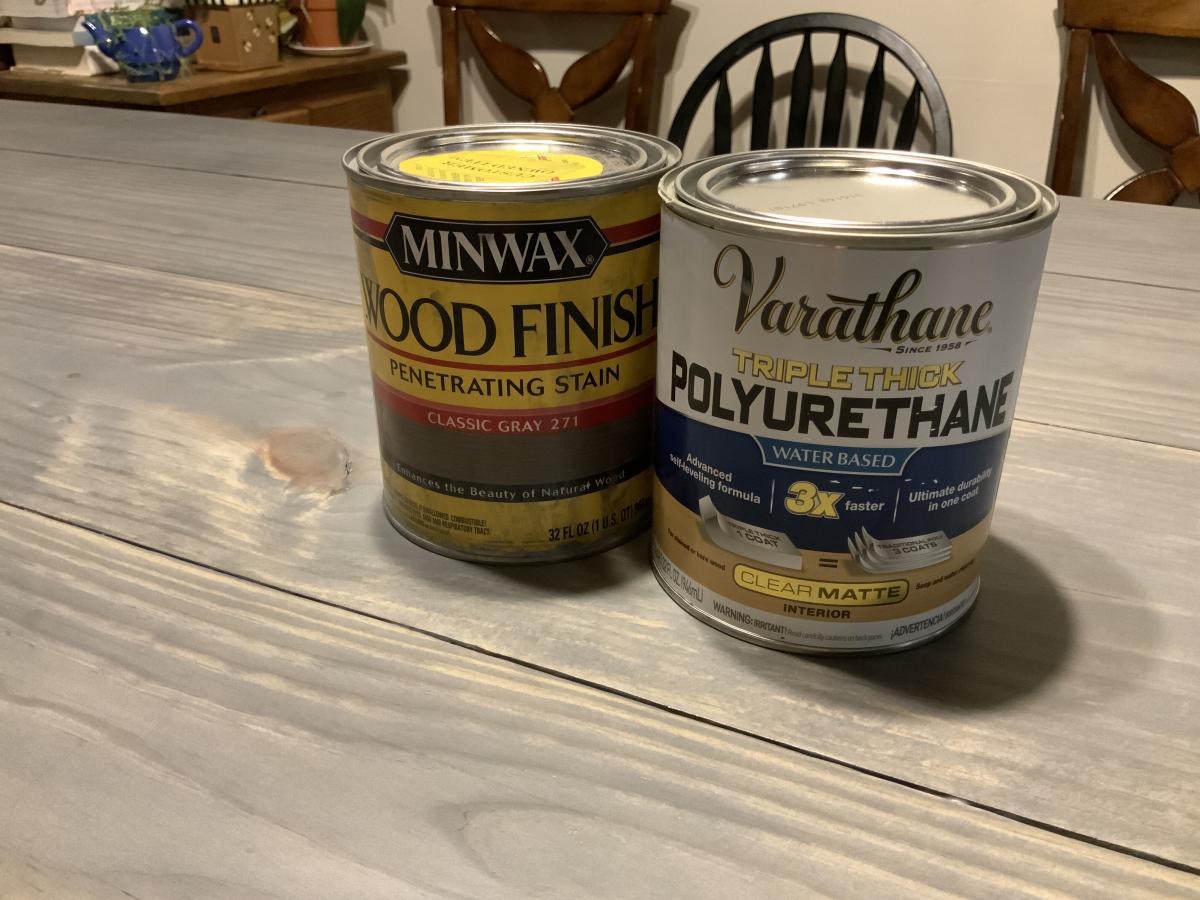
It is finished using two coats of Minwax PolyShades stain & polyurethane in classic oak with sanding using 320 grit sandpaper in between coats. Then a polish with steel wool #0000, beeswax and orange oil.

Dress Up Closet

Dress up closet made from craftiness Is Not Optional's Dress Up Storage plans.

Estimated Time Investment
Day Project (6-9 Hours)
Recommended Skill Level
Beginner

Comments

colleenwalsh

Sat, 09/20/2014 - 10:28

Very easy to make. Looks adorable in our play room. If I built this again, I would add a few inches to the height to accomodate some of the longer costumes.

Side Tables

Submitted by TeamTJ on Sat, 09/19/2020 - 18:58

My wife and I made 2 of these for our living room. Plenty of mistakes, but we love them. Hardest part was the X.

Built from Plan(s)
Finish Used
White paint and dark gel stain

Comments

Texas Themed Bench

Submitted by paigers01 on Mon, 01/09/2017 - 11:49

I modified this bench to incorporate a Texas theme. I traced a Texas shaped cutting board onto a 1x16 piece of edge-glued board, and then cut it out with my jigsaw.

Built from Plan(s)
Estimated Cost
$100
Estimated Time Investment
Day Project (6-9 Hours)
Finish Used
Minwax English Chestnut
Recommended Skill Level
Intermediate

Comments

Sweet pea bunk bed

Submitted by Anonymous (not verified) on Tue, 09/22/2020 - 08:53

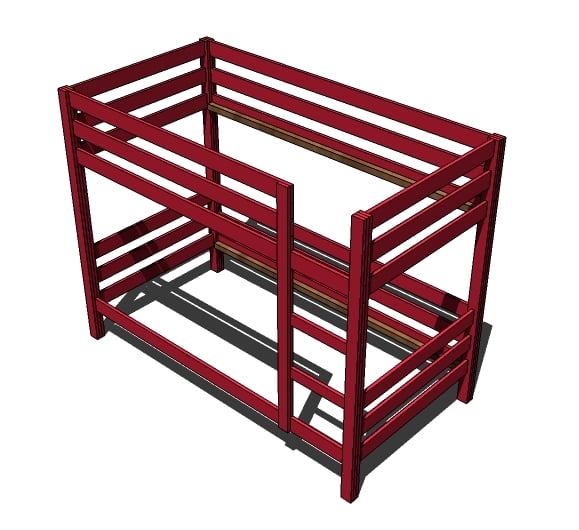
Modern twist on sweet pea bunk bed plans. We opted to close up the bottom instead of storage. Changed windows and railings on staircase. Took around 50 hrs for me and my husband who are beginner builders. Per recommendations we painted boards before assembling. I ended up Sanding when it was assembled to get a smoother finish. If you are particular about the finish like I am I would skip painting boards before assembled. Great plans thanks for sharing!

Built from Plan(s)
Estimated Cost
950
Estimated Time Investment
Week Long Project (20 Hours or More)
Finish Used
Medium luster white paint
Recommended Skill Level
Intermediate

Comments

American Girl Bunk Bed

Submitted by mybartmart on Tue, 12/18/2012 - 05:26

Doll Bunk bed, this was a lot of fun to make the plan was laid out well and very easy to follow.

This was a gift to a friend's 10 year old and it really made her happy.

I enjoyed sewing the bedding. It was just an over all load of fun.

I made it very quickly, I think the filling, sanding painting took longer.

Estimated Time Investment
Afternoon Project (3-6 Hours)
Finish Used
White gloss paint
Recommended Skill Level
Intermediate

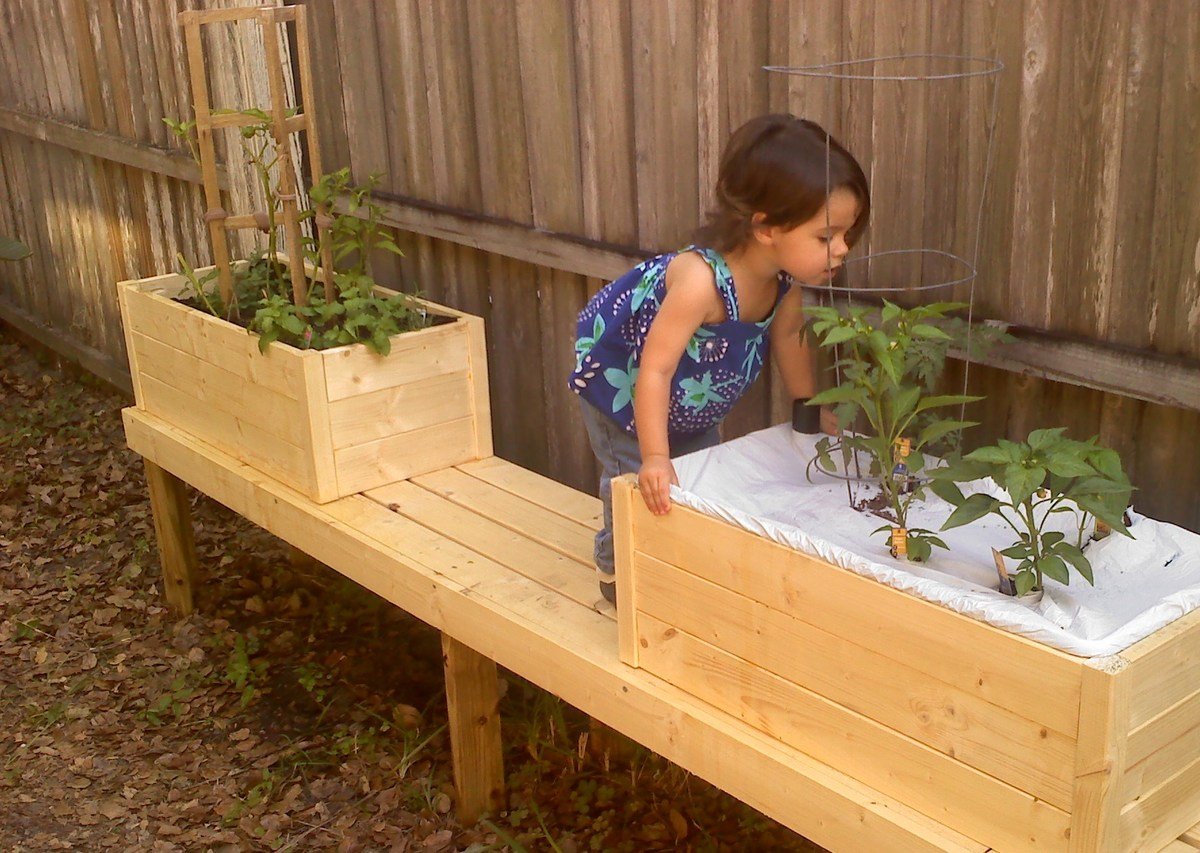
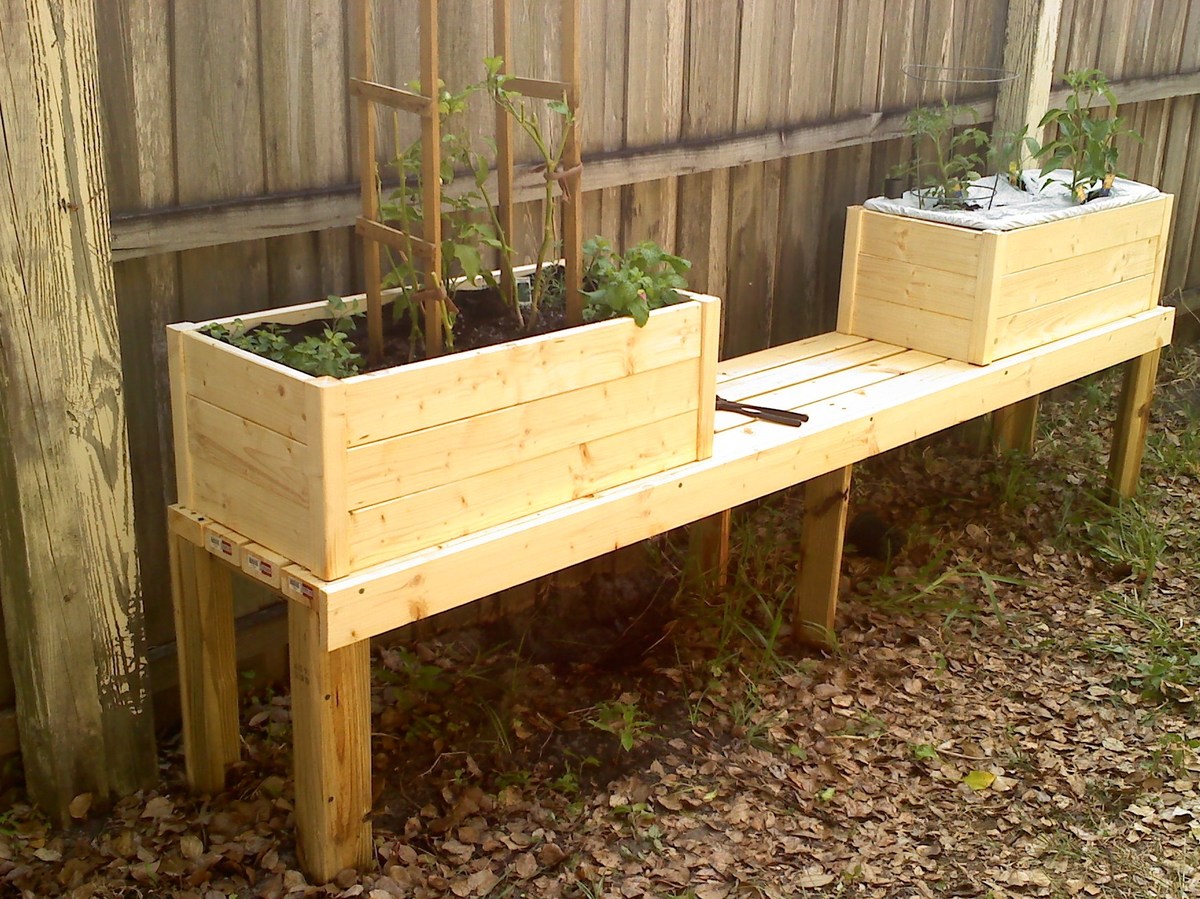
Cedar Planter

Submitted by Tiers on Sat, 09/27/2014 - 08:59

This was a pretty straight forward design! I am so in love with my new planters. This was my second Ana White build. I can't wait to do more. The only changes I made to the plans were adjusting the side up so they were even with the legs. Then I added a 1X3 topper as some of the others have done. The crests that are attached my husband had made while in the Phillipines. I've been waiting for a special project to use them on and this was definitely it! Thanks Ana!!
 

Built from Plan(s)
Estimated Cost
$25
Estimated Time Investment
Afternoon Project (3-6 Hours)
Finish Used
Minwax wood finish in Golden Pecan
Recommended Skill Level
Beginner

Alexandra's Tiny (Bedroom) House

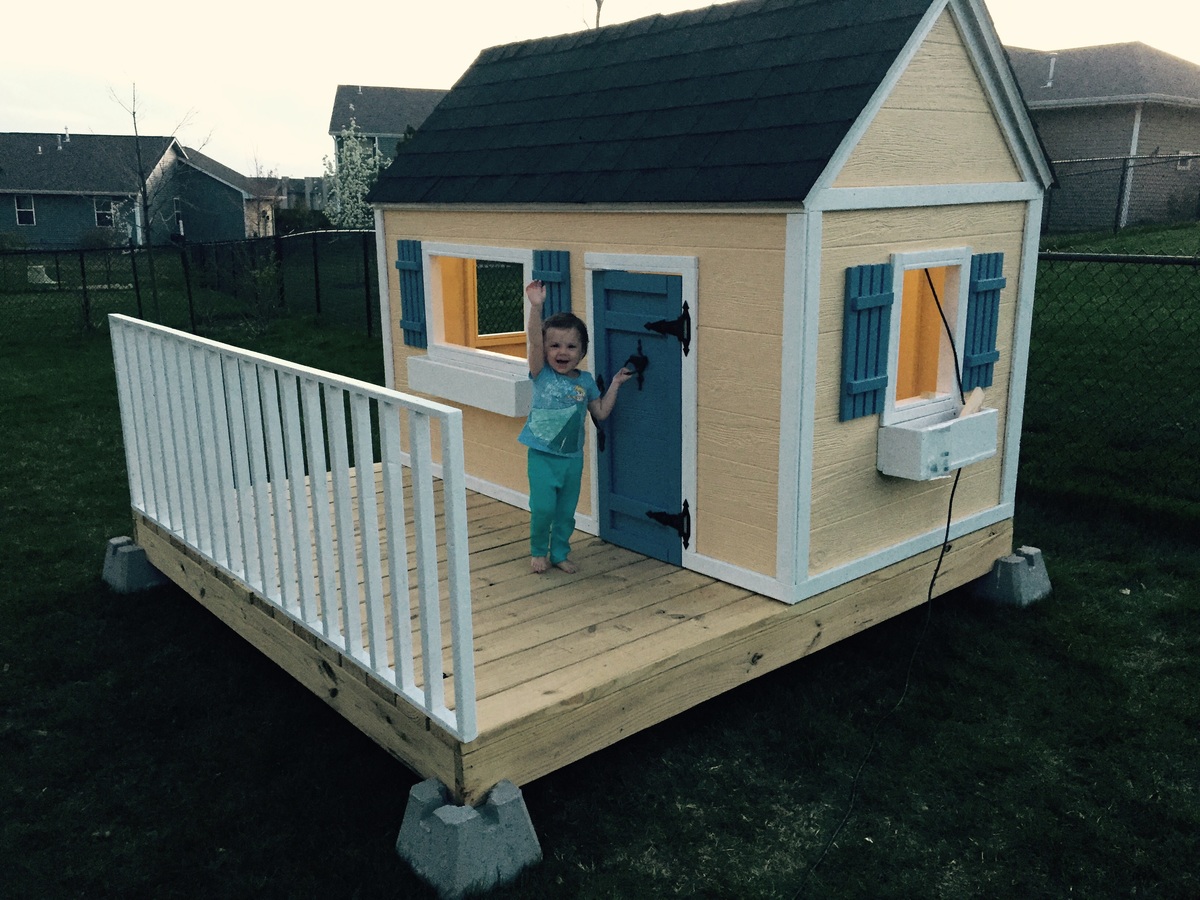
The best part about having a child is you get the opportunity to be a kid again. So when we bought our house I told my wife I was going to build our daughter her very own tiny house. Since our daughter is only 3 years old and can't afford a mortgage of her own we had to settle for a condo in her bedroom. After watching episode after episode of tiny house living and getting inspired it was time to get to work. With some help from my little girl (and mommy) this is what we came up with. To be honest I have to admit my crowning achievement was the faucet I put together with some pipe fittings and 50 cent faucet handles I picked up at a salvage yard. I know, I know after building everything in and out of her tiny house it's the kitchen faucet I'm most proud of HA, HA, HA! . One of these days i'll learn to actually take good photo's but i'm sure you guys get the idea. I hope you guys like it and get inspired to be a little kid again like my wife and I got the opportunity to be.

Estimated Cost
$300-$400
Estimated Time Investment
Week Long Project (20 Hours or More)
Finish Used
paint
Recommended Skill Level
Intermediate

Comments

anita1977

Thu, 01/12/2017 - 05:32

What a fantastic idea to build a tiny "house" for your little girl.  Love all the details!

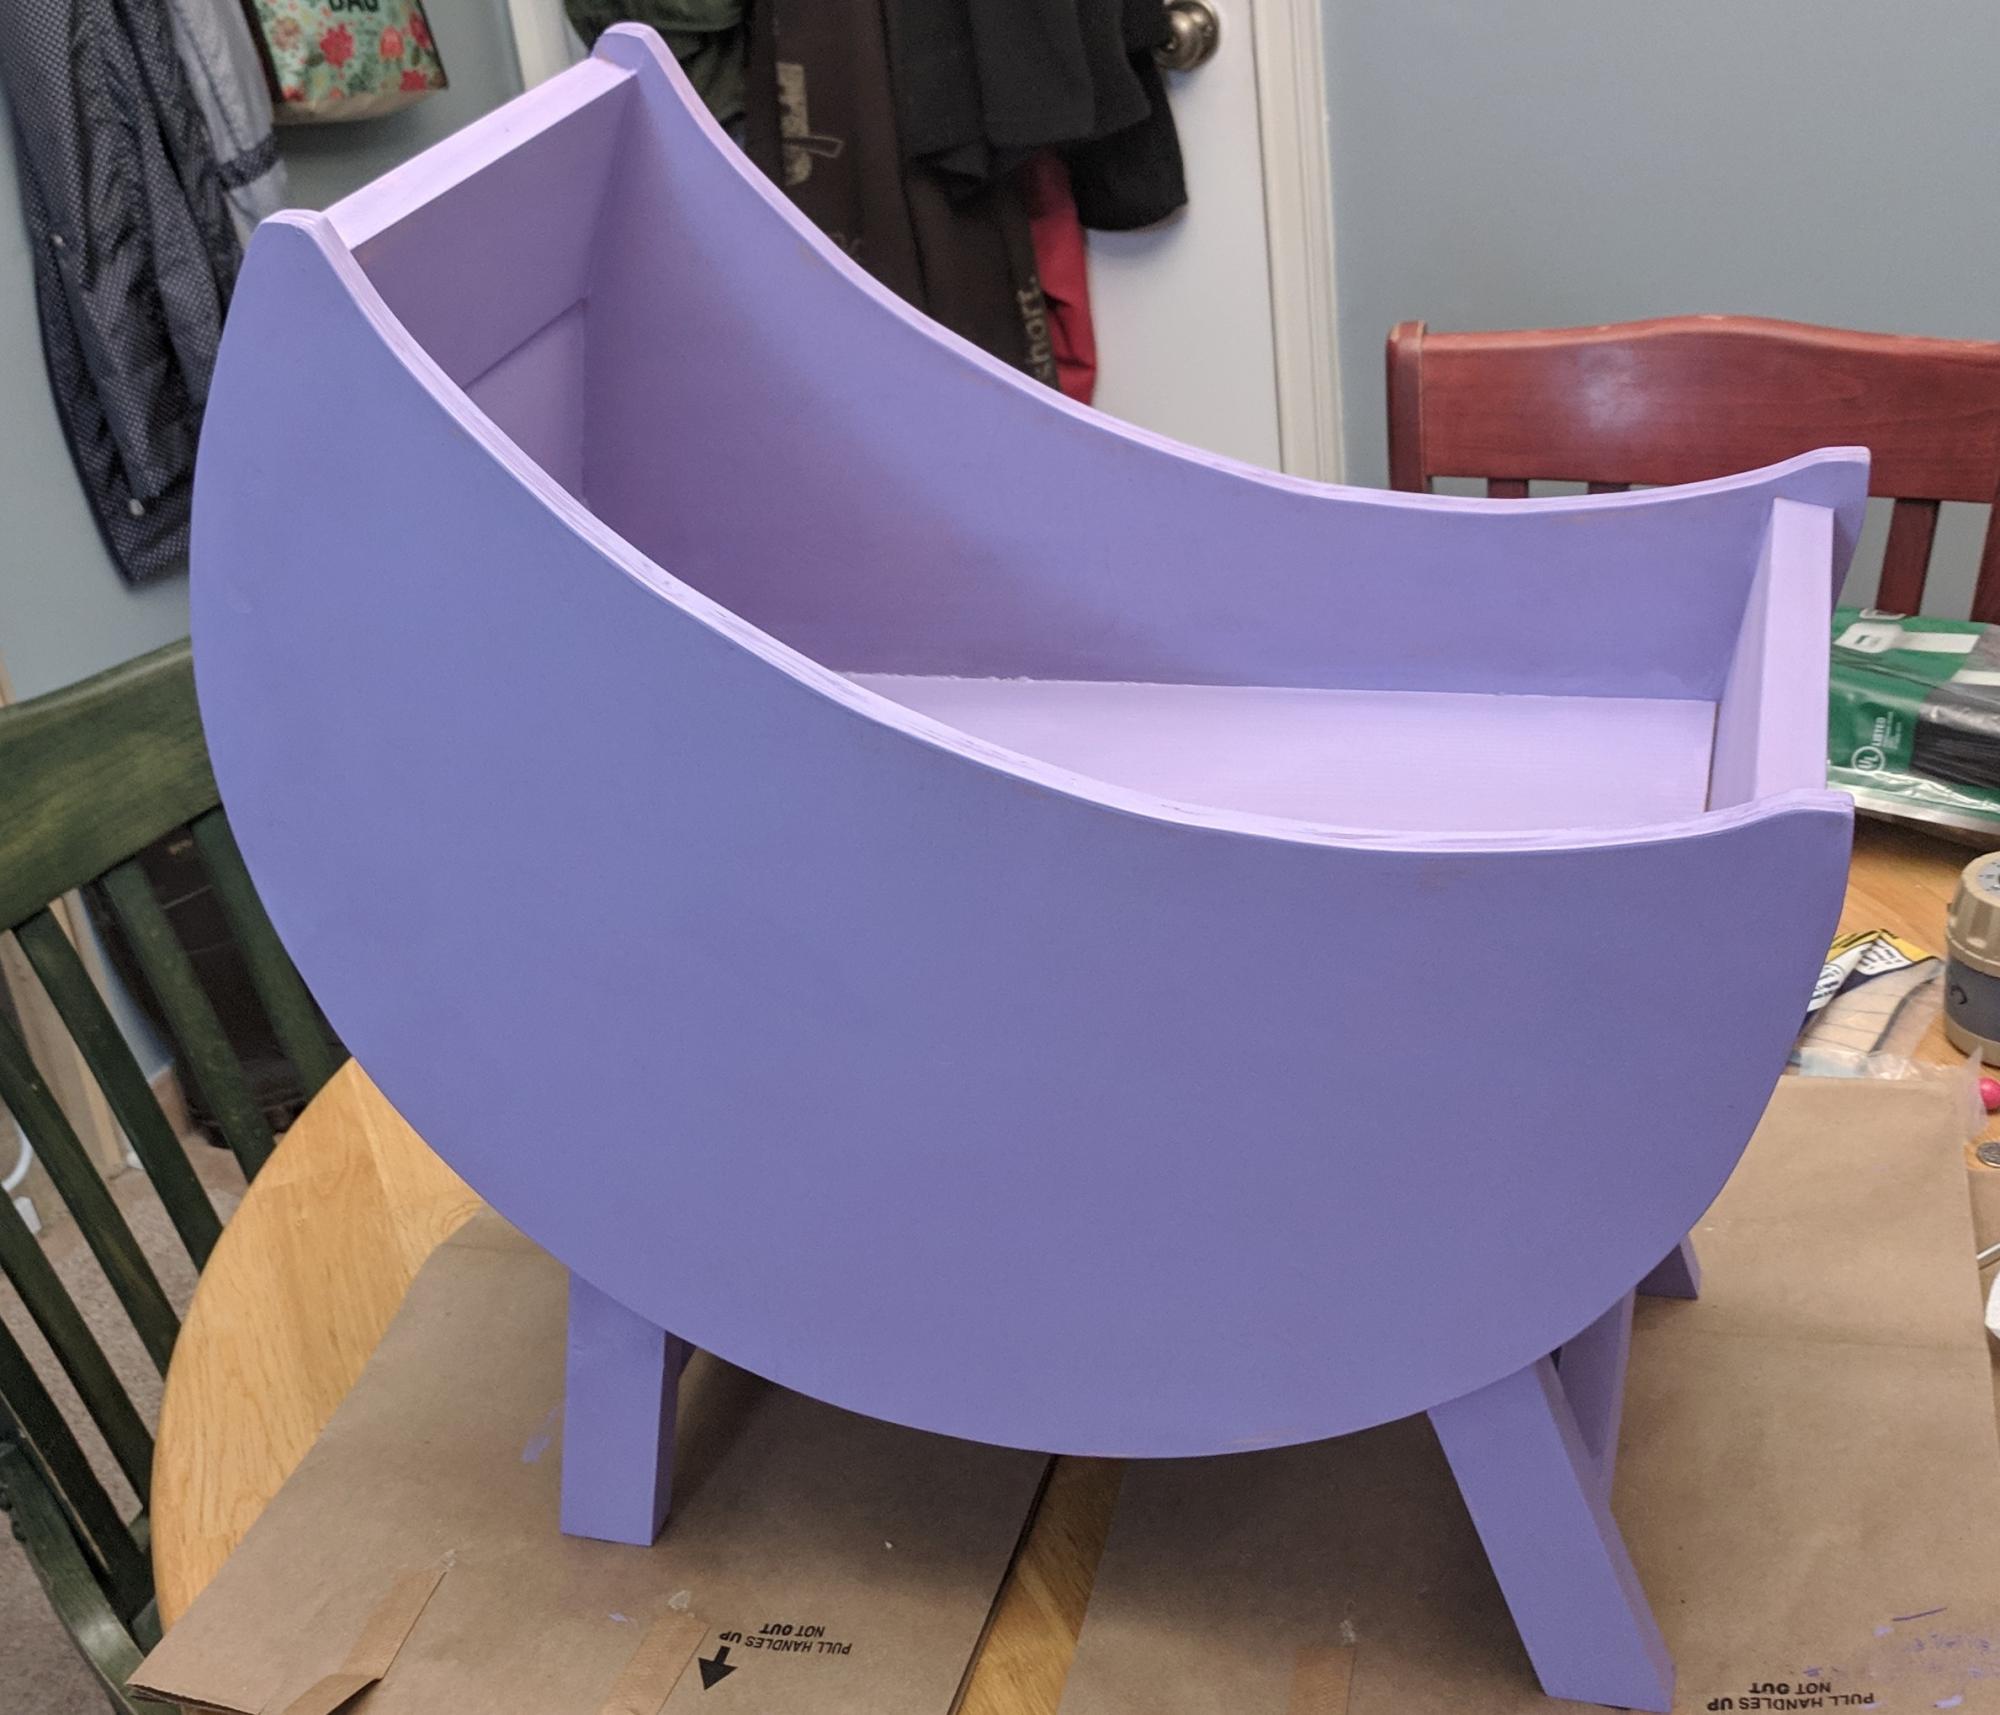
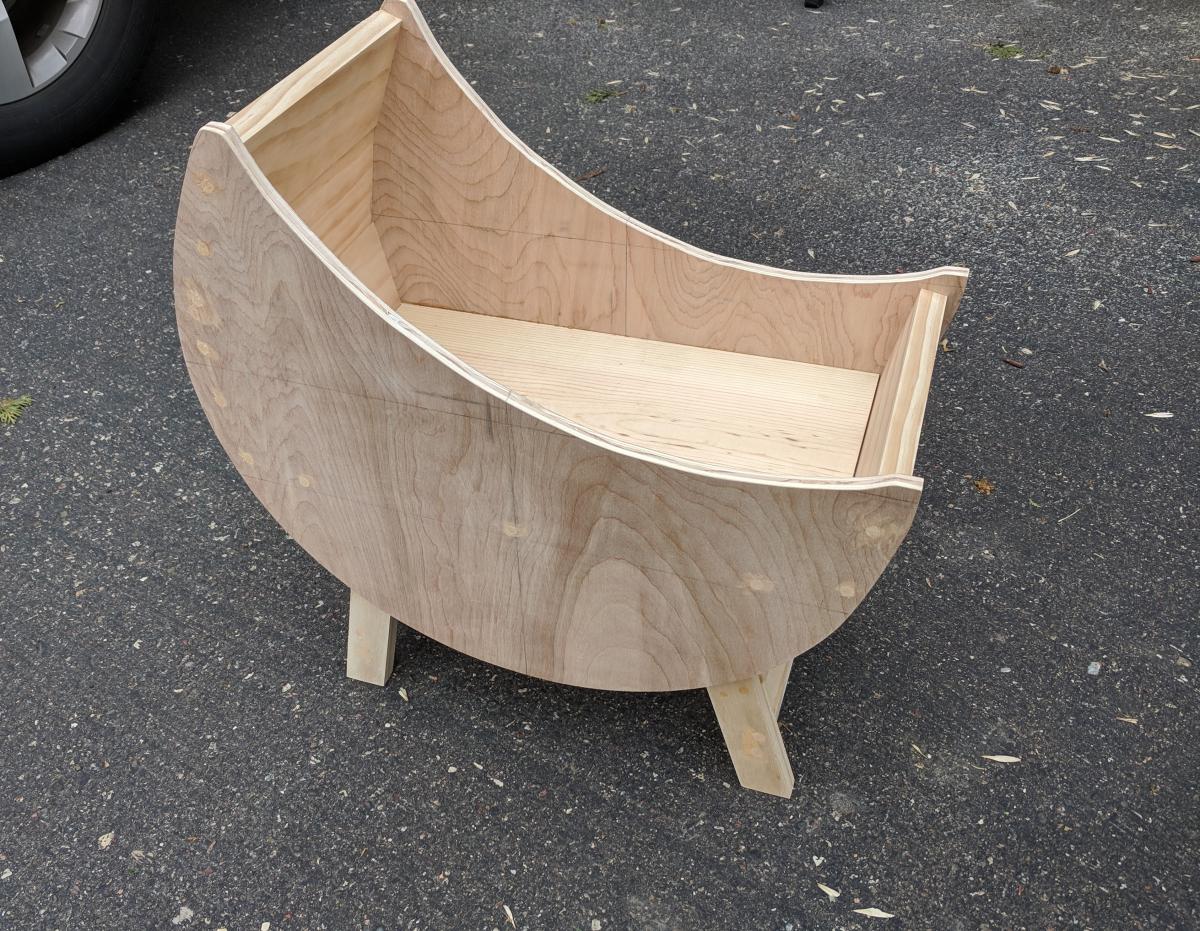
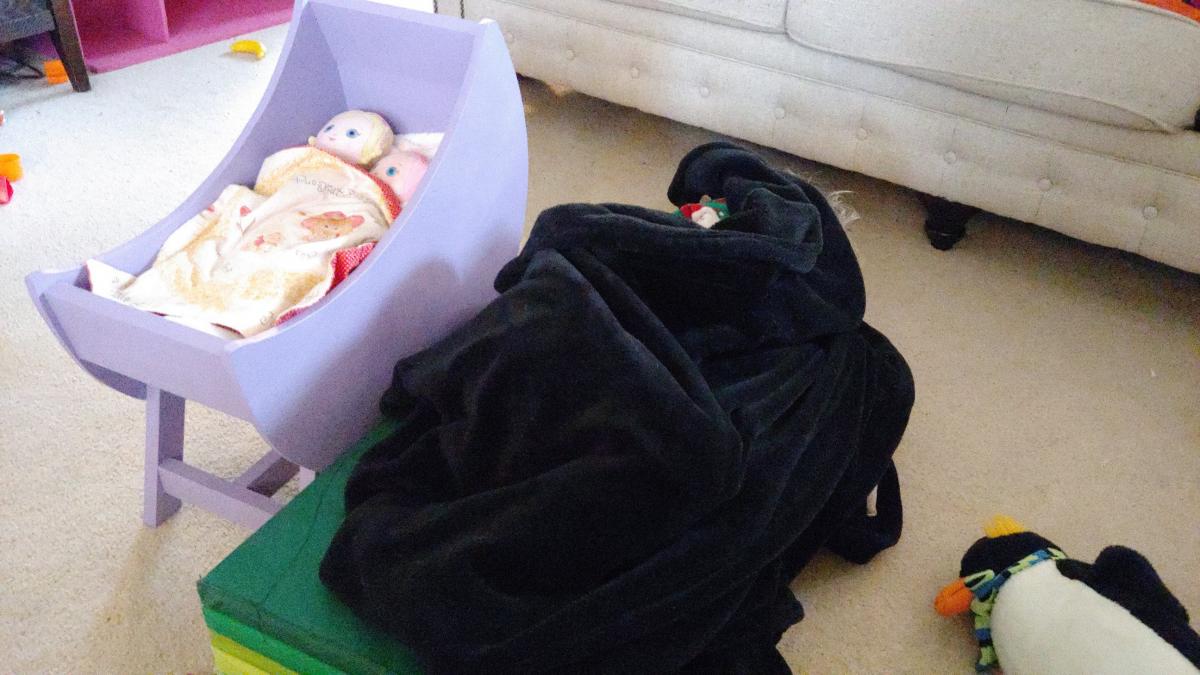
American Girl Doll Beds

I made these two American Girl doll beds for my nieces. For one bed, I followed Ana's plans exactly. For the other, I used plywood and cove molding in place of the 1x3 slats.

You can find more details about the build and finish I used on my blog.

Estimated Time Investment
An Hour or Two (0-2 Hours)
Finish Used
Zinsser primer and Rustoleum spray paint
Recommended Skill Level
Starter Project

Comments

Pub Table

Submitted by kbrewste3 on Tue, 09/30/2014 - 14:42

This was my first build so I learned a lot!!! I love this table but looking back I know more now than I did then and would have done things a little different. I would have plancked the top using my Kreg Jig Jr. and looked for straighter boards at Home Depot. I also altered the design for the look that I wanted, a rustic one. The table is 44" square and stand 43.5" tall. I also mitered the corners of the top outside boards wanting to give it a more finished looked. It took me about 3 days of nap times to build. We use it almost every night to eat dinner. I found the chairs at Habitat for Humanity and have plans to build a few more. My Husband thinks I should paint the table and distress to match the chairs, but that has not happened yet. All together I had a great time and learned a ton.

Built from Plan(s)
Estimated Cost
$100
Estimated Time Investment
Day Project (6-9 Hours)
Finish Used
Minwax Dark Walnut with Polyacrylic.
Recommended Skill Level
Beginner

Comments

simple outdoor chair

Submitted by Anonymous (not verified) on Sun, 01/15/2017 - 11:00

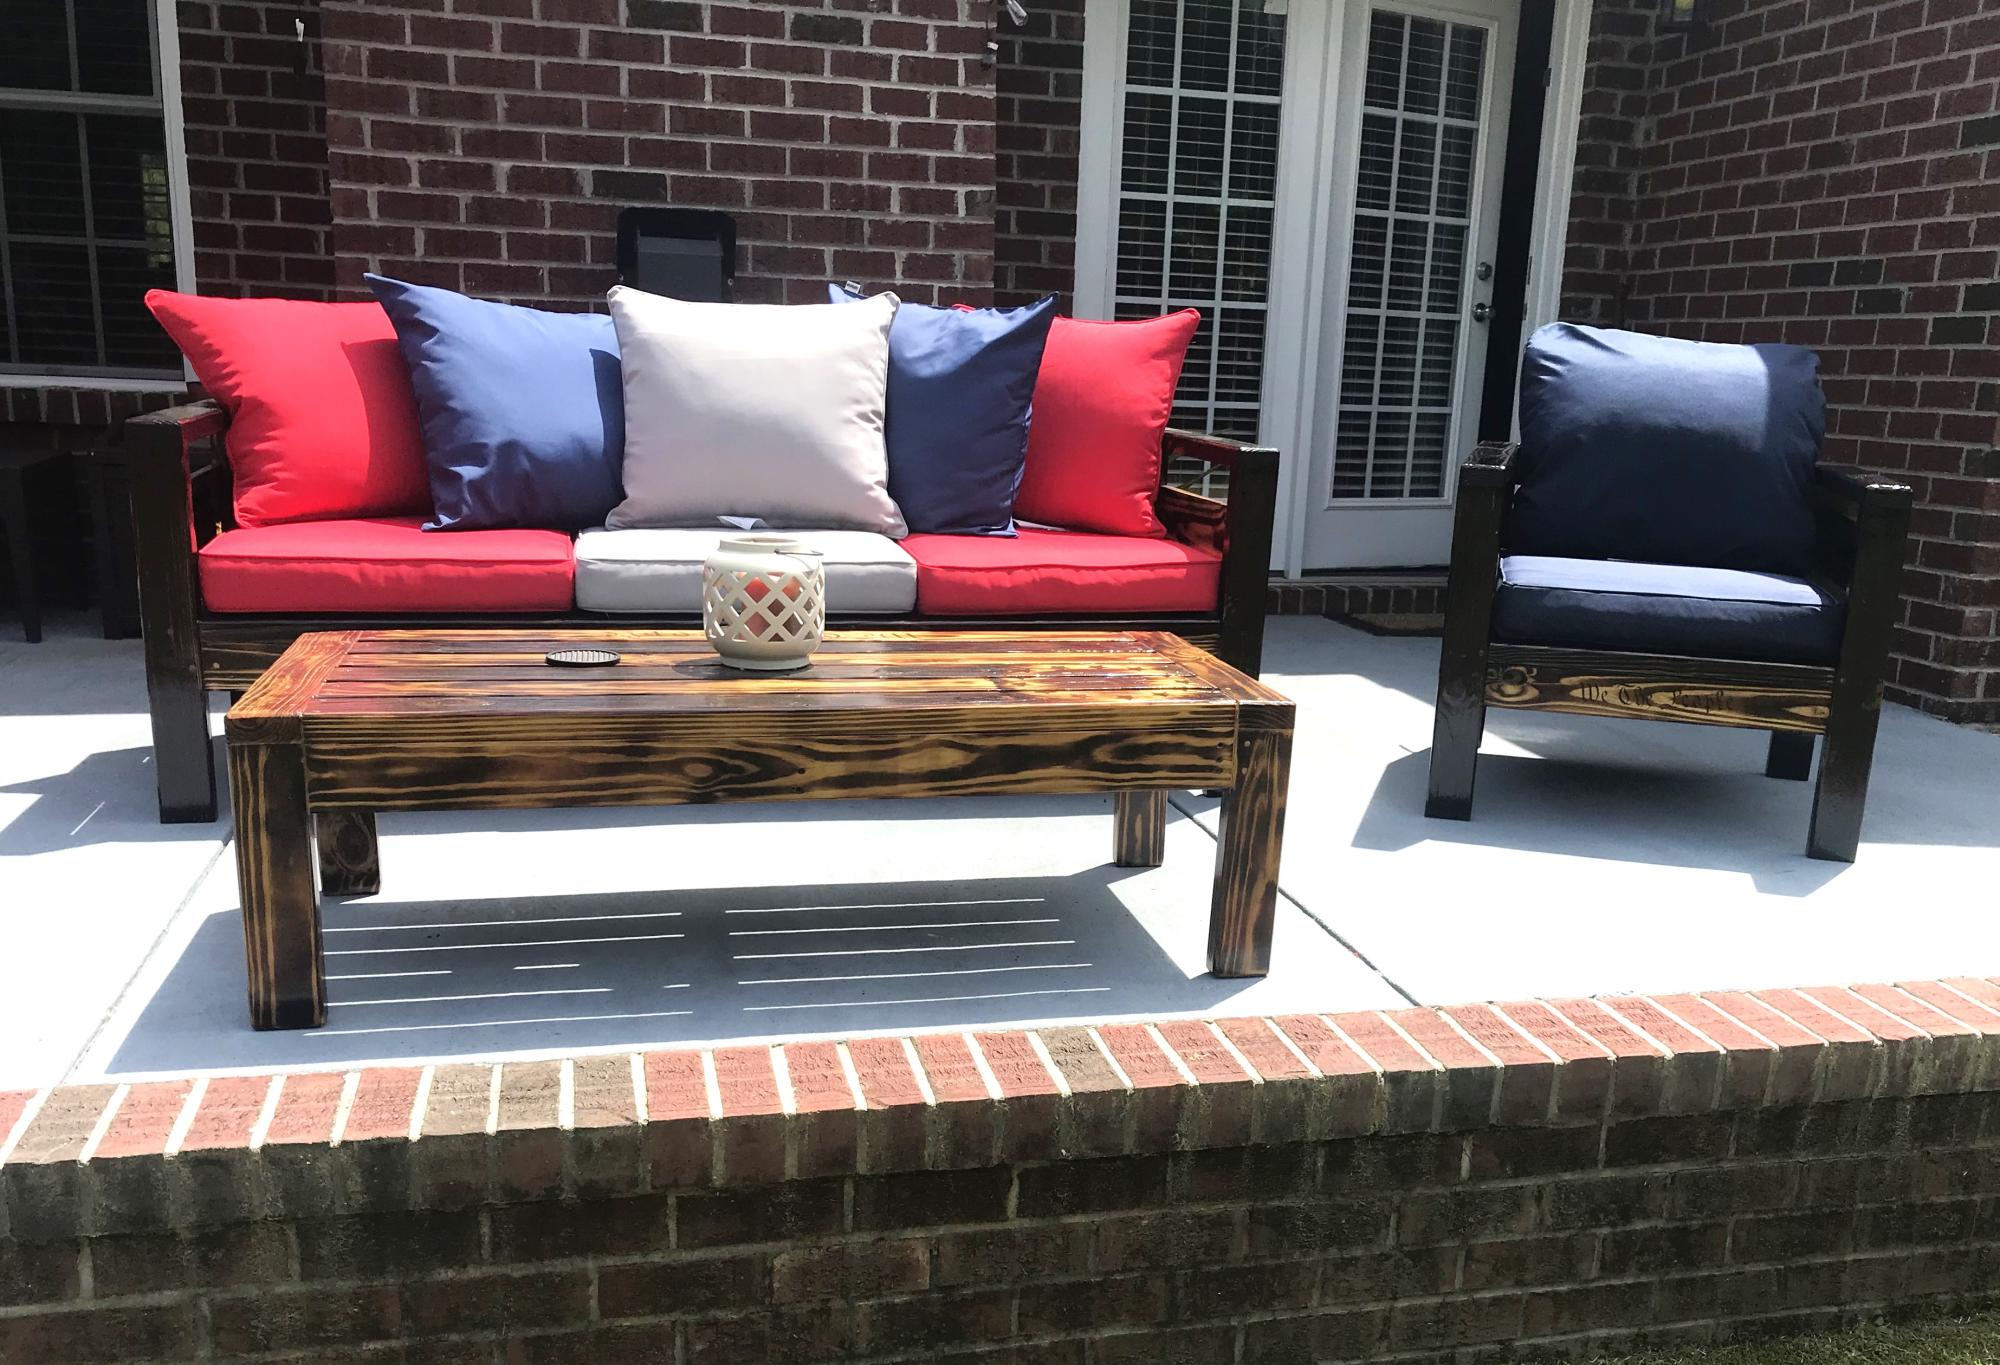
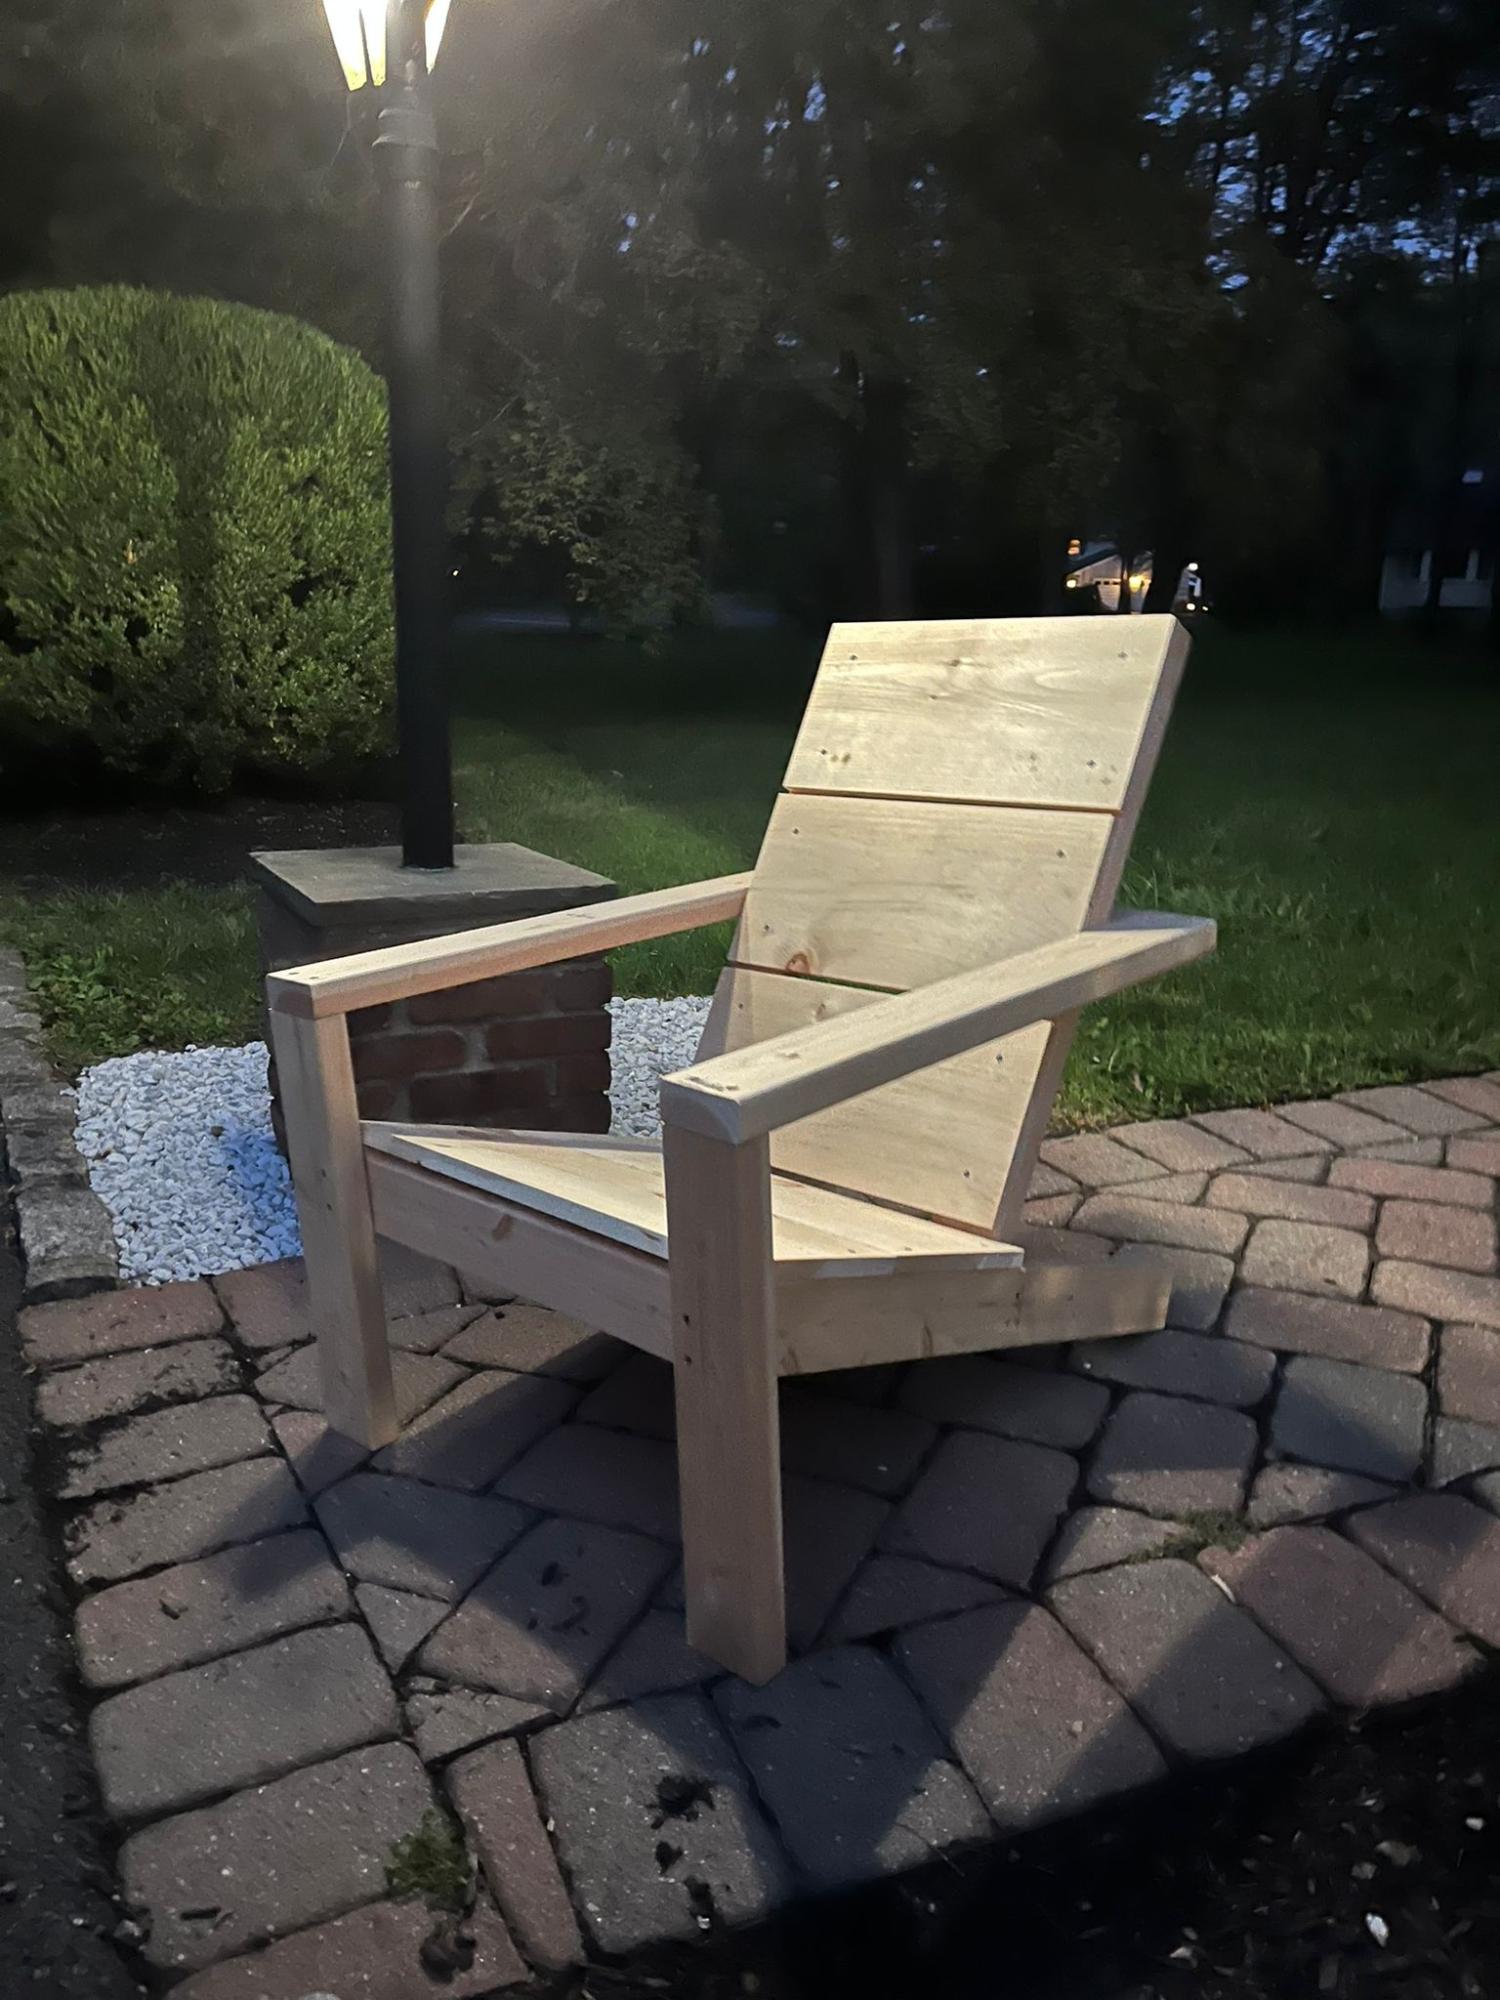
This was my first chair. I made the arms and base with 2x4's. I added a 2x4 apron in the front and back and 1x4 apron to the sides.  My next chair I will try to use the Kreg for the arms, the base will be hidden with aprons, so it doesn't matter. The slates are 1x4 as the instructions provided recommended.  I got the cushion from Lowes for $50

Built from Plan(s)
Estimated Cost
$50 - for pressure treated wood, exterior screws, stain and sealer.
Estimated Time Investment
Afternoon Project (3-6 Hours)
Finish Used
Ipswich Pine- used foam brush
spar urethane - clear satin
Recommended Skill Level
Beginner

Farmhouse bed

Submitted by Anonymous (not verified) on Sat, 09/26/2020 - 22:28

Farmhouse bed for my daughter, Thank you Ana for sharing planes .
I tried to make it exactly as your plane.

Built from Plan(s)
Estimated Cost
250$~
Estimated Time Investment
Week Long Project (20 Hours or More)
Finish Used
Dark paint made here in Israel.
Recommended Skill Level
Intermediate

Comments

Mini Version of Haley Simple Shelf

Submitted by Matty3481 on Sat, 10/04/2014 - 12:38

I made a mini version of the Haley Simple Shelves as my first project from this site.  I had only practiced with the Kreg Jig before making this, and learned that you should not make any project too small, or your Kreg holes won't fit.. Hence I had to face screw the shelf onto the frame.  Nevertheless this was fun to make, I love the color (Peacock by Behr) and best of all, it gets stuff off the bathroom counter!  

Built from Plan(s)
Estimated Cost
$10 for paint sample and one 1x4 pine board.
Estimated Time Investment
An Hour or Two (0-2 Hours)
Finish Used
Behr paint in Peacock
Recommended Skill Level
Beginner

Comments

Matty3481

Sun, 10/05/2014 - 17:53

Hi!

No.. I did use pocket holes and screws to attach the rear support (1x2) to the arched sides, but couldn't use pocket holes to attach the top to the back, hence face screwing the top on.  Kreg screws are very strong without the pockets too.

Farmhouse Sidetable

Submitted by Anonymous (not verified) on Tue, 01/17/2017 - 21:14

This is the second thing i have ever built and I am SO excited with the result! This has inspired me to take on new ambitious woodworking projects. Love it, thanks for the free plans!

Estimated Cost
about $30
Estimated Time Investment
Day Project (6-9 Hours)
Finish Used
I used satin finish white paint, and Danish Oil for the exposed wood.
Recommended Skill Level
Beginner

Comments

Tuscan Turquoise Farm Table and Rustic Benches

Submitted by LisaM1216 on Wed, 10/08/2014 - 21:32

I had a lot of fun building this table and these benches for our Tuscan-themed kitchen. The weathered turquoise gives the surroundings a pop! Thanks, Ana, for the inspiration and for sharing the plans! The benches were built according to the plan, but I did modify the table without the runner underneath so that side chairs could be pushed in.

Estimated Time Investment
Weekend Project (10-20 Hours)
Finish Used
Tan chalk paint as base, then two more coats of turquoise mix colors. Sanded gently on the edges to get weathered look. Then three coats of polyurethane.
Recommended Skill Level
Intermediate

storage bed toychest conversion

Submitted by hkingman on Fri, 01/20/2017 - 19:24

A few years back, I built a twin version of Ana's Farmhouse Storage Bed for my step-daughter. After she moved out, I converted it to a huge toychest for my three-year-old.

I would have left it as a bed, but with a quality mattress it was so high I was afraid he could get hurt if he fell out.

The conversion is simple. Remove 24 screws, reconfigure, add back the screws in different places. The support blocks become feet for the chest, and the slats become spacers under the top part. 

He loves being able to get his toys out himself, and I love that he can put them away by himself. A big upgrade over plastic storage boxes on high clost shelves!

Once he's a bit older, I'll probably turn it into a bad again. 

Estimated Cost
Zero!
Estimated Time Investment
An Hour or Two (0-2 Hours)
Finish Used
Linen white
Recommended Skill Level
Starter Project

4x4 Truss Beam Table & Benches

Submitted by FSClarke on Wed, 10/07/2020 - 13:14

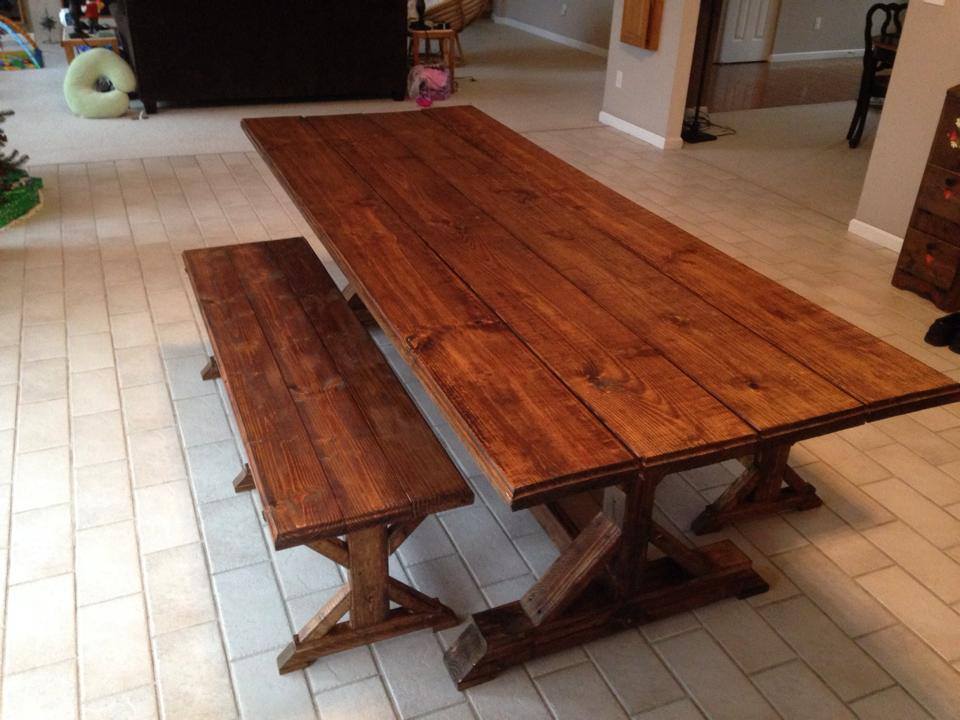
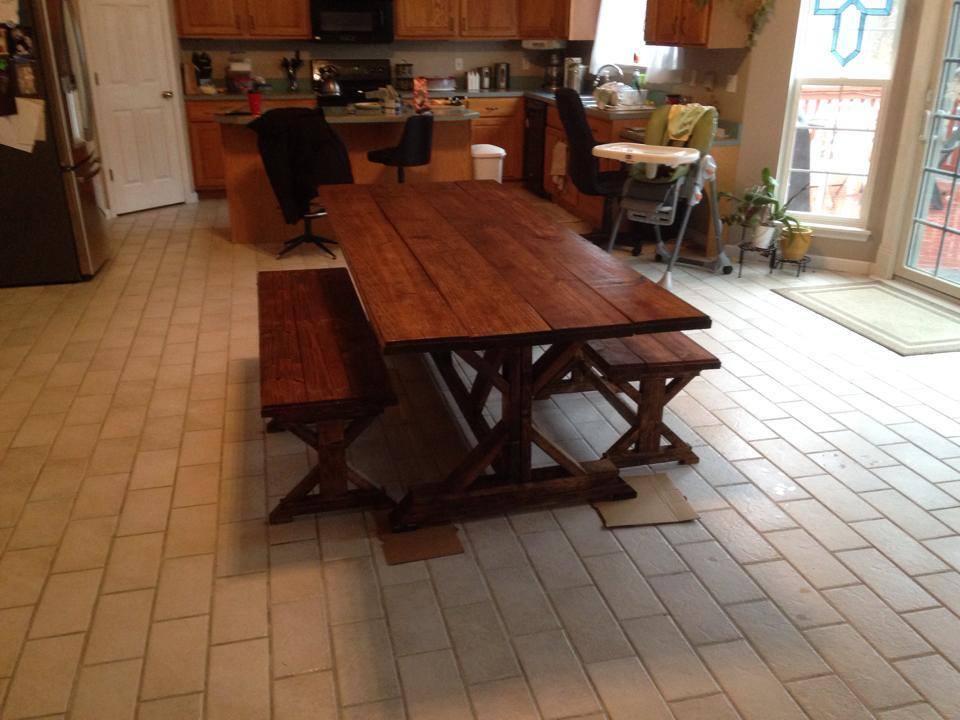
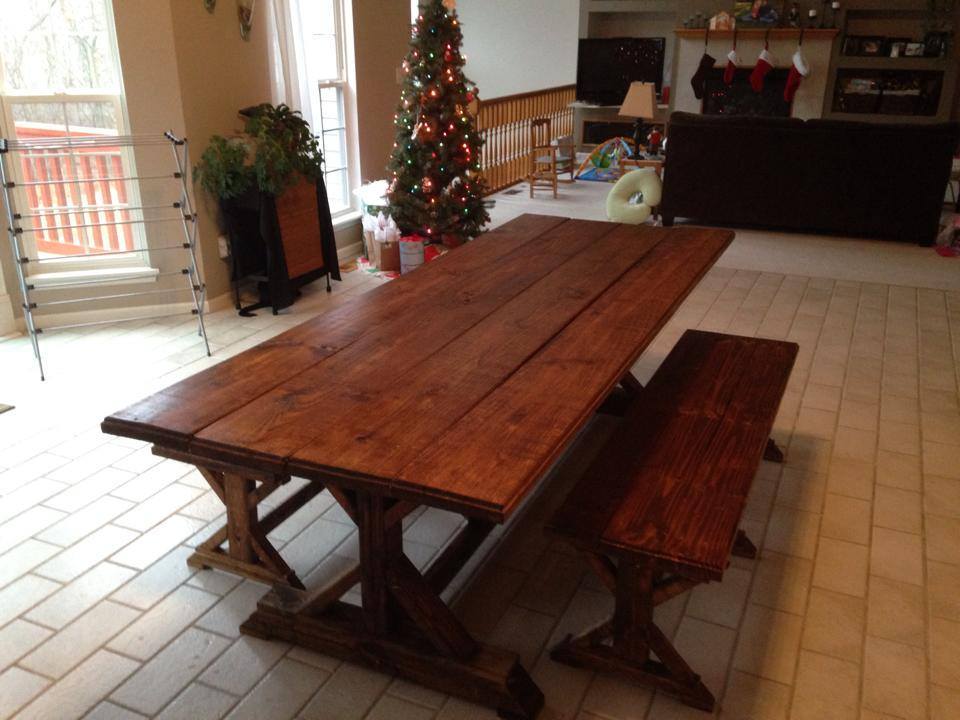
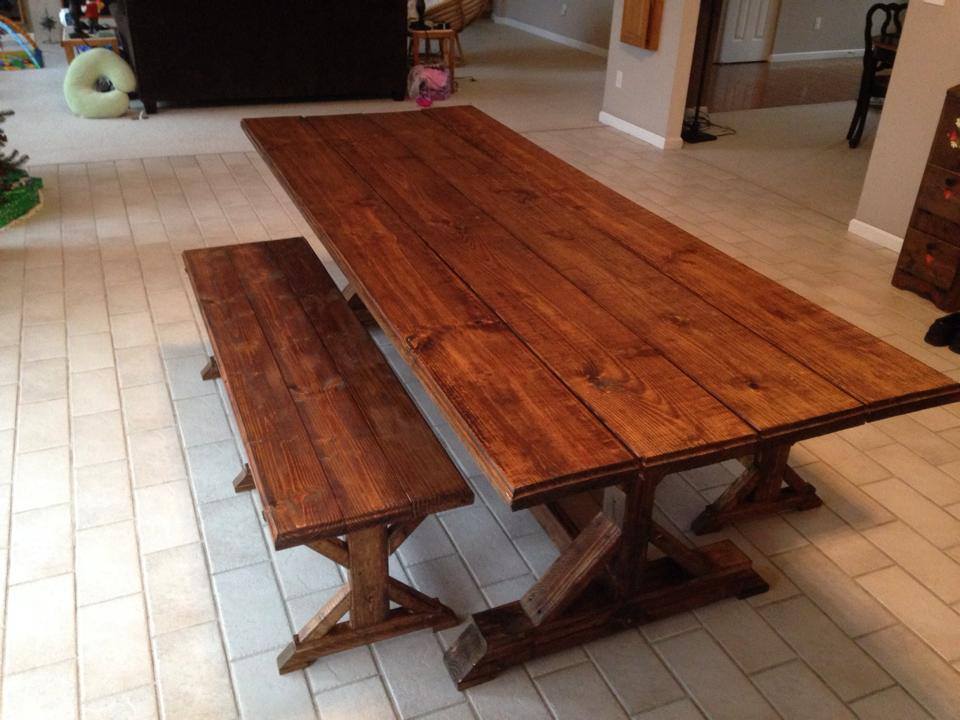
My first woodworking project ever. Used spruce dimensional lumber from the hardware store, some Minwax Red Oak Stain and Minwax Satin Polyurethane to finish.

Awesome learning experience, and looking forward to my next project.

Estimated Cost
400
Estimated Time Investment
Weekend Project (10-20 Hours)
Finish Used
1 Coat of Minwax Red Oak
2 Coats of Minwax Polyurethane Sealant, Satin Finish
Recommended Skill Level
Beginner

Two tone rustic table

Submitted by ChicGeek on Sun, 10/12/2014 - 16:35

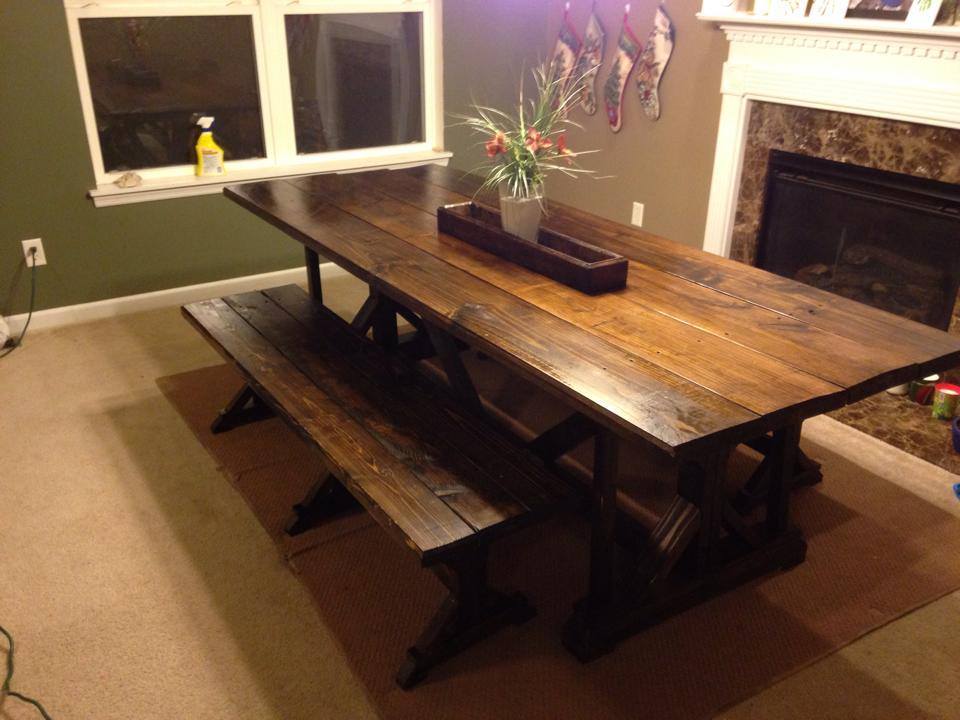
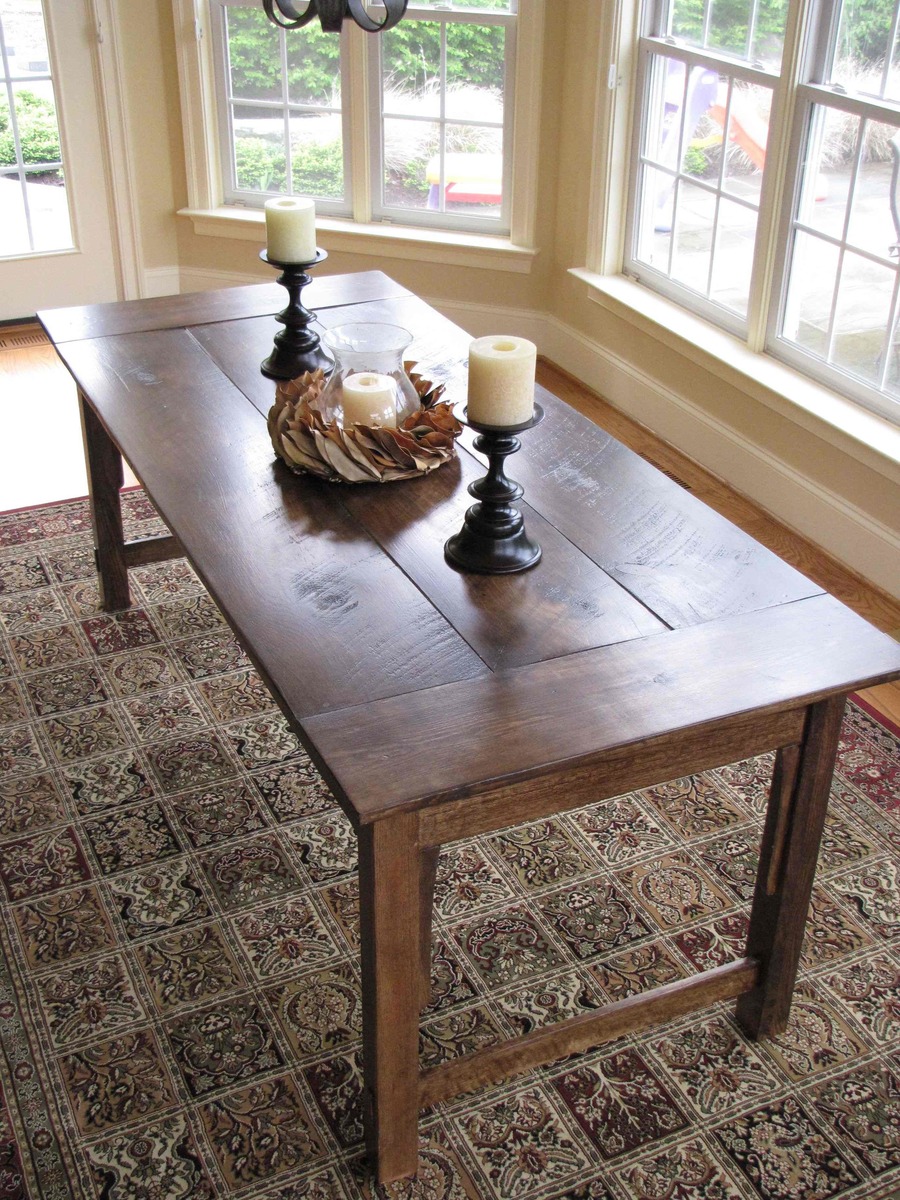
I used three 2x12s for the top and 4x4s for the legs. Everything else pretty much the same.  Final table size 36"x60". Longest/hardest part was sanding and staining

Built from Plan(s)
Estimated Cost
Under $100
Estimated Time Investment
Weekend Project (10-20 Hours)
Finish Used
Legs: Rust-Oleum Heirloom White
Top: Rust-Oleum Stain Kona
Recommended Skill Level
Beginner

Barn Door Console

Submitted by Anonymous (not verified) on Mon, 01/23/2017 - 19:01

made from poplar and pine.  Painted with a coat of black paint then painted with 3 coats of valspar furniture paint in white.  I then sanded all the edges to bring the black thru.  The hardware is made from a metal bar and wheels made with pulleys from home depot.  I even weaved the baskets myself! 


Just kidding about that last part.

Built from Plan(s)
Estimated Cost
275-300
Estimated Time Investment
Day Project (6-9 Hours)
Finish Used
valspar furniture paint
Recommended Skill Level
Beginner

Comments

Christmas Tree Shelf

Submitted by klesosky on Sun, 10/11/2020 - 17:28

I am new to woodworking and saw your plans for this Christmas tree shelf and I had to try it! I made a few with ash and maple wood, but then I came across some barn wood and loved how much it resembled natural tree bark. I decided that it would look even better with snow accents. I thought you would enjoy seeing a twist on the original plans.

Built from Plan(s)
Estimated Time Investment
An Hour or Two (0-2 Hours)
Finish Used
Barn wood is natural. Snow accents are done with white chalk paint. White tree is primed and painted with chalk paint and sprayed with a clear sealer.
Recommended Skill Level
Intermediate

Comments