Community Brag Posts

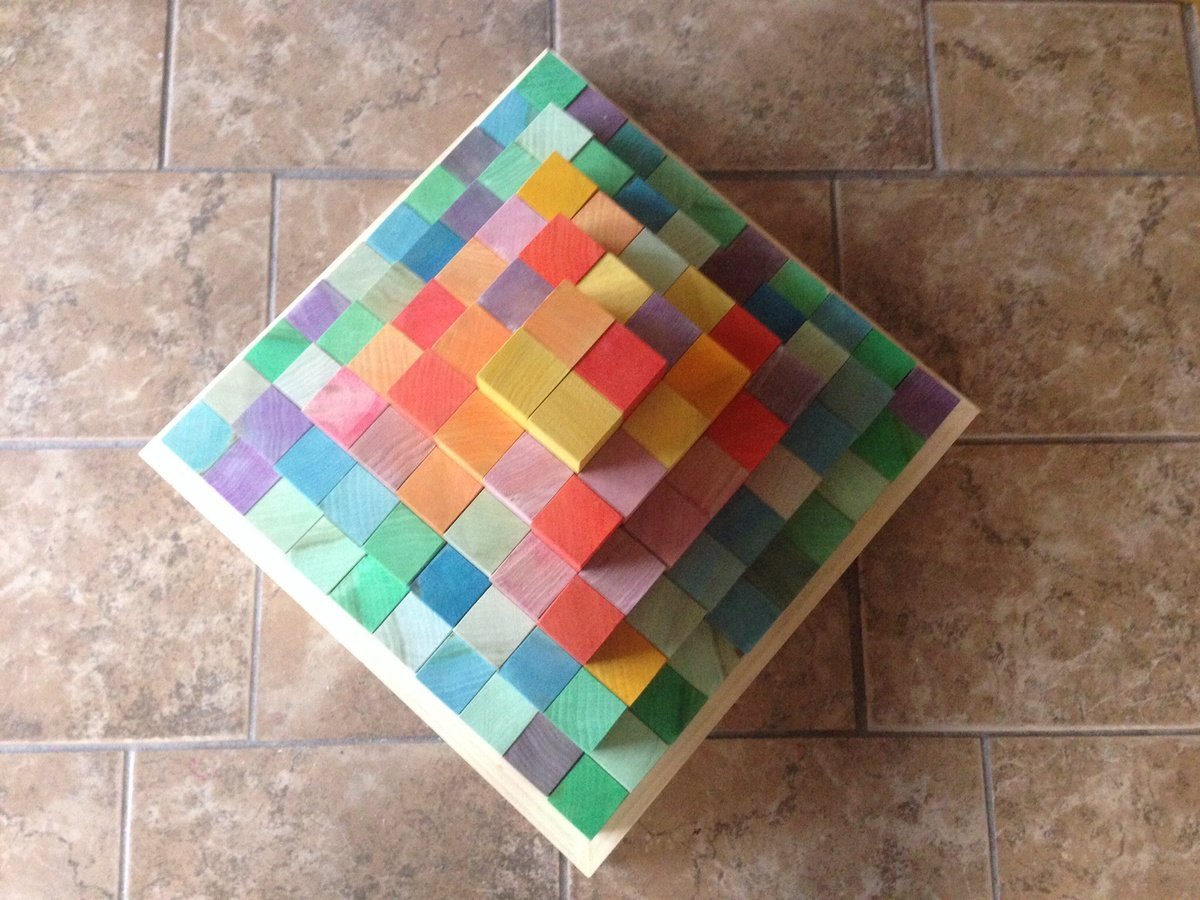
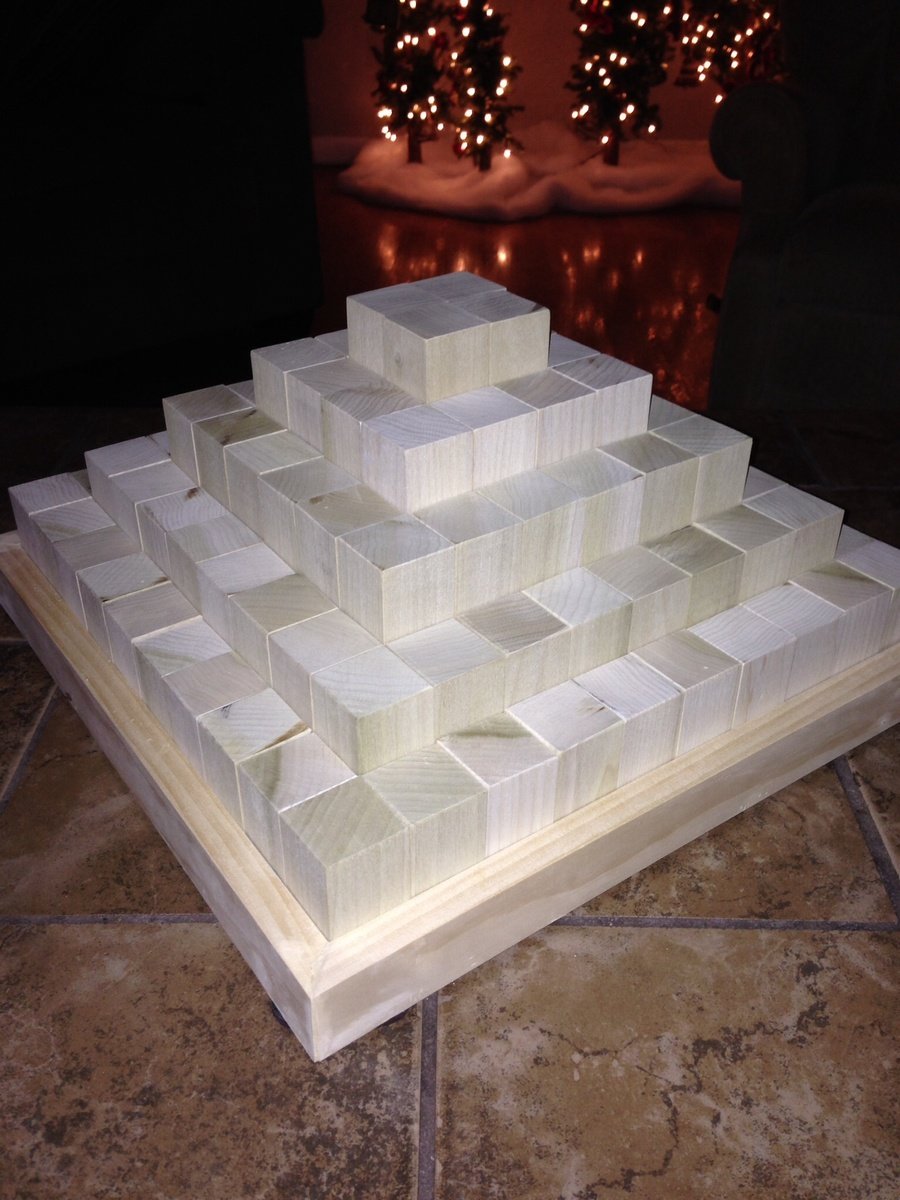
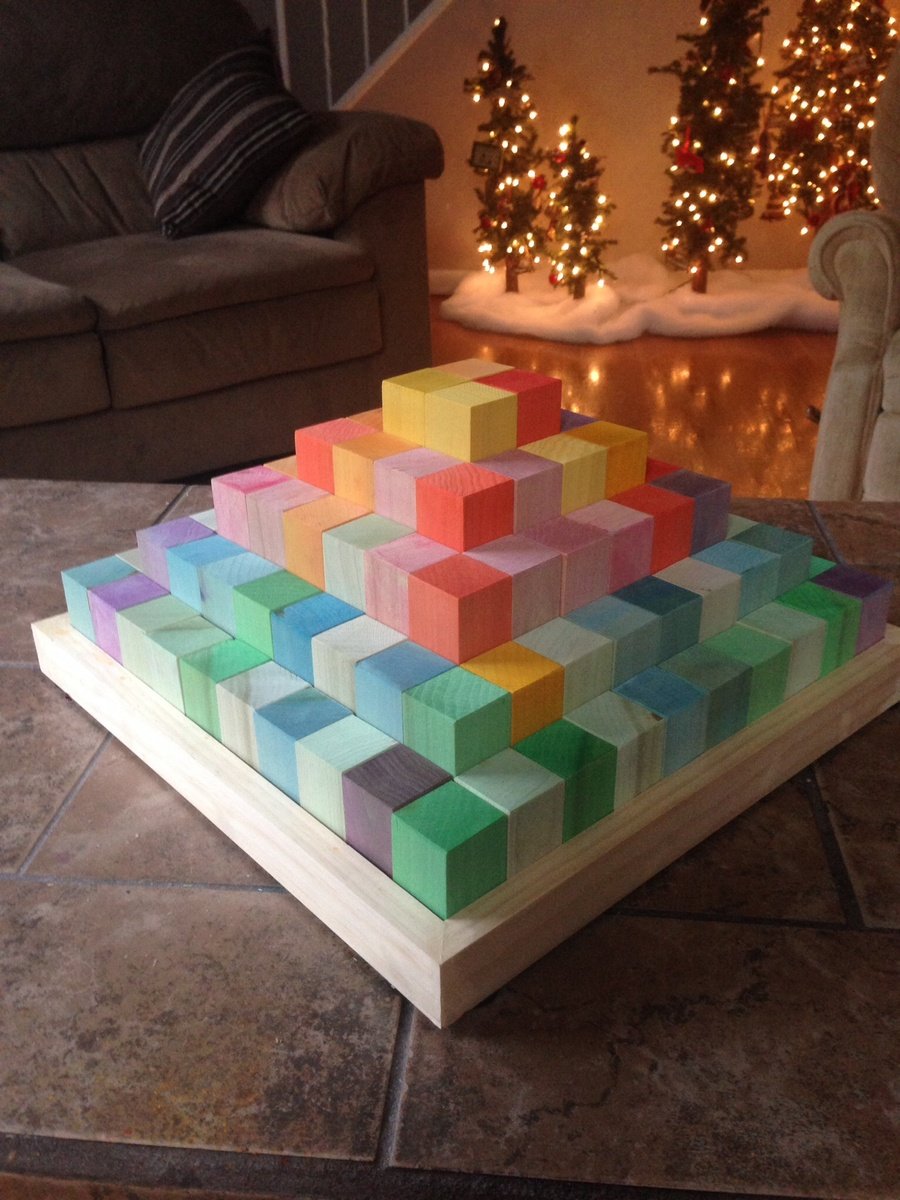
Wood block pyramid

Submitted by Lsh108 on Sat, 12/21/2013 - 06:35

What a great little gift idea and made this in about 4 hours. HD had 2x2 poplar turning blocks that were perfectly straight and pretty smooth to start with. Required minimal sanding. Each board was $1.98 but was 32 inches long. So you have to buy 15. Start with the larger cuts first. The end of each board will produce one or two of the smaller cuts. Used the food coloring and also coconut oil on the blocks.
Great project, had fun doing it.

Estimated Cost
$32
Estimated Time Investment
Afternoon Project (3-6 Hours)
Finish Used
Food coloring and coconut oil
Recommended Skill Level
Starter Project

Comments

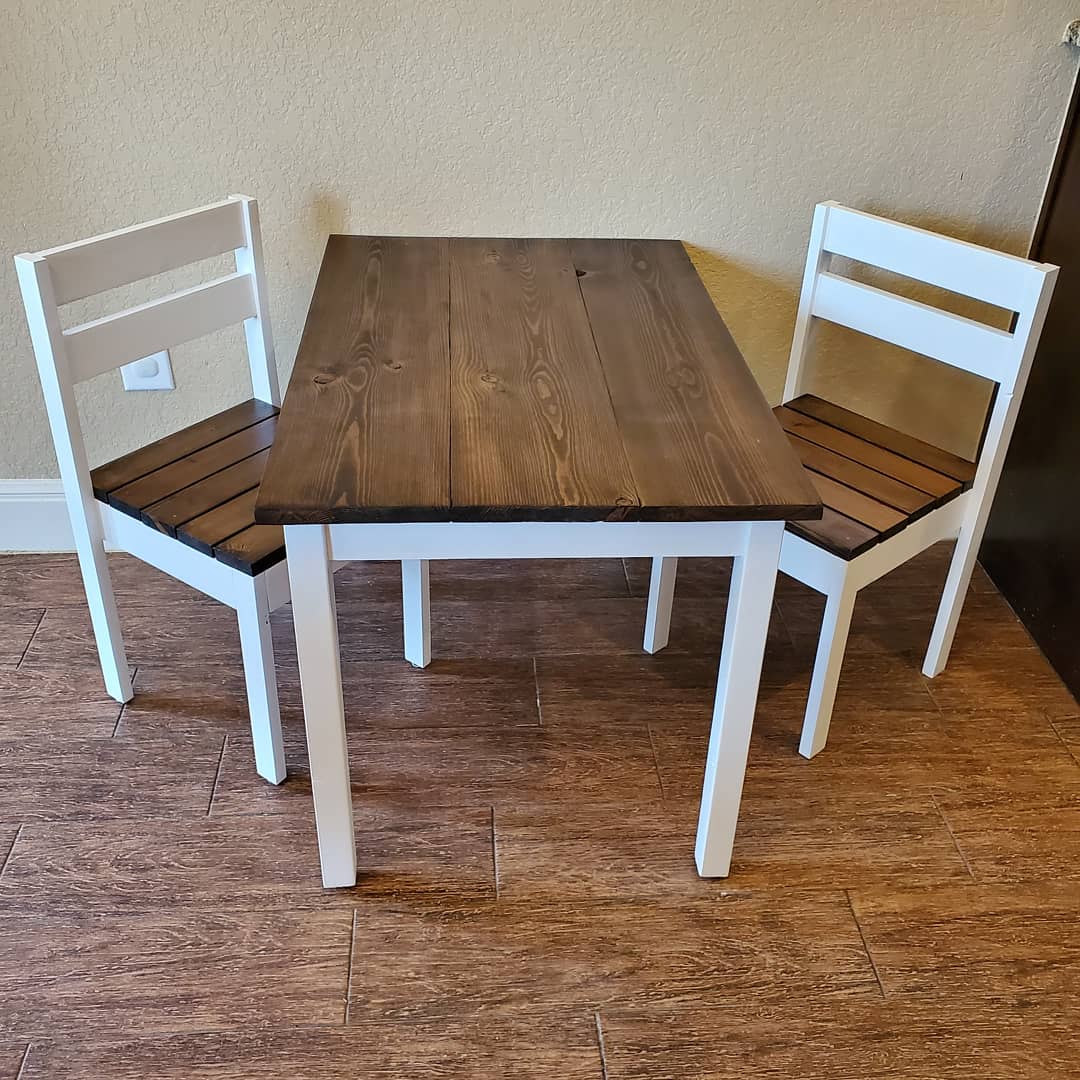
Clara Table

Submitted by WolffA on Fri, 10/11/2019 - 07:51

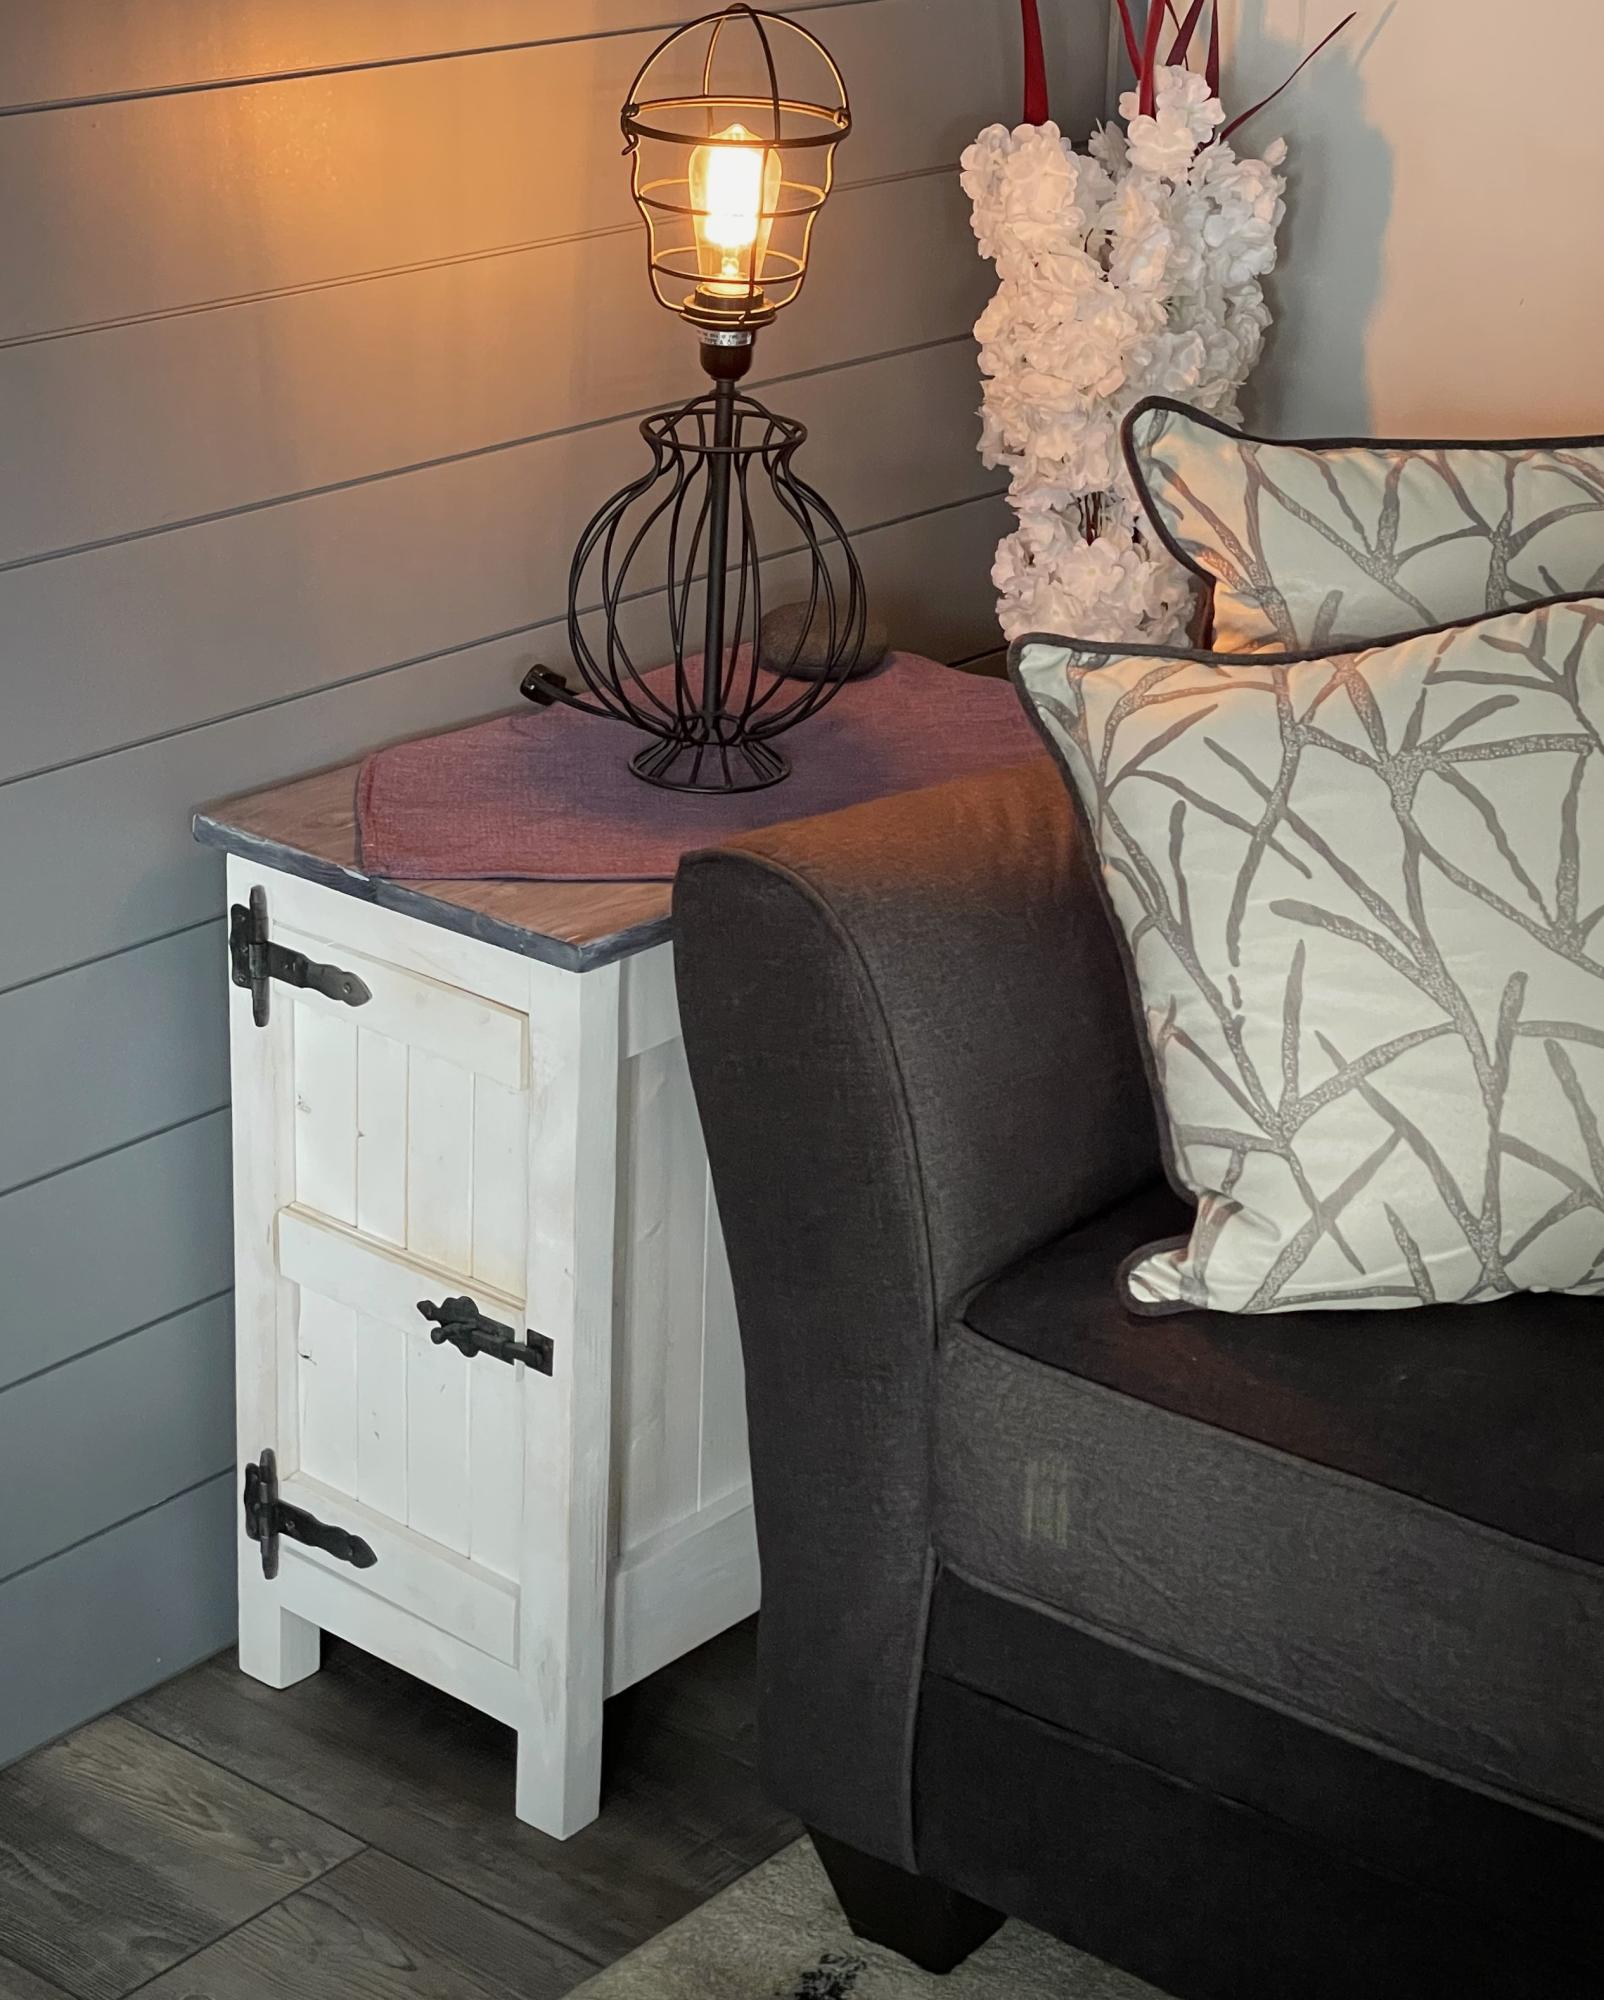
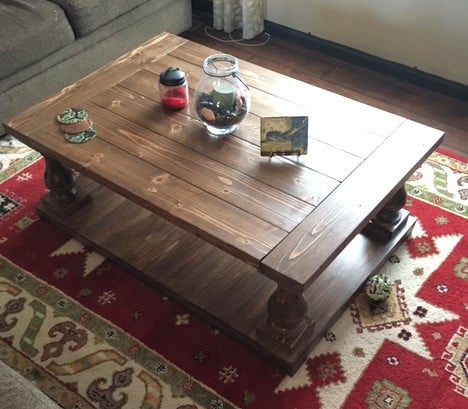
I stained the top with Dark Walnut stain and used perfect white paint. 

Built from Plan(s)
Estimated Cost
50
Estimated Time Investment
Day Project (6-9 Hours)
Finish Used
Dark Walnut Stain. Ultra White Paint
Recommended Skill Level
Starter Project

Comments

x bench

Submitted by sidman on Tue, 02/14/2012 - 02:41

I loved this bench when I saw the plan and had to try it. Thanks Ana!

Estimated Cost
20.00
Estimated Time Investment
Afternoon Project (3-6 Hours)
Finish Used
Red oak stain on top and painted the botton black.
Recommended Skill Level
Starter Project

Comments

Fire Pit Benches

Submitted by tsmonson on Mon, 12/23/2013 - 21:24

This was an easy plan to follow! We built these for around our fire pit. The finishes is what took the longest. The tops are stained American Walnut.

Built from Plan(s)
Estimated Time Investment
Day Project (6-9 Hours)
Recommended Skill Level
Beginner

Comments

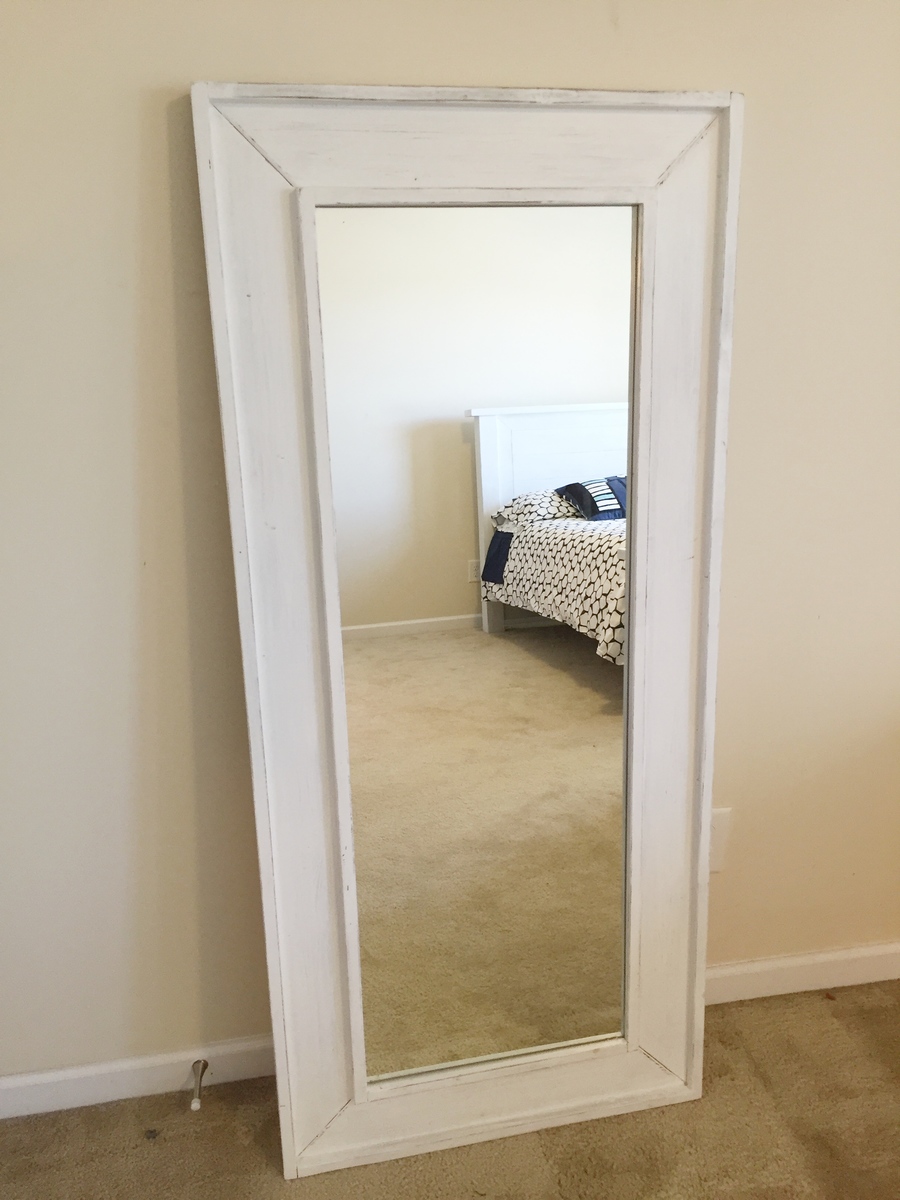
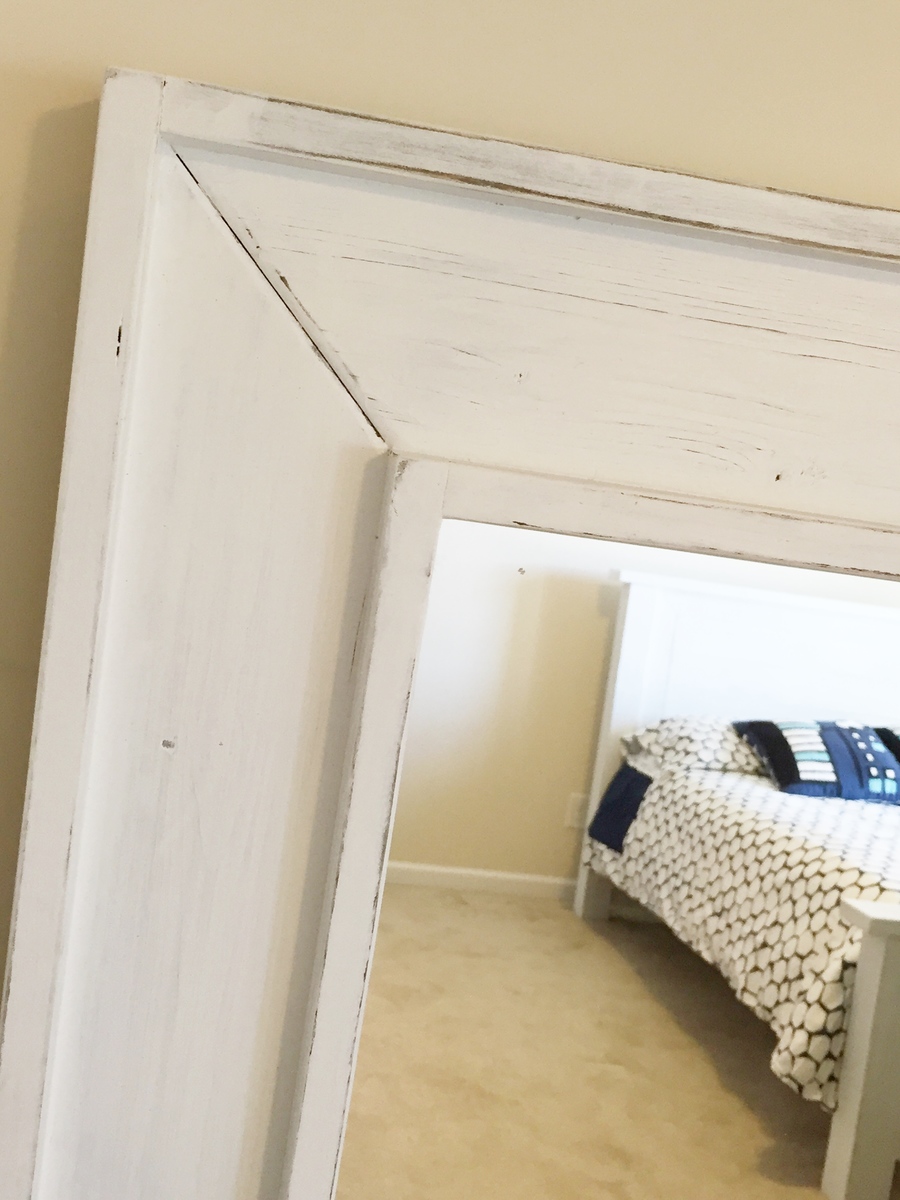
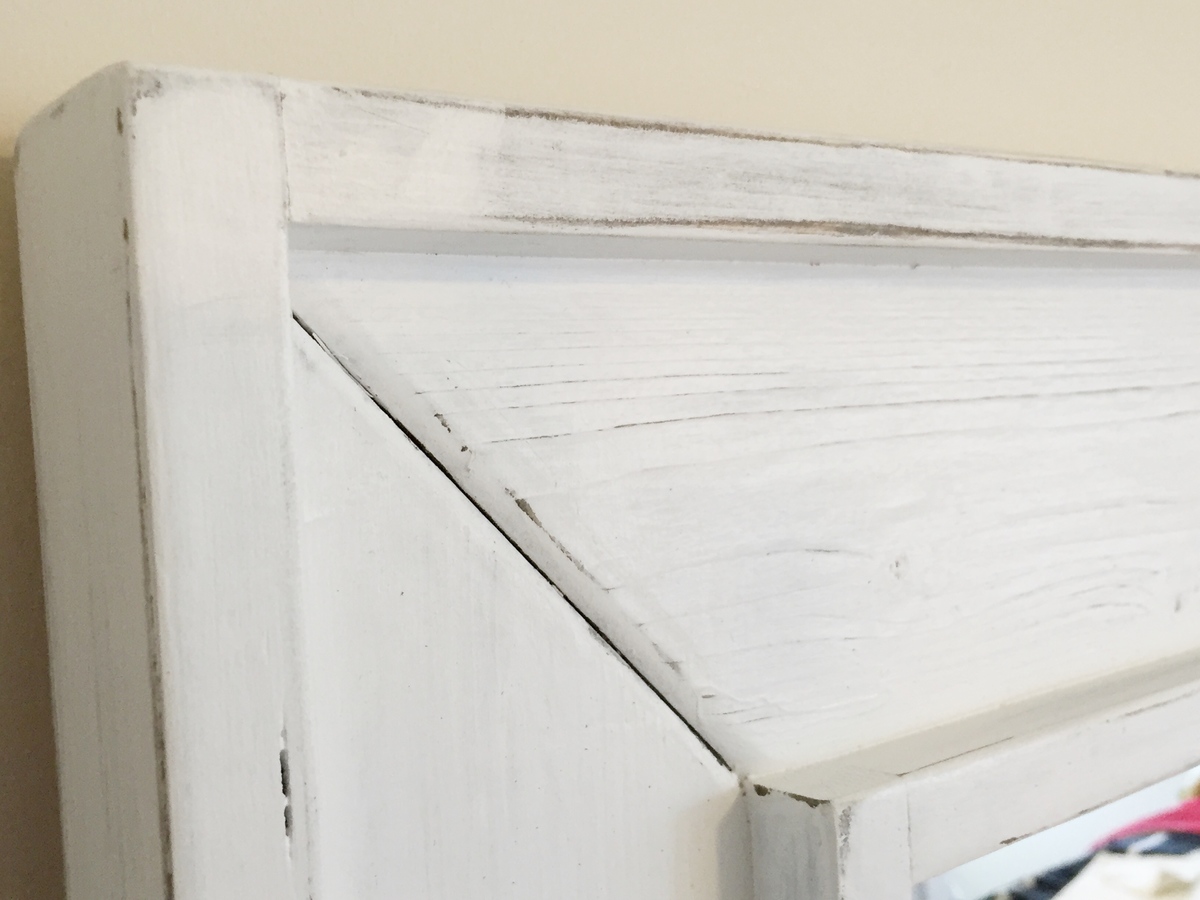
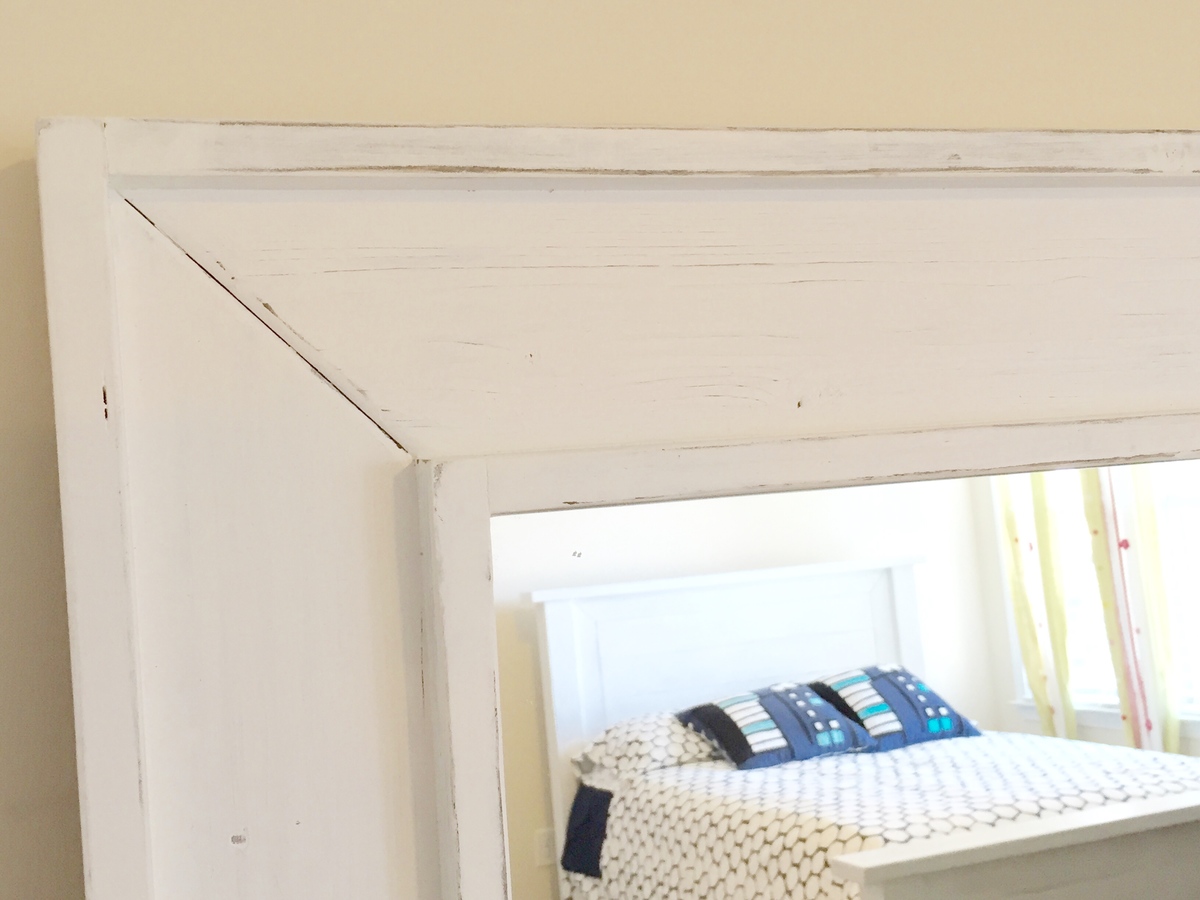
Full Length Mirror

Submitted by AndyH on Fri, 03/04/2016 - 18:03

A $10 Mirror framed out with some 1 by 2, 1 by 3 and 1 by 4.

Stained black and then 2 coats of white paint sanding after each to give a rustic/antique look.

Estimated Cost
$35
Estimated Time Investment
Day Project (6-9 Hours)
Finish Used
Stained in black and then two coats of white paint sanded between coats to give antique finish.
Recommended Skill Level
Beginner

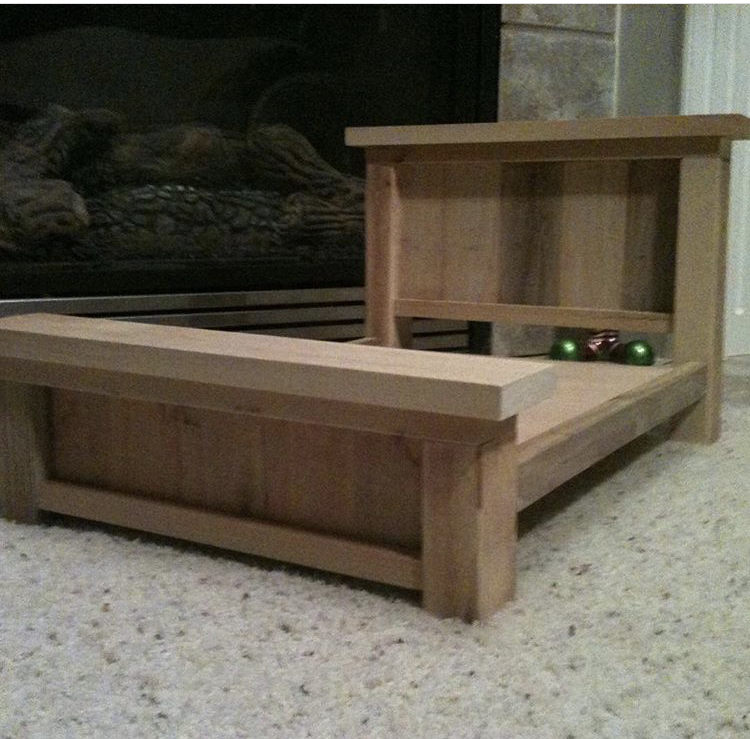
American Girl Doll Bed

Submitted by Anonymous (not verified) on Sun, 10/13/2019 - 13:08

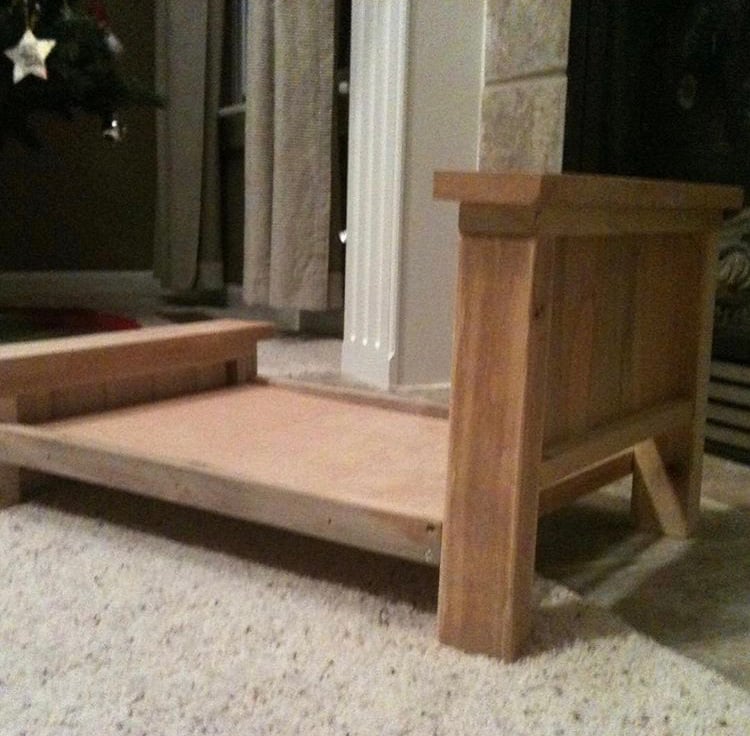
My daughter wanted a bed for her dolls. American Girl Doll Bed beds are outrageous, soI decided to make one out of some scrap wood we had laying around. I modified it a bit and added a trundle bed below.

Estimated Cost
0
Estimated Time Investment
Afternoon Project (3-6 Hours)
Finish Used
Stained
Recommended Skill Level
Intermediate

Cedar Garden Bed

I made this garden bed in one evening. I love it! I bought 6 6' cedar fence pickets and two cedar 1x2s. I don't have a table saw, and they wouldn't rip a fence picket for me at the store, so I had to buy the cedar 1x2's but the project was still very affordable. I wanted it a little wider than the original plan, so I just cut the 6' pickets in half for the sides.
It is 6' x 3' and I didn't bother to cut the dogears off. You probably wouldn't even be able to tell they are there. I didn't trim the top out because that would add on about $6, and I like it just the way it is.
Now, lets see if I can actually grow some plants in it!!
I'm a beginner, and this project was really easy.

Estimated Cost
$20
Estimated Time Investment
Afternoon Project (3-6 Hours)
Recommended Skill Level
Starter Project

Comments

Lisa P (not verified)

Tue, 04/03/2012 - 08:08

This is exactly how I was going to modify Ana's plans as well. Have you started growing anything yet? Looks great!

Tara Kirkland

Tue, 04/17/2012 - 20:55

Yes, I've started "trying" to grow a few things. I don't usually have much luck, but maybe.... just MAYBE this will be the year!! :)

Lindyer0523 (not verified)

Mon, 04/23/2012 - 07:13

What would you have used for the top trim?

Distressed Fancy X Farmhouse Table

Submitted by Anonymous (not verified) on Mon, 03/07/2016 - 04:50

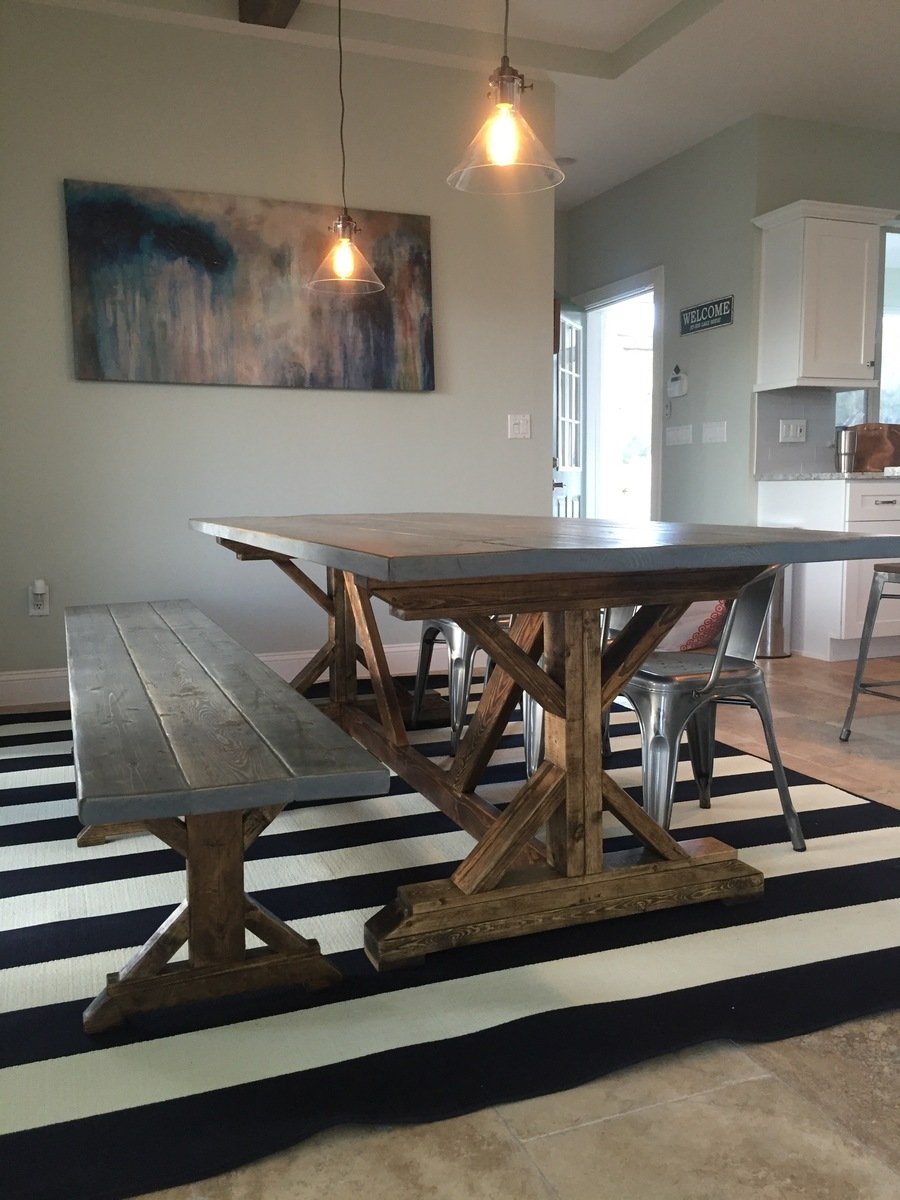
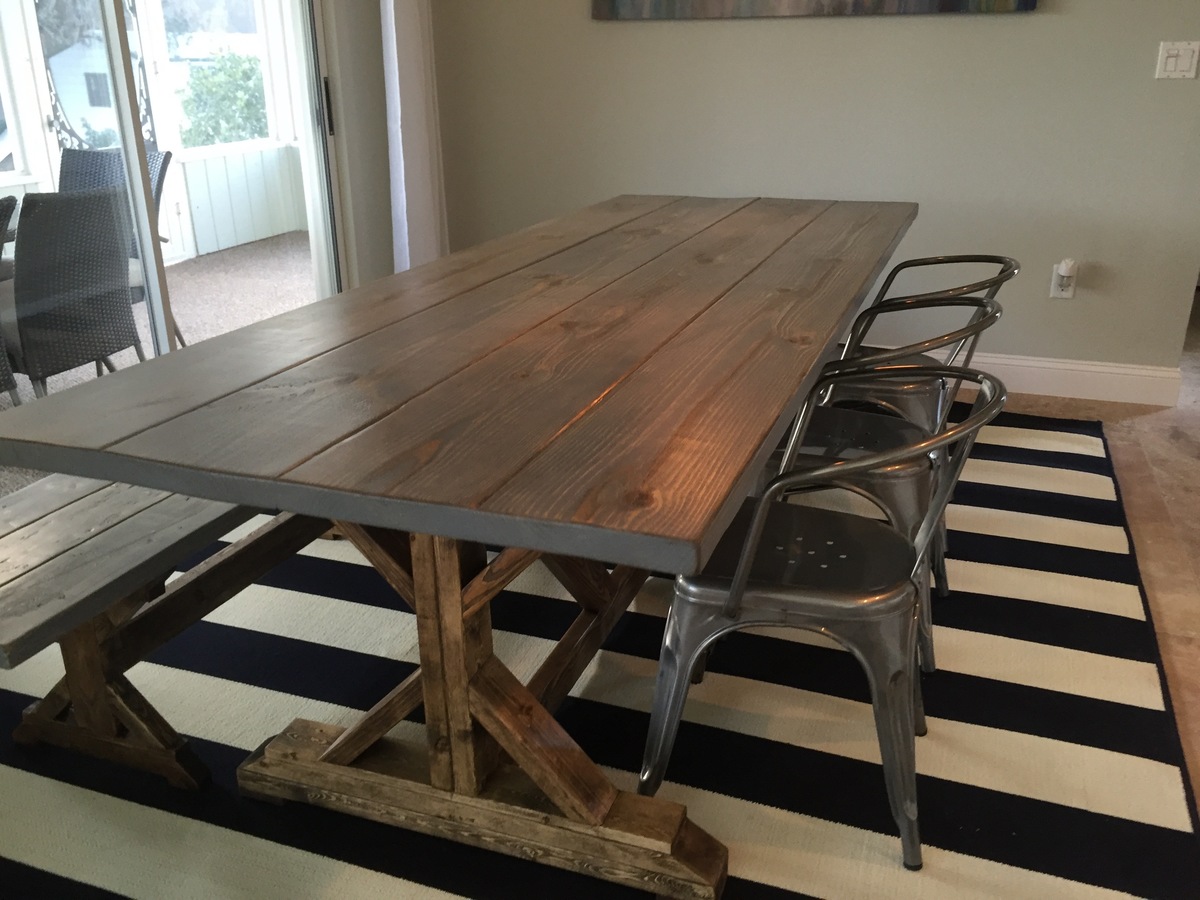
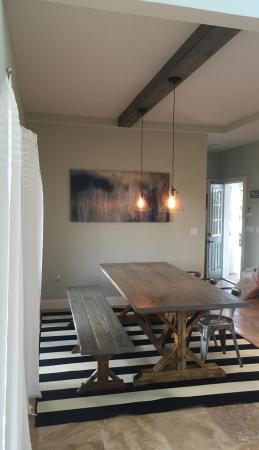
We used the Fancy X Farmhouse plans and matching bench to create a wonderful new farmhouse table and bench for the lake house. We distressed the tops of the bench and table and stained them Weathered Grey with the base of the table and bench stained Ash.  We absolutely love it!

Estimated Cost
Less than $200 for both pieces
Estimated Time Investment
Weekend Project (10-20 Hours)
Finish Used
We used a stain called weathered grey on the top and sanded some of the stain away in areas that would be typically used a lot and in the areas that showed bare wood we added the Ash stain and rubbed it in and lightly sanded the whole tops before applying final polyurethane coats. The bases were stained Ash.
Recommended Skill Level
Advanced

Comments

Geo Thermal Anna White Greenhouse w/ Aquaponics system coming!

Submitted by Anonymous (not verified) on Fri, 10/18/2019 - 20:08

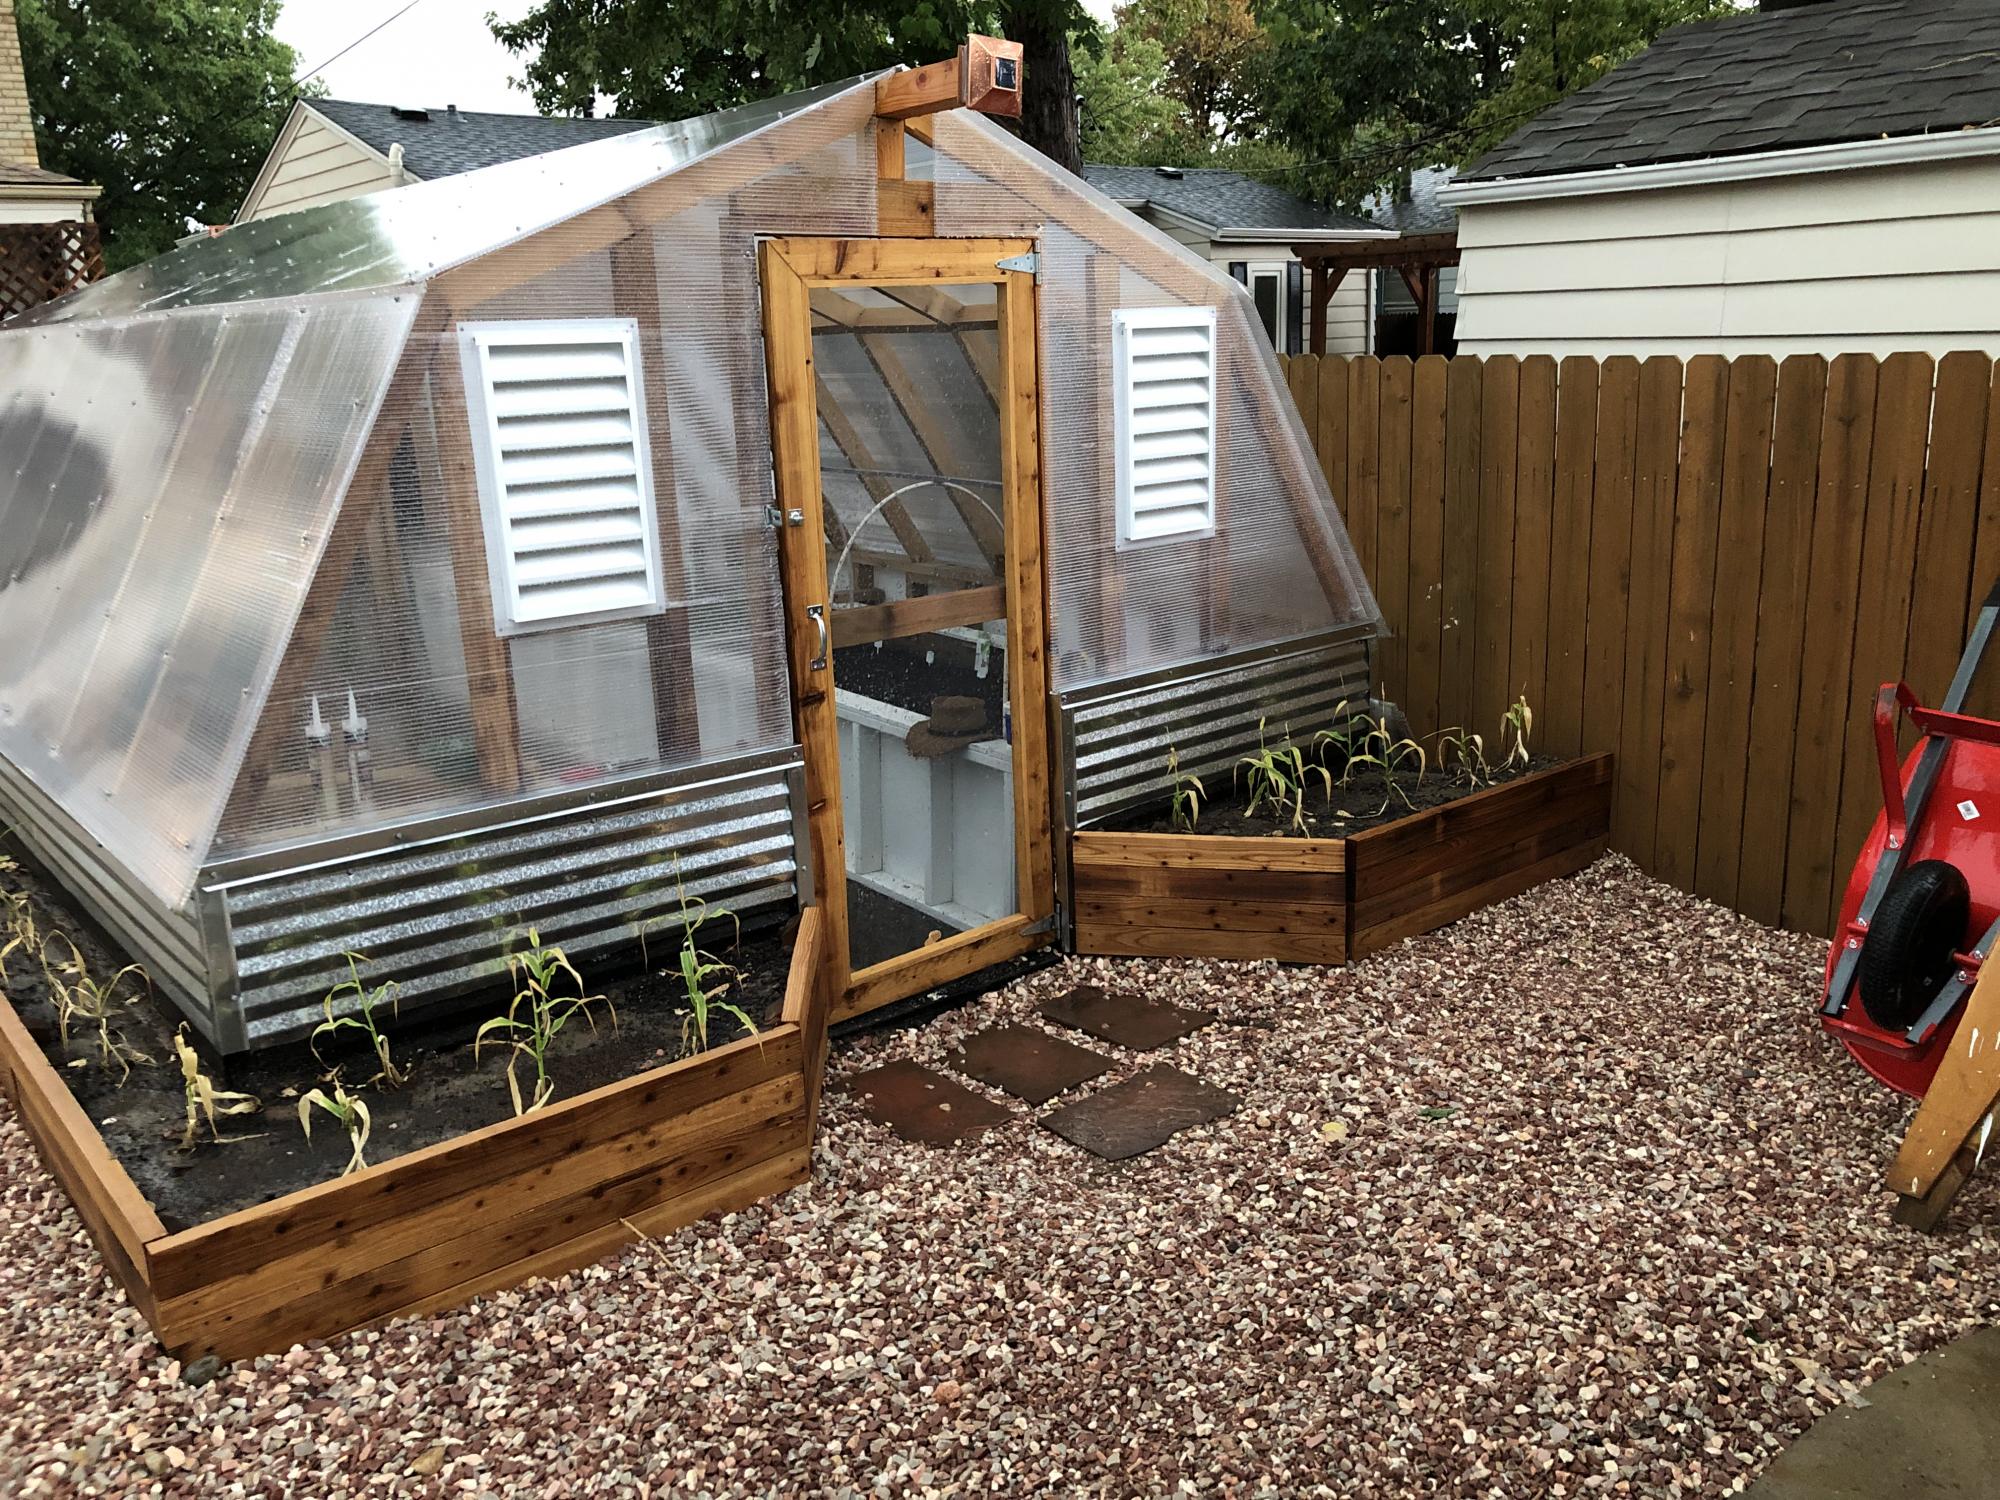
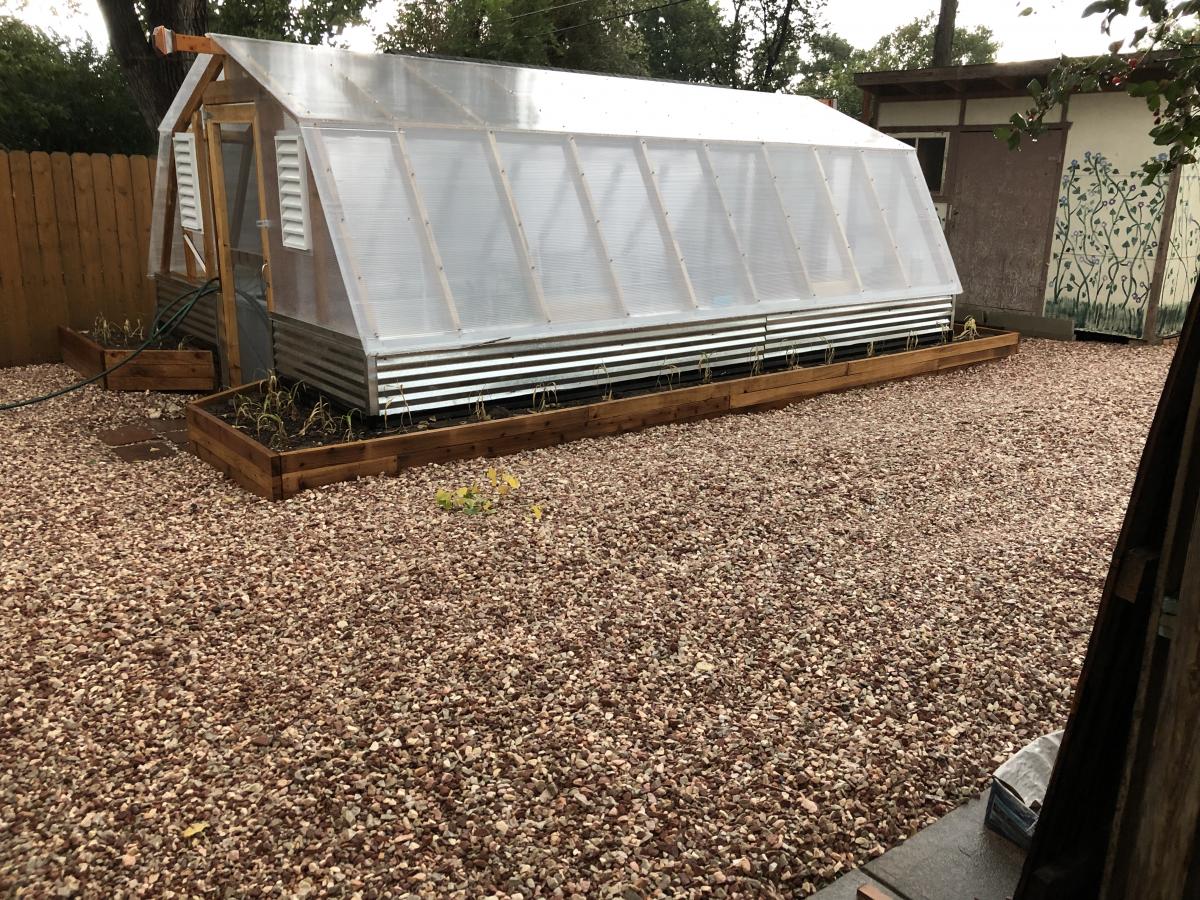
My Annawhite design with geothermal improvements. It will also have a 1000 gallon Aquaponics system inside!

Built from Plan(s)
Estimated Cost
$7000.00!
Estimated Time Investment
Week Long Project (20 Hours or More)
Finish Used
This thing has taking me all summer to build! :-) Cry
Recommended Skill Level
Intermediate

Mimi's Hall Tree

Submitted by Erik on Fri, 02/24/2012 - 06:33

This is my first ever build (so be gentle). My fiance has always wanted a Hall Tree and her birthday was comming up so I posted a request for a Hall Tree and that afternoon there was a post from Ana with Mimi's Hall Tree, so I figured that was a sign I HAD TO BUILD IT! So I took the lists went to the local Home Depot and bought all the wood, plus a Jig Saw, Kreg Jig, Sliding Compound Miter Saw, Circular Saw, Clamps.... a few weeks later just in time for her birthday this is what I had. I have to admit its flawed but we love it!

I can't thank Ana and company for turning me on to my new hobby and I am looking forward to my next build!

PS I will be putting the hooks on tonight, I will post more photos when the hooks are on and there is stuff on the Hall Tree

Estimated Time Investment
Weekend Project (10-20 Hours)
Recommended Skill Level
Beginner

Comments

Guest (not verified)

Fri, 02/24/2012 - 06:38

The stain is minwax mahogany.

Guest (not verified)

Fri, 02/24/2012 - 09:18

I BET YOUR FIANCE LOVED IT...GOOD JOB KEEP BUILDING!

Cottage style bookcase

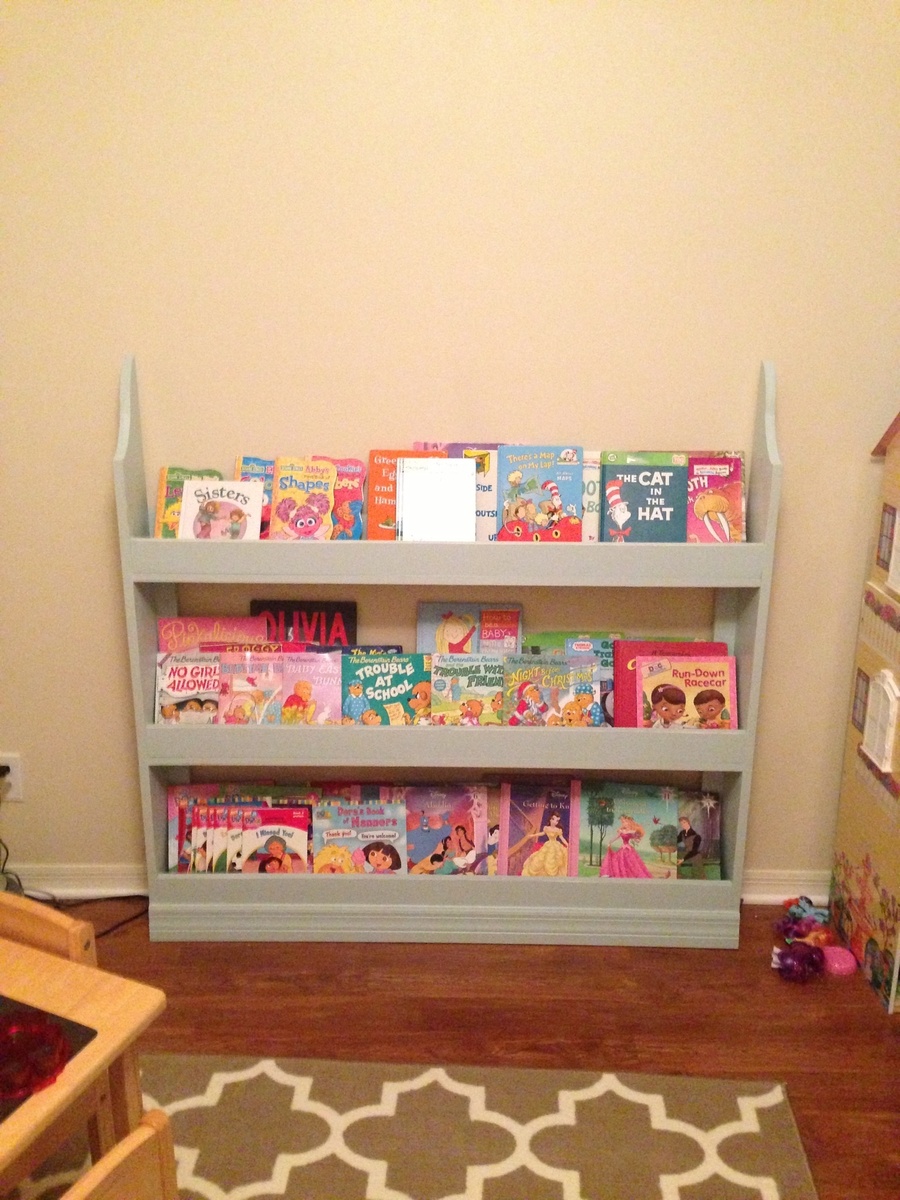
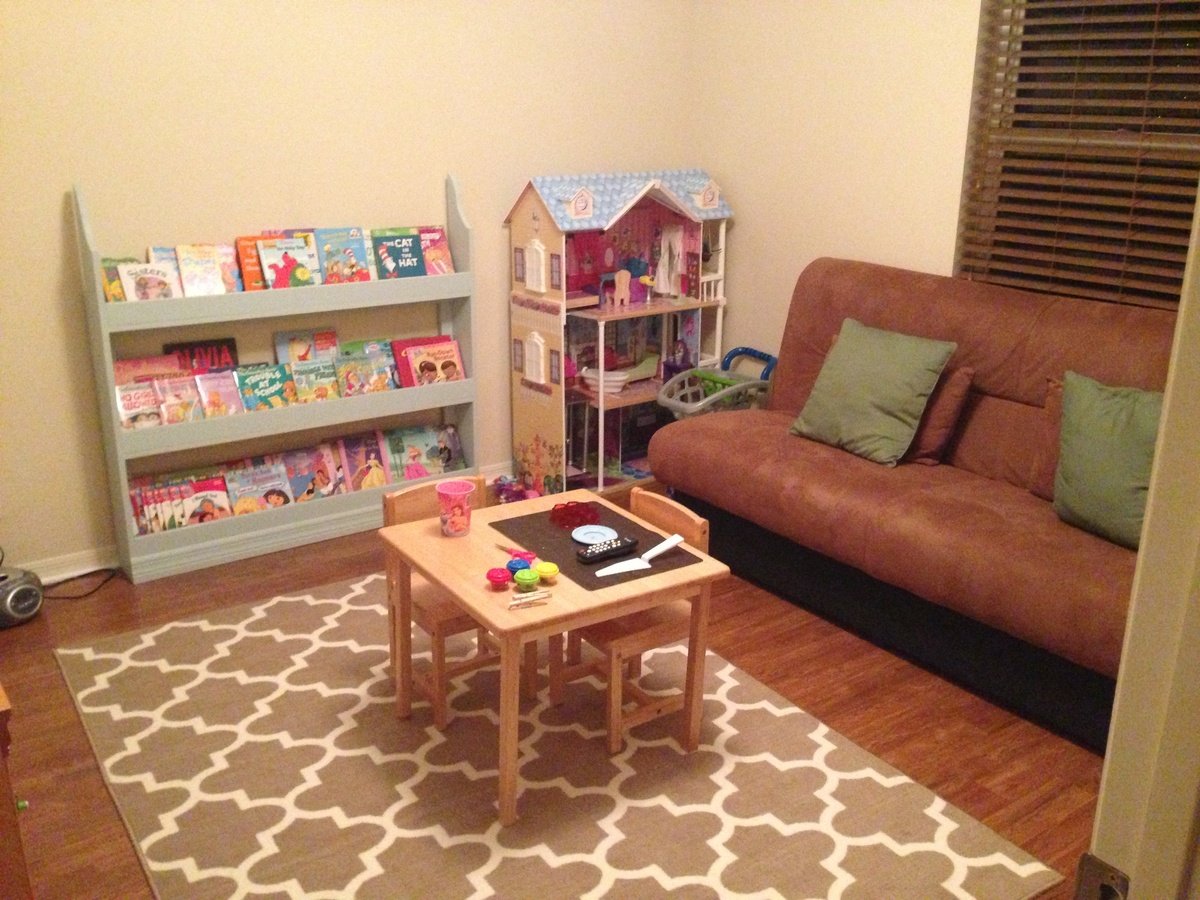
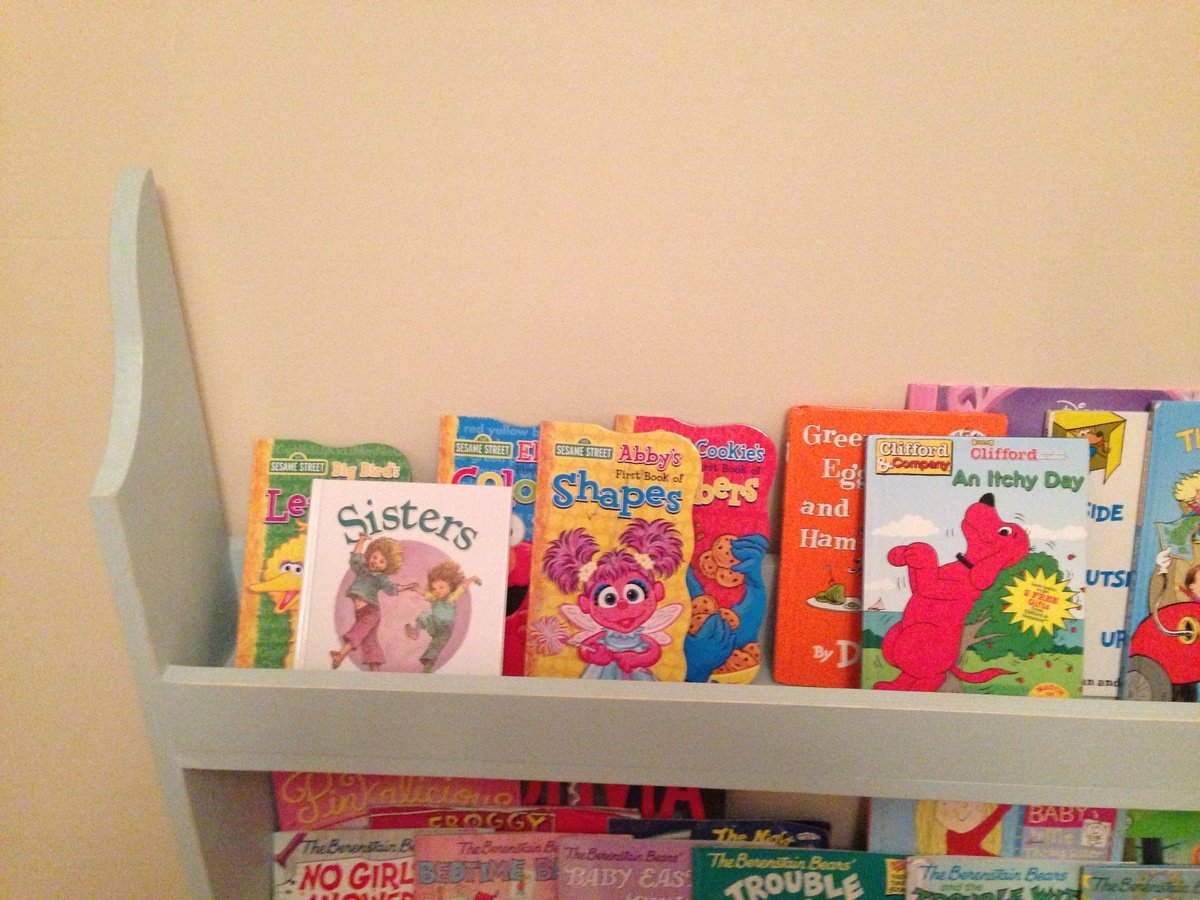
I modified the original plans by making the book case low and wide so my 5 year old could reach all of her books. I also added some 1x3's to the back of each shelf to keep the books from falling off the back and everything square. I have quarter round moulding on my baseboards, so it doesn't sit flush against the wall.

Built from Plan(s)
Estimated Cost
$45
Estimated Time Investment
Day Project (6-9 Hours)
Finish Used
Olympic interior satin Scandinavian Sky
Recommended Skill Level
Beginner

Easy and Fun!

We saw this table here on Ana-White and loved it so much that we decided to take a shot at it. We have done smaller projects with wood before but nothing like this. In all honesty, it was super easy and fun!

Built from Plan(s)
Estimated Cost
$180-200
Estimated Time Investment
Weekend Project (10-20 Hours)
Finish Used
One layer of Special Walnut and two layers of MinMax's polycrylic with a light sanding in between coats.
Recommended Skill Level
Beginner

Rustic Planked Wood Sideboard

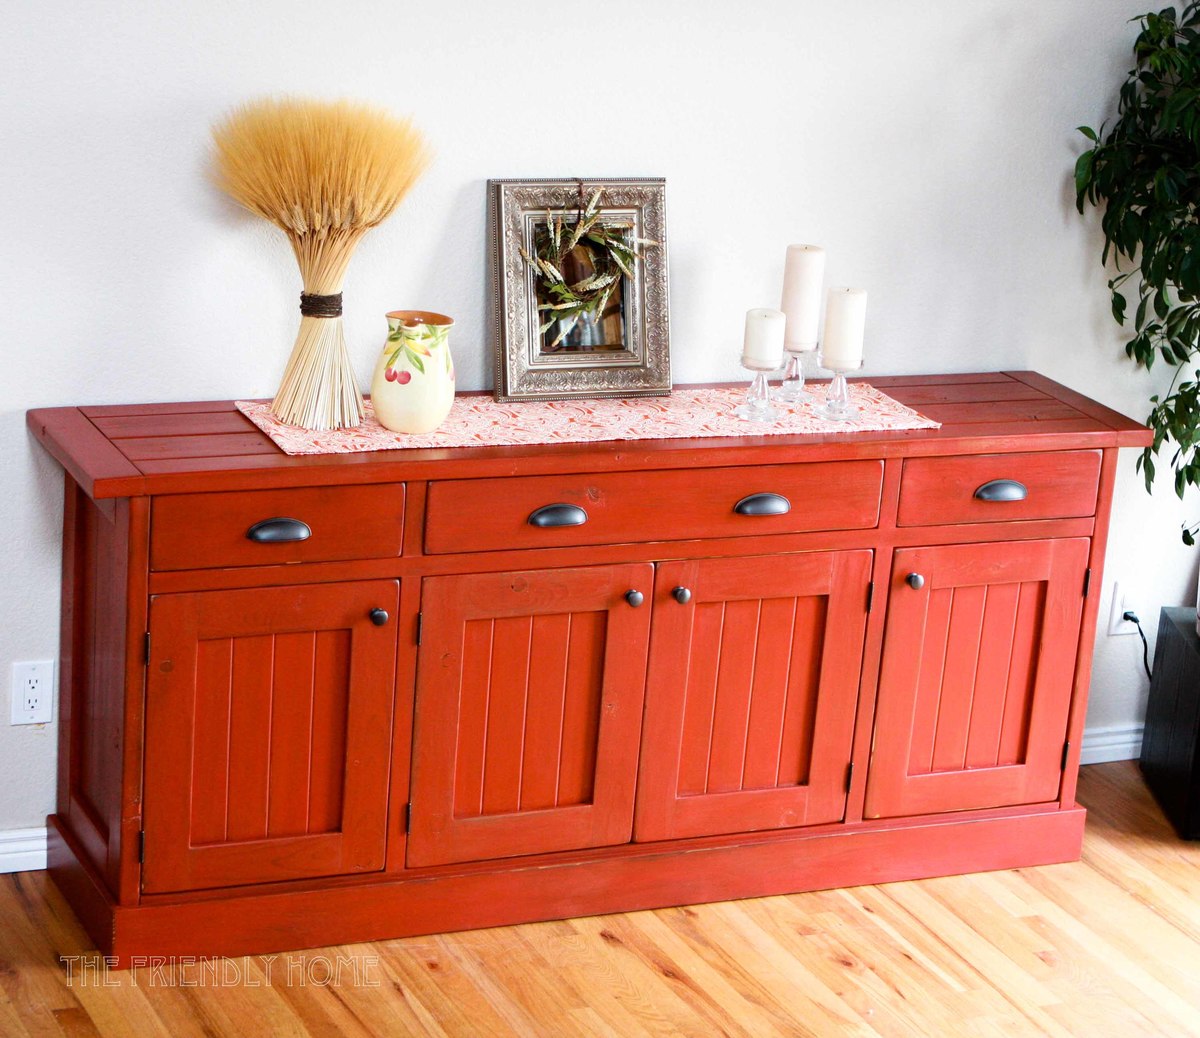
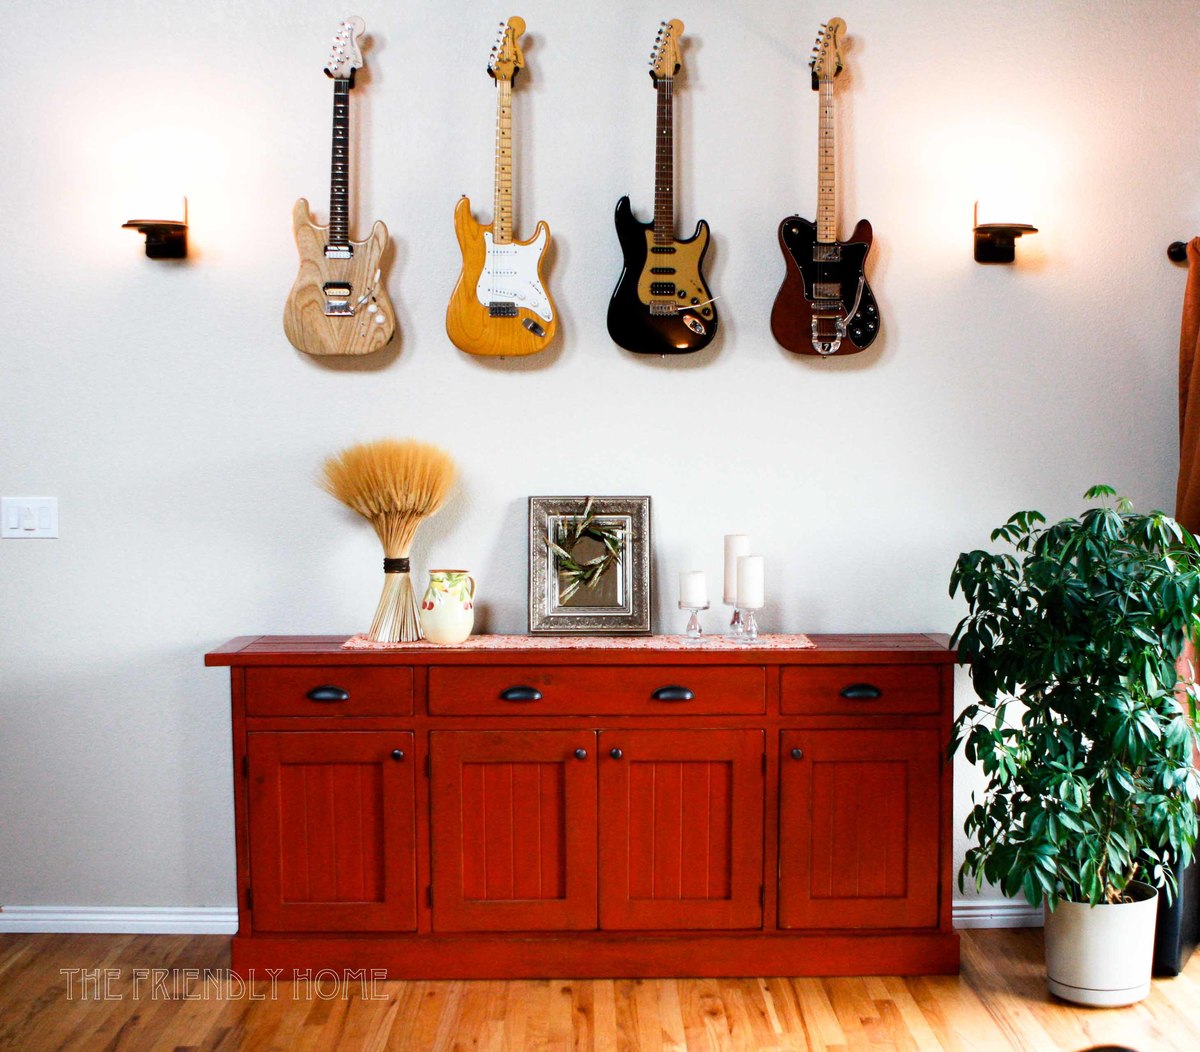
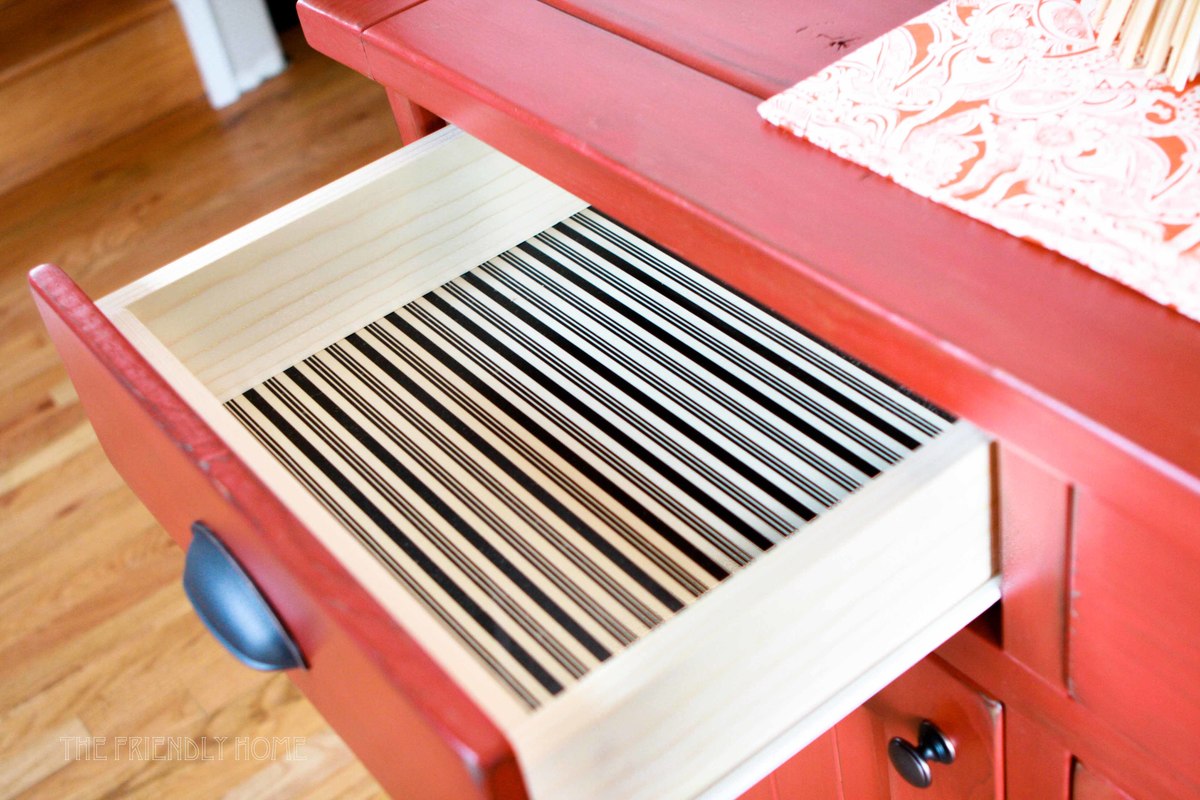
Check out my blog post for more on building this giant, hardworking piece! It took me about 45 hours to build it from start to finish (I work slowly) and cost about $400 in materials.

Estimated Cost
$400
Estimated Time Investment
Week Long Project (20 Hours or More)
Finish Used
General Finishes water-based stain, milk paint, glaze, and Staples Crystal Clear bowling alley wax. More details on my blog post.
Recommended Skill Level
Intermediate

Comments

Icepickman

Mon, 02/02/2015 - 07:21

hey, great build, i'm going to attempt a similar project. i could not get to your blog post?

Kids Play Kitchen

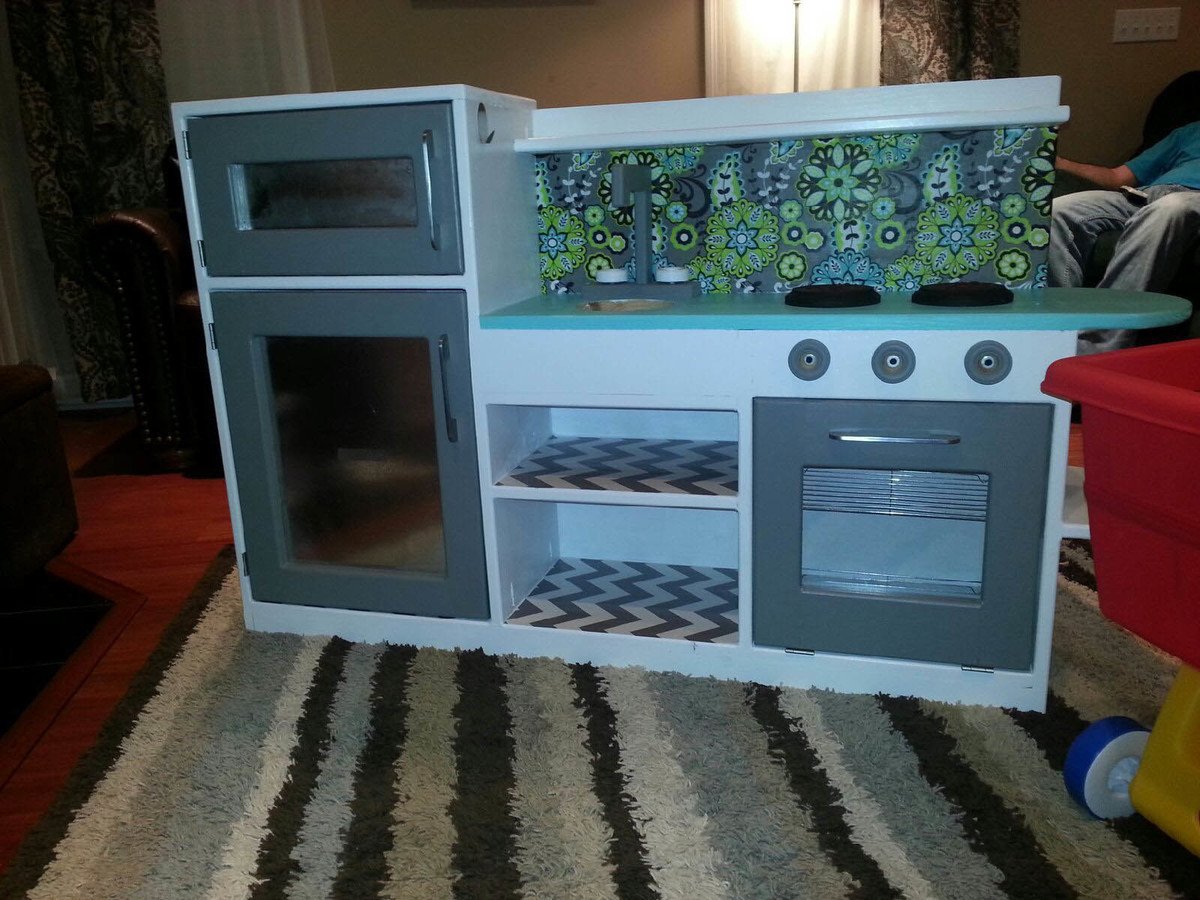
I wanted my daughter to have a play kitchen for Christmas - so I was excited when I found these plans on ana-white.com. My husband is a very skilled, self-taught, craftsman - so I knew he could do this! I'm pretty crafty myself - so combined, we made this awesome kitchen. We couldn't be prouder of how it turned out.

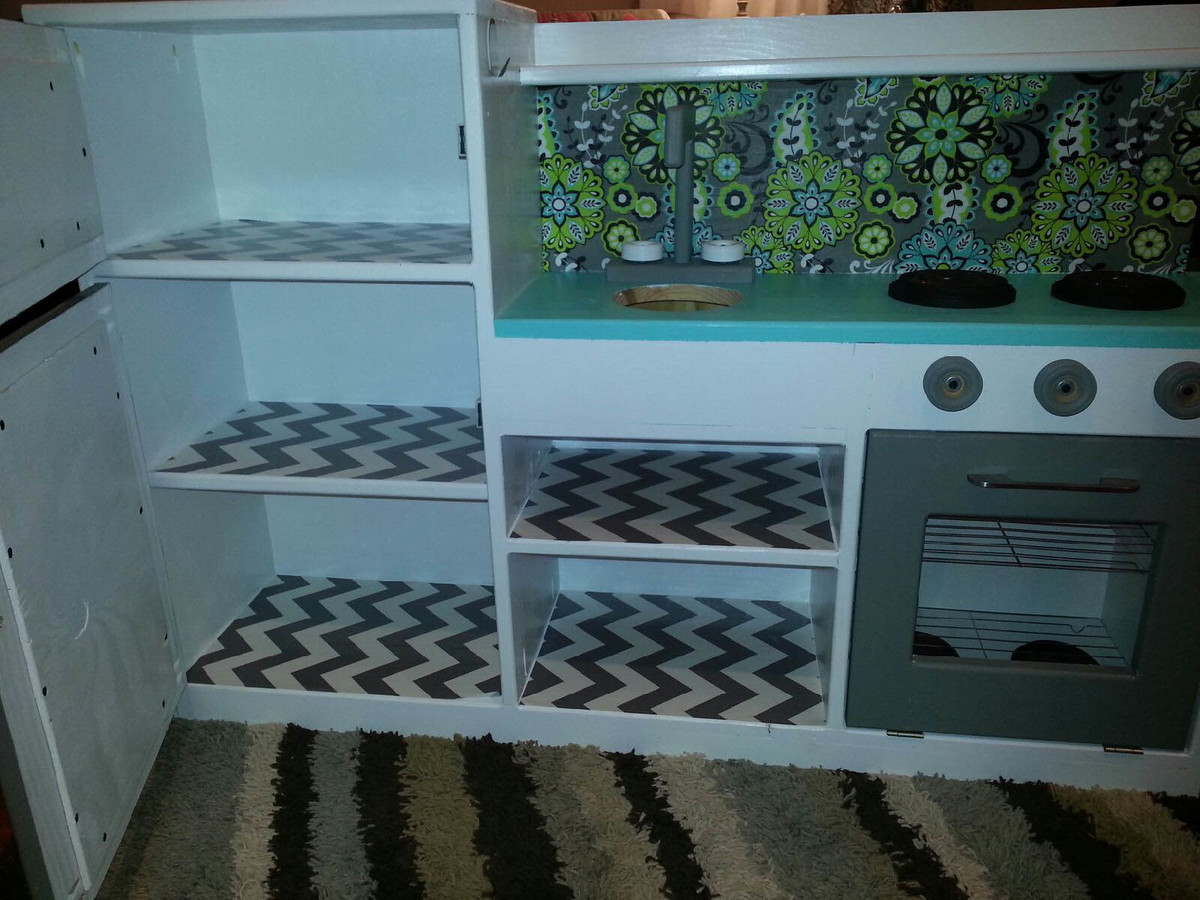
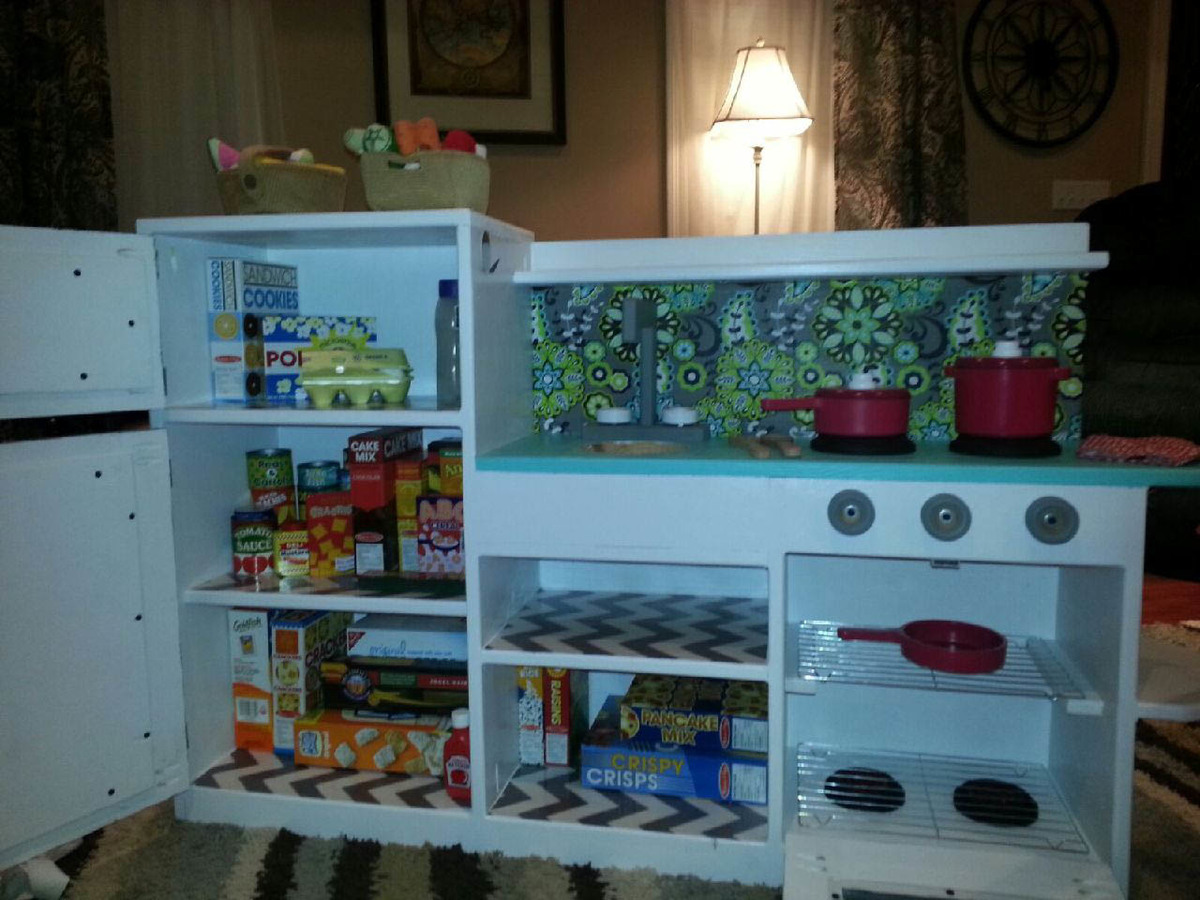
The back splash is a piece of remnant cloth from Hobby Lobby - I modge podged it on. The shelf liners are laminated fabric also from the Hobby Lobby remnant bin, that was put down with a little bit of spray adhesive. Oven racks are from the Dollar Tree - cookie drying racks. The stove eyes and oven burners are wooden disks from Hobby Lobby as well as the knobs. The stove eyes and oven burners have red glitter glue swirls on top to give the realistic "hot" look. The sink was a stray dog bowl we've had for a while. The handles were left over from another project we did a while back.

My husband built the faucet and knobs from plans he dreamed up as he went. We used metal sheets in the fronts of the fridge doors so she could put magnets on them.. like a real fridge! He also added an additional shelf in the lower part of the fridge. He used magnetic closures on each of the doors so they will stay shut nicely.

He built the entire kitchen in one day -- the drying time on the paint -- slowed us some due to the weather we've been having. Over all it took us about 1.5 weeks to finish - working on it a little each evening.

Our daughter loves it.. she's cooked us several meals since Santa brought her kitchen. LOVE IT!!
Estimated Cost
$150.00
Estimated Time Investment
Weekend Project (10-20 Hours)
Recommended Skill Level
Intermediate

Kitchen Update

Submitted by jaykruger on Mon, 03/14/2016 - 09:13

I did a 15" deep x 36 wall cabinet over the drawers and the rest of the uppers are 12deep x 42"

Lowers are standard 24" deep

Still deciding on countertops

Decided on pour in place concrete for the counter tops

Estimated Time Investment
Week Long Project (20 Hours or More)
Finish Used
Home depot bear paint, with water based poly
Recommended Skill Level
Intermediate

Comments

crundell

Sat, 03/26/2016 - 06:56

You did a really nice job on these.  Did you also use Ana's plans to make the doors or did you order them?

My first build - Changed it up a bit.

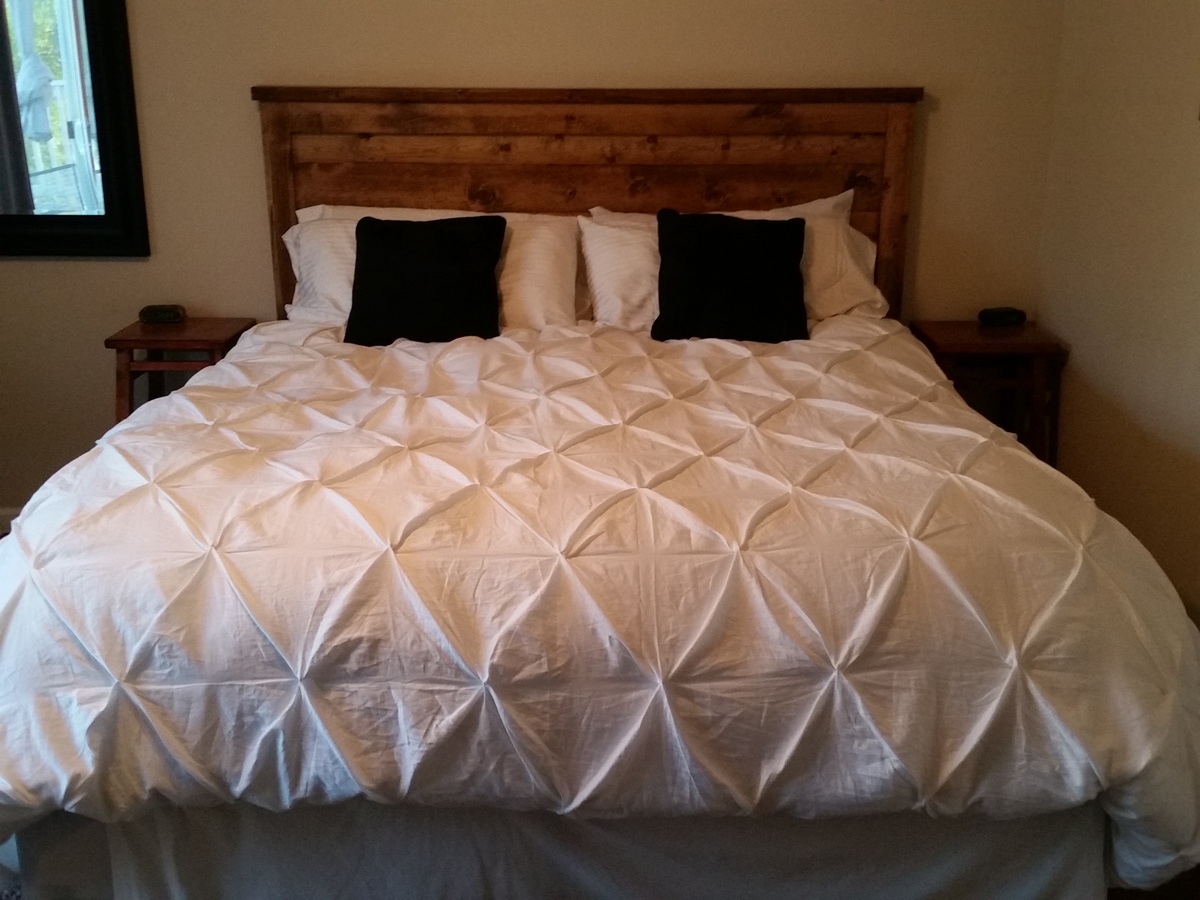
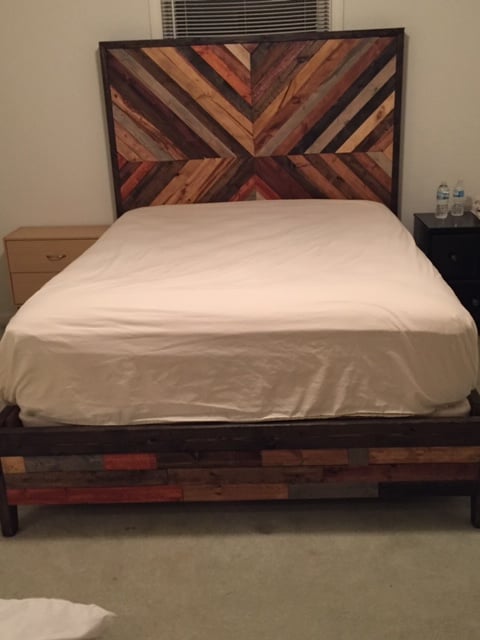
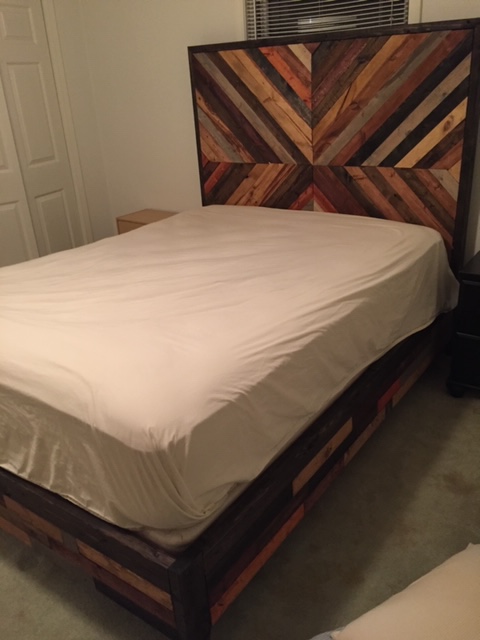
After going through tons and tons of different bed styles  settled on this one because i LOVED the way the original image looked, though when it came to picking out stains I decided to do mine a bit differently! I like the look of multiple stains, it certainly allows for you to play with different wood stains on other bedroom furniture as well. This bed WEIGHS A TON, so we agreed that we will never move it unless its to the burn pile but I highly doubt that will ever happen because its incredibly sturdy! Also - Thanks Ana White family, this build introduced me to my kregg jig and it is by far my very favorite tool now! 
Estimated Cost
$200
Estimated Time Investment
Weekend Project (10-20 Hours)
Finish Used
Multiple
Recommended Skill Level
Beginner