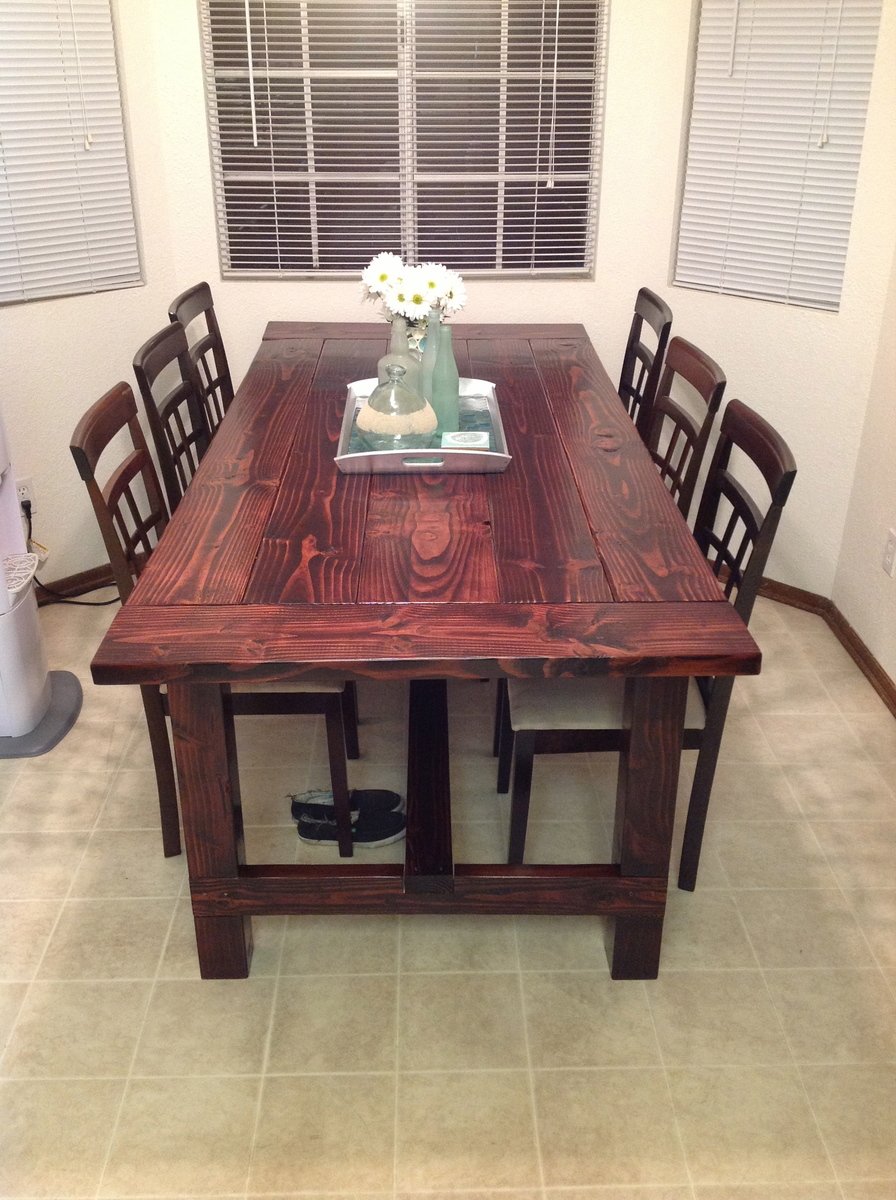
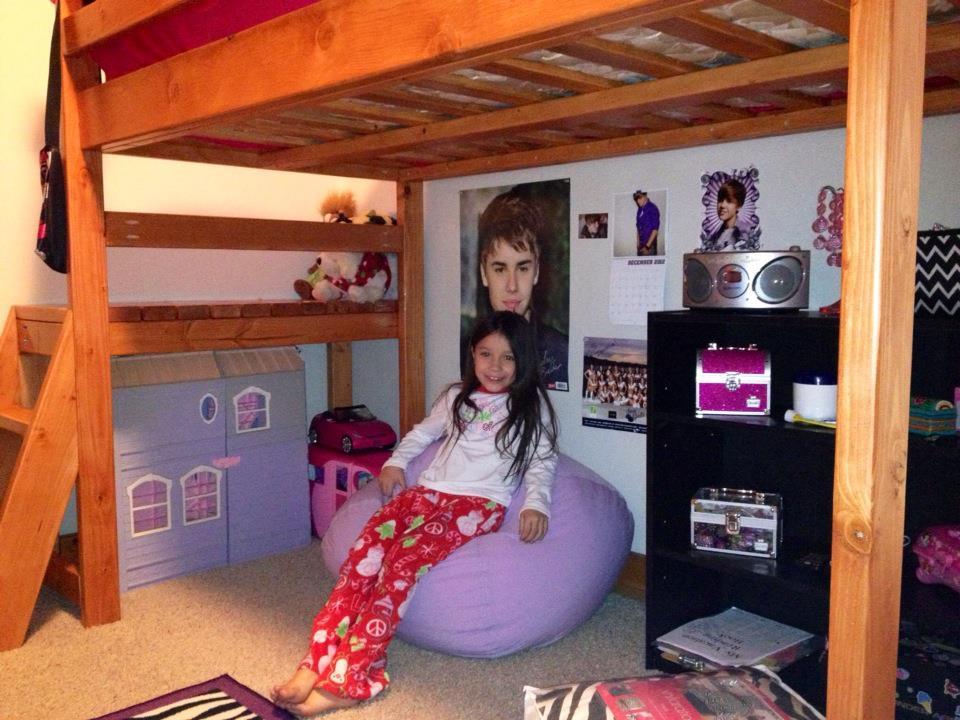
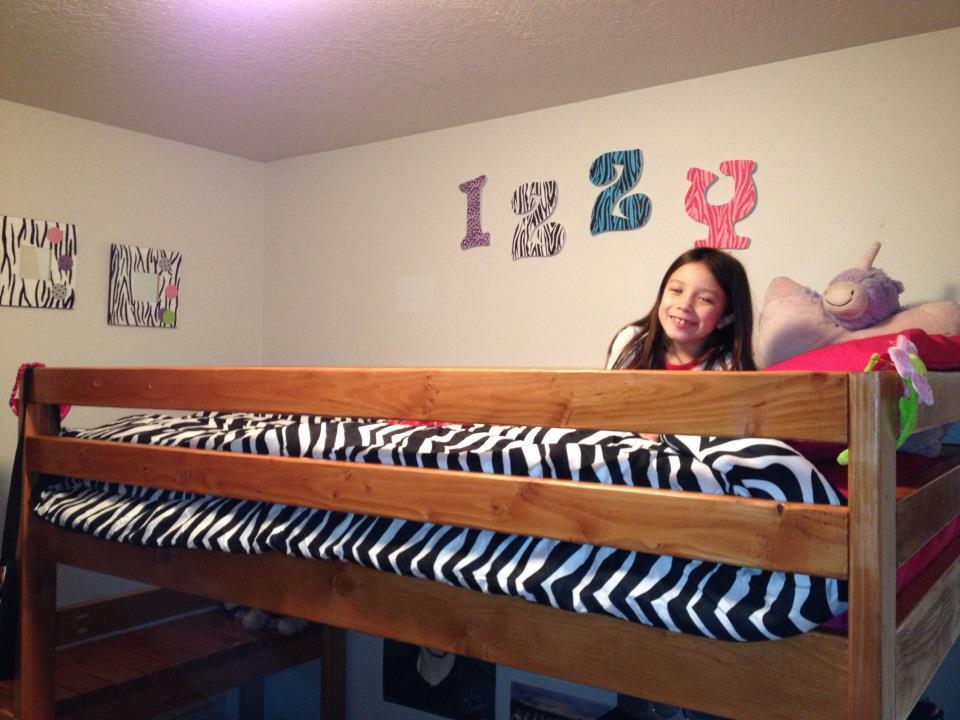
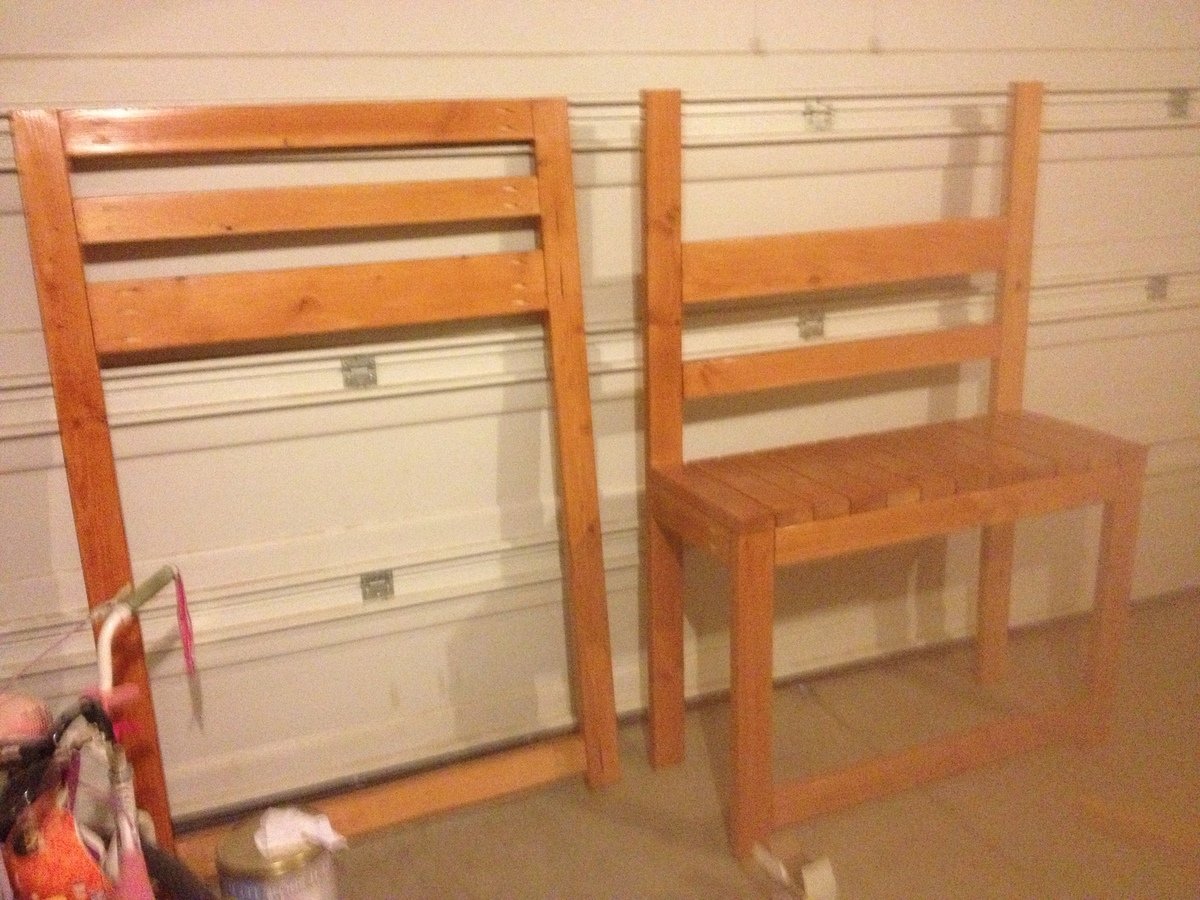
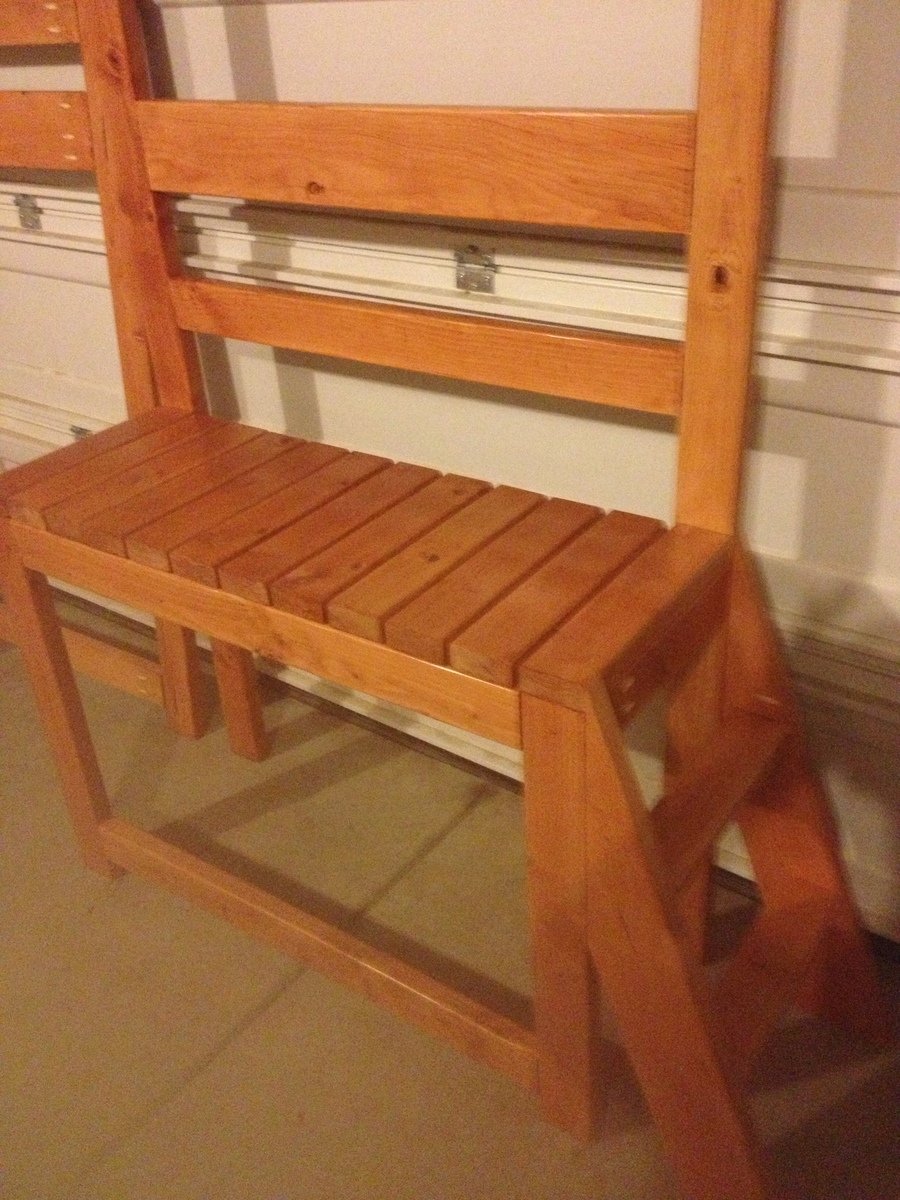
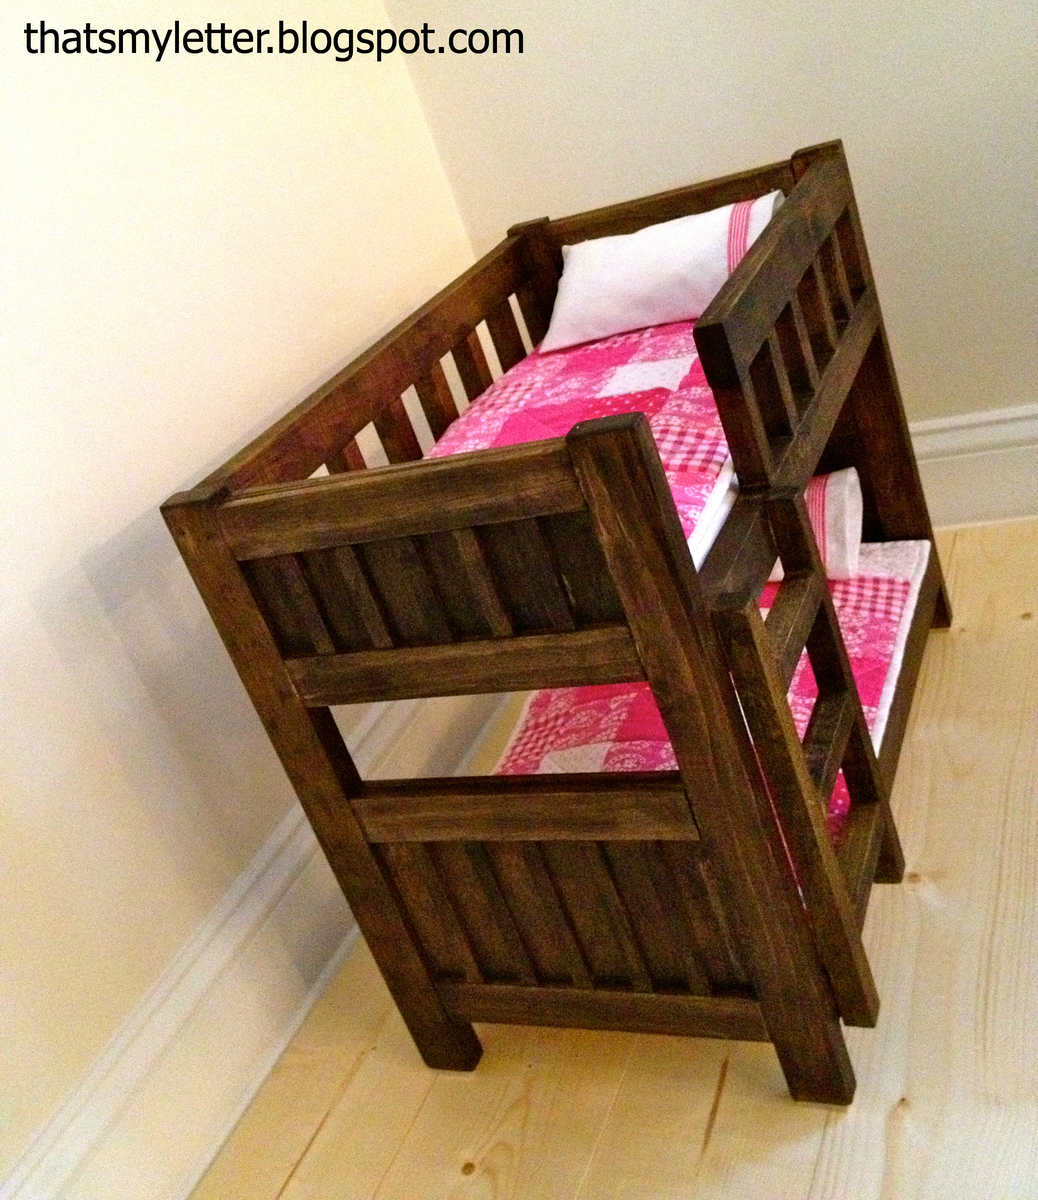
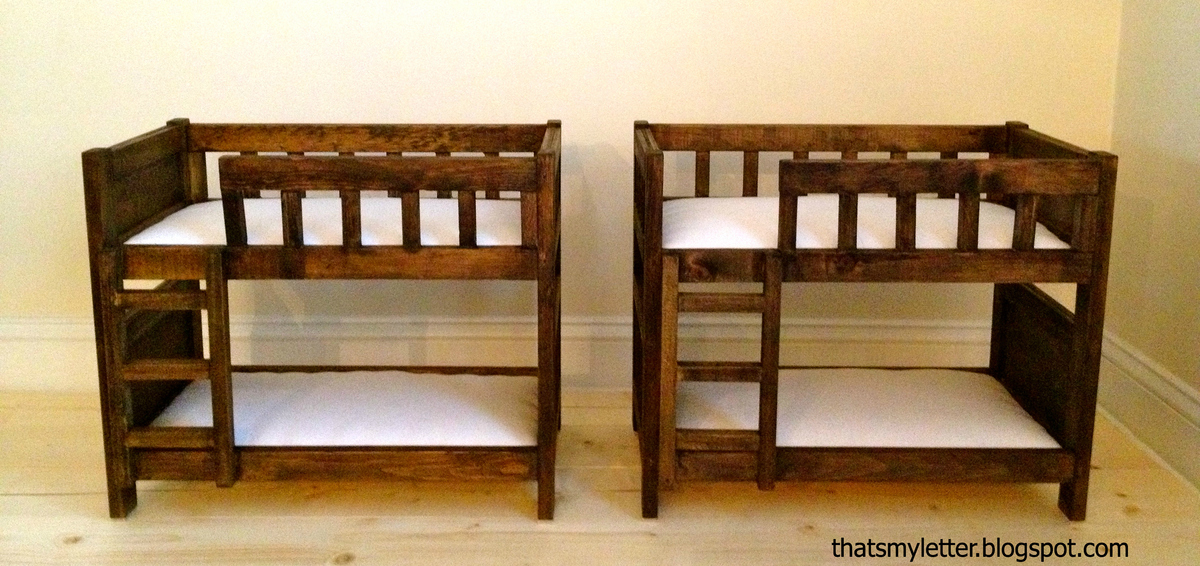
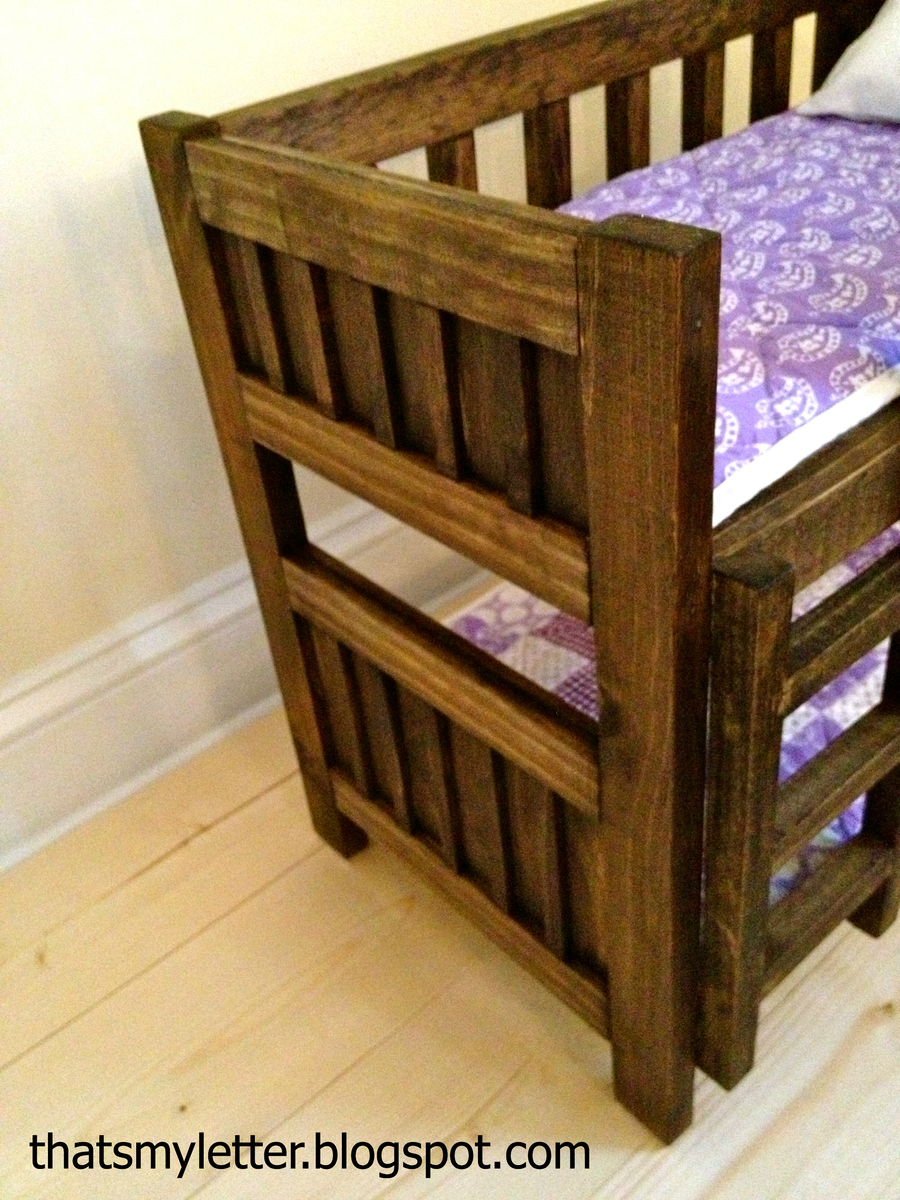
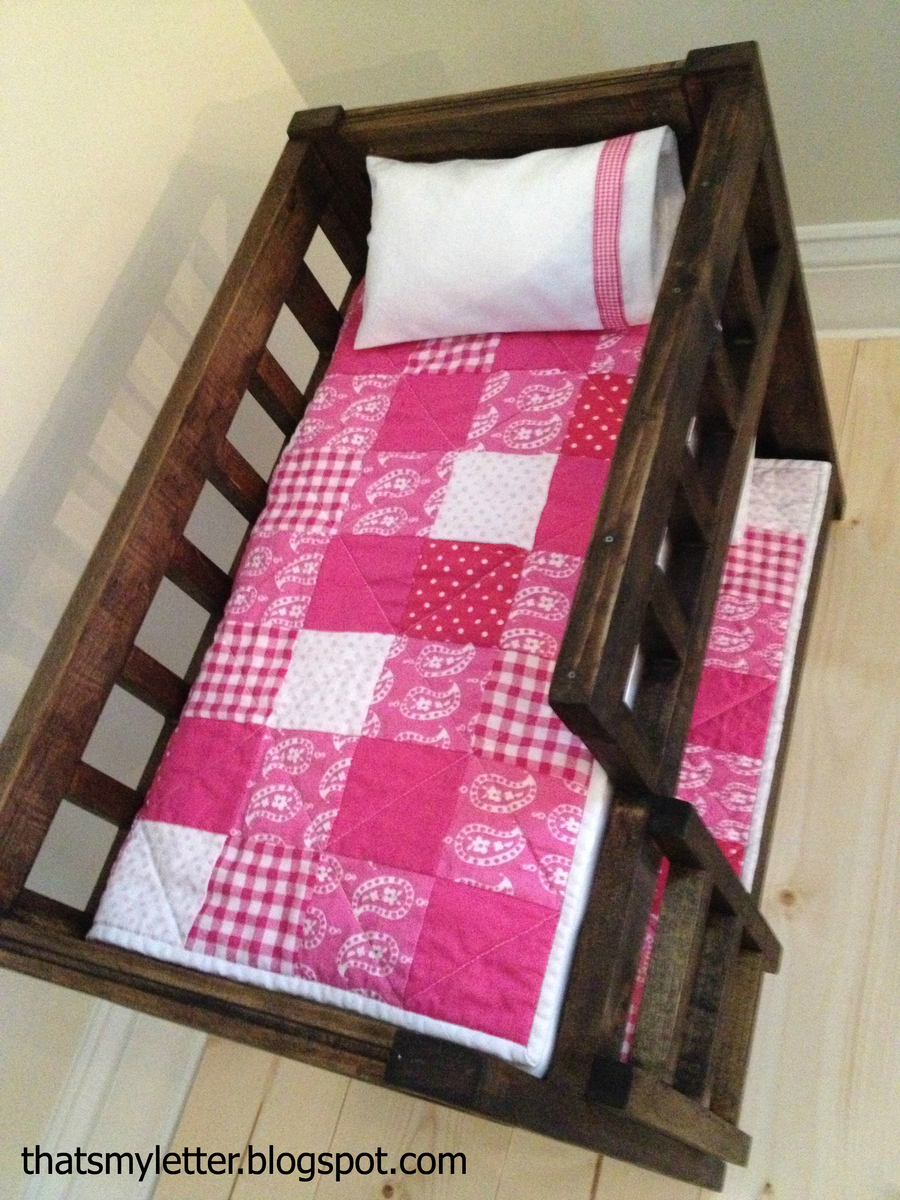
camp bunk beds (solid head & footboards)
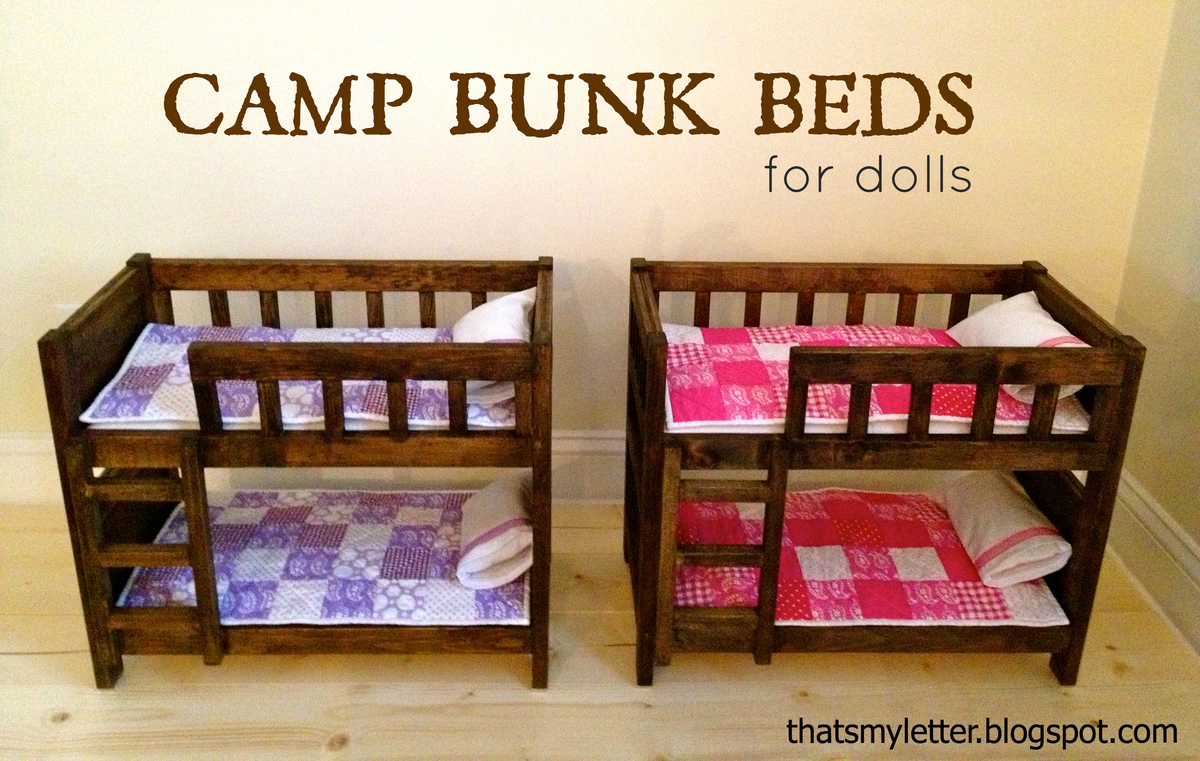
The doll size version of PB camp bunk beds with a solid head and footboard made to mimic the real life size version. I made these bunks to match the life size version which the girls have in their ski house complete with matching quilts using the same fabric from their bedding.

Built from Plan(s)
Estimated Cost
$40 each
Estimated Time Investment
Day Project (6-9 Hours)
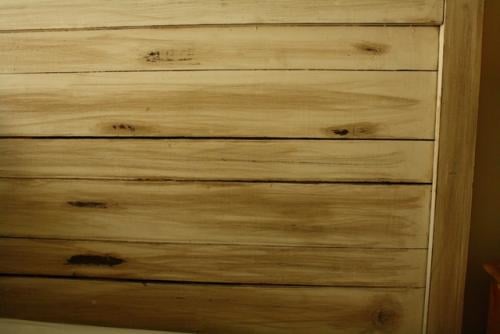
Finish Used
Minwax Jacobean stain, wipe on clear satin poly.
Recommended Skill Level
Intermediate