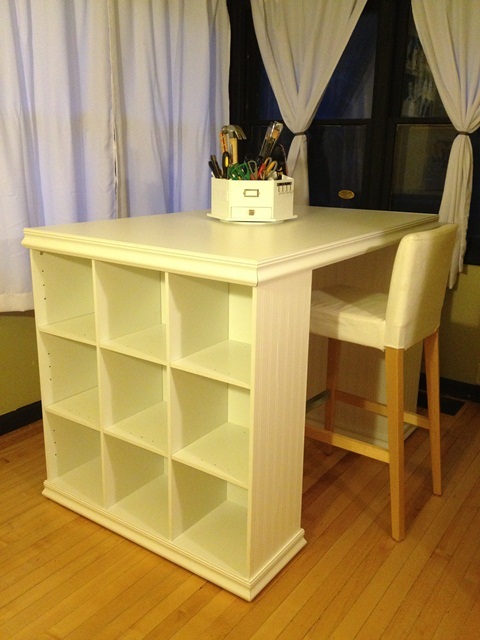
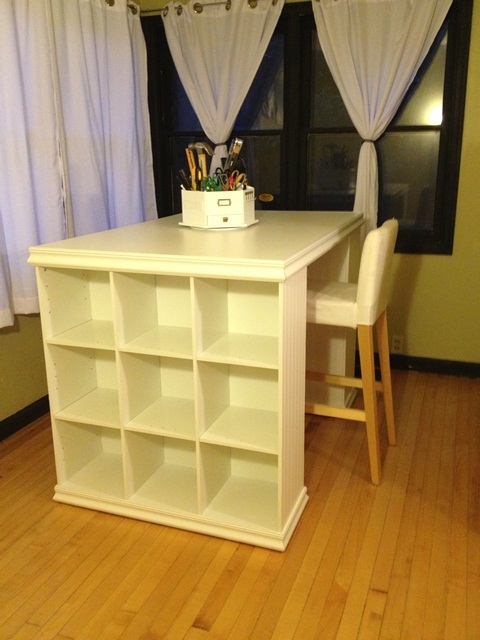
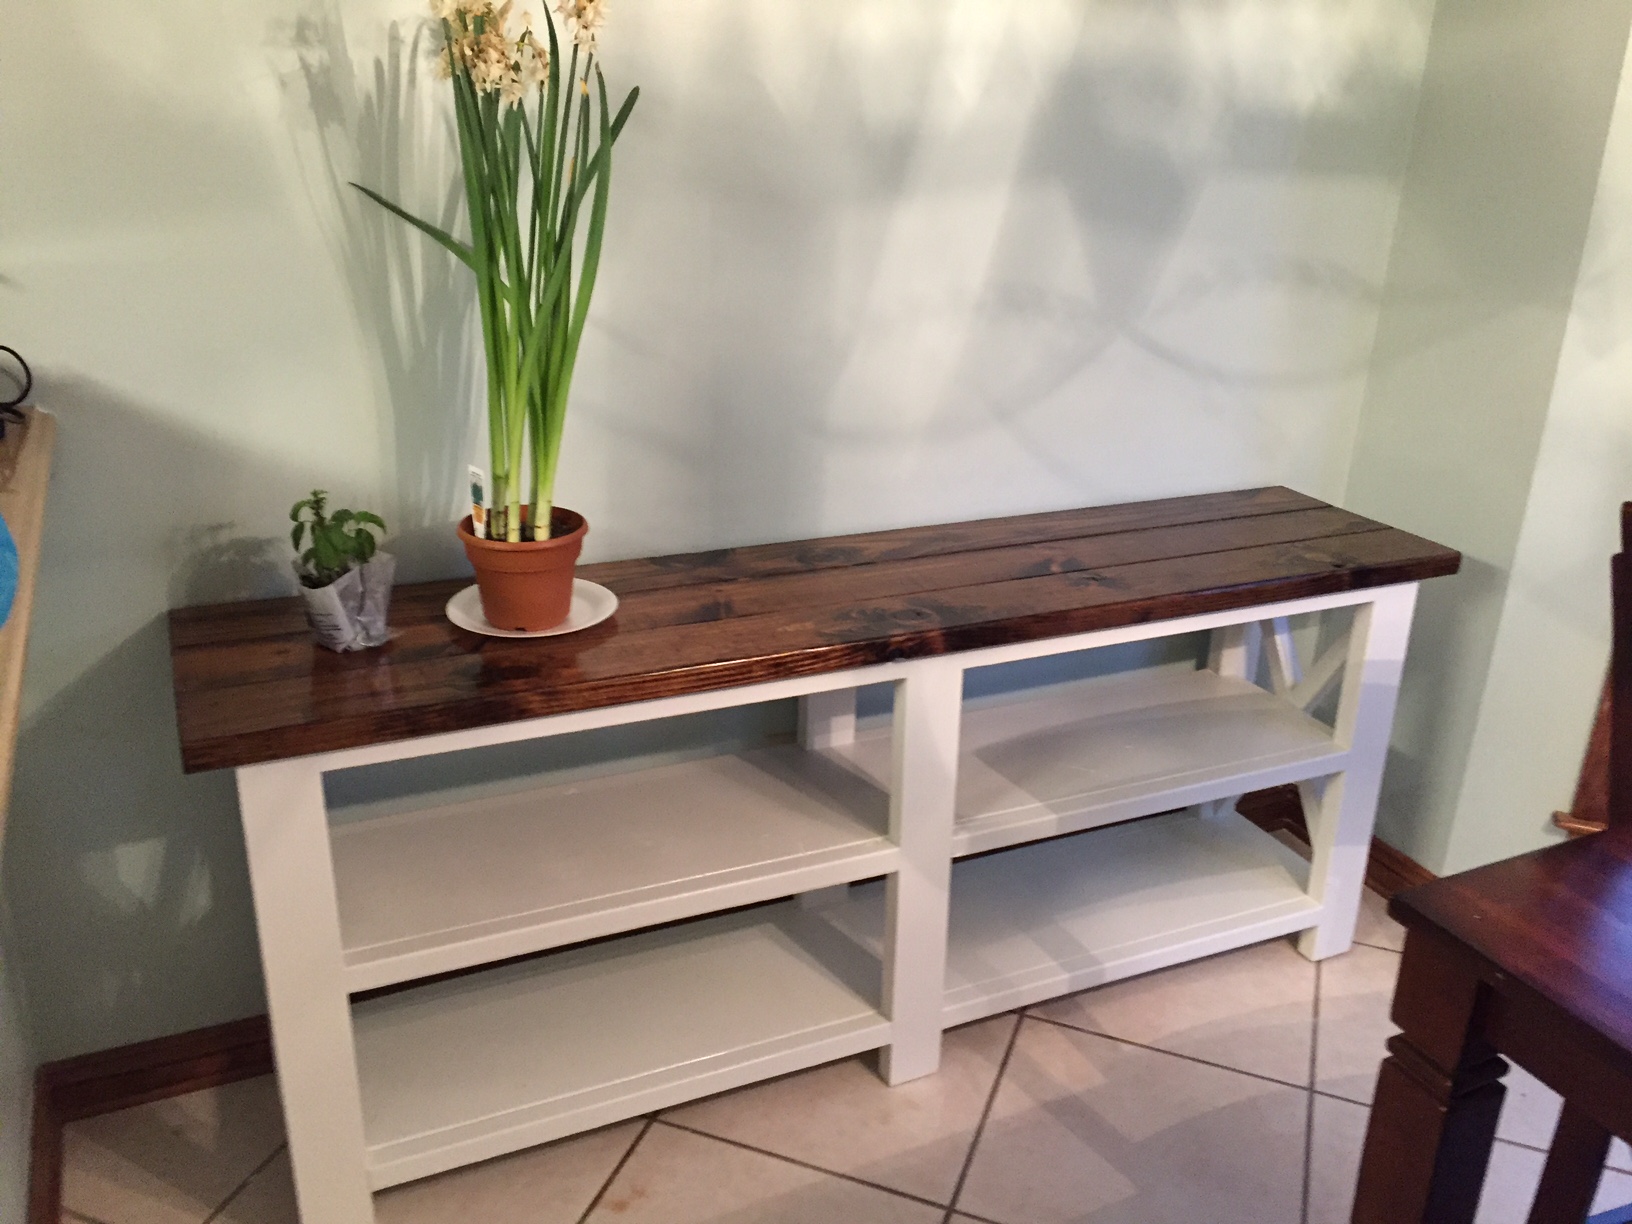
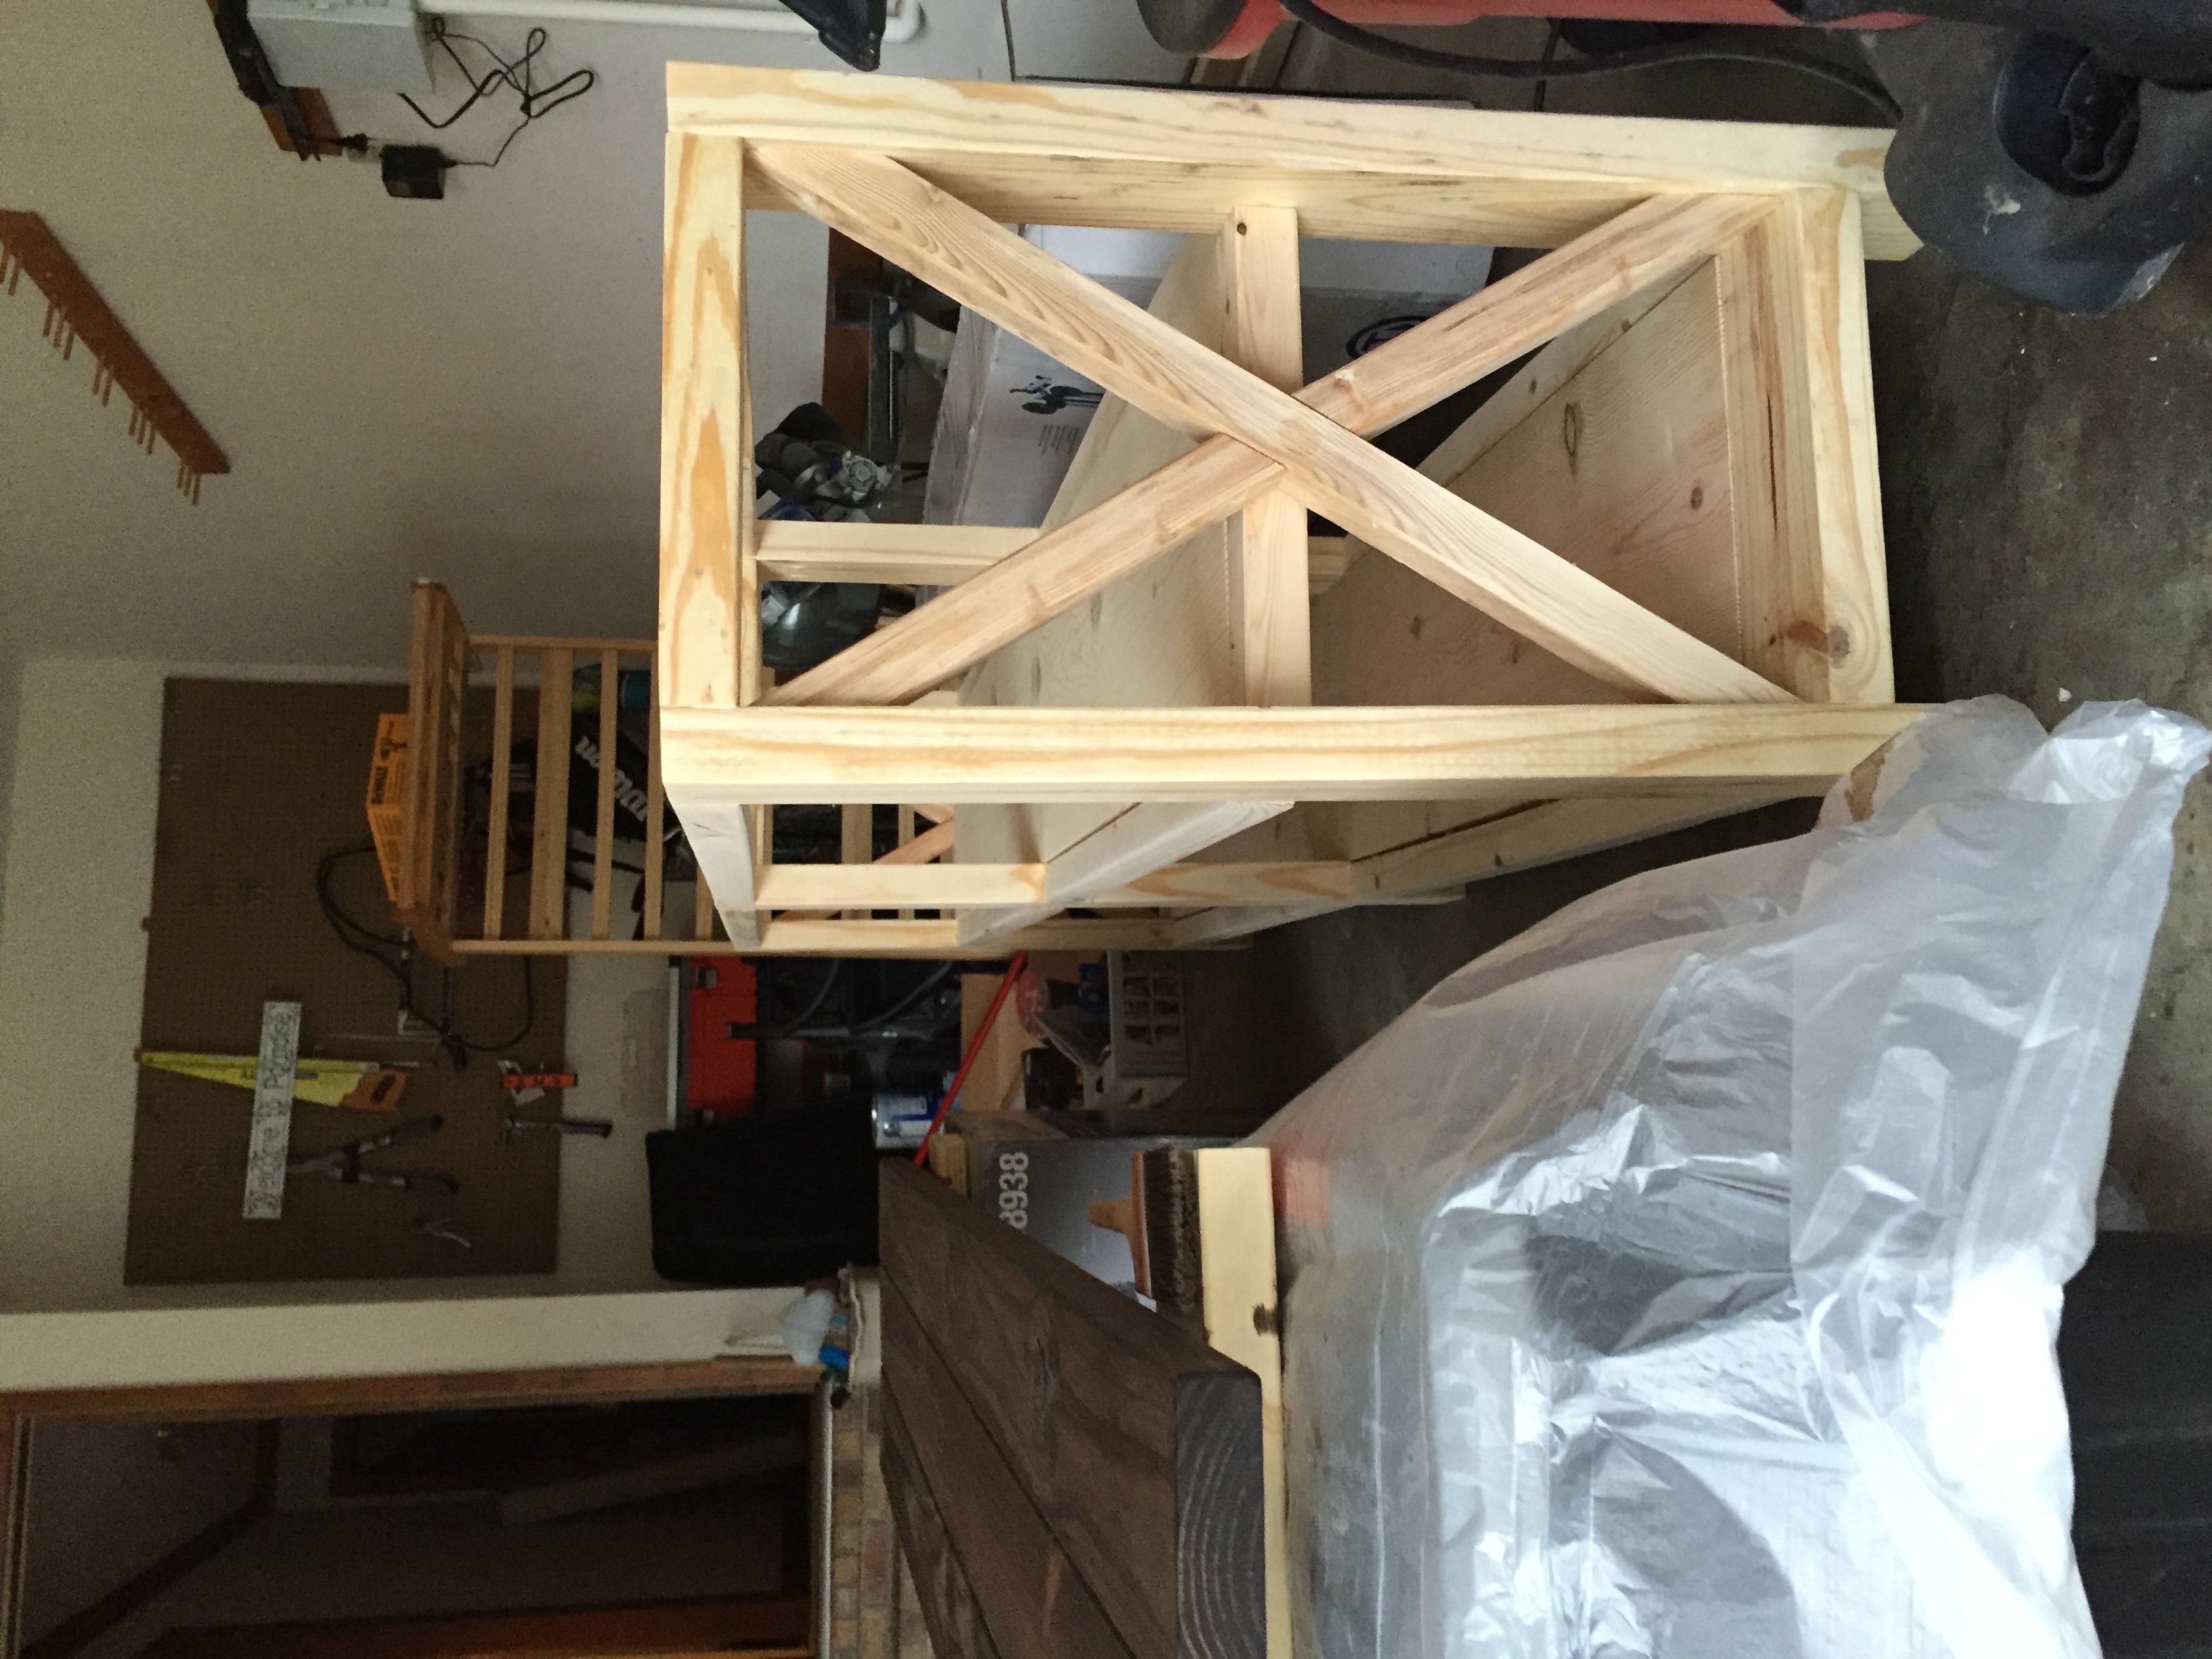
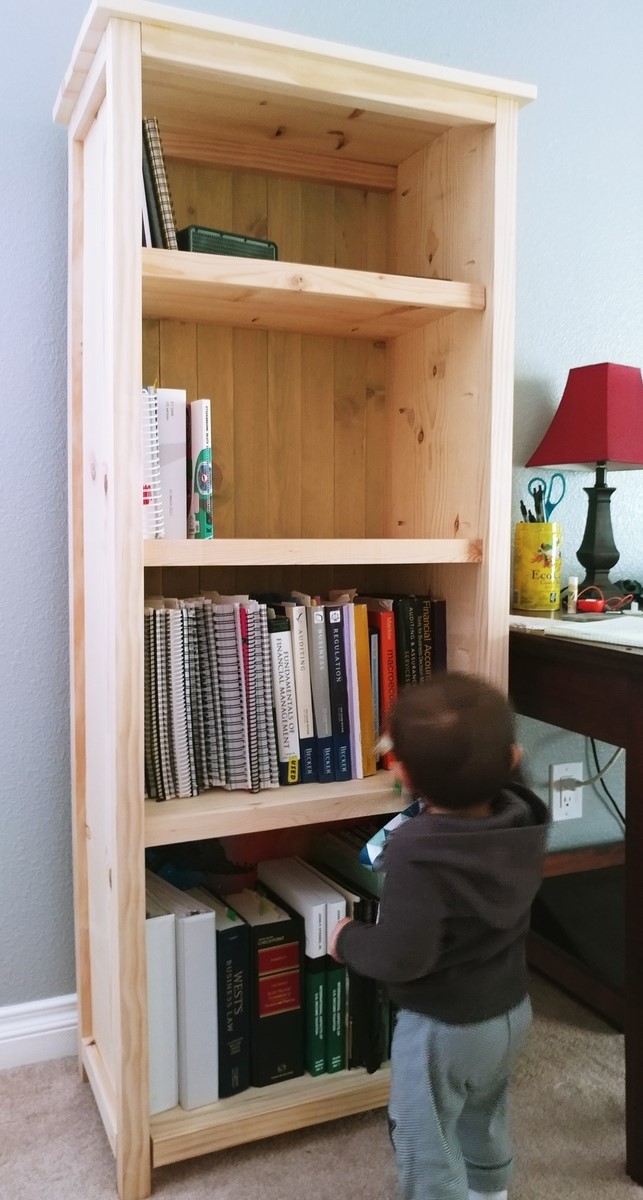
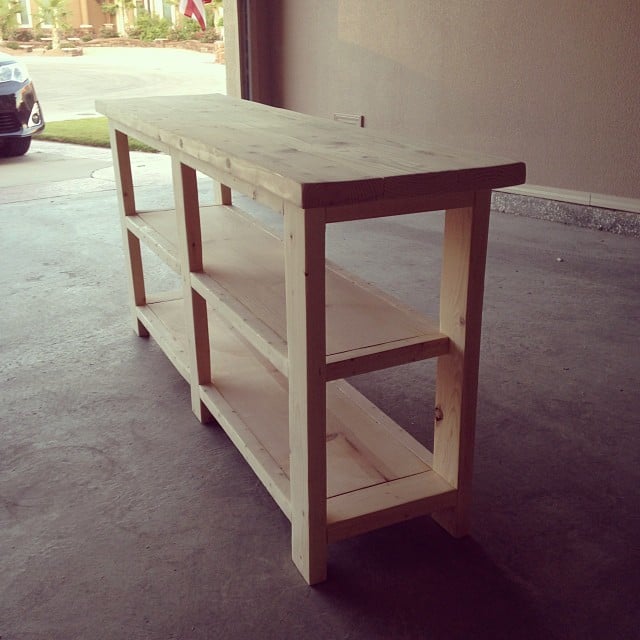
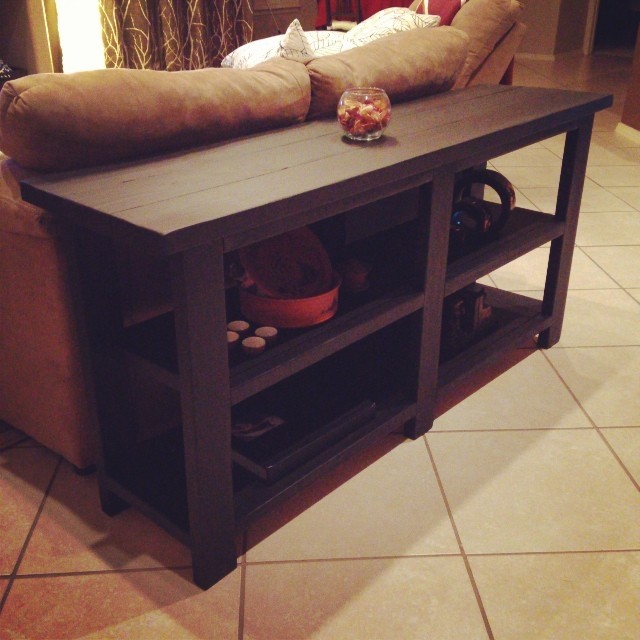
Dog Kennel into Entertainment stand
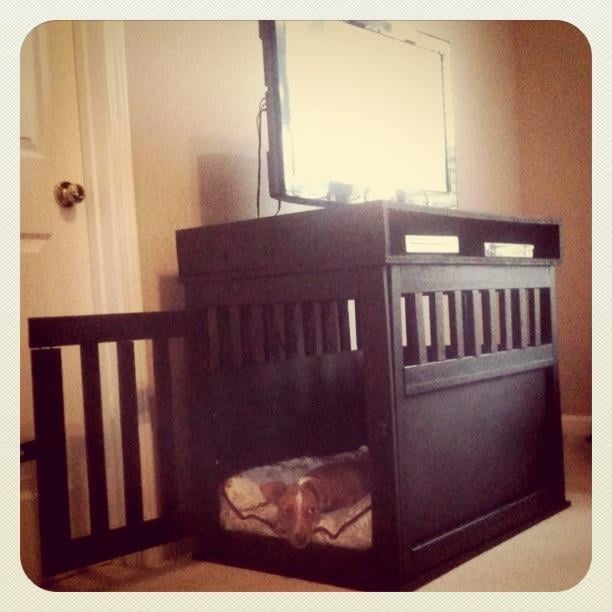
This was my first ever woodoworking project. I was looking for a good plan for me to use. At first, the kennel was going to be in the living room, but we couldn't imagine spending nights without our little girl in the room with us. The only thing is that the bedroom is quite small. However, the TV stand she was using at the time was lower than the level of the bed making it awkward to watch TV. I decided to create an entertainment stand out of the kennel in order to save space and make the TV at a viewable height.
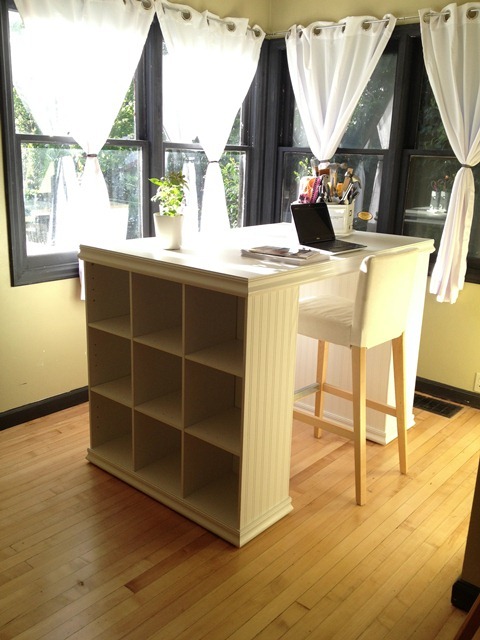
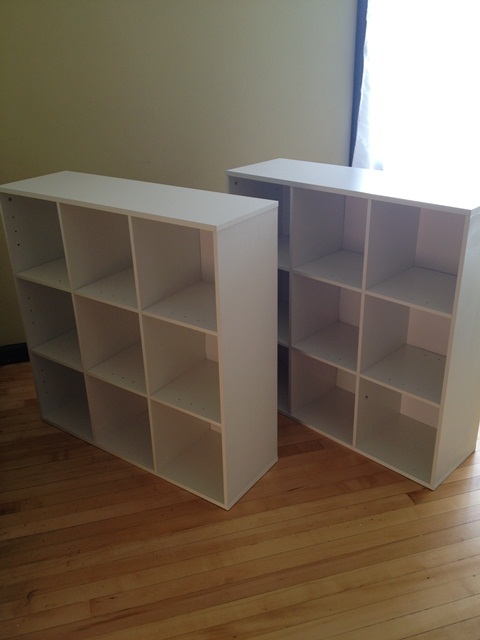
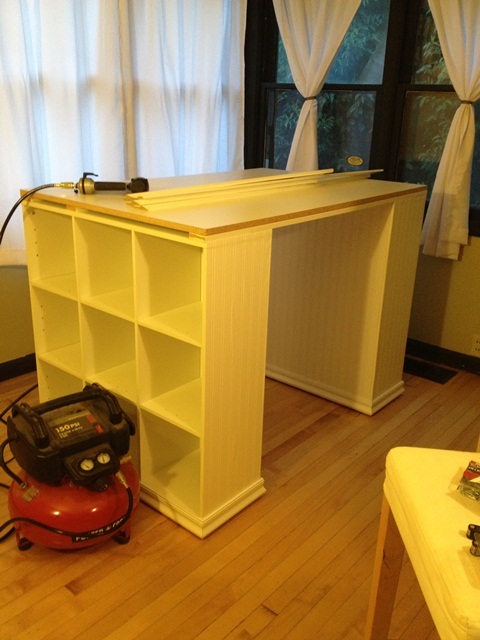
Well, I already had a kreg jig for a project I am planning in the future. I borrowed a circular saw from my dad and I had a few tools of my own. It took a total of two days from start to finish. I ran into a few hitches because I wasnt using the jig properly, and a few other rookie mistakes, but I fought through and managed to get it done! I can't wait to do some more plans from this site!


Comments
emmarosemc
Mon, 10/10/2011 - 17:34
That is awesome!
That is awesome!
Gimbler
Tue, 10/11/2011 - 06:21
That is Brilliant!
It looks to be plenty large enough for your pup and an attractive and functional piece of furniture too. I just love multi-function furniture. Nice job!