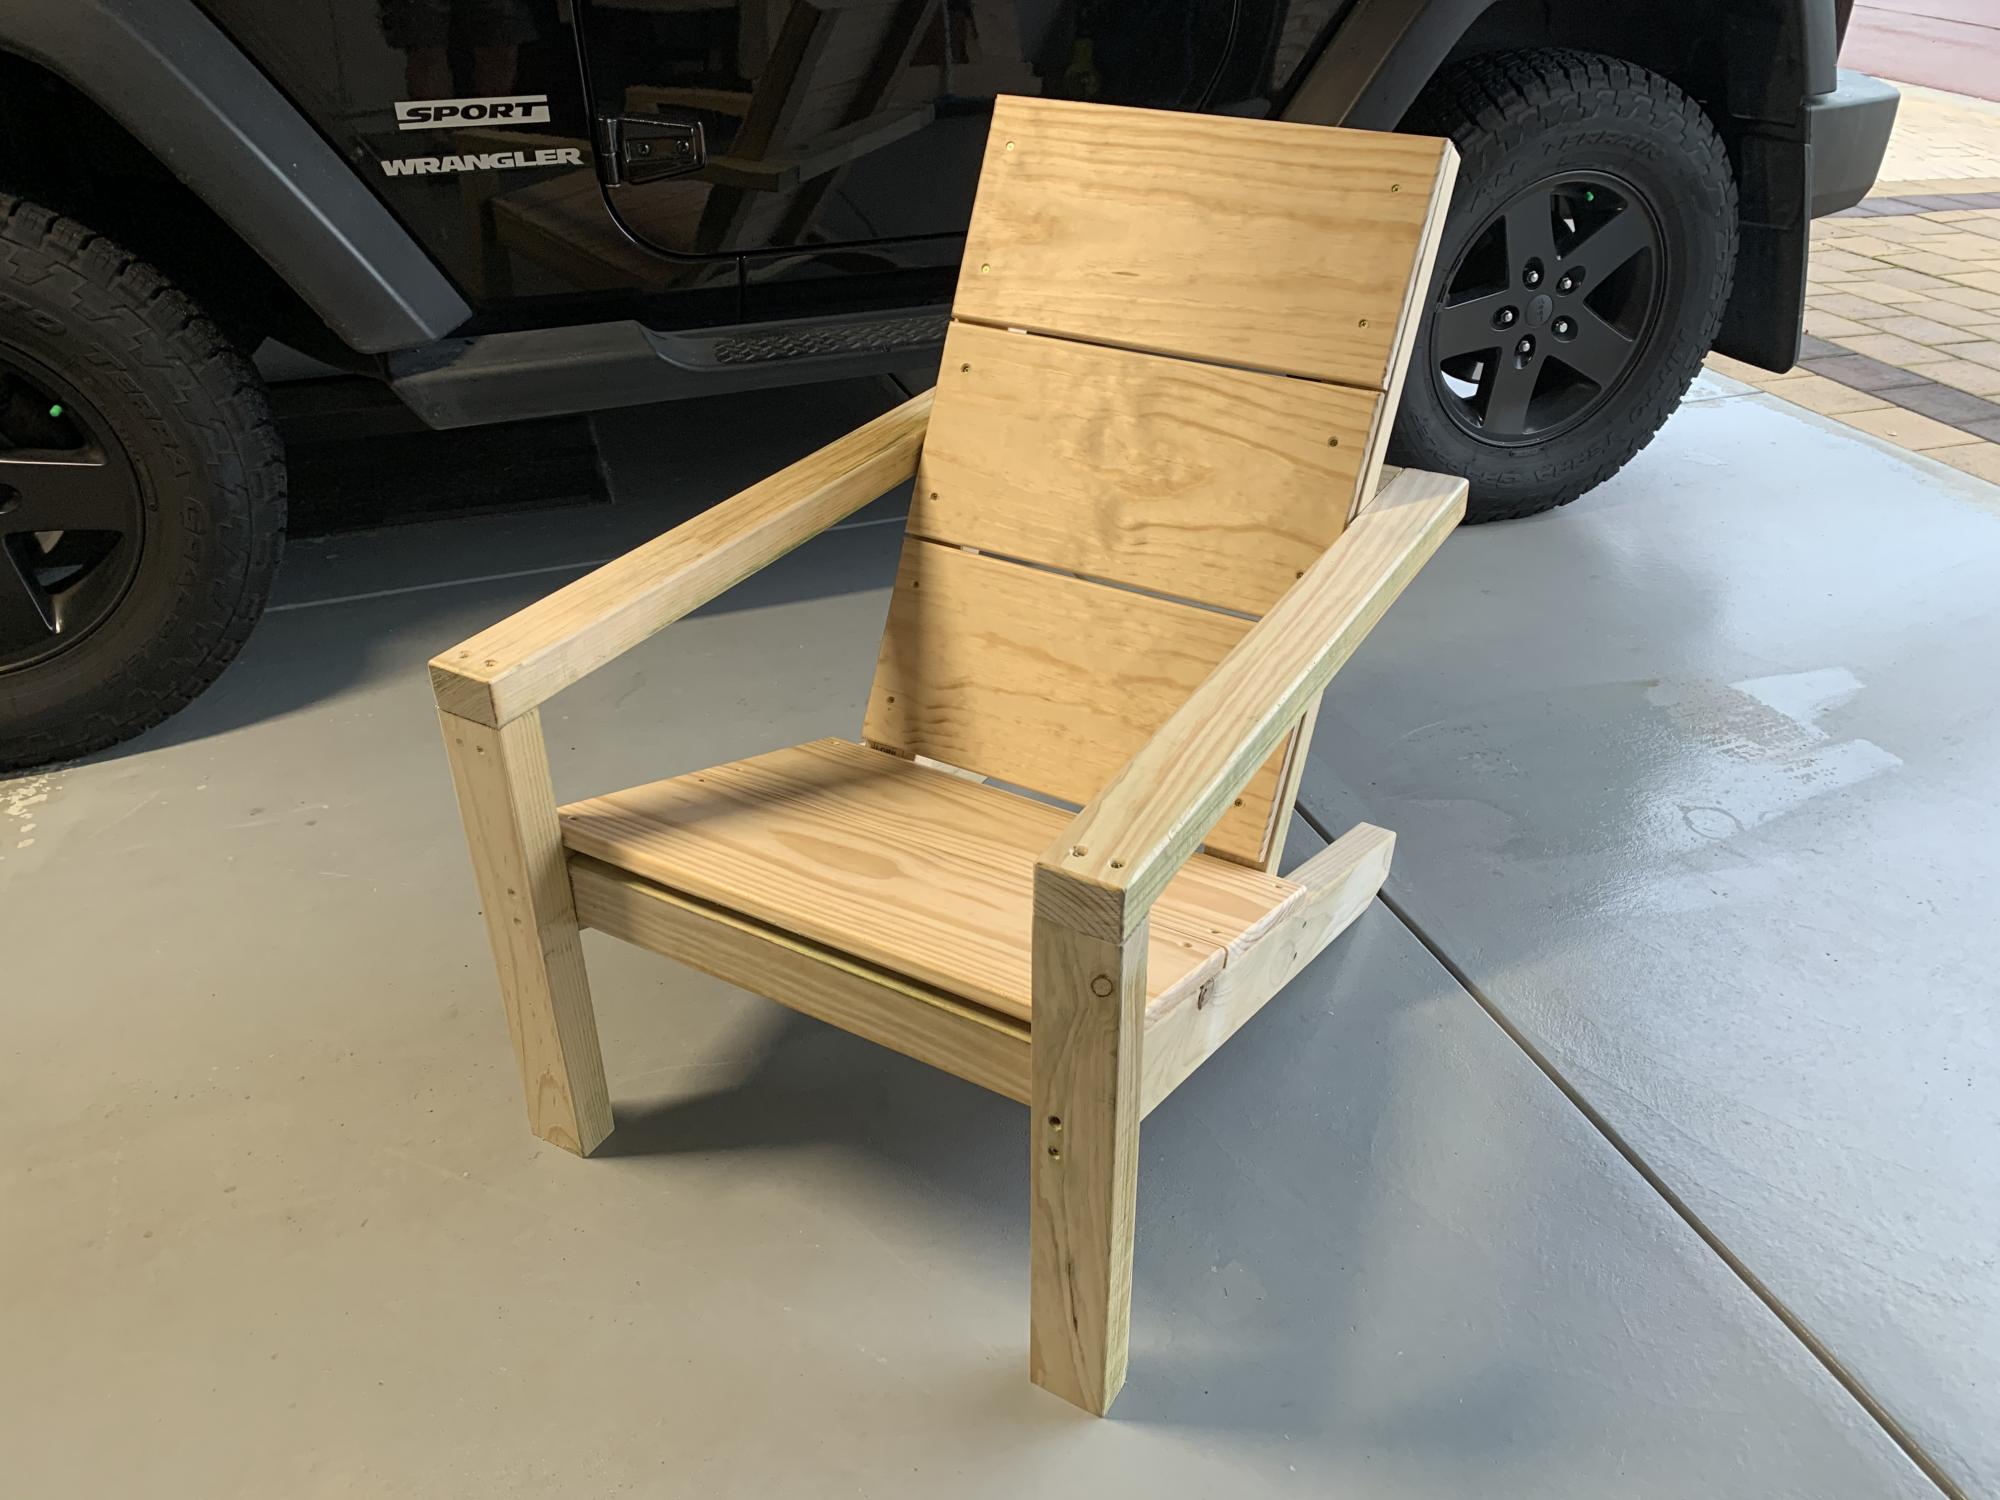
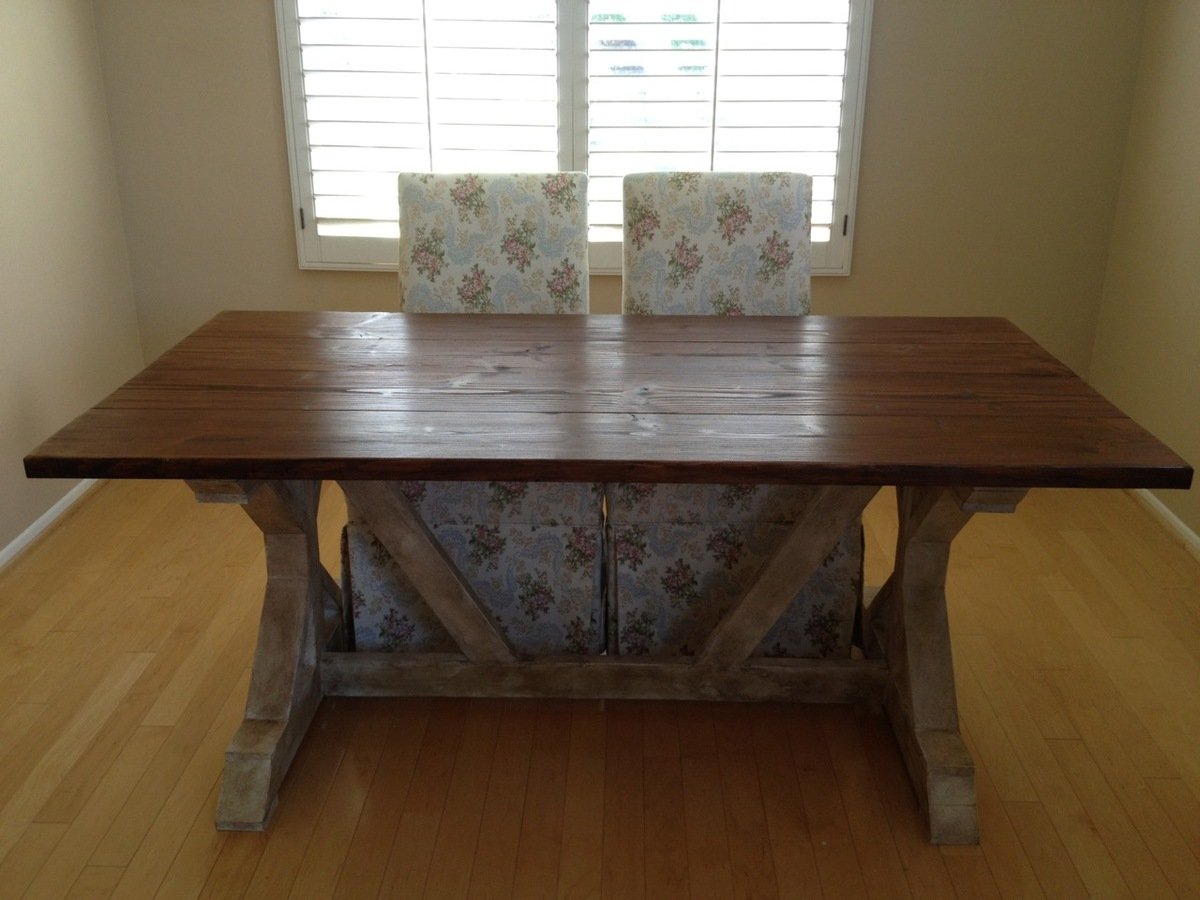
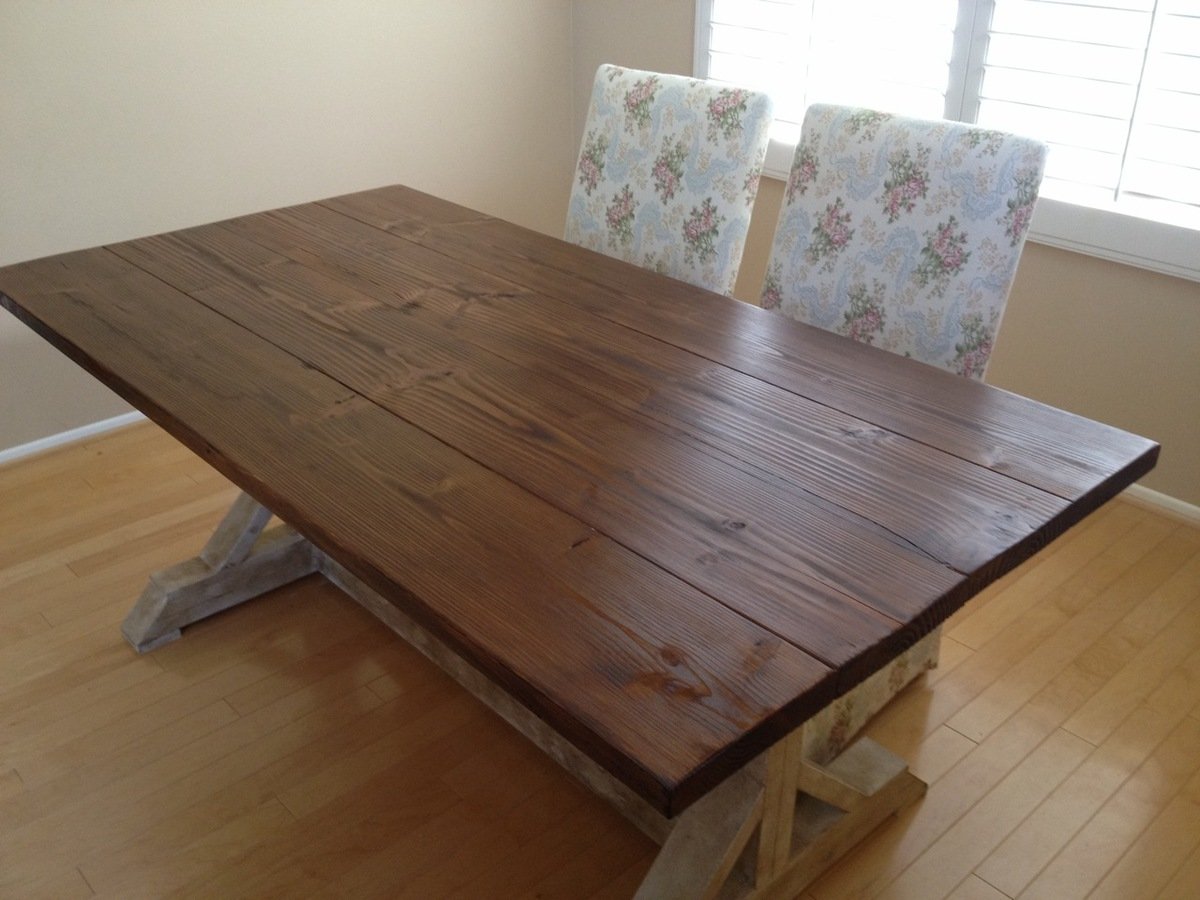
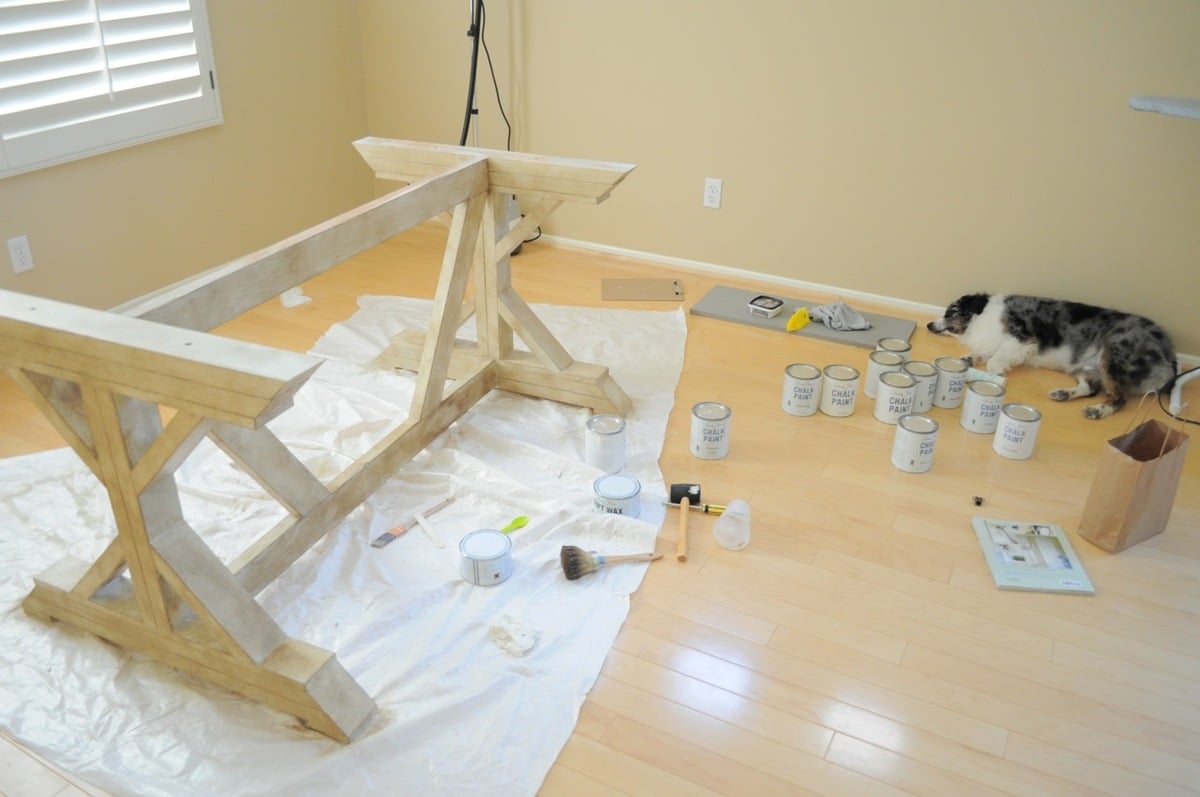
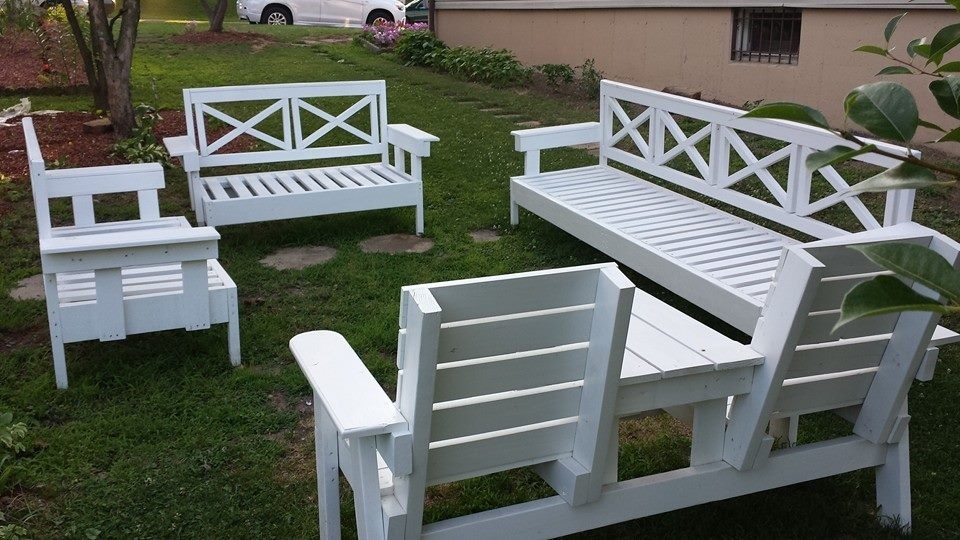
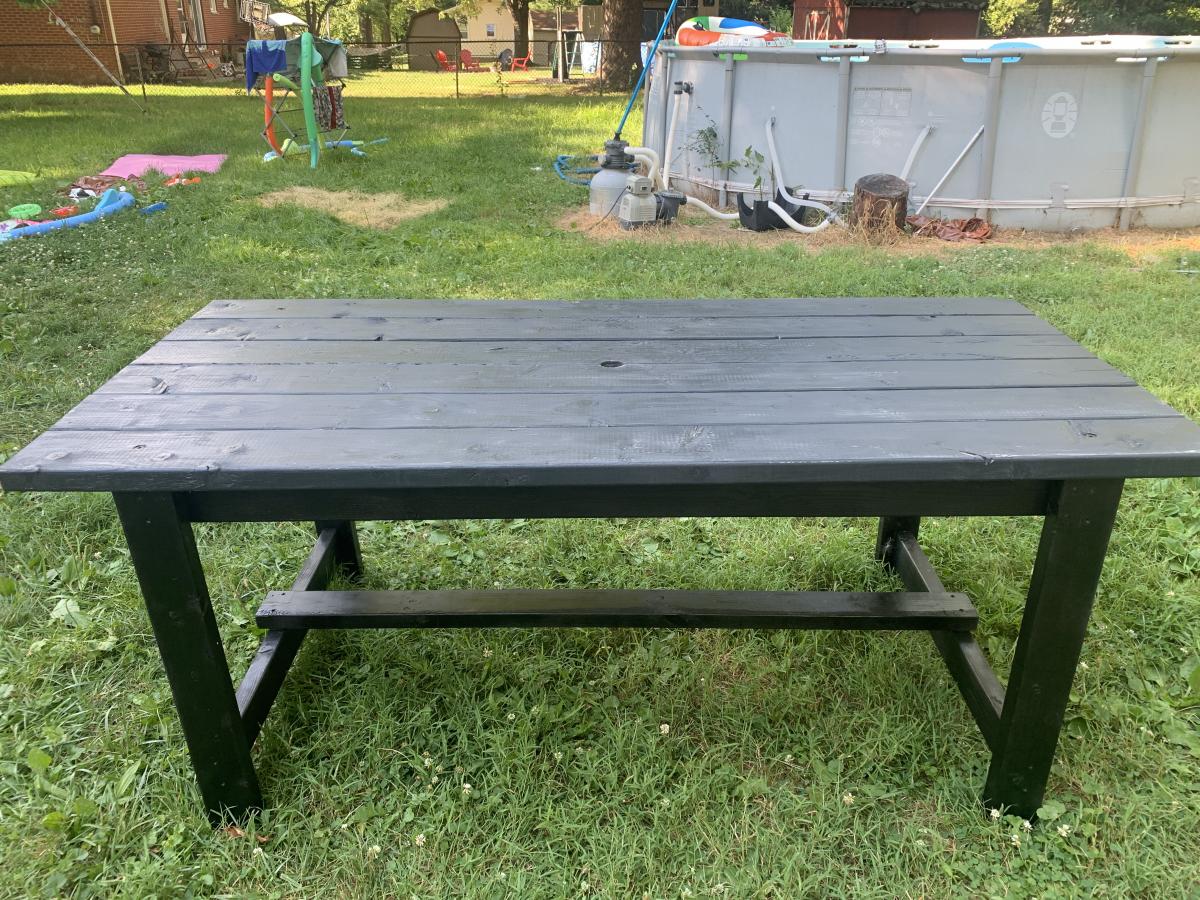
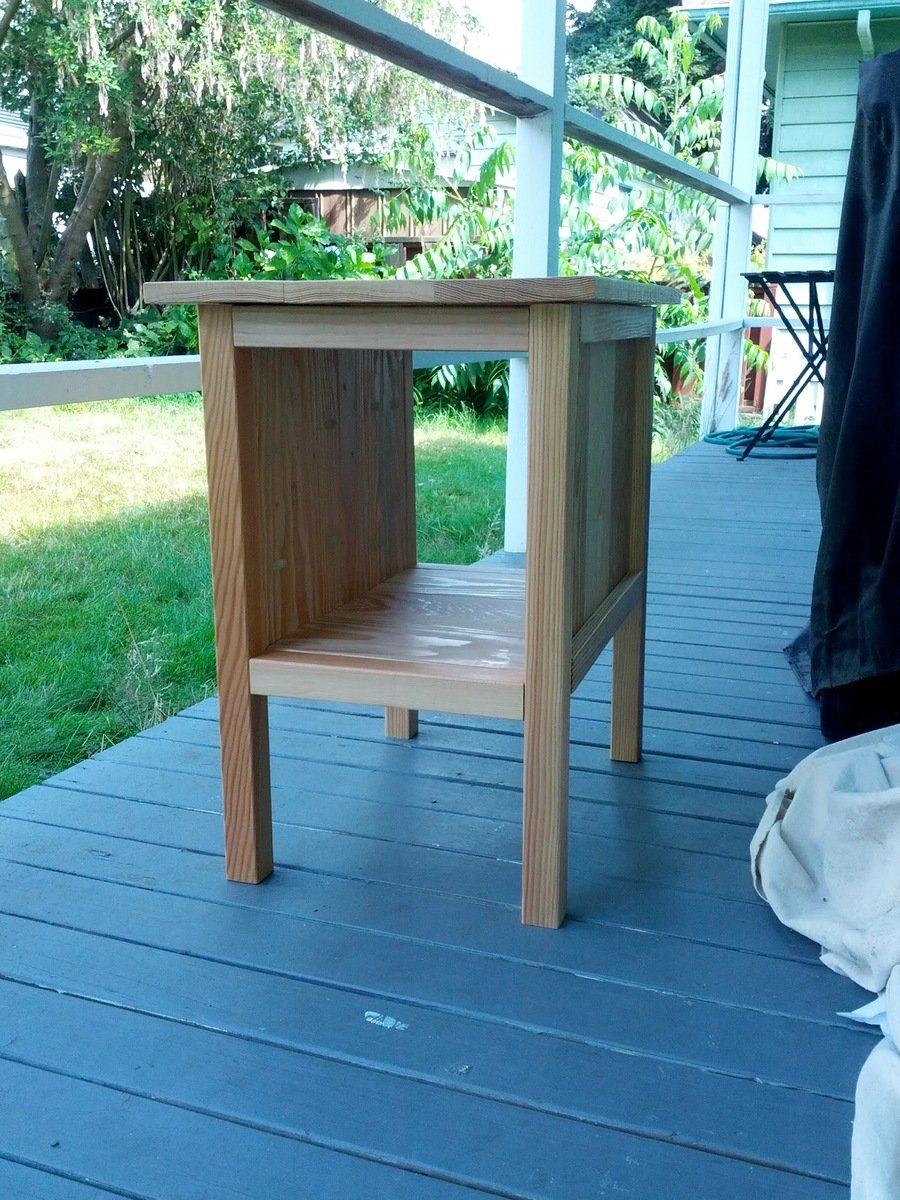
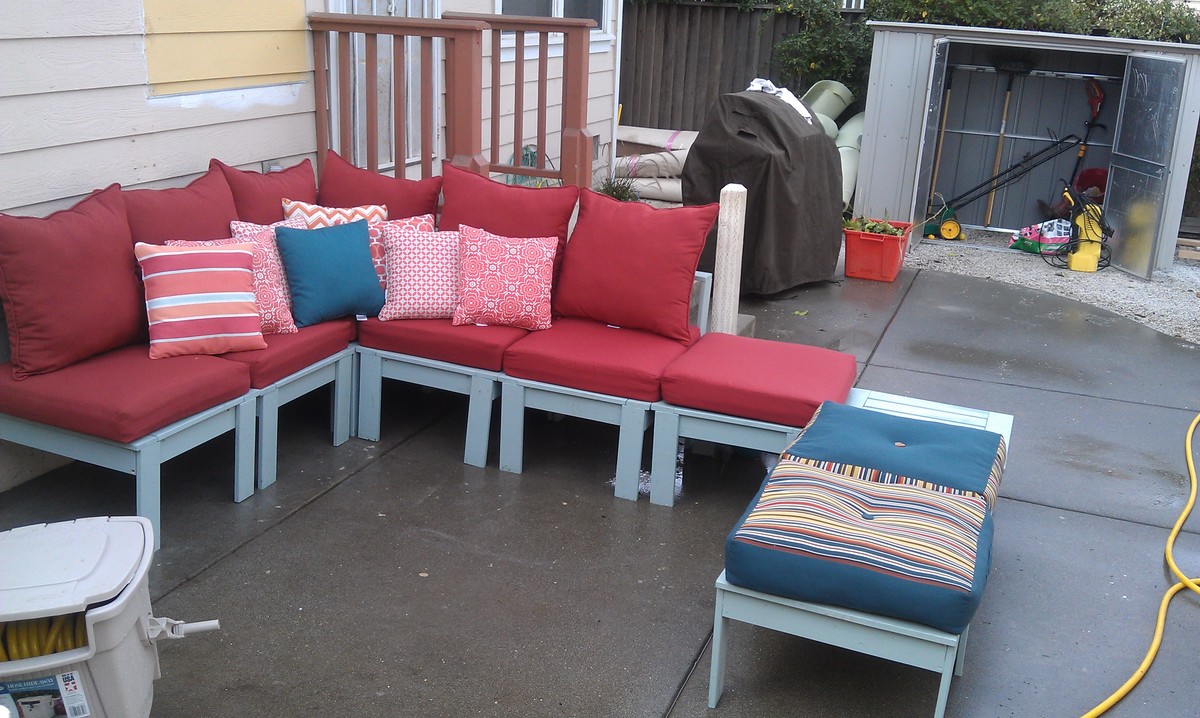
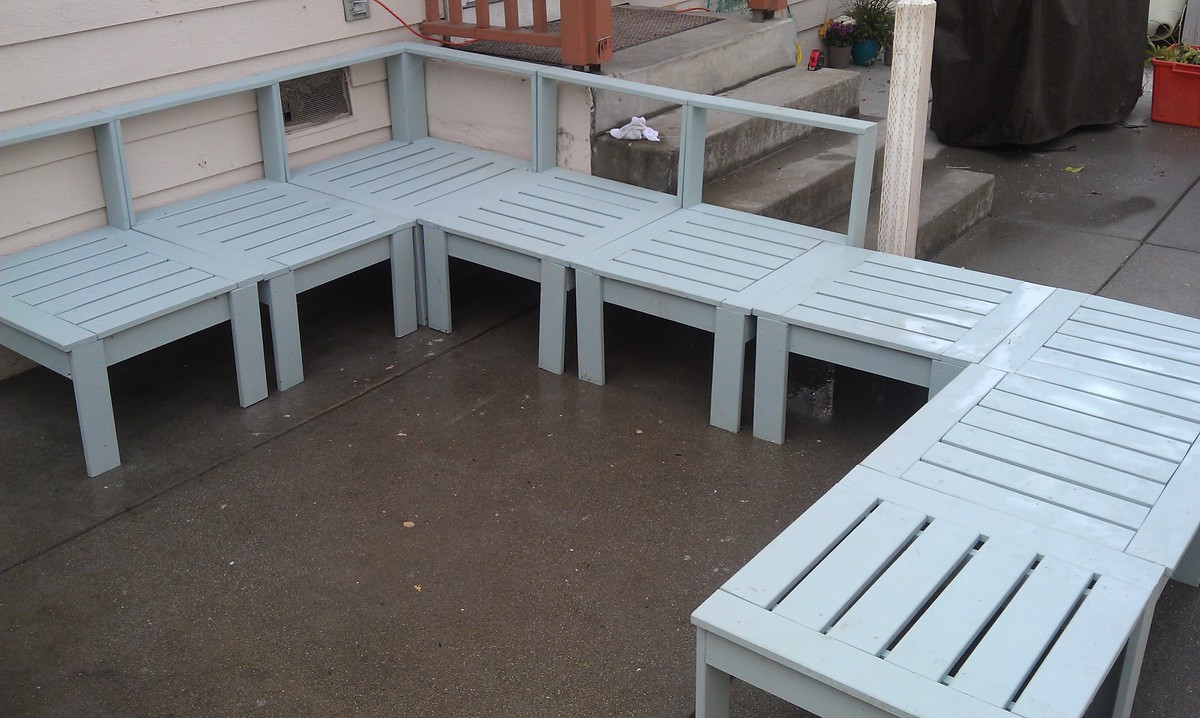
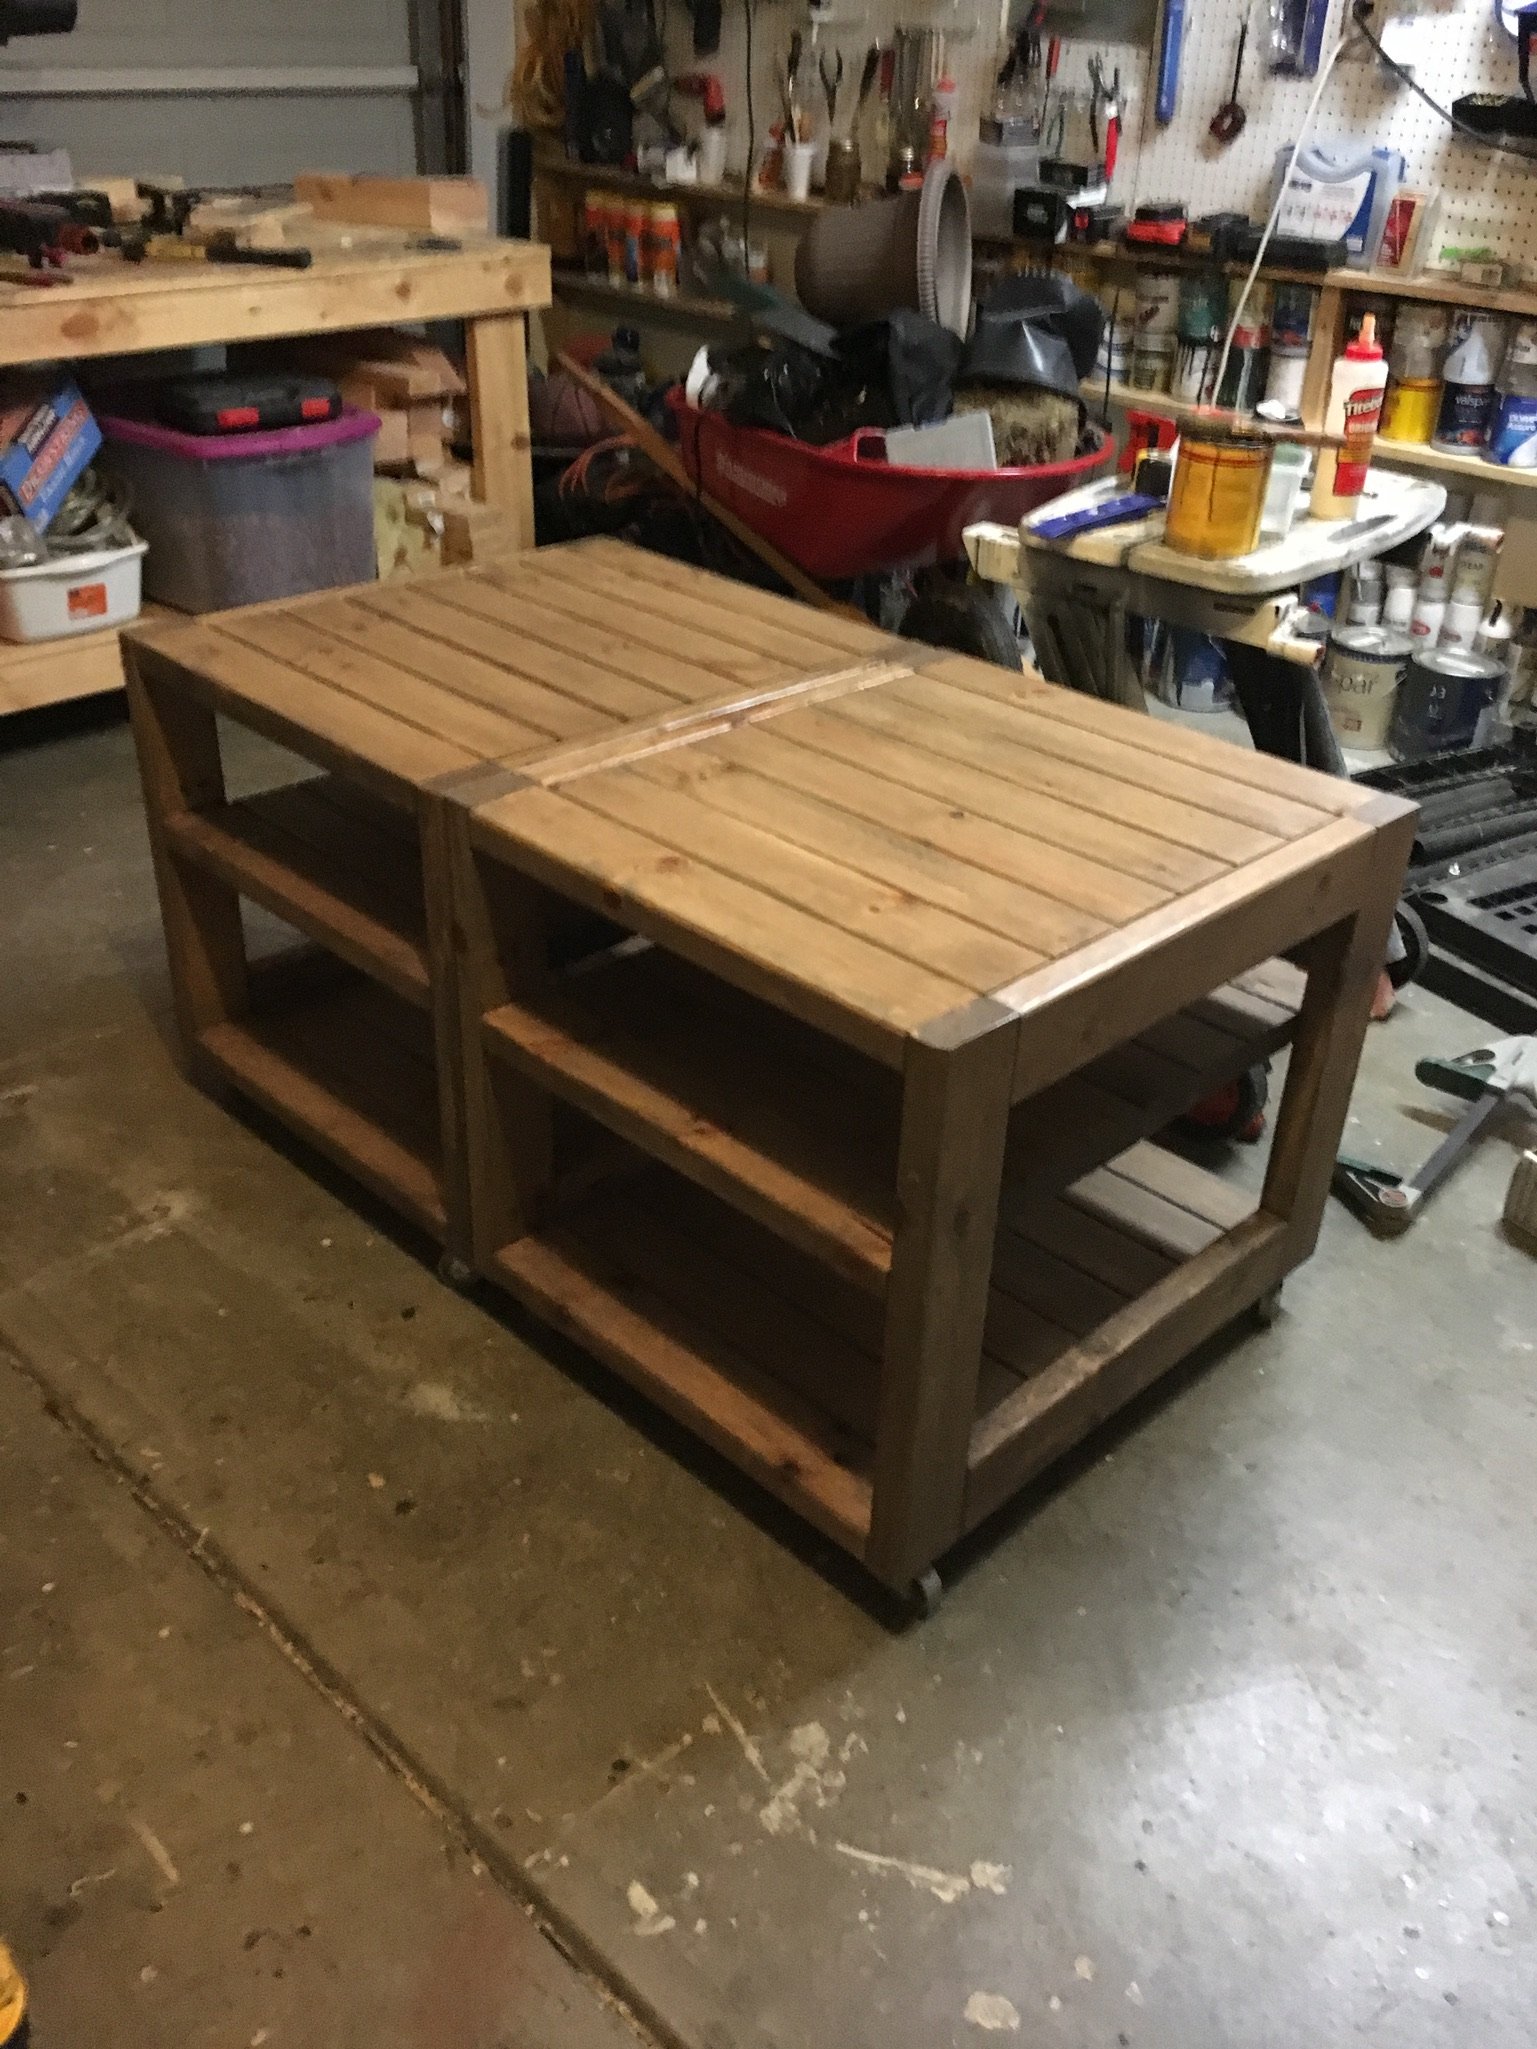
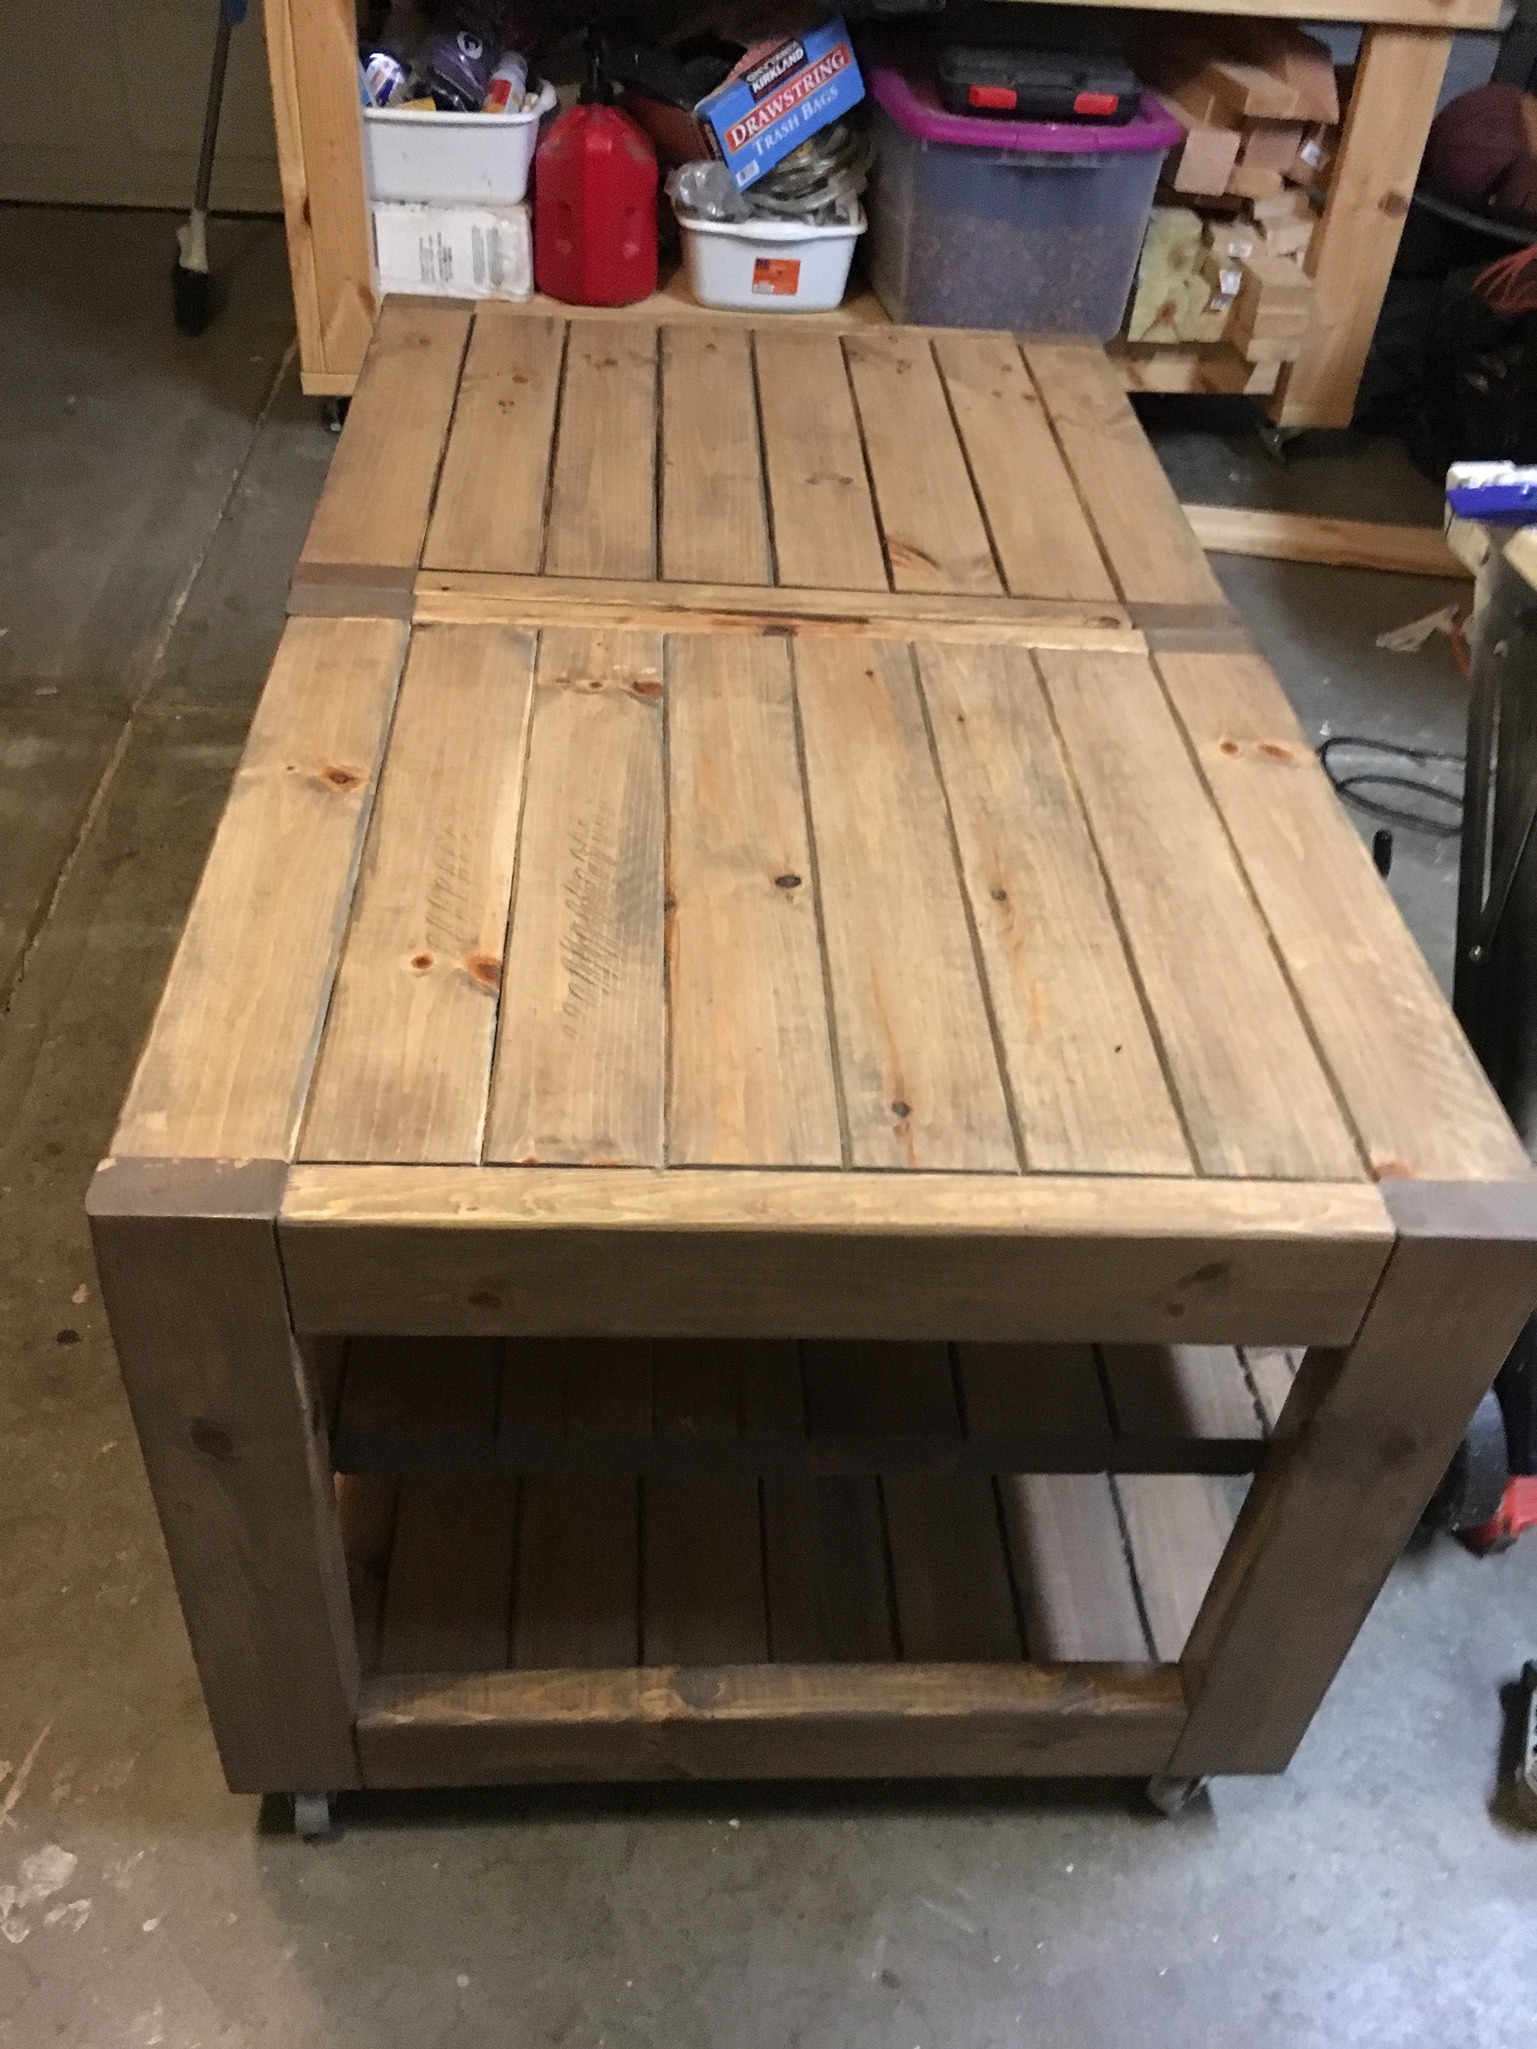
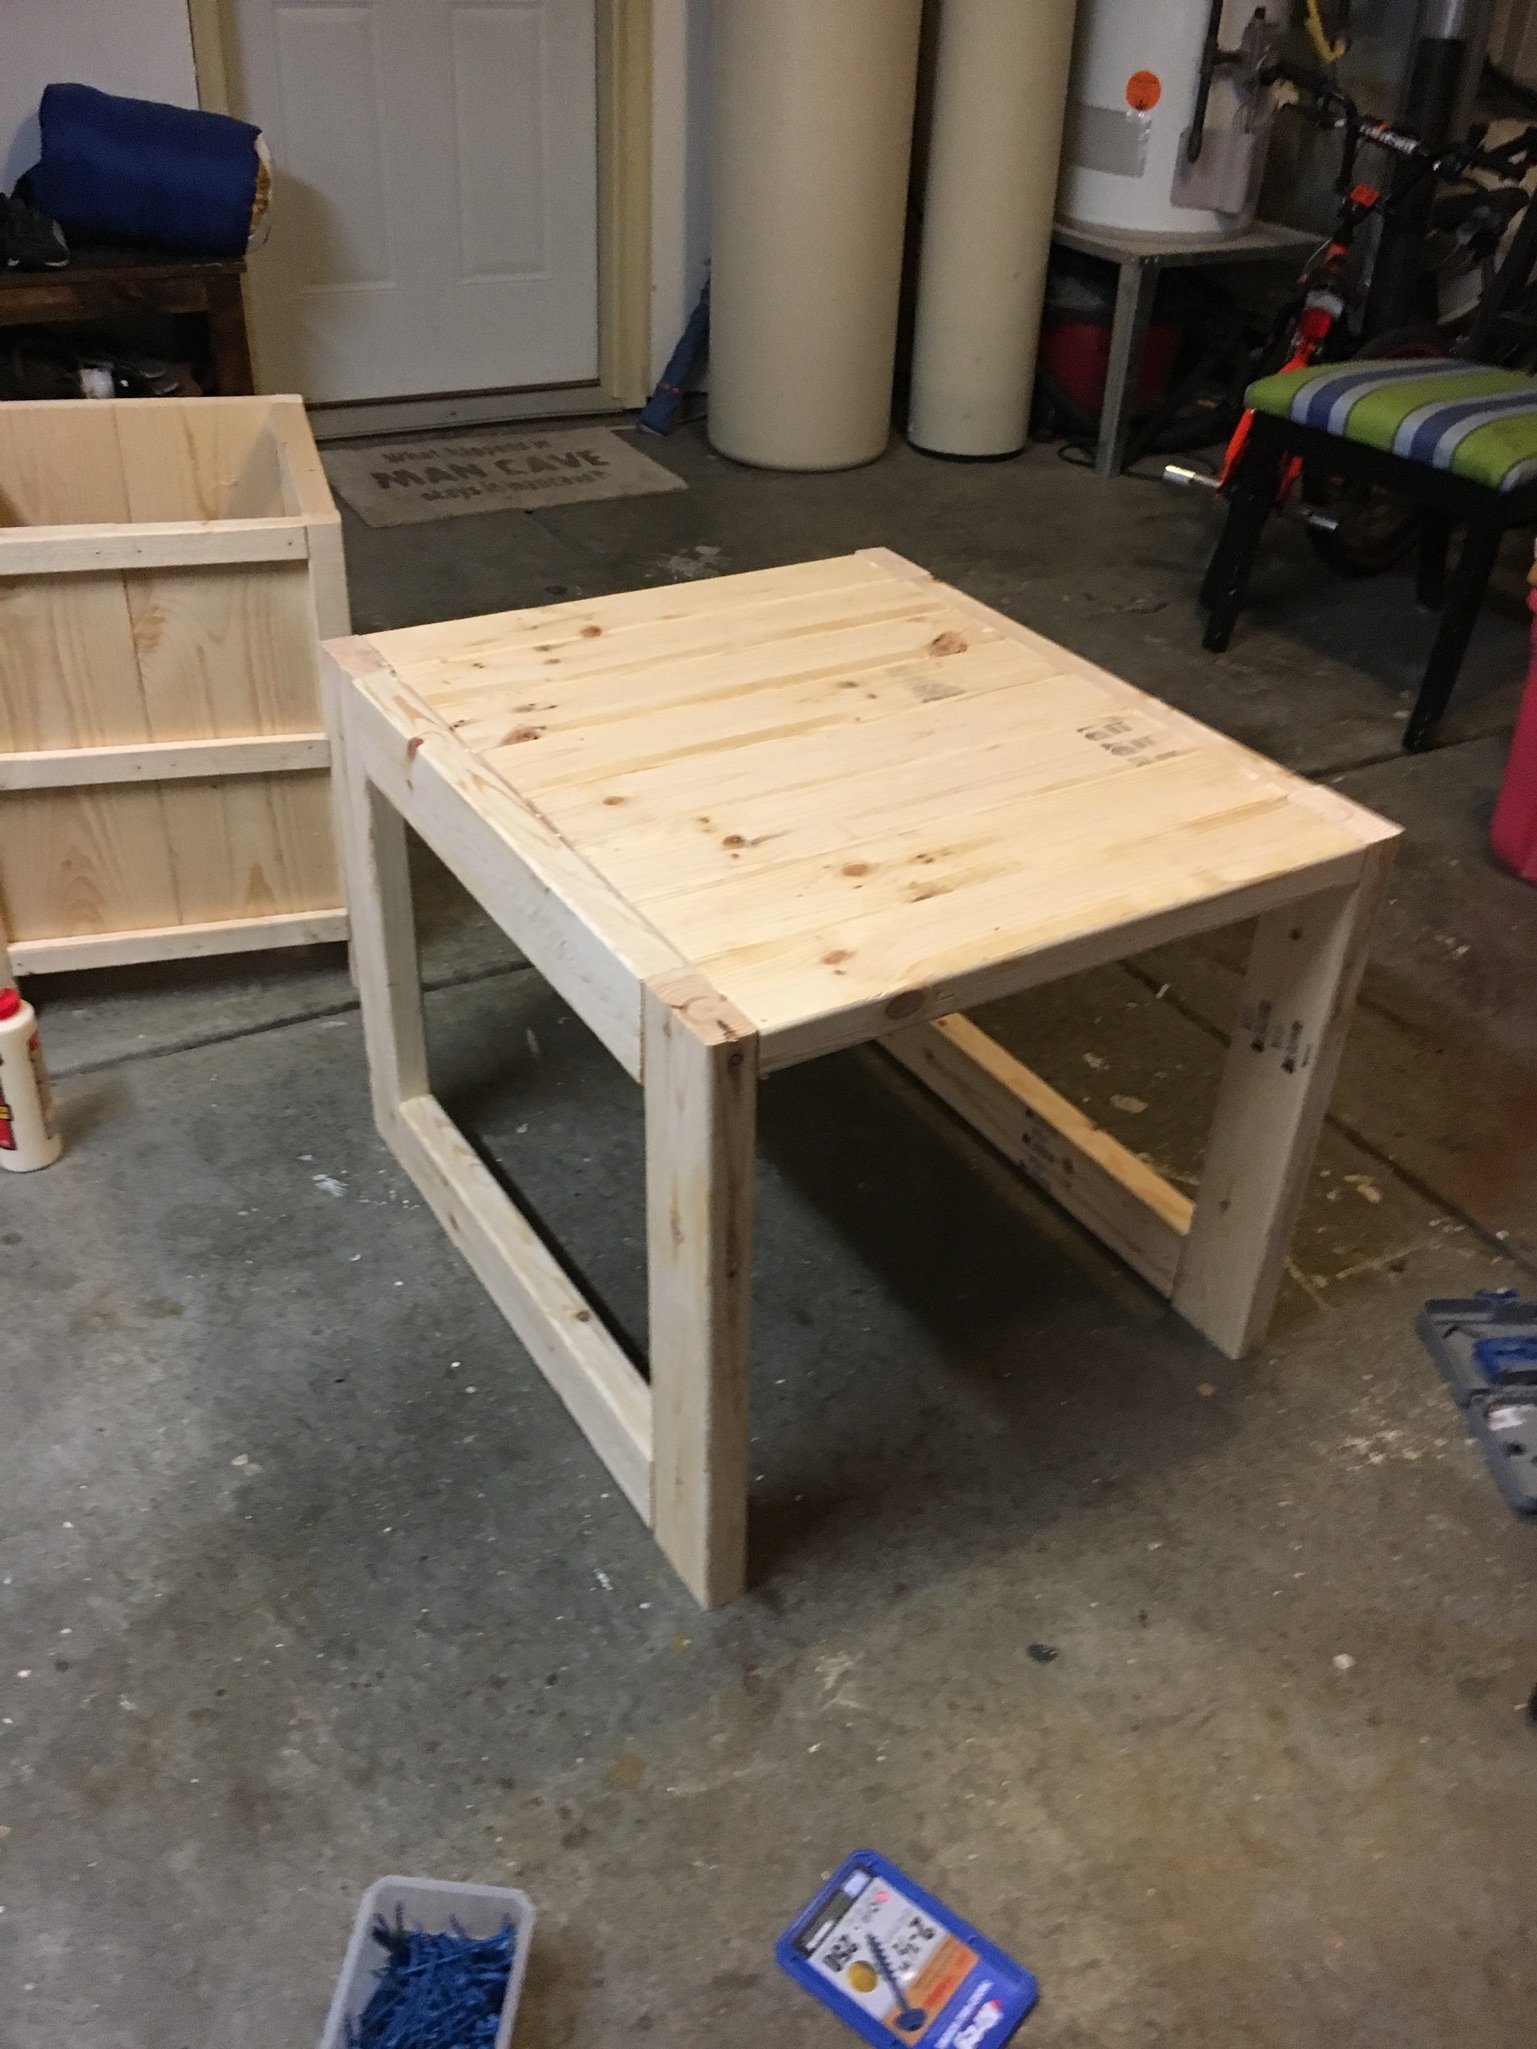
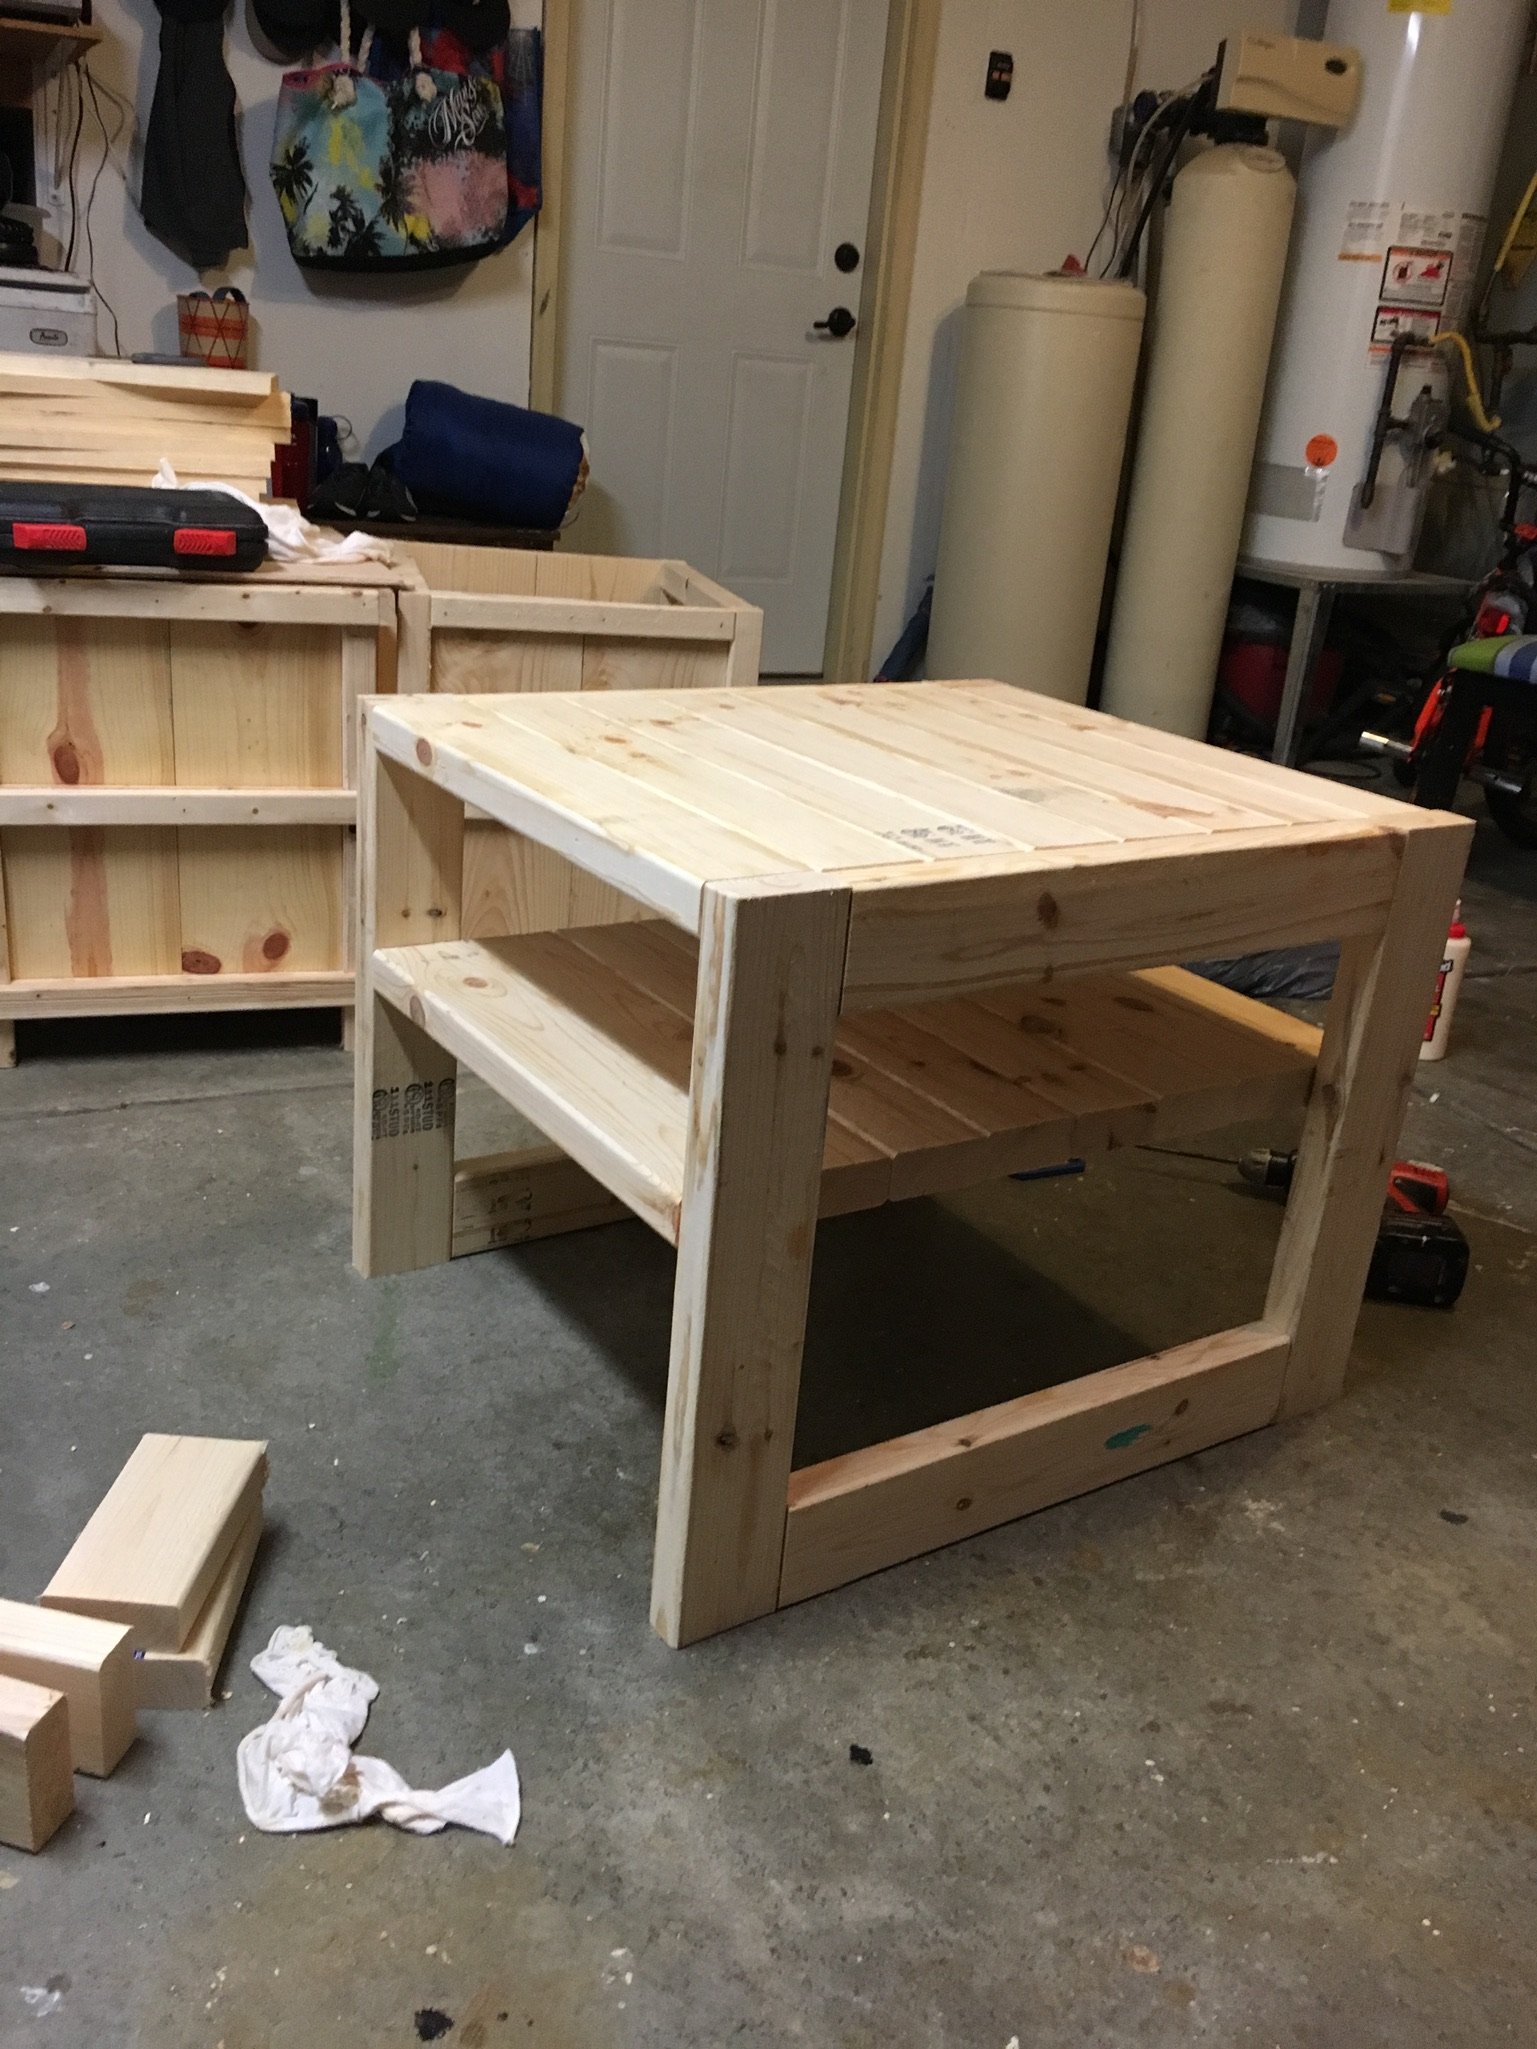
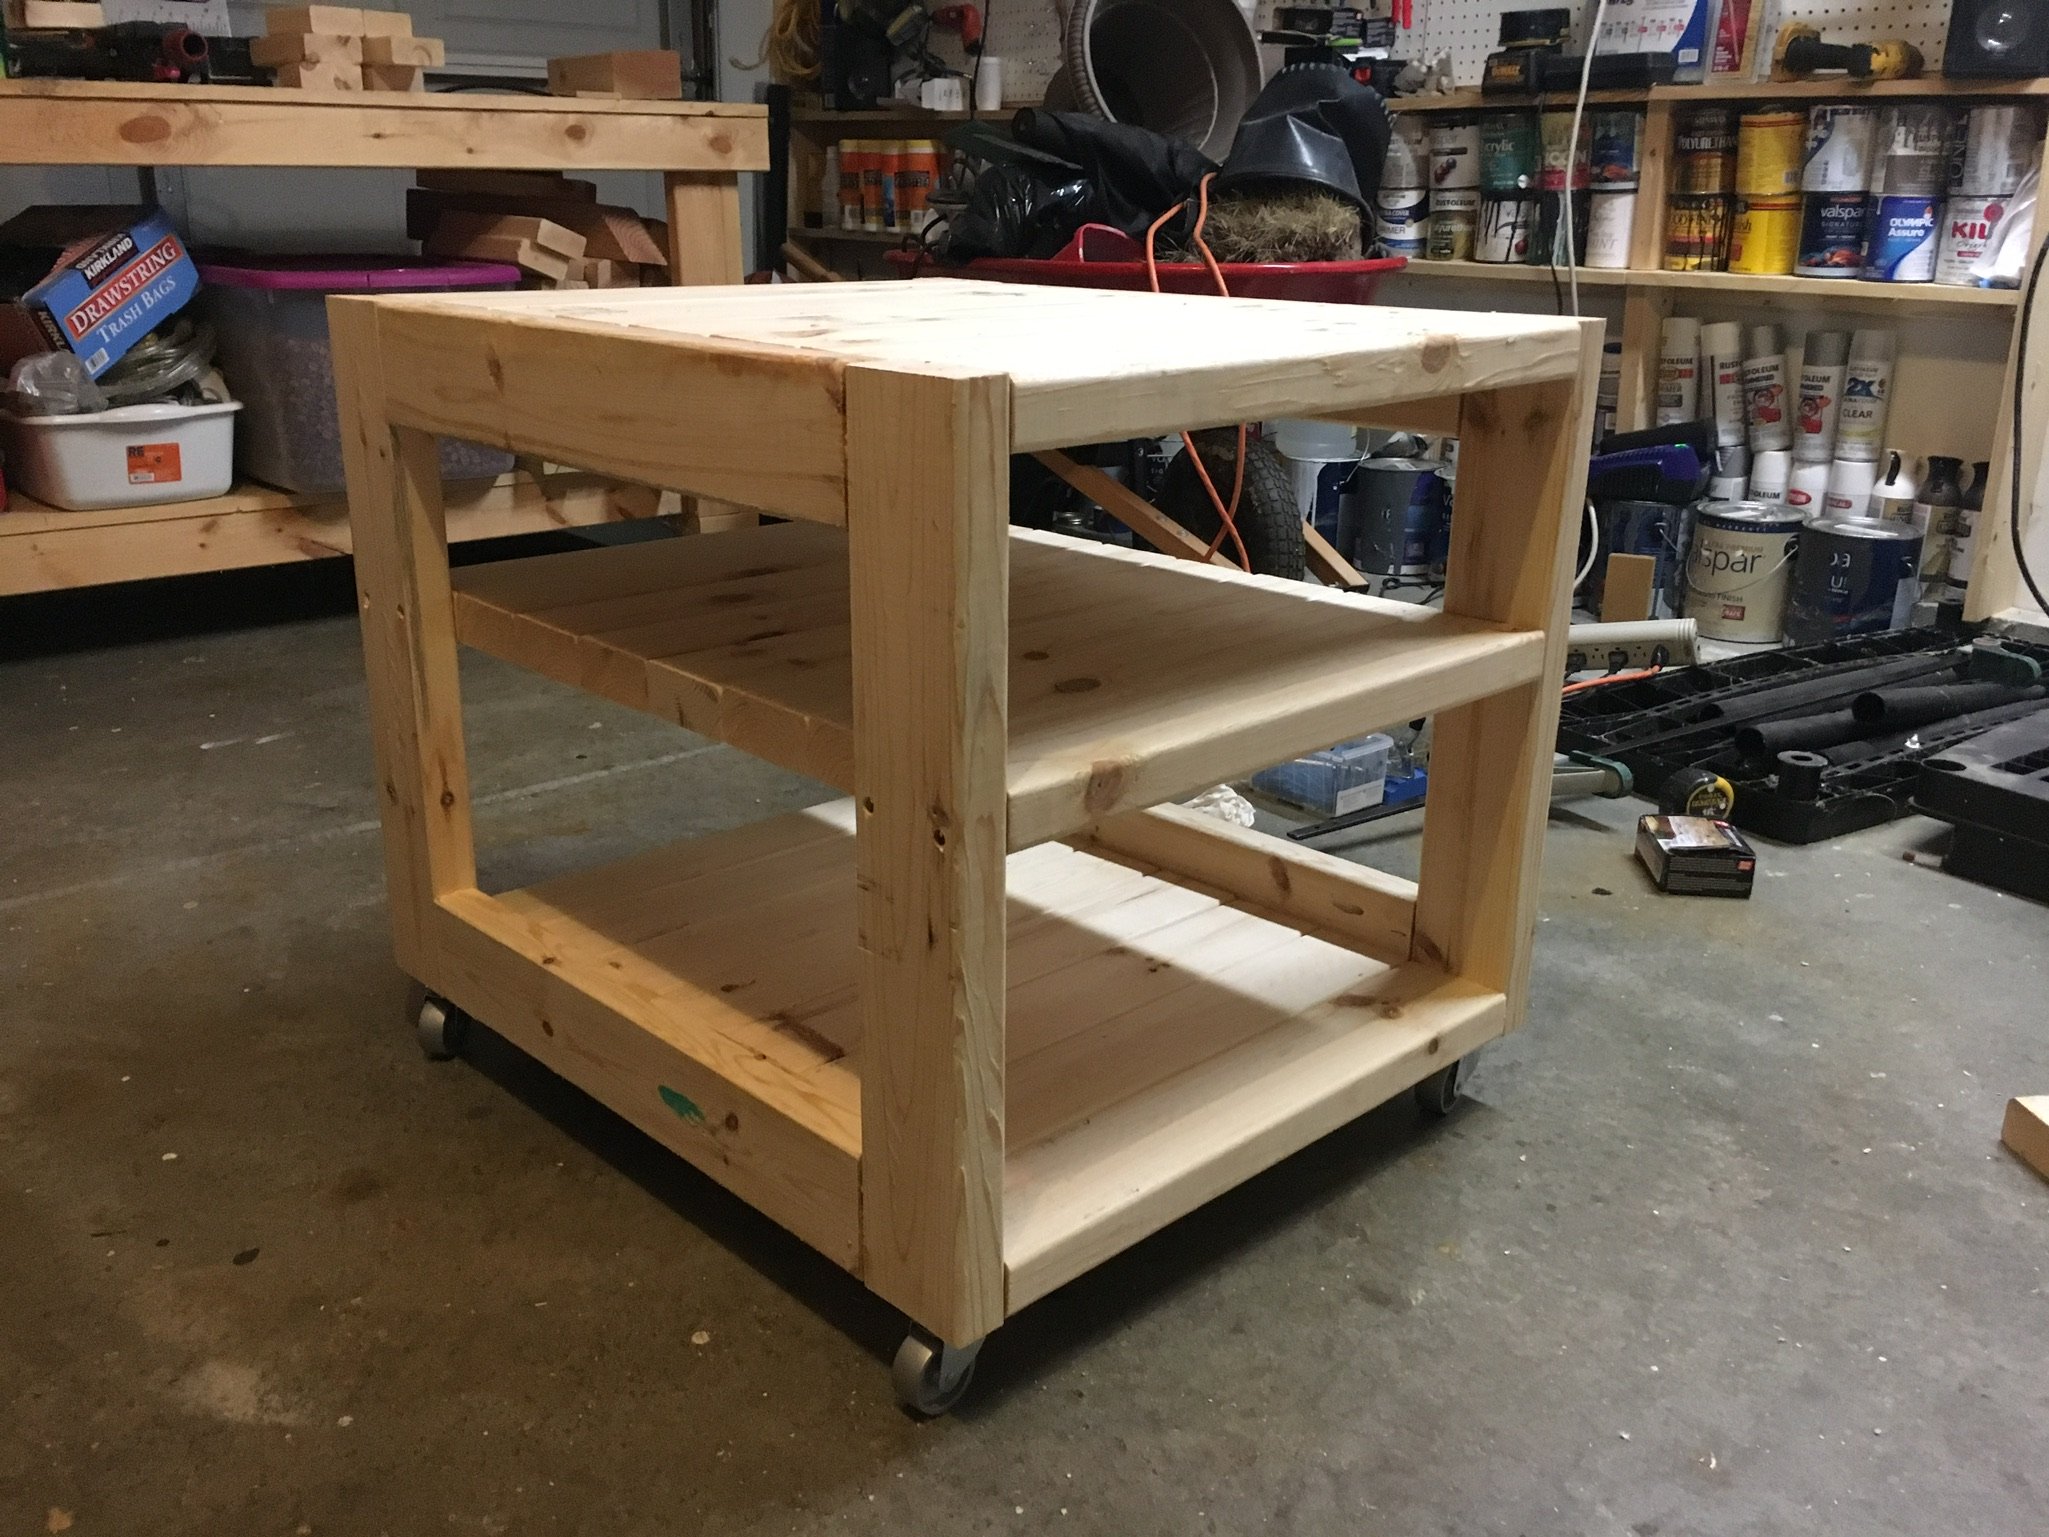
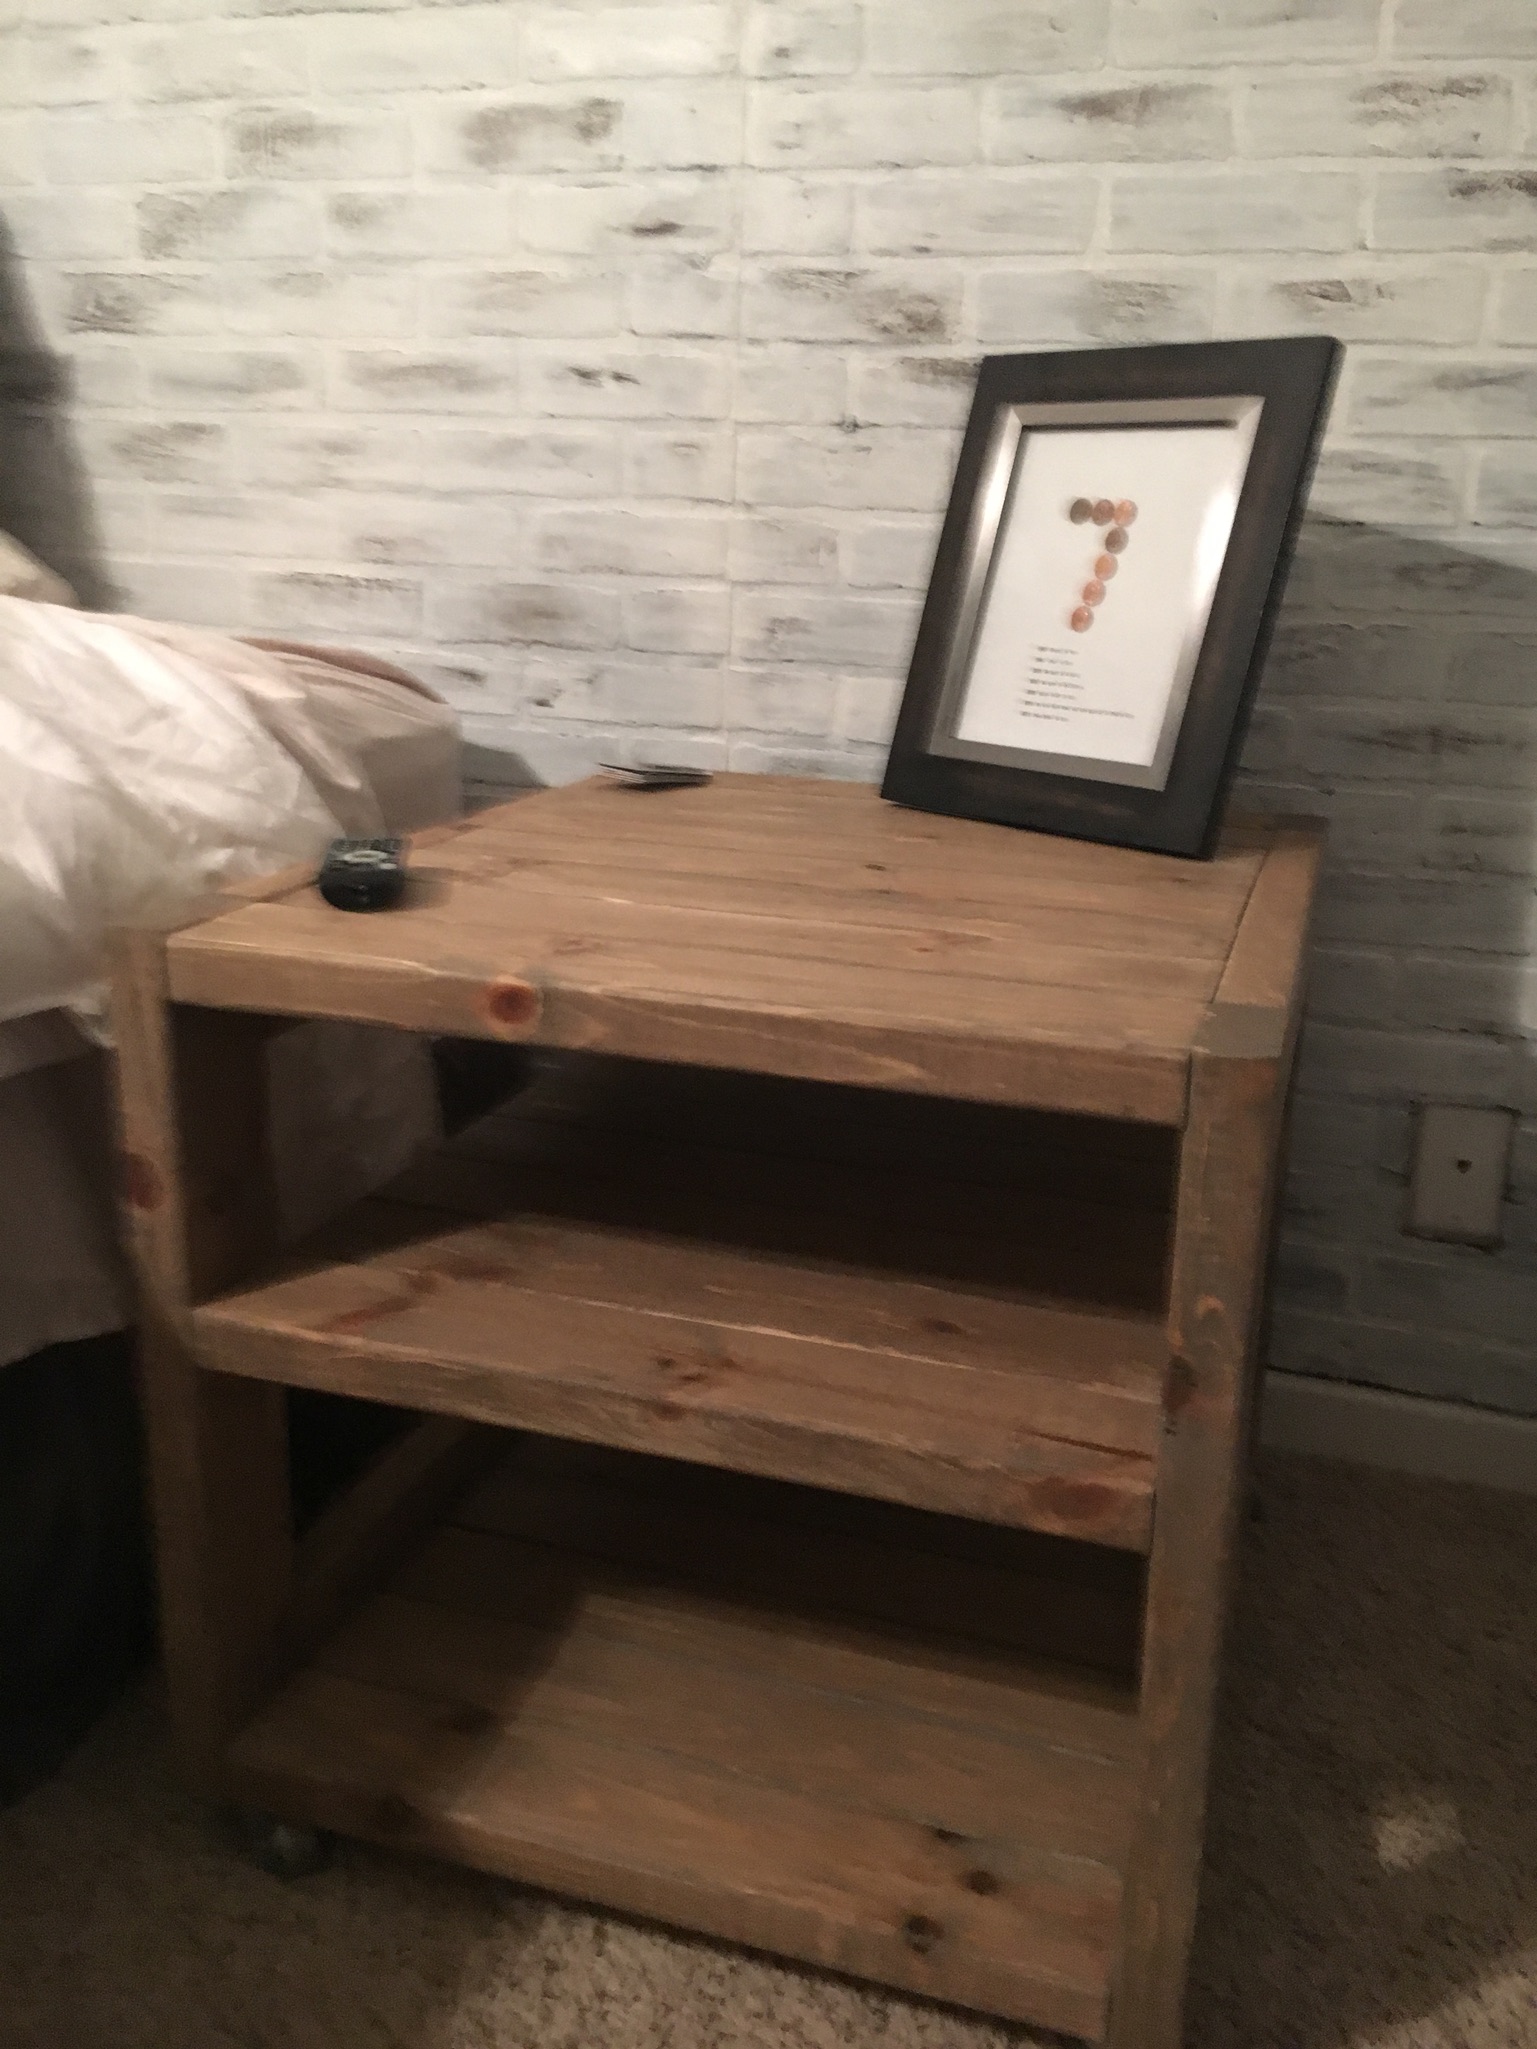
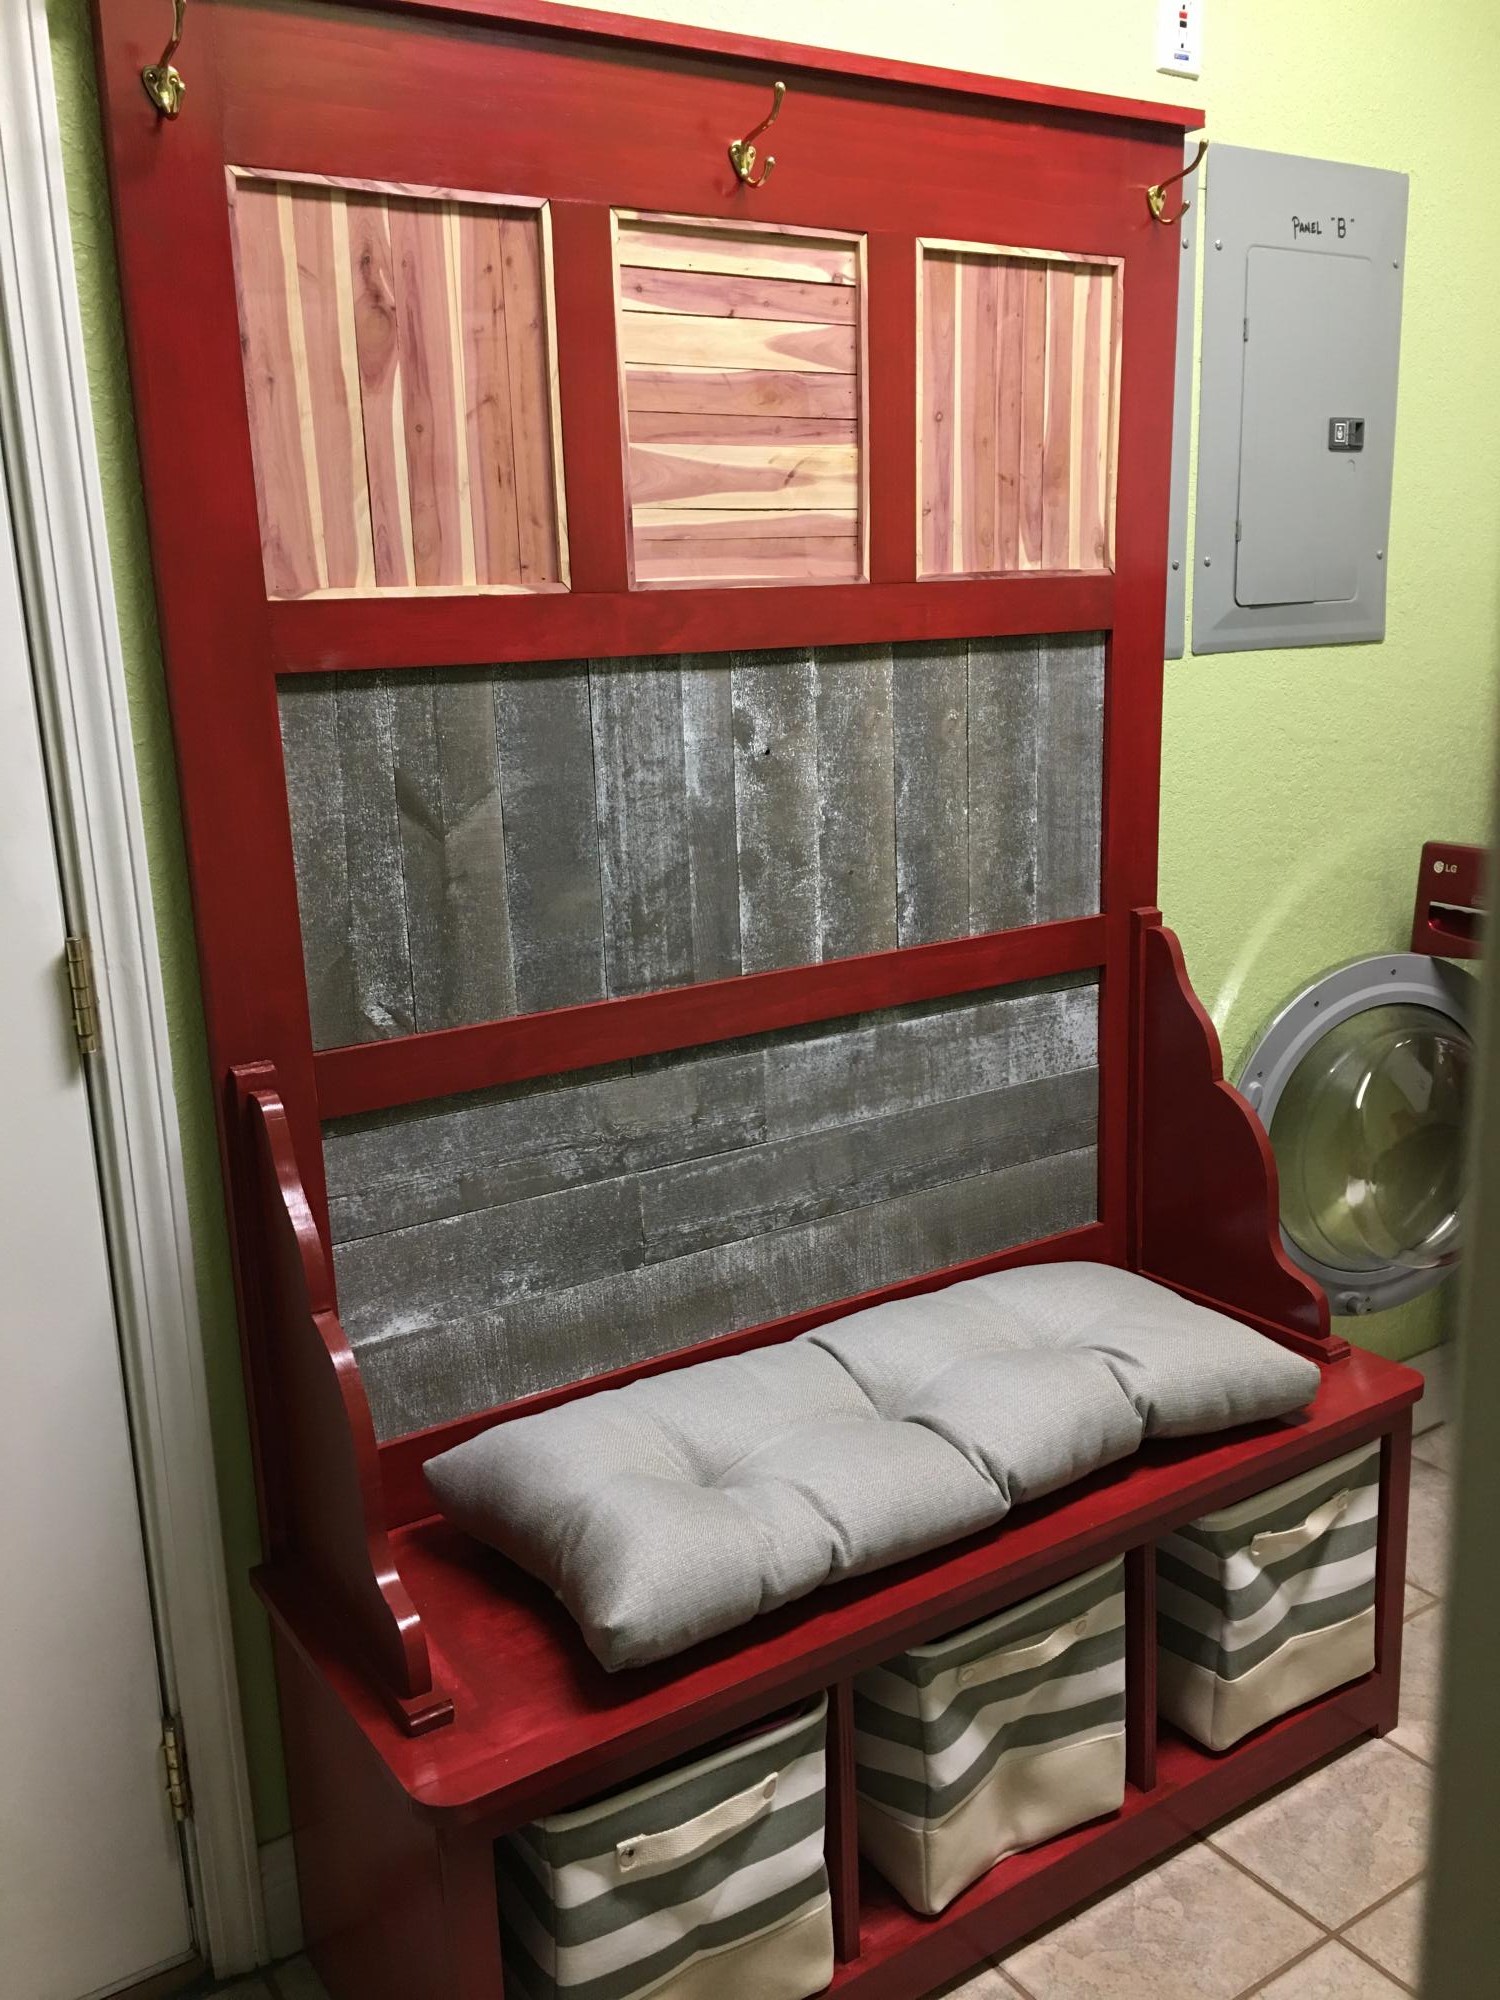
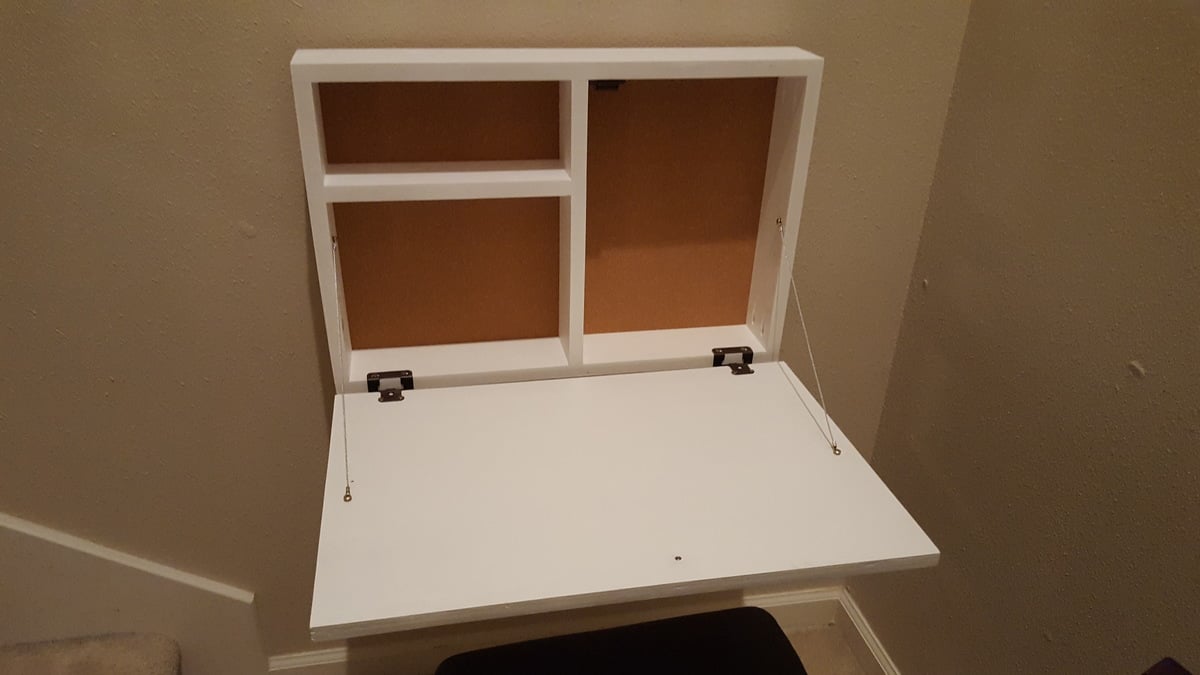
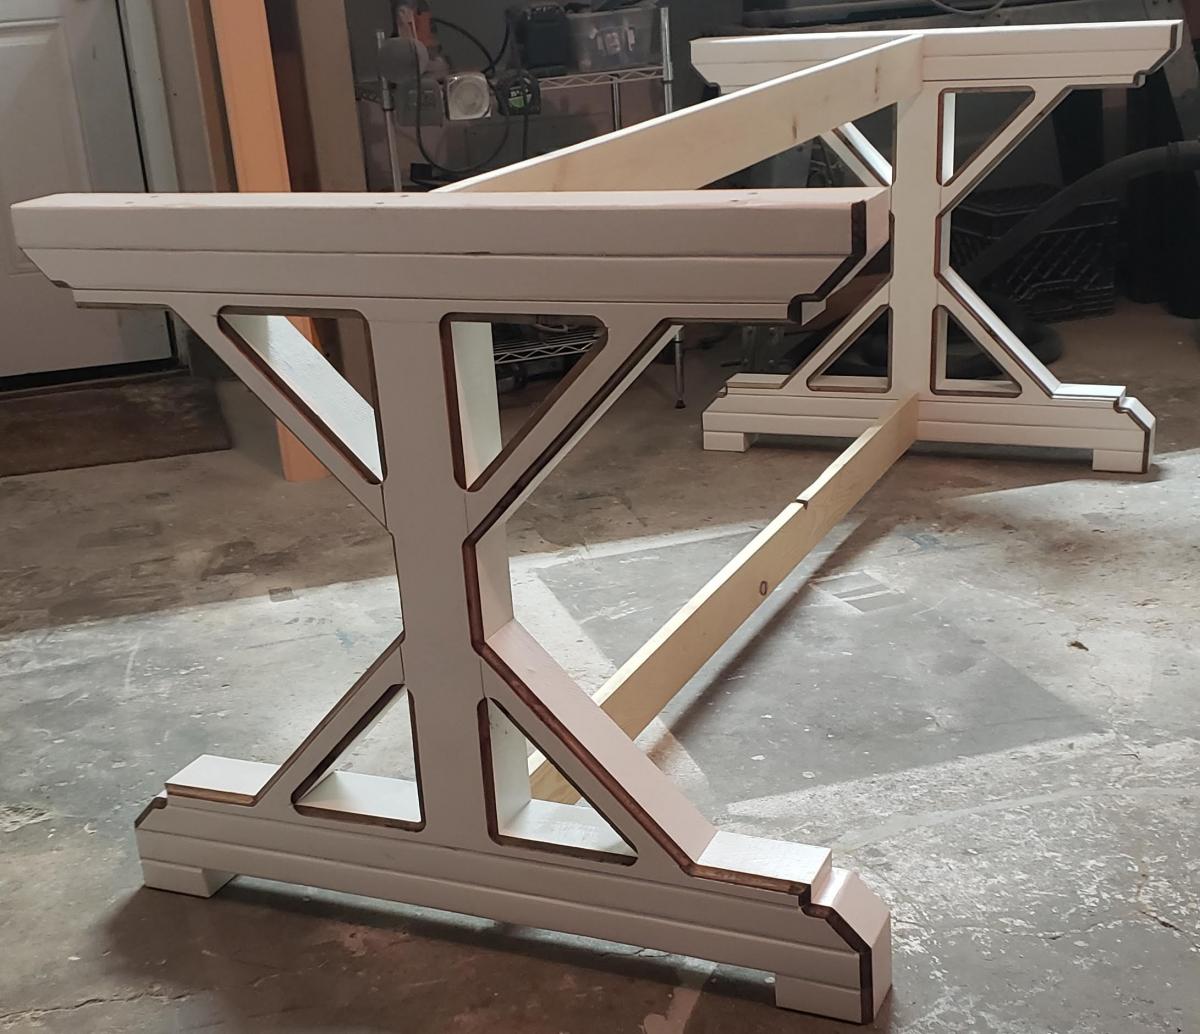
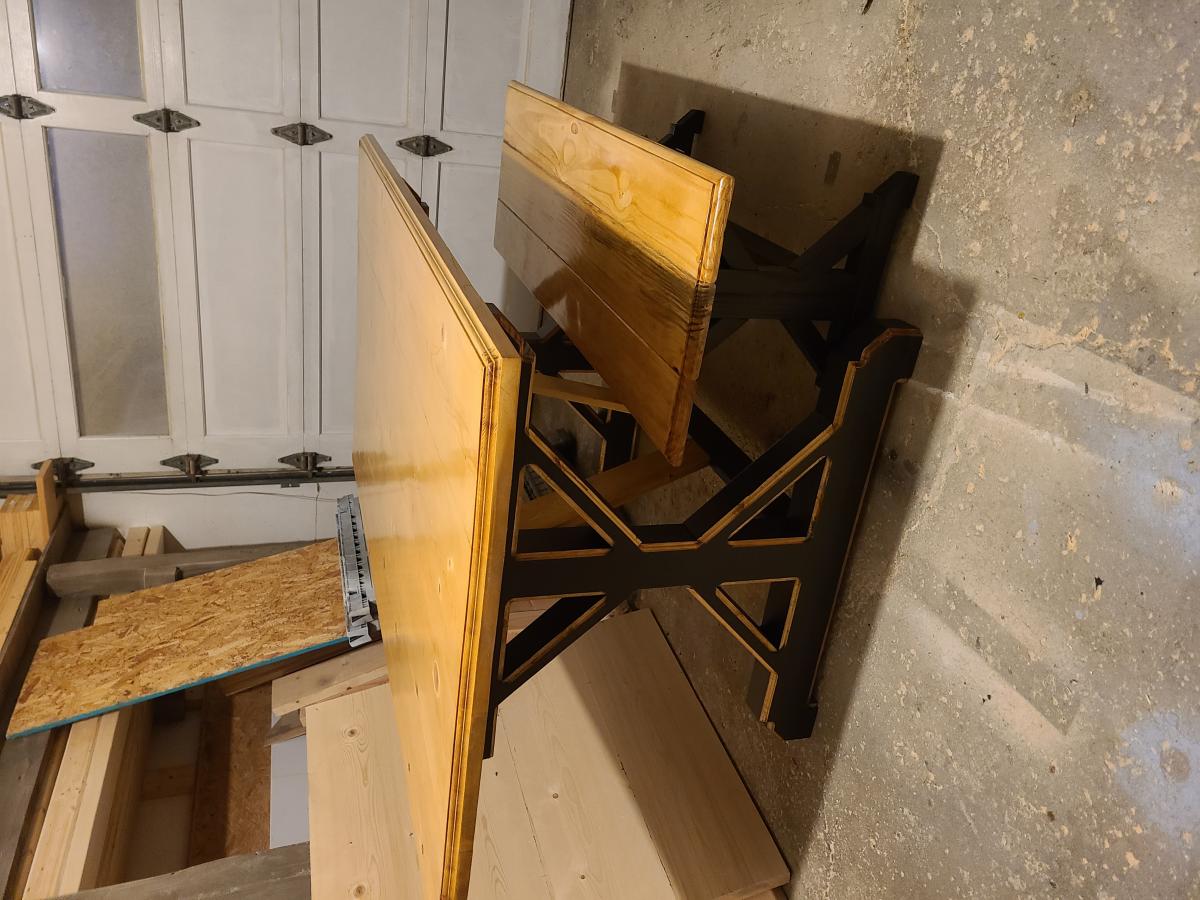
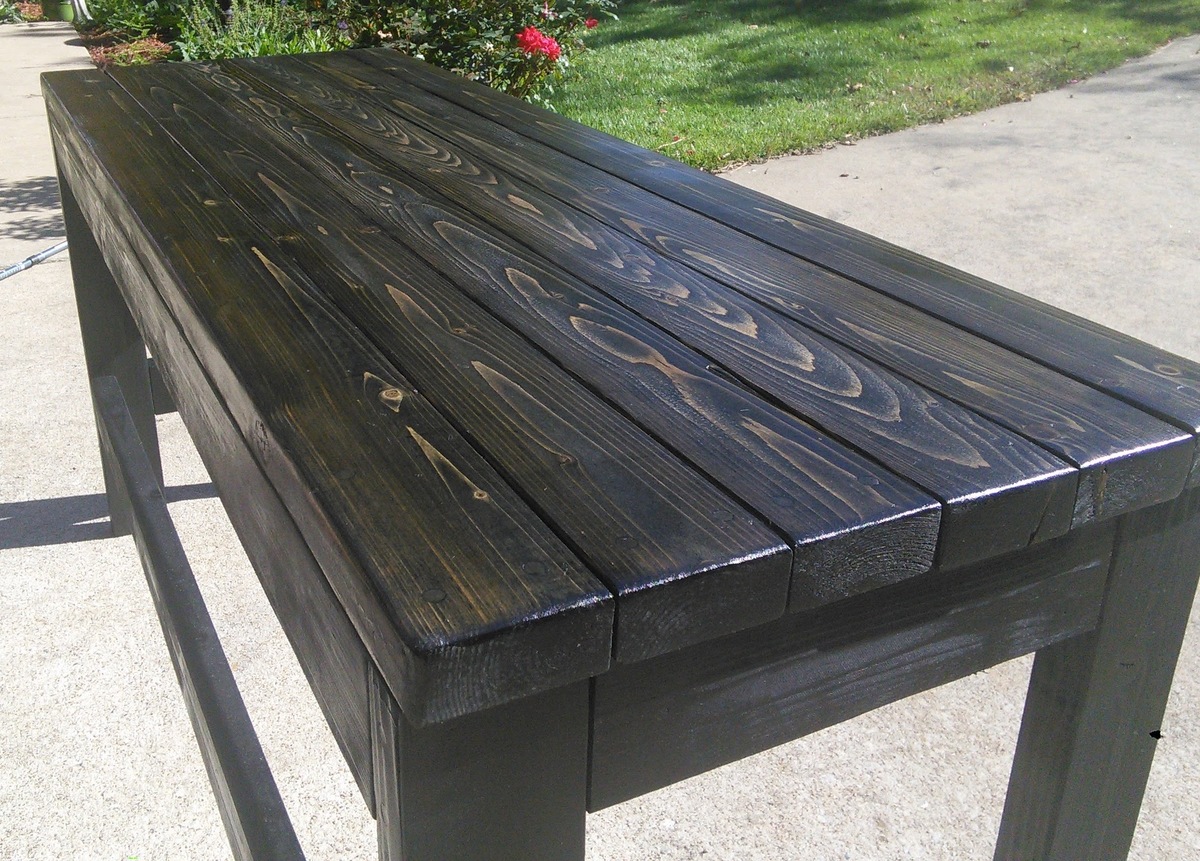
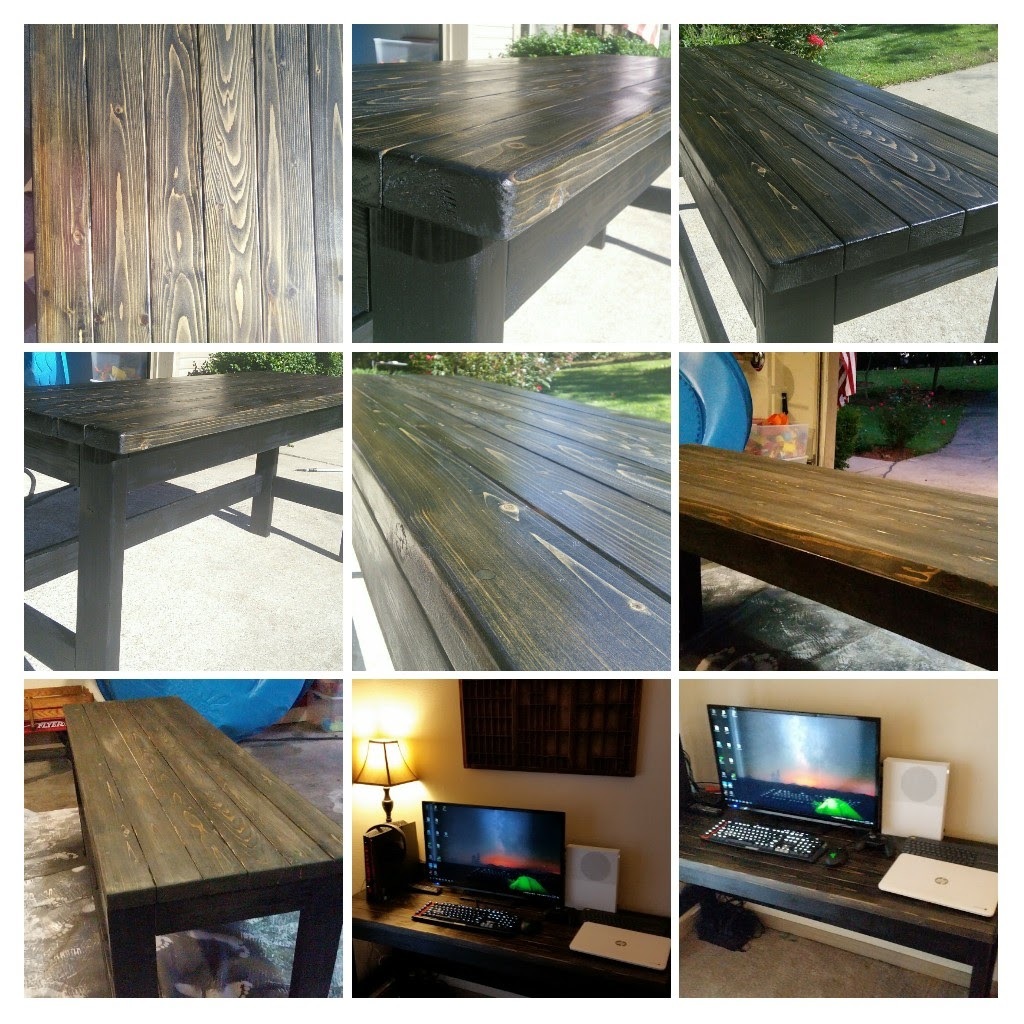
Enjoying my new desk
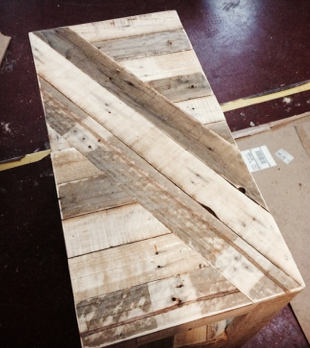
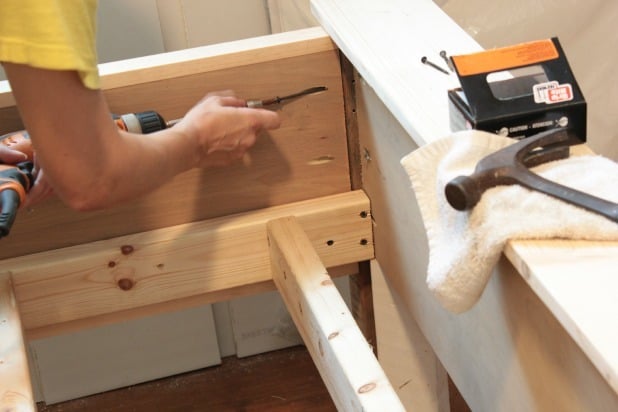
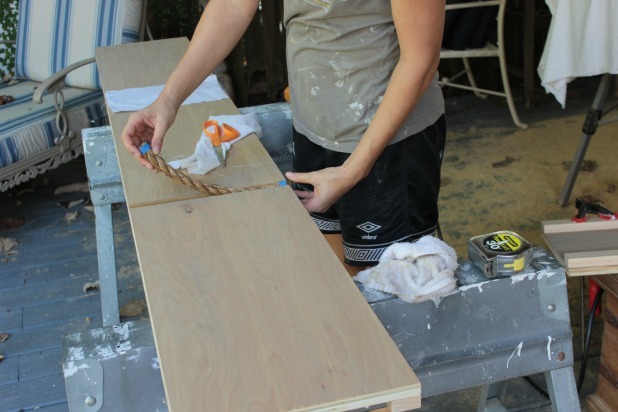
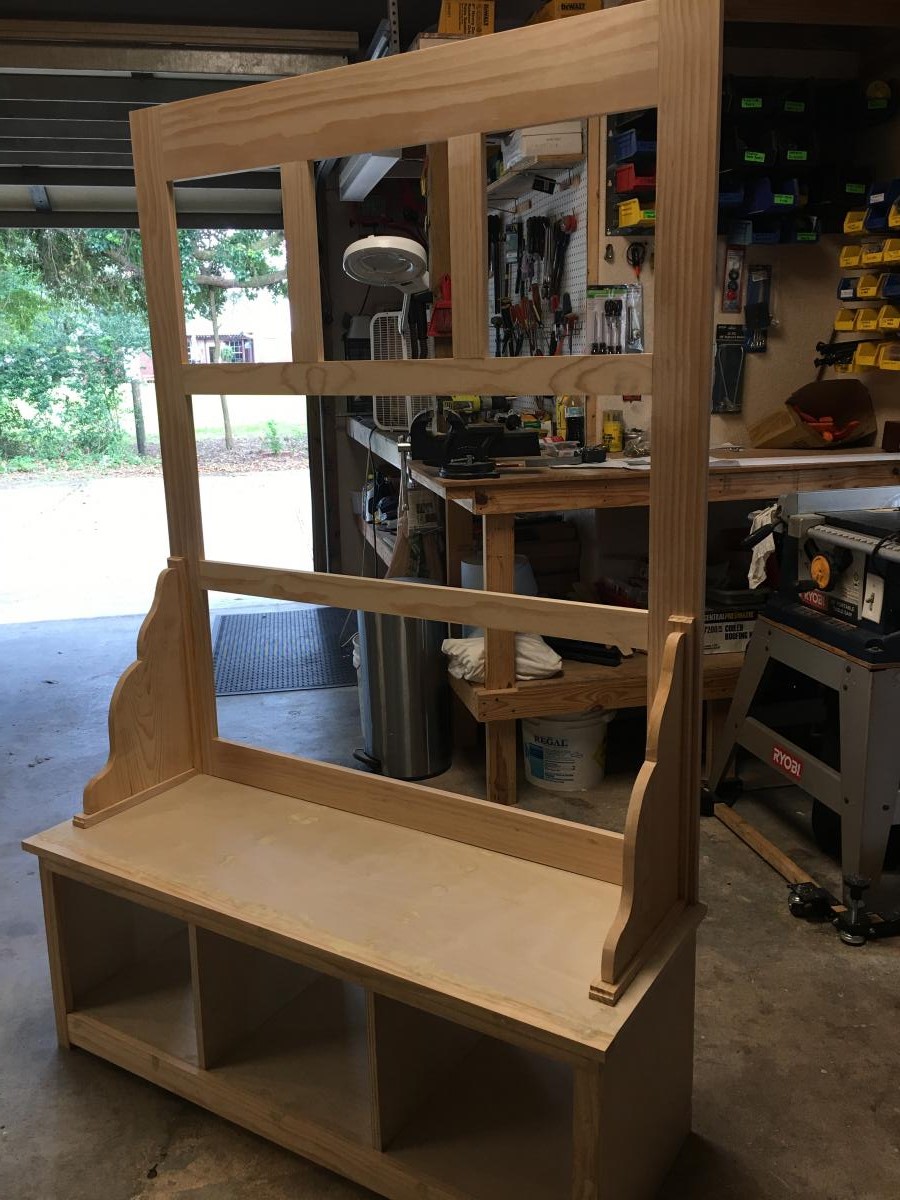
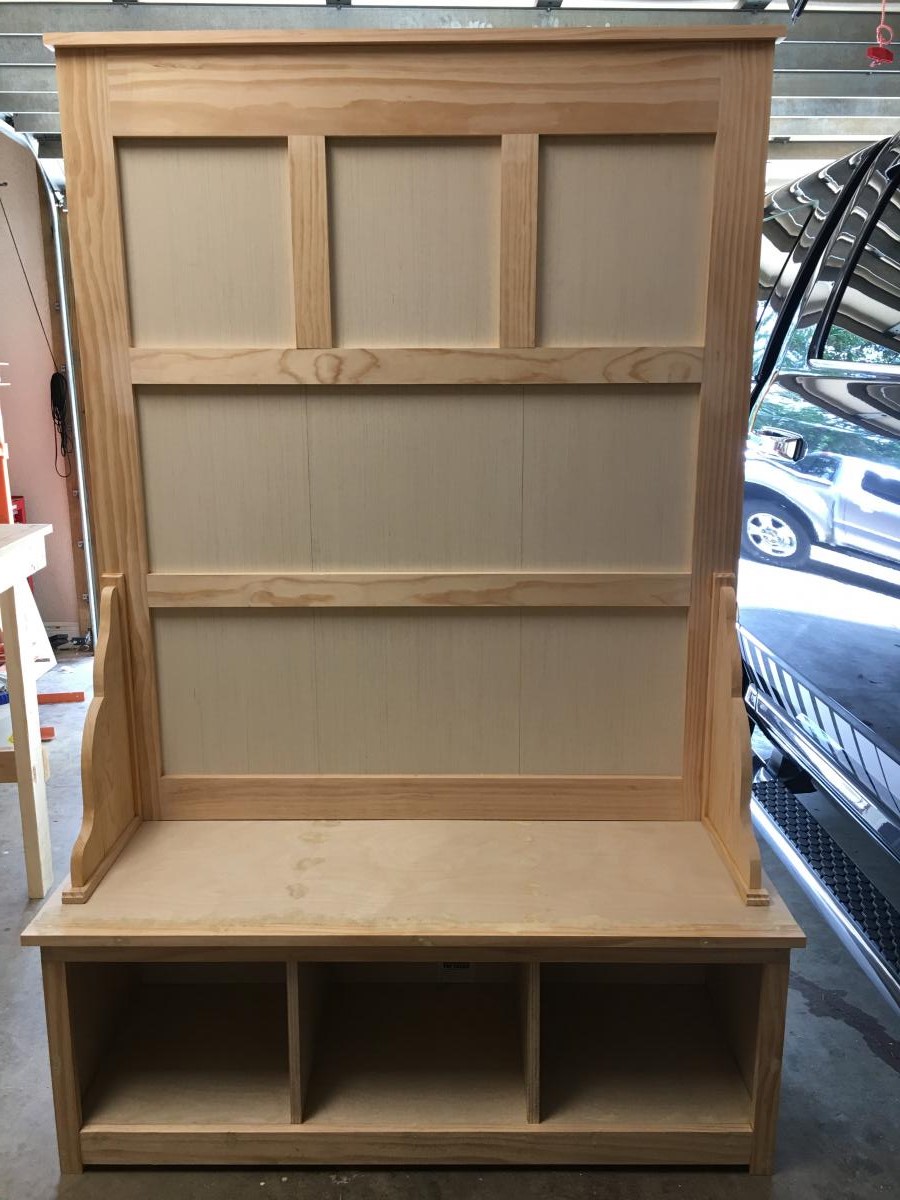
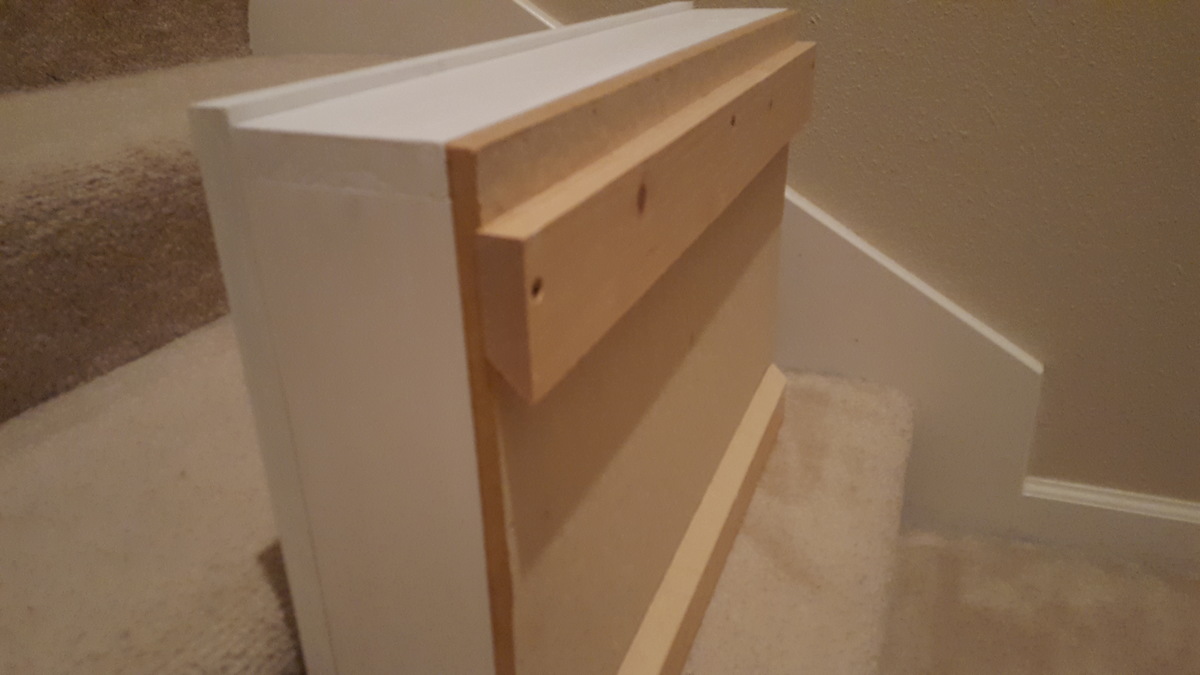
Took 2.5 hrs to cut, fasten and sand, and approximately 24-48 hrs to paint, stain and poly.
This has been a very rewarding project. Now I have people comissioning work!
Thanks for the plans
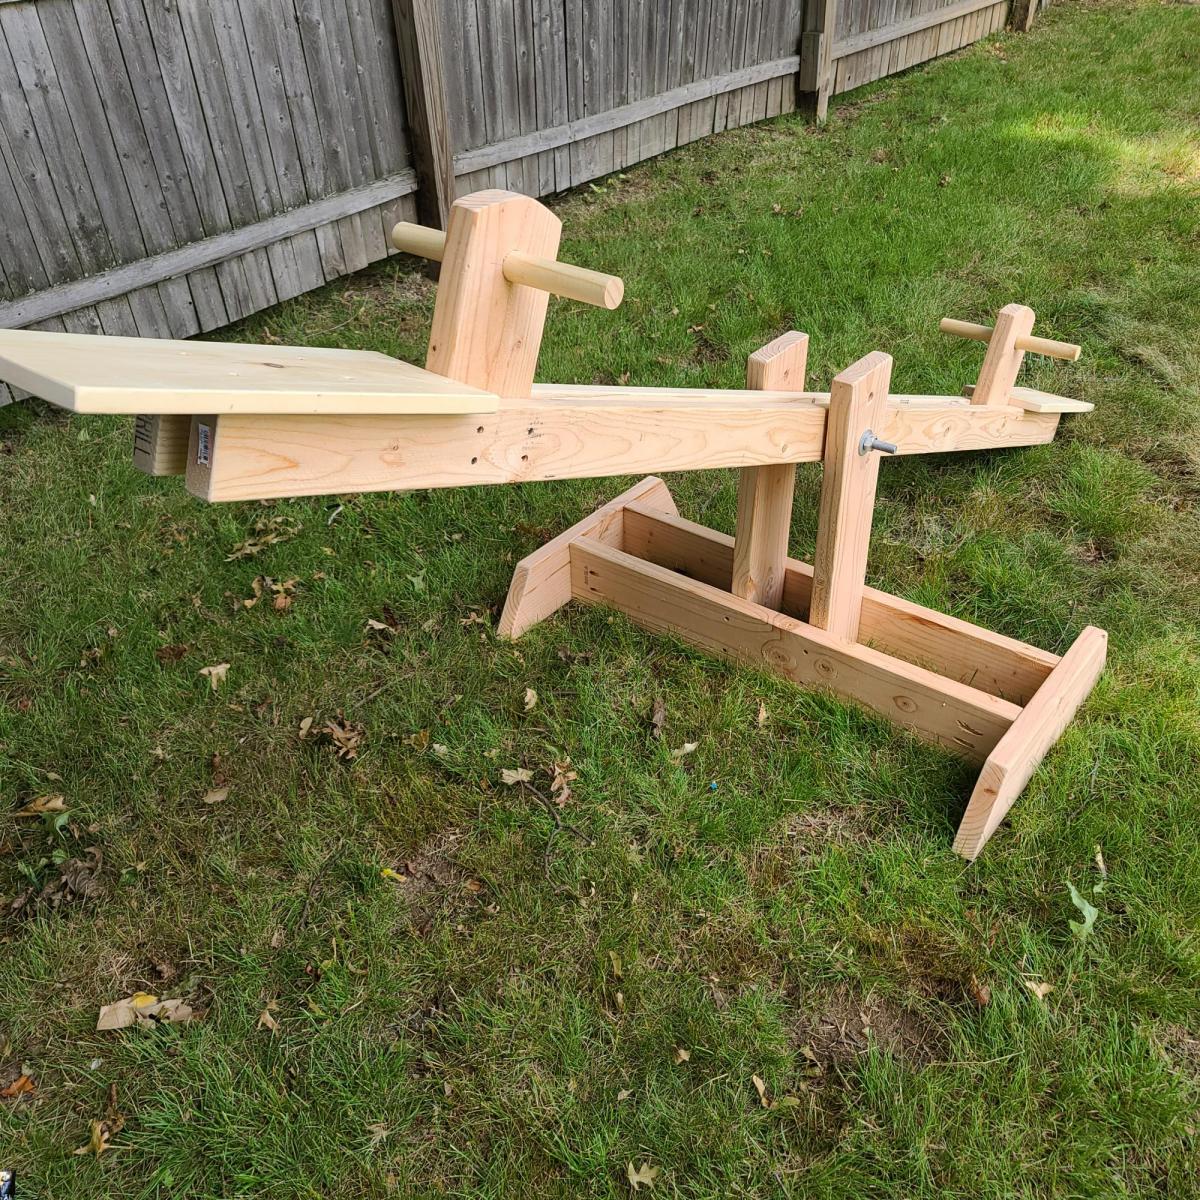
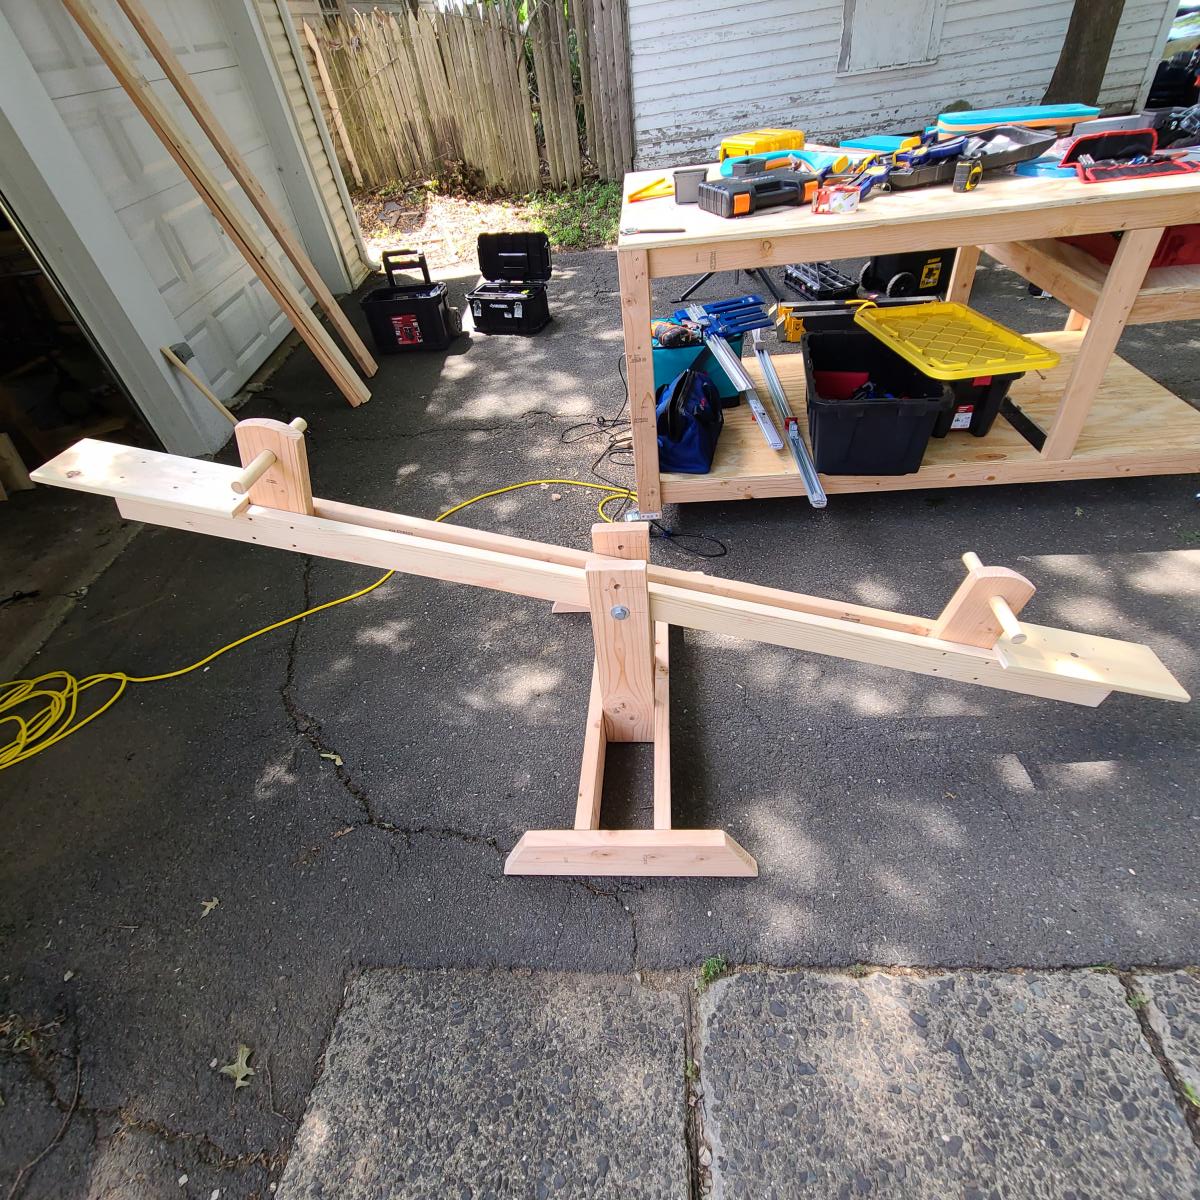
Built from Plan(s)
Estimated Cost
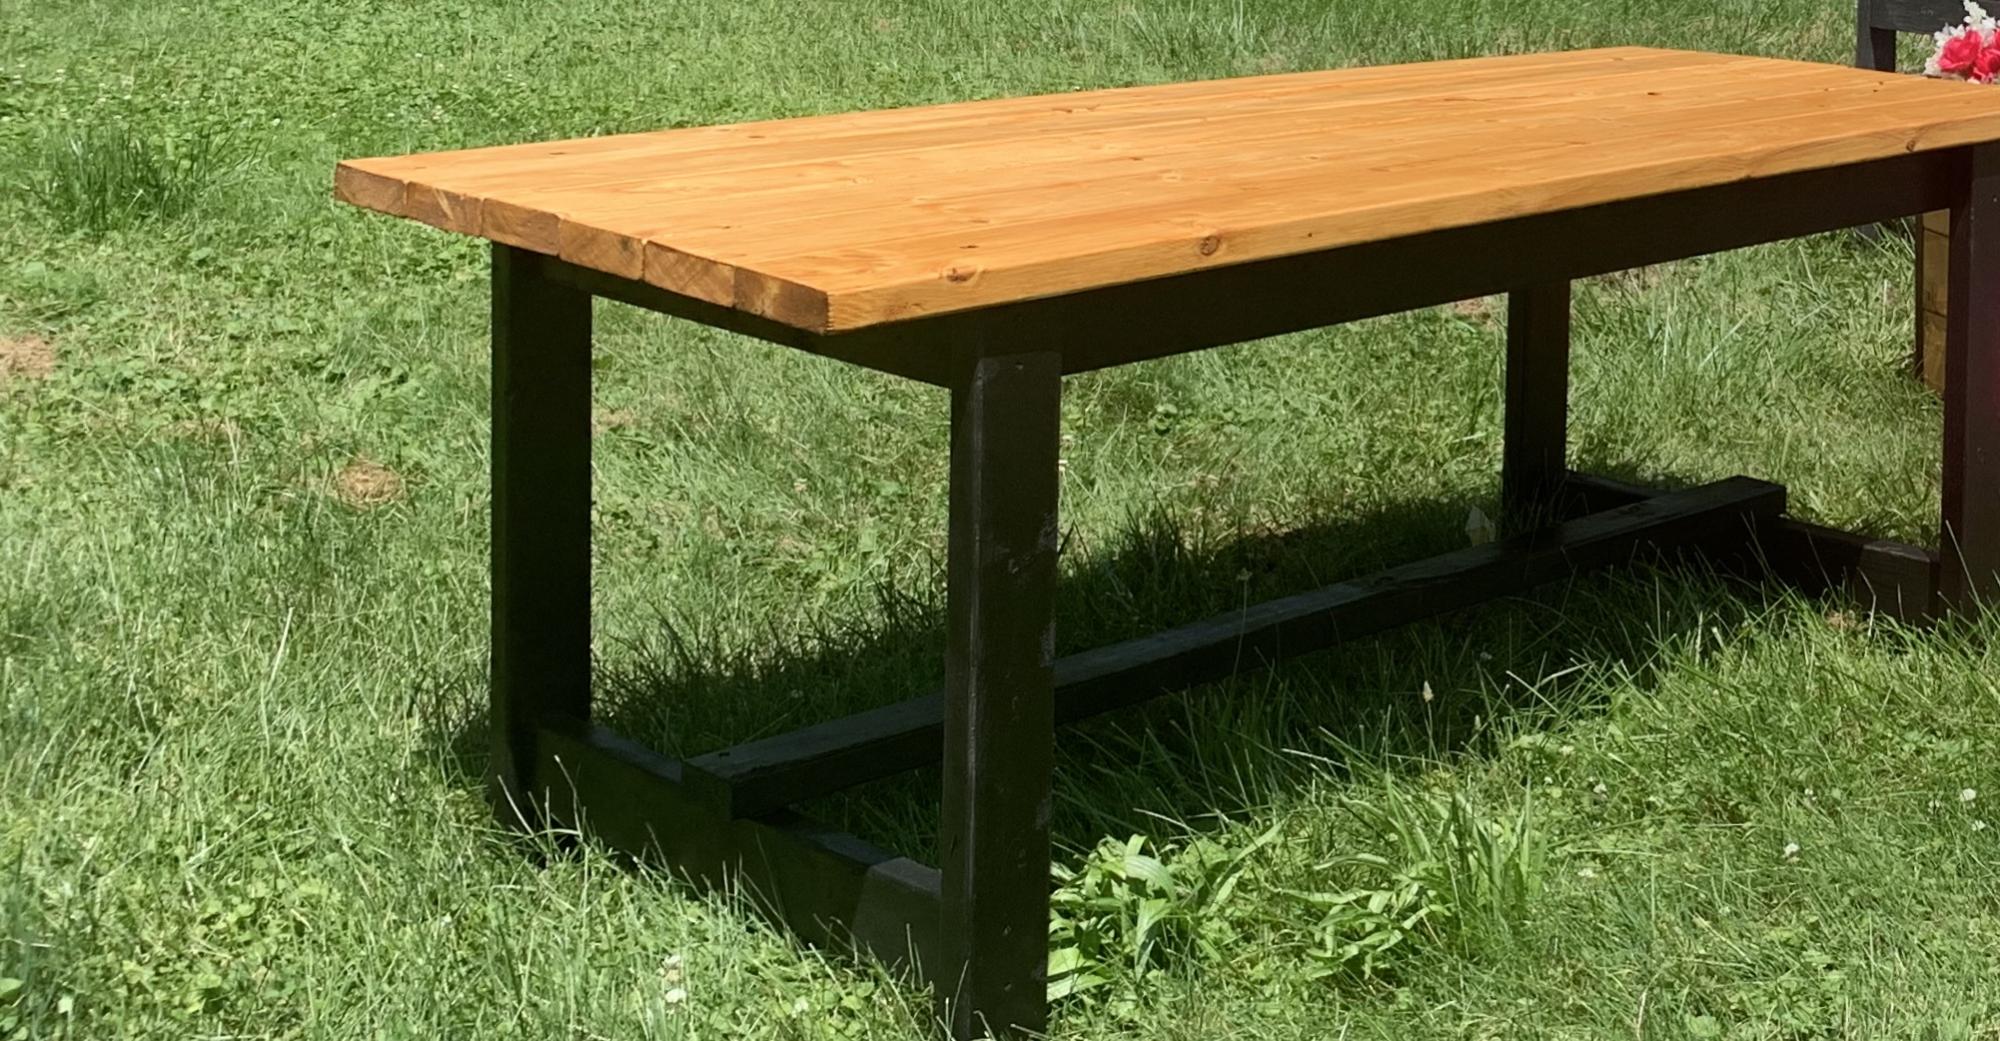
Wood: Fur 28$
Paint: $15
Stain: $5
Polyeurethane: $5
Screws: $9.50
Paint: $15
Stain: $5
Polyeurethane: $5
Screws: $9.50
Estimated Time Investment
Weekend Project (10-20 Hours)
Finish Used
Paint, and Dark Walnut Stain, polyurethane
Recommended Skill Level
Intermediate