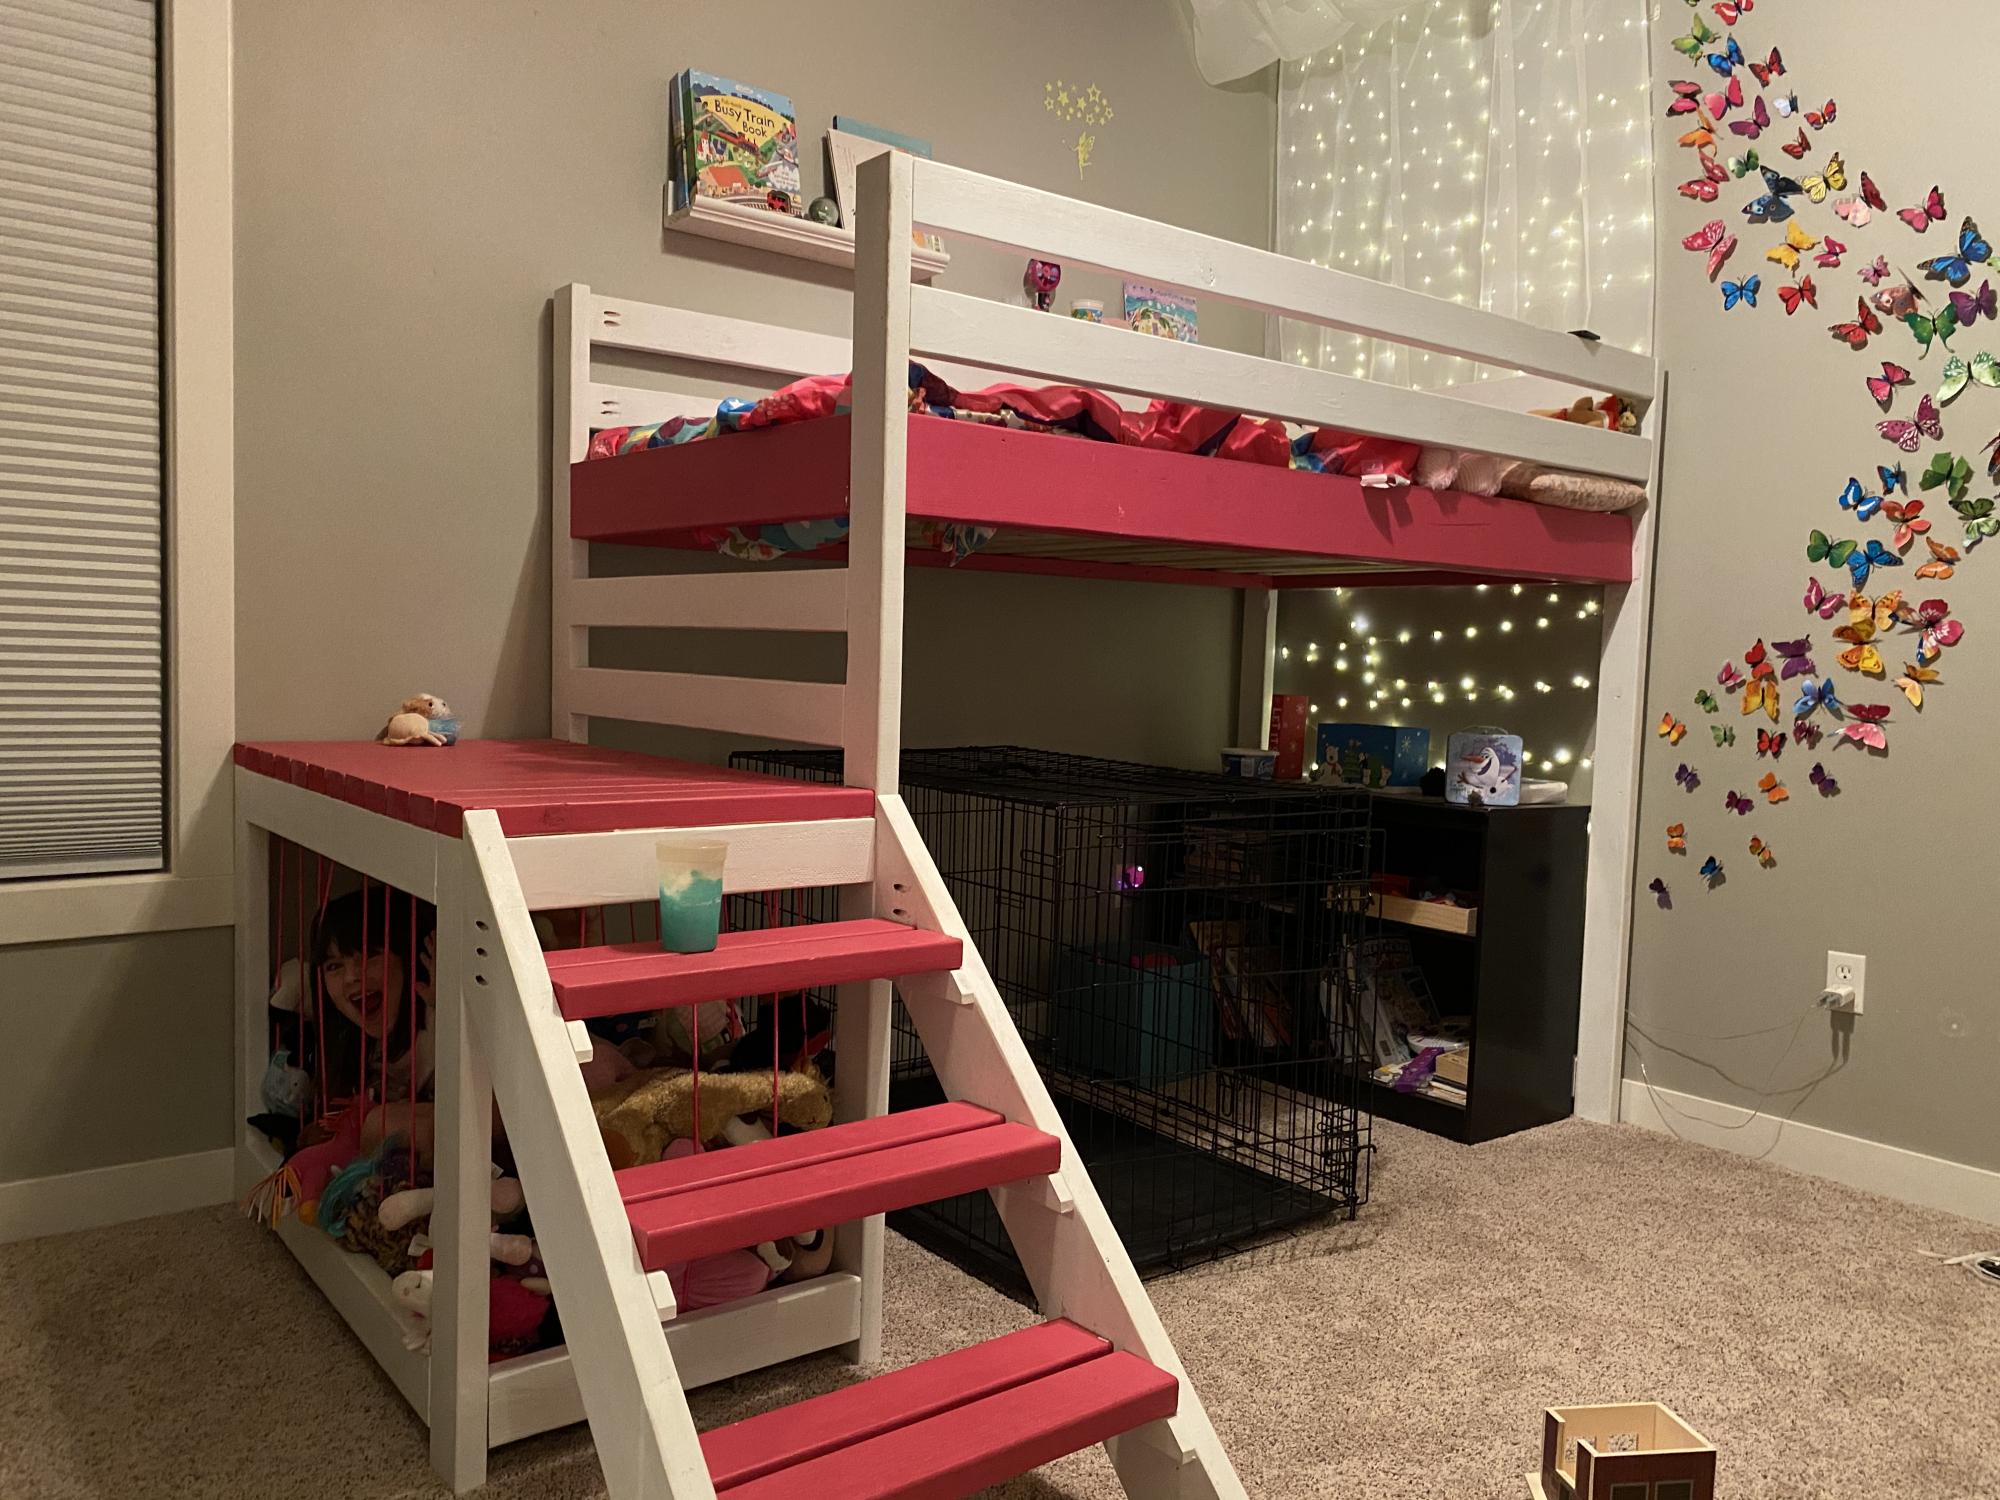
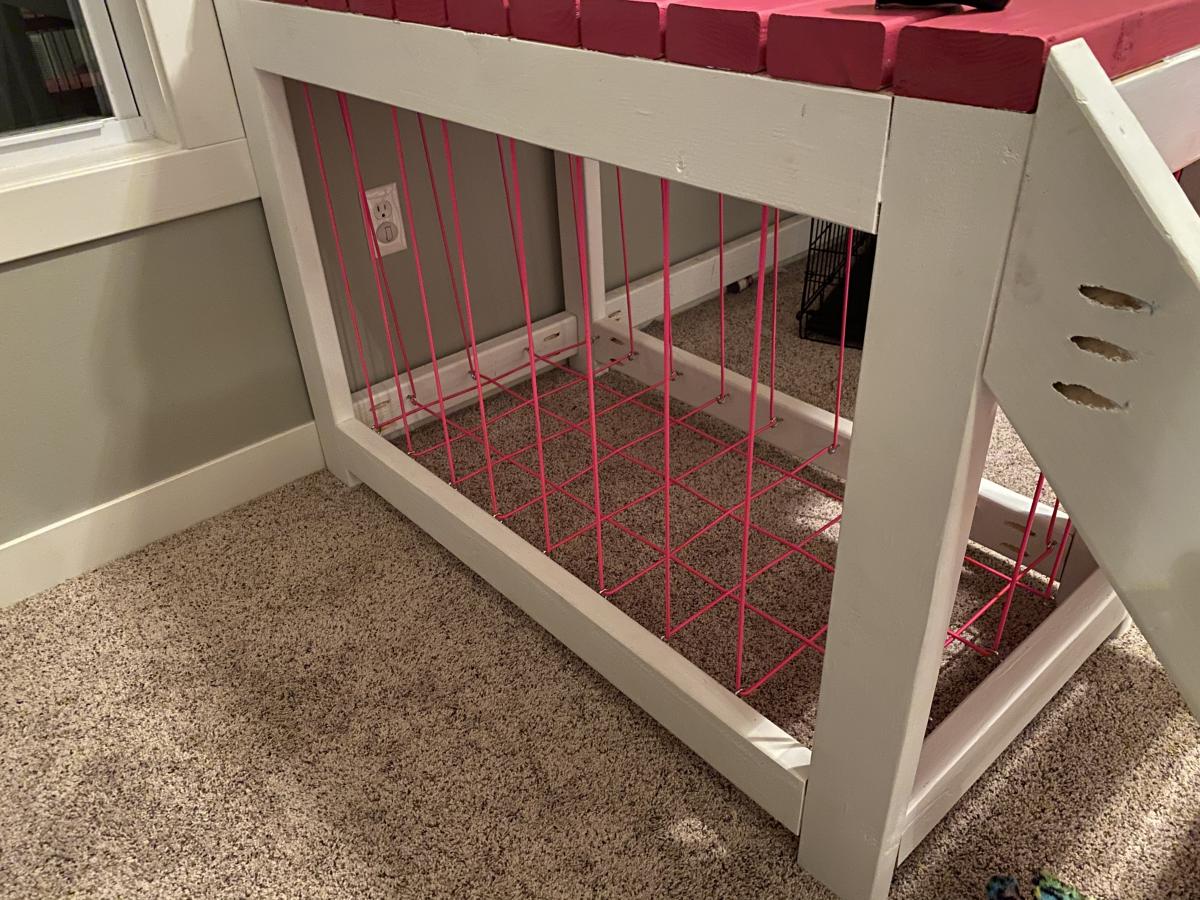
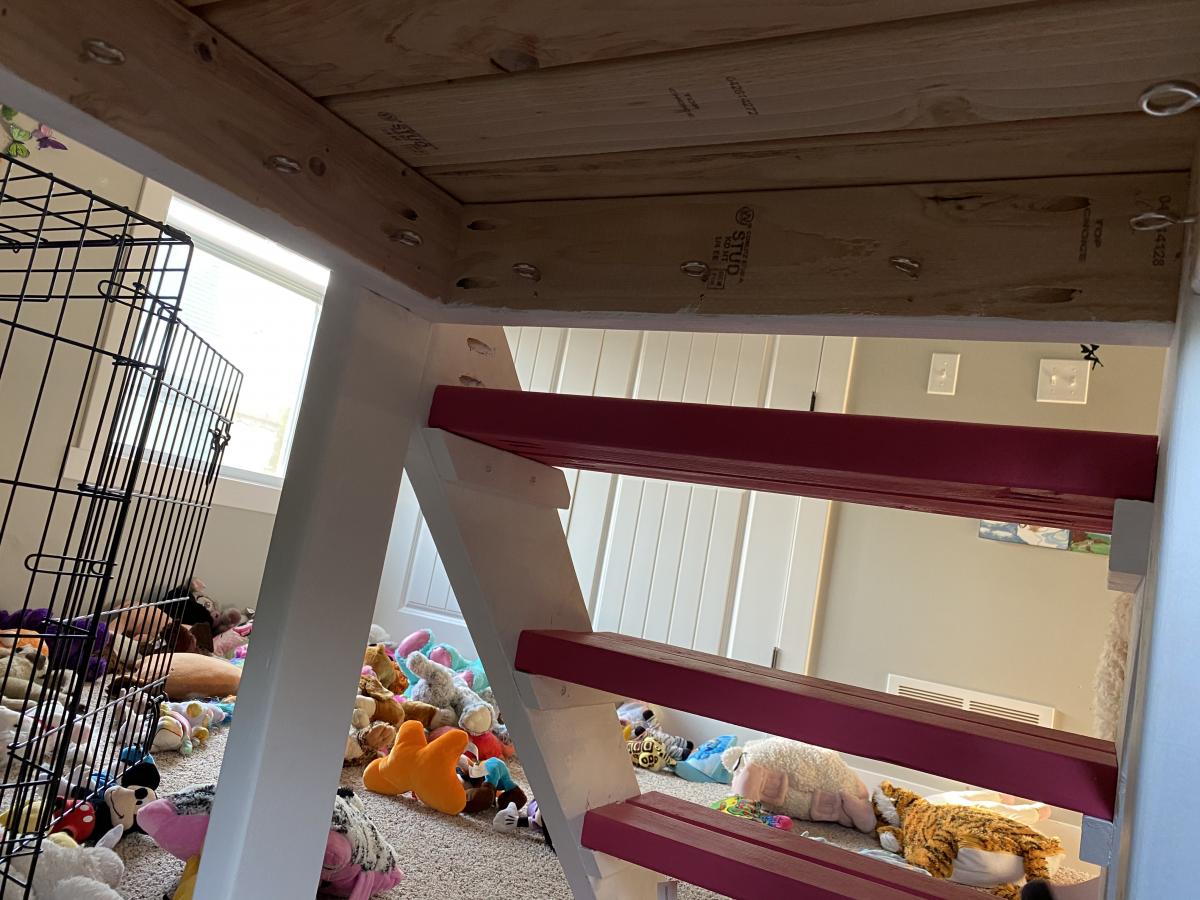
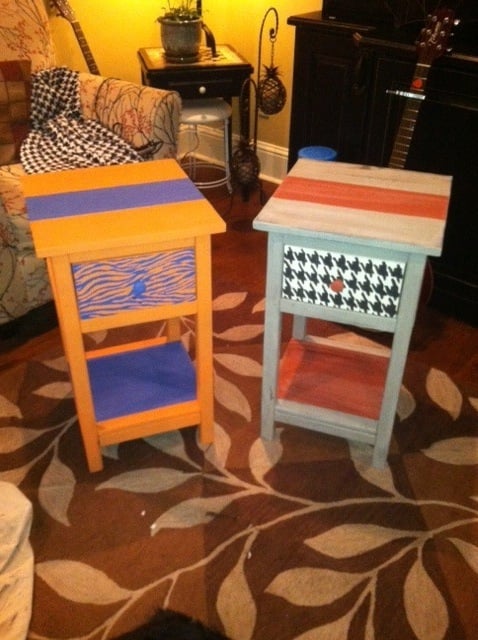
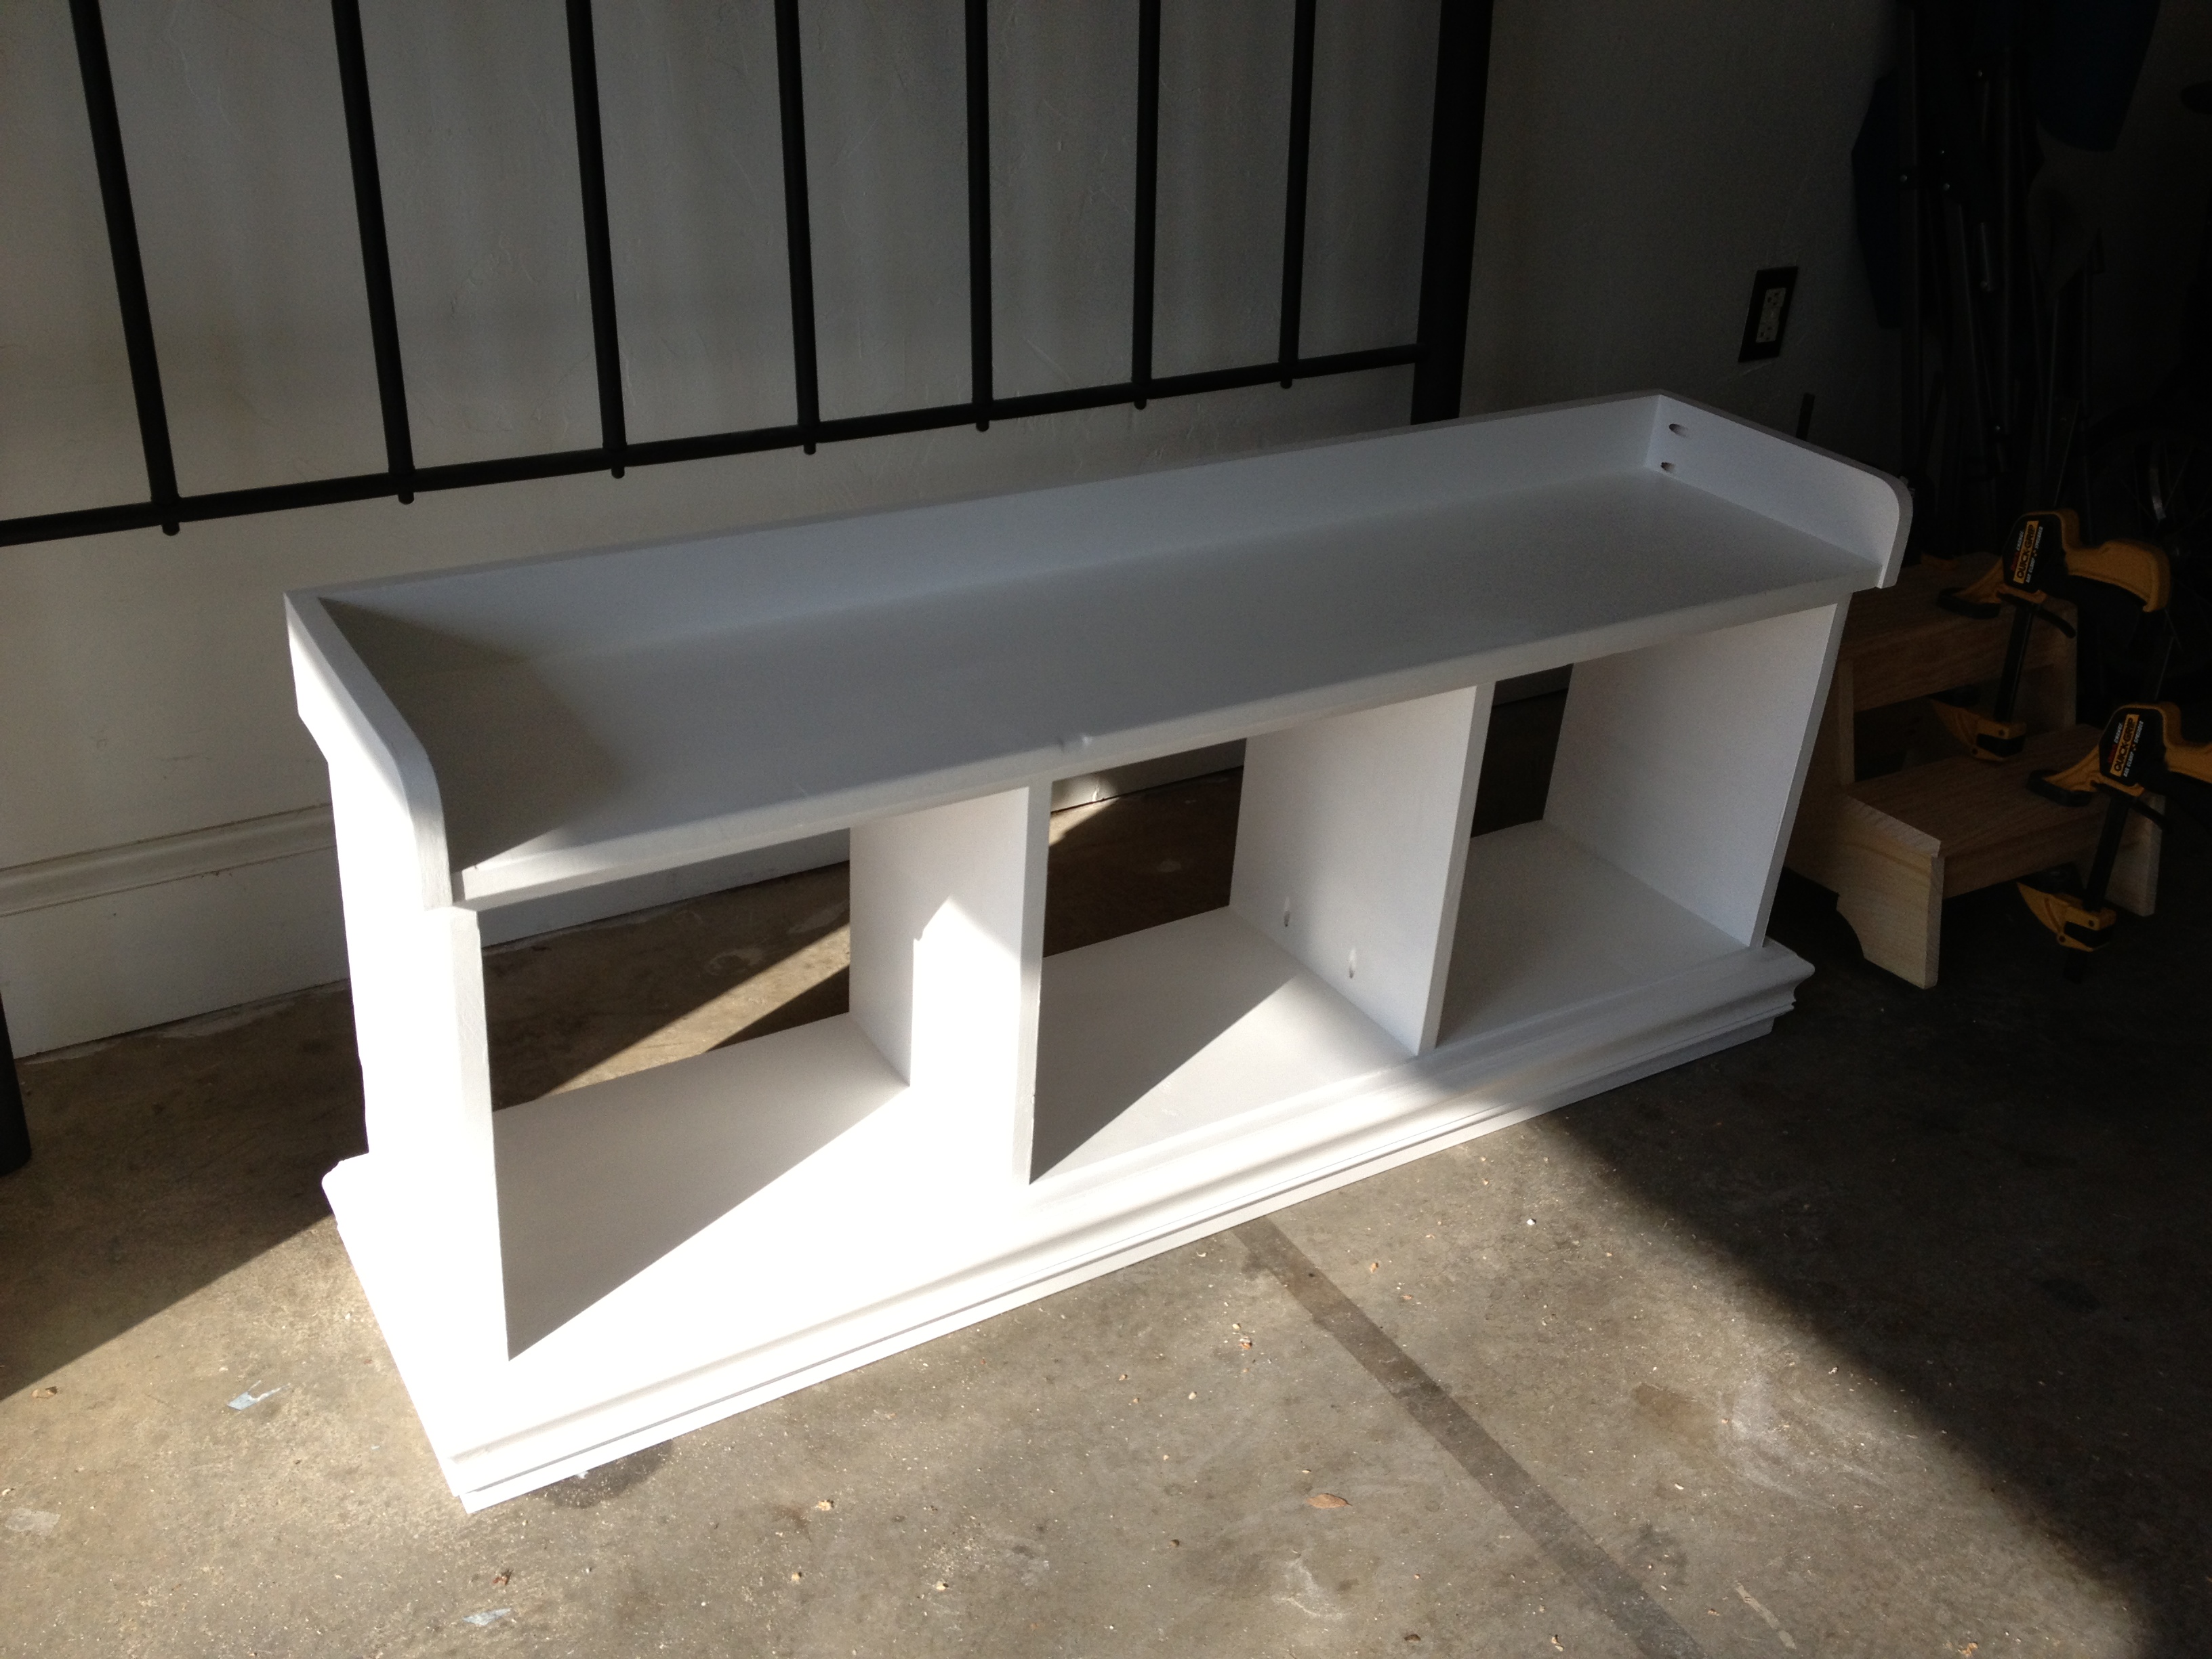
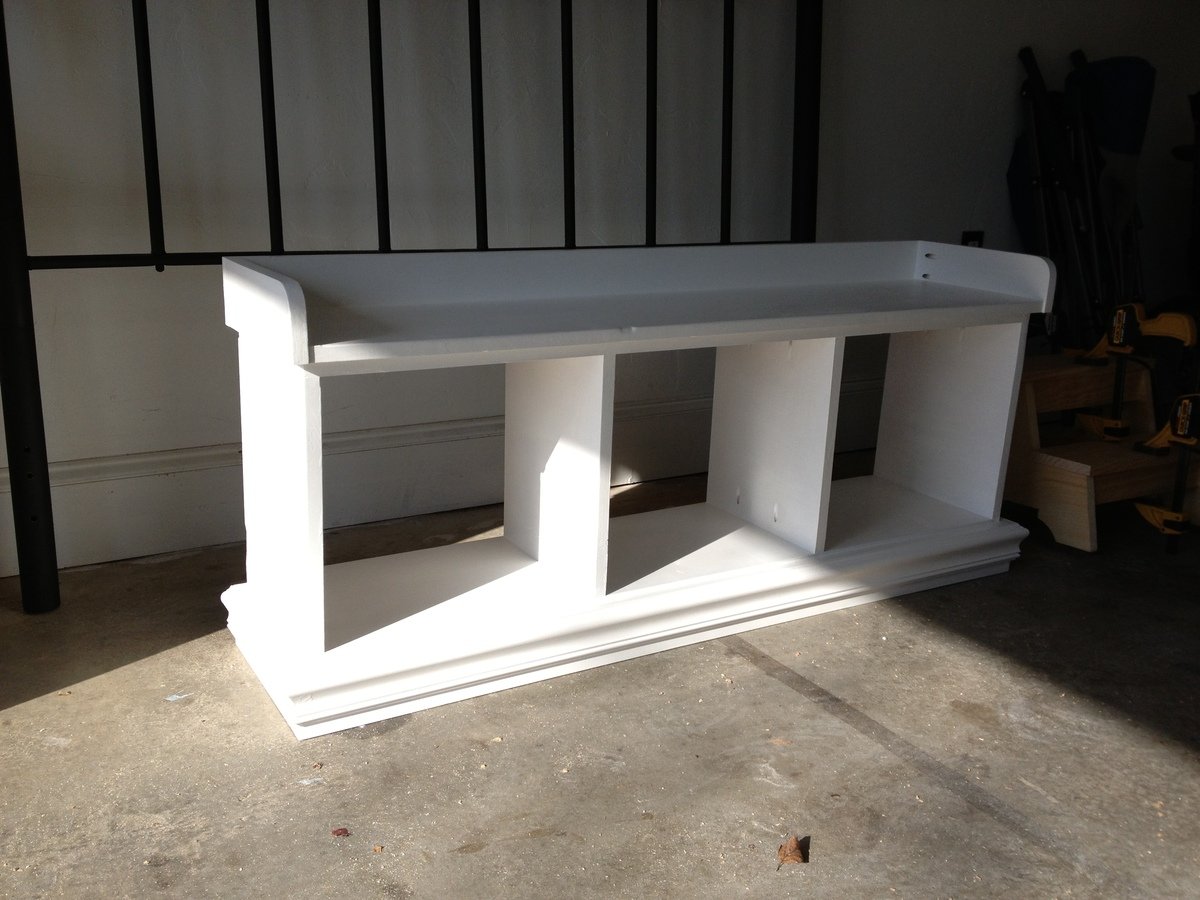
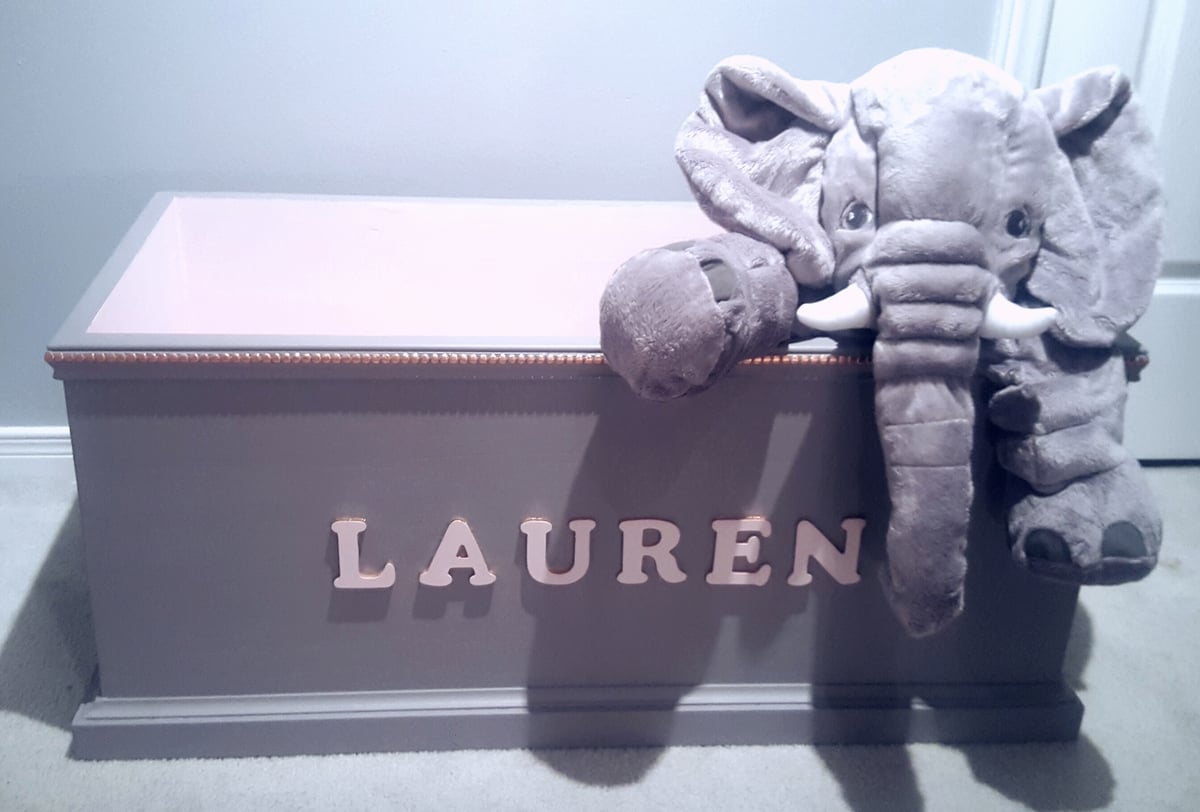
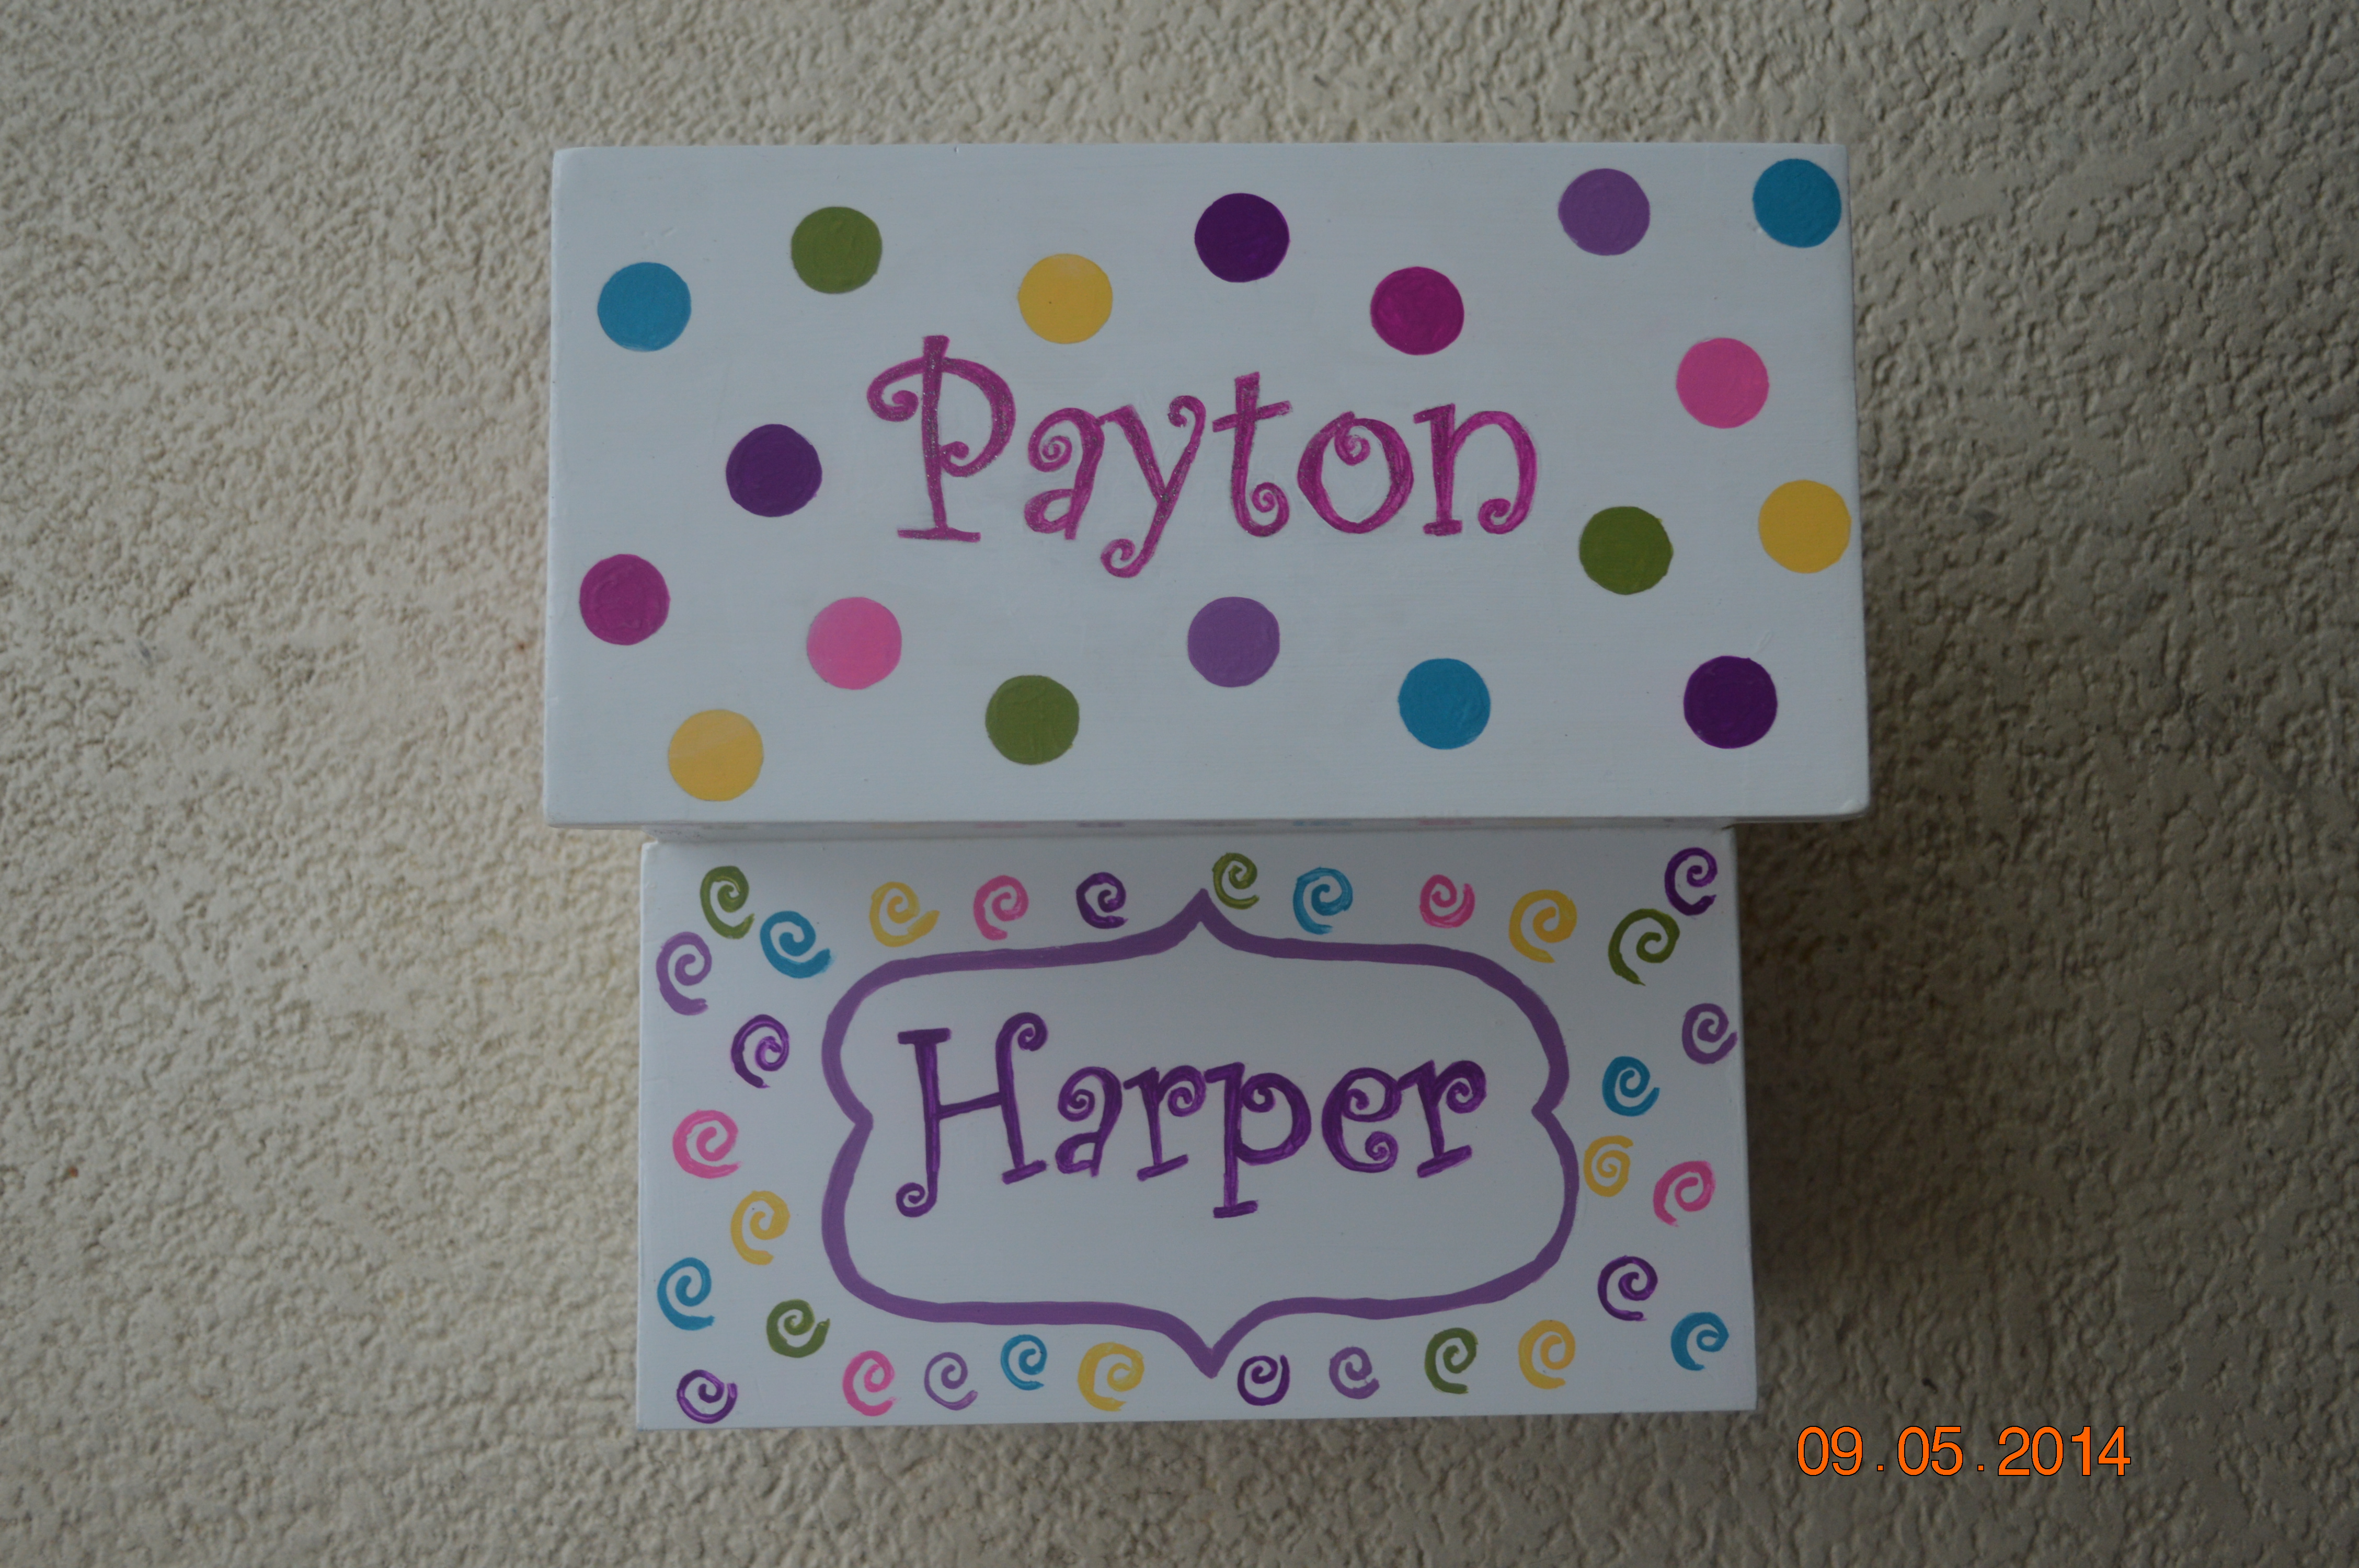
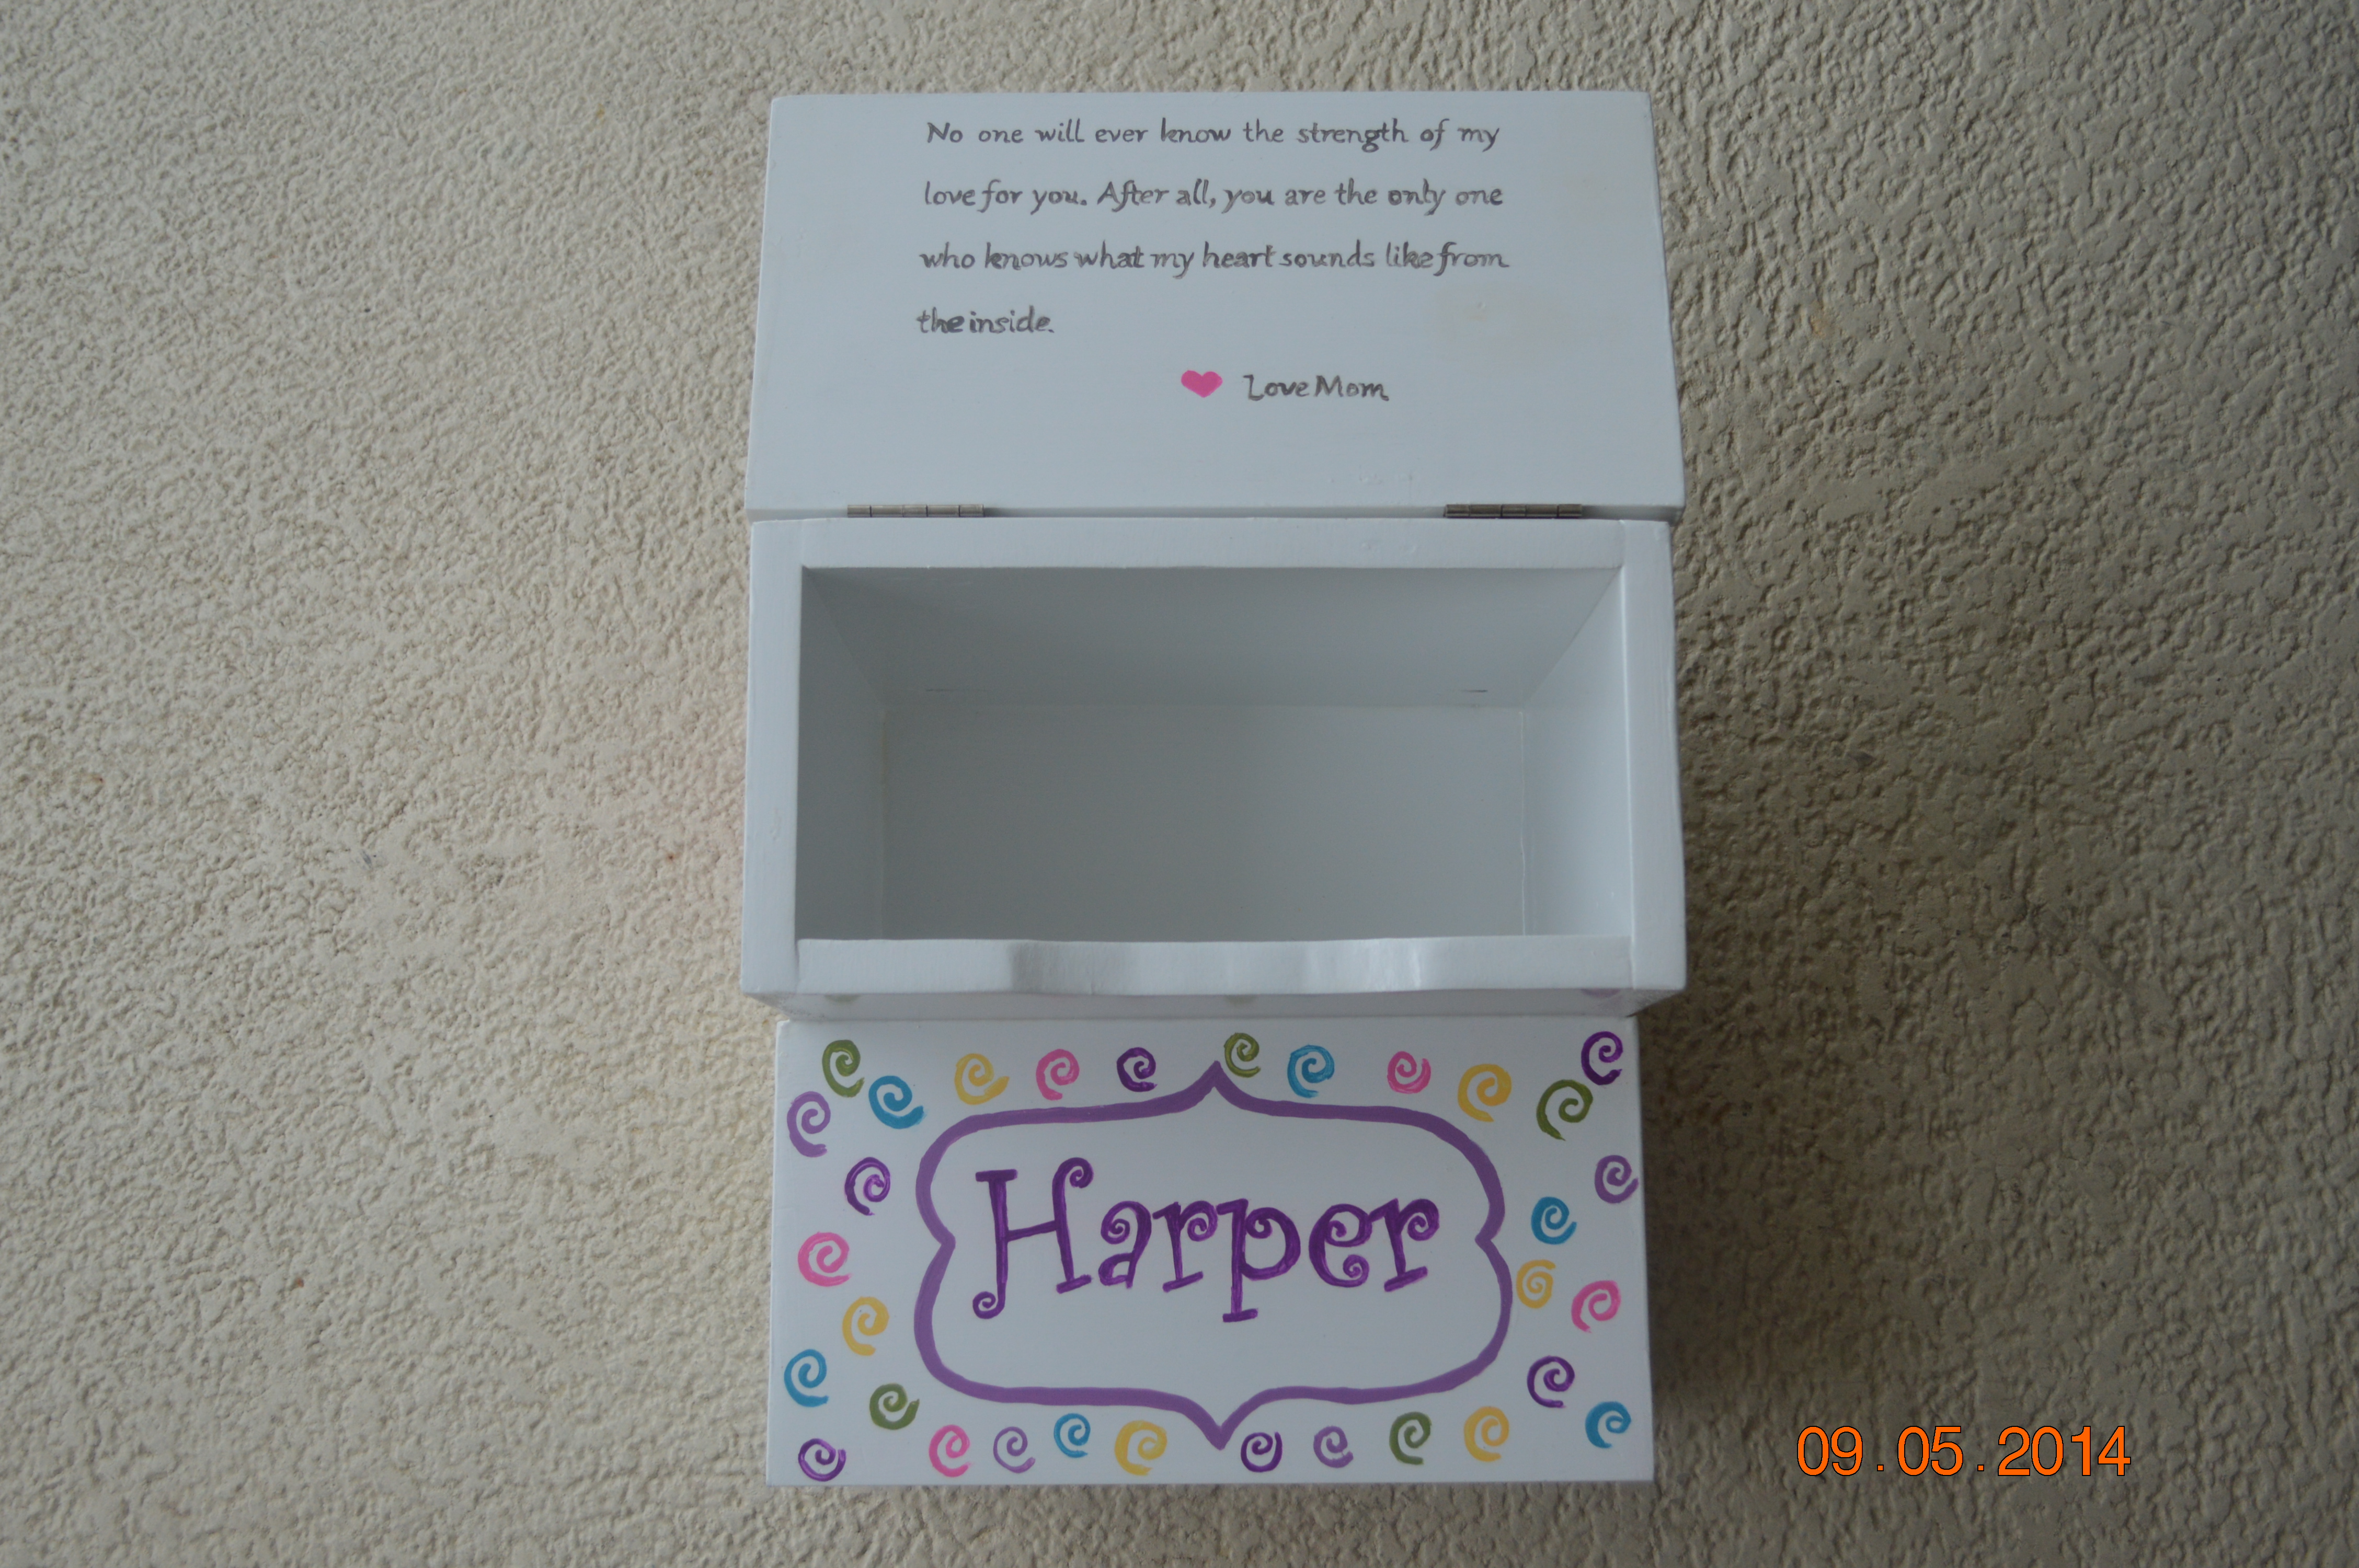
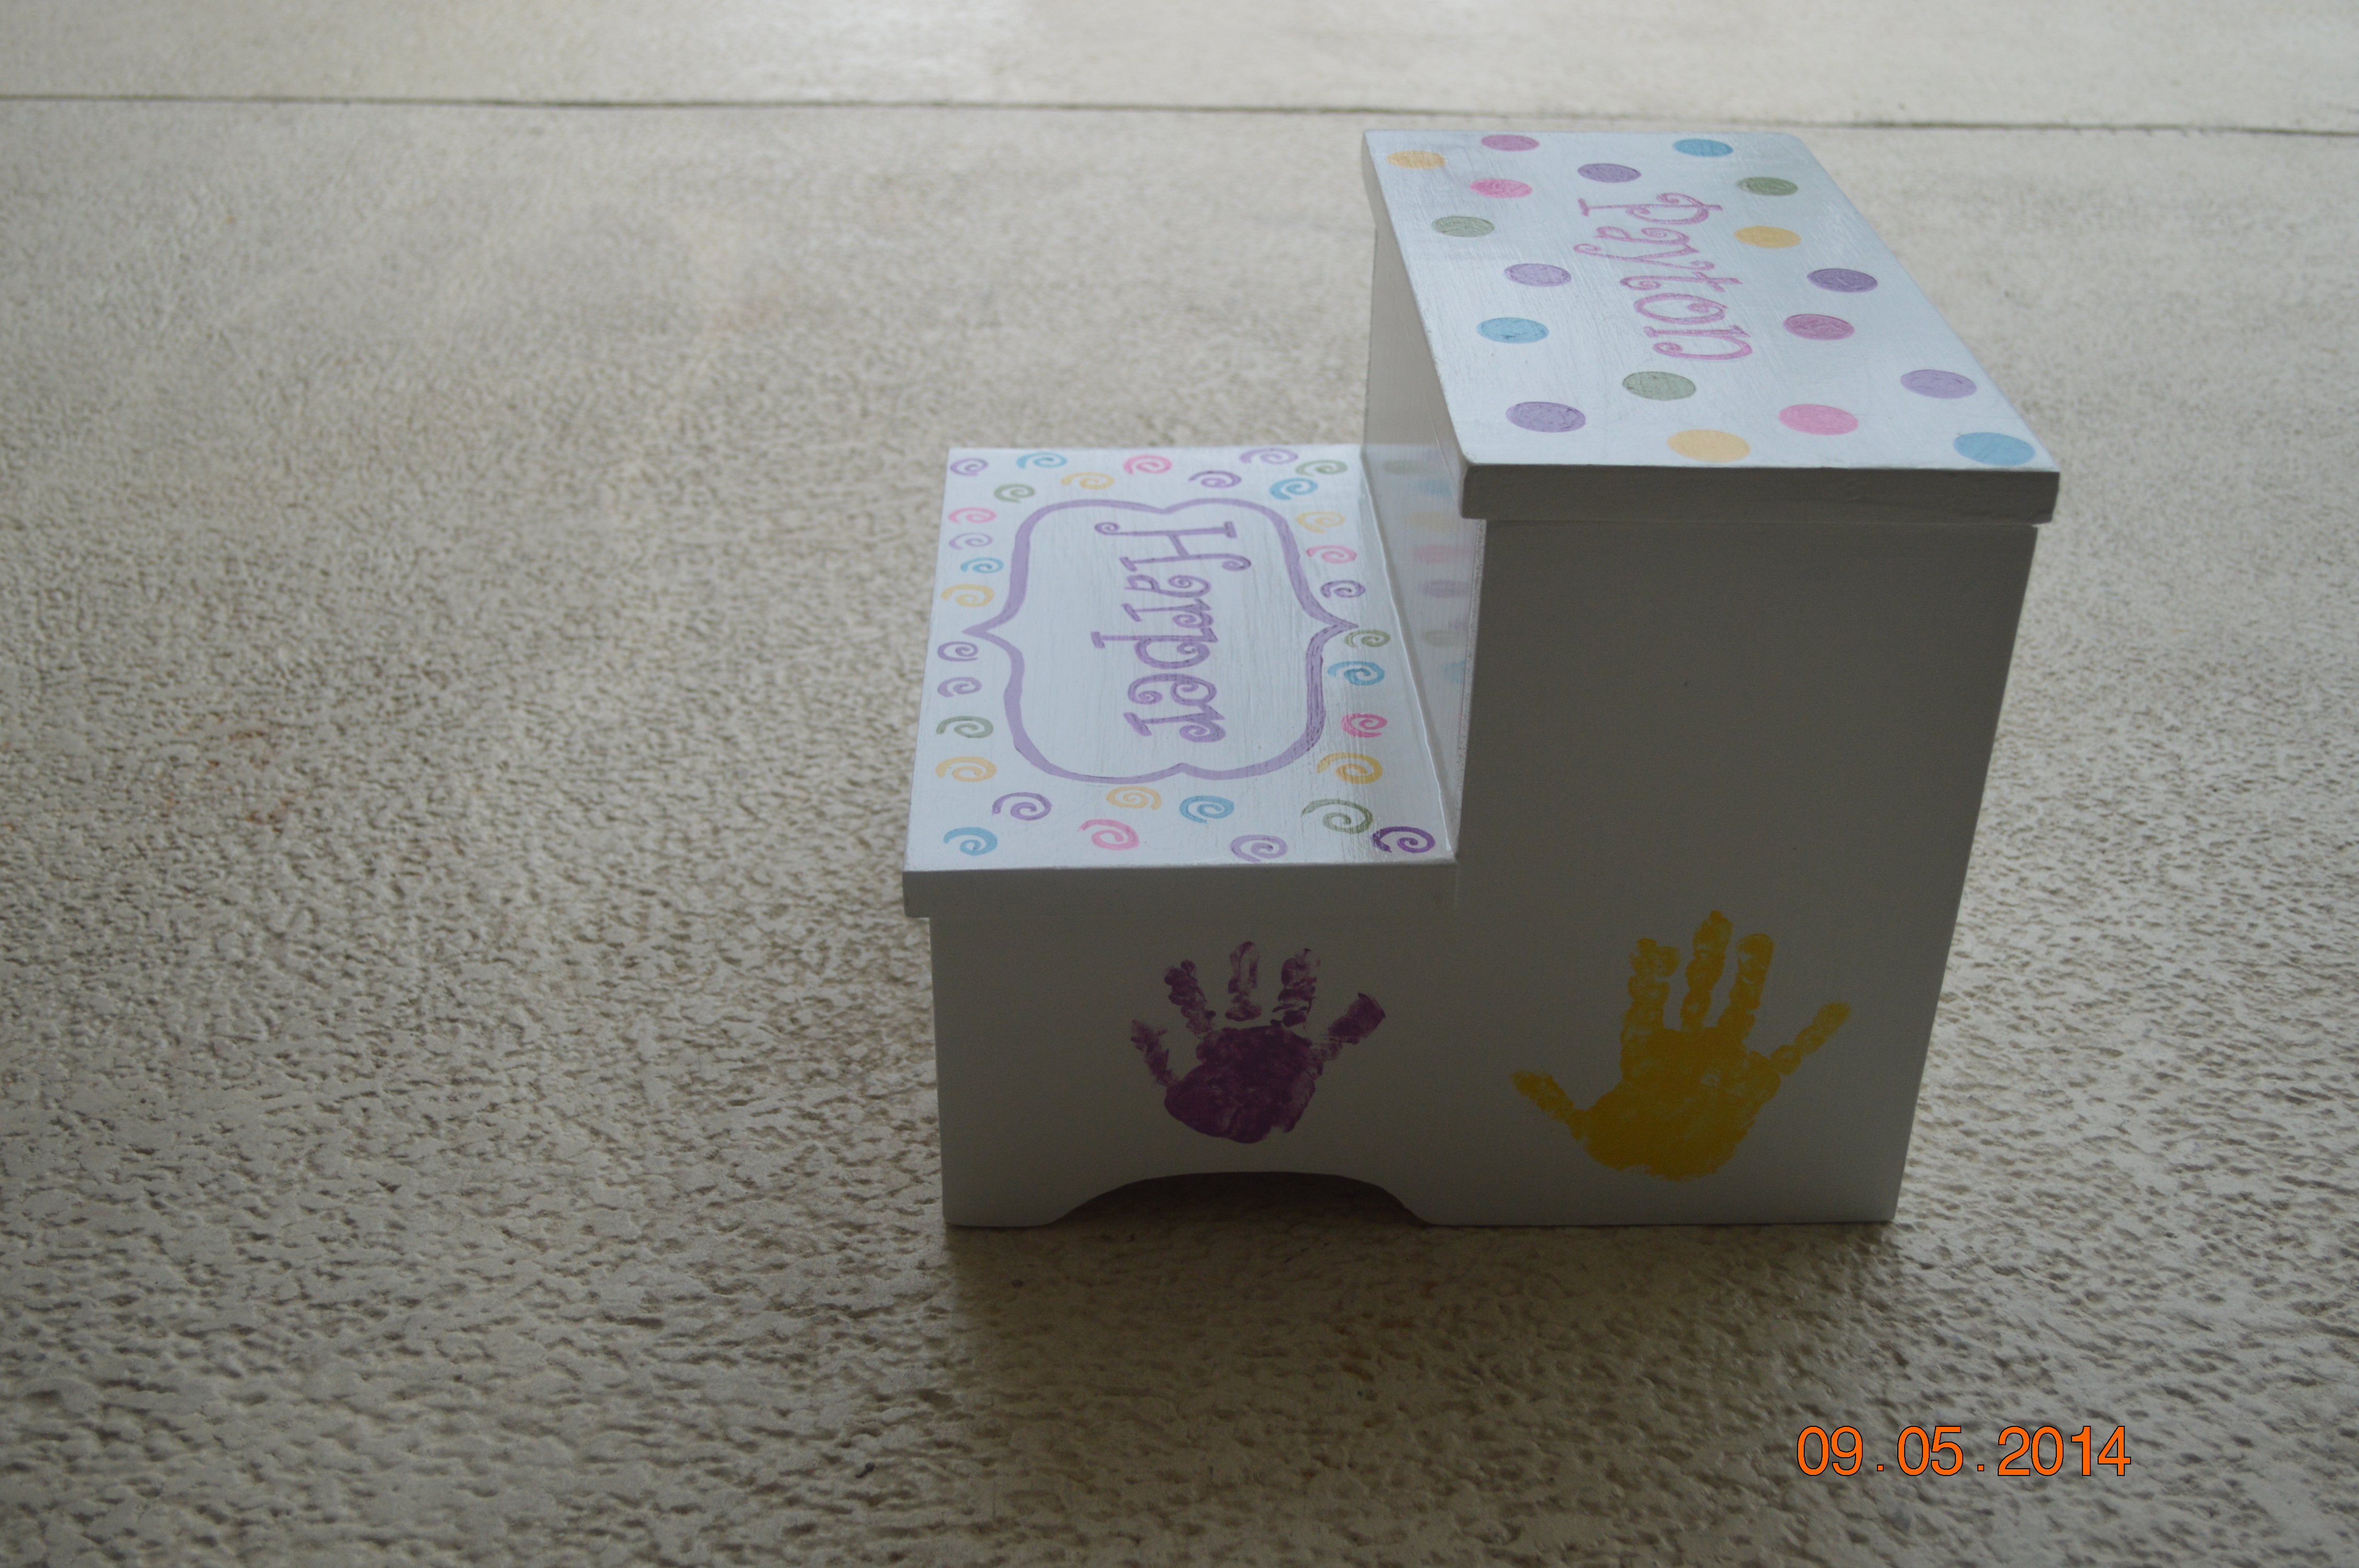
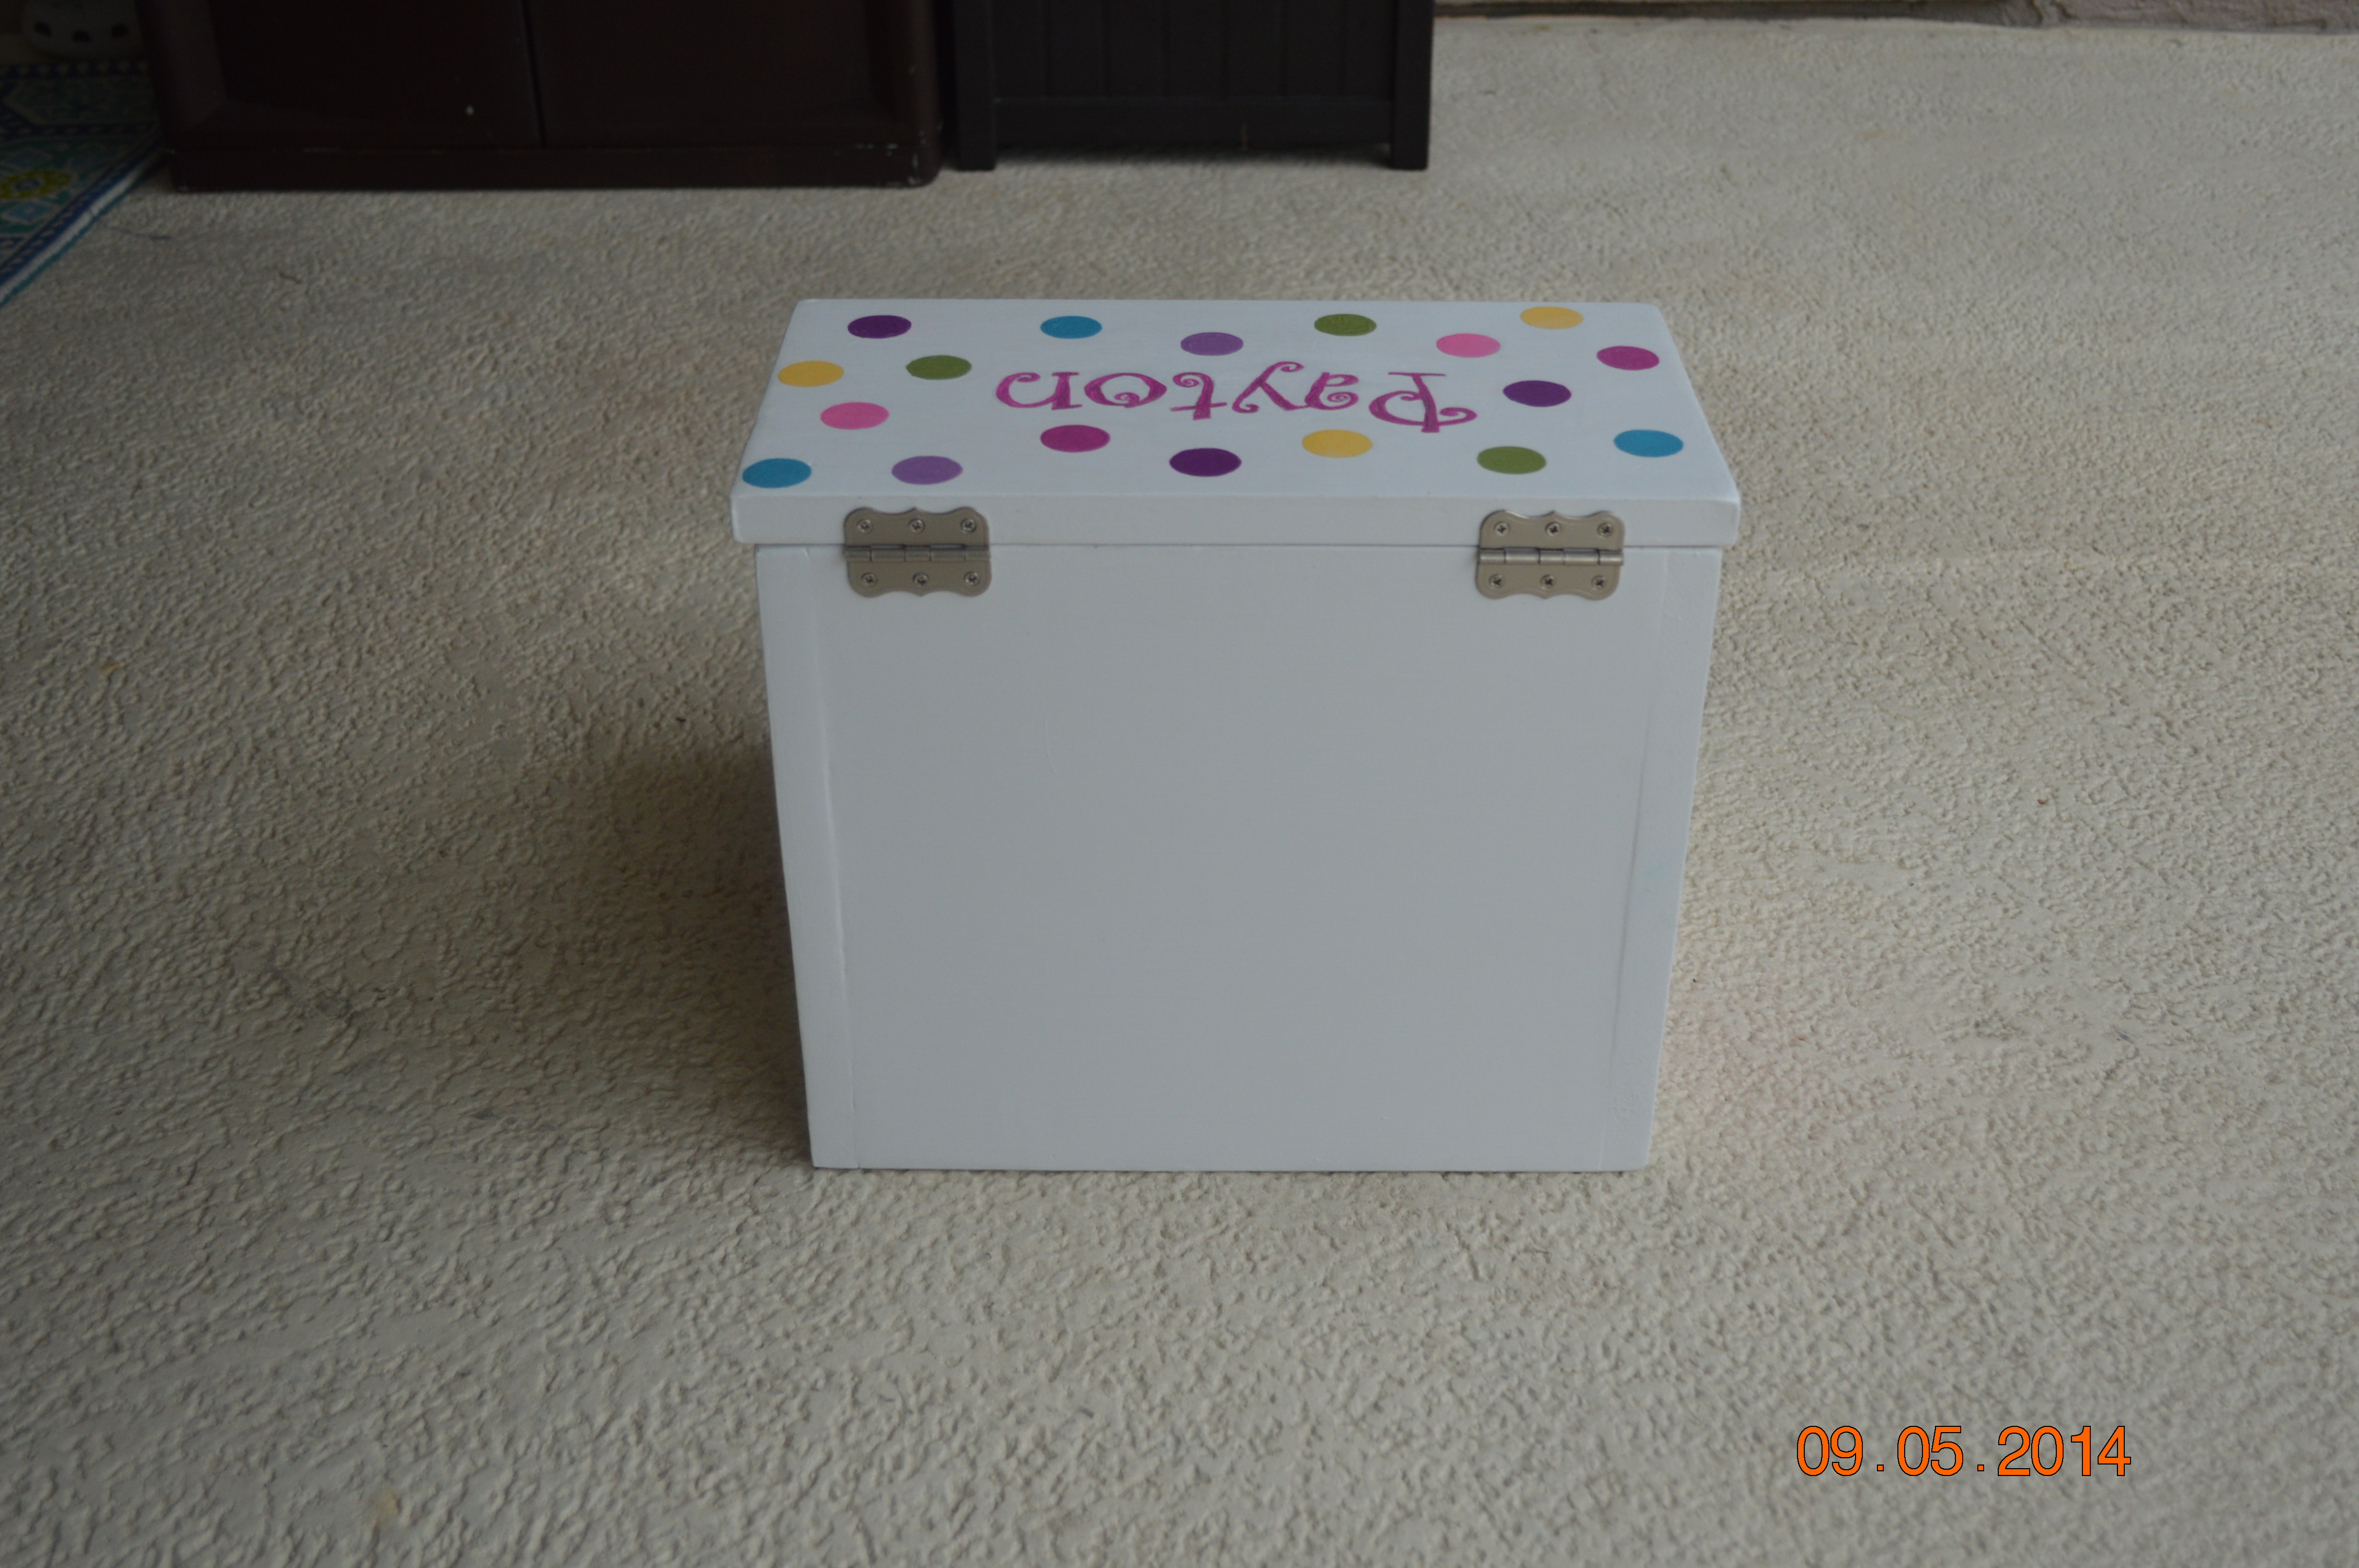
Kids Storage Step Stool
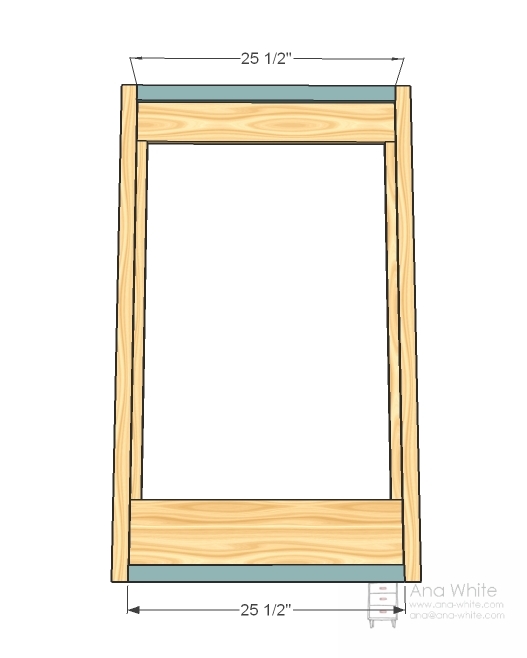
Purchase poplar wood from Home Depot, was unable to find all pieces of wood in pine. Cut according to plan, sanded, used kreg jig for joints, (forgot wood glue until last piece).

Built from Plan(s)
Estimated Cost
49$ in wood/supplies and about $15 in acrylic craft paint
Estimated Time Investment
Afternoon Project (3-6 Hours)
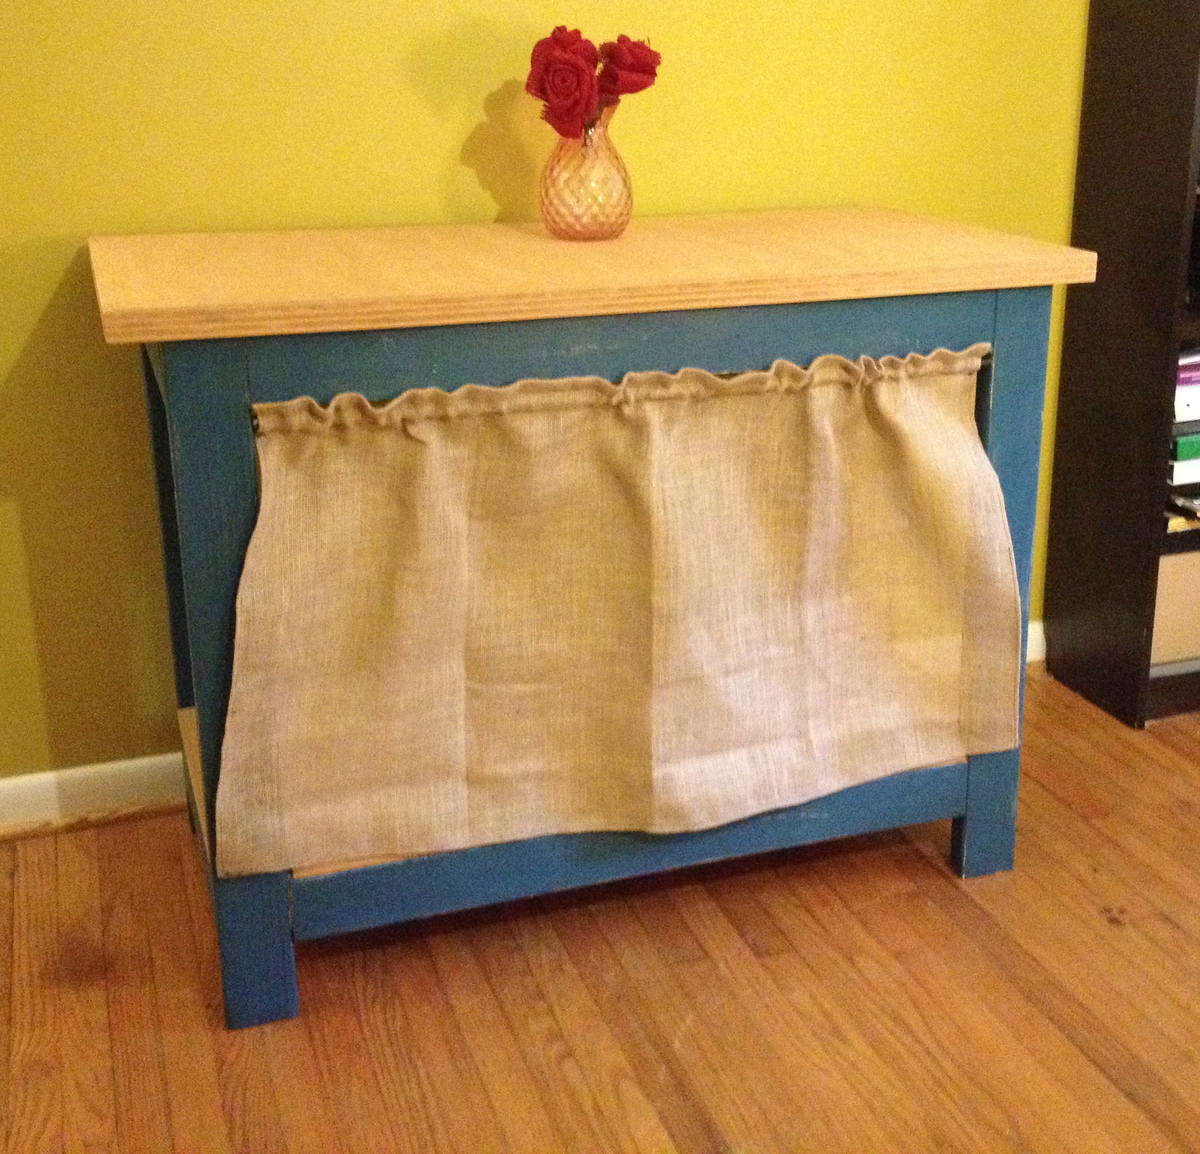
Finish Used
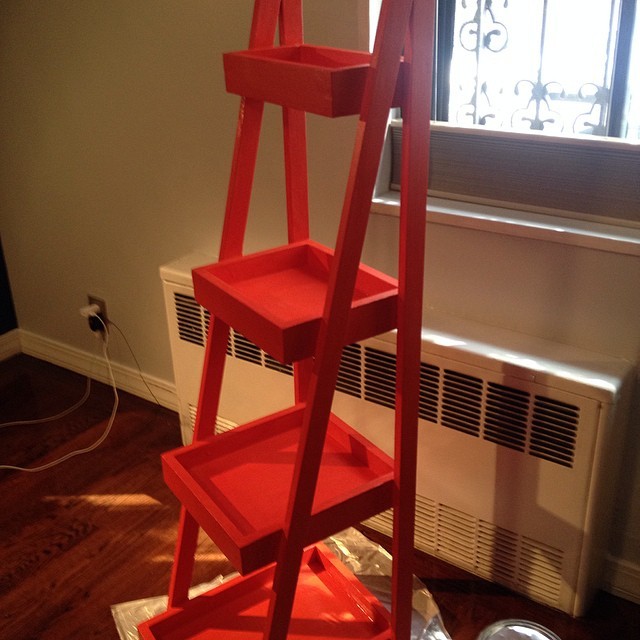
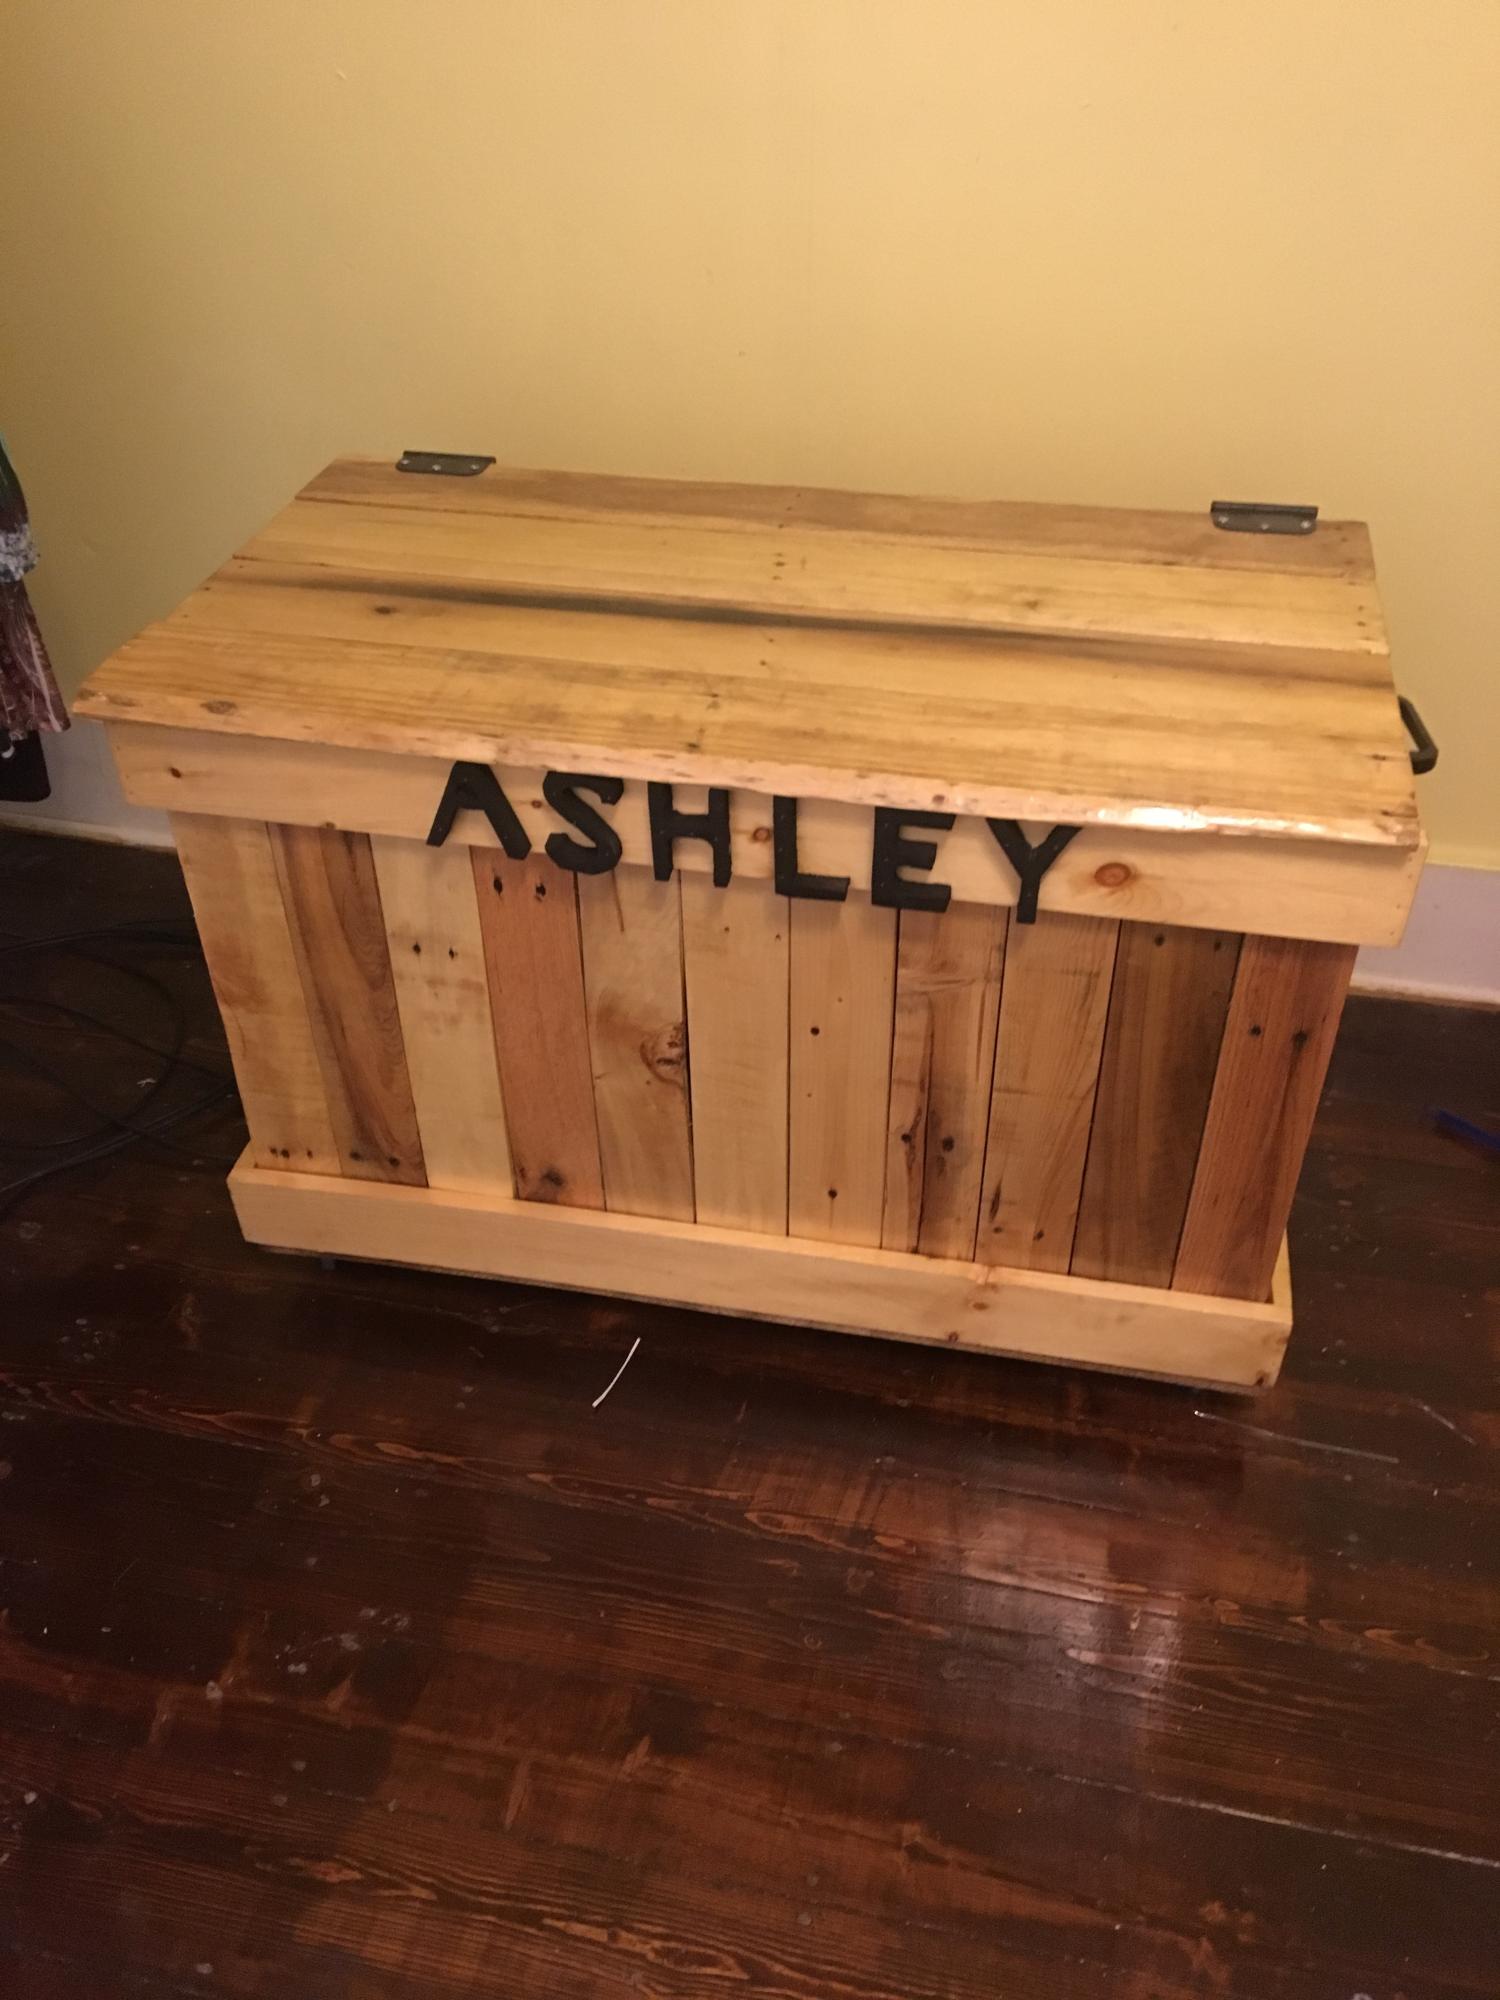
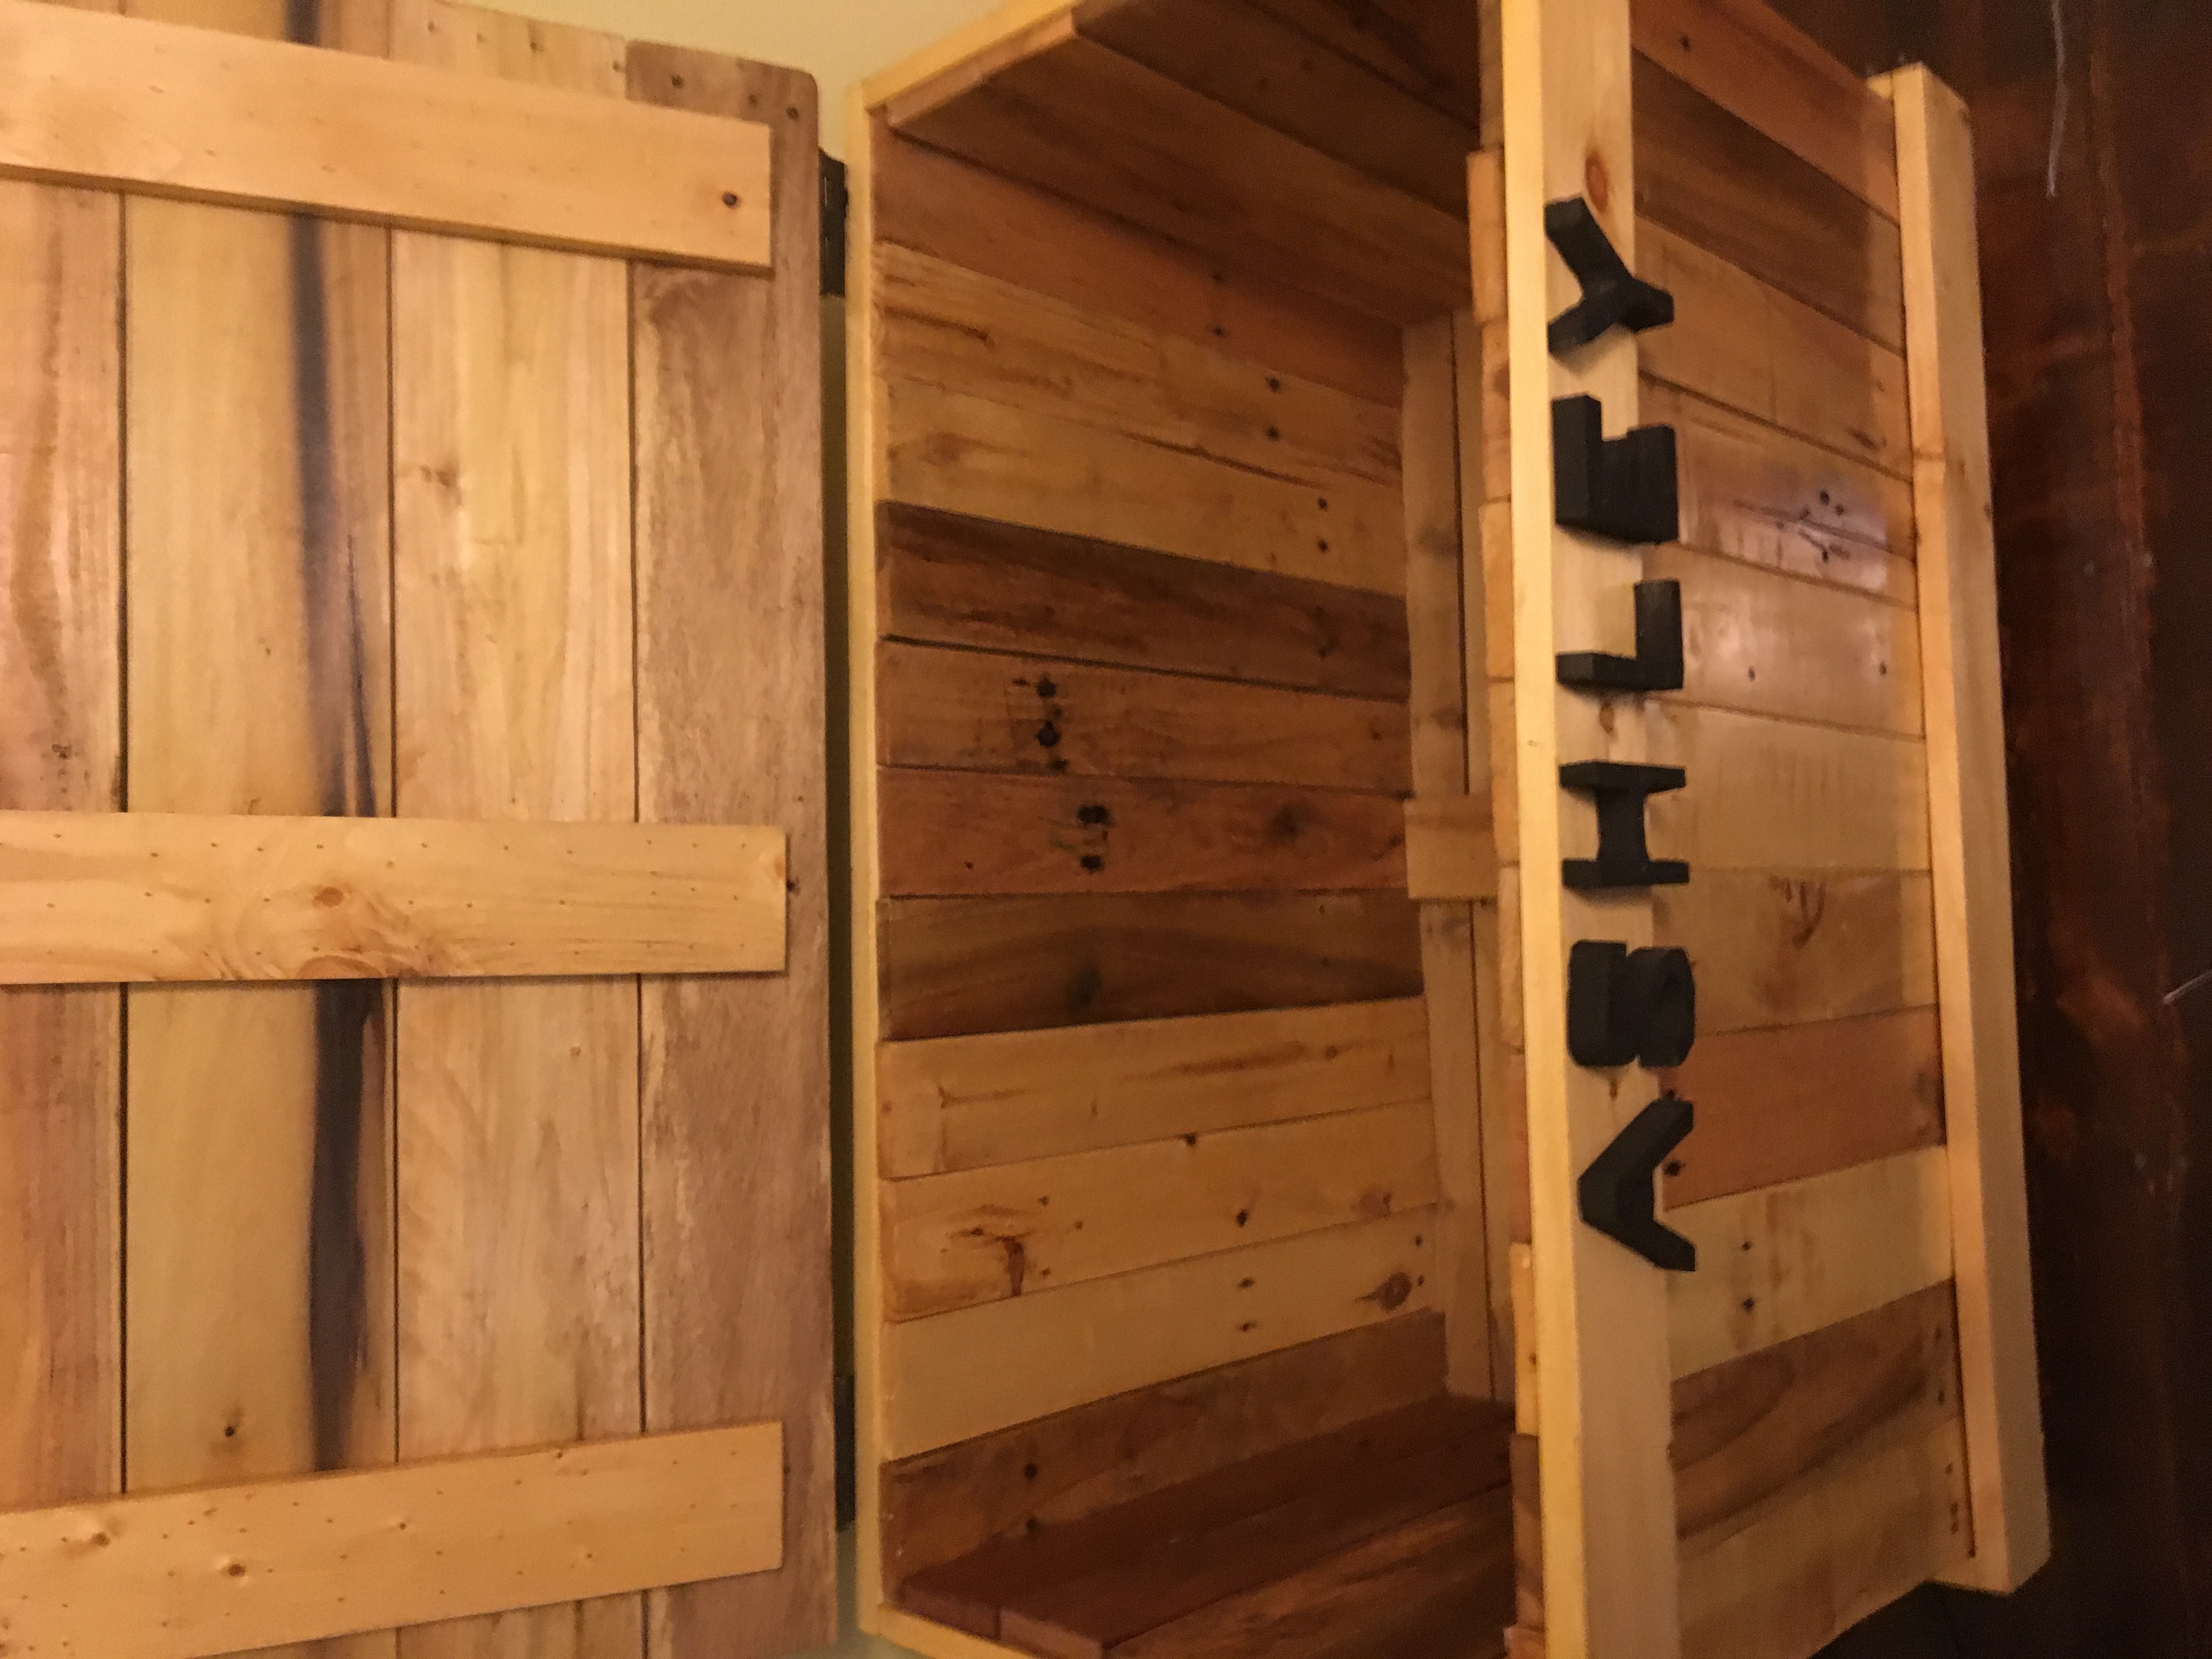
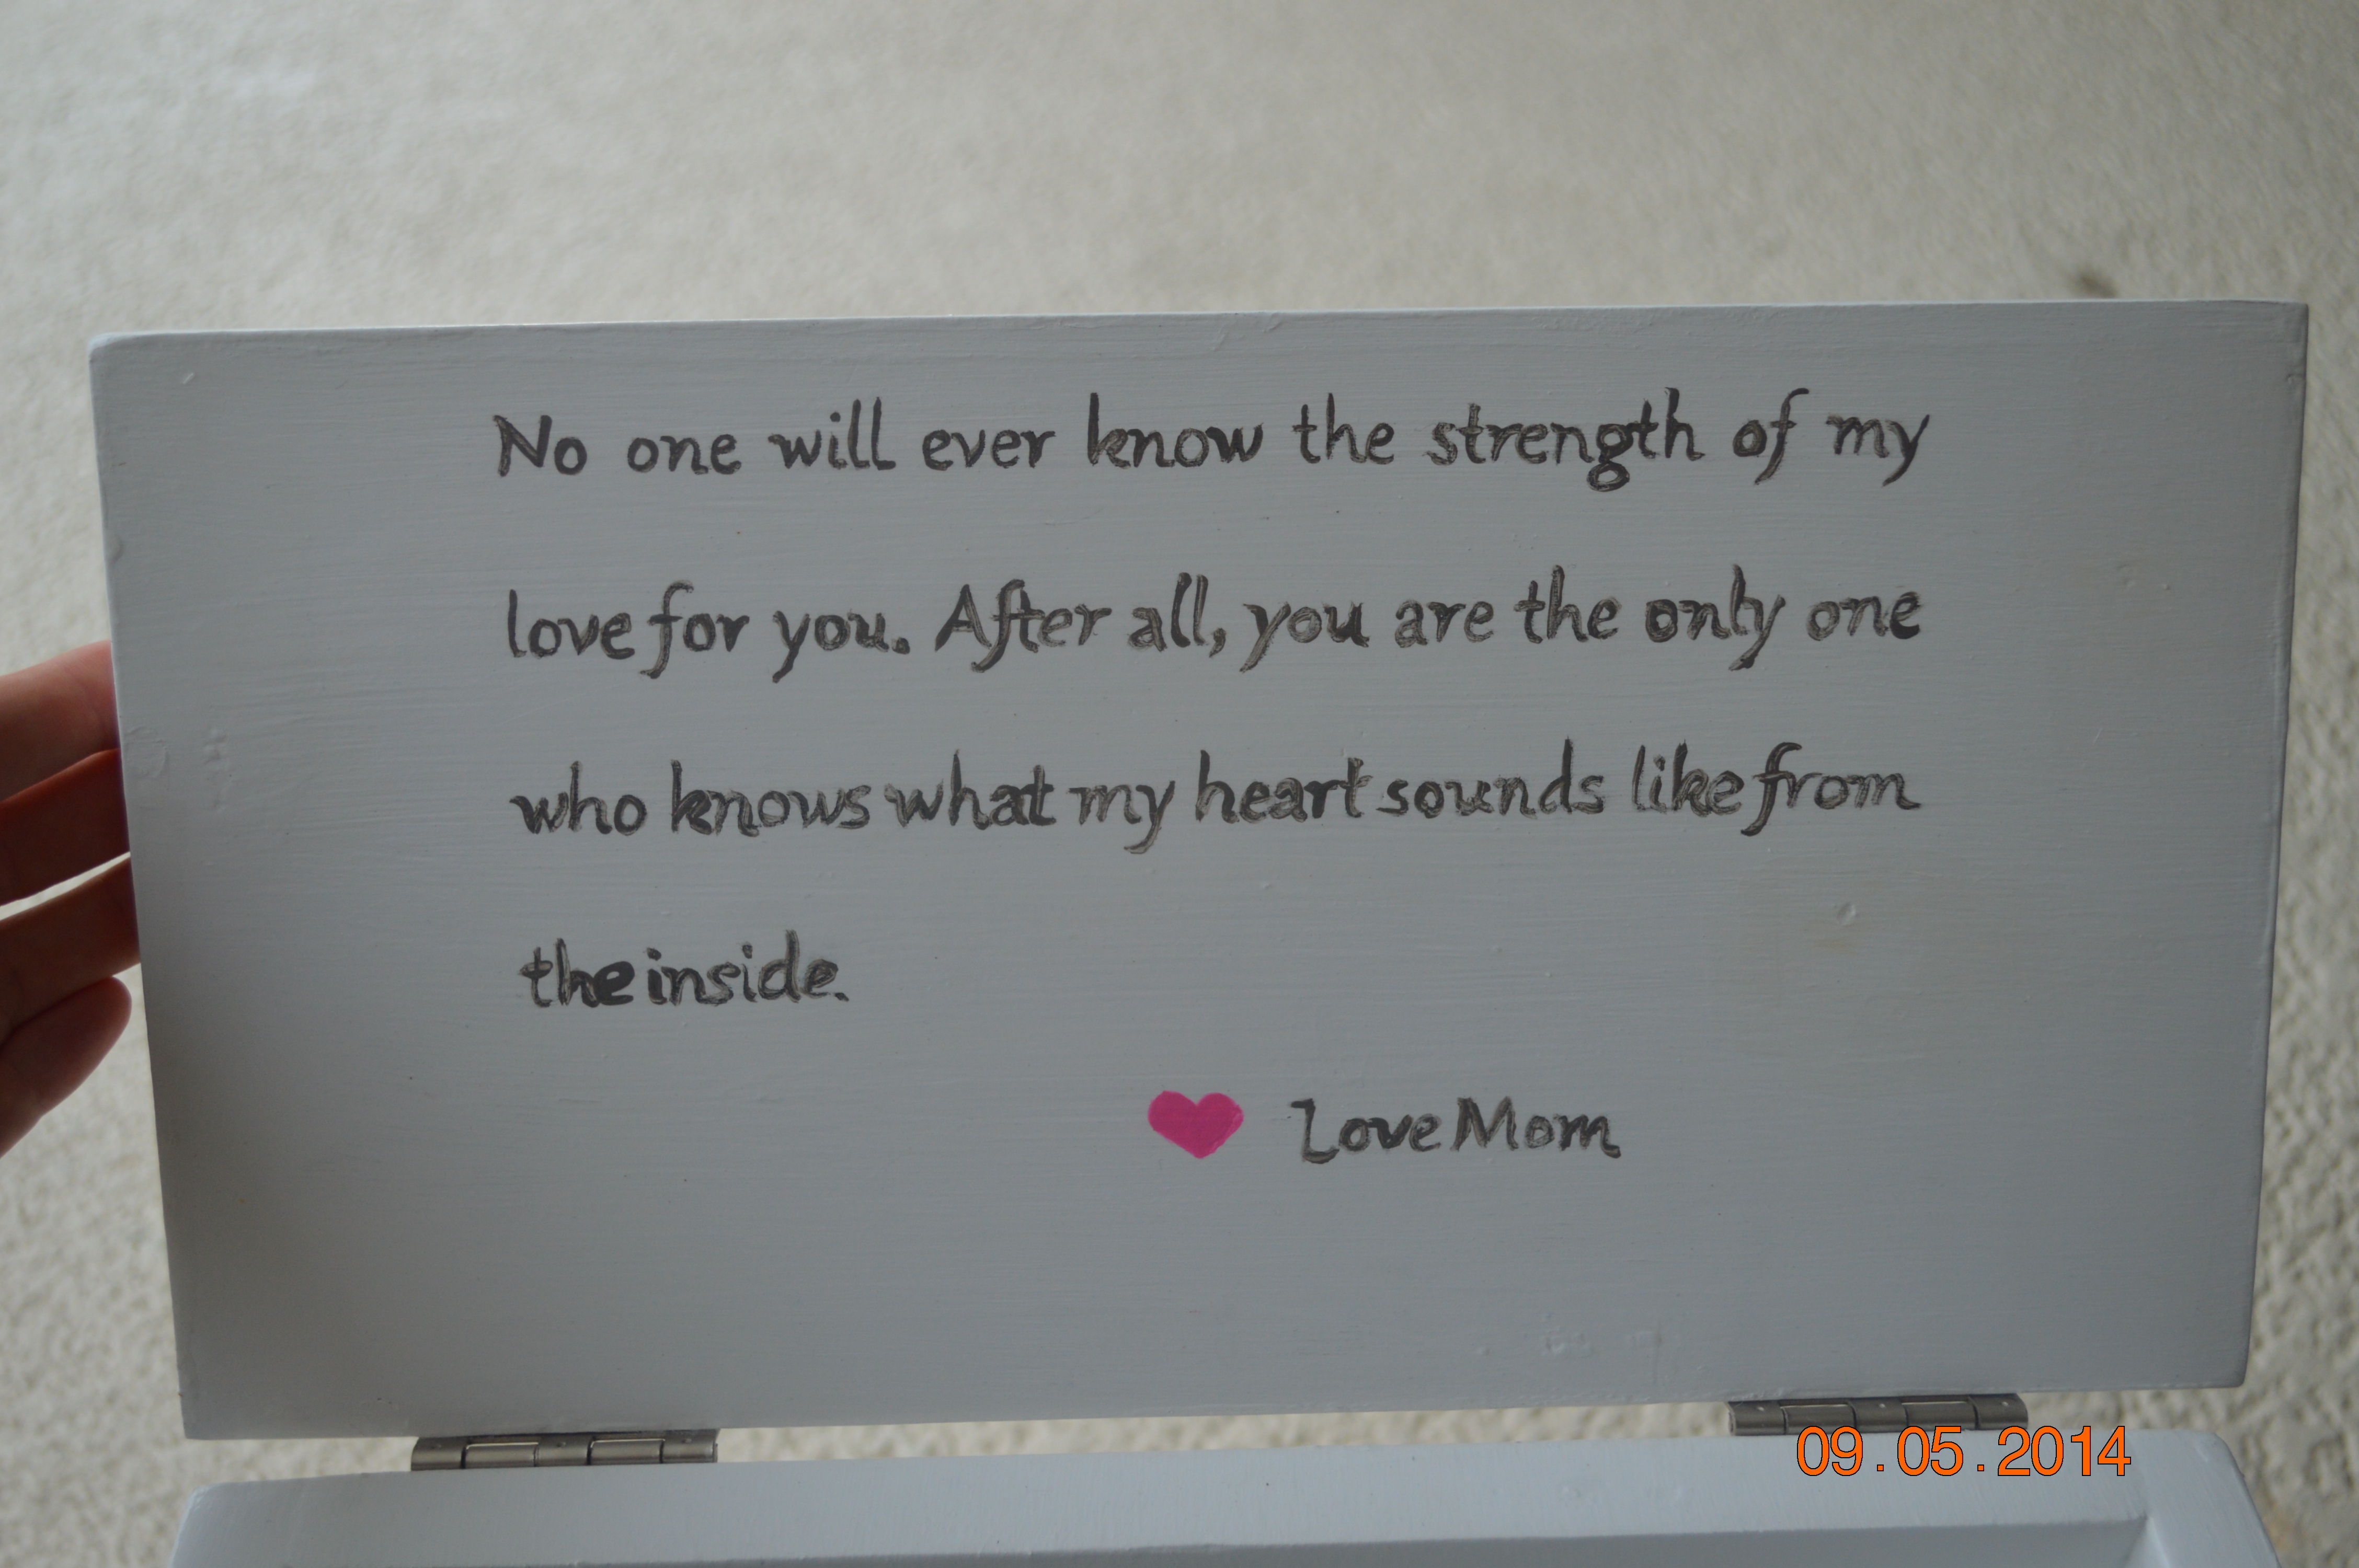
White semigloss latex paint, acrylic craft paint colors, used microsoft word for letters (enlarged to size 200 and printed, took paper and either use pencil on opposite side or carbon paper, tape to stool, trace letters with pen). Used clear polyacrylic for topcoat.
Recommended Skill Level
Starter Project