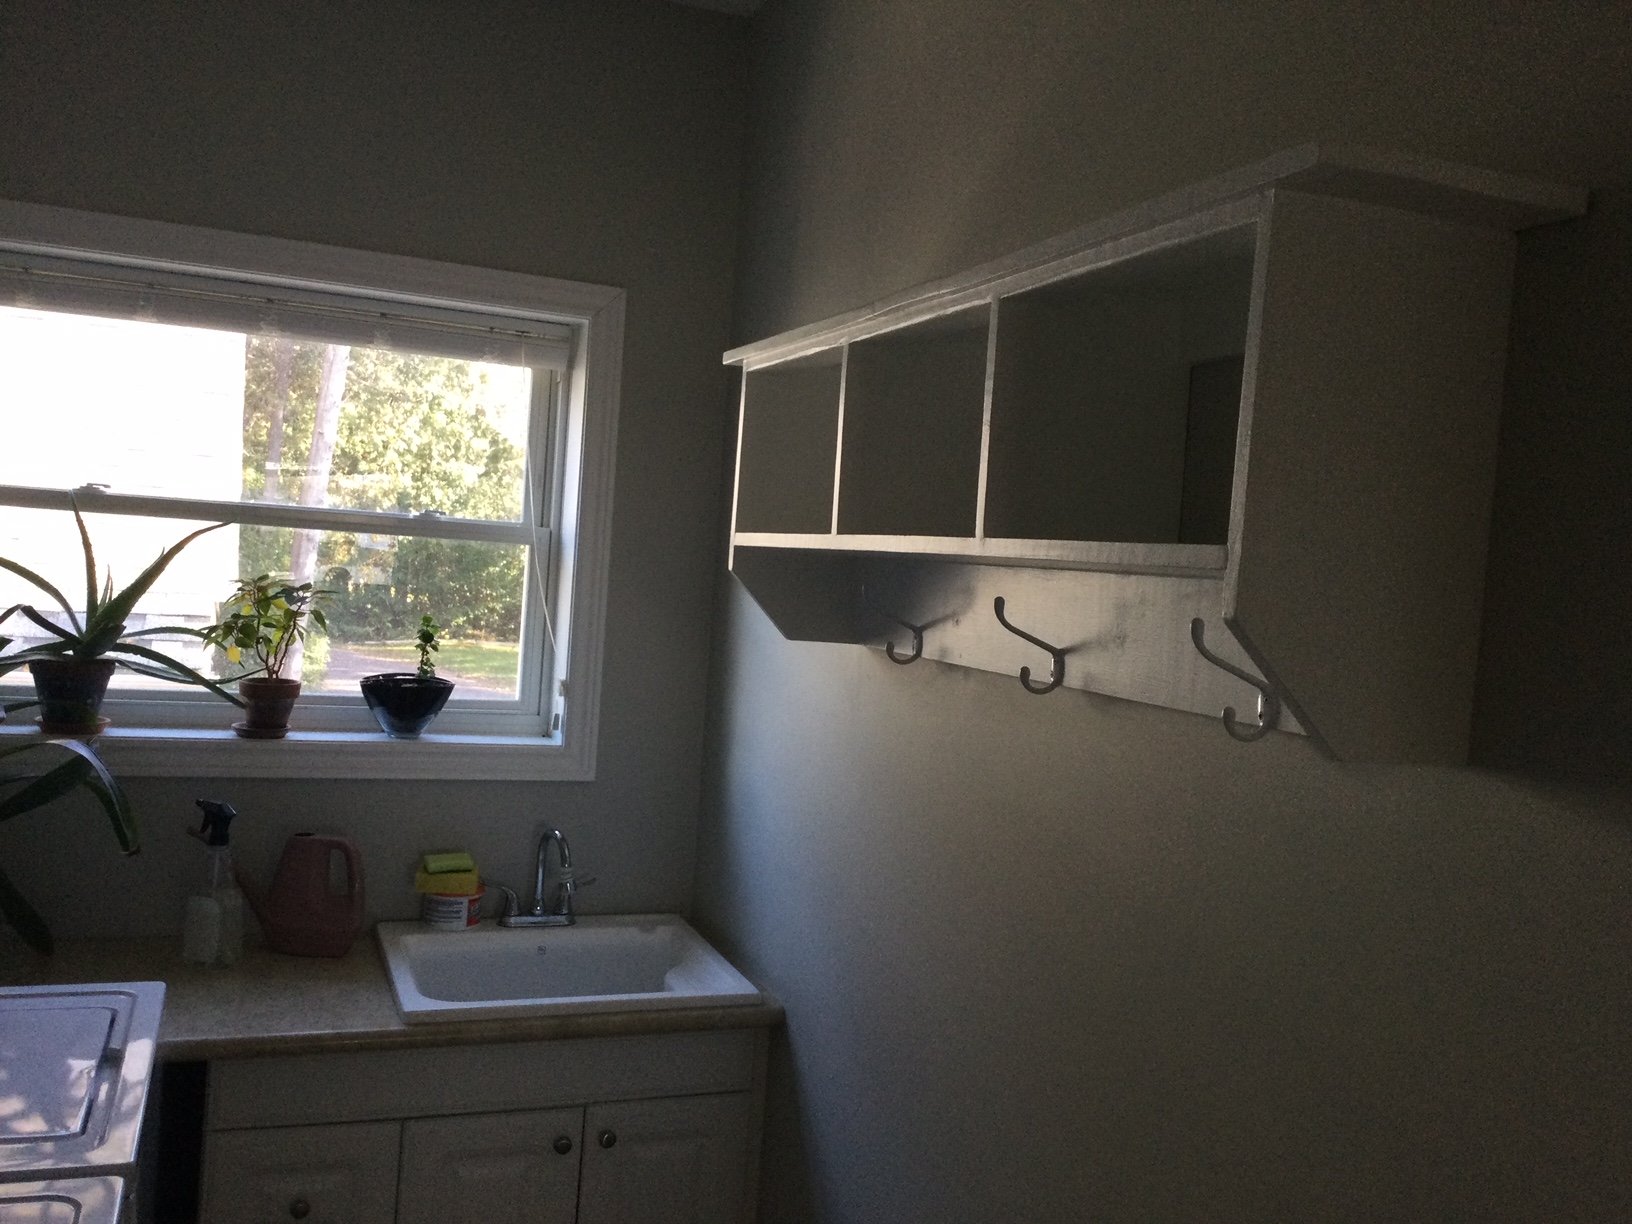
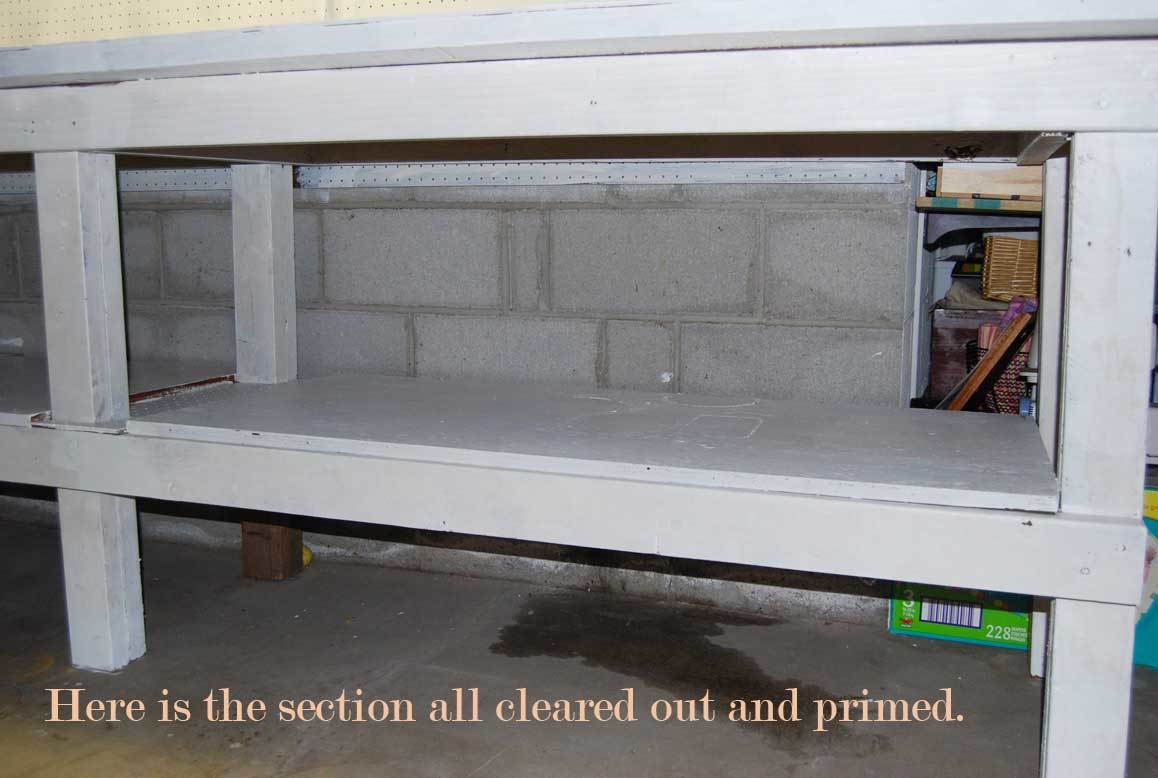
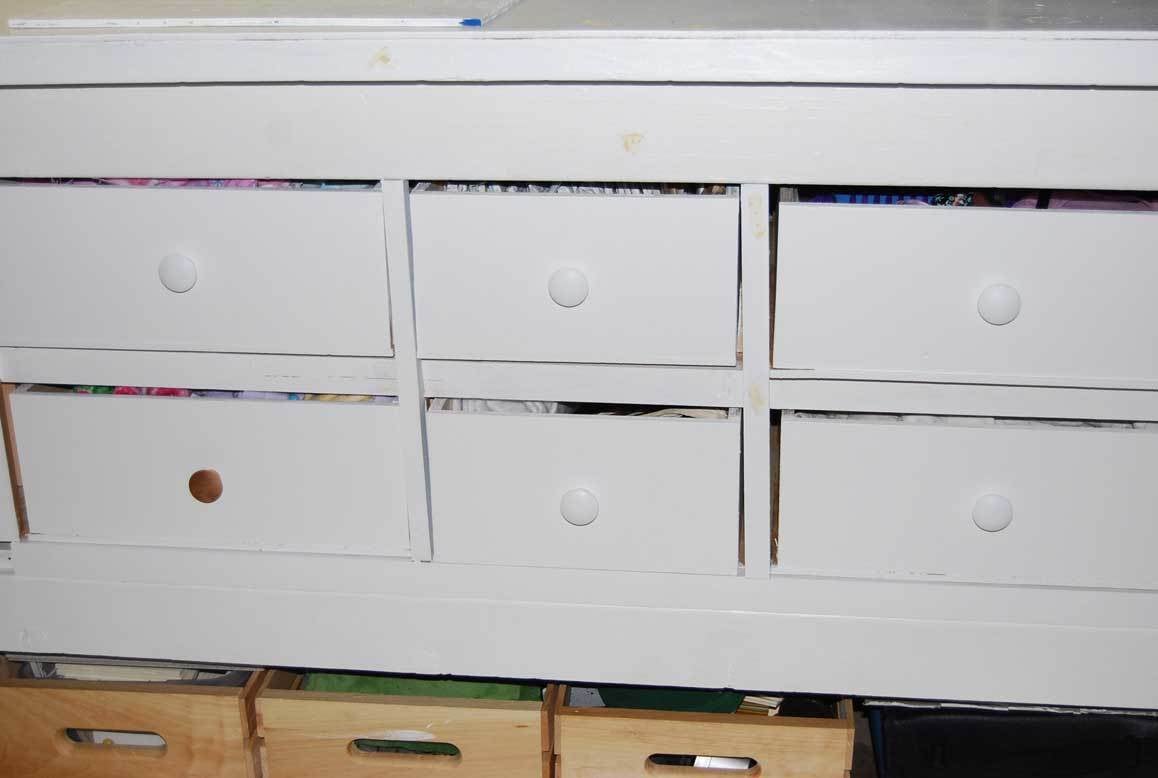
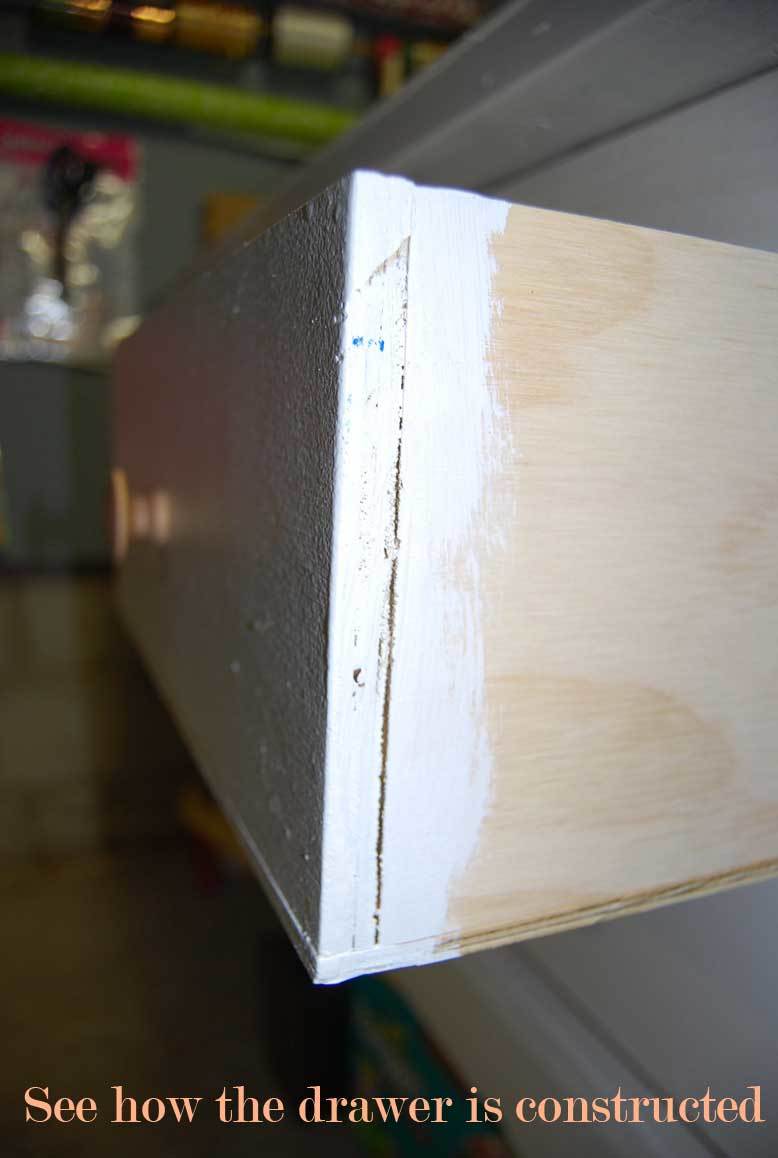
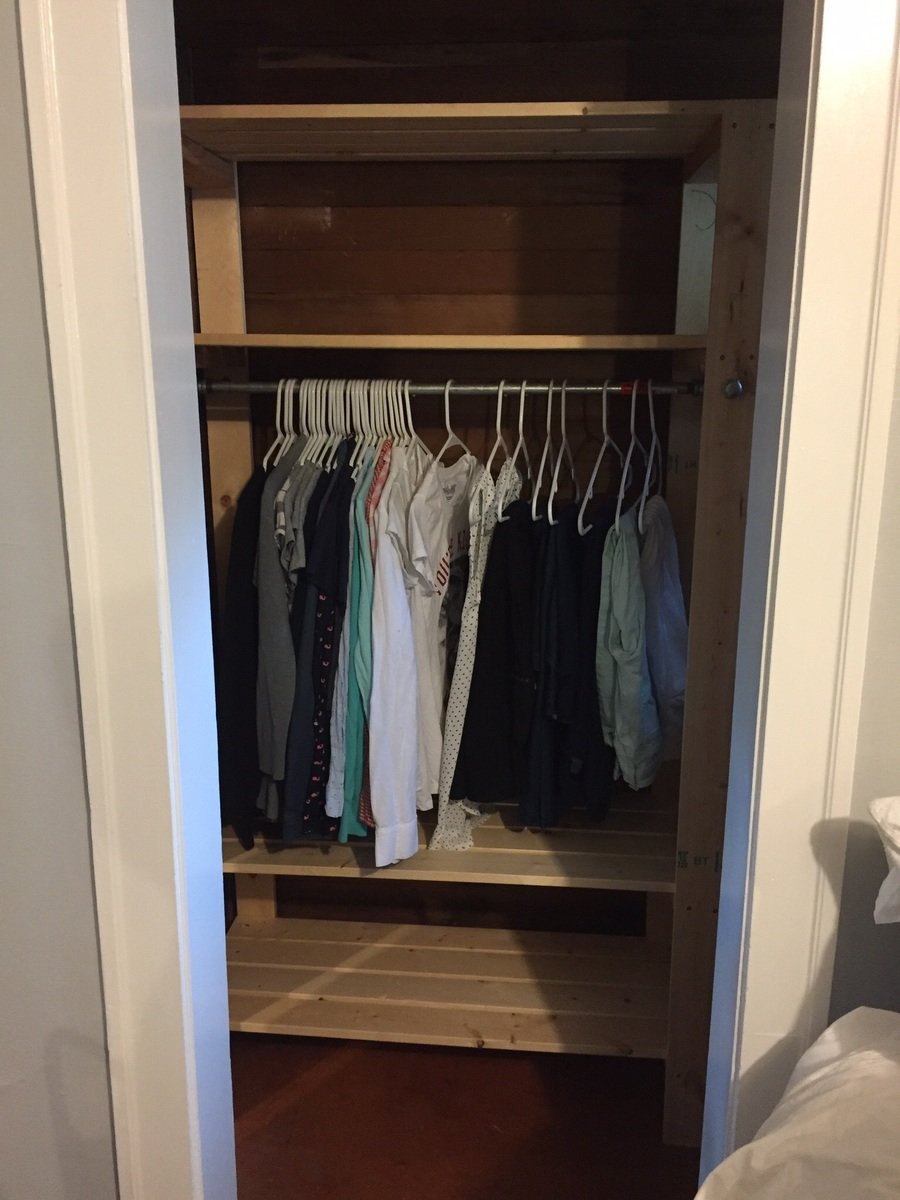
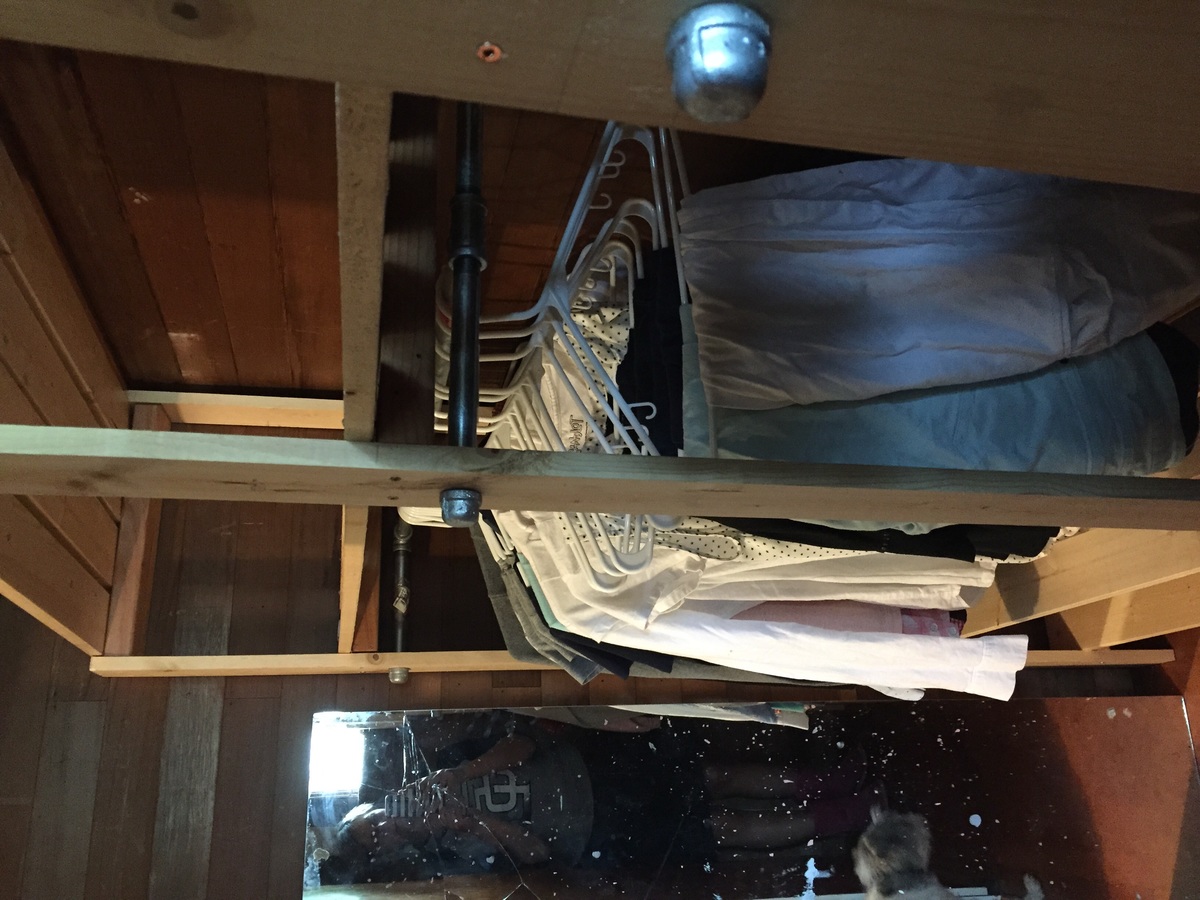
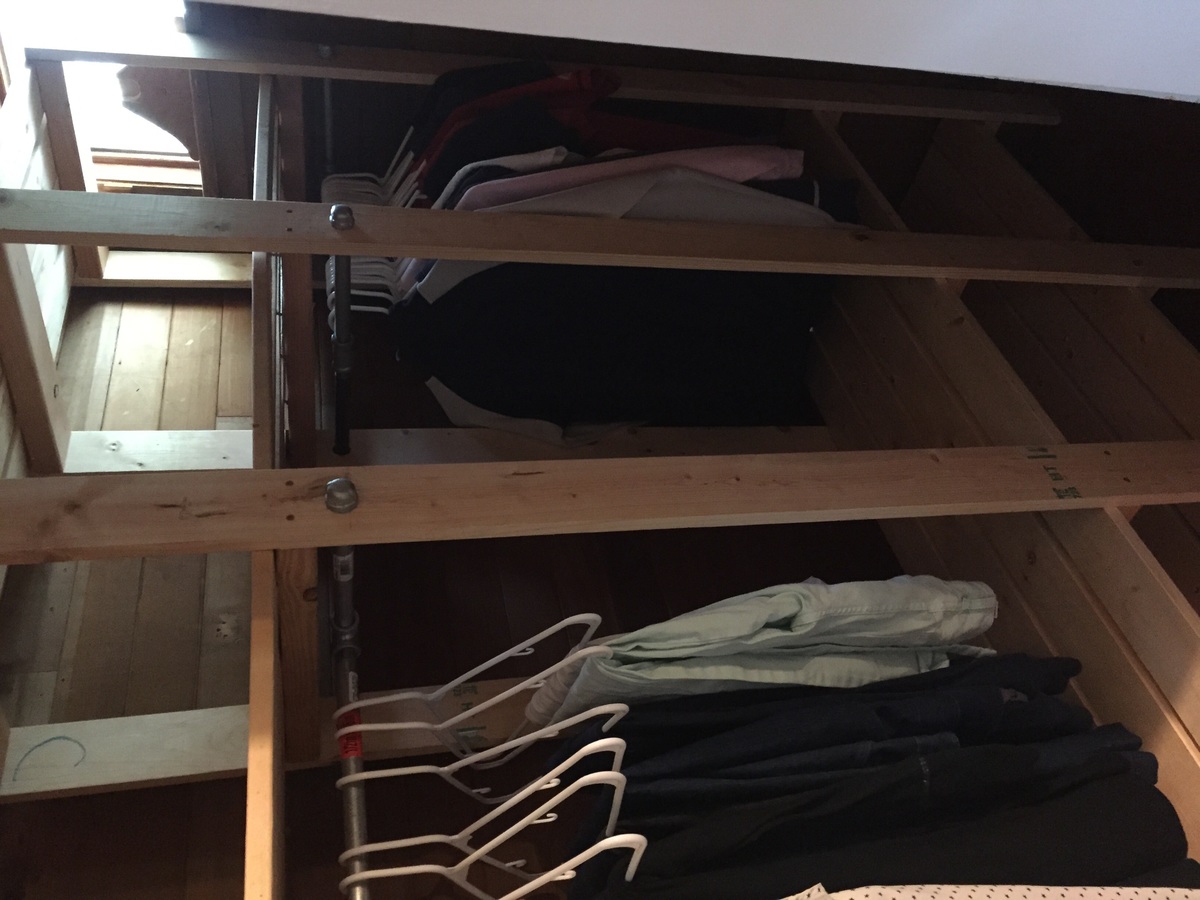
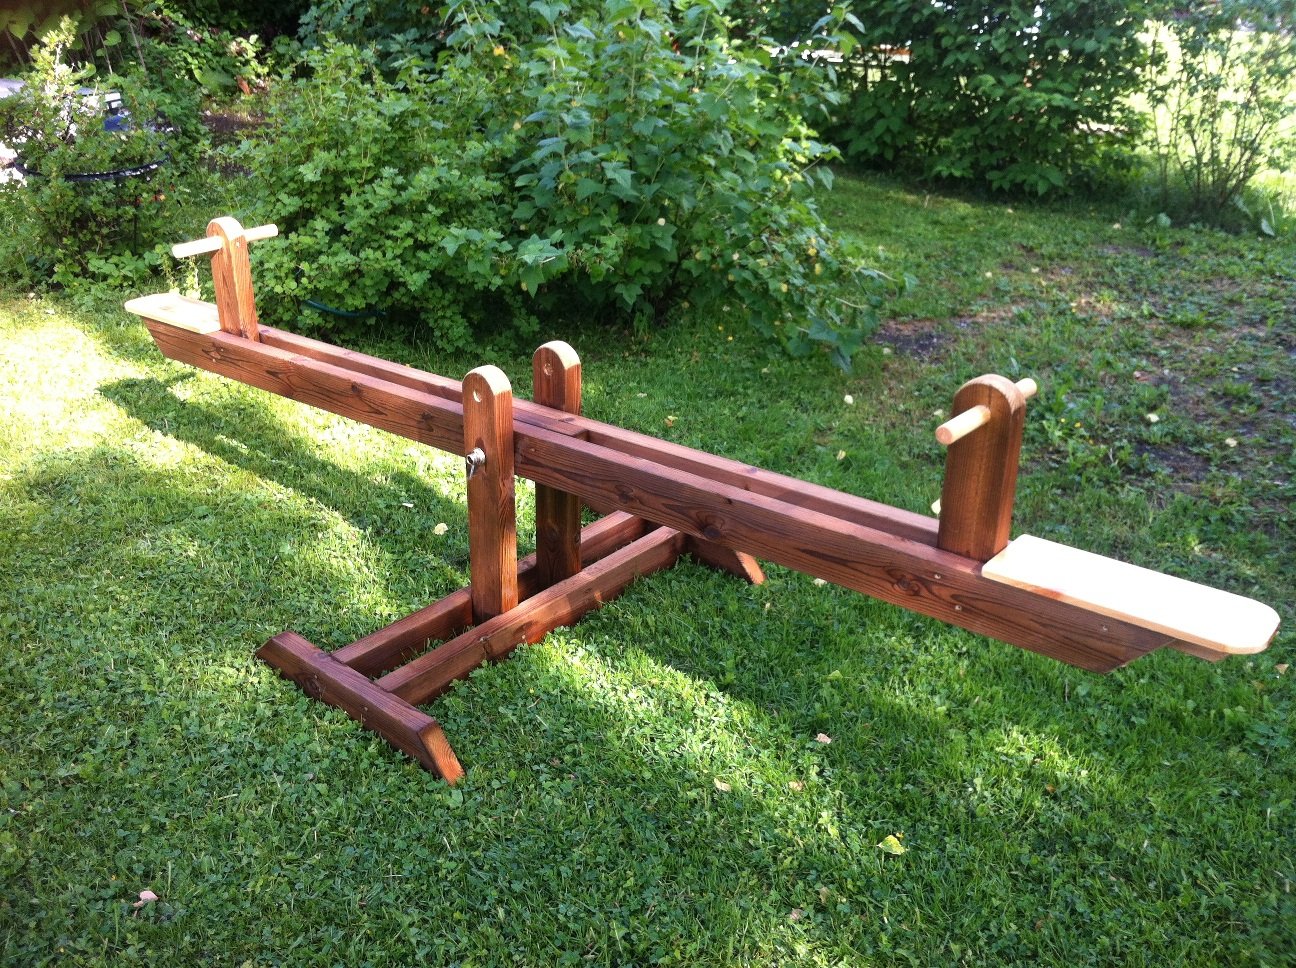
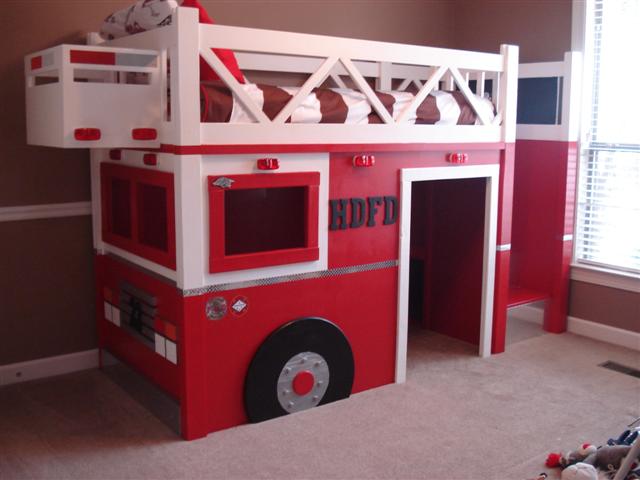
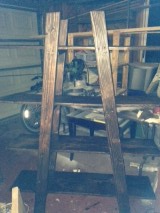
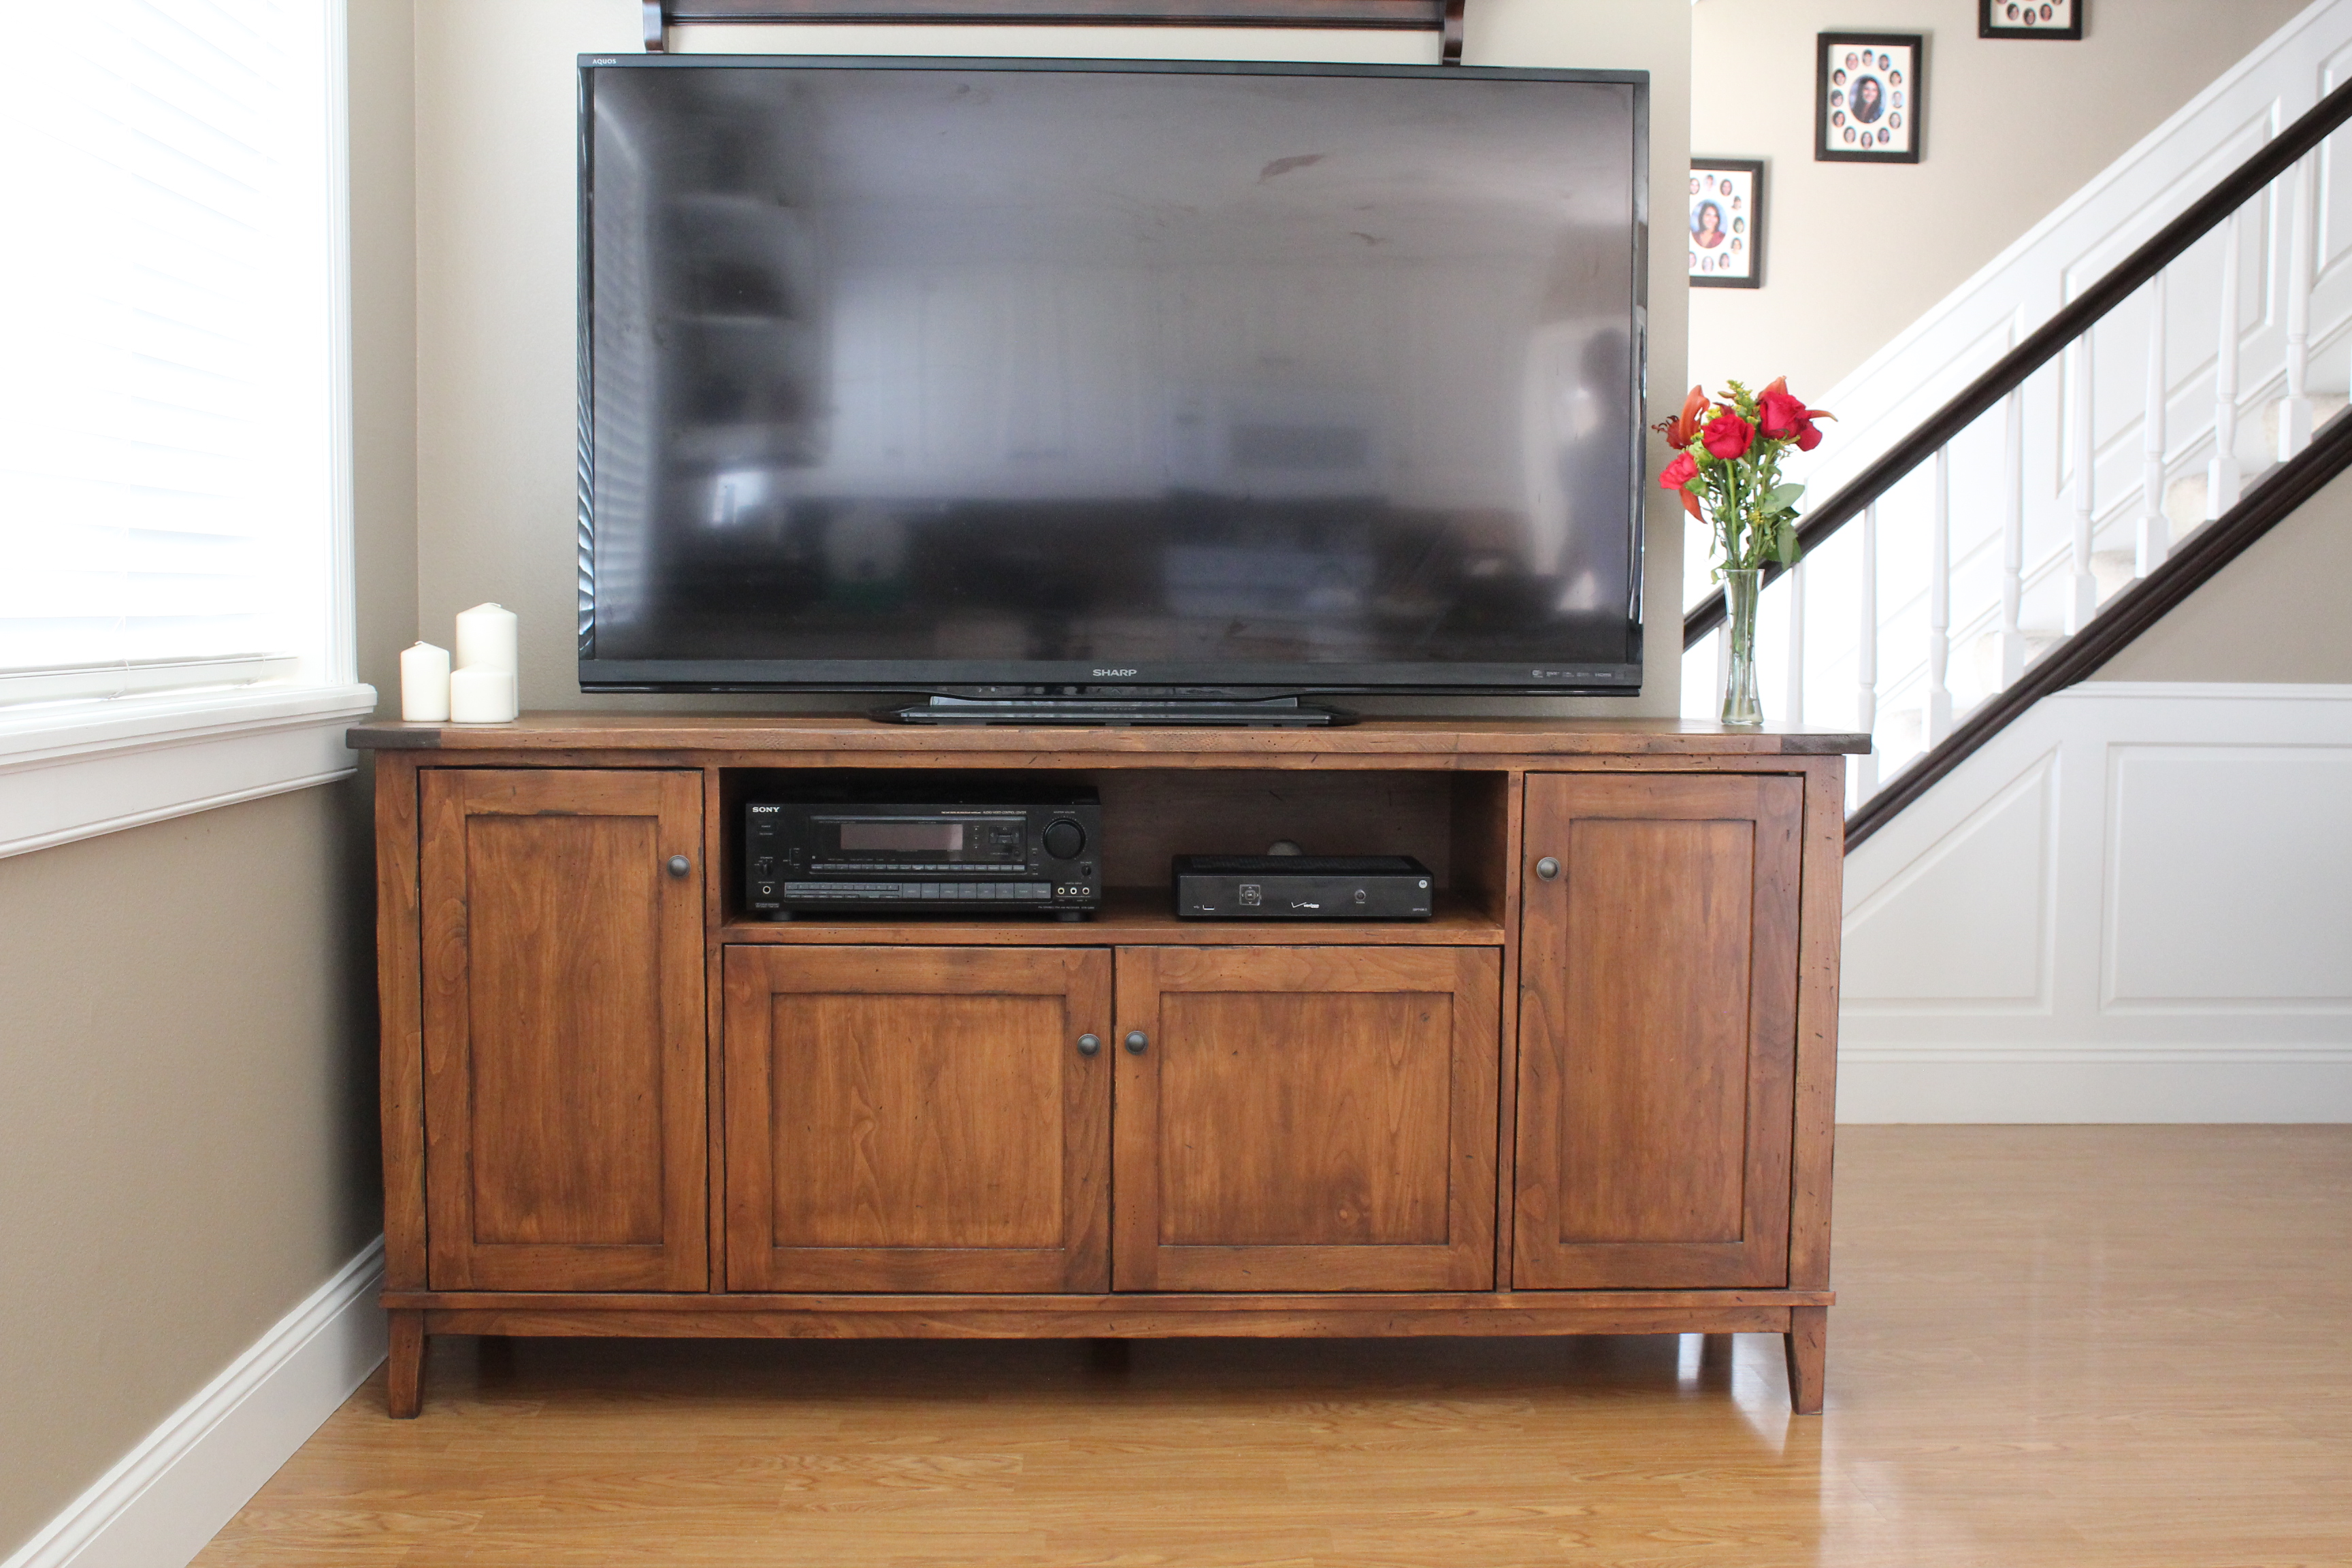
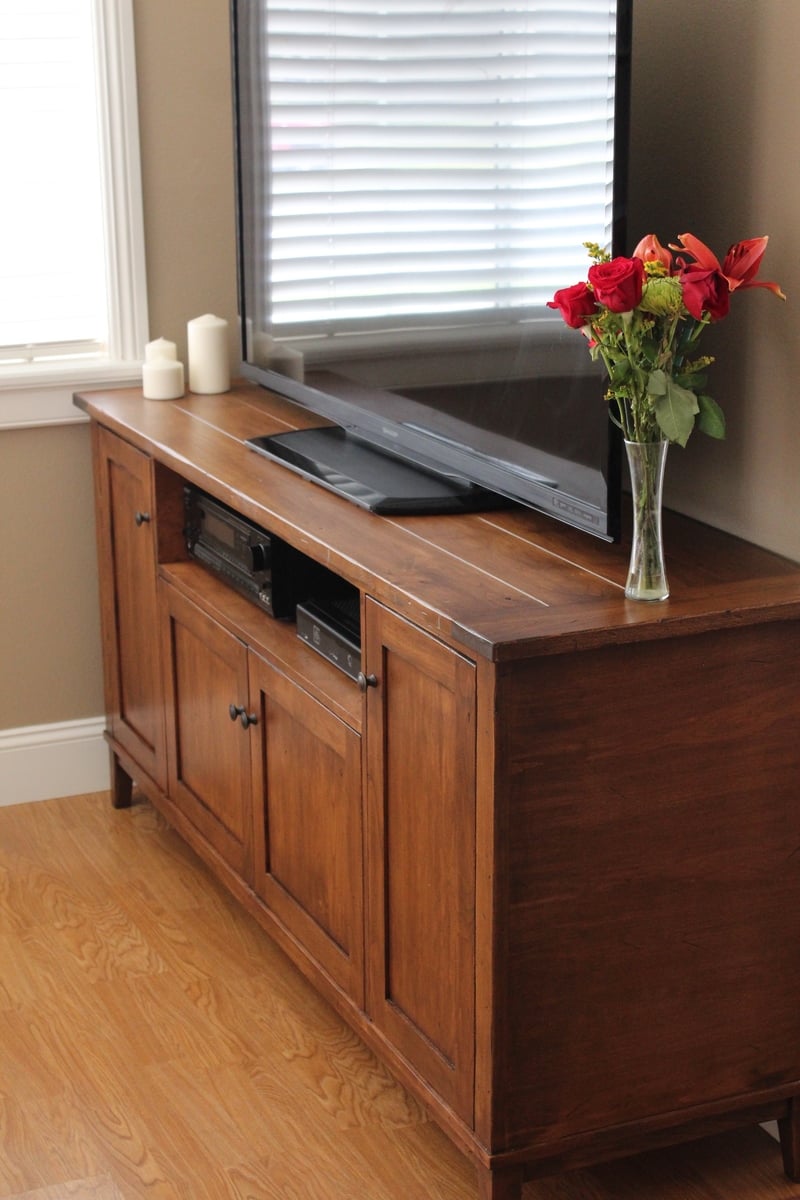
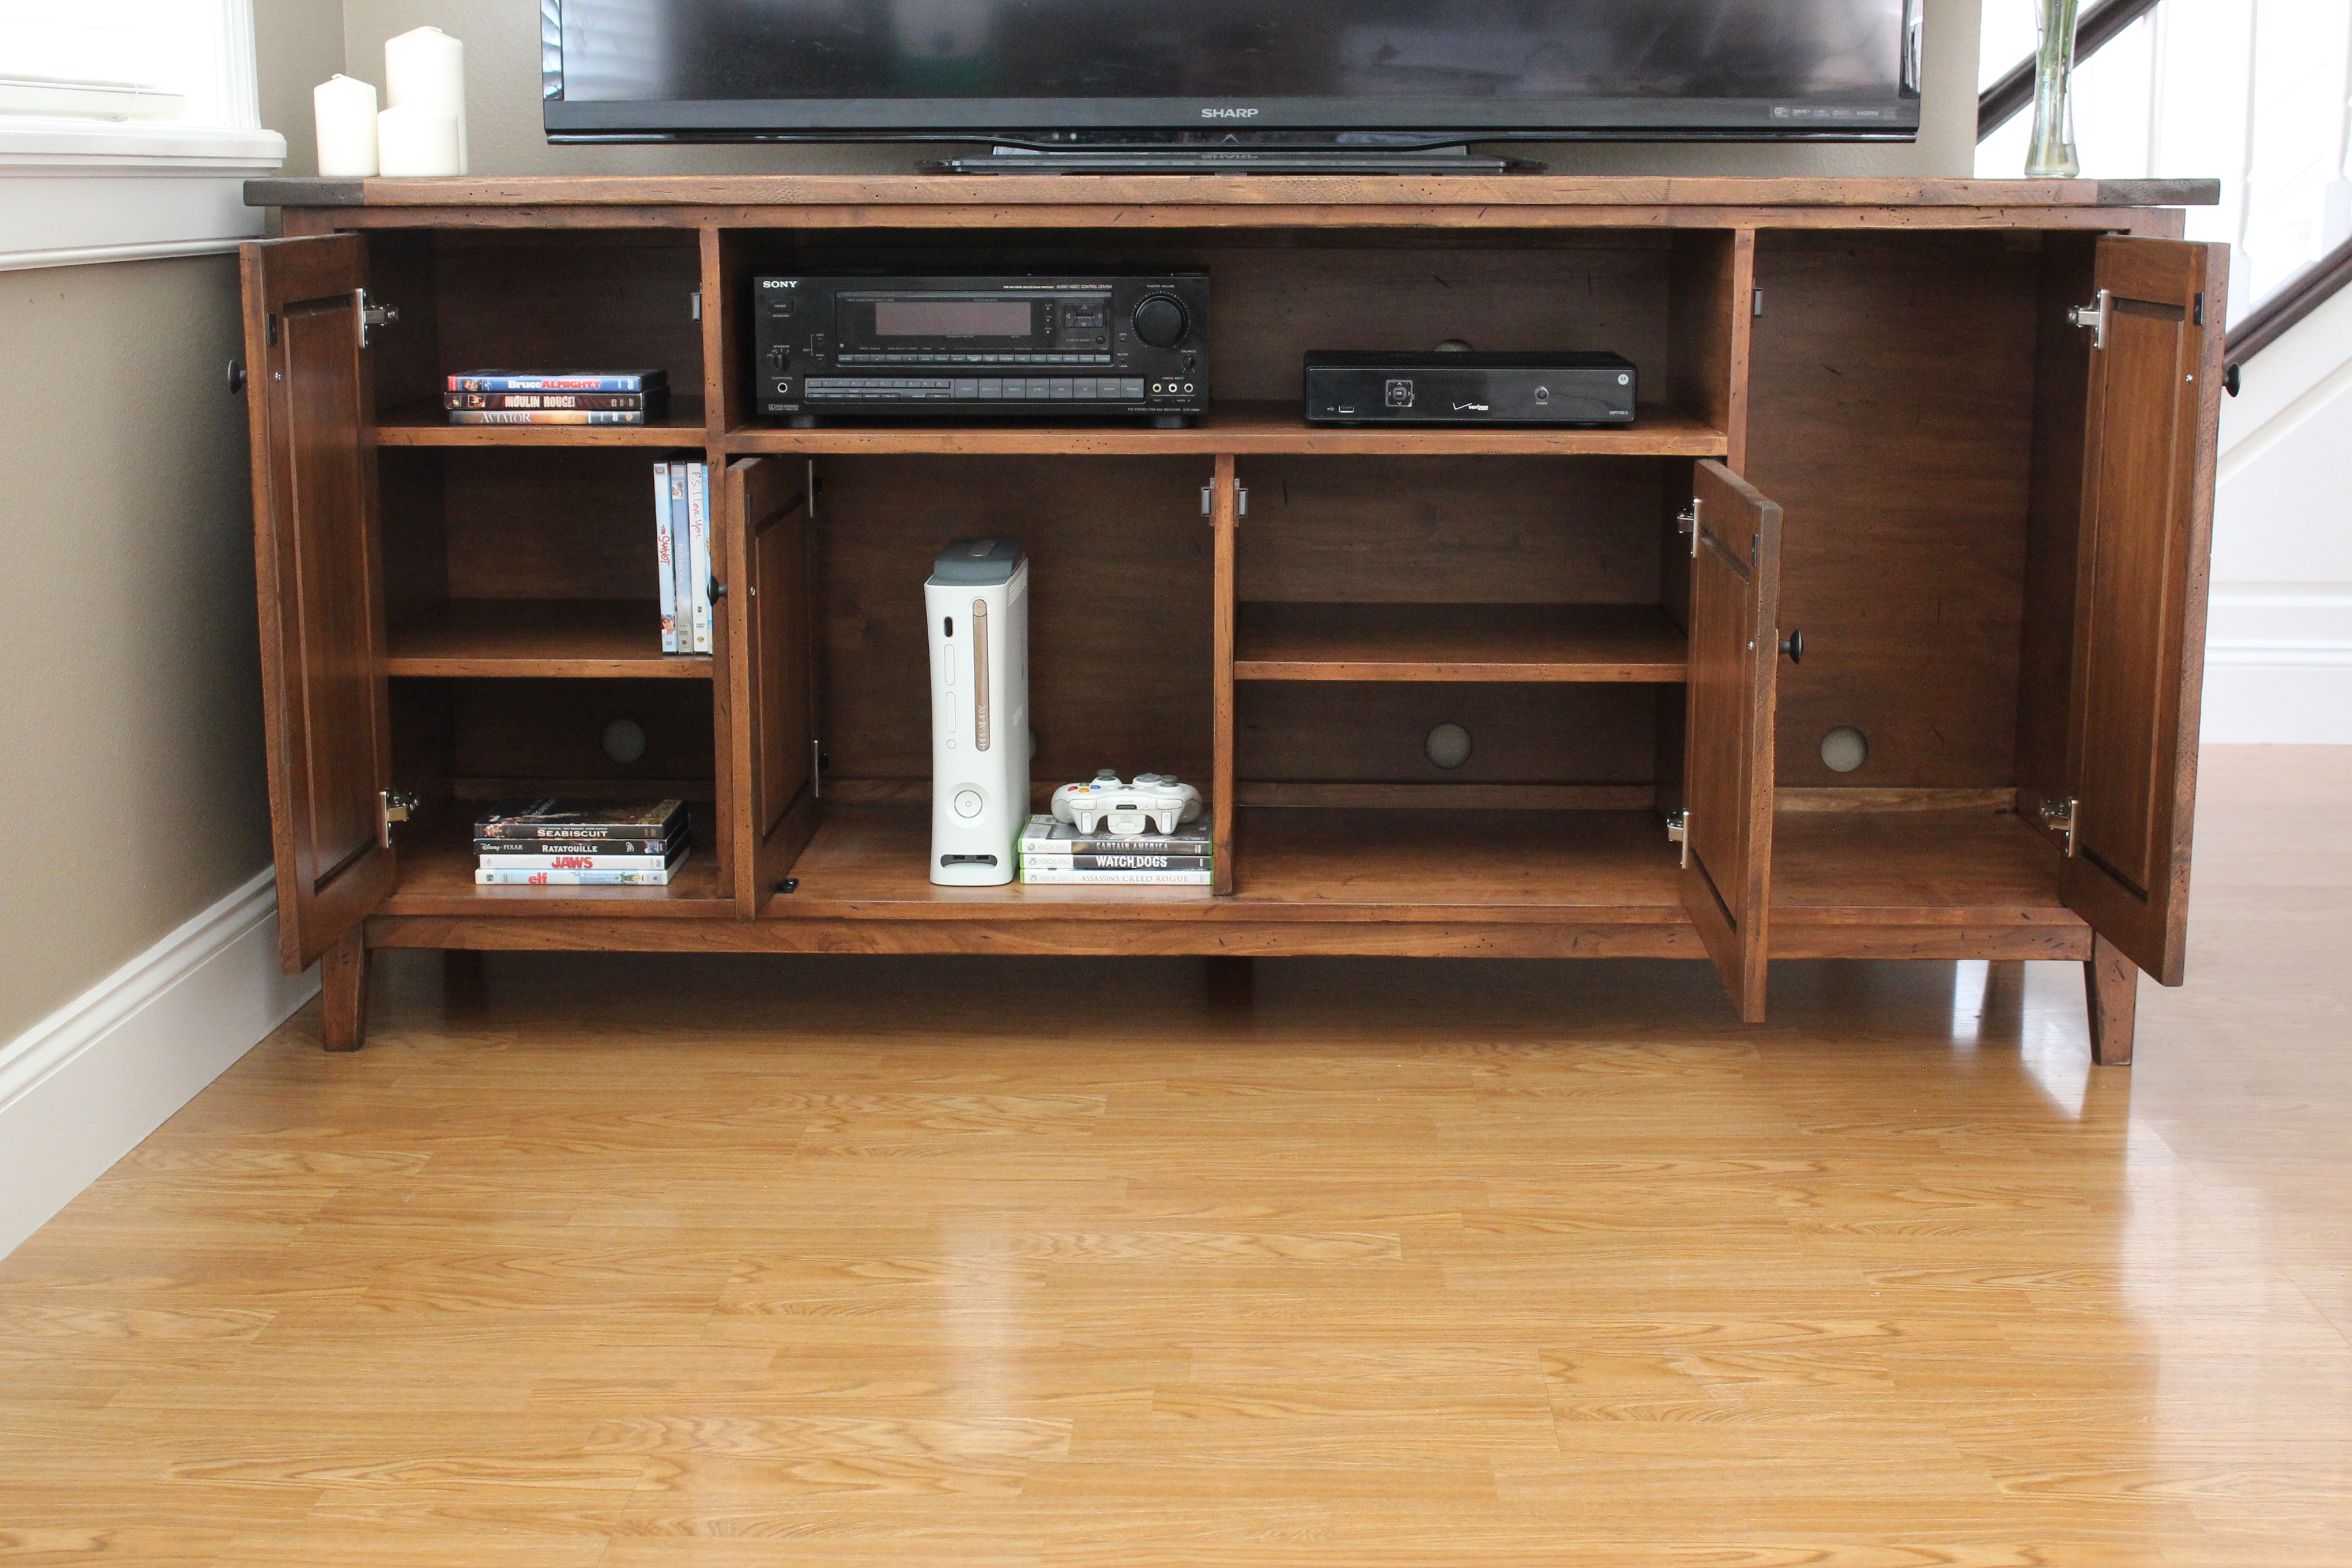
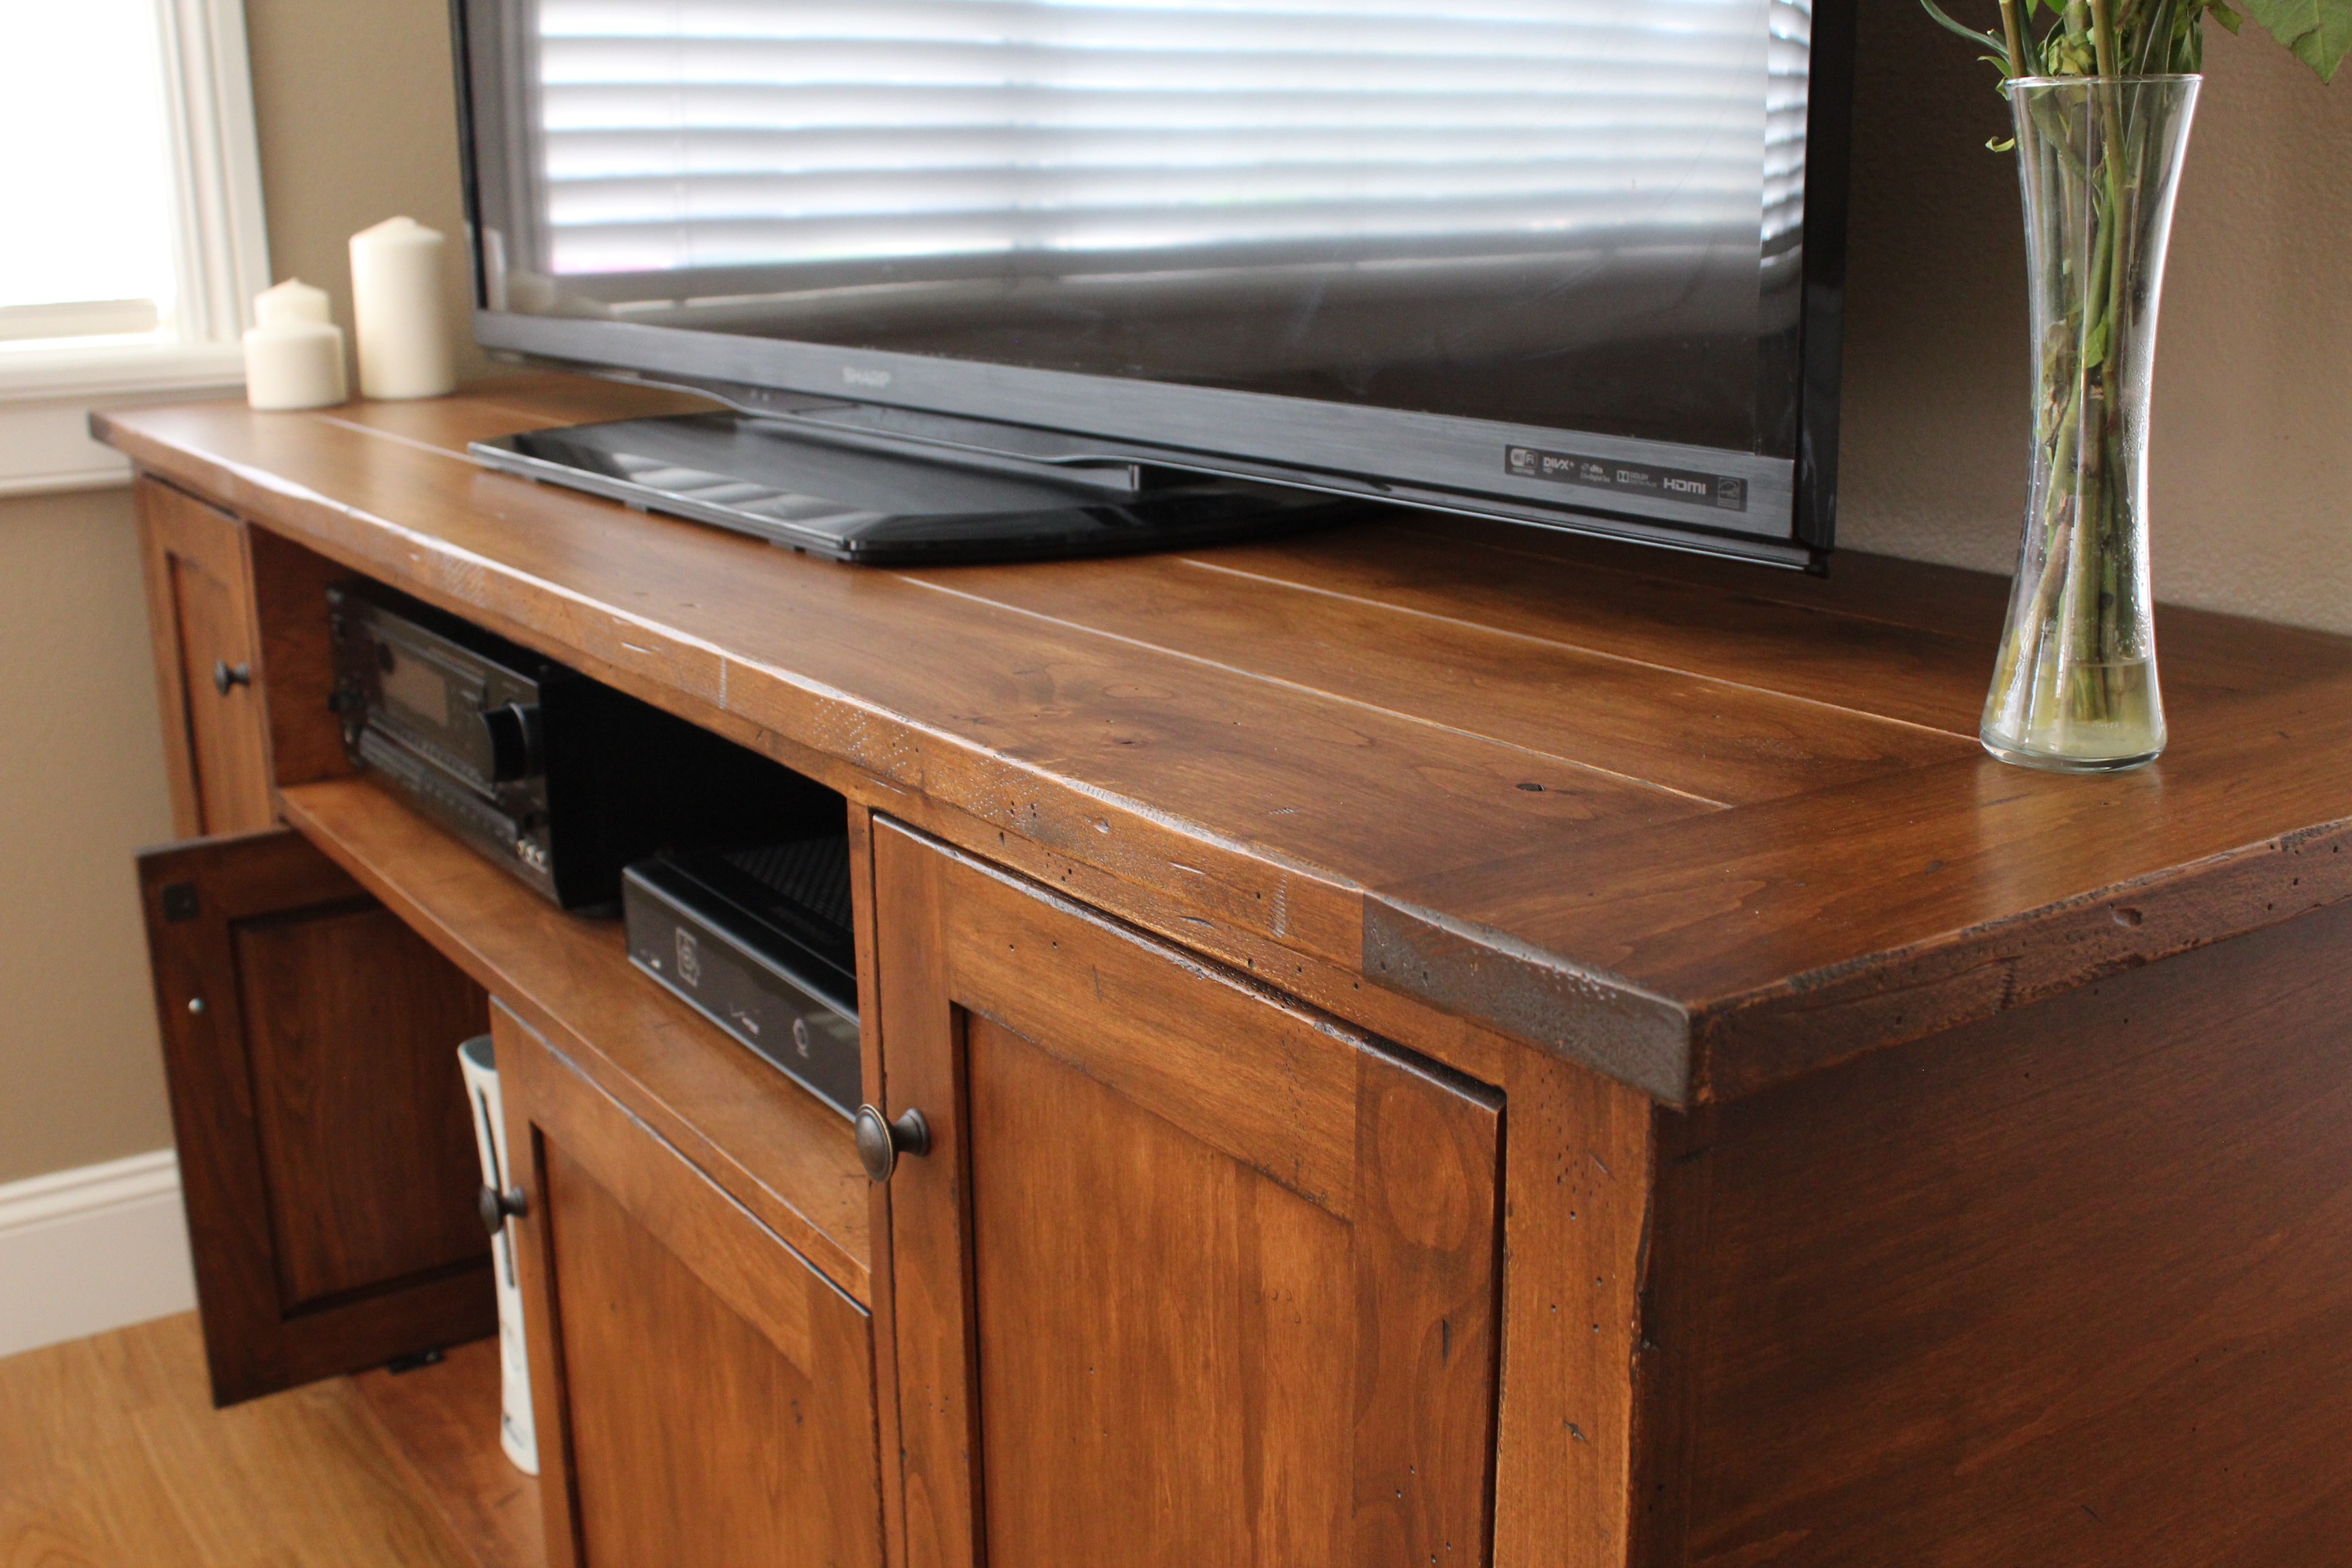
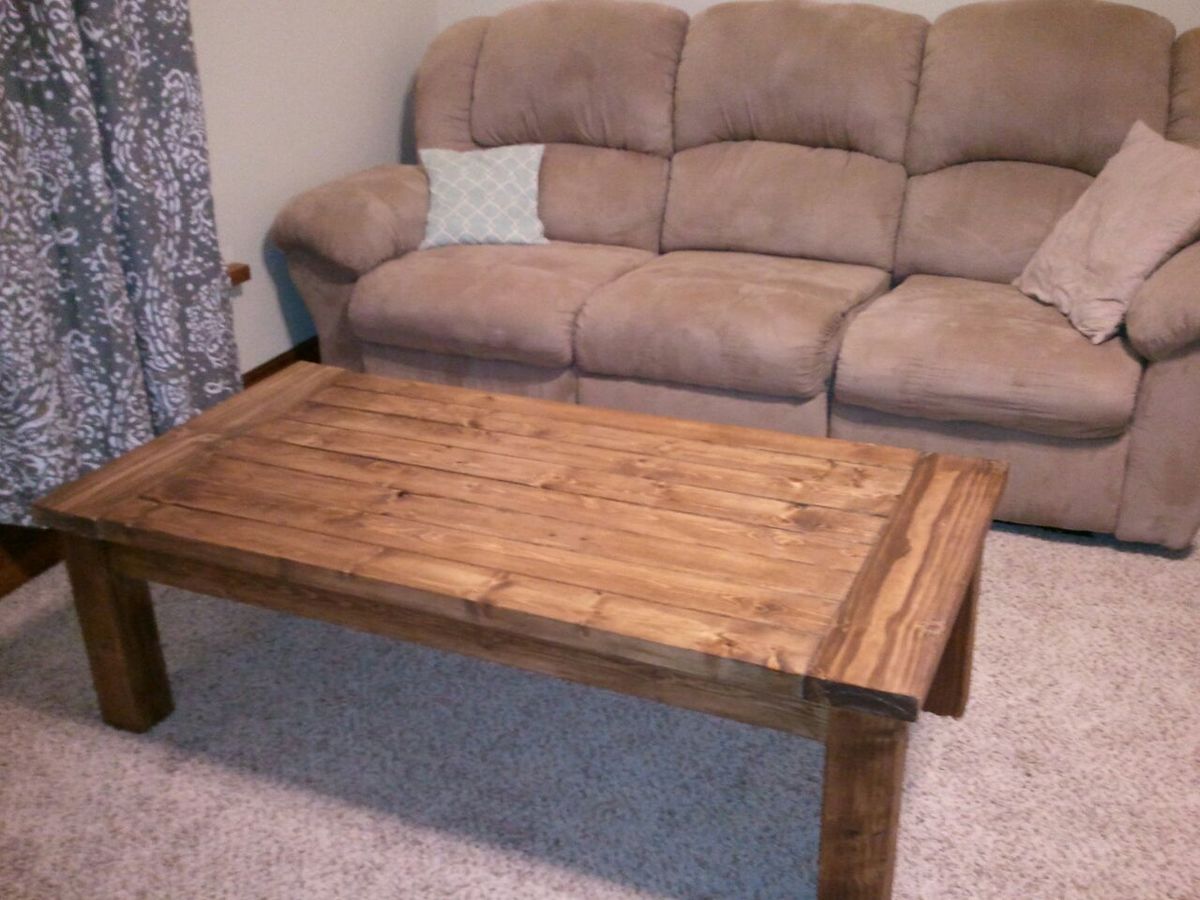
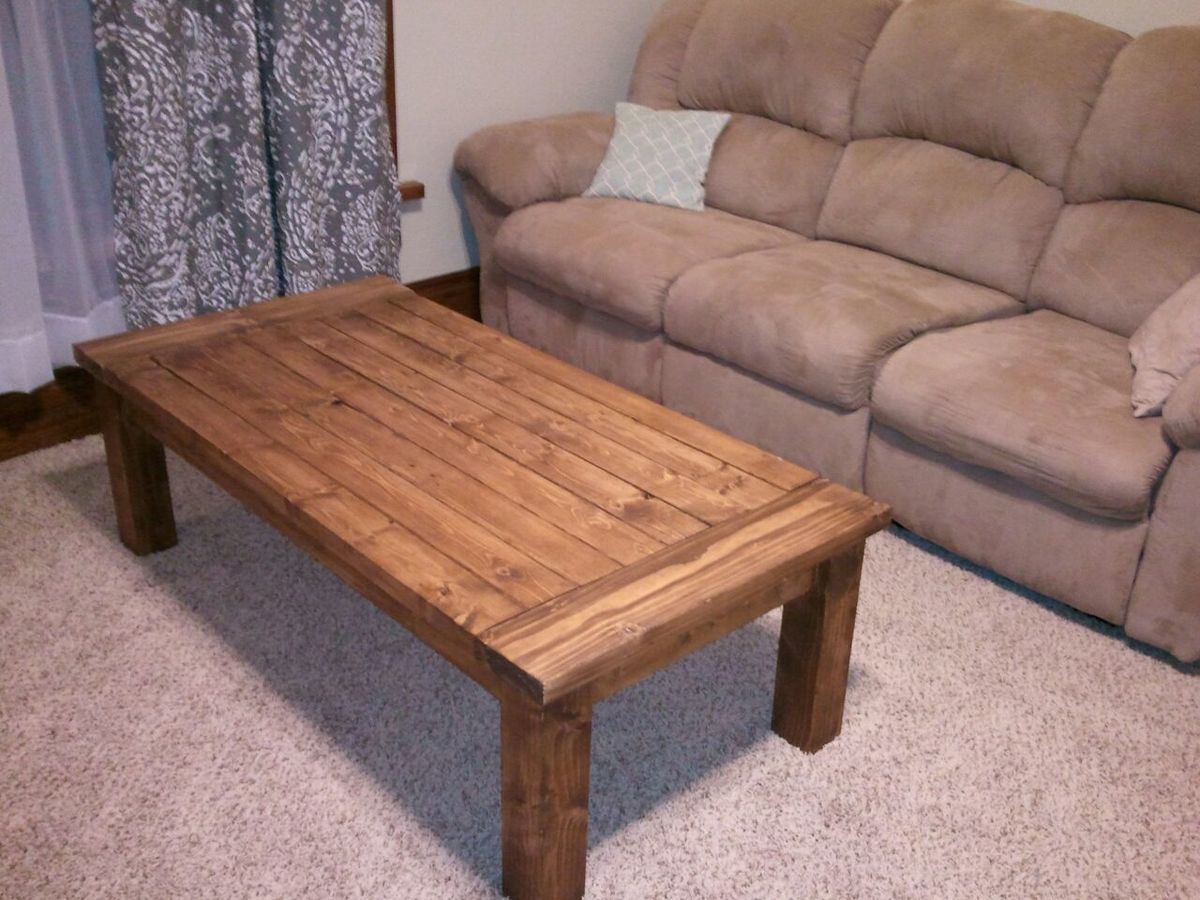
Community Brag Posts
Rustic Headboard
Rustic headboard built in an afternoon. Total cost was only $35!
Comments
Wed, 11/09/2011 - 12:46
slightly modified
I thought the 56 in headboard was a little excessive. So I cut it down a foot. If you decide to do this take 6 inches off the top and the bottom so it looks portionally correct. Another thing I did that was not mentioned in the what I have read so far was use kregs joints to connect the inner panel. If you build it from the back you will not see any joints except the top ones on the foot board. I patched them with that elmers patch stuff and are no longer visible. Minus all the sanding I built two beds in a half day.
Wed, 11/09/2011 - 15:52
Are the legs the same?
I was thinking of doing this headboard for the farmhouse storage bed. Did you use 4x4s or build the legs the way they are in the plan? I have several 3x3s for legs that I was planing on using with the kreg. How easy was it to get the boards lined up with the kreg?
Wed, 11/09/2011 - 19:56
Reply:Are the legs the same?
The legs are the same as the plan. I don't have a kreg jig so the bed is nailed and screwed together instead. Hope that helps! -Brook
Thu, 11/10/2011 - 06:48
To die for
Your finish is to die for. I could just look at it all day long. I'm weird like that. Fab job!
Tue, 11/15/2011 - 11:40
ok.thanks for your reply. But
ok.thanks for your reply. But did you sand like 80-120-220 grit . thanks
Wed, 06/06/2012 - 12:37
Brown or grey-ish finish?
Congratulations !!! and thanks for inspiring us by posting these photos of a terrific job!
I was just wondering..how did you manage to get the perfect light brown - chocolate tint shown on these photos??
I've followed the process described (oxidized the wood using tea followed by steel wool/vinegar mix) to the point. However, the result is grey tinted. even tried applying the process to different types of wood and applying less mix..even sanding it after the project dried and applying the clear wax..Same GREY result..
Please help!!
Wed, 06/06/2012 - 13:26
Wood
Different woods will give a different finish. This project turned out a little browner than the other times I've used the tea/vinegar treatment. Probably because it was previously painted and then stripped. You can also buy dark wax that will help change the color. You might try finding a stain that is the color that you want and staining your project. Good luck!
Thu, 08/23/2012 - 06:39
Rustic Headboard
I just made the rustic headboard with new pine boards. Can I get this look with the tea and vinegar? How was it done? Thanks.
Wed, 07/10/2013 - 12:53
was it pre primed pine
where does the white come from in your wood. did you strip pre primed pine then tea and oxidation? thanks,ante
Thu, 03/01/2018 - 16:39
Wow, I love the finish you
Wow, I love the finish you gave this piece! Absolutely beautiful! Well done.
Mon, 12/07/2020 - 10:14
Anyone have plans for the…
Anyone have plans for the sides and footboard for a queen?? Please and thanks! :)
Hall tree
We had a table in the entryway that seemed to catch everything, bags, mail, etc. so when I found the Mimi hall tree I had to build it. This was my second build, so I was a little nervous. I wanted to paint it white , but my wife talked me out of it. I am so glad she did. Fun build, and now we have a place for all the stuff when we get home every evening.
Comments
Treehouse/Playhouse
Thank you! You've helped me look like a true carpenter who knows what he's doing! My whole family is impressed with my woodwork lately, and now I'm addicted. I've done your seesaw, bar table and stools plus the treehouse in 2 weeks. Thank you for sharing your plans!
Simple Modern Bed
We used repurposed wood from a previous home reno project along with new lumber to build a king-sized bed frame and wall-length headboard - based off of the "2x4 Simple Modern Bed" plans from More Like Home. We are VERY much beginners so this was an incredible learning experience, but the end result looks pretty good, in my opinion!
Rustic Farm Potting Bench
I built this 10’ long potting bench to fit into a 12’ barn stall. It fills the need to have a work surface plus room for storage on top and underneath. The hooks provide a place to hang my many hand tools and my Bluetooth speaker.
Comments
Fri, 03/10/2023 - 12:19
WOW-Amazing!
This is such a great idea for a house stall! Thank you for sharing that it can be done.
Flip Top Coffee Table
Needed a sturdy coffee table and this plan was perfect. Doubles as a bench, extra storage in the hidden cubby underneath the flip top, holds football fiesta platters, beers, and when the parties not in full swing, I'm using as a sewing table as well. Love it. Used my Kreg jig for entire assembly so super sturdy and easy too. Modifications: 1x6 Pine boards, jigged together. love the look of pine and after assembly, meticulously sanded so feels like one piece of wood. Used the hidden hinges. Bottom shelf I made out of leftover 1x4's, to match the top. width is 36 inches. Had to fit in a tiny living room. Did add support to the bottom shelf, 2 1x2's under the 1x4's....my dog has already crawled onto the shelf.
Kilz white primer 2 coats, and Behr Ultra White for legs and apron.
Comments
Wed, 11/23/2011 - 04:25
Awesome job!!! Love
Awesome job!!! Love it!!!
The natural wood look with the white looks so sharp!!!
Sun, 02/05/2012 - 02:36
thank you so much! Glad you
thank you so much! Glad you liked it, I love the contrast too!
Since it's essentially a holder for hubby's beer and snacks this kind of top can take a lot of abuse and still look great
Tue, 02/21/2012 - 18:57
Fantastic!
I love the look of this augmented plan. The 1x6 boards looks super sleek.
Can I ask you a question? I'm building this bench as my very first building project, and so far it is quite wobbly. I attached the shelves with one pocket hole in each corner through the shelf piece. You mentioned that yours is super sturdy. How did you attach the shelves?
Thanks! - Victoria
Wed, 02/22/2012 - 22:57
Victoria, I made each side as
Victoria,
I made each side as a frame, looked like 2 rectangles and 2 squares. Those were both kregged together...then I put those frames, front, back and 2 sides together kregging those together. The shelves are all kregged in too. I don't know if that helps or not. I've used mine for extra seating.
good luck, angie
Rustic X end table
I love this site. We needed new furniture in are house and didn't want to spend a bunch of money. Finding the Rustic x plans was a life saver.
Adirondack chair
These are the adirondack chairs and I took the basic model and added a wine glass holder and also a bottle/snack bag holder.
Comments
Fri, 08/21/2020 - 20:10
Any chance on sharing your…
Any chance on sharing your plan for what you added on? I’d love to make this as a gift for my MIL!
Mantle
The second one was before. It was the very first project I ever did all by myself. It only took me a couple of months to get the nerve to go to the store and buy everything. Then I cut and did everything on my own. 😬 I am so stinkin proud of myself.
Comments
Perfect!
I went round and round trying to figure out what type of shelving to install in our kitchen to go above a cabinet below that will be topped with a rough live edge pine slab (not yet completed). I stumbled across your industrial chic shelves post, found an old board laying around the yard and whalla! As always, thanks for this amazing site!!
Comments
Thu, 12/22/2011 - 12:44
Great!
Hi! Love how your shelves turned out. I was just wondering how much weight these shelves would hold. Looking at yours with plates on them, it seems like they hold quite a lot!
Did you use larger L-brackets or the same size that Ana used?
Thanks for posting your shelves!
Industrial Bookshelves
It took a long time to compile all if the parts for these shelves. I searched the Internet for affordable cast iron castors. I ordered all of the black plumbing fixtures from a local hardware store. I bought 2, 16 foot 2x12's and cut them up, sanded them and stained them.
Comments
Mon, 11/04/2013 - 13:38
cool look! I like the metal
cool look! I like the metal and wood together. Good Job!
Thu, 04/30/2015 - 19:27
Building steps
Can you please share the step-by-step build for this bookshelves? It looks great!
Bunkbed
I built this for my grandkids. It took me several weekends to complete to this point. I made a few changes from the original and still have the drawers to complete but overall its about finished.
Comments
Mon, 01/22/2018 - 10:41
Beautiful!
I love how bright and vibrant you made this! It looks absolutely beautiful! I'm working on a bunk bed for my two young daughters now and I liked seeing how you tweaked the plans a bit- I'm doing something similar. Thanks for sharing!
3 Seat And Loveseat 2X4 Outdoor Couches
Used Redwood and Kona colored stain. This is my first wood project and Ana really inspired me in being able to complete this. Thank You Ana all the way from California! The Love Seat was easy to modify from the original 3 seat plan.
Comments
Wed, 06/05/2019 - 08:48
Hi this looks great! I was…
Hi this looks great! I was wondering where you purchased your cushions?
Thu, 06/06/2019 - 11:40
hard to believe, we found…
hard to believe, we found them on the Big Lots website...$40 a set back and cushion. We looked everywhere for an affordable option. These look great and are really comfortable..!thanks for the compliment : )
Jerry
Raised Wood Planters by Urban Wood Solutions
Planters build by Urban Wood Solutions
Comments
Fri, 03/31/2023 - 04:23
These are incredible. They…
These are incredible. They look a little deeper, and would be good for vegetables. How deep are they?
Farmhouse Coffee Table
This was my first project and while I prepared to build it I had to endure some real negative forces coming from people who knew my building skills. But I was heart set on doing this and proving people wrong.
As you can see from the pictures I made some adjustments to the table as I did not want a square table rather a rectangle to fit perfectly in front of my sectional, LOL.
I could not believe how well it came out and how easy it was to build. Thank you Ana for this site as I know I would never have taken on this project without finding this site. Furniture building is something I always wanted to do and have as a hobby. I will NEVER purchase another piece of furniture from a store again!
I have included a few pics to show the progress.
Comments
King Size Headboard
I am so happy about how this headboard turned out. It is exactly what I have always wanted. I am so excited that it is sooooo much cheaper than buying the one from Pottery Barn. I would never have been able to afford that one. This one only cost me about $50 for the wood, and then I was able to make an end table and a picture frame from the leftover scraps!
Desktop Organizer
Built this in an afternoon with scraps left from other projects! Using it at at work on my desk. Added 1/4" plywood to base to close up drawer space. Felt strips on bottom of drawer makes the drawer slide out very nicely.
Large Rustic X Bench
I made this bench to go along with the matching table. I also made a video of me making on youtube: https://youtu.be/B-5KKcPxM24
The seat was made from 2x6's purchased from Lowes.
Approximately $20
primer and paint for legs
Sweet Pea Bunk
This was fun project! Changed up a couple of things, but am very proud of myself. I can't wait to see what my Grandkids think :)
Comments
Ana White Admin
Thu, 03/02/2023 - 07:02
Beautiful vanity!
Love this, looks great! Thank you for sharing.